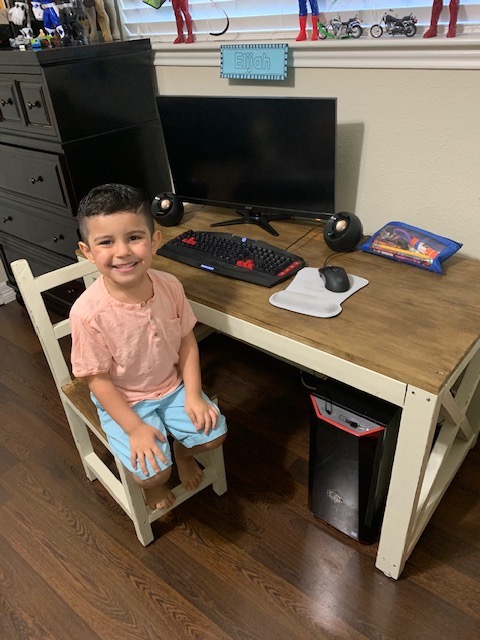
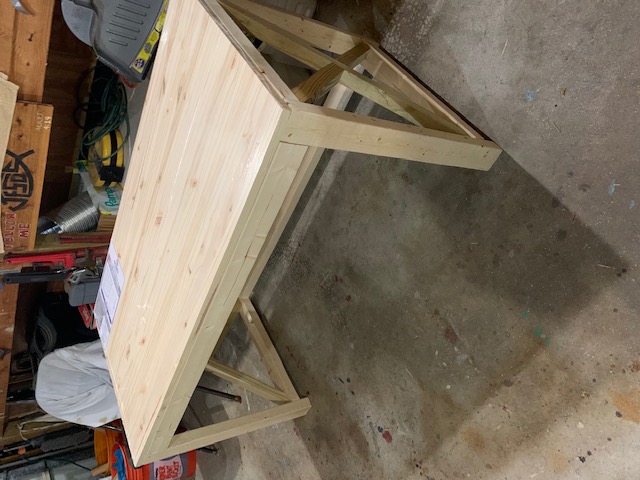
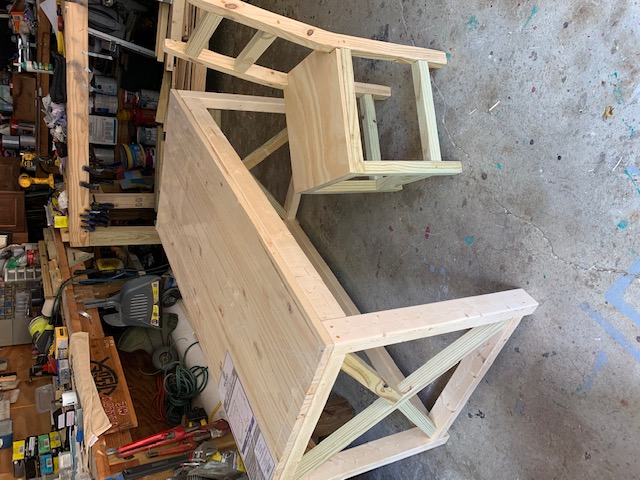
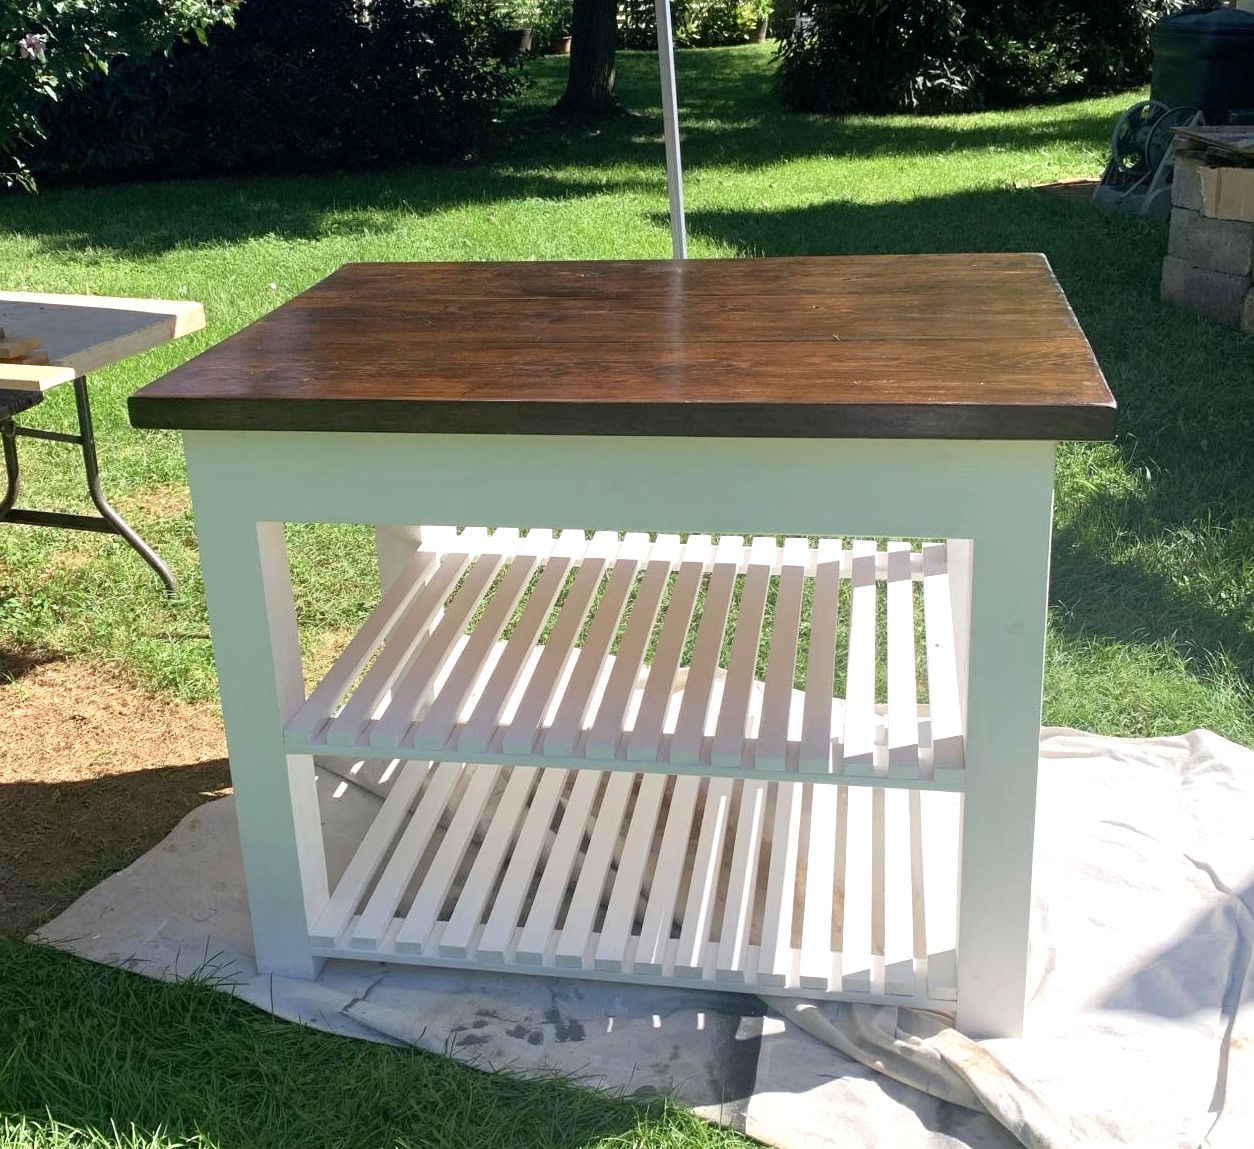
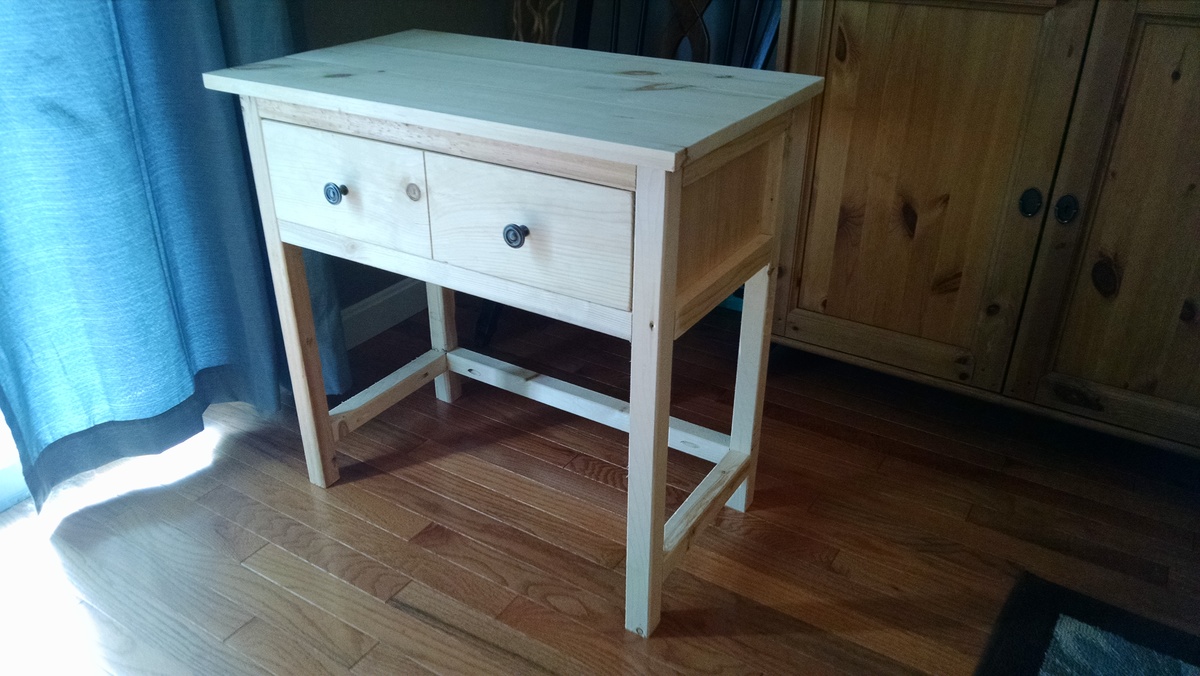
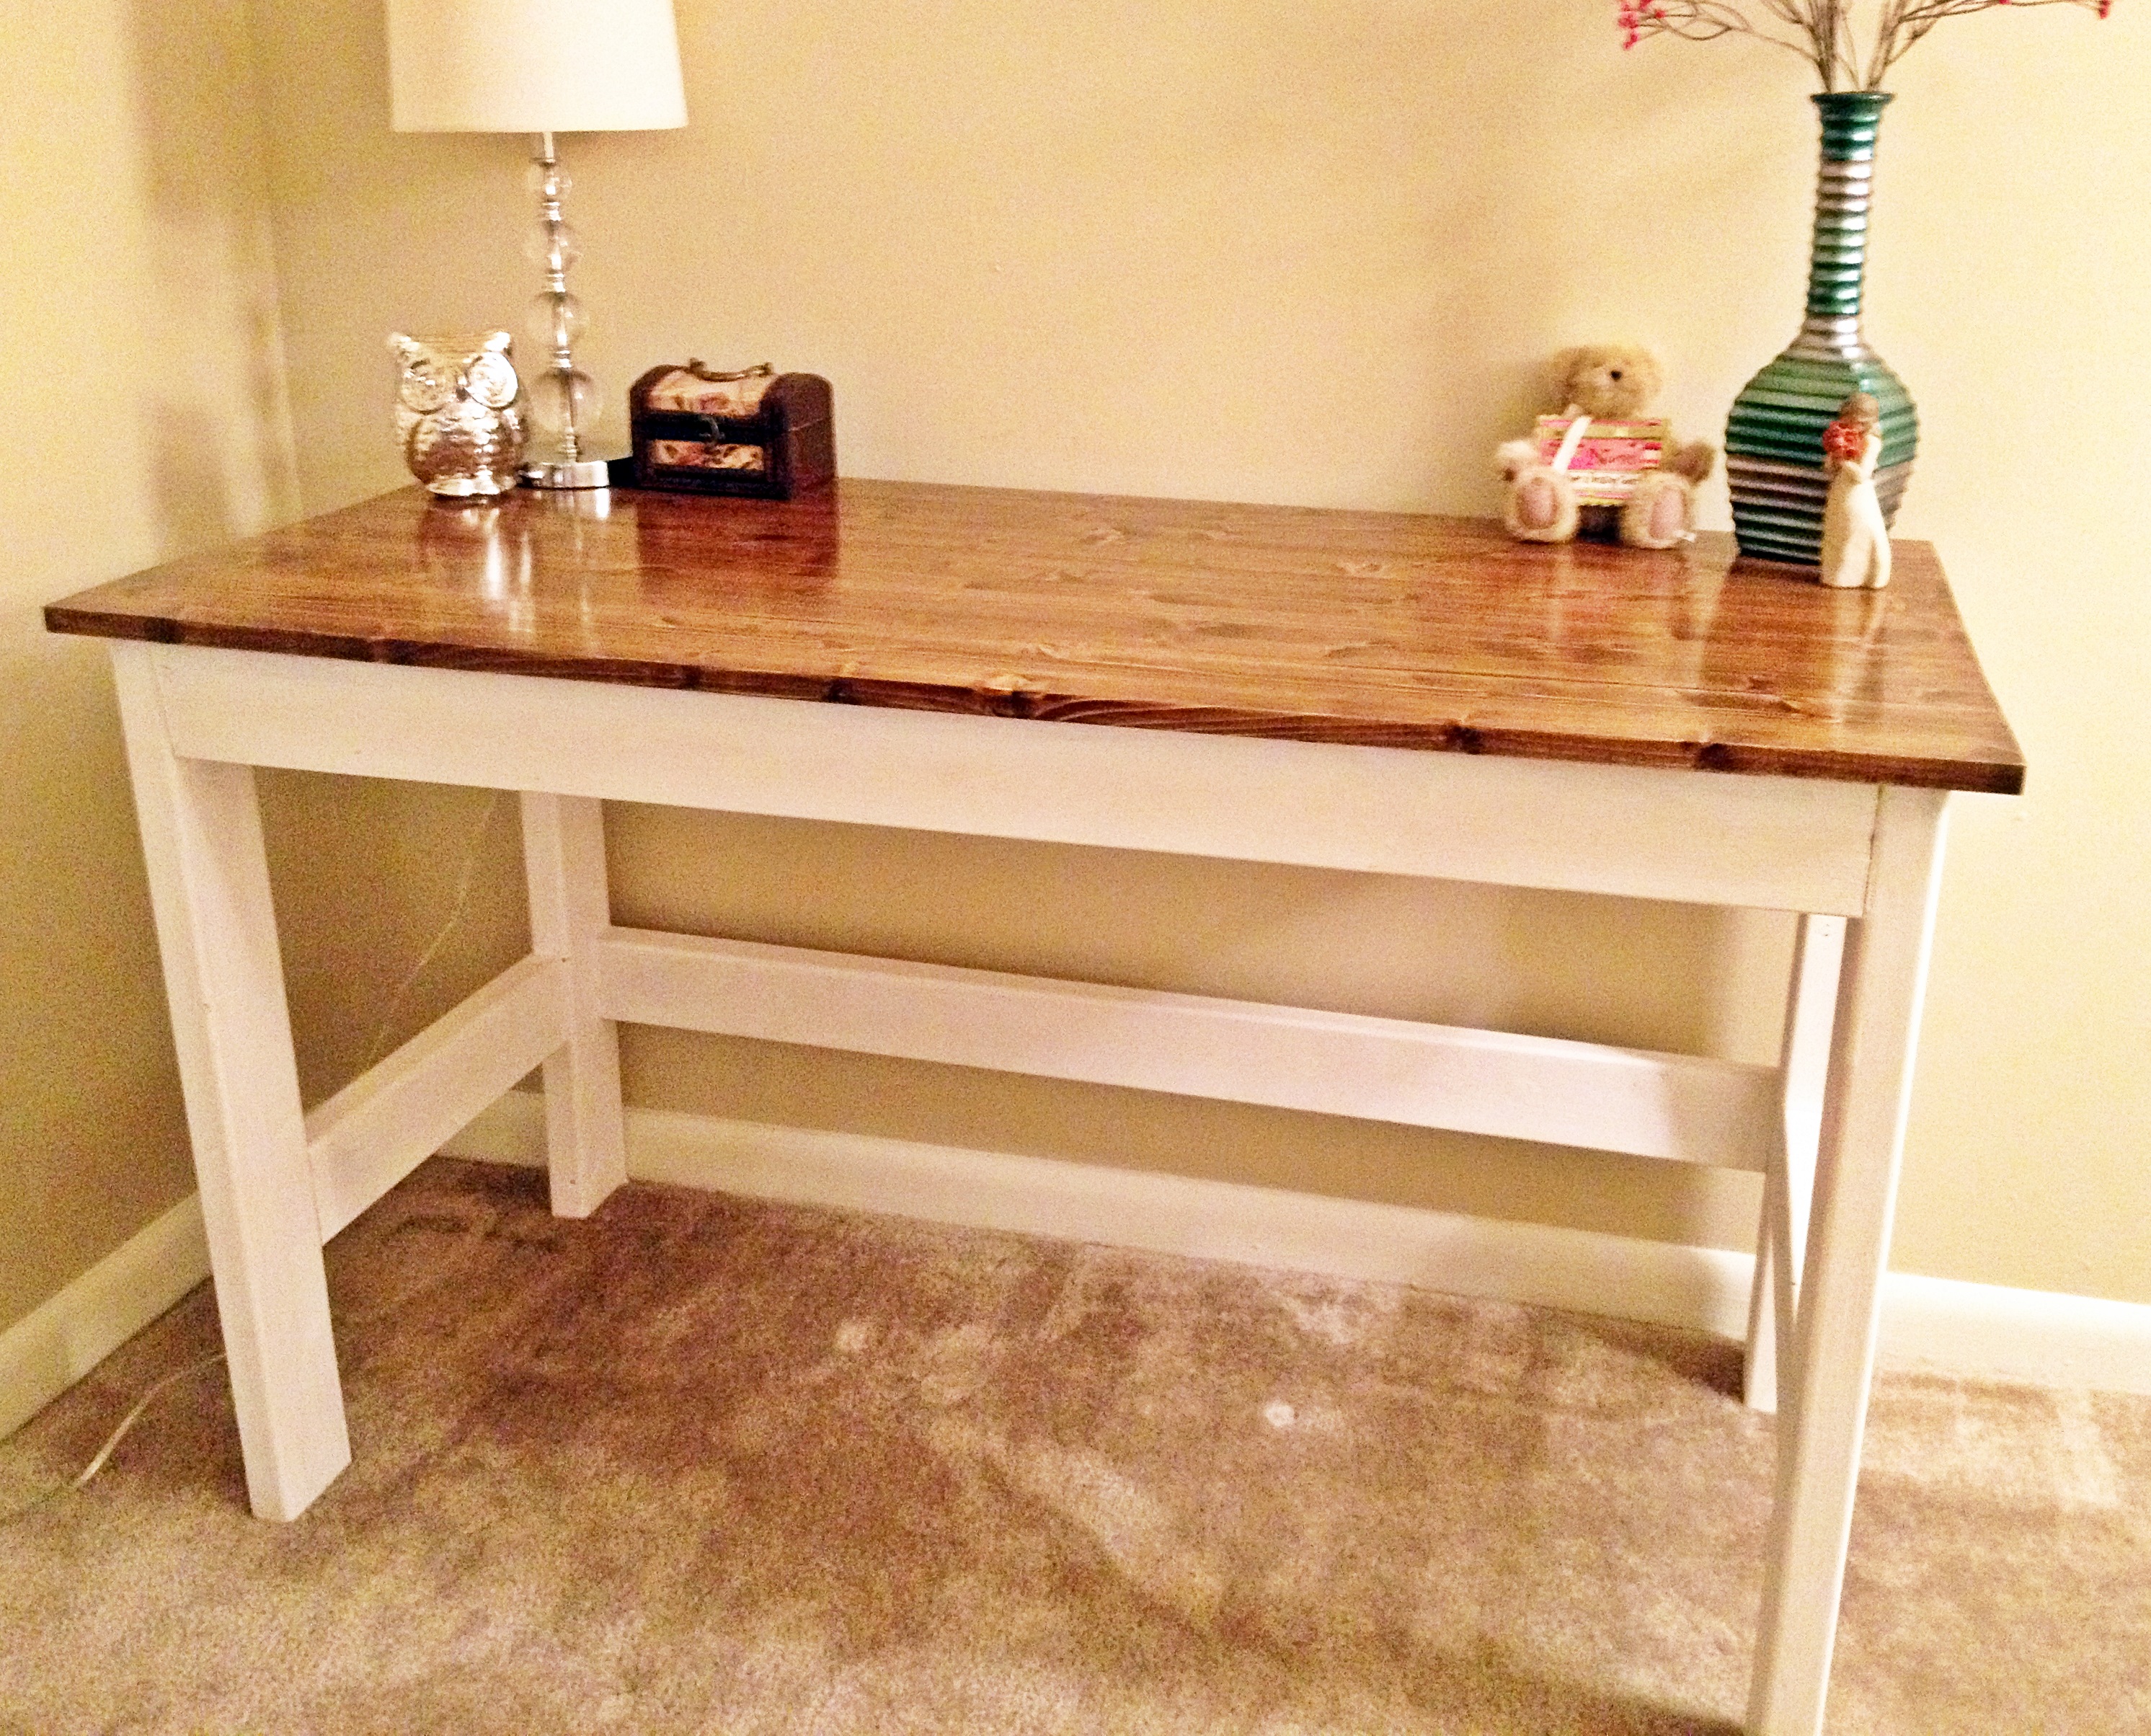
Modified brookston desk

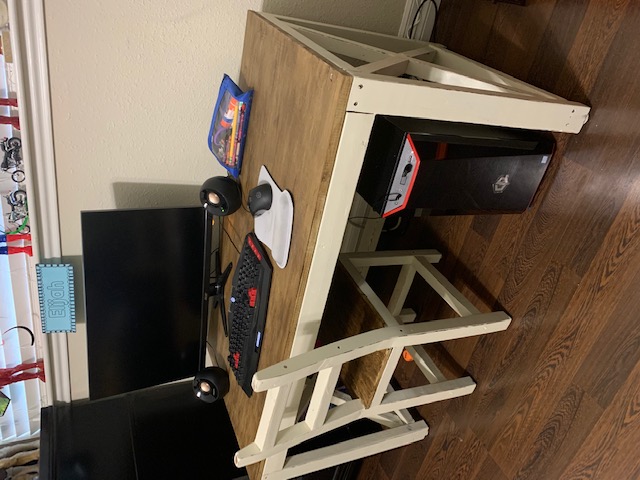
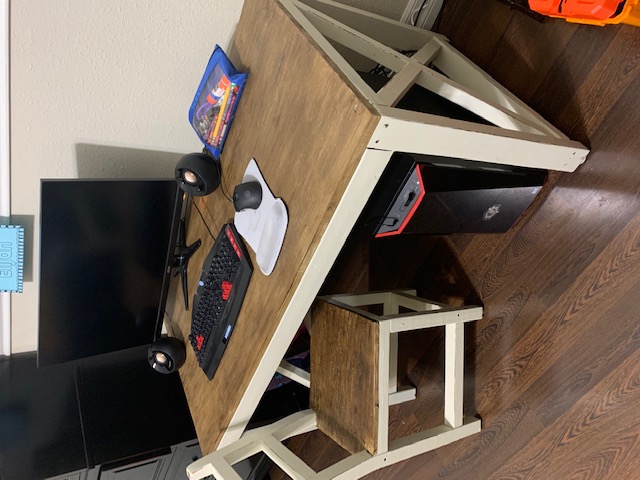
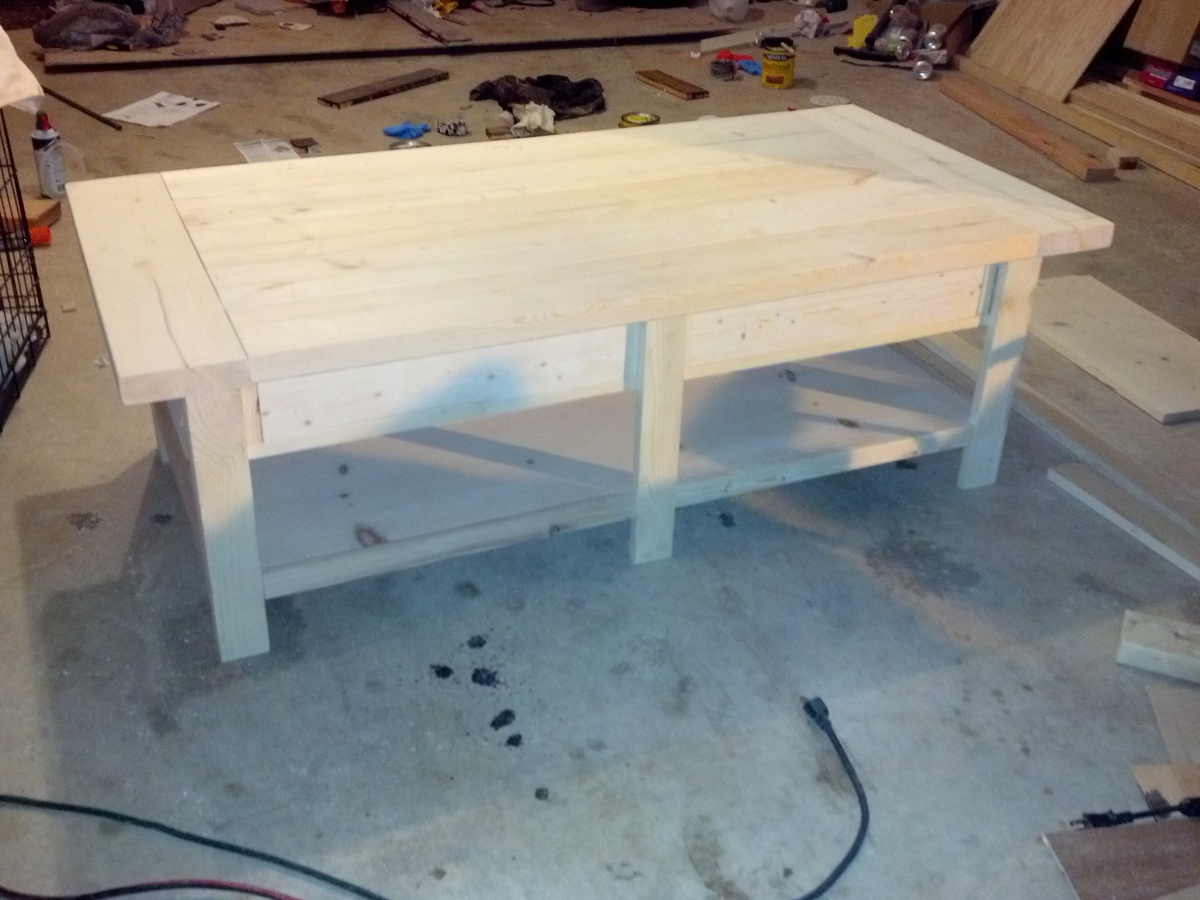
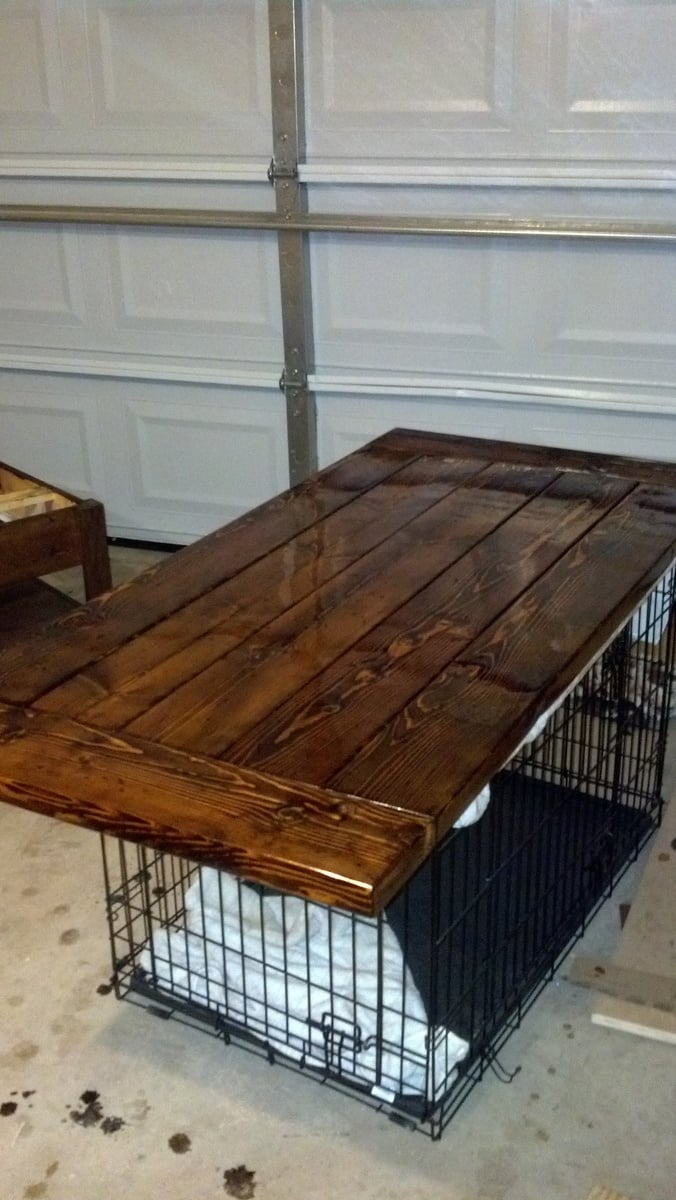
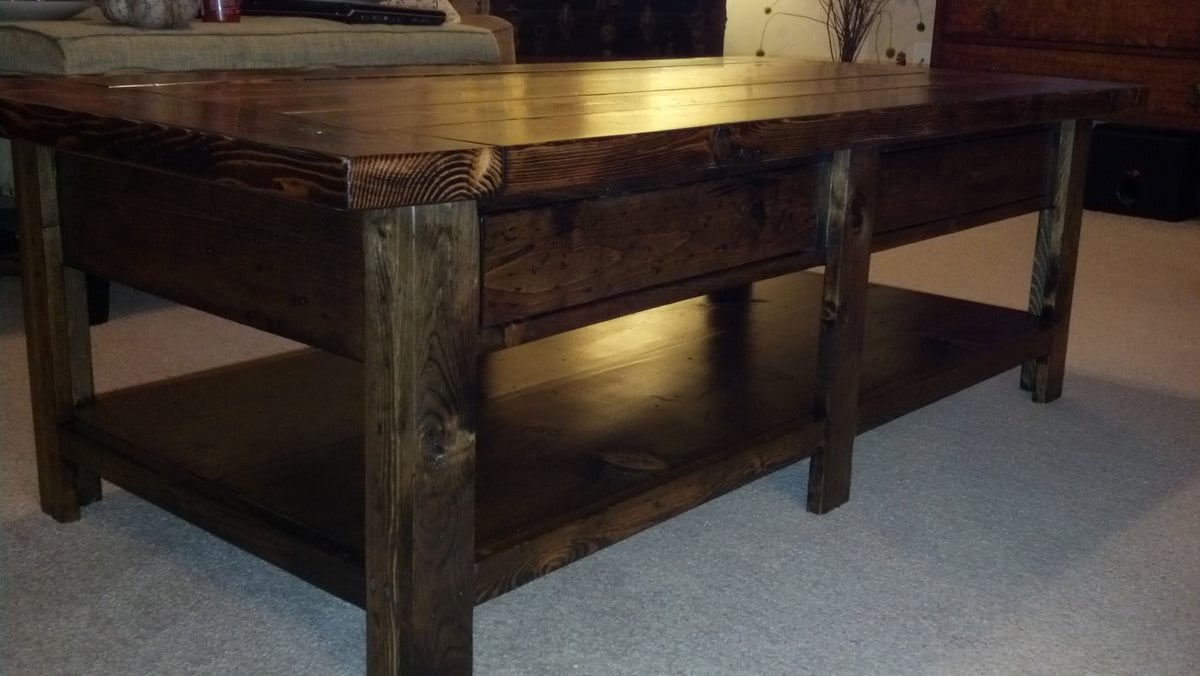
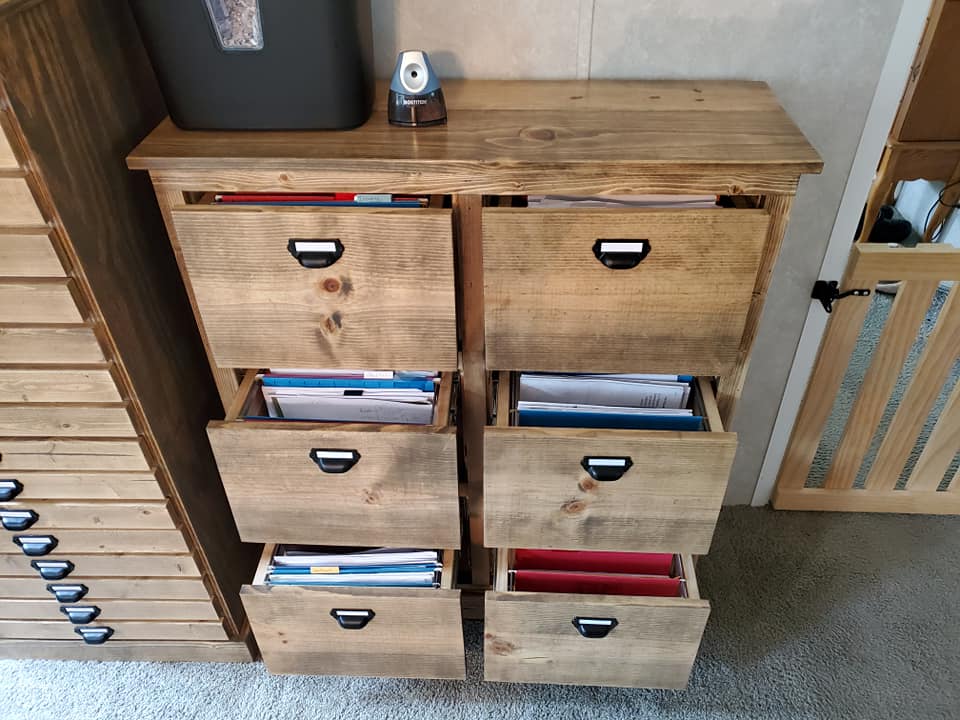
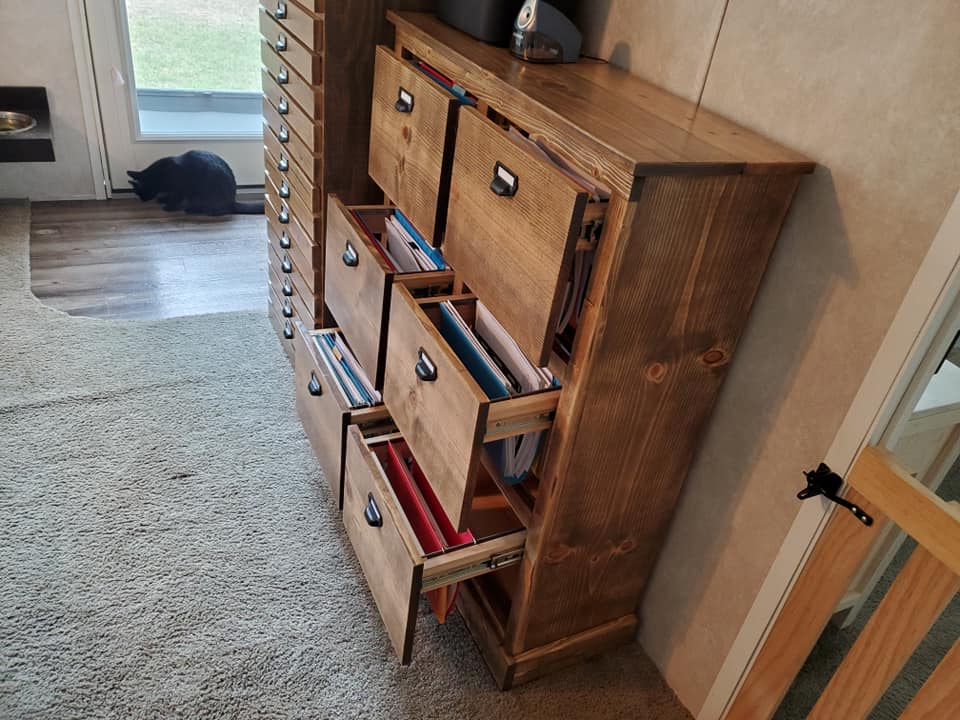
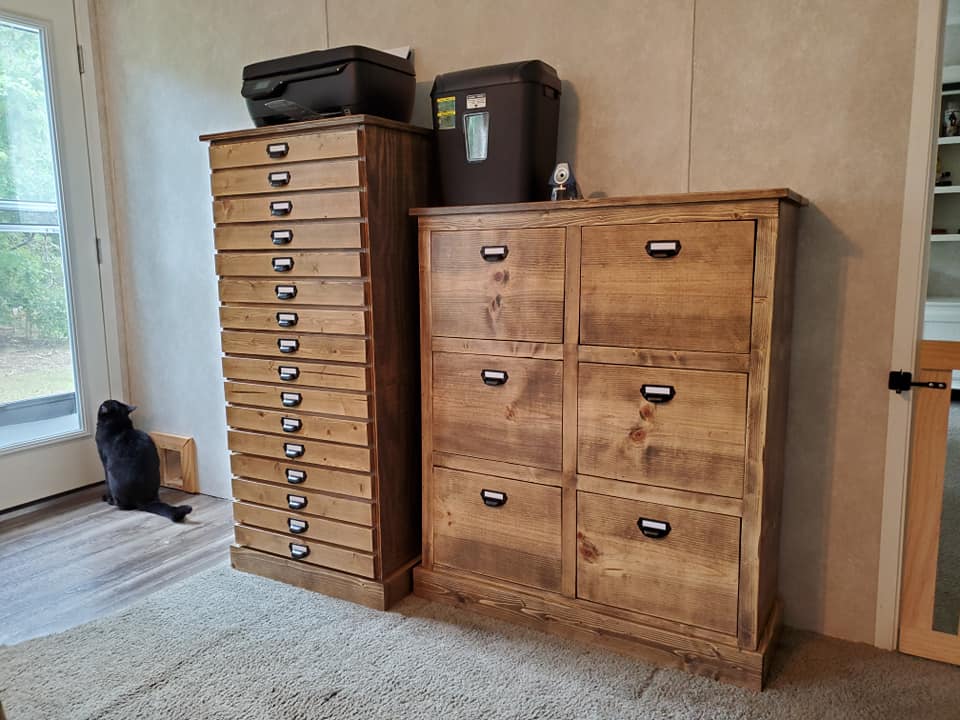
We Built this desk for our son who’s having to do online learning for this school year. We modified the plans by using a project panel for the desk top and we used Kreg jig holes to assemble everything.
Built from Plan(s)
Estimated Cost
100$
Estimated Time Investment
An Hour or Two (0-2 Hours)
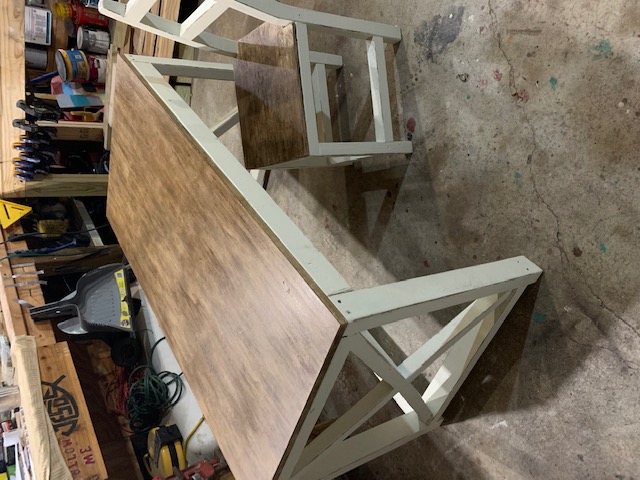
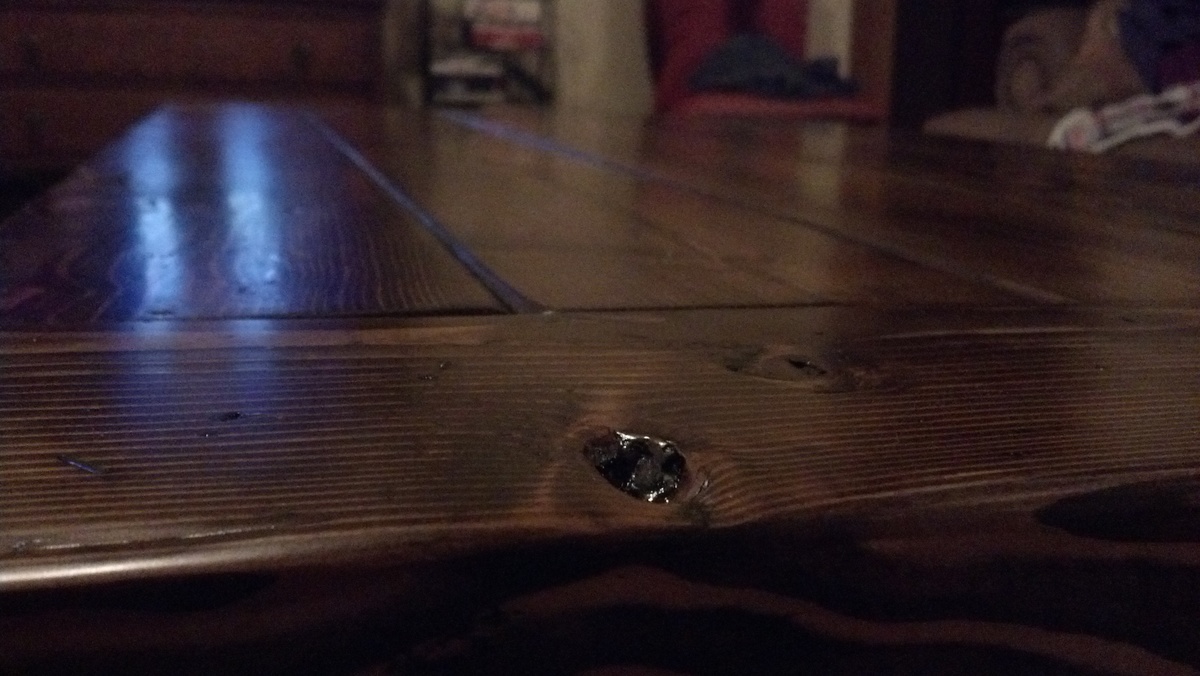
Finish Used
espresso.