Twin Farmhouse Bed
Beautiful farmhouse bed - it makes a statement!
I bought a house in 2011, and I didn’t like the way the door looked in a dining room that leads to the crawl space and a little broom closet. So instead, I built a bookshelf on hinges and painted it white and so with the help of the plans from Inset Bookshelf Doorway plans I was able to create some more bookshelf space within my house for my Fiance, who is an avid reader and Librarian. I apologize for the lack of pictures as I had no idea it would turn out so well. It was actually relatively easy using a circular saw, a kreg jig, wood glue, wood filler, and a spray painter, I thought it turned out well. At first, I measured the doorway, and adjusted the plans to meet my needs taking into account that a 2x4 is actually a 1 3/4 by 3 3/4. This was the hardest thing for me to adjust to is the actual wood size. From there, I started building out the frame. Once that was complete, I added in the shelves with the Kreg Jig to make sure that it was all flush and hidden. Lastly, I added in 1/4 inch sheet wood for the back. Now it was time to prep. I took wood filler and filled in the sides, where the drill holes were, and since I could not get sheet wood long enough for the whole door frame to make sure everything was smooth so I used wood filler and puddy to fill in the space in between. Once everything was dry, I used my Ryobi paint sprayer and may have over-done it on the first pass, since this was my first time using it. After cleaning it up, I applied another coat and I am pretty happy. Finally, I finished it off with a magnetic pin to lock it in place so it appears to be shut and all you have to do is to push to open. Future updates, per the Fiance's request is to use a book with string through the back to unlock it in a gated fashion. I hope you guys enjoy, and I apologize for the lack of overall detail. This was done over a year ago and I have since cleaned out my notes.
Look what I built my wife for V-Day! I built this 8'x3' (30.5" tall) harvest table from framing lumber using lap joints, homemade stain and 3" decking screws. All screws were countersunk 1/2" and covered with 3/8" poplar dowels. Seats 8-10.
My wife wanted a new King bed frame, and we were searching around stores to find one that she loved. All of them were close. but not perfect, and also way too expensive. I told her I'd just build one! It was my first woodworking project, and it came out exactly what we wanted. We even had some fun Saturday nights sanding and painting together.
These are the Play Table Stools that I made. I'm a beginner, and these were a little tough for me. I couldn't get the drill in the tight spaces to finish all of the pocket hole screws. I ended up just running a 2" screw through the last leg into the apron. The second one was a little easier because I think I made my cuts better.
They are both very sturdy, and they are the perfect height for my 4 and 2 year olds. They use them at the drum set and at their desk.
The black one painted just fine, but I should have primed the pink one first. It took several coats to cover the wood.
This was my first real build. I did some small furniture pieces for my grand-daughters to get my foot wet. I used the farmhouse table plans but mostly built by memory, which caused me to do it differently. Our Lowes don't carry 4x4's that's untreated so I glued two tx4's to get the legs. I still like the outcome. This build was during the spring of this year and it's still holding up. I didn't have a kreg jig so I used glue and brackets. I've learned so much since building and still learning. I used a water based stain and finish because I was concerned about the spill my grands would make. I'm planning on doing my dining table differently (using my mini kreg).
Wed, 12/18/2013 - 08:20
I really like the finish on your table! What brand and color did you use?
I used Mission oak stain with a satin finish. Picked out the straightest and best looking lowes 2x6's and did a lot of sanding. Came out wonderful and I love it! So easy. Built it in 1 afternoon and two days to finish inbetween coats.
I made this bed over a weekend while I “room crashed” my oldest’s bedroom.
I’m so happy with the result. I experimented with stains mixing two, well layering colors.
That was a lot of fun!
I hope to write a blog post about it one day. I will add it to my ever-growing To Do List.
Let me know if you have questions. I love talking about building and all things DIY!
Sun, 10/06/2019 - 15:57
You are amazing! Thank you so much for adding a brag post!
I saw this greenhouse built on the Justin Rhodes YouTube channel and immediately wanted my own. My husband was a champ at making my dream come true!
Thought I'd try two tone. A bit of a challenge after it has been assembled. Have to tape off, etc. The yellow ended up being brighter than I wanted so I decided to put stain over it and wipe it off for an aged look. The biggest challenge for me was getting the rounded ends, that the dowels go in, just right. Can be quite frustrating when you are a perfectionist but your skills aren't quite there yet. However, still happy with the outcome!
I made the mod bar and made some adjustments for what I needed. DIdn't need alot of wine racks. Getting the drawer on the slides was a real challenge. I added some trim that's hard to see in the pic. I will add another pic when I get it finished and in the house. Just used plywood and pine boards, and stained it with Golden Oak.
Full size bed frame. Made from 4 by 4 posts. ! by 4 and 1 by 6 boards for footboard and headboard.
Side rails from 1 by 8.
Used Ana's Modern Farmhouse Bed plan for the frame. Made the headboard with old pallets.
Wonderful addition to my daughter’s bedroom. LOTS of drawer space (a woman can never have enough storage for clothing).
We and our dogs love our new sofa! This is the place where we cuddle with the dogs and serve as extra seating when we have guests. It looks great! Thank you so much Ana.
Mon, 02/13/2012 - 19:23
I really like your choice of fabric. This came out beautifully.
Wed, 02/22/2012 - 17:59
Thank you so much for all the positive comments! I believe it is suede. We had so much fun making this sofa!
Thu, 03/08/2012 - 10:24
I would love to have something like this for our family room, but I'm afraid I would miss the arms. I love to cuddle in the corners in a couch.
So, anyone with this style of couch/sofa, how comfy is it for cuddling up with a spouse on and watching a movie?
Wed, 04/18/2012 - 03:51
I have not made this (yet) but imagine it wouldn't be too difficult to modify the plans to add arms to this sofa based on the construction of the back Actually, I've got all sorts of modifications running through my mind for this one including extending the back on one side so I can make an L-shaped sectional...
Mon, 10/01/2012 - 10:49
@Snardles If you do end up revising this to make it a sectional or have arms I would love to see it!
I made this for a friend and absolutely love it! The drawers were my first and proved to be as difficult as I expected since I had not done any before, but I refused to accept defeat as I made and remade them until they were just right. When choosing 2x6s i suggest choosing those that are more squarish than those with the rounded edges. This will prevent having to use a ton of wood filler if you are wanting a flat table top. I cant remember, but they may be a tad more expensive...but not much. As always, I forgot to take pictures and had my friend send me this one. I wish I had more because this picture definitely does not do the table justice. It is heavy and very sturdy unlike those store bought fake wood jobs that are way overpriced. I would absolutely say this is no small feat for the beginner but certainly possible as I still consider myself a beginner contrary to what other who know me may say. So get your wood and your kreg jig and get to it! It feels wonderful to be able to sit back, admire, and say, "It's Ana White and I helped!!"
I started this project with 1x3 mdf primed molding and used 1x5 for the base. For the hearth I used 1x8 knotty pine and created a box, distressed and stained it. I glued veneer to the sides so you couldn't see the seems. To finish off the project I used 1x6 mdf boards to create shiplap effect and painted them grey. I love how cozy this fireplace makes the room.
Wife wanted some shelves to put bath bombs, candles, and her other bath luxury items on.
Built with the same mounting technique as the "DIY Floating Shelf" plans noted below, using standard 2x4s for the pocket hole mounted supports.
Additionally, I used 1 in x 6 in x 6 ft Premium Kiln-Dried Square Edge Whitewood Common Boards instead of cutting plywood down for them.
{The pocket hole mounting technique is no joke. I sat two of my kids on the upper finished shelf just to prove to my wife they would support anything she put on them.}
My husband made these fabulous tall planters based on your plans and video. We painted them the same color as the trim on our home. We live in Florida so instead of filling the entire planter with potting soil my husband put screening about 1/4 from the top so the plants can drain easily, especially in the rainy season. He made the planters with pressure treated wood which is perfect in south Florida.
Thank you so much for providing us with such a beautiful idea for unique and custom planters. My husband had a great time with this project and the results are just fabulous.
Annemarie
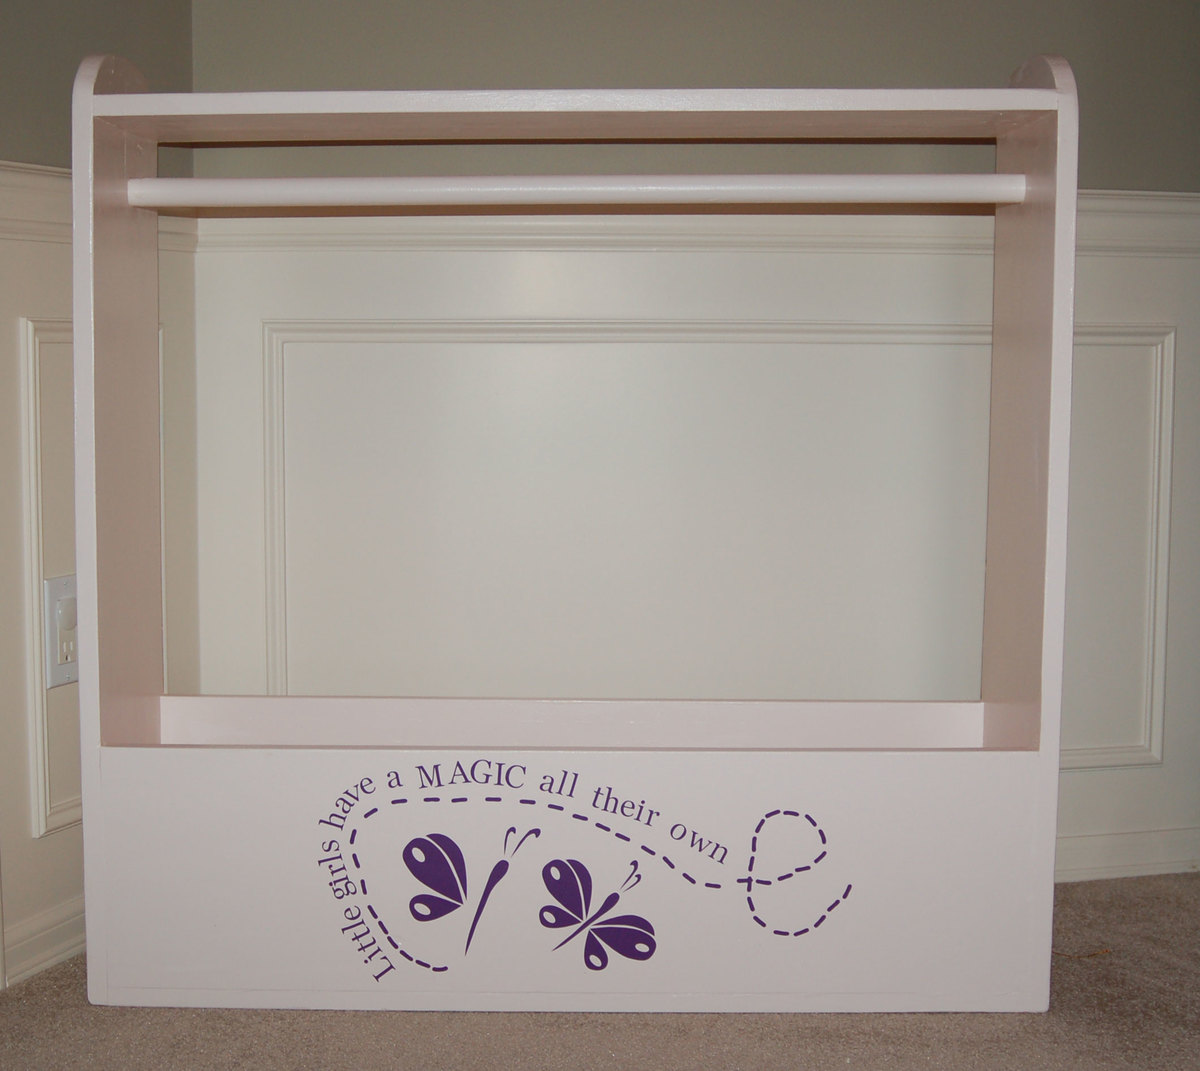
I've been working on a couple of doll beds, but since the storage cabinet that was keeping my girls' dress-up clothes partially collapsed, I put those on hold to make this.
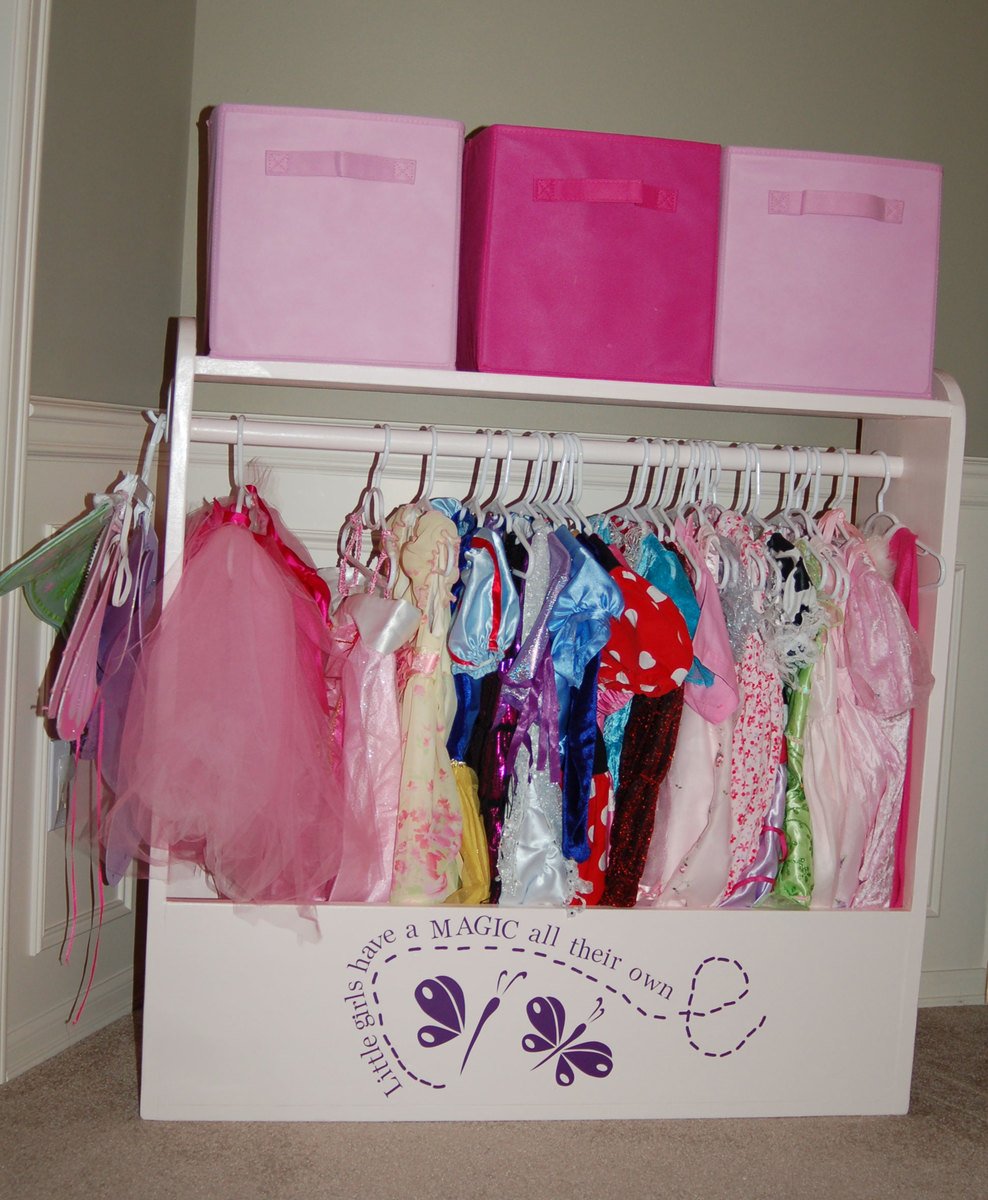
I followed the dimensions as written, though in hindsight, I wish I had made it a little larger. This is for three girls and already jam packed. Or maybe we need to pare down our selection. :-) I skipped the wheels for now but did add the upper shelf. The shelf is holding three Closetmaid fabric cubes which contain shoes, wands, crowns, purses, etc. I put a little 3M plastic hook on the side which is holding their fairy wings.
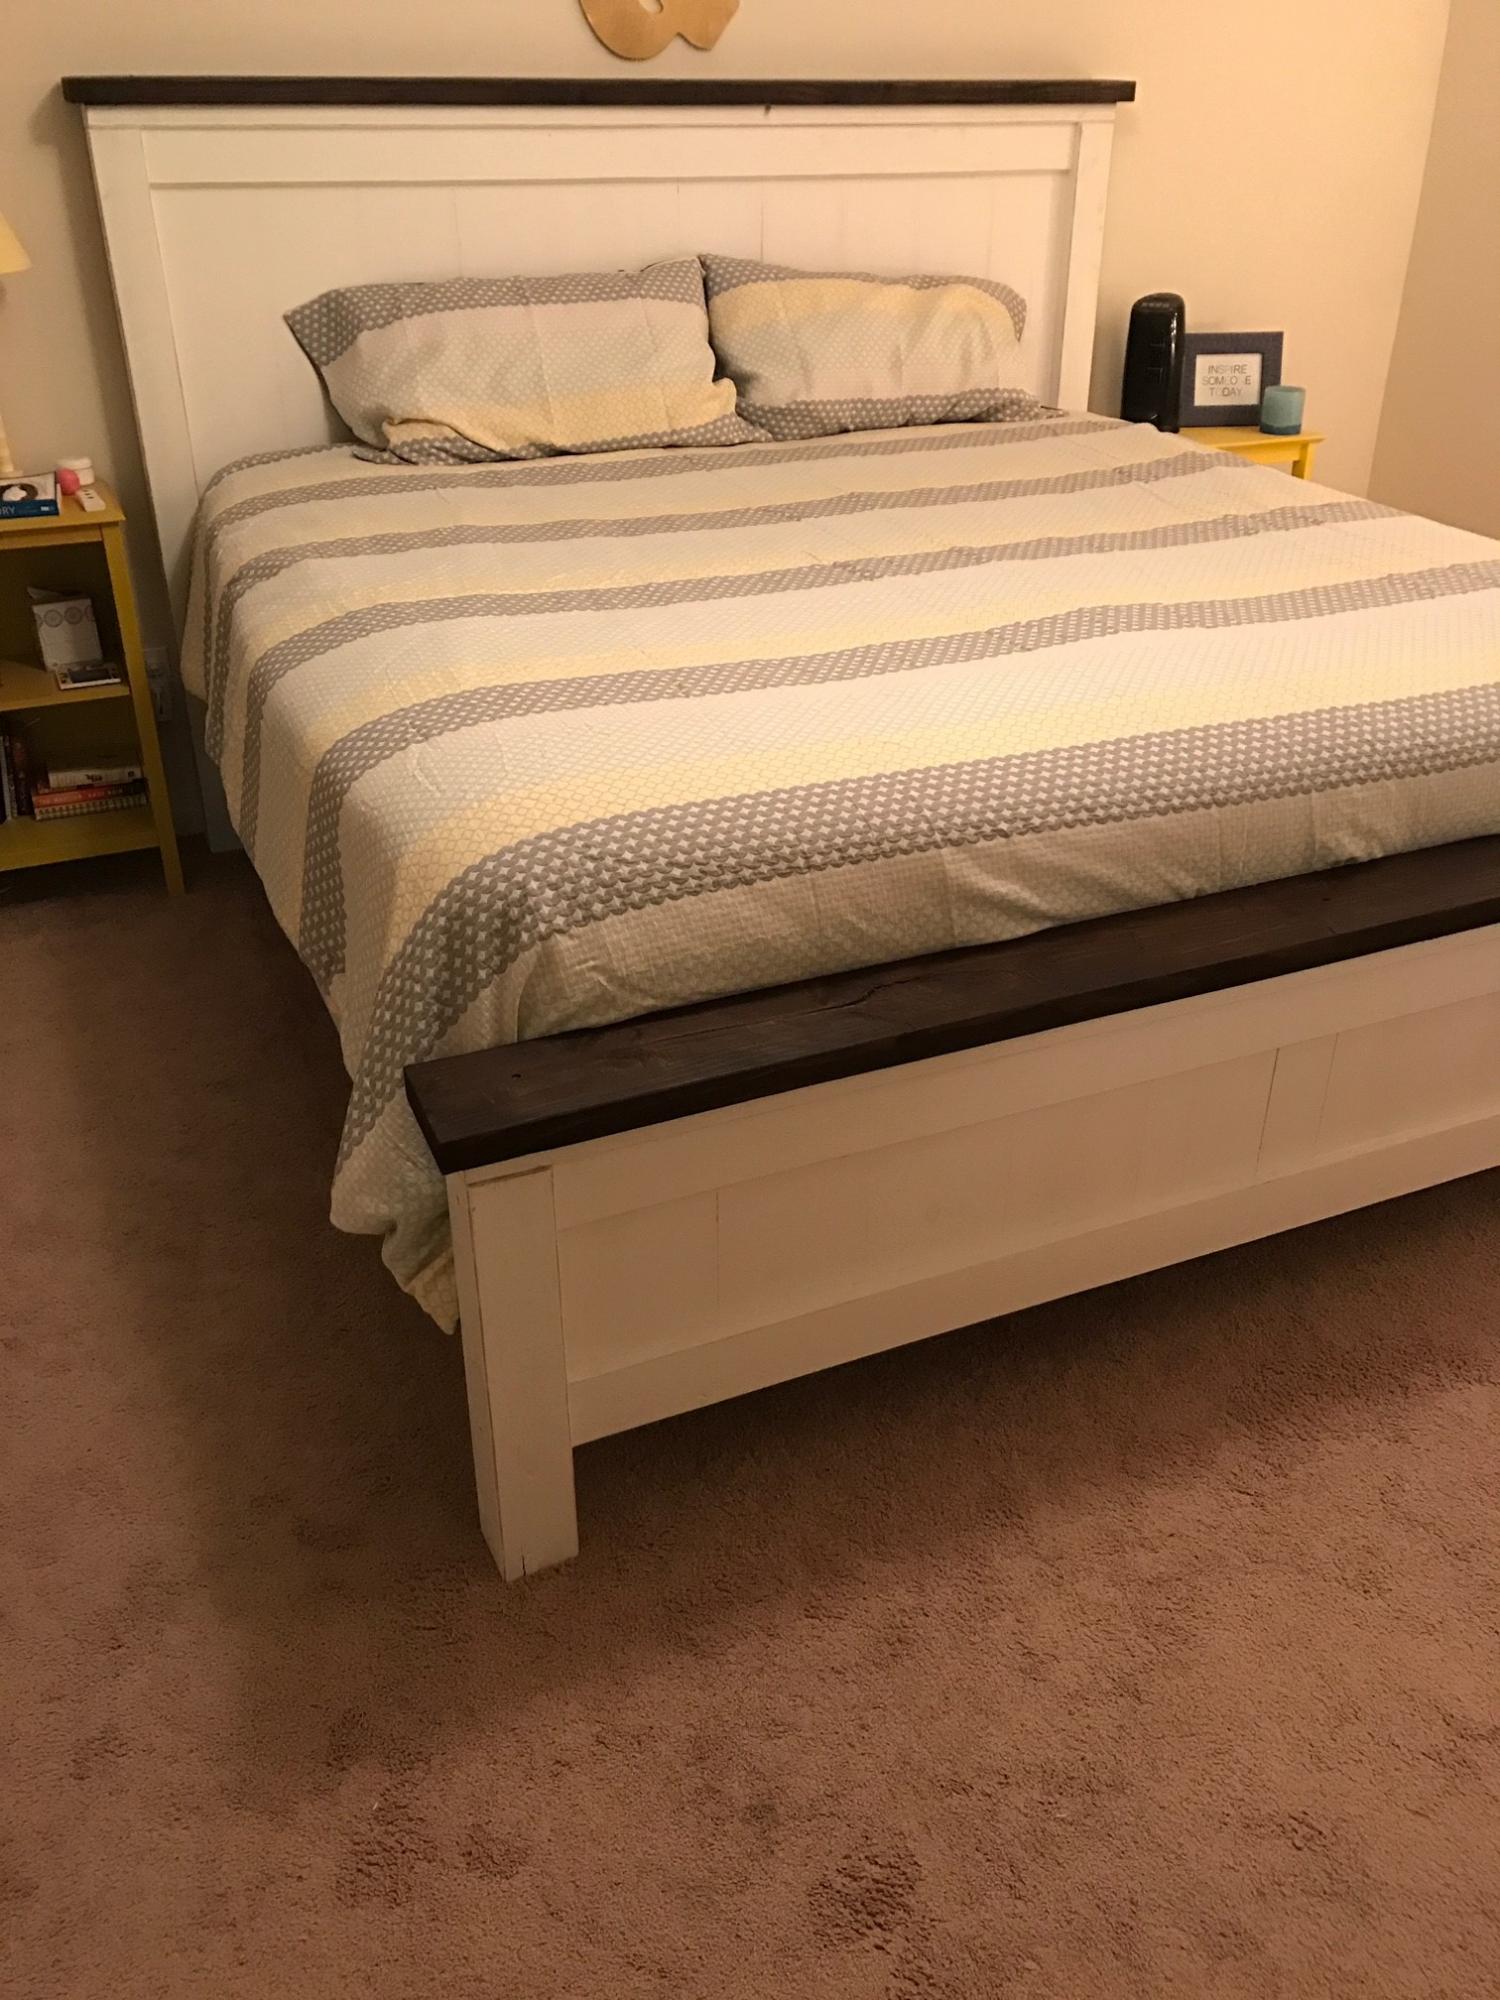
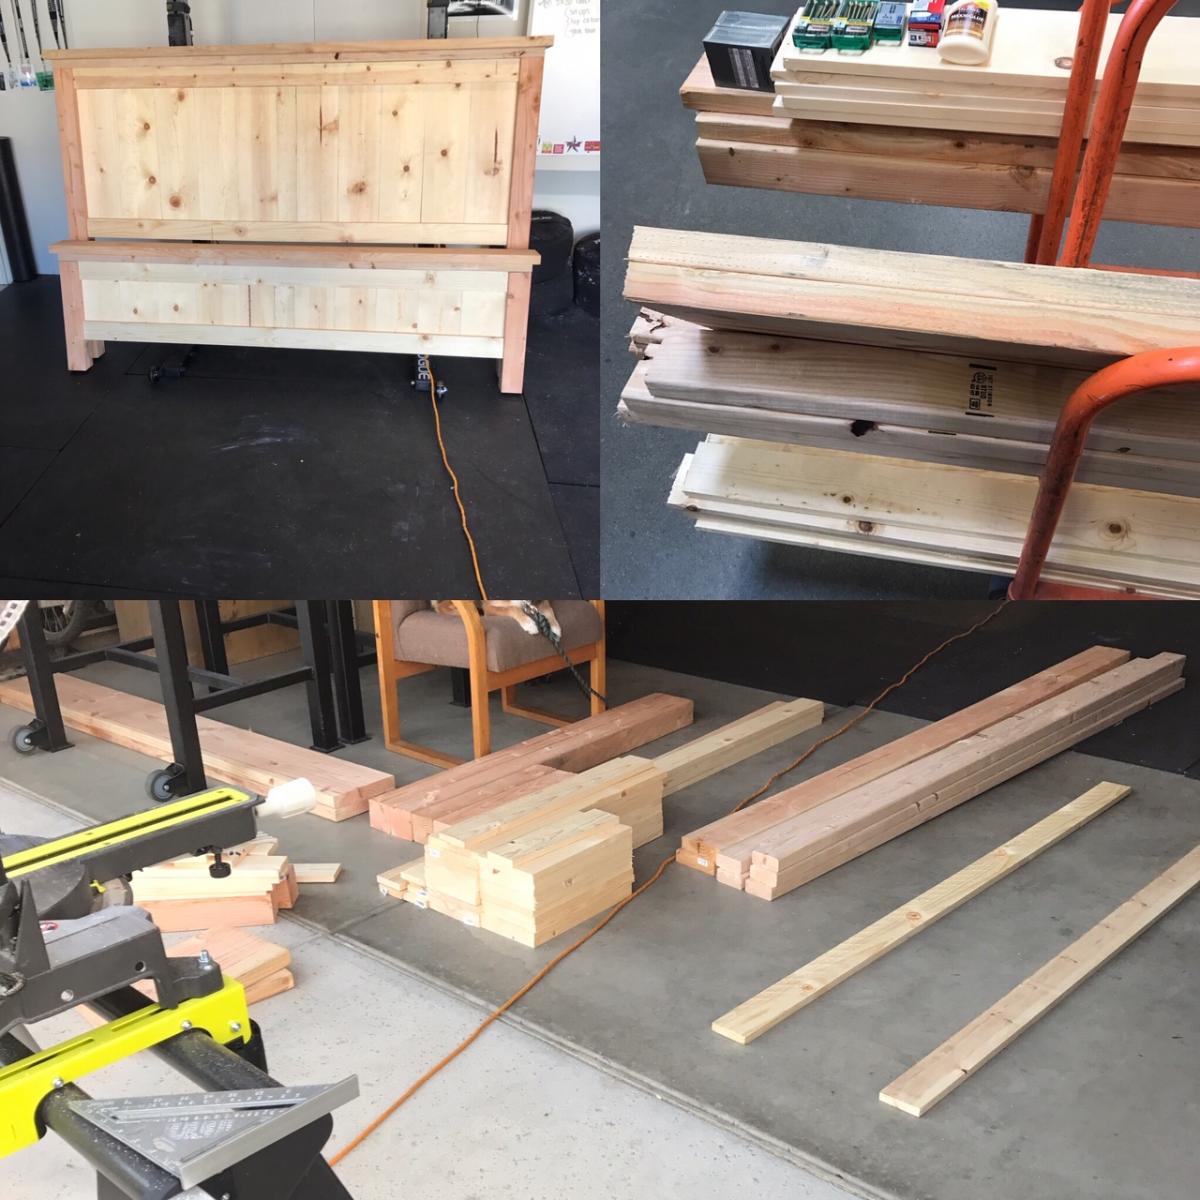
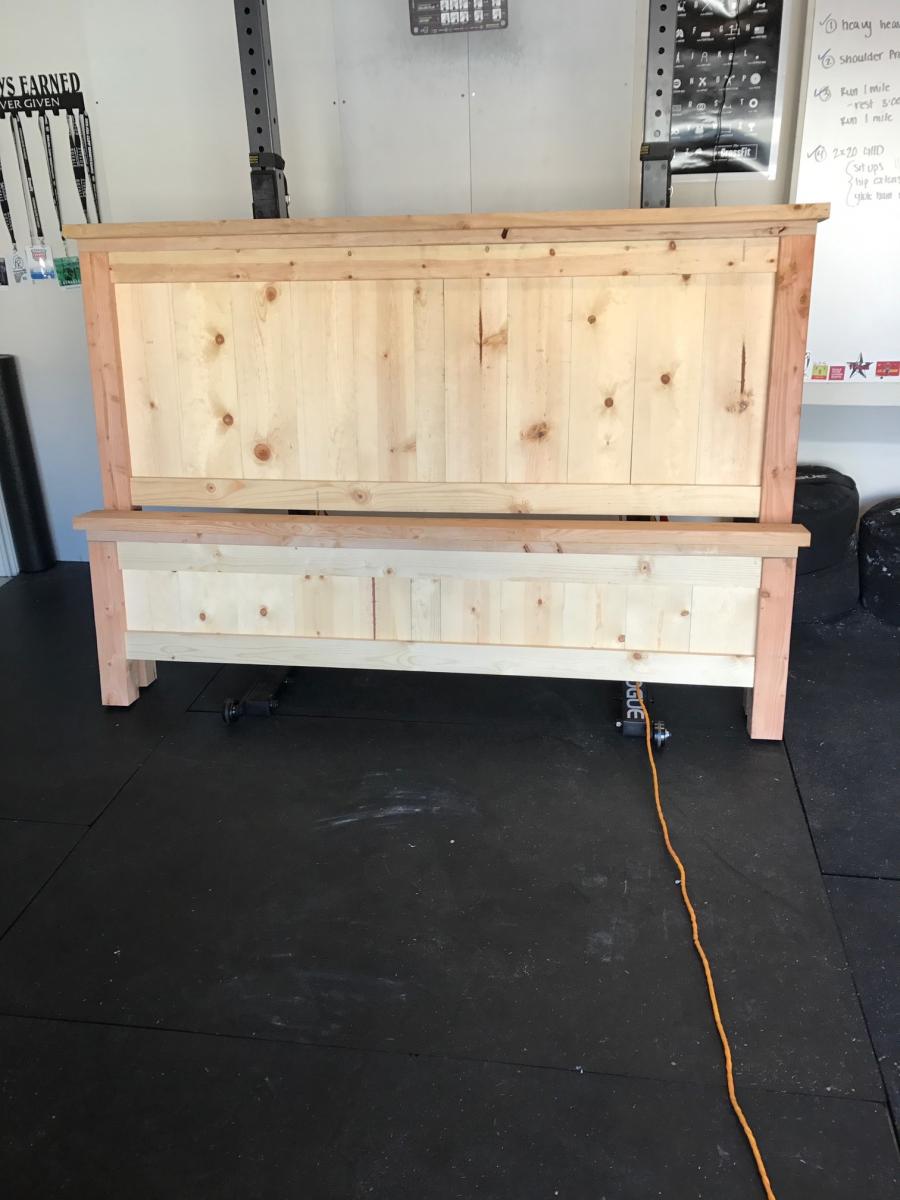
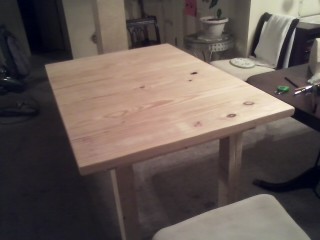
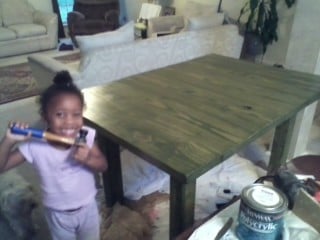
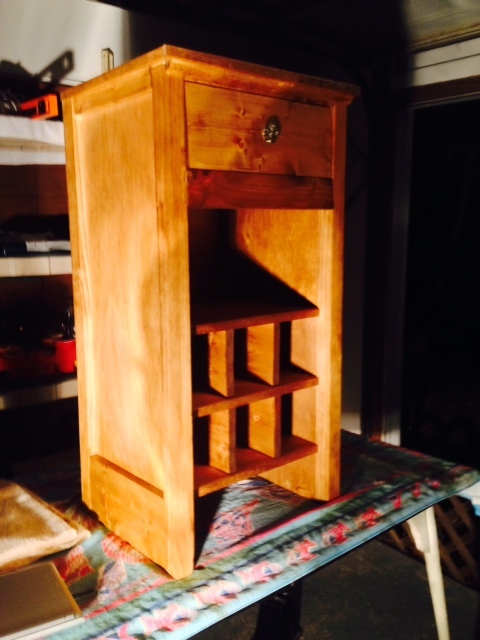
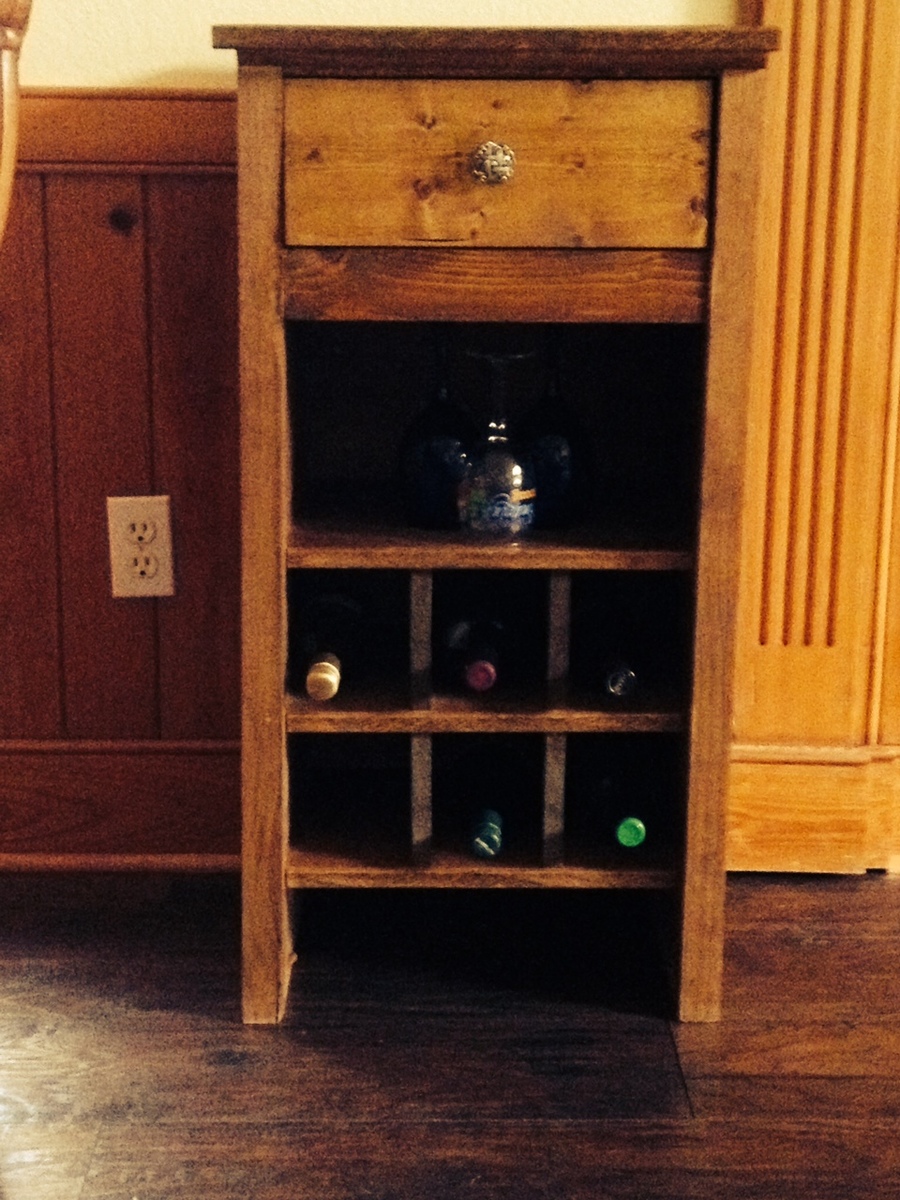
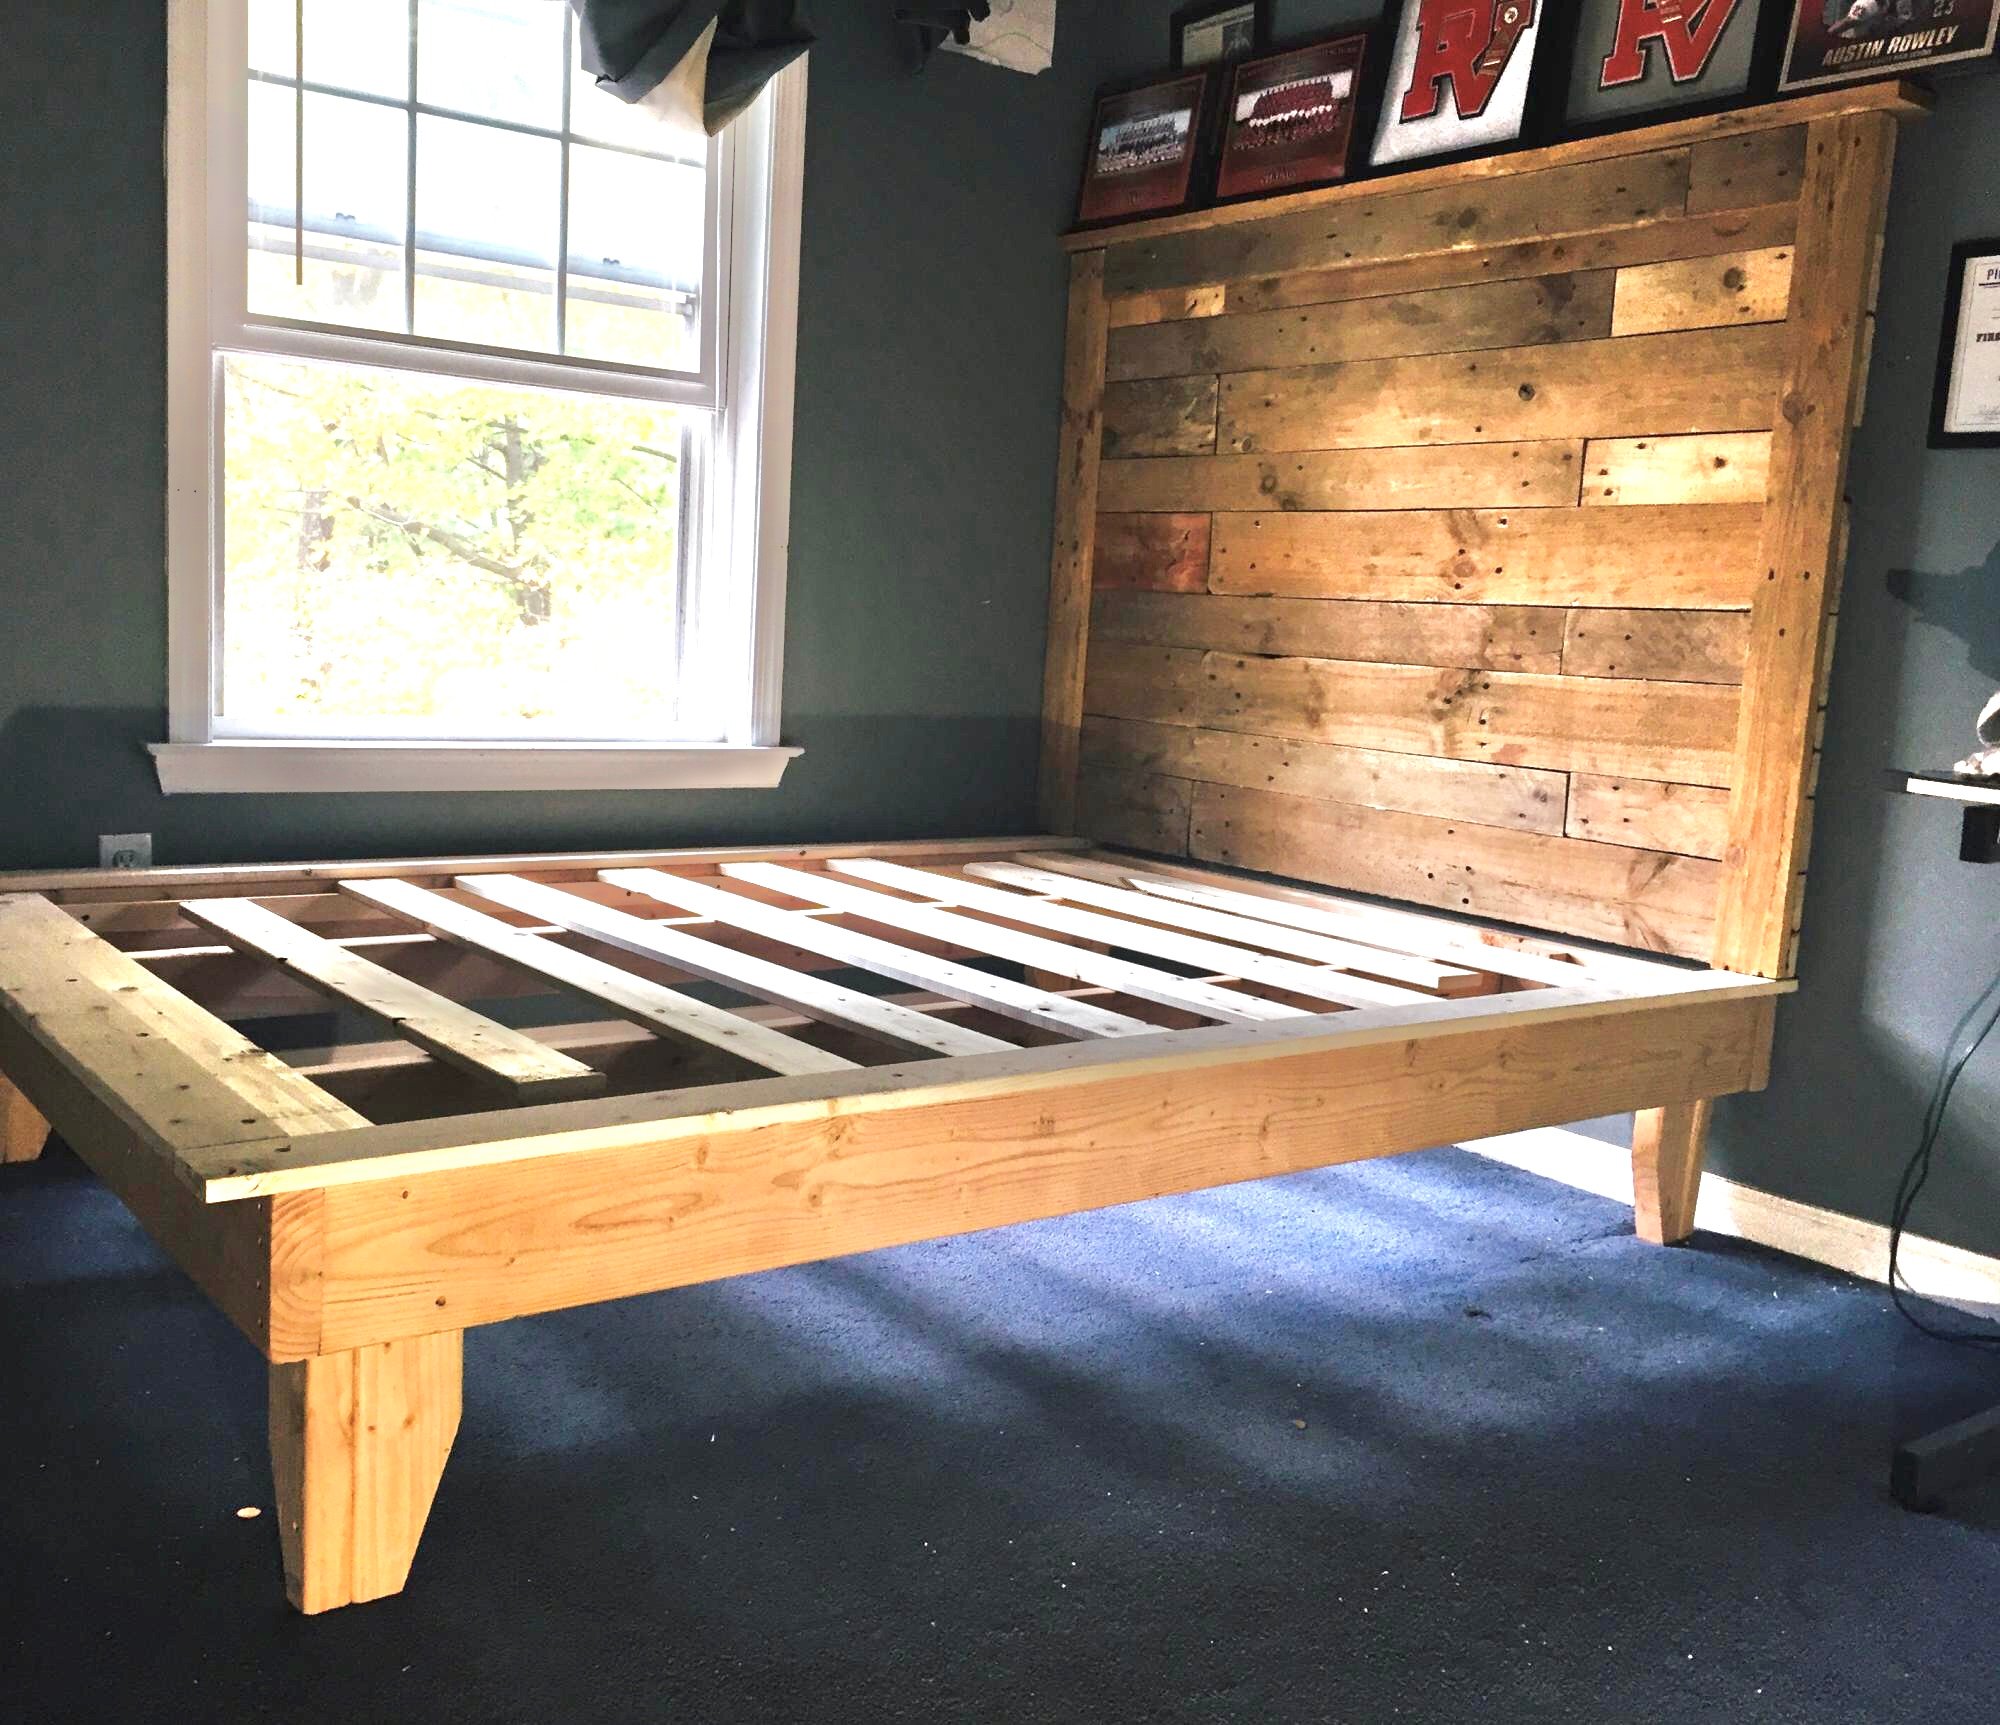
The actual piece went together fairly quickly -- ~2 hours. It took me a few days to do all of the sanding, priming, painting, and poly.
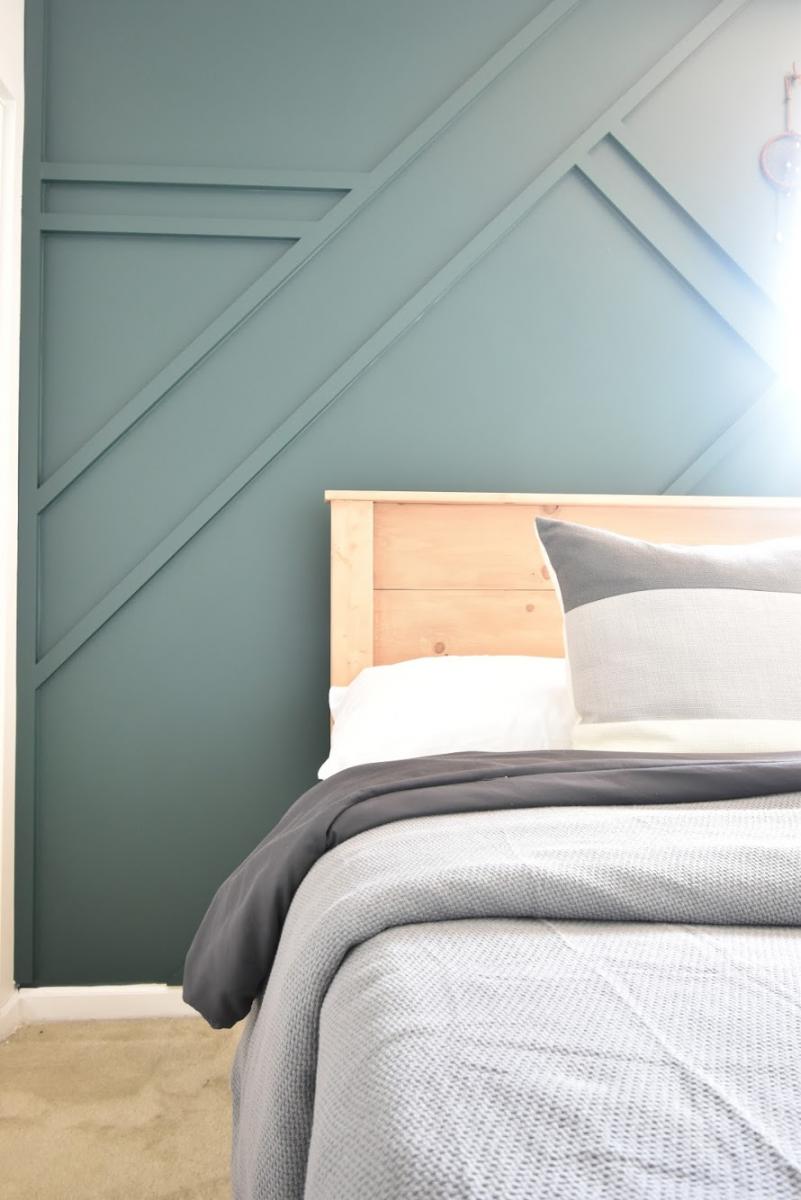
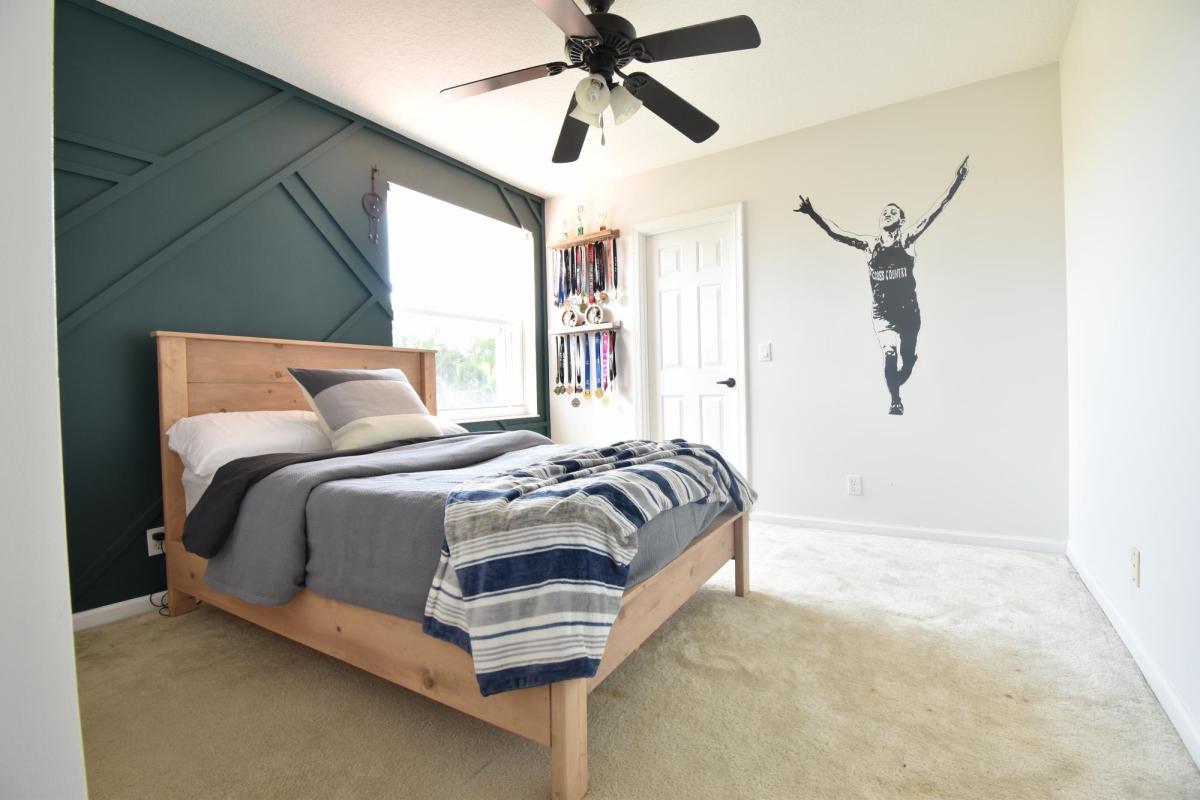
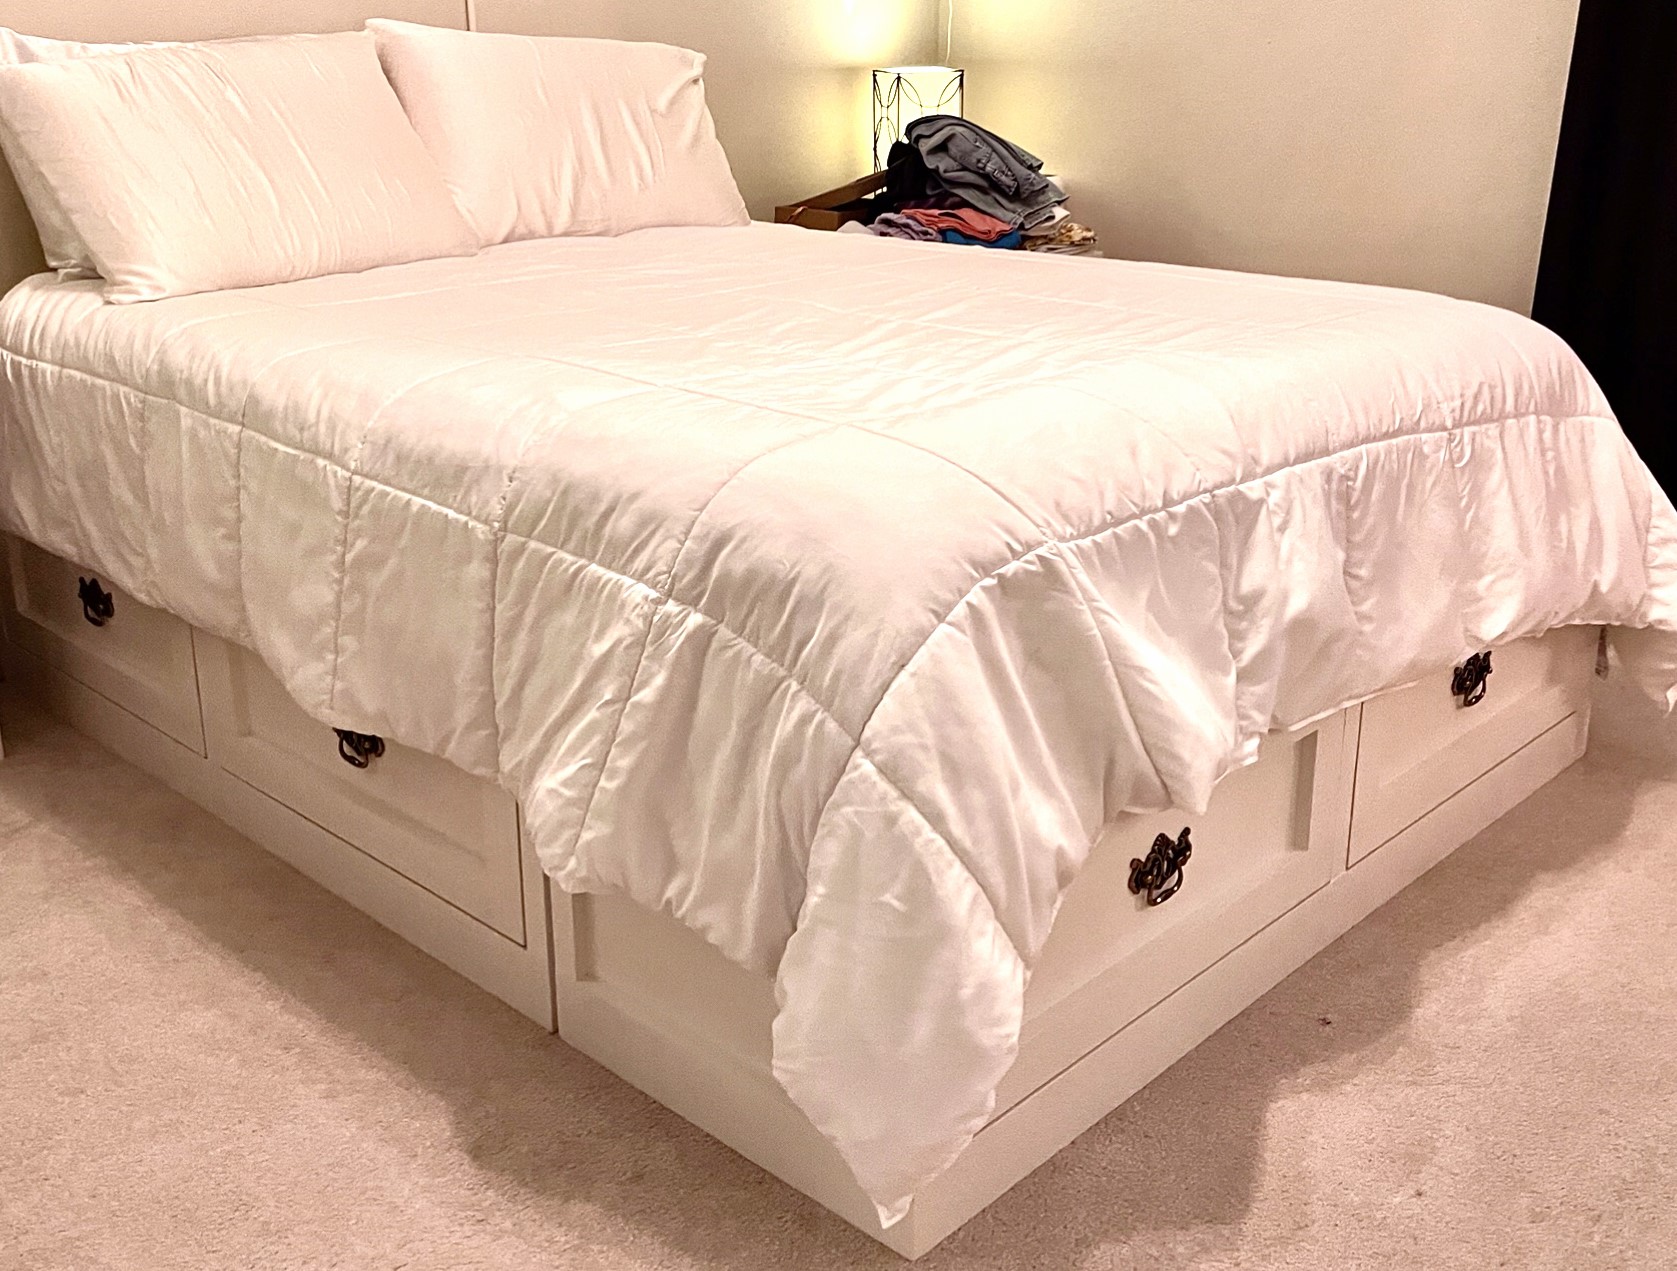
The design is an Uppercase Living vinyl rub-on. It's not perfectly placed because I had it on the wall in the playroom at our old house. I took it off when we moved and kept it stored between two pieces of Glad Clingwrap. It took a little tinkering to get it to reapply. I rubbed it onto a Cricut cutting mat and then rubbed it again back on to the wood. The cutting mat wasn't large enough so I had to do three transfers to get it all on...part of the reason it's so wonky.
I wish I had time for a blog, but I'm too busy reading everyone else's.
Mon, 02/20/2012 - 06:57
Don't get rid of any of the dress up clothes! Just build a second unit! =)
My version of the Rebecca Media Center - Console.
Had a great time completing this project, being a professional wood-finisher I was able to match it exactly to the other pieces of furniture in our family room.
Can't wait to start the next project.
Comments
craftymomma23
Fri, 02/03/2012 - 10:05
Beautiful Bed
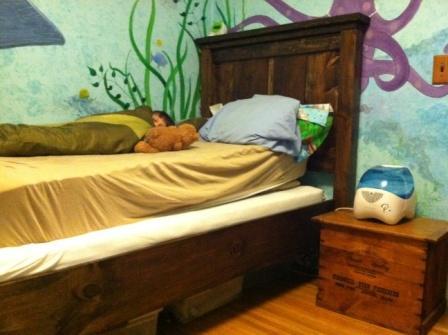
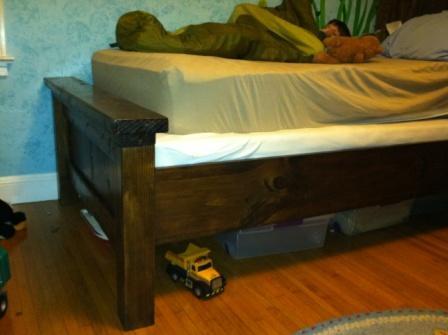
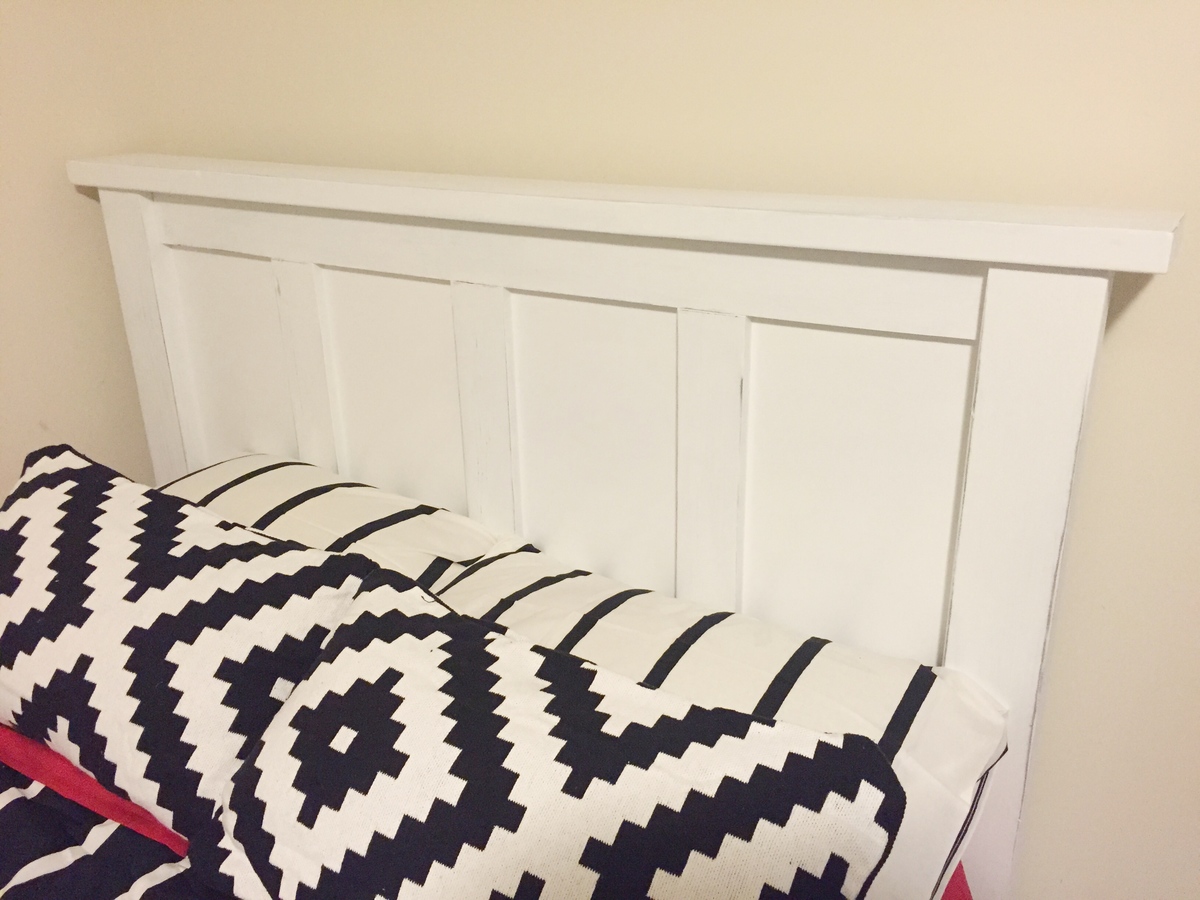
What a great job! I'm wanting to make this bed for my son and am wondering if you remember what type of inexpensive wood you used for this? I like the price tag! The stain looks really good with the wood grain, too.
danielleklug
Fri, 03/09/2012 - 07:56
love!
love!