Michael Collection: Twin platform bed

We made for our two oldest. This is our first couple project
Or rather a family project.
Built from Plan(s)
Recommended Skill Level
Intermediate
We made for our two oldest. This is our first couple project
Or rather a family project.
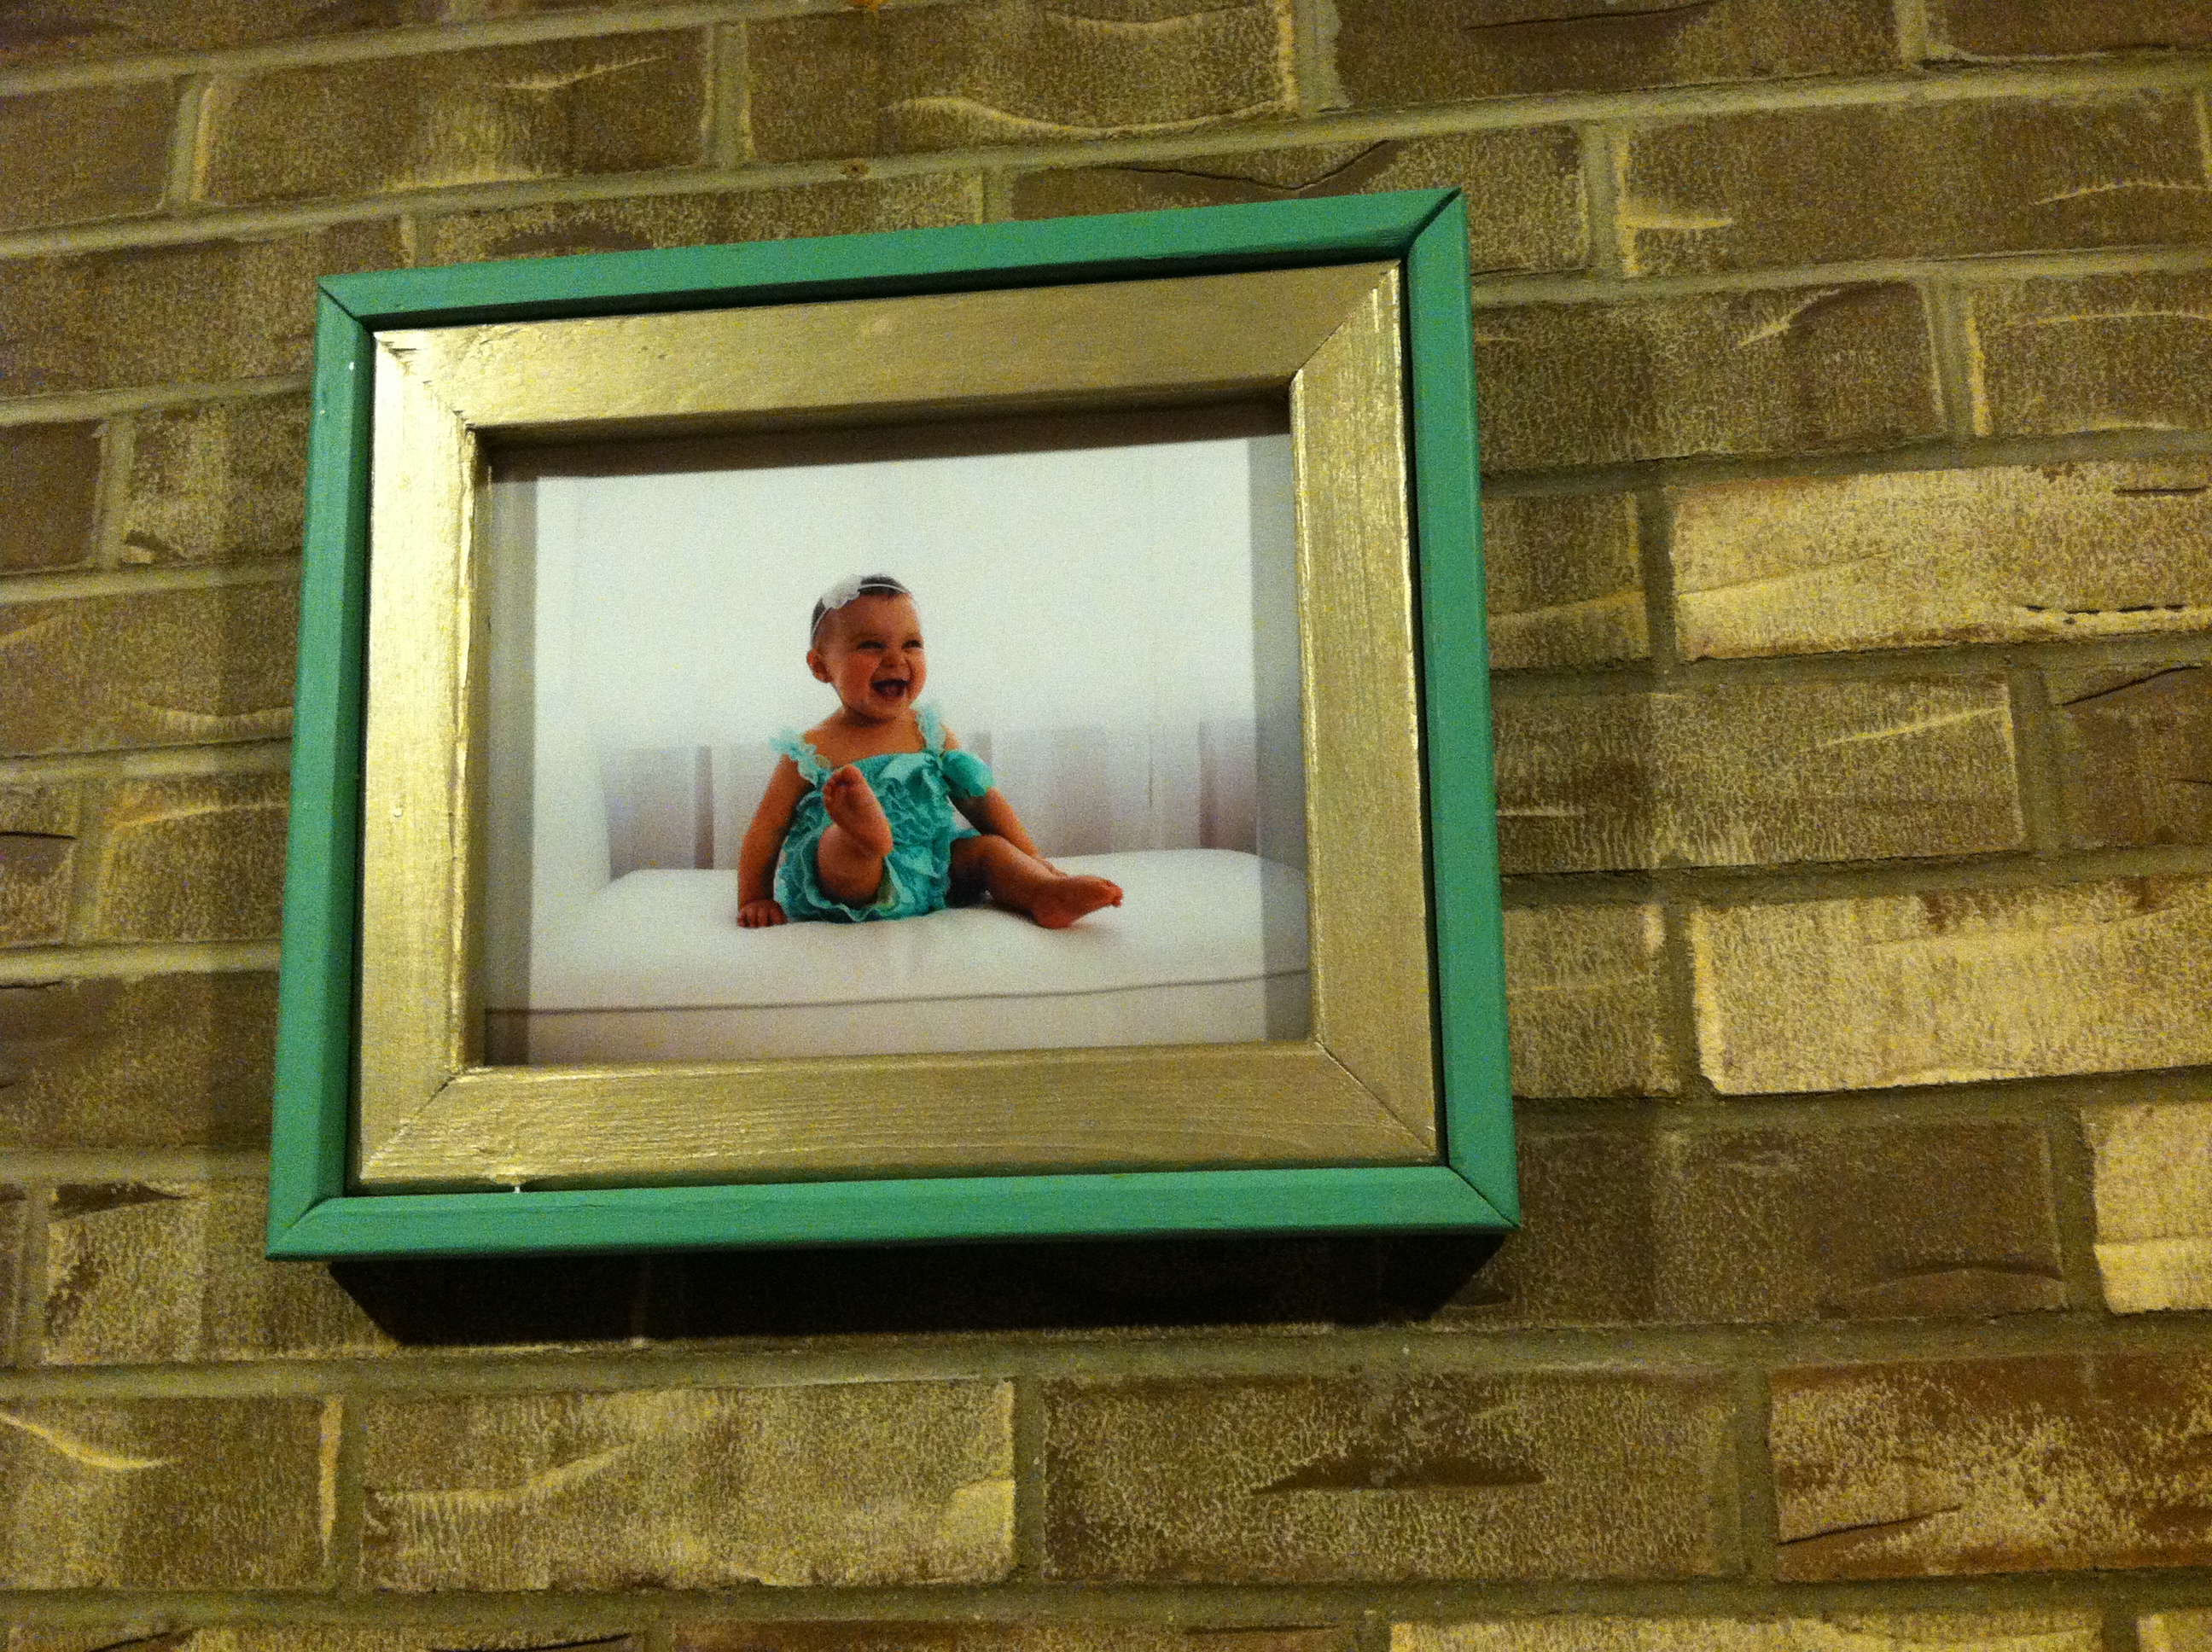
With some extra scraps of wood and paint, I tested my new miter saw by building this frame. I also finished it to match the green in the rustic media console cabinet that I had just built.

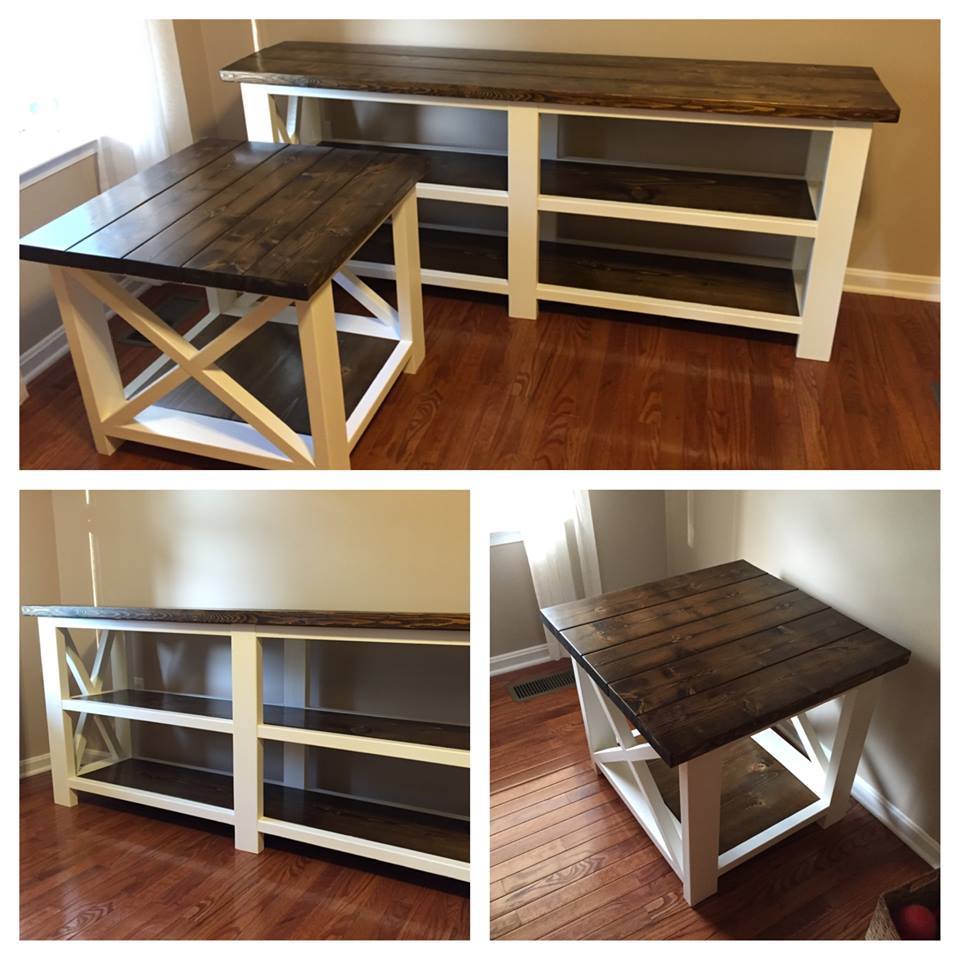
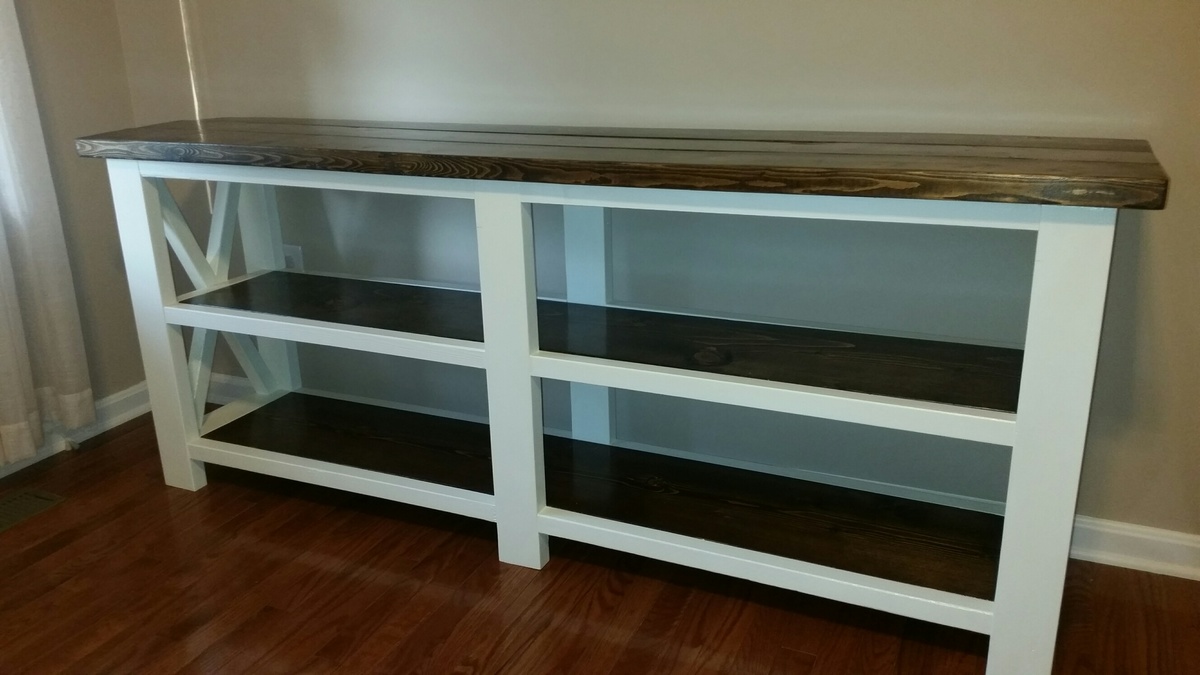
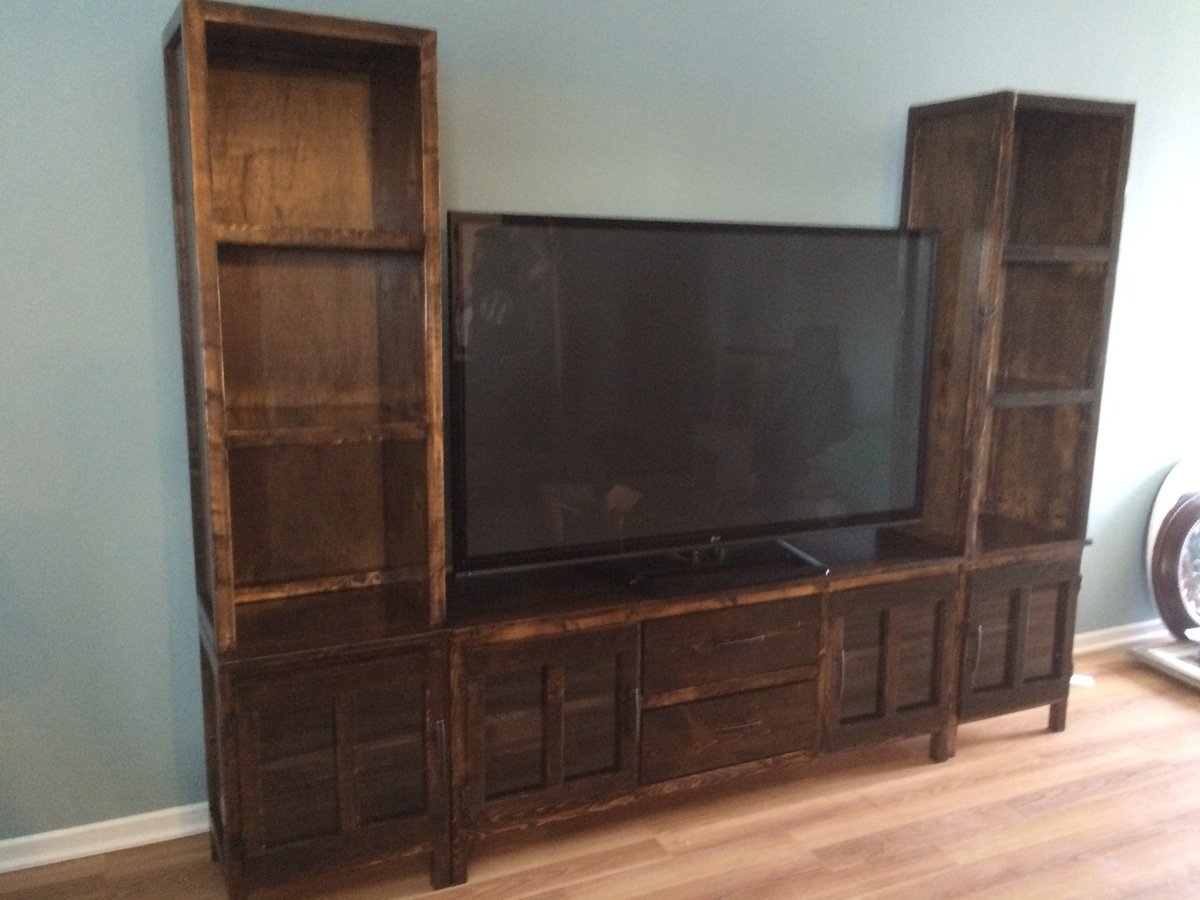
Built both using the rustic x end table and console plans. Wanted the shelves stained and inlaid so that took some thinking on how to assemble. Used valspar "white rose" paint and jacobean minwax stain.

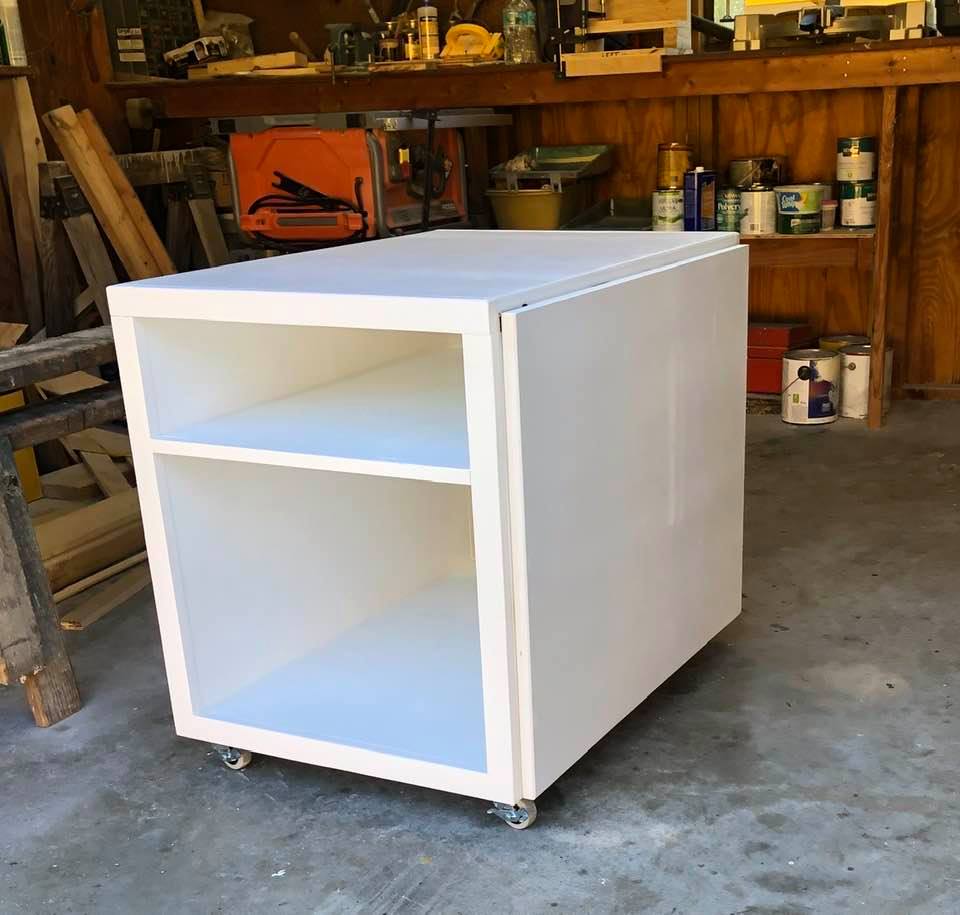
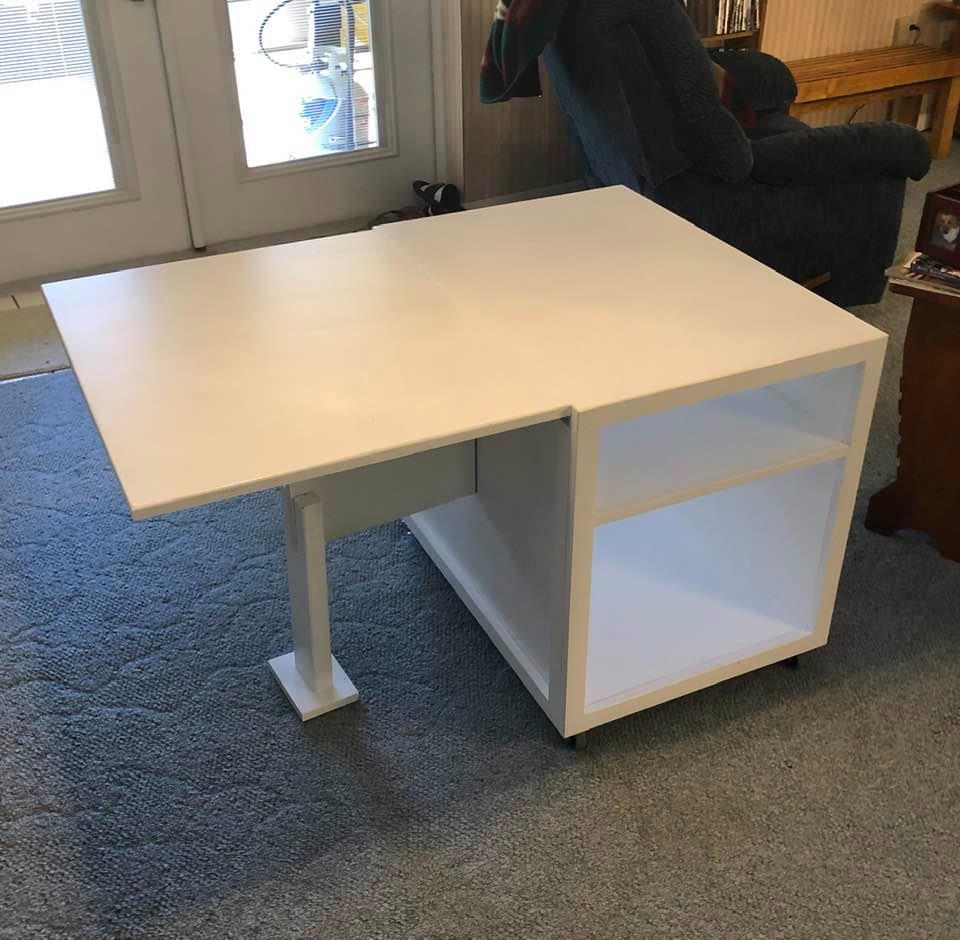
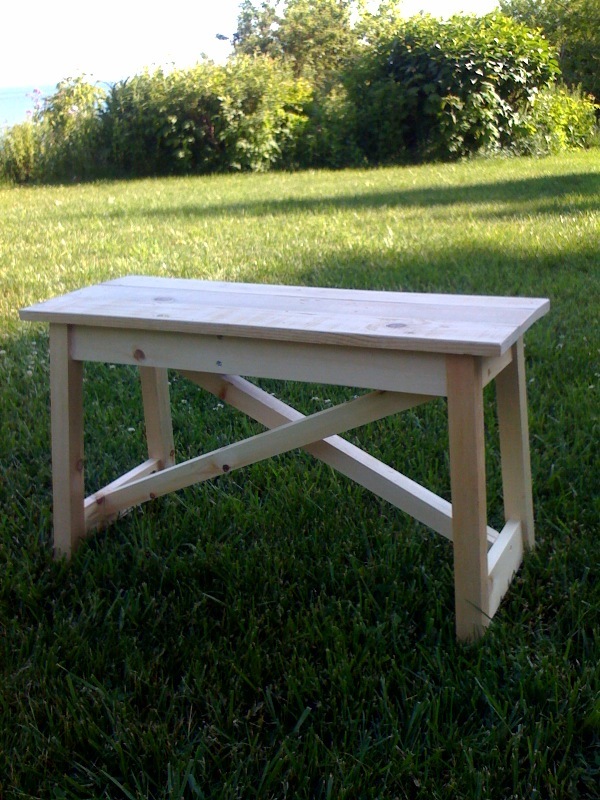
Using Ana's plan for a simple sewing table, I modified it to meet the needs of my daughter.
I only used 1 wing instead of two and made a brace that folds away under the leaf. On second thought I added a safety leg and foot to keep the table from tipping when the sewing machine is on top of the leaf.
I trimmed out everything but the leaf with 1 x 2 pine.
The top (with leaf raised) is 31 x 46 inches of work space.

Sat, 02/29/2020 - 14:55
The bottom and the shelf were both mounted in 1/4 grooves cut in the sides with a homemade router jig.

Definitely one of my favorite rooms in the house. Not shiplap but reclaimed wood. Had to deal with lowering everything because of the trunk lines but overall we love it.
Leslie Webber
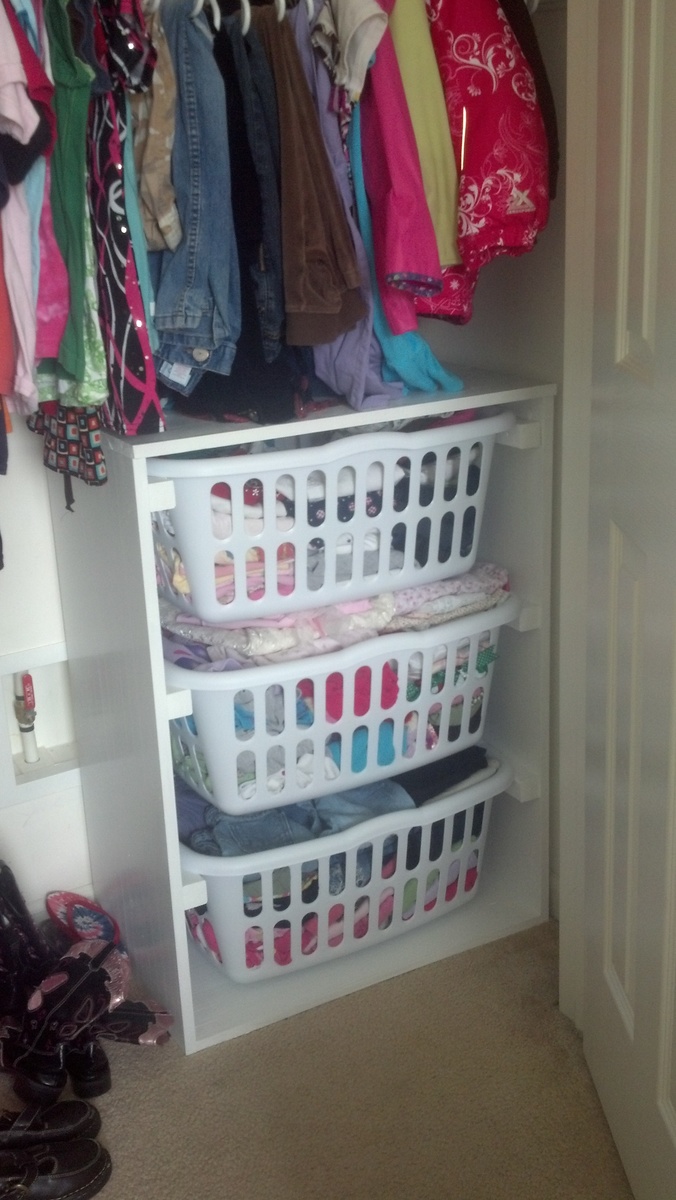
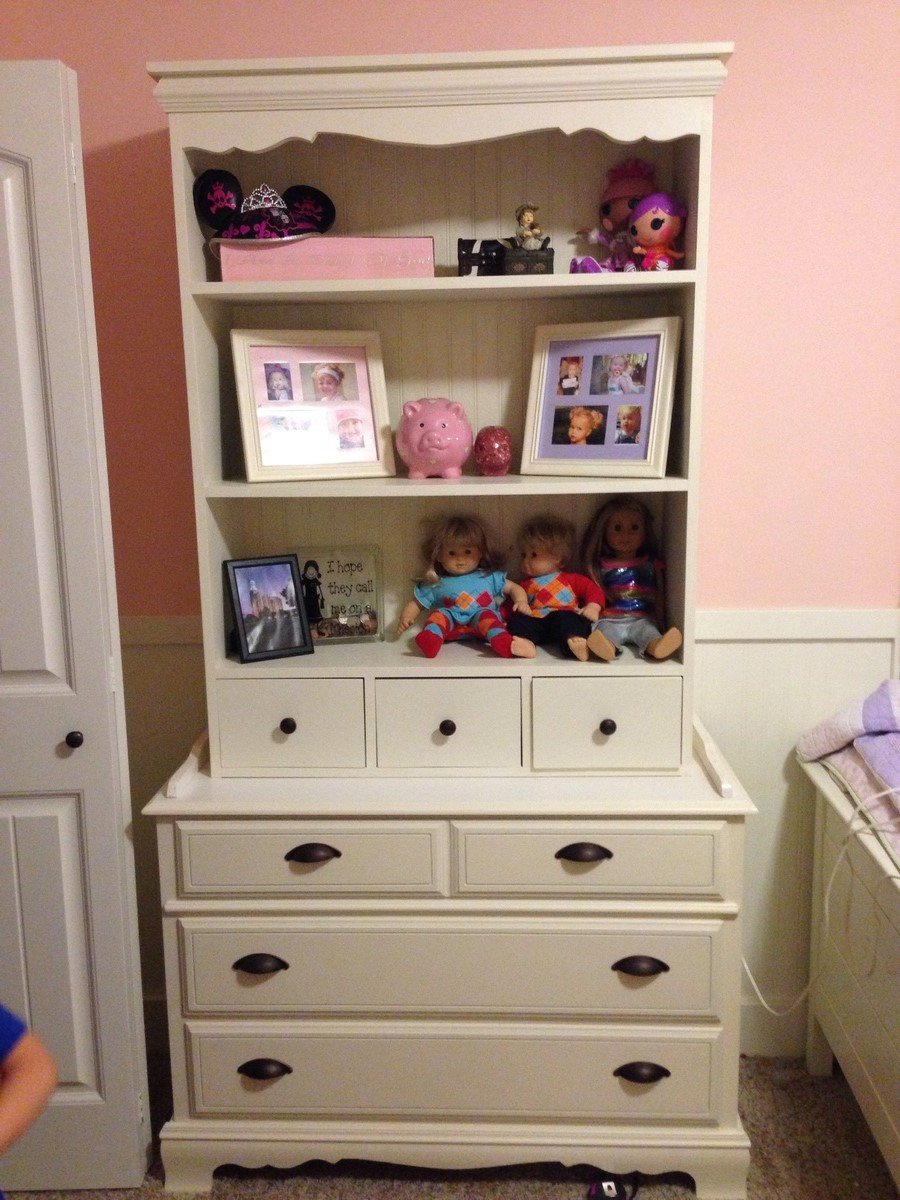
We had to get rid of our standard dressers awhile ago, since they were in awful shape. We tried only hanging clothes, but that was a disaster too (our daughter stood on the wire shelf). I was so excited to find these plans. The dresser is super sturdy and was easy to build. No more problems with standing on them, heck I could even stand on them.
The angle iron was really expensive, so we went with wood rails instead. It was super easy to do and really cheap.


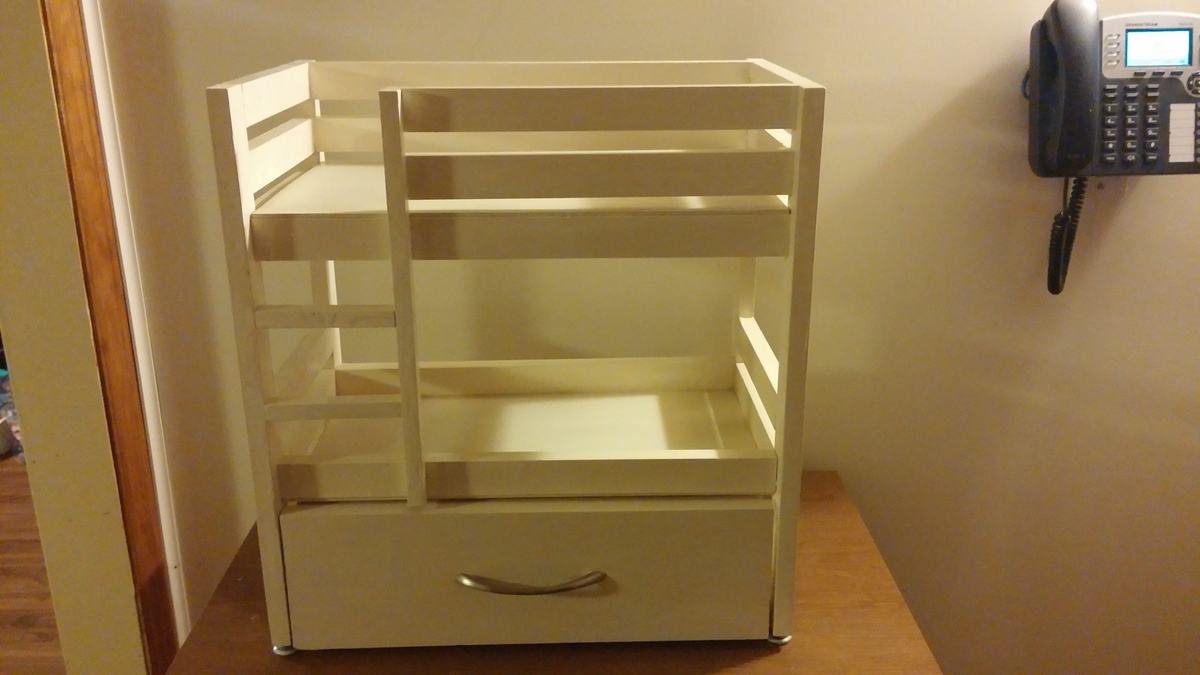
I used the basic bunk bed plans from the site, but made it a bit taller (21.5") and fitted a drawer under the lower bunk. The girls can store some of their Maplelea doll clothes in it.
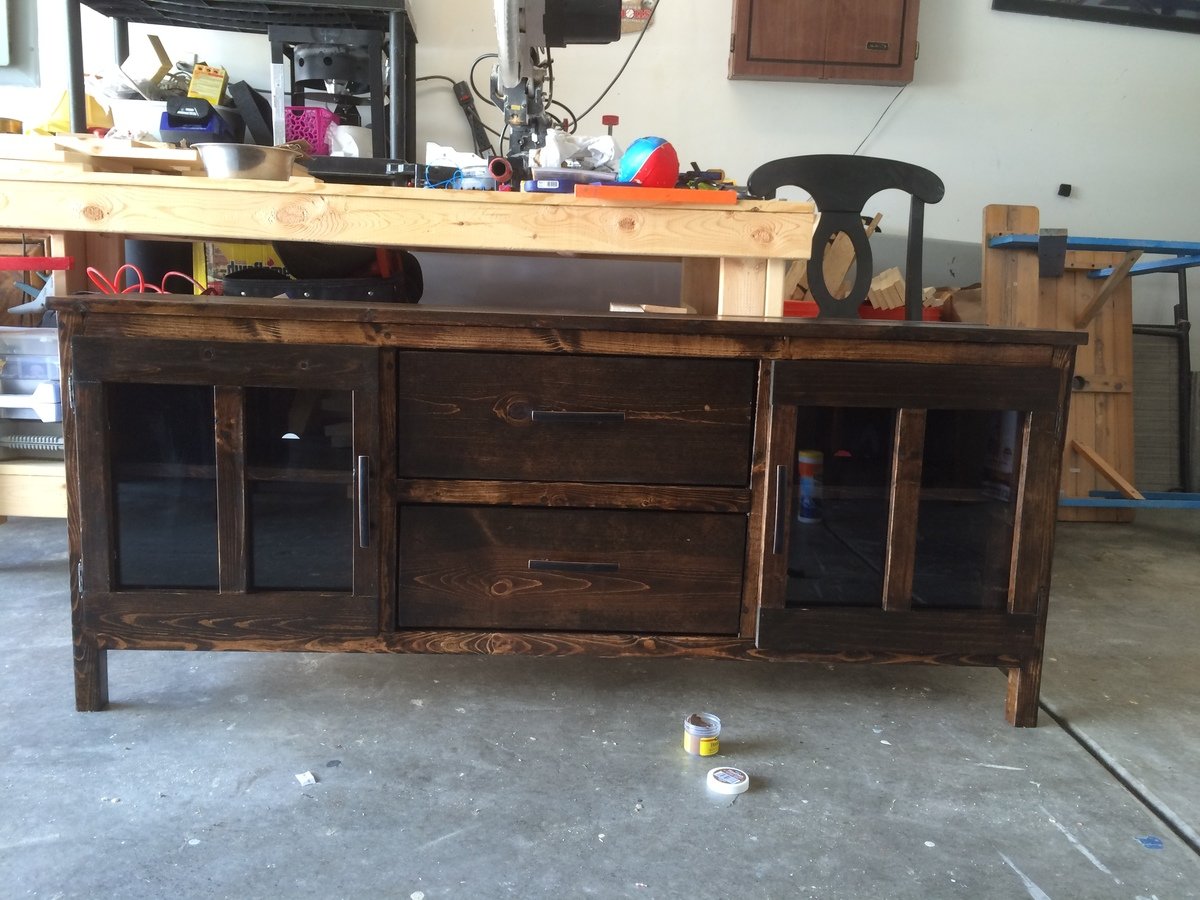
This was a fun project to build. I did change somethings around. I used plexiglass on all doors instead of plywood and it turned out great. Took a lot longer than planned but in the end it was worth it!
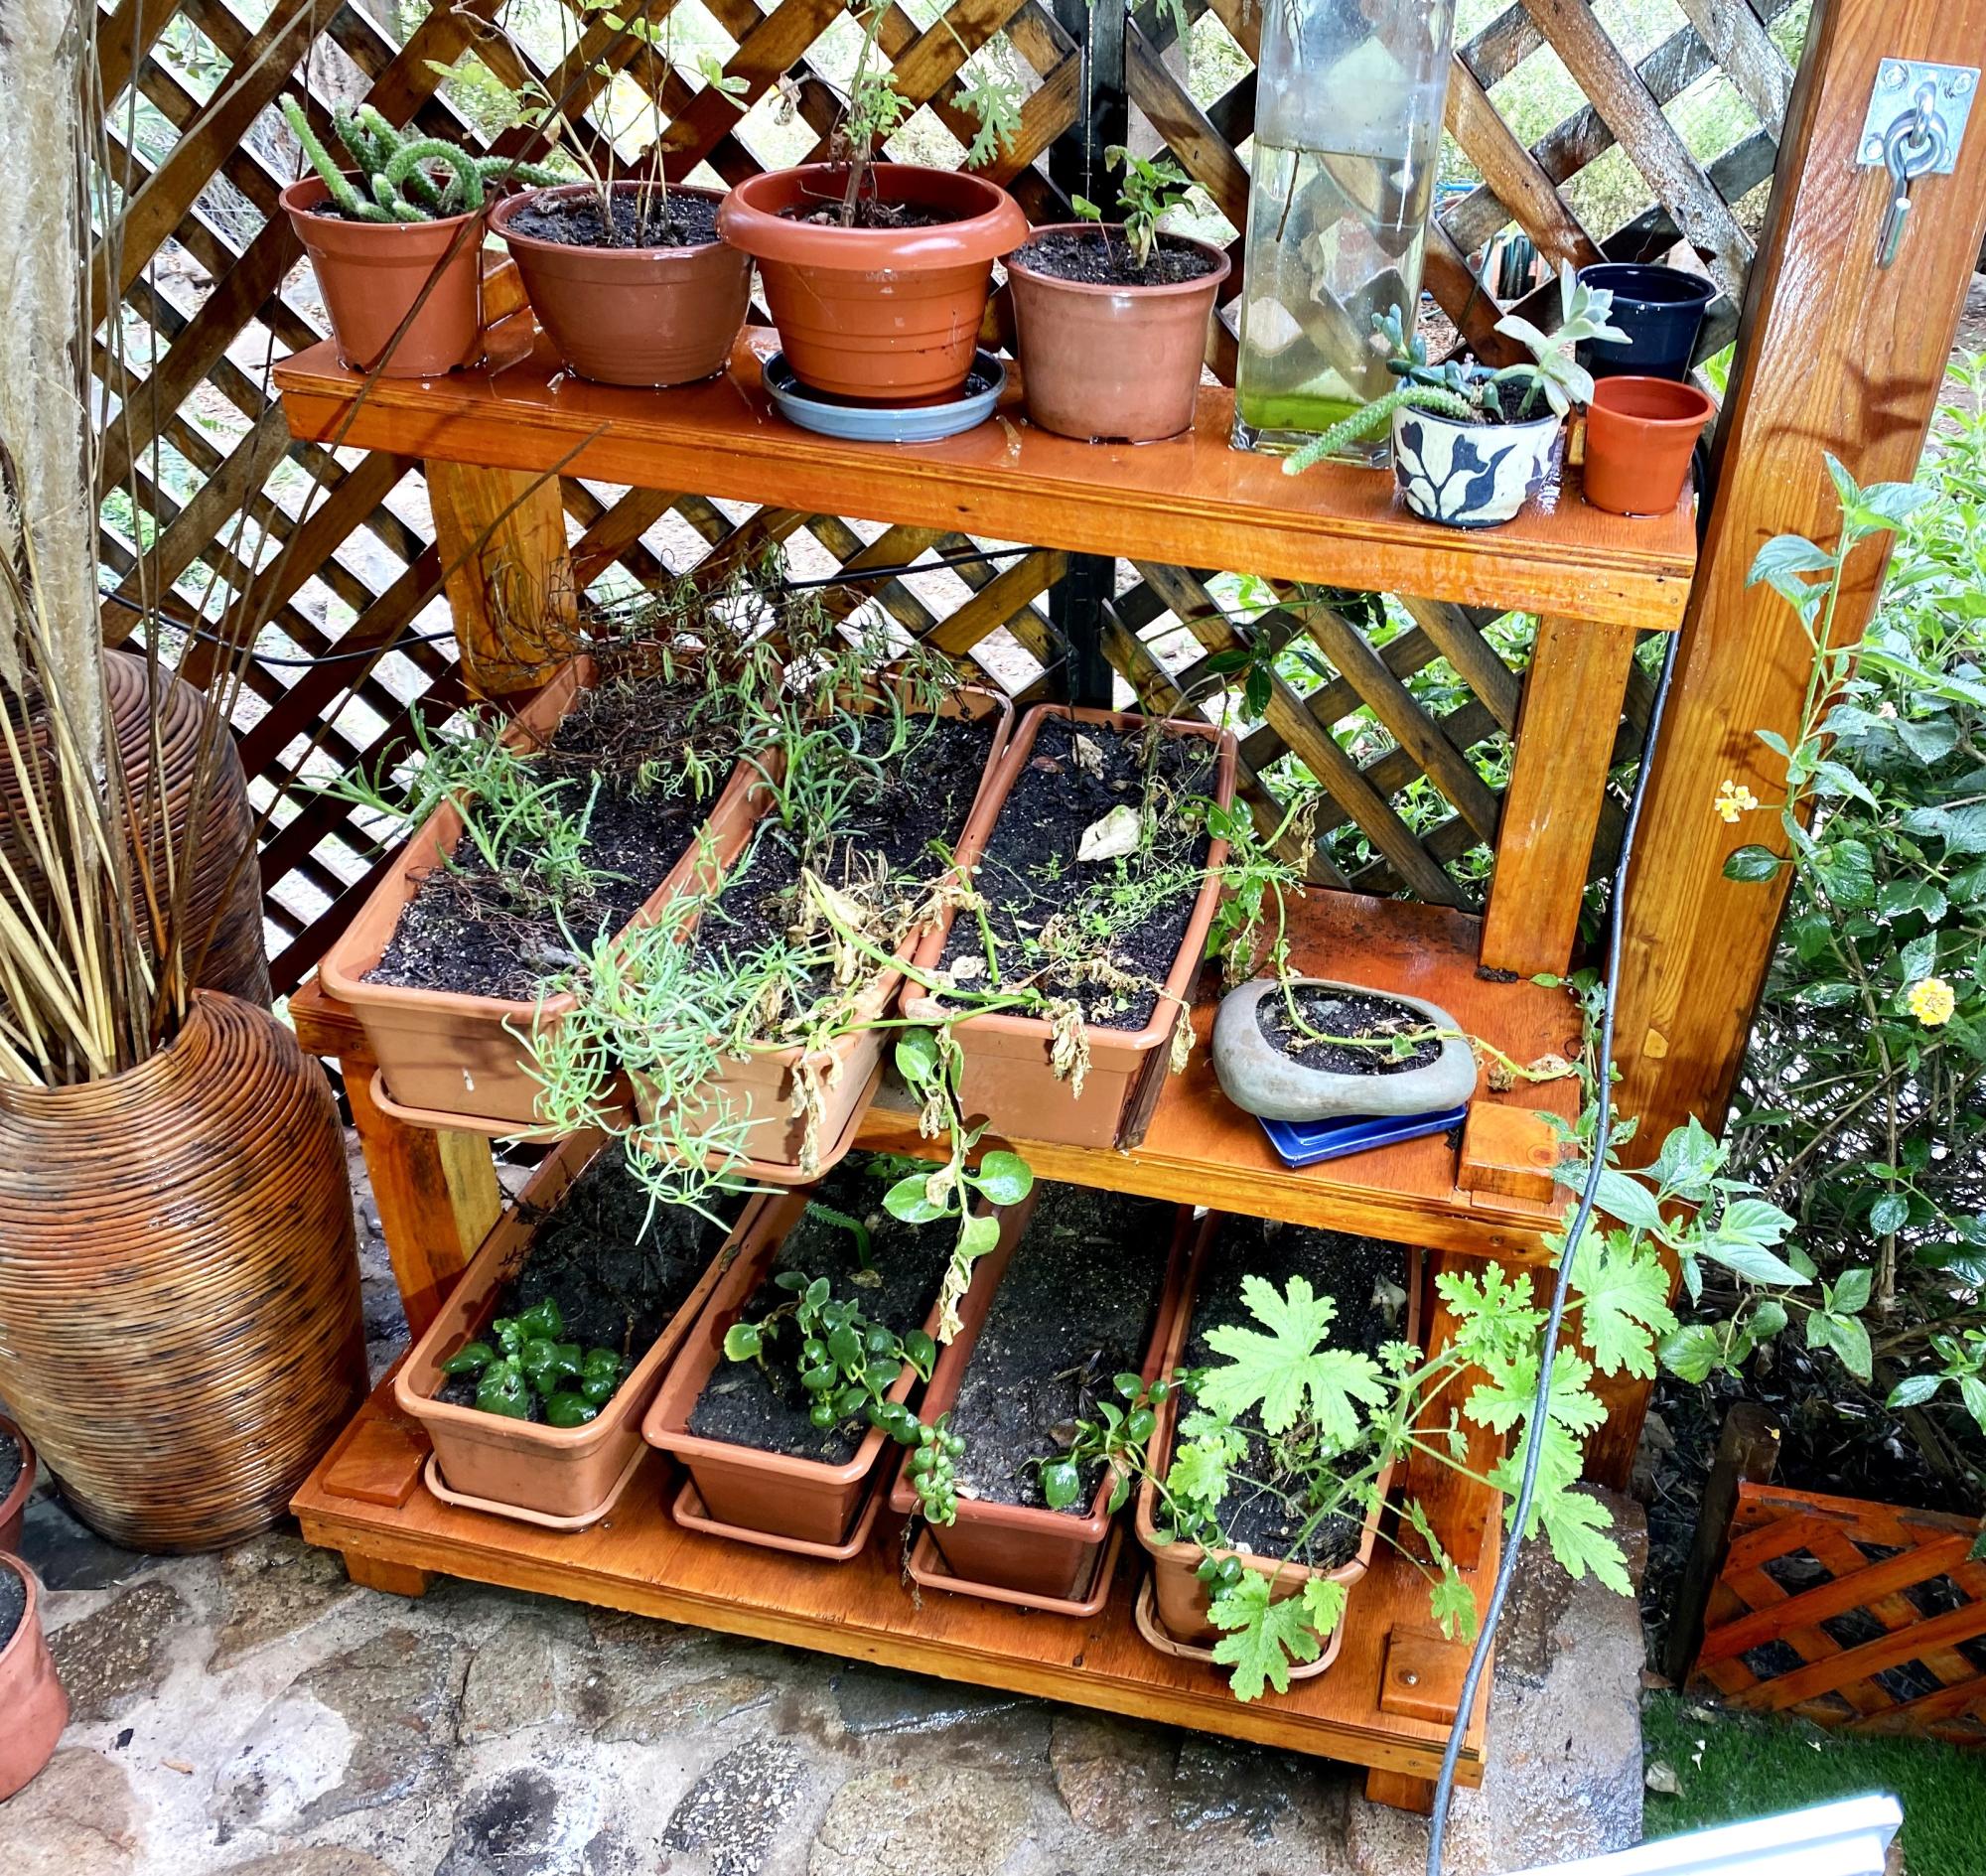
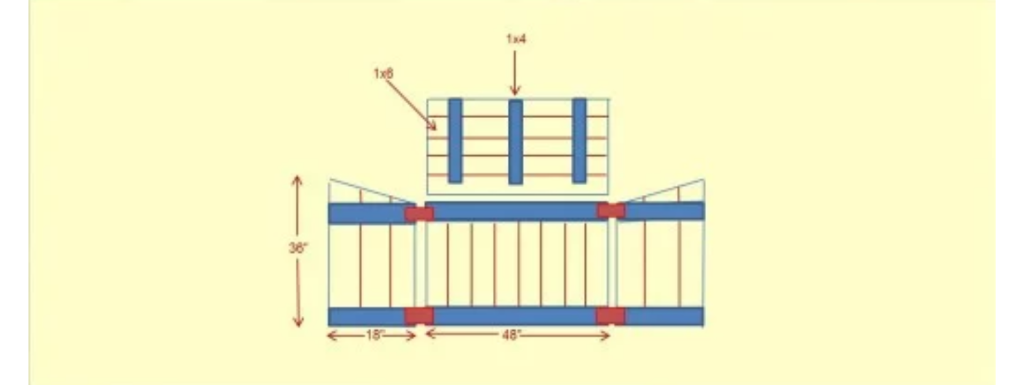
I built this potting bench using leftover pieces of pallets and play wood from other projects...
It is a three-level bench to maintain order with my pots where we start our seedbed crops and reproductions by cuttings.
Any comments to improve my design will be sincerely appreciated.
Regards
Claudio from Chile
I watched the tutorial video first and then got right to it. My two, little boys played in the driveway while mommy rocked her off-square bevel cuts. I modified the 1x2 and instead used what I had on hand - extra 2x2s. Worked out great. Also, I used three reclaimed pallet boards for the top of the bench. I added an extra cross-support to handle the load.
This is my first time trying something like this and it went great. I did mine with 2x4's. Thanks for all the great information. This took me a week, but I was only able to work on it during nap times for my baby. Uninterrupted it would of taken a weekend. The only negative thing is now my wife wants me to tackle a Farmhouse Table with benches. Pics soon to come of that I'm sure. Thanks again!
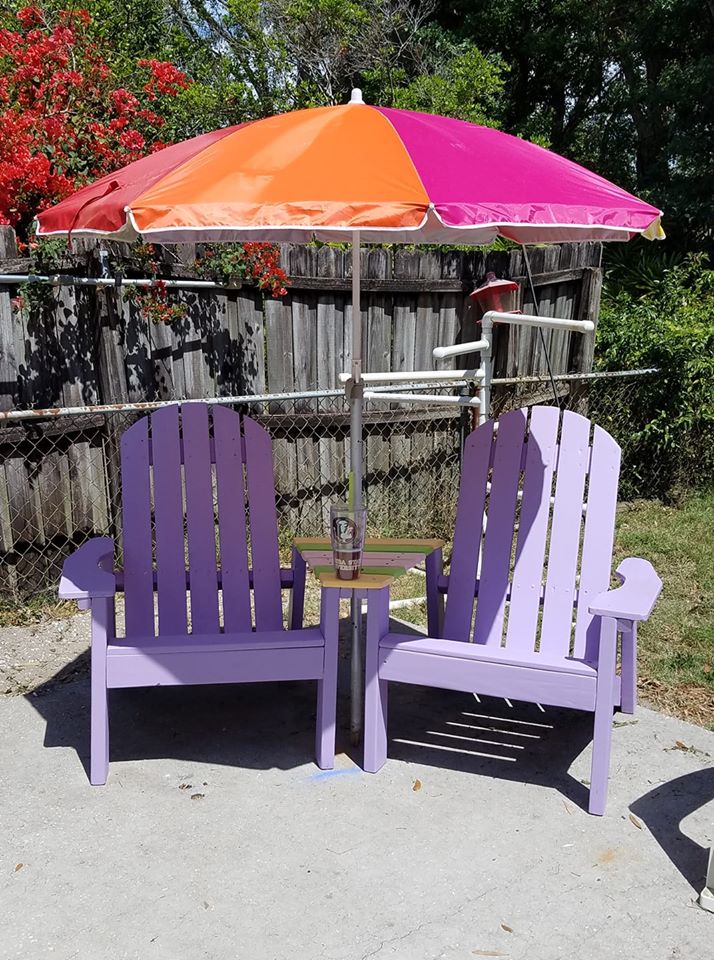
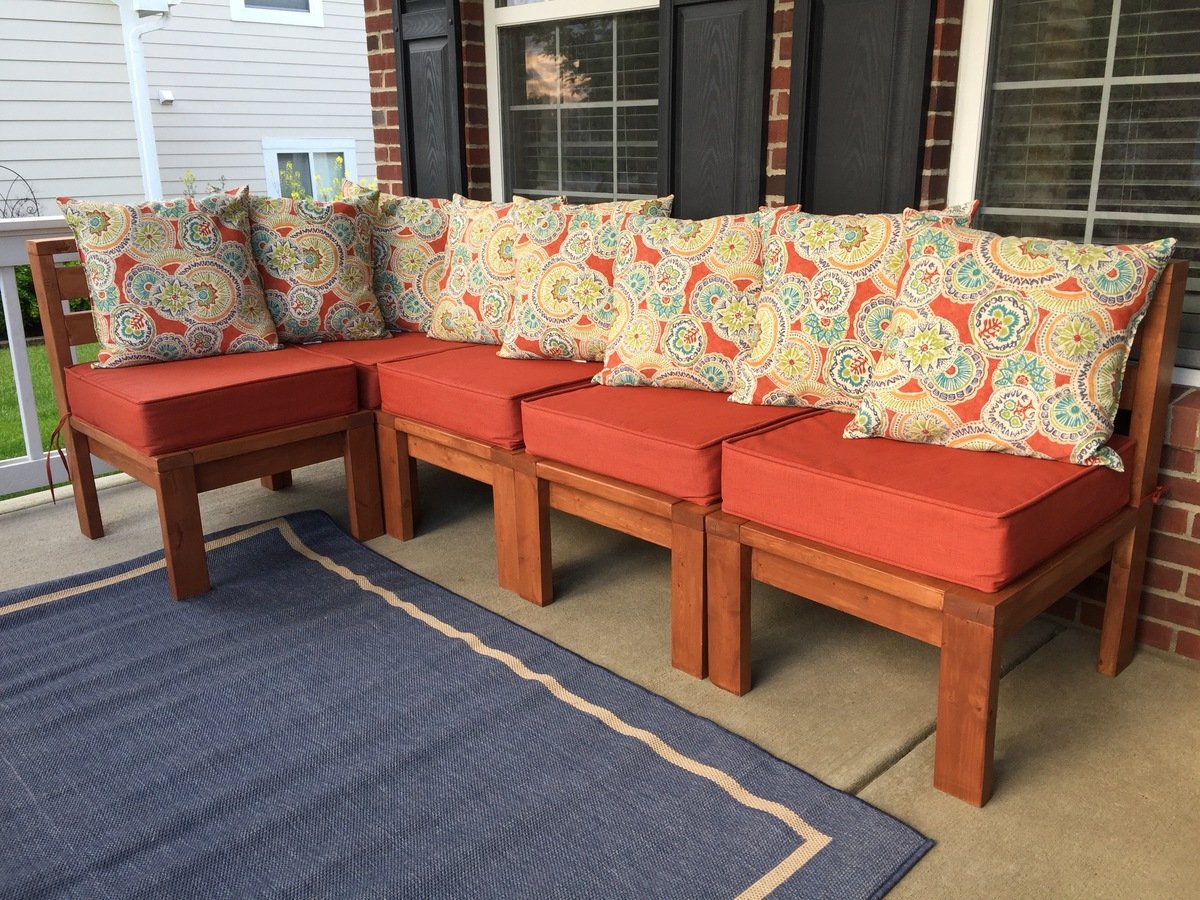
Love, love, love this plan! Easy to understand and build...it was sanding all the parts that took forever! ;-) It's been on my build list for a couple of years, and now looks great by my pool. I did use a more traditional arm style for the chair's 2 arms. I added the "table" between the 2 chairs by using scrap 1x4s, aligning them for spacing then used a chalk line, from corner of back arm 2x2/2x4 connection to the front 2x2/2x4 connect, and snapped a cut line. I then used a 1-1/2" hole saw and drilled a hole opening for the umbrella.
Thanks Ana! This is the second Ana White project I've tackled for the pool deck.

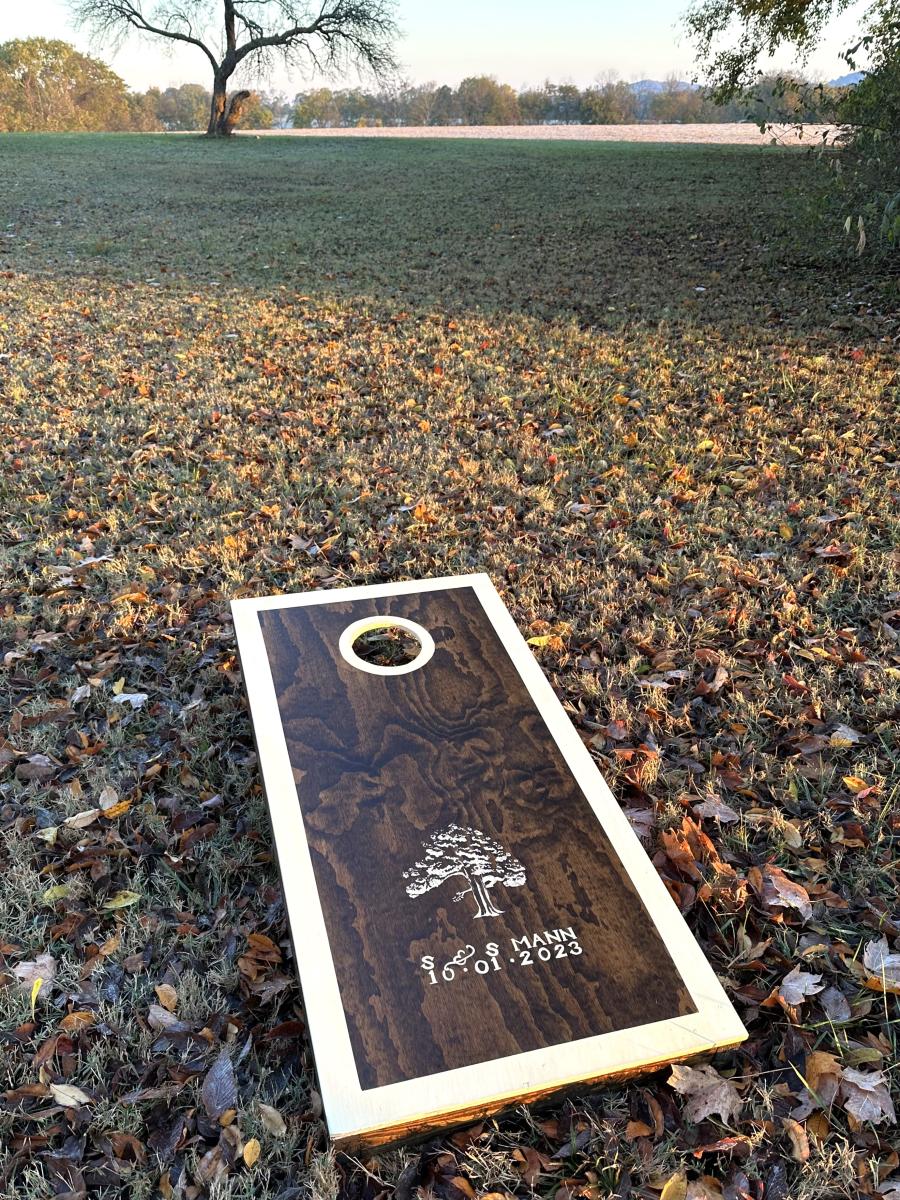
Had to share the results from your plans for corn hole boards! I made them for our wedding. This was a great first project after watching my dad in his workshop when I was younger. These were so fun and easy, and our guests loved them!
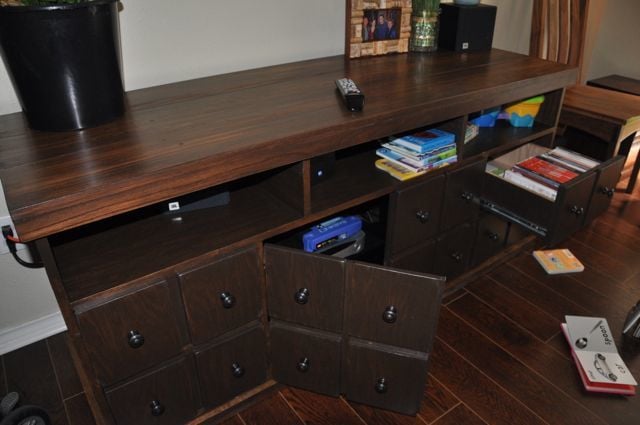
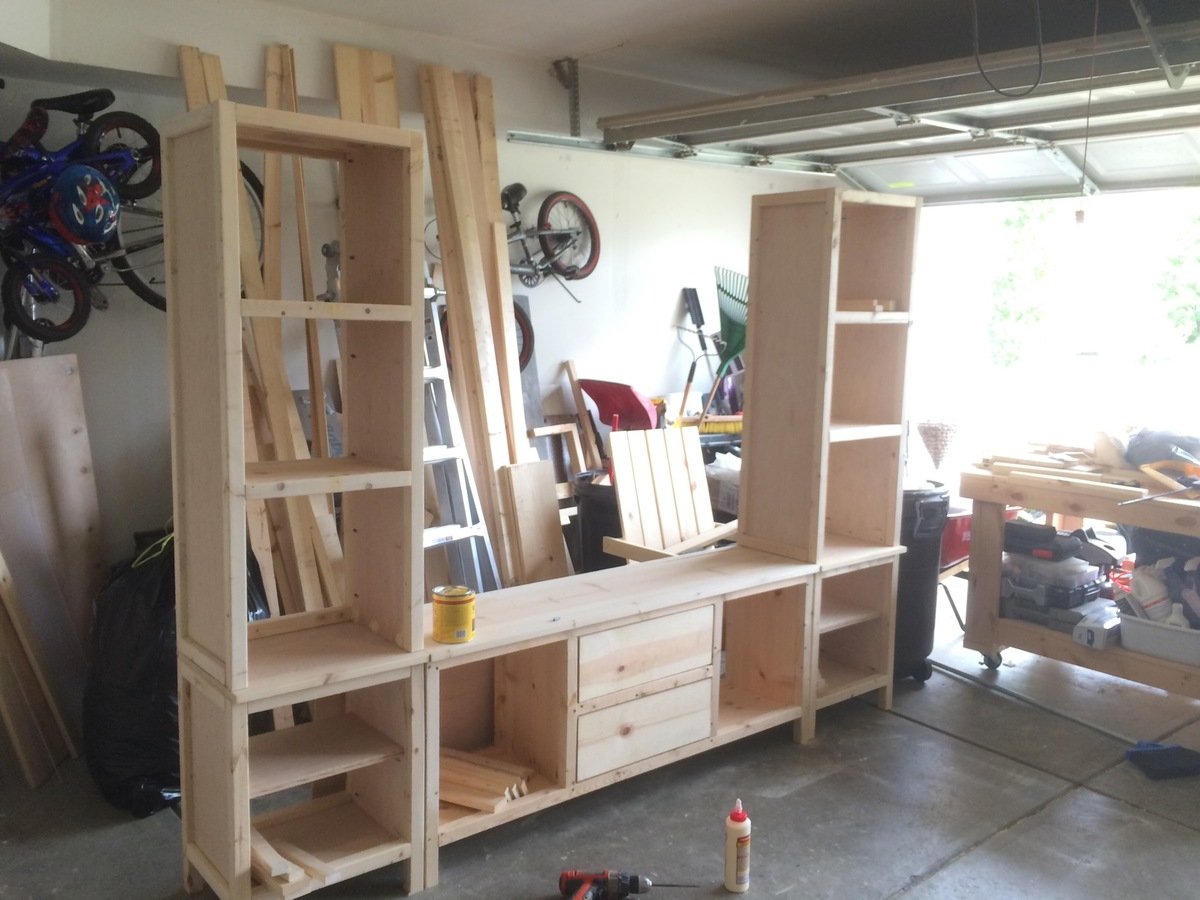
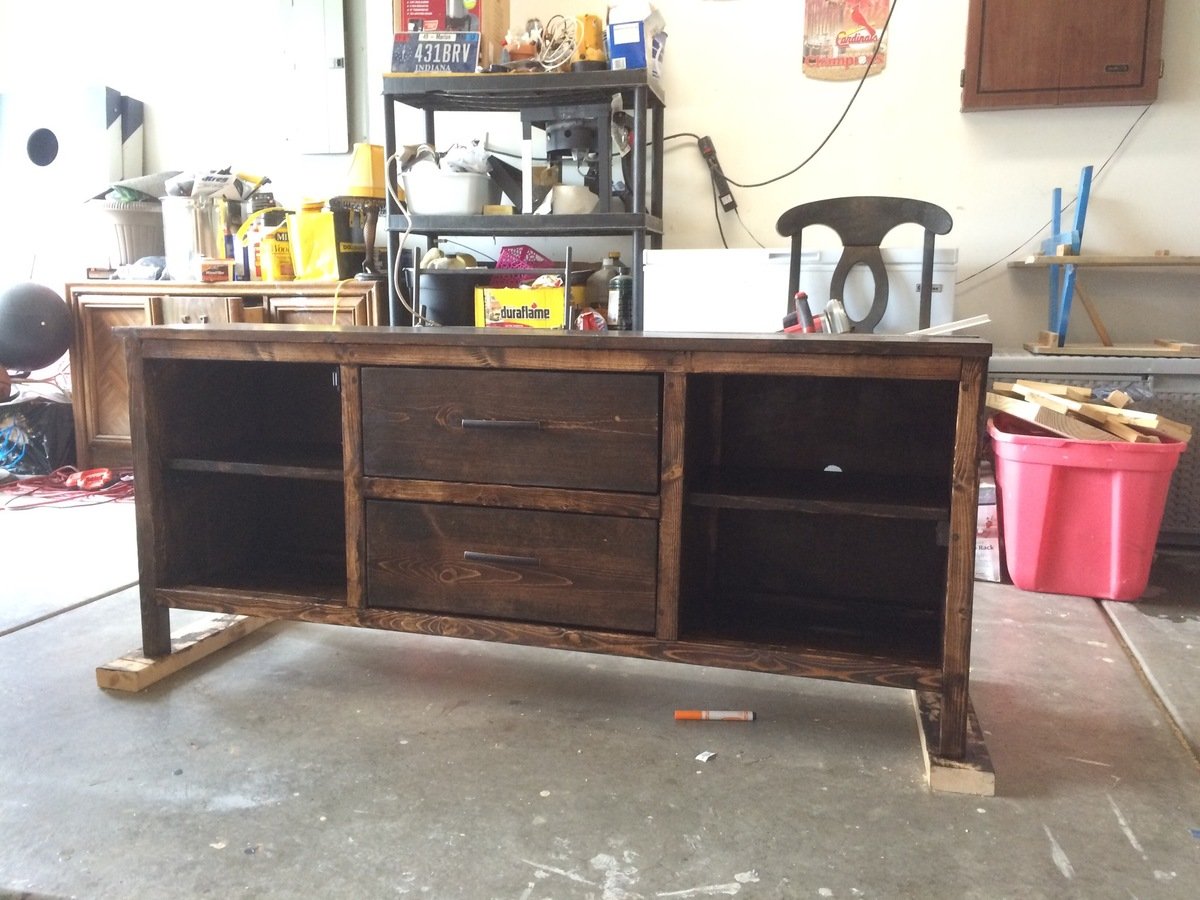
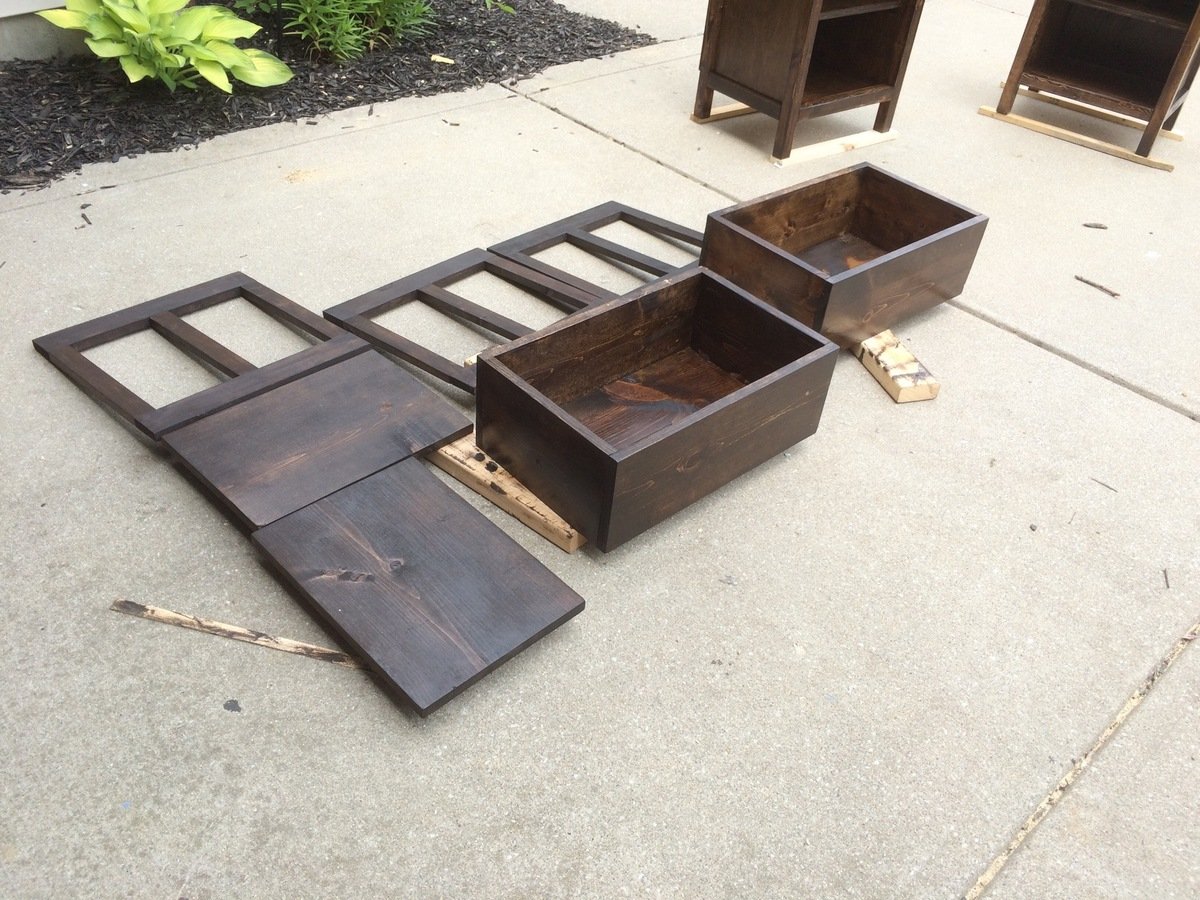
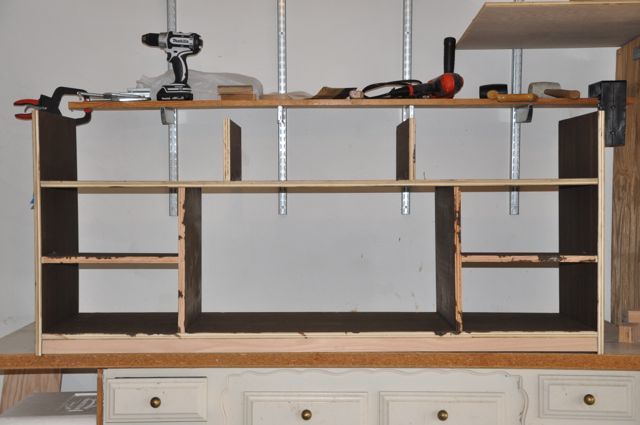
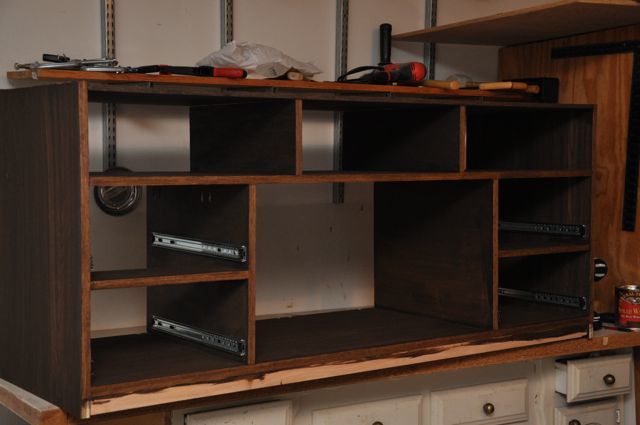
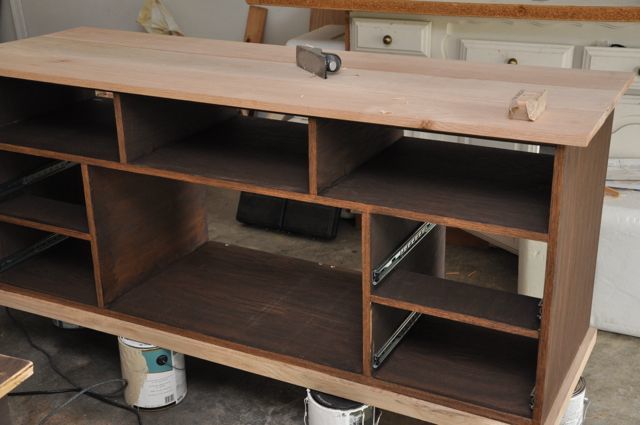
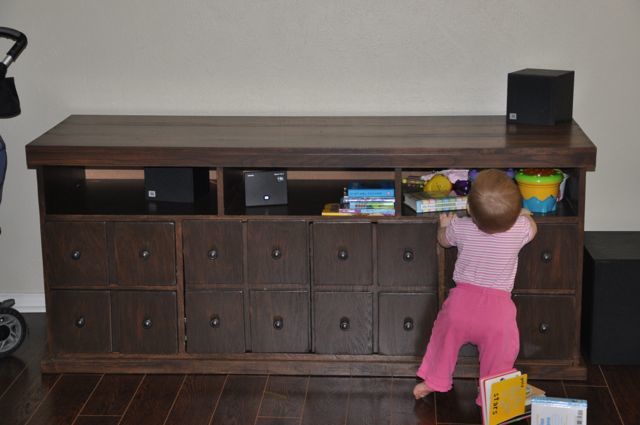
This was our first wood-working project, and it was a BIG one. I think it took us about 50 hours, though we did add a couple complicating steps into the process. We installed full-extension drawer glides and stained instead of painting. Both of those added significantly to our time. We also added a lip around top solid wood planks to give it a more solid look, so of course that added to our time.
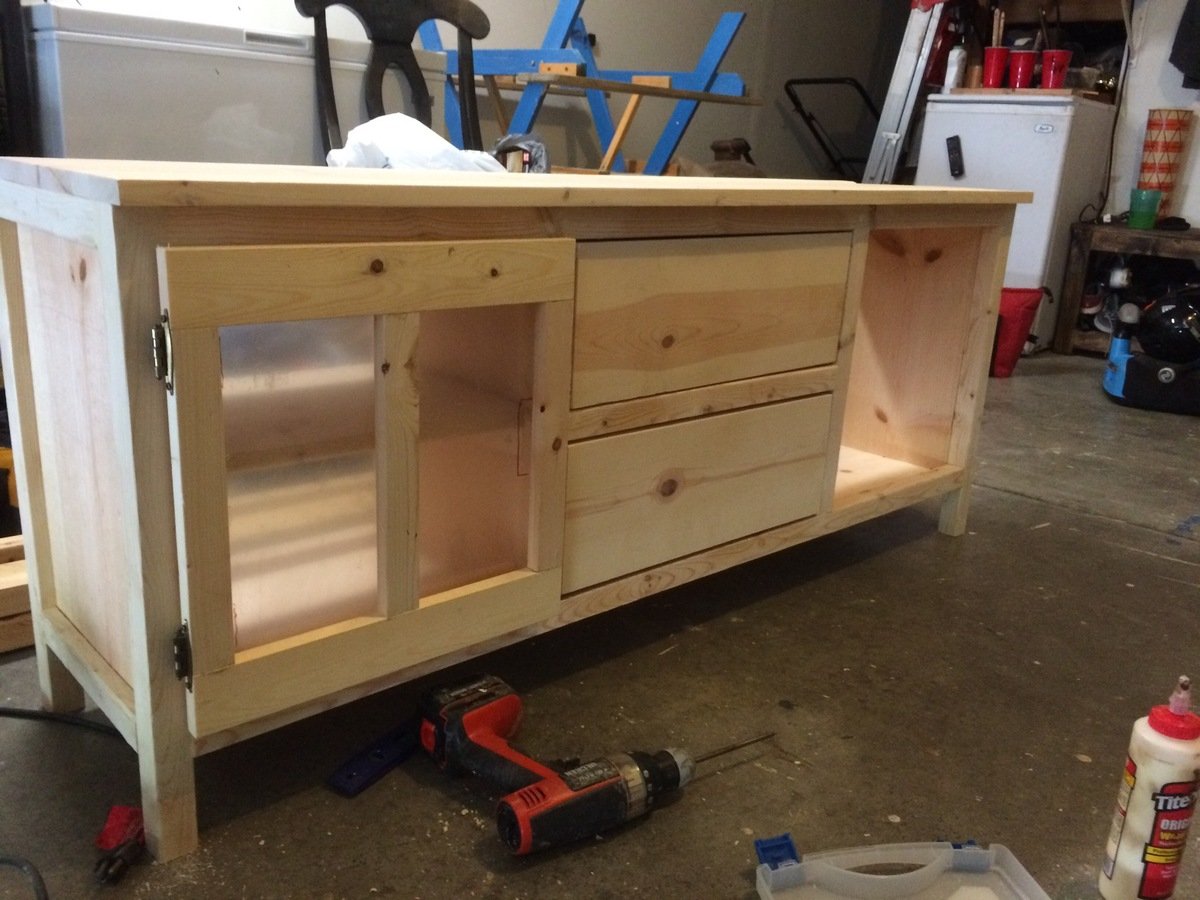
The plans were great, though we had a tough time keeping everything square. Our cabinet doors were 1 inch thick (1/2 inch door, plus 1/2 inch facade drawer fronts), and that made it almost IMPOSSIBLE to find hinges that would work with the cabinet doors. Cabinet hinges come ready to fit 3/4 inch doors OR whatever-thickness door with a 3/8 inch routed edge. So I ended up having to purchase some really heavy-duty specialized hinges from our specialty woodworking store, and those cost about $18/pair.
We're really happy with how it turned out, and it suits our needs great. See our process on my blog below.

Mon, 05/21/2012 - 09:34
Wow, you are ambitious for a first project and it came out great! Adorable, model, too, even from the back side, lol!
In reply to First project? by spiceylg
Mon, 05/21/2012 - 10:31
Yes - ambitious or foolish... one of those is the right word to describe it. But thanks! I'm happy with it and with the little model, too :).

The top was made from big box 2x12s and after an exhausting search for untreated 4x4 lumber, I decided to use reclaimed beams.


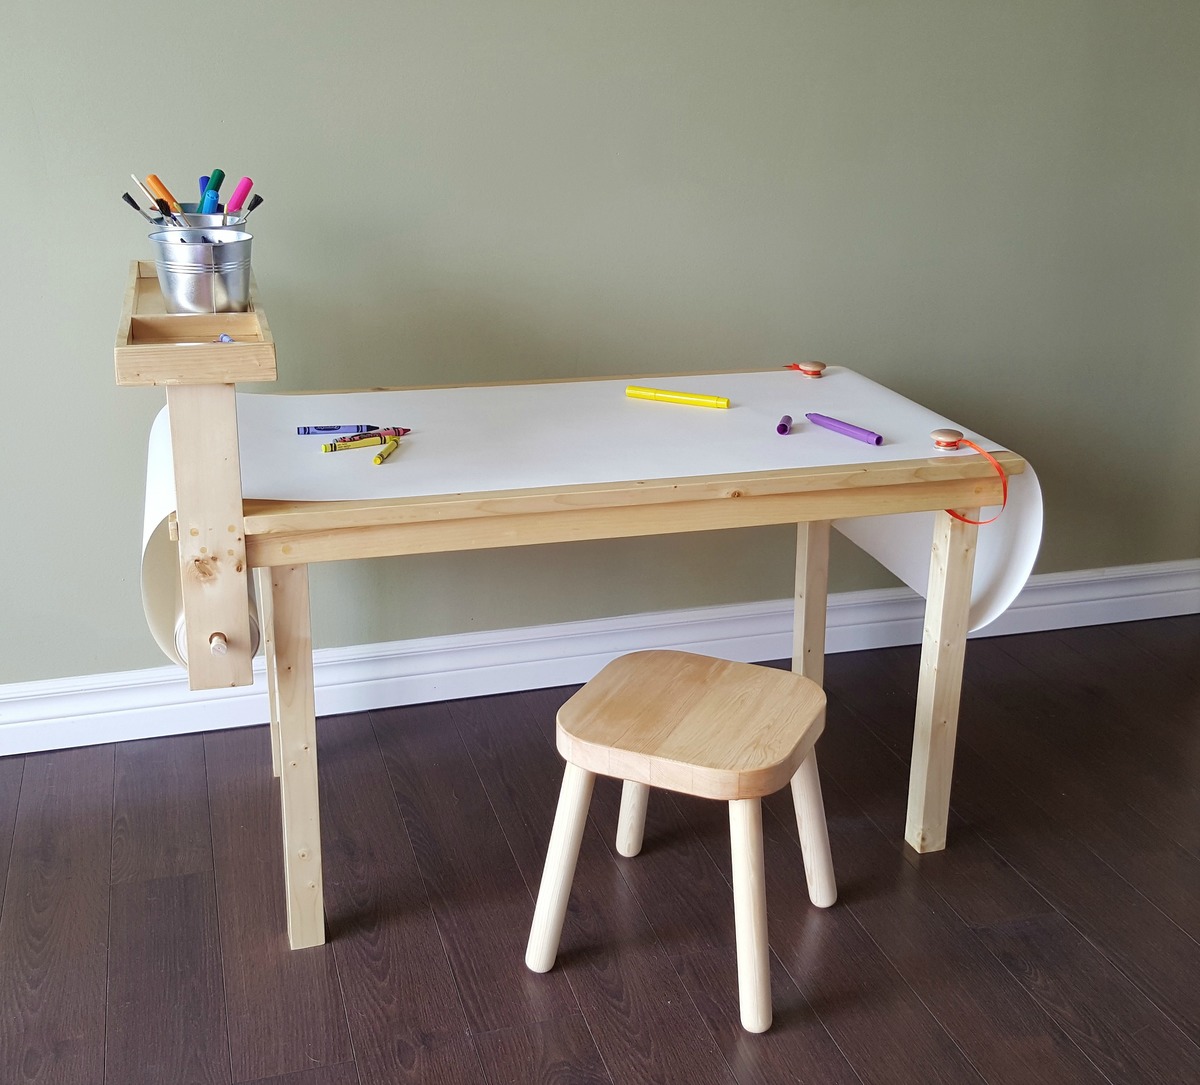
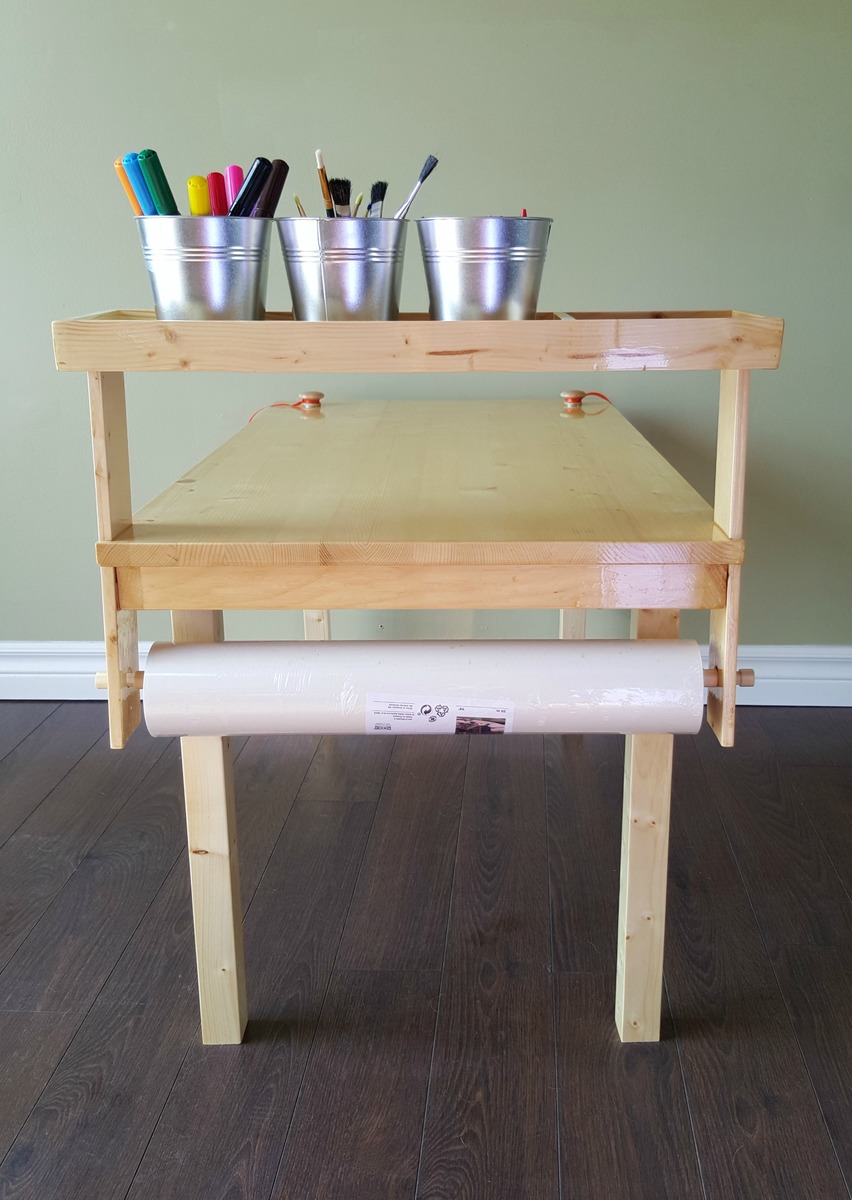
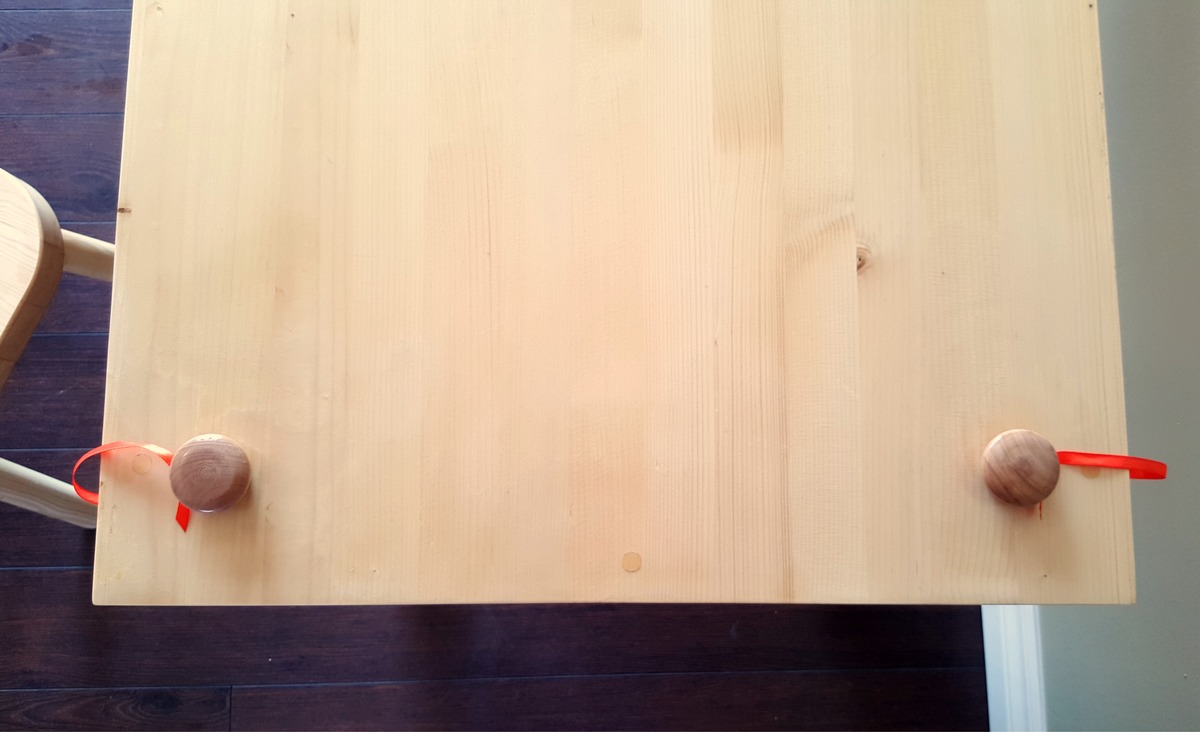
This table was a birthday gift for my 3-year old cousin. It was fun to brainstorm ideas to get it exactly the way we wanted it instead of buying one pre-made. Once we had our plans it was an easy build, done over a weekend. A full list of materials as well as step-by-step instructions can be found in the blog post linked. The top is a 20x36 pine shelf board with a 1x2 pine apron attached underneath. There are vertical support boards to hold a raised tray for supplies, and to hold the paper roll under the table. Note that the table legs are inset at one end to accommodate the paper roll. We added two magnets to the face of the table and tied two knobs (with metal washers glued on) to the underside. The paper can then be sandwiched between the magnet and the metal and won't move around while the artist is at work. It's our favorite feature! There are also magnets glued to the inside bottom of the tray to hold the buckets in place and keep them from being knocked over easily. This project was so much fun! I love having the chance to share it with you all!


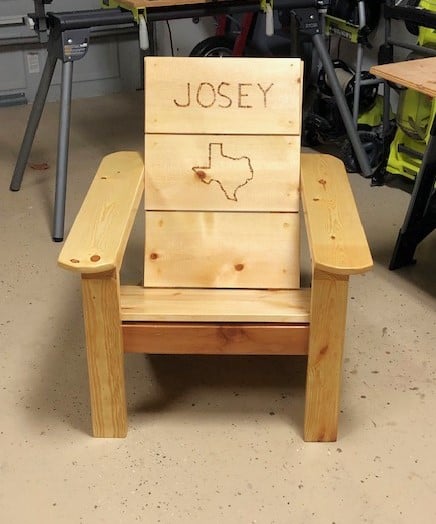
Adirondack Chair made in Texas. Ana, great plans and fun to build. Added arm rests and used soldering iron to burn in map of Texas and the name of the recipient!
Dave Jerger
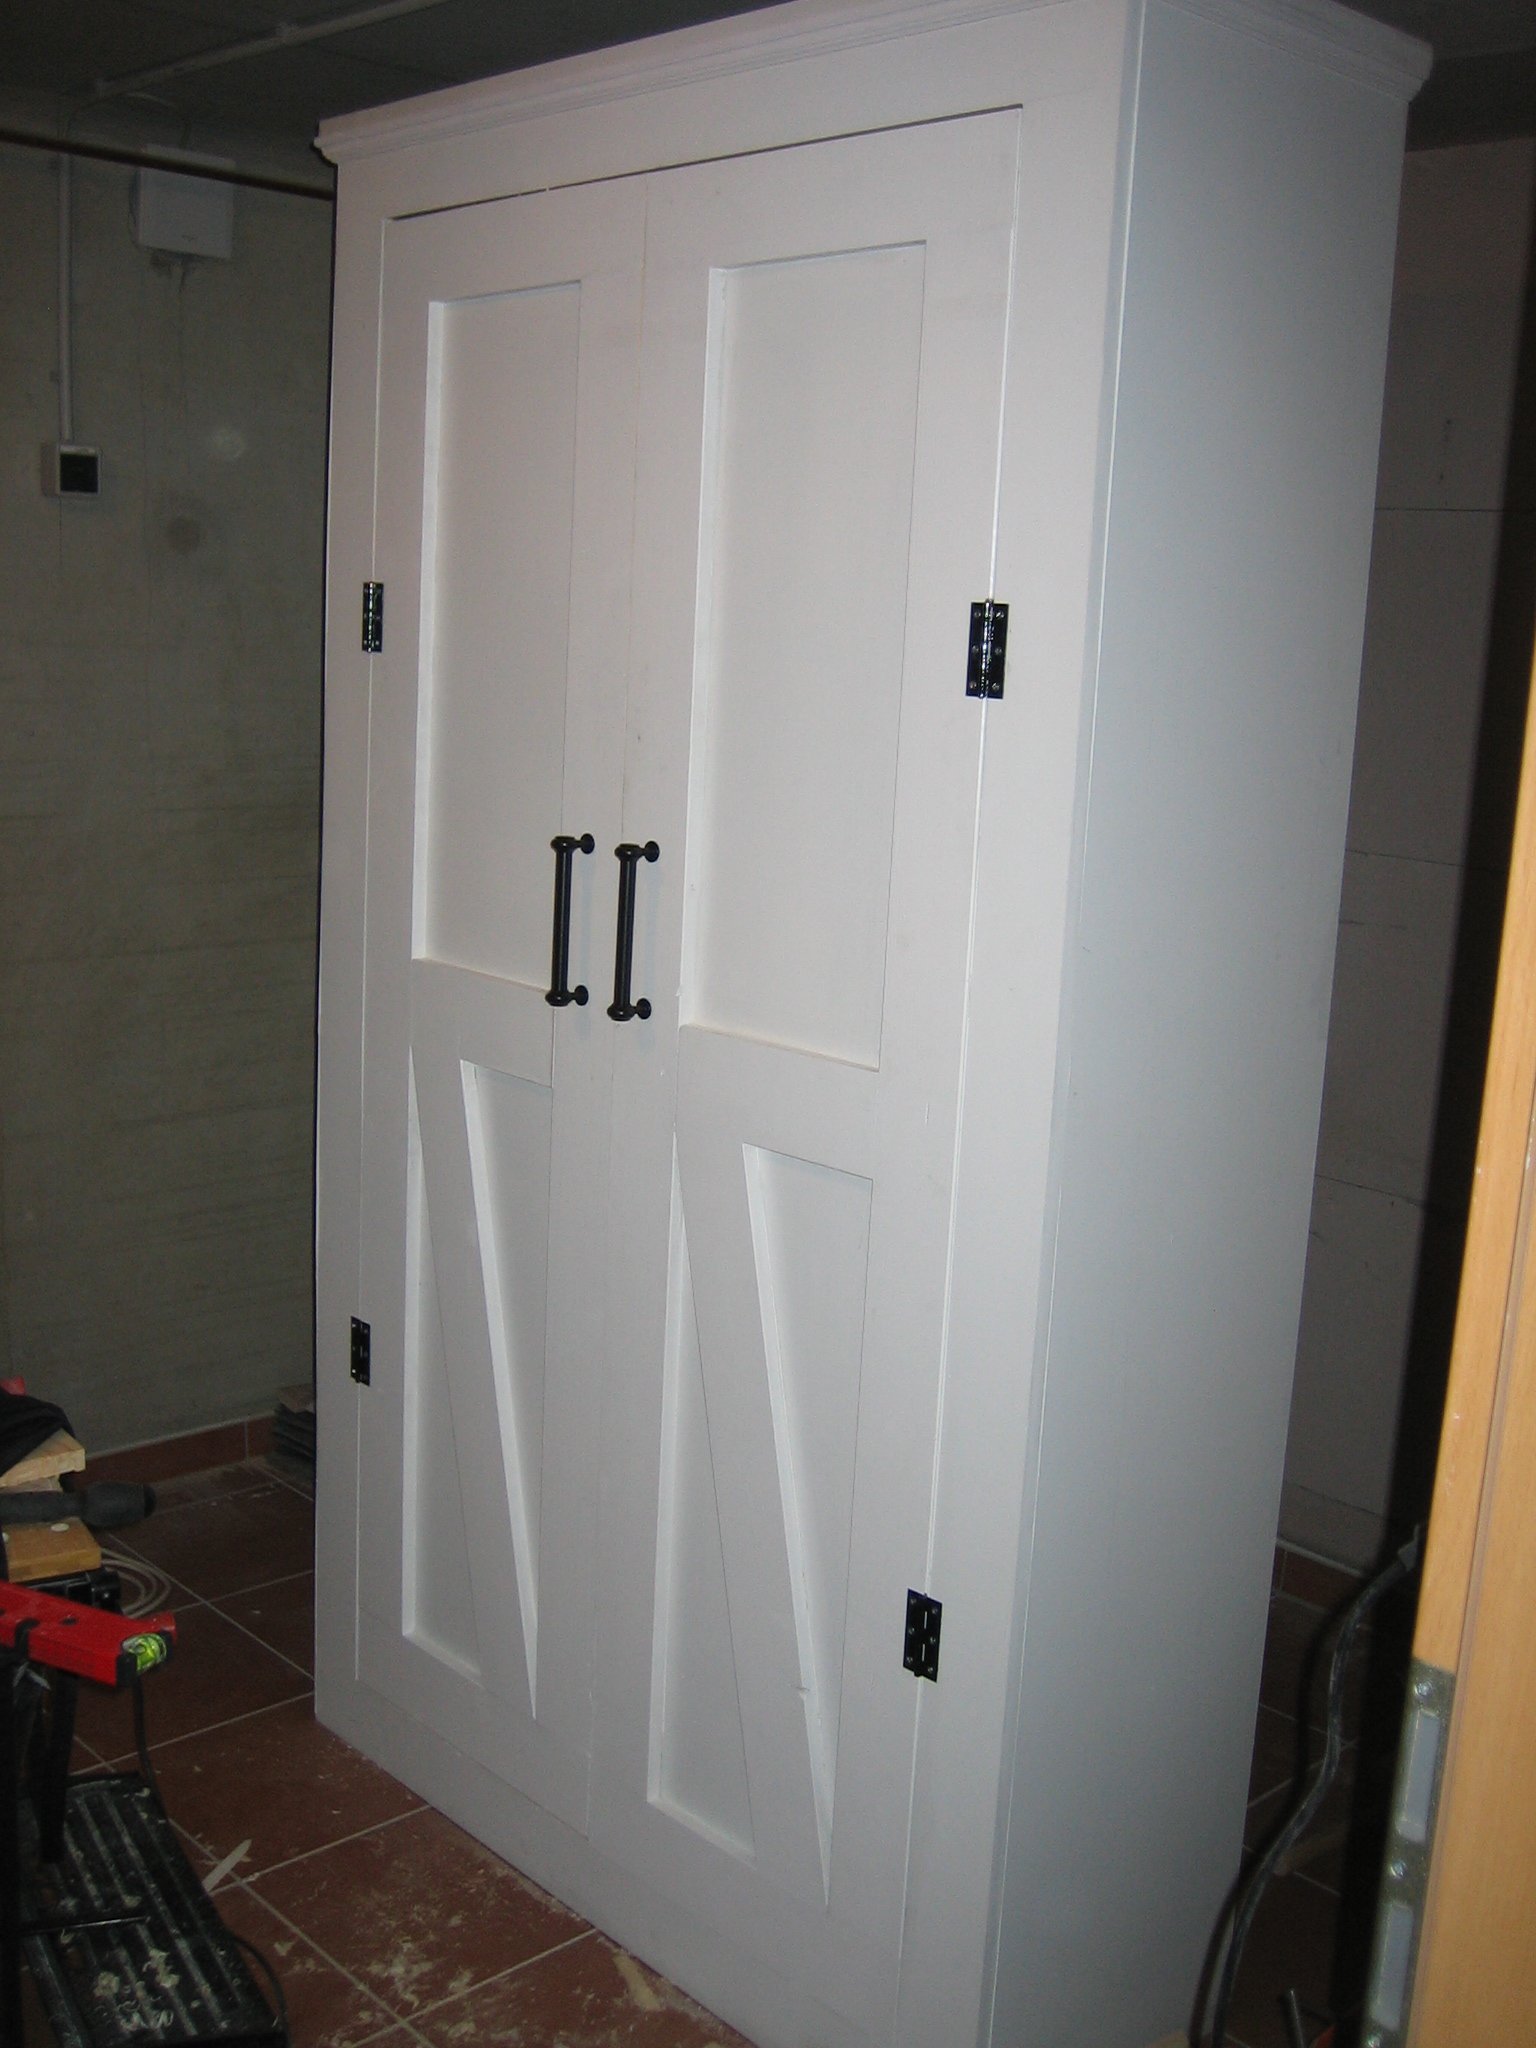
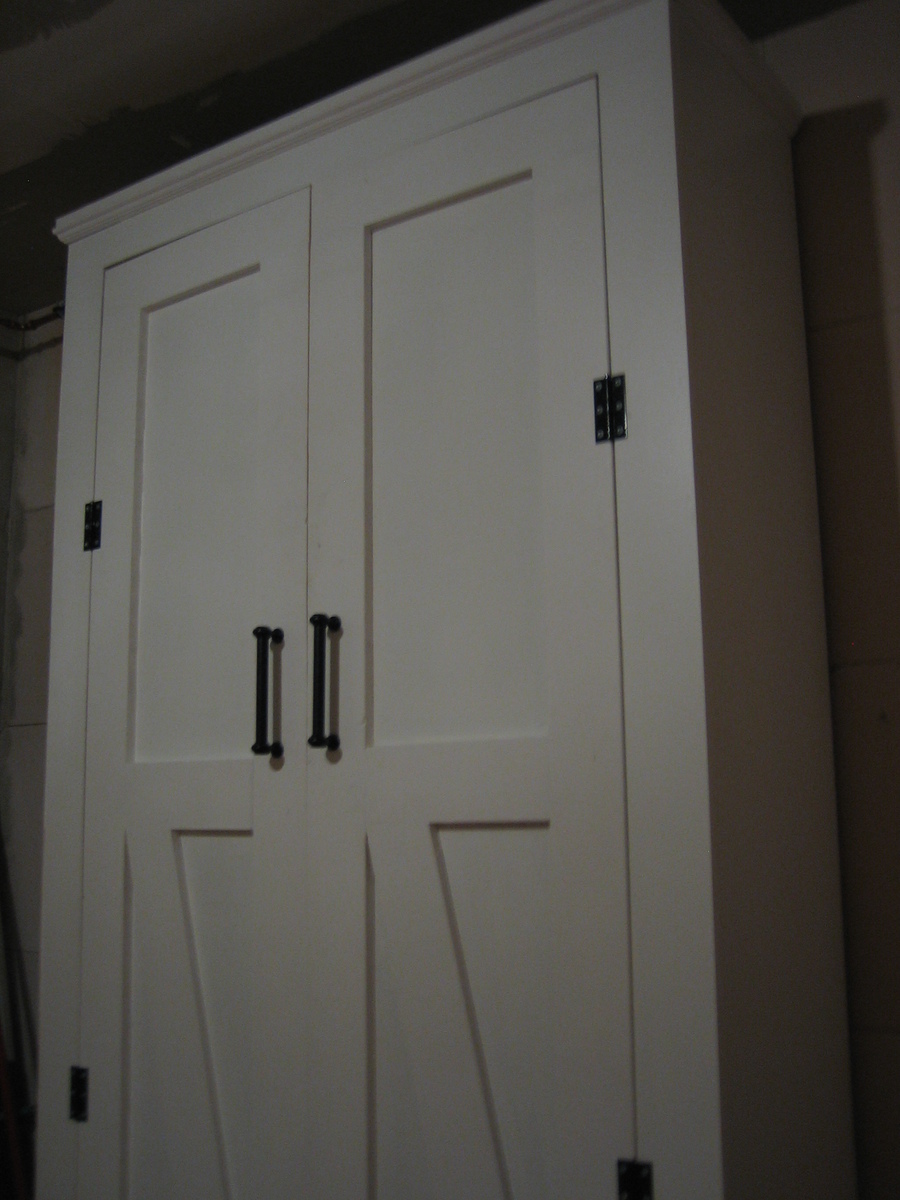
My cupboard is quite a lot bigger than the one in the original post but is super sturdy.
It was a relatively easy project to build. My main issue was that I used chipboard for most of the cupboard and ironed on veneer on the cut sections which threw my door frame measurements out of whack and I had to shave a bit of my door off with a plane to get it to fit in neatly.
Sun, 08/12/2012 - 11:47
Hi there. I love this!!! I was wondering if you remembered the dimensions of wood used or what not? I want to make one or two of these for my basement laundry room for storage but am new to this so not sure how much I would increase all of the wood etc from the original plans. Thanks!
Mon, 08/13/2012 - 02:48
Hi! So glad you like it! I used SketchUp to create my dimensions to fit my space. Have you ever used it before? It's a free designing tool and really helps me to visualise if the wood's all going to fit together or not.
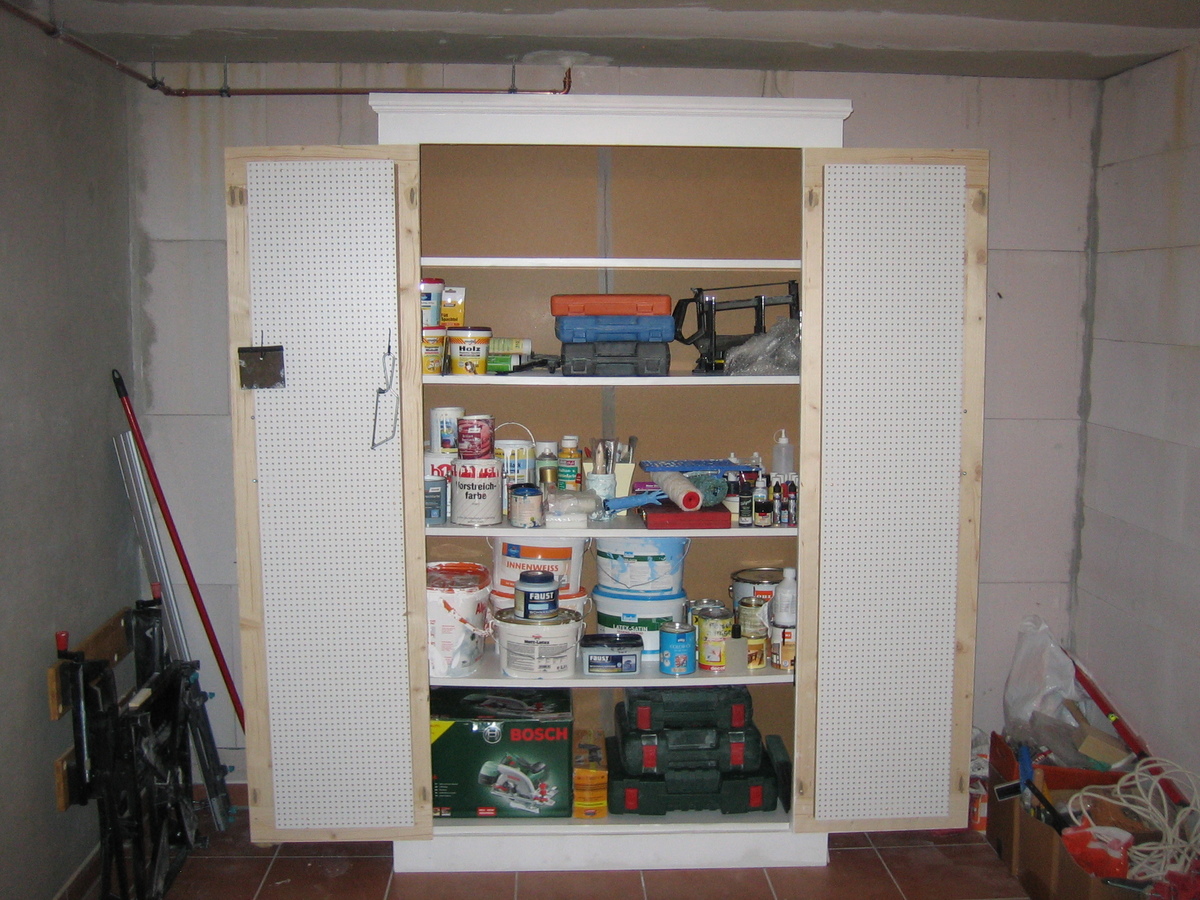
Here are the wood measurements I used:
Chipboard, white, 19mm
Part/Length (mm)/Width (mm)/Amount
Top:1200/436/1
Side x2:2000/400/2
Bottom shelf:1124/350 /1
Shelf x4 :1124/350/4
Frame top & bottom:1162/100 /2
Frame side x2:1800/100/2
Door frame top & bottom:476/100/2
Door frame side x2:1594/100/2
Door backing MDF 3mm
Part/Length (mm)/Width (mm)/Amount
Back:2000/1162/1
Door back:1700 /360/2
If you have any other questions, I'd be happy to help. Good luck!


Comments
spiceylg
Fri, 05/11/2012 - 06:56
Beautiful
Love this look and love it in it's natural state. Beautiful job!