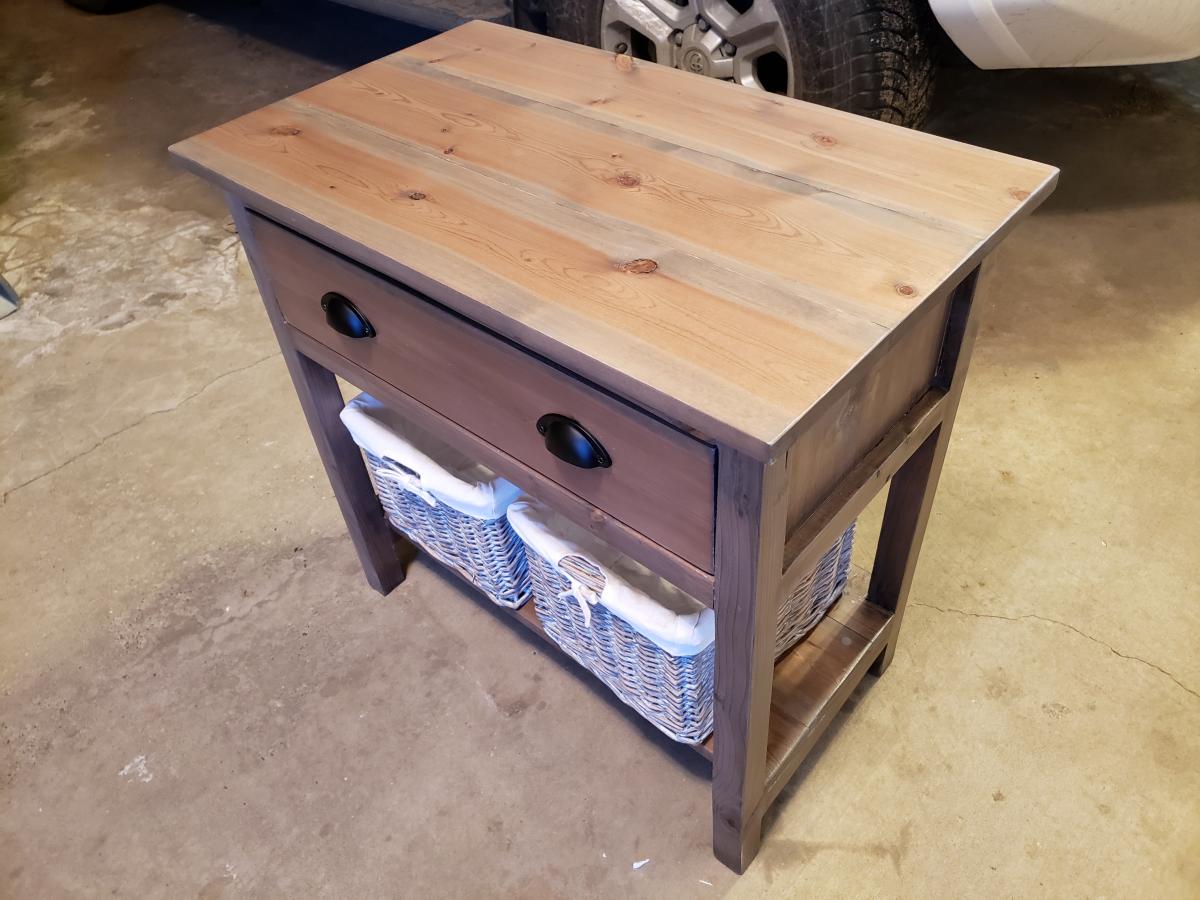
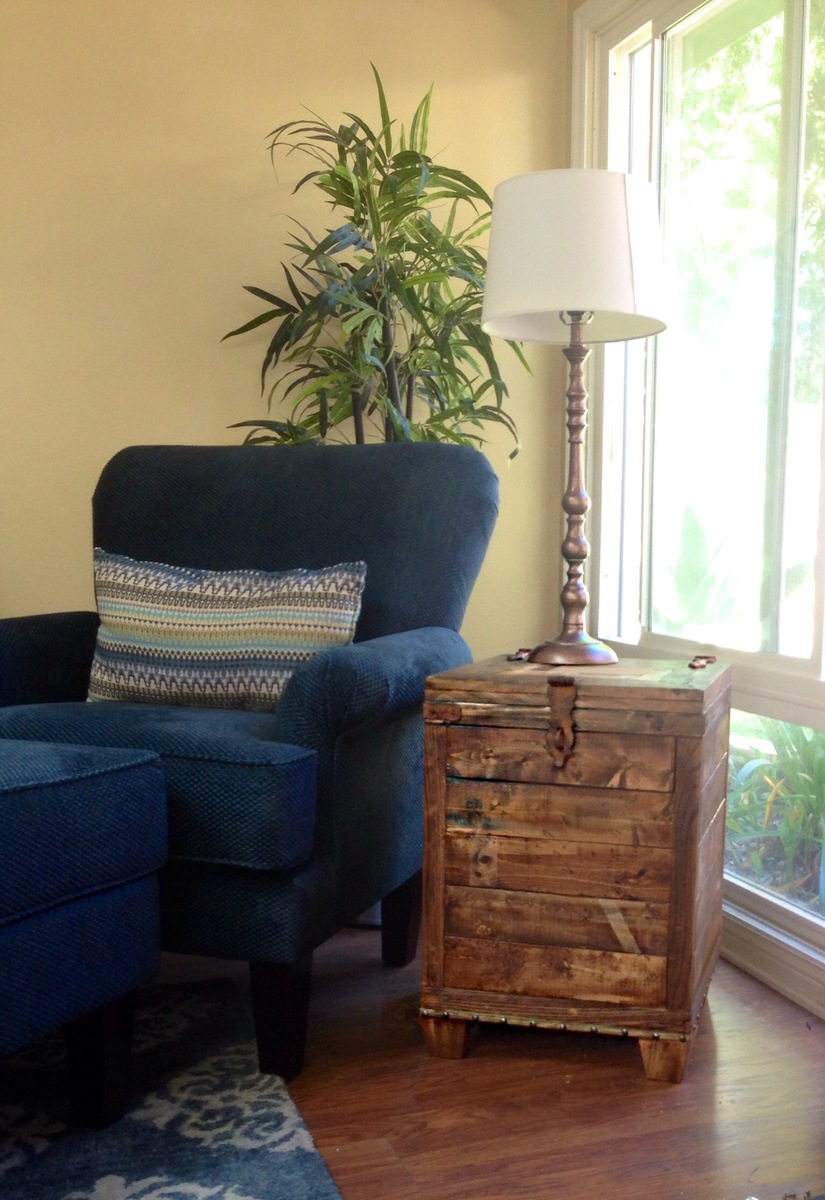
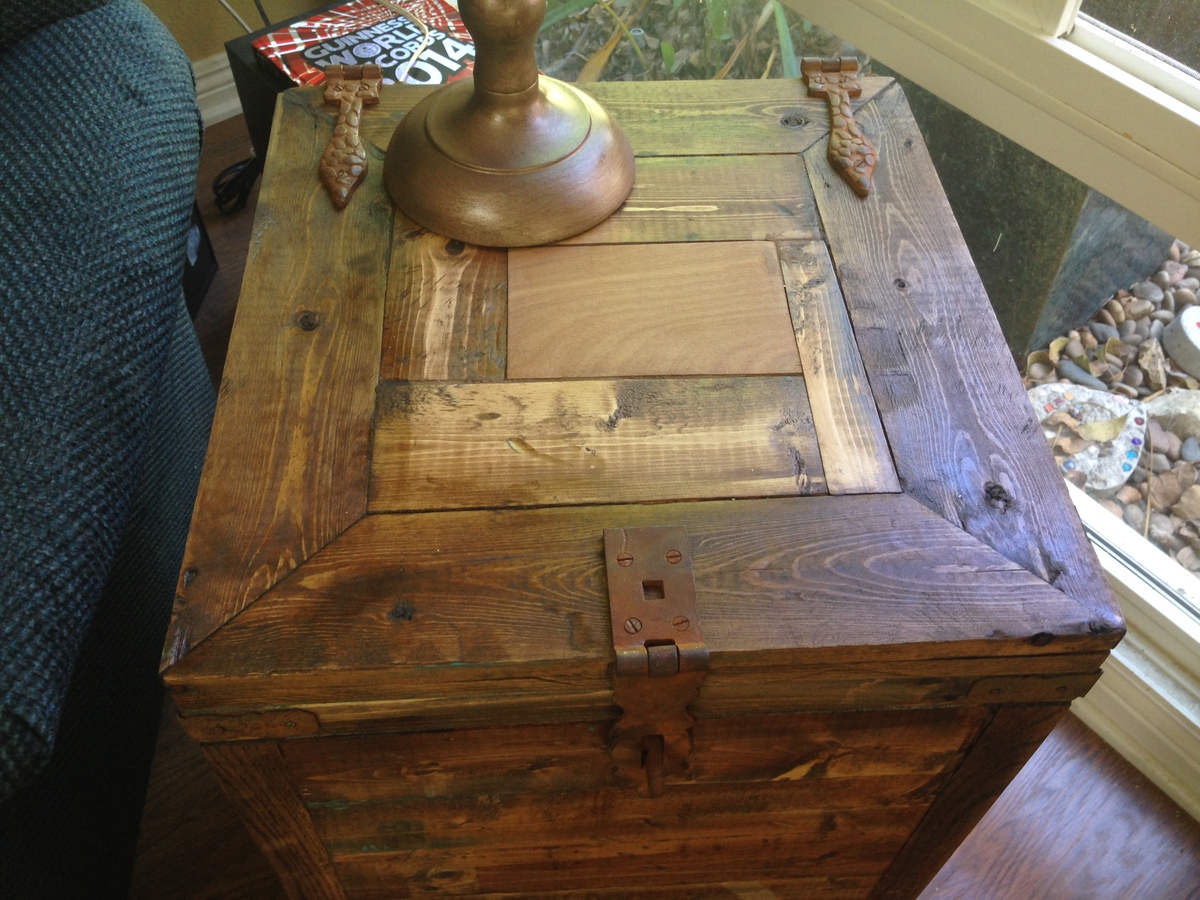
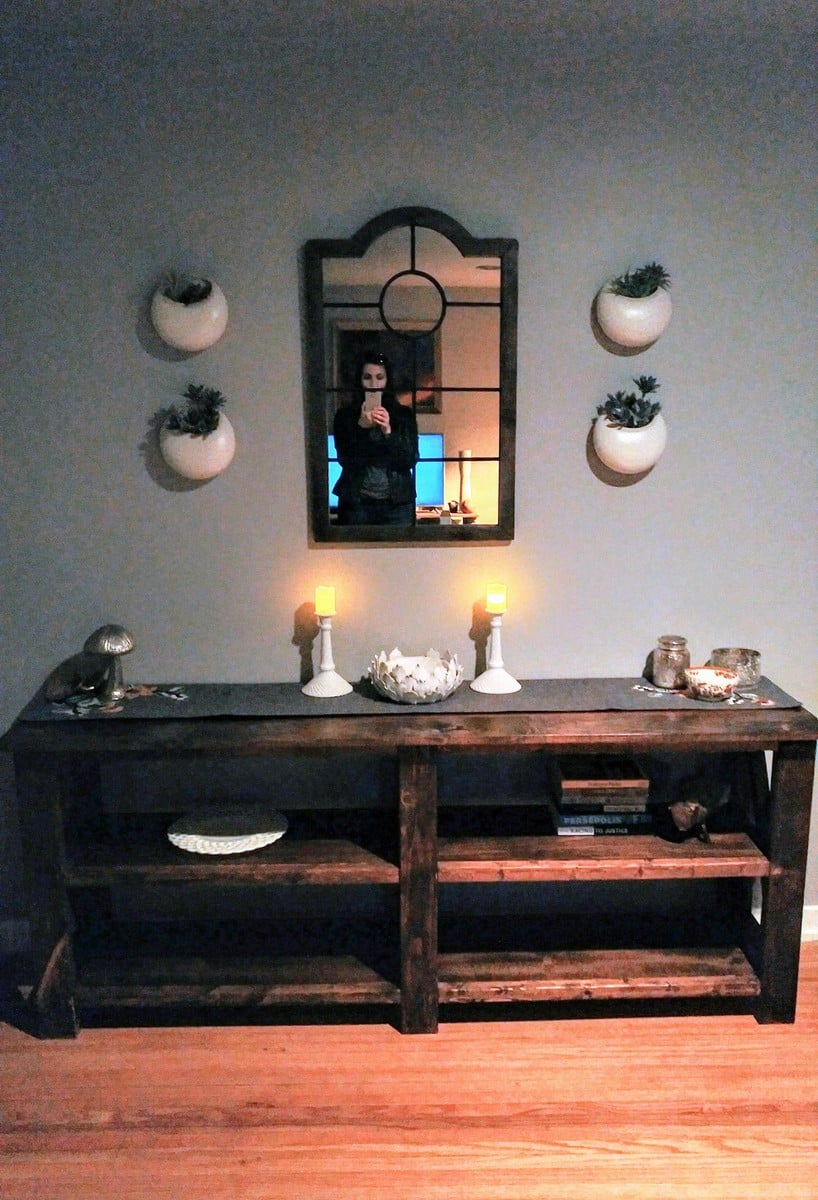
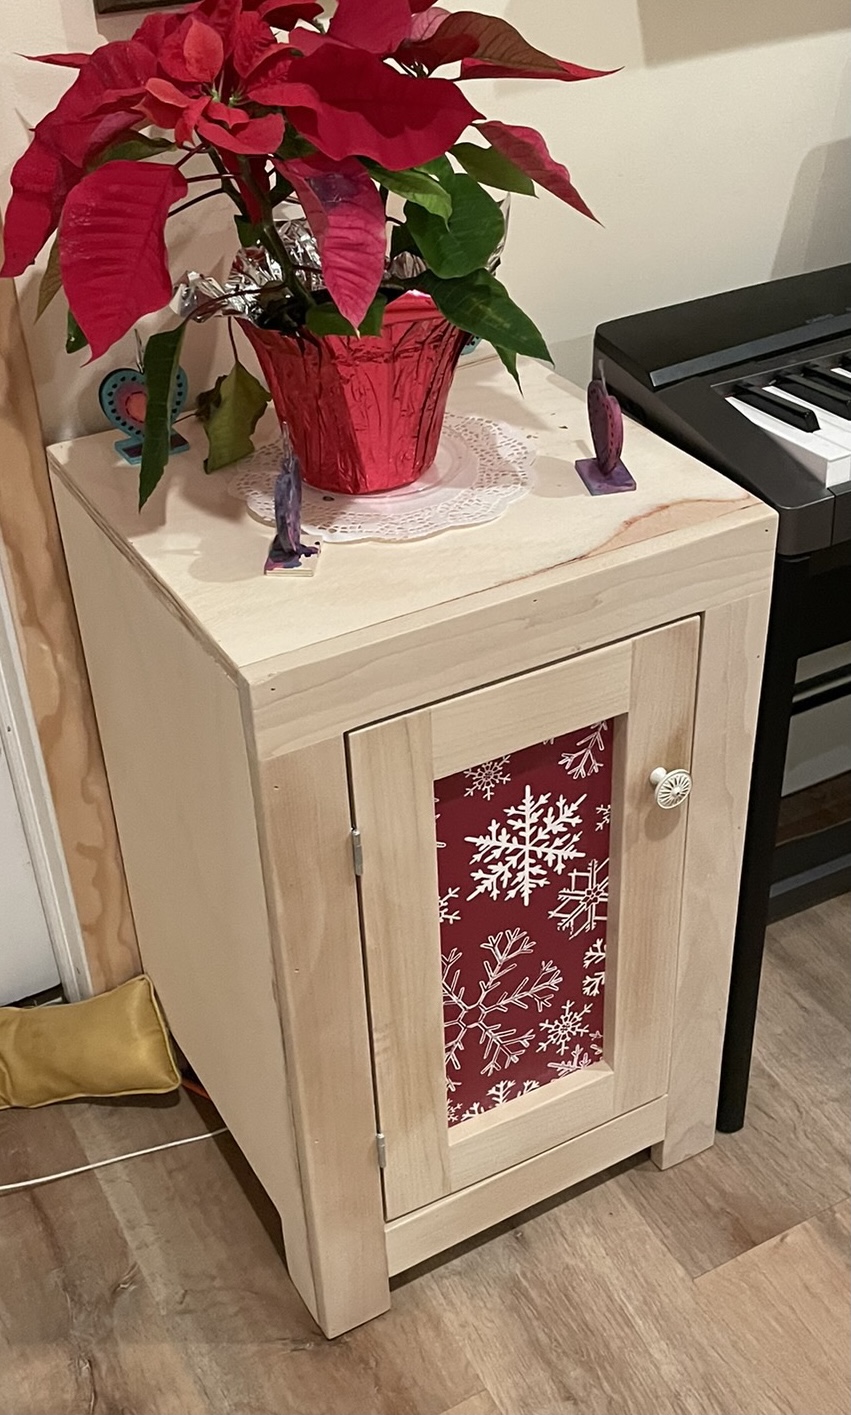
Farmhouse bedside table
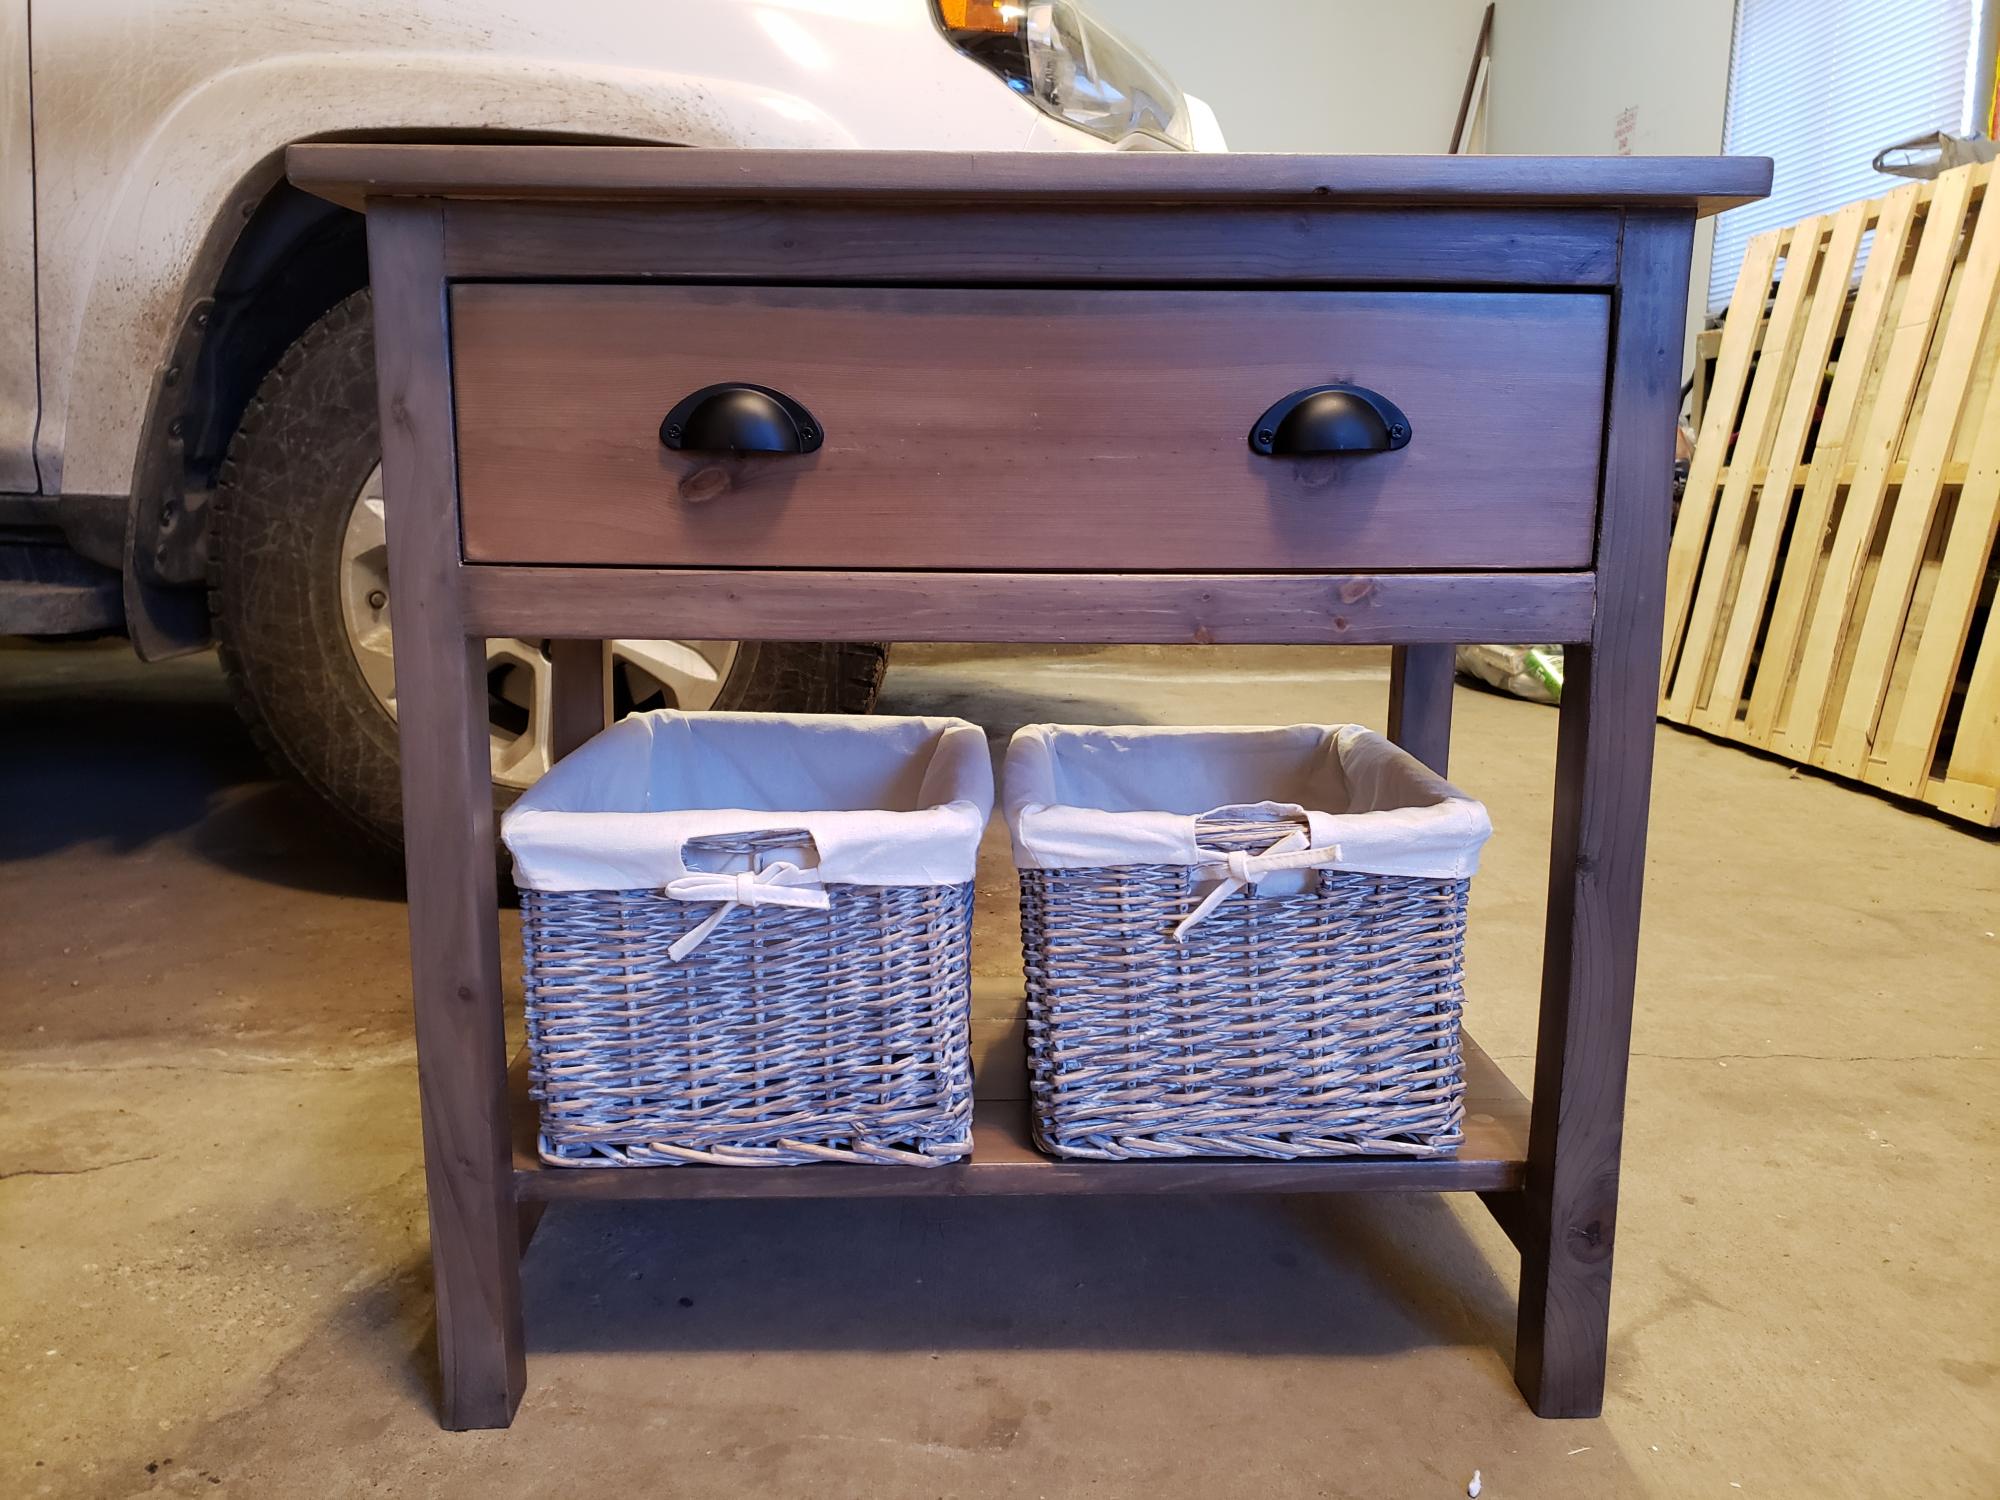
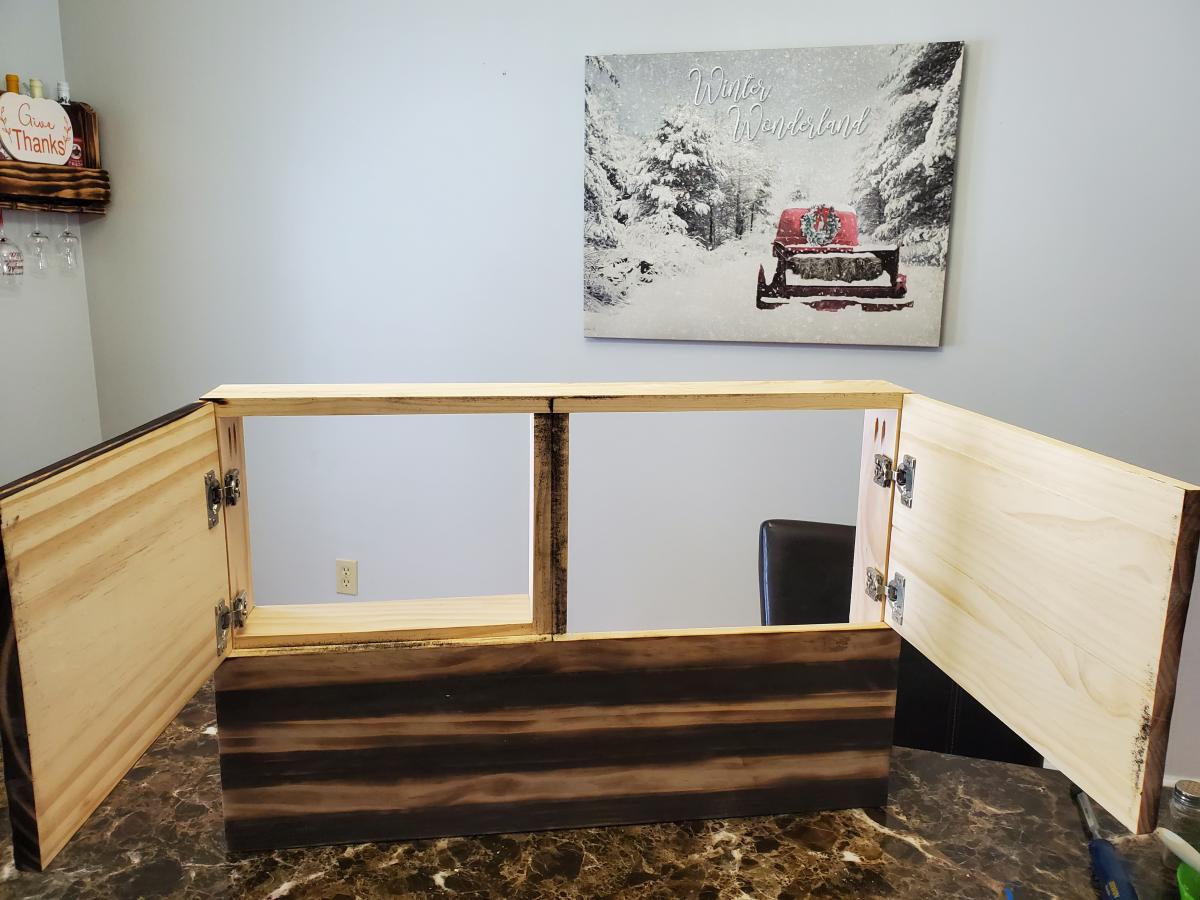
This was made for a bedroom at our cabin. Nice extra large drawer and storage baskets. My favorite finish colors so far!
Estimated Cost
50$ not including baskets
Estimated Time Investment
Day Project (6-9 Hours)
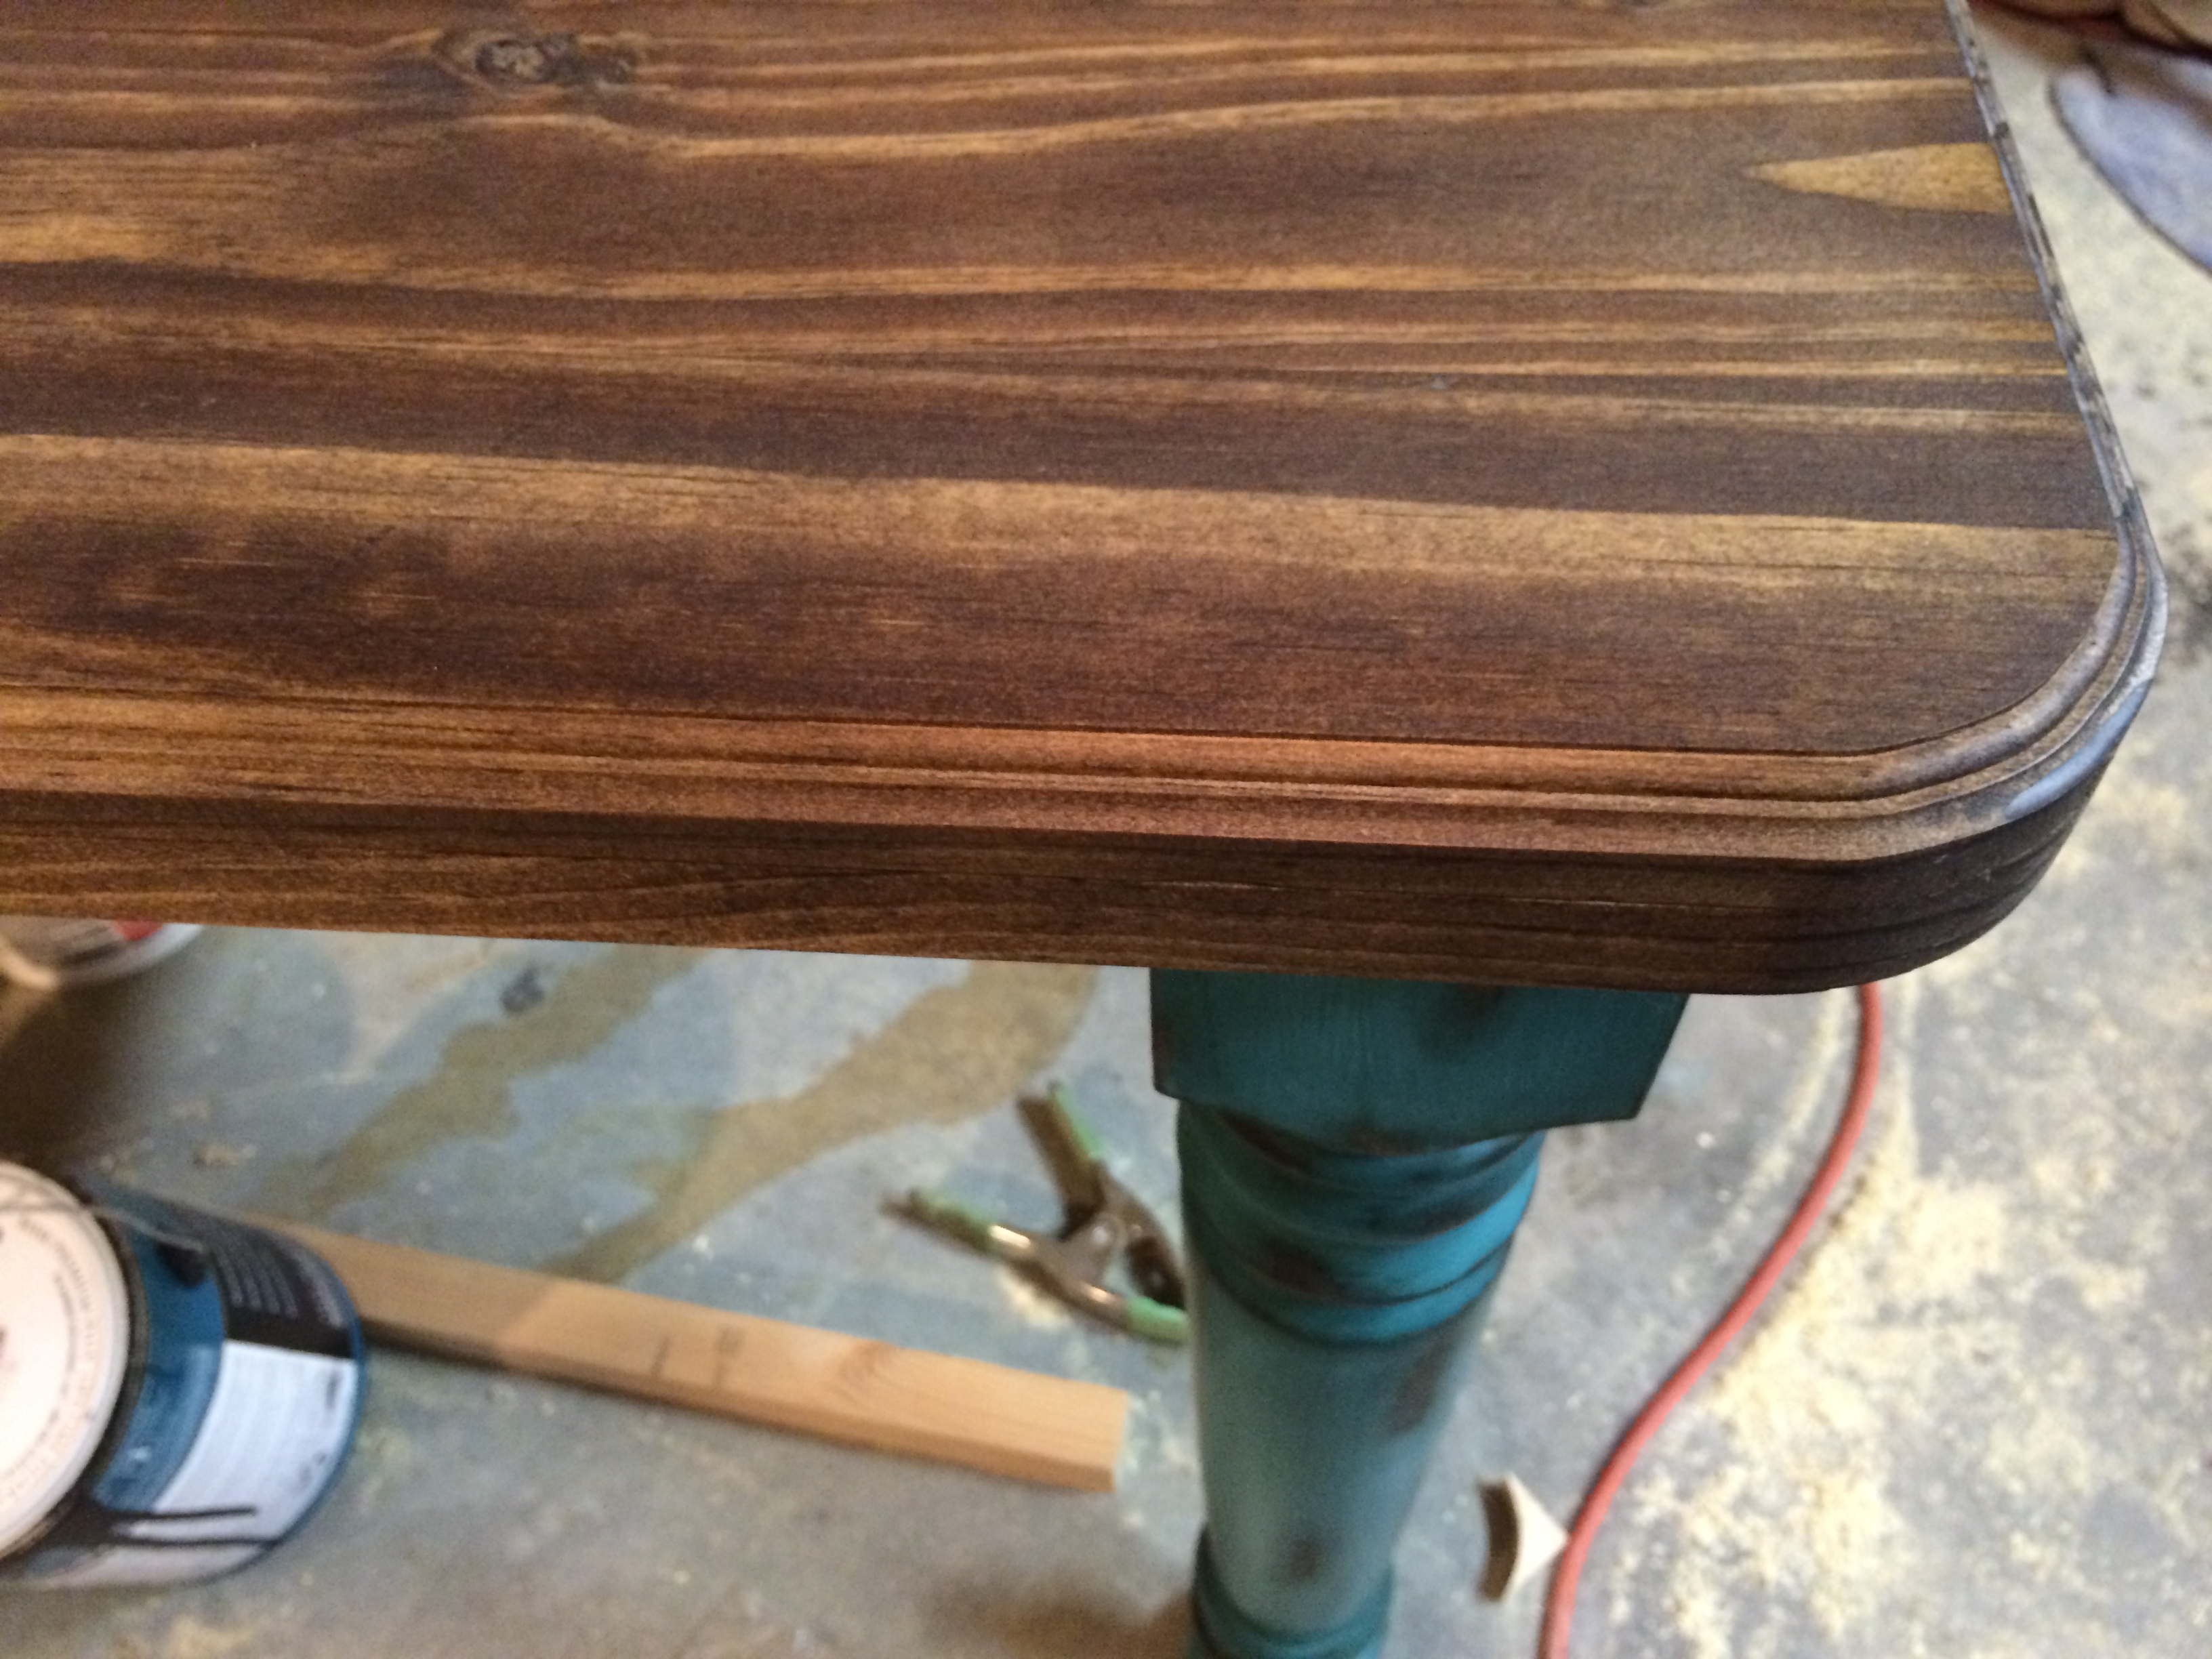
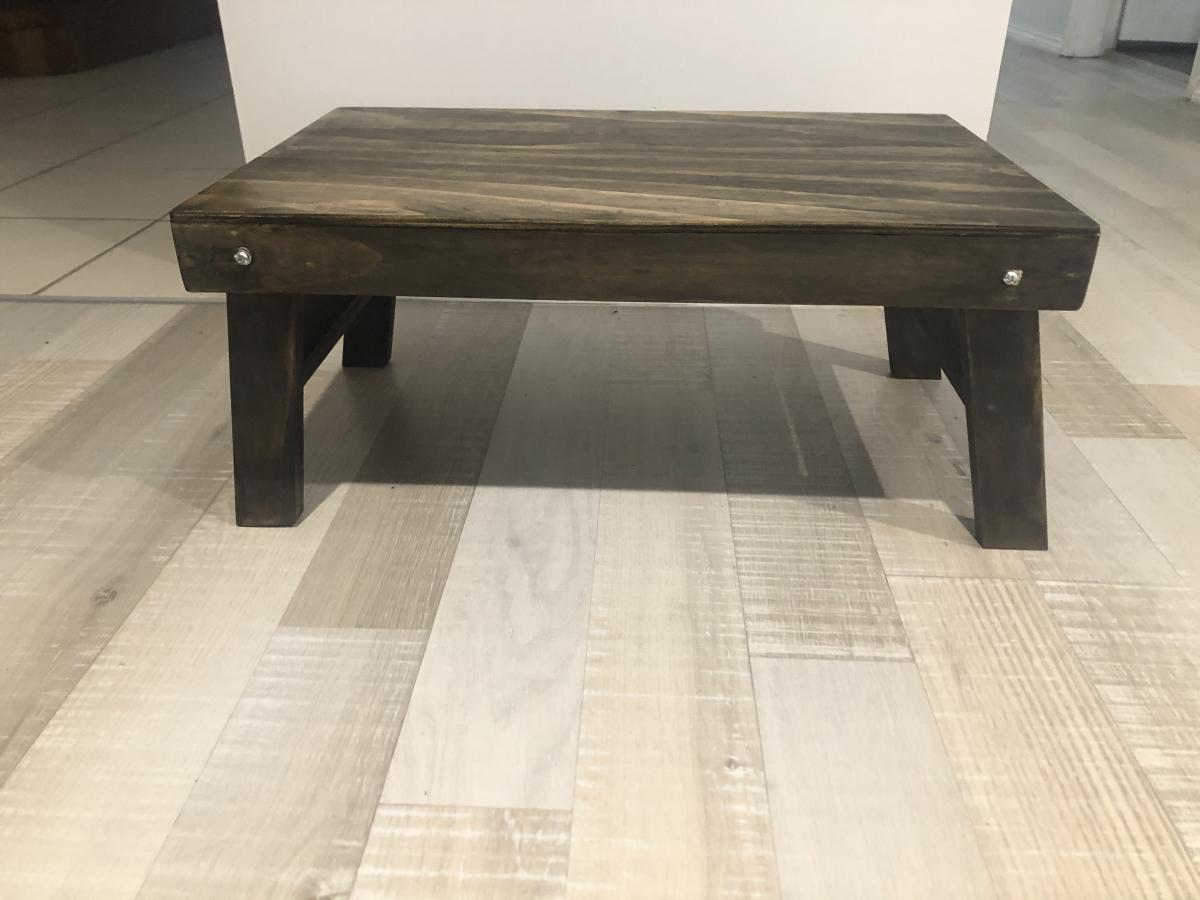
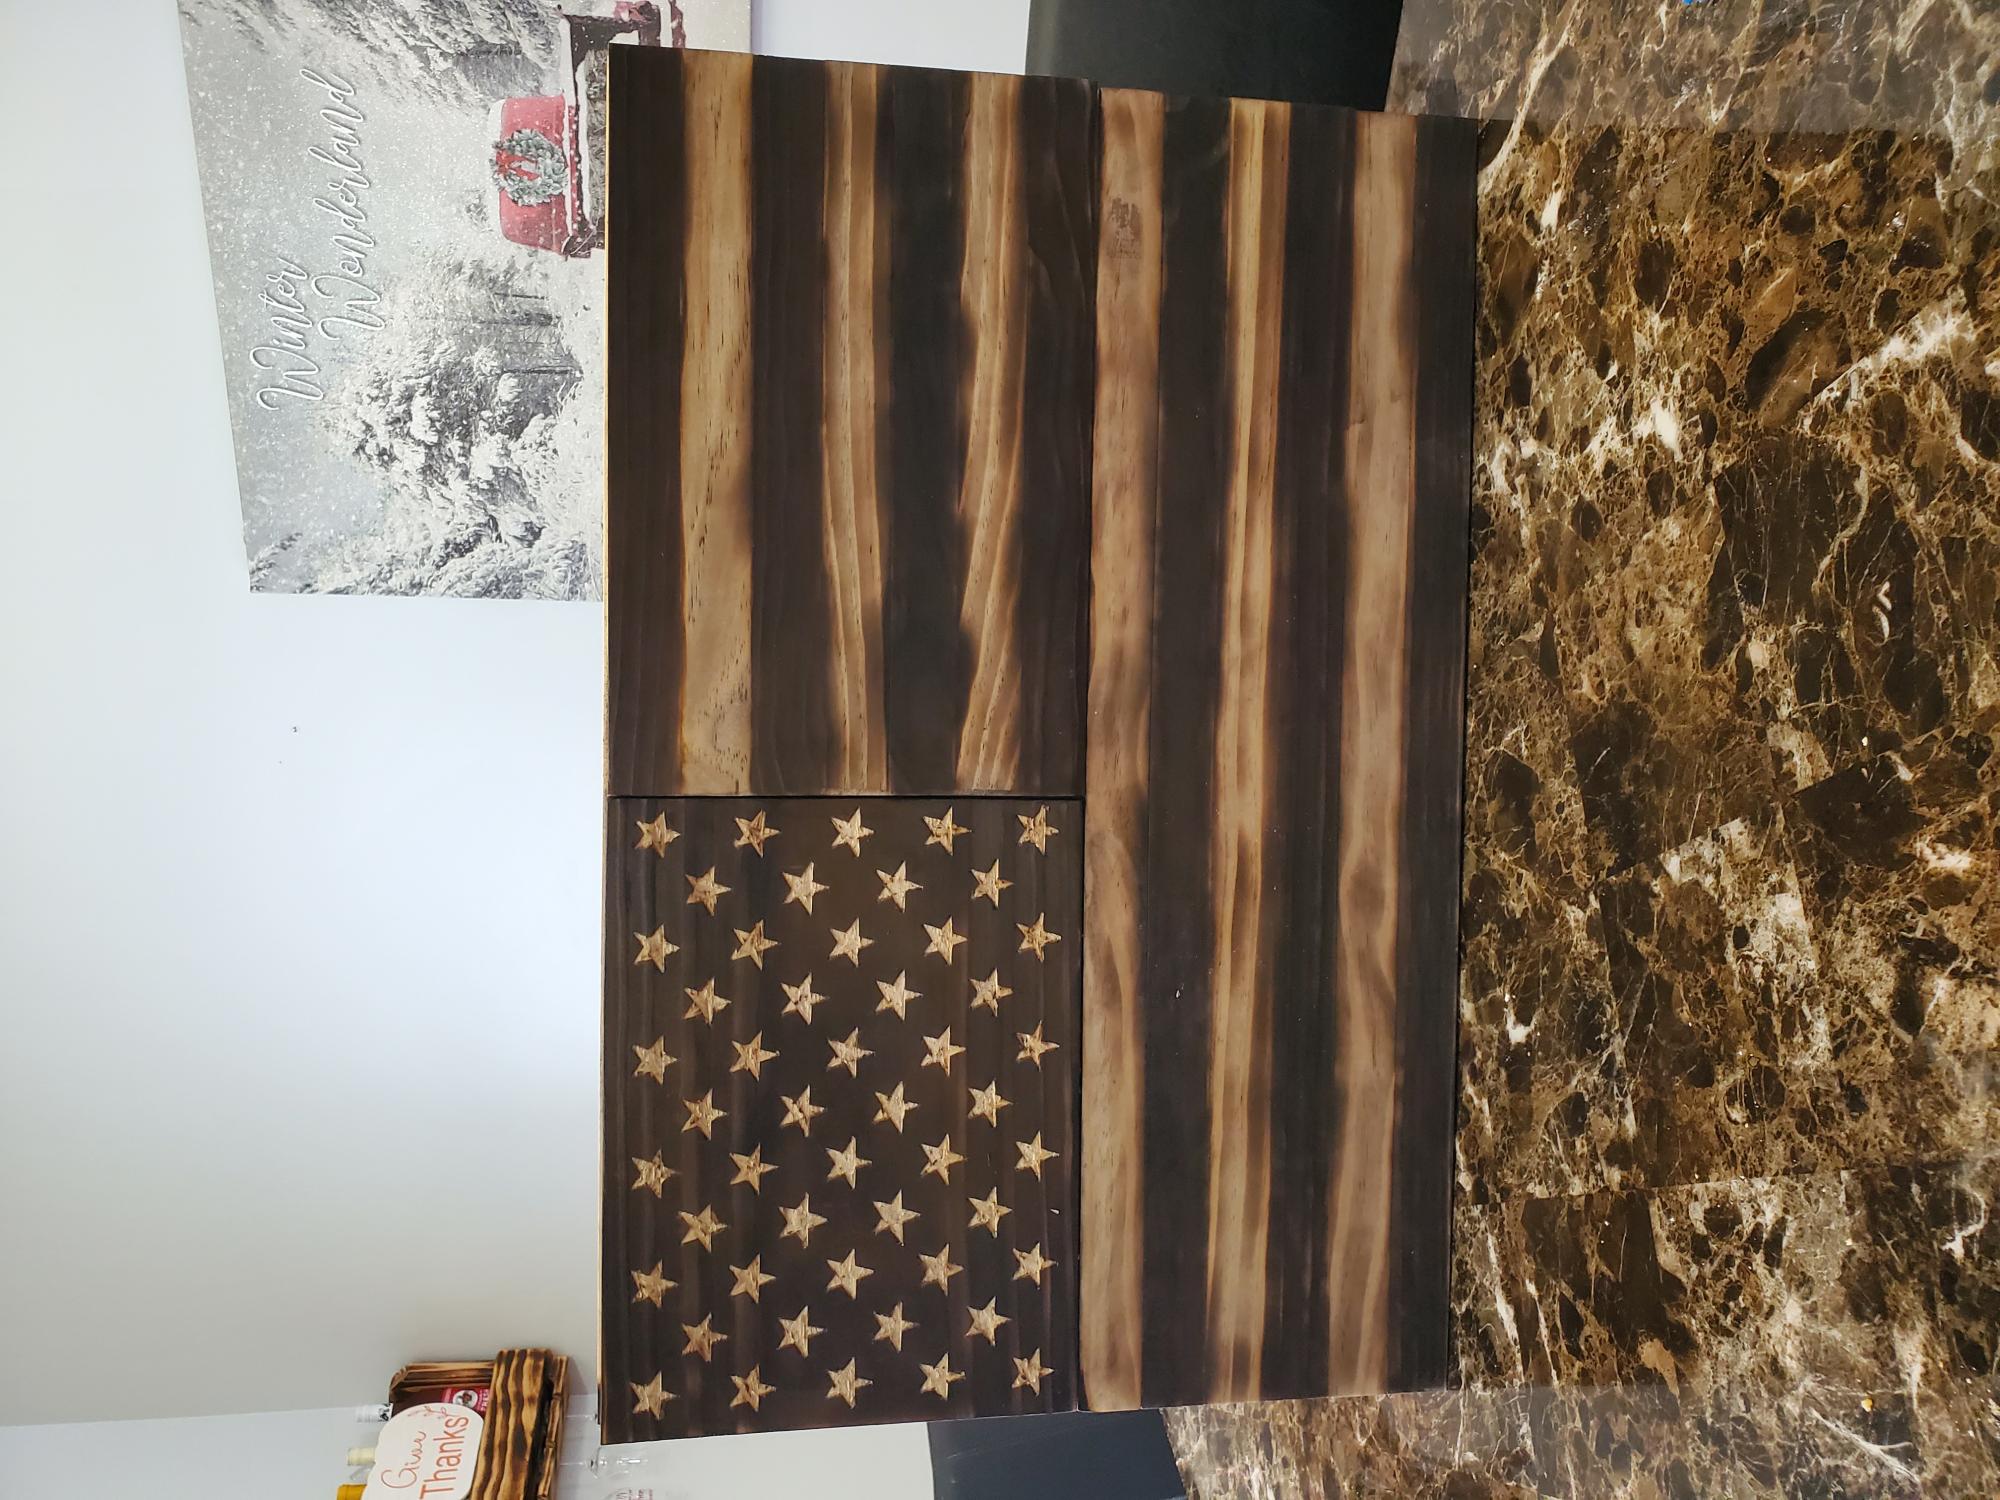
Finish Used
Strong tea, with steel wool and vinegar and sealed with clear varathane
Recommended Skill Level
Beginner


Comments
newbiebramma
Mon, 12/21/2020 - 11:41
I used a bar of soap to make…
I used a bar of soap to make the drawer slide nicely