Community Brag Posts
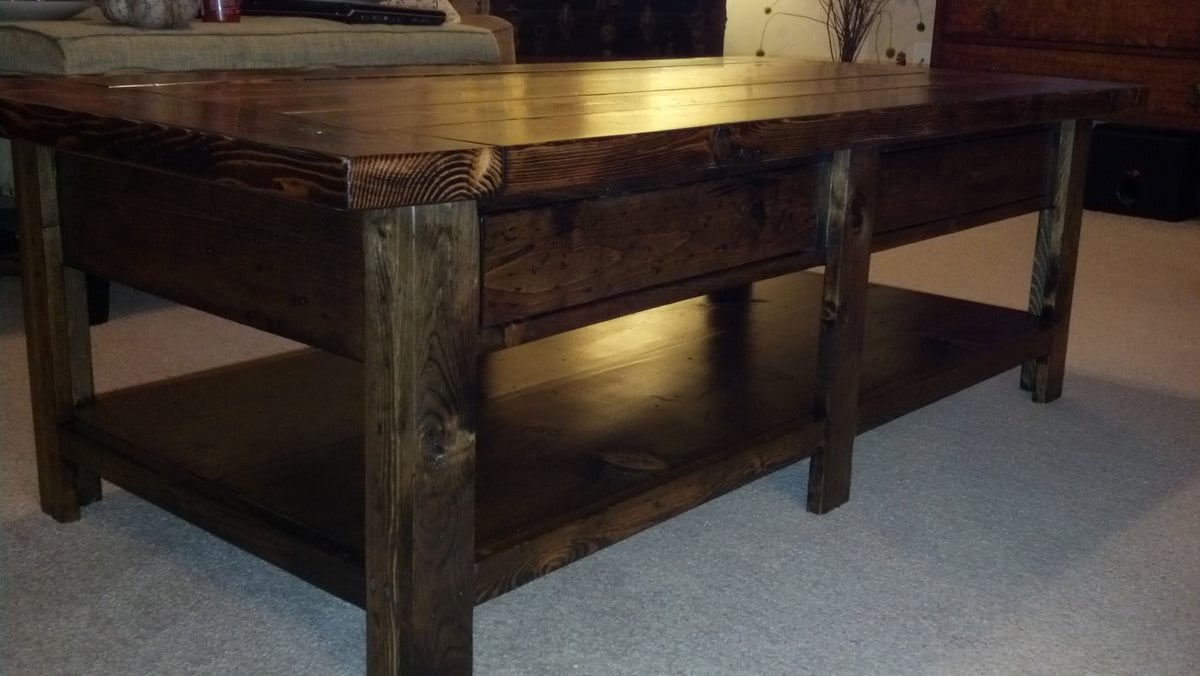
Benchwright Coffee Table

Benchwright Coffee Table. Minwax Dark Walnut & Satin Polyurethane

Built from Plan(s)
Estimated Cost
140
Estimated Time Investment
Week Long Project (20 Hours or More)
Finish Used
Distressed with hammers, nails, screws, etc. Used Minwax Pre-stain conditioner followed by two coats of Minwax Dark Walnut Stain and 3 coats of Minwax Satin Polyurethane.
Recommended Skill Level
Intermediate
First Piece
I broke down and got the pocket hole jig... easily cut this project's time in half
Needed a few different types of screws than listed in the plan
Built from Plan(s)
Estimated Time Investment
Afternoon Project (3-6 Hours)
Finish Used
Non eyet
Recommended Skill Level
Beginner
Comments
Mon, 09/08/2014 - 08:32
Looks beautiful!
oh my -- I HAVE to make one too! How are you going to finish?
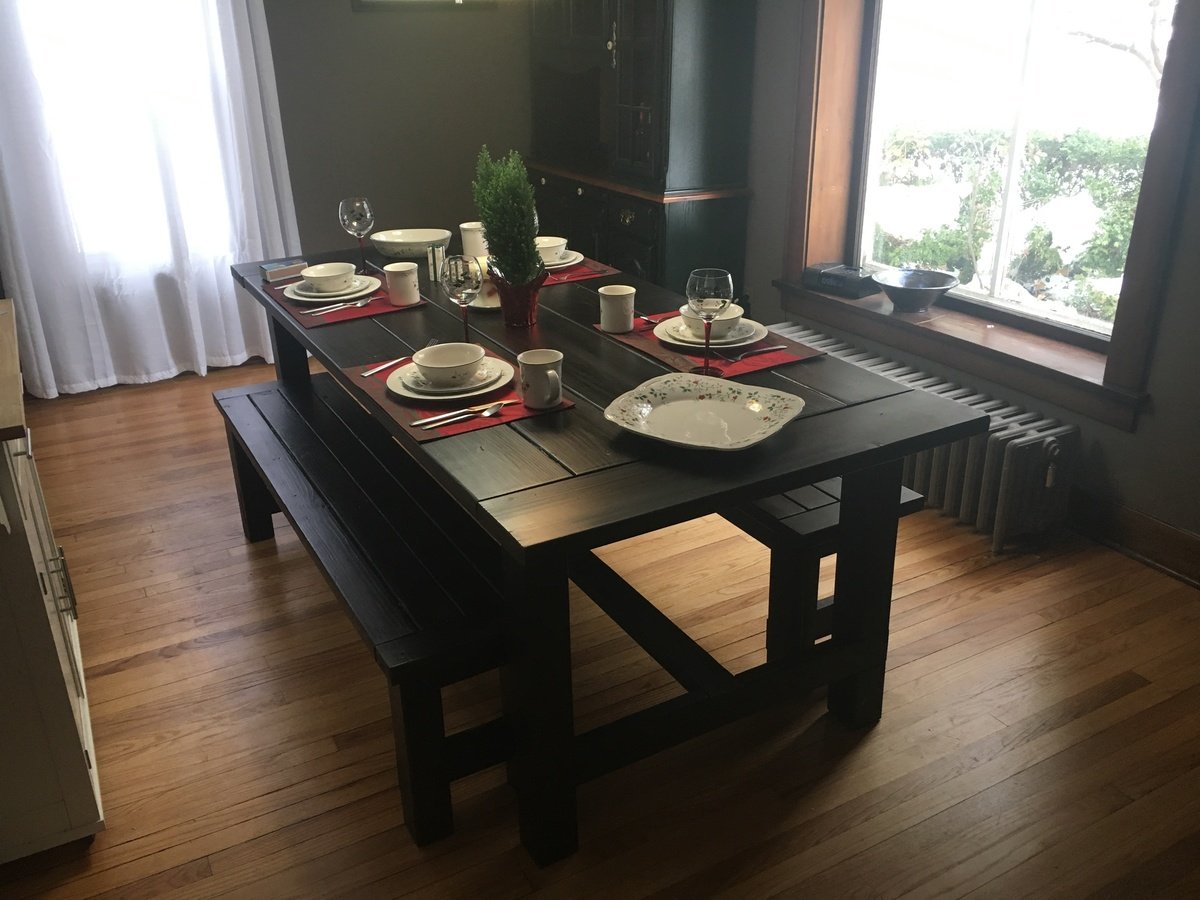
Farmhouse Table and Benches

After shopping for a dining room table with my wife in mid November, I came to the realization that I could make a table like the ones being sold at the store for a fraction of the price. I spent some time surfing the web looking for farmhouse table designs when I stumbled upon Ana's website. The Farmhouse table (pocket hole updated version) really jumped out at me as something that I could accomplish as a person who had never worked with wood before. So starting the Friday after Thanksgiving I began building the table in secret, as I planned to surprise my wife with it for christmas.
Feeling ambious, I decided to add two of the farmhouse benches to my workload thinking it would make my surprise all the better. After a lot of long nights, I was able to complete the benches and table as well as stain and add a couple coats of polyurethane just in the nick of time. My wife was very surprised and couldn't be happier with out the table turned out. I can't wait to try more Ana White projects!
Built from Plan(s)
Estimated Time Investment
Week Long Project (20 Hours or More)
Finish Used
Varathane Kona Stain. (because of fir's poor stain absorption properties, I treated the stain as a paint. I put on a layer of stain and never wiped it off. It took about two days for the stain to dry this way)
Minwax Clear Satin polyurethane. ( 3 coats on the base and benches, 4 coats on the table top. sanded with 220 grit between coats)
Minwax Clear Satin polyurethane. ( 3 coats on the base and benches, 4 coats on the table top. sanded with 220 grit between coats)
Recommended Skill Level
Beginner
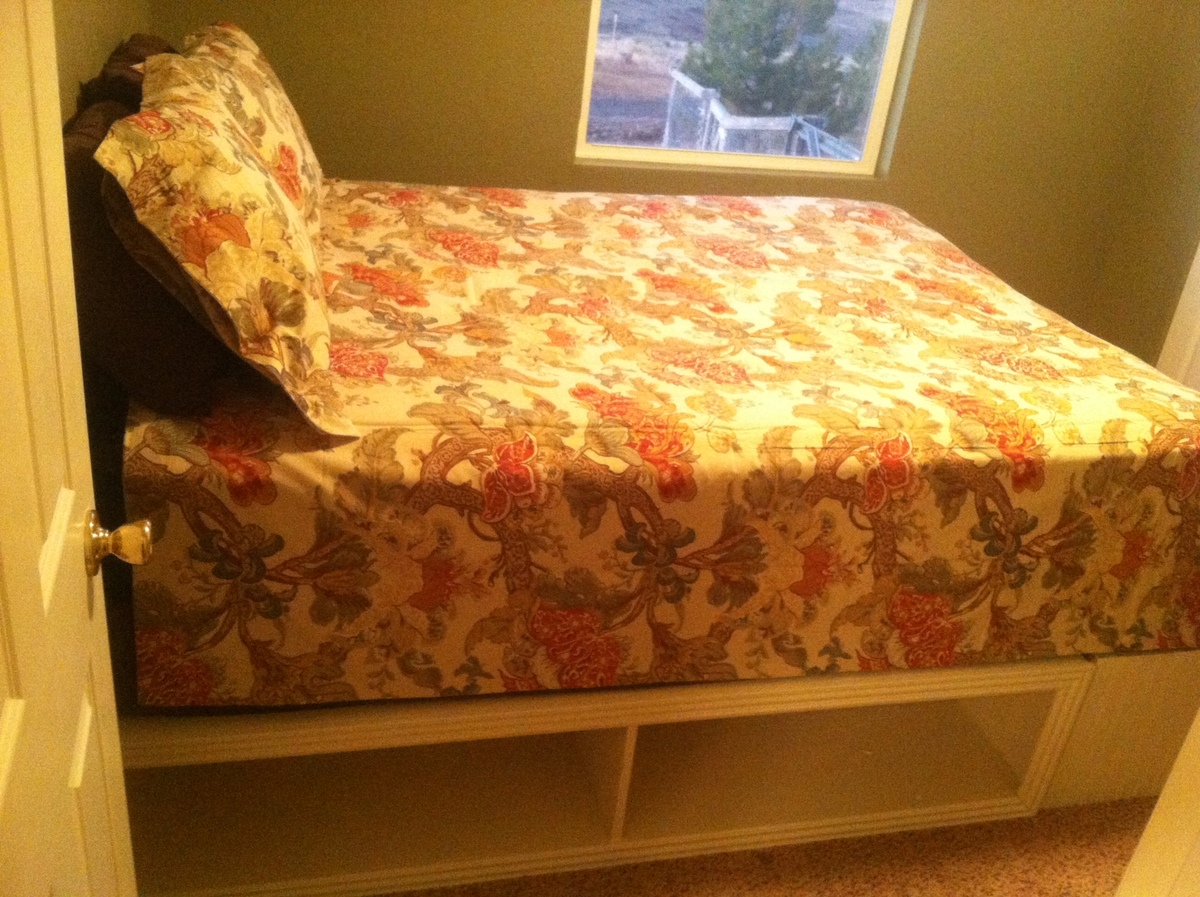
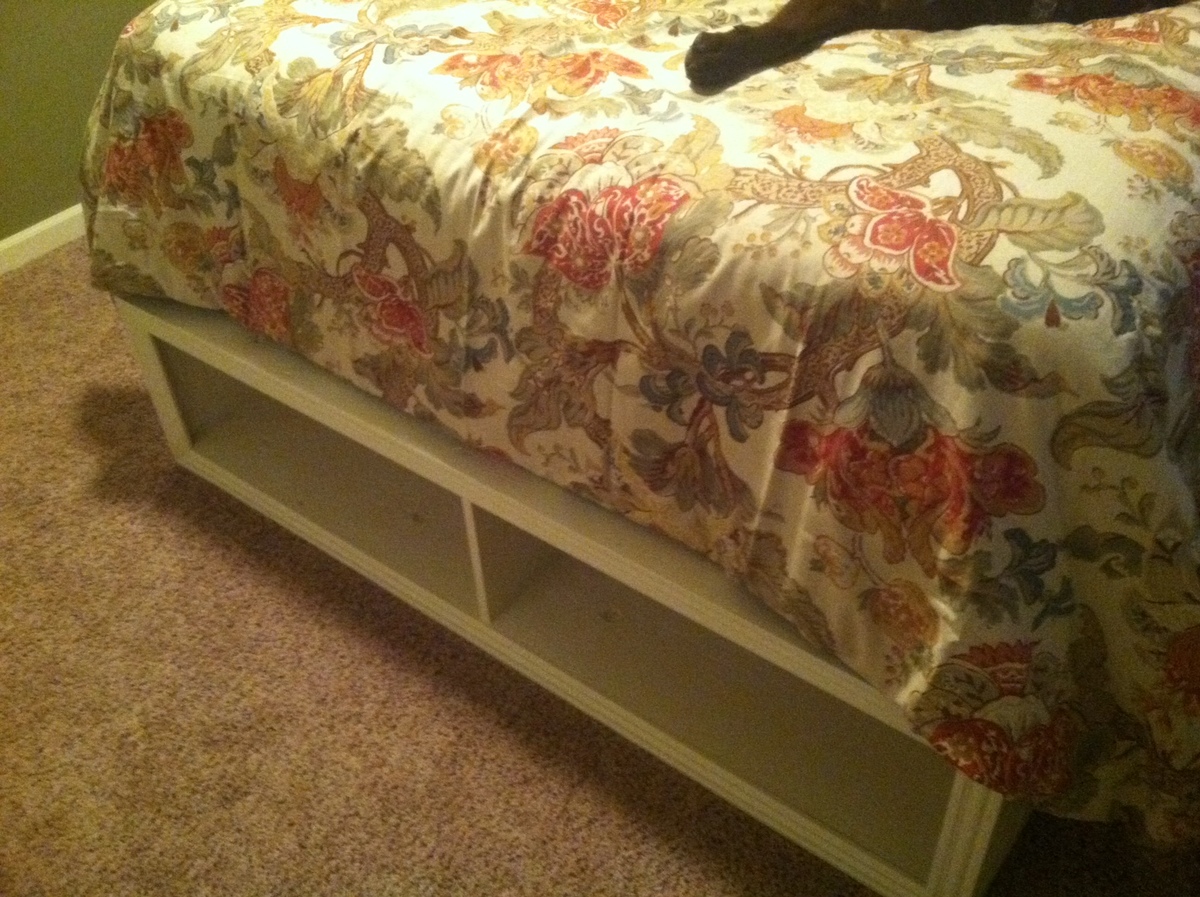
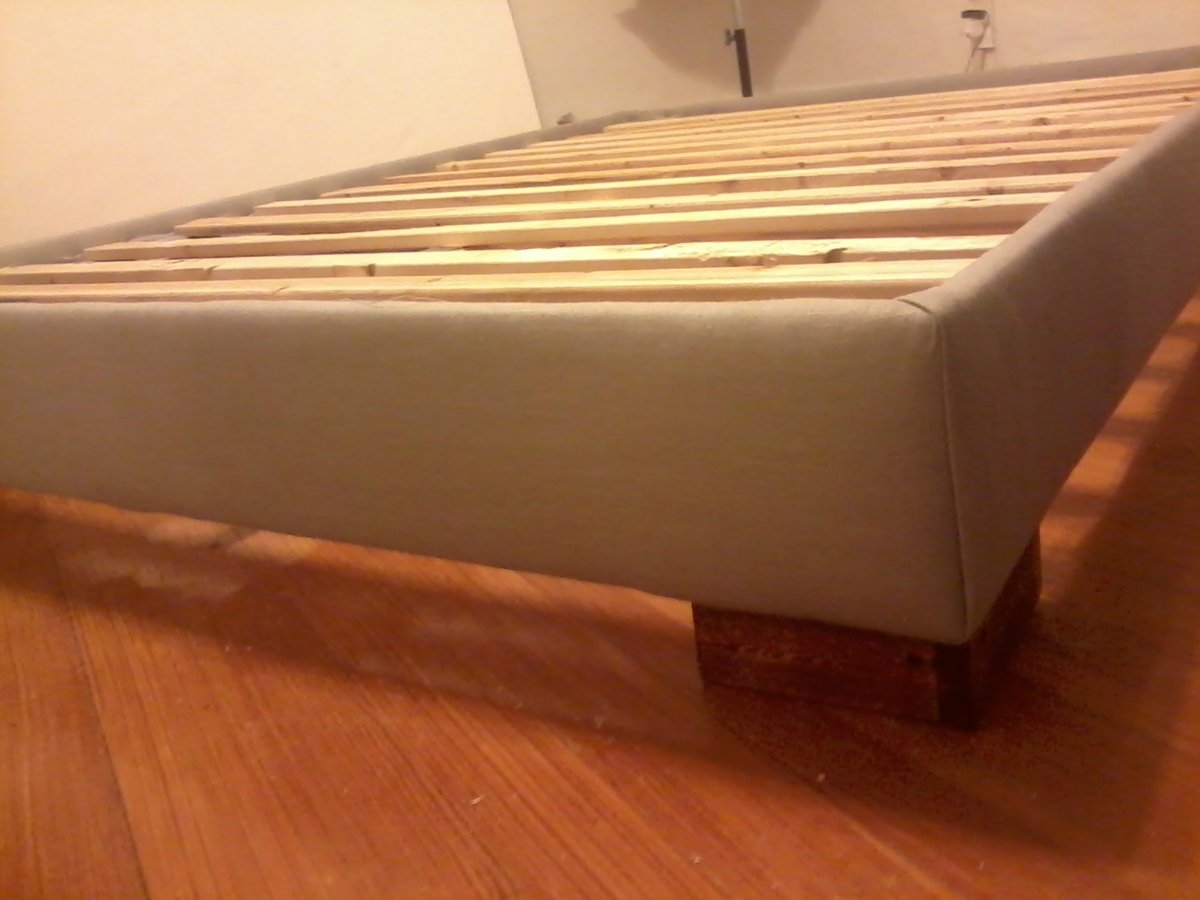
Queen size Storage Bed
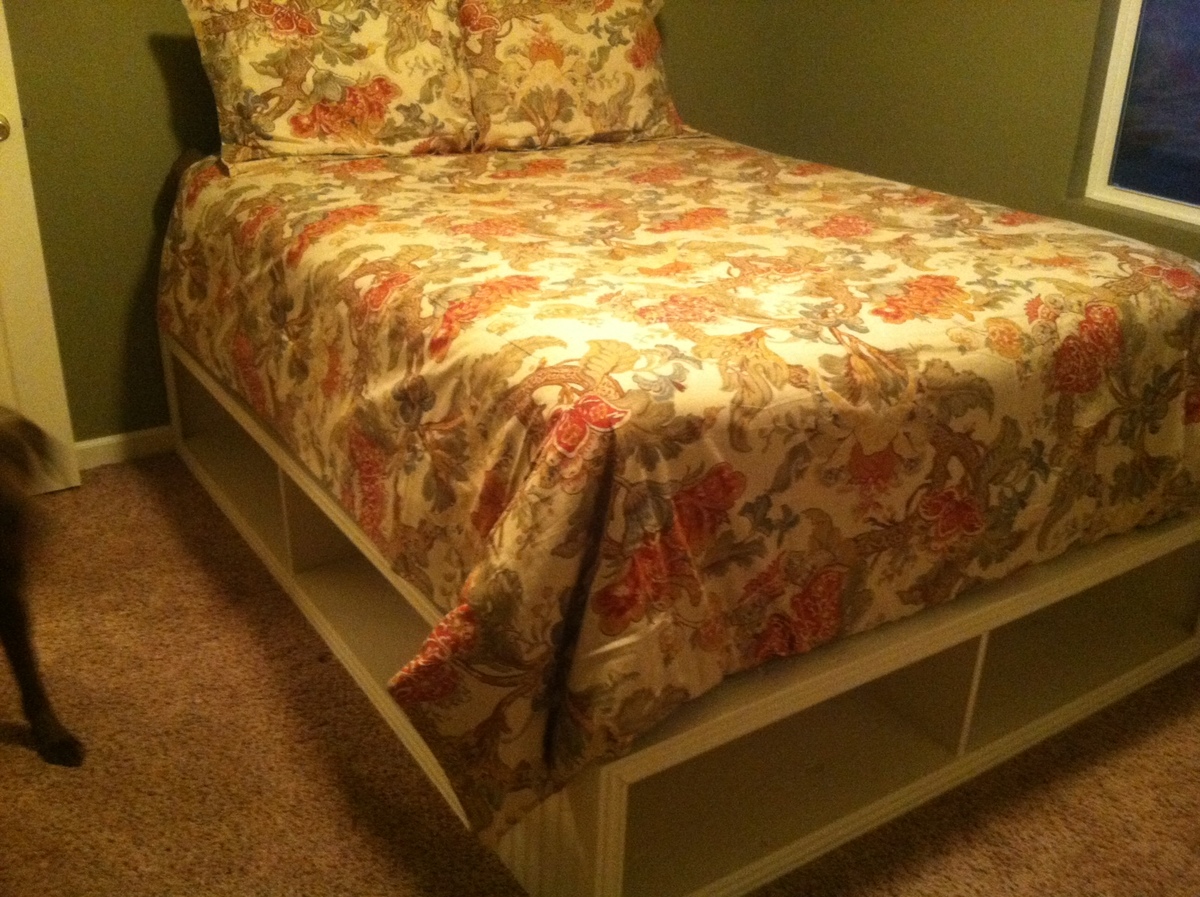
I couldn't find any queen sized plans on the website so I took a twin plan and modified it to fit a queen bed. There are a couple things I would do different such as use MDF instead of the plywood it called for. The plywood, even painted, appears very rough. Also, I am going to frame in the sides on the bench across the foot of the bed and leave some overhang to cover up the seam in the benches. Overall it was a very easy and smooth project. I am def investing in Kreg on my next project. Baskets will fill the empty space and a headboard is to come!
Estimated Cost
$250
Estimated Time Investment
Weekend Project (10-20 Hours)
Finish Used
Off white paint
Recommended Skill Level
Beginner
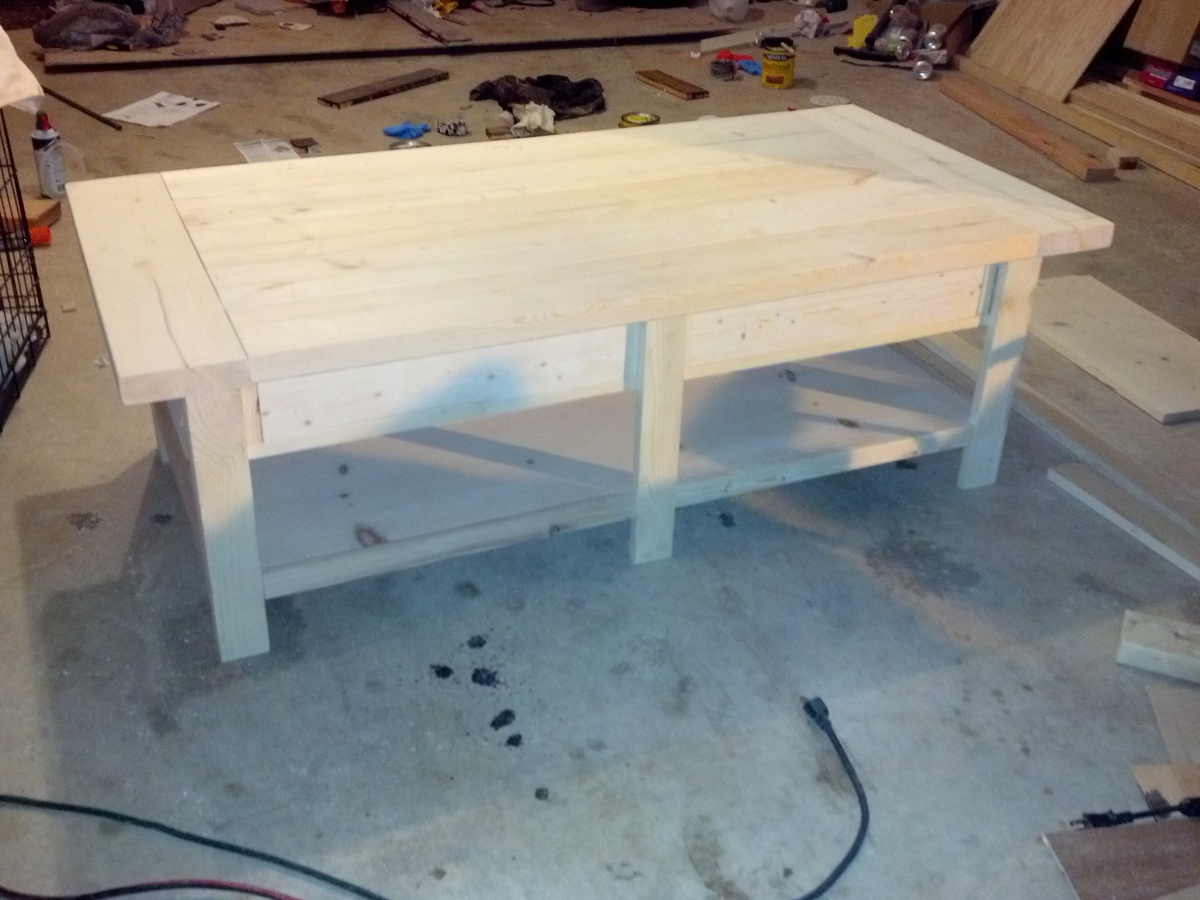
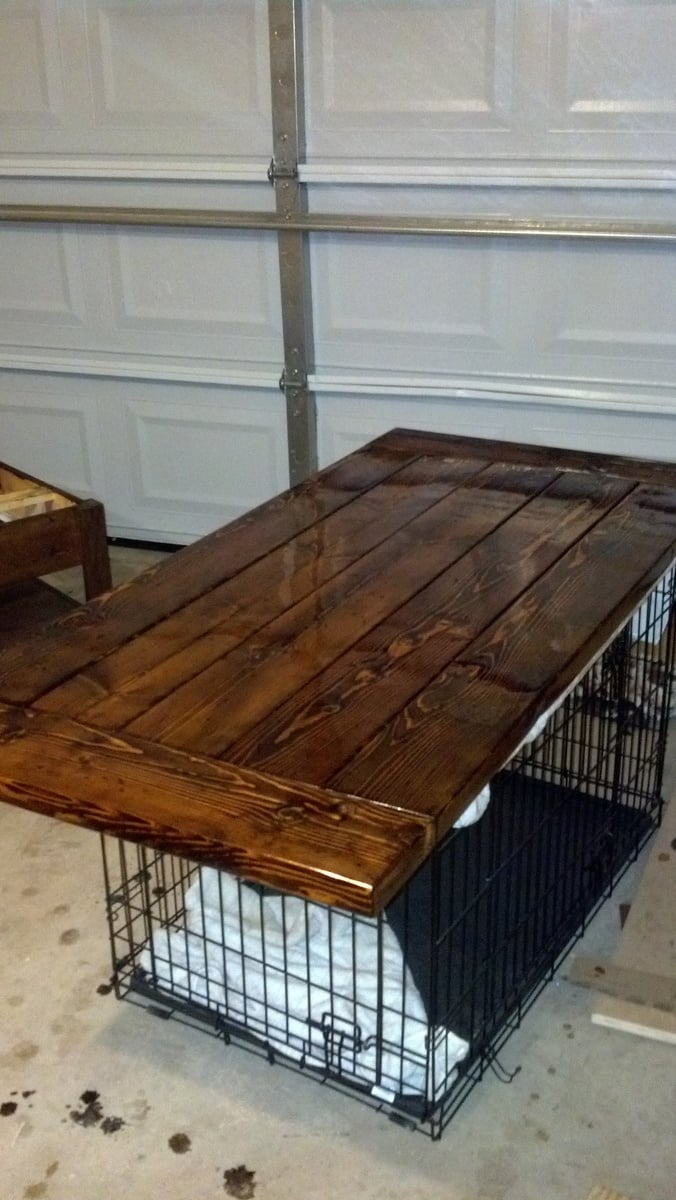
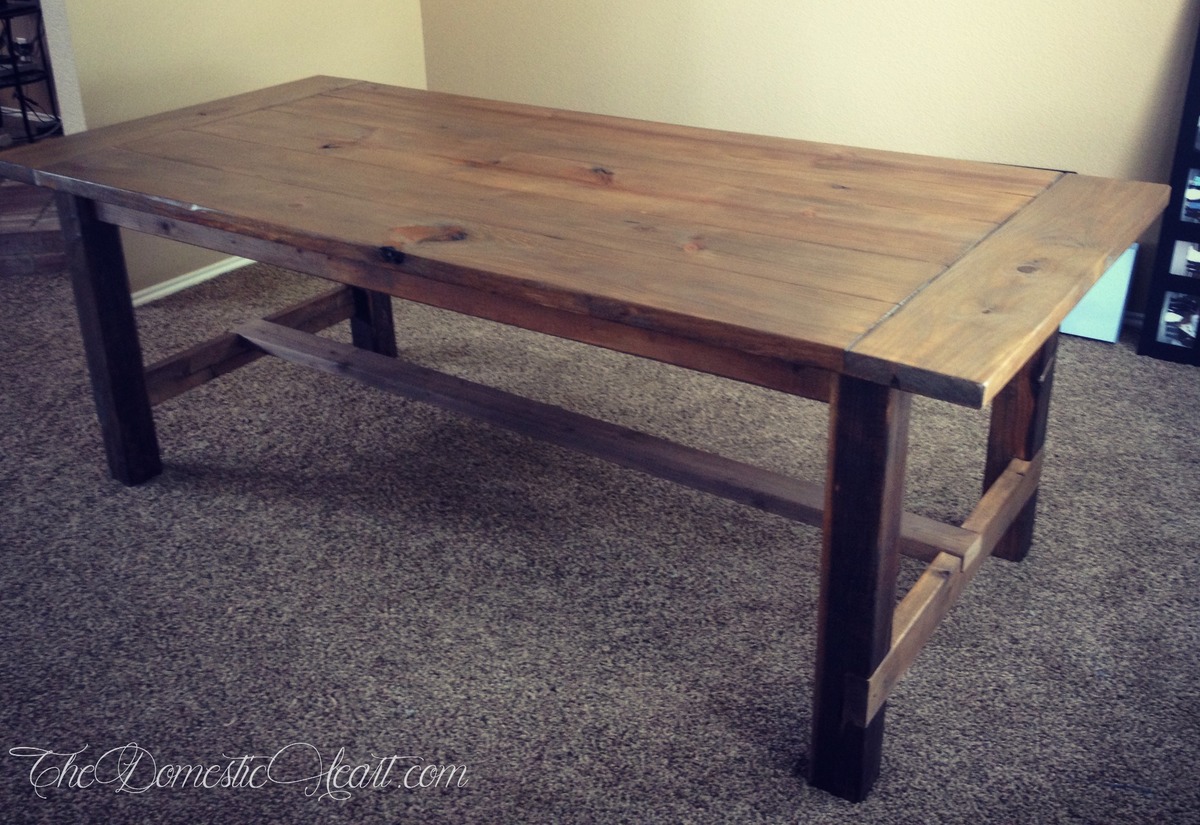
DIY Farmhouse Dining Table
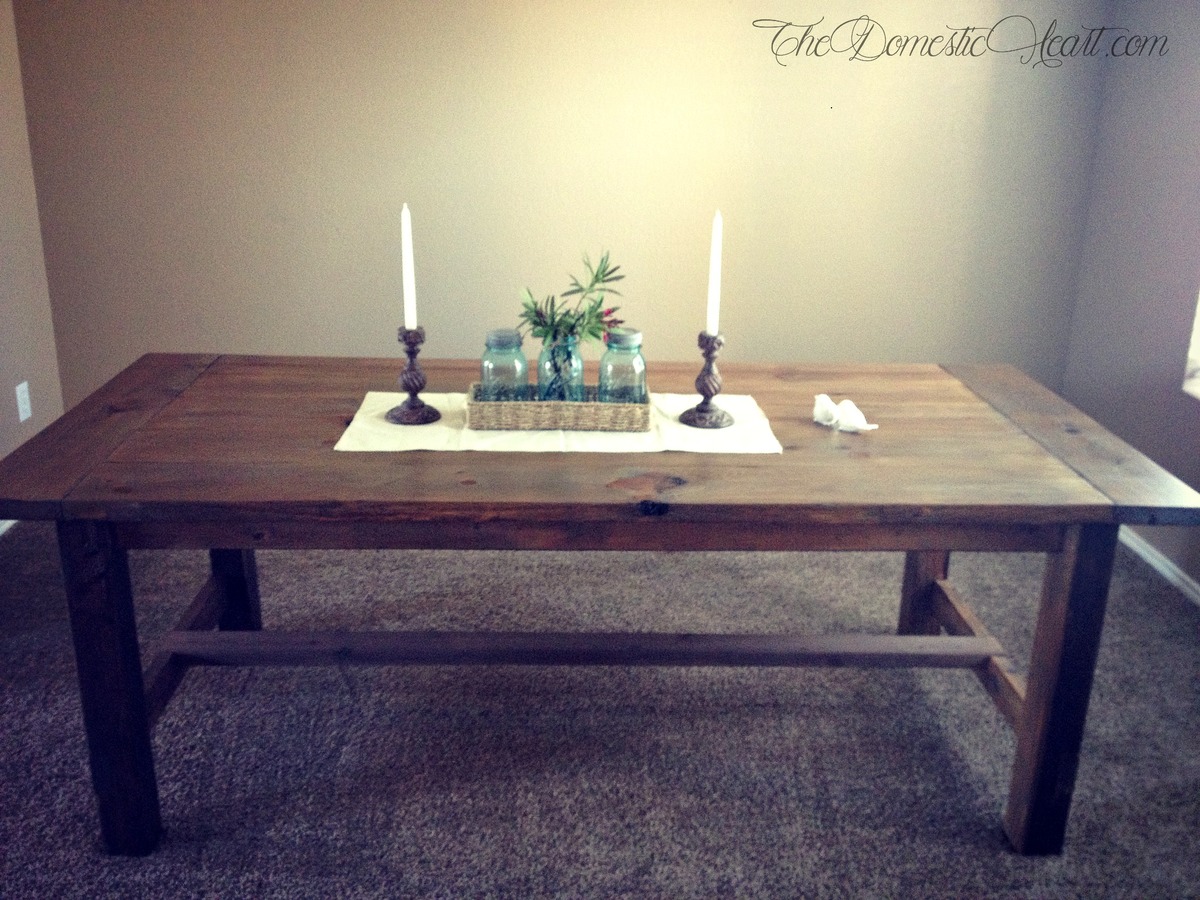
Lots of projects going on around here, but today I’m sharing my farmhouse dining table I built a little over a year ago (waaay before this blog!). This was my very first woodworking project. I did happen to snap a few photos of the process – sorry about the poor quality, these were taken with my phone!
The wood for building this table was around $100! I think Pottery Barn was selling this table for around $1800 at the time. Mine might not look identical, but for the cost differential, I’m a happy camper!
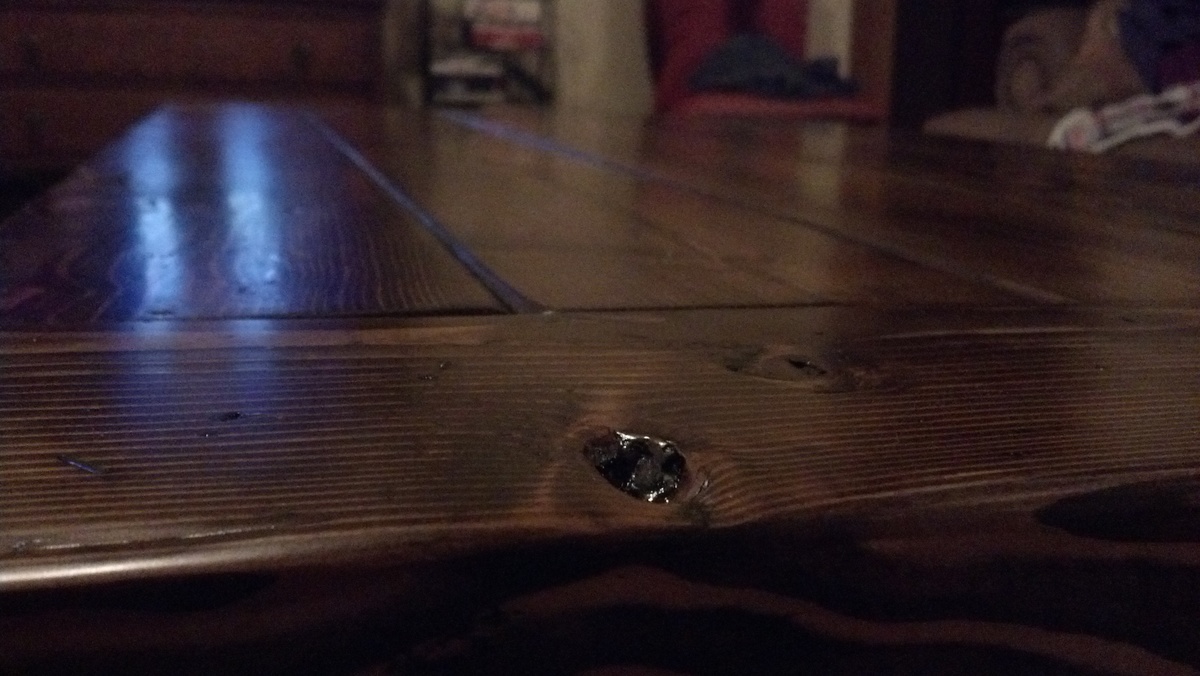
For the stain I really wanted to create a natural-looking aged finish so I used the old steel wool and vinegar treatment.
Built from Plan(s)
Estimated Cost
$100-$120
Estimated Time Investment
Day Project (6-9 Hours)
Finish Used
Tea stain with steel wool and vinegar treatment. See the details of the finish on my blog.
Recommended Skill Level
Beginner
Braxtens bed
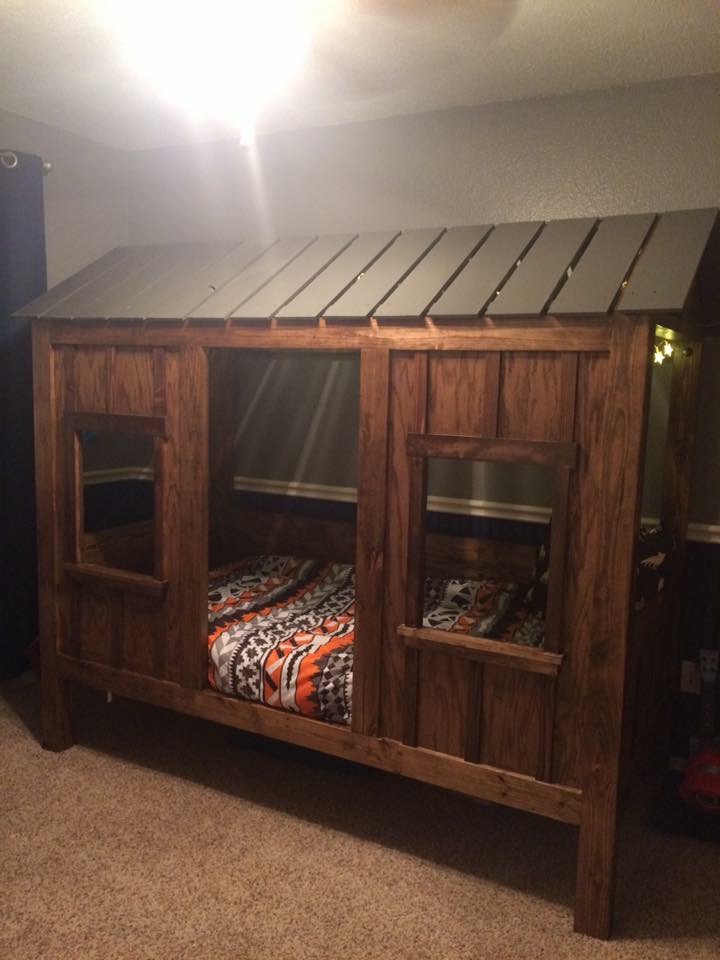
My son loves his new bed. It was his favorite part of Christmas. He now has his own little sanctuary to hide out in.
Built from Plan(s)
Estimated Cost
$500
Estimated Time Investment
Week Long Project (20 Hours or More)
Finish Used
Special walnut
Lots of sanding and pre stain
Lots of sanding and pre stain
Recommended Skill Level
Intermediate
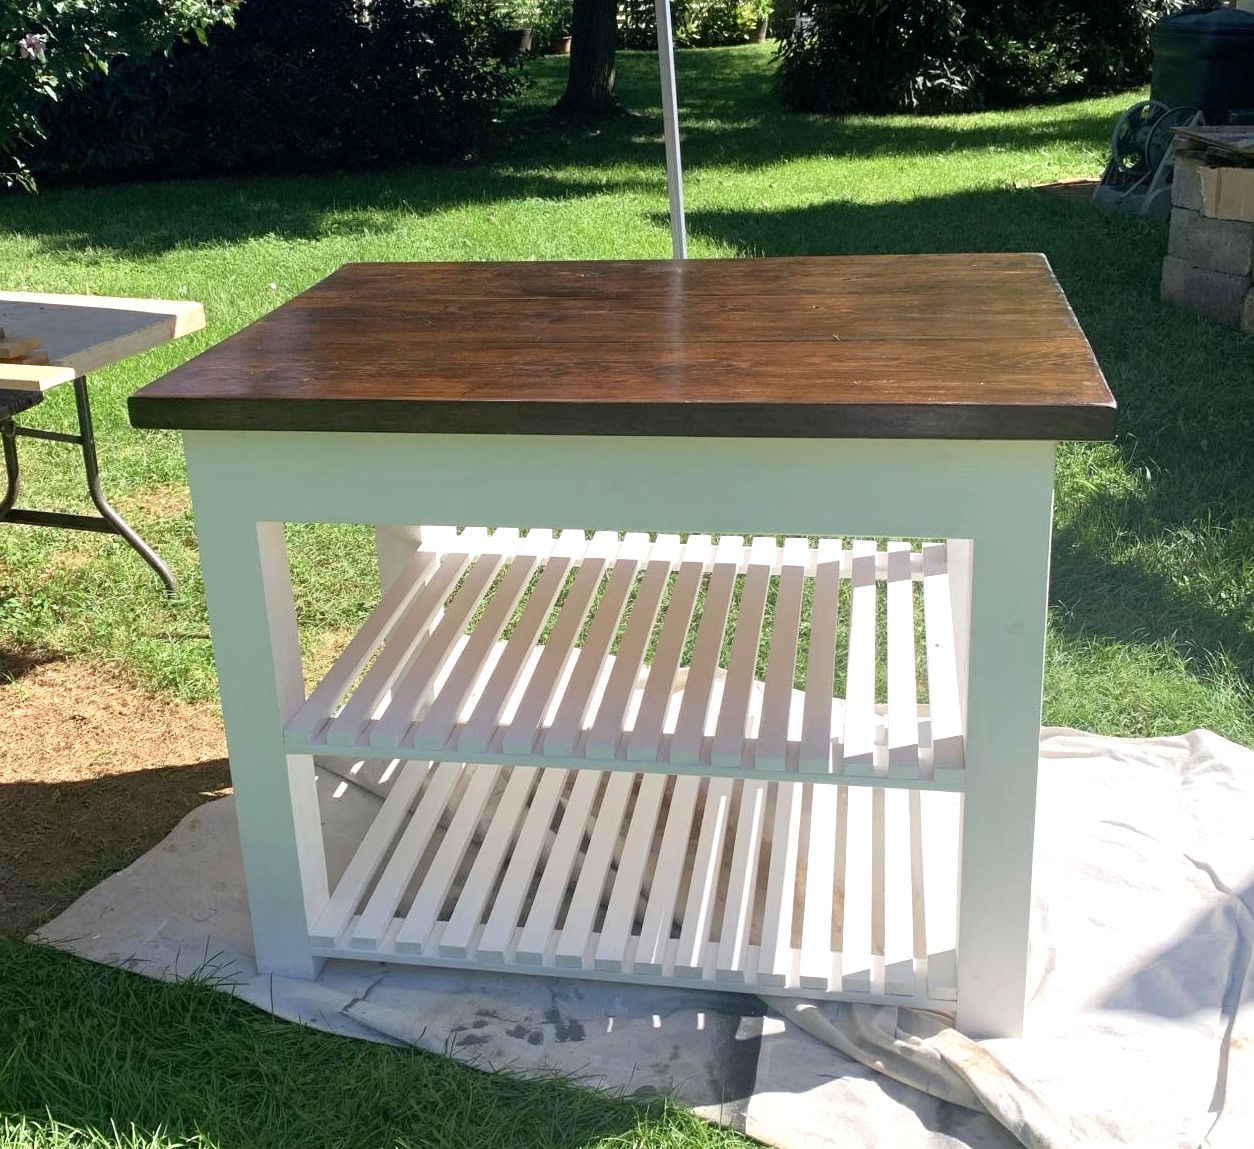
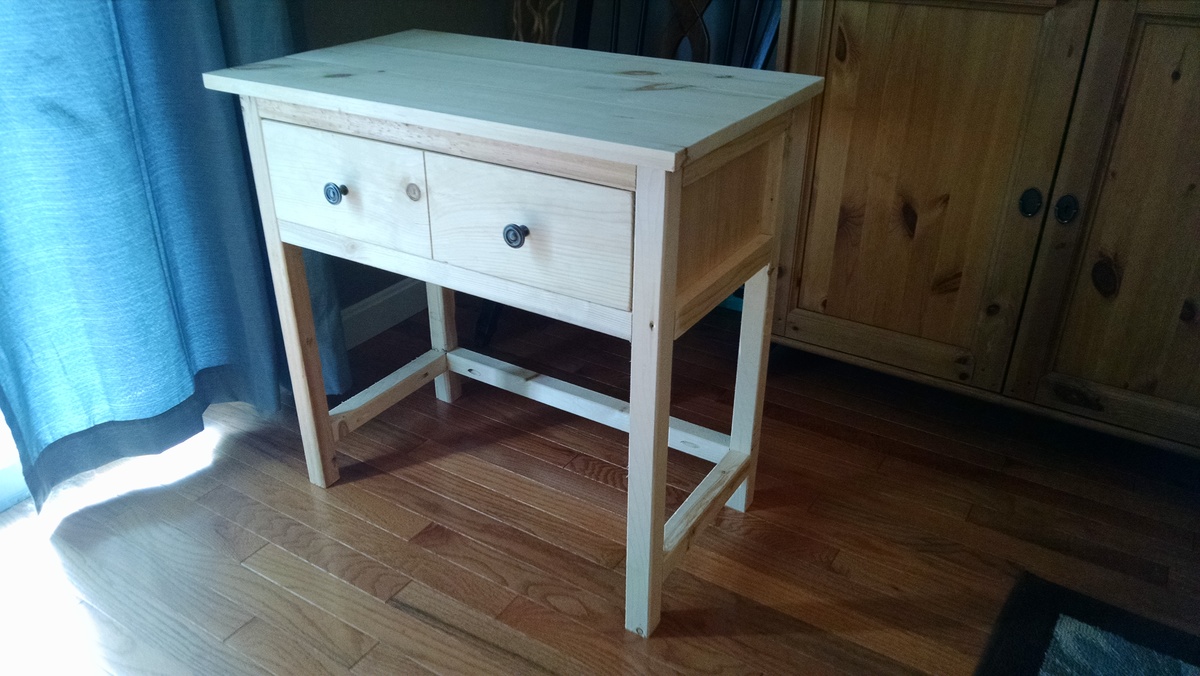
Storage for all those small kitchen appliances
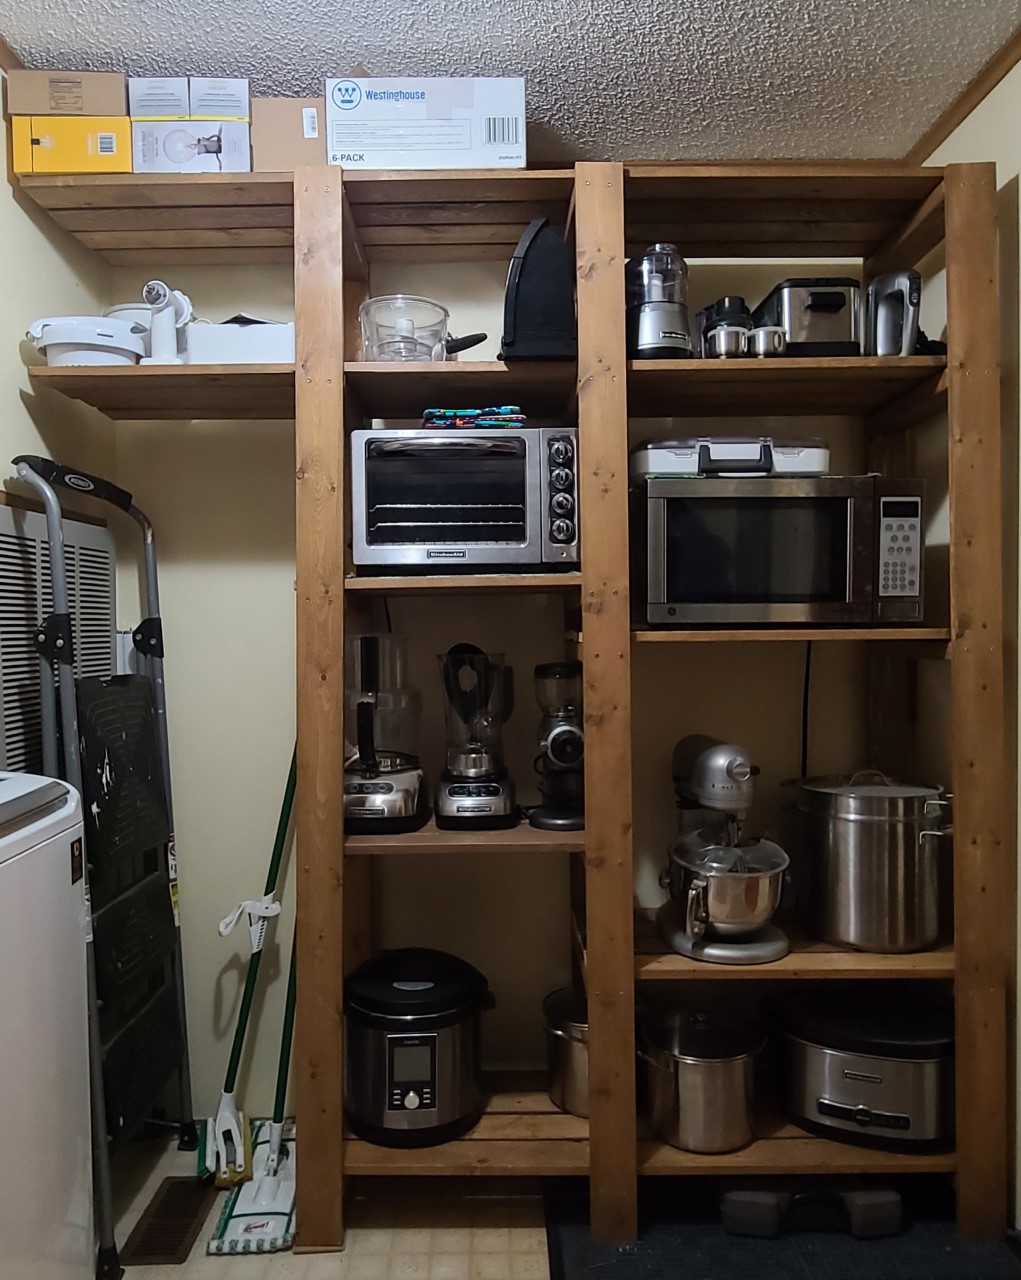
I needed a place to store my various countertop appliances other than my limited kitchen countertop. This plan seemed to work the best. My first furniture project.
Estimated Cost
$175
Estimated Time Investment
Weekend Project (10-20 Hours)
Finish Used
Minwax stain, "Fruitwood"
Recommended Skill Level
Beginner
Console Table

After completing this console table from Ana Whites' The Hand Built Home, I'm sold on doing more projects from this book! My wife has gone ahead and put sticky notes throughout the book on stuff she wants built! So pretty much I have all the projects in the book to complete. I also had guys at the fire department I work for make comments on how much they liked it. Keep the plans coming Ana!!

Estimated Time Investment
Weekend Project (10-20 Hours)
Finish Used
3 coats of Minwaxs' Polyshades (Stain & Polyurethane in 1 Step) Antique Walnut Gloss 440
Recommended Skill Level
Advanced
Country Desk
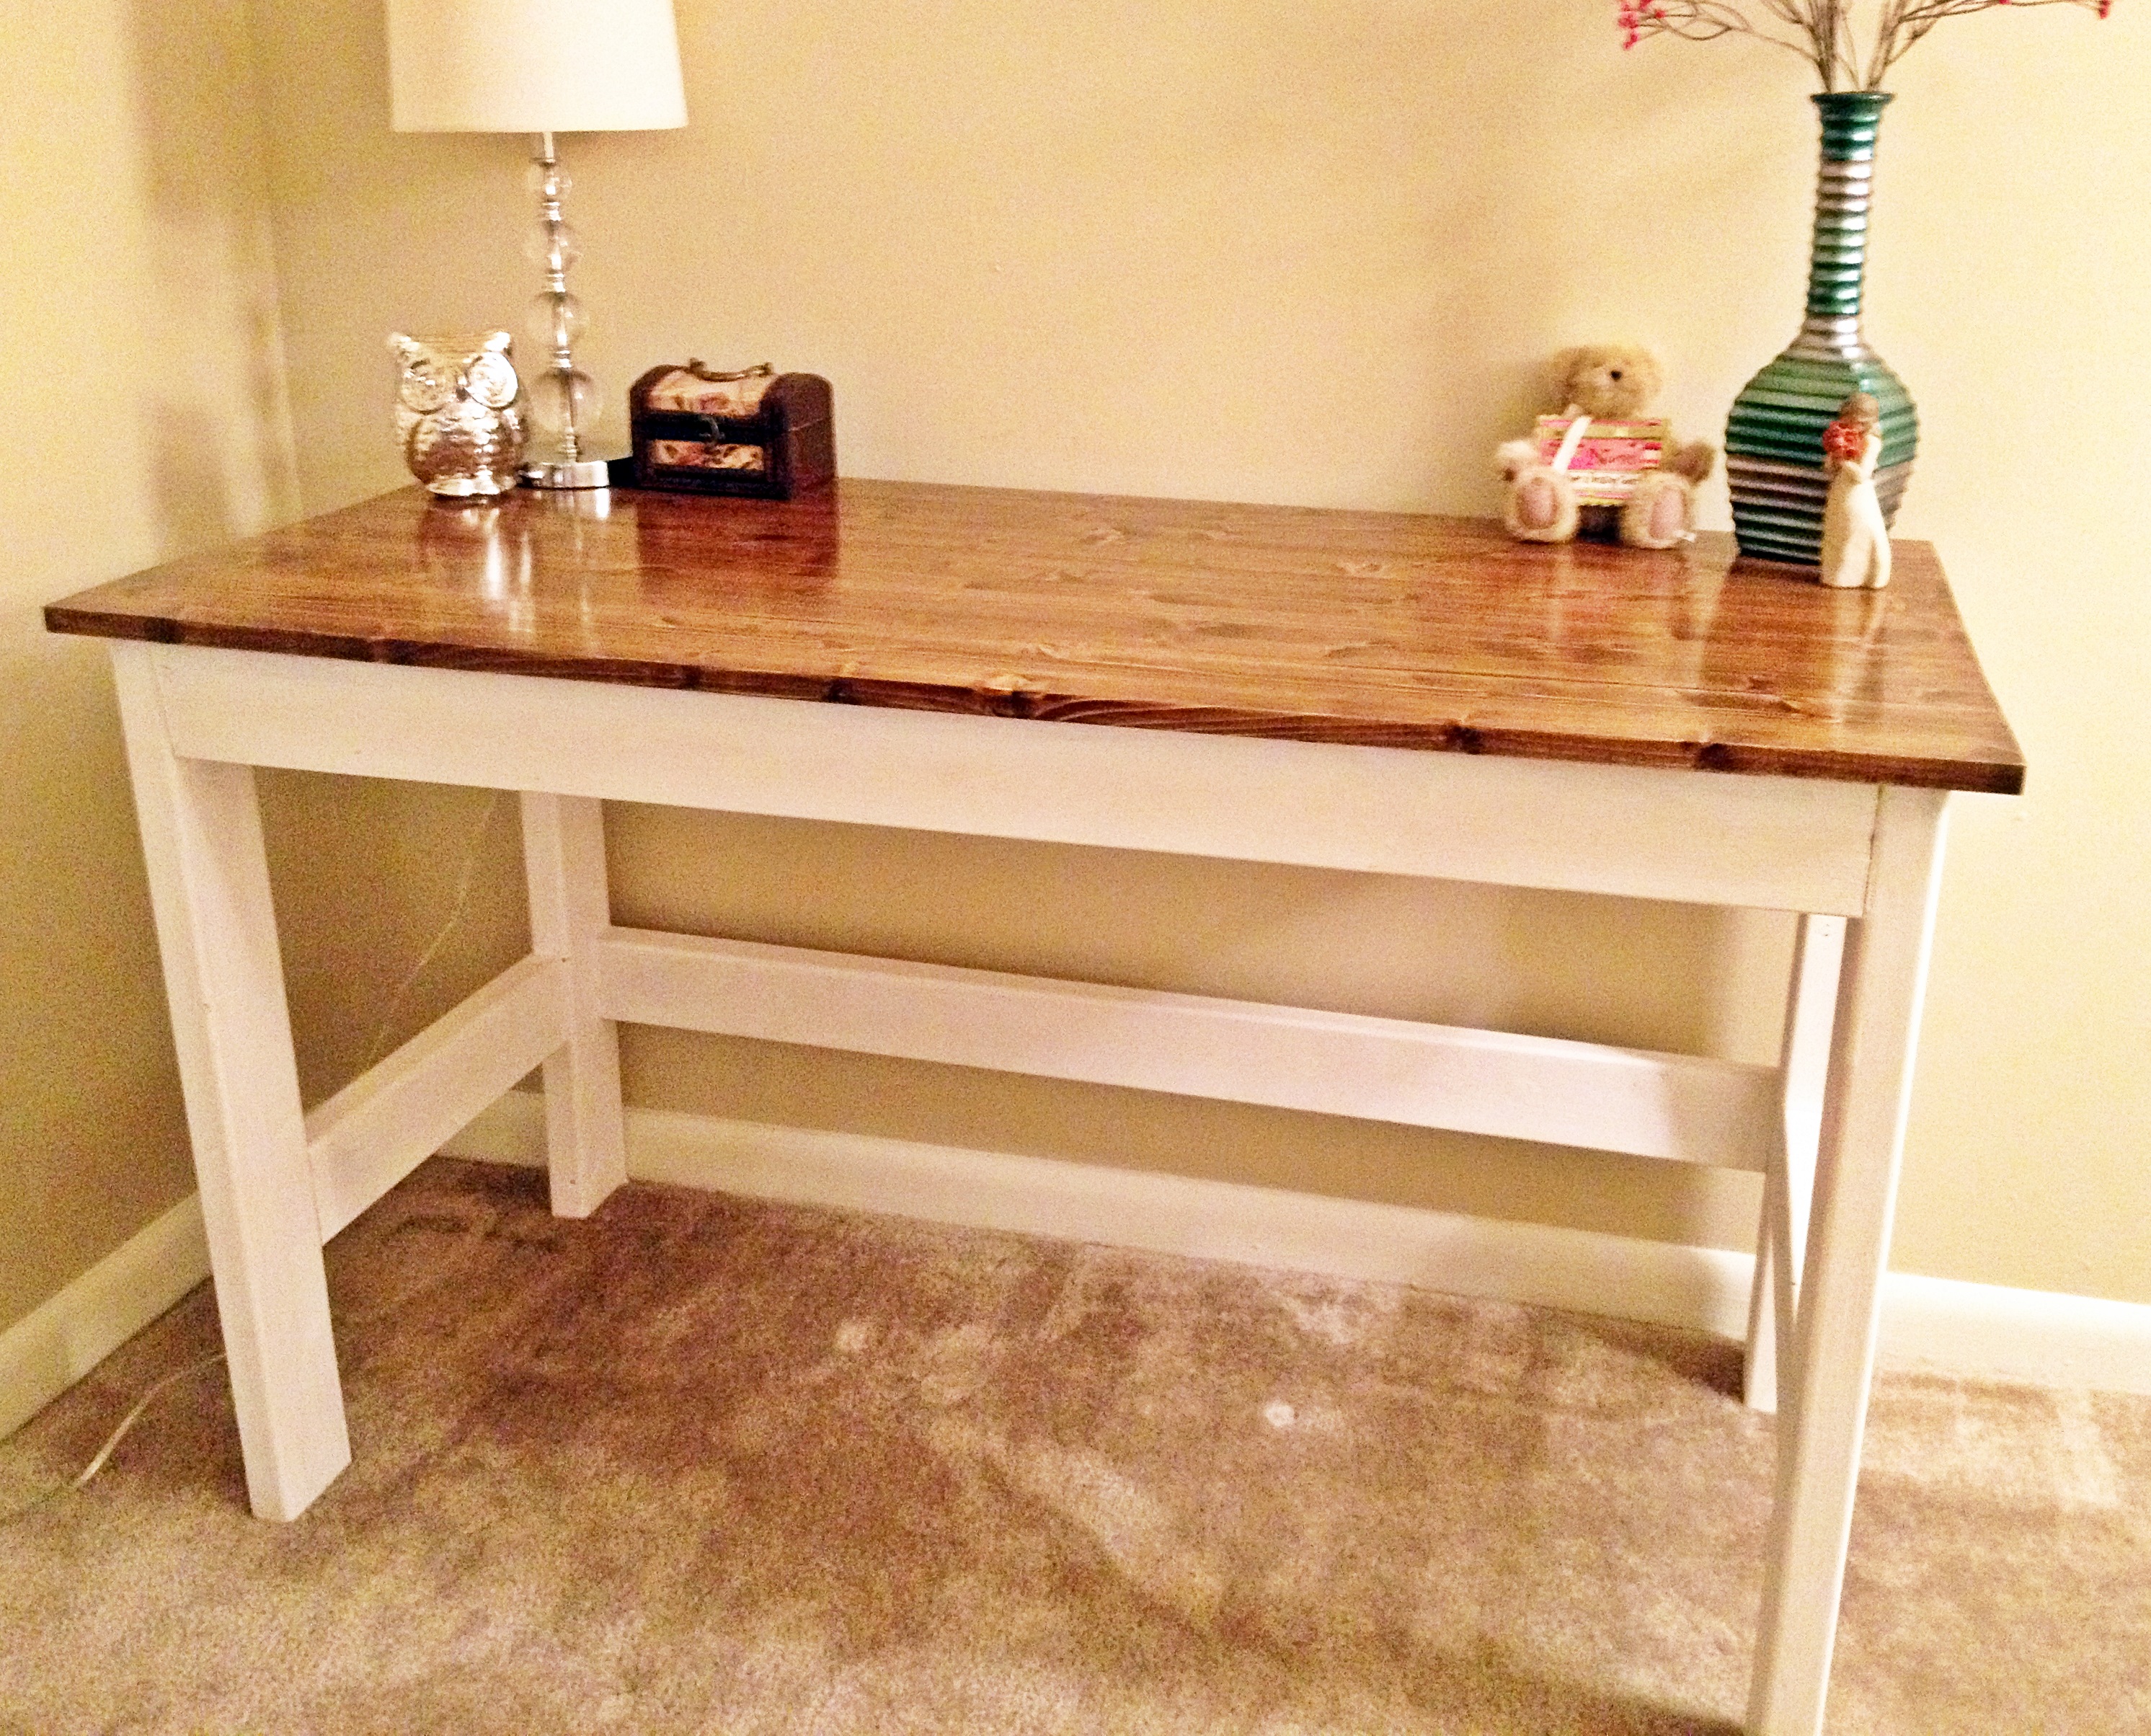
I wanted a good solid desk for my office and I thought these plans were perfect. The wood, screws, paint, and stain all cost less than $30. Instead of using 2x4's for the top I used a solid piece of aspen. I then stained the top and painted the bottom white.
Built from Plan(s)
Estimated Cost
$30
Estimated Time Investment
Weekend Project (10-20 Hours)
Recommended Skill Level
Beginner
Comments

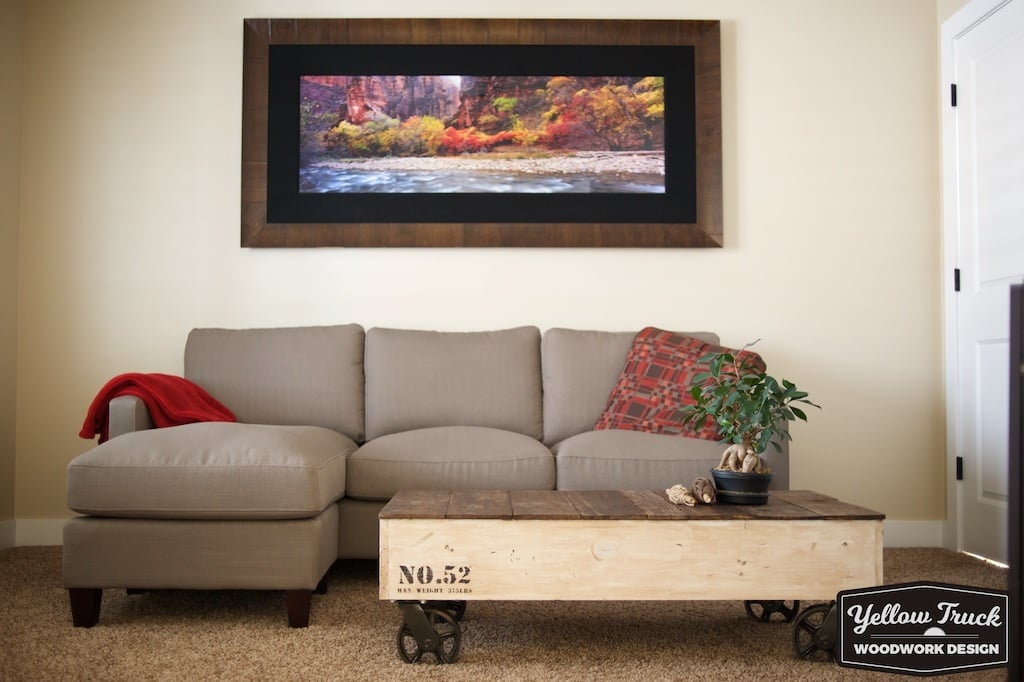
Factory Cart Coffee Table
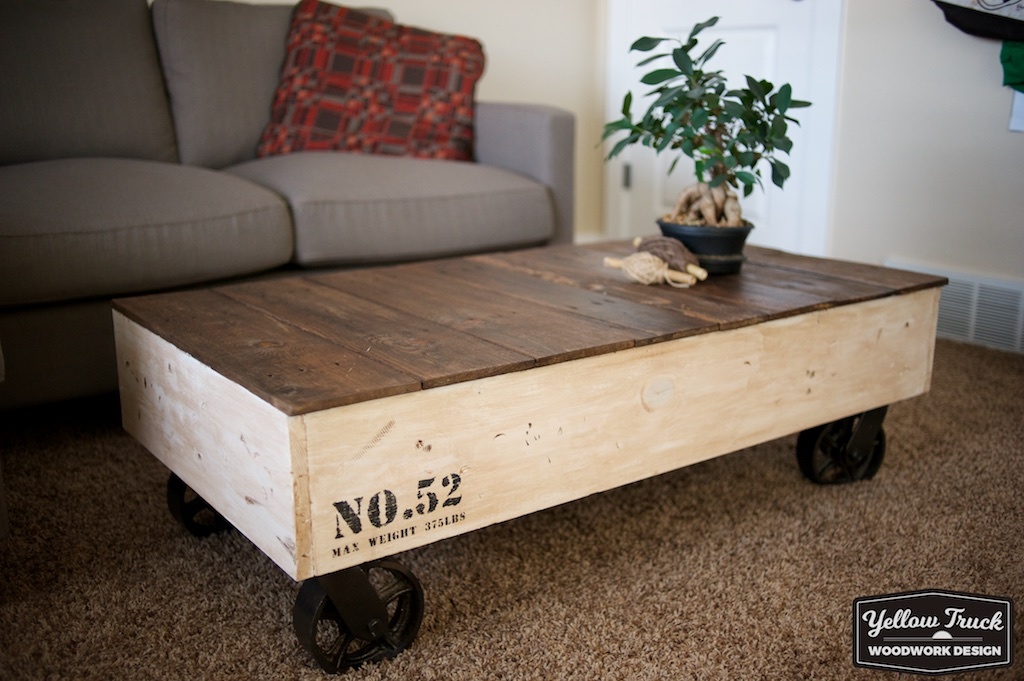
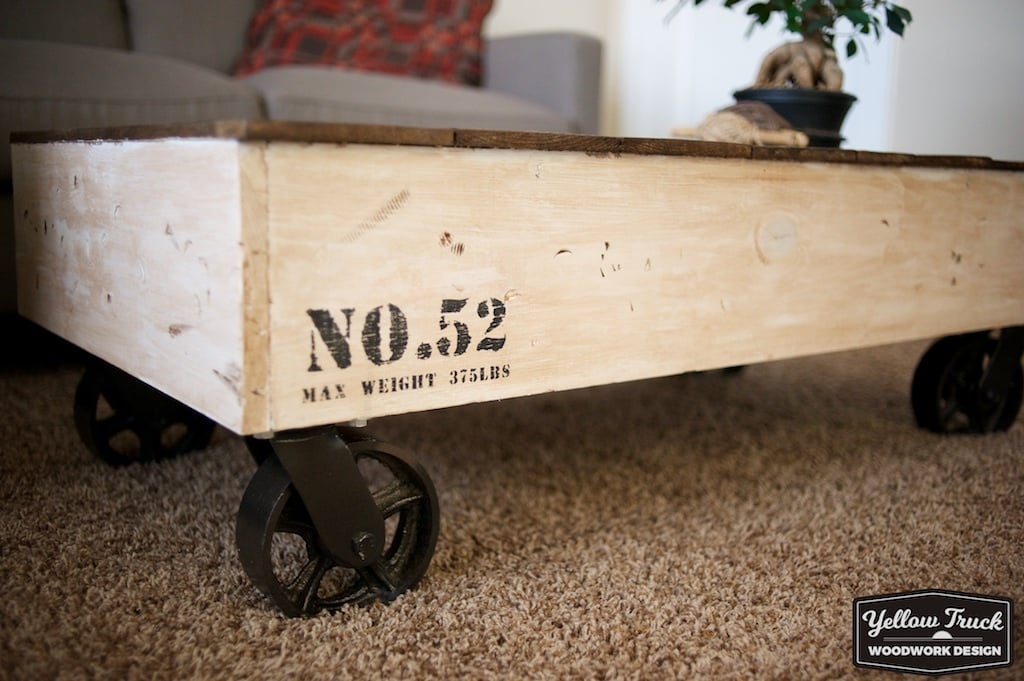
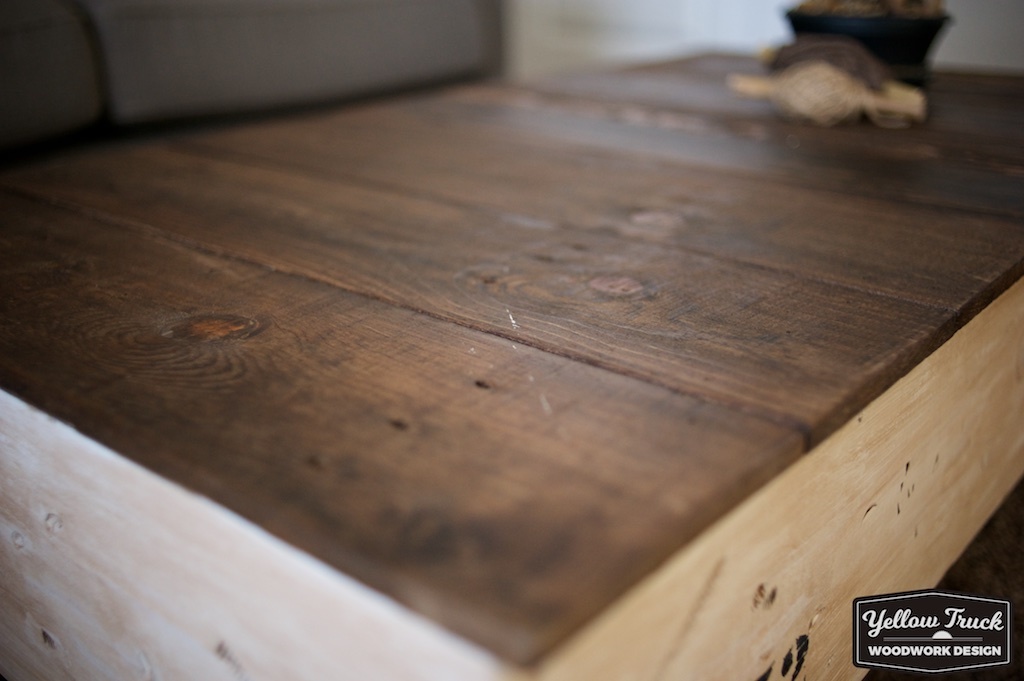
I built this last weekend and had a blast with it. The design was from Ana's Factory Cart Coffee table, but I built it a little bit different. The side boards are from 1x8 pine instead of 1x6. I wanted it to be a little bit taller. I ended up getting the casters from Home Depot. They were $25 each. However I saved some cash on the top by using wood from a pallet that I sanded down and stained. The overall cost was about $120 with $100 of that being just the casters.
I did the No.52 and max weight by creating a stencil and painting it with black paint and sanding it down.
Built from Plan(s)
Estimated Cost
$120
Estimated Time Investment
Afternoon Project (3-6 Hours)
Finish Used
The painted section is chalk paint with a brown wax. The stain is minwax Early American
Recommended Skill Level
Beginner
Comments

Sat, 12/31/2016 - 16:38
Forgot to login
I forget to login before I posted this so it shows as a guest. Sorry about that.
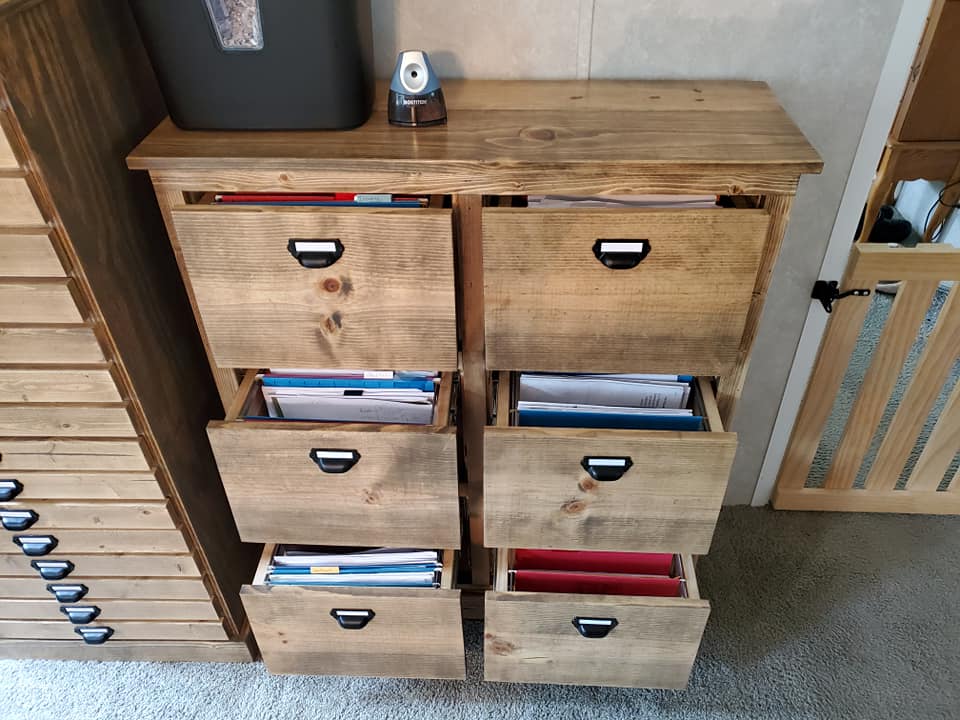
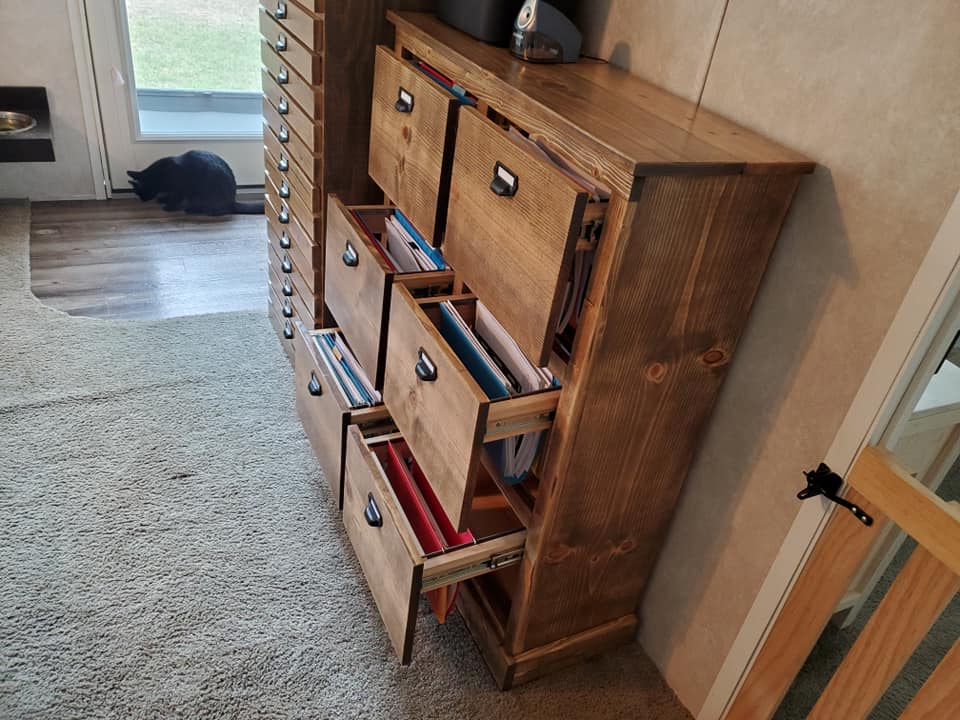
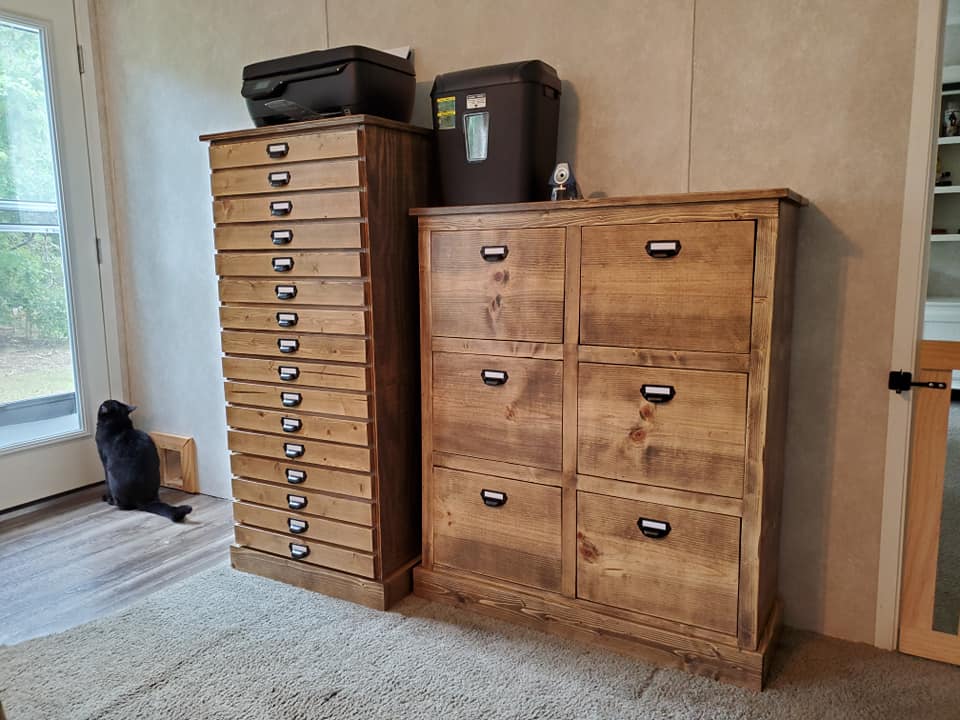
My mail boss

I made it a little taller and it is all a filing cabinet.

Built from Plan(s)
Comments
Tue, 09/15/2020 - 06:51
Did you build the tall…
Did you build the tall cabinet? Do you have plans for it?
Thanks!
Sat, 09/19/2020 - 13:17
Here you go! https:/…
Sun, 02/14/2021 - 15:27
Wow! These are amazing!…
Wow! These are amazing! Thanks for sharing! What finish did you use? And how tall did you make the filing cabinet? Thanks!!
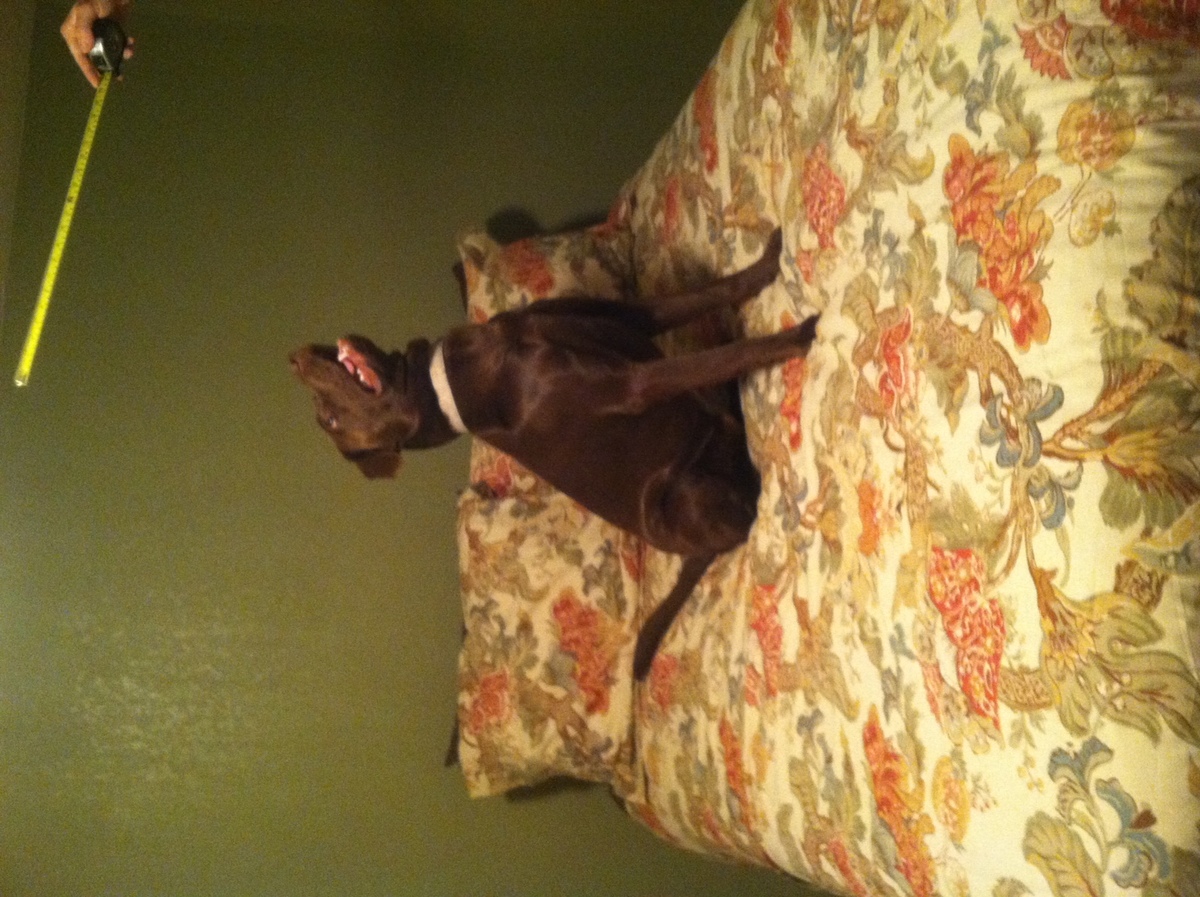
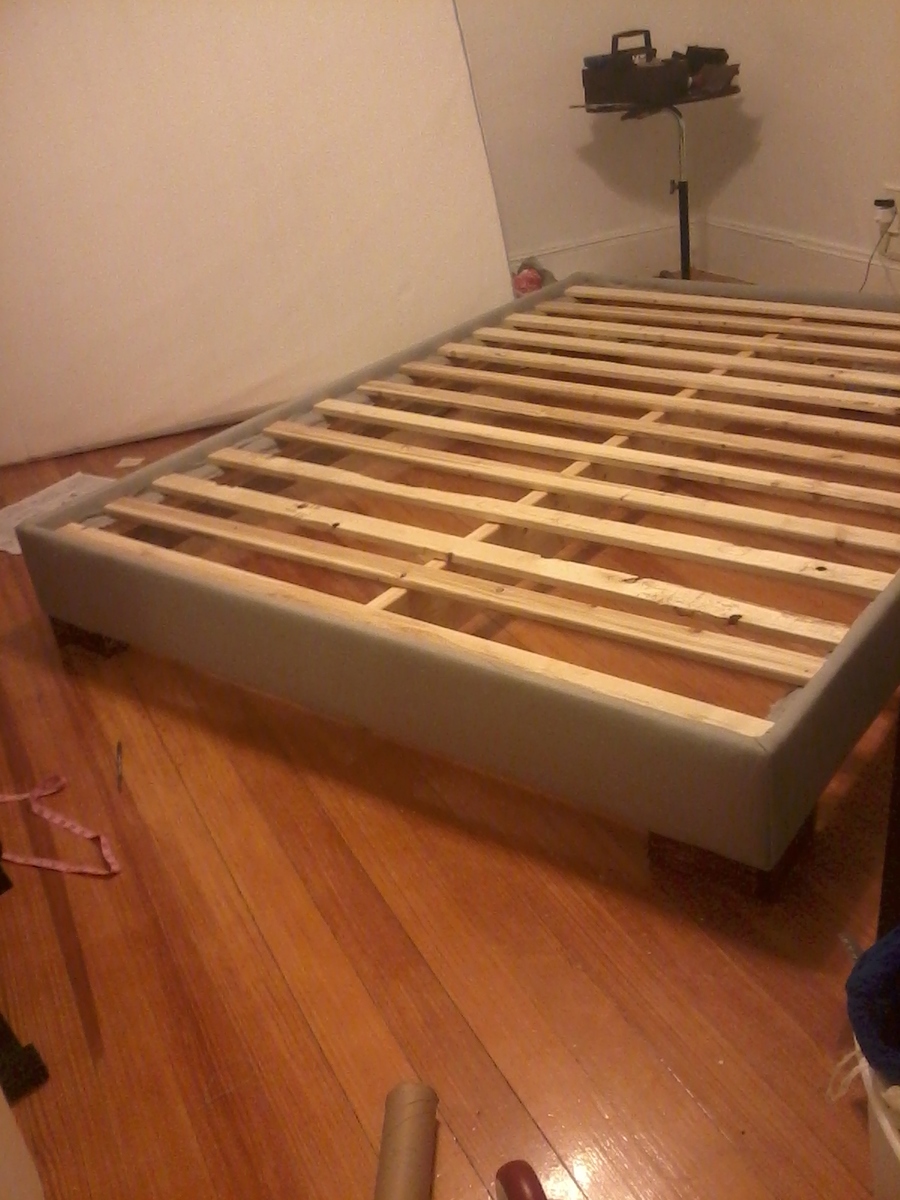
Somewhere to Lay My Head

I was inspired to build this bed by this post at Big Box Detox. http://www.bigboxdetox.com/diy-make-own-upholstered-bed
I chose not to build the headboard because I have my bed placed in front of a window. However, I may add it in the future. For those of you going on a search for fabric and batting I recommend scoping out Joann's Fabric and Crafts, especially when they offer 50% coupons. The cost for me for wood, batting and fabric was less than $150! My project can also be found on my blog at designroost.net
Happy building!
Built from Plan(s)
Estimated Cost
150
Estimated Time Investment
Afternoon Project (3-6 Hours)
Finish Used
I applied a stain the previous owners left in the basement of my house. I applied it with a disposable foam brush.
Recommended Skill Level
Beginner
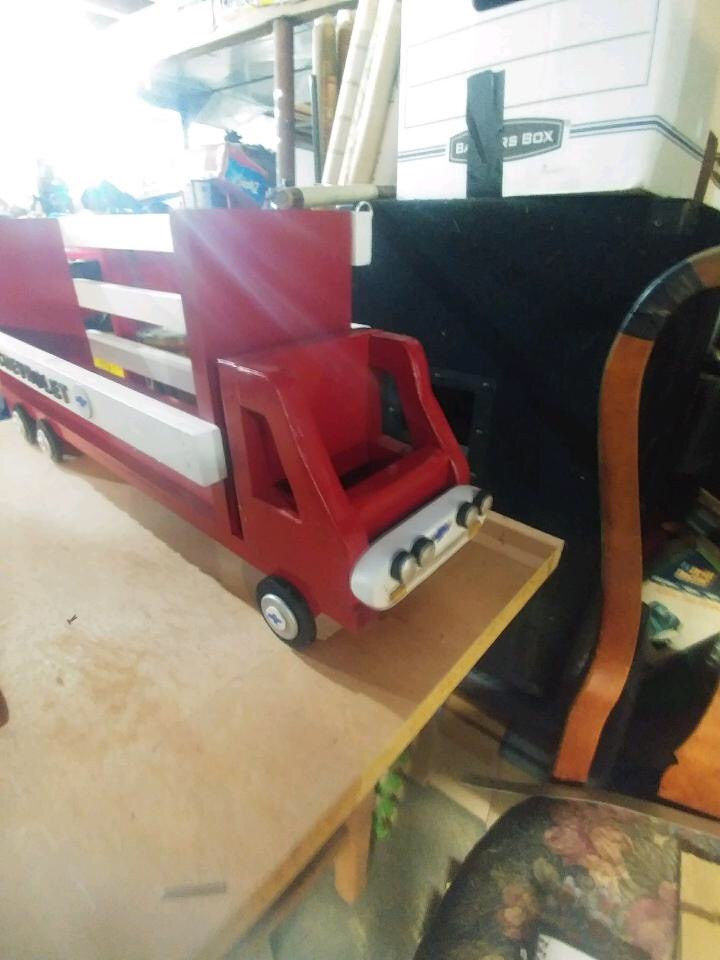
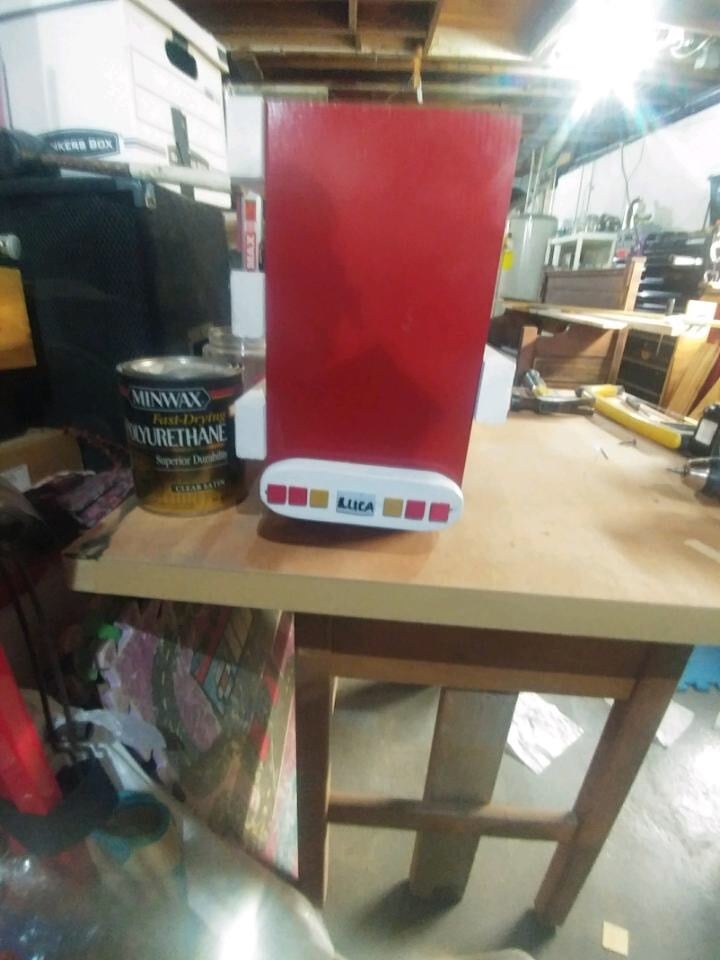
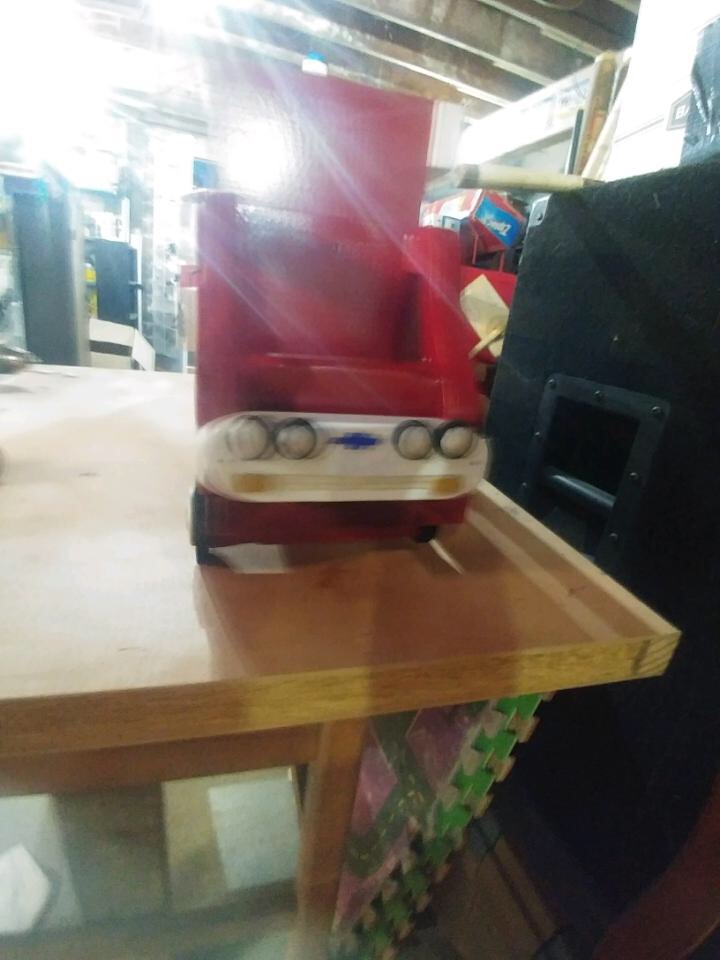
Chevy for Grandson #1
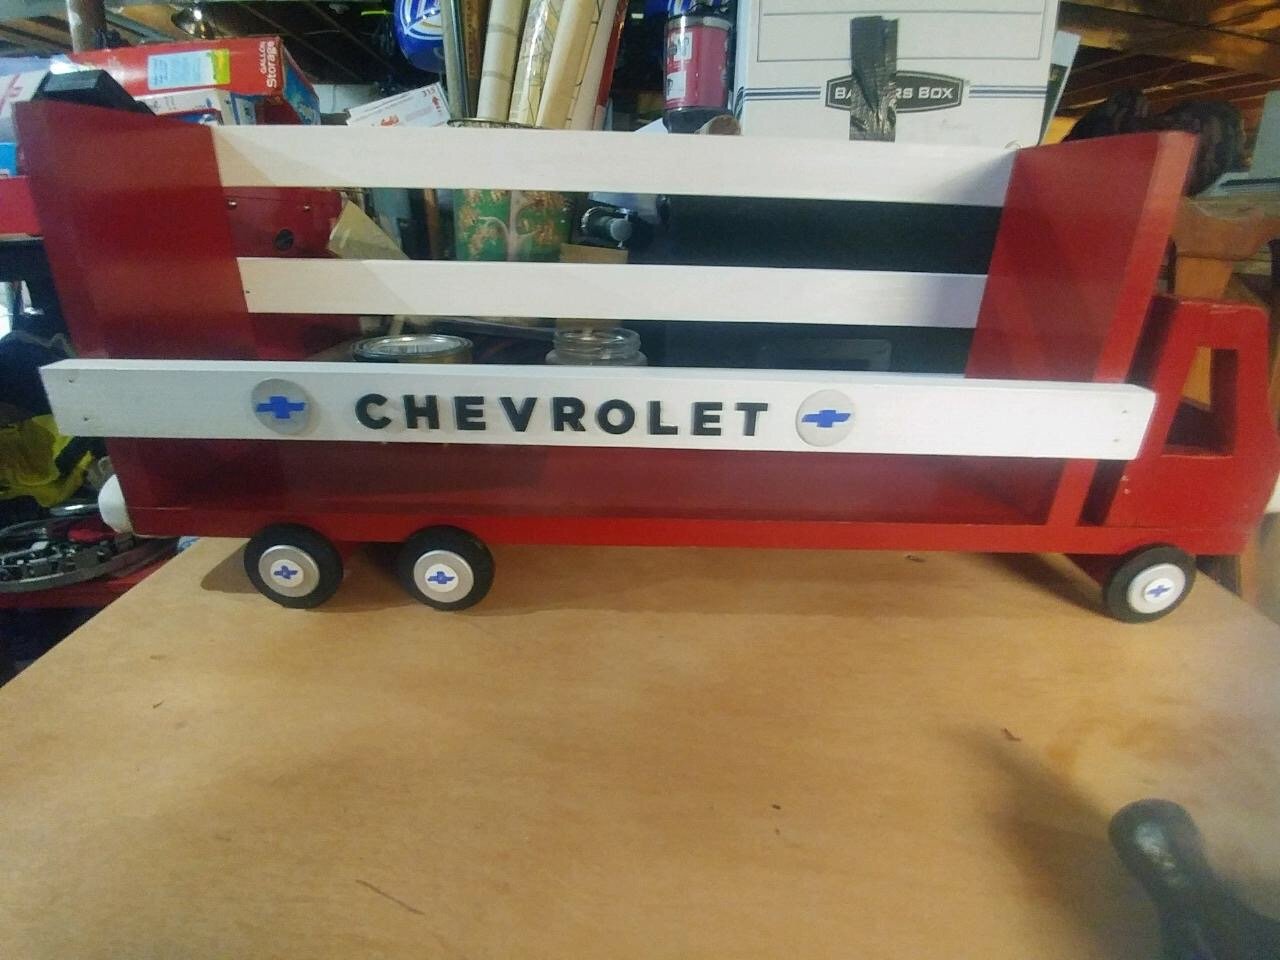
A fun project to make ending with a functional product to boot! I went all out making sure that each truck/shelf would coordinate with each grandson's theme/decor in their bedrooms. Luca, who just turned 2, got a new Chevy Corvette Racce Car Bed for his birthday and I built the gas pump book case/cabinet to match. Therefore, for Luca I went with the Red and white to match his bed & bookcase/cabinet and added painted on logos and lettering for his vintage Chevy truck.

Built from Plan(s)
Estimated Cost
$75 which includes the necessary supplies listed, as well as, additional items needed to personalize' each day.
Estimated Time Investment
Weekend Project (10-20 Hours)
Finish Used
Rustoleum apple red
Recommended Skill Level
Beginner
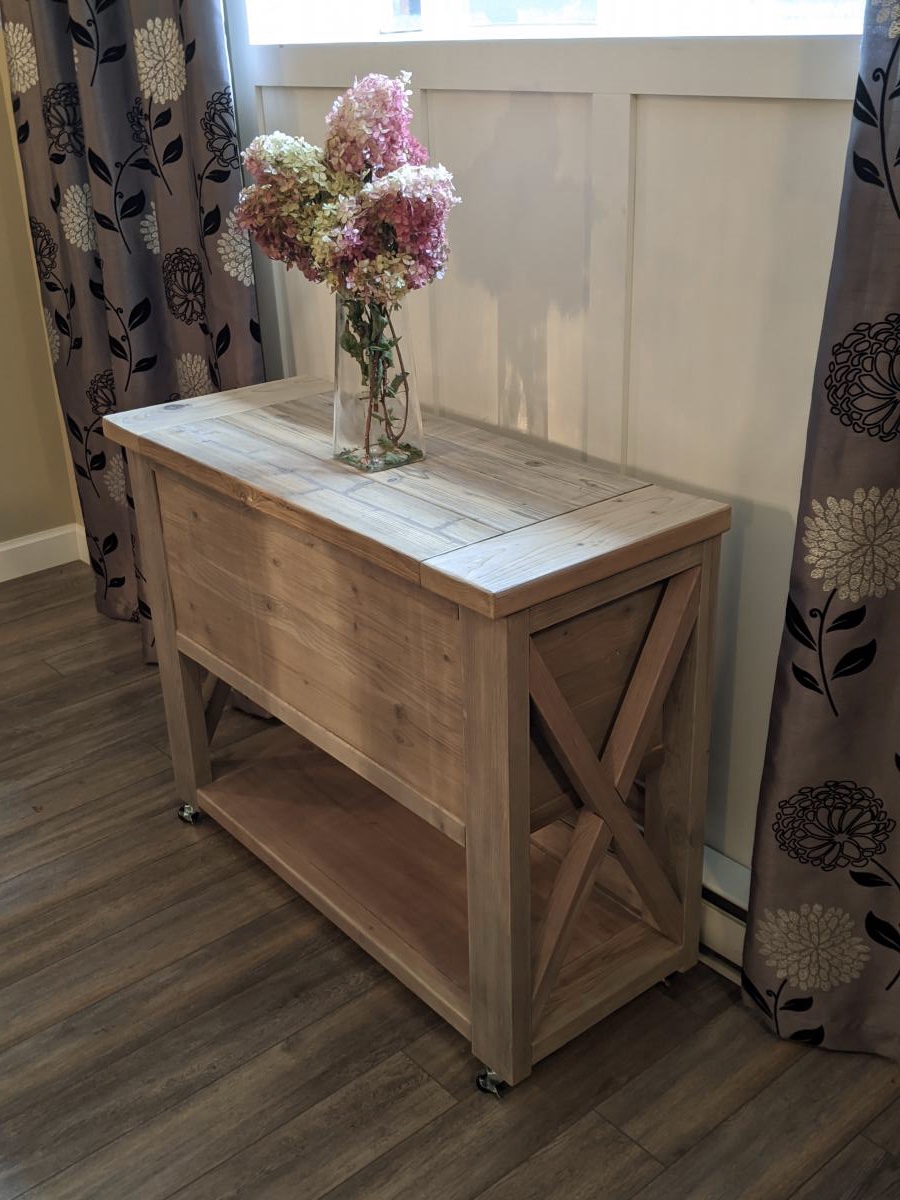
Coffre à jouets rustic x
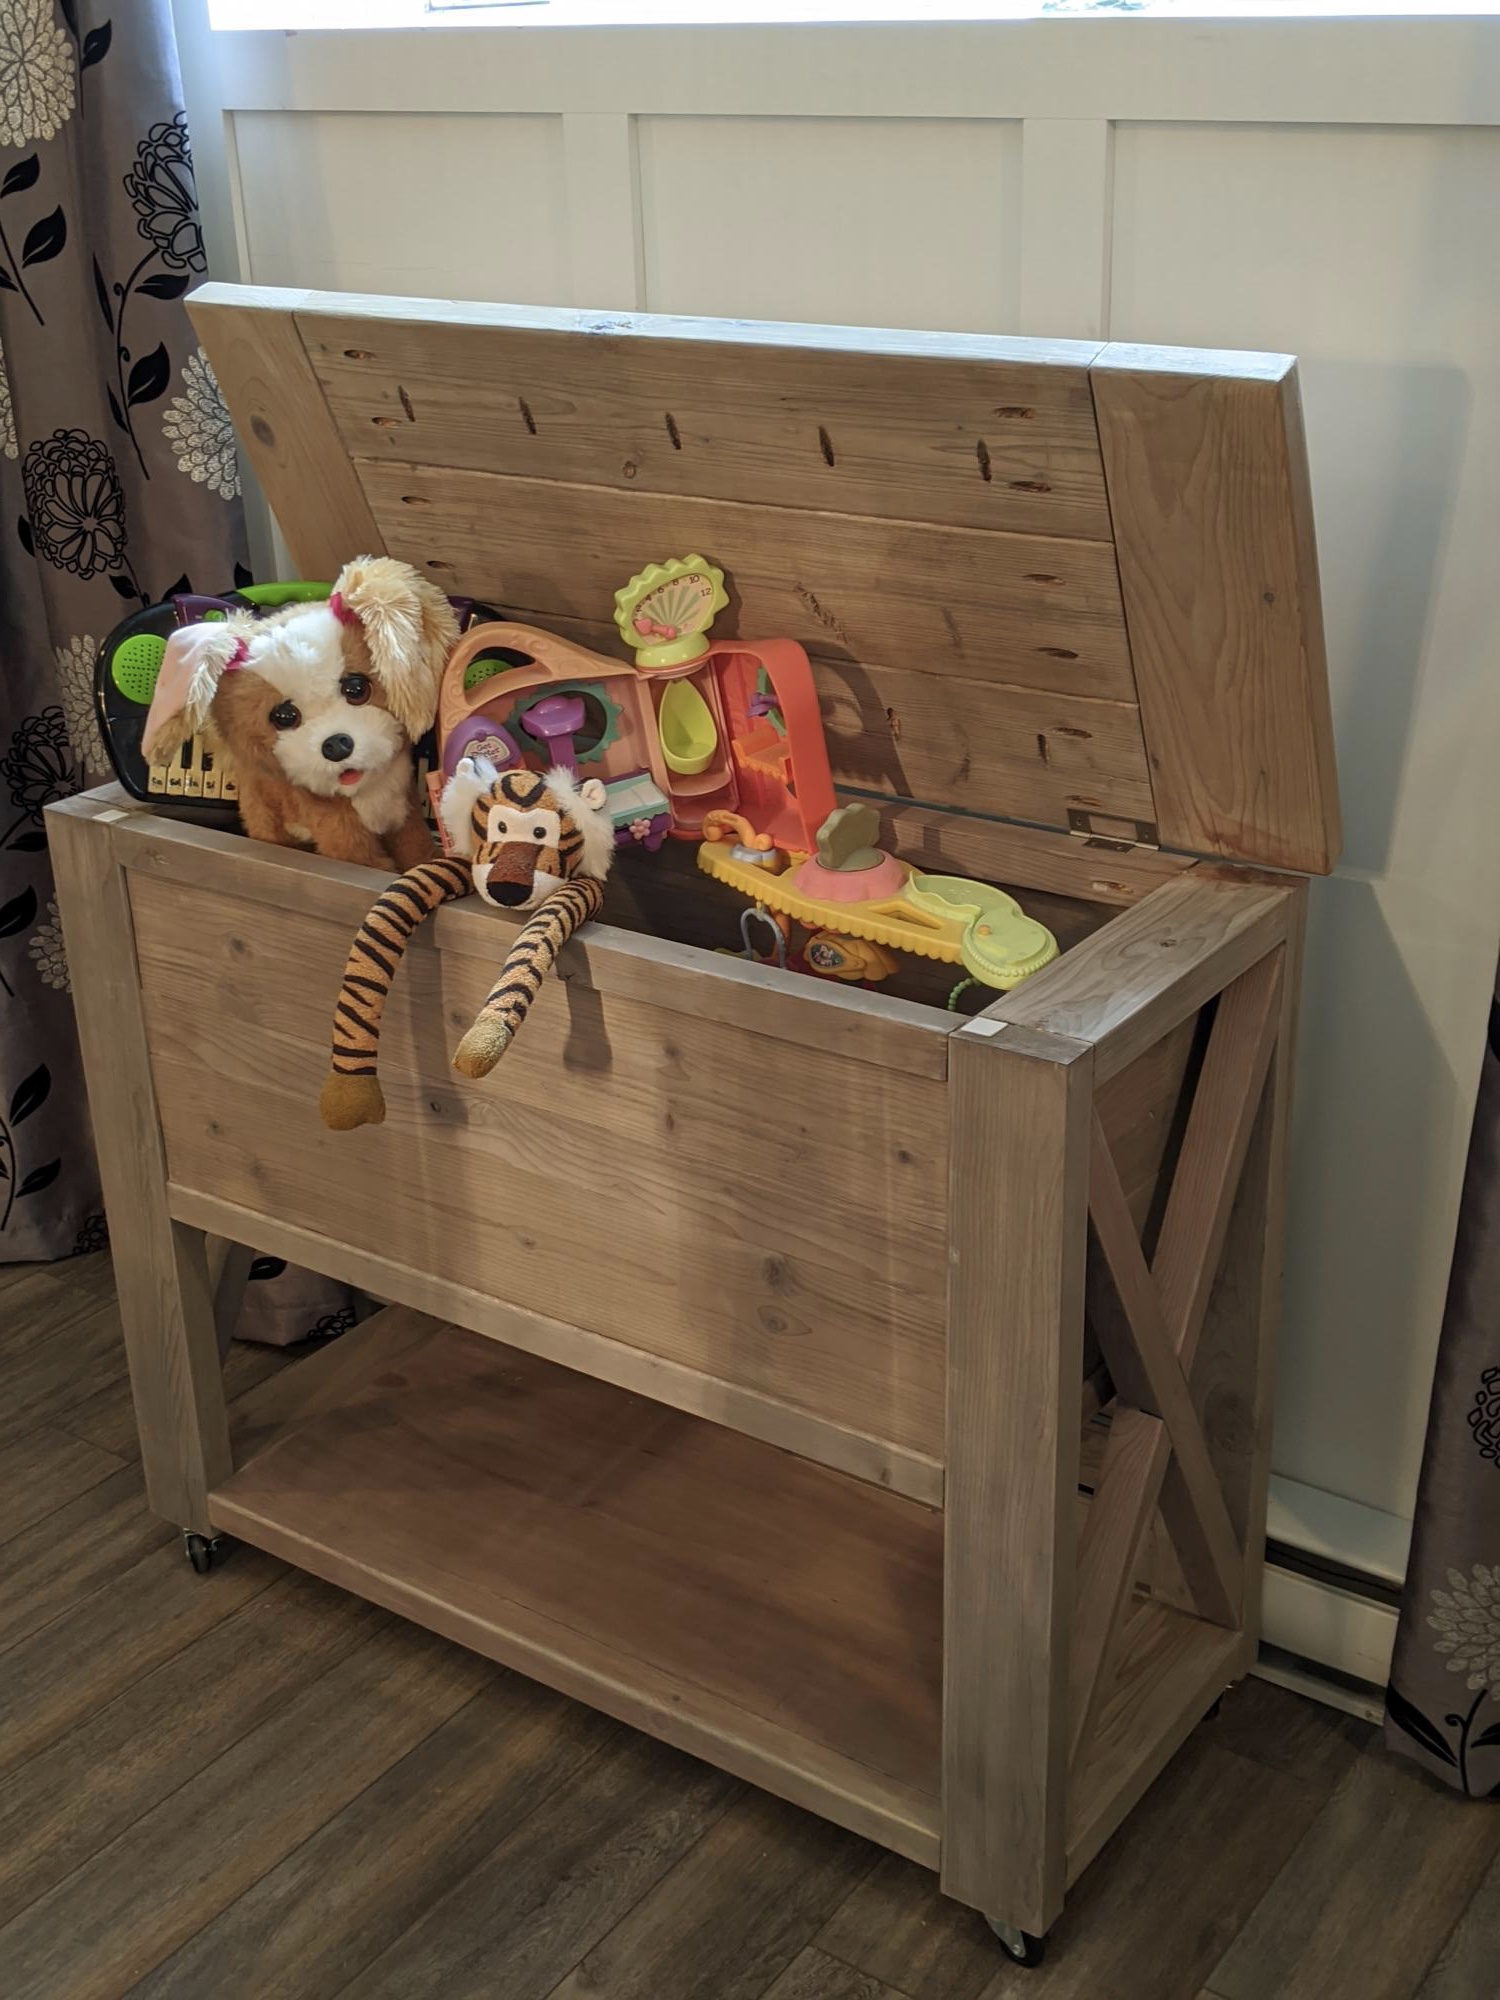
Adaptation de la table console pour en faire un coffre à jouets.
Built from Plan(s)
Estimated Time Investment
Week Long Project (20 Hours or More)
Finish Used
Traitement de vieillissement du bois avec du thé noir et une solution de vinaigre et laine d'acier.
Recommended Skill Level
Intermediate
Rustic X End Table

Built two Rustic X end tables and one Rustic X coffee table. I modified the design to fit my room better. Just building the two tables (no sanding) took me about 5 hours.

Estimated Cost
80 for 2
Estimated Time Investment
Day Project (6-9 Hours)
Finish Used
Vinegar and steel wool as used in the example
Recommended Skill Level
Intermediate
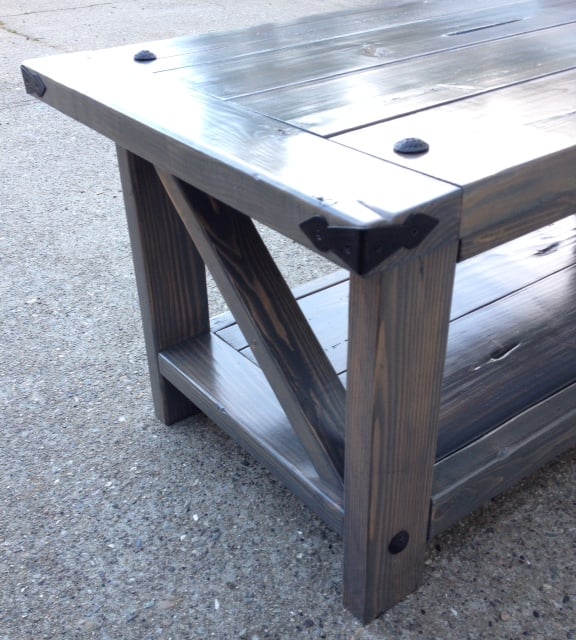
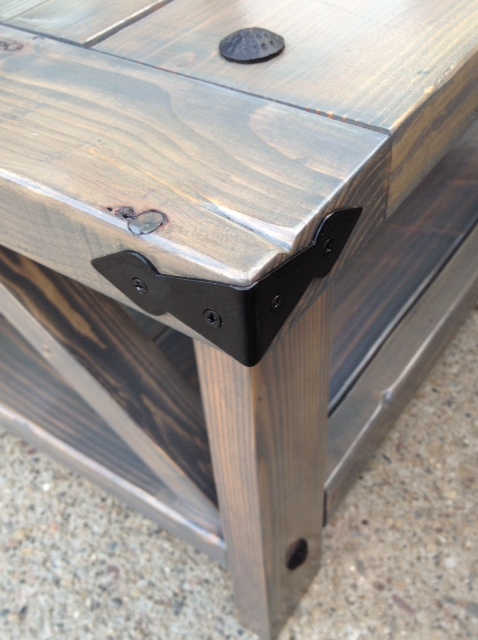
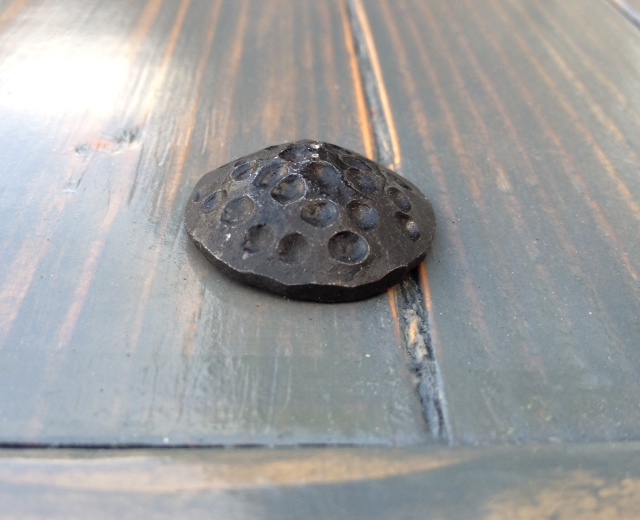
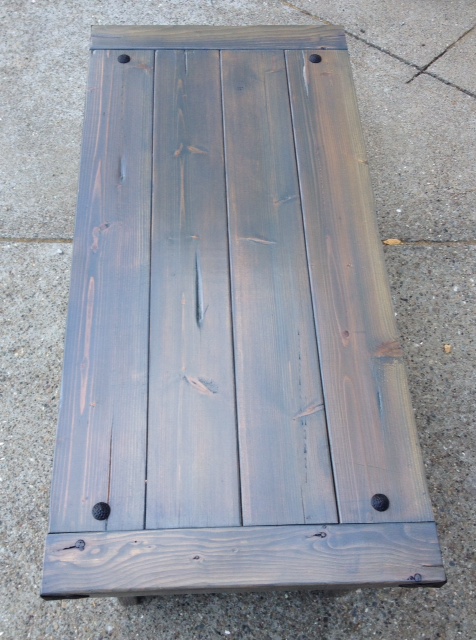
Rustic "Z" coffee table
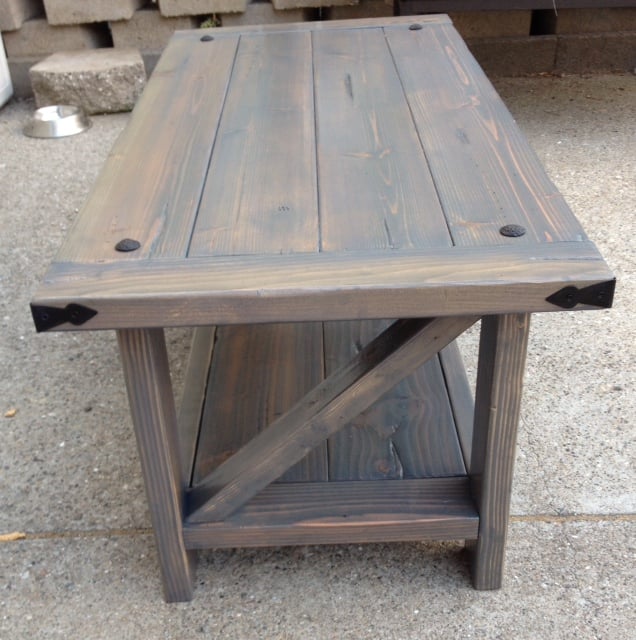
Second Ana White project. Modified it from the "X" to a "Z" coffee table. Hand distressed it. Narrowed the width, bread board ends, and added clavos and trunk corners I purchased on Amazon. Very happy with this second build. It went much easier than my first one.
Built from Plan(s)
Estimated Cost
About $50 total: $26 in lumber, $14 in hardware, and $10 in stains and poly
Estimated Time Investment
Weekend Project (10-20 Hours)
Finish Used
Minwax Pre-Stain, 2 coats of Minwax Classic Grey, and 2 coats of Minwax Semi-Gloss Polyurethane
Recommended Skill Level
Beginner
Vinyl Record Storage
I've made another record cabinet, this time with a nice dark walnut stain. To see more details and plans visit my blog.
http://www.woodworkingfourdummies.com/
Cheers,
Ian
Estimated Cost
400
Estimated Time Investment
Week Long Project (20 Hours or More)
Finish Used
Minwax Dark Walnut
Recommended Skill Level
Intermediate
Comments
Painter’s ladder shelf
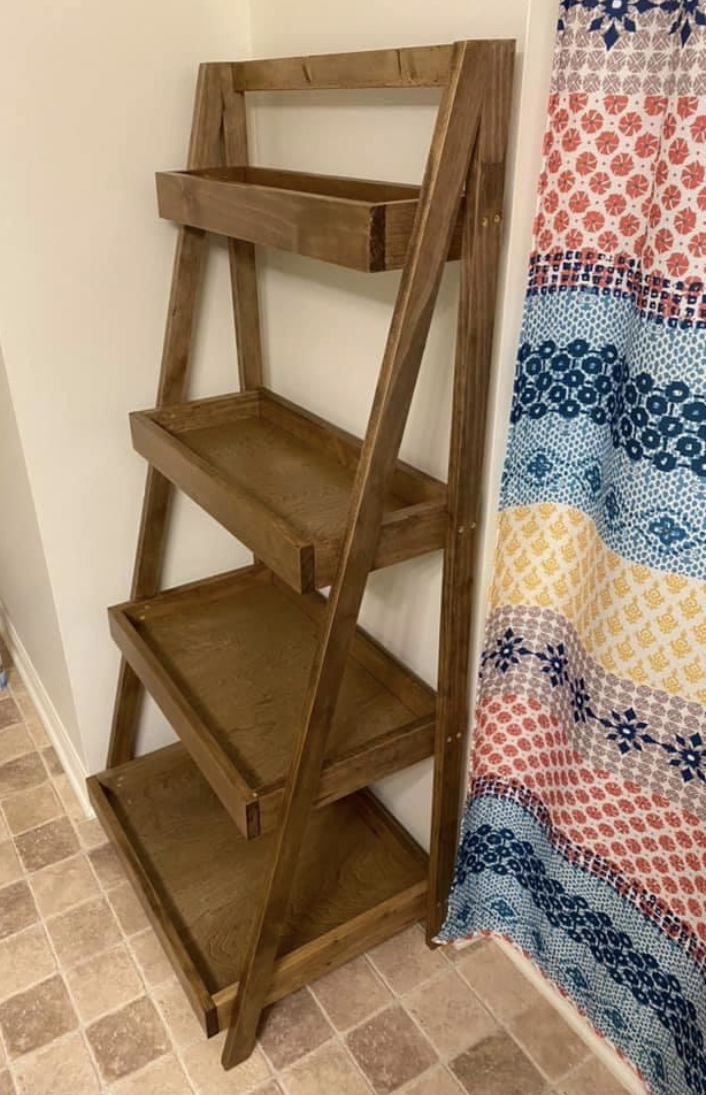
Used pine, stained with Special Walnut and poly acrylic. It was a tricky doing the angle on the tops and bottoms but came out ok. Used leftover wood I had in my stash.
Built from Plan(s)
Estimated Time Investment
Day Project (6-9 Hours)
Finish Used
Special walnut with poly acrylic
Recommended Skill Level
Intermediate
Comments
Thu, 09/17/2020 - 10:15
I love a good scrap project!
Great use of leftover lumber! Thanks for sharing:)
medicine cabinet
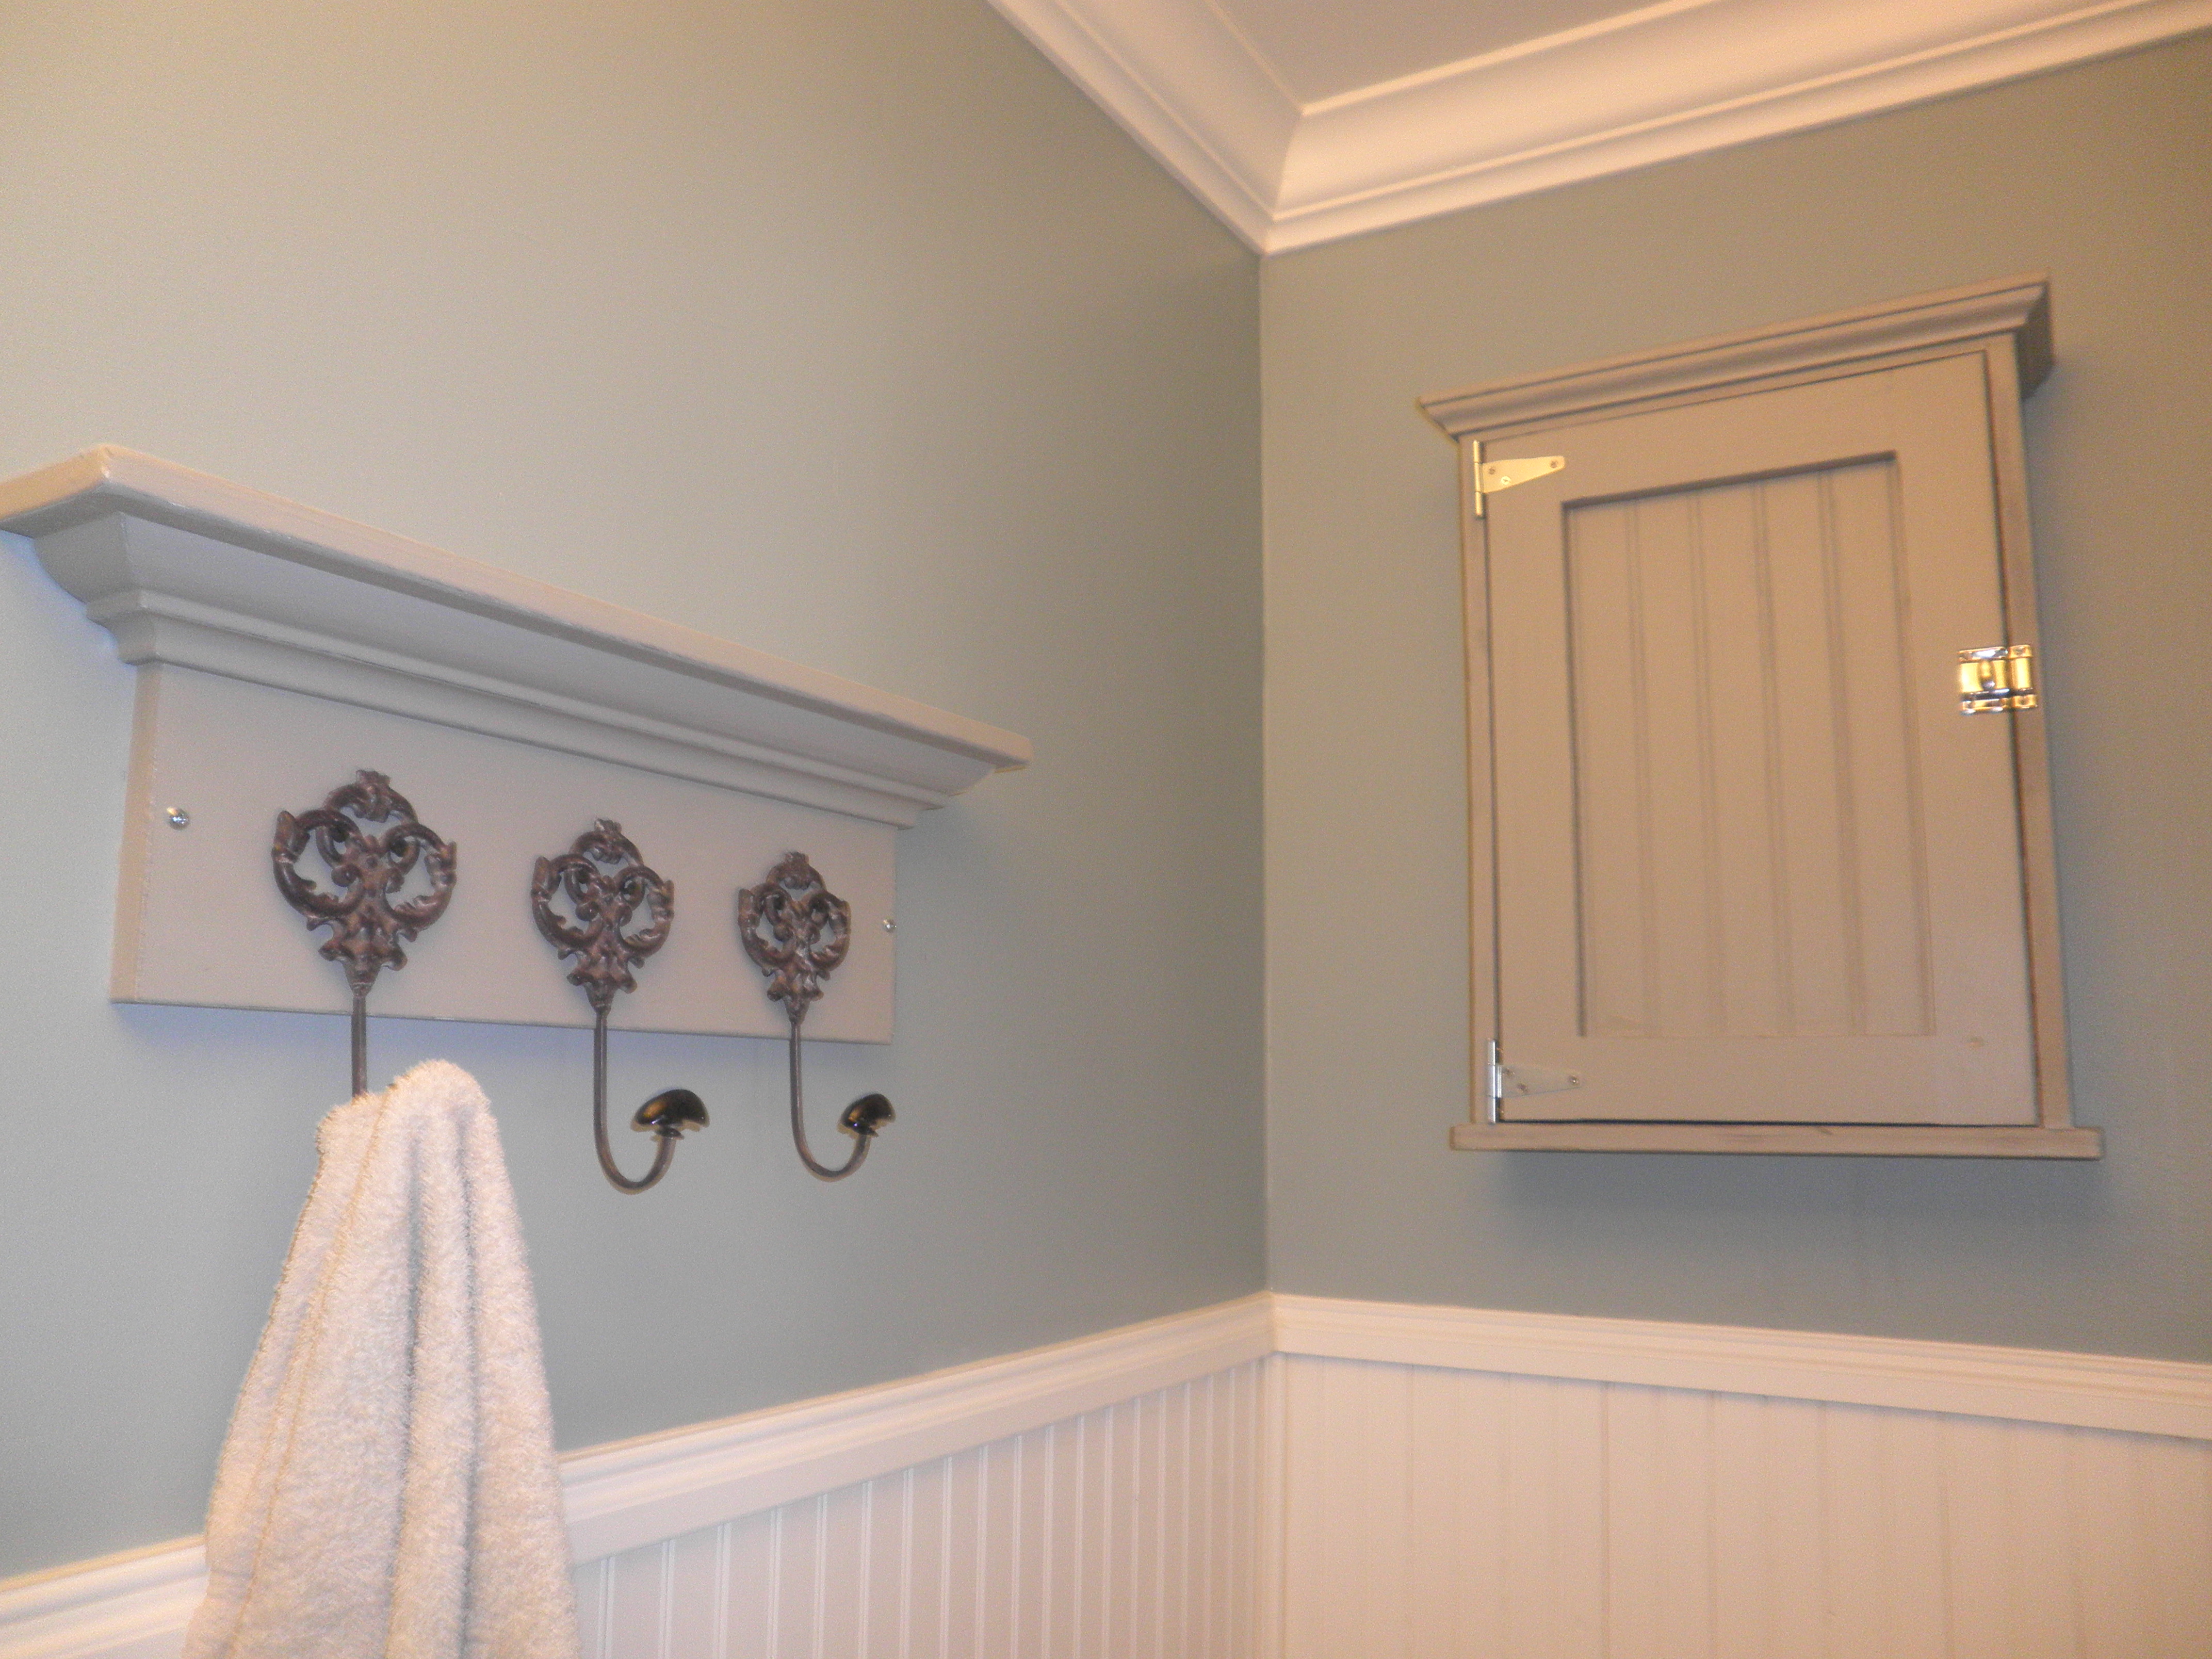
I used the jewelry cabinet as inspiration by adding crown moulding to the top and b-board to the door and changing the measurements.
Estimated Cost
30-40
Estimated Time Investment
Afternoon Project (3-6 Hours)
Finish Used
two shades of paint, distressed to reveal first colour
Recommended Skill Level
Beginner
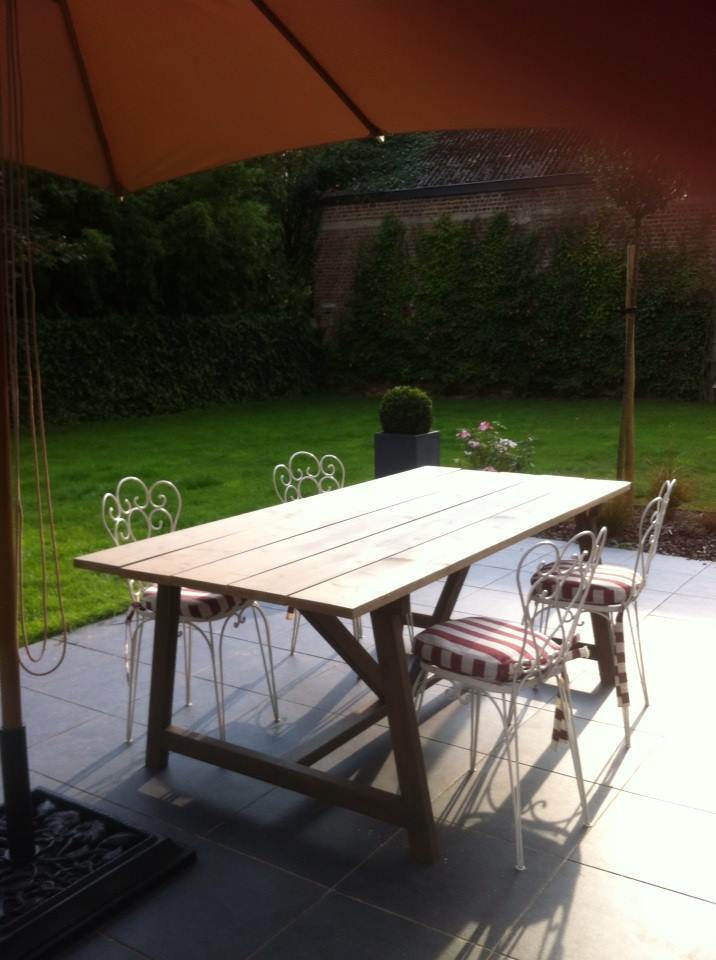
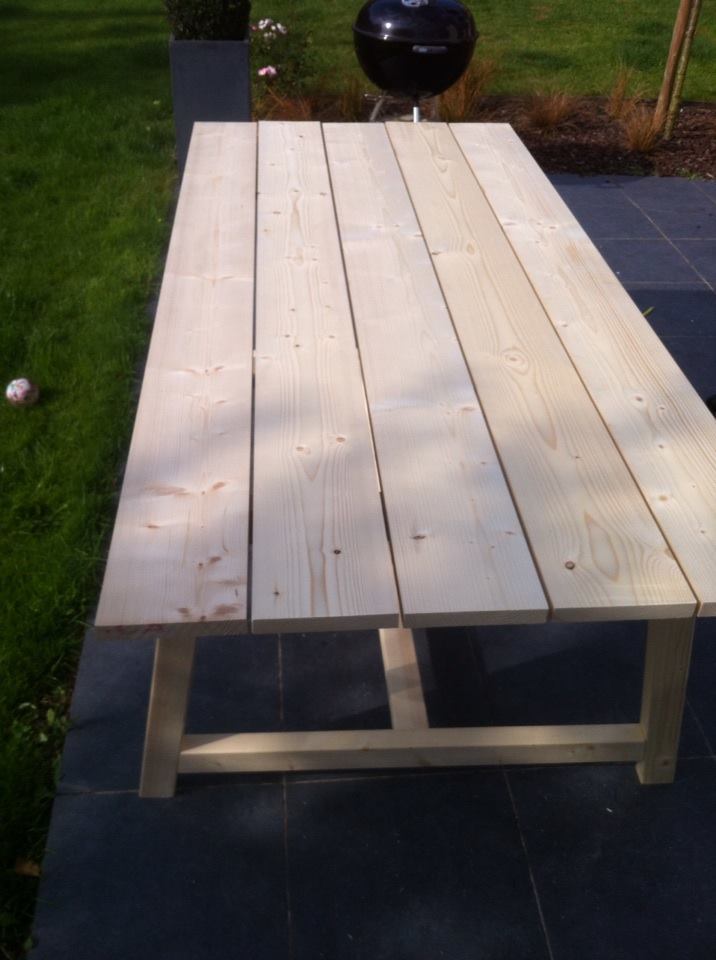
Providence Table
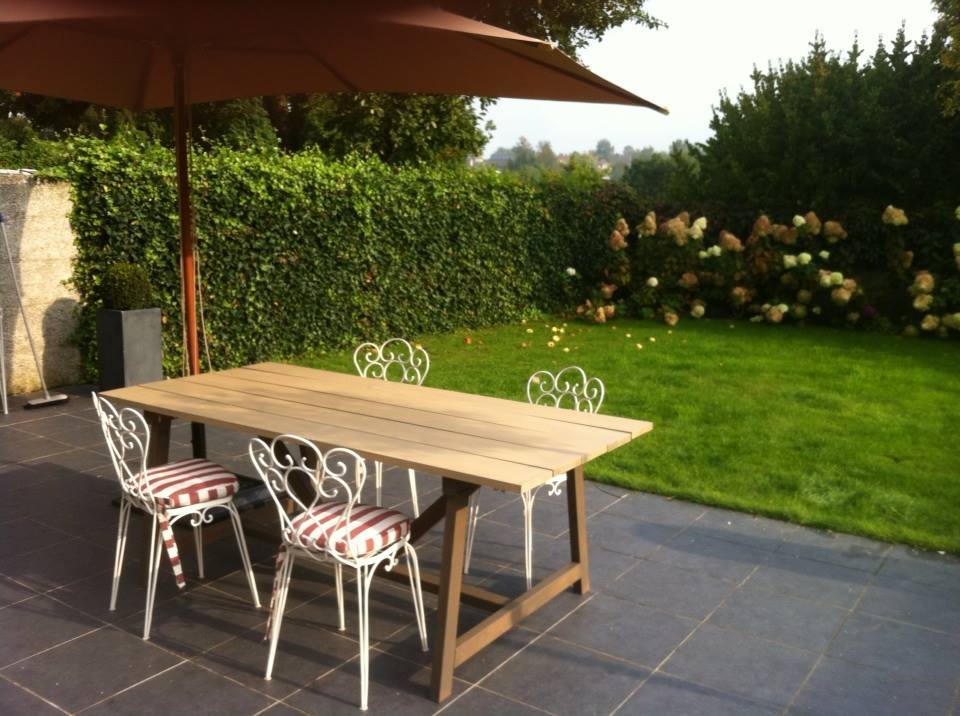
I am really new at this woodbuilding thing, but found this and gave it a try.
Turned out quite good in an afternoon.
I did not use a Kreg Jig as I live in belgium (Europe), but Wolfcraft has a similar kind of tool, with the advantage of showing the mesurements in cm instead of inches.
Structure : used 69x44cm
Surface : used 150x35cm
Pain : V33 cacao for structure and ivory for surface.
Built from Plan(s)
Estimated Time Investment
Afternoon Project (3-6 Hours)
Finish Used
V33
Recommended Skill Level
Starter Project