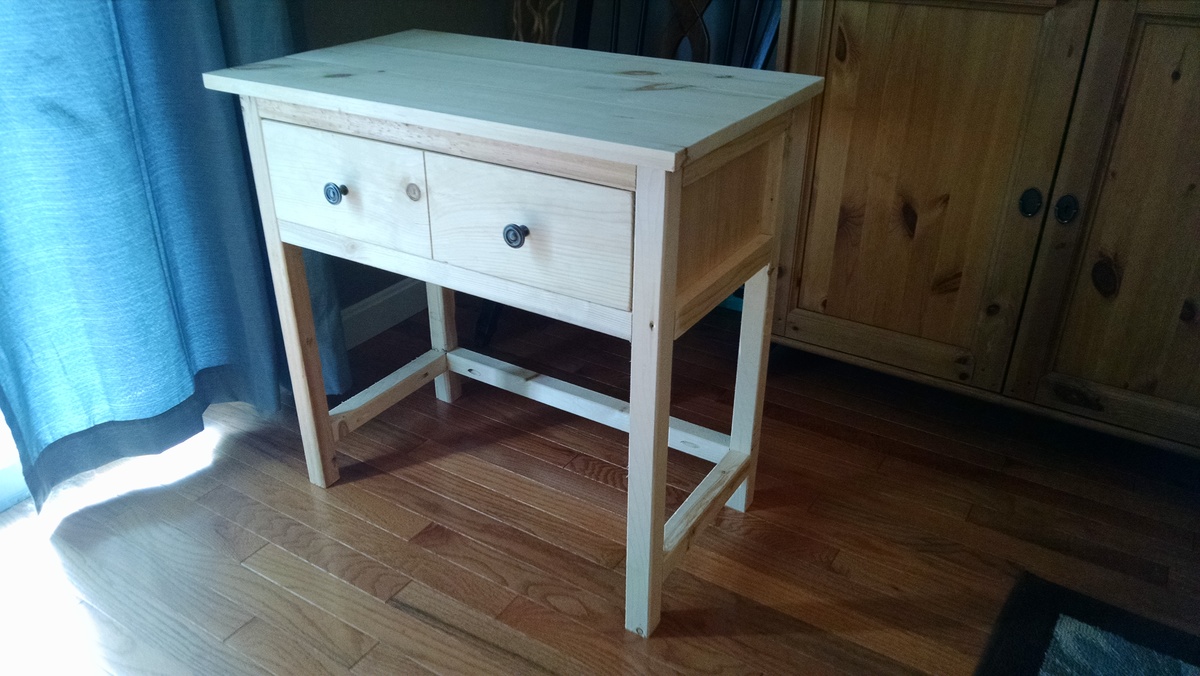
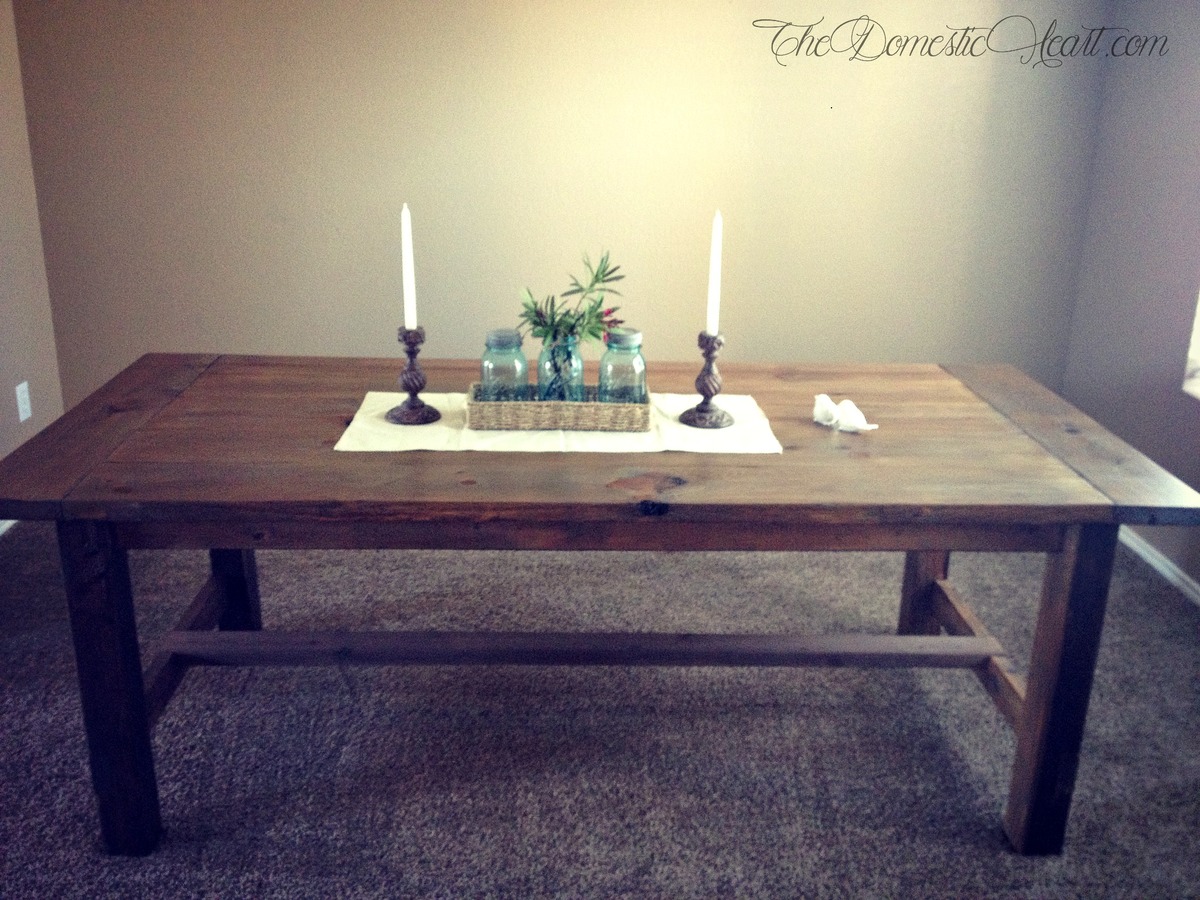
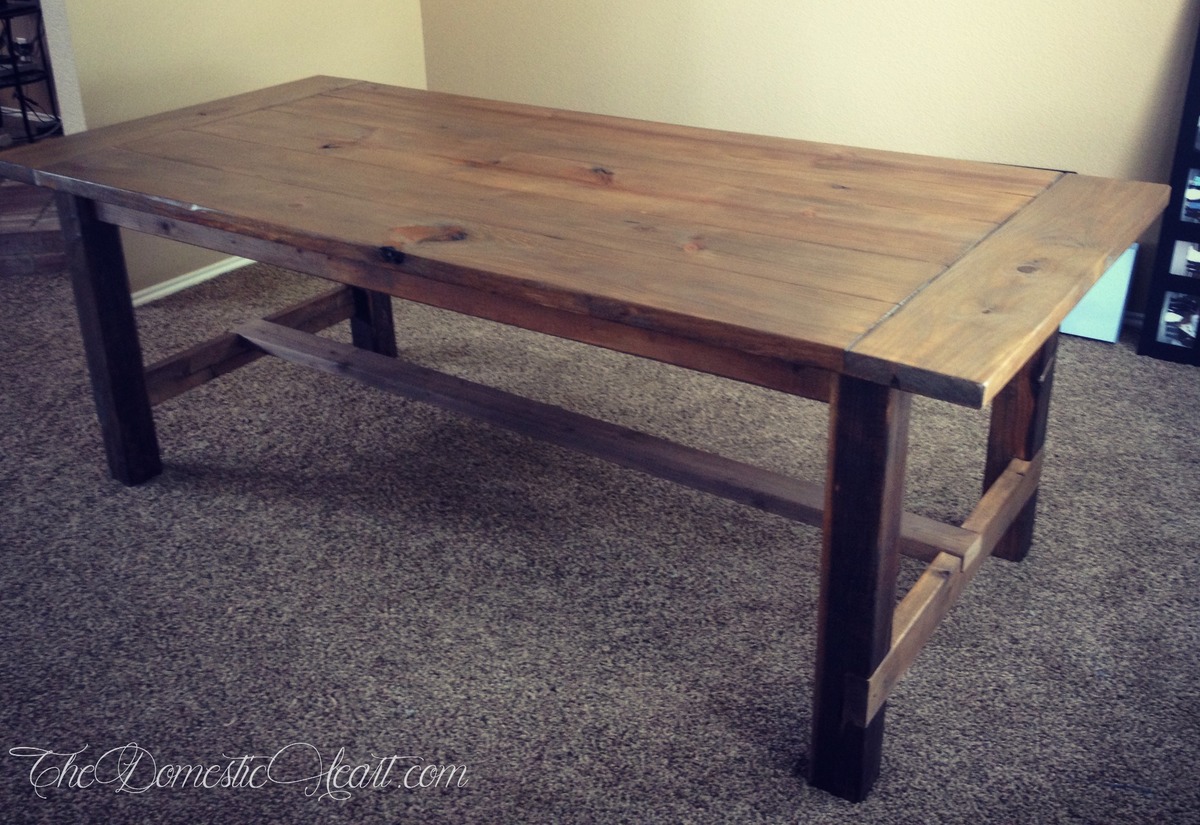
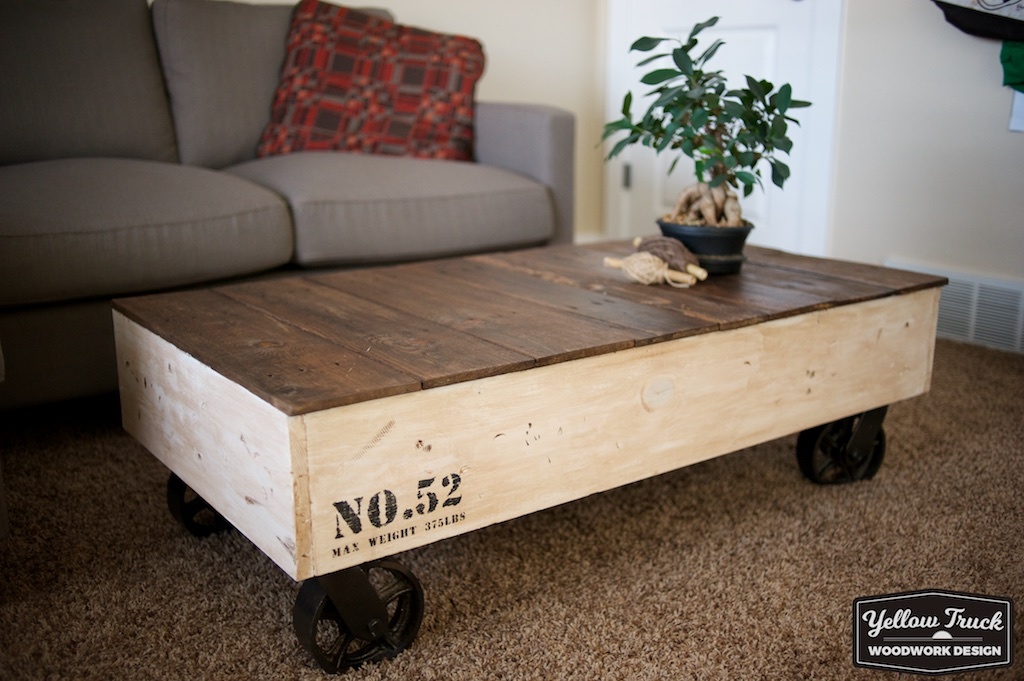
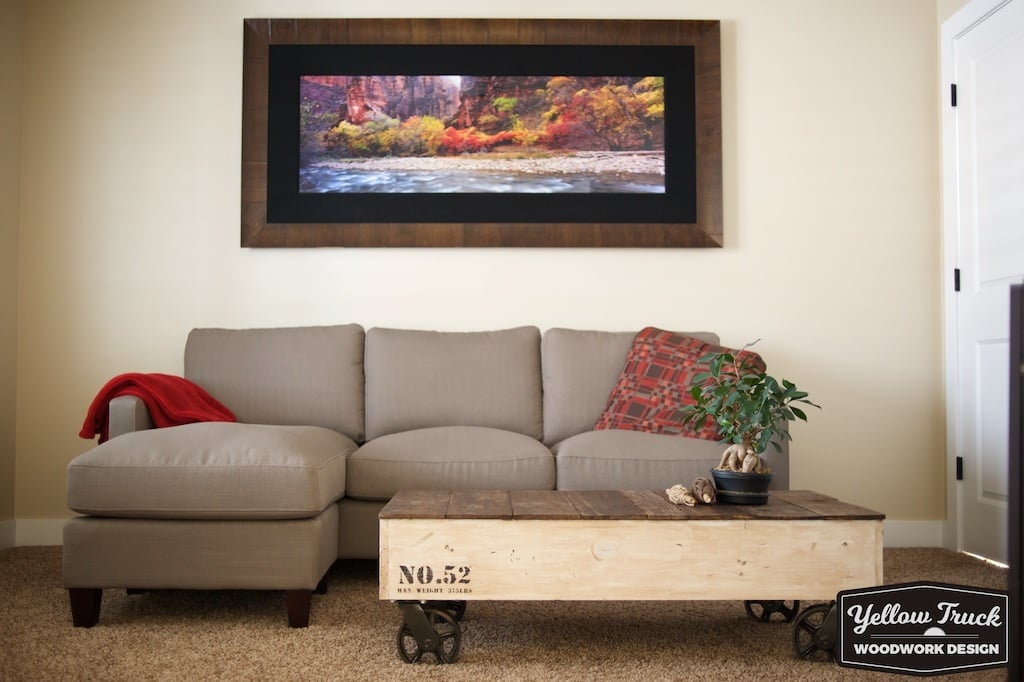
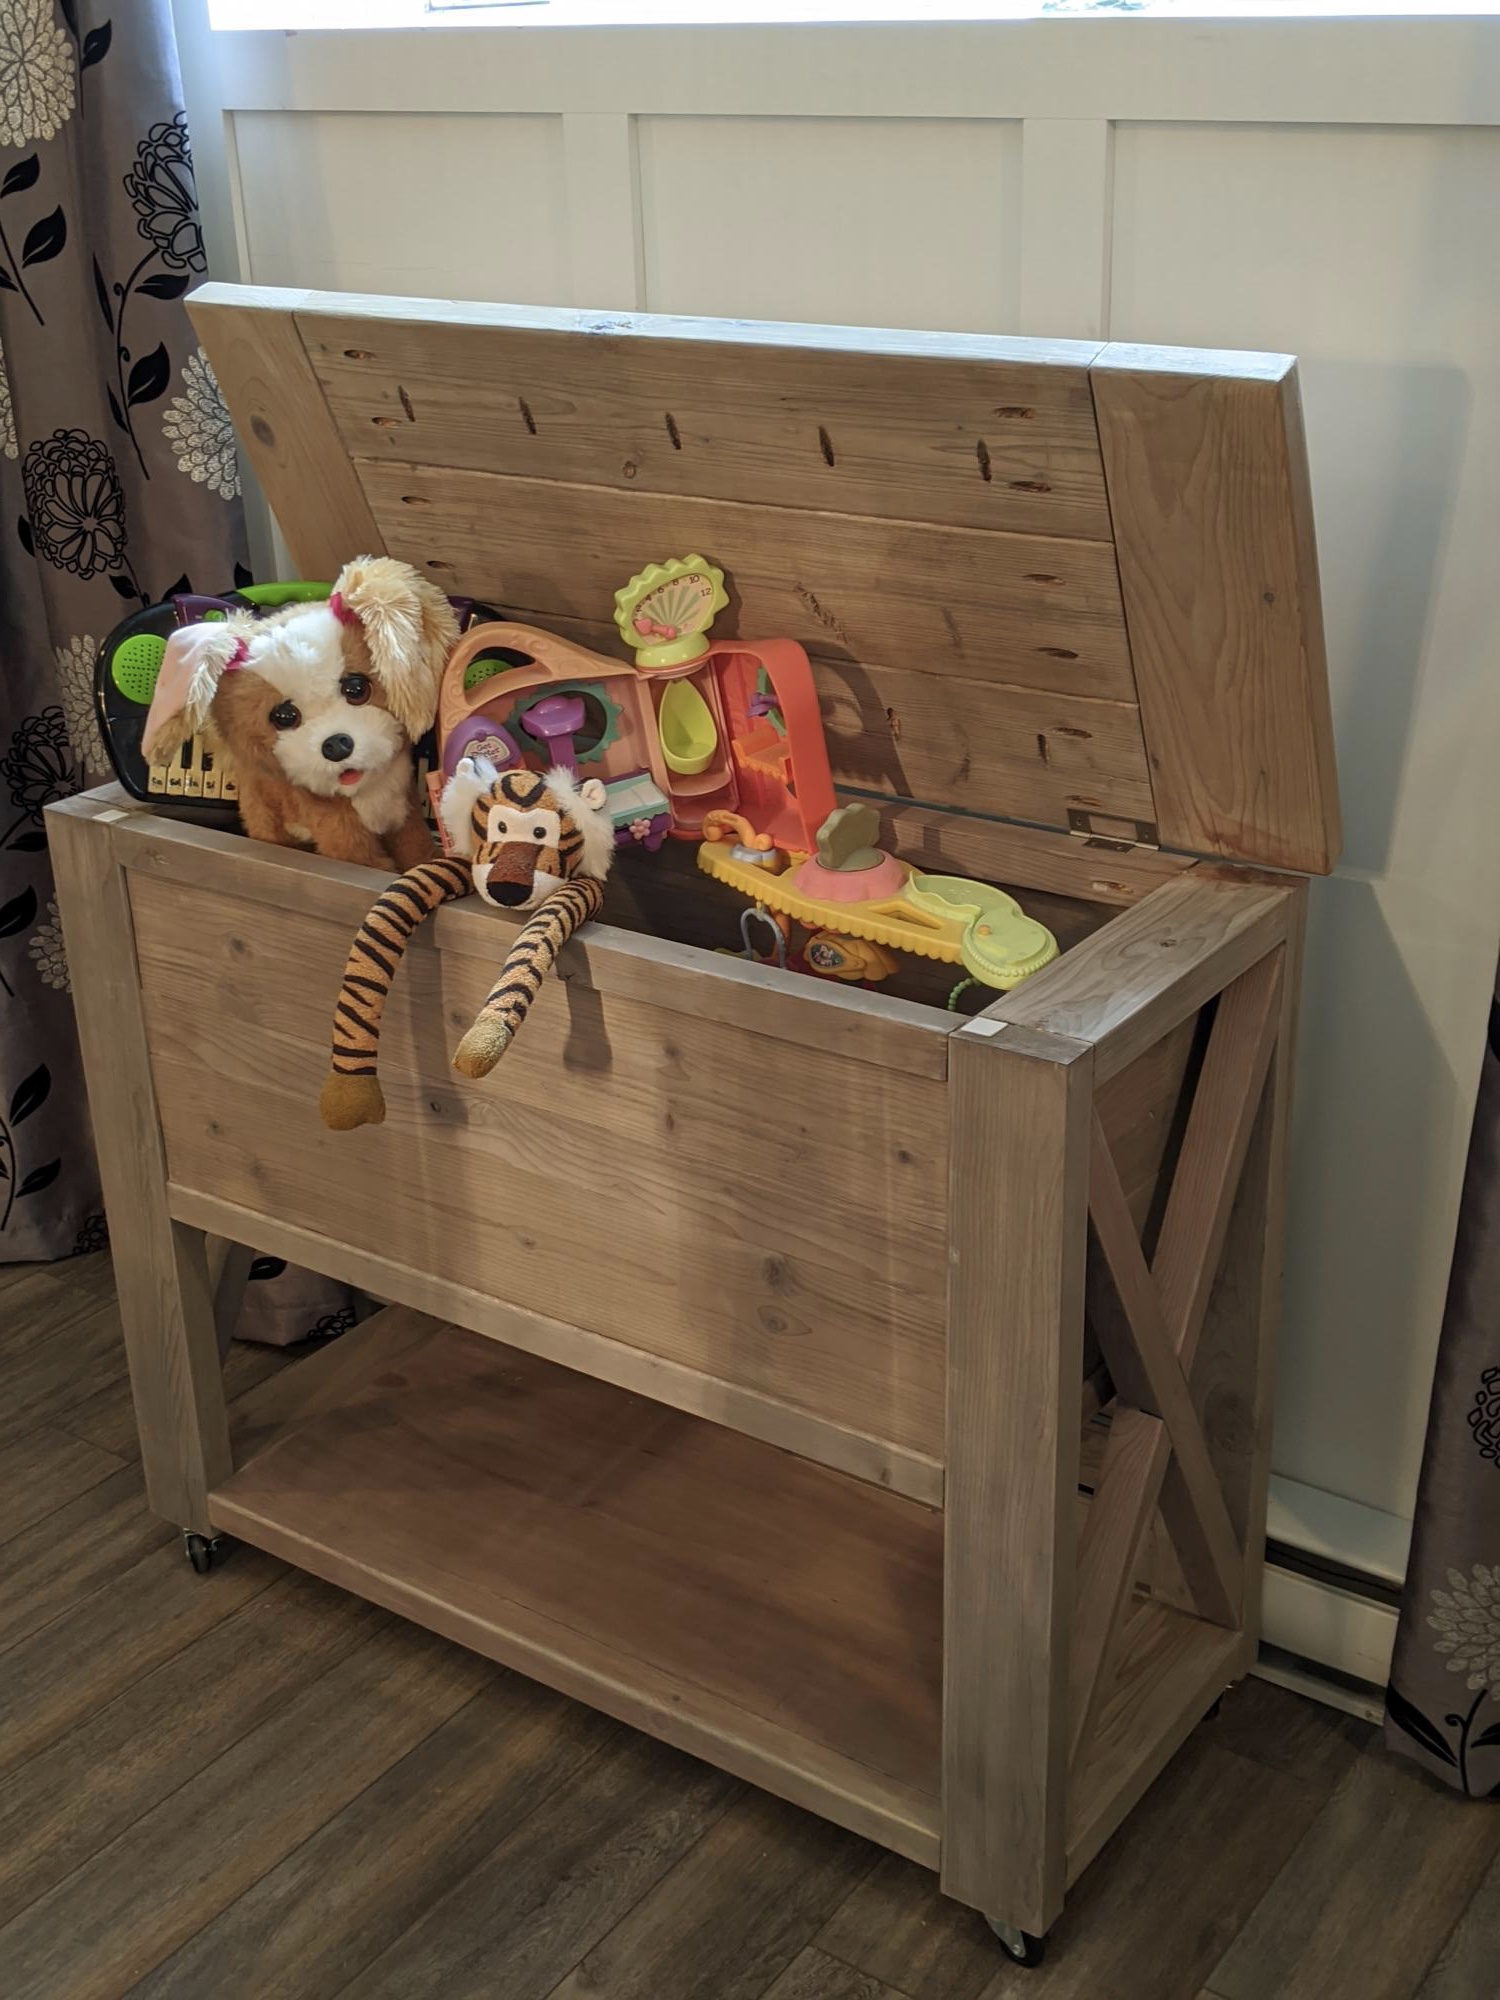
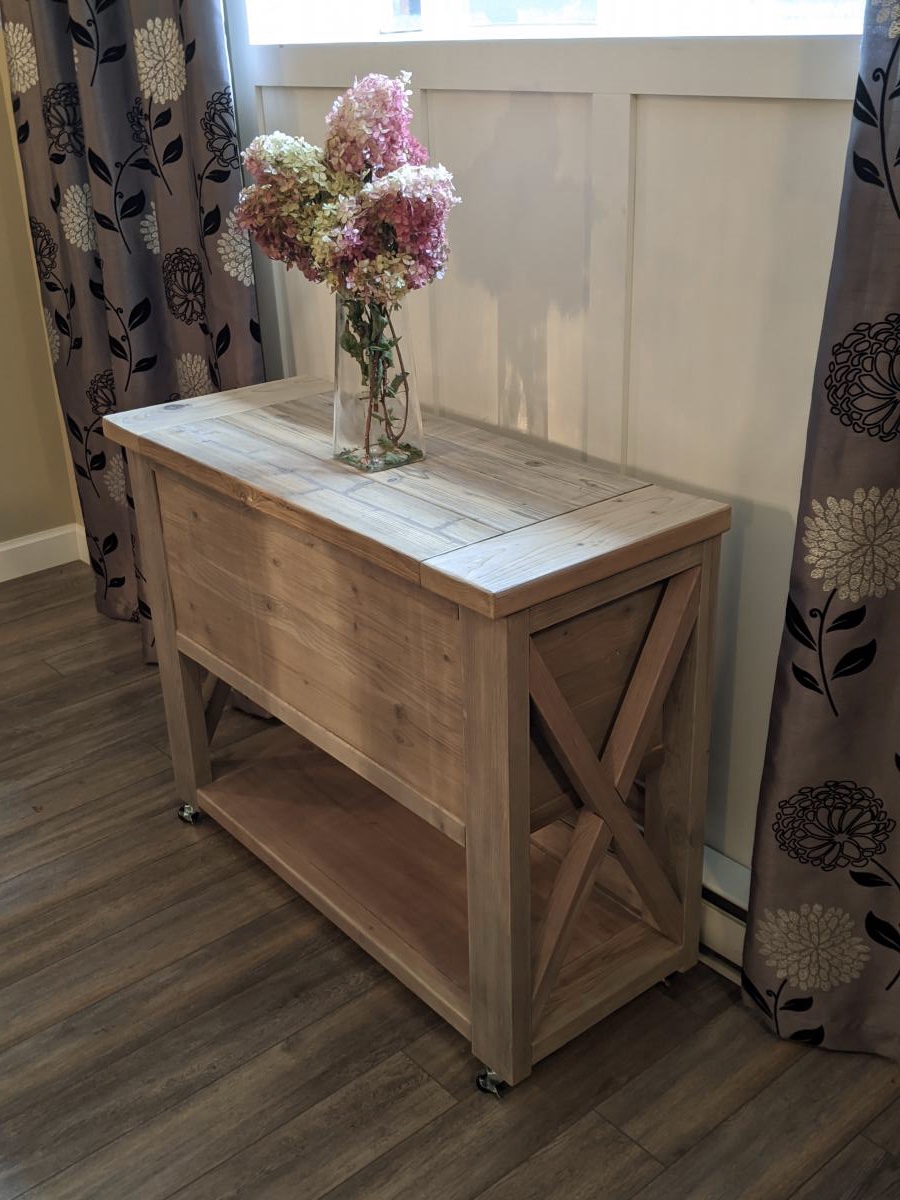
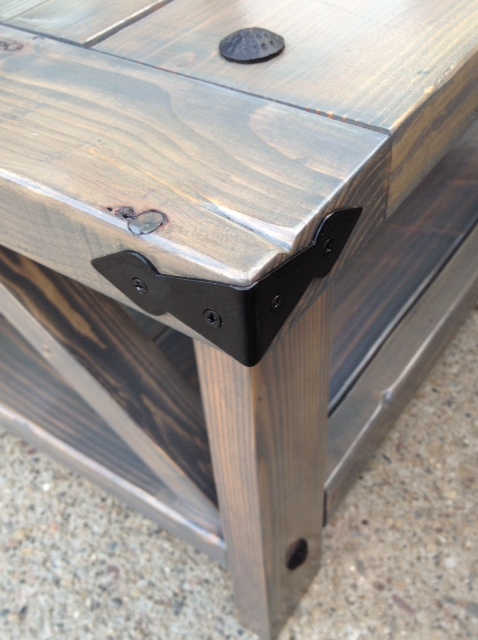
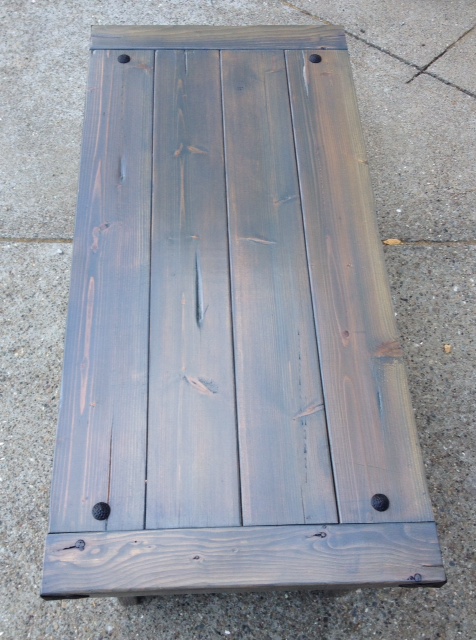
Benchwright Coffee Table

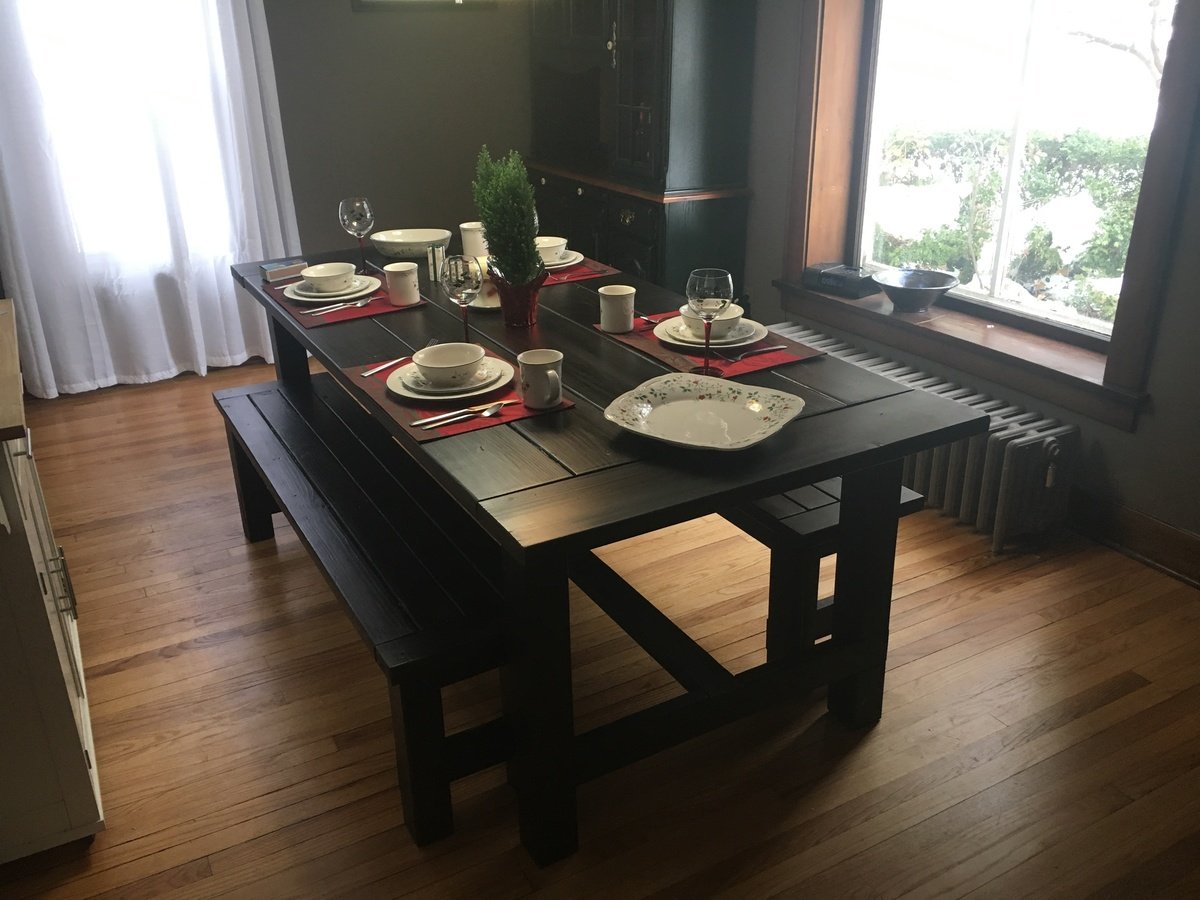
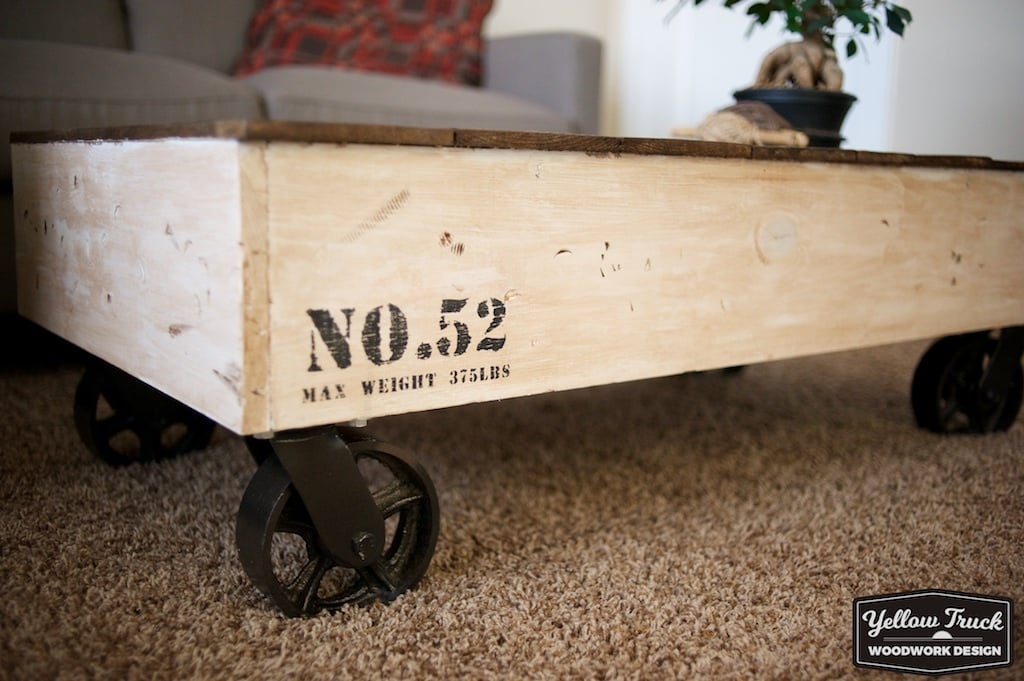
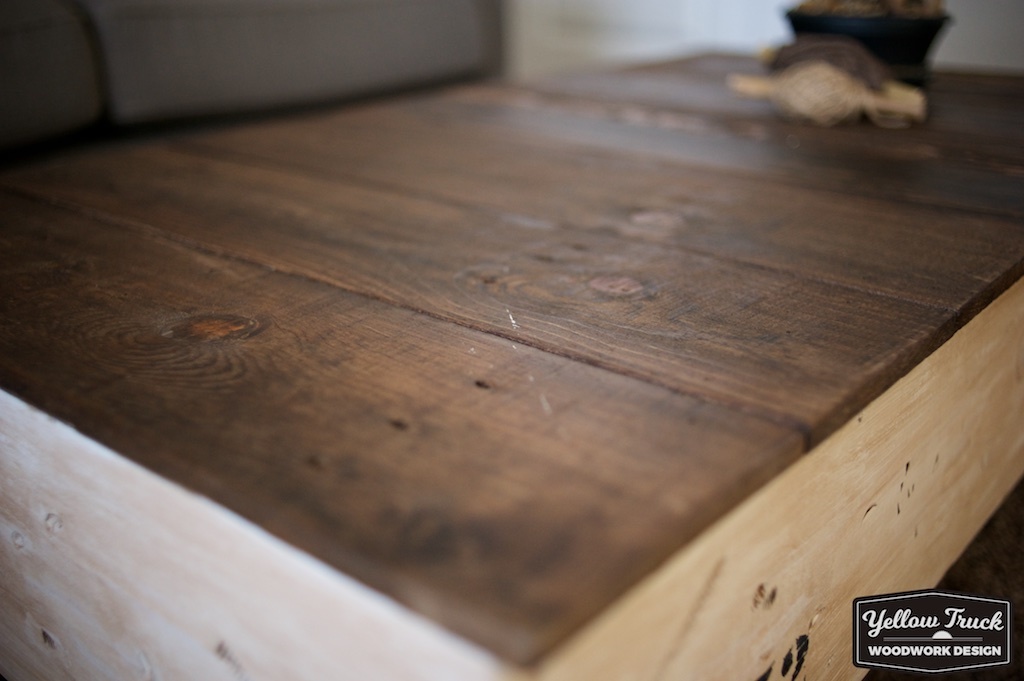
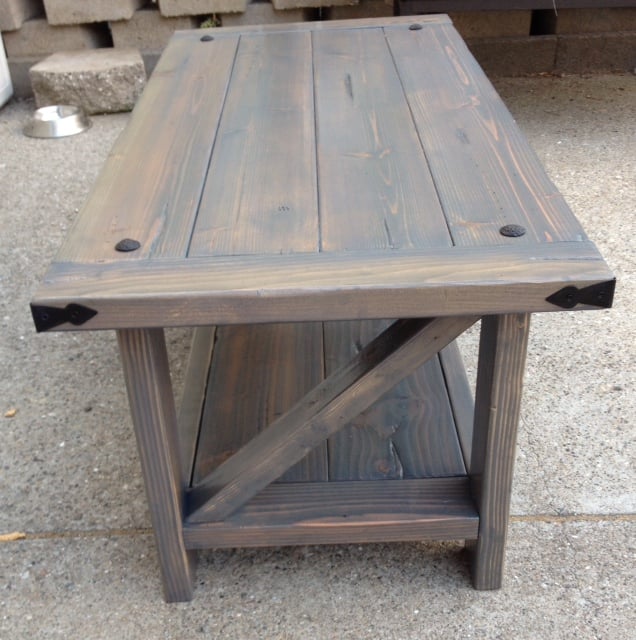
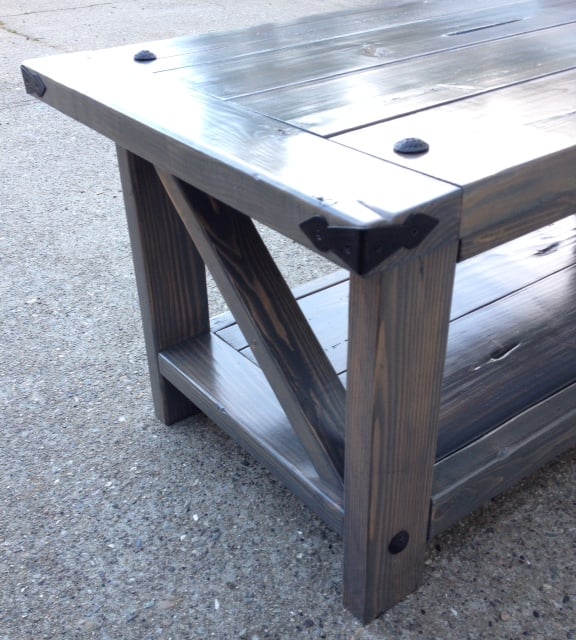
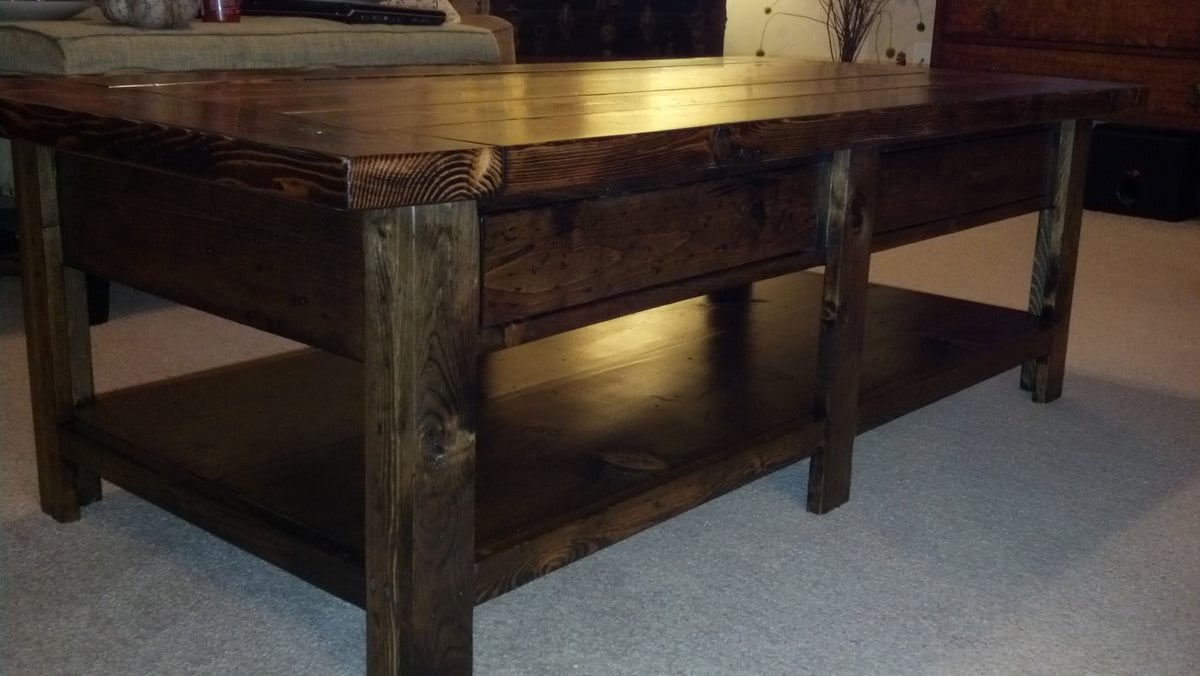
Benchwright Coffee Table. Minwax Dark Walnut & Satin Polyurethane
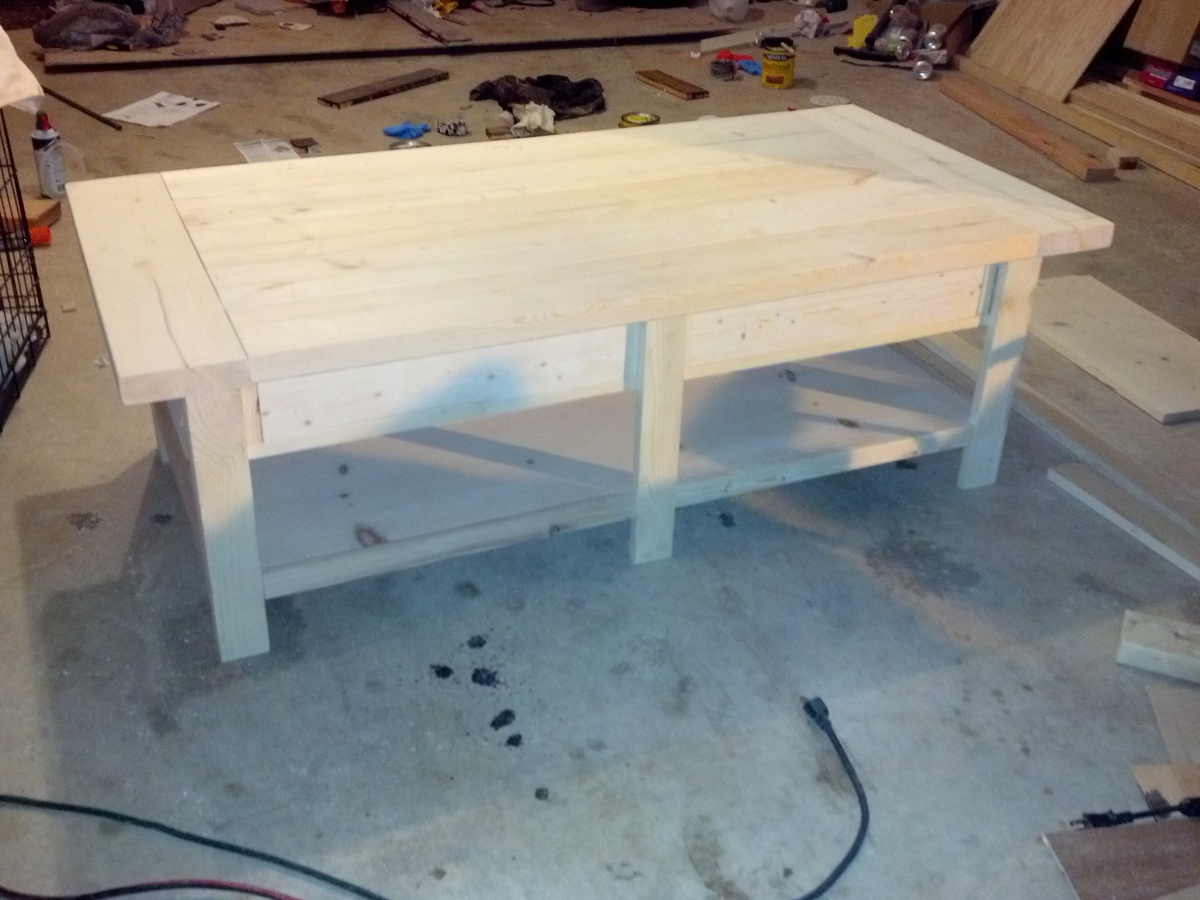

Built from Plan(s)
Estimated Cost
140
Estimated Time Investment
Week Long Project (20 Hours or More)
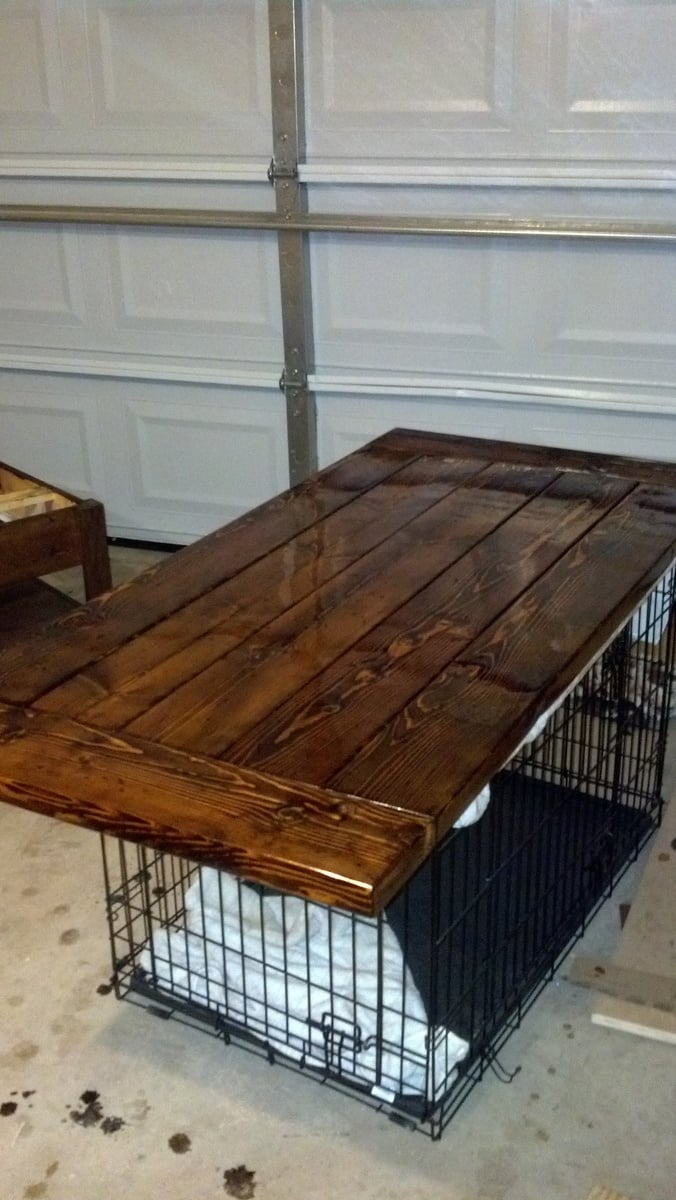
Finish Used
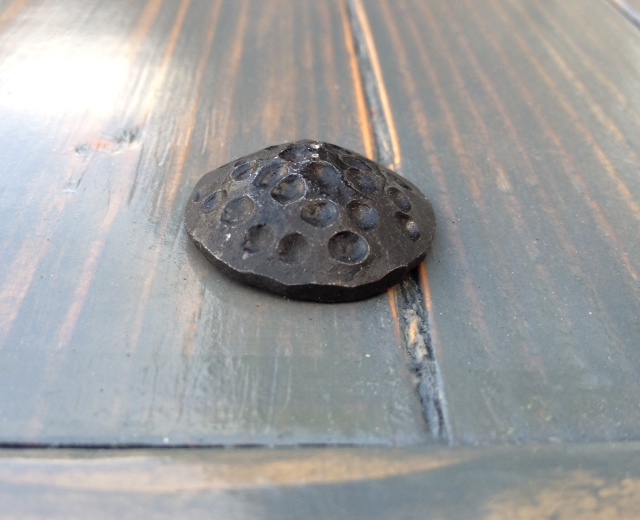
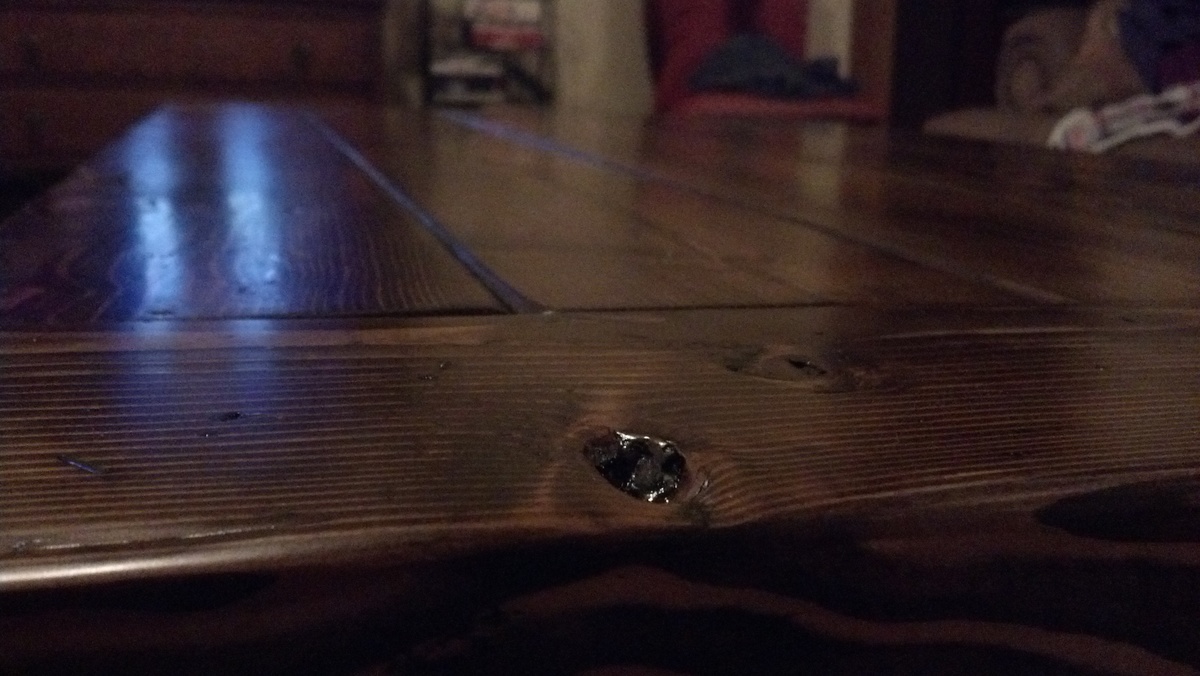
Distressed with hammers, nails, screws, etc. Used Minwax Pre-stain conditioner followed by two coats of Minwax Dark Walnut Stain and 3 coats of Minwax Satin Polyurethane.
Recommended Skill Level
Intermediate