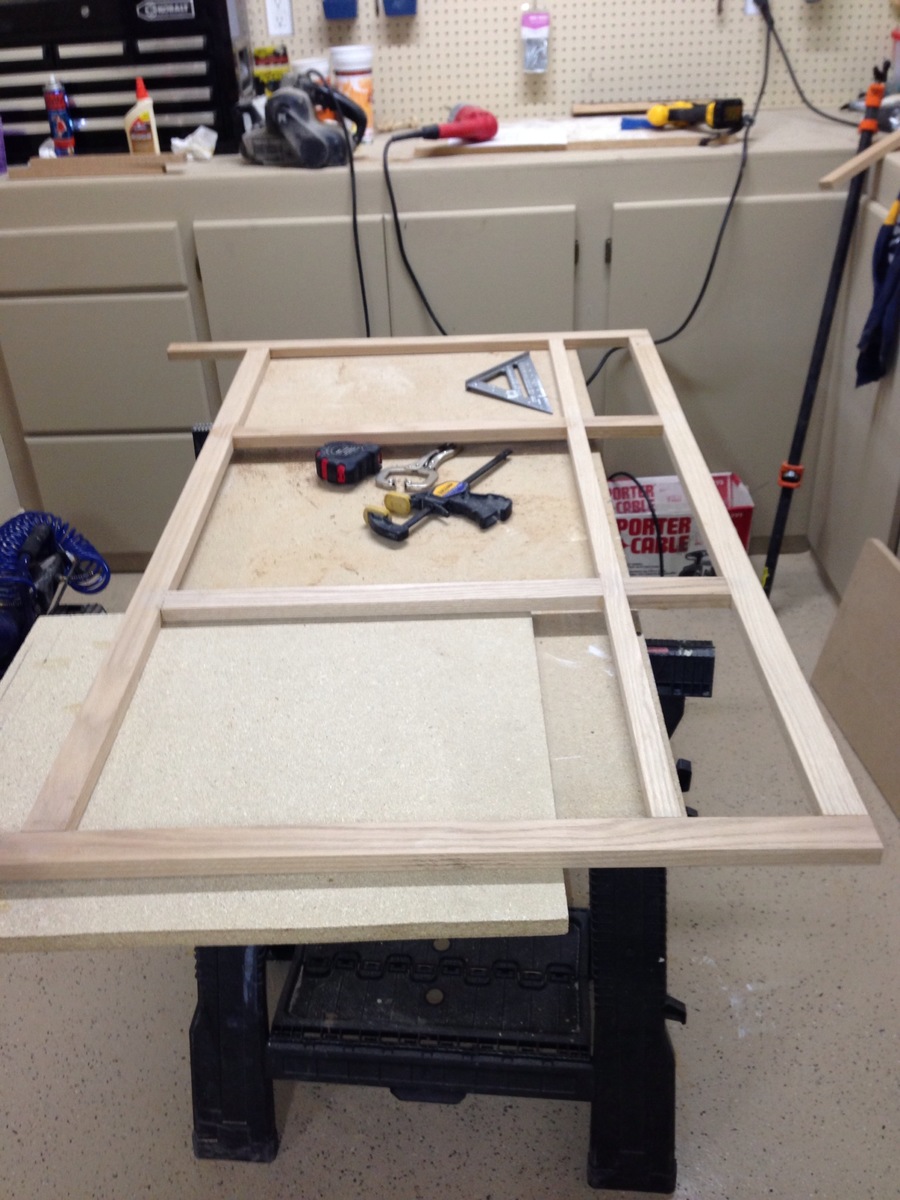
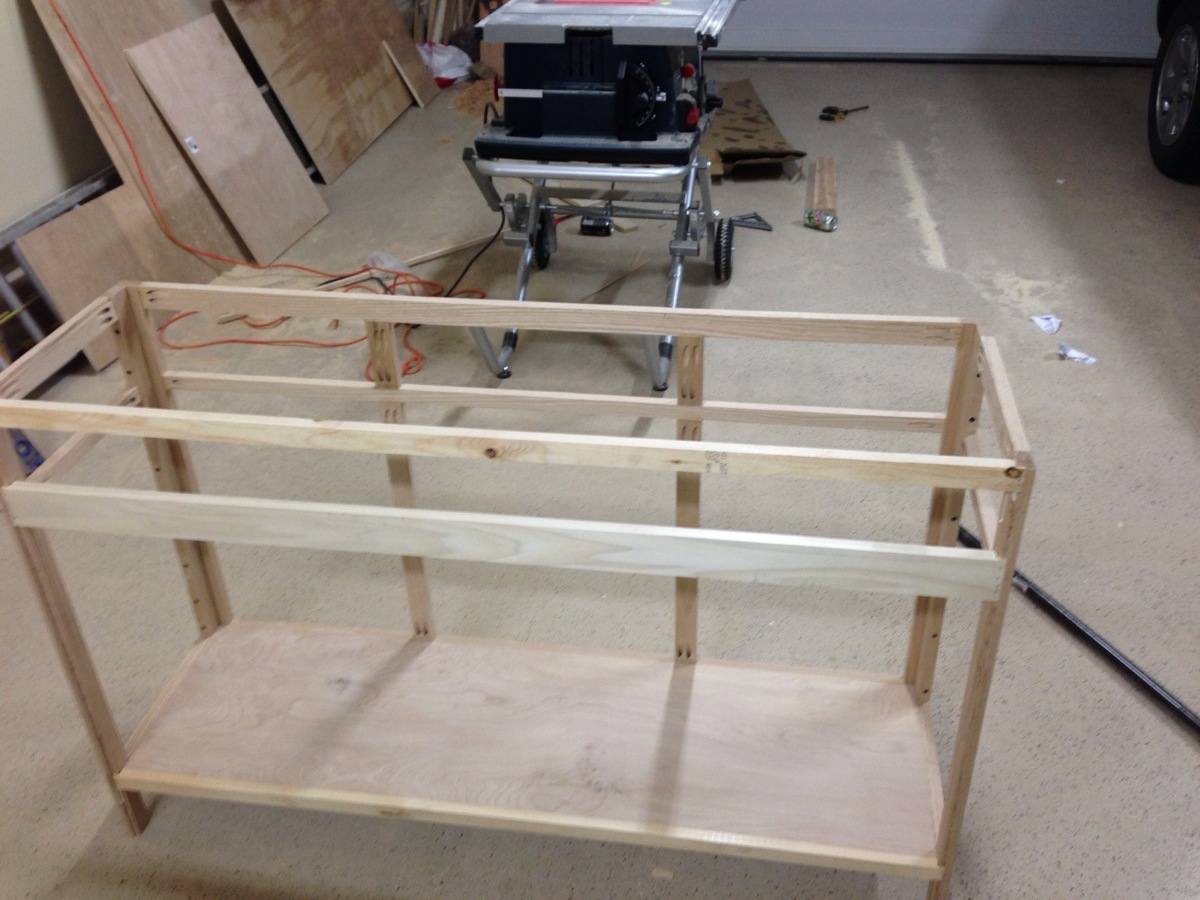
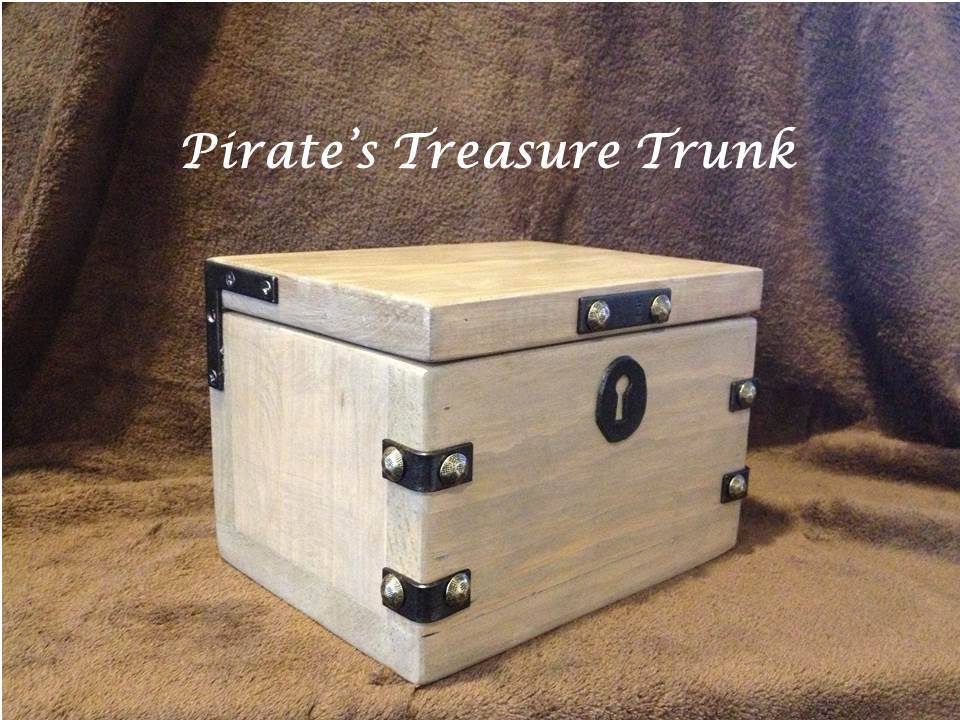
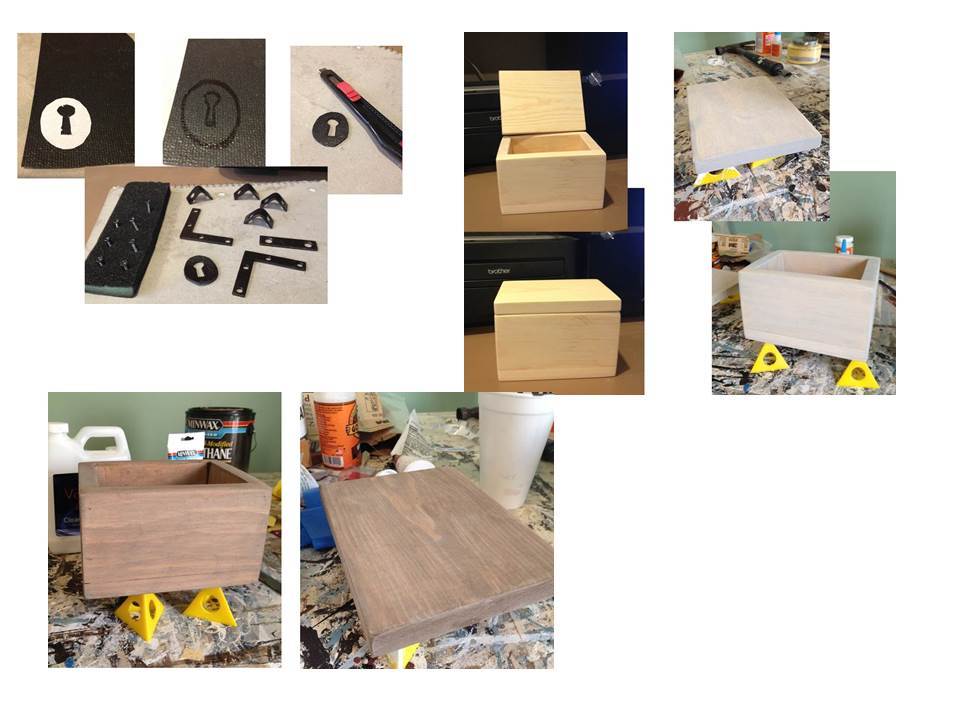
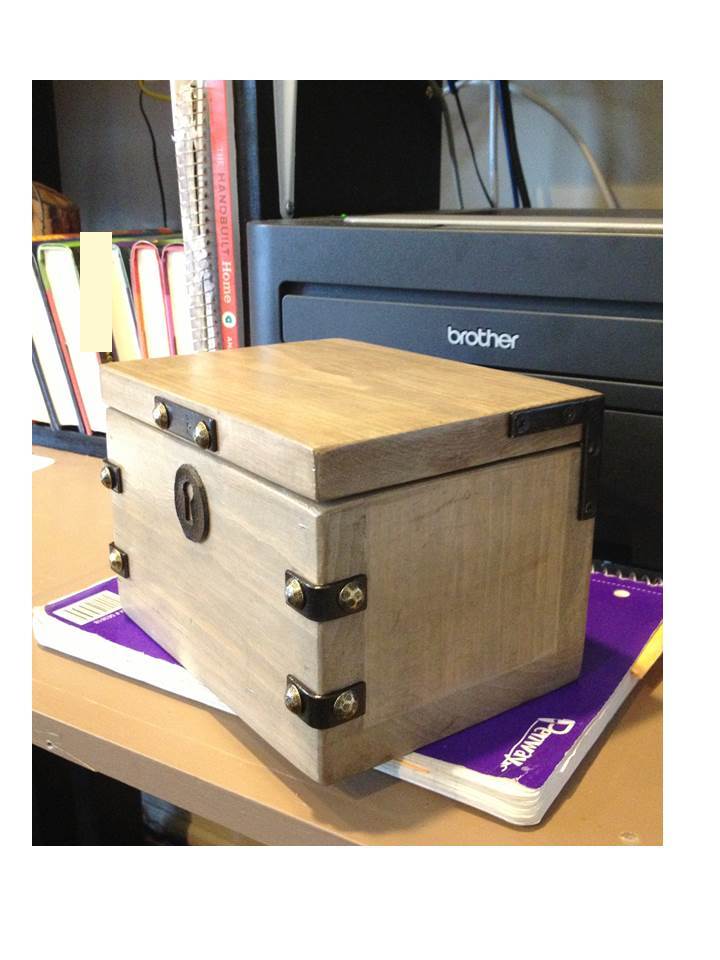
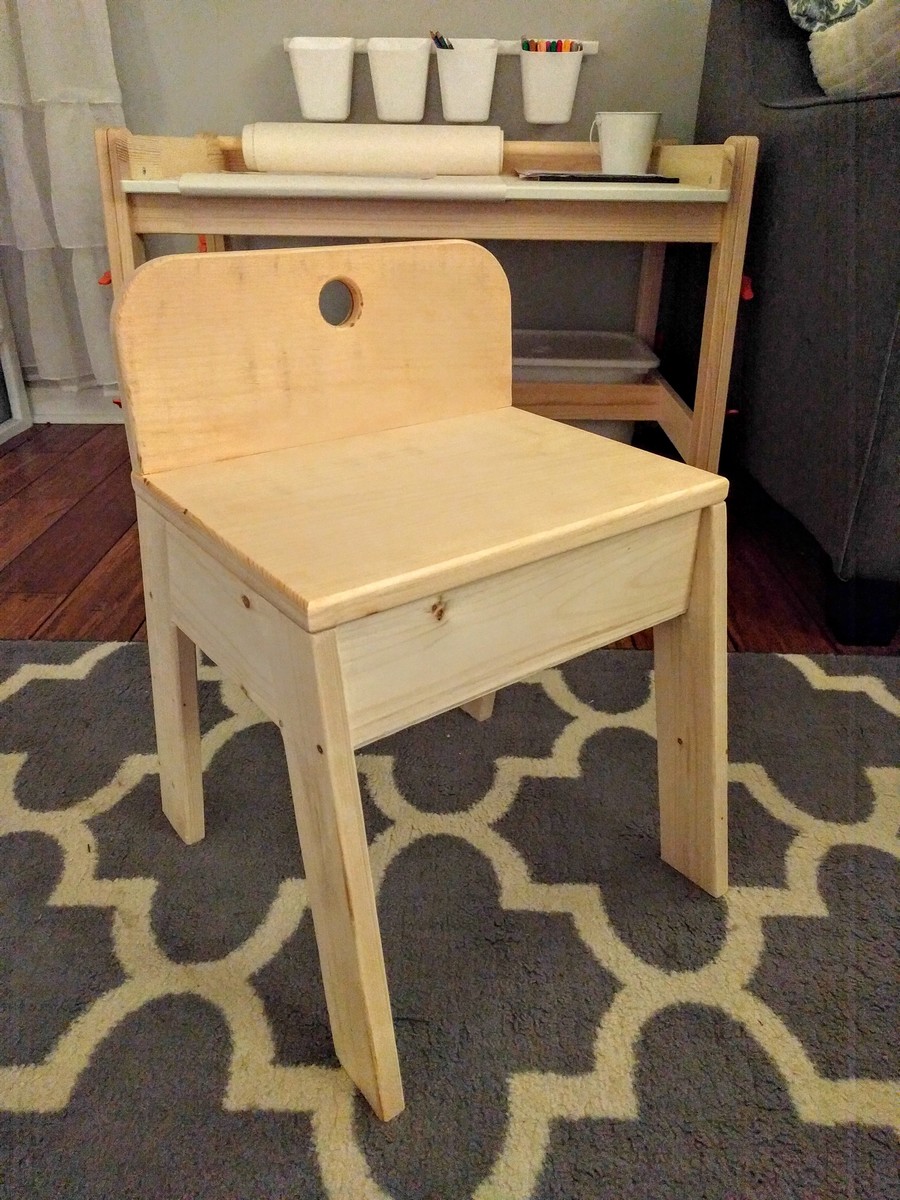
This is the prototype build for the Pirate’s Treasure Trunk Plan. This build was made entirely from scrap wood and left over finishes on hand. The only items purchased were the angles used for the hinges, and the decorative hardware. This really is a great project for scrap wood, since it really doesn’t use much at all. I used the miter saw to cut down some pieces of 1x12 scrap to the 1x4 and 1x6 sizes to build this.
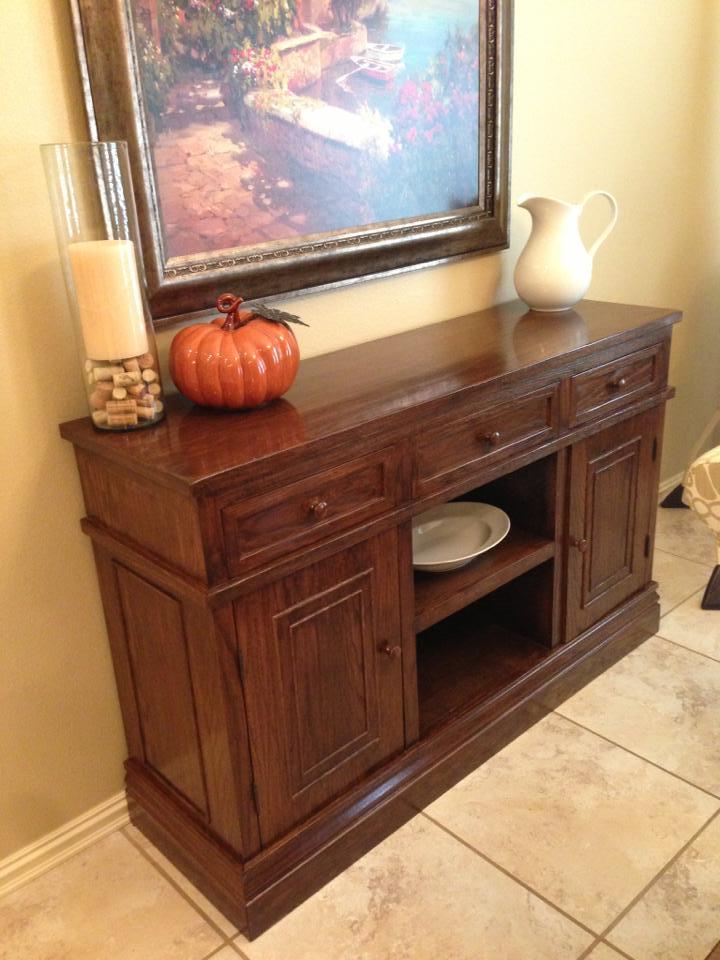
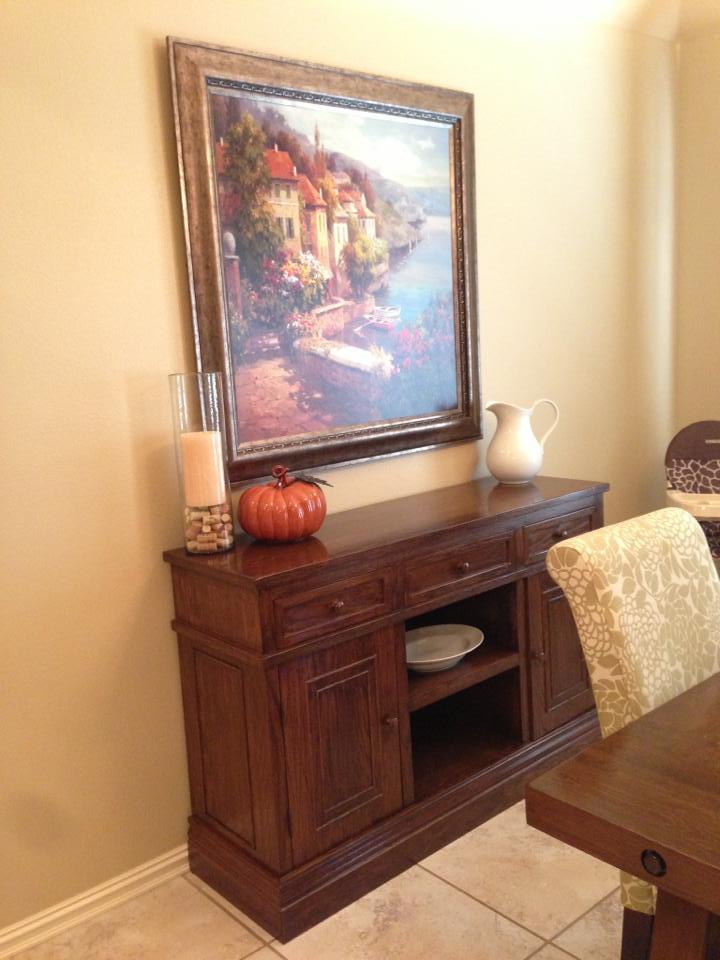
For the finish on this one, the first coat is a gray paint wash (just regular gray paint watered way down and then wiped off), then a Walnut glaze (Minwax Express Color in Walnut + clear mixing glaze) brushed on and then rubbed off. I didn’t sand after the paint wash coat, because I wanted the glaze to stick to the texture of the paint on the wood. The goal was for the weathered wood look of a trunk that may have washed up on shore from a pirate ship. Then it was top coated with clear poly. The hardware was spray painted with Rustoleum Oil Rubbed Bronze spray paint. The decorative nails were left natural. I think they hint at the big chunky bolts that might have been seen on pirates’ treasure chests. Originally I was going to paint the “keyhole” on, but then it occurred to me to use a little scrap of foam shelf liner, cut to shape using the painting template from the plan. Last, a coat of mod-podge was added over everything.
When I was doing the plan I added a couple of alternatives for the decorations (painting all of them on, or adding with mod-podge), since everyone might not like the actual hardware. But, I’m very happy with the look and glad I tried it!
This was a super simple build which took less than an hour to build and sand. Finishing took a few minutes at a time throughout the course of a day. I think the longest part was being patient enough to wait for everything to dry. I let the glaze dry overnight before adding the poly and hardware.
Overall it was a fun and very easy build.


Comments
Rochelle11
Tue, 10/04/2011 - 20:38
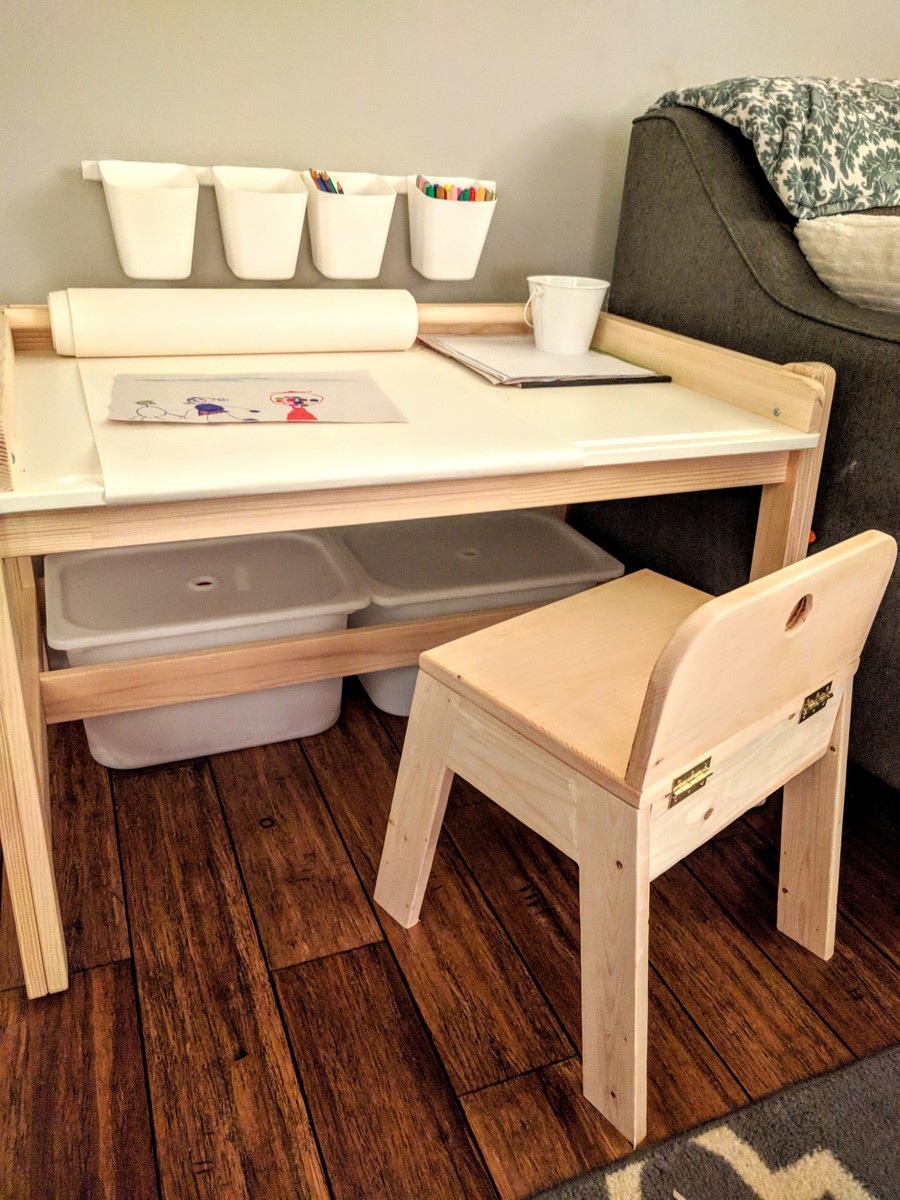
Love the use of grip tape!
Love the use of grip tape! Will use it on my little helper! It definitely adds a little flair...thanks!
Guest (not verified)
Mon, 02/27/2012 - 08:52
cut sheet/instructions
First off, your website is awesome and I love how you give such great directions. However, on everything I pull up all this information is on it. On this one it is not, can you help me? I really want to build this for my daughter.
Thanks so much.
Stacey
McKenzie (not verified)
Fri, 03/09/2012 - 19:46
Stacey, This page is just a
Stacey, This page is just a brag post from someone who has made the project for themselves. The full project plans are here: http://ana-white.com/2010/12/helping-tower.html
Amy Patterson
Mon, 11/30/2015 - 16:48
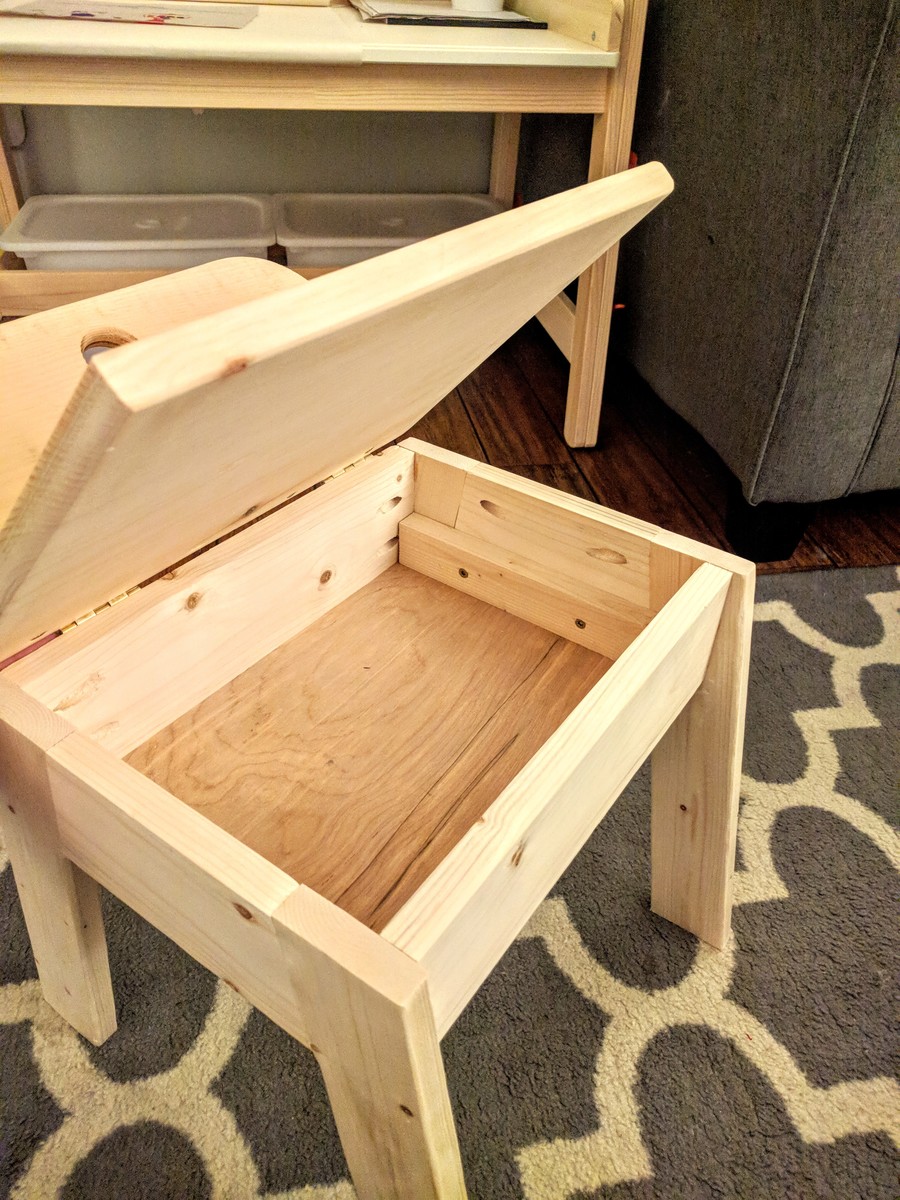
Folding
How did you build it so it can be folded up?. Would you explain it or post a picture?