Reclaimed-wood headboard queen
Super easy project with huge results!
Took us 2.5 hours to build and about 2 hours of finishing work. Be sure to use a square as you position each panel.
Thanks Ana!
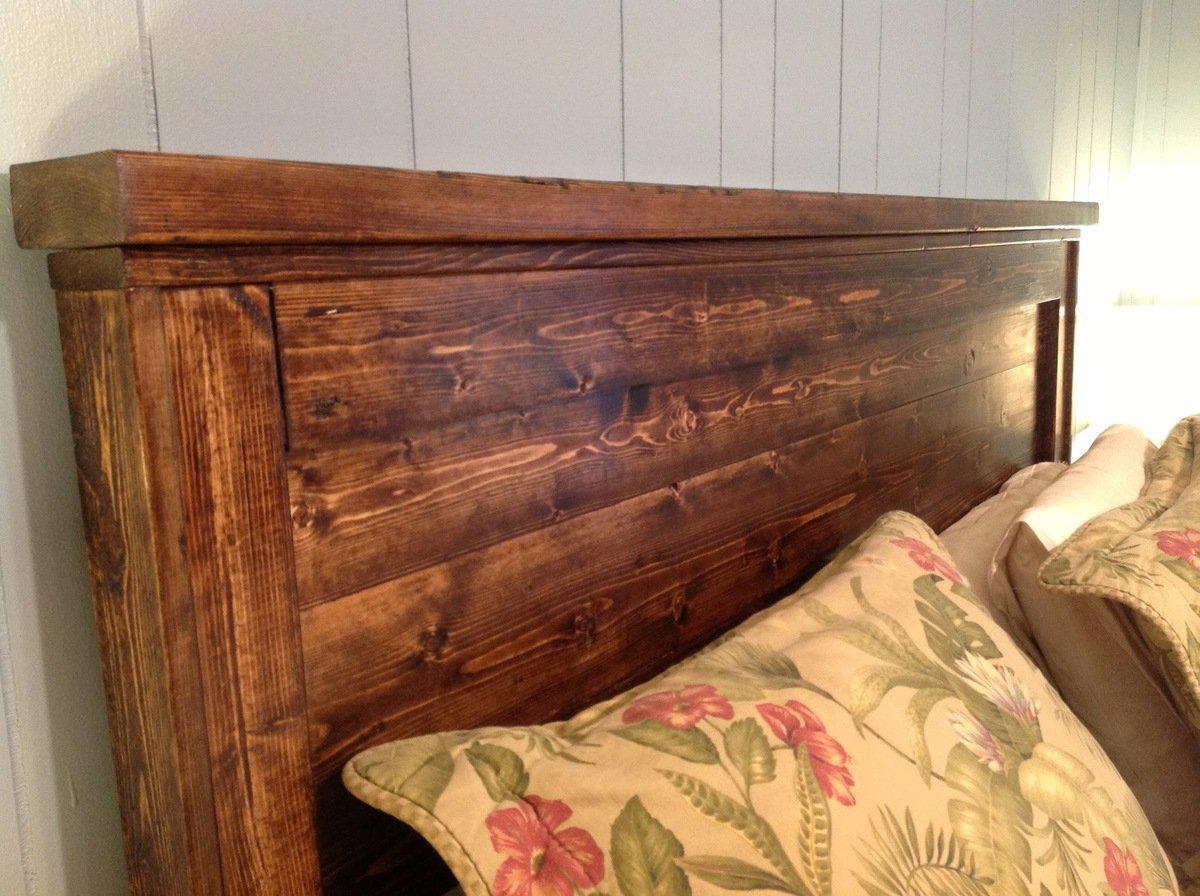
Super easy project with huge results!
Took us 2.5 hours to build and about 2 hours of finishing work. Be sure to use a square as you position each panel.
Thanks Ana!

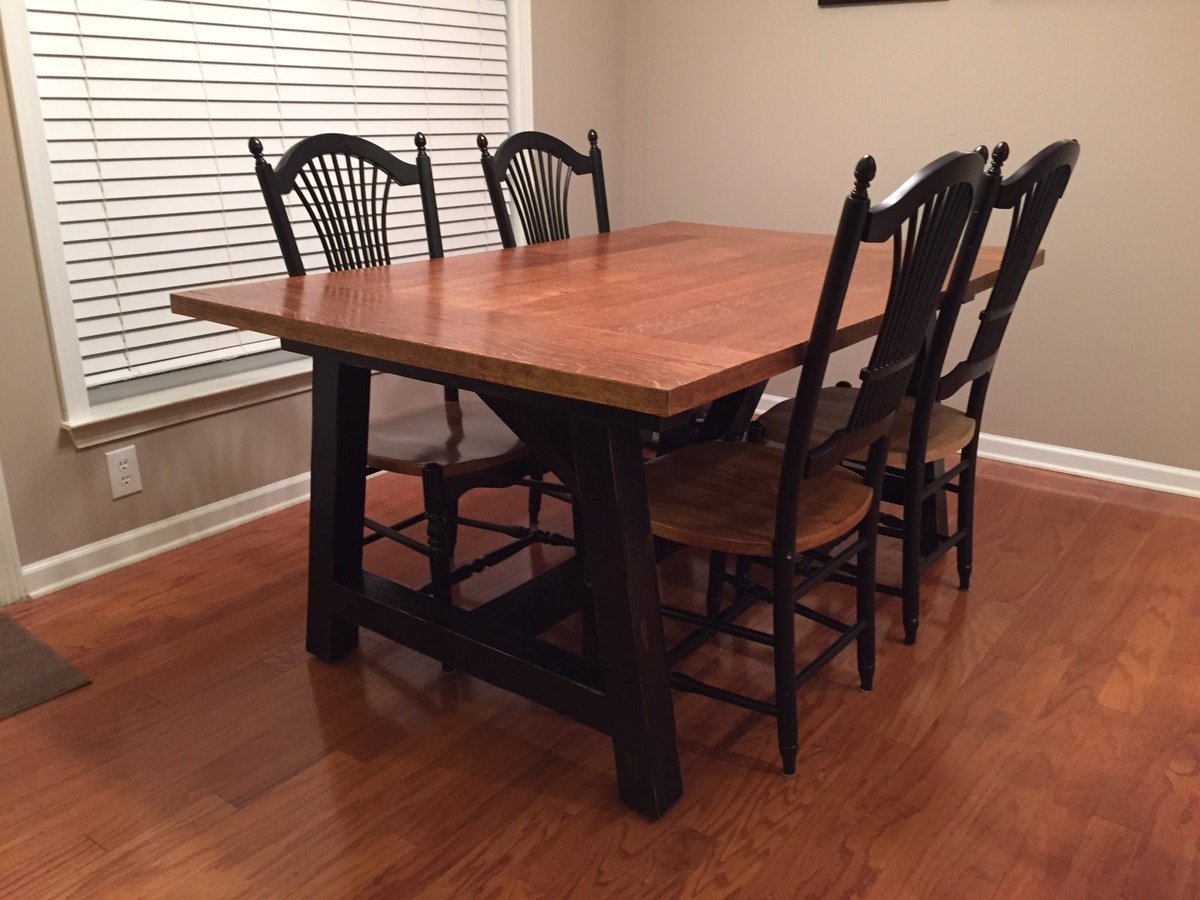
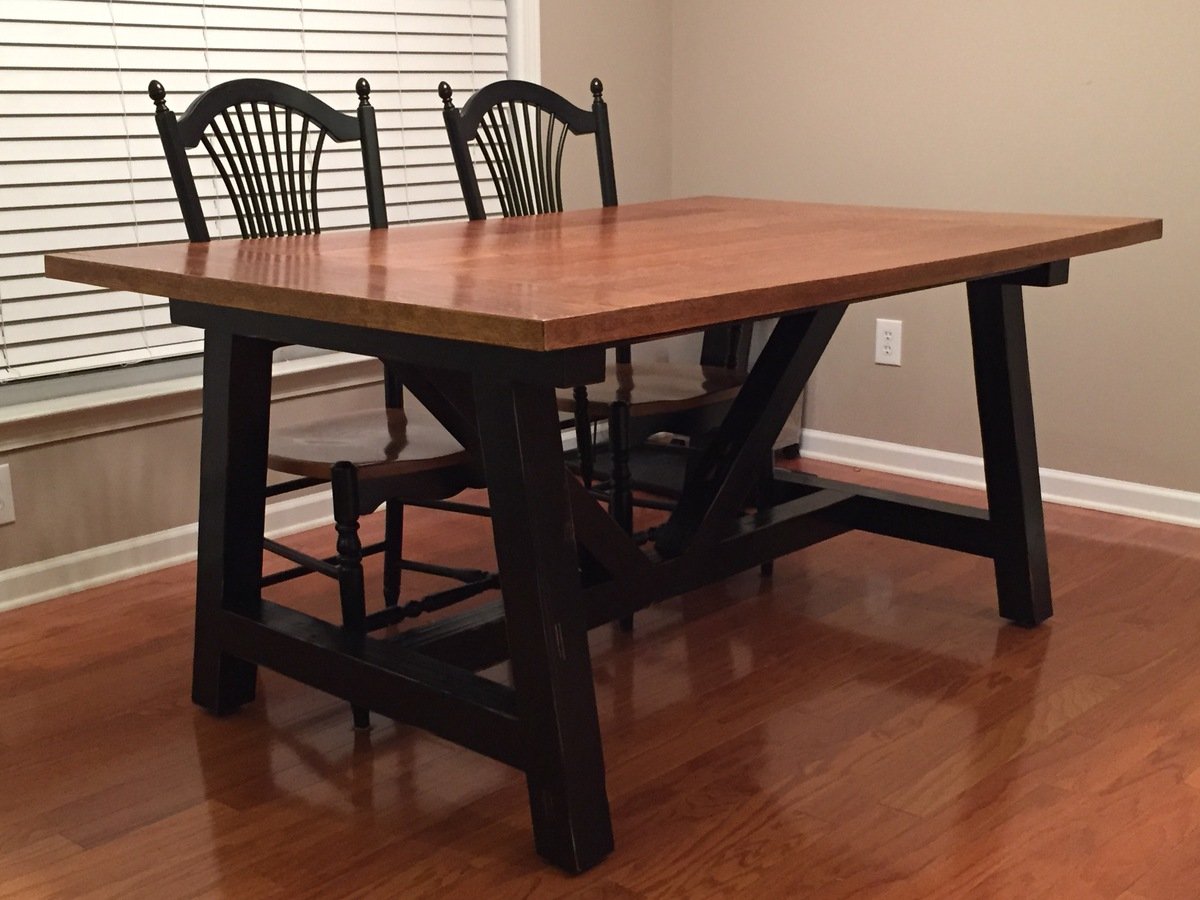
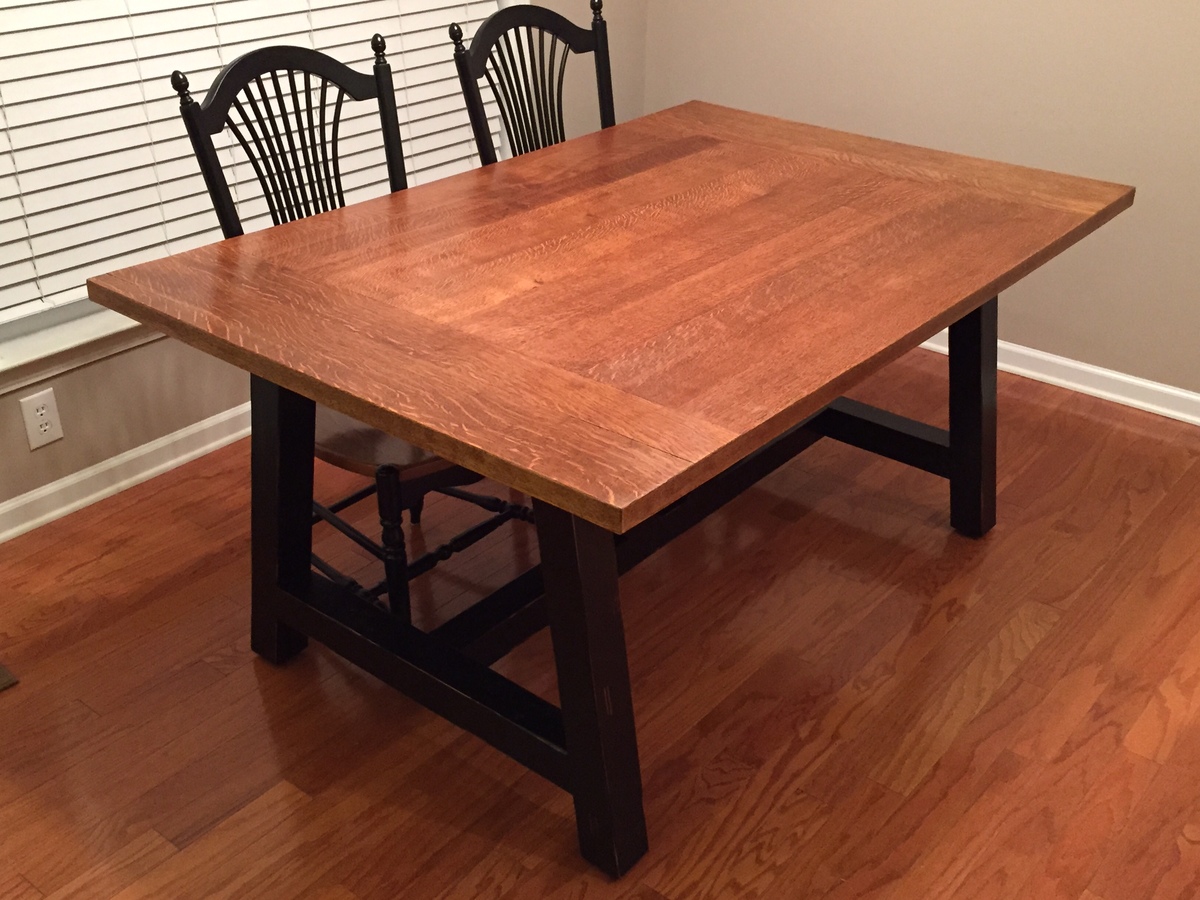
Here is my latest project completed. I took the table that belonged to my wife's parents and re-purposed it. Took it apart, stripped it, rebuilt it into a farm style table, and refinished it. Put it on top of a base that I built, painted and distressed. Turned out solid as a tank. Broke bread on it for the first time tonight. It should last for a couple more generations!
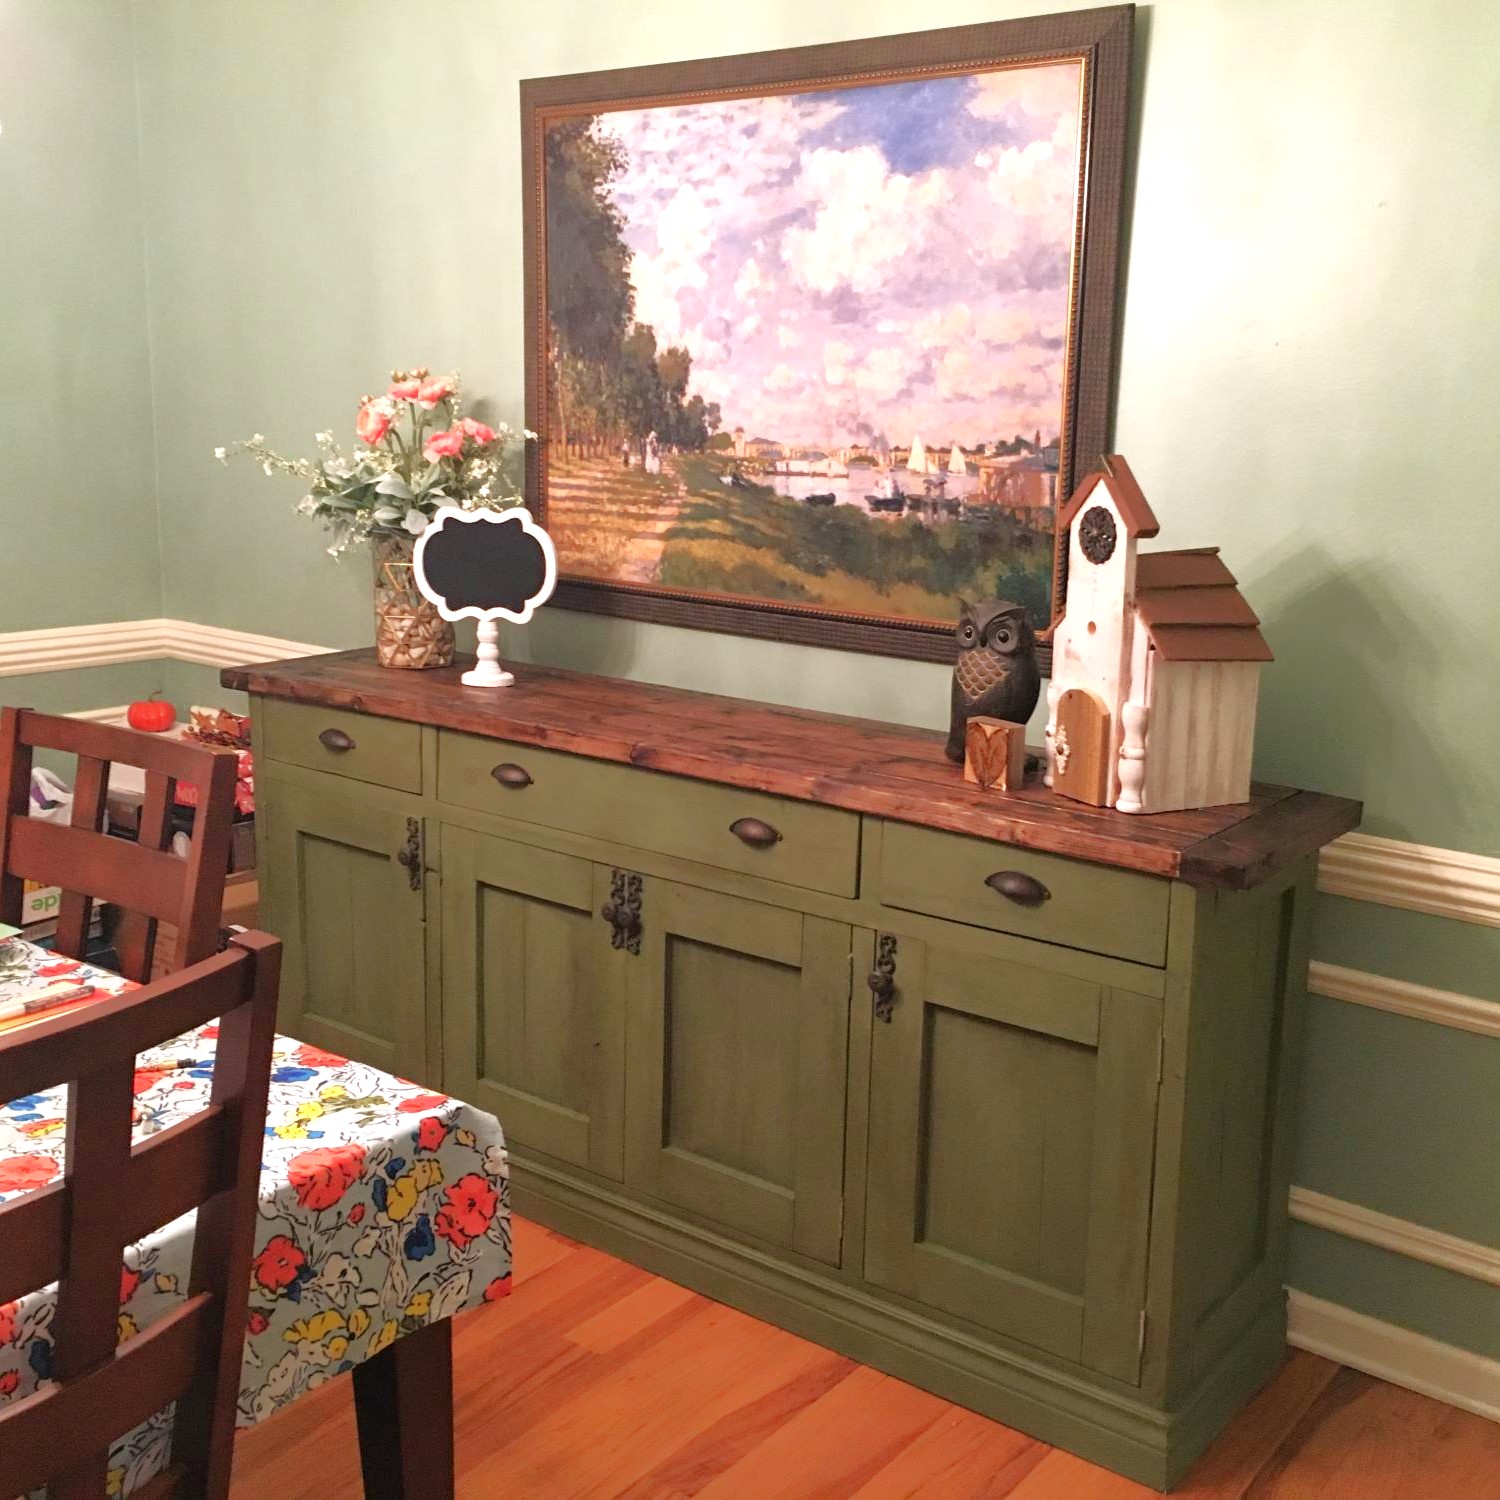
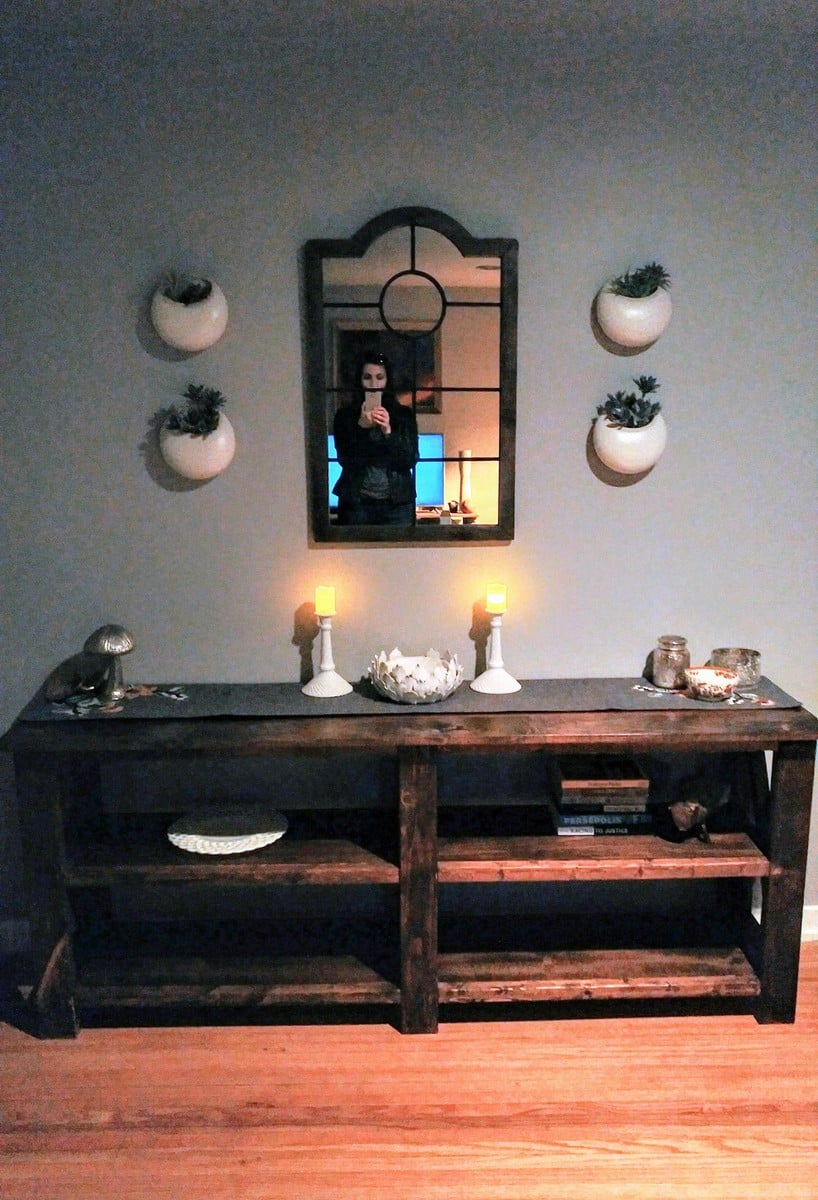
Intermediate project. It is not specified how to attach the top but I would recommend using the Kreg Jigg on the outside ends. Beautiful and spacious amount of storage.
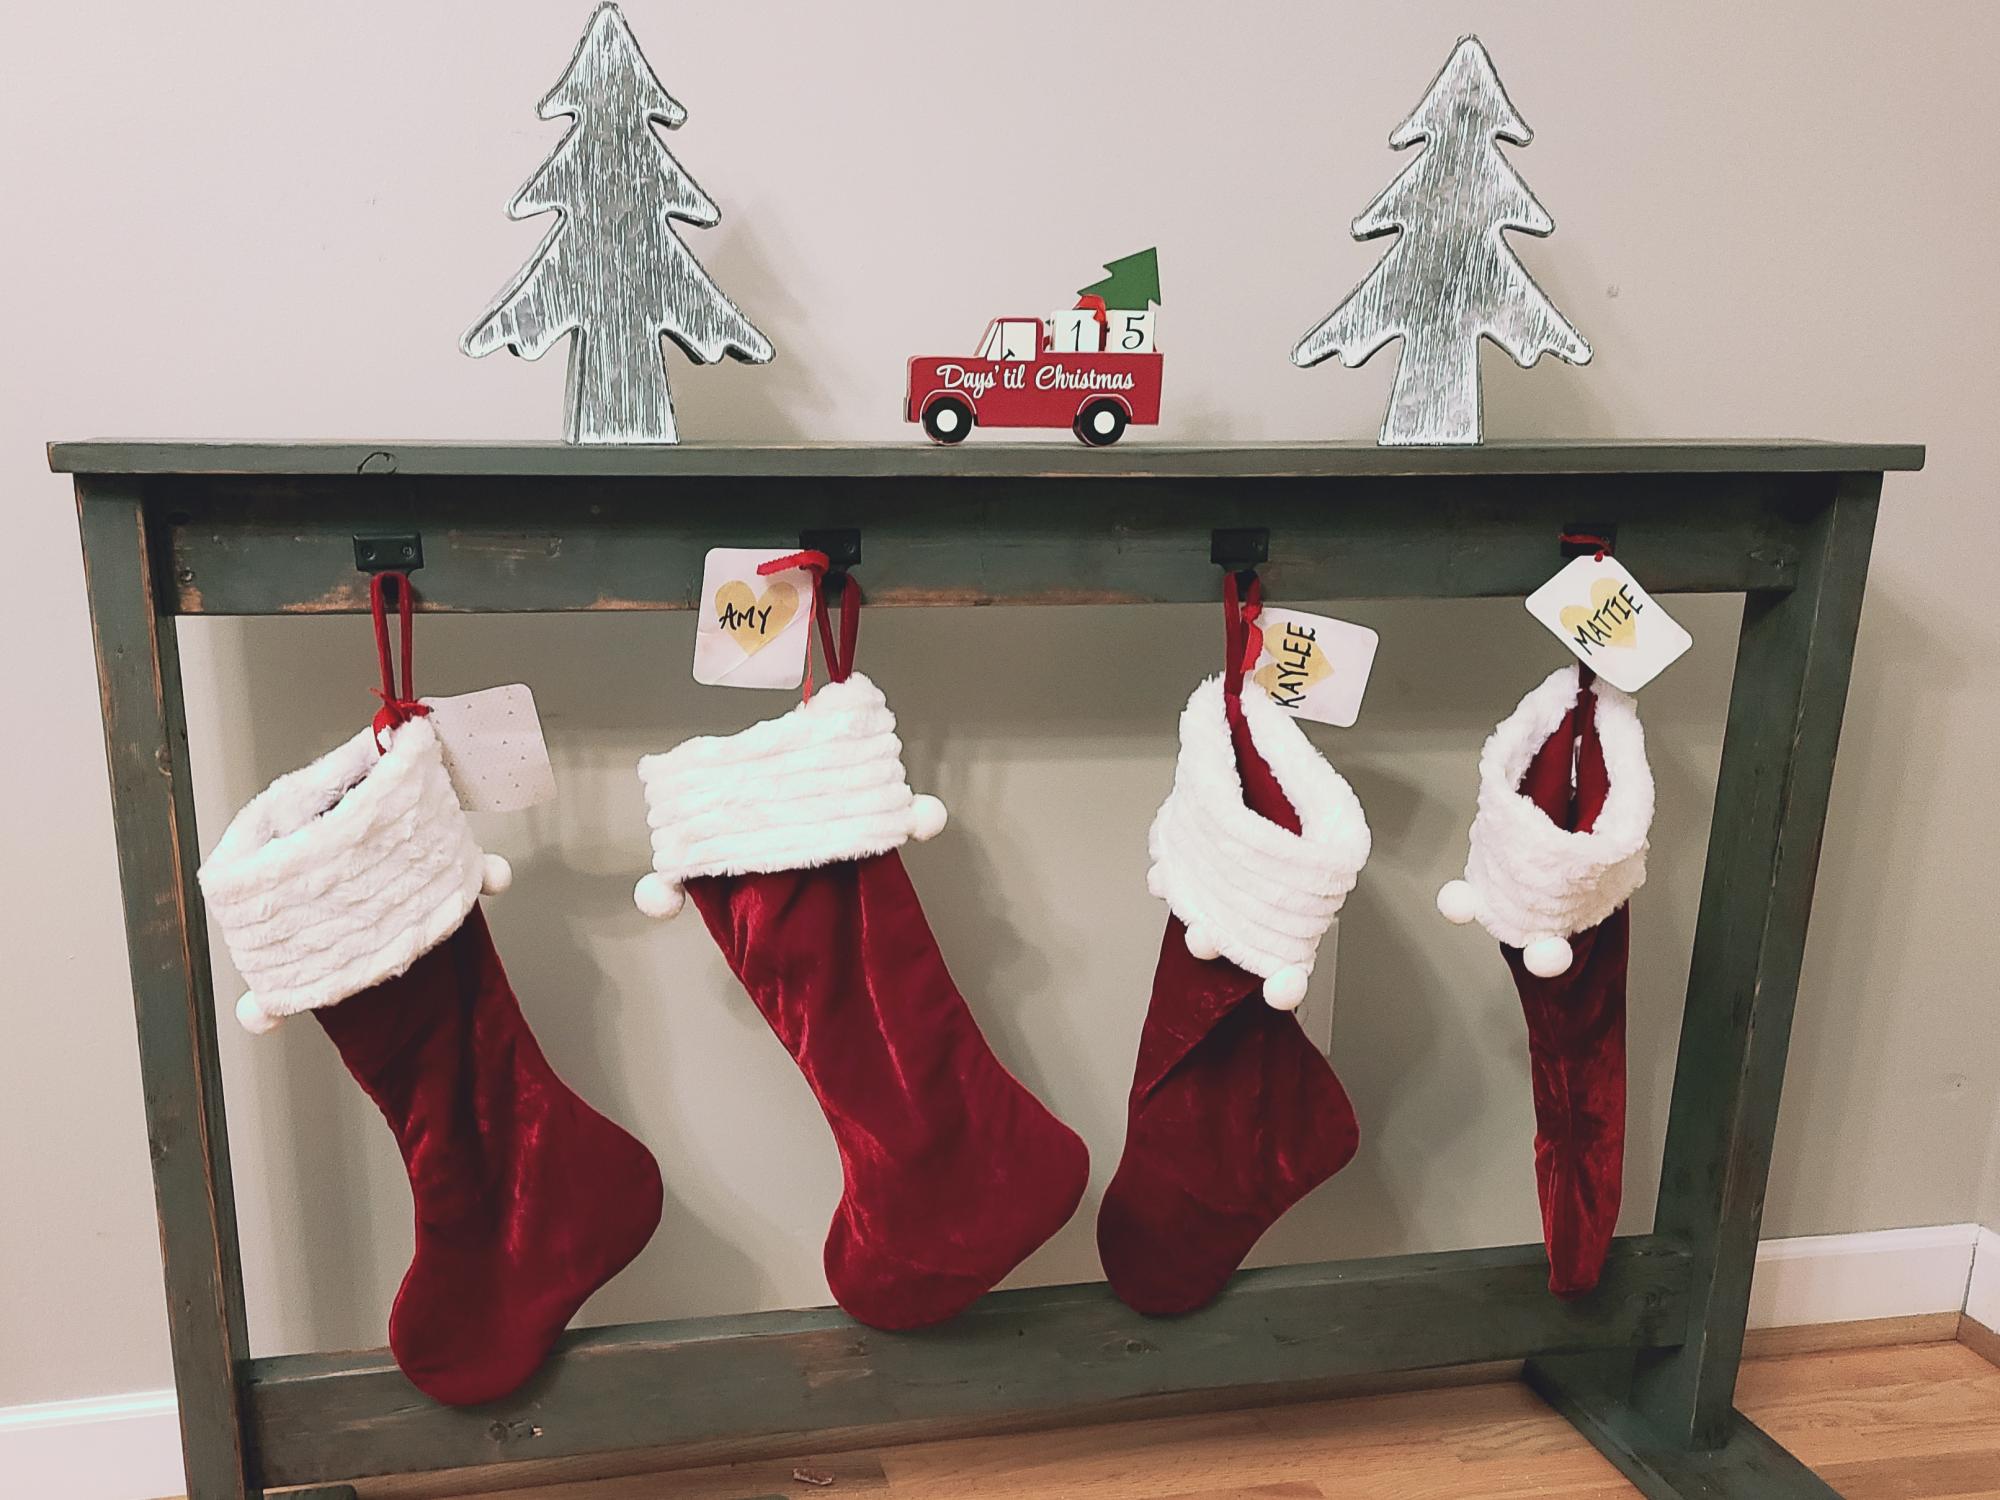
Started built from https://www.ana-white.com/woodworking-projects/stocking-stand plan.
My finished product is mostly the same, except I added a little to beef it up. I added decking board size wood for the feet to give it more stability. Santa leaves heavy things in sticking sometimes. I wanted to be prepared! 😁 I made the top 2x4 flush with the top of the sides and added a 1x6 across the top like a shelf. If I get to do it in time, I'm going to add a 1x8 (or 2x8) stained a dark wood color on top and may add a little trim between it and the 1x6 to beef it up. I love it! Might be able to repurpose someway during the rest of the year. Thanks Ana White for the plans!
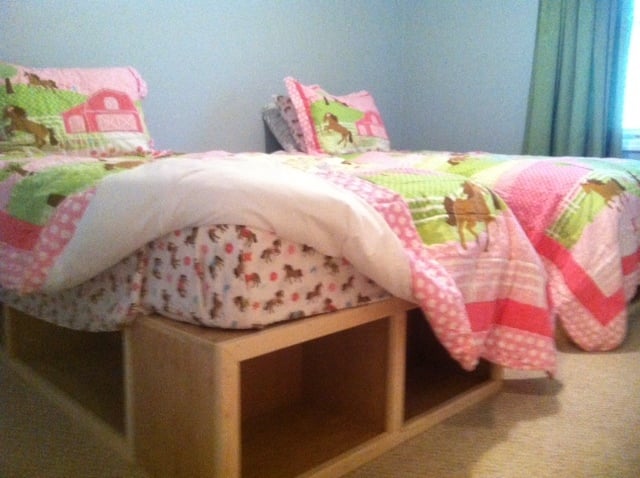
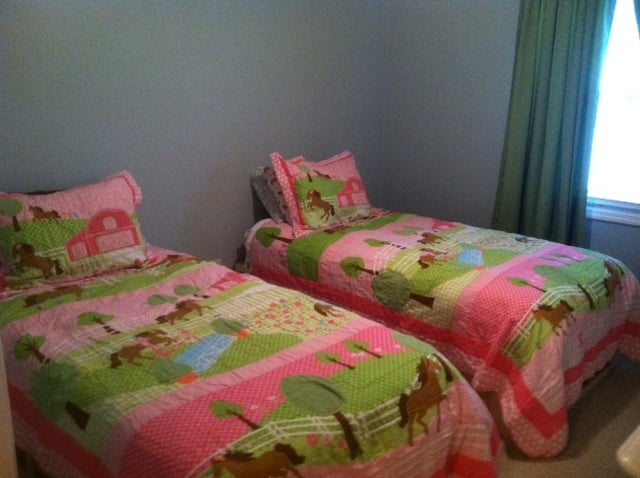
Rather than buying beds for two of our daughters, I wanted to take the opportunity to build them. I really had a great time doing. I used the plans from the Captains Storage beds, but modified it a little.
We ripped two 3/4 inch finished ply into 12in pieces.
That gave us all the sides, ends, and dividers.
The platforms are 12x12 3/4x
The ends are the same only sorter.
Rather than using slats for the middle support I just used the remain ply.
We finished the front with 6ft sections of 1x2 inch furring strips. A good sanding and clean up, and we are good to go!
Thanks for posting the plans! We really enjoyed building the beds and our girls love them!
Fri, 09/20/2013 - 13:14
LOVE this! was looking for something other than the slats that would TRULY hold my polynesian kids, thank you for sharing! :-)
Made from leftover 16x24 and 12x12 tiles from my daughters bath room remodel and leftover treated 2x4's and 1x6's. The legs and cross pieces were ripped from 2x4 and attached using my Kreg JIg. I glued the tile tops with silicone Calk and ripped 1x6 's for the shelf bottoms and nailed them to the lower cross pieces. Opposite side cross pieces were 3/4 in lower to accomodate the 1x6 shelf to make it even. The width and length of the tables are 1 inch less then the respective tiles to allow a 1/2 inch overhang each of the tile tops.
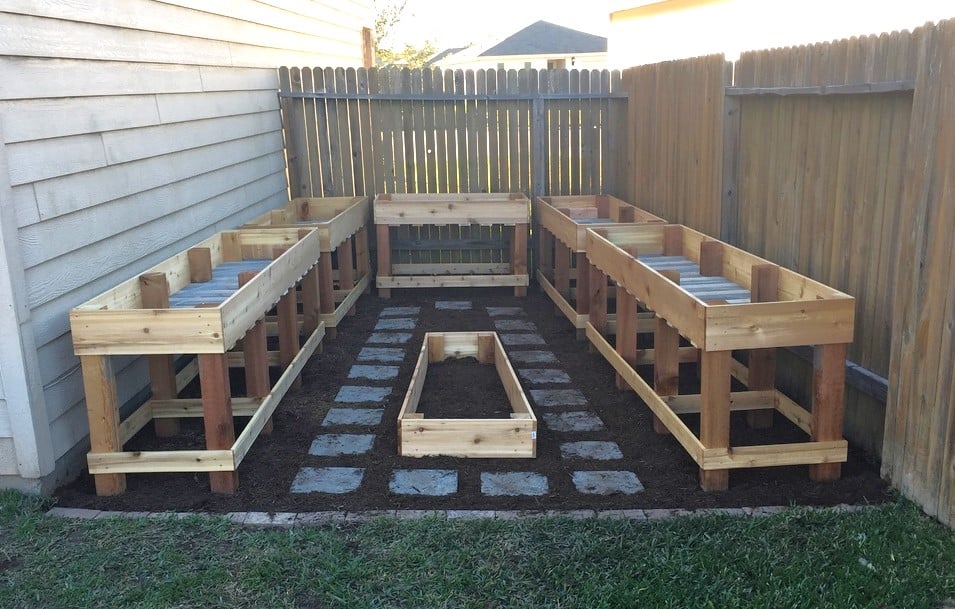
Click the blog link for a full description of this project. Thanks for looking! - Clint


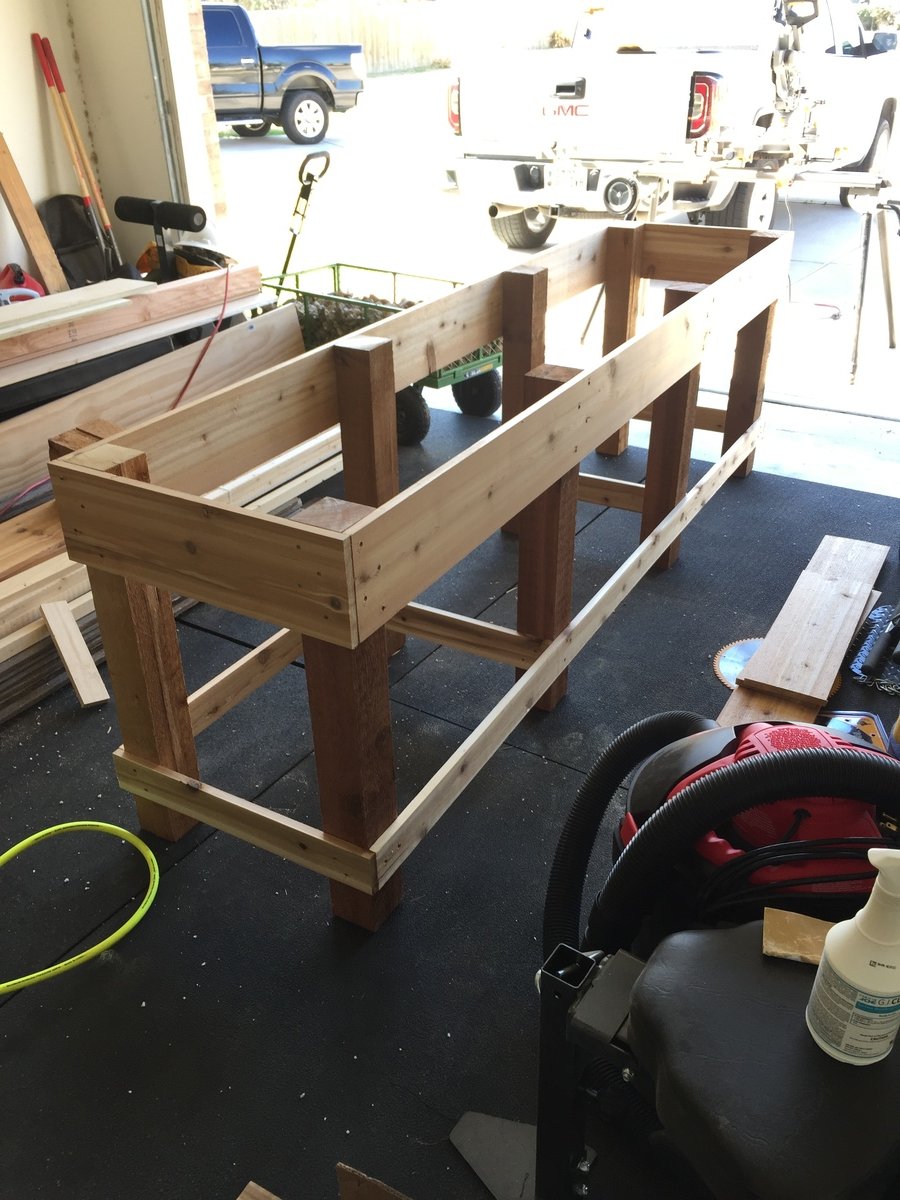
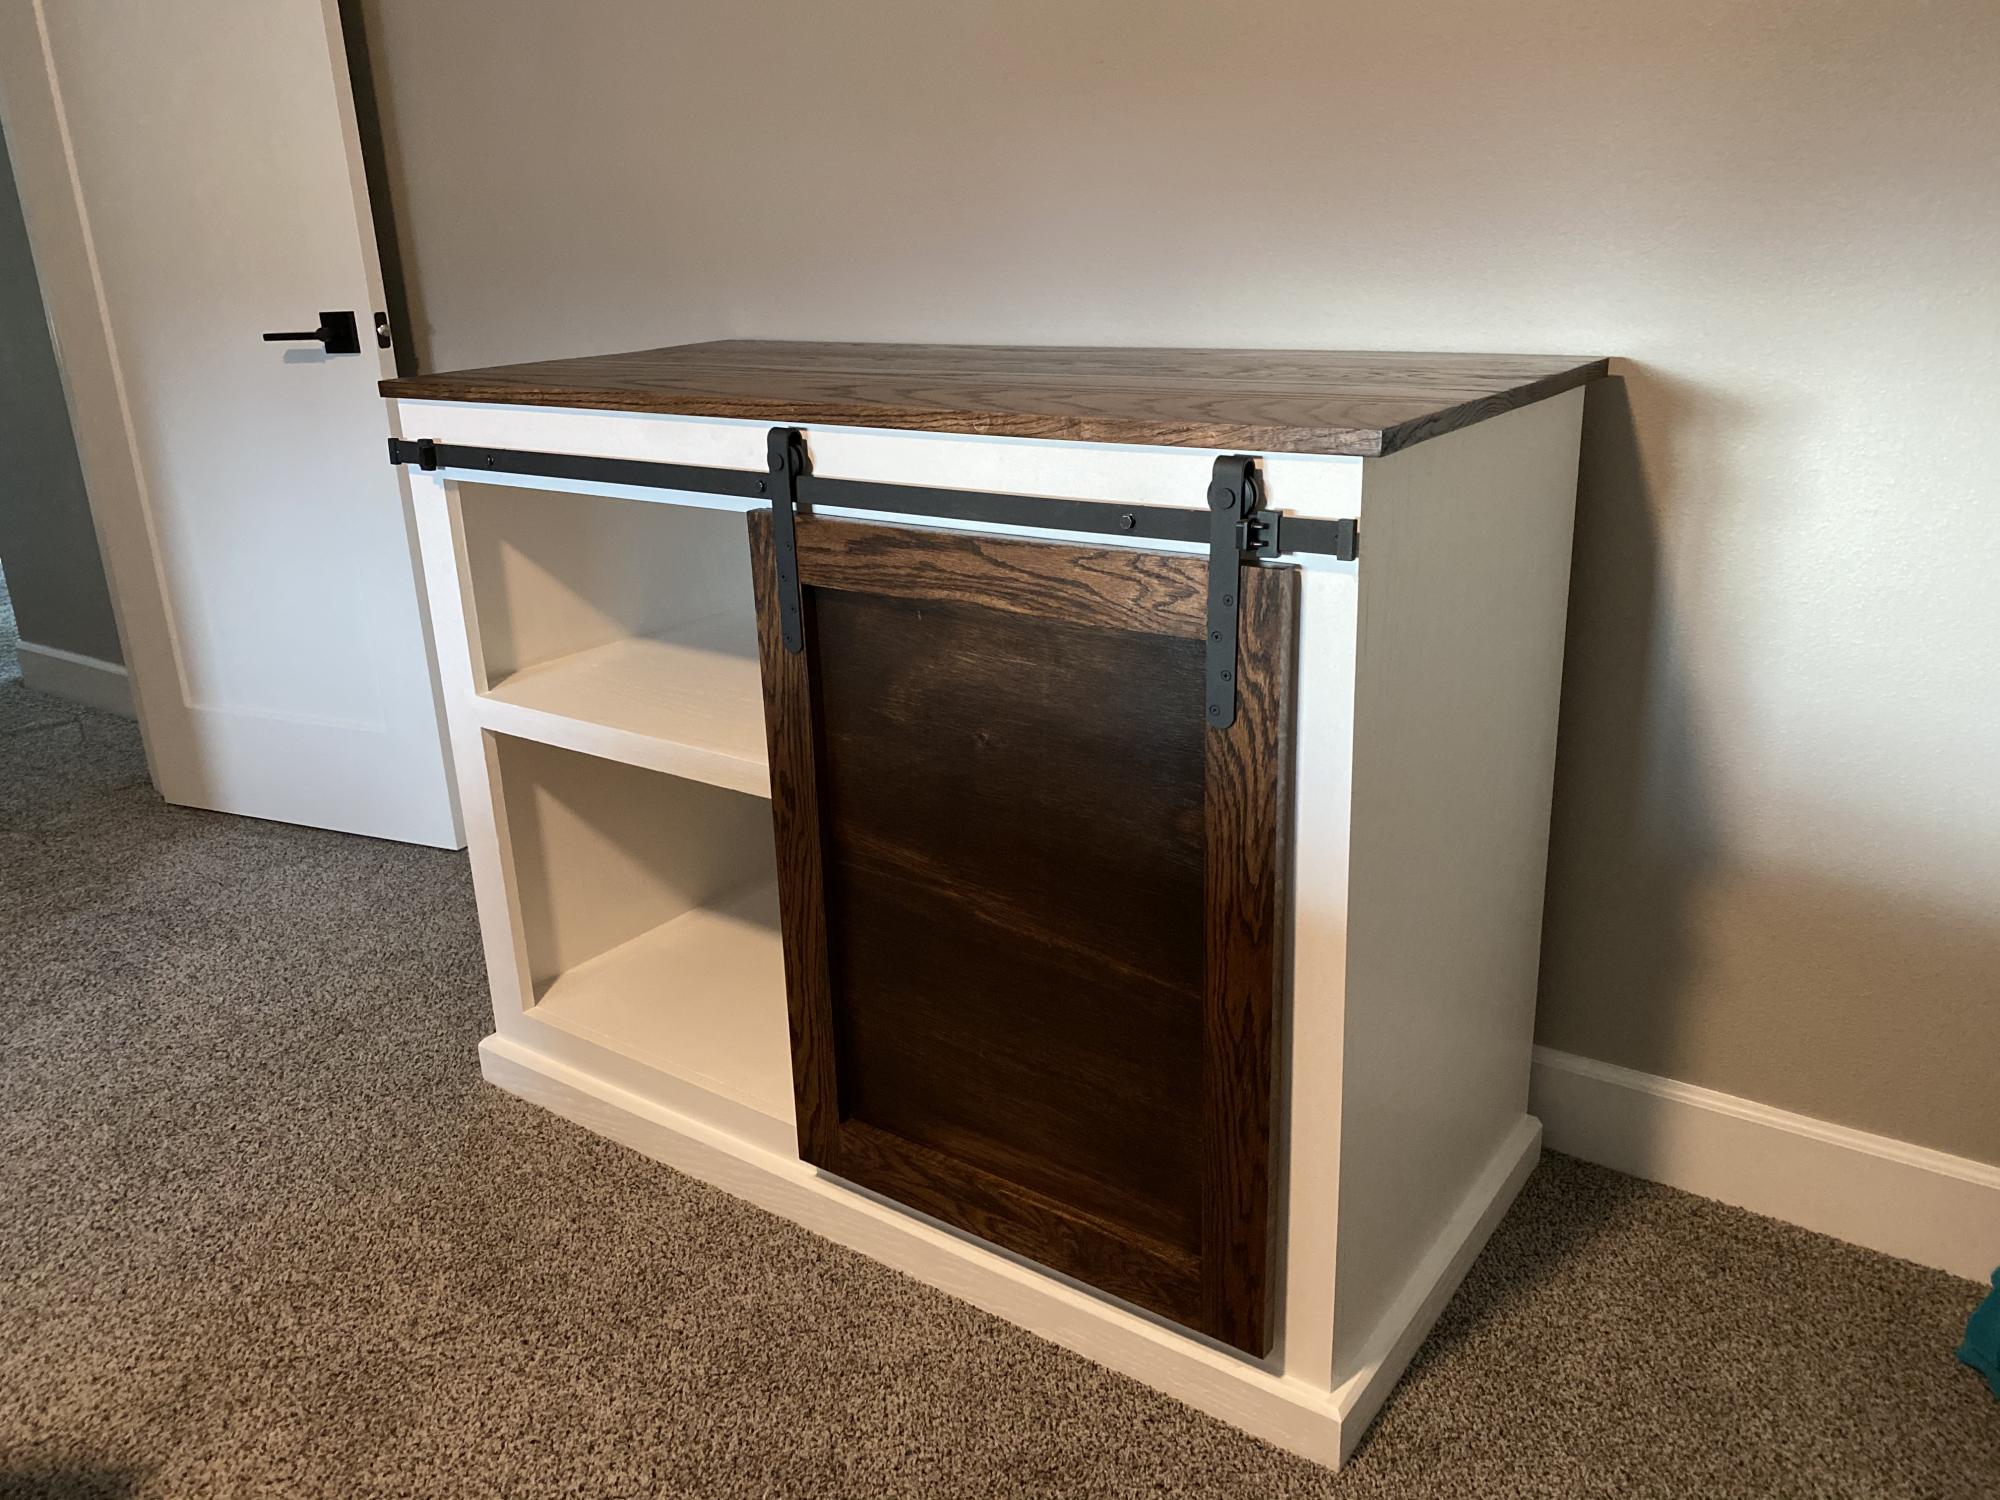
This project took me a couple weekends and turned out great.
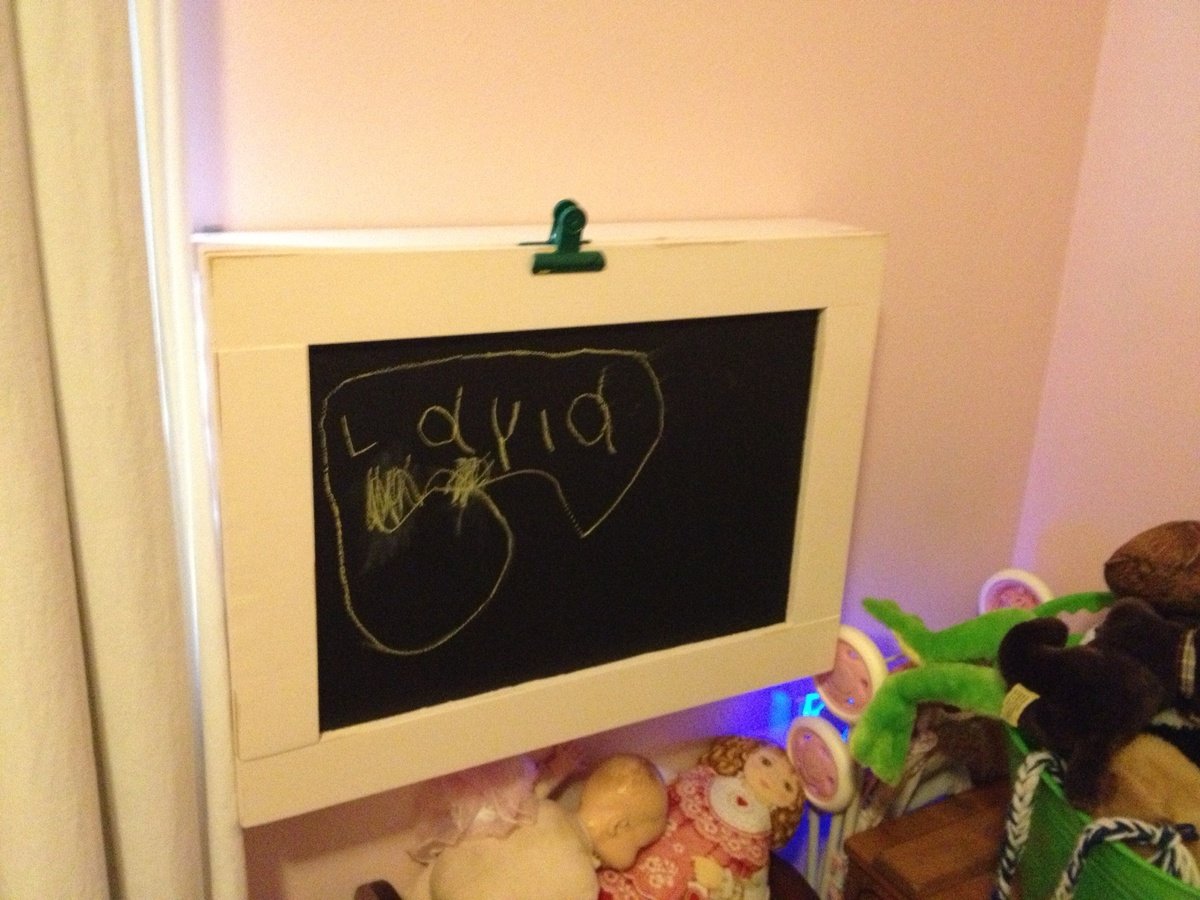
This is our first project. My wife was searching the Internet for a small desk to buy/build after we decided it was time for the little one to have a dedicated art station. She was previously using a small chair in her room. Followed the plans with the exception of making it 18" tall instead of the 16" the plan calls for.
Overall it was very easy. But definitely attach the hinges before finally assembly of the bottom frame. That took about an hour to put 4 screws in with fingers, screw bit, and a wrench.
I built and my wife painted.
Thank you Ana White and everyone for their follow up comments.
Nick
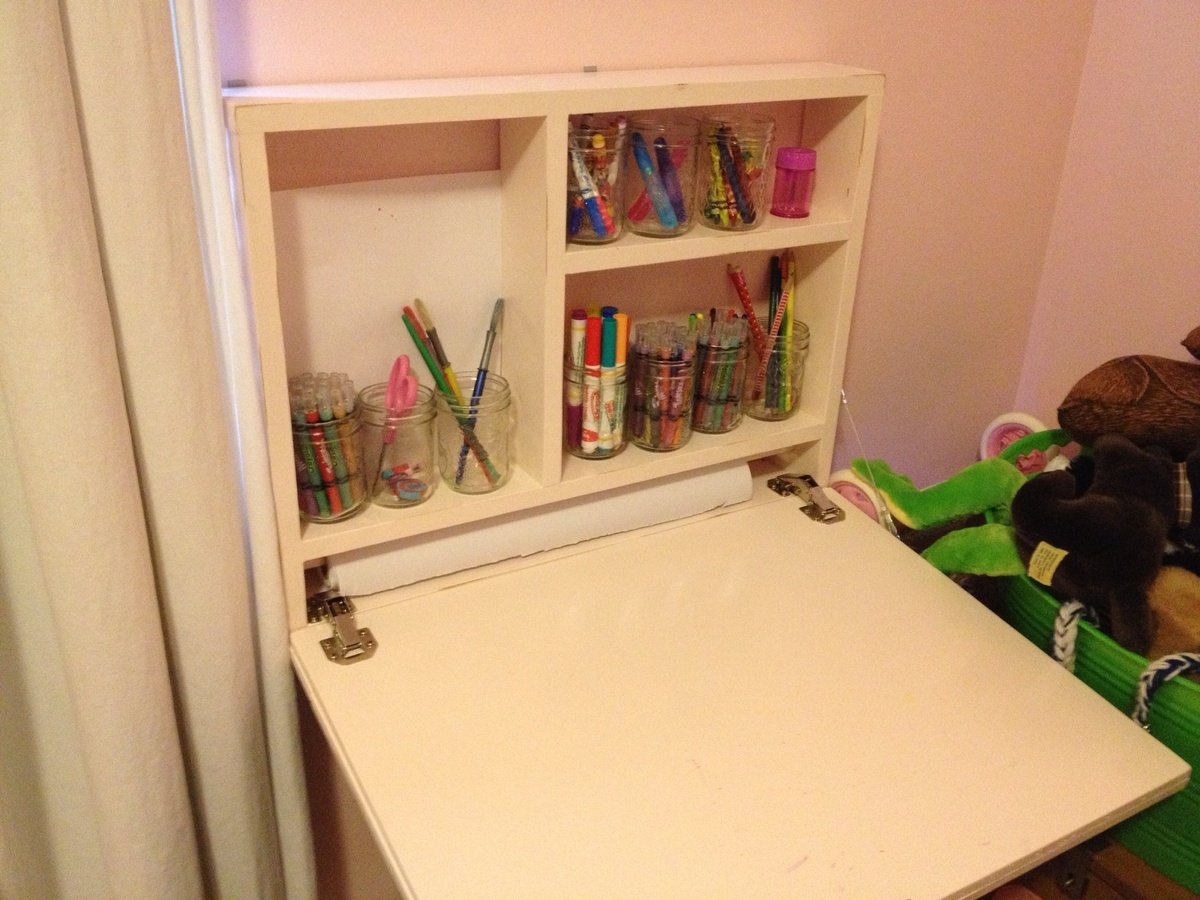
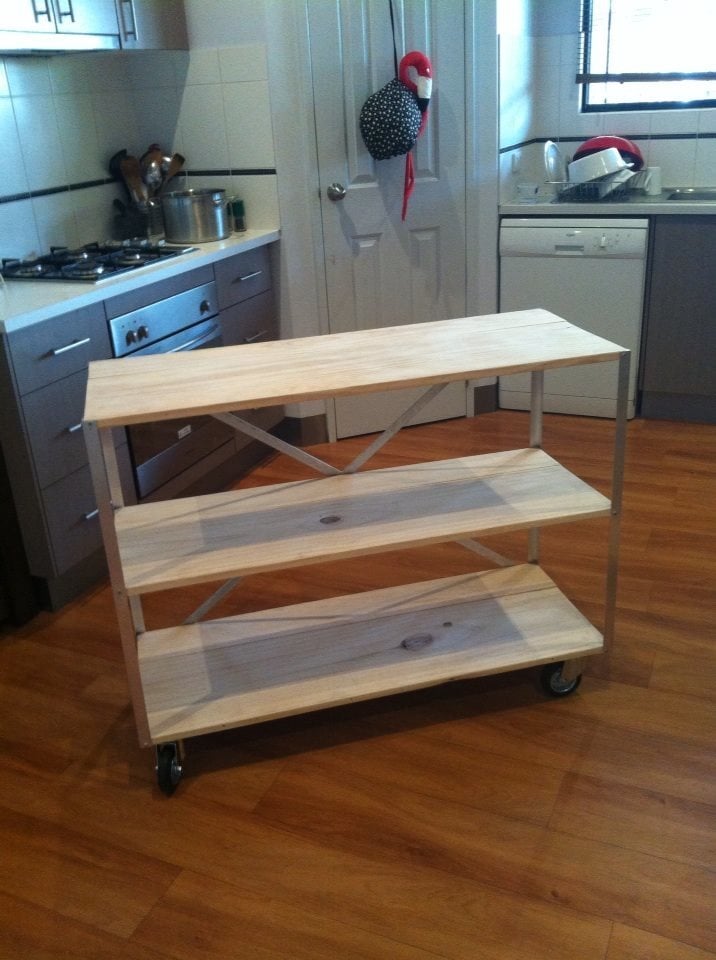
So easy to make!
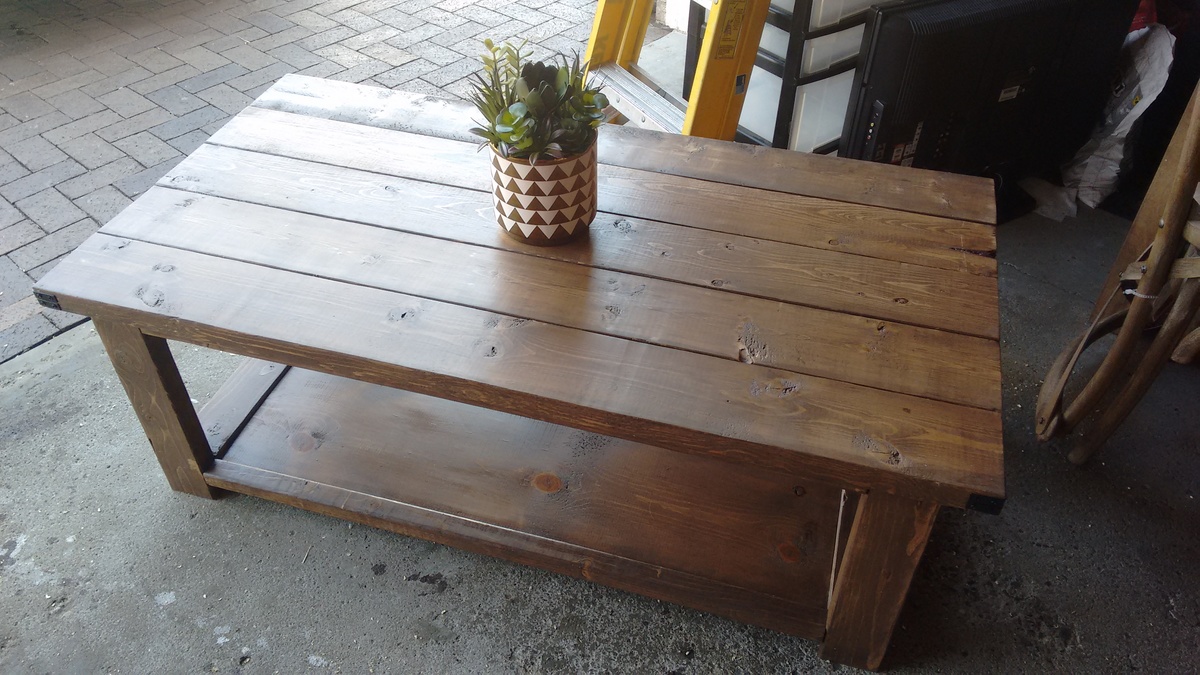
My first project. I didnt check for squarness so my board cracked on the bottom but i still think its pretty:)
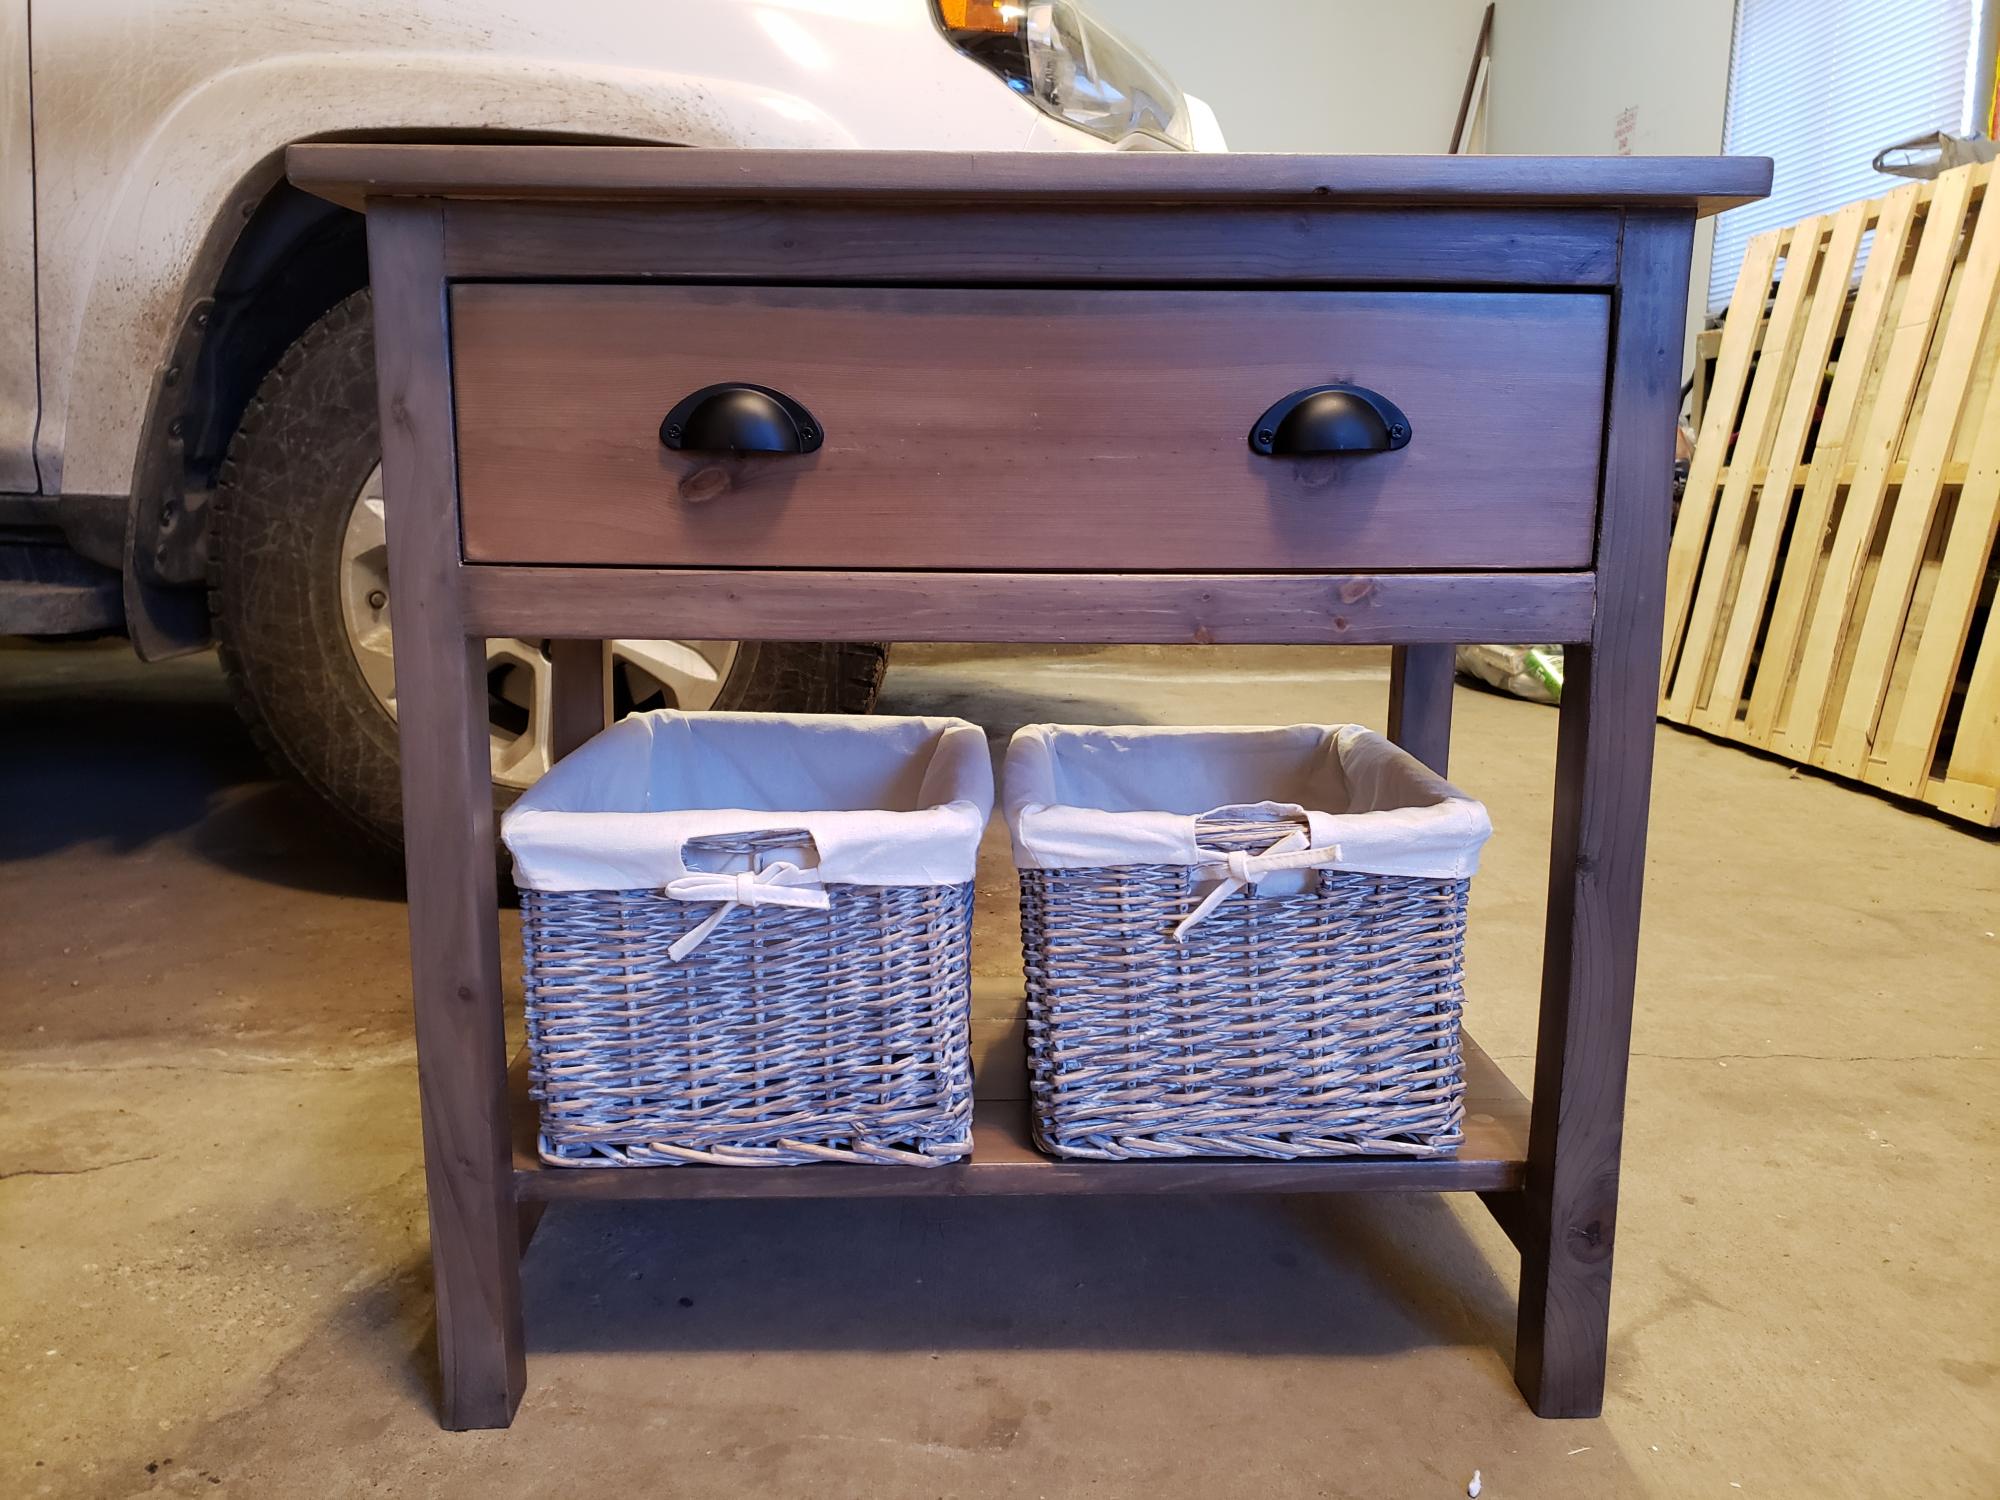
This was made for a bedroom at our cabin. Nice extra large drawer and storage baskets. My favorite finish colors so far!
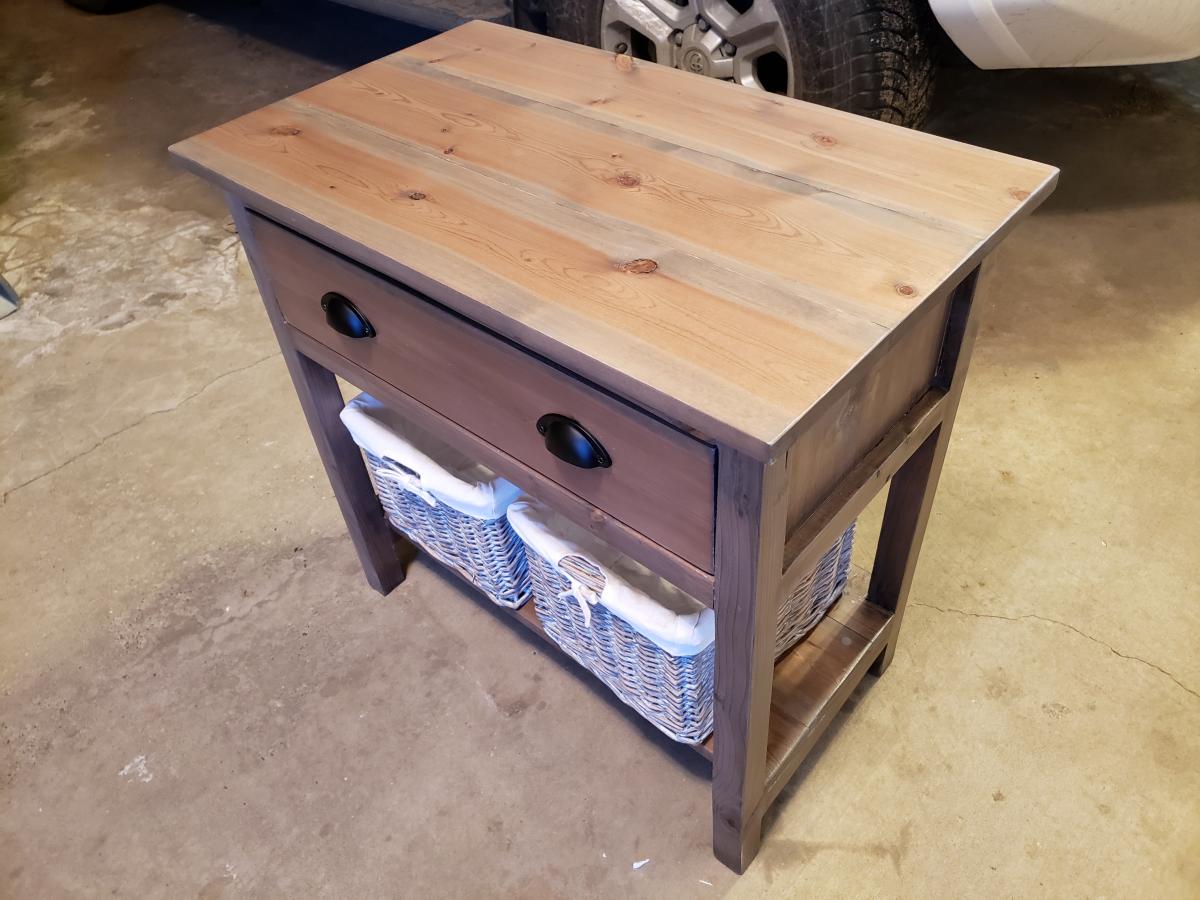
Mon, 12/21/2020 - 11:41
I used a bar of soap to make the drawer slide nicely
Fantastic project! Our first ever woodworking adventure and it turned out beautifully!

I built this table awhile ago and have been enjoying it with my family.
I used the husky farmhouse legs from Osborne Wood Products, painted them with APC mineral paint in Beach Glass and finished with MMS Hemp oil
The top, I used two project panels 6' long, finished in Minwax Dark Walnut stain and finished with clear, satin polyurethane.
Thu, 12/04/2014 - 22:42
The turquois legs give this a fun look! Nice Job!
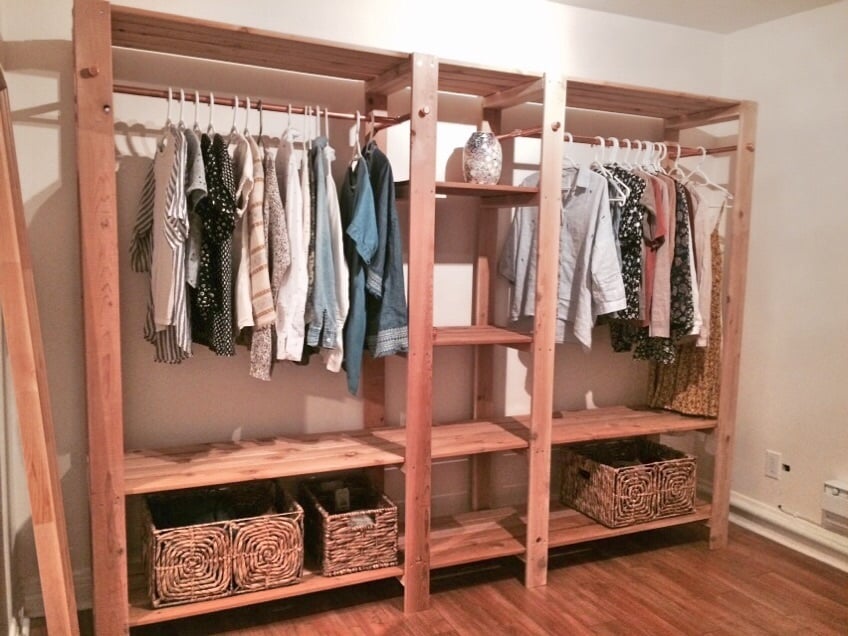
Thanks Ana for this amazing project!
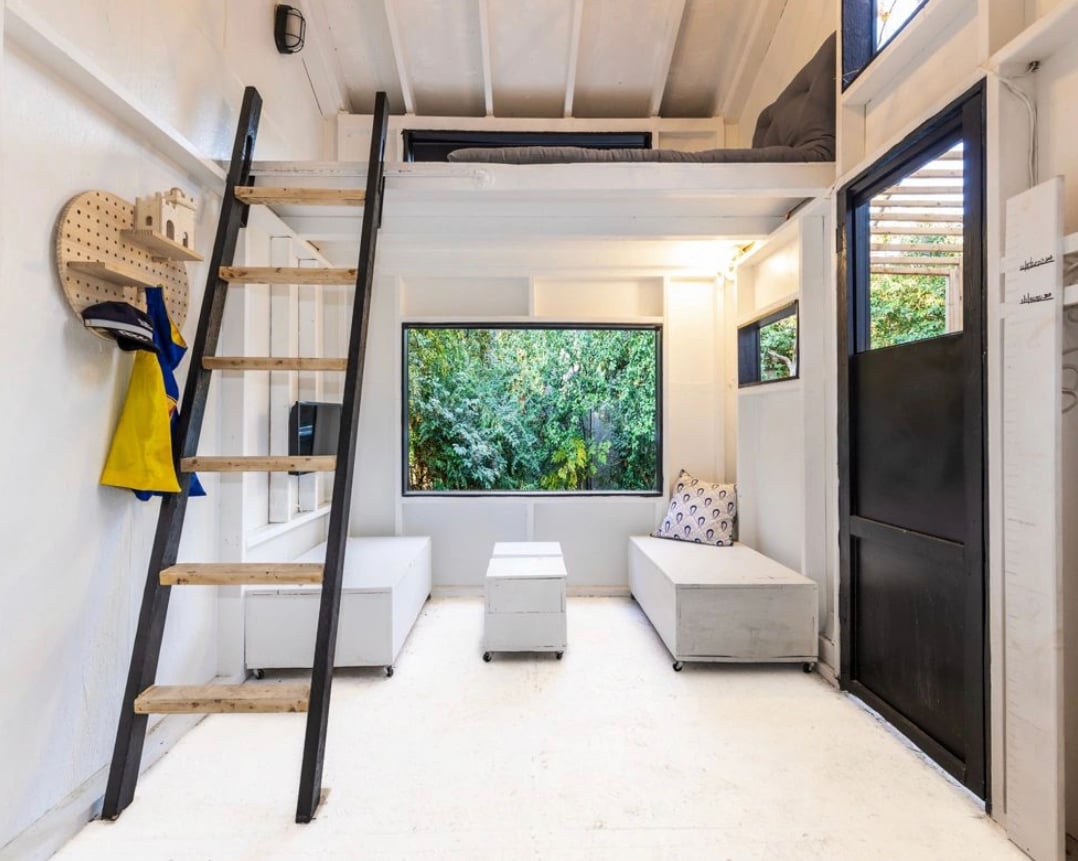
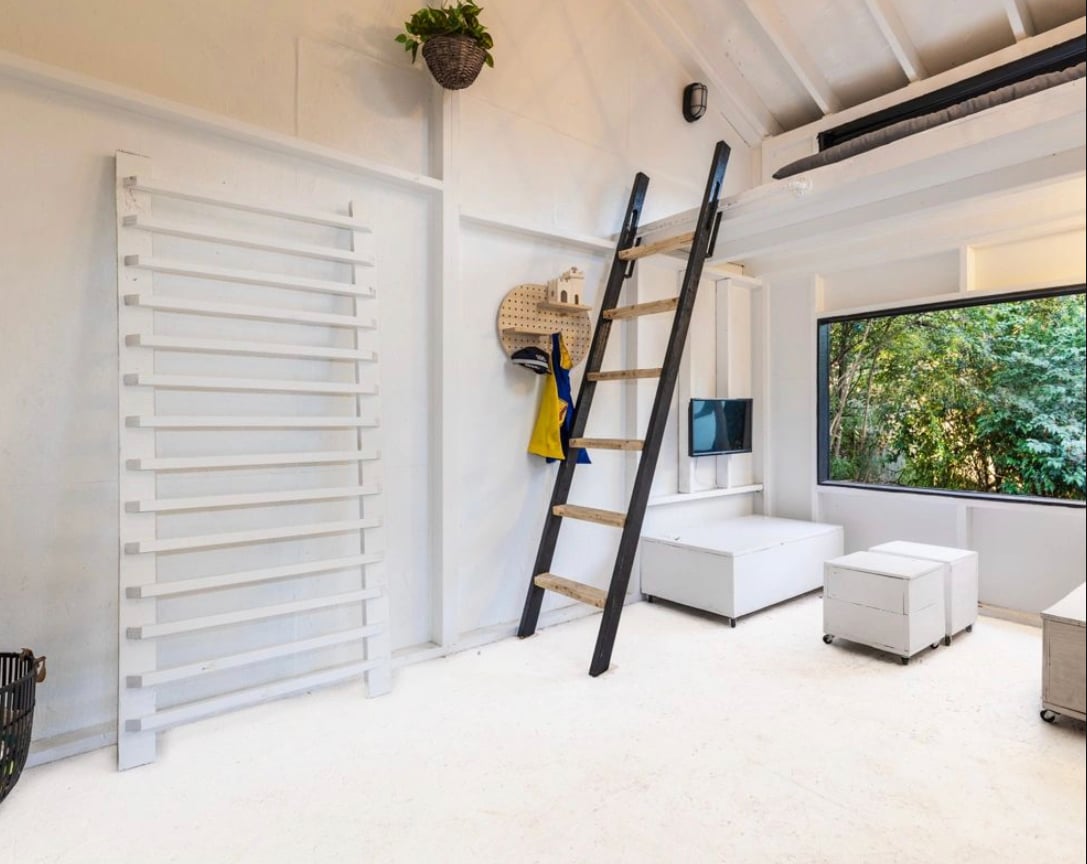
Thank you for the inspiration and plans to build the highly functional and stylish storage + seating solution! You used it for tiny house and I used it in children’s playhouse - it’s been excellent for toy storage! I also love that each piece is on wheels (even the stools that double as coffee table) - very smart and functional. I actually built another one for my garage and use that one for tool and hardware storage. Bravo Ana! Thanks again 😊
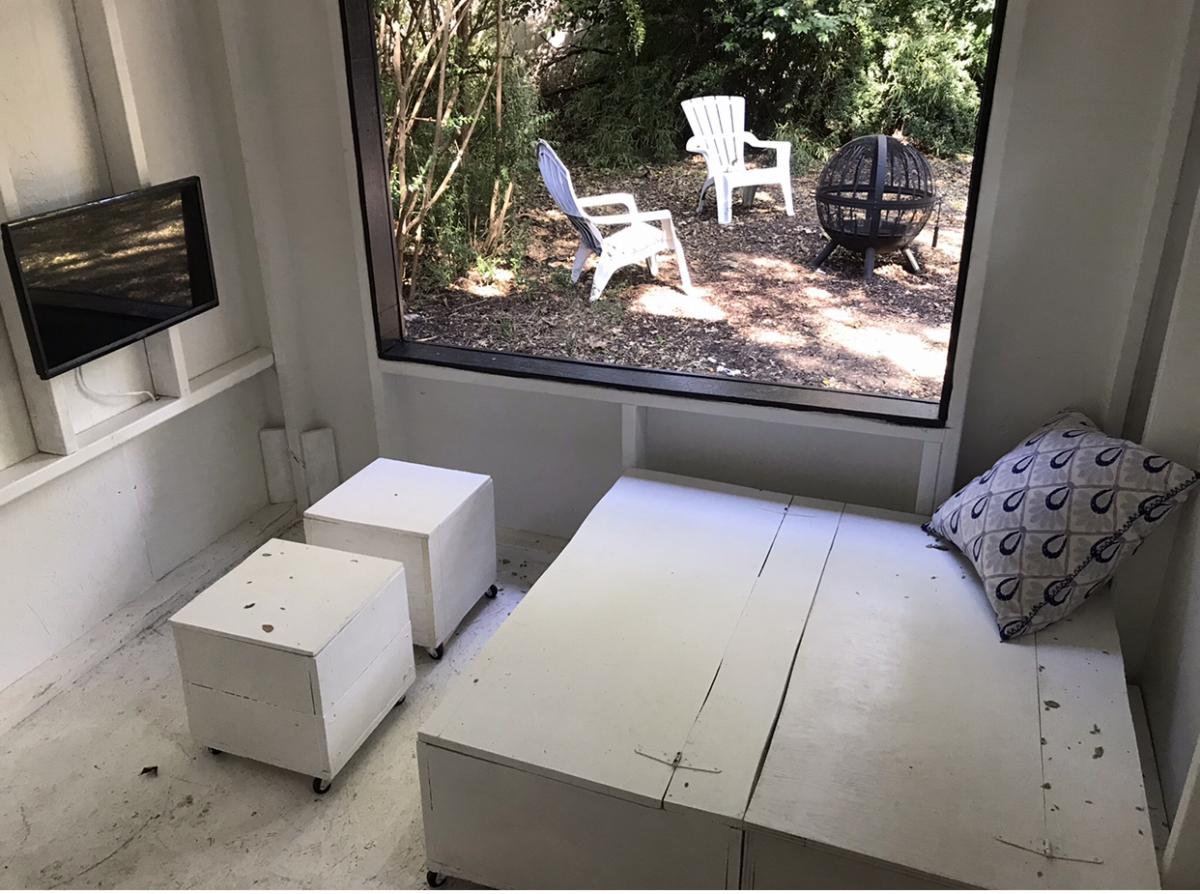

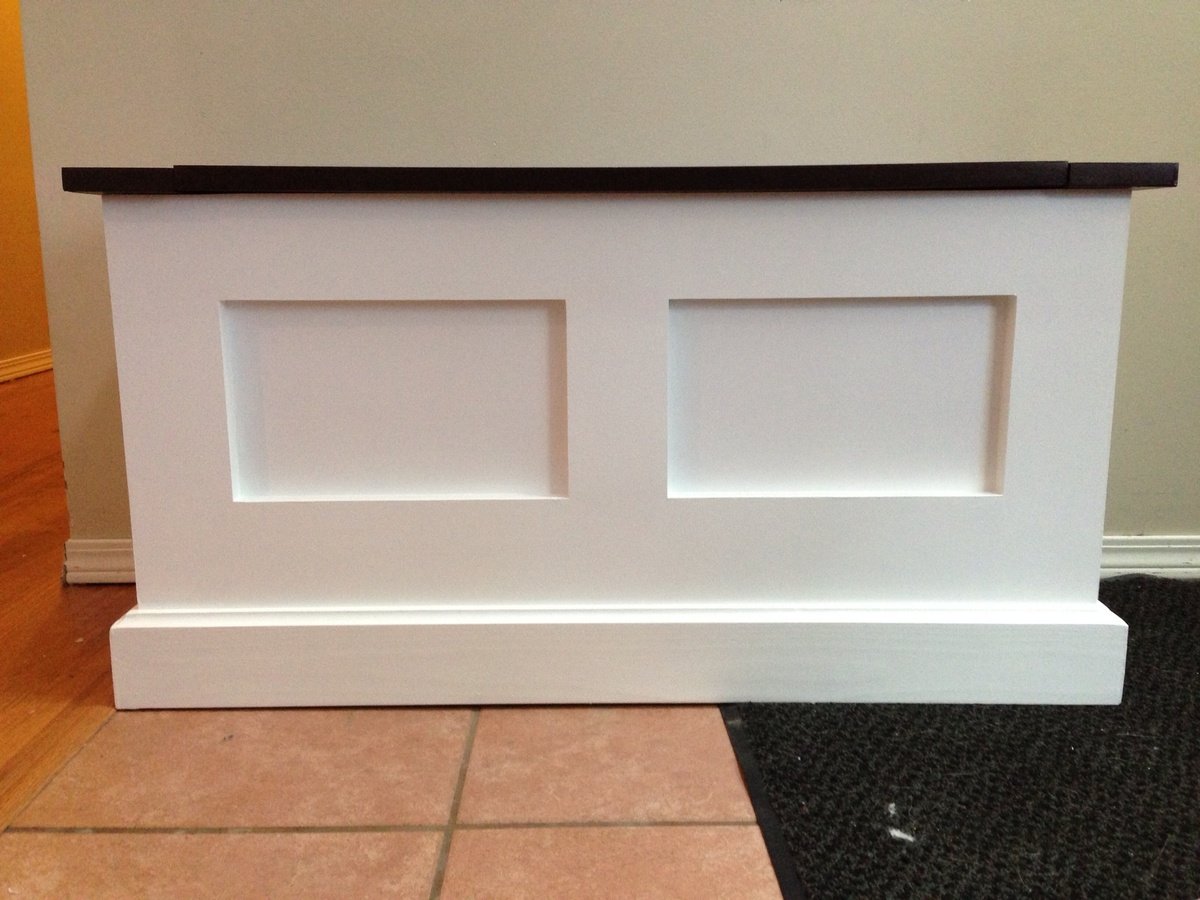
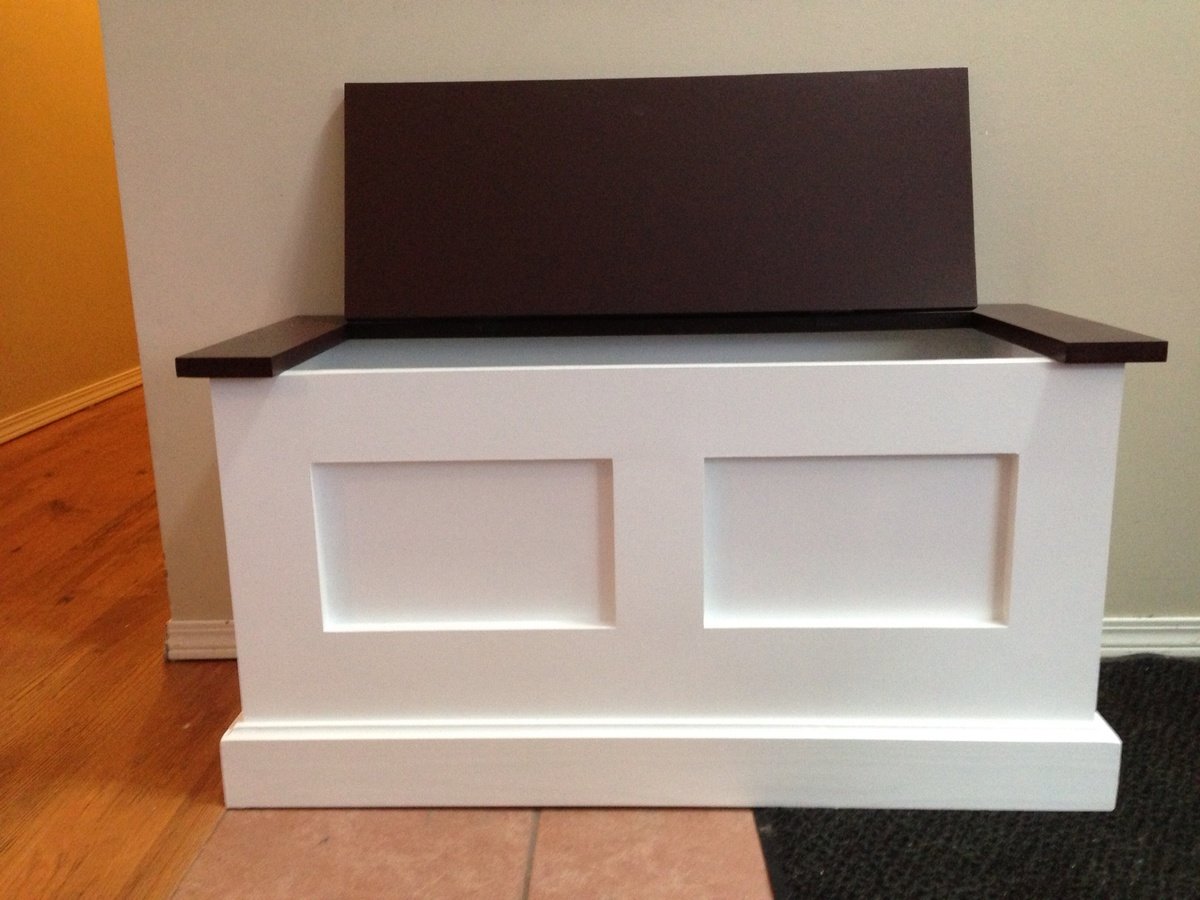
Saw the plans on the site and decided to make it. We had been looking for plans for a bench and my wife really liked this one.
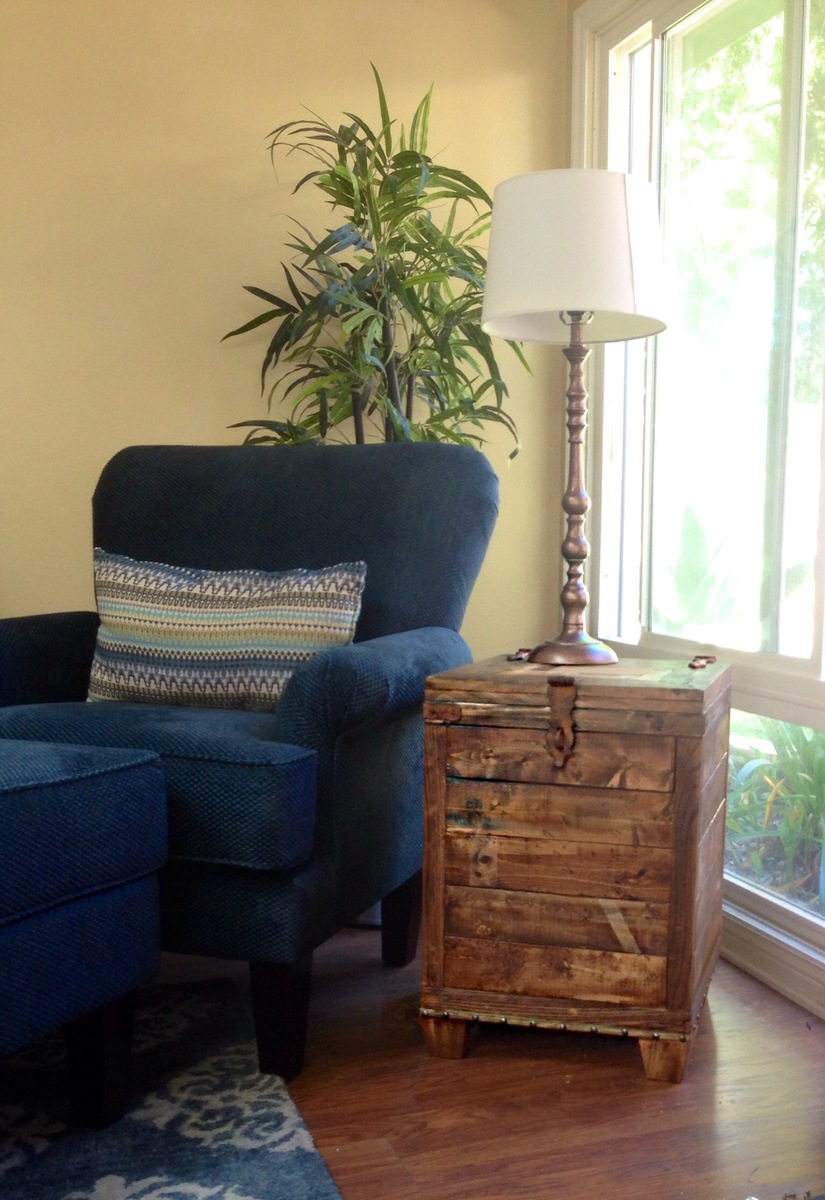
This was one fun project. I needed a functional side table next to my big chair. I took my inspiration from Ana White's Emerson changing table. I love the rustic planked look. Thanks for the inspiration!
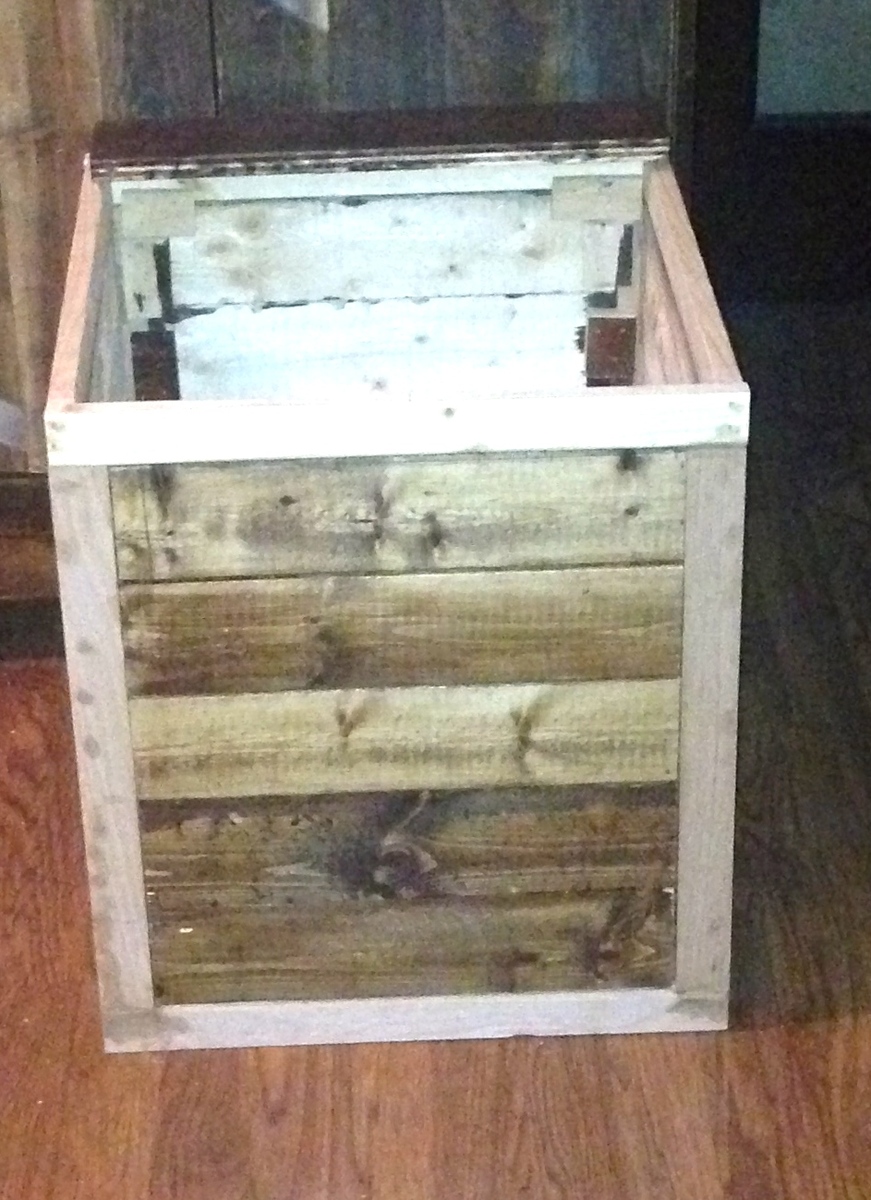
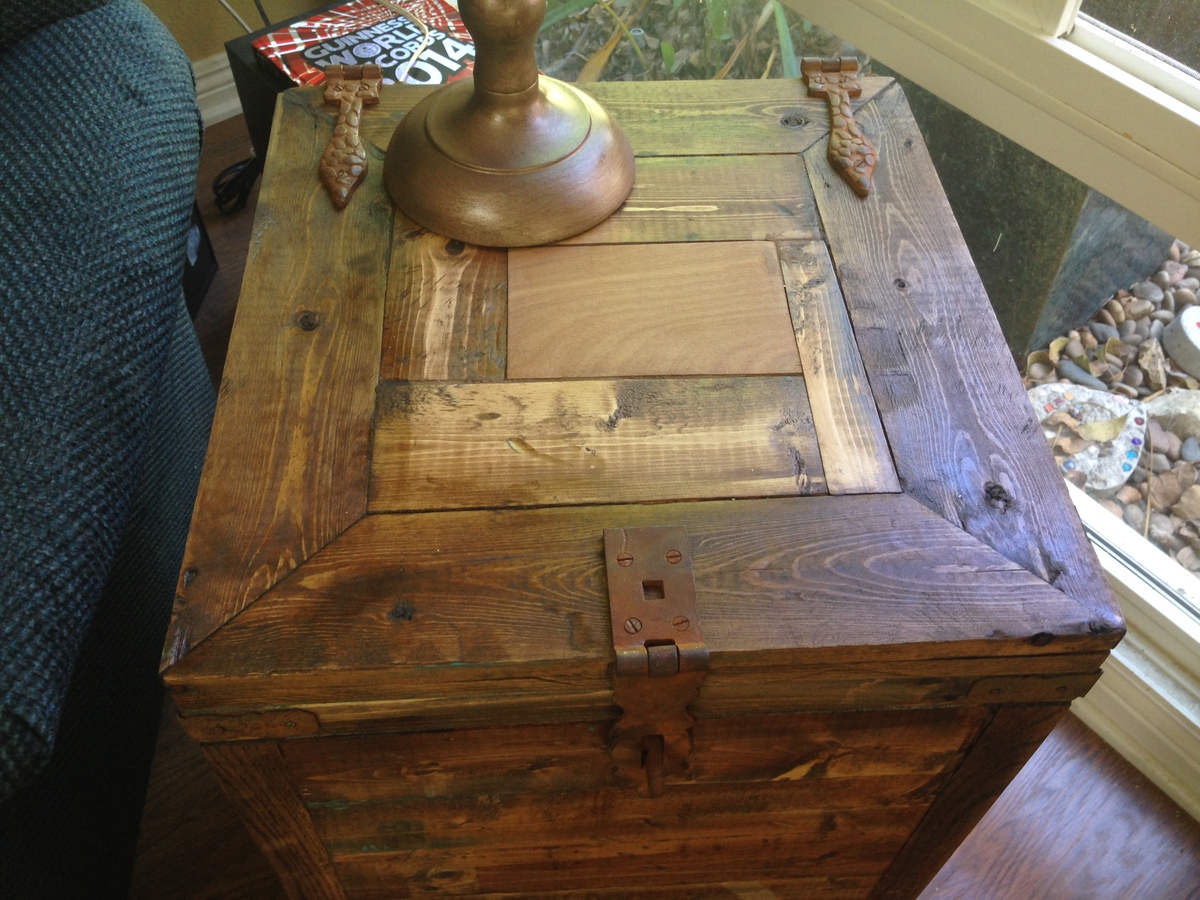
Fri, 12/05/2014 - 08:40
Nice! I want to build a coffee table trunk that looks somewhat like this. Ana definitely is inspiring!
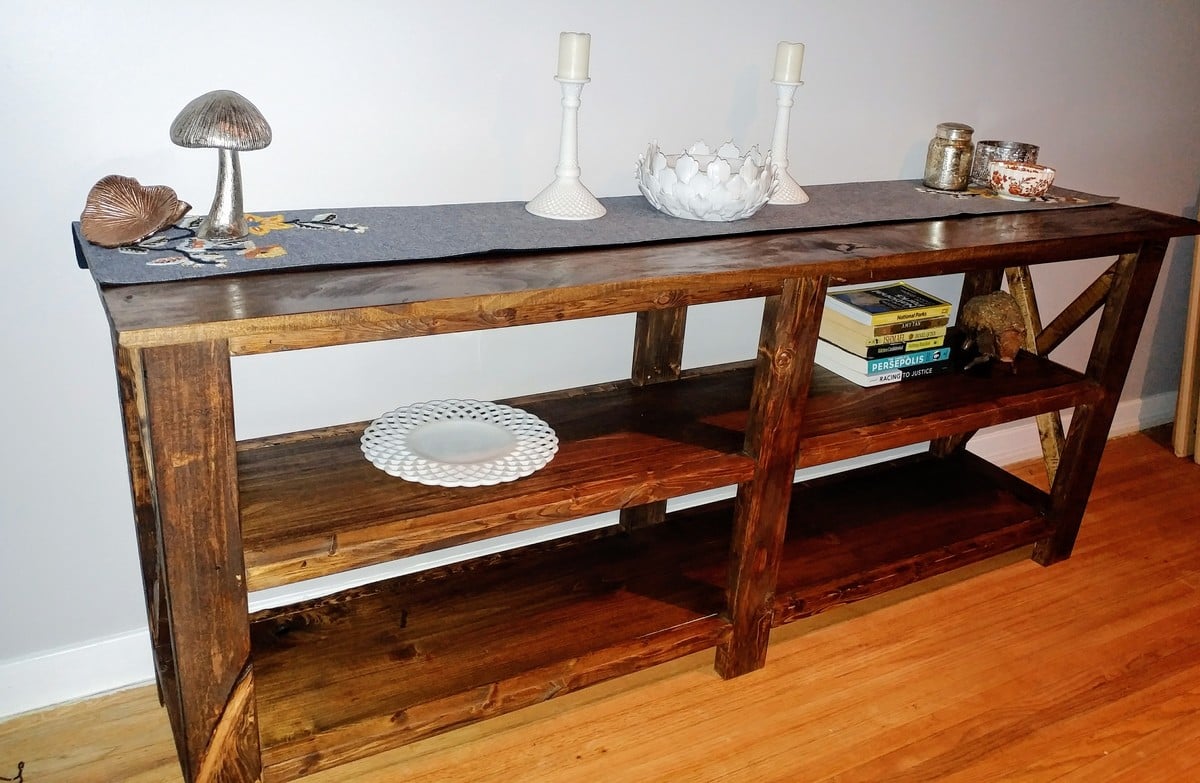
This was a great project! I didn't use the 2x6's for the top, as one wasn't quite straight. I used some pretty poplar I had in the basement and it worked beautifully. I wouldn't use poplar for a high-use project but this table top won't see much abuse. Used pocket holes to connect them and used finish nails and glue to attach to the apron. Minwax Provincial stain and wipe-on poly in gloss. 5 coats on the top and shelves. 3 on the rest. This is a really sturdy, beautiful piece. And so cheap! Took 2 weekends - a few hours here and there and time in between poly coats.
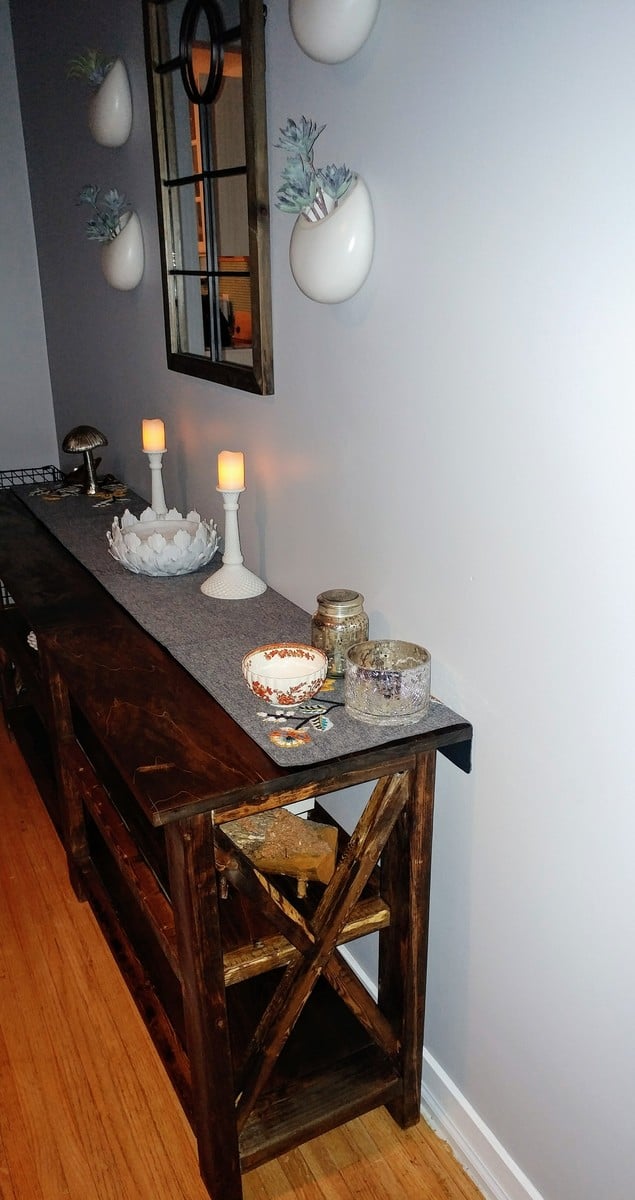

My adult son needed a bigger computer desk for the new computer with double monitors and lots of accessories that he received for Christmas from his Dad. I ripped a sheet of plywood in half length-wise using Ana's tip of clamping a 2x4 to the board to be cut in order to get a long, straight line with a circular saw. The front edge of the plywood desktop is covered with flat trim to make it smooth and give it a finished look. I built two basic bookshelves to hold up the ends of the desk for storage of software and other accessories. Since the desktop is 8 ft long and will be supporting a lot of equipment, I decided it needed a 2x4 framework in the middle to keep it from sagging. My son wanted space between the desktop and the wall for lights and wires, etc., so that's why there is a 6inch gap between the back of the desktop and the wall.
The bookcases and desktop are stained with MinWax "Golden Oak" and sealed with Varathane Premium Polyurethane. I didn't use any wood prep because I was going for a more rustic look. The underside of the desk and the 2x4 framework is painted with Benjamin Moore "Copper Mine" in a Pearl Finish.
I didn't use any particular plan, but put together several ideas that I've learned from following Ana's blog for a few years now. My son is thrilled with his desk and we both are looking forward to furnishing his entire apartment with hand-built furniture from this site.
Thanks, Ana!!!!

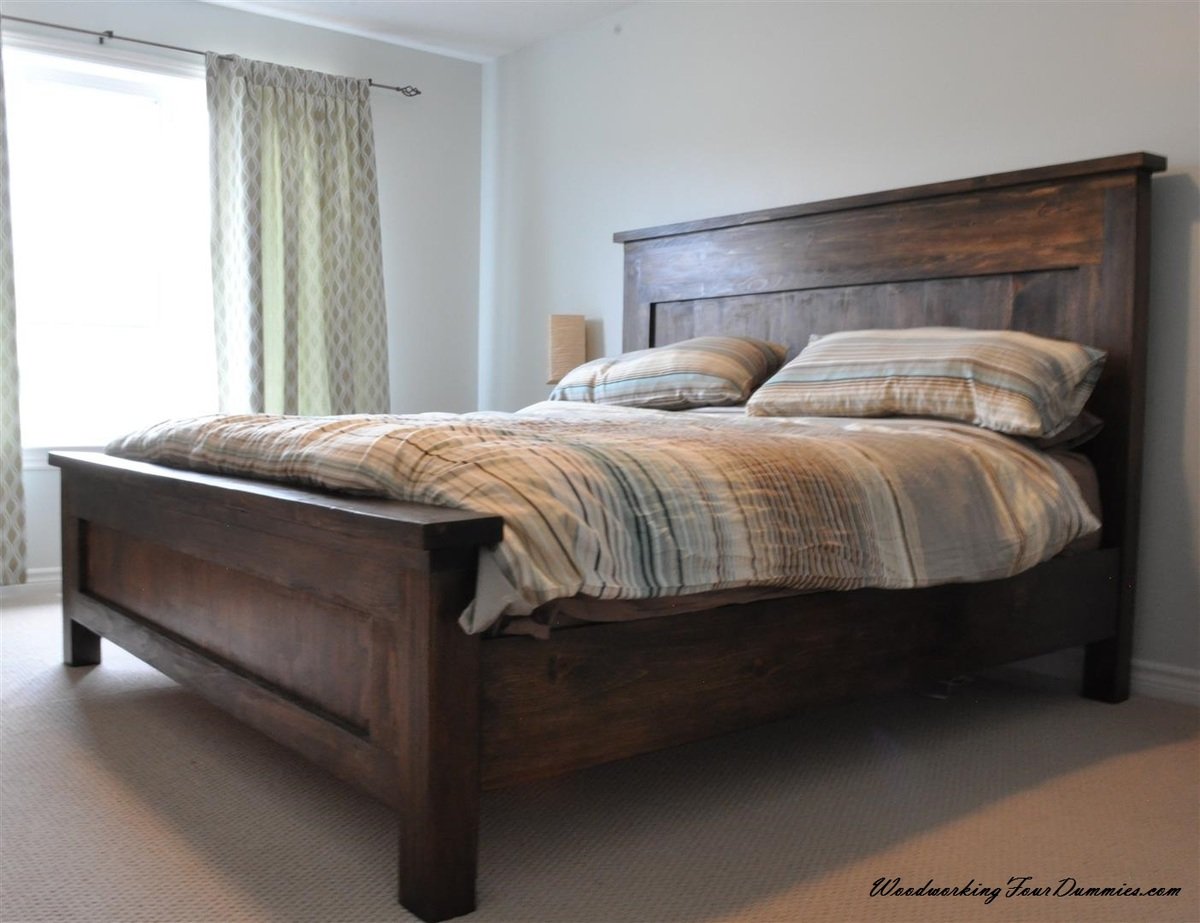
This is my DIY for a farmhouse bed. Inspired by Anna white and Pottery Barn. I wanted a sturdy look and used 4 x 4 posts and decided to make a king!
Check out my blog:
http://www.woodworkingfourdummies.com/blog/king-farmhouse-bed-diy
Cheers,
Ian