Odified Rhyan end table

Took the Rhyan side table plans an modified to add a round top. Also made a rectanglar table based on the same style construction


Built from Plan(s)
Took the Rhyan side table plans an modified to add a round top. Also made a rectanglar table based on the same style construction
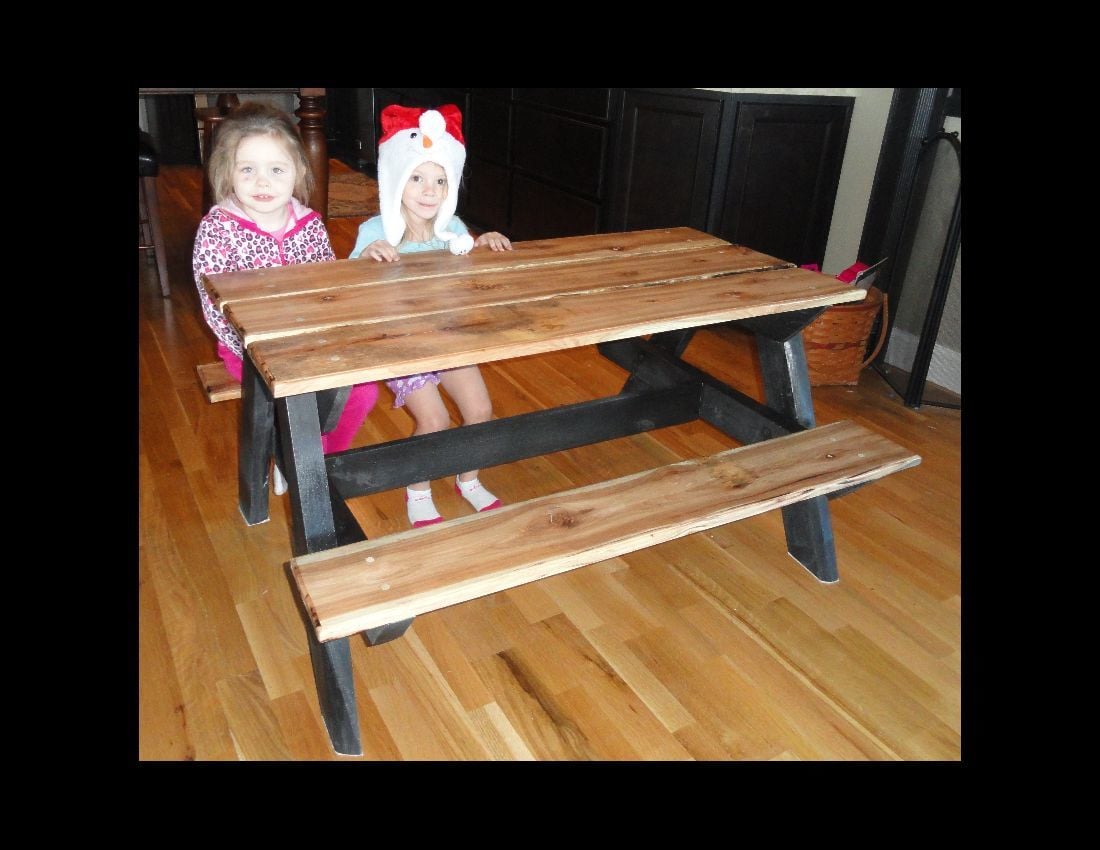
This table was made for a friend who has three kids and babysits kids at her house. She says she can fit eight kids on it at one time! I followed Ana's plan for the bigger kids picnic table as closely as I could using the dimensions of the wood that I had. In this table local hickory for the tops and poplar for the legs were used. I had to recruit my older brother's help in building this one because I'm pregnant and needed his help in manipulating the larger boards and painting it. Thanks big bro!
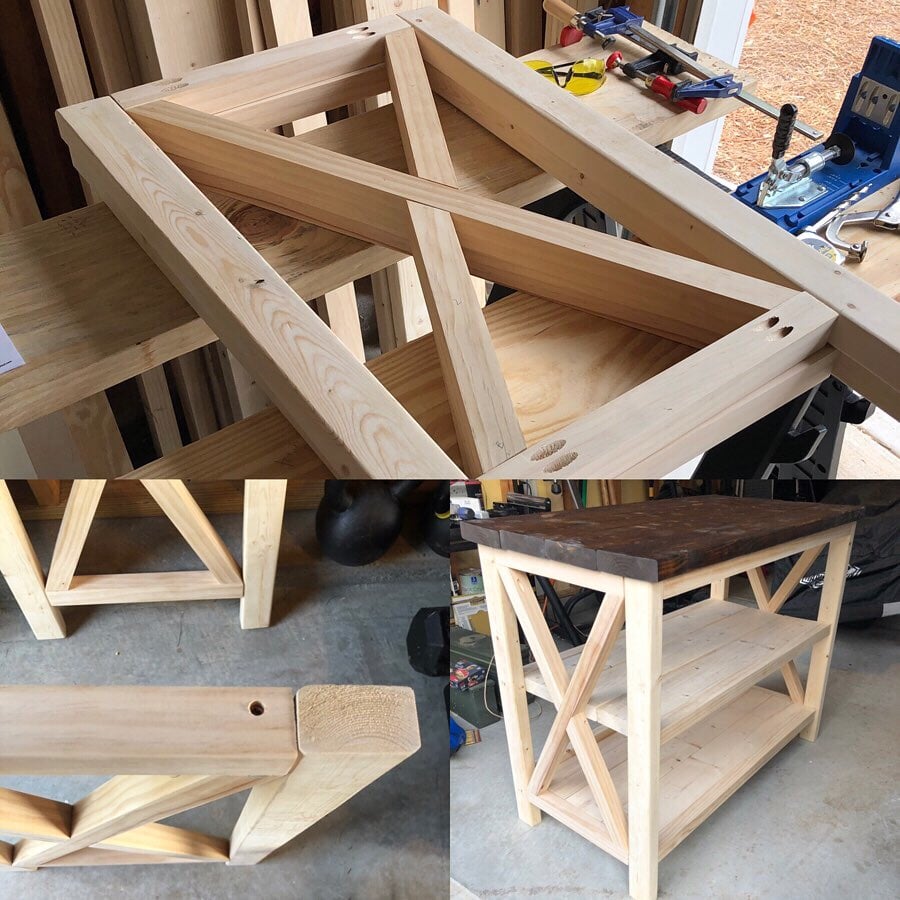
My first project. I made some mistakes, but was able to make it work, by adding some trim on top and 2 supports under the breadboard ends.

Built this for my son's apartment. Great design!

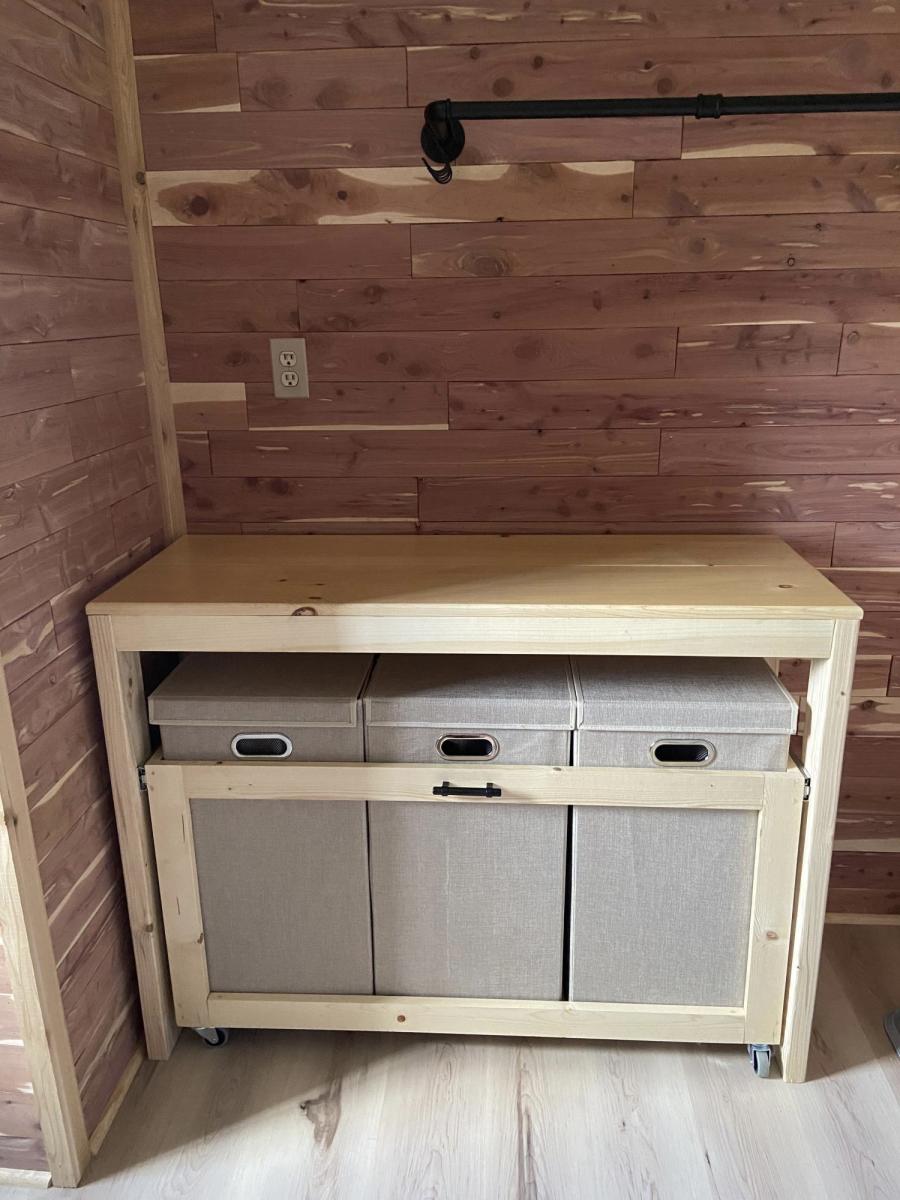
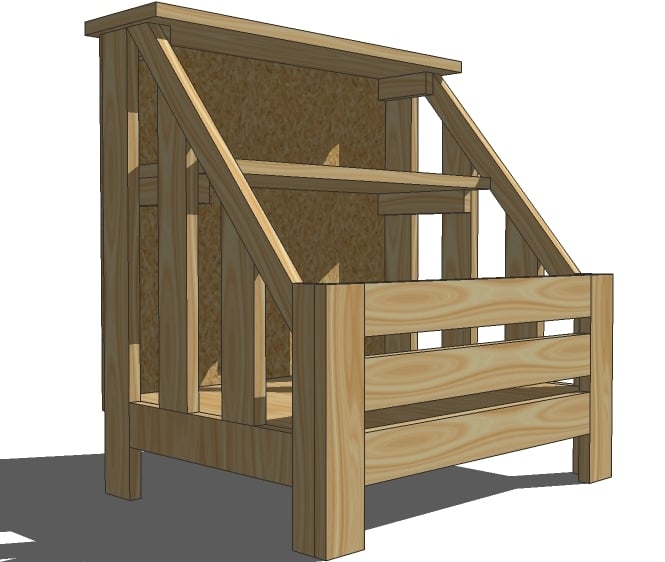
This laundry station is perfect for our new red cedar laundry room. We left the wood natural to match the unstained trim and the light color in the cedar planks. Coated with polyacrylic for a smooth finish. Thank you so much for providing the inspiration and plans for such an amazing laundry room solution!!
Mon, 06/05/2023 - 07:48
Fabulous job, absolutely love the light wood look! Thanks for sharing.
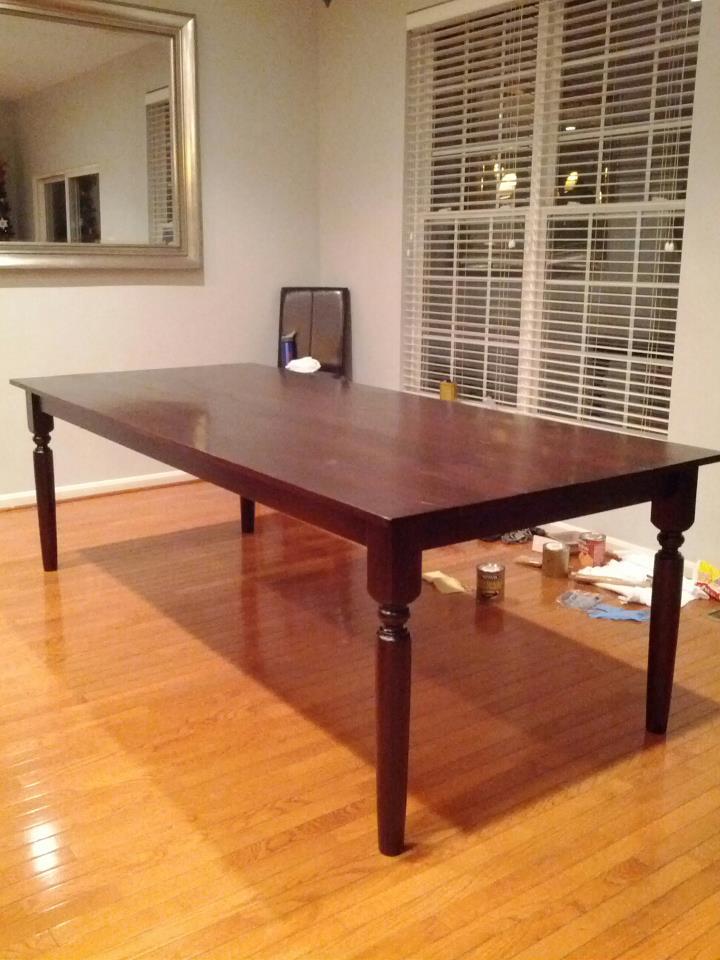
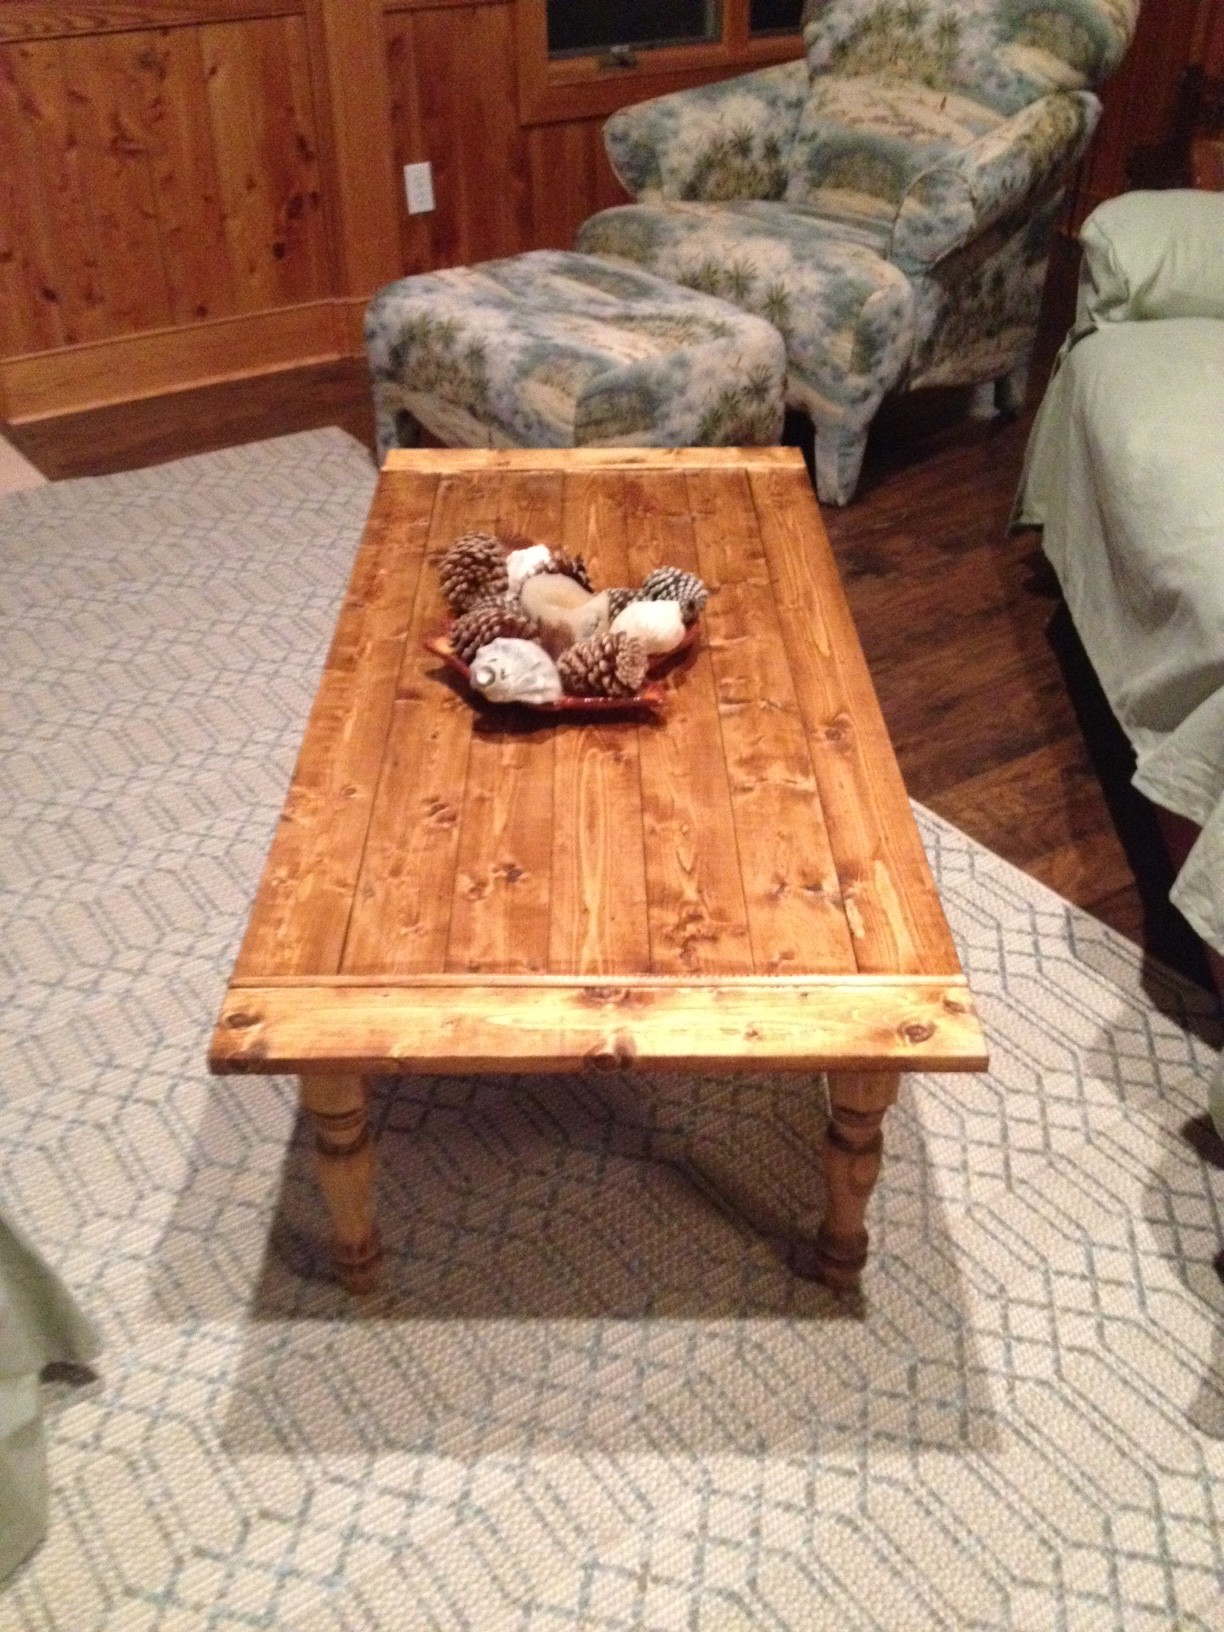
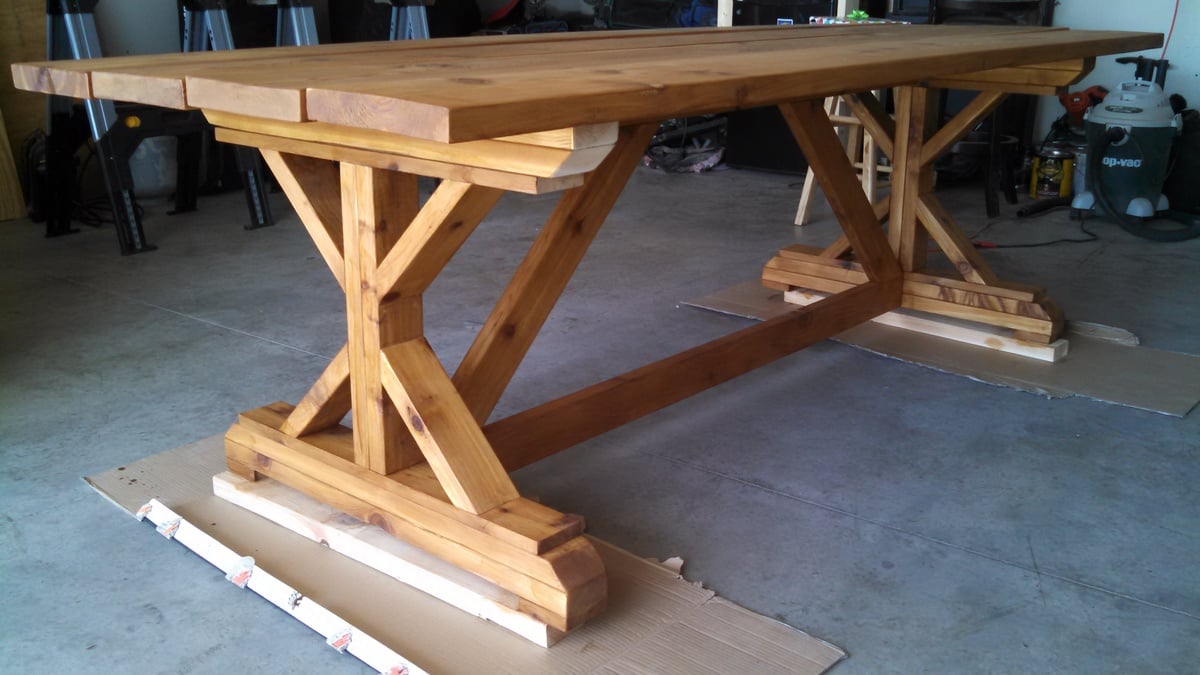
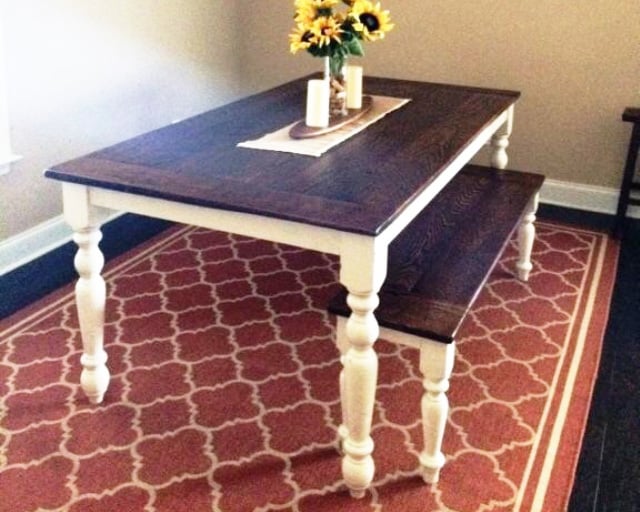
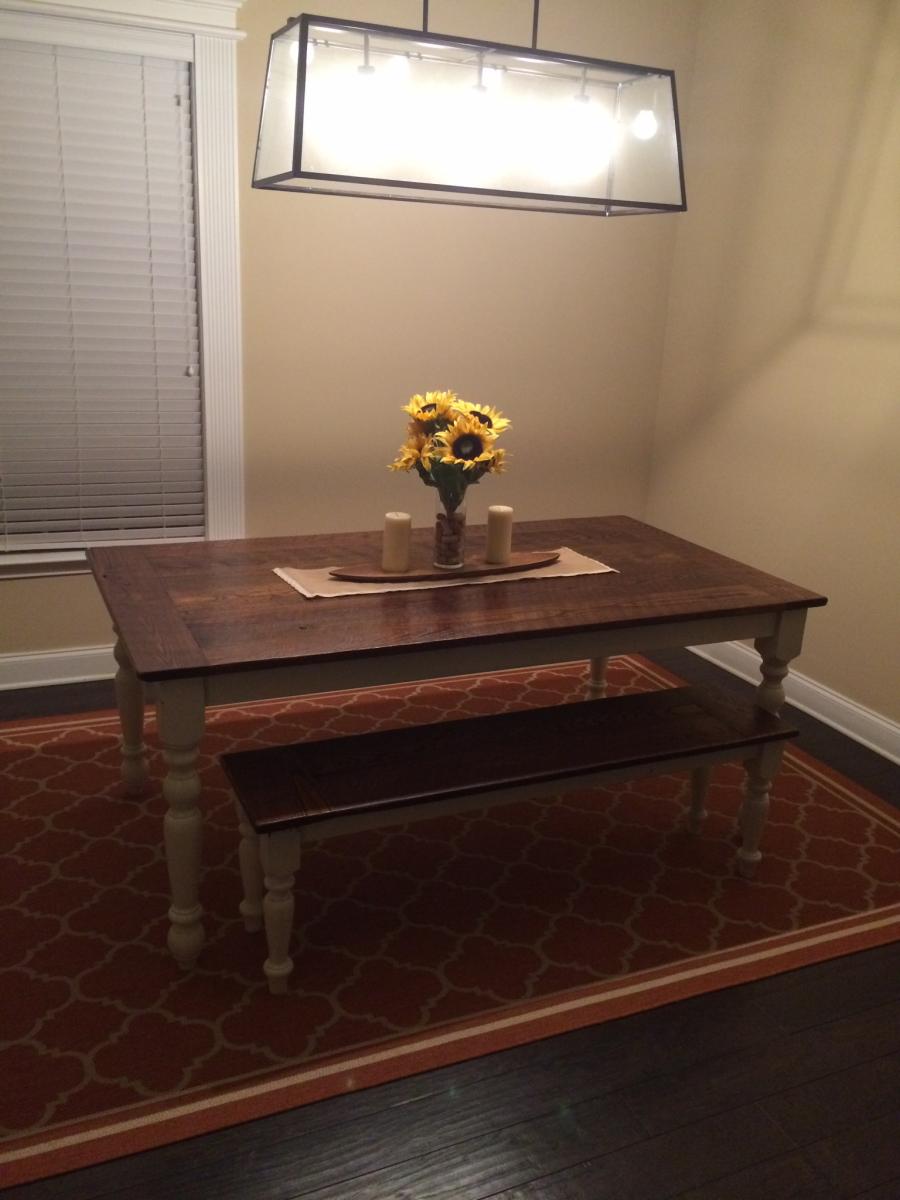
I stumbled across this site on accident one day in need of a dining room table. After hunting desperately for weeks, my wife and I couldn't find one we liked for under 1200 dollars. So, I had this great idea to build one myself. I figured if it didn't turn out I would just stick it on the deck and use it as a patio table.
I looked at the dozens of table plans on this site and picked things i liked from each and finally came up with the end product you see in the picture.
I used all pine, and found pre-turned legs at a local big box home improvement store. Total wood investment was about 200 dollars, half of that being the turned down legs.
Came out much better than I thought, and the wife was please.
Thanks to the users for all their amazing photos and directions! They came in handy!
My wife is already asking me to build more!

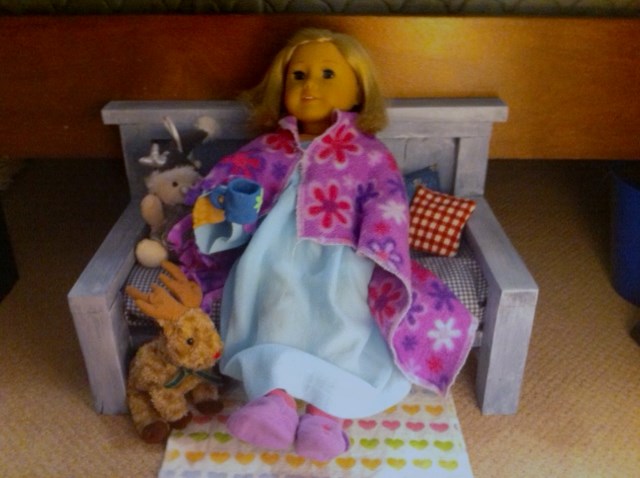
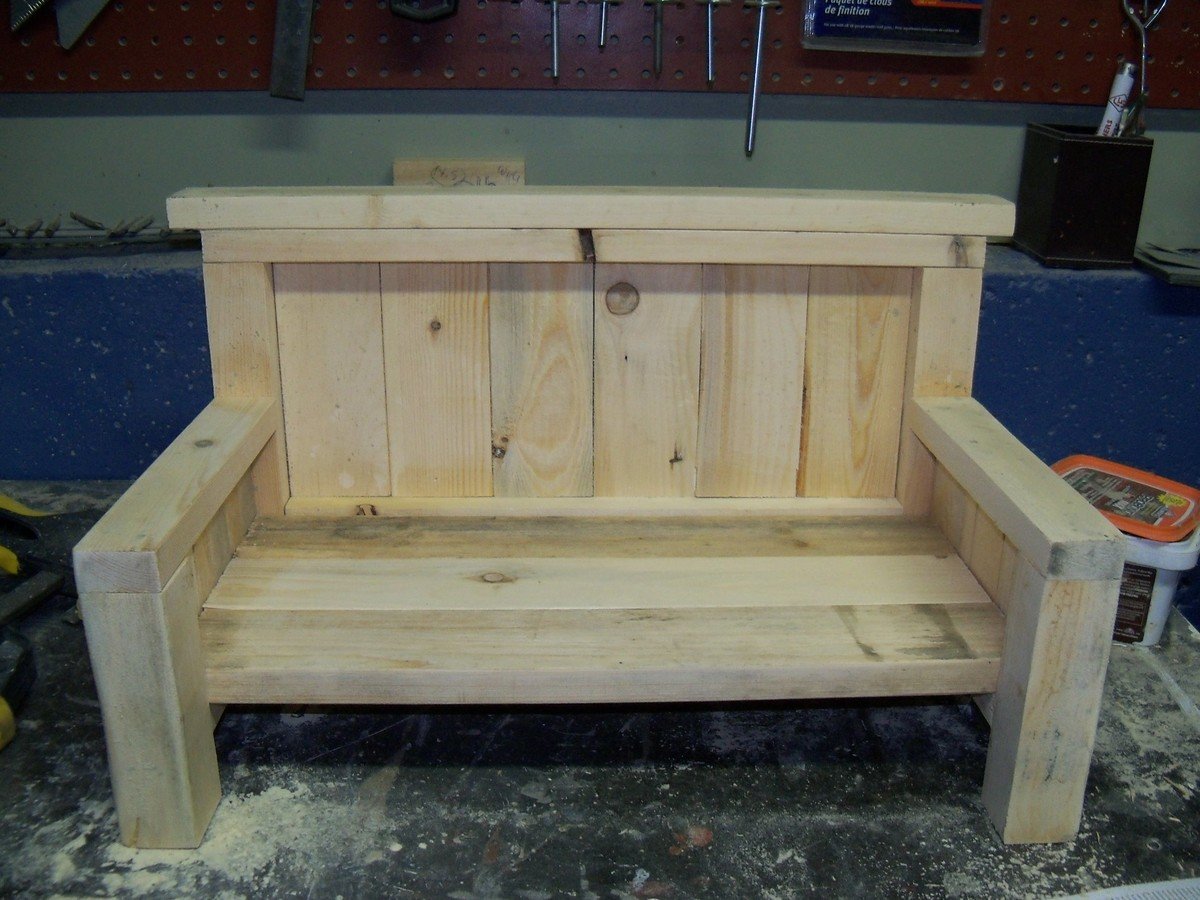
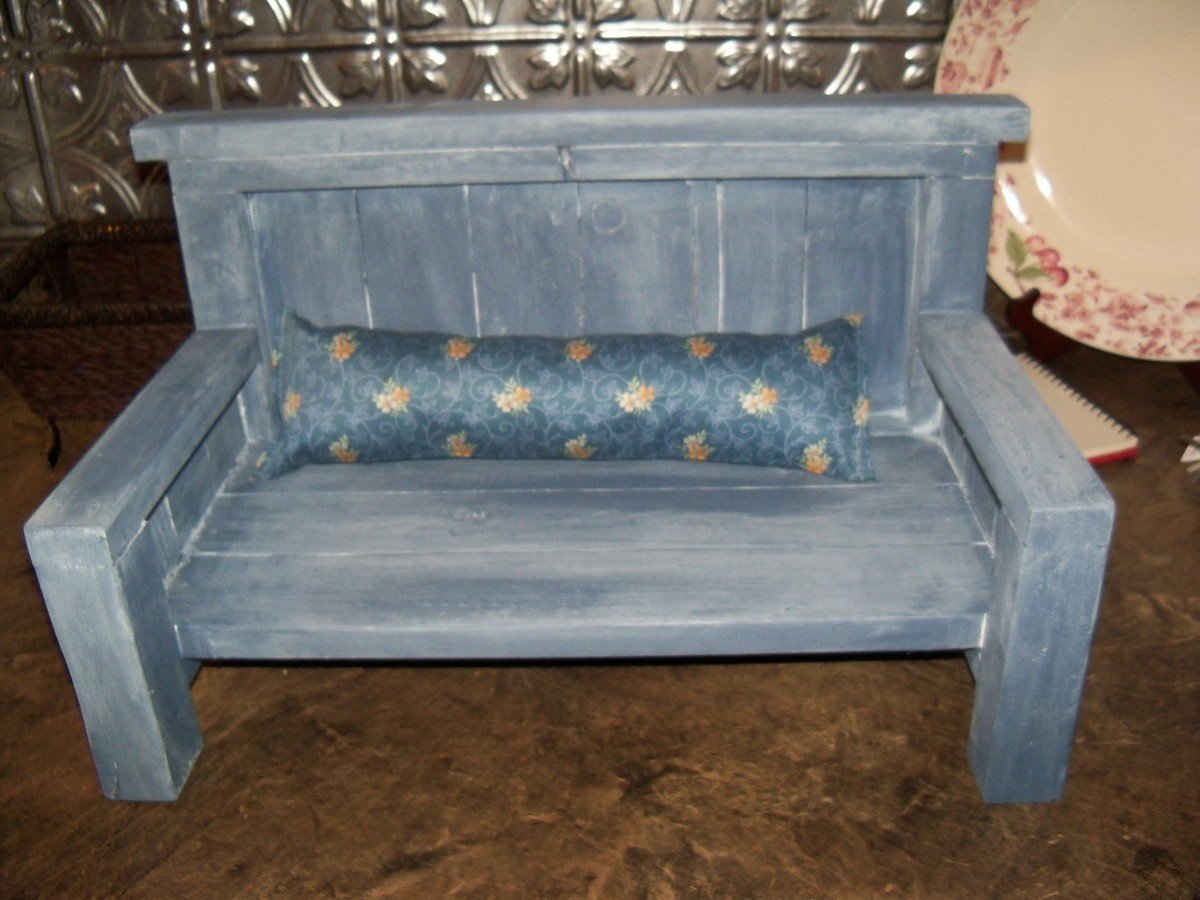
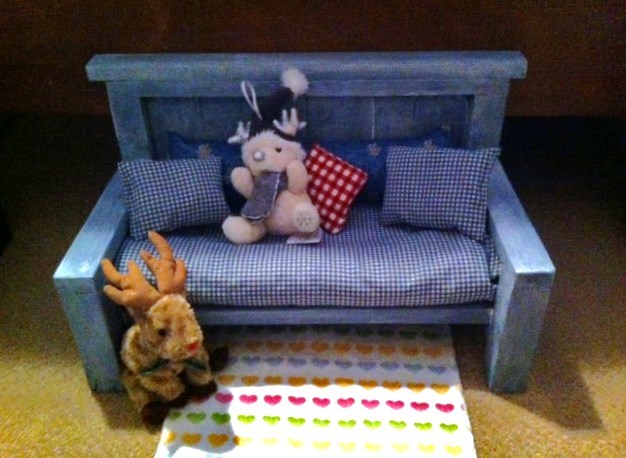
My friend's daughter's both love American Girl Dolls. I have made them the bunk beds and the Farmhouse bed. But they really wanted a couch. I made them one using some of the elements from the Farmhouse Bed. I used a blue paint with a pickling whitewash stain on top.
I did have a hard time getting a good photo of the finished project.
I built this table with cedar and used Cabots Australian Timber Oil hoping it would last a long time on my patio. After 1 summer, it still looks great! I made slight modifications for a comfortable height with the chairs I bought and also simplified the rounded cuts to a 45 degree cut on the bottom. Using glue and screws during assembly made the table solid.
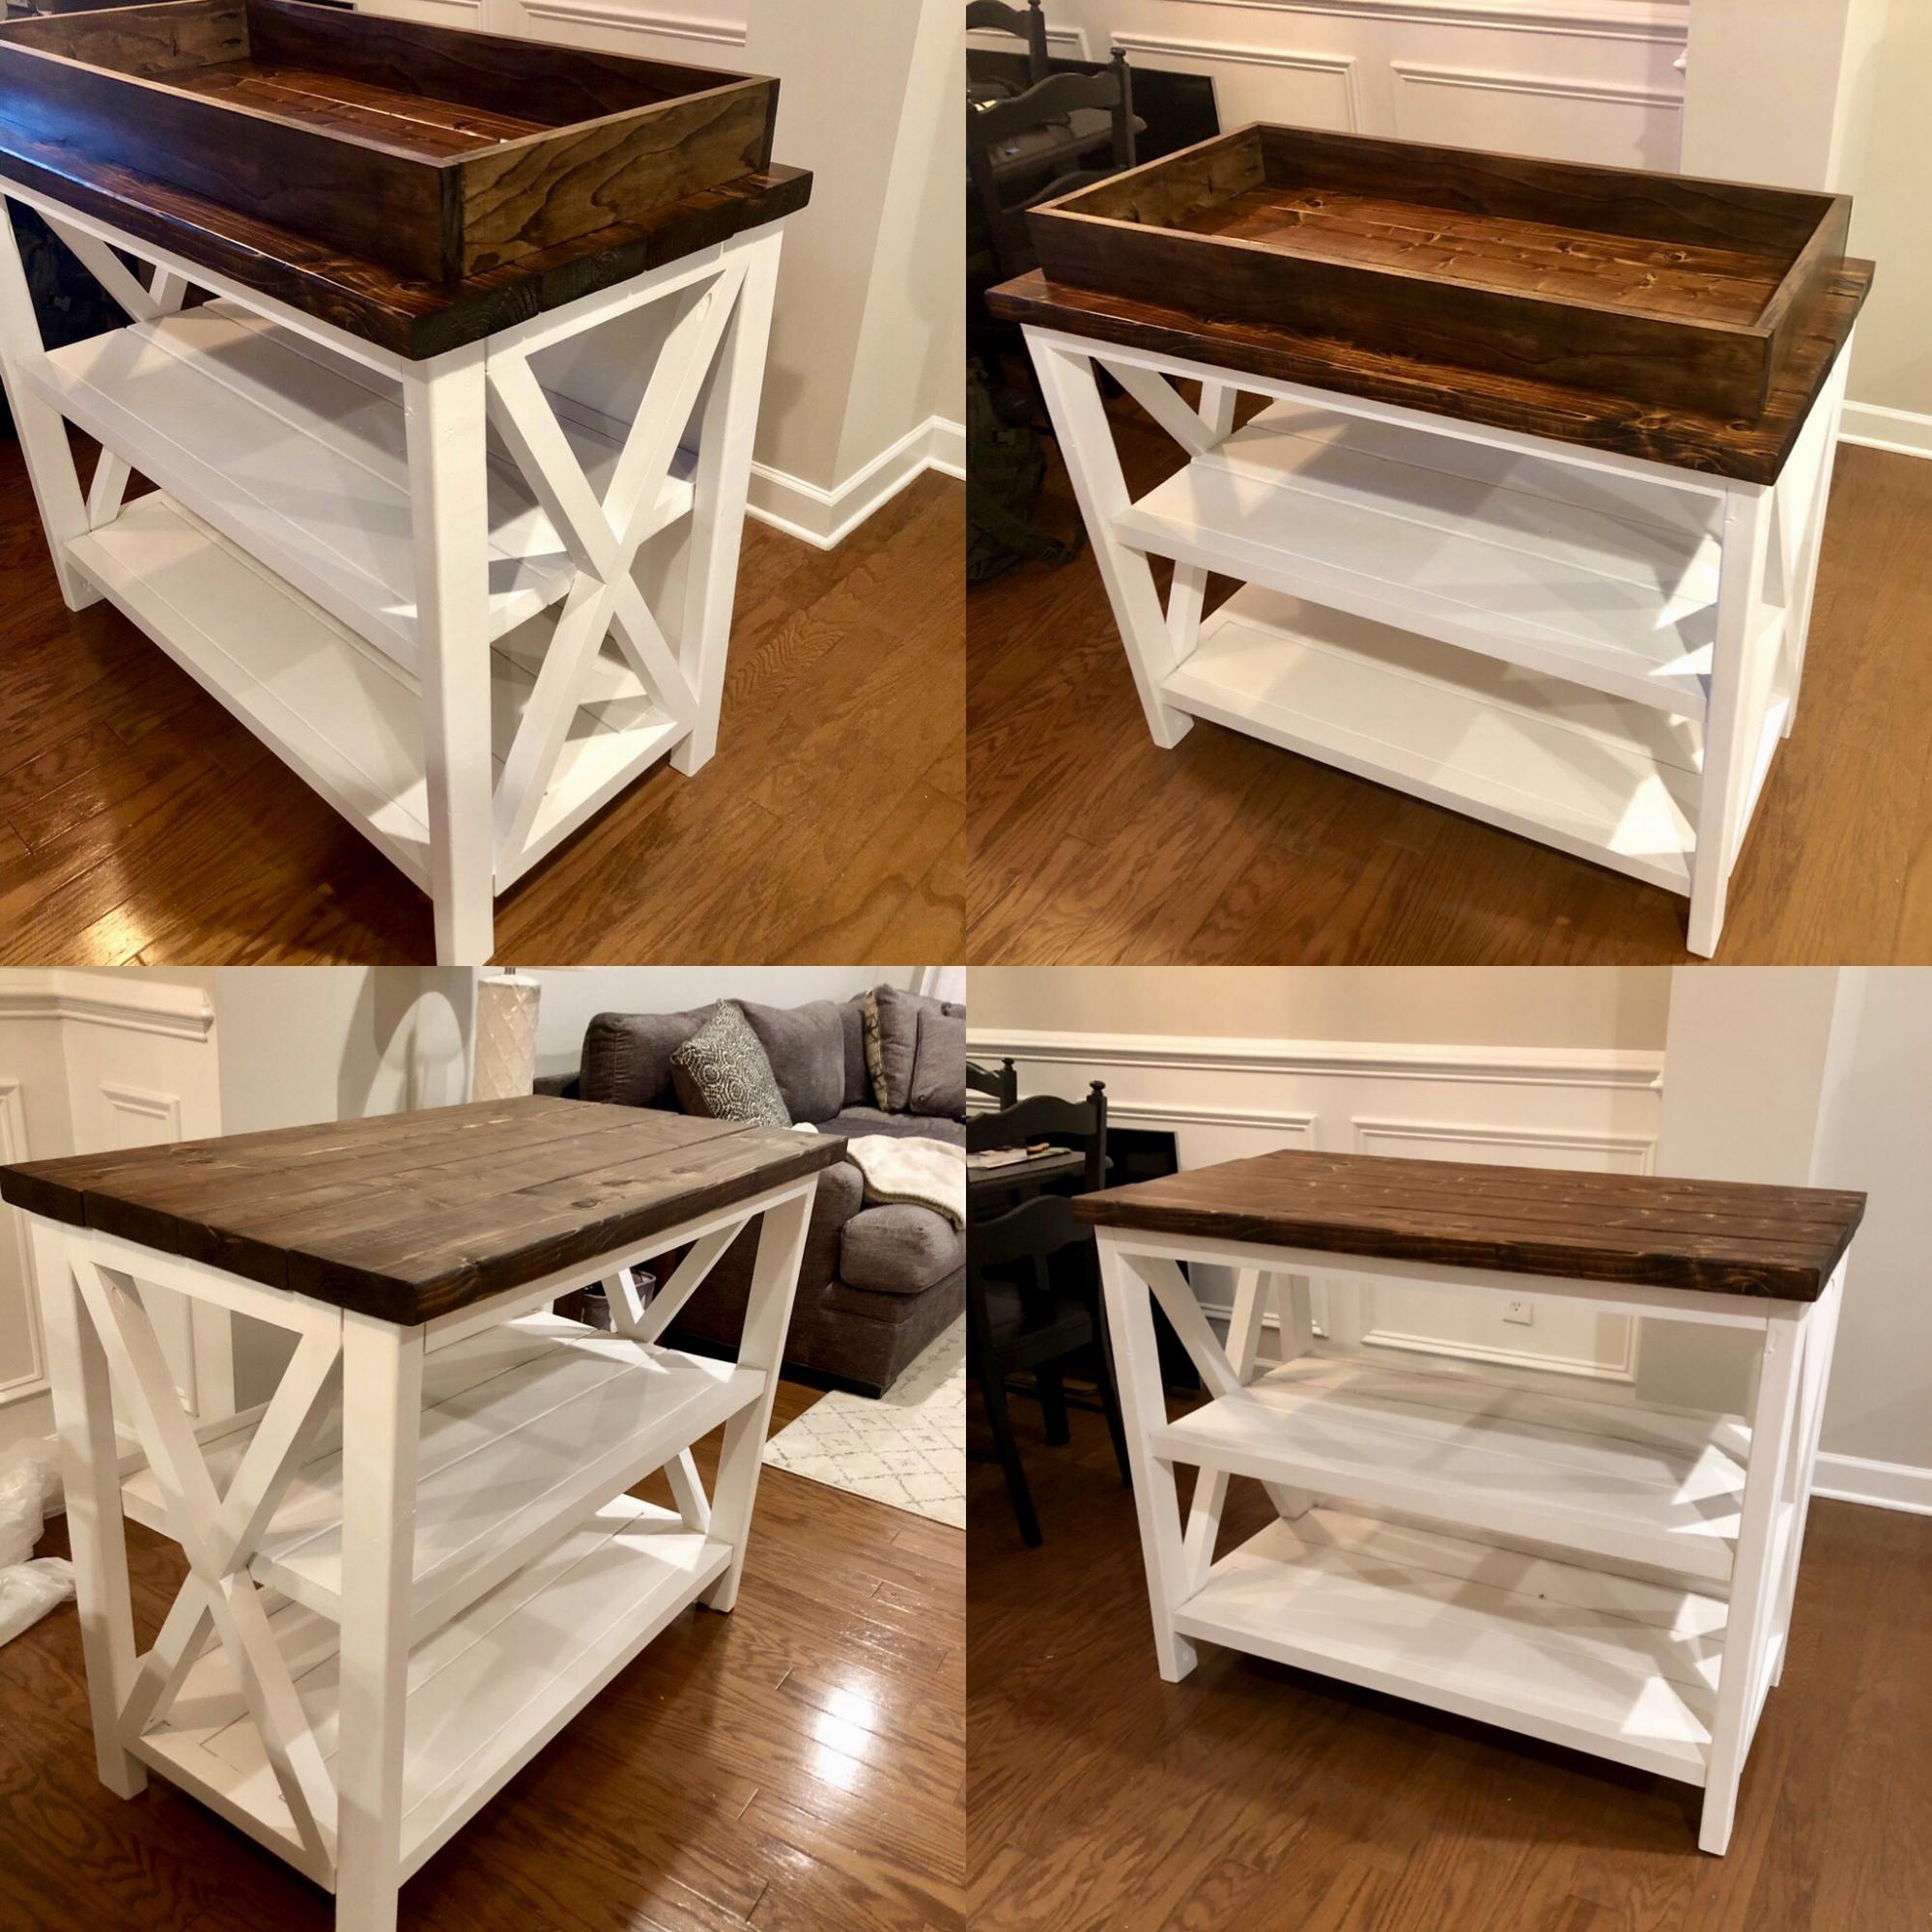
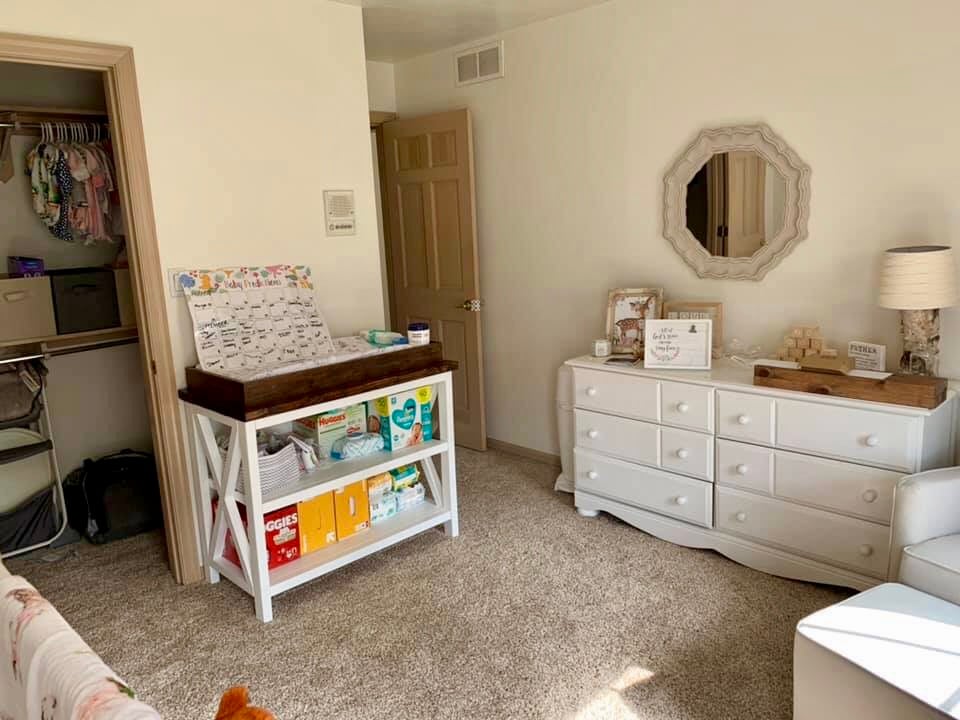
Built this for a very dear friend as a baby shower gift for her new baby, Prim. I tailored it to fit her space as she was looking for it to fit on a certain wall and finished it how she liked! Simple and timeless white and natural stained top. ✨

Wed, 10/02/2019 - 13:35
I love this, what a perfect baby changing station!

plan supplied by Ana

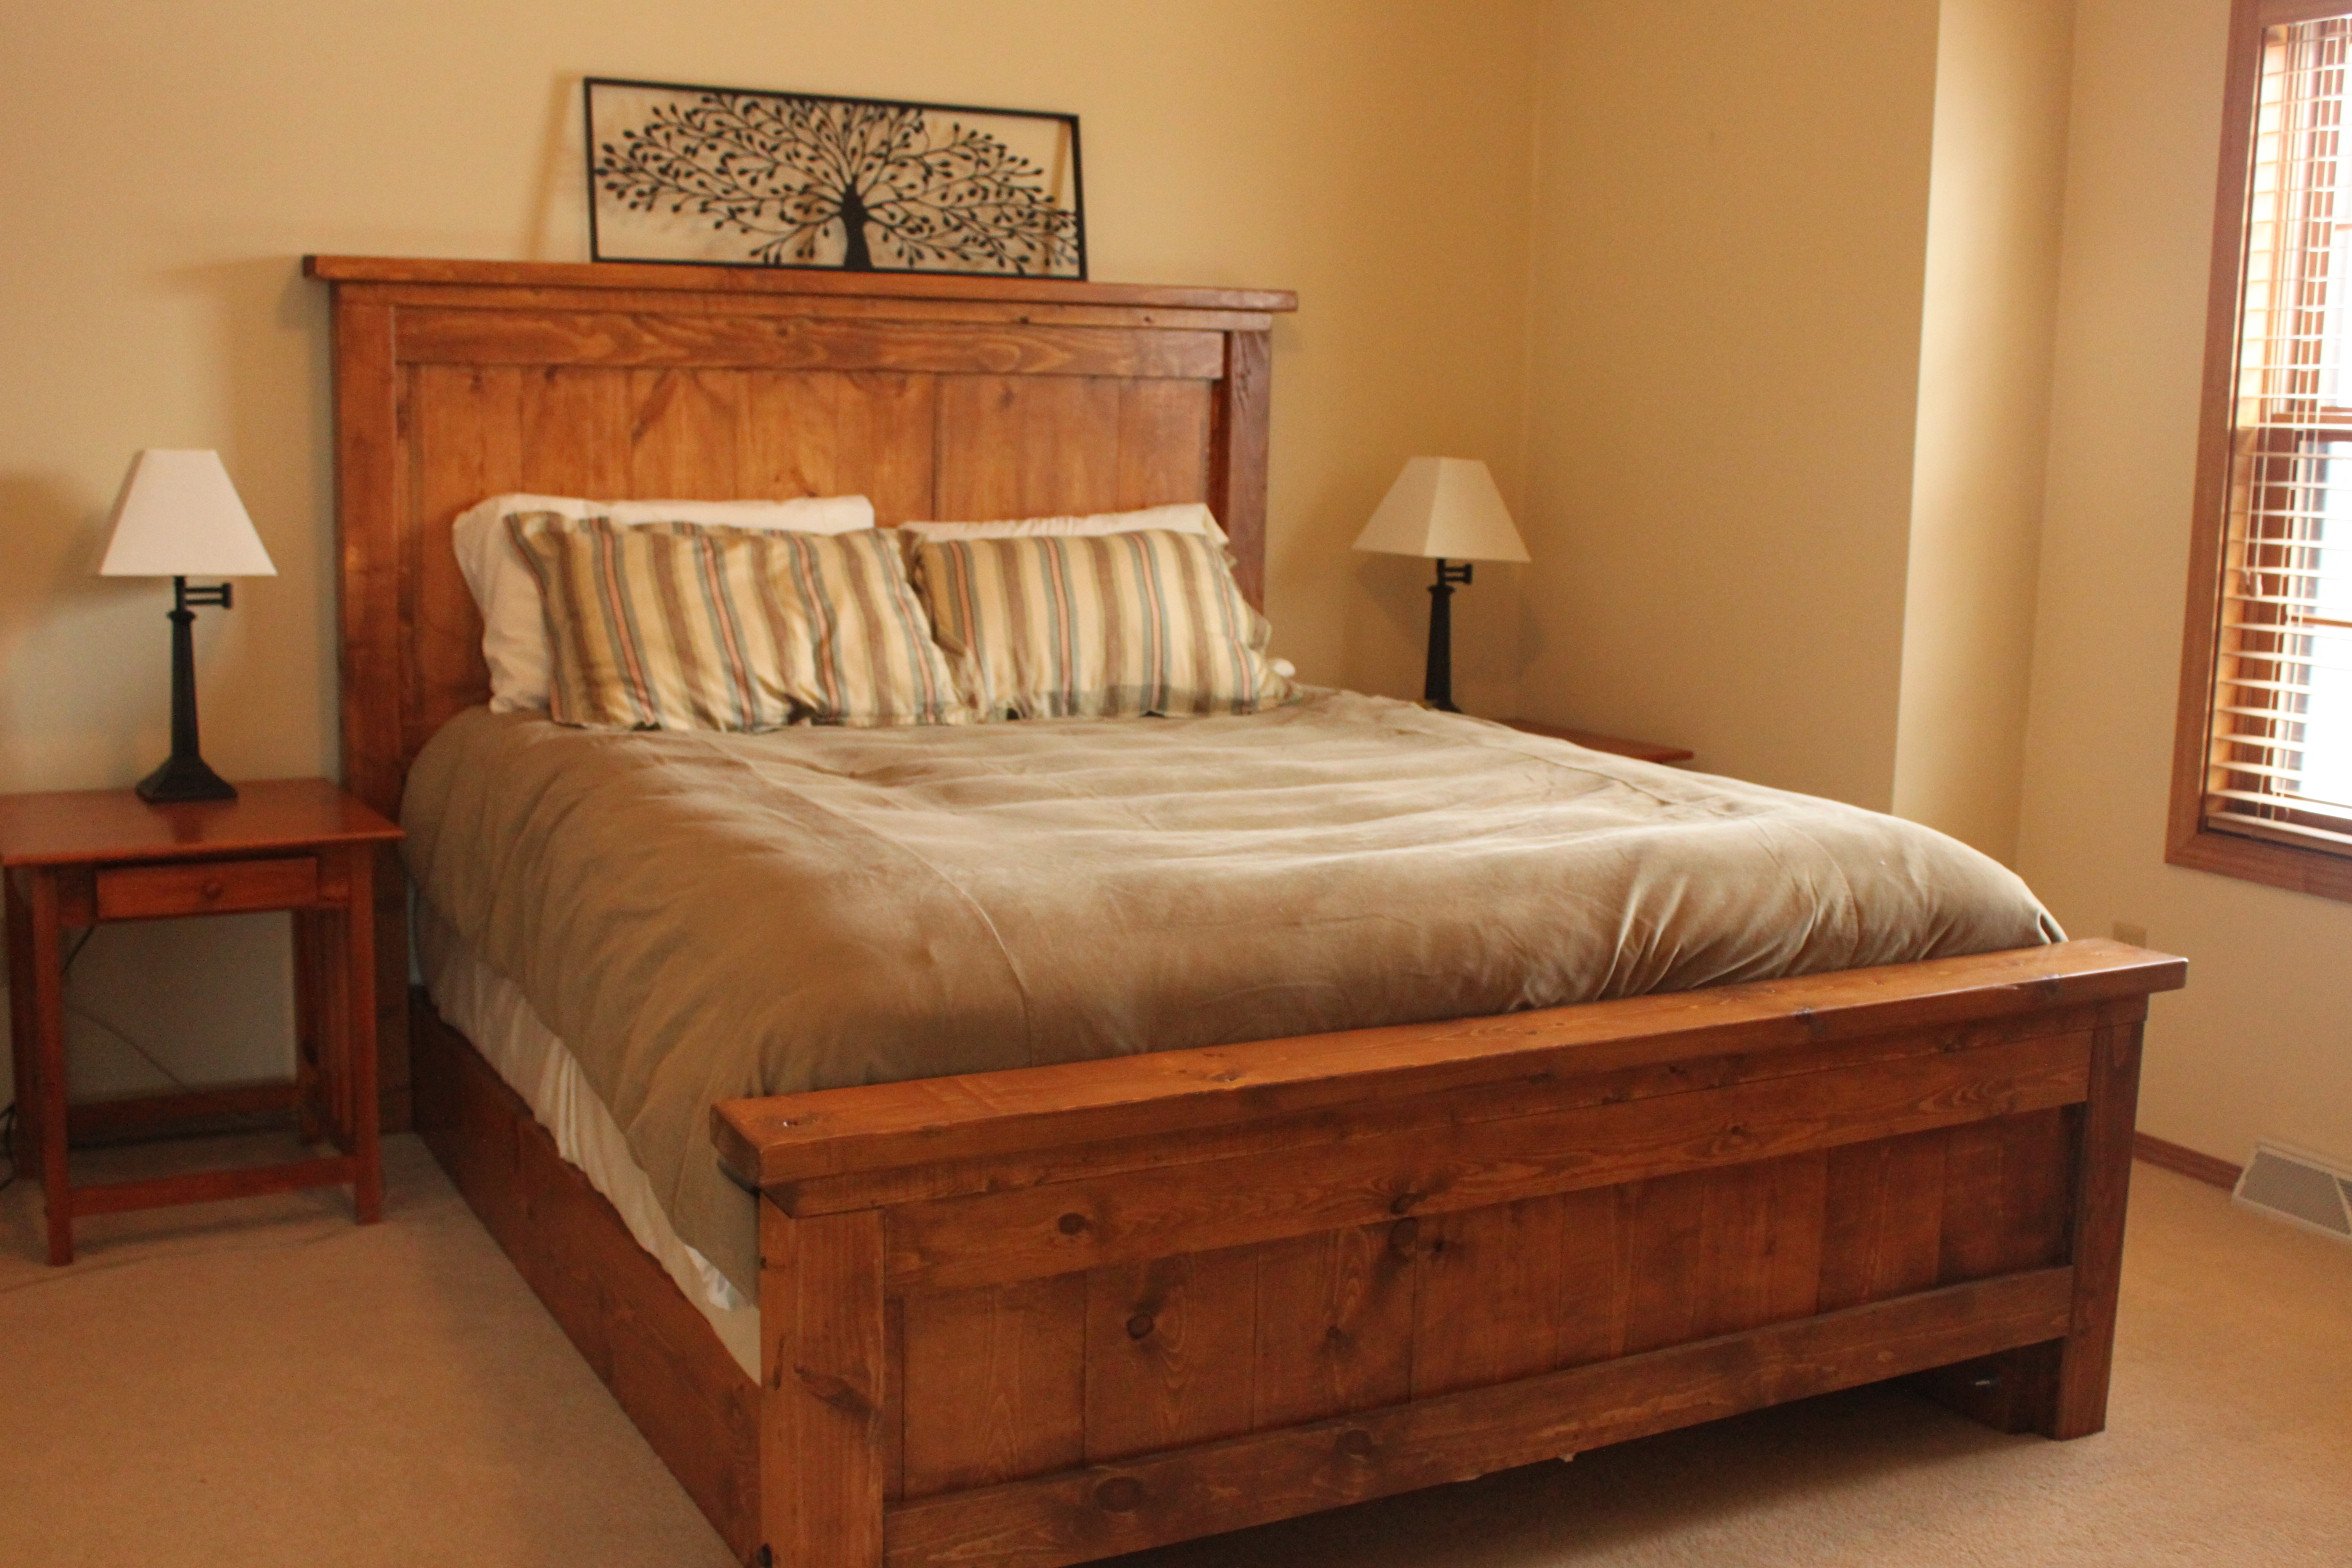
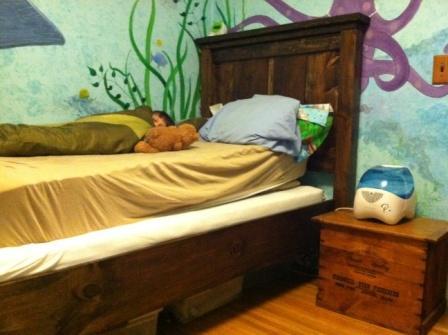
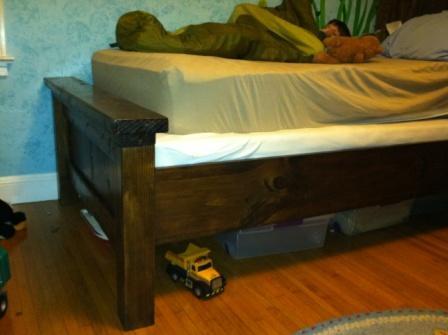
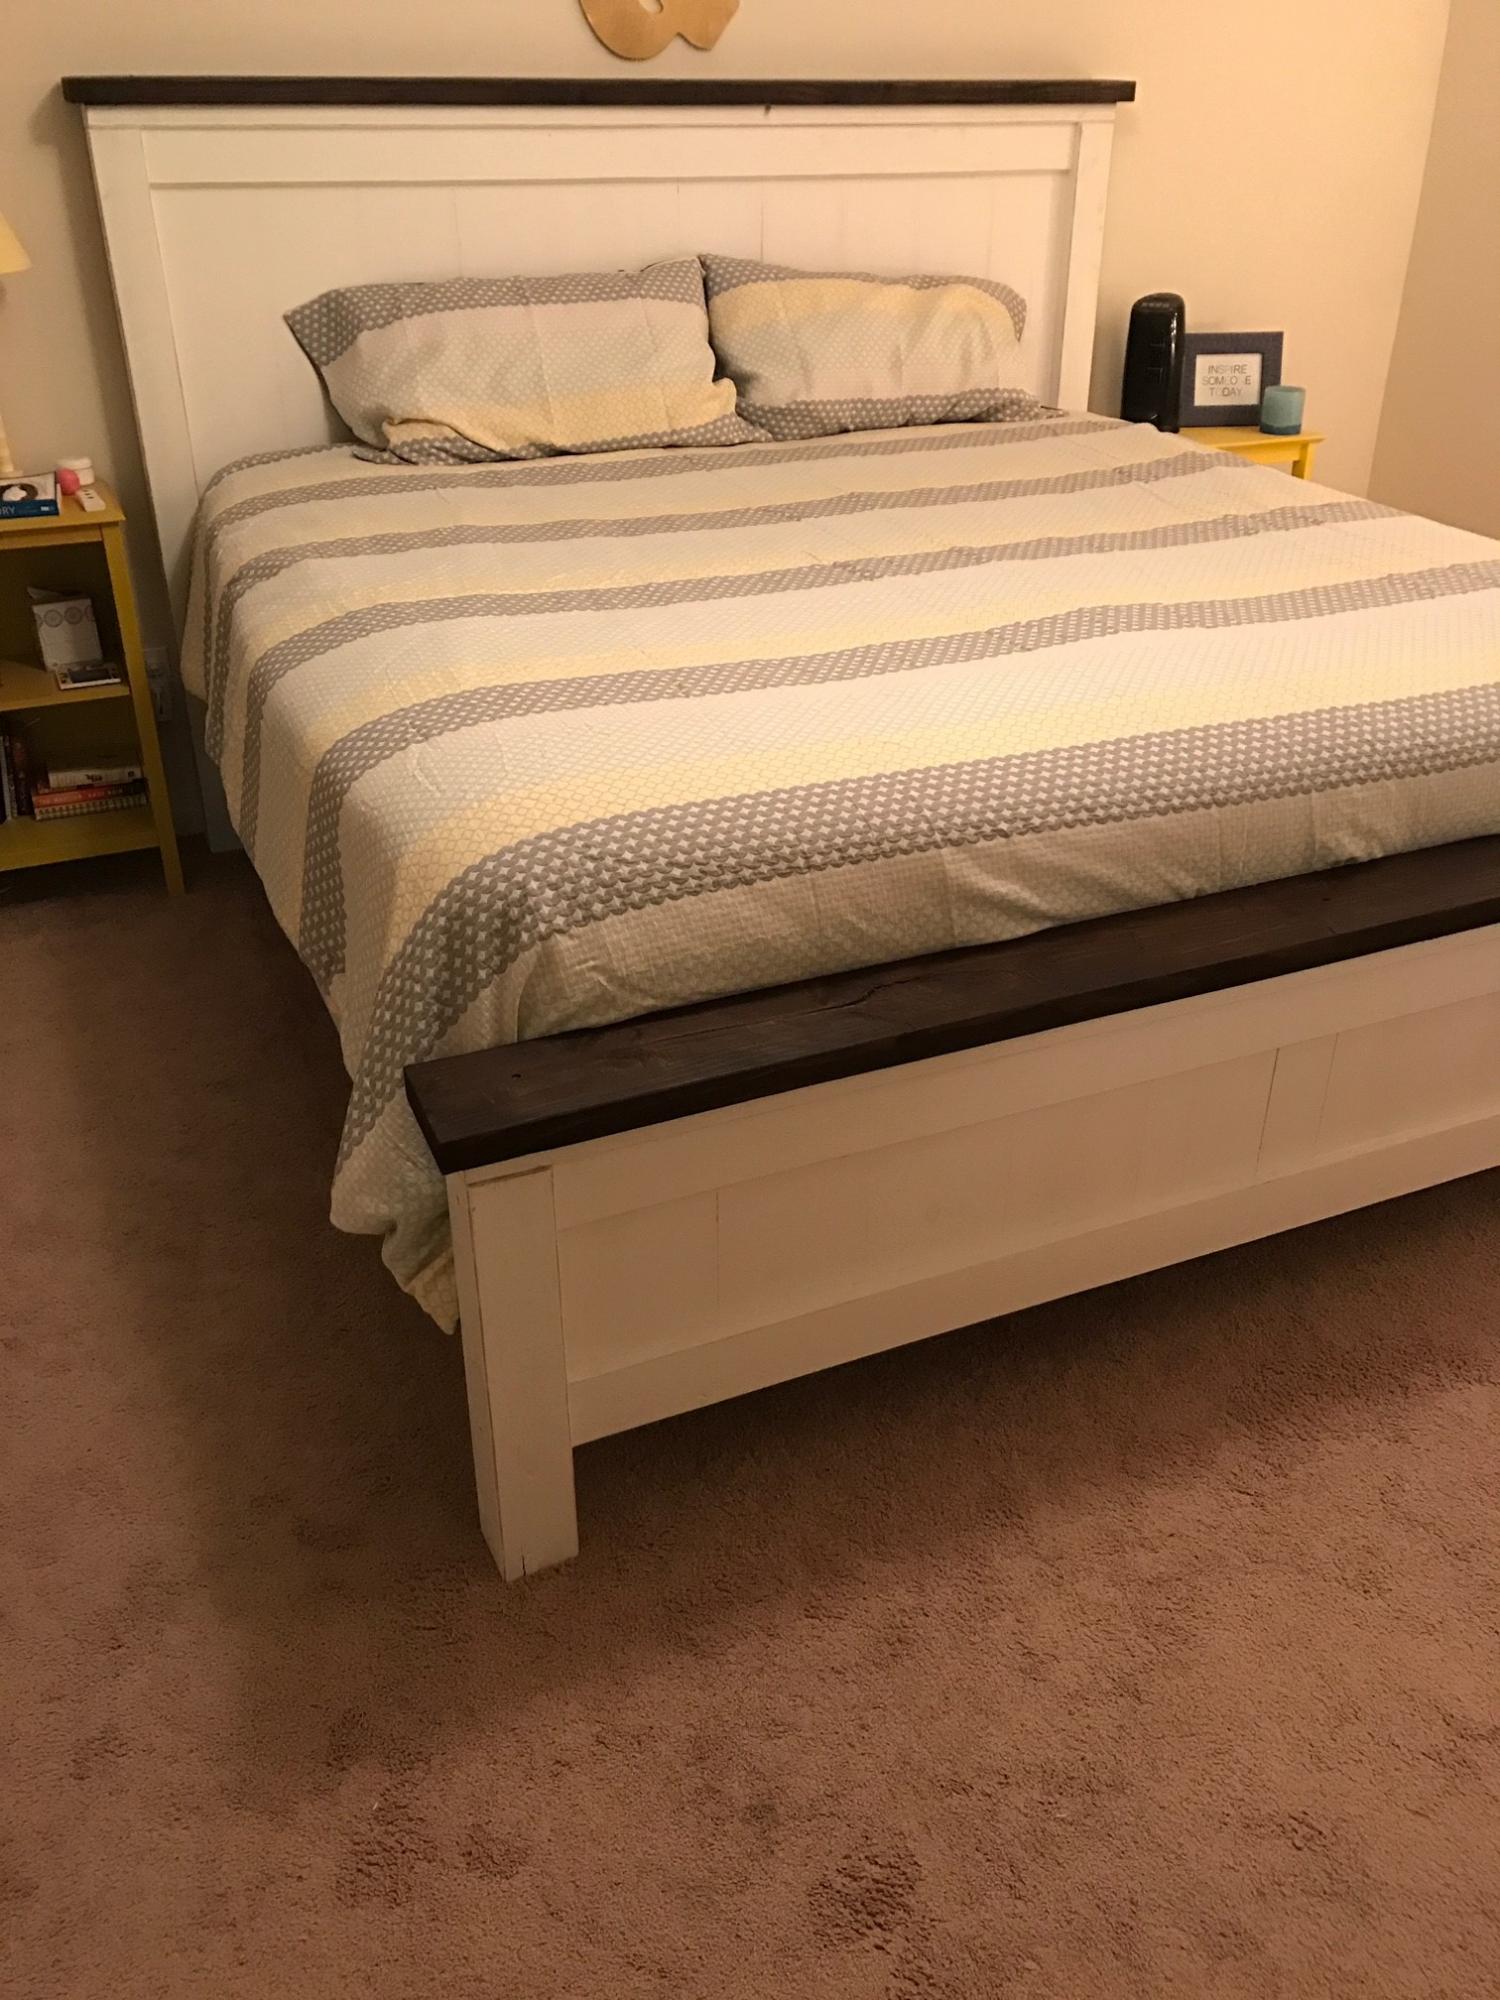
I stumbled upon the Ana White website (and subsequently the farmhouse bed plans) via something I saw on Pinterest. I had been bugging my husband for bedroom furniture for years, but there were always other bills to pay. So when I came accross that BEAUTIFUL and super-inexpensive-to-build bed, you can imagine my excitement! I sent a link to my husband, who was equally excited, and a few days later we have this georgeous new bed!
Fri, 01/27/2012 - 08:20
I asked my husband what his stain concoction was, and he said he used a 1:1 mixture of Minwax's Fruitwood and Red Oak stains. He did first use a wood conditioner so the wood would accept the stain more evenly. Hope this helps!
Sun, 01/29/2012 - 10:21
I really love the warmth of the stain color. I will have to try the concoction on my next project. Thanks again. :-)
Sun, 01/29/2012 - 13:36
I think after supplies it was probably closer to $100. I am amazed though every time I walk into our bedroom that our bed was so inexpensive and easy to build! It really is a beautiful piece. I defintely think you won't be disappointed. Happy building :o)

In reply to I think after supplies it was by jessabender
Sun, 01/29/2012 - 15:59
Yup, inexpensive and SOLID wood! something that will last and irreplaceable.
Thu, 07/10/2014 - 20:11
I have been admiring your bed. It is lovely. So I am seeking your advice. I am wondering how you sandwiched the panels between the 1x4s. I don't see any nail/putty marks through your stain. I am obsessing about how I can finish this bed without like 32 little patched nail holes on the front of the headboard and the footboard. I would really love to stain the bed similar to the color you used but I'm worried about the nails. sigh. Did you use nails? Did you only nail the boards from behind so they are not visible? I have been scrutinizing your bed, but i just cannot tell. if you did use little nails and putty them, you did a great job of blending them in. I don't have a kreg jig, but i think that would solve the problem. hmmmm. I am so worried about this that I can't take the plunge and just make the bed. On the areas that are screwed together, I plan on using wood plugs, but for the panels I'm stumped. The plans call for sooooo many nails. I simply just don't want to see them on the front of the bed. Thanks for anyone that can help. If i were painting the bed it would not be a problem, but for staining I think the patched nail holes would not be good. Any thoughts?
Tue, 12/08/2015 - 17:38
it is probably something stupid simple. but what are you guys using to connect the side rails to the head and foot board? mainly the foot board.
Thanks in advance.

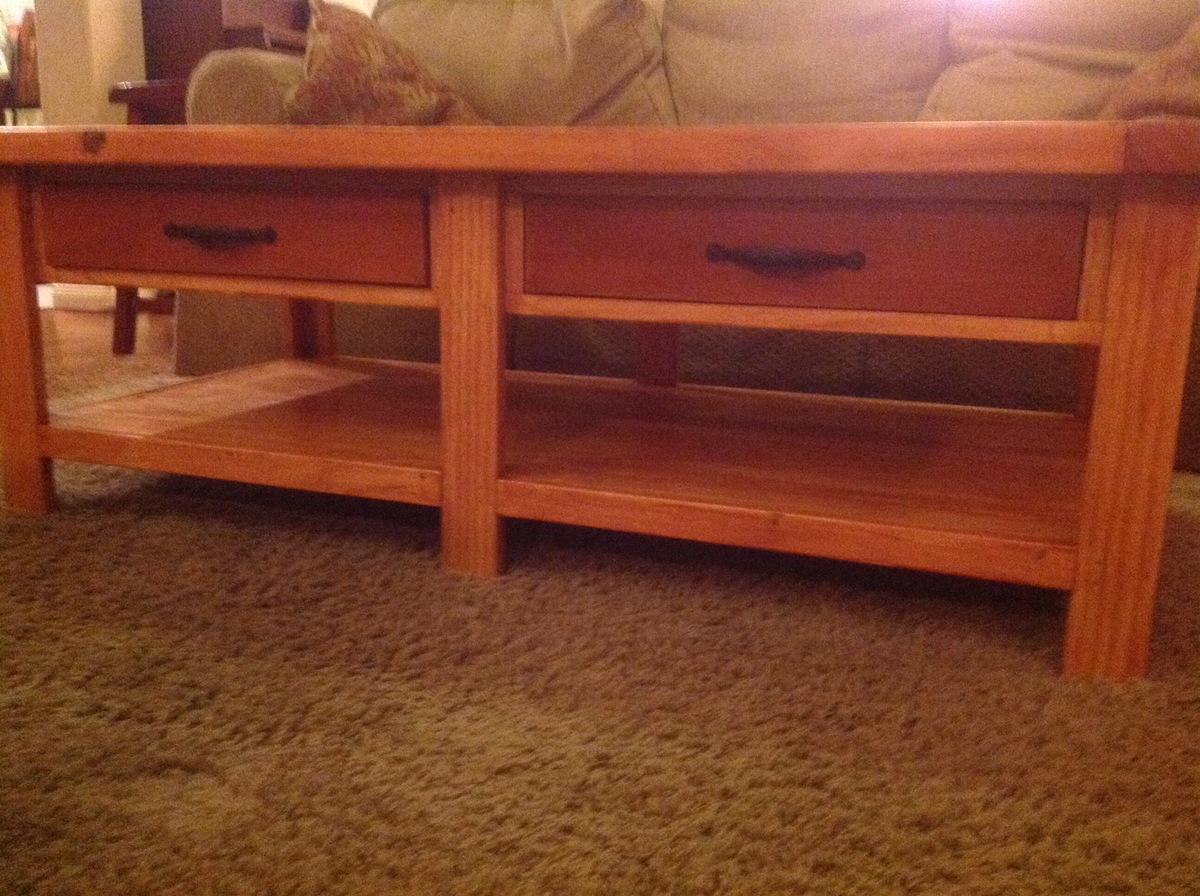
Built of these bedside tables using Ana's book. The plan was very clear to understand and the cut and supplies list took a lot the guess work out of the project. Instead of using a circular saw I used a portable Dewalt table saw. This worked extremely well, especially for cutting pieces of MDF. It is worth noting that you DO NOT want to make large cross cuts using your table saw fence. I learned the hard way with ONLY a bruised hand (and ego). Once I removed the fence from my saw the second table was built much faster and I felt safer doing it.
The only other snag in the build was not being able to find the "1x16x72" MDF. Instead I purchased a 2'x4' section for $8. I planned on painted the tables all along so the MDF was perfect. If you were going to stain the tables you would want to use some sort of hardwood (I used pine everywhere else) on the top, sides, and bottom.
Both tables were finished in a weekend (took about 3 hours each) and I spent the following weekend priming, painting, and installing the drawer slides and hardware. I would highly recommend these tables for anyone looking to get a high quality bedside table at a fraction of the cost. Thanks Ana for the plan and I look forward to my next build.


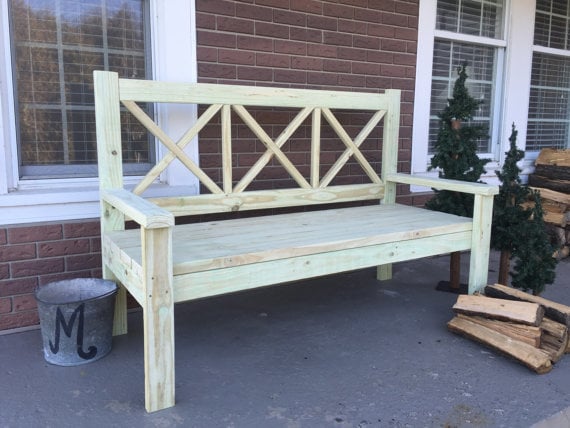
Made these for my children at Christmas. Feedback was very positive so I made one to post on Etsy to see what kind of market there is for these.
https://www.etsy.com/listing/269080897/large-porch-bench
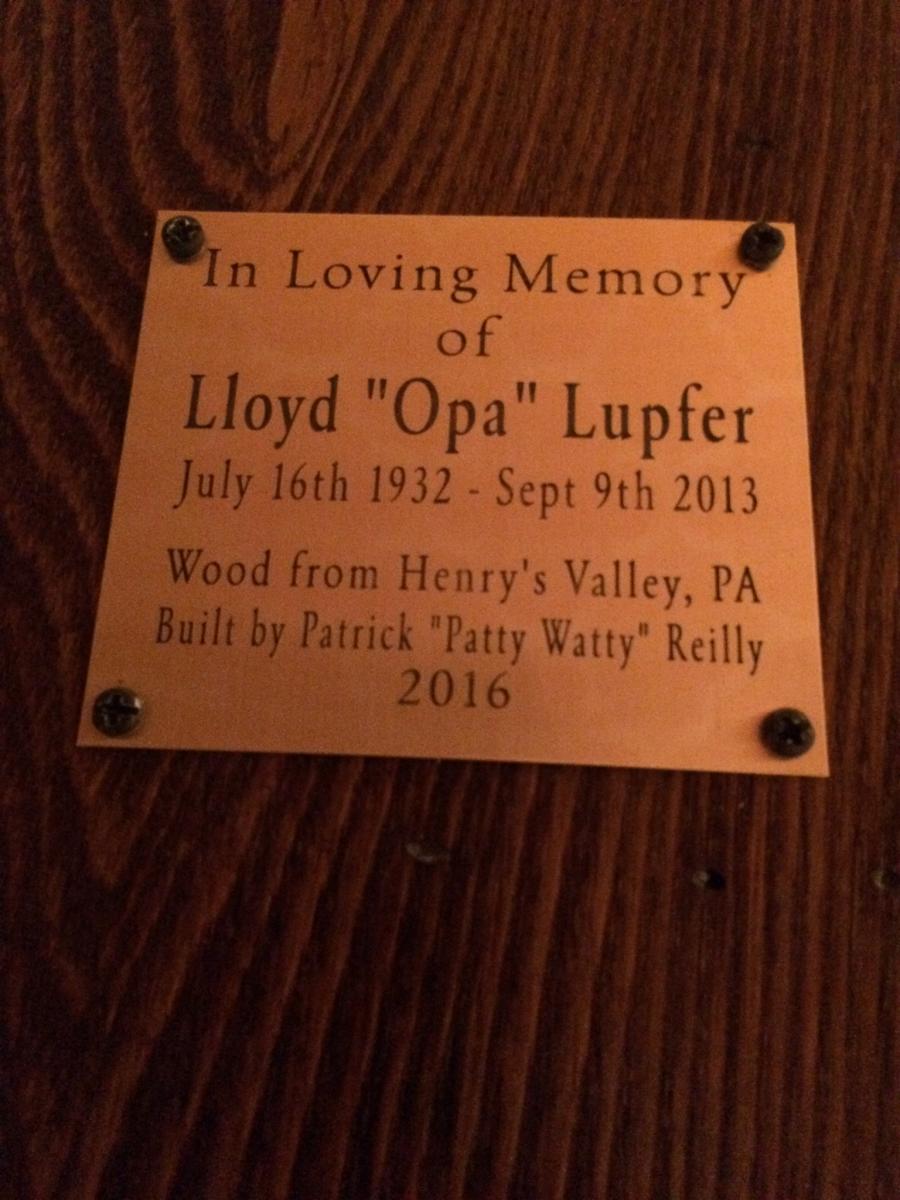
Received the wood from grandfather who had it rough sawn in Henry’s valley PA. I cut it down and made a more rustic top to go along with the standard base from osbourne and local lumber shop. Added the final touch with in memory of grandfather after his recent passing, at the time.

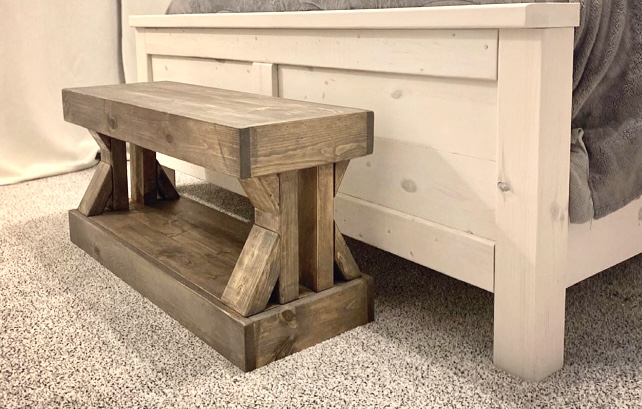
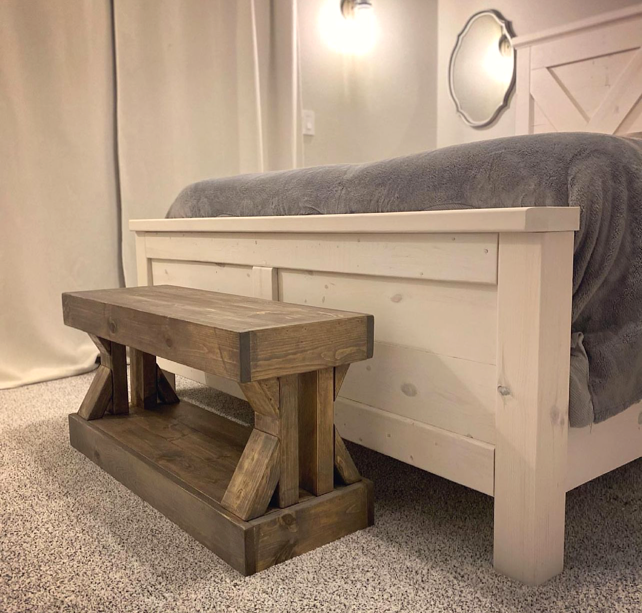
With all my bed frame scraps, I was able to build a small bench for resting and so the hubs doesn’t bump into the old ottoman when walking around the bed. by Mmade
Beautiful farmhouse bed - it makes a statement!
Fri, 02/03/2012 - 10:05
What a great job! I'm wanting to make this bed for my son and am wondering if you remember what type of inexpensive wood you used for this? I like the price tag! The stain looks really good with the wood grain, too.
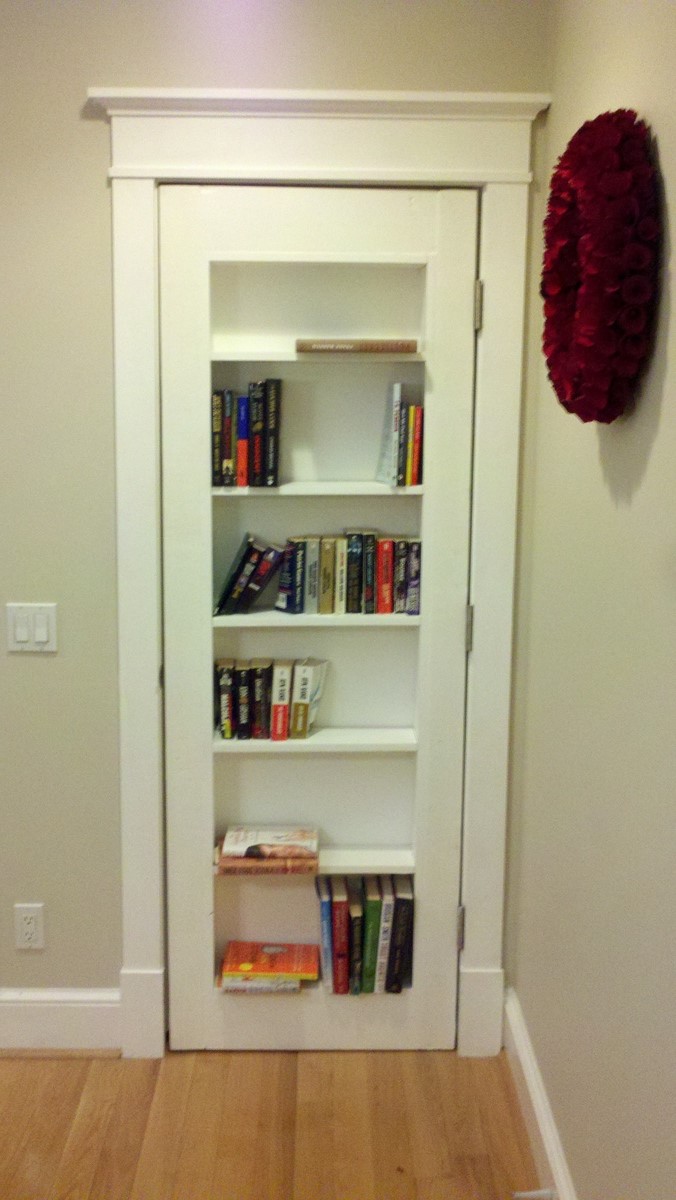
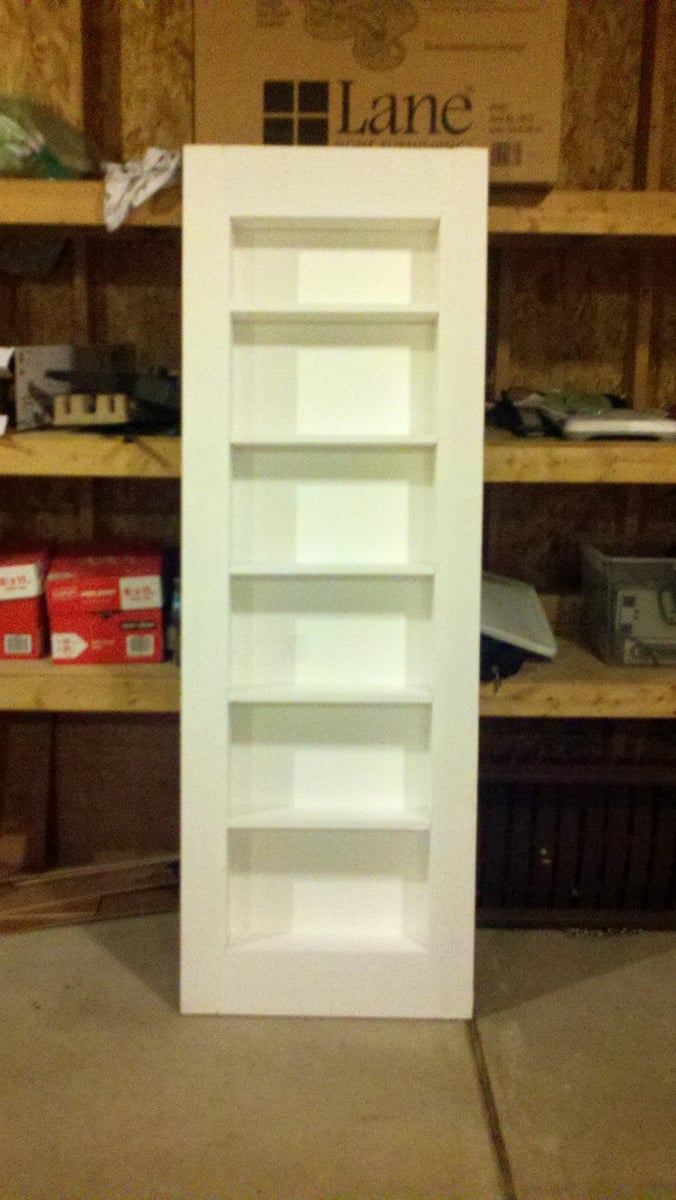
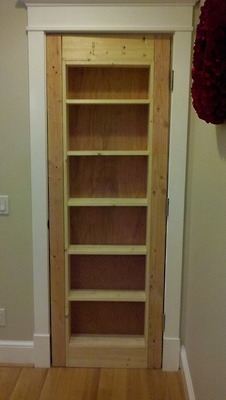
I bought a house in 2011, and I didn’t like the way the door looked in a dining room that leads to the crawl space and a little broom closet. So instead, I built a bookshelf on hinges and painted it white and so with the help of the plans from Inset Bookshelf Doorway plans I was able to create some more bookshelf space within my house for my Fiance, who is an avid reader and Librarian. I apologize for the lack of pictures as I had no idea it would turn out so well. It was actually relatively easy using a circular saw, a kreg jig, wood glue, wood filler, and a spray painter, I thought it turned out well. At first, I measured the doorway, and adjusted the plans to meet my needs taking into account that a 2x4 is actually a 1 3/4 by 3 3/4. This was the hardest thing for me to adjust to is the actual wood size. From there, I started building out the frame. Once that was complete, I added in the shelves with the Kreg Jig to make sure that it was all flush and hidden. Lastly, I added in 1/4 inch sheet wood for the back. Now it was time to prep. I took wood filler and filled in the sides, where the drill holes were, and since I could not get sheet wood long enough for the whole door frame to make sure everything was smooth so I used wood filler and puddy to fill in the space in between. Once everything was dry, I used my Ryobi paint sprayer and may have over-done it on the first pass, since this was my first time using it. After cleaning it up, I applied another coat and I am pretty happy. Finally, I finished it off with a magnetic pin to lock it in place so it appears to be shut and all you have to do is to push to open. Future updates, per the Fiance's request is to use a book with string through the back to unlock it in a gated fashion. I hope you guys enjoy, and I apologize for the lack of overall detail. This was done over a year ago and I have since cleaned out my notes.

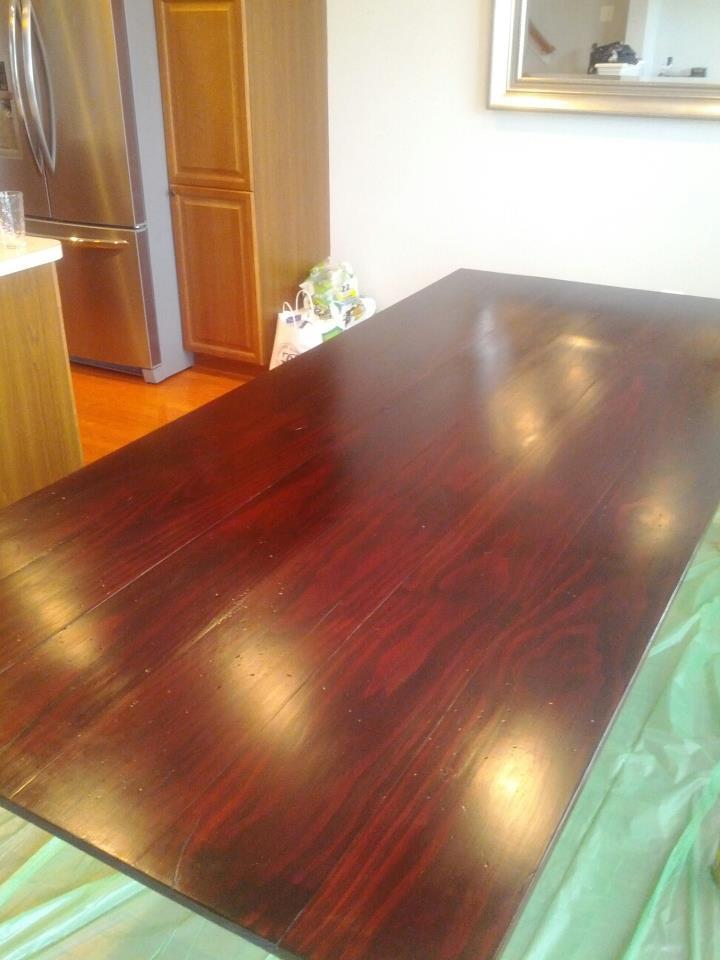
Look what I built my wife for V-Day! I built this 8'x3' (30.5" tall) harvest table from framing lumber using lap joints, homemade stain and 3" decking screws. All screws were countersunk 1/2" and covered with 3/8" poplar dowels. Seats 8-10.

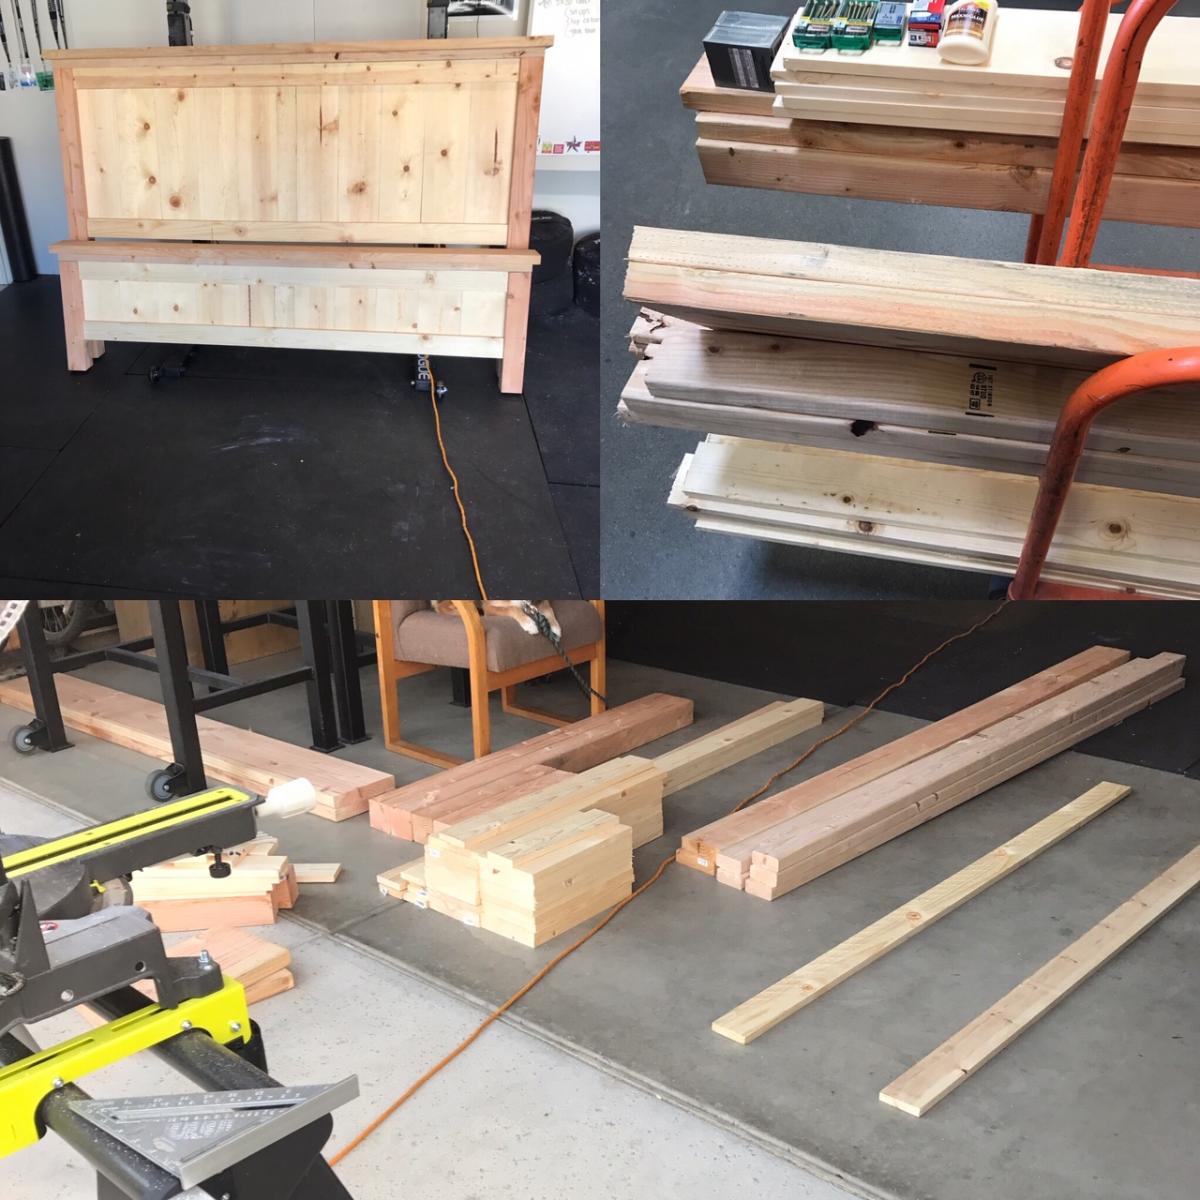
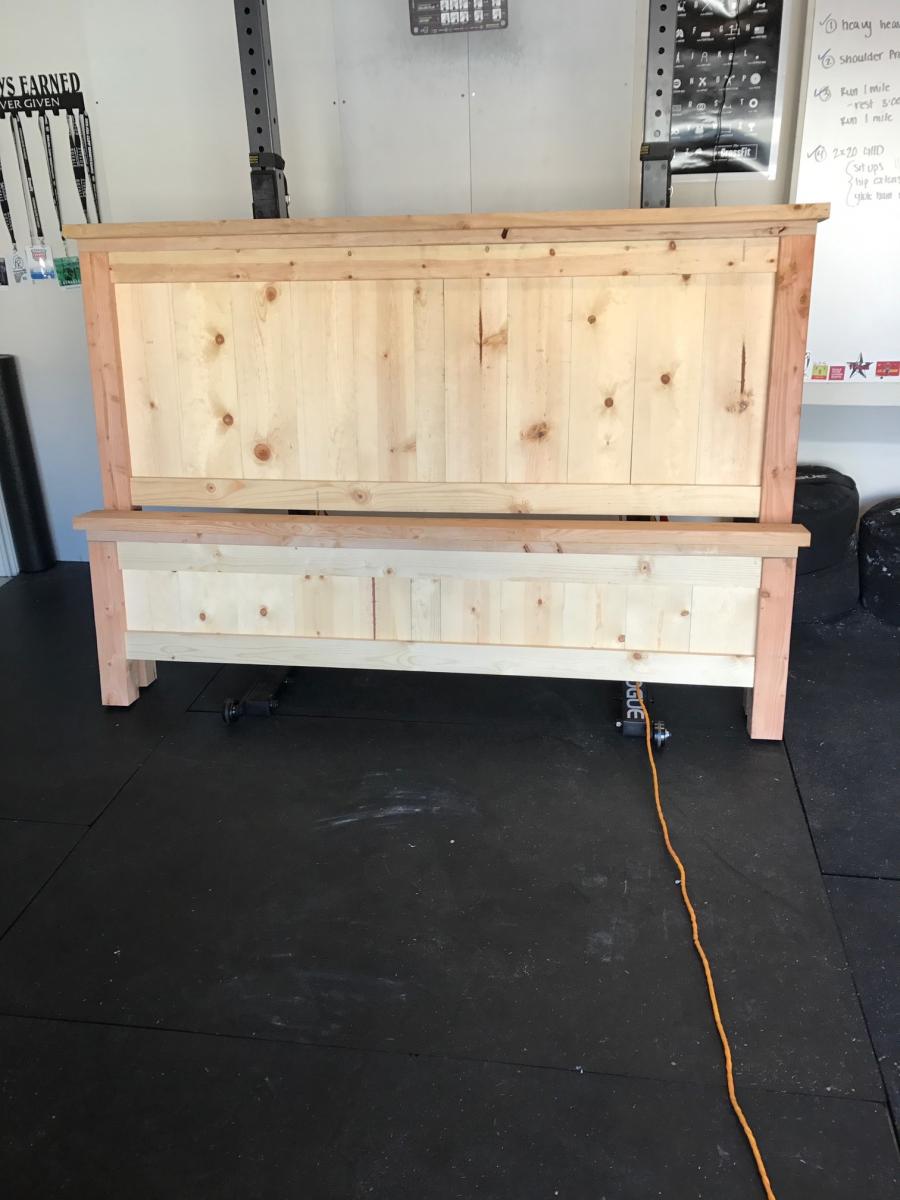
My wife wanted a new King bed frame, and we were searching around stores to find one that she loved. All of them were close. but not perfect, and also way too expensive. I told her I'd just build one! It was my first woodworking project, and it came out exactly what we wanted. We even had some fun Saturday nights sanding and painting together.

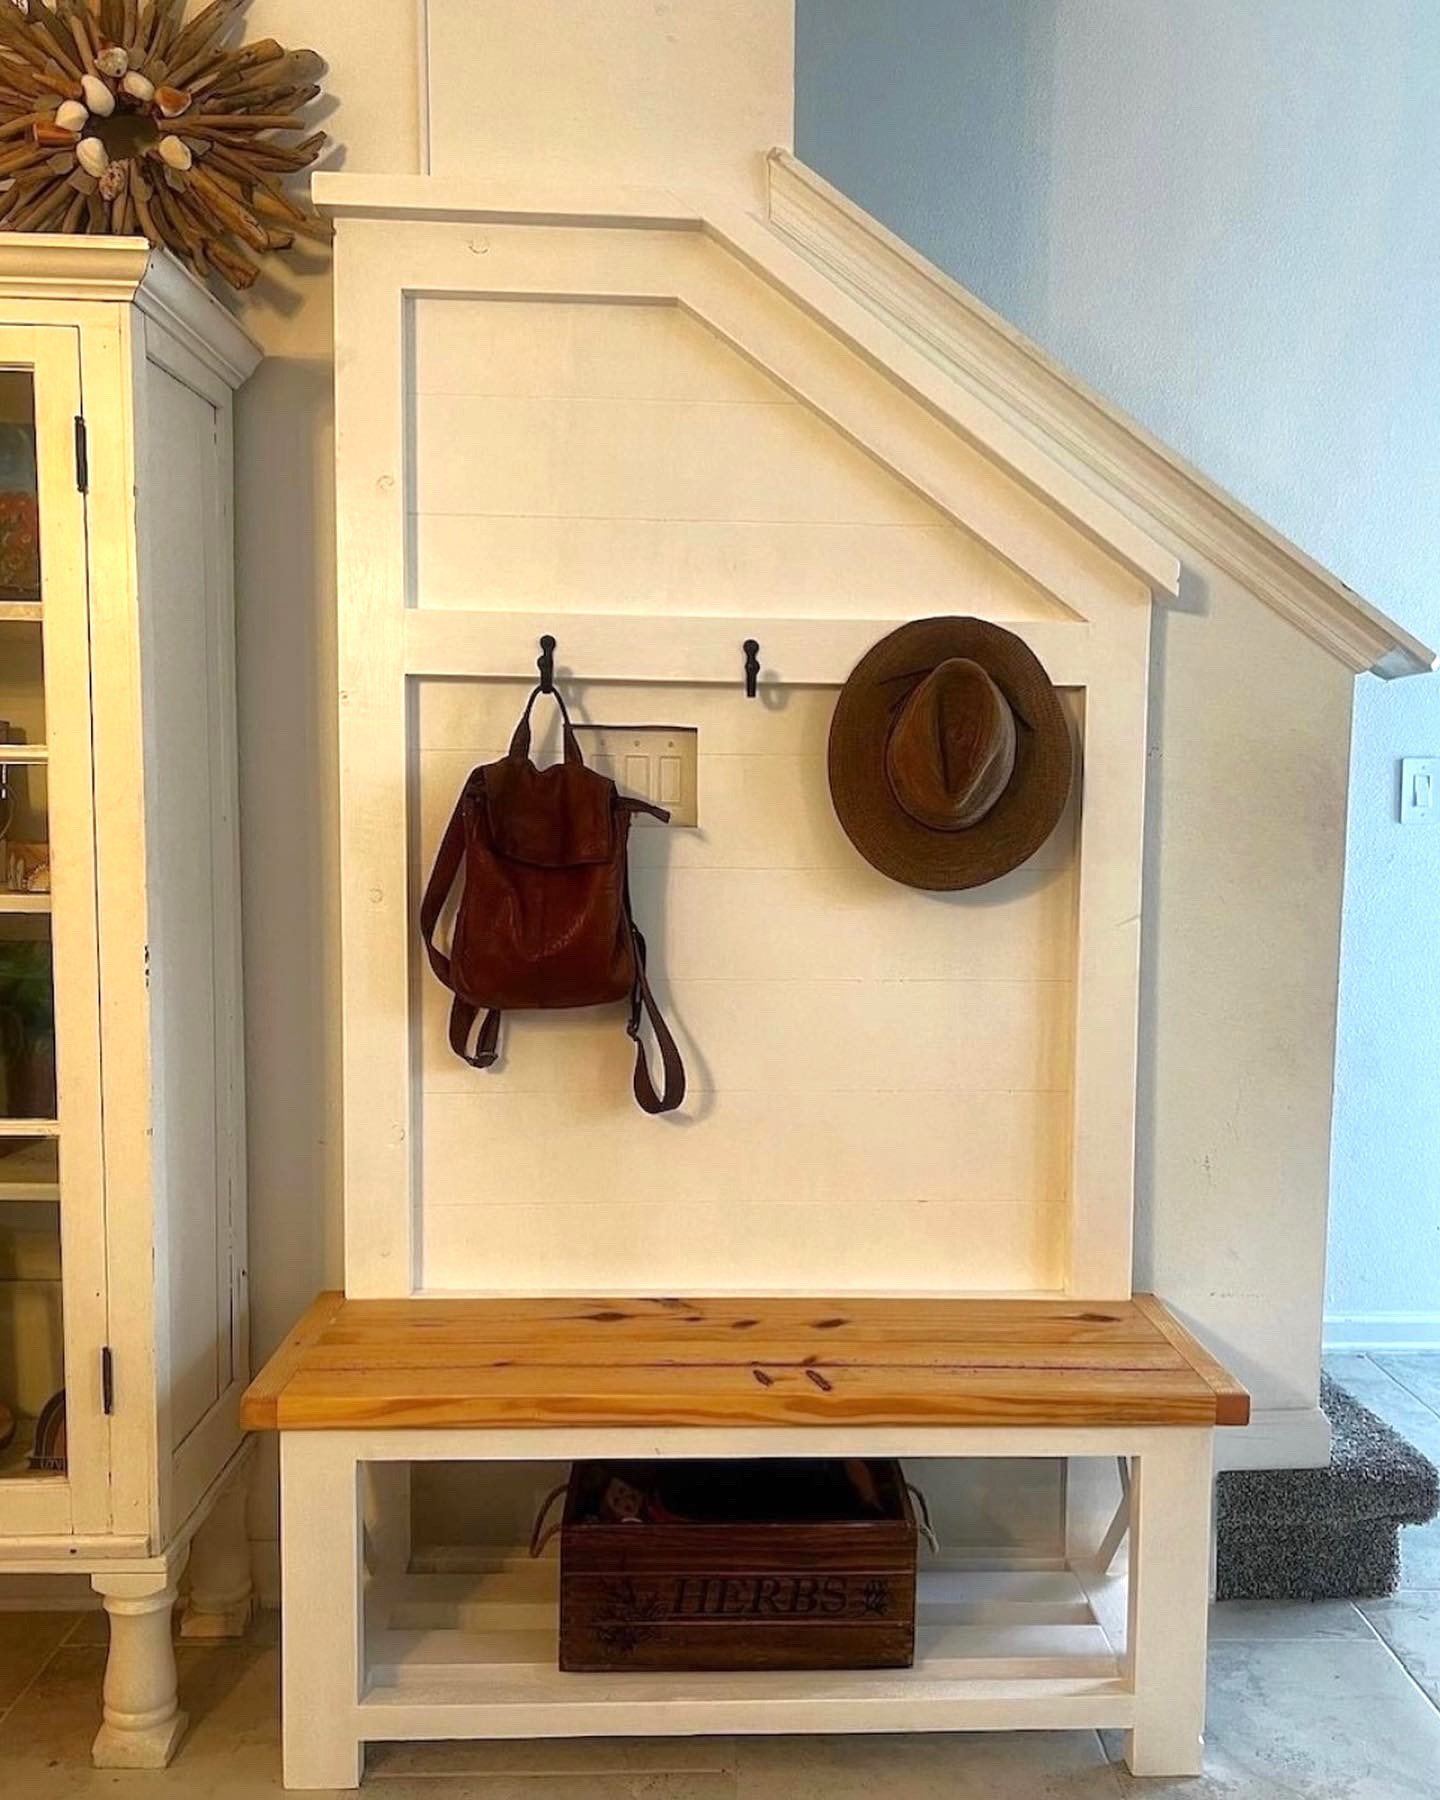
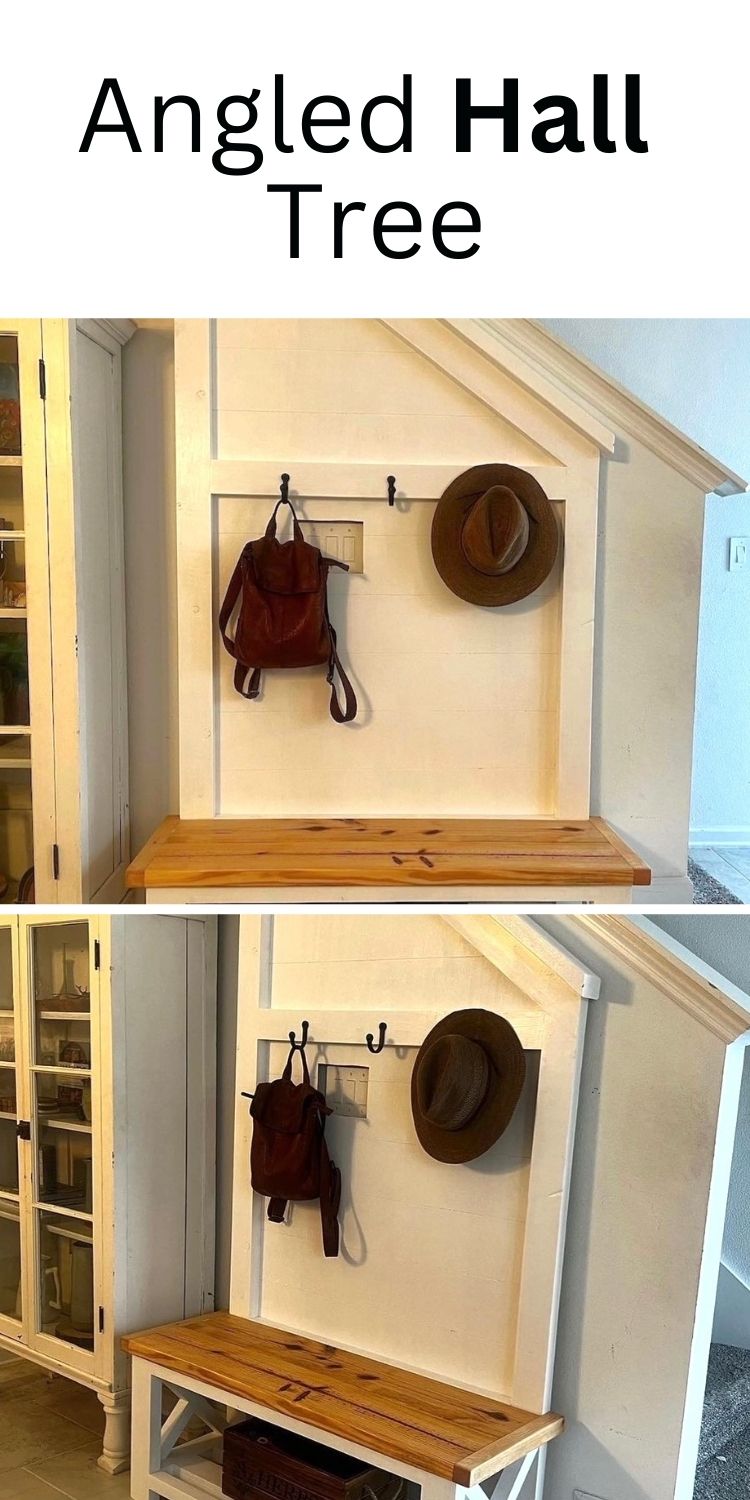
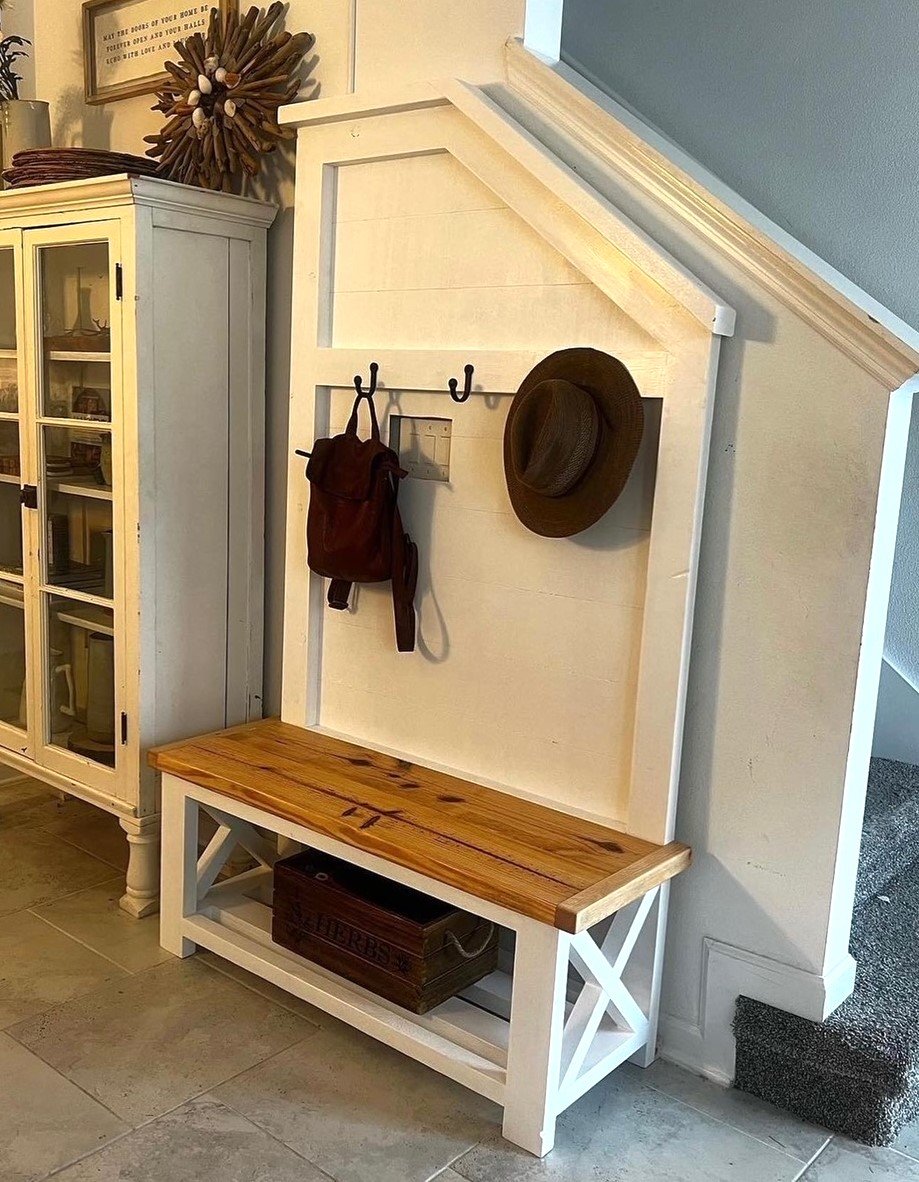
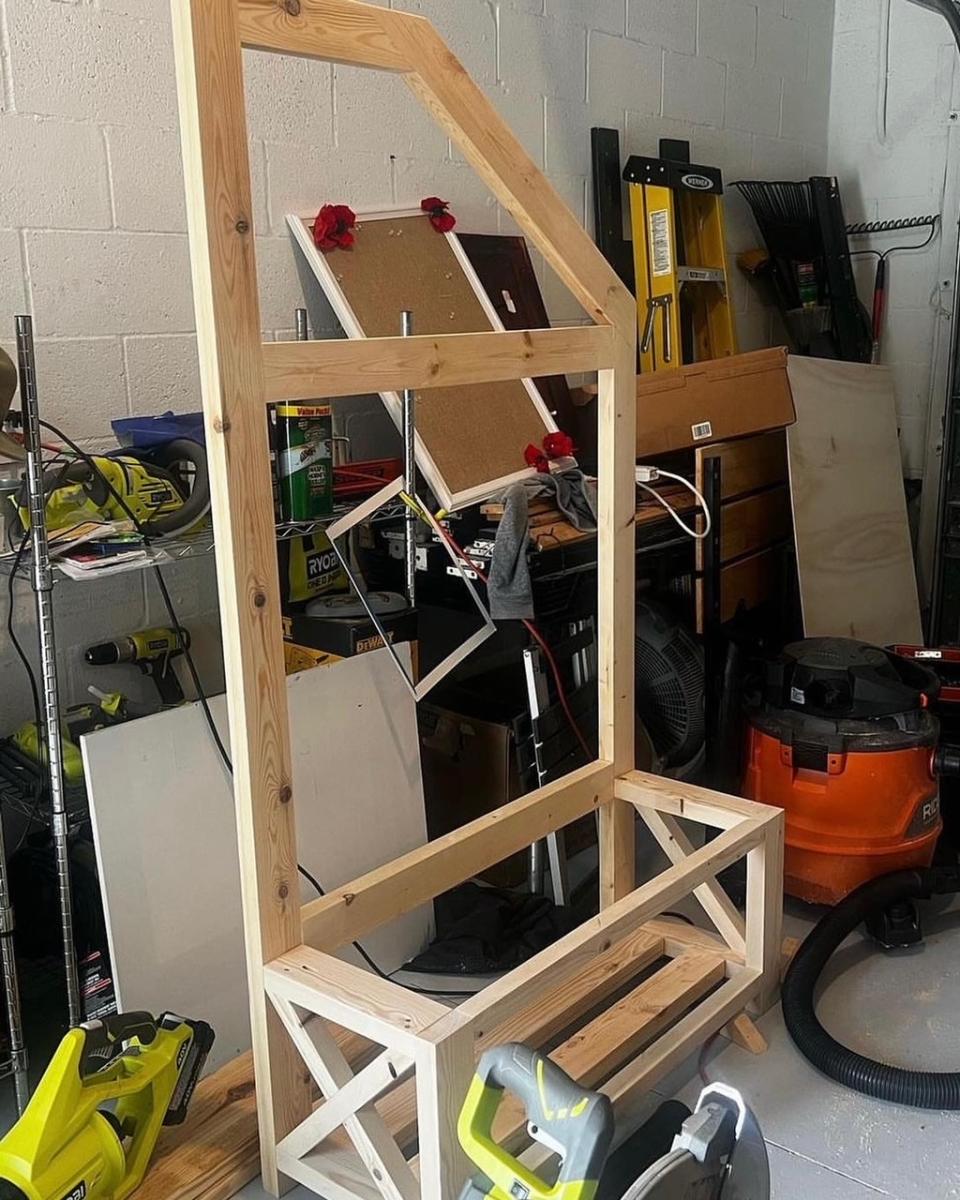
My latest diy furniture project. Inspired by Ana's bench tree. I had to use some creative thinking to match the angles on my stair banister.
Carlos
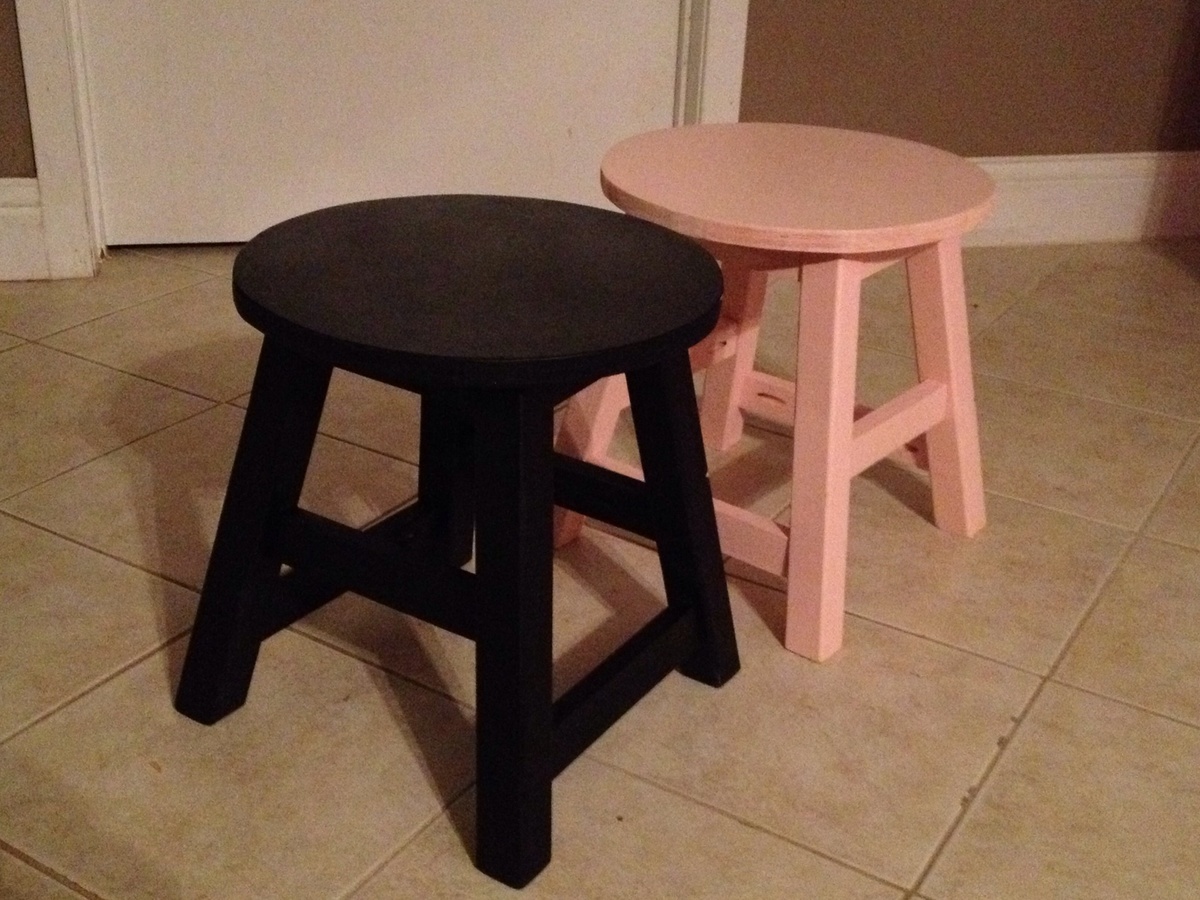
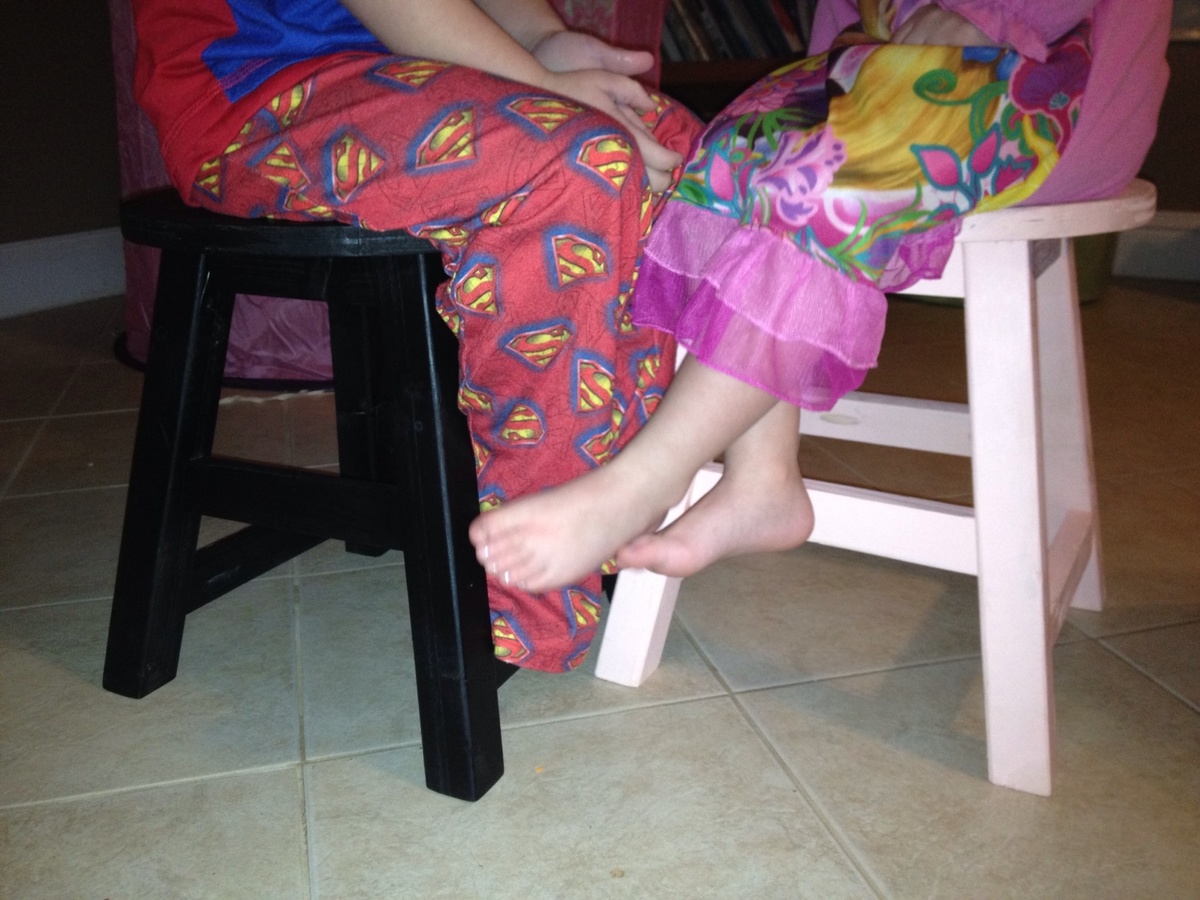
These are the Play Table Stools that I made. I'm a beginner, and these were a little tough for me. I couldn't get the drill in the tight spaces to finish all of the pocket hole screws. I ended up just running a 2" screw through the last leg into the apron. The second one was a little easier because I think I made my cuts better.
They are both very sturdy, and they are the perfect height for my 4 and 2 year olds. They use them at the drum set and at their desk.
The black one painted just fine, but I should have primed the pink one first. It took several coats to cover the wood.


Comments
Ana White Admin
Mon, 05/29/2023 - 11:30
Super cool modifications!
Love your take on this plan! Thanks for sharing.