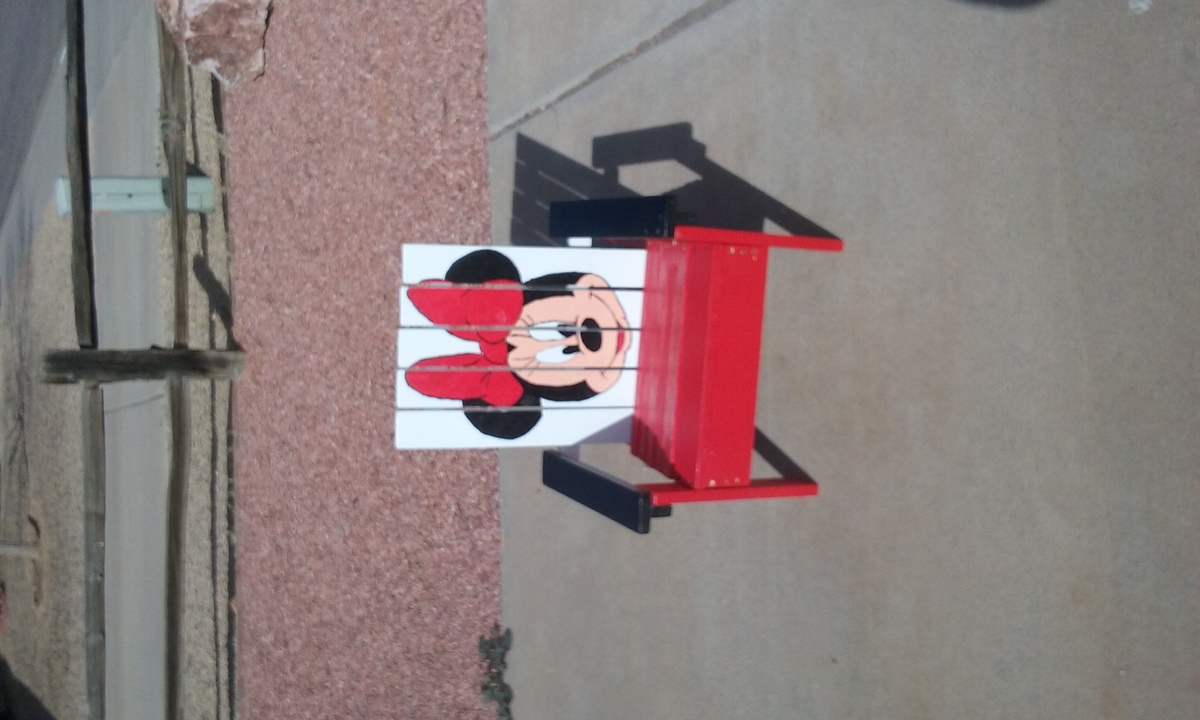
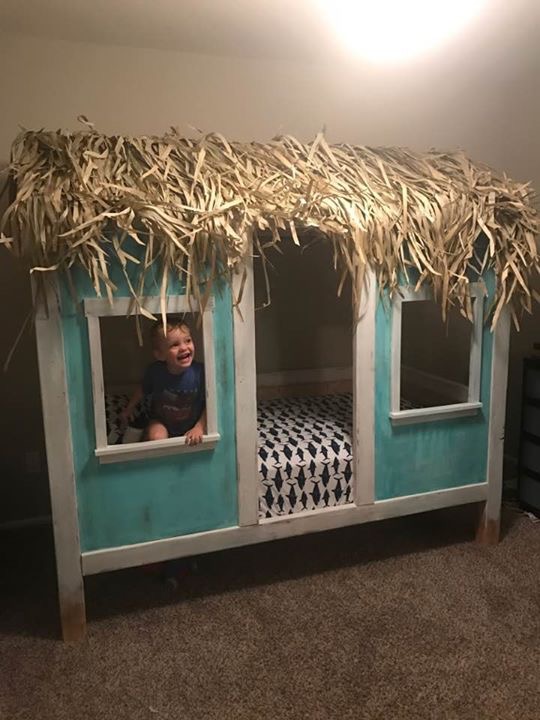
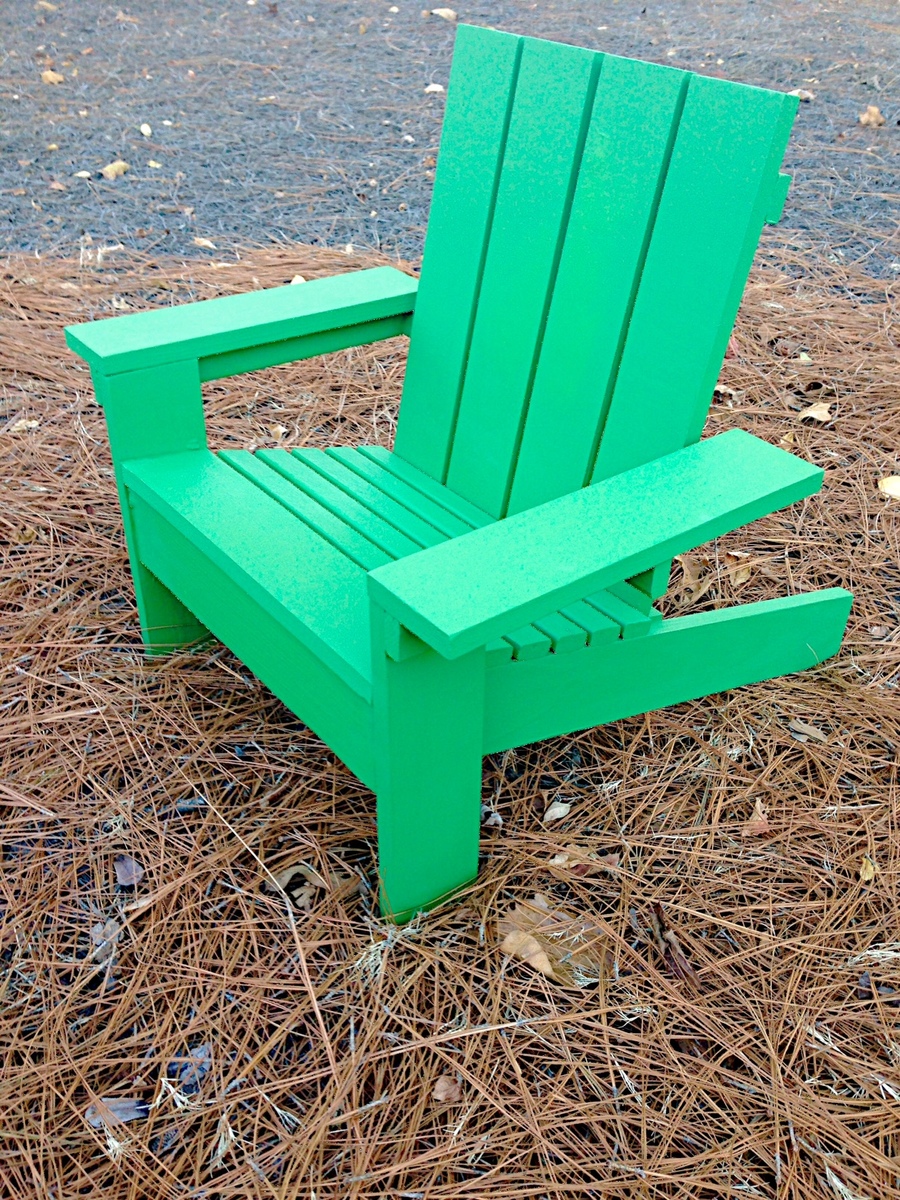
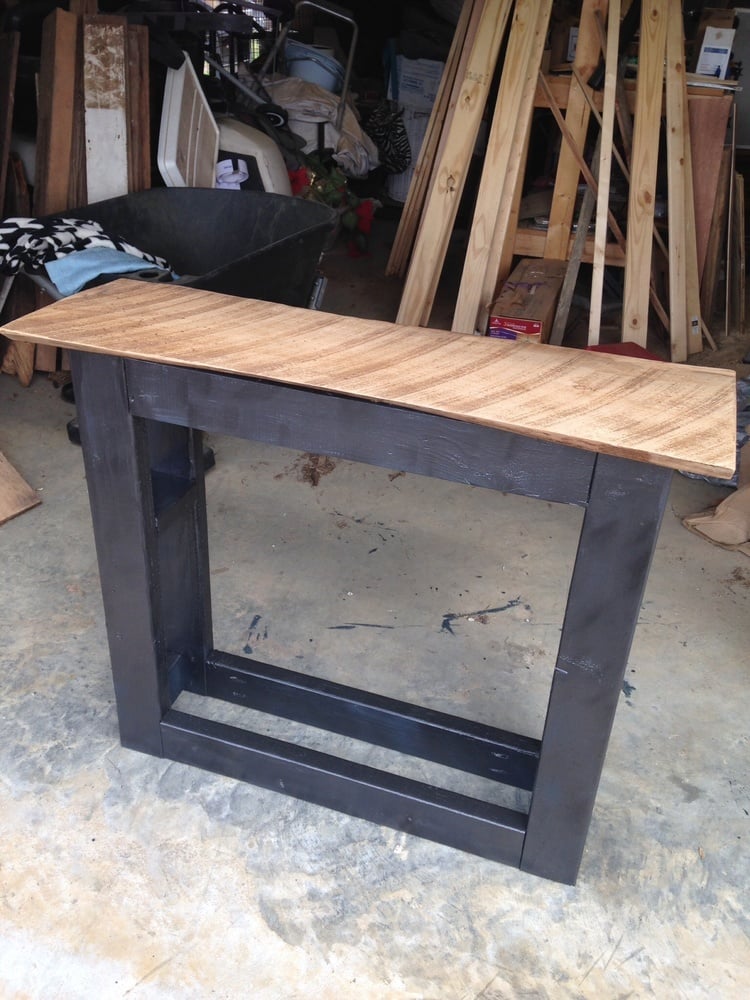
Minnie chair modified
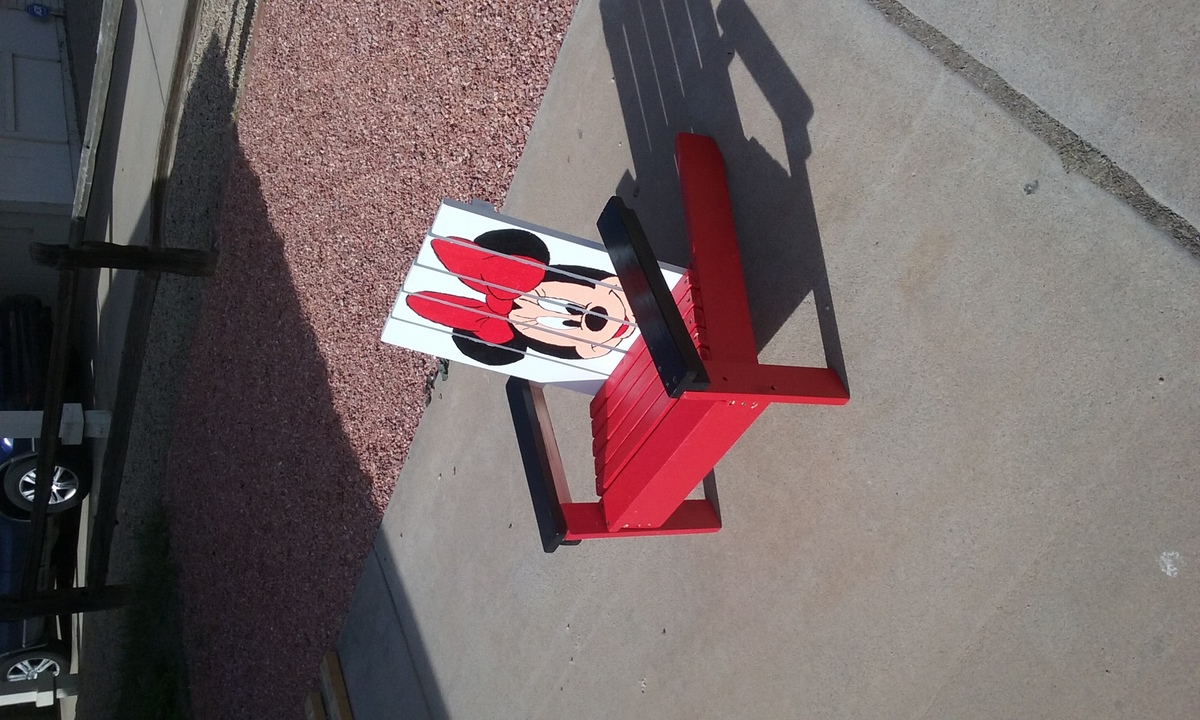
I don't know why they came out sideways My grandaughters are Minnie fanactics so I am building them each one for Valentines day. Thanks for the pattern and instructions!
Estimated Cost
$25 I used all new wood.
Estimated Time Investment
Day Project (6-9 Hours)
Recommended Skill Level
Beginner


Comments
spiceylg
Fri, 02/10/2017 - 19:11
Aw!
So cute, love it!