Entryway Console
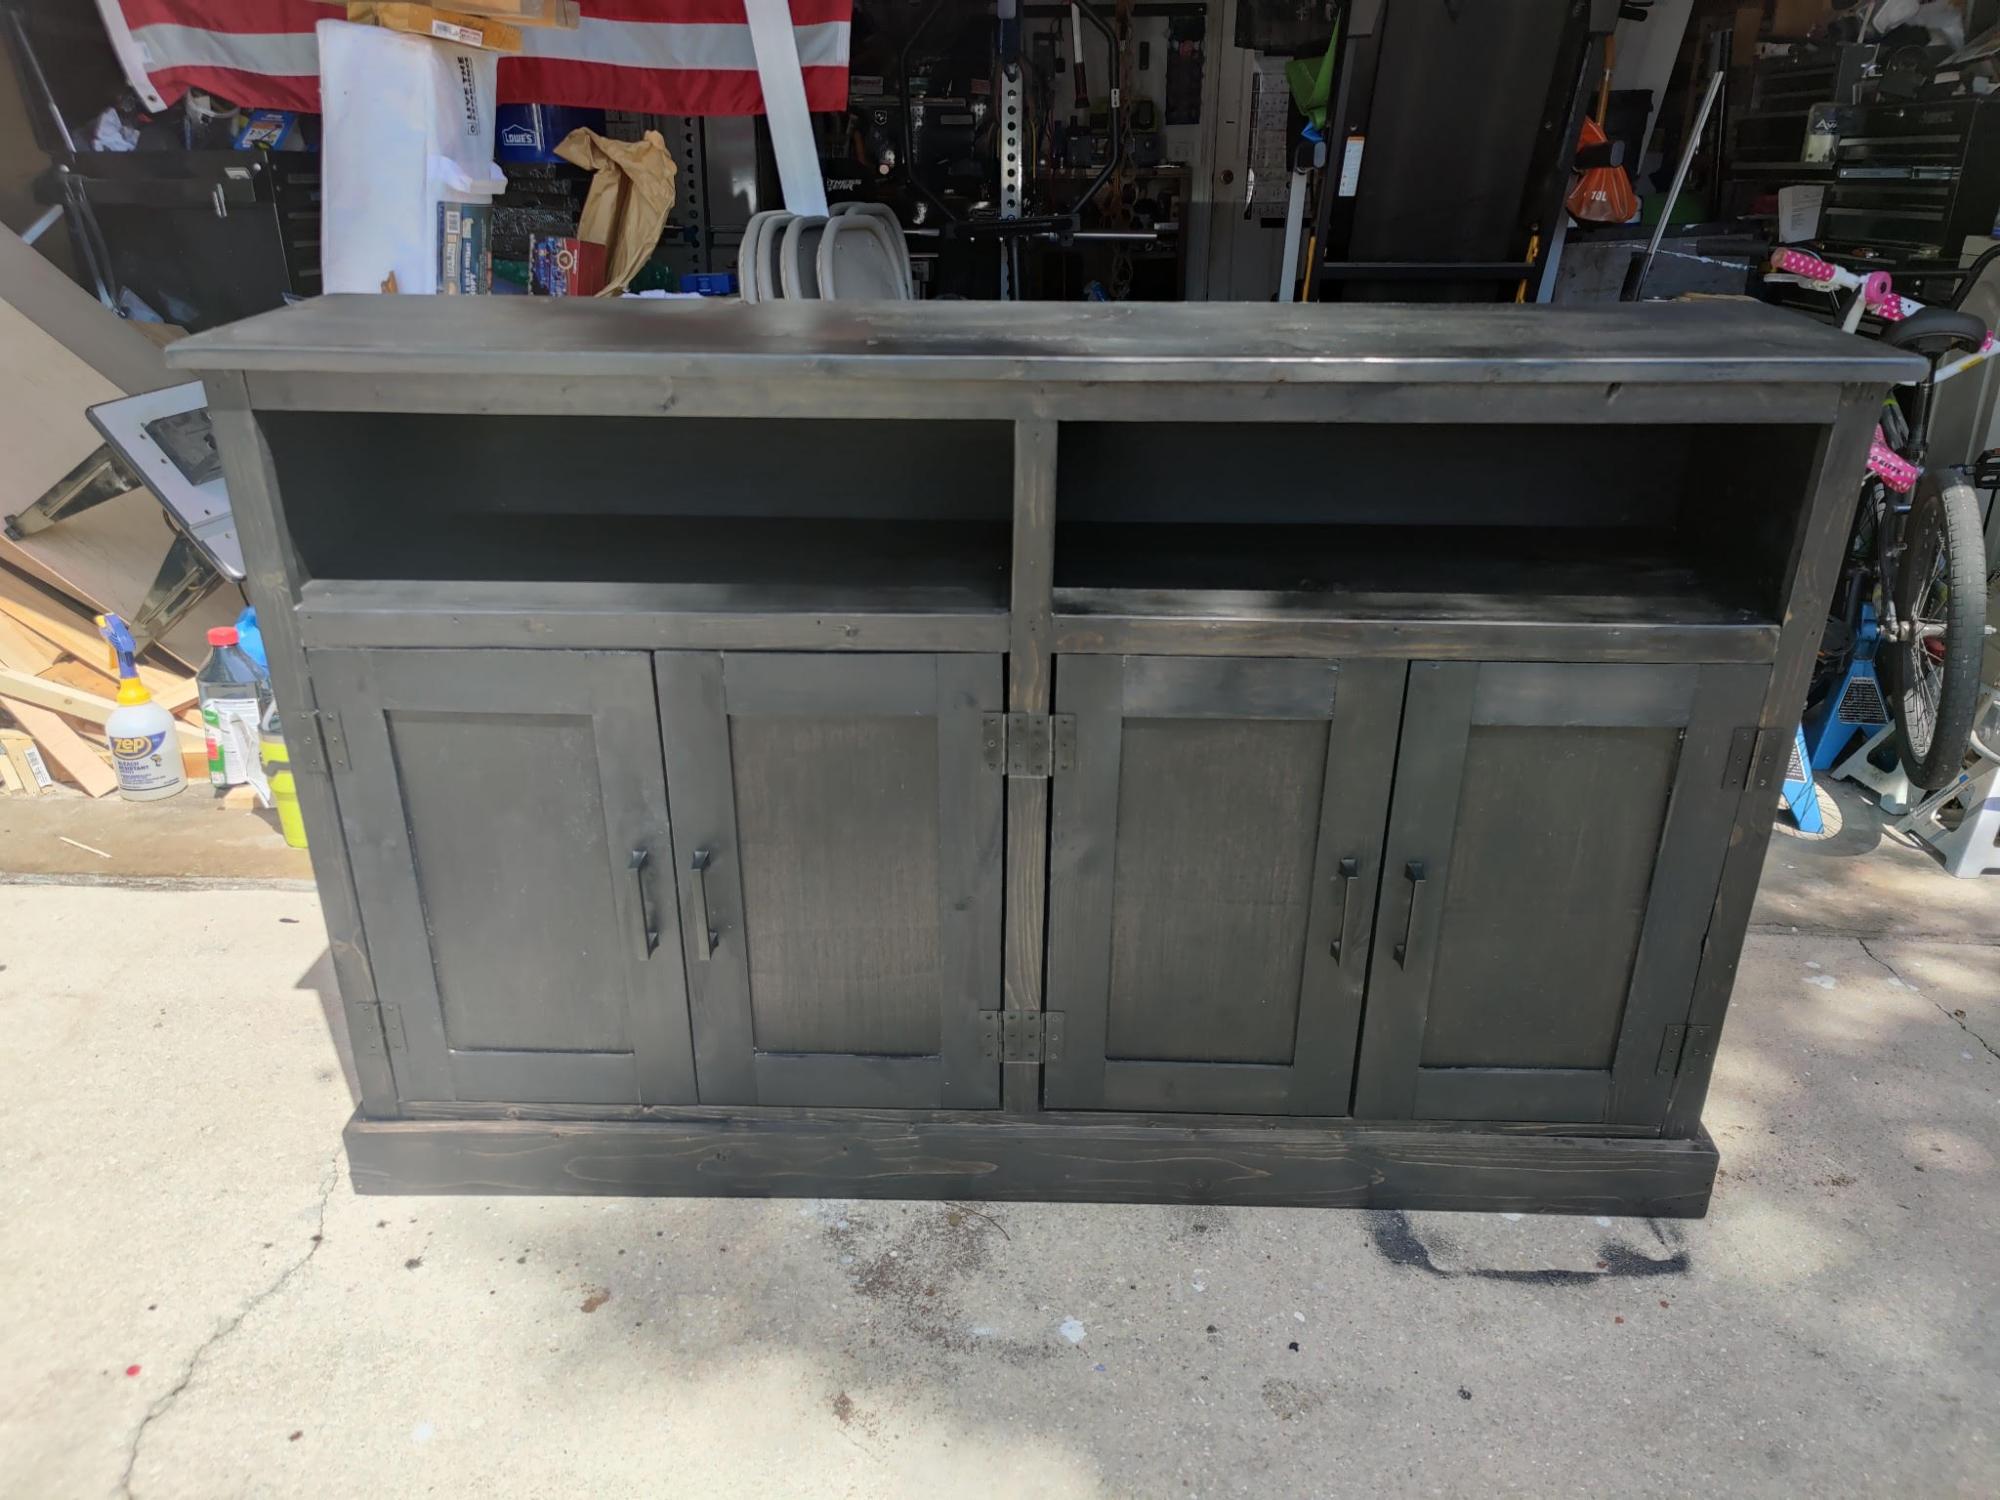
A great console for the entryway with tons of storage!
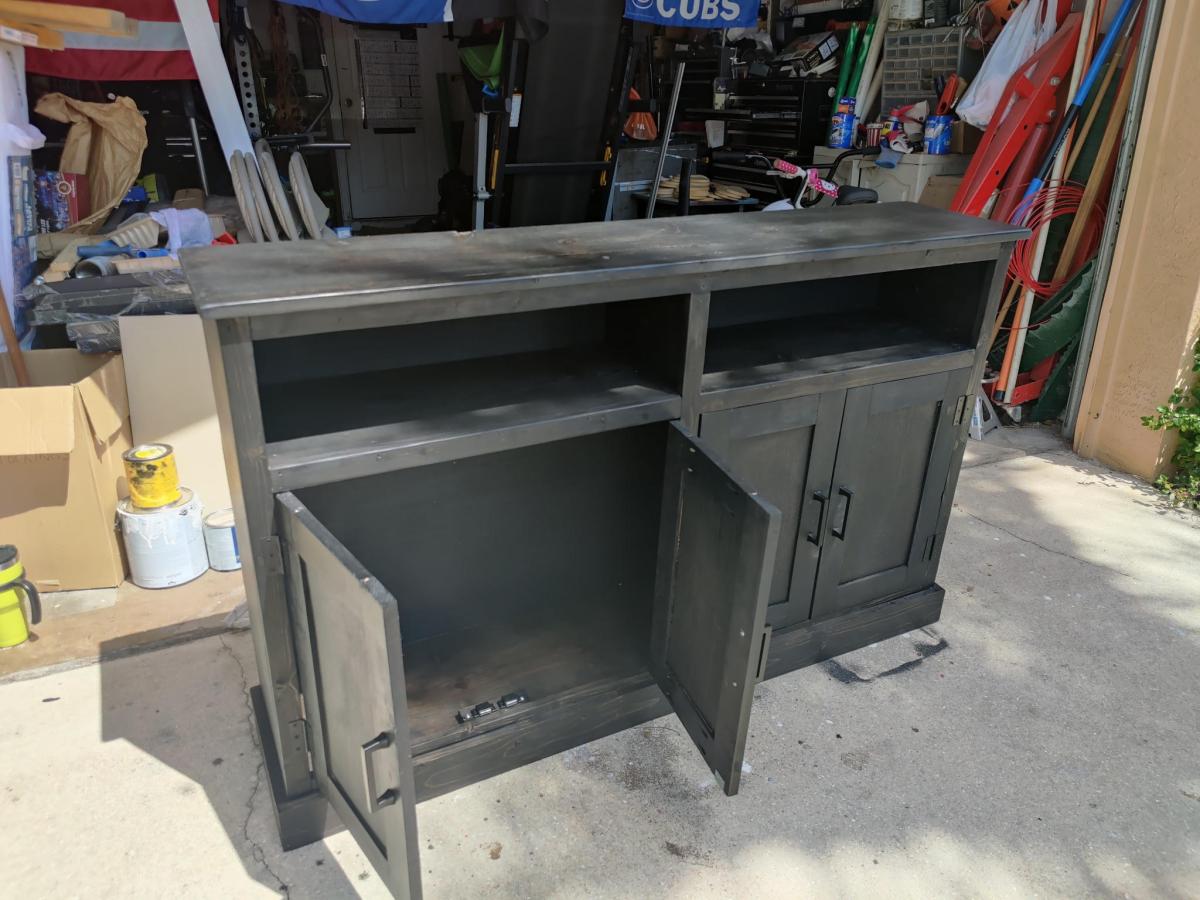
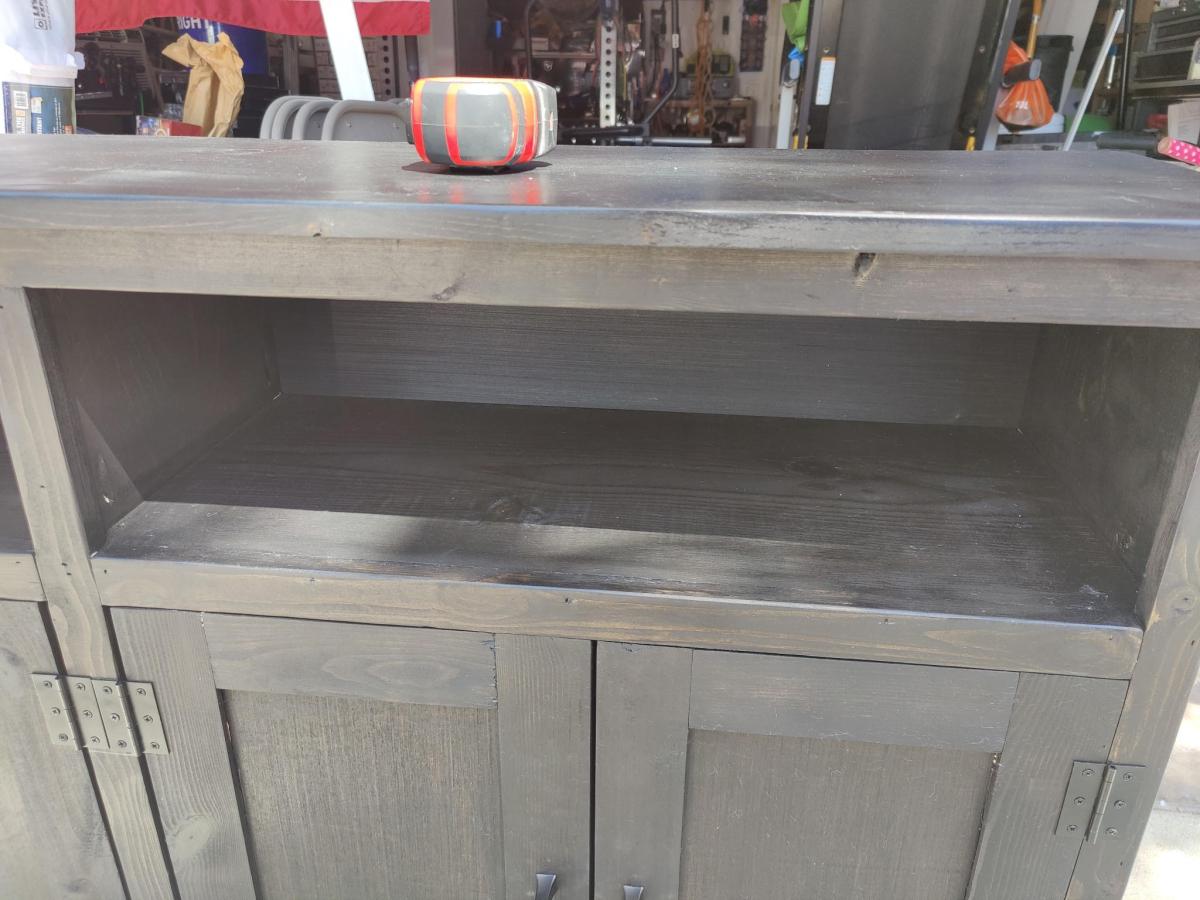

A great console for the entryway with tons of storage!


Rustic X Hall Tree with White and natural finish!
by
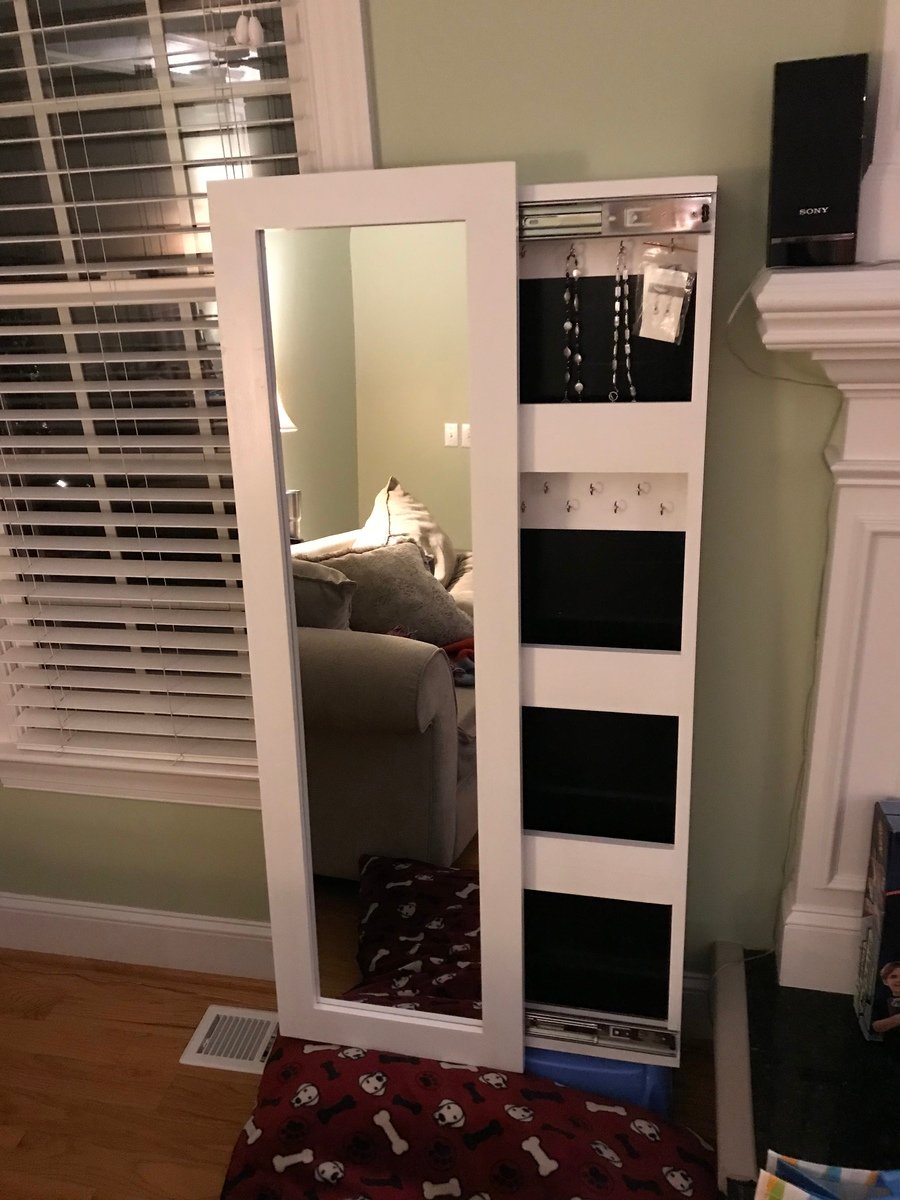
I made this sliding mirror jewelry cabinet for my wife for Christmas.
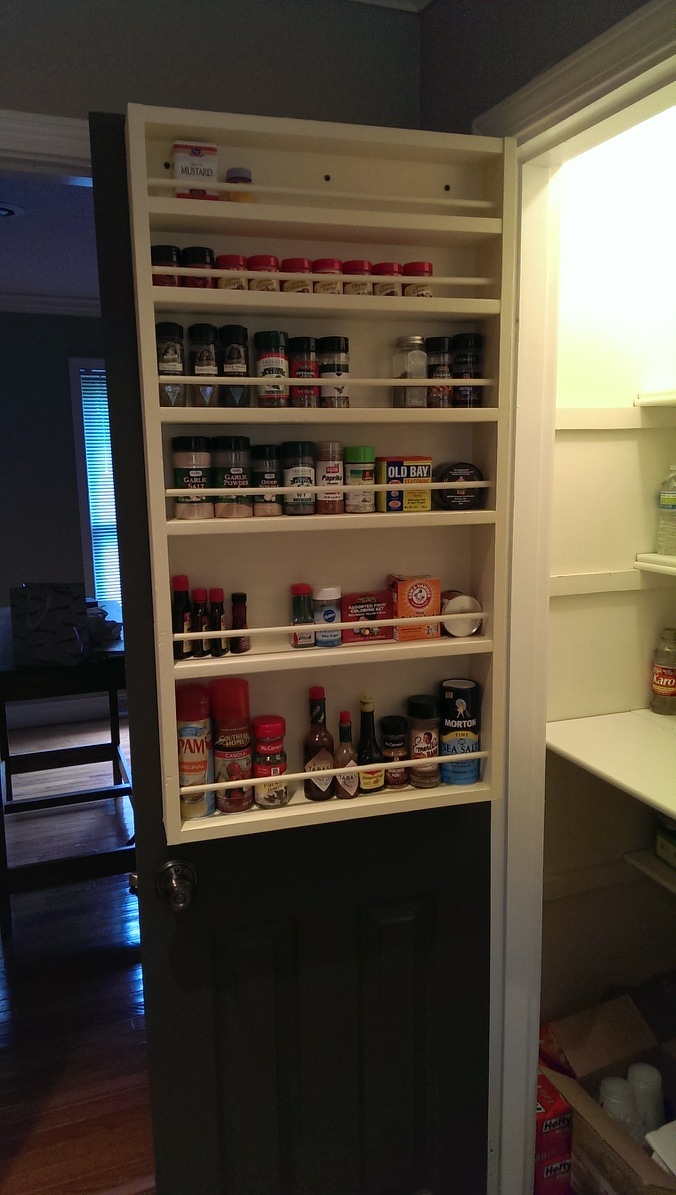
Love this simple plan! I took down a wall in my kitchen and, when cleaning out the cabinets, I found crazy amounts of spices. With this it's so easy to see all of them and find the one you want.
I did shift the shelves to make two 3 1/2" shelves and this made the bottom shelf 9" for some taller things. I found that I could not fit my shorter spice containers in the very top shelf due to the hanging board in the back of it. The hanging board may have been thicker than used in other's builds.
Sun, 01/11/2015 - 12:55
I love how you shifted things around to accommodate for the bottom taller items. I need something exactly like this so I can tame the wild animal that is my pantry. Thank you for the inspiration. Great build!
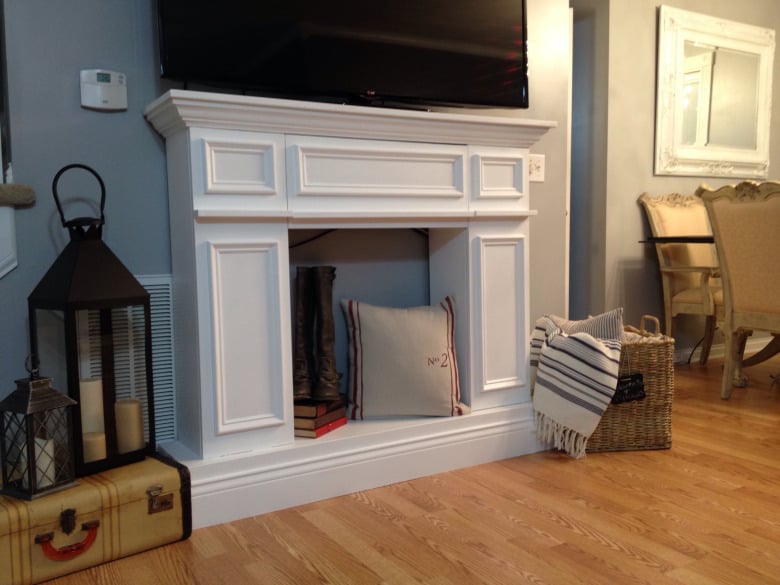
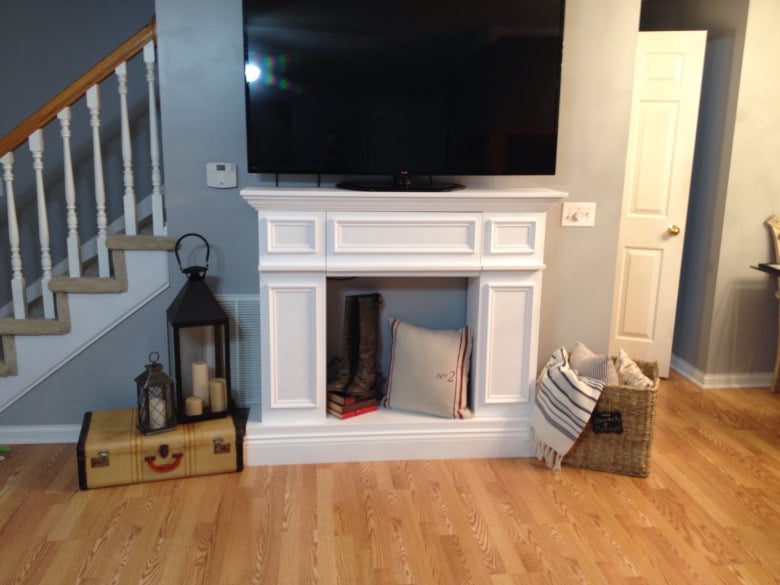
Modified from Ana White's Faux Fireplace with Hidden Storage Plan
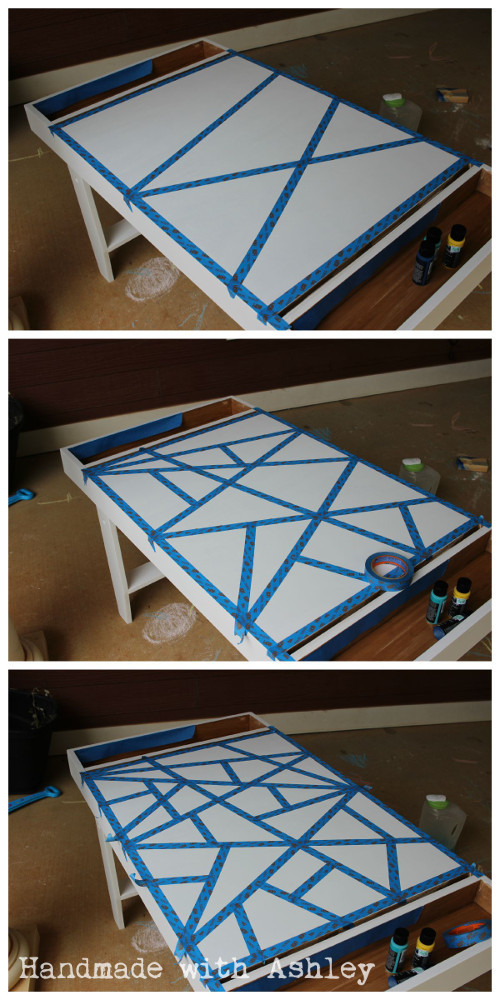
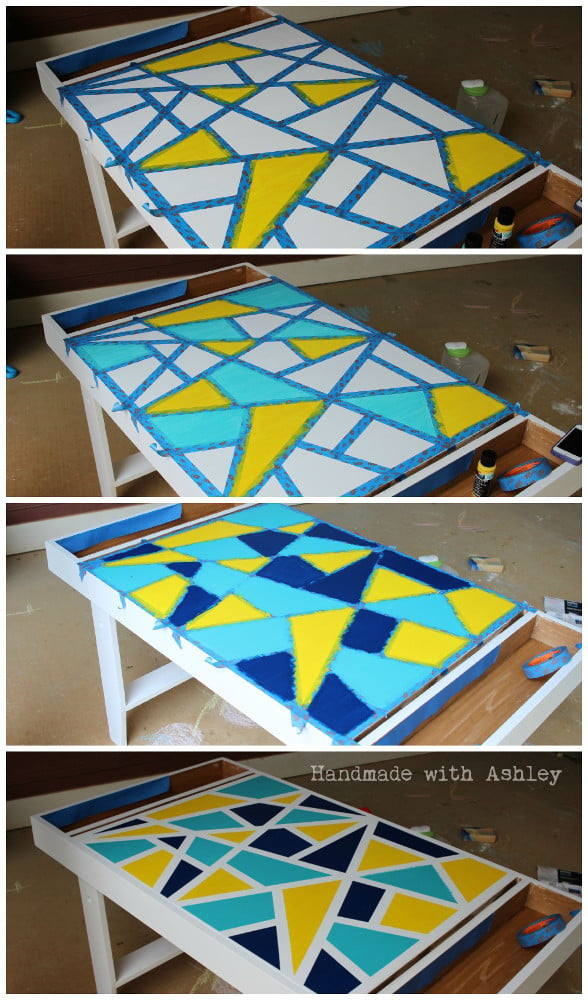
I'm so excited Ana created plans for this table! When I first came across it on Pottery Barn Kids it was love at first sight. :D I built it over the weekend for my little toddler. Unfortunately, he's too short for it, but he'll grow into soon enough. :) (I secretly wished it was an art table appropriate for my height!)
It cost me about $75 to build. I splurged and bought select pine boards for the project. The art table was also my submission for September's Fab Furniture Flippin' Contest. September's sponsor is General Finishes and the theme was geometry!
Now, I just need to build matching seats! I love the little stools Ana built; maybe I'll do something sorta like that. :)
Thank you Ana for inspiring me to build!
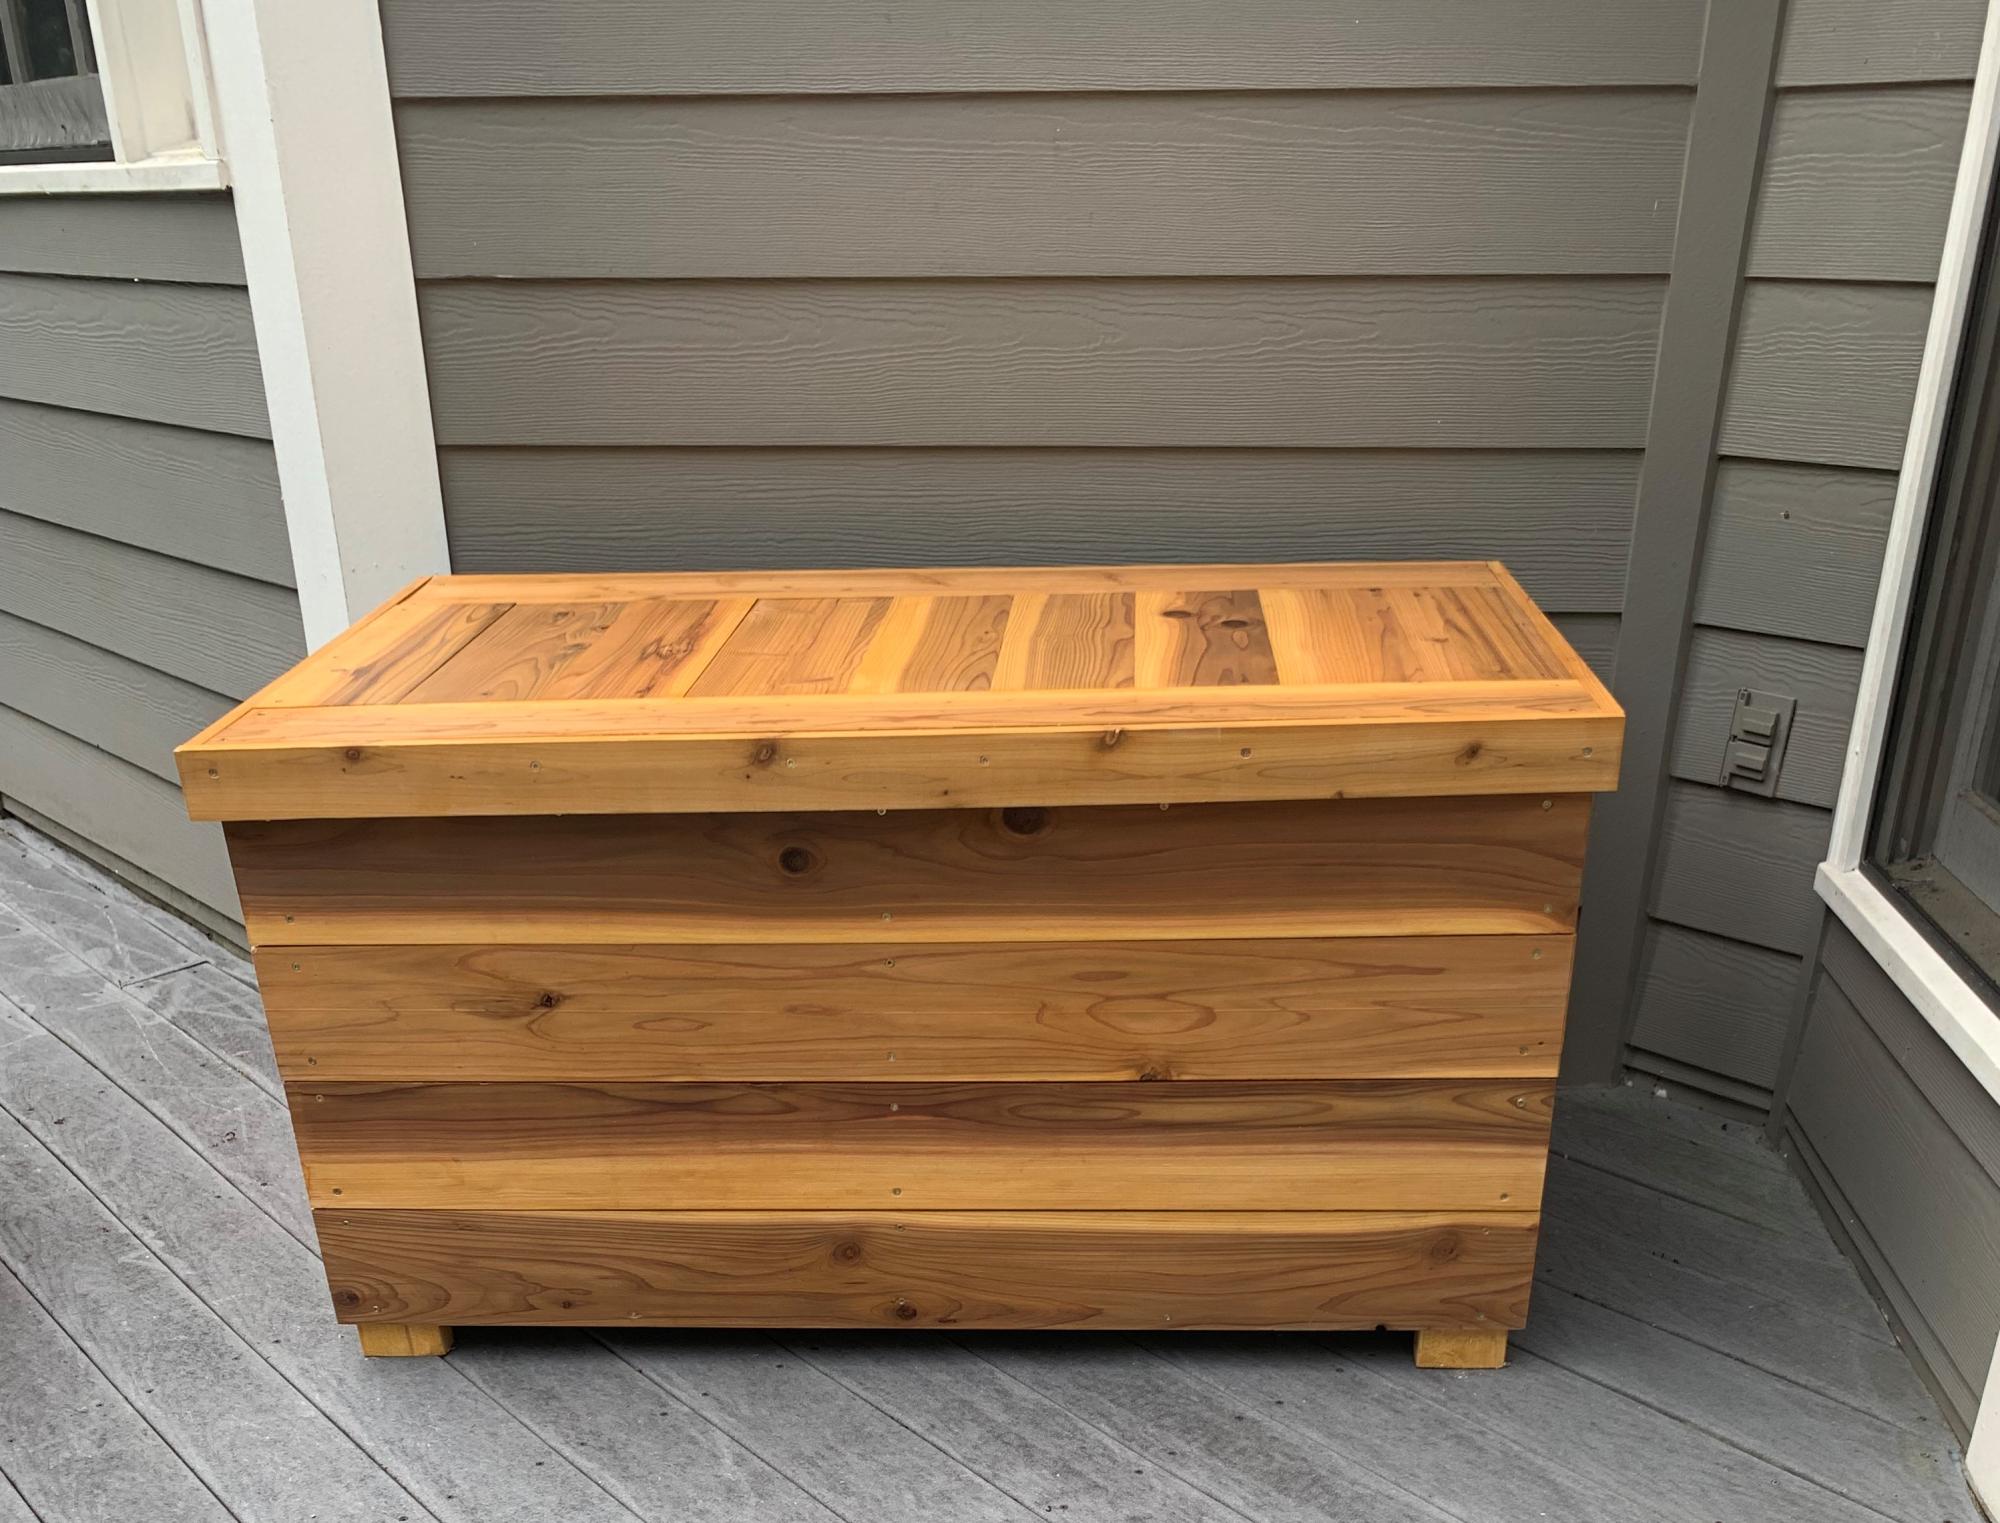
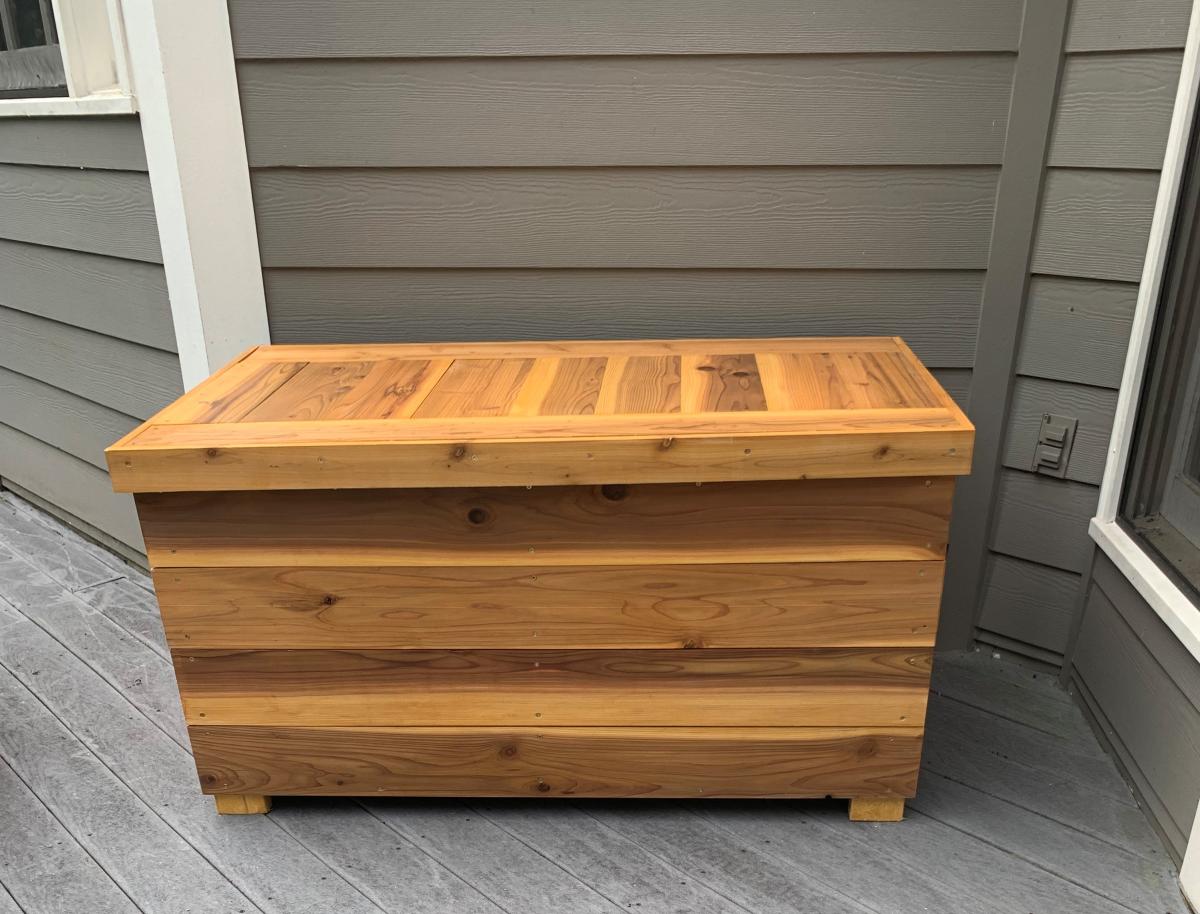
I had to modify these plans to use what I had on hand. I used left over cedar fence pickets (planed down and sealed) and adjusted the size to fit all my outdoor cushions. Overall dimensions are 49" wide x 28" deep x 26" high. I also used 2x4's instead of 2x2's because that is what I had in my shop. I added 1x3's around the top to fit snugly instead of using hinges (again trying to use what I had on hand). We get A LOT of rain in the summer so hopefully the cushions will stay dry. I also added some screen left over from the screened in porch to the bottom before adding the "floor" to keep bugs out. I just stapled it to the frame before adding the floor boards. I did add a piece of treated 1/4" plywood under the top in hopes of keeping the rain out.

My boyfriend and I built the farmhouse table and bench in one weekend. We are SO happy with the way it came out, thanks to Ana White for her plans!!


Thank you the inspiration!
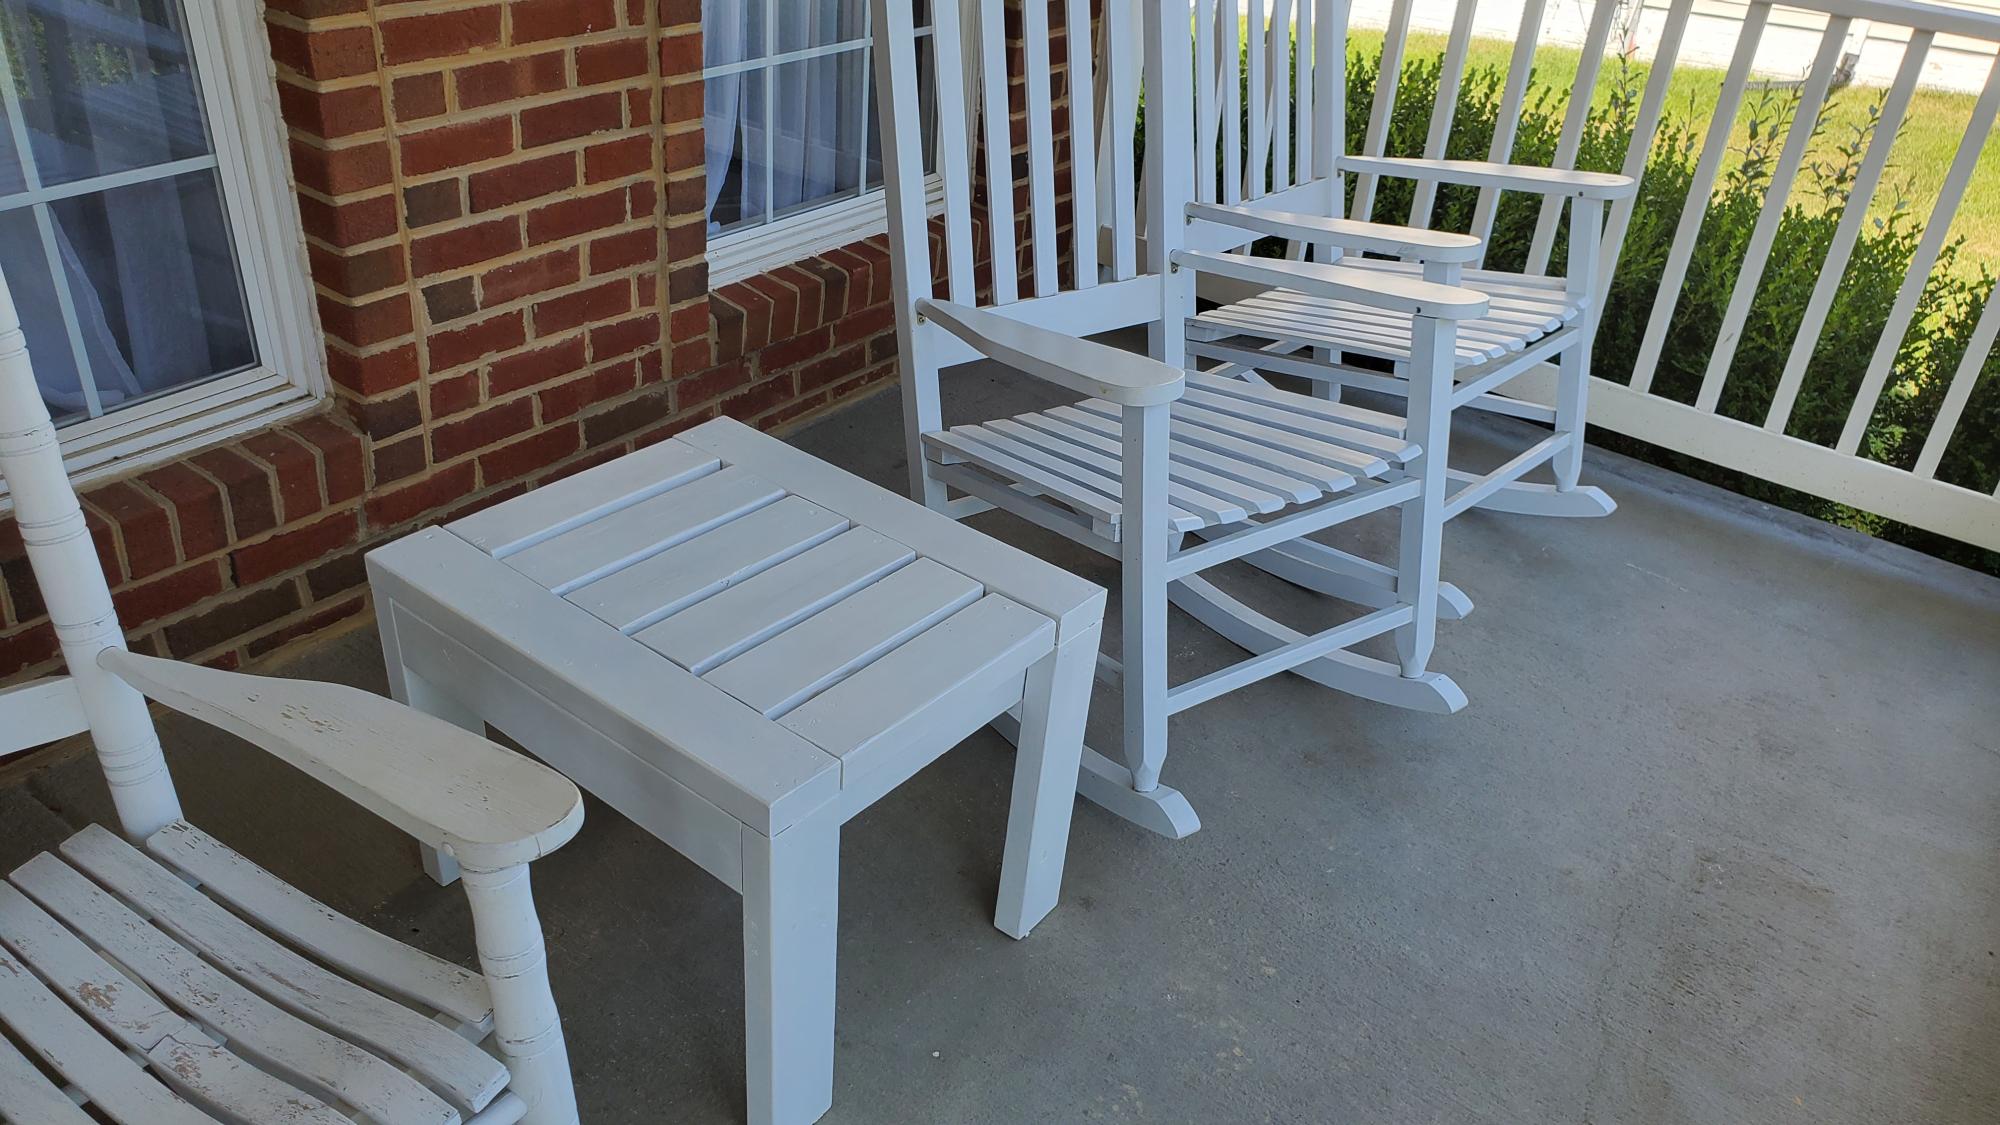
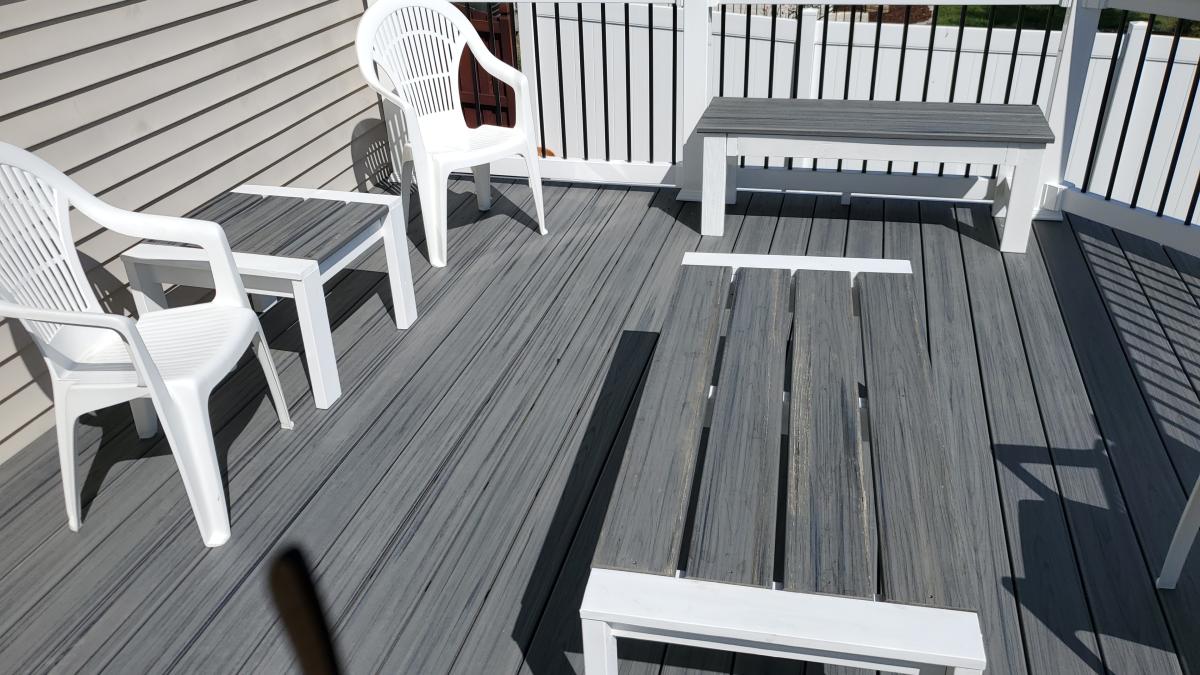
I'm a retiree and beginner woodworker, through your videos I used leftover lumber and Trex decking from new deck to make two side tables, coffee table, and a bench.
Thank you so very much!
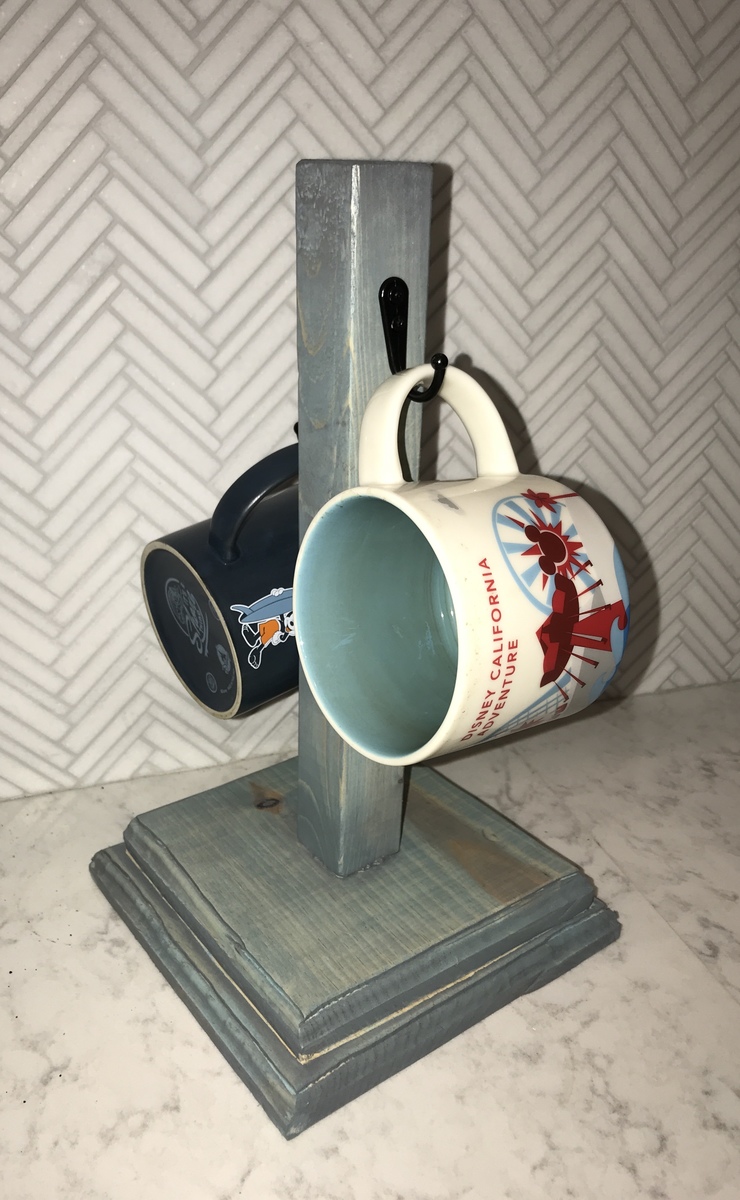
Fun and easy build to use up some scraps and try out some finish techniques and router edging. Not perfect because I was getting the hang of a new router, but perfect low commitment project to practice on. I only did 2 hooks for my needs and preferred not having to knob on top.
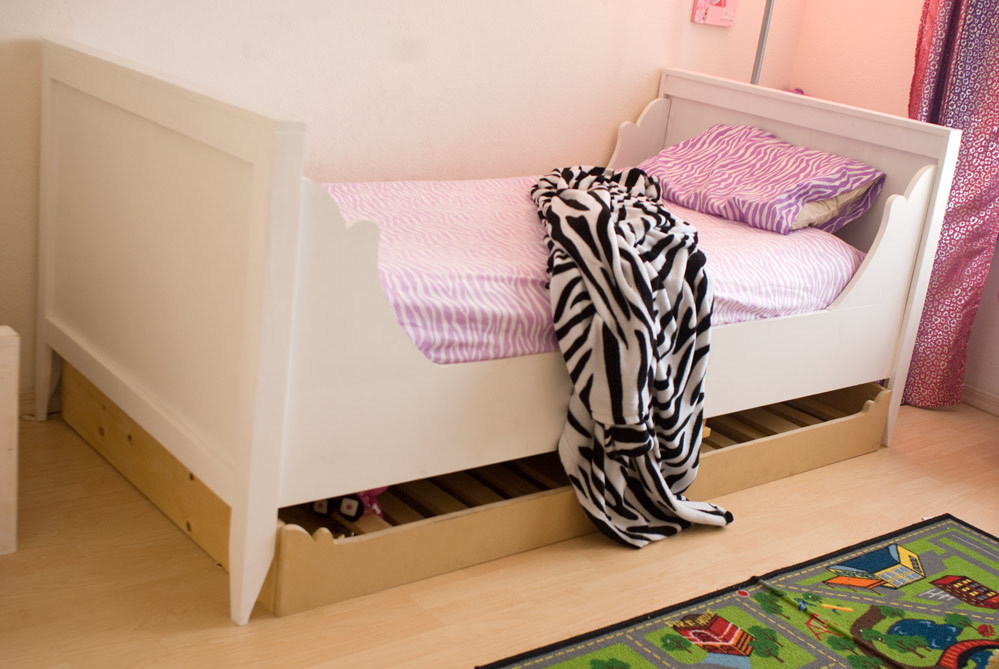
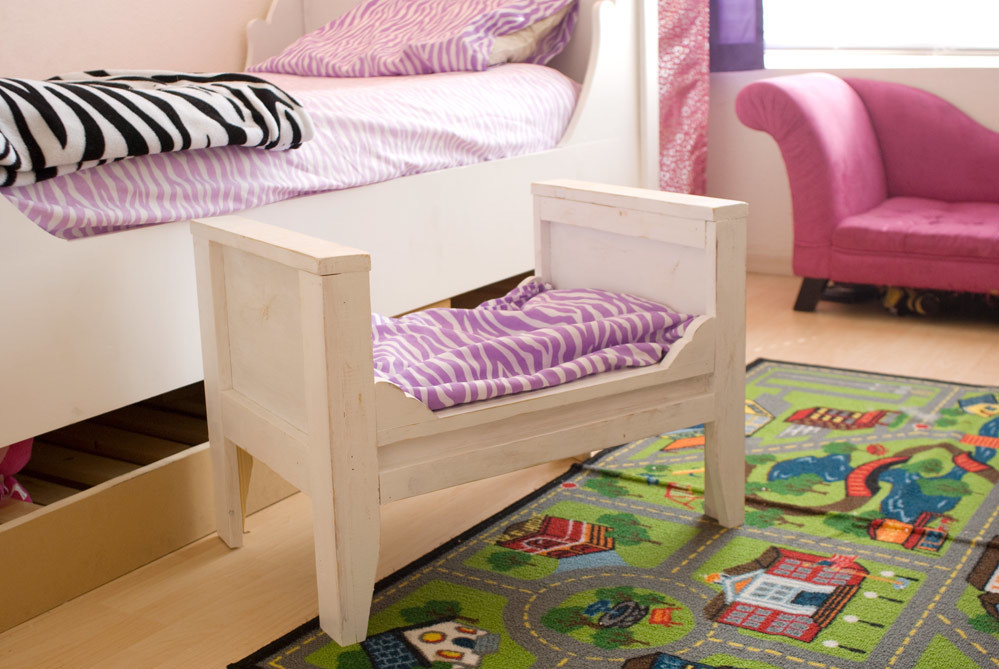
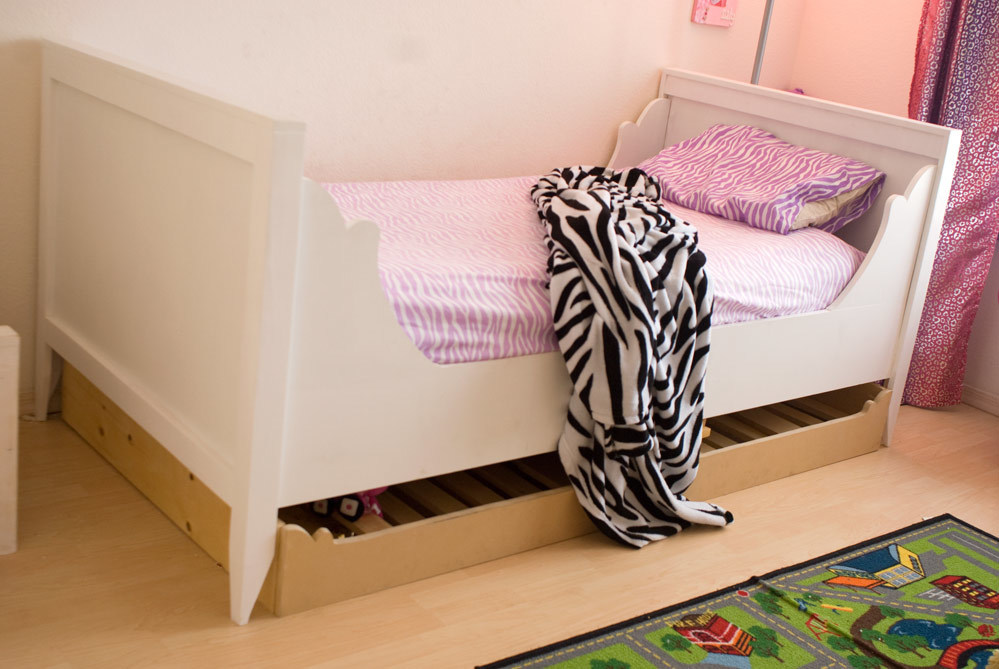
My oldest daughter was beyond needing a "big girl bed" - the poor thing couldn't "fit" in her toddler bed, and had to sleep curled up! So I had her help me pick out a bed, and she ended up asking for the Lydia bed (and she mimed that she wanted a trundle, since she didn't know what it was called!). The bed itself was a quick build, but then I lost steam when it came to doing the trundle. It came along a few weeks after the bed was in her room, but, as you can see, I still haven't painted it... or added a bed to it.... Then she wanted a bed for all of her Sonic dolls (I think she's kinda transitioning from being a tom-boy to being a girly-girl... she picked out everything in her room!)... So I built her a "matching" bed based on the farmhouse doll bed plans. Side note - I haven't cleaned her room in a while, so ignore the fact that the floor needs swept!
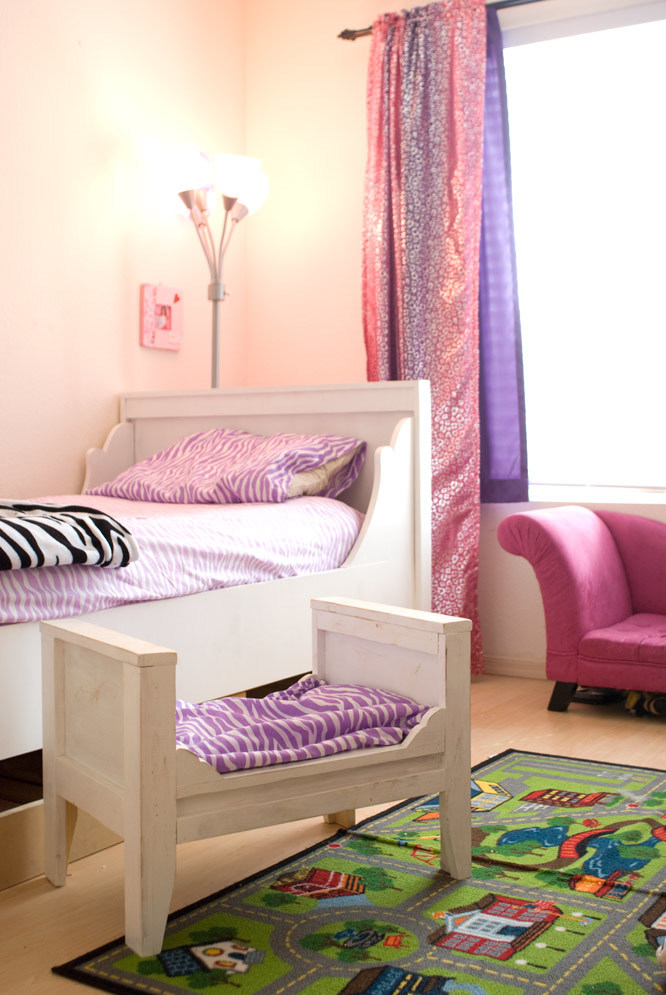
Mon, 10/03/2011 - 20:47
did you change the length between the posts in order to fit the trundle? on the page that she has to build a trundle it says to make sure there is 77" of clearance between each end.. not sure if I should leave it as is or adjust it for a trundle....
Thu, 10/06/2011 - 20:18
I increased the length to allow for the trundle, and there is a couple of inches between the mattress and the head/foot board. But her last bed had no room, so changing sheets was a "B". Now it's much easier :-)
I don't remember how much I increased the length, but it made the clearance 77".
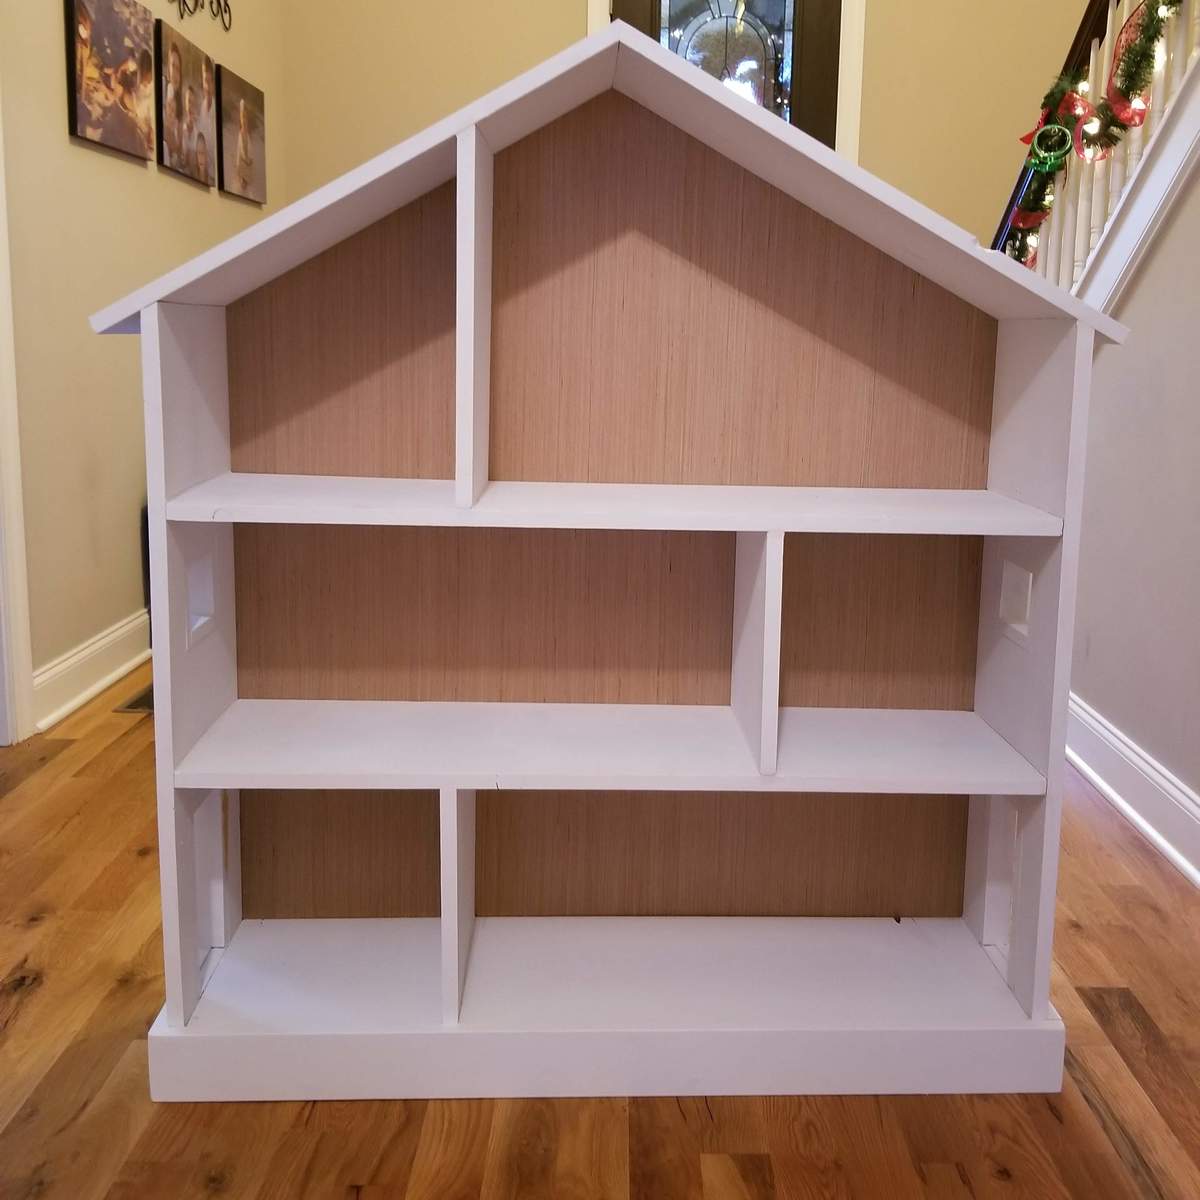
My aunt wanted to get her grandaughter a dollhouse for Christmas. I came to Ana's website and found this plan. It was tedious and time-consuming, but it was worth it. This was such a great confidence builder and has led me to build a lot more things for other people. I can't wait to see what the future holds. Used these plans...http://www.ana-white.com/2012/07/bookcase-dollhouse
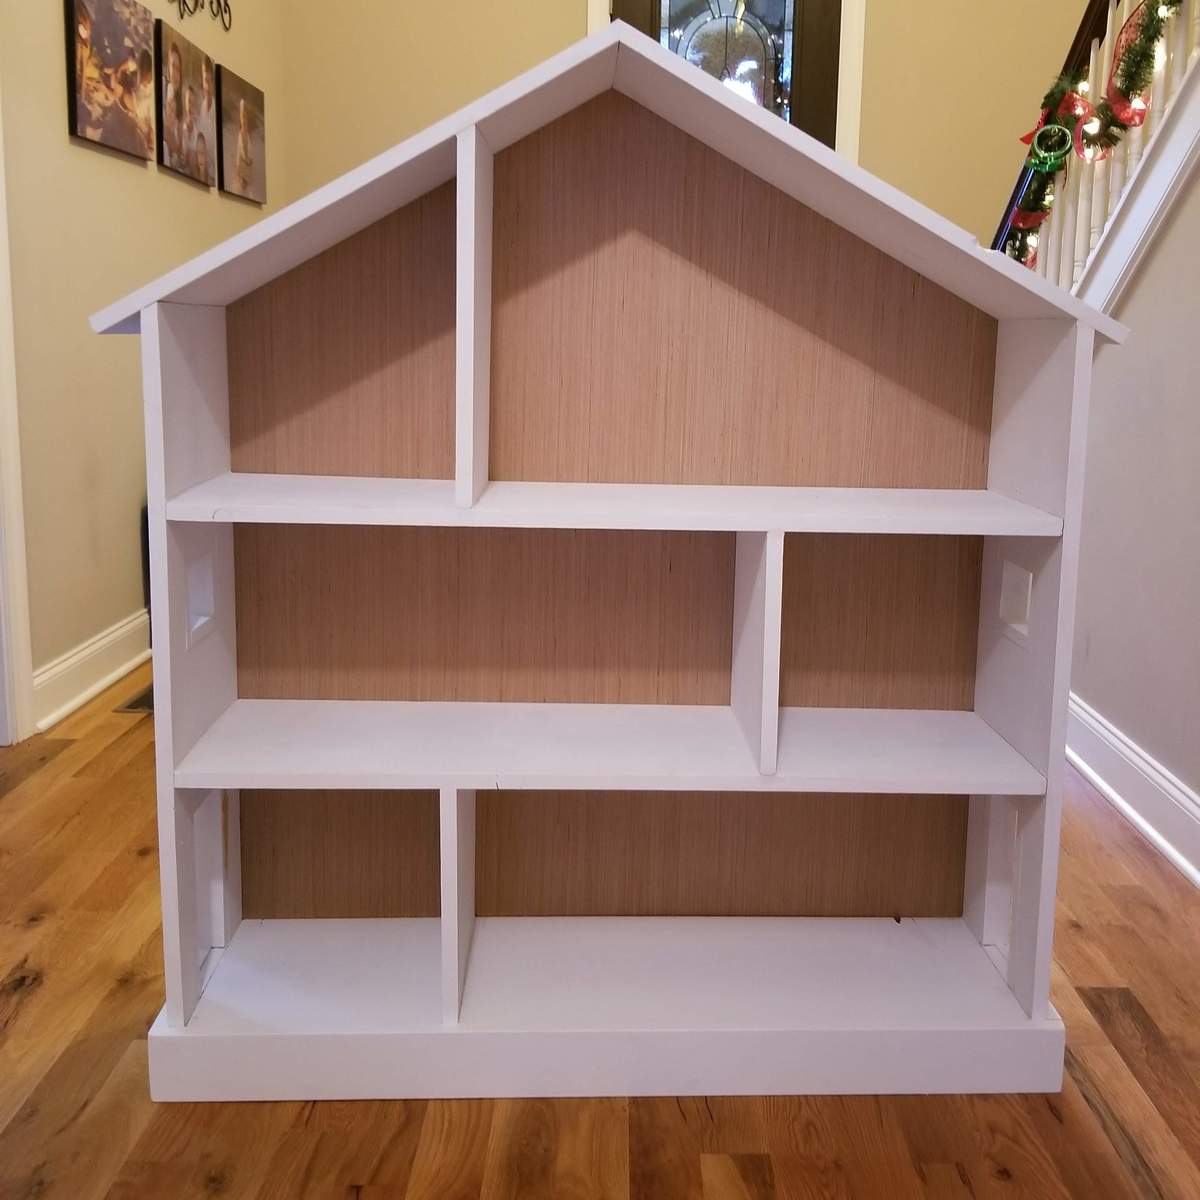
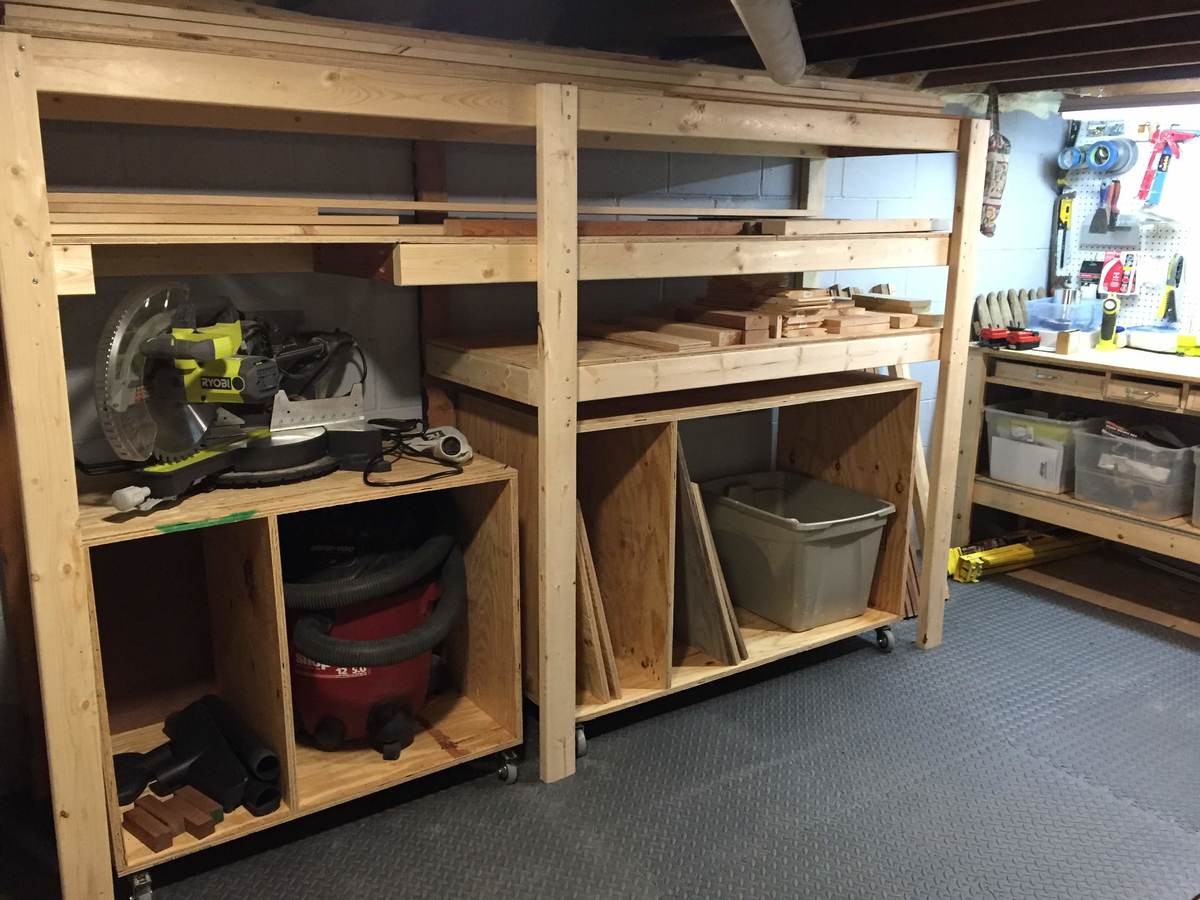
I don't have much space for a workshop in my home - just the corner of my basement. This plan was the answer! It adds so much storage and functionality. I plan to add some shelves to both units but love them already. Thank you so much!
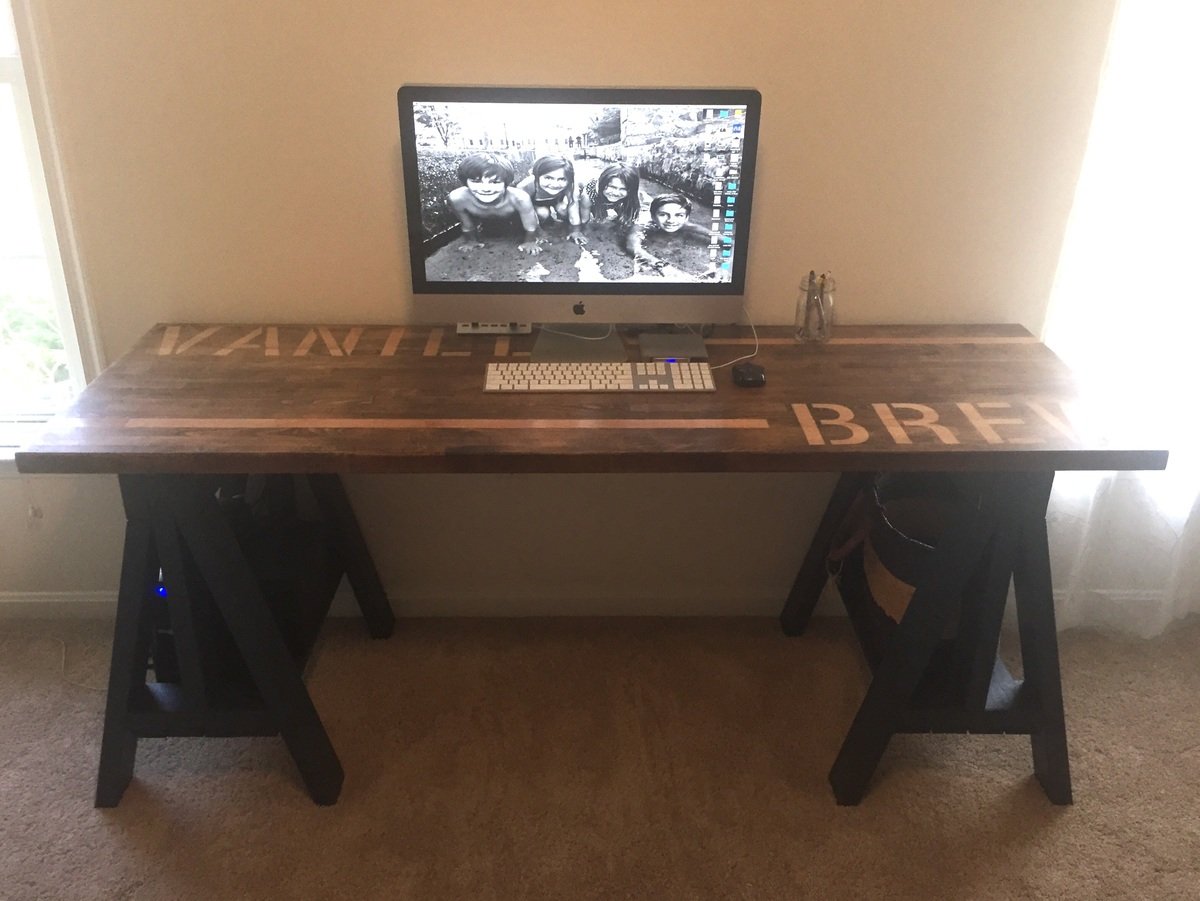
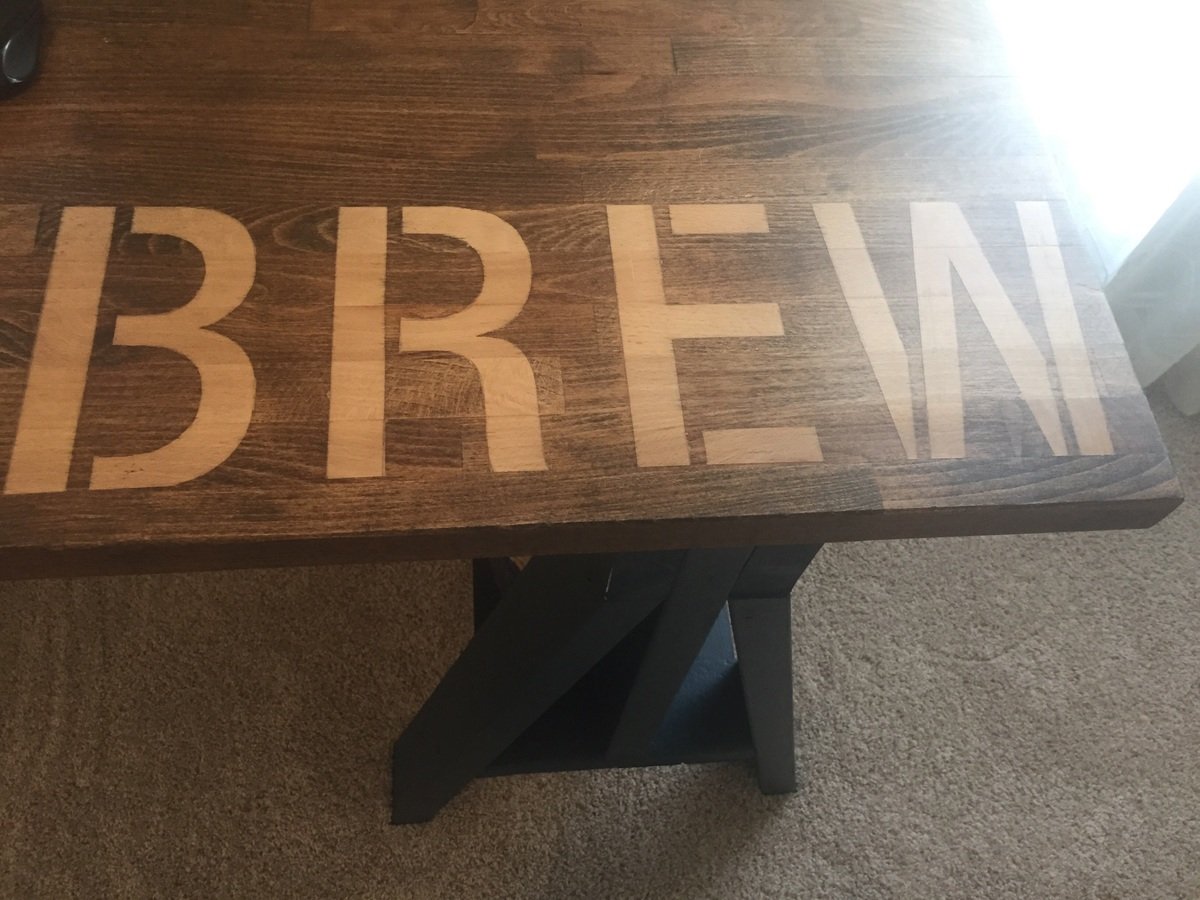
I build these from the plan for Heavy Duty Sawhorses. I preferred these for the thickness to match my butcher block desktop.
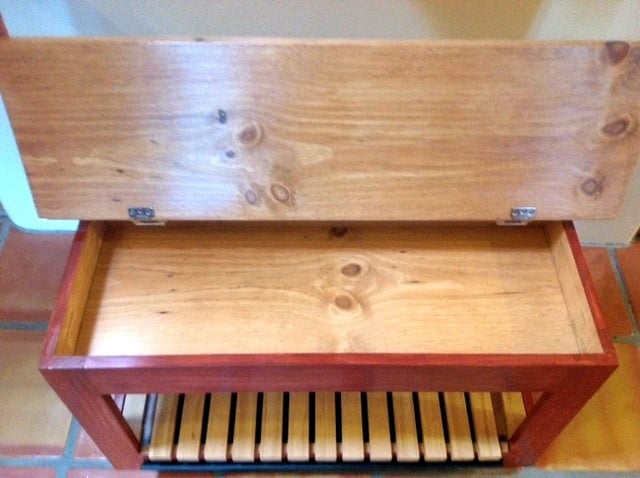
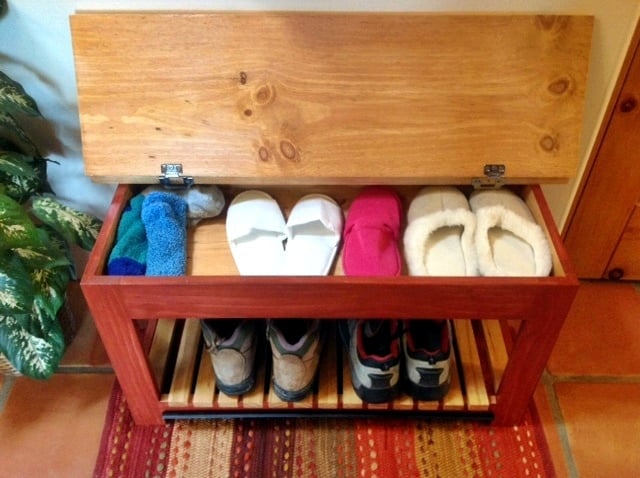
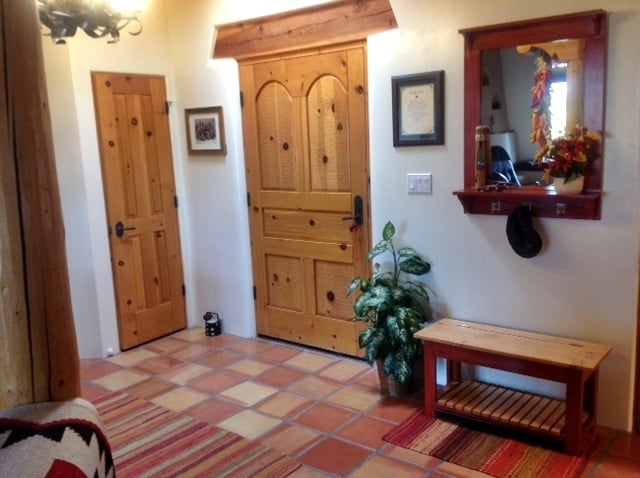
So my sister's house is on a rural, sandy lot. Did I mention sand...lots of sand. Her tile doesn't react well to sand-covered shoes , so they needed a place for guests to take off street shoes to replace them with spa booties. I offered to build them a storage bench for that purpose.
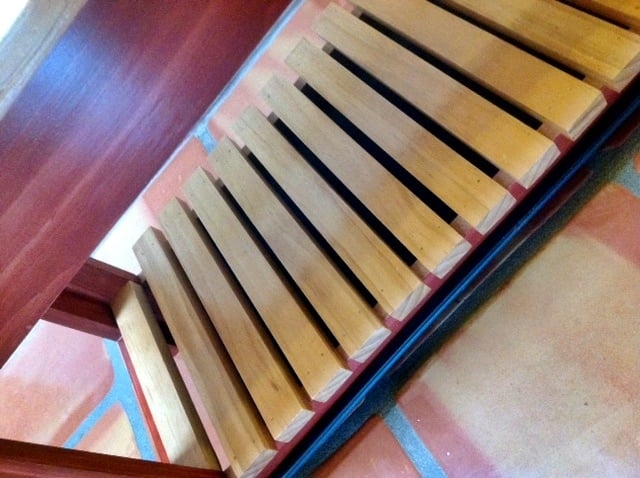
I modified the bench to make it shorter as per my sister's request. She also wanted the lower shelf modified to place a boot tray on it to catch the sand. I suggested replacing the lower shelf with rails to place the shoes on so the sand could fall off onto the boot tray. We nailed finish nails into the legs under the rails and slid the tray onto them. Now she can remove the tray easily to dispose of the...sand.
The finish on the body matches the mirror, which hangs above it. The lid of the bench was stained to match the finish on the doors, posts, etc. I used wrap around inset hinges from here: http://www.rocklerpro.com/product.cfm?page=5135&rrt=1
I checked this as a weekend project because of dry time for stain and poly.
Thank you, ANA for the awesome plans.
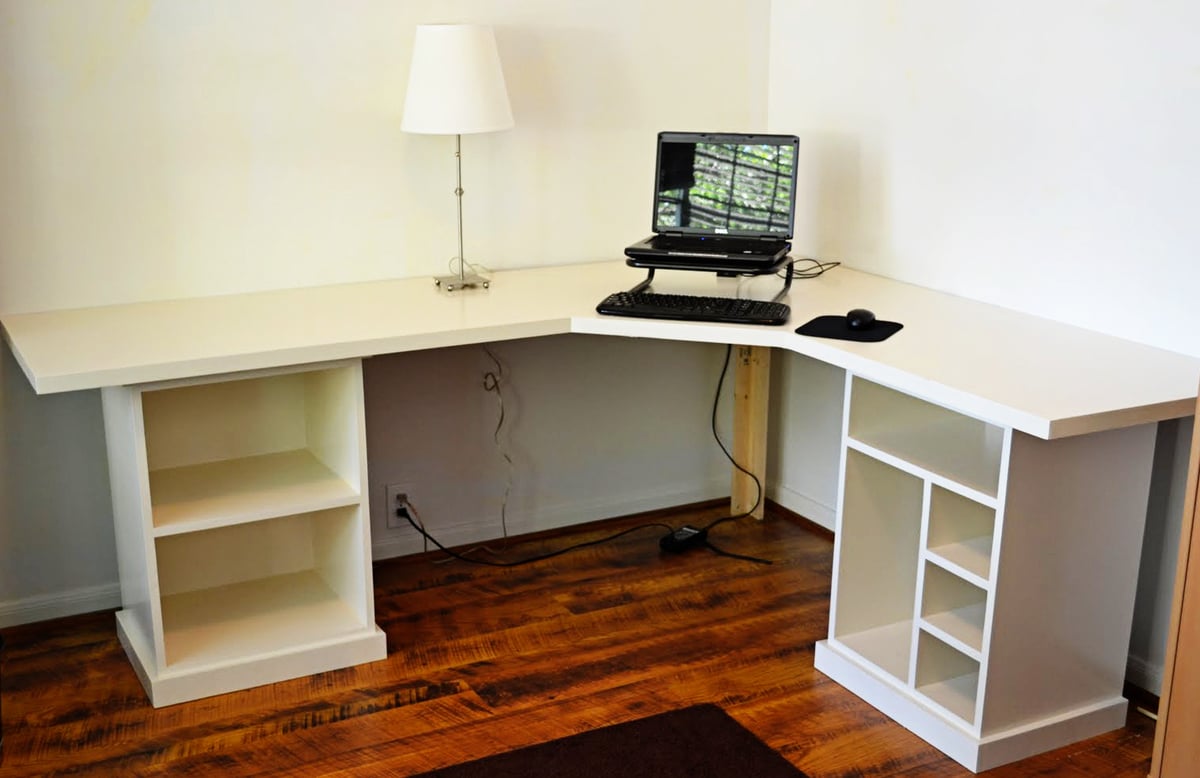
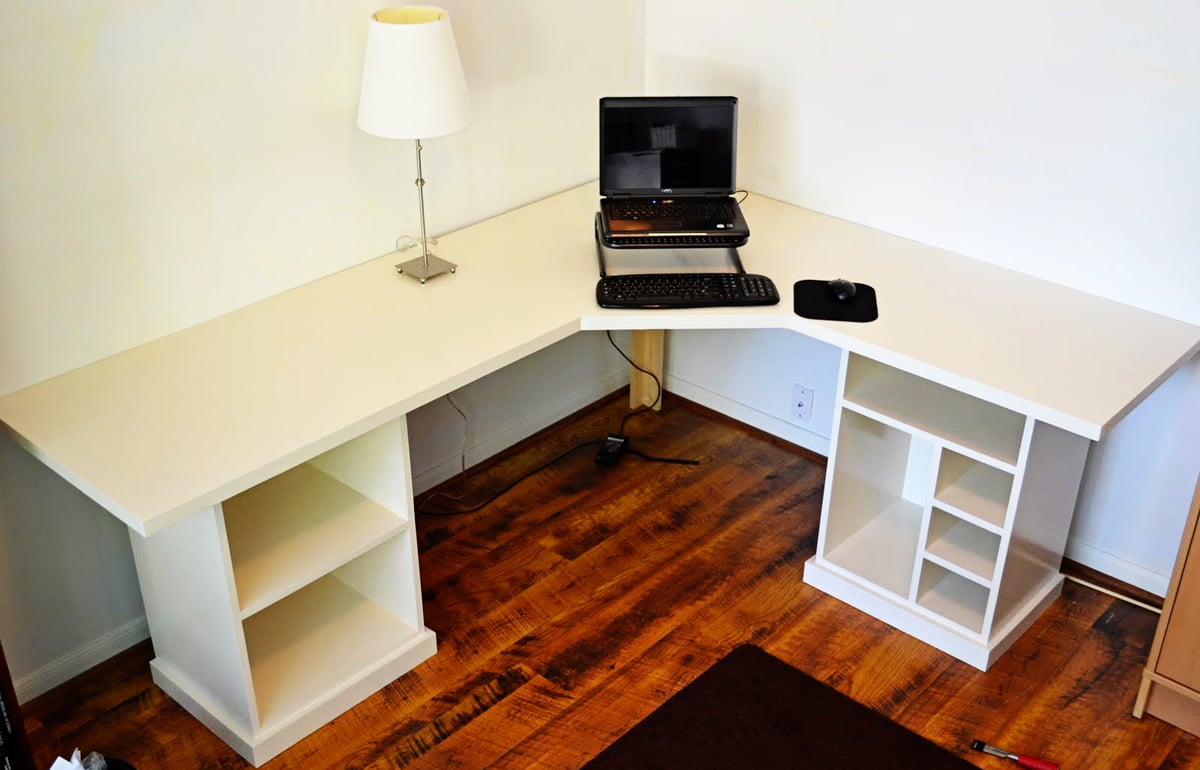
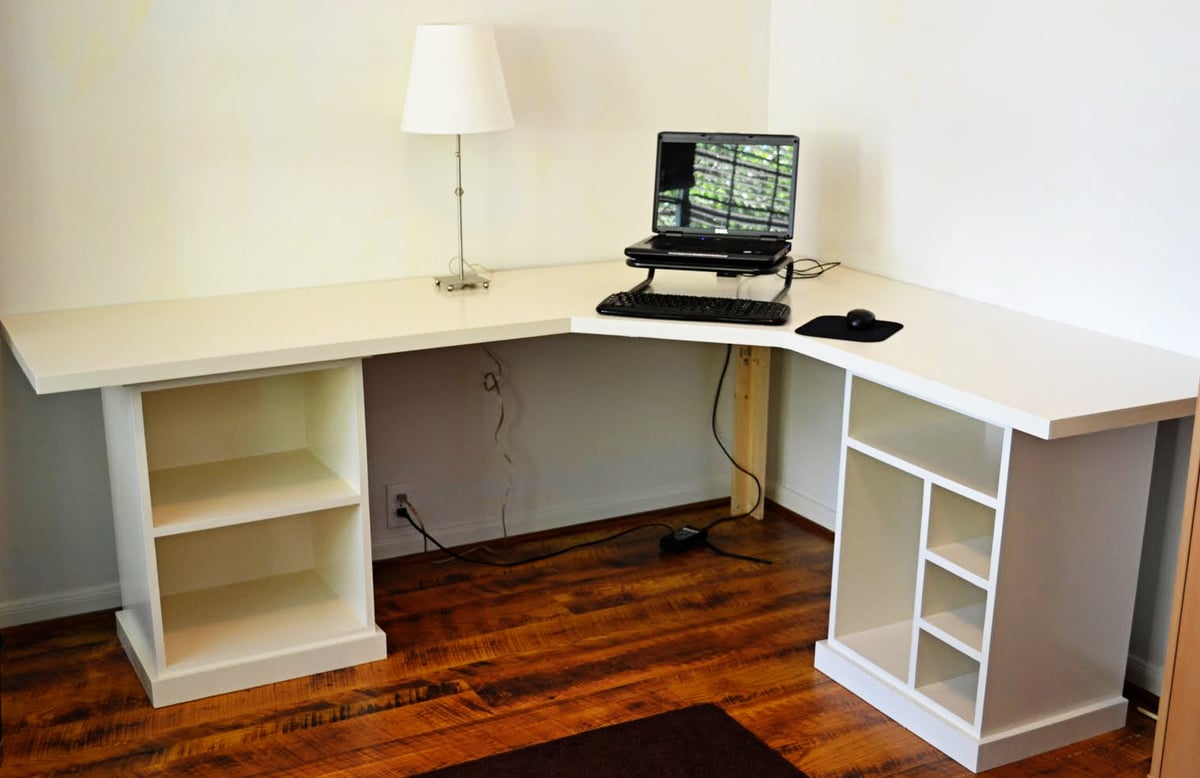
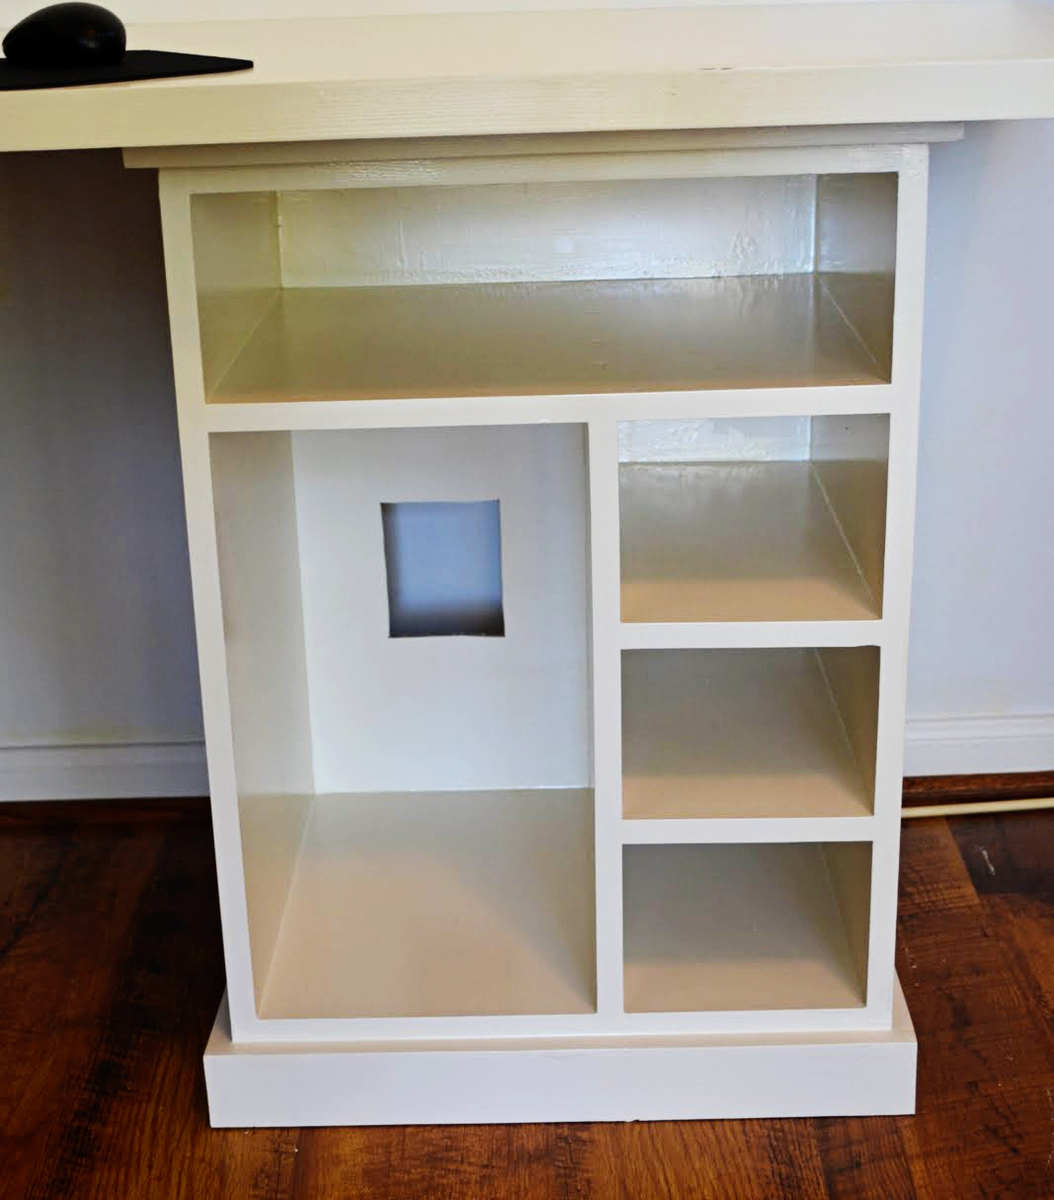
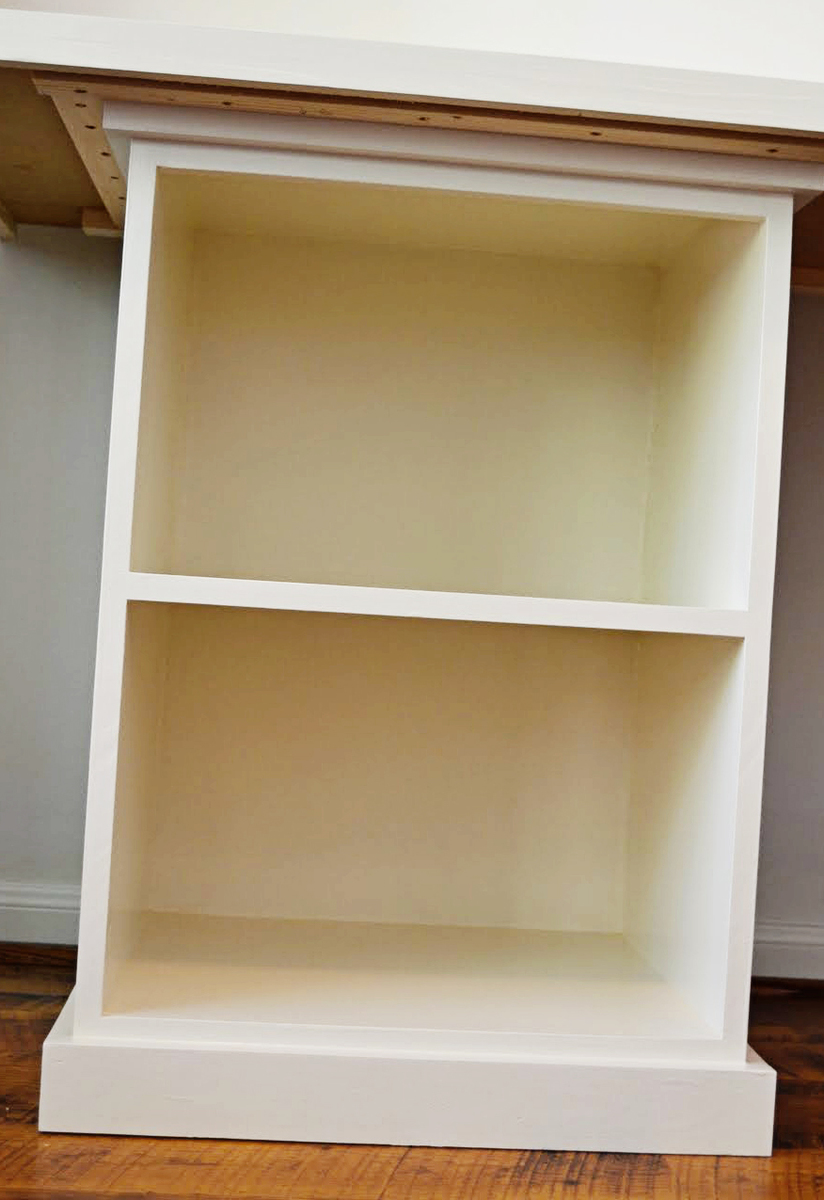
This was all my husband - he did a great job using the modular desk plans to customize (its a bit larger) this desk for our office. He finished it this past weekend so not much on it yet!
Mon, 02/06/2023 - 12:21
WOW, this is so awesome, well done! Thank you for sharing.
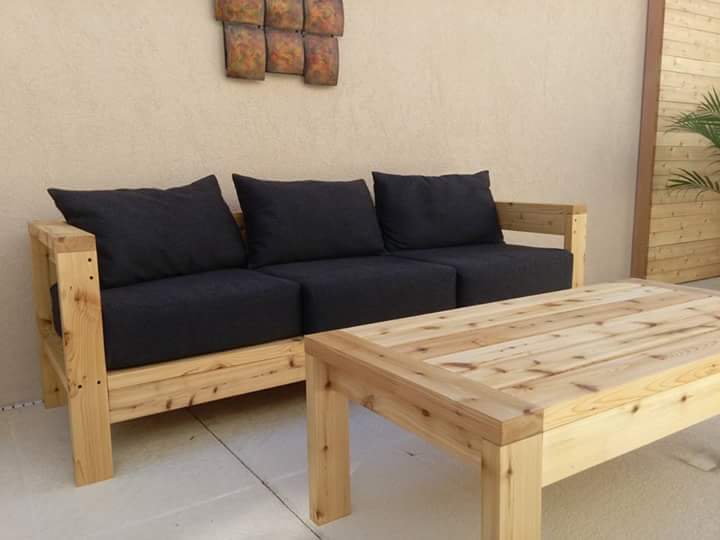
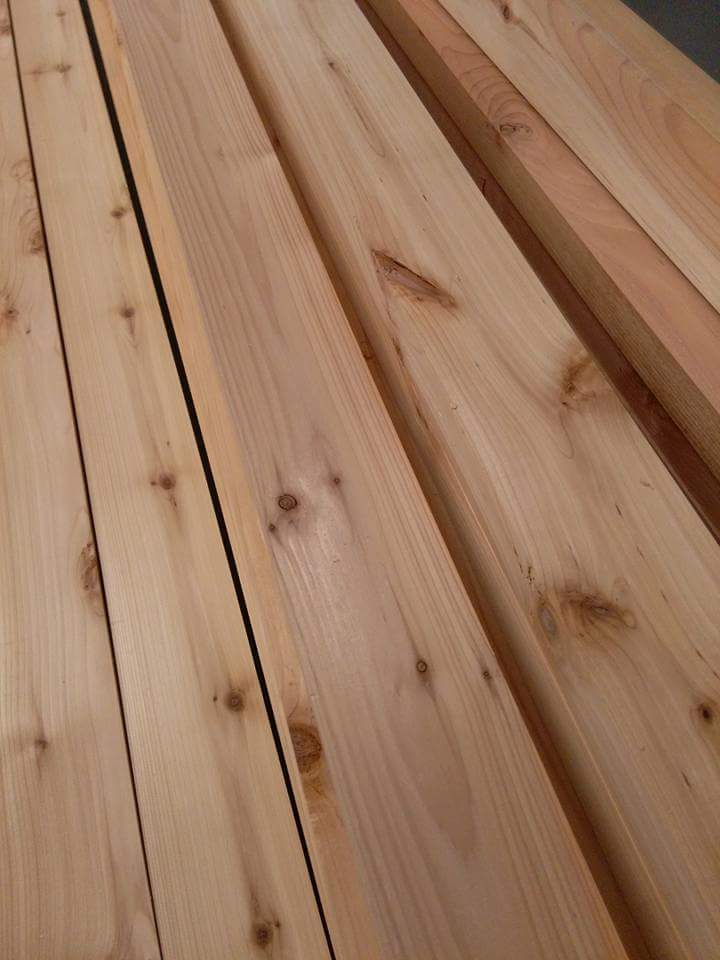
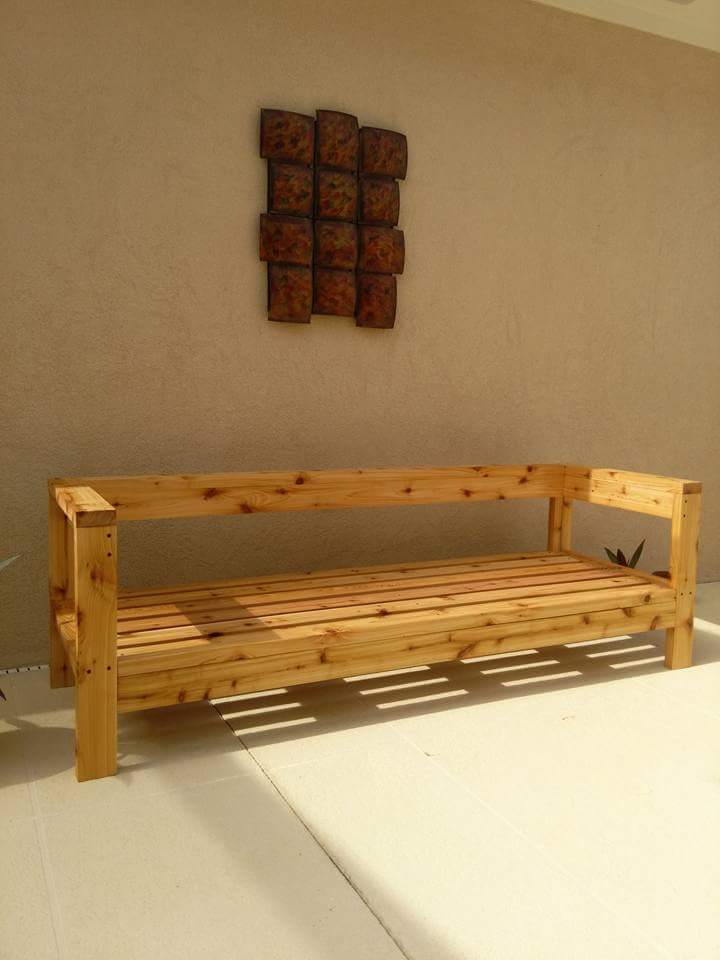
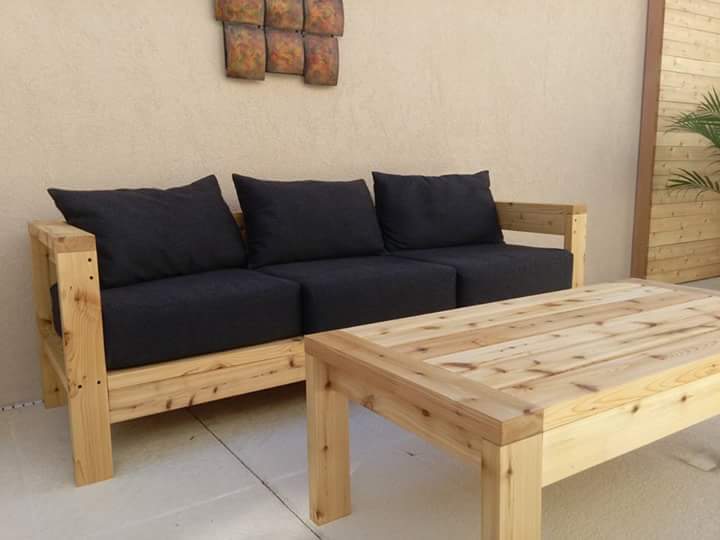
Thank you thank Ana for this awesome plan. It took me a week to transform the ruff cedar into beautiful 2x4. We use the kreg jig everywhere we could so the holes would be hidden, and black deck screws, and I couldn't wait for the cushions to share :) we added the extra pieces at the back and armrests. We used 12 boards 2x4x8 and no waste as we changed the measurements of 24" instead of 25.5 and height at 11" for the seat. One regret I used Thompson water sealer... we live in Florida and I am planning on leaving it outdoor.
Thu, 06/09/2016 - 18:32
I made them ;) bought the foam on Amazon 72x24x6 (I wished I bought 5 inches high instead) and the fabric I found in a discount fabric store , sumbrella fabric for $12.00 a yard!!! And cut all the cushion seats 24x24 and the back pillows I copied the pottery barn lumbar pillow size, I believe it was 26x18 razor age .
Thu, 06/09/2016 - 18:34
I made them ;) bought the foam on Amazon 72x24x6 (I wished I bought 5 inches high instead) and the fabric I found in a discount fabric store , sumbrella fabric for $12.00 a yard!!! And cut all the cushion seats 24x24 and the back pillows I copied the pottery barn lumbar pillow size, I believe it was 26x18 razor age .
Thu, 06/09/2016 - 18:41
I made them ;) bought the foam on Amazon 72x24x6 (I wished I bought 5 inches high instead) and the fabric I found in a discount fabric store , sumbrella fabric for $12.00 a yard!!! And cut all the cushion seats 24x24 and the back pillows I copied the pottery barn lumbar pillow size, I believe it was 26x18 razor age .
Thu, 06/09/2016 - 18:37
I made them ;) bought the foam on Amazon 72x24x6 (I wished I bought 5 inches high instead) and the fabric I found in a discount fabric store , sumbrella fabric for $12.00 a yard!!! And cut all the cushion seats 24x24 and the back pillows I copied the pottery barn lumbar pillow size, I believe it was 26x18 razor age .

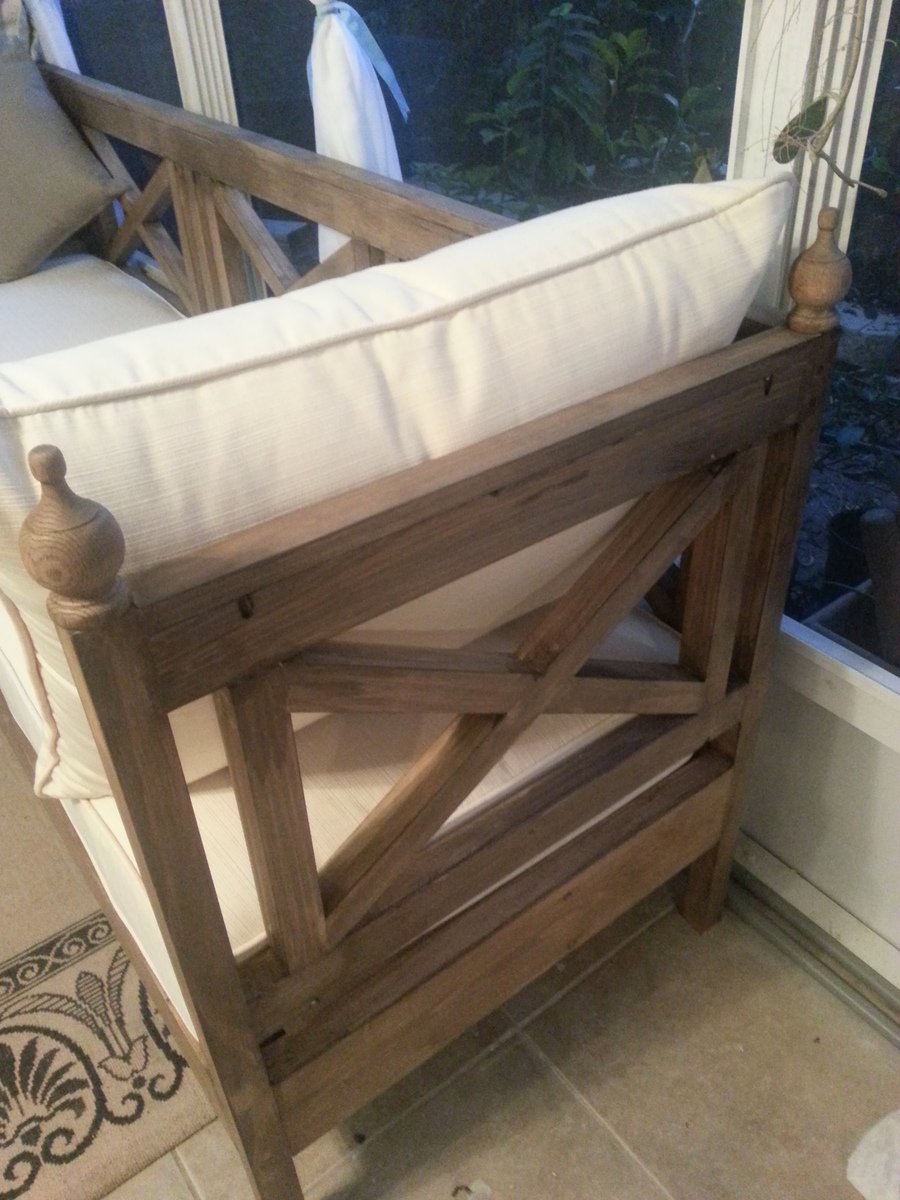
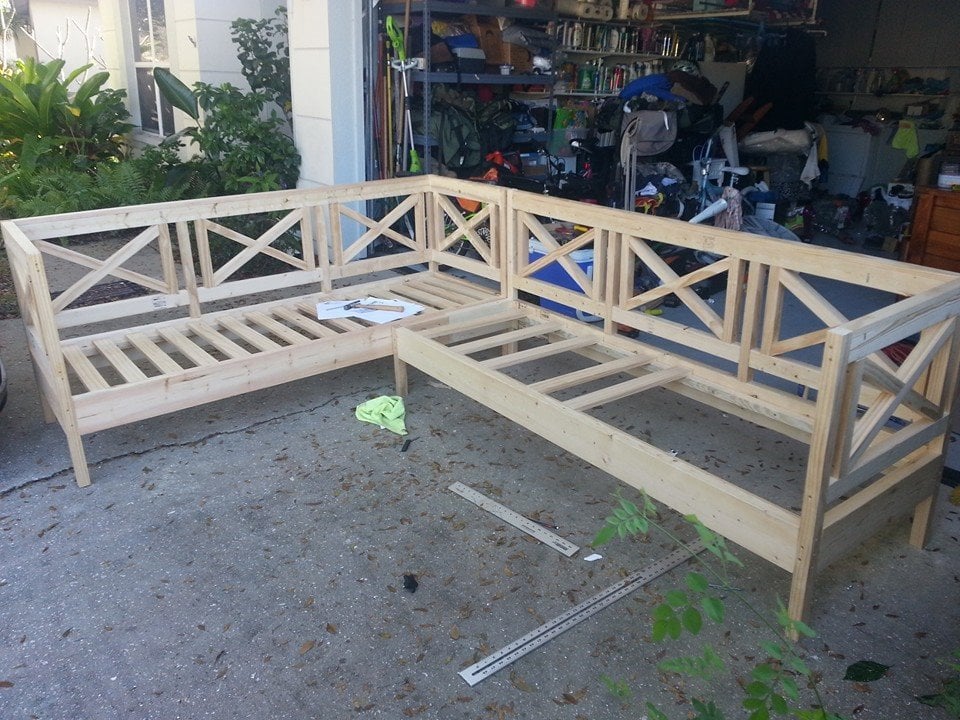
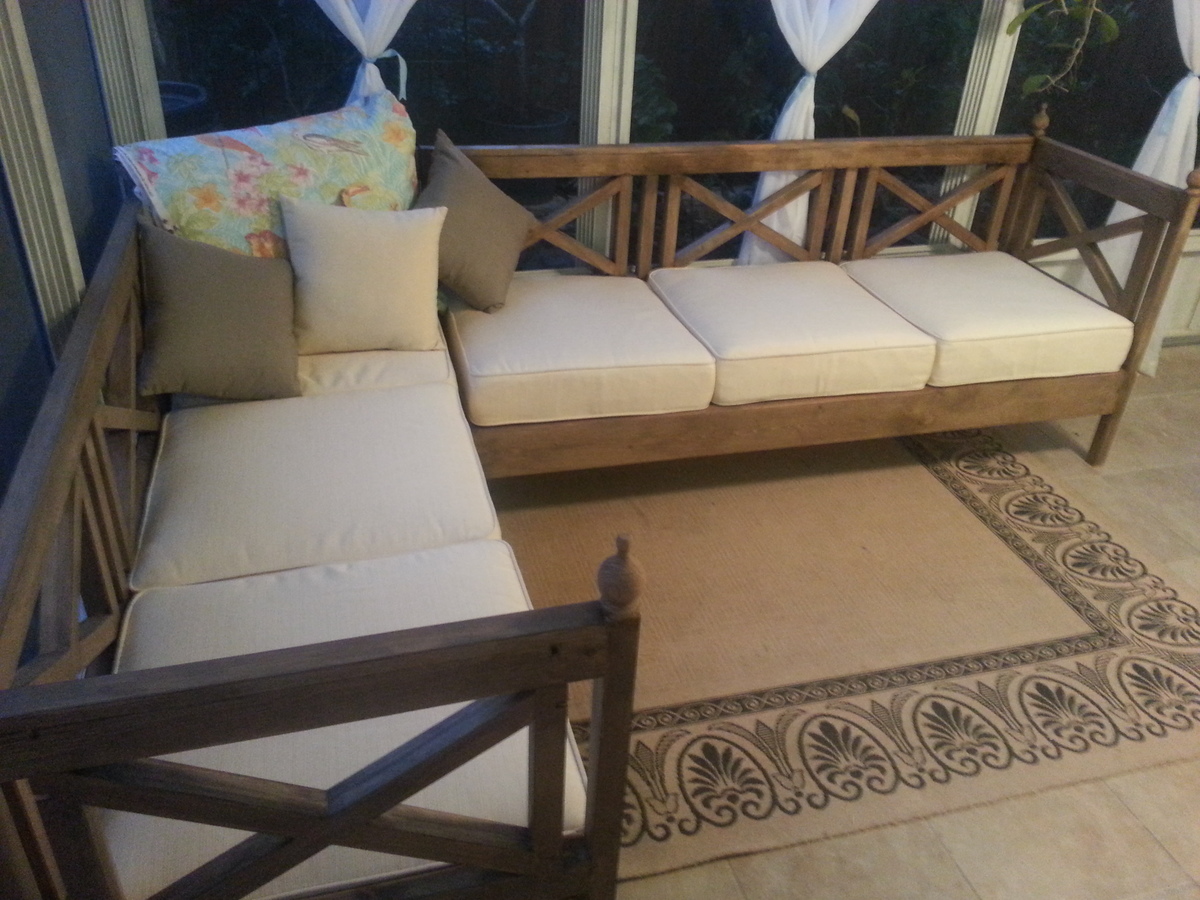
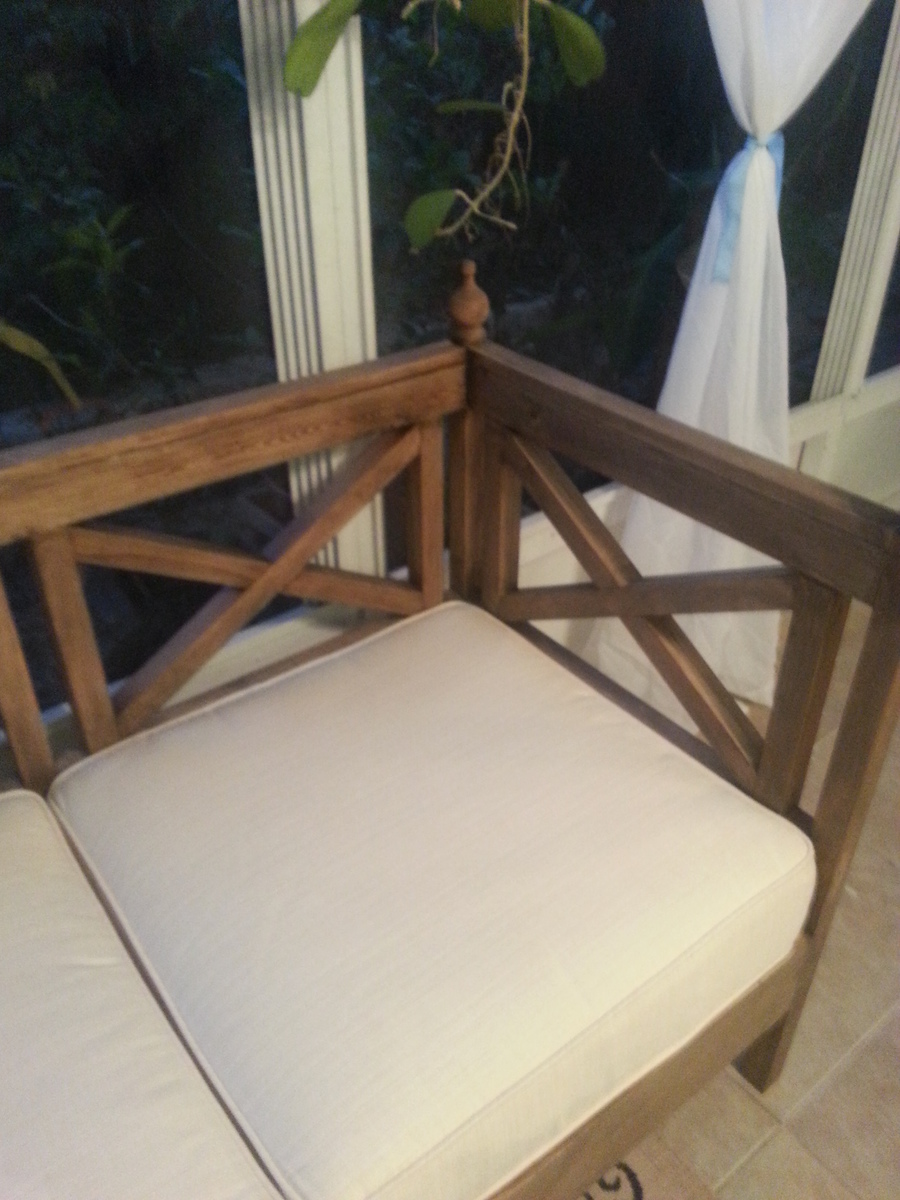
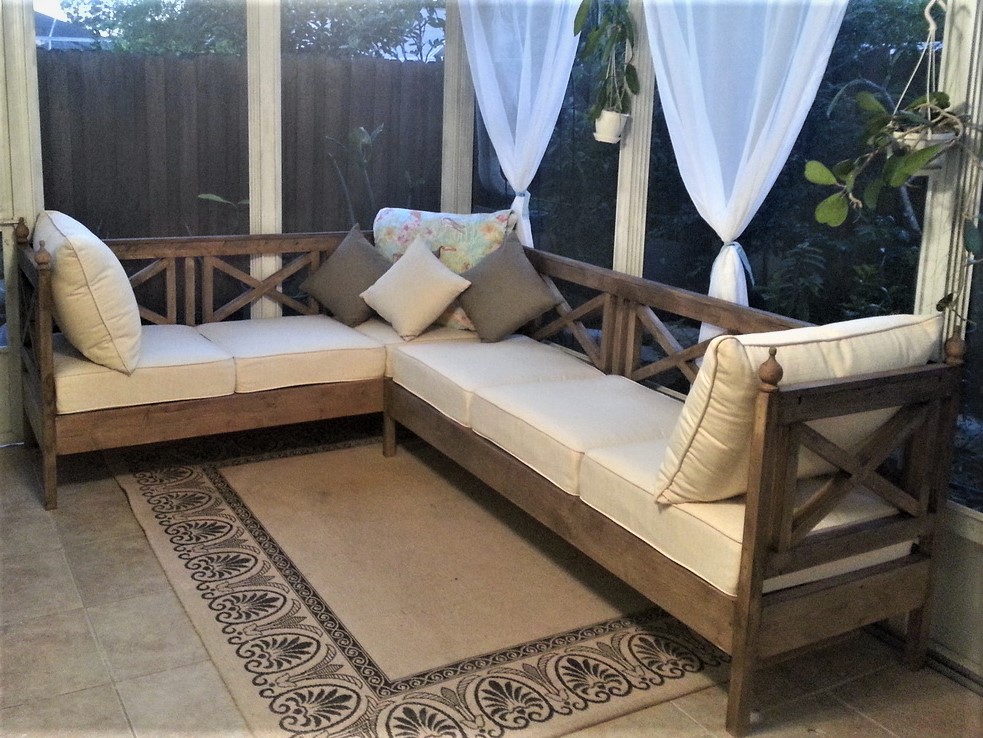
Just wanted to show my Weatherly Sofa (Sectional) that I built recently. I've been drooling over Ana's plans for months now, I waited patiently until I could get a good deal on a Kreg Jig since so many of Ana's plans use it. I purchased my cushions first, I really wanted Sunbrella fabric since they will be outside in my Lanai so they need to stand up to the Florida elements, I was so excited when I found the seat and back cushions for $40 a set discounted from $98, however I kept watching them after I purchased them and they eventually dropped down to $20 a set (called Lowes and they refunded me the difference), so total for all 8 seat and back cushions was only around $170...the problem with them however was that they were 25 x 25 and not the 24 x 24 that Ana recommends in the plans. I just modified the length of the sofa's by adding 3" and With by 1" which did increase my cost of wood since I was short certain pieces however I really wanted them to fit and not look squashed in there. The extra 3" made them fit perfectly. I also have 8 matching back cushions but they are a little too puffy to keep on there so I just use 2 on the ends and stored the rest. The small cushions I also purchased were on sale for $4 a set of 2. This was a relatively easy project. I was a little intimidated to use a compound miter saw to do my cuts so instead I just purchased a Stanley Clamping Miter box that was able to do the 30 degree cuts to make the x's. Total cost was $470 with all the cushions. I used Behr Weather Proofing Wood Stain & Sealer Semi-permanent in COFFEE which gave it a driftwood beachy look. It is so comfortable and sturdy. I love it and considering it was my first build from Ana's site I'm now hooked....Thank you Ana
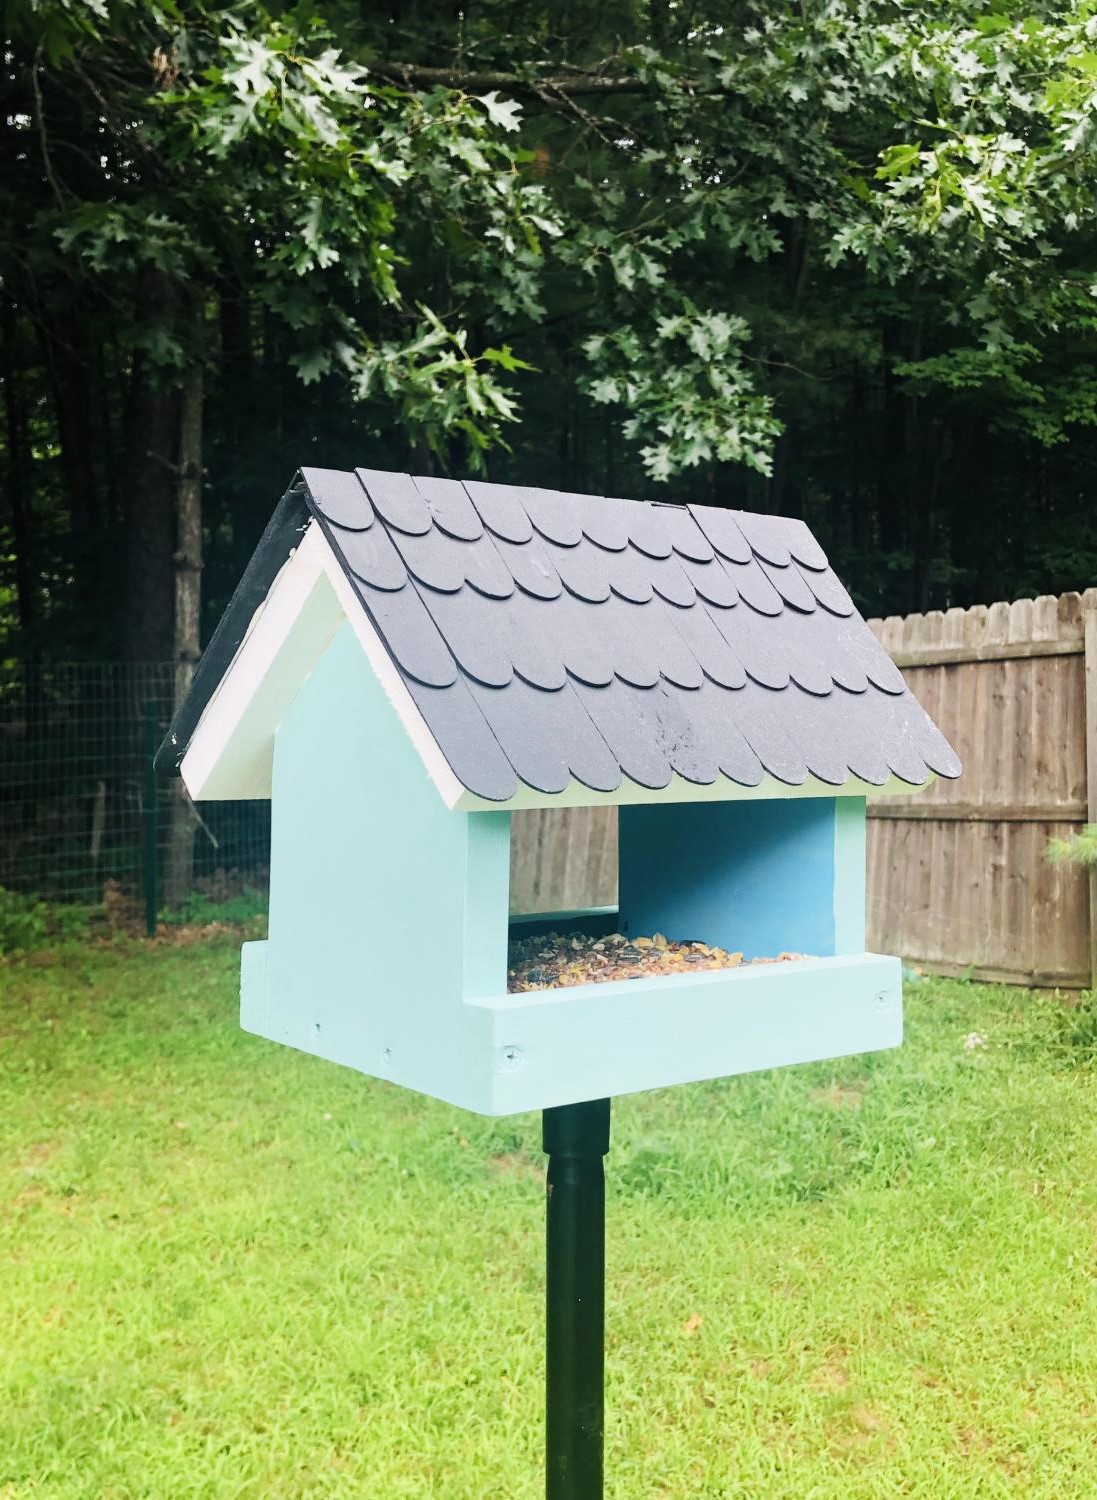
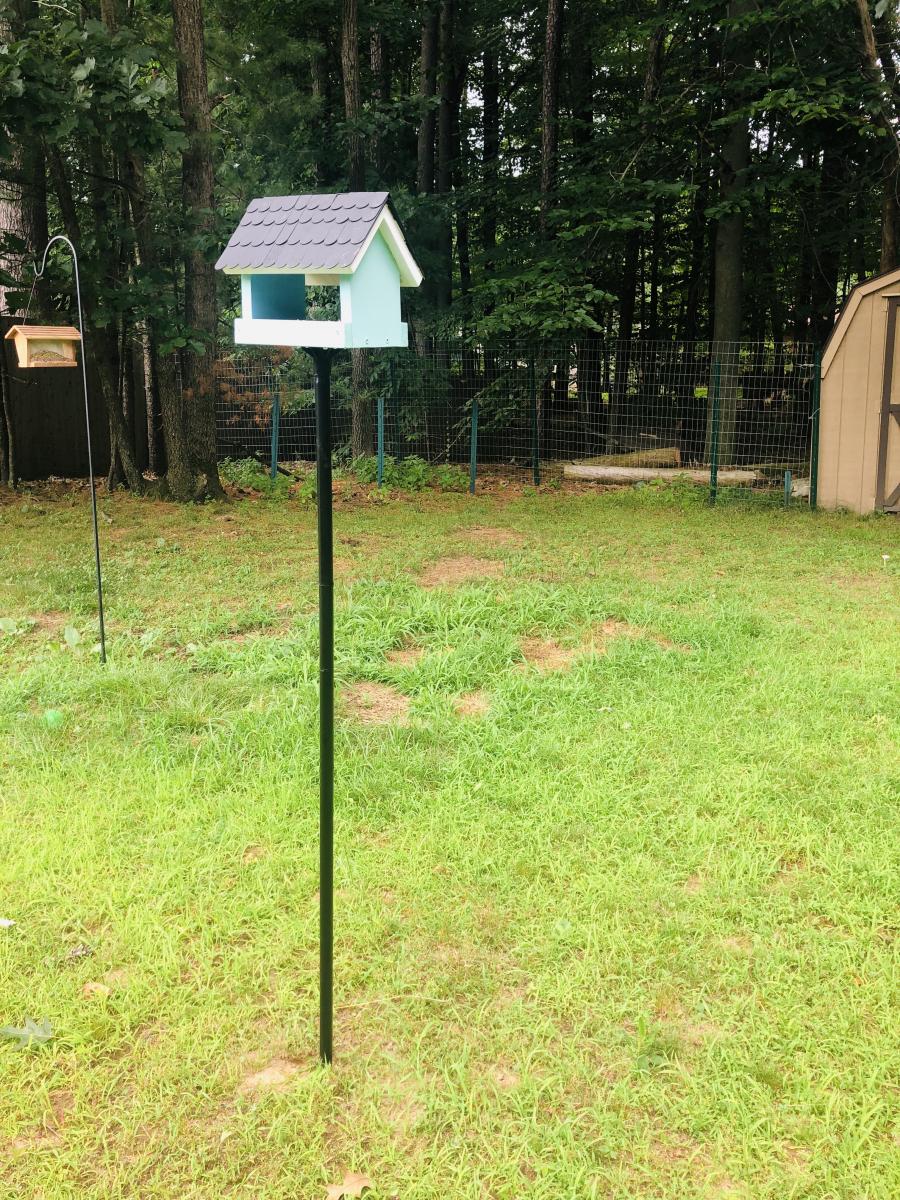
Took some liberties on this one. Used paint stirrer sticks for the roof.
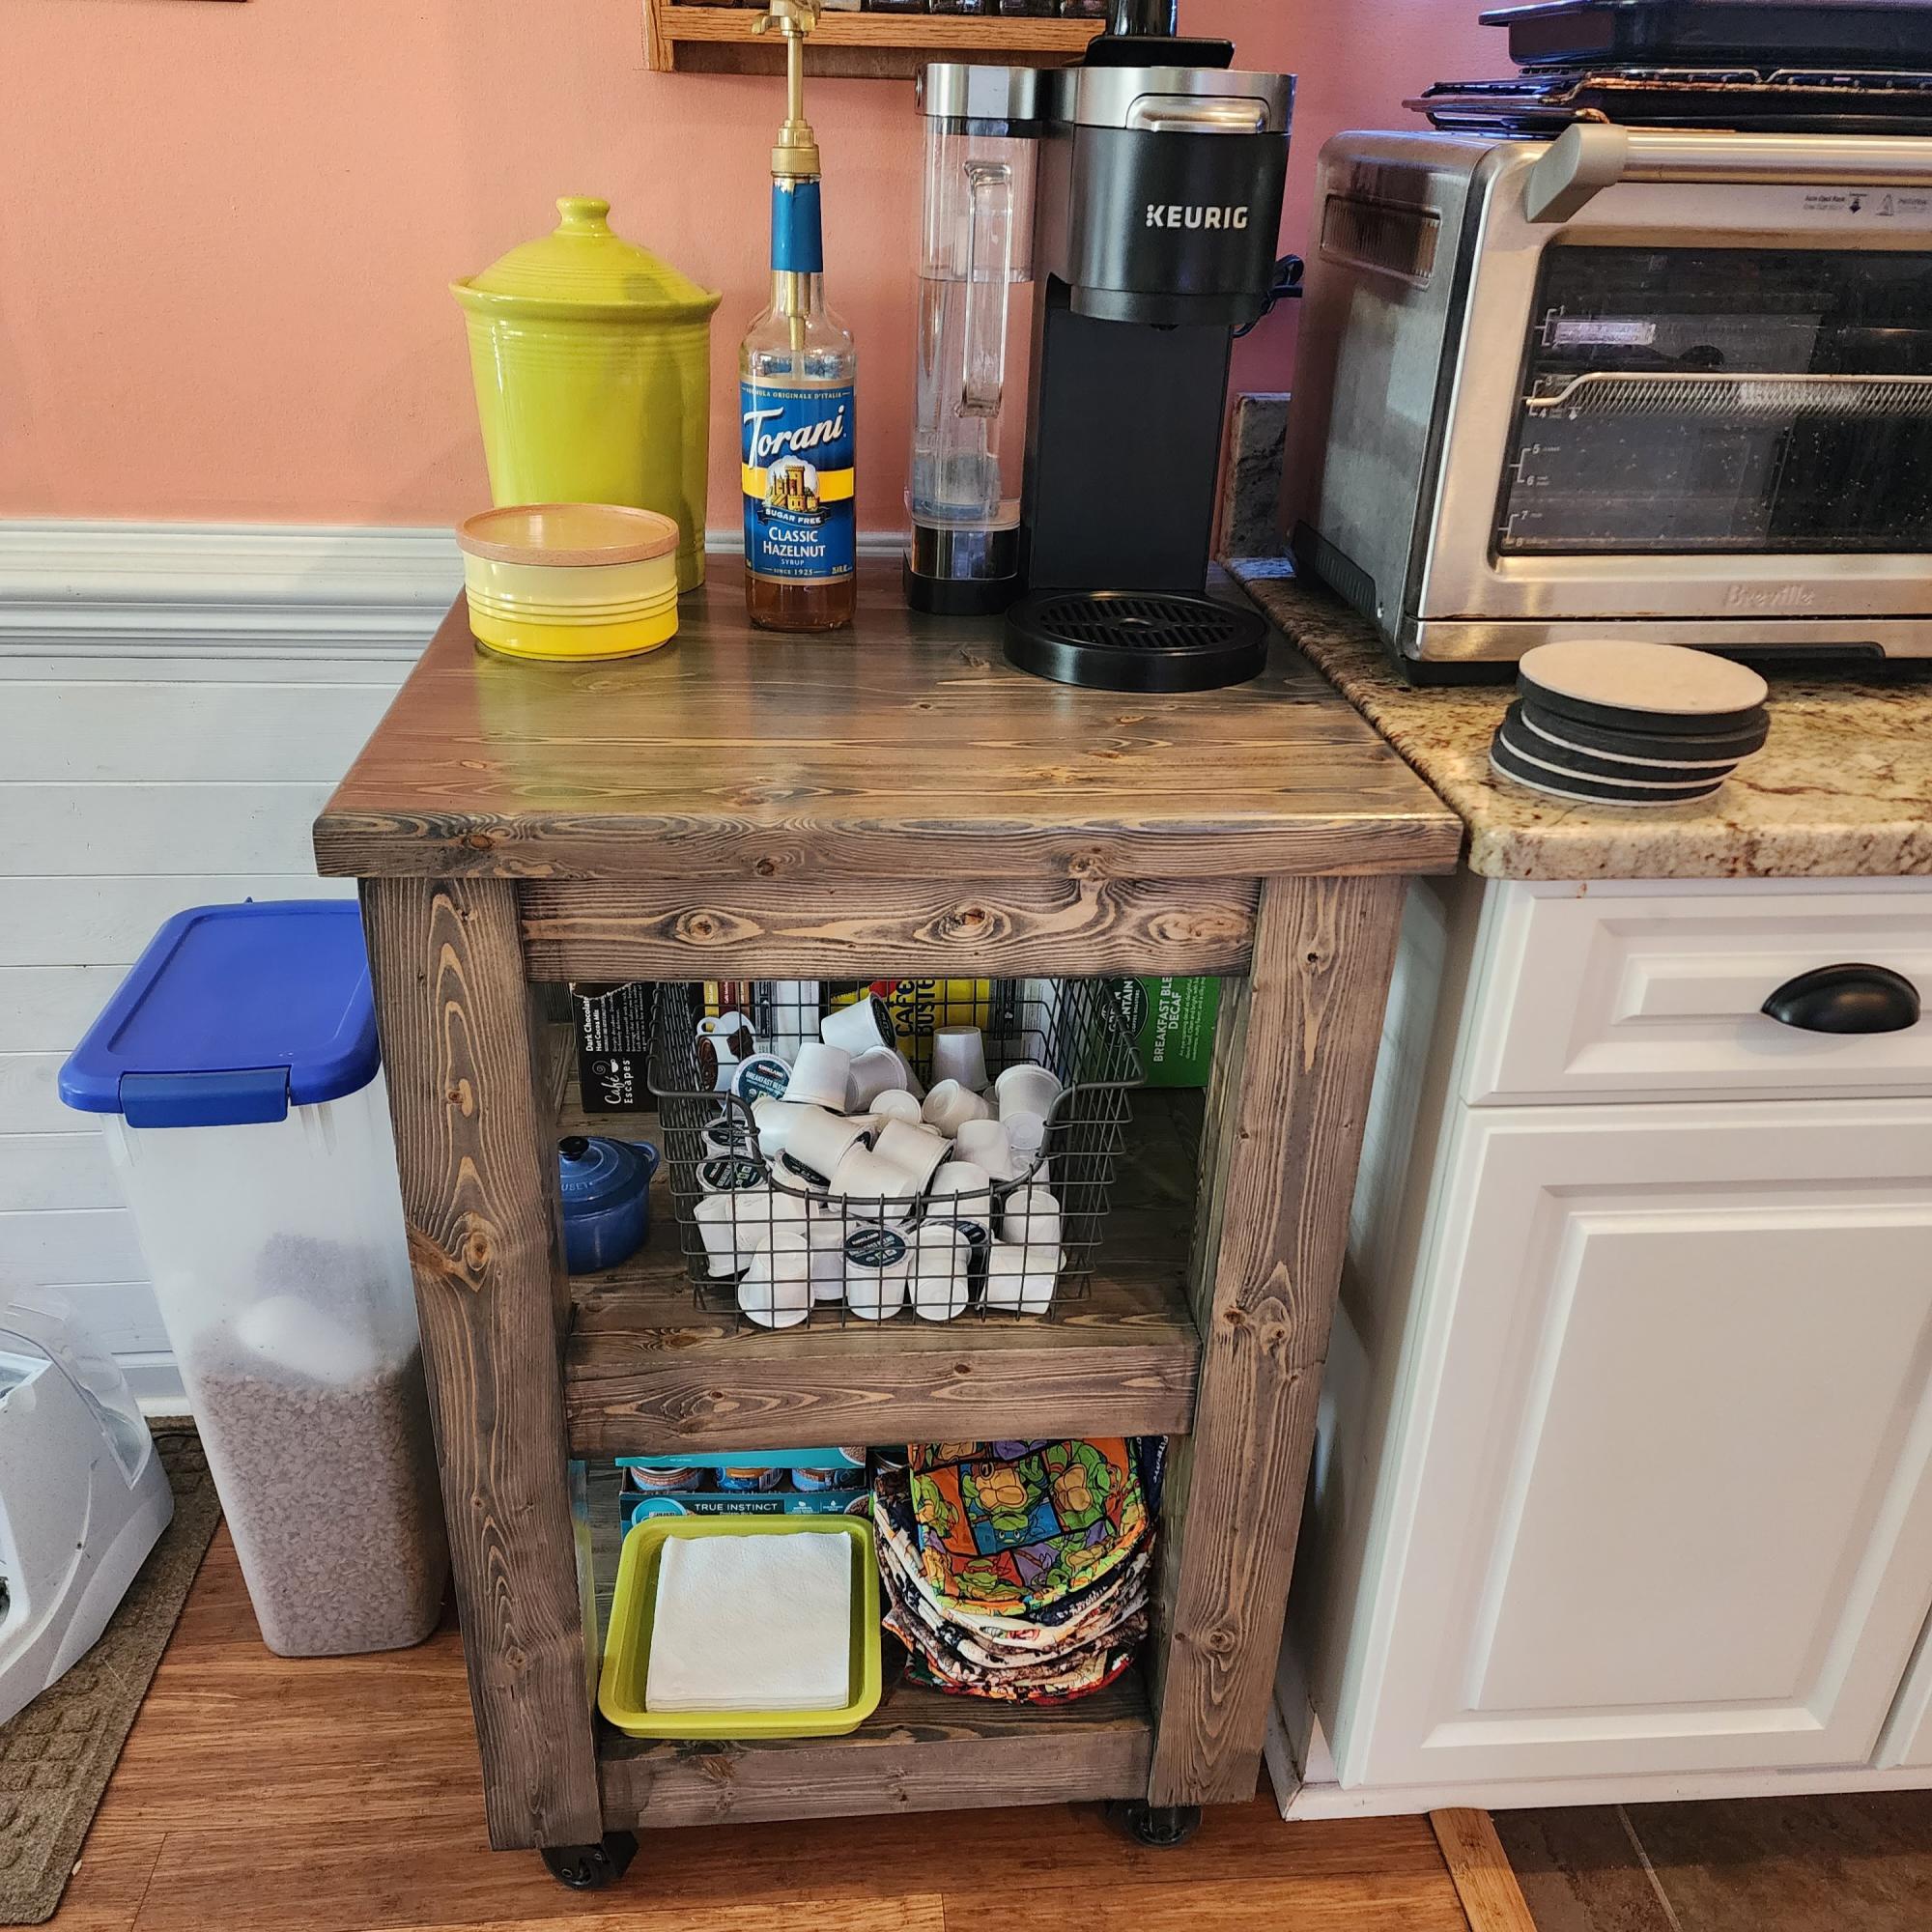
Our wine fridge died, and we didn't really need to replace it. Since we can always use more storage space in the kitchen, the hubby made me this coffee bar as adapted from a coffee bar brag post that was adapted from Michela's Kitchen Island plan. He was able to make it with all 2x4s and created the 4x4 legs by gluing 2 boards together. Put it on some caster wheels and we have a perfect coffee bar!!
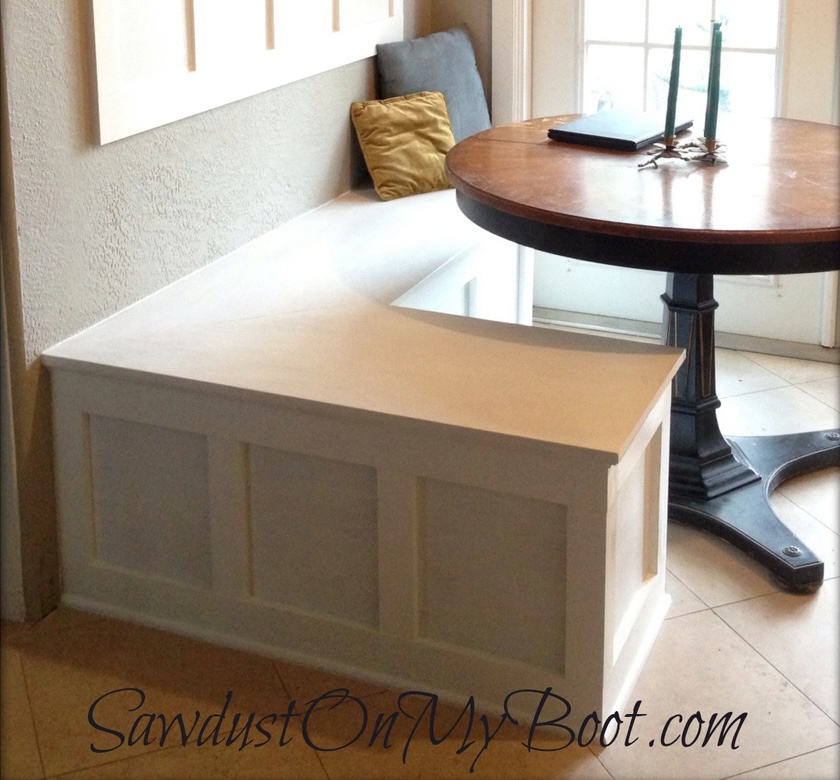
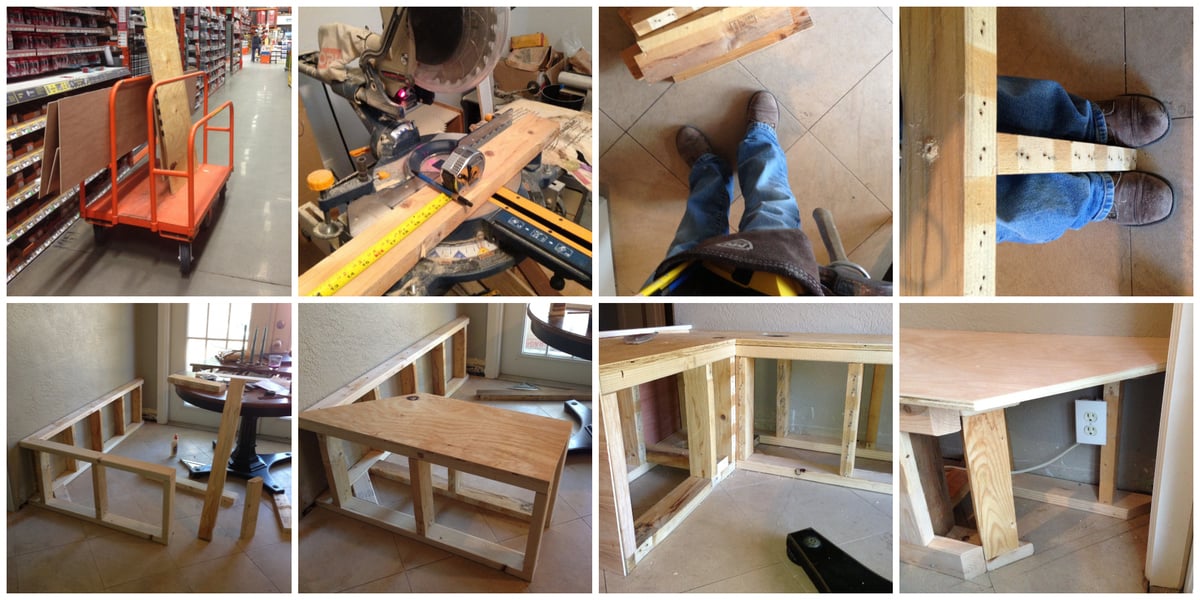
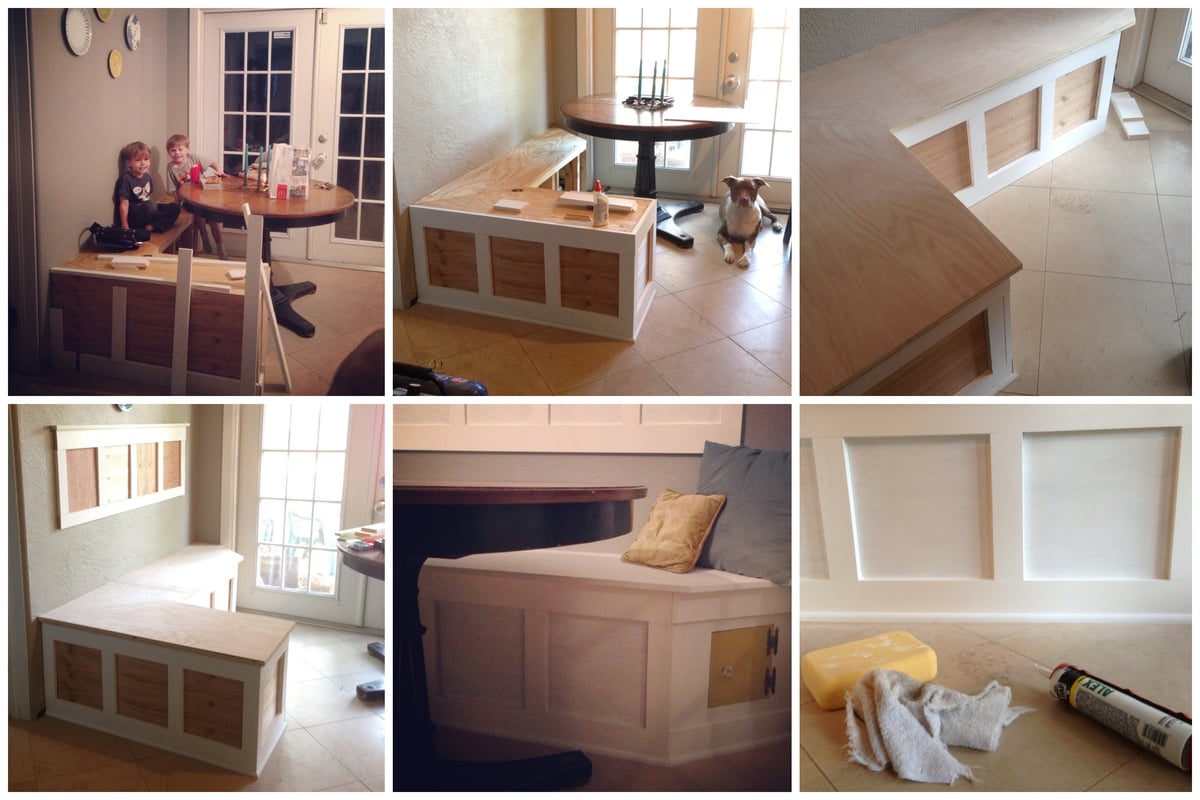
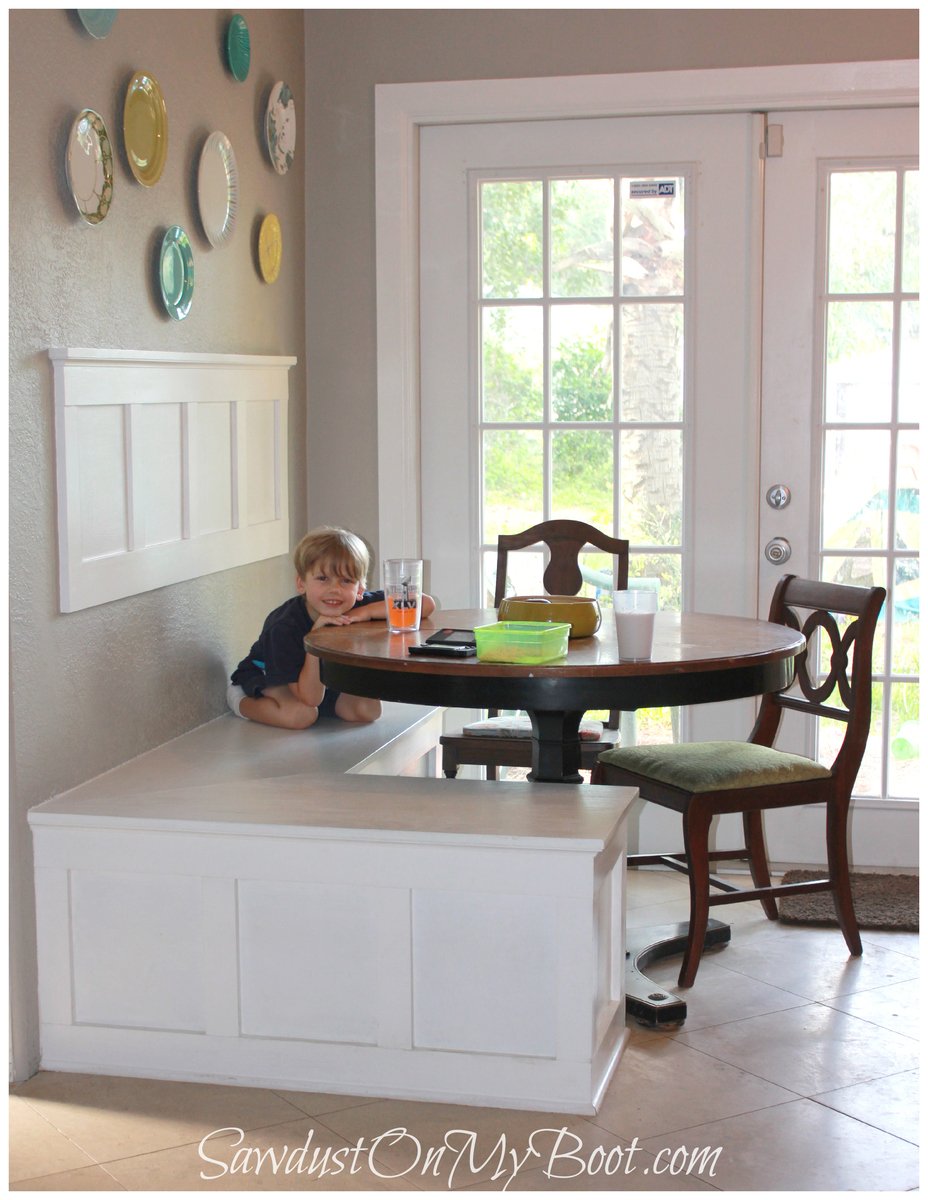
My family needed a seating area for our tiny kitchen and a built-in banquette solved our spatial design problem perfectly! I basically built it like a short and wide freestanding wall with a board & batten design and plywood top for seating. More details on my website post...
