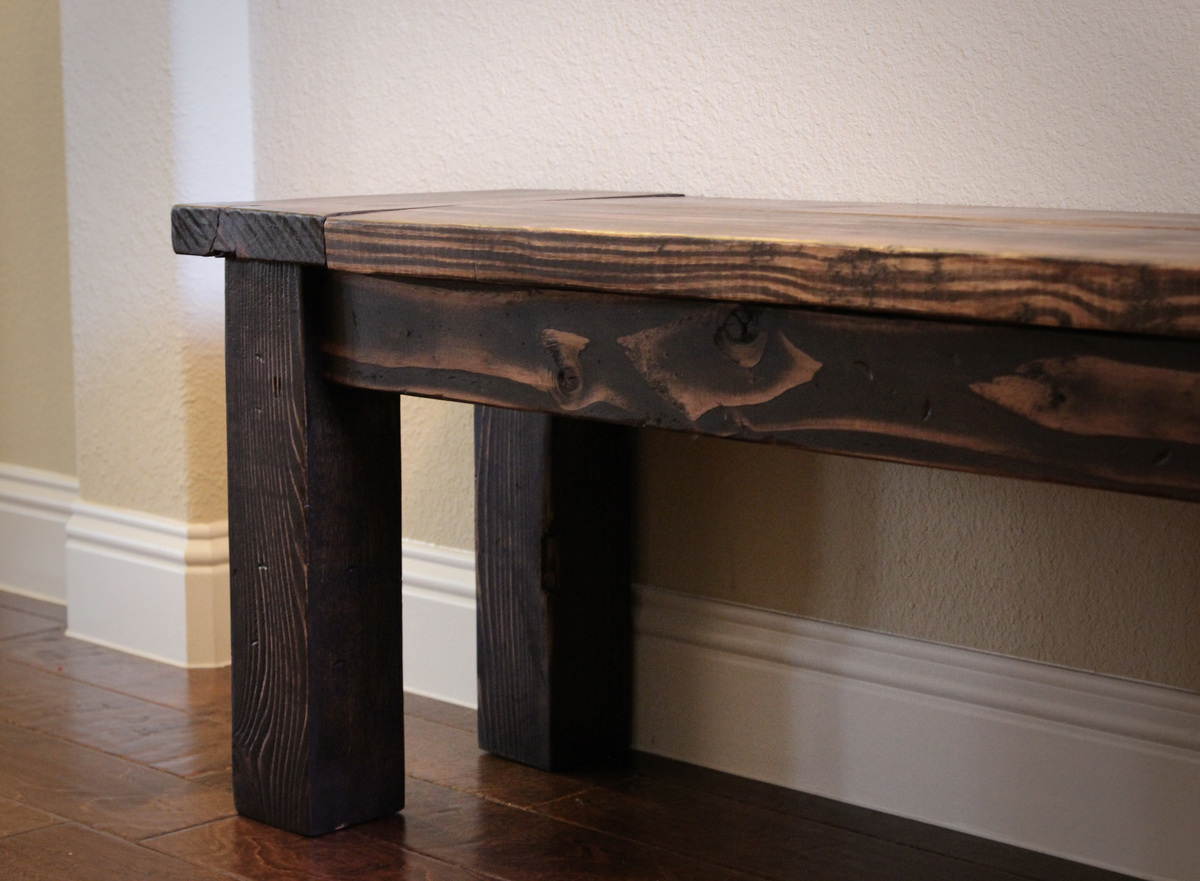
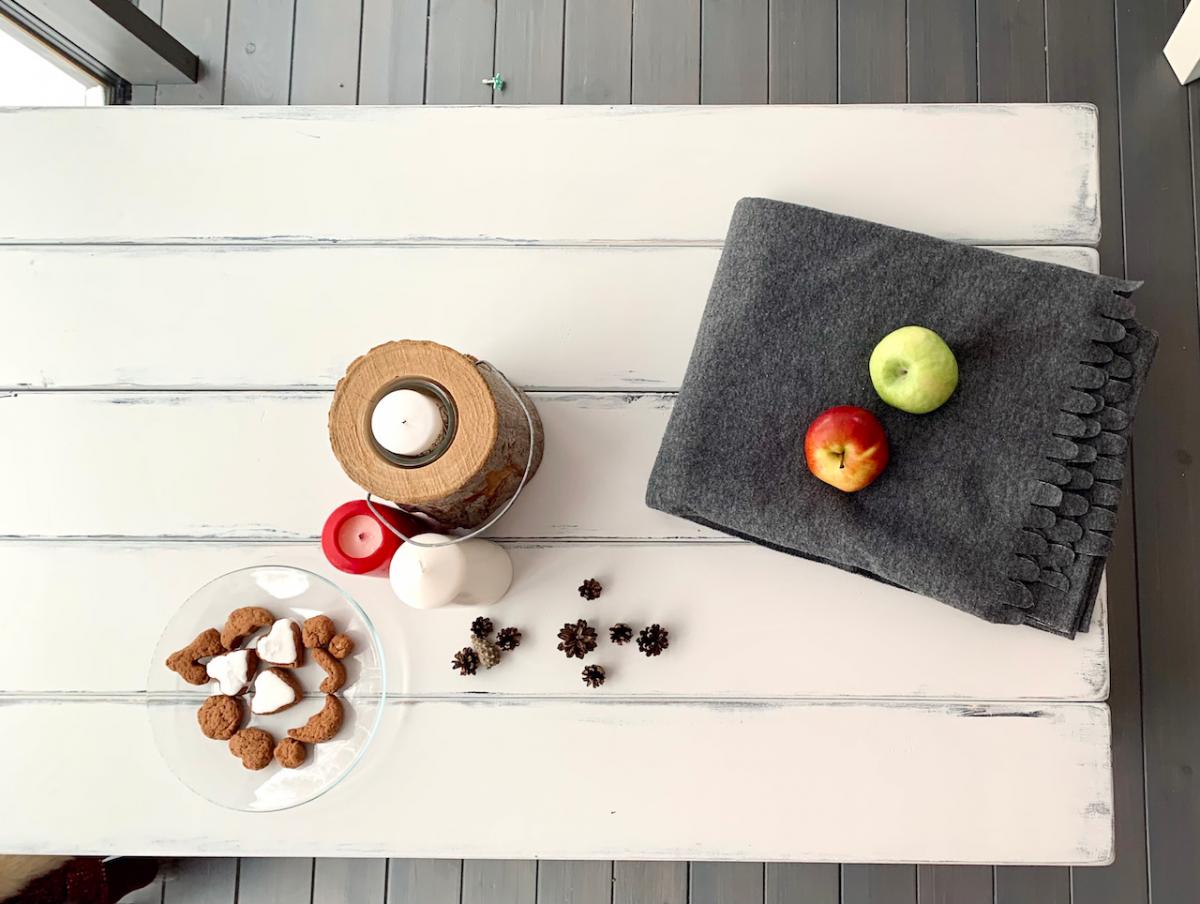
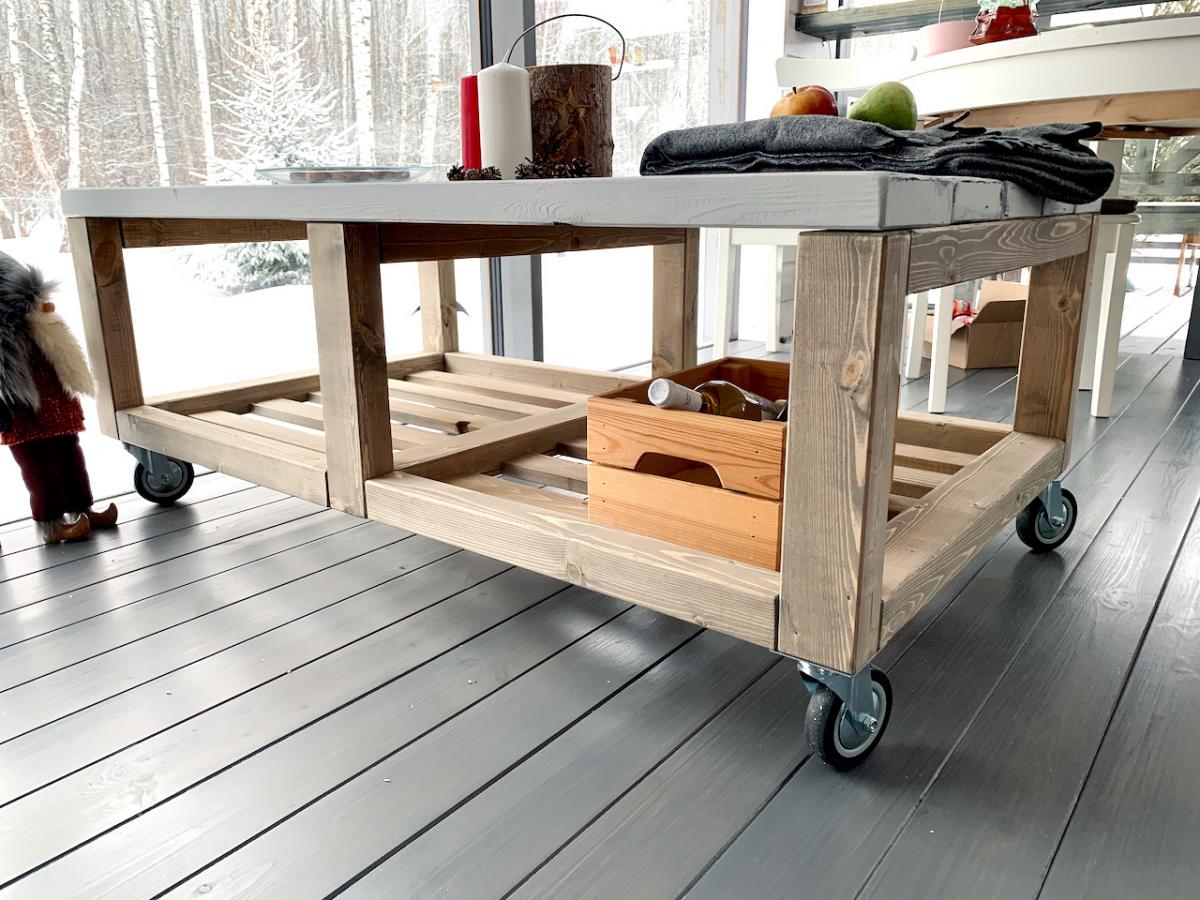
Farmhouse coffee table
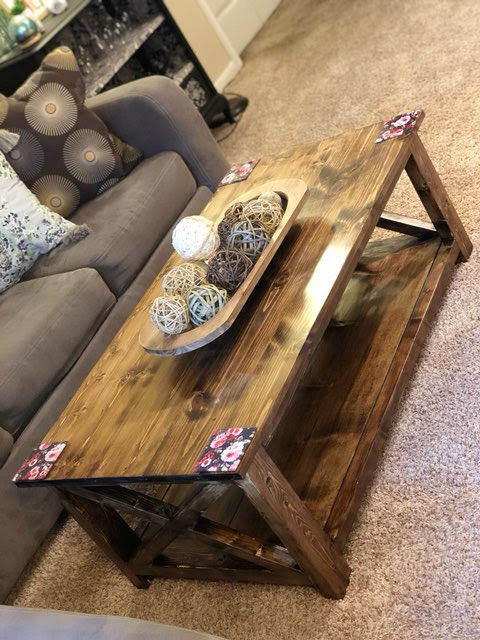
I built this for my daughter. I had to alter the plans just a little, but all of Ana's plans are so well done, that it is easy to change them a little and make them personal. Thank you Ana.

I built this for my daughter. I had to alter the plans just a little, but all of Ana's plans are so well done, that it is easy to change them a little and make them personal. Thank you Ana.
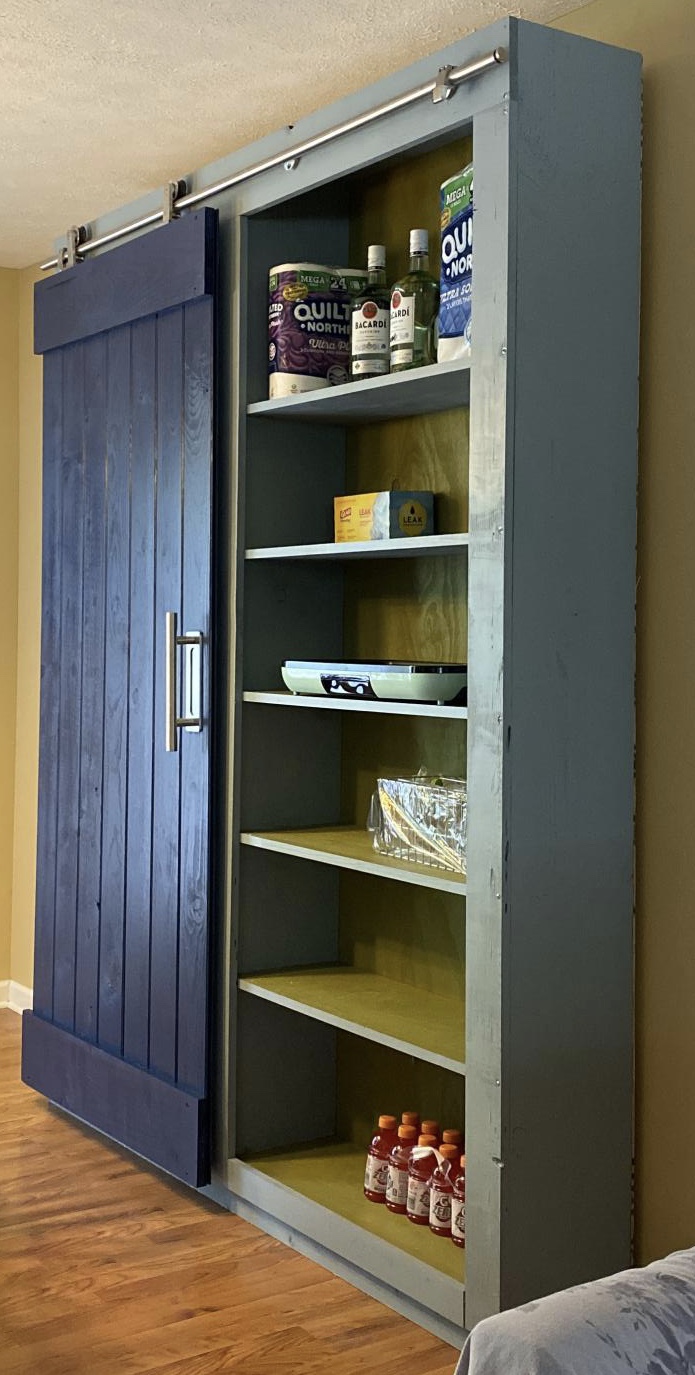
We didn’t have much storage space in our little galley kitchen. Imagine how excited I was to find this plan on my favorite site.
This was my first build using my new circular saw. For previous projects, I’d take both the shopping list and cut list to Lowe’s and have them cut the wood. This time, I made all my cuts. I was nervous but love how it turned out.
I anchored it to the wall because with the barn door and the hardware weight, it felt a little front heavy.
We used the same color as our kitchen cabinets (AH13 Salty Dog) and then selected coordinated colors for the body (AH18 Debonair) and shelves (AH15 Rural Green).
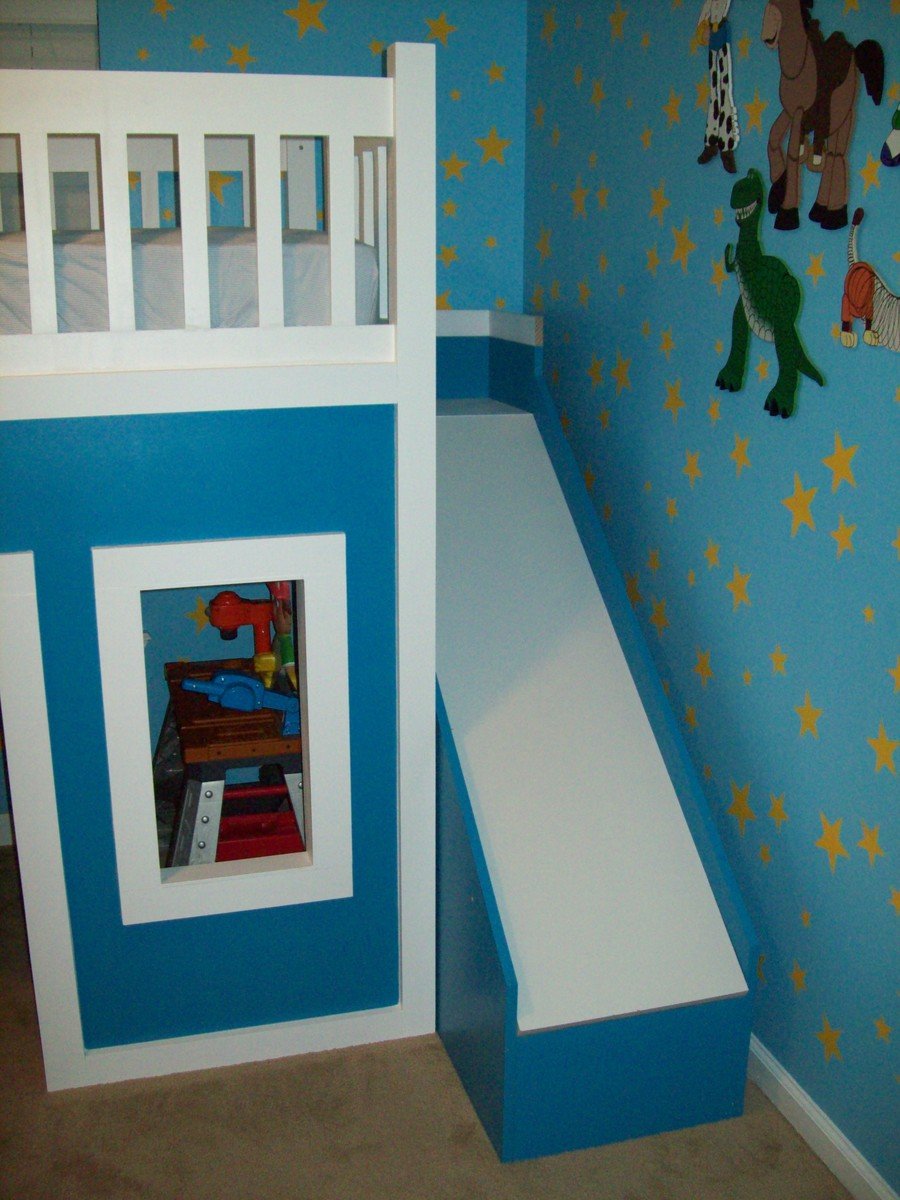
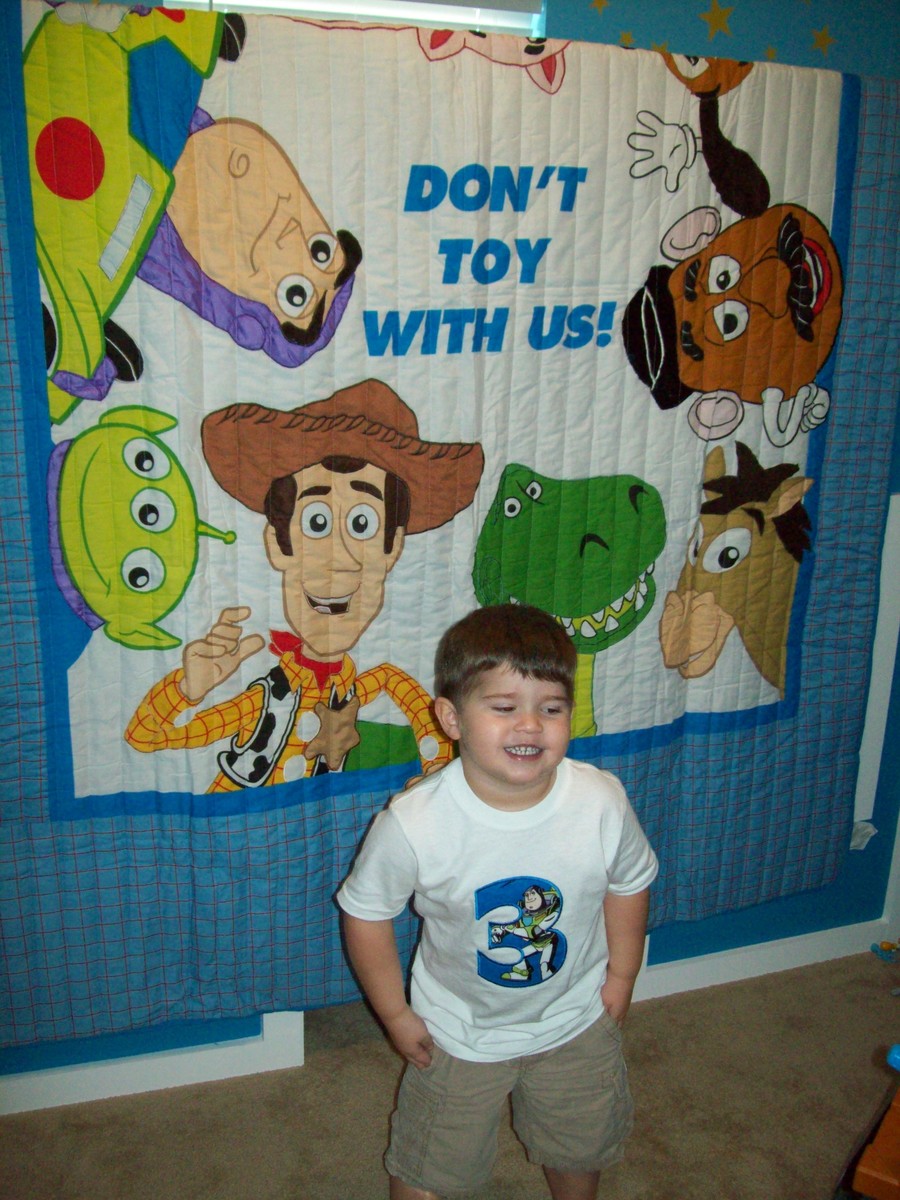
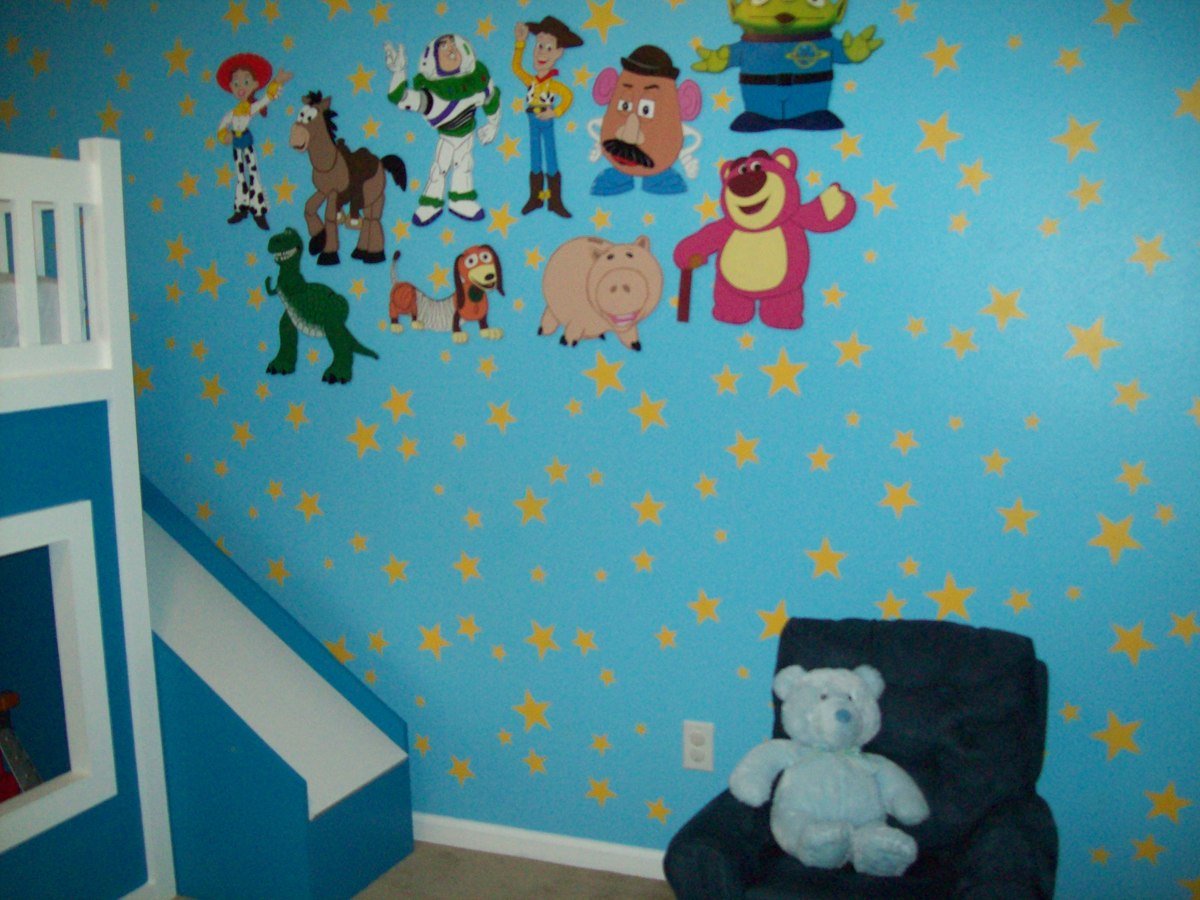
My son was about to turn 3 and I really wanted to redesign his bedroom as a birthday surprise. We went with a Toy Story themed room, he just loves Toy Story.
I started off by painting the walls blue with yellow stars like Andy's room in the movie. I added some custom painted art work and then it was off to find a cool playhouse bed. My husband and I were shopping around and we could never really find what we were looking for in the store. So we decided to build one ourselves using plans from this website.
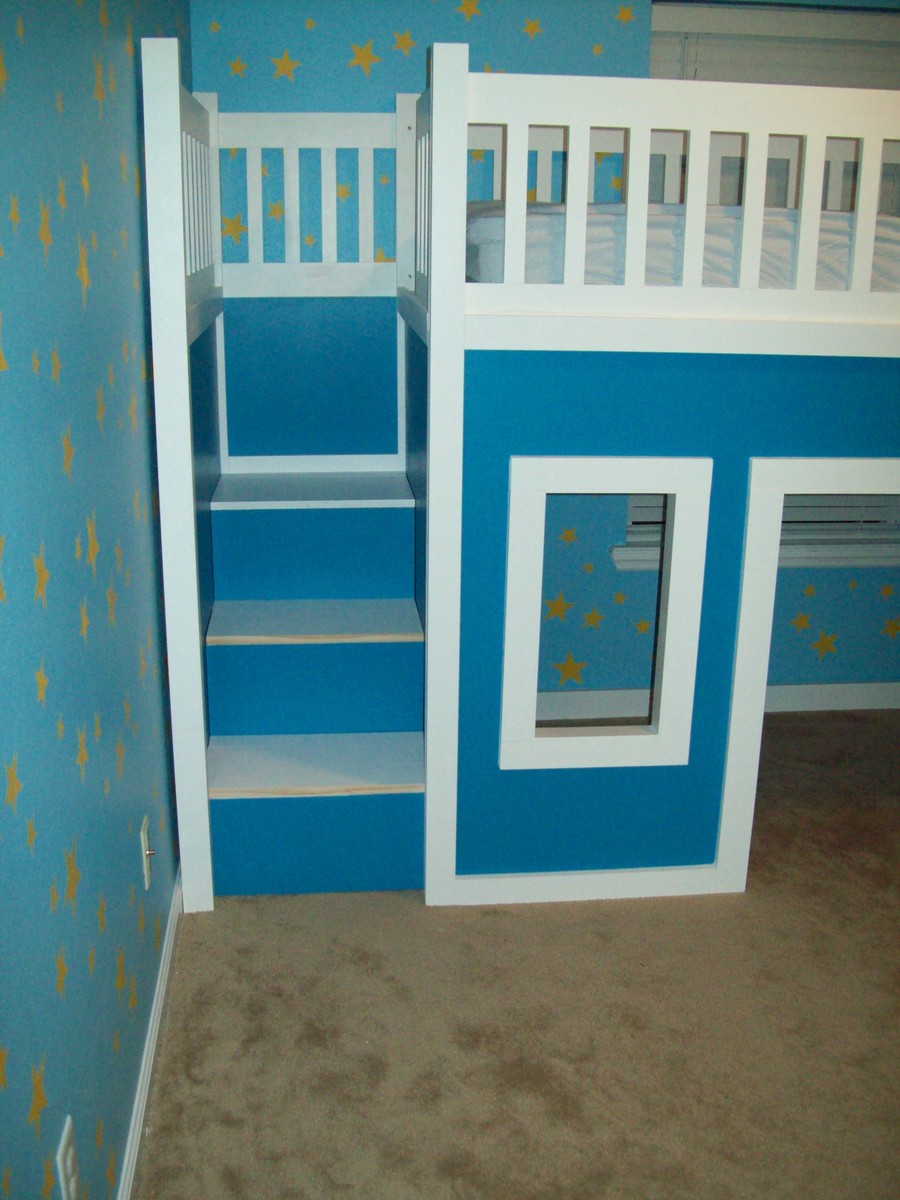
I used the playhouse loft bed and the playhouse loft bed stair plans, for the bed and the stairs. I used the castle loft bed plan as inspiration for the slide. The project took us about 5 weeks from start to finish. We both have full time jobs and we did most of the work on the weekends. I looked at each plan very carefully and made notes. I had to modify the stair plans slightly to fit the space where we wanted to put the bed. The stairs look narrow, but they work just fine. My husband and I can both use them to get up in the bed. The stairs feature hinged stair tread with built in storage. We built them like that at first, but then later decided to make them stationary stair treads, with plywood. I didn't like the way the hinges looked and the top stair was so deep that I was worried my son would fall in there and get stuck. The storage idea was neat, but his safety was more important to me. The bed turned out really nice and VERY sturdy. Both my husband and I are able to get up there with my son (not at the same time).
Another modification that I made was instead of slats to hold on the mattress, I used a piece of plywood. I wanted the roof in the playhouse to look finished, and I didn't want to see his bedding hanging down from the slats. I painted the top of the plywood white, where the mattress goes to blend in with the slats, and the other side was painted blue to match the walls inside the playhouse.
I did modify the playhouse front facade to have 2 windows and one door. I like the symmetrical look. The total project cost about $400. I used birch plywood and select pine boards, and about 6 quarts of paint. I noticed AFTER we had finished the bed using the birch plywood, that Home Depot had cabinet grade plywood on a random end cap, that was just as nice for $12 less a sheet. If I could do it all over again, I would definitely use that!. I wanted the paint to have a nice smooth finish, without having to do a lot of sanding or patching.
We had Home Depot cut the plywood to the dimensions we needed. I had my husband cut the rest of the wood dimensions listed in the plans, and then I painted all of them before we put the pieces together. I used a small roller and self priming paint. The paint finish looks great. After assembling the bed I can not imagine what I would have gone through trying to paint it after the fact.
The slide was a bit tricky, I looked at the plan for the castle loft bed and attempted to use those dimensions, and for the most part they worked. But when we went to assemble the slide, we did end up recutting some of the wood to different dimensions. I used a piece of the melamine coated closet shelf material for the slide.
It is already finished in white and its nice and slick, like a slide should be! I hate MDF, but for this it seemed the best fit. We cut the top edge at an angle to meet up with the slide platform. PLEASE BE CAREFUL with this material. After it was angle cut the edge was razor sharp and I sliced my fingers up. Once it was installed it butted up perfectly to the slide platform, and the edge was hidden and not a danger. But use caution during the install.
Clamps are your friend! We used Kreg clamps for everything. They kept the wood in place while we were screwing the parts together. The coolest thing that my husband came up with was clamping two identical pieces for plywood together, and drawing the template for the slide support walls. Then he used his circular saw to cut them out. We ended up with two mirror image pieces. They looked awesome. I left them clamped together when I sanded the edges as well.
We really didn't have any building experience other, than building tables and chairs for children, We got the deluxe Kreg jig kit and a miter saw on Craigslist for $50 each and they were both practically brand new. This was the first time we had ever used a Kreg jig and we are both addicted. That thing is the bomb.
We locked my son out of his room for a week while we assembled everything. We had the big reveal at his birthday party and all of the guests were excited to see it after seeing my facebook teaser posts of our progress. There were 8 kids up there at one time and the bed did not budge. They all enjoyed the slide. I did the planning and paint and my husband did an awesome job making all of the cuts and sanding everything. We are both very proud of the final product. My son love his new big boy bed.
DISCLAIMER: This bed is not recommended for a child under 6 years old. My son is mature for his age and we monitor him carefully.
Mon, 01/21/2013 - 12:41
This bed is awesome. My boyfriend and I want one just like this for are son. Did you happen to write out all your dimensions? I would love to make this bed for my son.
Mon, 10/20/2014 - 03:10
I also would like to know the finished dimensions of your project. What is the hight, length, and depth?
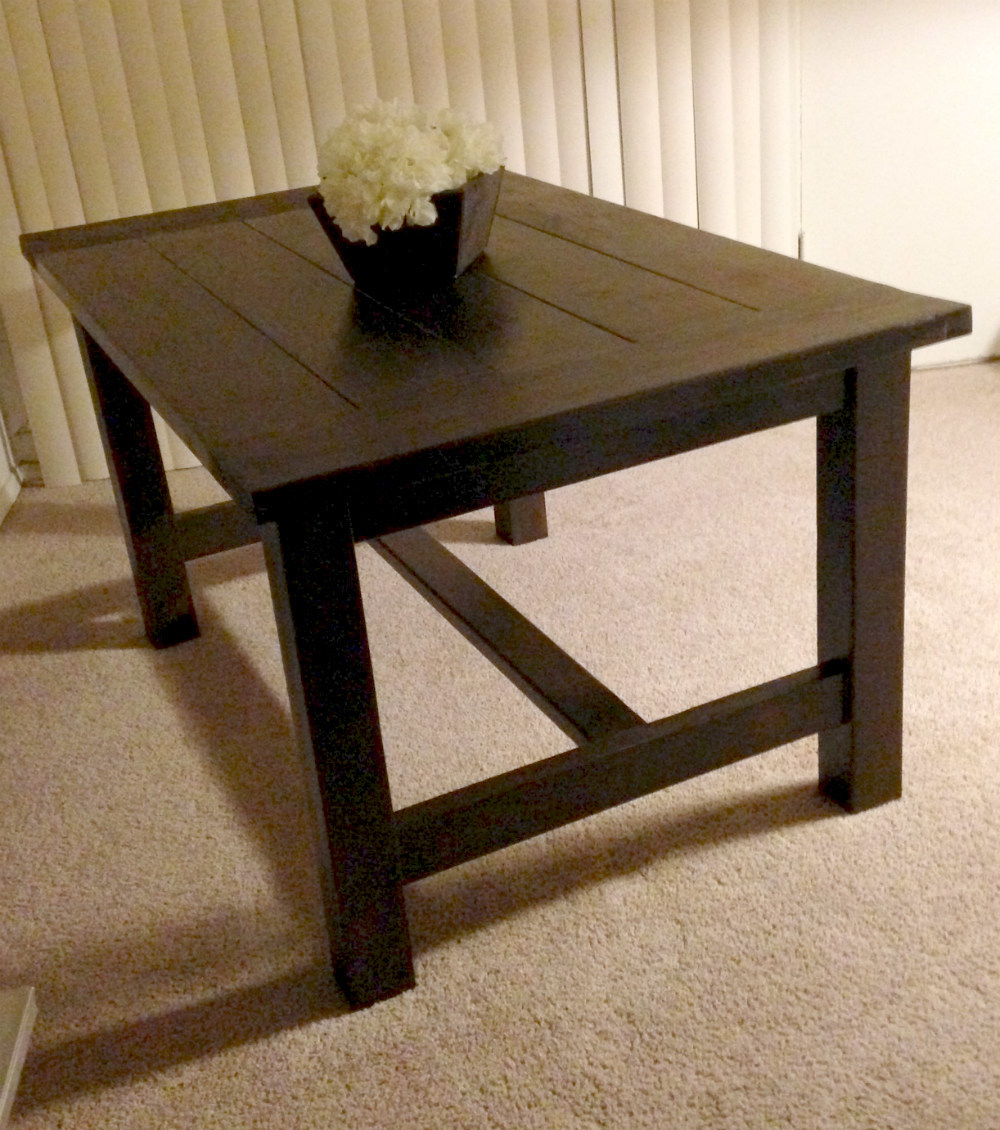
This was my first attempt at a bigger project. As with most, the finish took the most time. I modified the size of the table because I made it for my sister. It was also the first time I used a belt sander, and I loved it! It made the top nice and even. I did have a huge debacle when trying to fill the gaps of the table with clear silicone...that is definitely something that requires practice! I ended up removing all of the silicone and just allowing the top coat to sink in. Luckily, it just peels right out, although it did leave some clumps that took a little extra care to remove. But overall, I loved how it turned out, and my sister loves it too. I made the bench too.
Wed, 08/27/2014 - 15:12
What a nice table!!! I love the finish too, it is beautiful! Thanks so much for sharing!
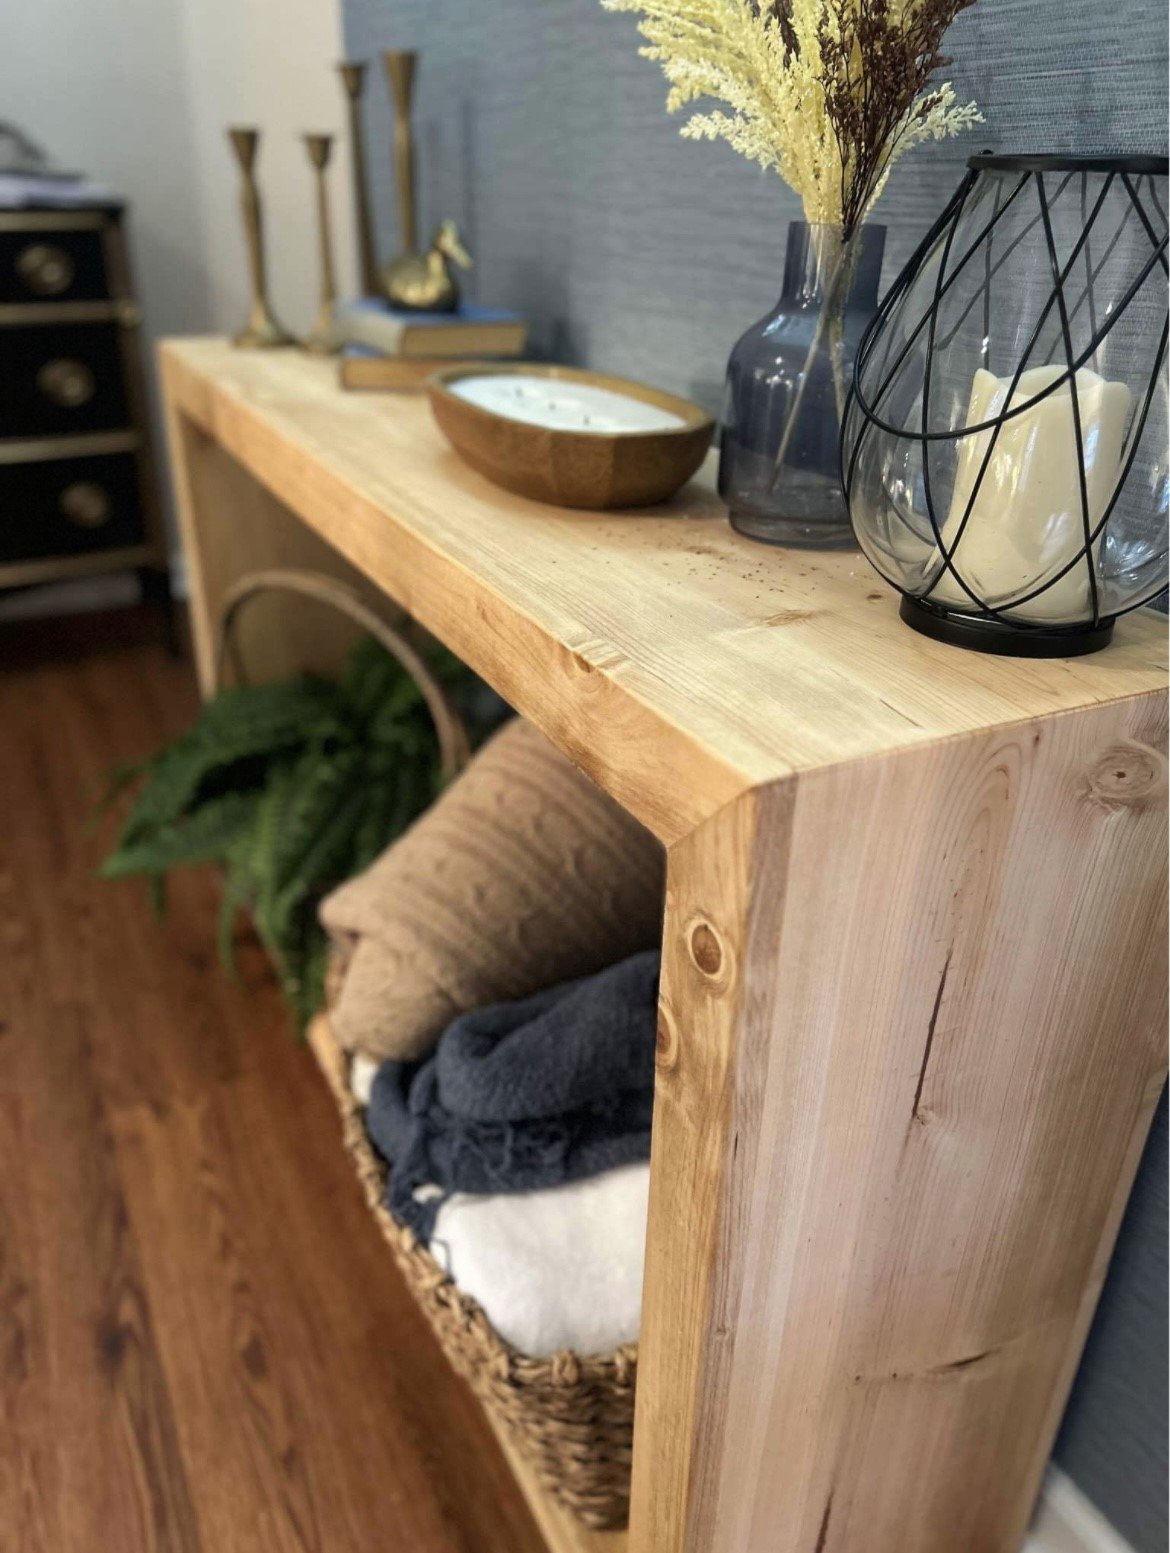
I was looking for a console table and saw your website while searching various stores online and decided to go ahead and build one myself. Followed your plans for the waterfall console table and I think it turned out great and for a fraction of the cost! Thank you and you definitely gained a new follower!
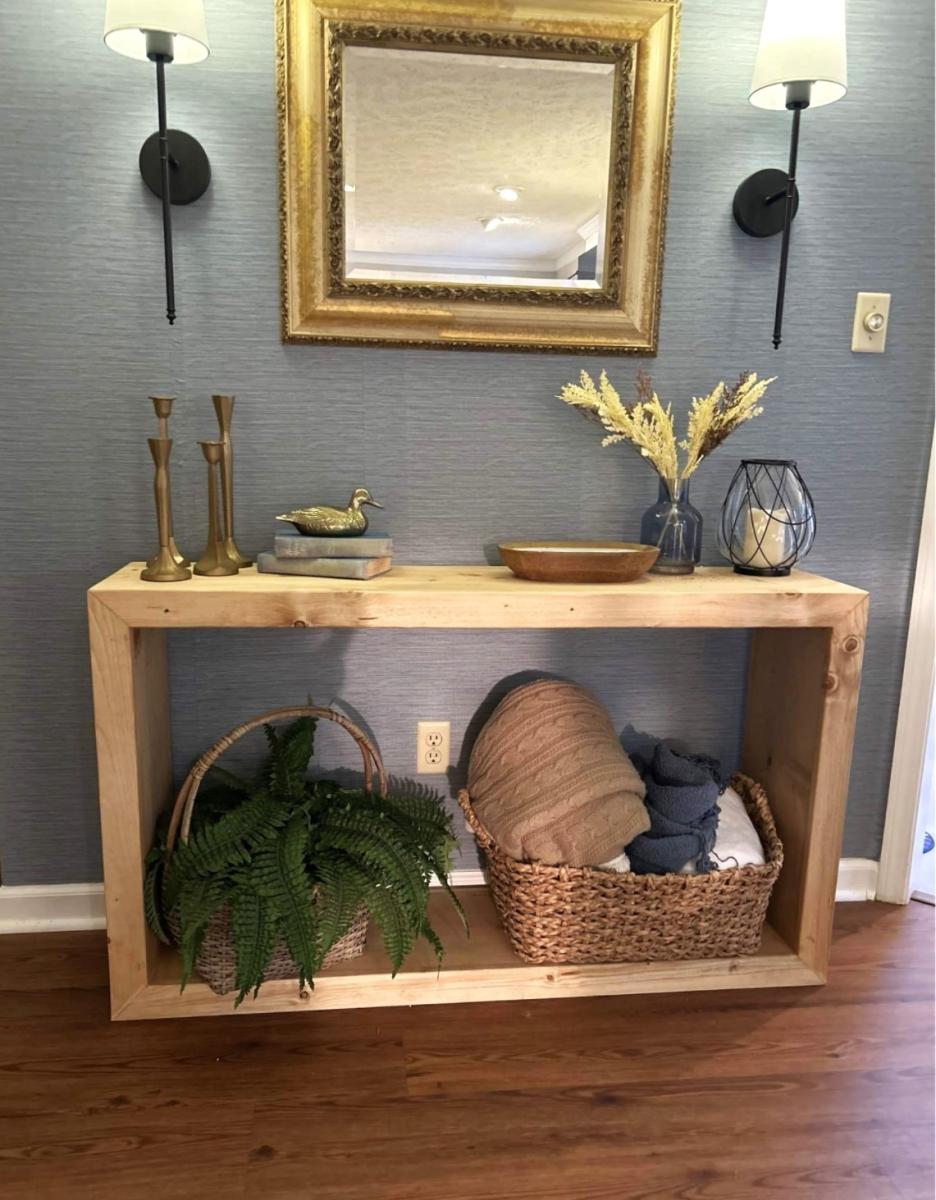
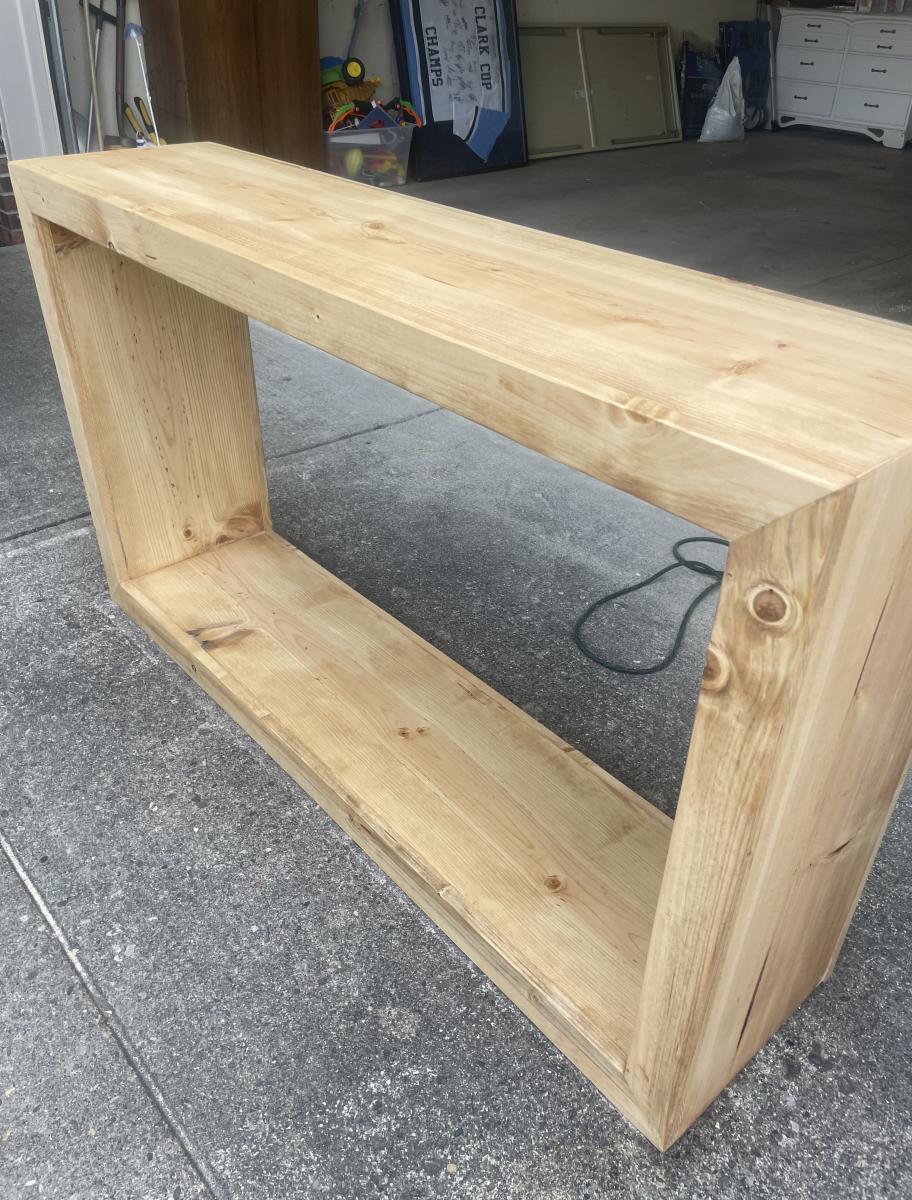
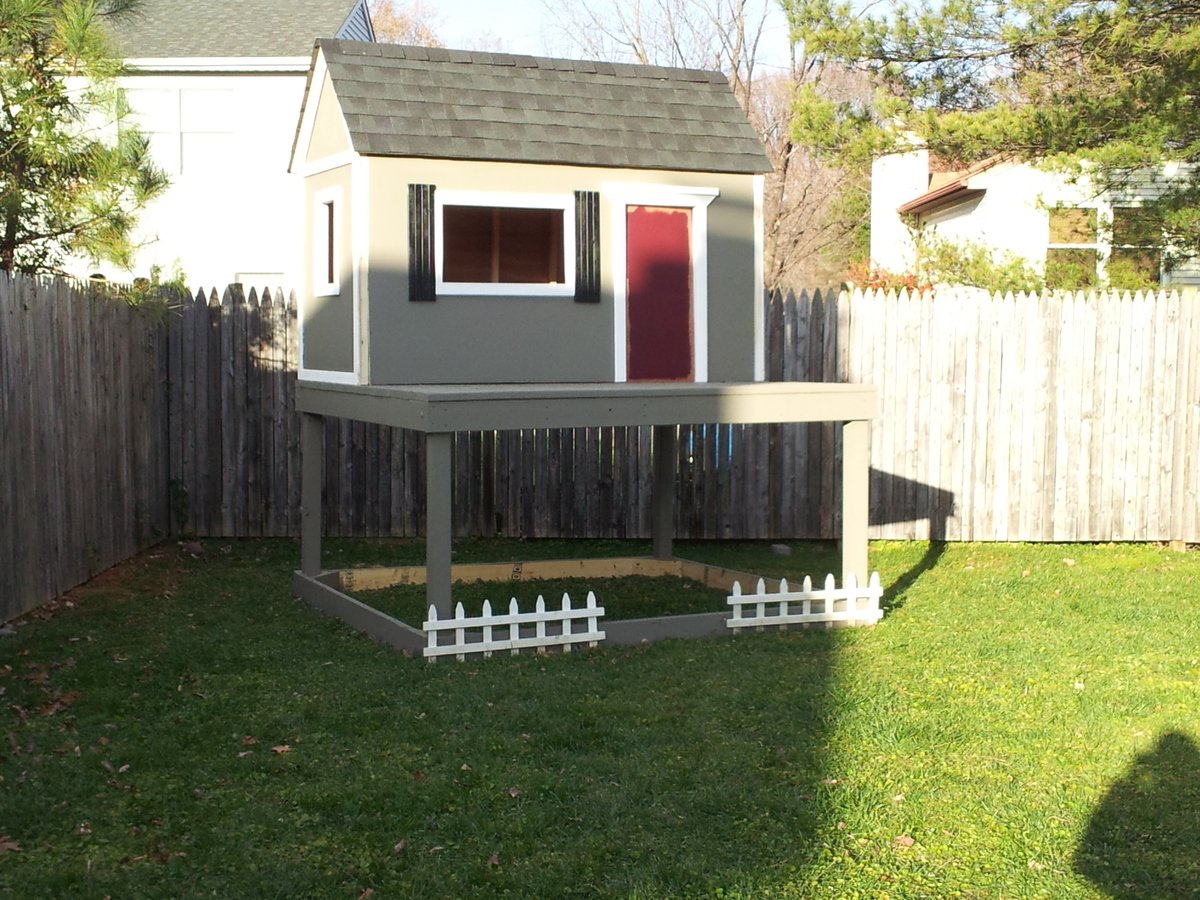
My husband and I used our Thanksgiving break to build this playhouse and deck, using Ana's plans. We are NOT builders...this is very doable for beginners with the right tools. Read the plans thoroughly before starting. Total cost (including all lumber, hardware, and paint) was under $600.
We still have door and house trim to complete, a little painting, and a handrail/ladder.
Santa may bring a slide and some other fun accessories!
Thanks Ana!!!!!
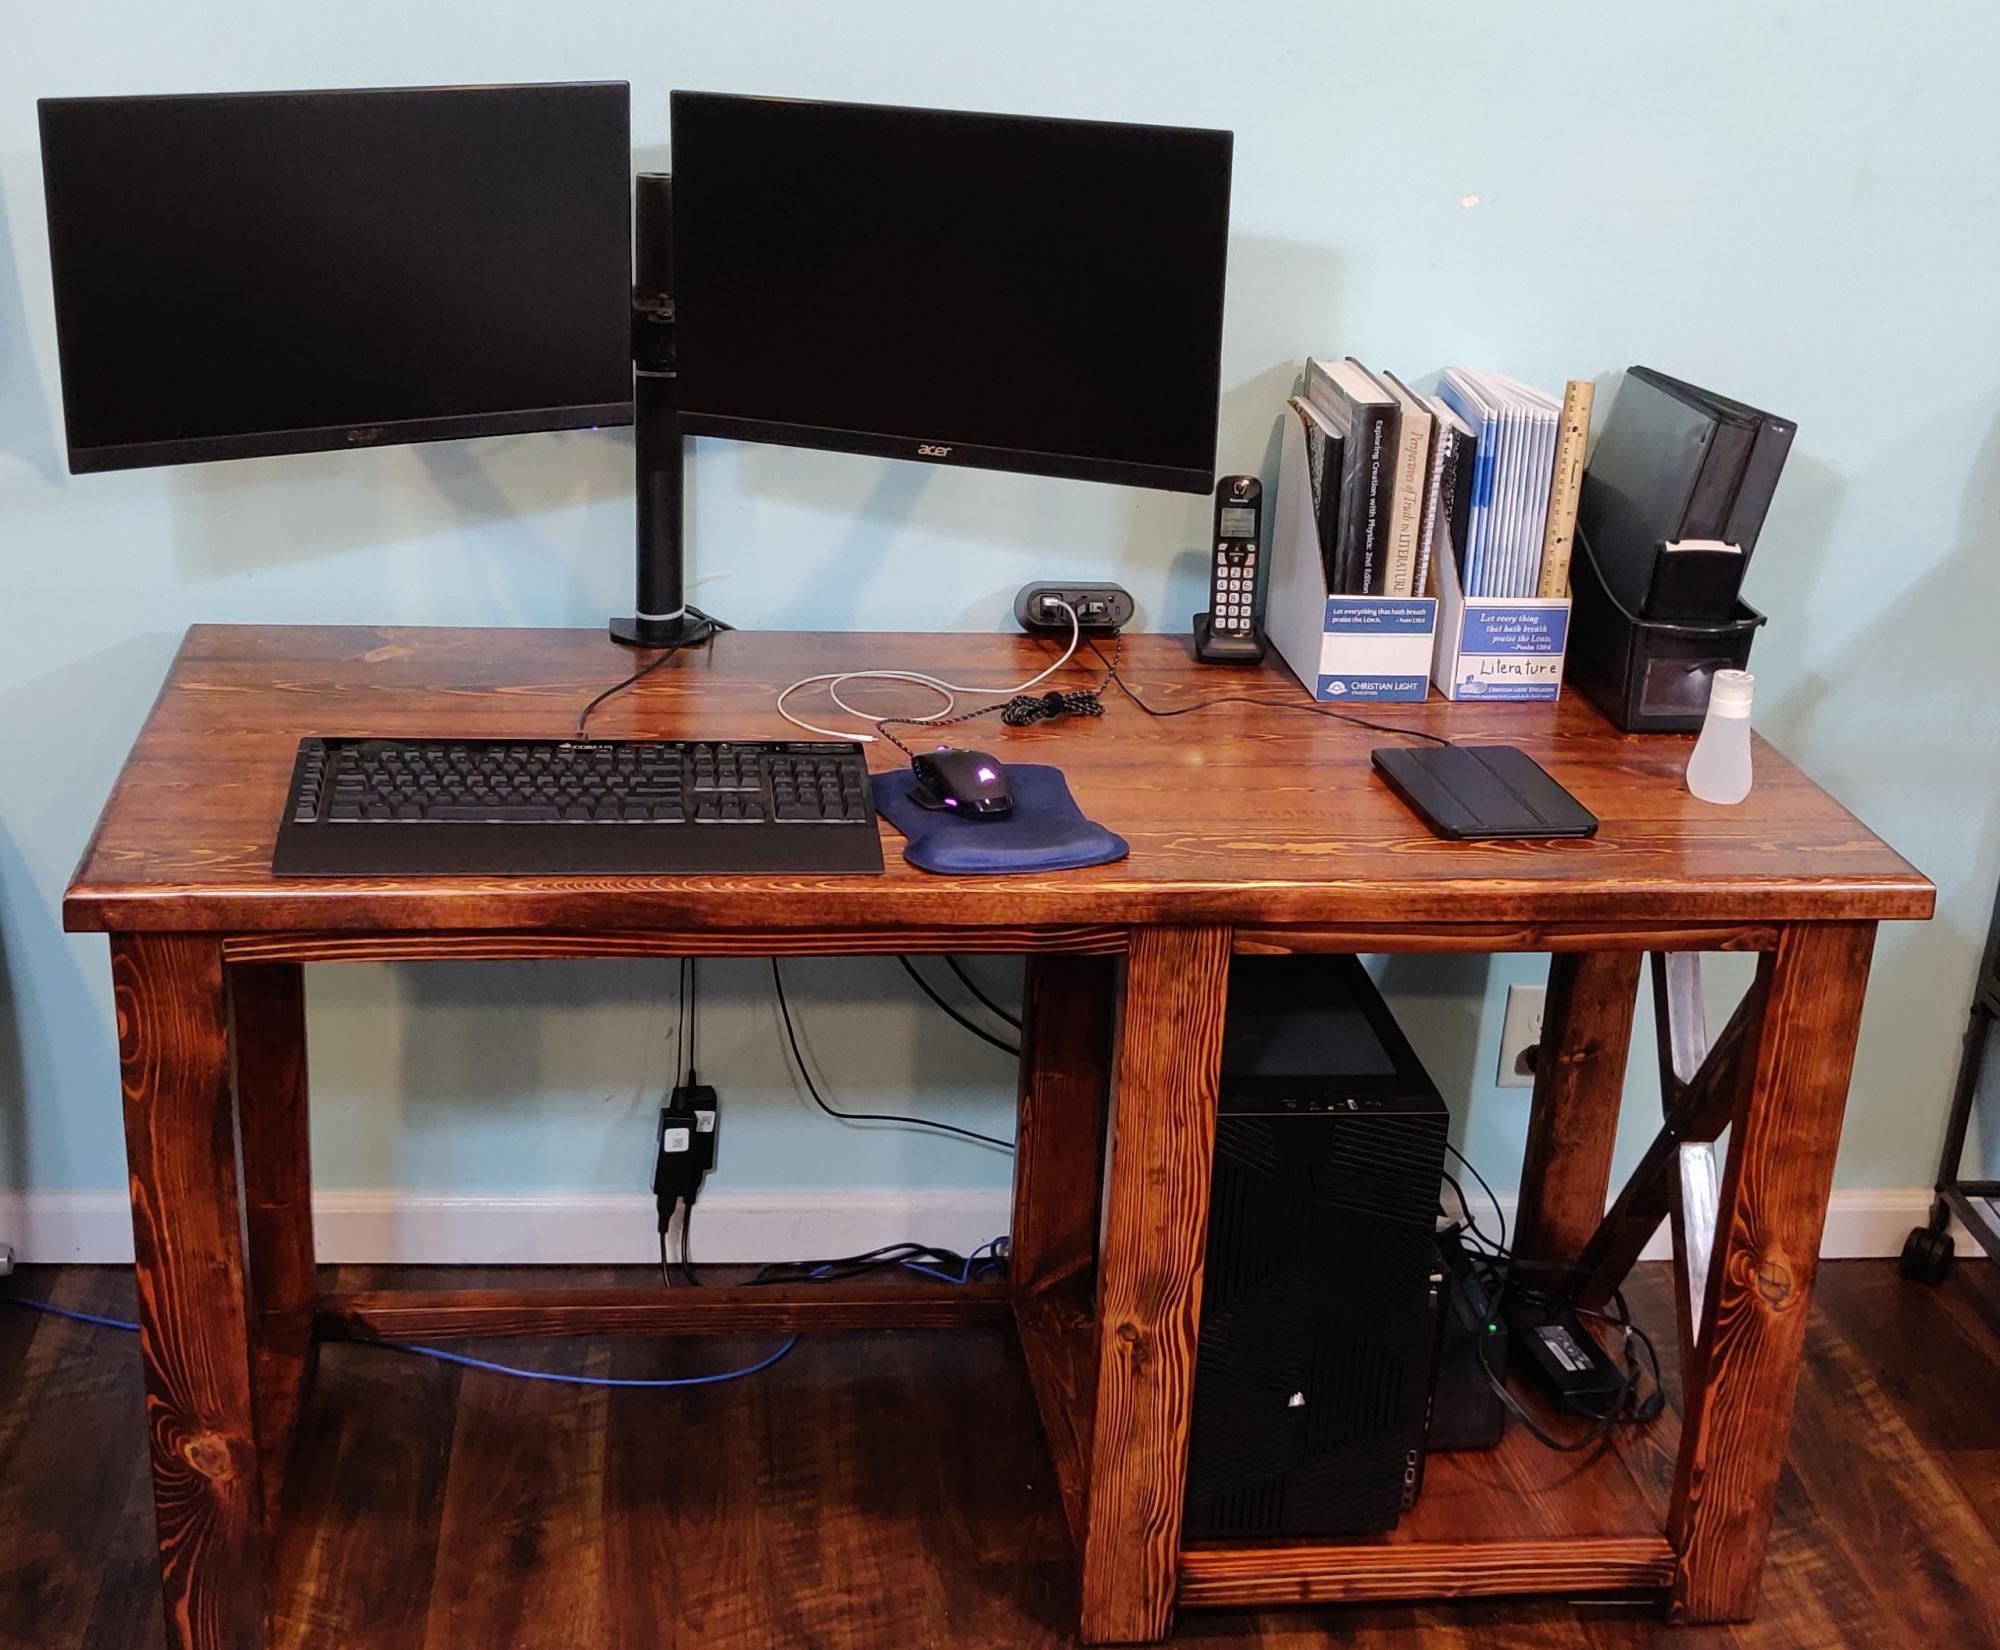
I built this iteration for my second son to give him a spacious workspace for his schoolwork, dual-enrollment activities, and for the occasional moments of kicking back and enjoying a bit of PC gaming.
We stained it with Minwax #215 Red Oak and used Minwax Satin polyurethane to finish ours.
I stuck to the Rustic X Desk plan for the most part and made the following modifications:
1) I used five 2x6 planks instead of four, to give it a 27.5-inch depth.
2) I used a 3/4-inch roundover bit to round off the tabletop to give it a smooth feel.
3) I left out the "middle" X, so my son could have easy access to the "guts" of his computer
4) I left out the middle shelf so my son could stow his PC tower "below deck"
5) Not really a modification; I used a 3/4" straight router bit to cut notches into the 2x2's used for the X detail so they would sort of lock together because I wasn't happy with the way the angles and all were coming out with the two half-leg parts of the X detail.
6) I hated the selection of furring strips at the local big box home improvement store and didn't want to travel all the way across town to see if the "lumber stores" had anything better, so I ended up milling my own on my table saw from cherry-picked 2x4 lumber. It was cheaper than buying the premium pine to boot, since a 2x4 would give me a pair of 2x2s and leftover 1/4x2 that I'll be able to run through a planer and turn into something useful. Not a modification, just more of a "if you're plagued with lousy selection, try this instead" idea.
7) Installed a Wiremold WMC220BK convenience 120V/USB power center to make it easy to plug in a desk lamp, charge a cell phone, etc. without making a cable mess. (https://smile.amazon.com/dp/B0768R2JDG)
8) Added felt pads under the feet to make it slide easily on wood/vinyl flooring
9) I set the bottom of the leg assemblies 1-1/2 inches above the floor instead of 3 inches, so our indentured robotic servant "Mo" won't get trapped underneath any of them. He isn't the sharpest tool in the shed but at least earns his keep. Mo is a late-model Roomba 675, if any are curious to know.
Between the "custom" milling and the fact that I should have run all this 2x4 and 2x6 through a planer to cut down on all the sanding and resurfacing needed, this ended up taking a lot longer than the initial couple weekends to build plus the staining and finishing time. I'm in the middle of building a second one of these with some slight modifications since the need/use case is a bit different. I'm also planning a third revision and build that will include some "geek-friendly" customizations, namely integrated cable management and will have two shelf bays instead of one, just half as wide (a single 1x10 on the left/bottom and another 1x10 on the right/bottom, with the seating area in the center). The third "generation" will be a Christmas present for a computer science student (who consequently also graduates at the end of this fall semester).
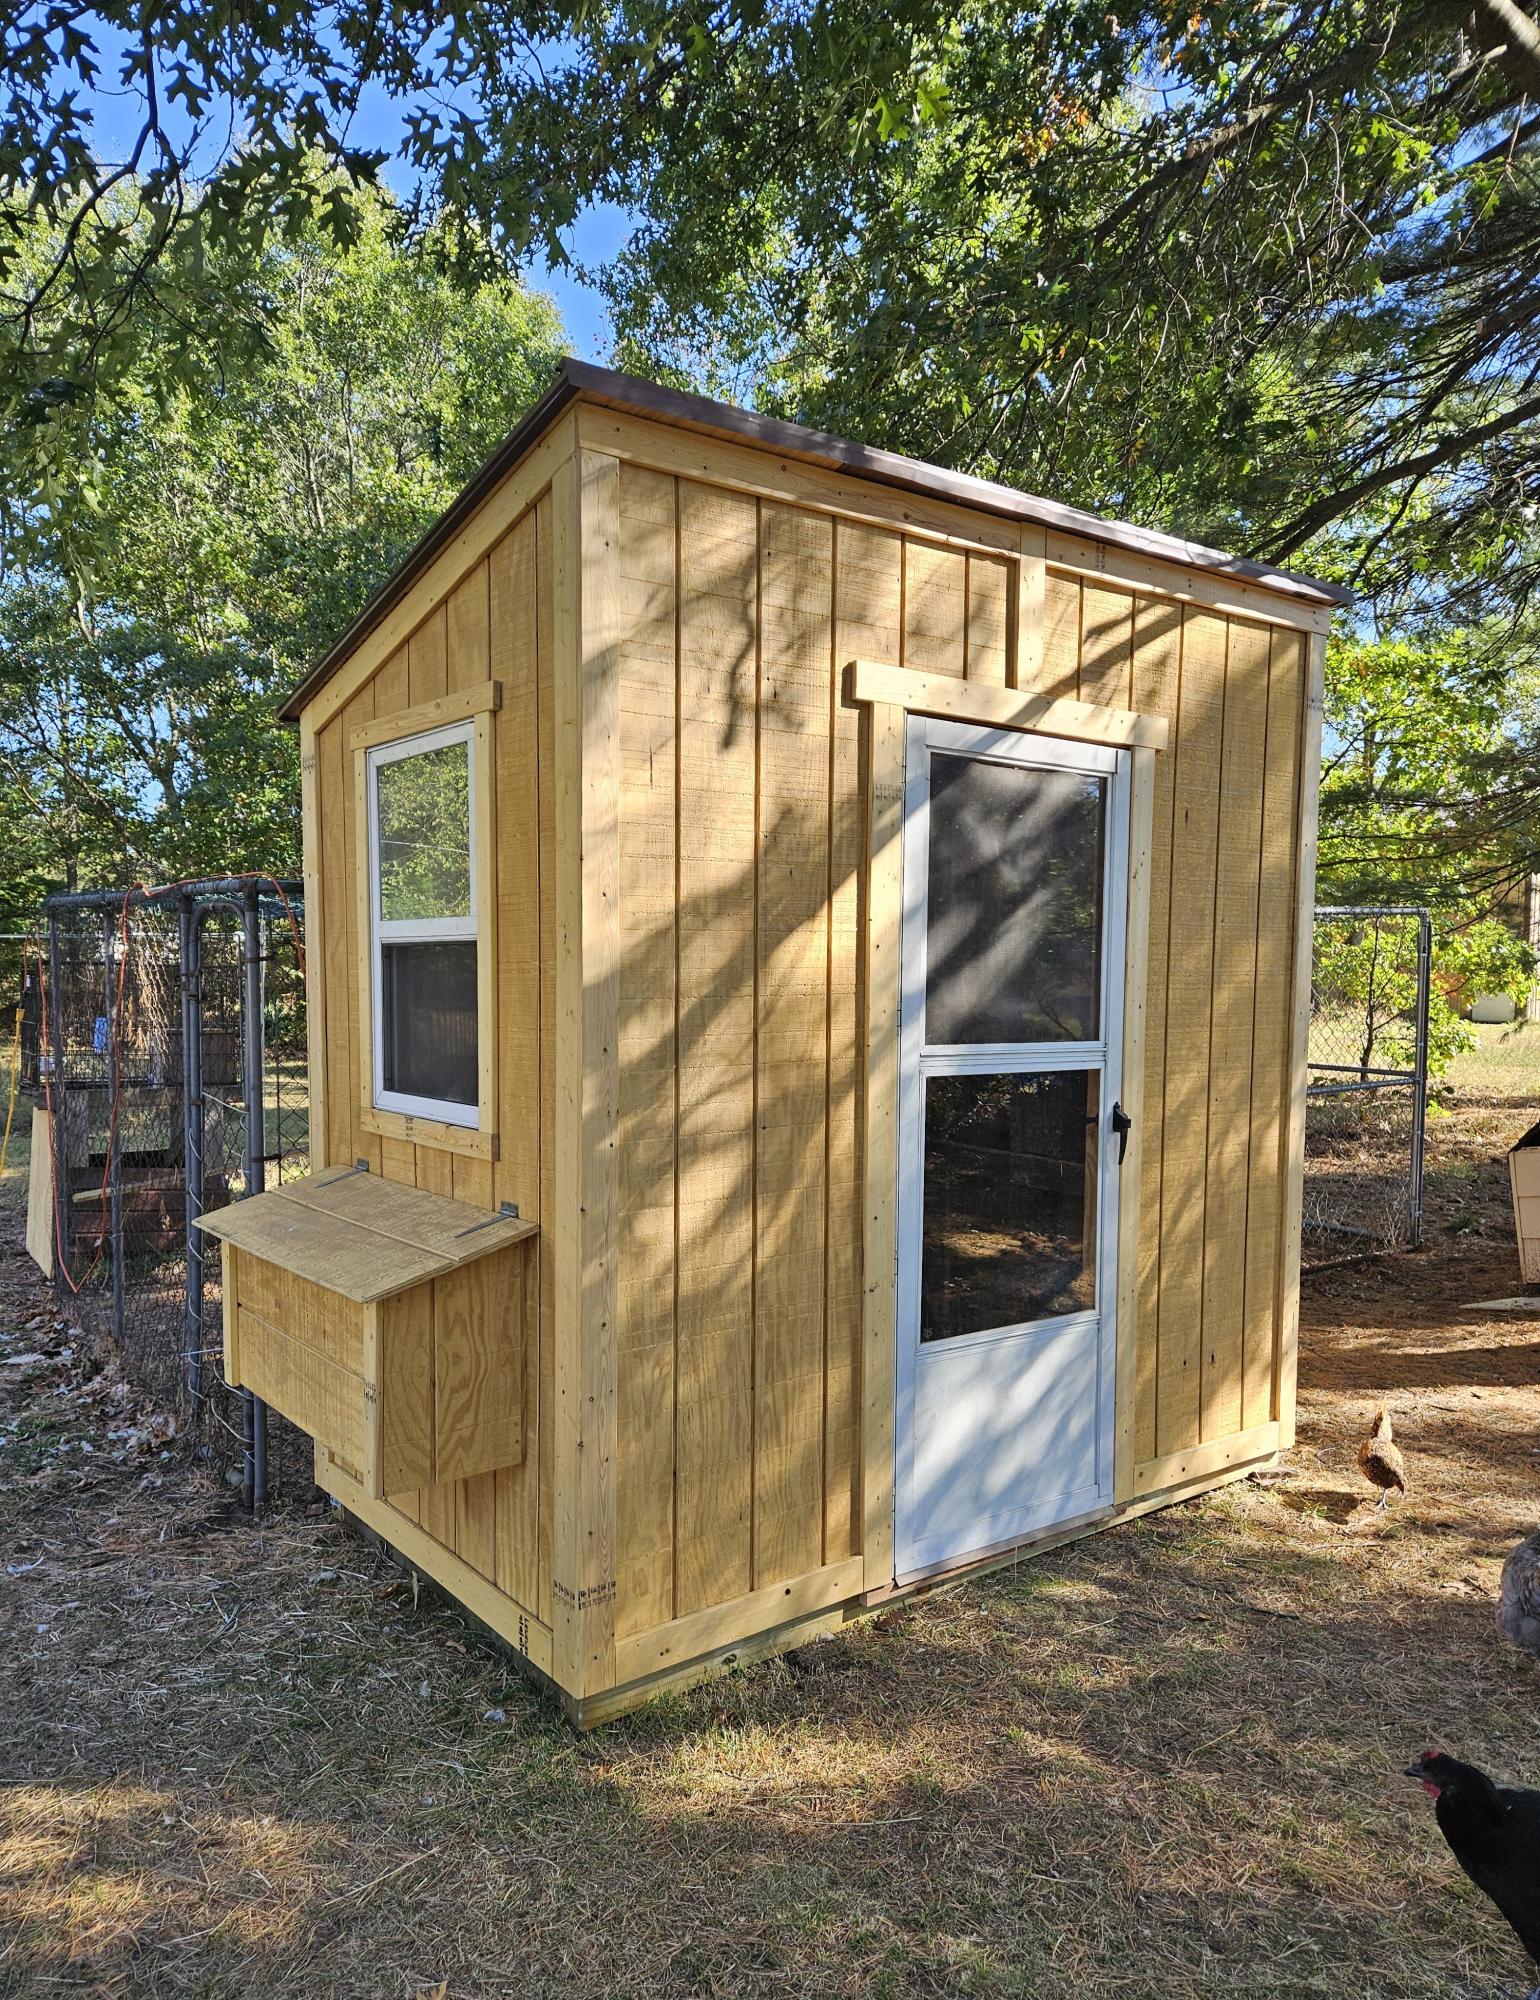
We modified the plan and added 8 inches vertically and widened the foot print to 55 inches. This was to cut down on lumber waste and pressure treated 4x4s on hand for the base. A used window and storm door was recycled for this build. We also moved the storm door to the high side wall due to the storm door's 80 inch height. Sealed in clear Acryllic. Our hens love their new home and reward us with fresh eggs everyday. - Shelley
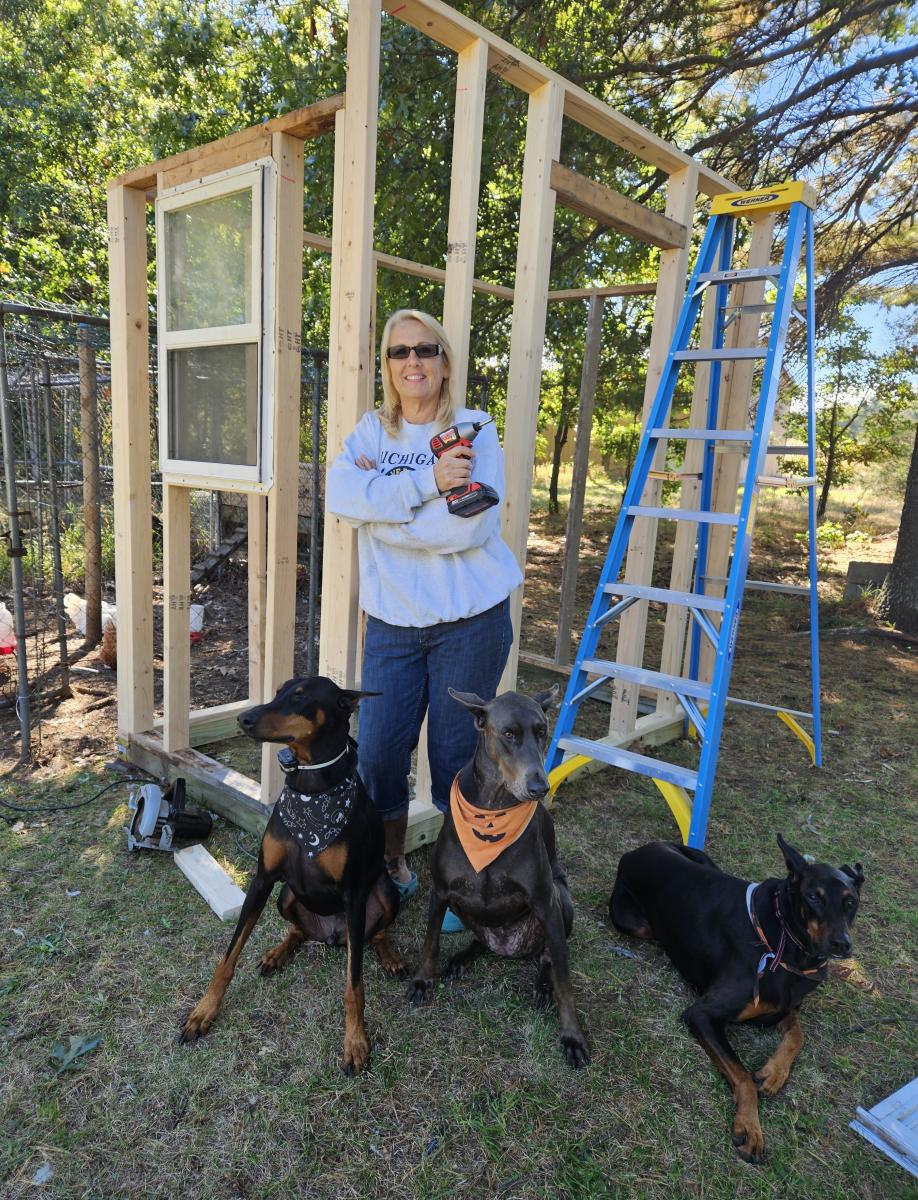
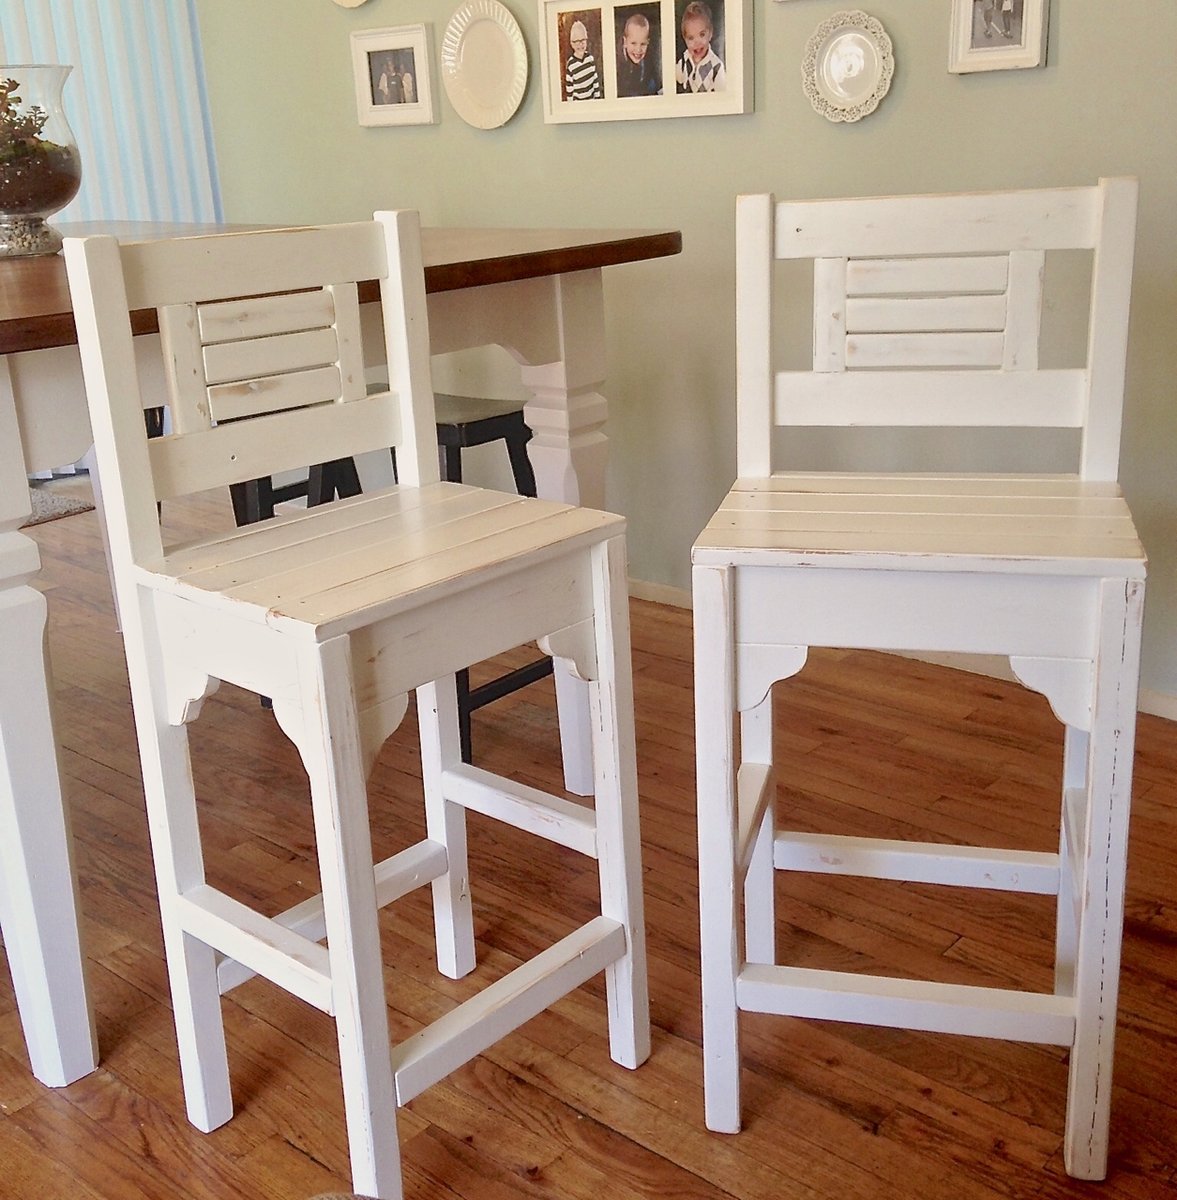
I did a little search to find a barstool and when I saw these plans on Ana White I fell in love. They were an easy build and didn't cost a lot. I made my stools shorter and altered the overall footprint. I like to plug all visible pocket holes which is easy to do and looks great.
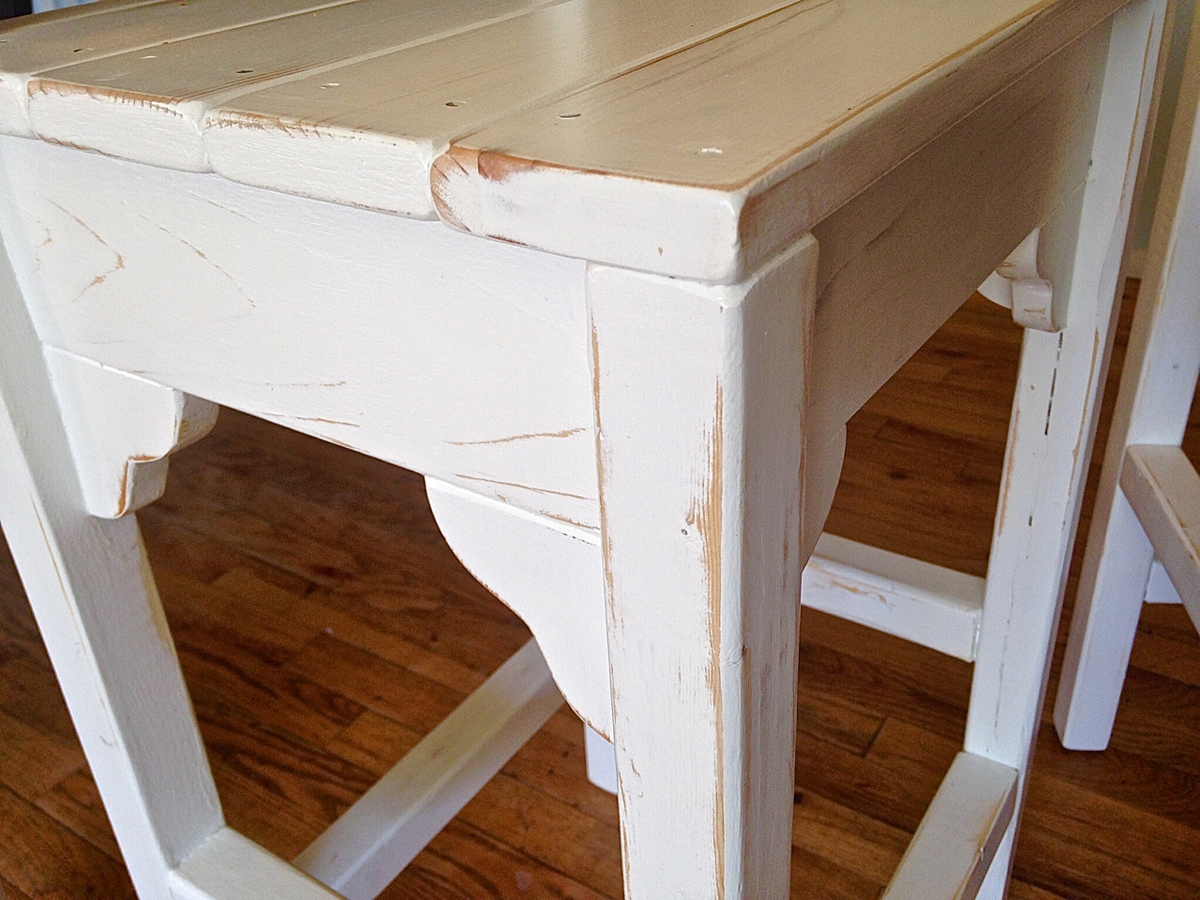


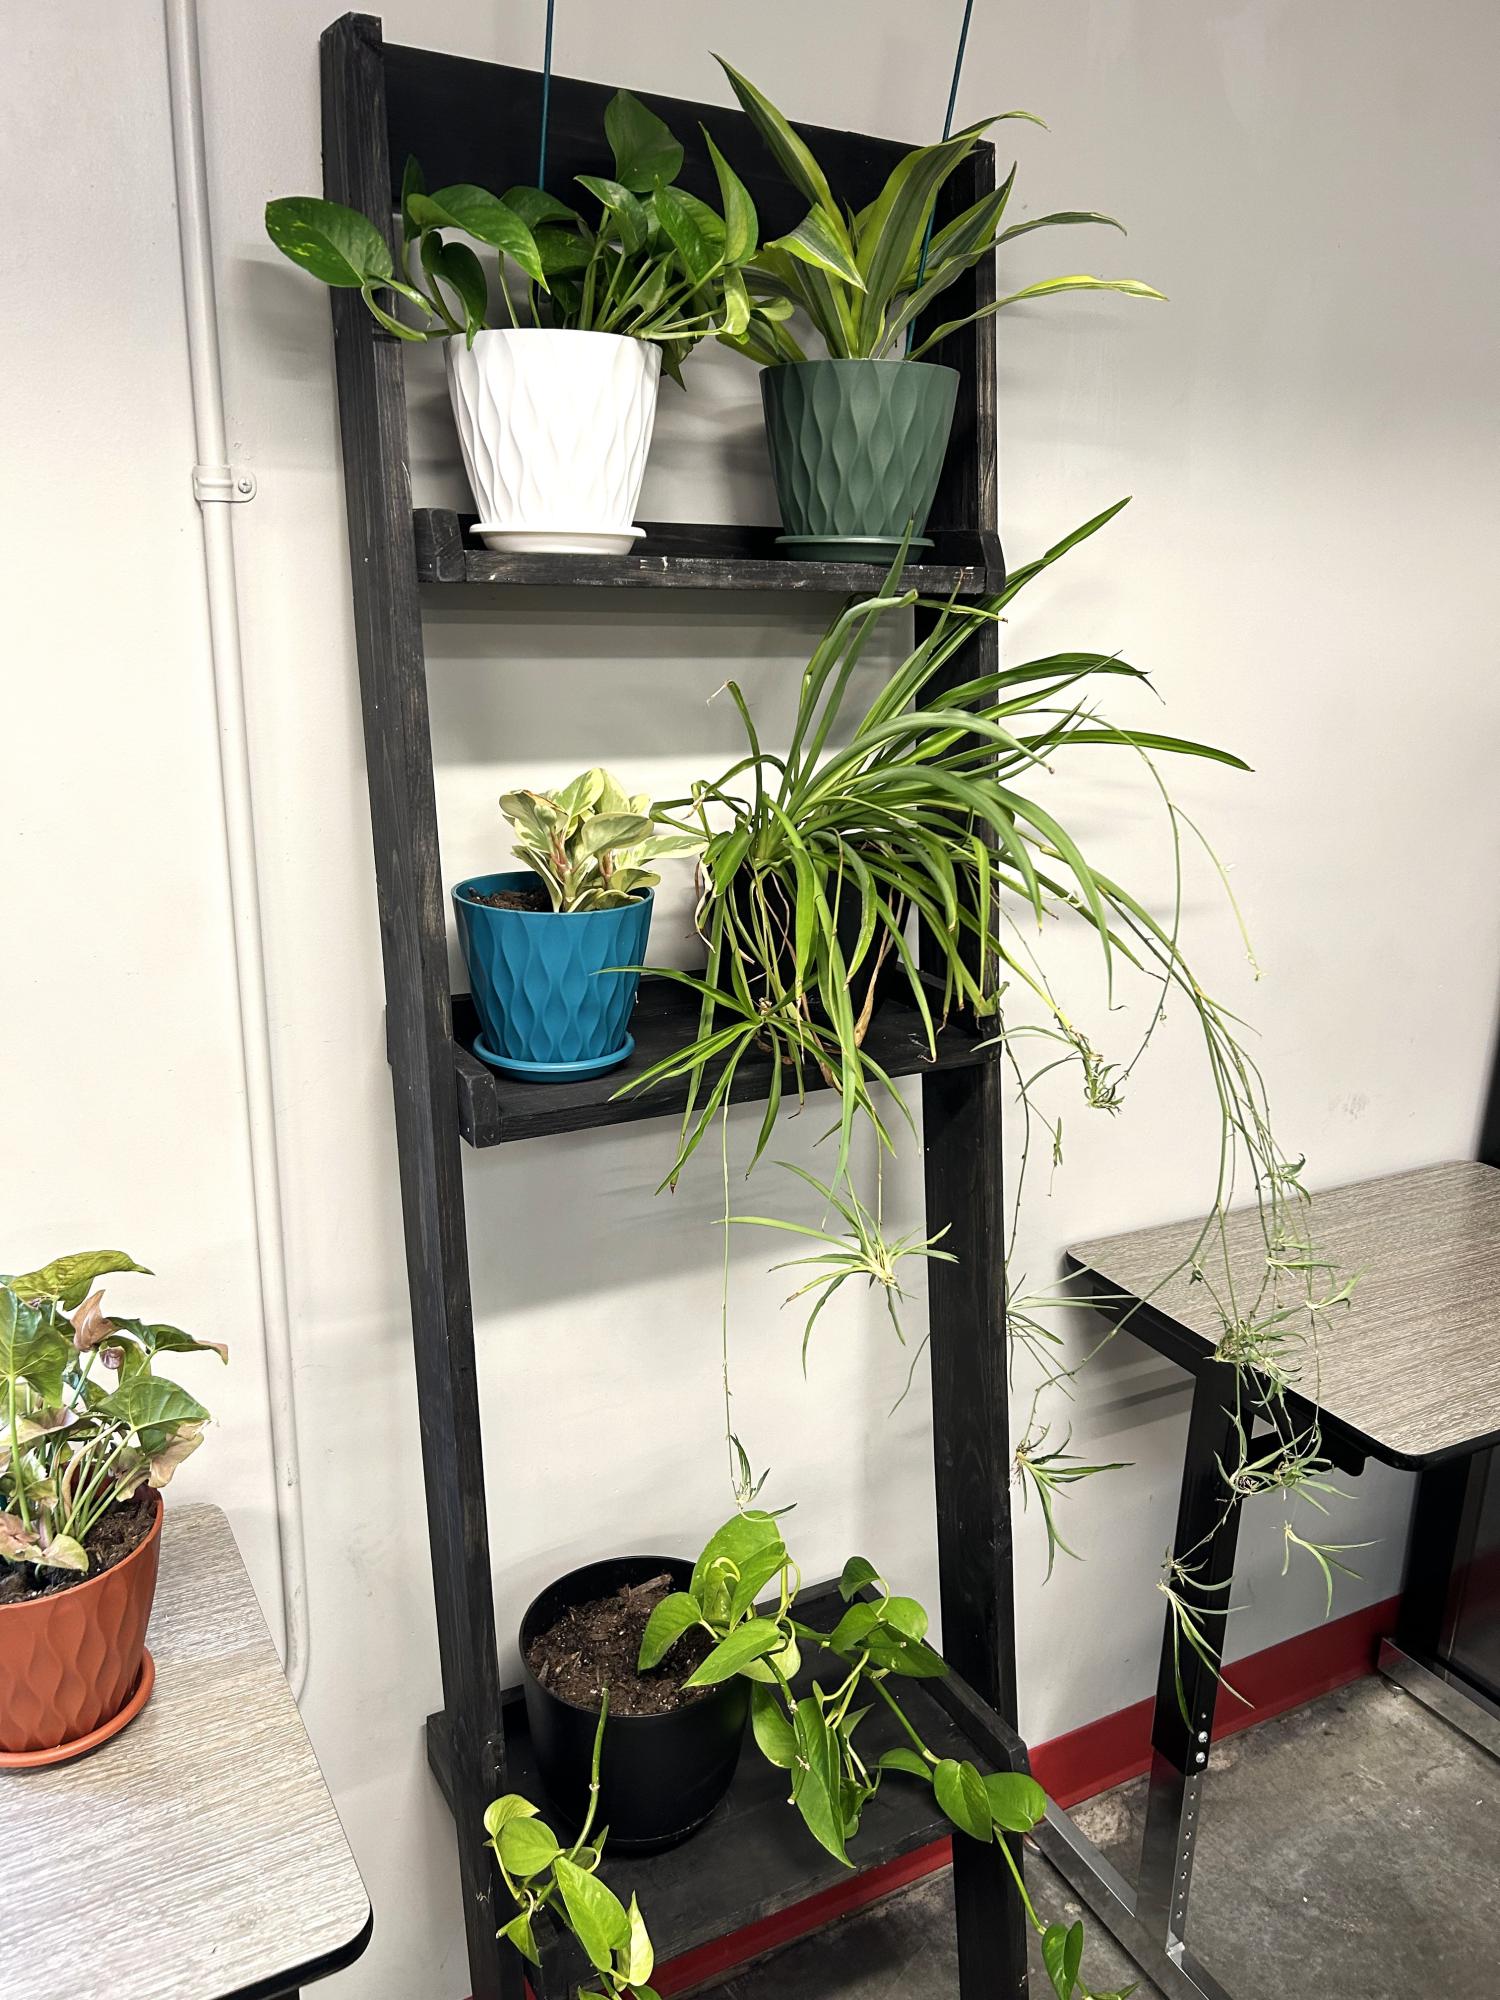
I needed a place to put extra plants in my classroom, and this was easy and fit the bill perfectly. I left out one shelf to allow space for plant growth. - Jennifer
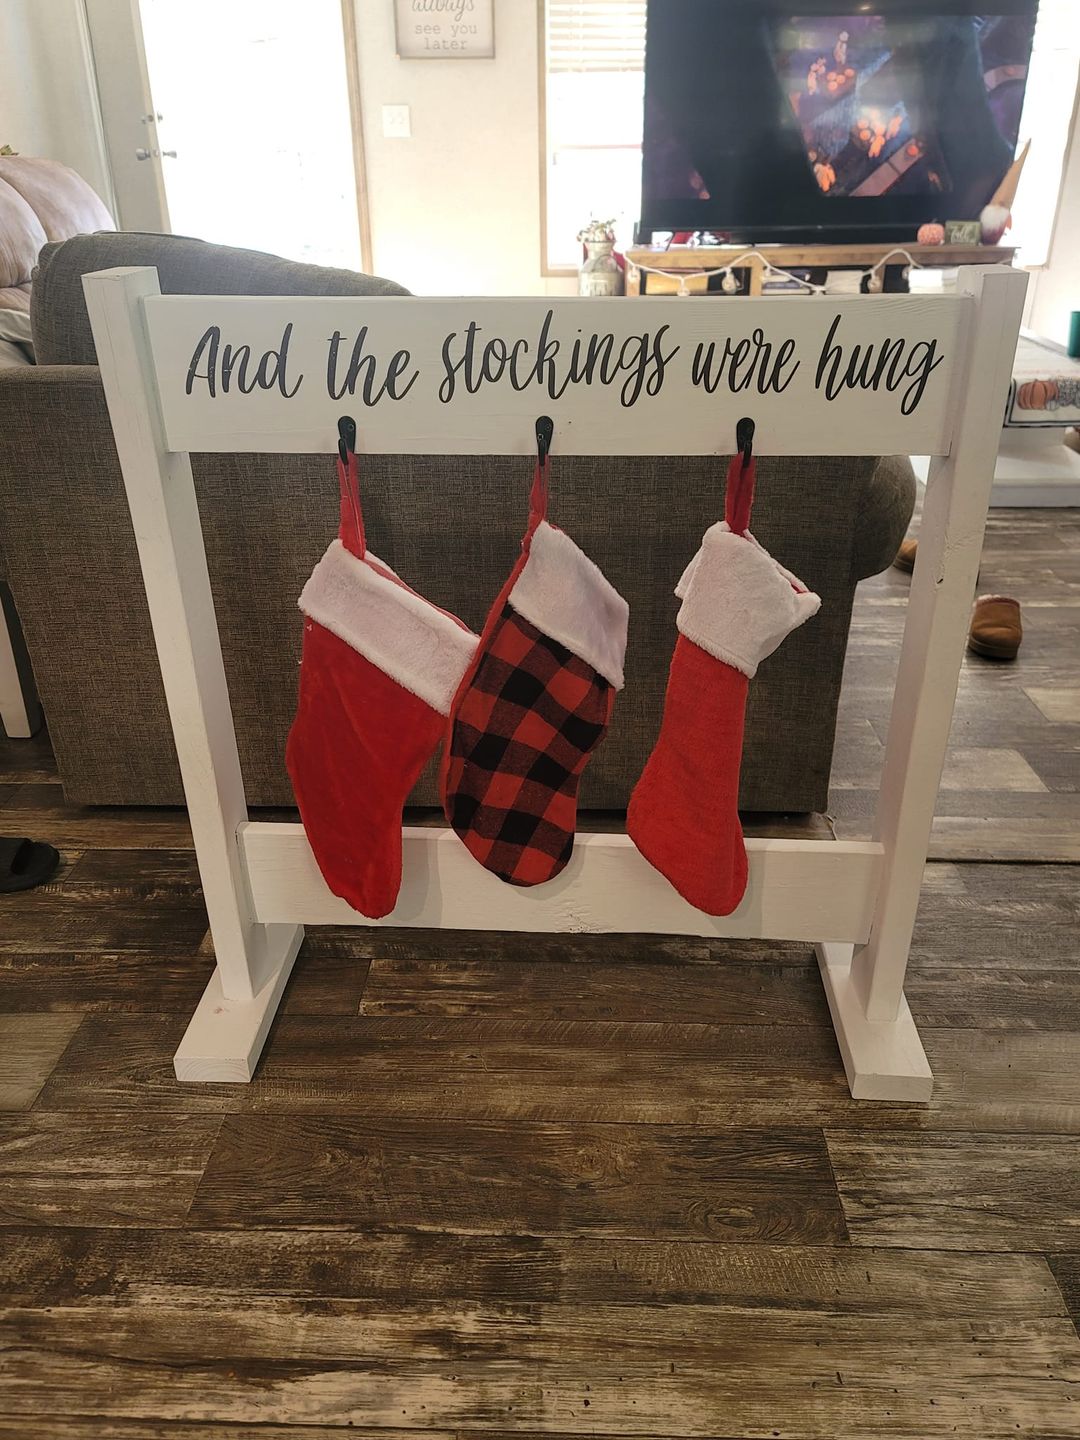
Here is something I finished this weekend! I did change the measurements to 30" across since I only need 2 stockings. Shared by Krystal Sims on our Facebook Community Page
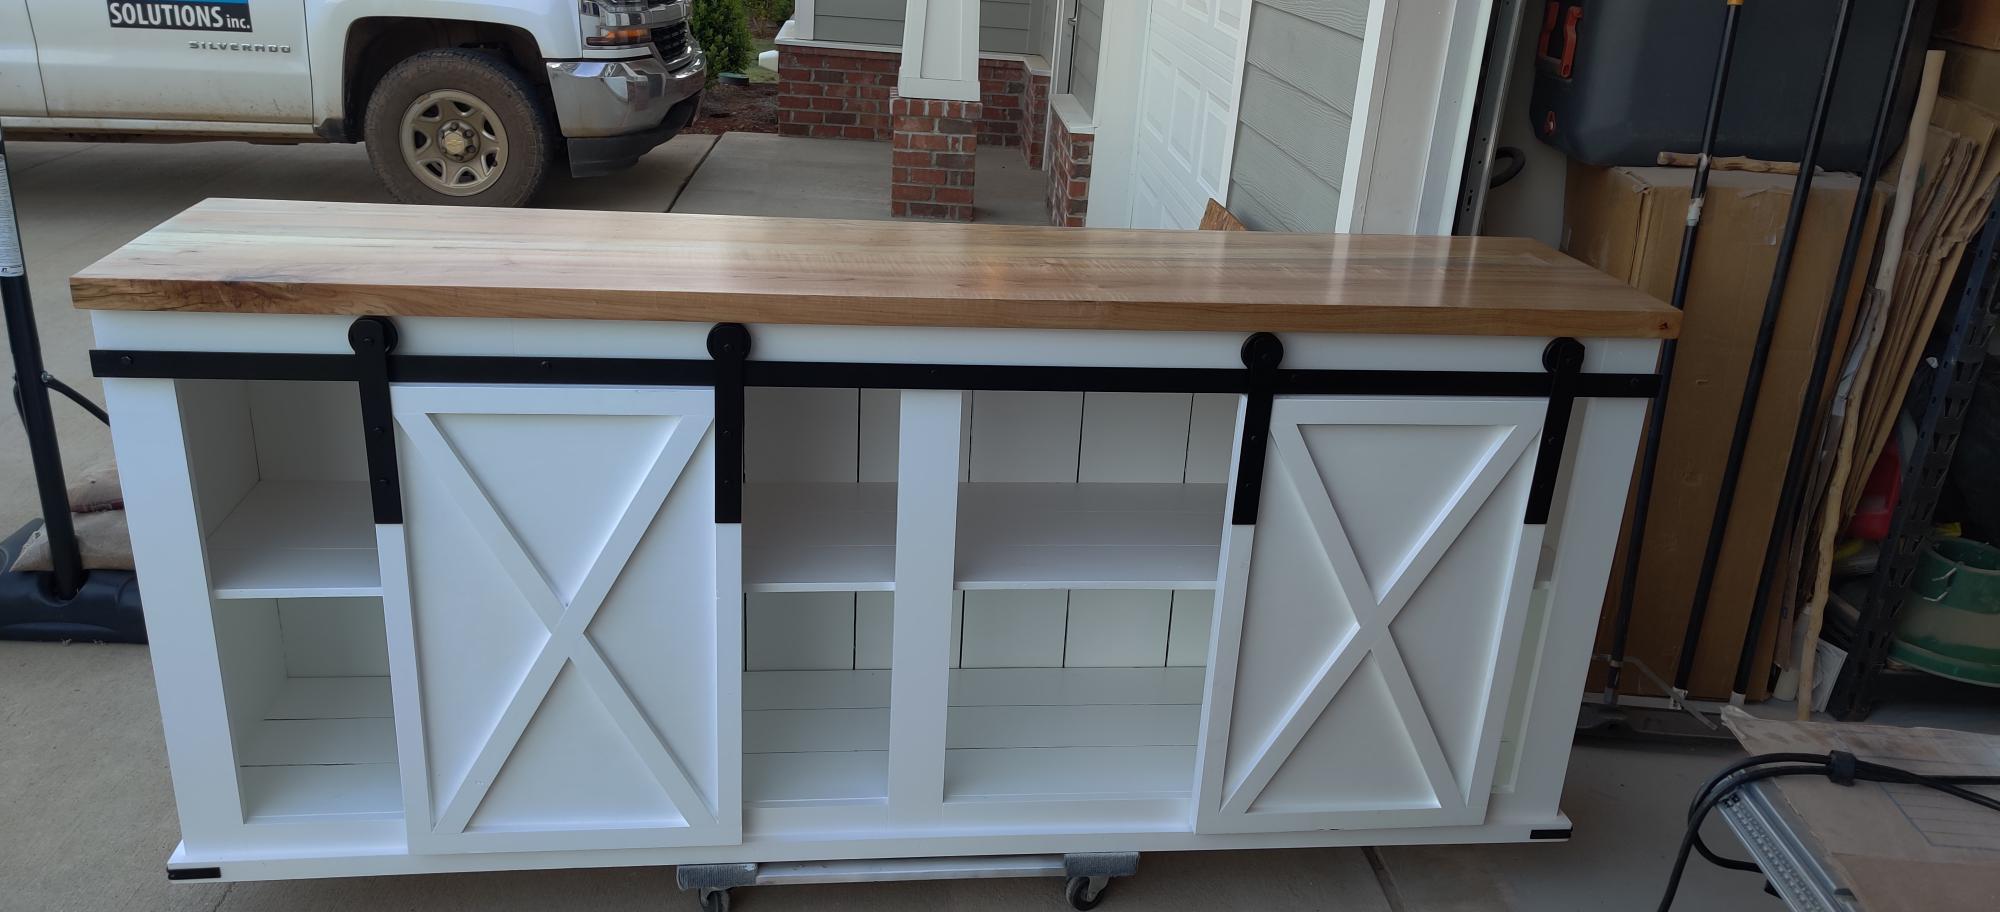
I really liked the idea of making a TV console for our house. I used your plans as a guide and then added a few features to it. I made all of my rail system hardware vs. ordering a kit. I also added some Walnut accent inlays on the ends of the table top.
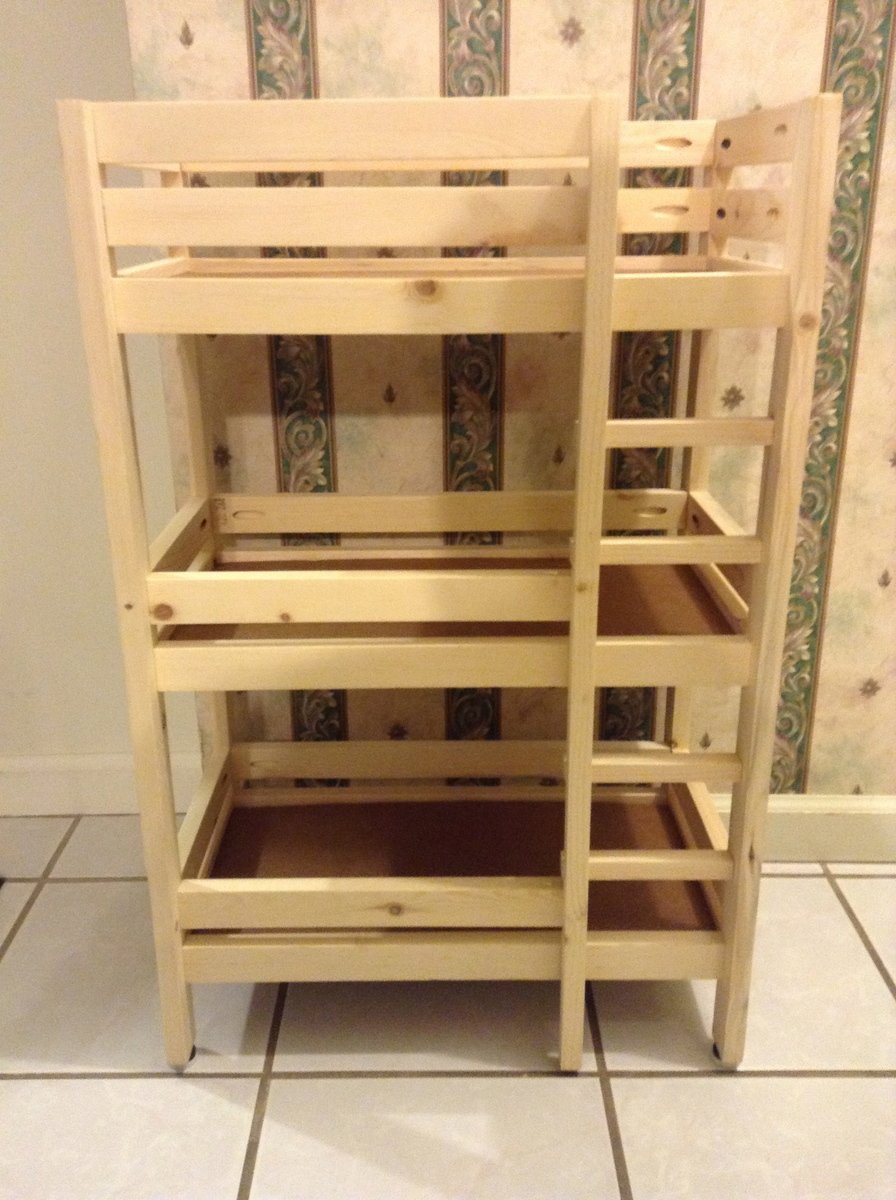
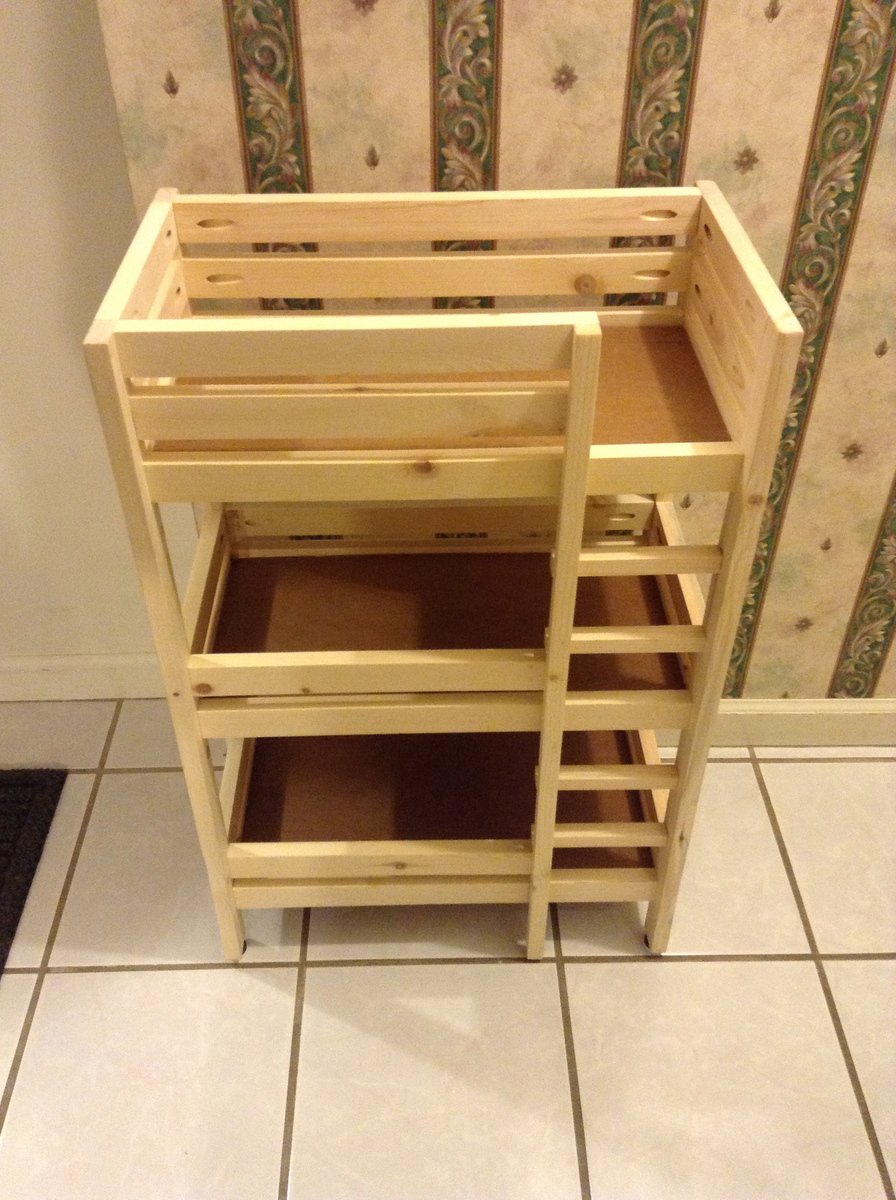
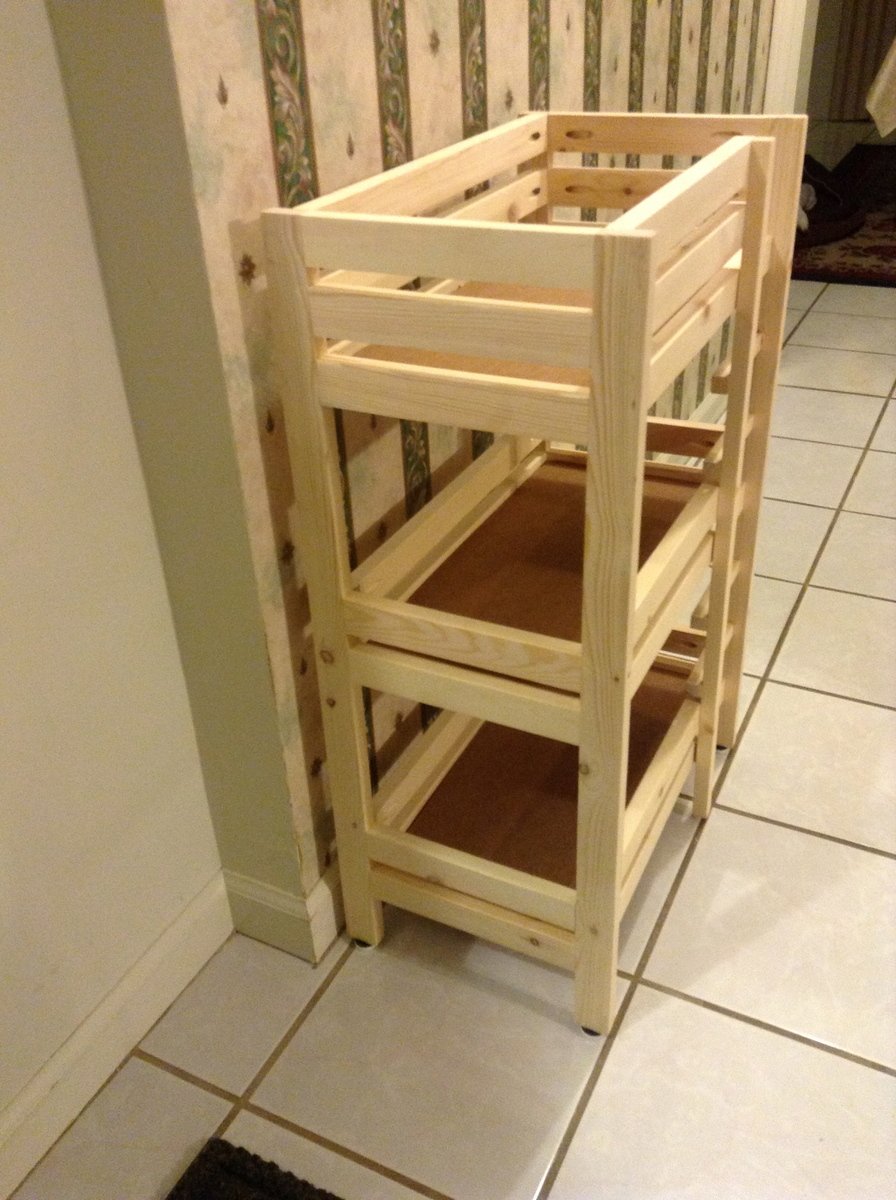
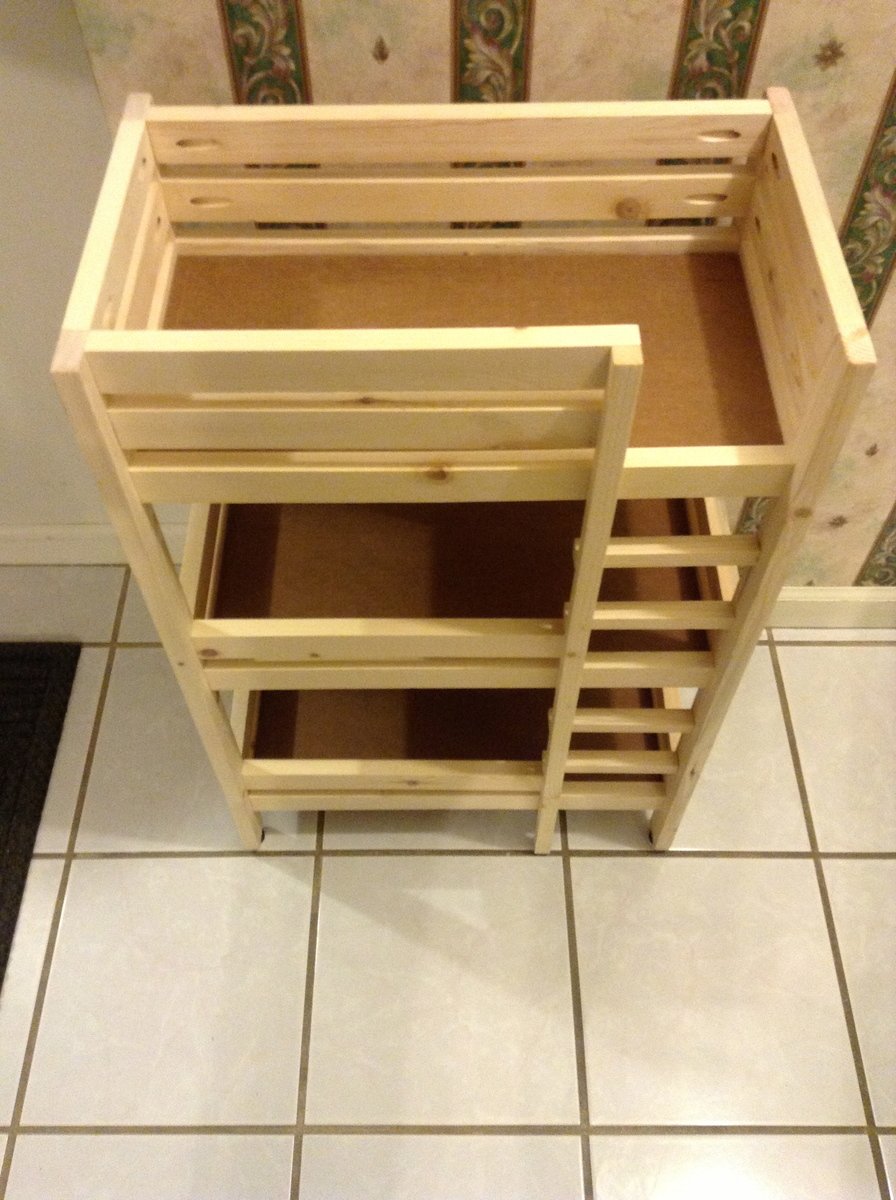
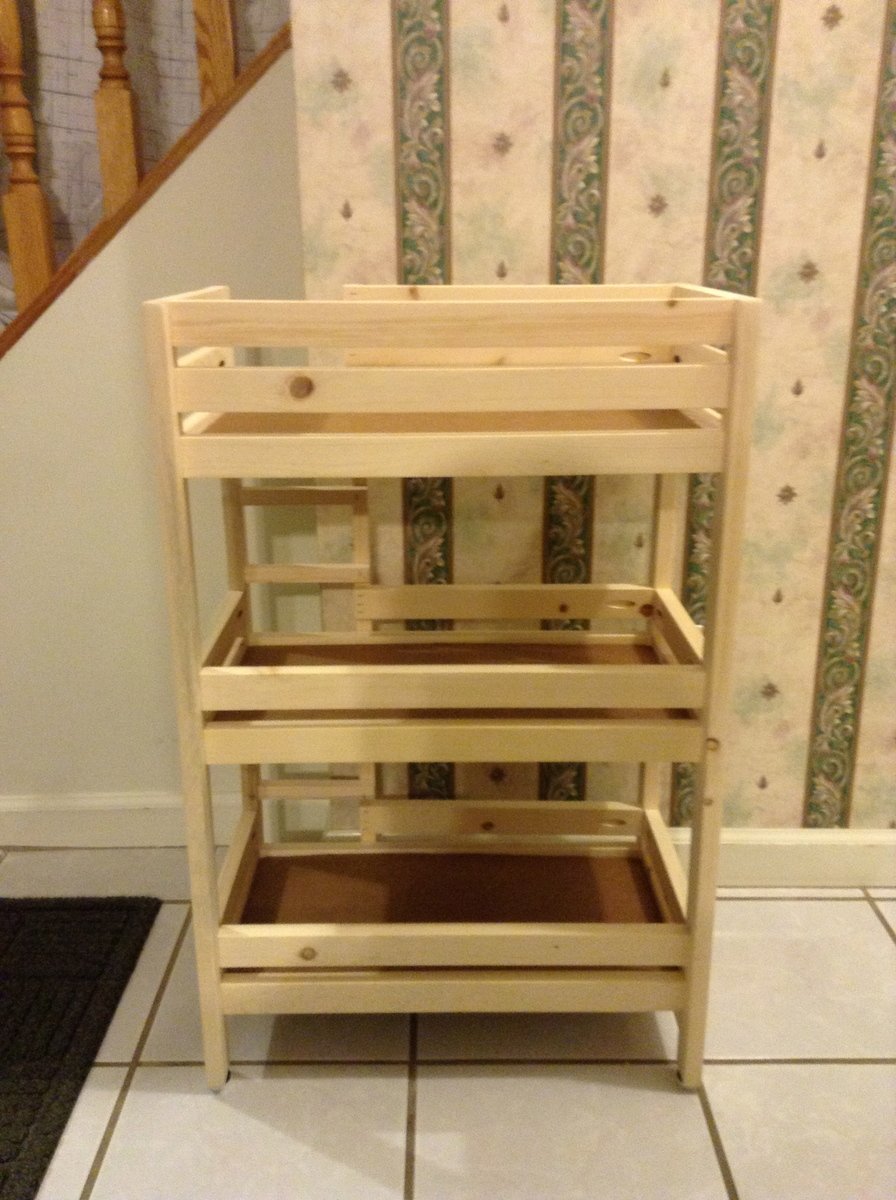
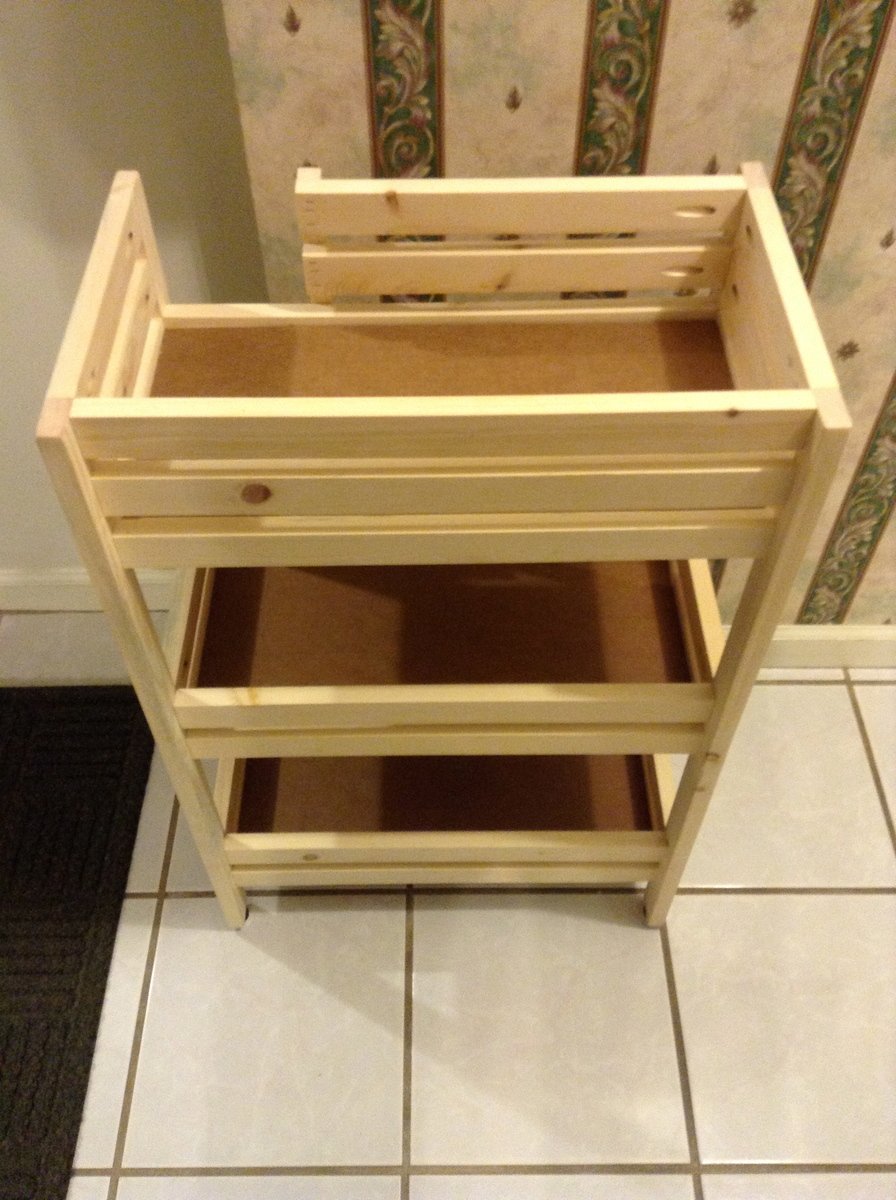
My eldest daughter contact me to show me the standard doll bunk bed on this site. I decided then that I was going to build one for Christmas for my 6 year old, since she loves to play with her American GIrl dolls. Before I got to it, she ended up drawing a name for Secret Santa gifts with her gymnastics team. I got the idea to build my first bed for the girl who's name she drew, therefore, I'd learn what to and not to do first, since I'll be building my daughters in Oak and not the pine that I would build this one out of. I talked with her mother to see if she played with dolls and she confirmed that she had 3 American Girl dolls that she adores.
You'll also notice that we added another level, since she has three dolls, and you can't leave on without a place to sleep. It was quite easy to add the extra level by measuring the distance between the first and second and then adding that onto to second. In the pictures you can see that I added metal feet to each leg, and that made the bottom of the ladder sit a little above the floor by that same distance. I think that I'll start the ladder on my next one at the bottom rung of the lower bed, and not leave that piece at the bottom.
Needless to say, the little girl was beside herself when she opened the wrapping paper. My daughter learned a lesson on how much more fun it is to give, especially after all of the work, than to receive. Before the party, all she could do was say, "I can't wait to see her face when she opens this." I asked her about it when she came home today, and she said that she must have thanked her a hundred times throughout the night, as it was a sleepover at the gym.
I wish that I had taken pictures along the way, but I didn't. I will however, when I build the next one for my daughter.
It cost me just over $20 to build. I needed 7 - 8' 1x2's. I used a nice piece of cardboard for the floor of each bed. I found it at Sam's club while shopping. They had it between something that was stacked on a pallet, and whatever it was was gone. I asked the manager if I could have it and he was happy to be rid of it. It's not your standard cardboard, but has a double wall. At a width of just over 9", it's very sturdy and especially cheap. The feet were bought at Walmart for $1.57. I glued each connection, even though they were held together by pocket hole screws. With one pocket hole screw per piece, it had the ability to swivel on that screw. I learned that Kreg, the maker of the pocket hole jig has come up with a mini jig, which allows double pocket holes to be drilled into a piece of wood just 1" wide. I asked and received one for Christmas. My daughters will feature the new holes and therefore, I won't be glueing it.
Hope you have as much fun building it as I did with my daughter.
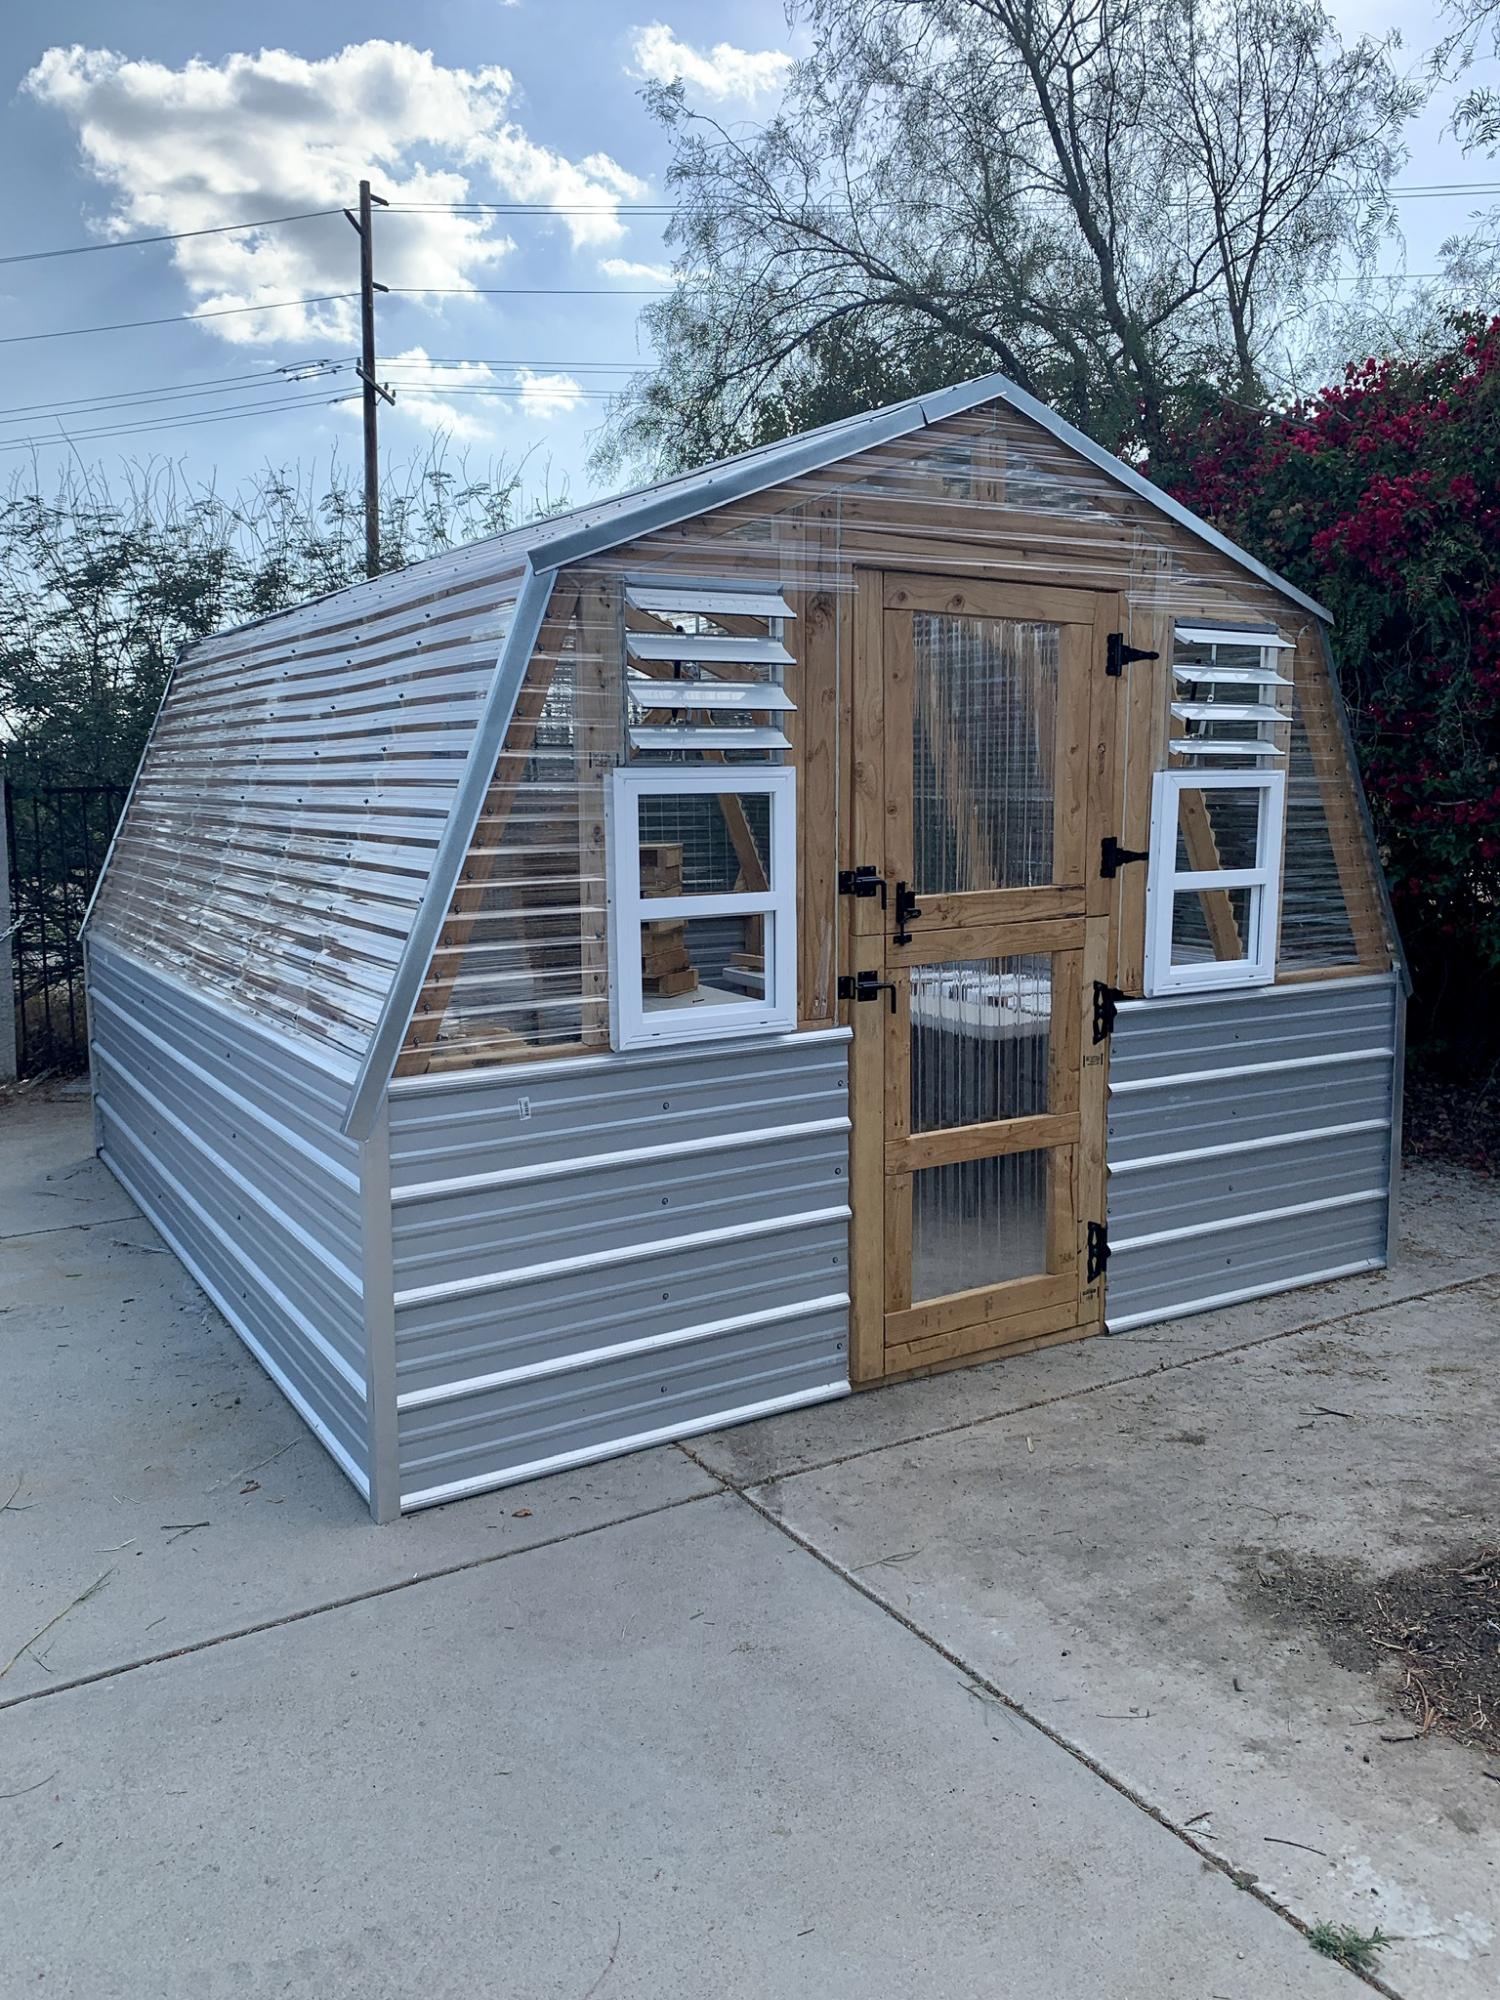
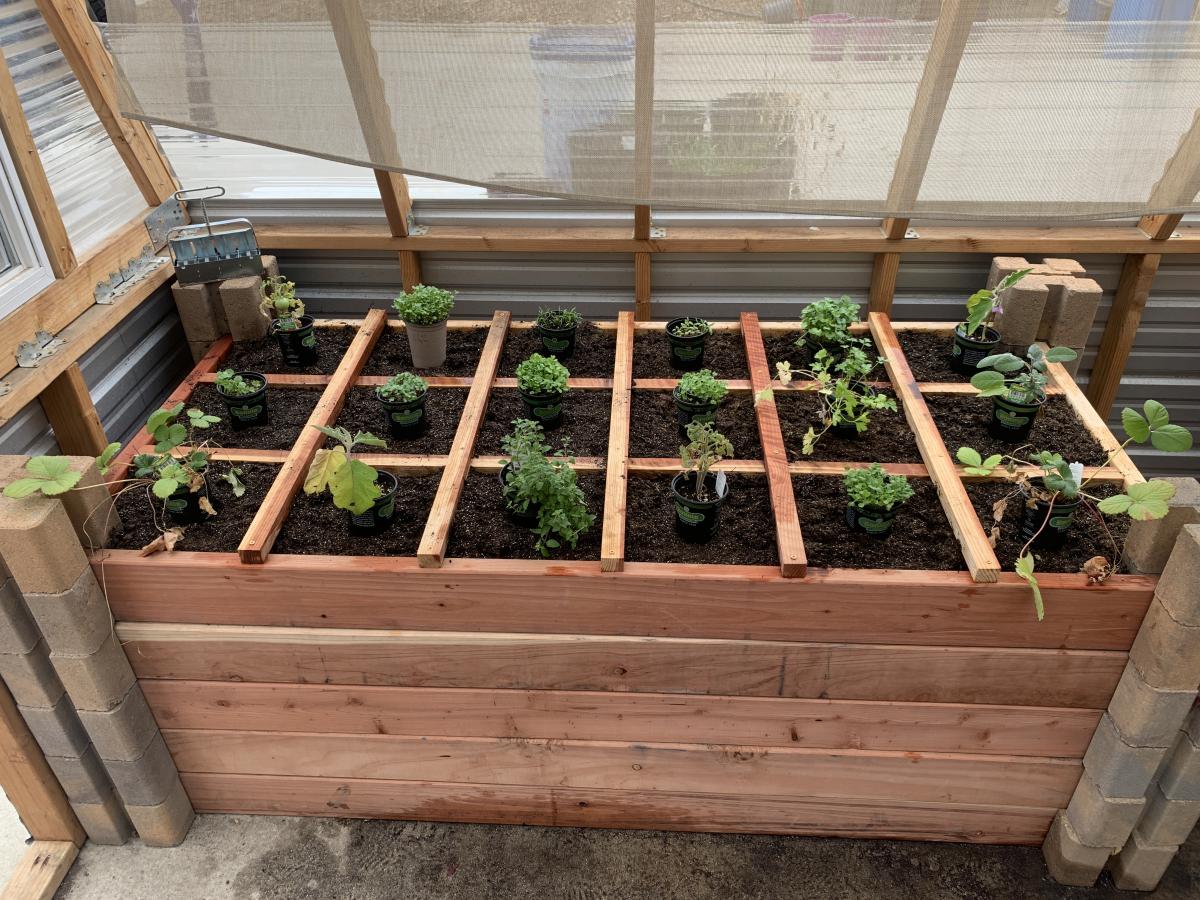
We made some modifications to the greenhouse to include a bench with three levels, a working bench and a square foot garden. We also put it on concrete to keep all the weeds out from the bottom as well.

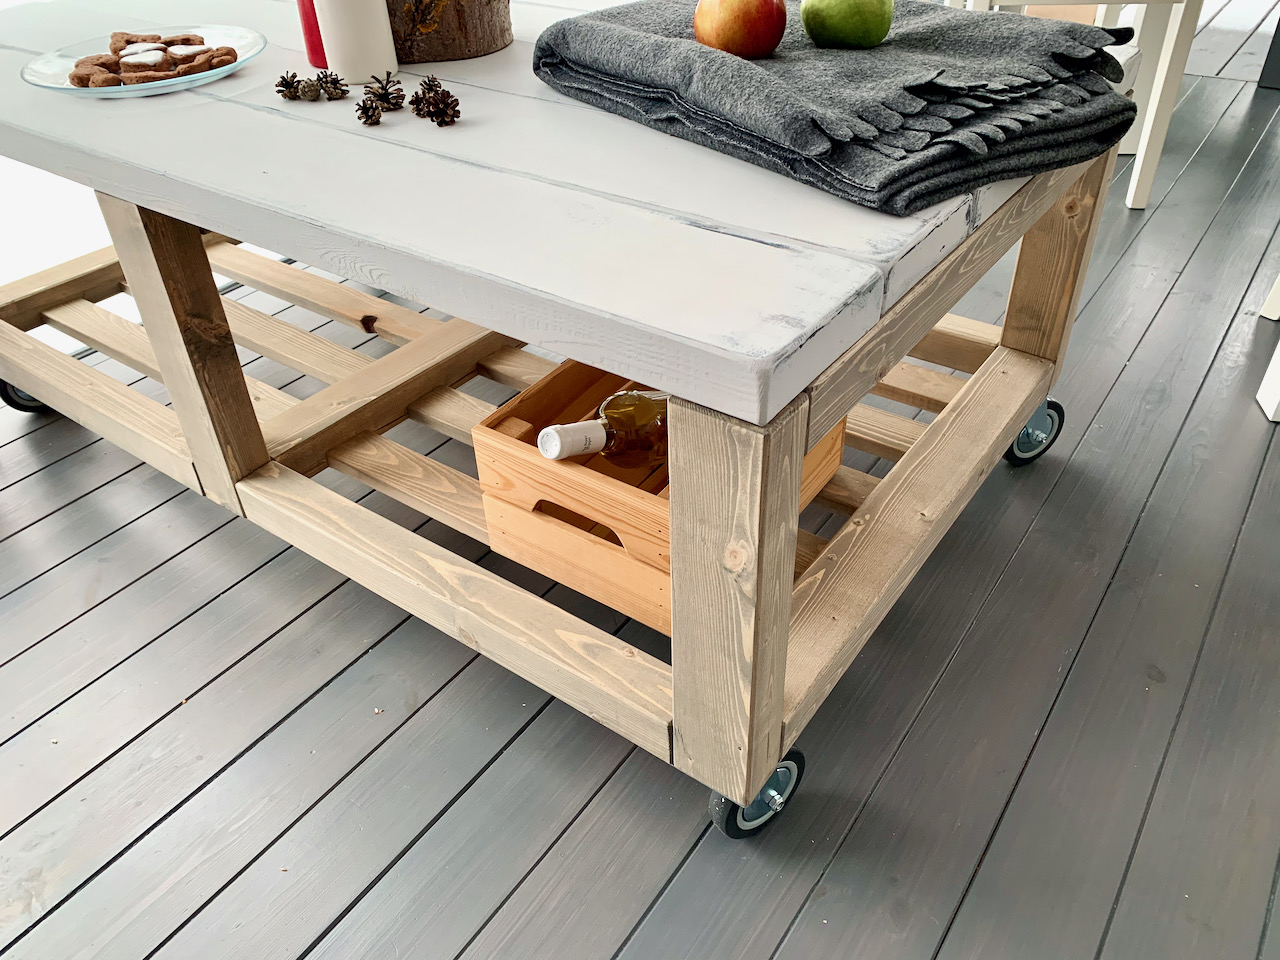
Super table i like it so much. Cant wait for summer to use it outside.
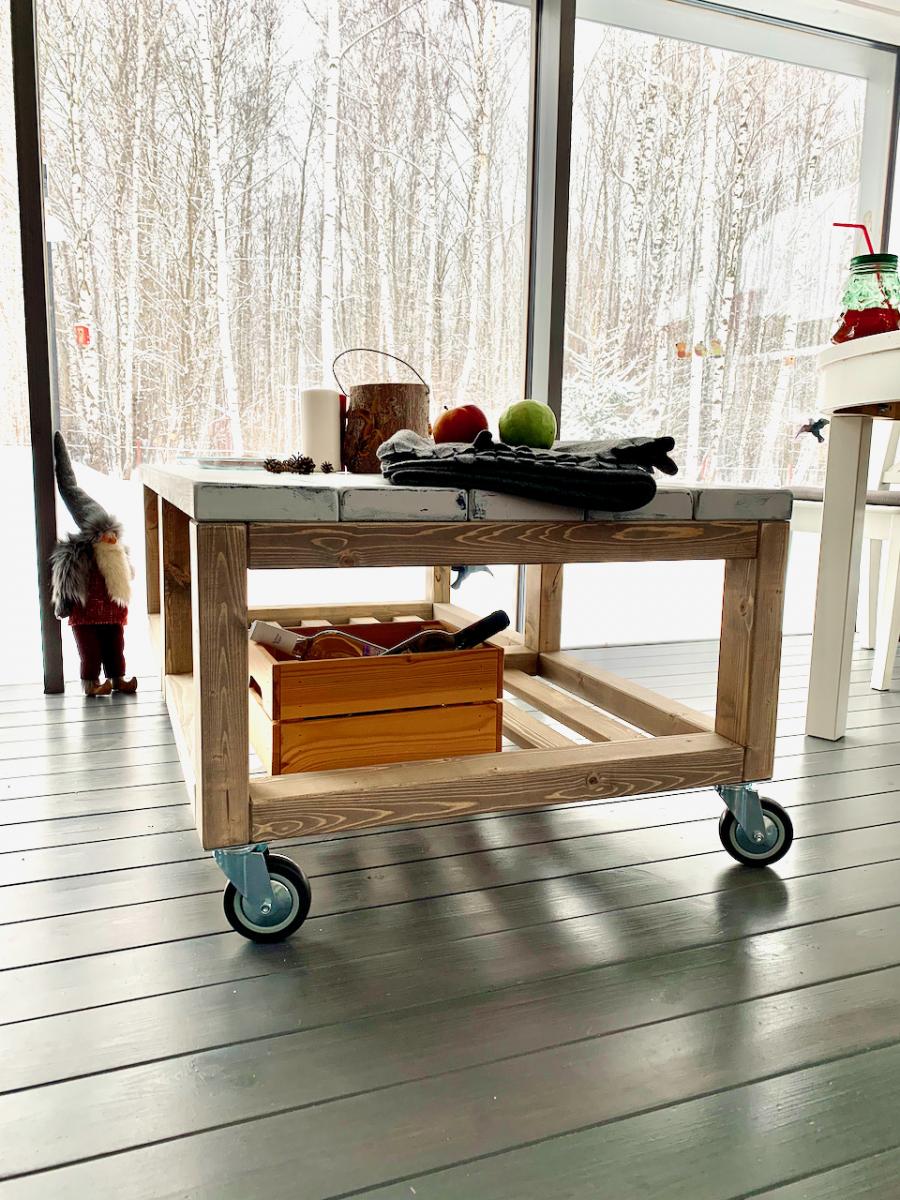

Had to add leg supports for the none drawer side and added a back for the entire unit. Fun Project. 15th birthday present.


Instead of the 2X6, we used an additional cedar board to complete the sides and the ends of the planters. This was more cost effective and still provides enough support to hold the planters. This is a great alternative to the more expensive items we found online. We will be building multiple to put in an unused space in our yard. Great project!!

This is not my first project, but it is my first brag. I installed new windows in my house this fall and took out some double-pane windows. I can't yet afford to build Ana's greenhouse, so I made this. I removed the old frame around the glass and took some old 2x6 green-treat, ripped them down to 2 1/2" and made new frames around the glass. I then purchased some treated pickets to make the box. The top is slanted at 15 degrees and I put a shelf in the back for a few extra six packs. The overall size at the base is roughly 36" by 46", so I can fit 6 flats there. Since I didn't have to make sure it was really square nor did I have to sand, it was my favorite project yet. I can't wait for the snow to melt and the hard frosts to disappear.


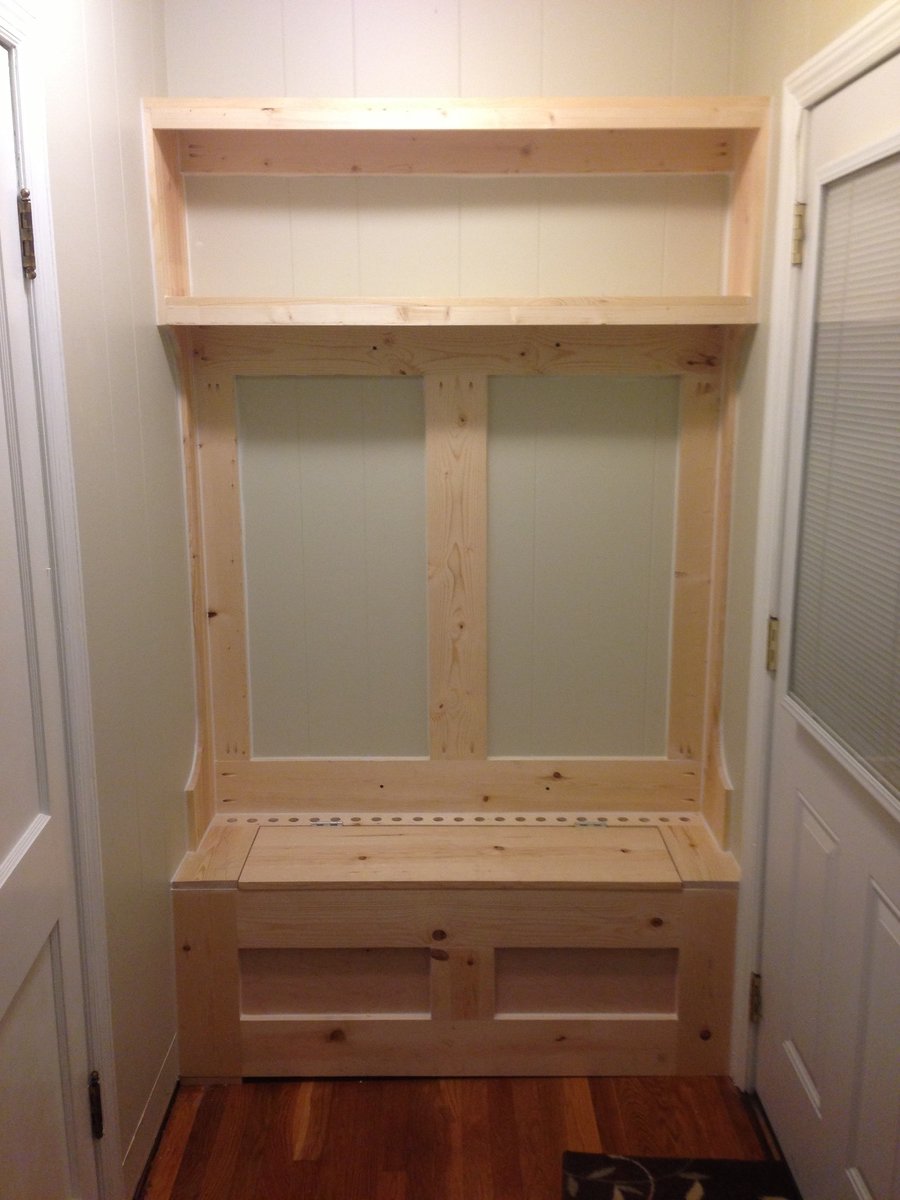
I made this hall tree as a gift for my wife. It's a classy way to store coats out in plain sight. it is larger than the design specs from Mimi (7'H by 4'1" W) and built-in instead of free standing. Our house has a boiler with floorboard radiators. There is a radiator inside the hutch, and heat comes out of the holes just behind the lid to the bench this heats up the coats as they hang on the rack. The radiator also heats the compartment under the bench which aids in drying damp boots and other items. Fun project, also an easy project thanks to the Kreg Jig!
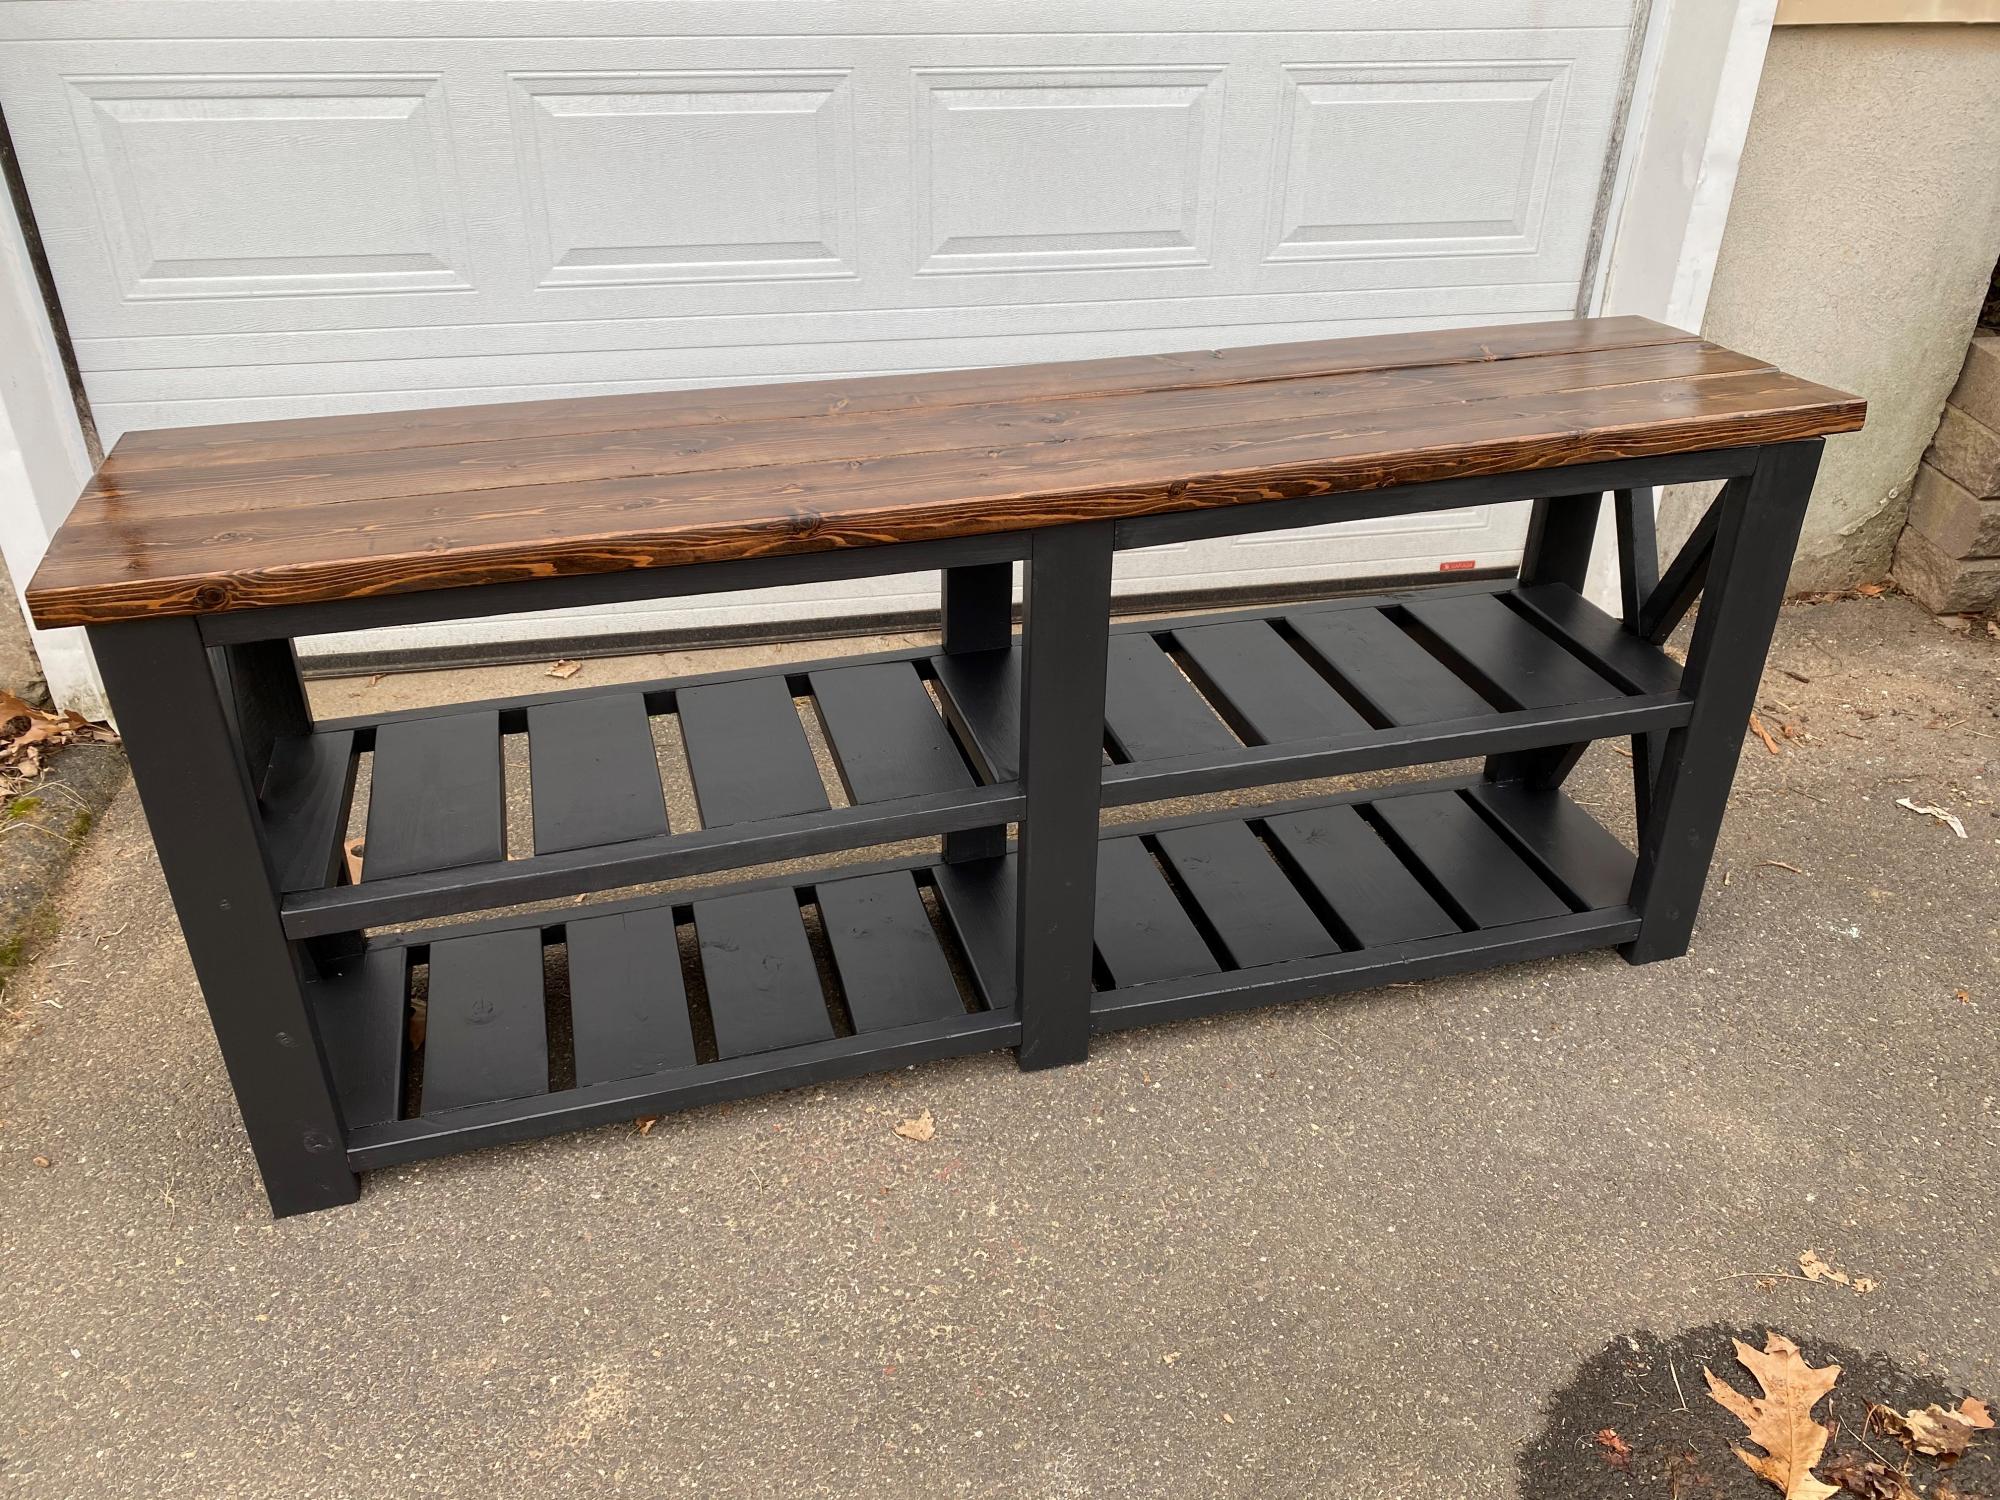
I built the farmhouse console table over the course of 3 weekends. A relatively easy build, the pocket hole were the most time consuming. Its made mostly of Douglas Fir, and pine for the 2x2's. It's a heavy piece, it weighs about 250 lbs - ish. But the wife loves it, as it will be going in our kitchen.
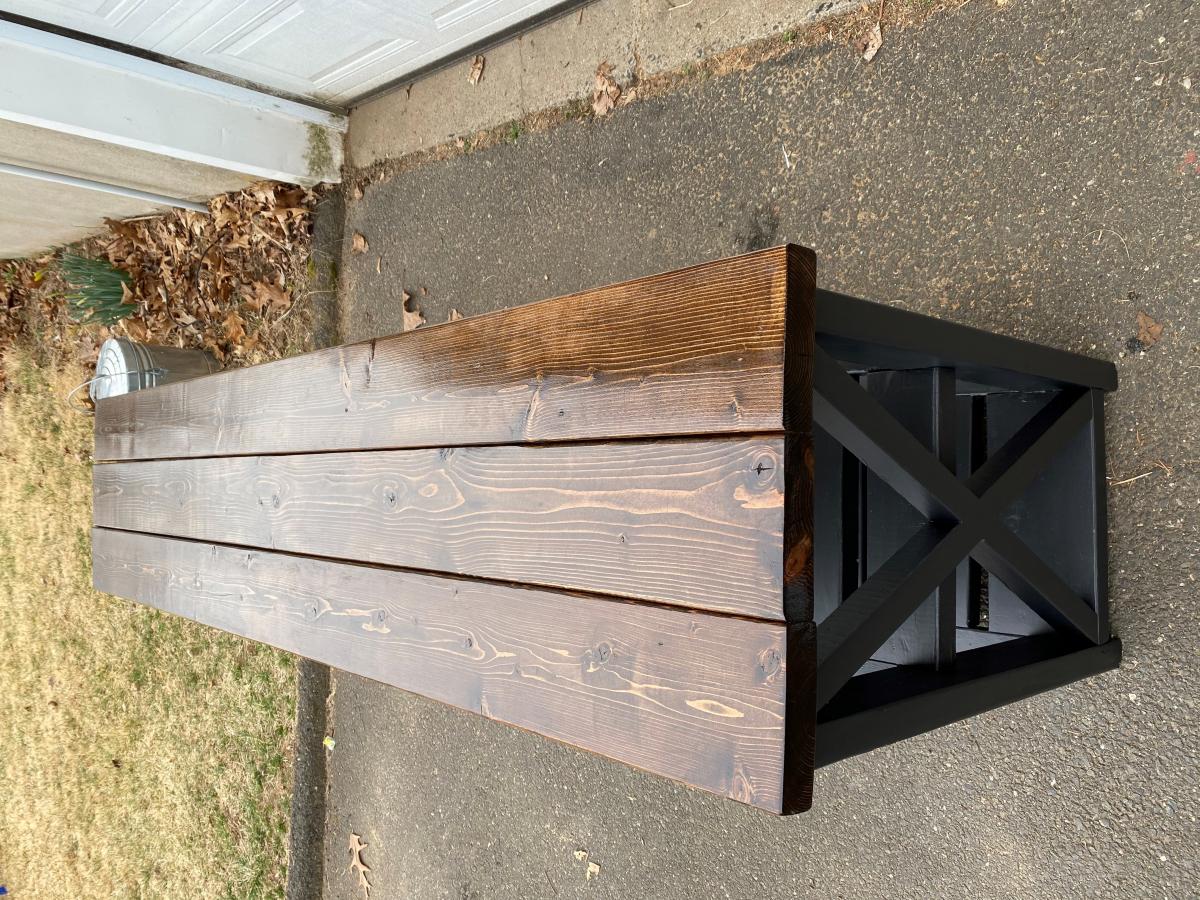
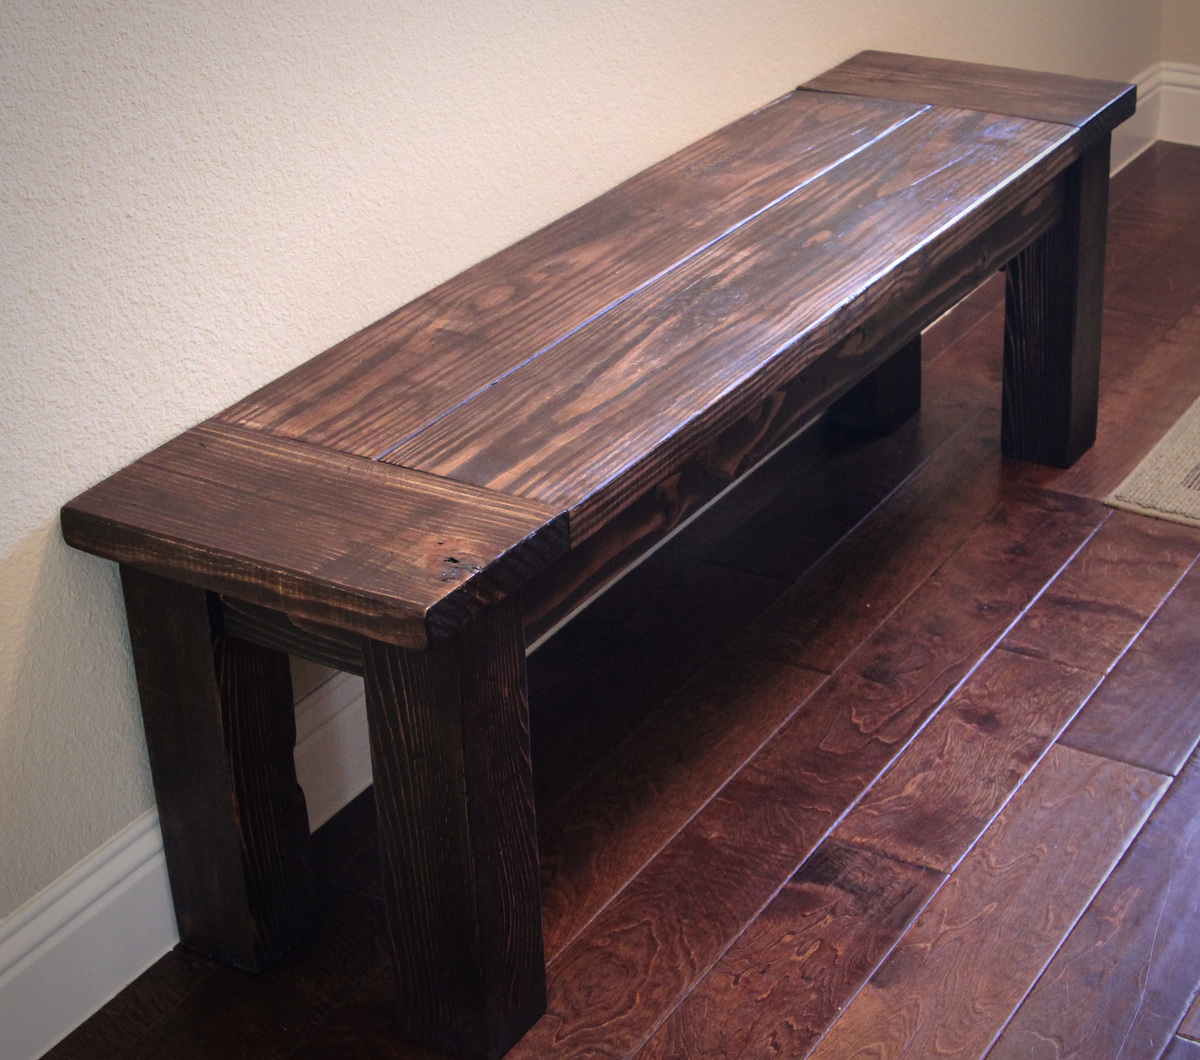
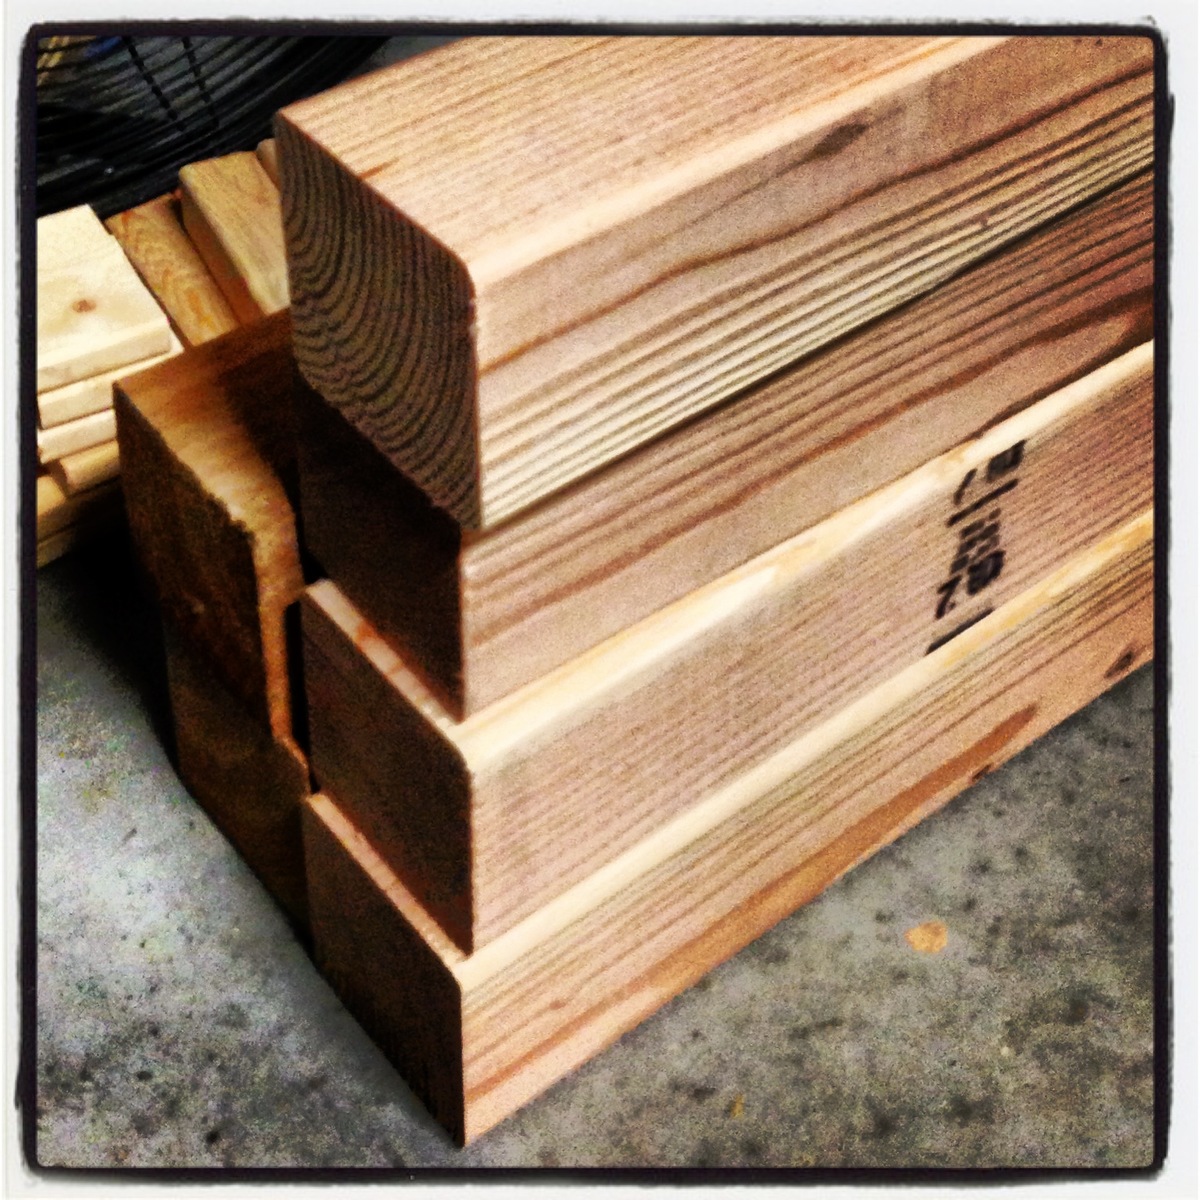
With lots of leftover wood from previous projects (farmhouse table and sideboard), I decided it was time to start another project. (I did head out to Lowes to get a piece of 4x4 for the legs...they only had Cedar. My friend found some Fir at Home Depot for a buck more).
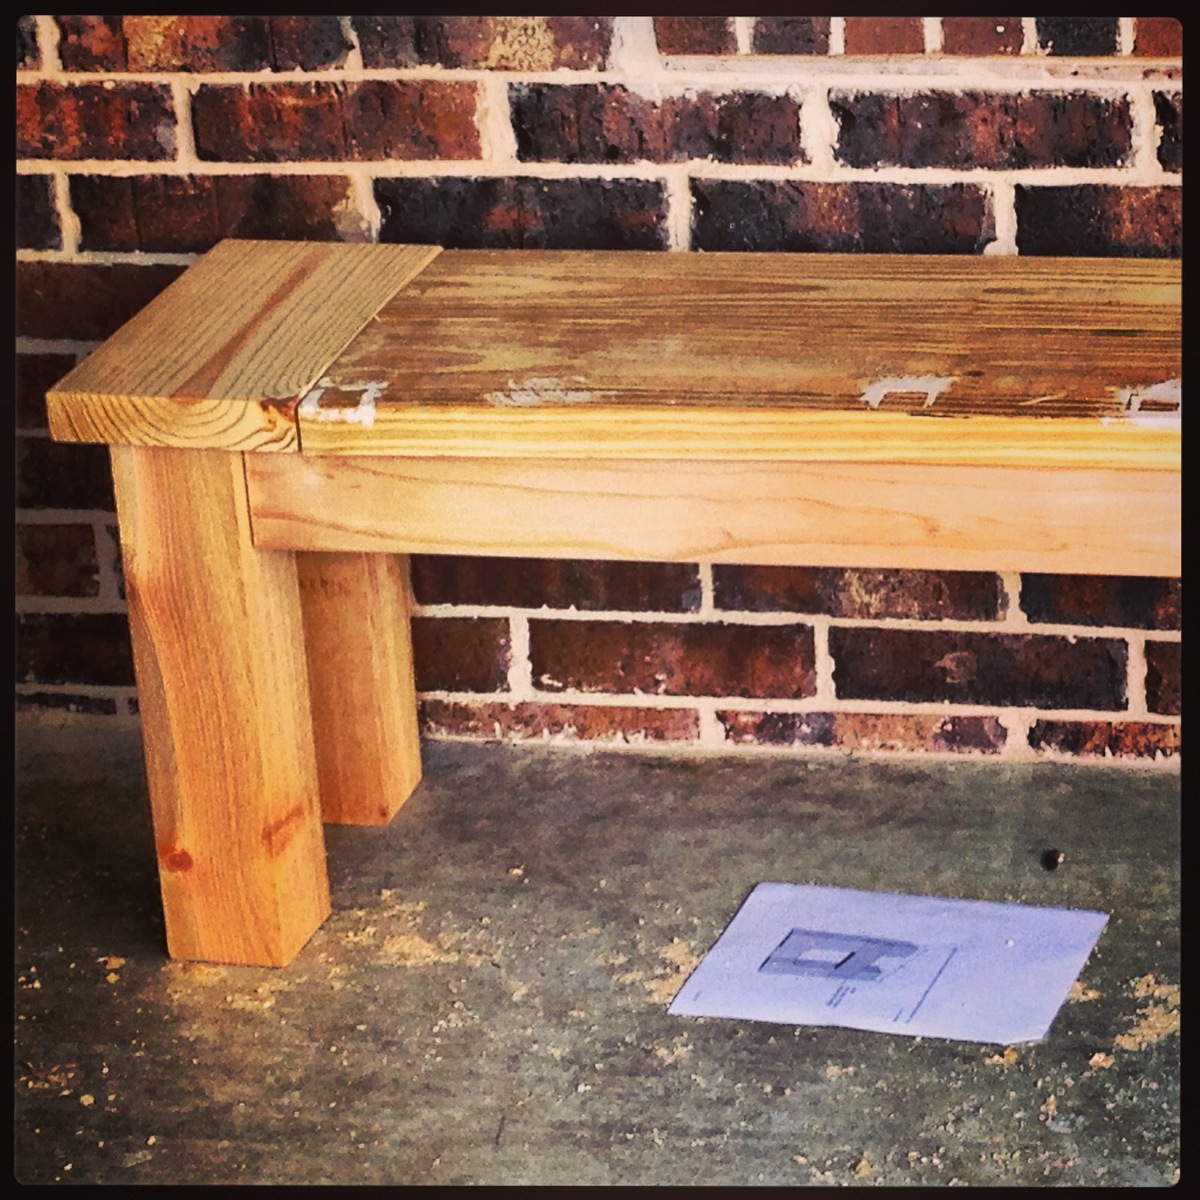
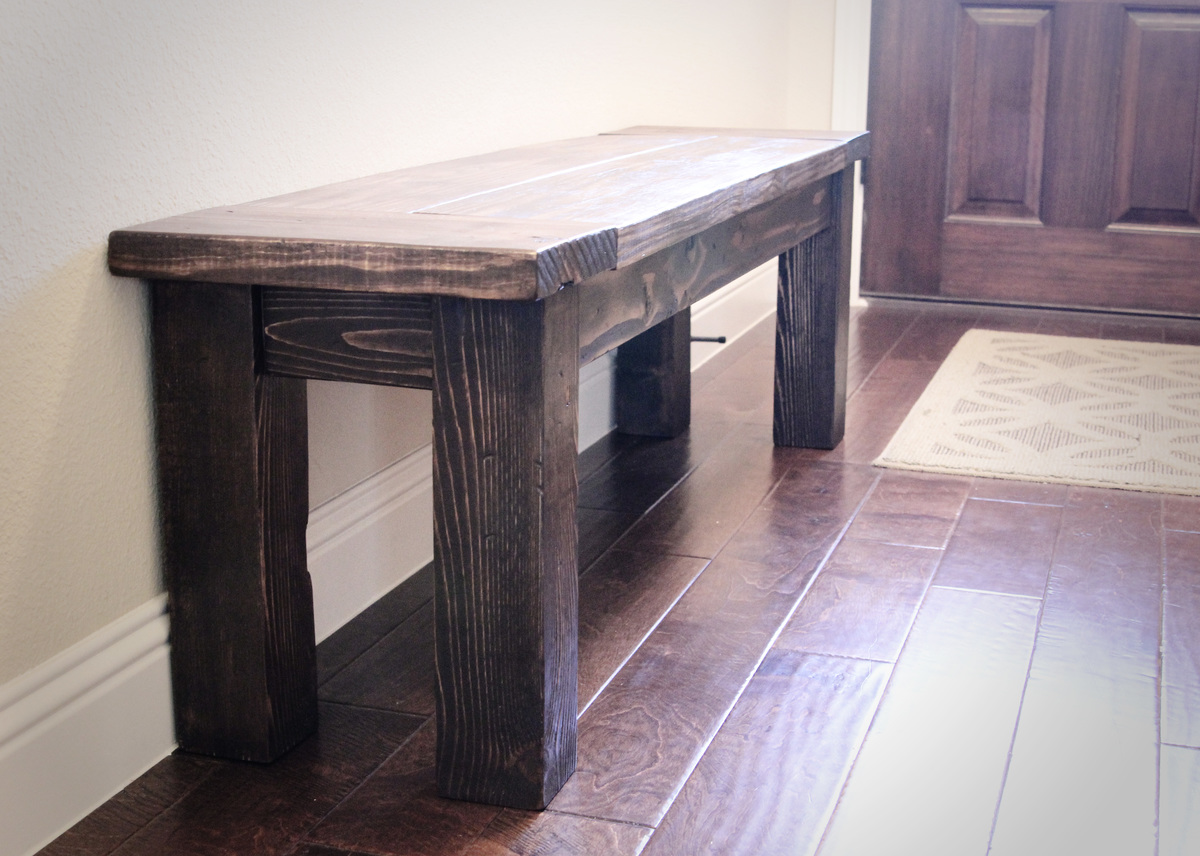
Found the plans for the Farmhouse Bench, looked at other brag posts and their suggestions...then got to work!
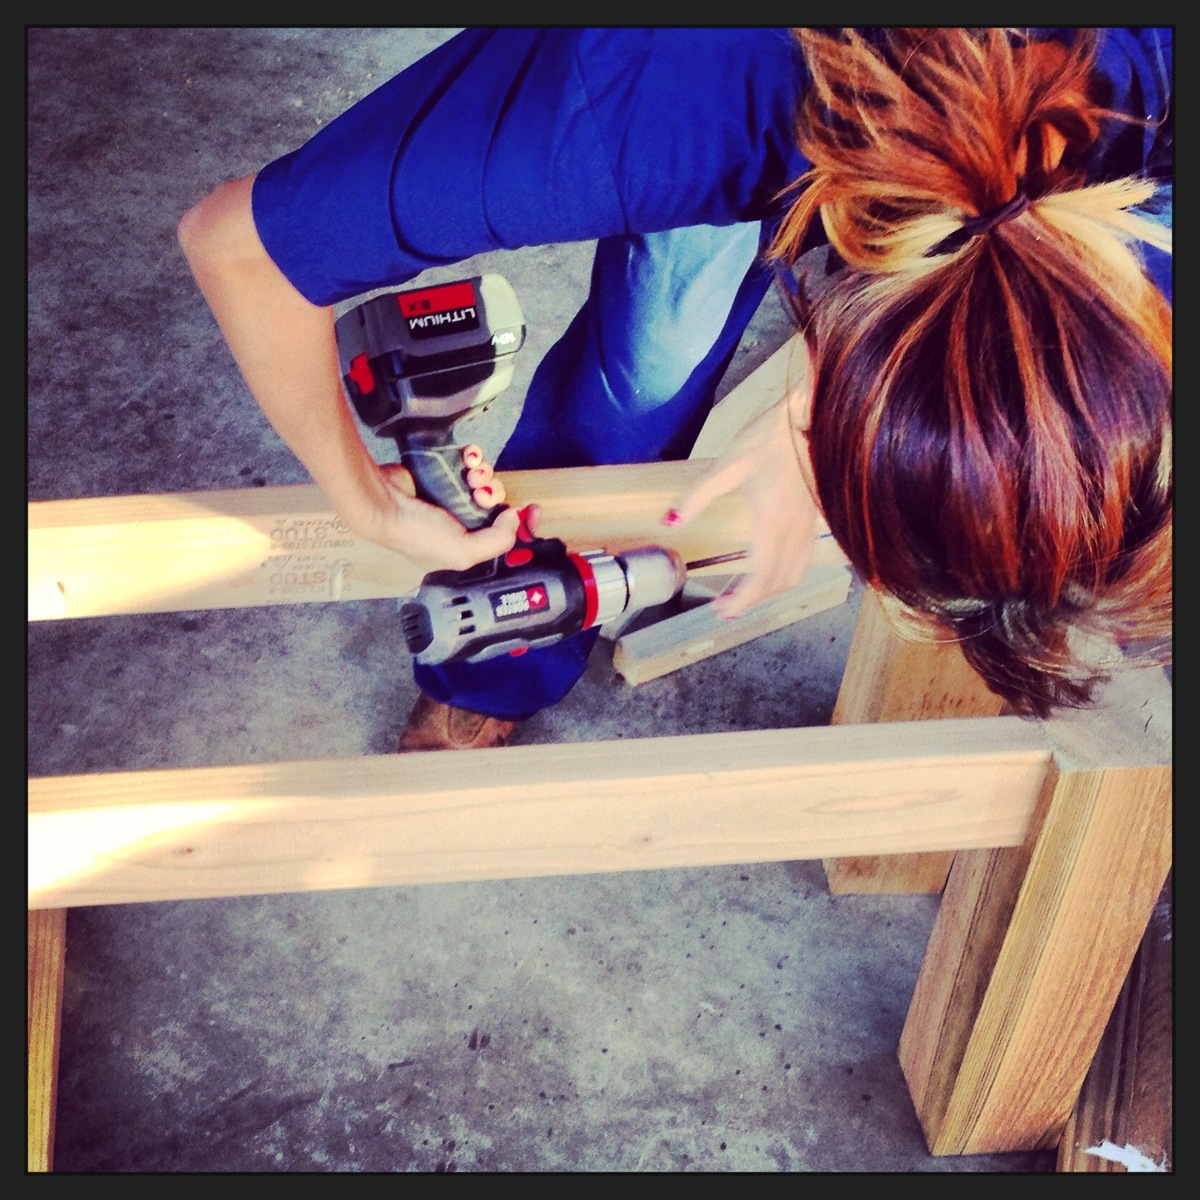
Cutting the pieces was fast and relatively easy. Predrilling the pocket holes also went quick. Putting the pieces together was also very fast (though I did have to add extra pocket holes here-and-there so that the legs and two end-aprons were more sturdy).
Sanded the piece, then added a coat of Rustoleum Dark Walnut Stain, and then a couple coats of Deft Satin varnish.
