Community Brag Posts
Long Sideboard
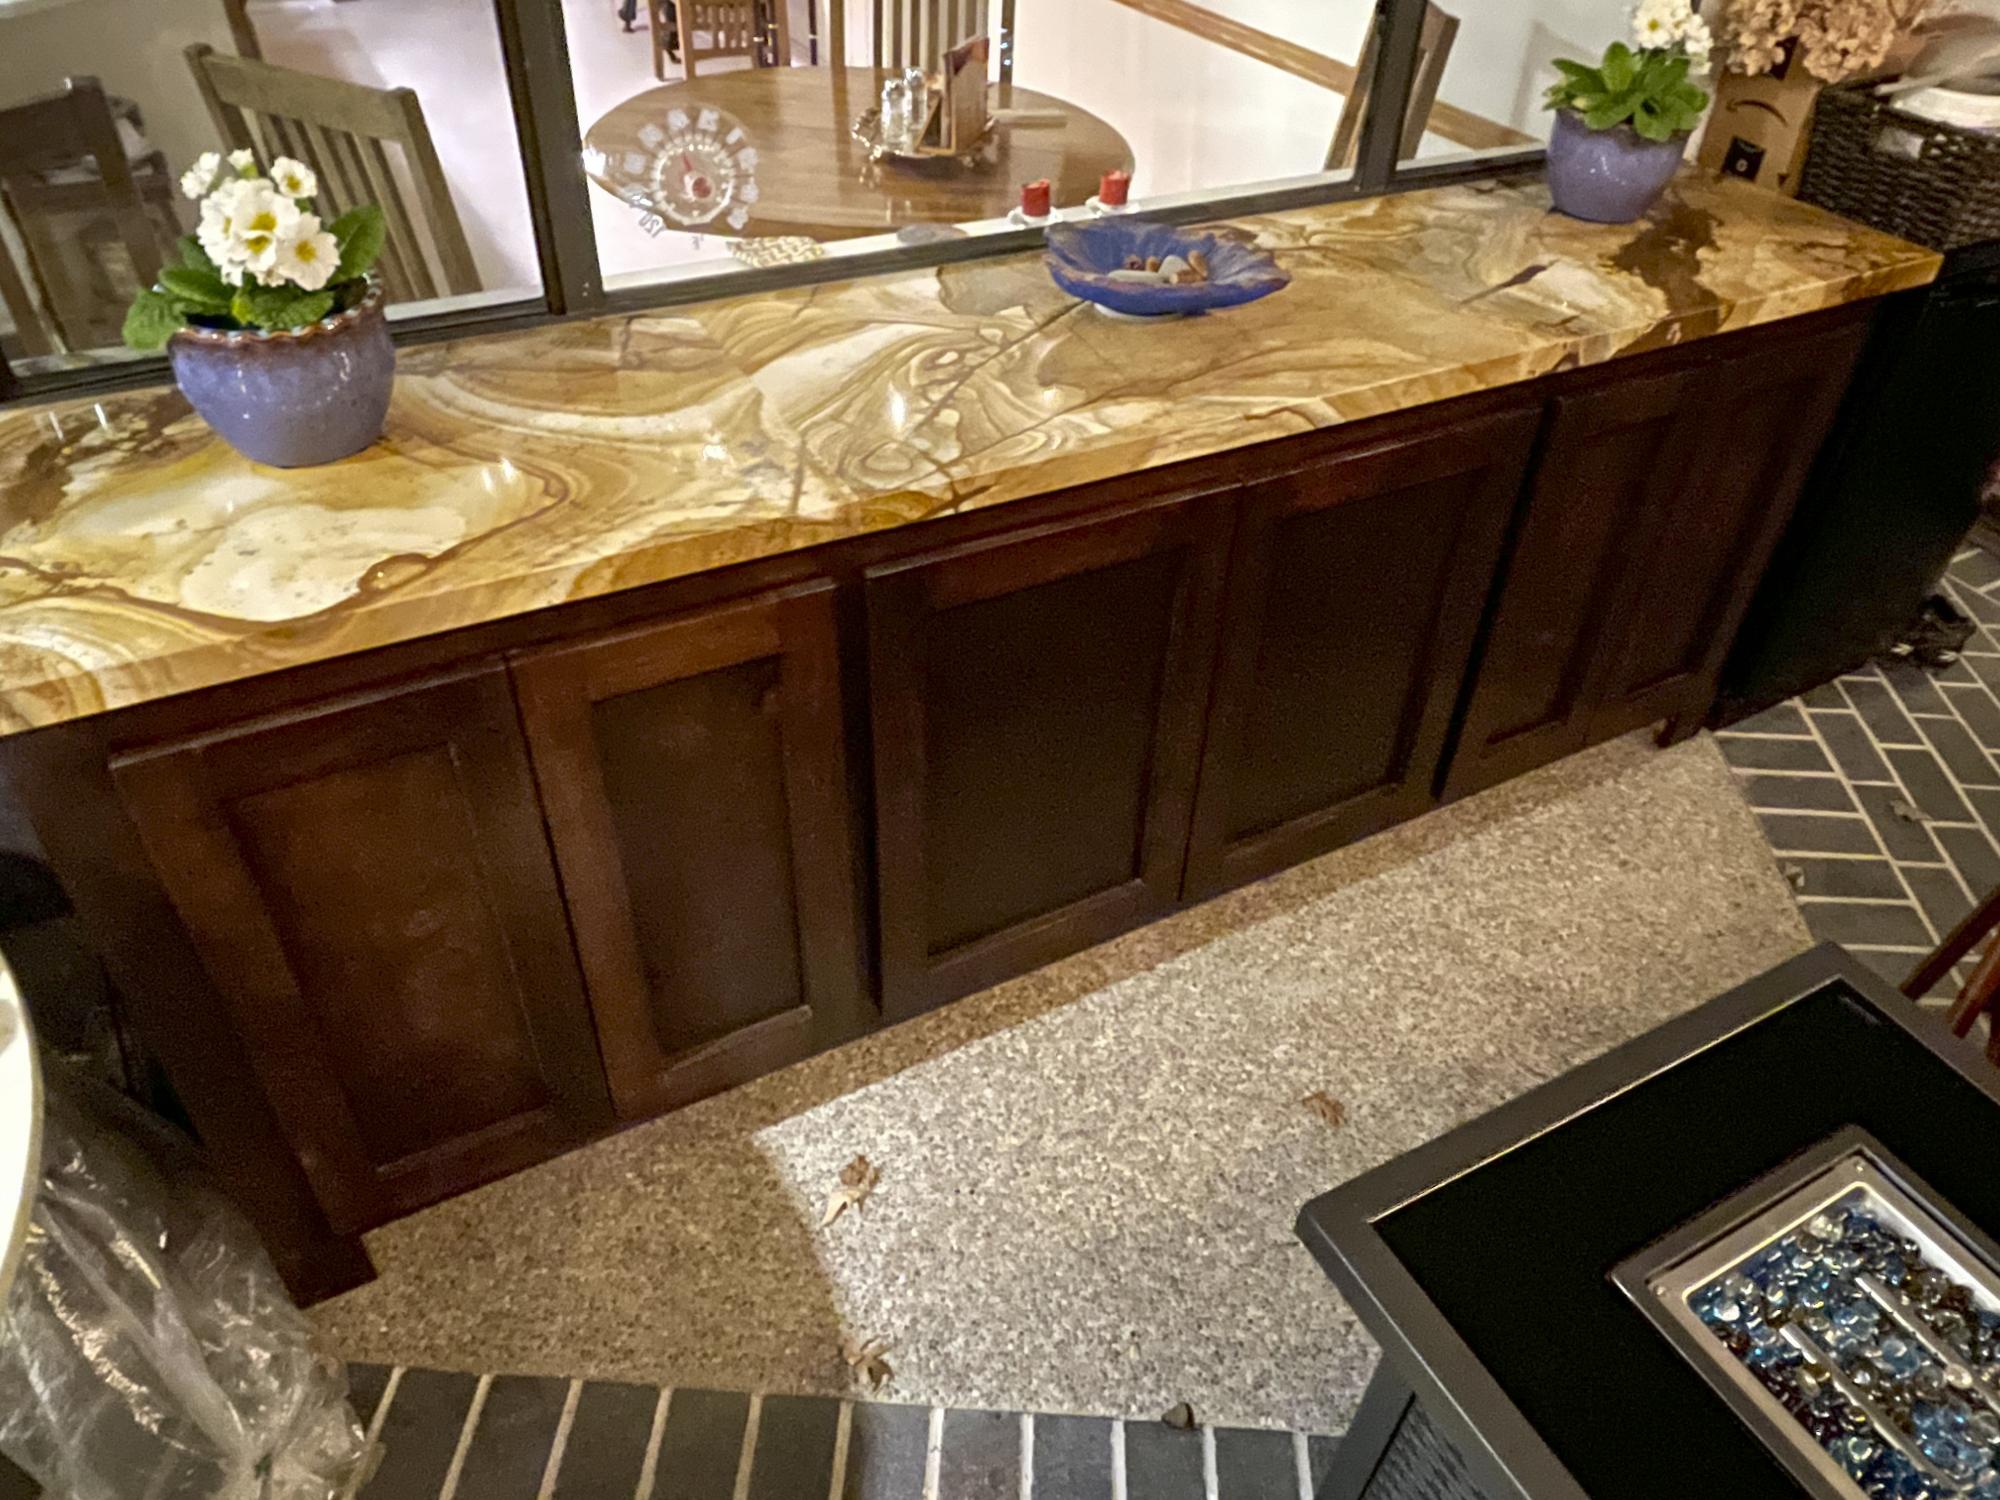
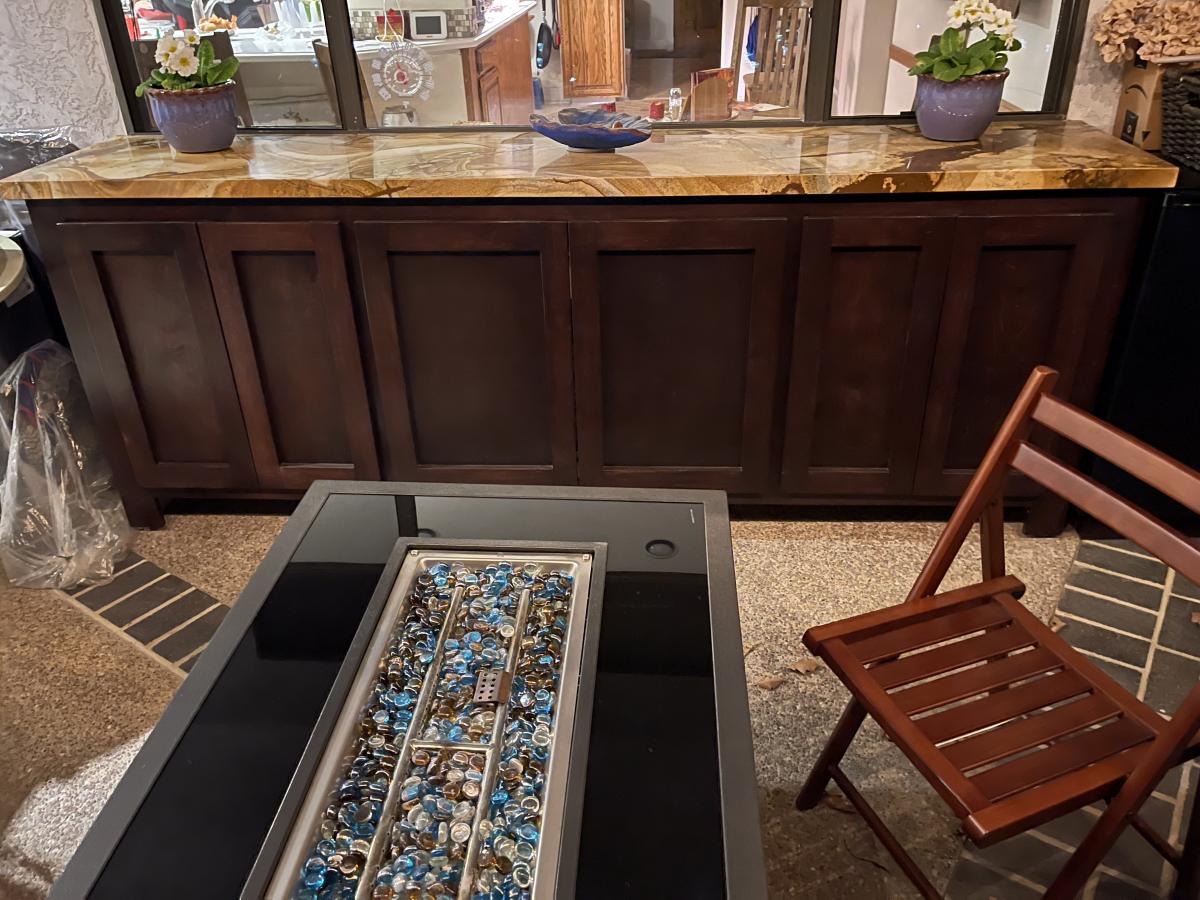
Prices for sideboards are high! And it's impossible to find one wider than 72". I have a kitchen window that's eight feet (96") wide. I wanted a sideboard for my patio that's just outside our window. I needed it to be as wide as the window. So I used the plans for the shanty sideboard and altered them to widen the sideboard to 96". I routed out hidden handles in the top piece of each door and used hidden hinges to keep a clean look.
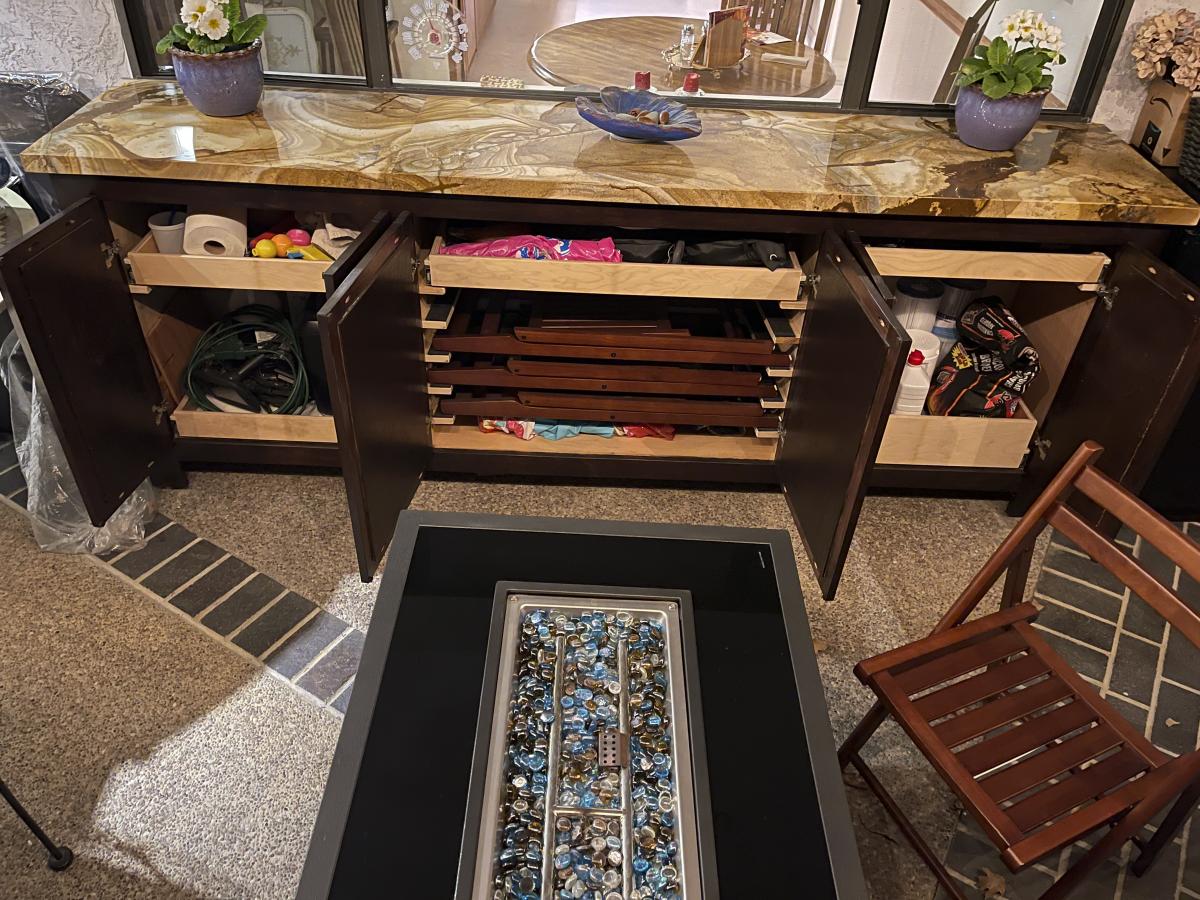
I created three sections with the middle one wide enough to store four wooden folding chairs on horizontal slides covered with felt. In the two end sections, I added short drawers to easily store things like charcoal and spa supplies.
I finished the piece in dark walnut and had a granite countertop installed to finish it off.
The plans were easy to adjust to my needs and easy to build. The hardest part was making the end pieces fit my slightly angled patio floor while keeping the sideboard level. I had a fun time using Kregg fasteners to assemble the front and sides.
Built from Plan(s)
Estimated Time Investment
Weekend Project (10-20 Hours)
Finish Used
Old Masters Gel Stain - Espresso
Recommended Skill Level
Beginner
Comments
Fri, 04/09/2021 - 11:35
Long Sideboard
When I uploaded this, I must have not seen the place for my name.
I had fun working with the plans and altering them to meet my unusual length. Having to build it for a slightly slanted patio was also challenging.
This was one of those projects where once I finished it and started using the sideboard, I asked myself why I hadn't built it ten years ago!
Changing Table with weathered stain
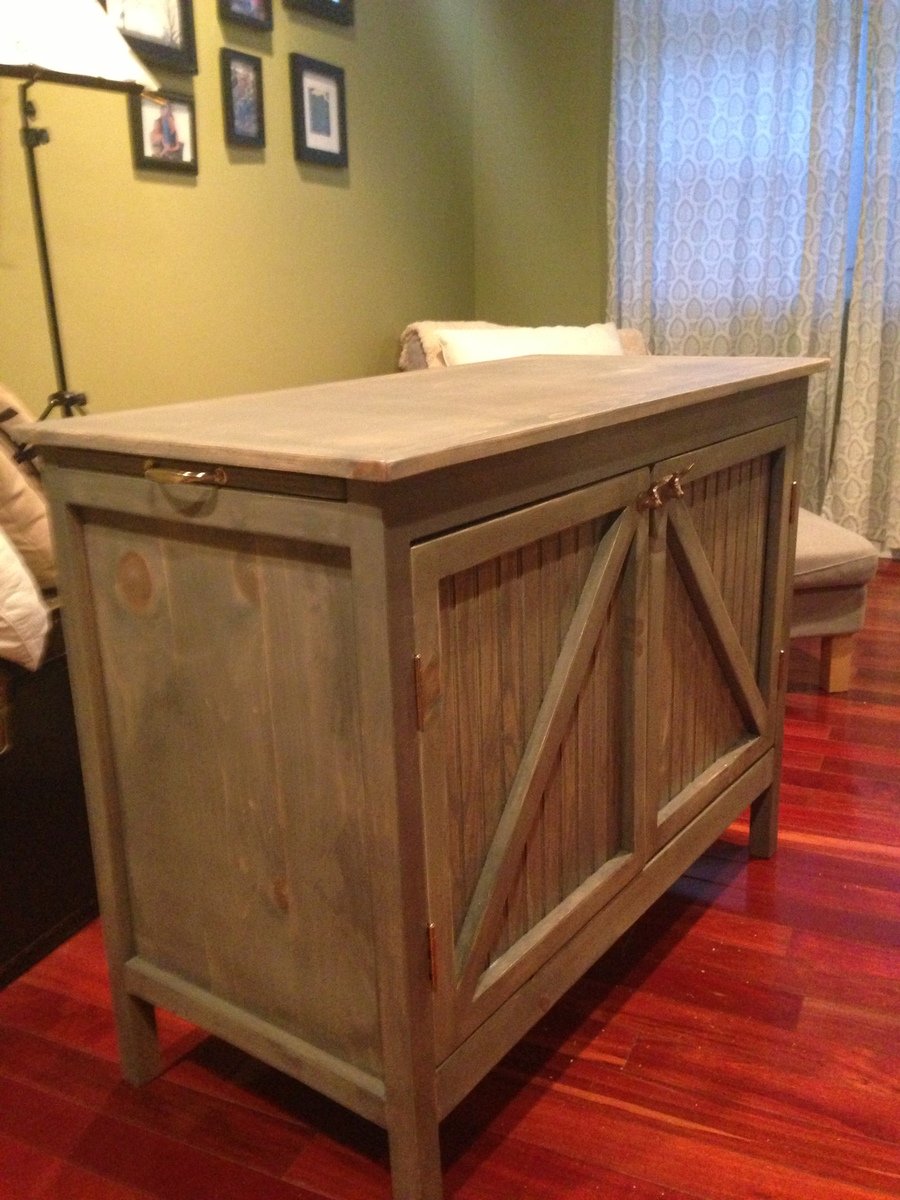
I used the weathered stain on pine wood. It came out nice. I would recommend not to use the spray on sealant as this is a big piece of furniture.
Built from Plan(s)
Estimated Cost
$175
Estimated Time Investment
Week Long Project (20 Hours or More)
Finish Used
classic gray minwax
Recommended Skill Level
Intermediate
Comments
DIY Ceiling tile art

My friend had a few leftover ceiling tiles from her new kitchen and I put them to good use. For almost a year, they hung, attached to a simple 2x4 frame. 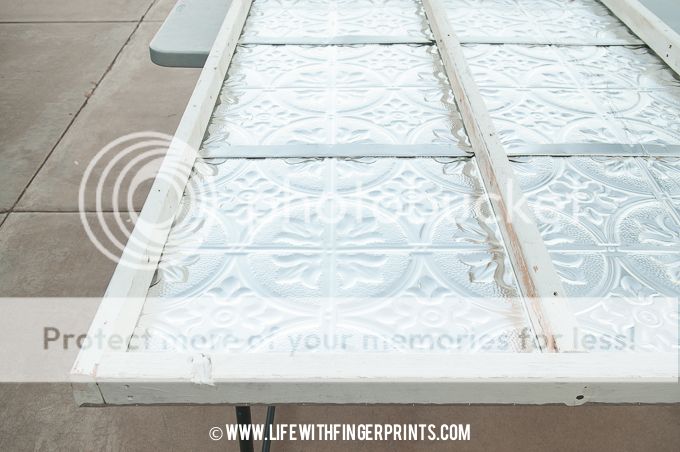
You can see it in our <a href="http://www.lifewithfingerprints.com/2014/08/back-to-school-dinner-2014…">Back-to-school dinner</a>.
But the edges were rough and it looked unfinished and not quite what I needed for the space. So the ceiling tiles received a makeover.
I built a large frame using 1x4 and 1x3 boards. Using my Kreg jig I made a large rectangle with the 1x4s and then made it look more substantial and thicker by adding 1x3s.


Of course after making the frame, it sat in the office as I debated stain or paint. Once I settled on paint, it sat for another two weeks while I figured out a color. I ended up going to my paint stash and picking up the color I originally used for the <a href="http://www.lifewithfingerprints.com/2013/04/diy-barn-door.html">barn door</a> (I decided against it because I wanted the door to have a little punch!). The color wasn't great for the door, but it was perfect for the frame. 


Estimated Time Investment
Afternoon Project (3-6 Hours)
Finish Used
Painted finish
Recommended Skill Level
Beginner
Comments

Mon, 01/19/2015 - 17:15
Thanks for sharing! That is
Thanks for sharing! That is a wonderful project!
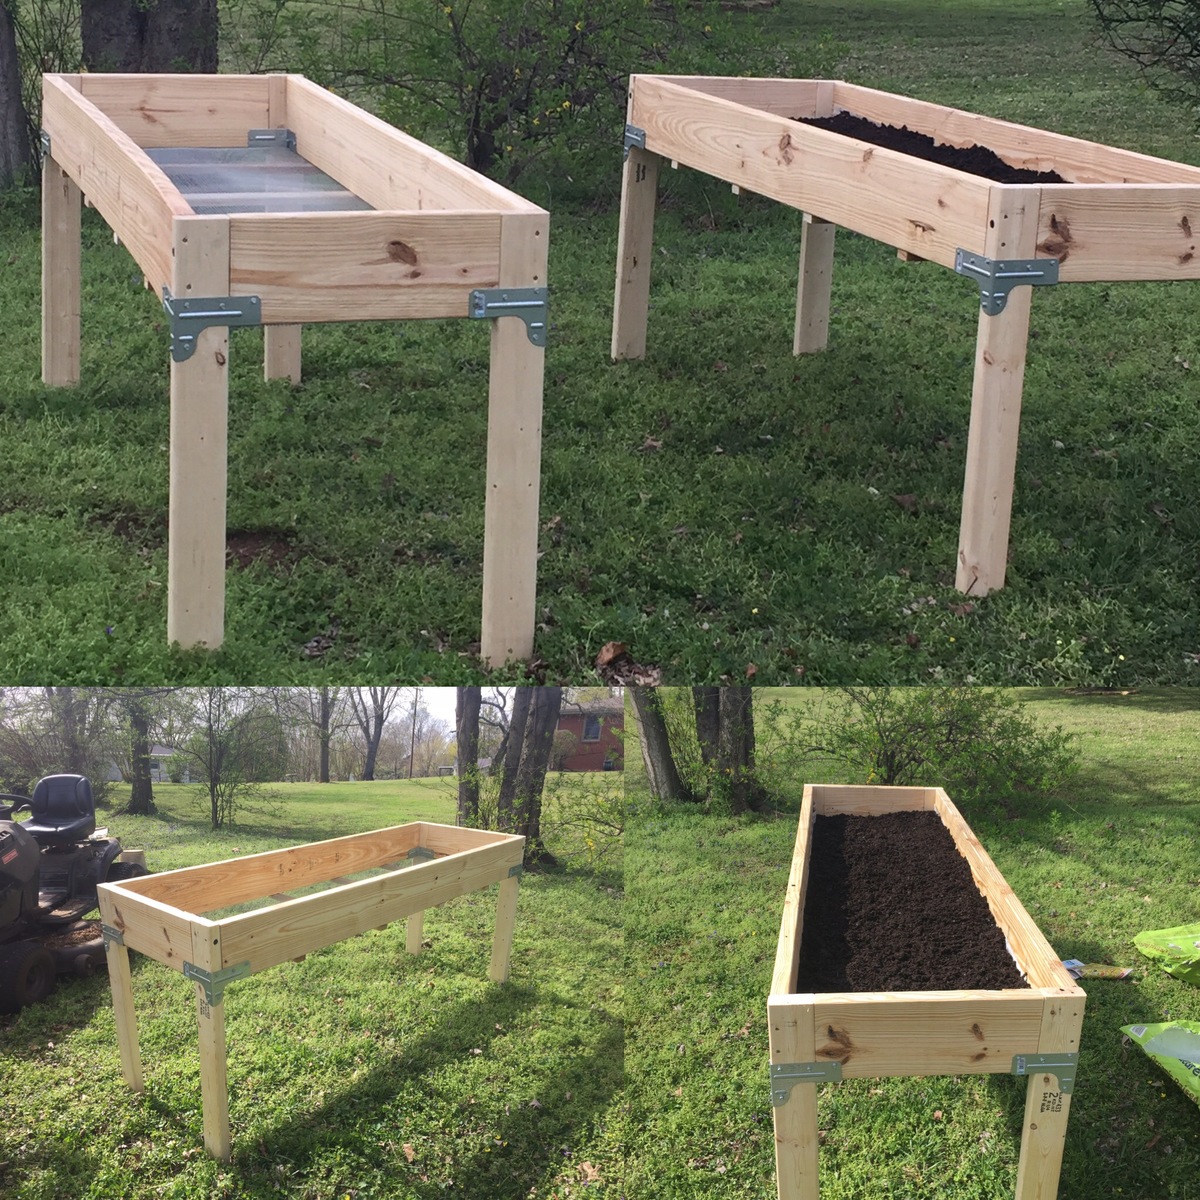
Garden Space ~Happy Place
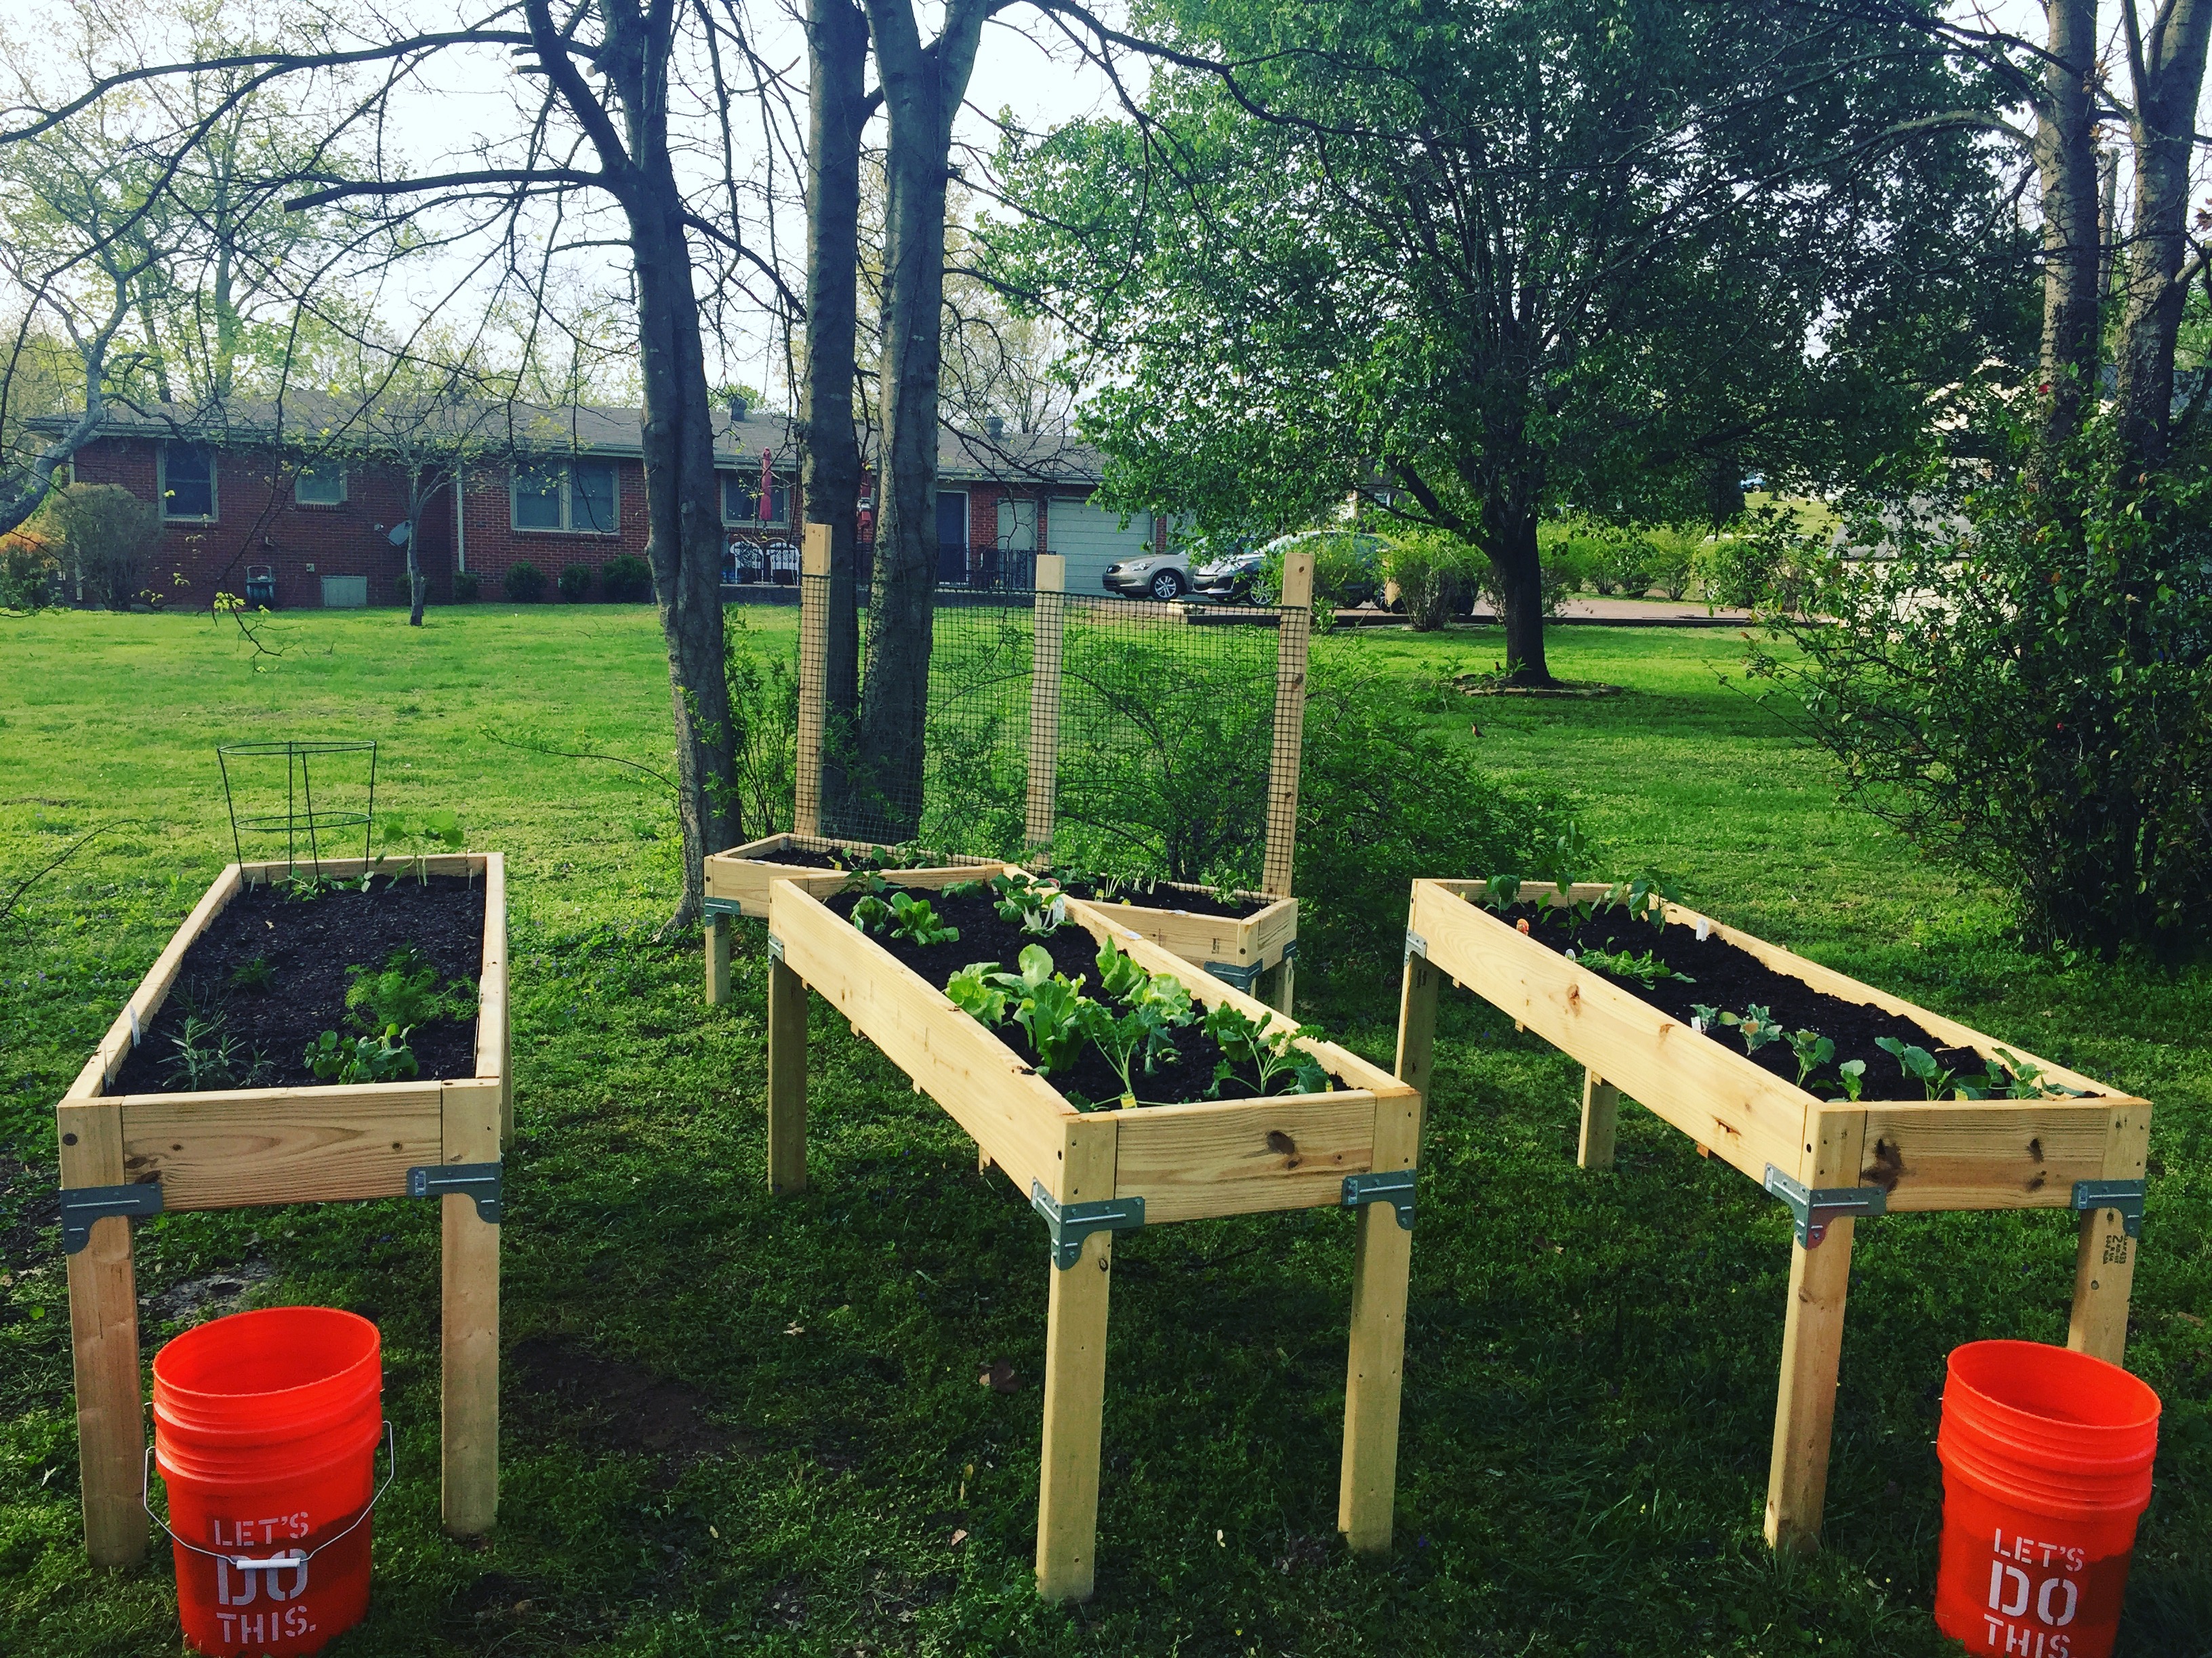
We used 2x8x8 lumber and 2x4s to make 2x6 garden beds and a 1x6 trellis bed. We utilized Simpson Strongtie braces to hold the corner joints firmly together.
love this garden!!! Thank you Anna!!!
Built from Plan(s)
Estimated Cost
$150
Estimated Time Investment
Weekend Project (10-20 Hours)
Recommended Skill Level
Beginner
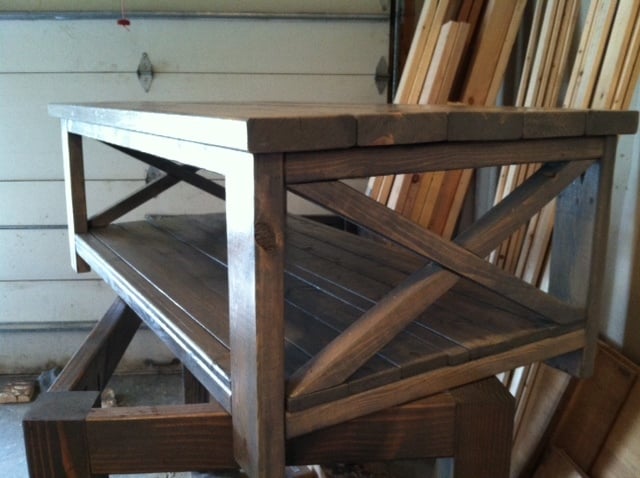
x frame coffee table
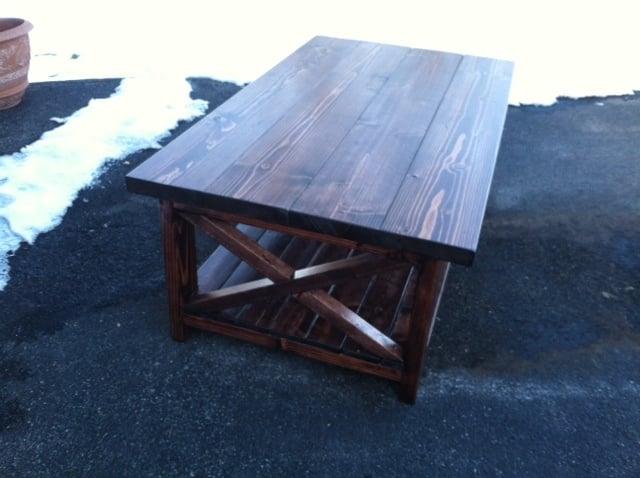
fun table from the X Series
Built from Plan(s)
Estimated Time Investment
Day Project (6-9 Hours)
Recommended Skill Level
Beginner
Comments
Sat, 03/30/2013 - 22:59
Looks Great
I was wondering what stain you used? I have a lot of douglas lying around and like the way it turned out!

Sun, 04/28/2013 - 00:59
Looks great!!
You did a great job on this build!! Love the way the color turned out.
Sun, 04/28/2013 - 00:59
Looks great!!
You did a great job on this build!! Love the way the color turned out.
Fri, 01/05/2018 - 23:13
Any warping?
i am thinking about building one of these myself soon. Have you noticed any warping or cracking since you built it?
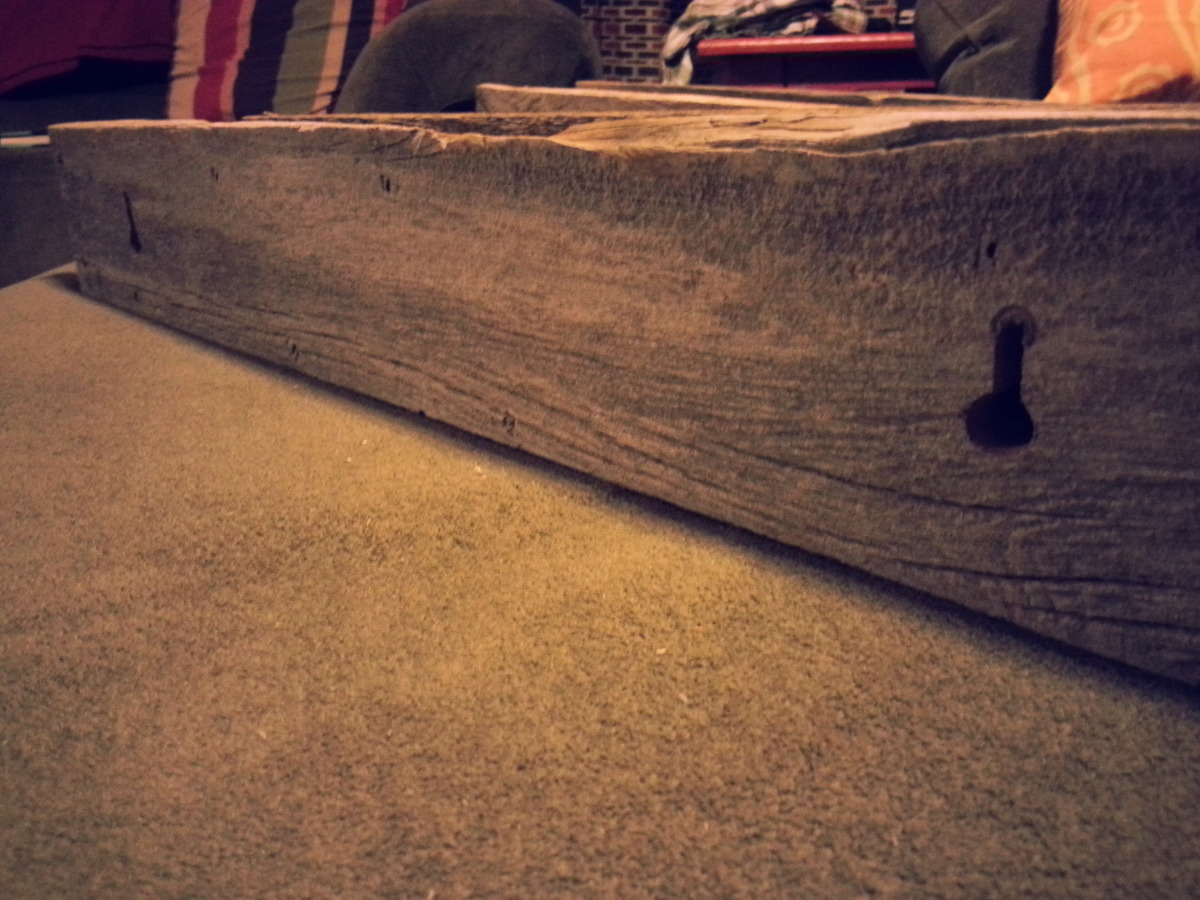
Rustic man cave shelves from palette

I'm a total beginner and this is one of my first freestyle projects. I built this out of a palette that came with the trampoline I ordered my kids for Christmas. I was taking it apart to throw away then started to envision shelves for the man cave I am putting together. I used some other scrap wood and put it all together for nothing. The only thing I spent money on was the hardware for the cabinets which probably came to around $10.
So it's nothing special, but I like it. It goes well with the old wooden antique crates and boxes I have in the same room. I did not draw up plans or anything, I just jumped in. So it was not based on any specific plans on this site, it was inspired by this site itself and the inspiration I draw from browing.
I did this relatively quick and as a newbie, it feels good to know that I have it in me to make something like this so easily. I'm eager to take on some more complicated projects that require more precision. This was a fun, sloppy project in which I had nothing to lose because it was all scrap.
Estimated Cost
$10 for hardware. All wood from free palette or scrap.
Estimated Time Investment
Day Project (6-9 Hours)
Finish Used
Minwax dark walnut and jacobean on darker pieces.
Minwax ipswich pine on shelf surfaces.
No top coats, no sanding. Stained it in its state of dirty roughness. It was a pretty beat up, rough looking palette and I wanted those battle scars to stay visible.
Minwax ipswich pine on shelf surfaces.
No top coats, no sanding. Stained it in its state of dirty roughness. It was a pretty beat up, rough looking palette and I wanted those battle scars to stay visible.
Recommended Skill Level
Beginner
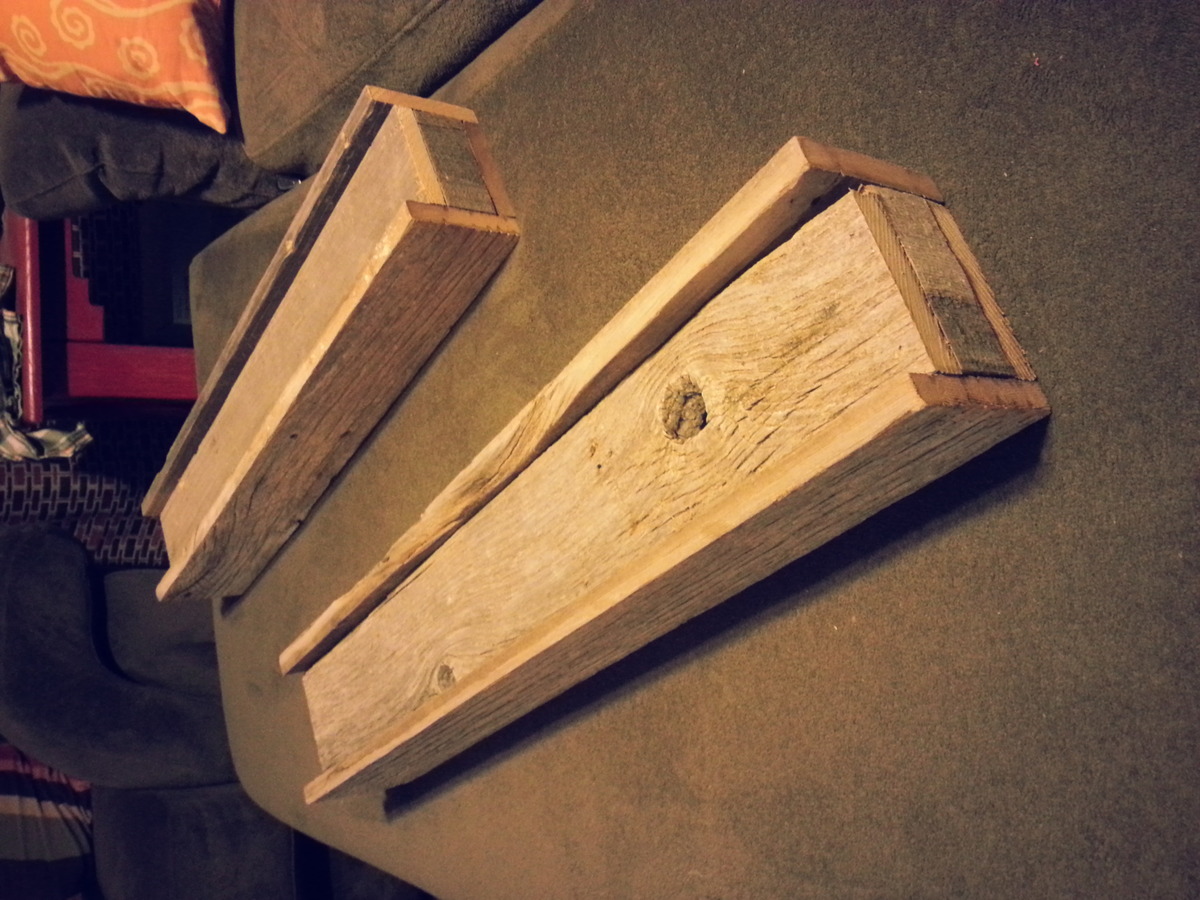
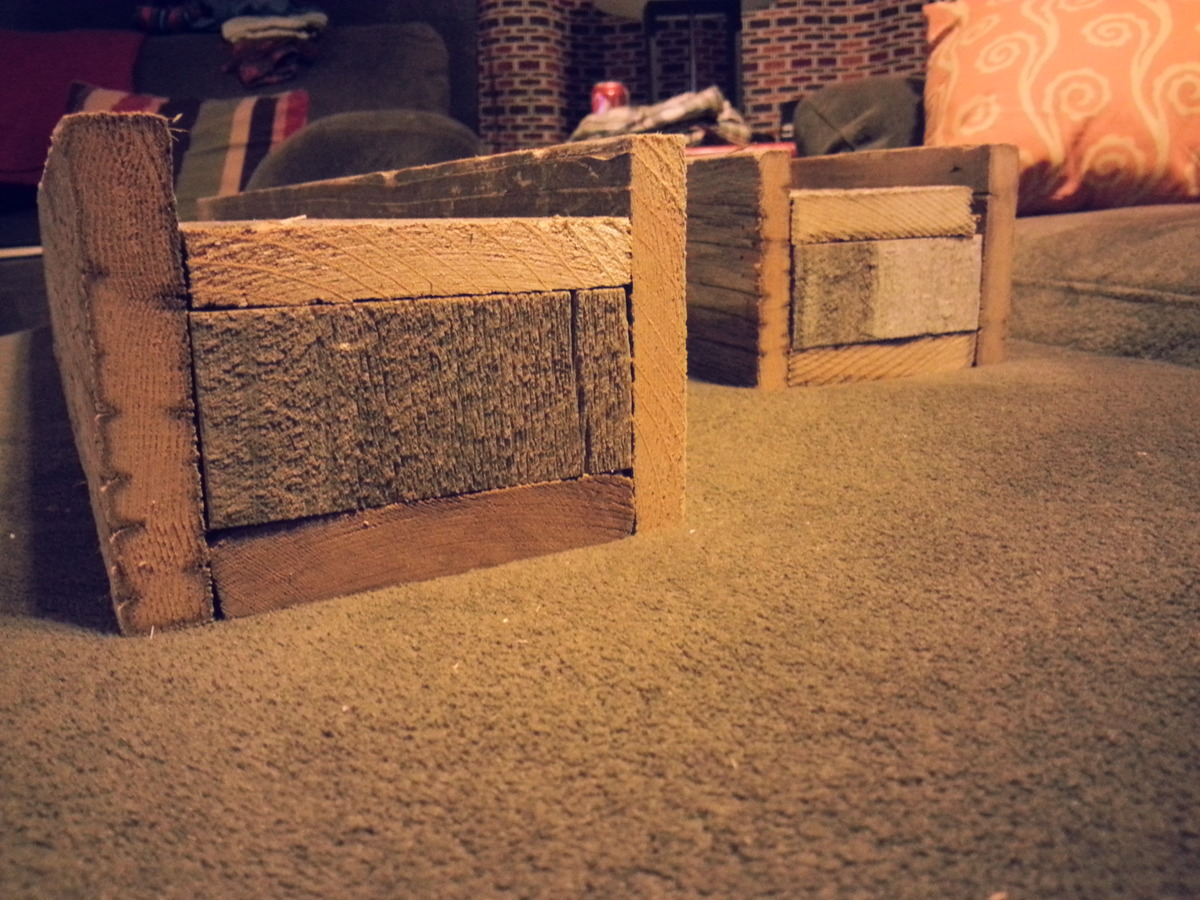
DIY Pet Urn
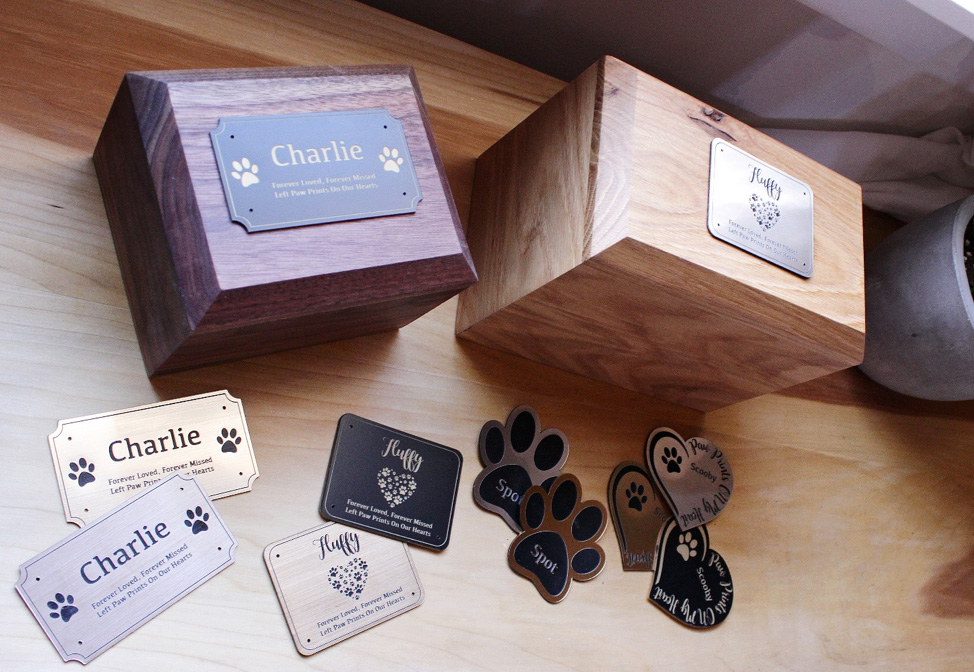
If you have pets, you know that they're family, too. And when you lose one, it's hard to let them go. But with pet cremation becoming more common lately, it's possible to keep them with you even after they've passed in a pet cremation urn.
But even if you don't want to use this project as an urn, this would make a great little keepsake box to keep a few special items—like a favorite toy, or a collar—in to remember them by.
So in this post, I'll show you how to make your own with some basic tools and lumber.
Estimated Time Investment
An Hour or Two (0-2 Hours)
Finish Used
Stain
Recommended Skill Level
Starter Project
Teen Loft Bed
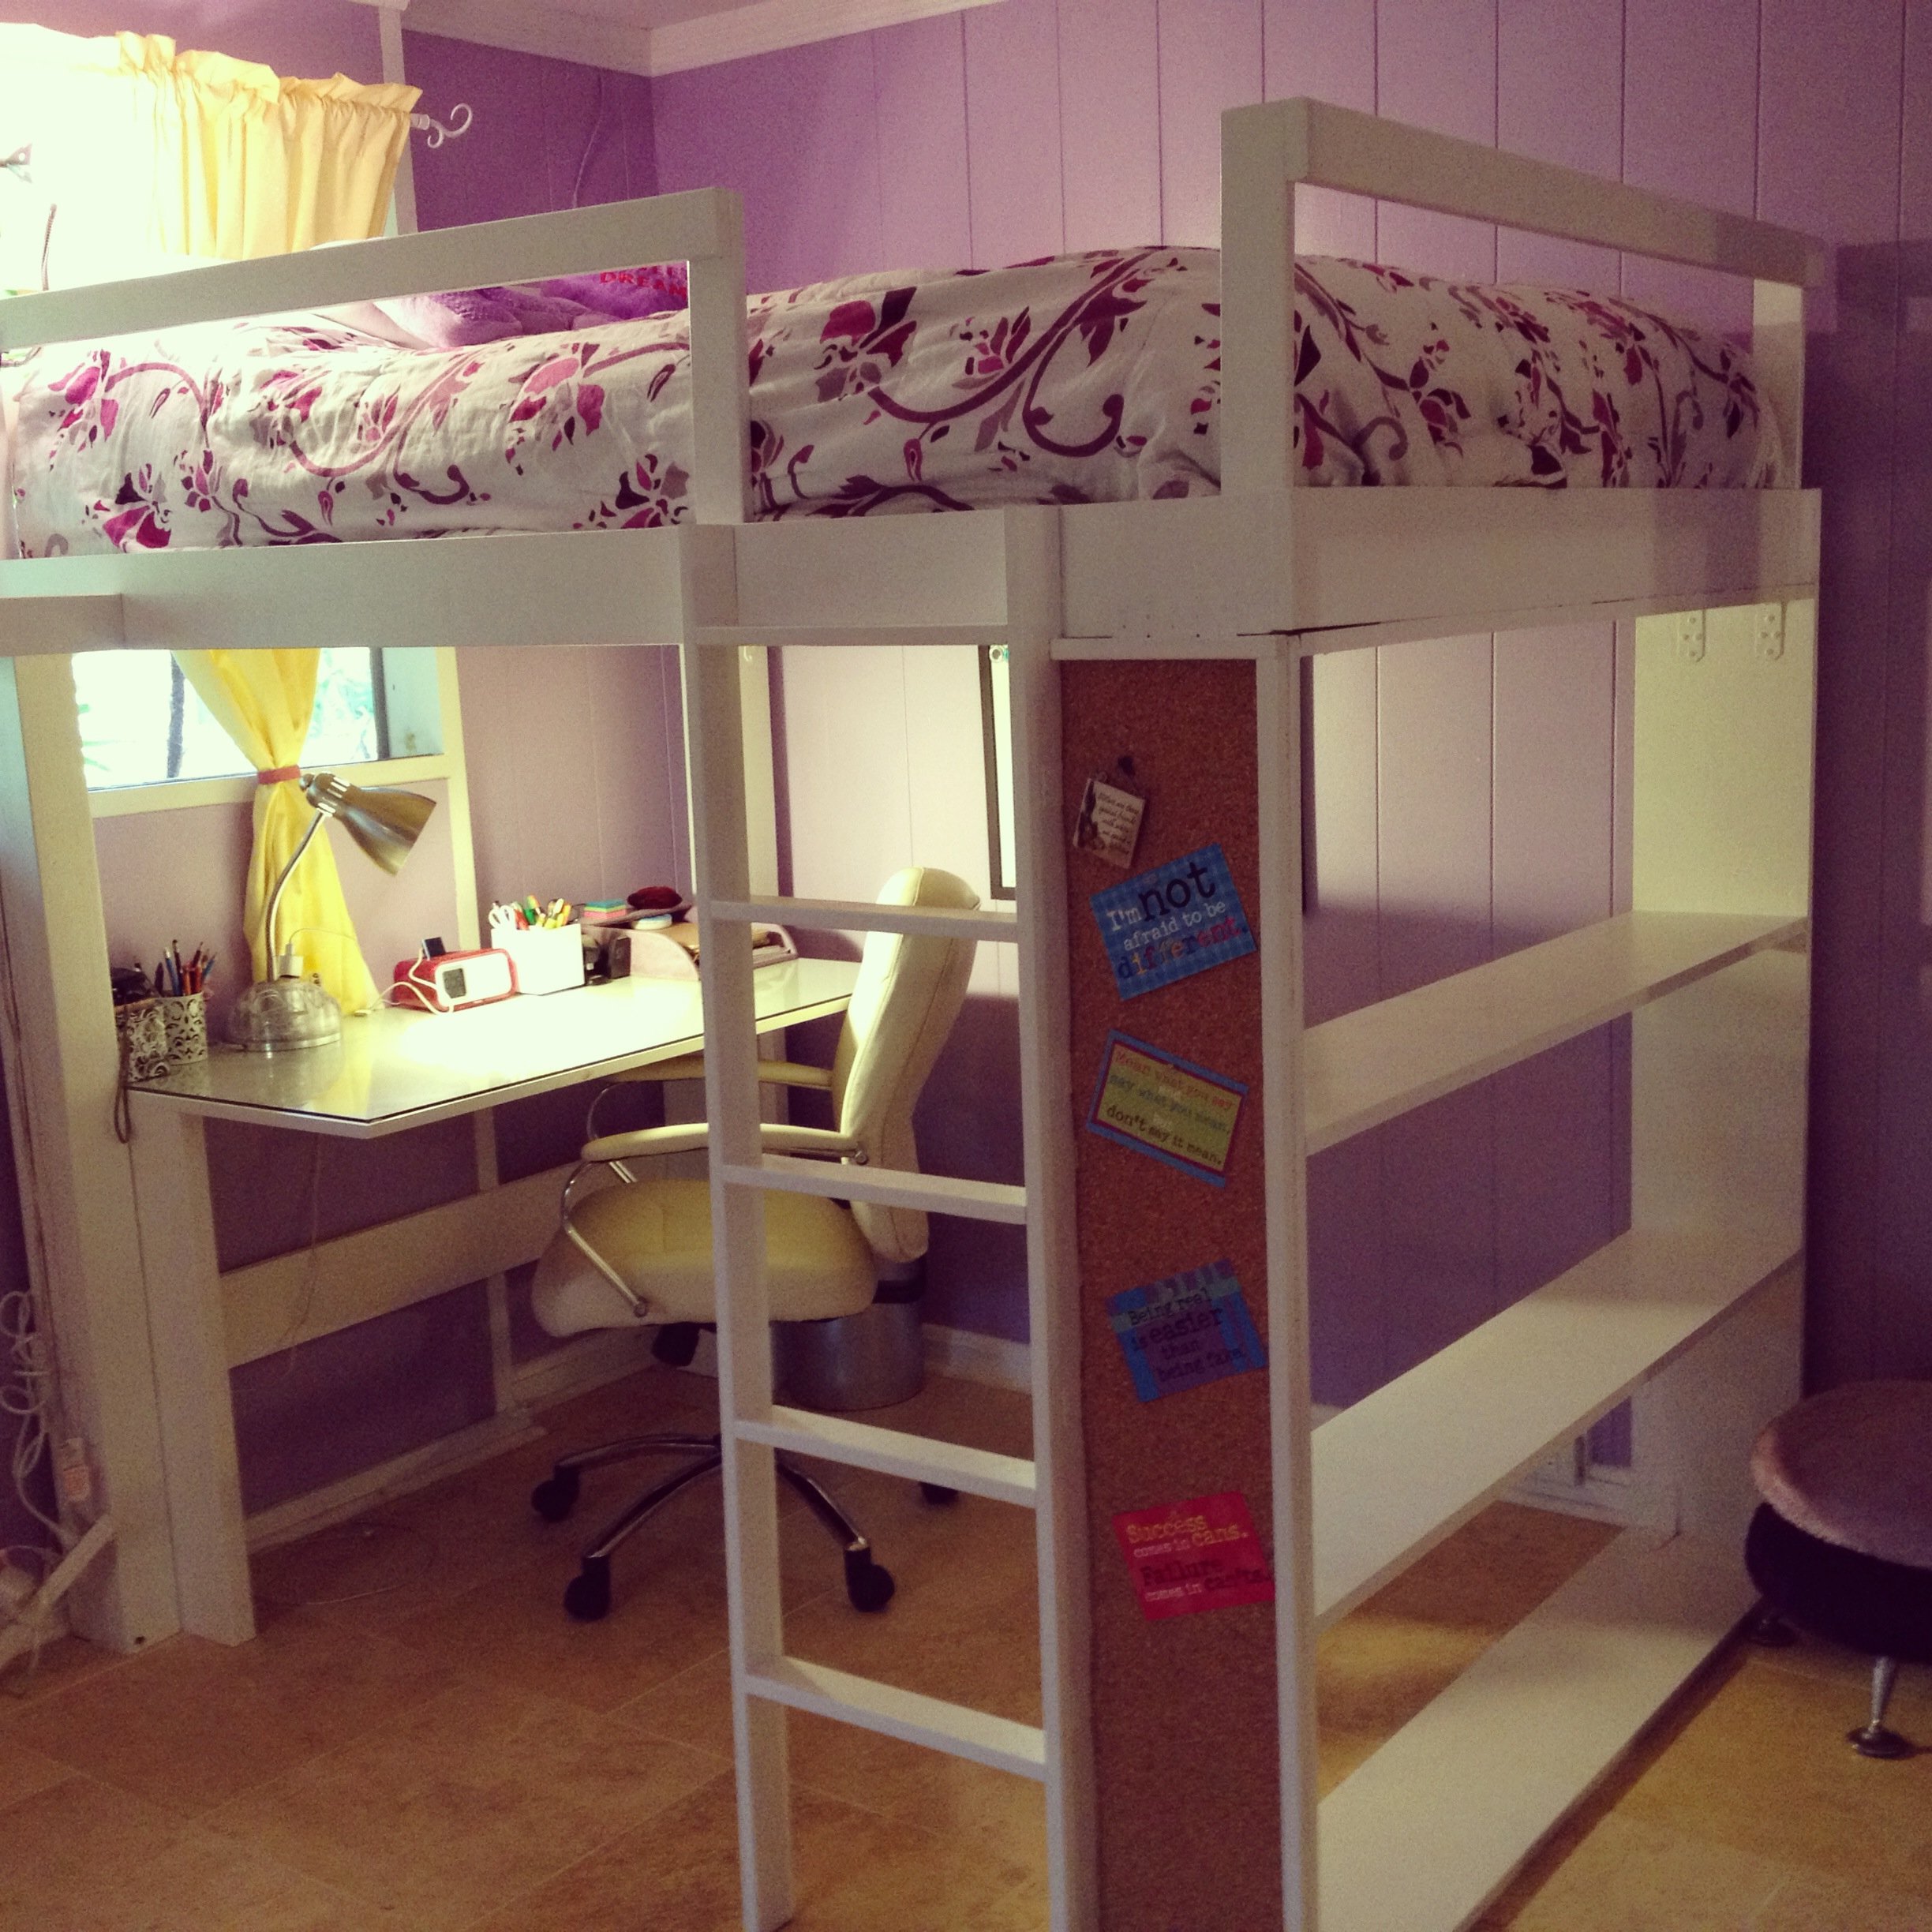
Aloha!
I was inspired by what I saw on Ana's website. My daughter was obsessed with the PB Teen version of the loft bed, so I tweaked the plans here to make it more like the $2500 bed from the catalog!!!!! Yikes and don't even get me started on what the shipping to Hawaii would be....It was well worth the effort! My daughter loves her new loft bed...Now if I can just figure out a way to get the dog to love the high bed!!!
Cheers, Tina
Built from Plan(s)
Estimated Cost
$250 because I added a glass top to the desk
Estimated Time Investment
Weekend Project (10-20 Hours)
Finish Used
white glossy paint
Recommended Skill Level
Beginner
Comments
Sat, 06/22/2013 - 02:57
Aloha Tina! You did a great
Aloha Tina!
You did a great job! I was wondering, how high is the bed, room and clearance? We also live in Hawaii and my daughter's room is small. Any feedback on what modifications you made would be greatly appreciated! Mahalo!
Tue, 06/25/2013 - 13:35
reply
Hi Dawn,
Yes, my daughter's room has low clearance, so I tweaked the loft bed height.
I determined what top clearance I could maximize that would allow my daughter to sit up in bed comfortably, but it will be tight as she grows. She's 5 feet now...
Then I tweaked the desk area height as well to maximize without too much of a struggle to get into the area.. I hope this reply is helpful..
Floor to ceiling height is 96 inches. desk area has clearance of 56 inches and from the top of the mattress to ceiling has a clearance of 28 inches.
Aloha, Tina
Tue, 12/17/2013 - 16:06
Teen Loft bed
Im having a problem finding the plans for the teen loft bed shown above. any direction would be appreciated! Thanks!
Tue, 12/17/2013 - 16:59
RESPONSE TO HANSJE01
HI! There are no plans for this loft bed.. I used the plans on this site and just literally DIY'ed to fit my needs.. Sorry I know this doesn't help you much…
If you have a specific question, maybe I could help…
Aloha, Tina
Cabin Sectional
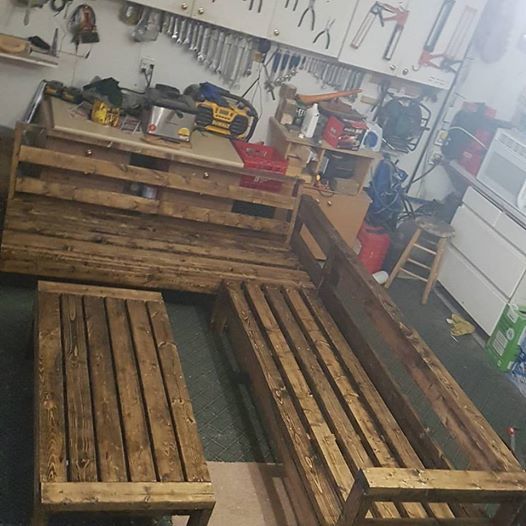
Spent my time home from work building this for the cabin this summer. will be using coushions from ikea that are water and uv resistant as well as double sealed with removable covers for washing.
Built from Plan(s)
Estimated Cost
120 dollars
Estimated Time Investment
Week Long Project (20 Hours or More)
Finish Used
dark walnut and an oil based varnish
Recommended Skill Level
Beginner
fence picket barn beam ledges
This was a very easy and fun project. I made mine out of fence pickets and I think the weathered look of the wood is perfect for these ledges. I plan to do a lot more projects from Ana's plans. The directions couldn't be easier to follow.
Built from Plan(s)
Estimated Time Investment
An Hour or Two (0-2 Hours)
Finish Used
none
Recommended Skill Level
Starter Project
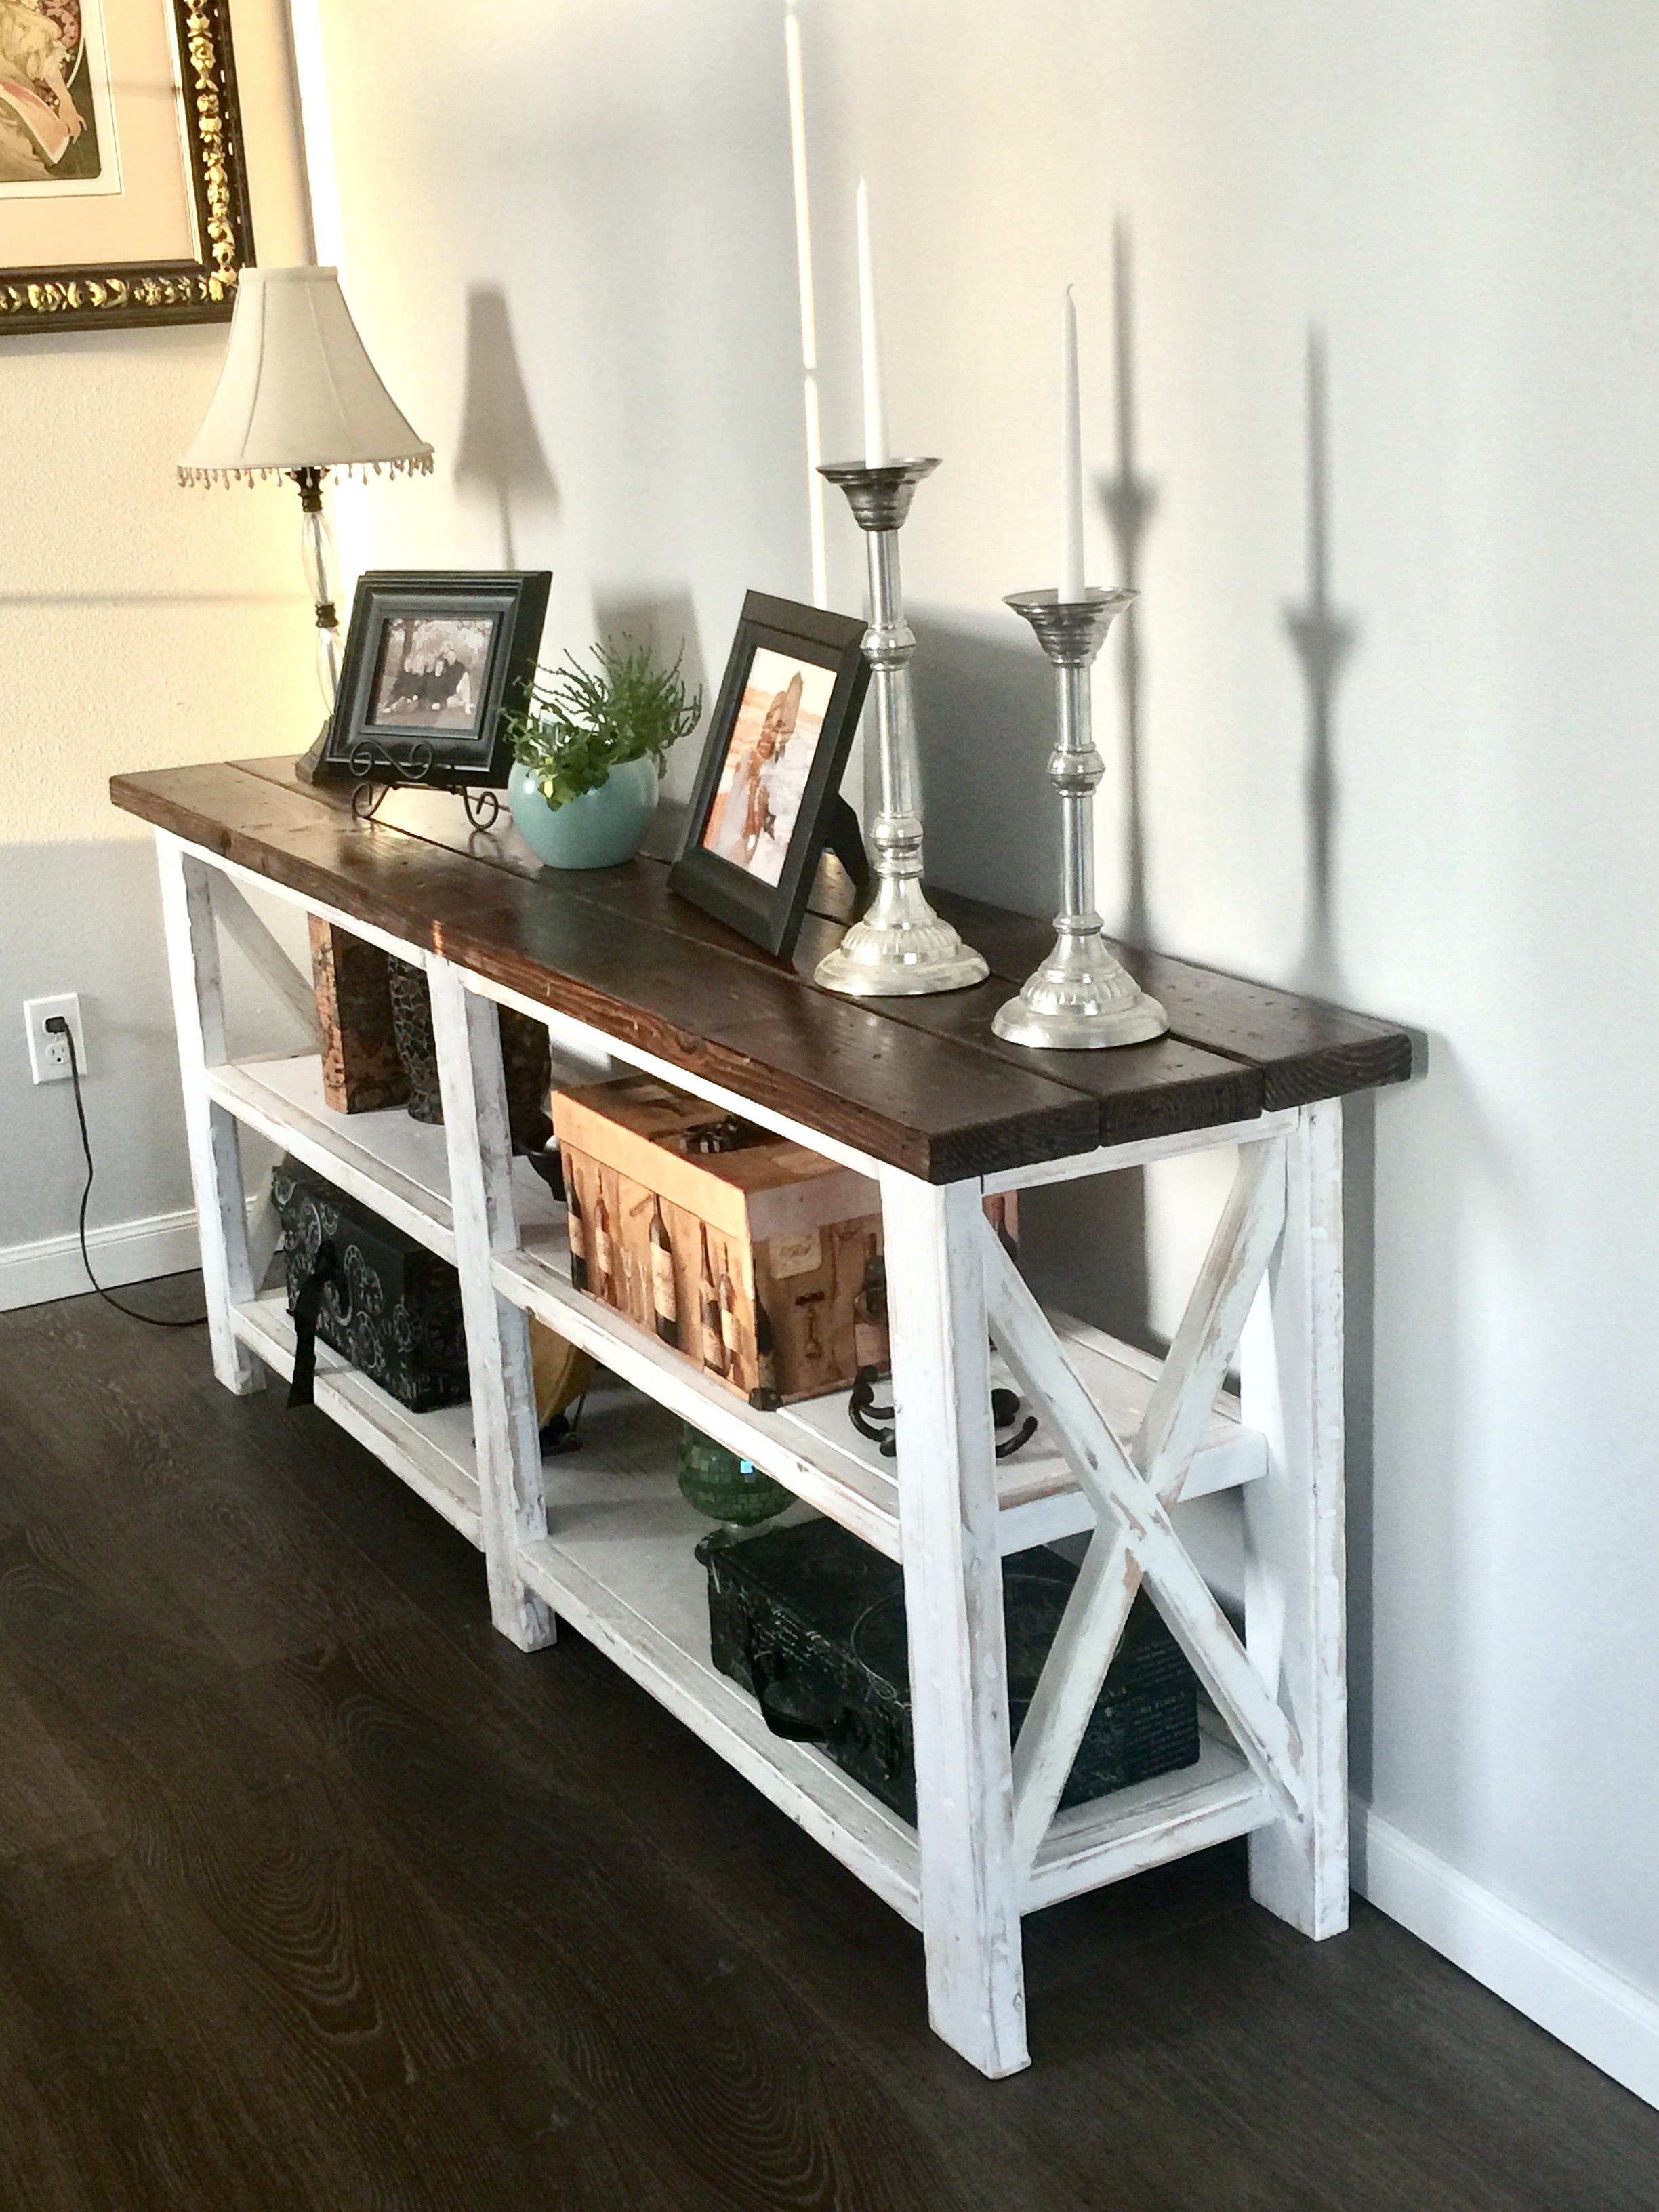
Rustic Console/Kitchen bar

I found the plans for this rustic console table and only modified it slightly in the height and length to have it fit as a bar/shelf for my kitchen. Turned out even better than I thought it would with a darker finish than I expected using the steel wool/vinegar mixture. A great clean/rustic/classy touch to our old vintage style house. It also helps a lot with space in our small kitchen considering there used to be a much wider dining table in place of the much more space-efficient bar. These plans were very straight-forward and not too difficult to follow and complete with the necessary tools and time.
Built from Plan(s)
Estimated Cost
$60-70
Estimated Time Investment
Weekend Project (10-20 Hours)
Finish Used
Steel wool soaked in vinegar (soak for at least 2-3 days)
Recommended Skill Level
Intermediate
Comments
Backyard oasis
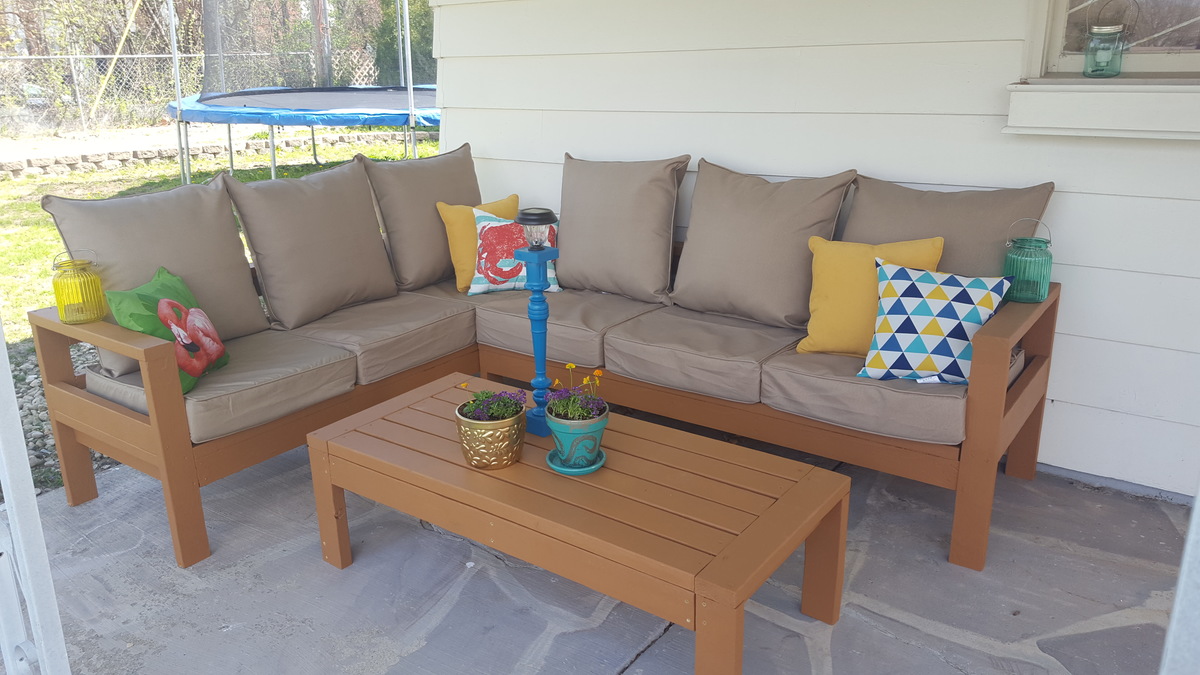
Awesome plans, incredibly simple to follow. I'm so happy to have found you and your plans on Pinterest, this is a piece we will enjoy for many years!
Thank you!

Built from Plan(s)
Estimated Cost
$400 including everything from lumber, stain and cushions.
Estimated Time Investment
Weekend Project (10-20 Hours)
Finish Used
Same as our fence, a thick cedar stain with a 20 year warranty. (Fingers crossed!)
Recommended Skill Level
Beginner
Sleek side Tables

Built these from an inspired photo of a table from Wayfair. However, I need to customize to fit my friends living space. I routed out the tops and dowel jig the legs. These came out so beautiful!


Estimated Cost
150
Estimated Time Investment
Week Long Project (20 Hours or More)
Finish Used
Dark Walnut Minwax stain
Recommended Skill Level
Advanced
Comments
memorial bench
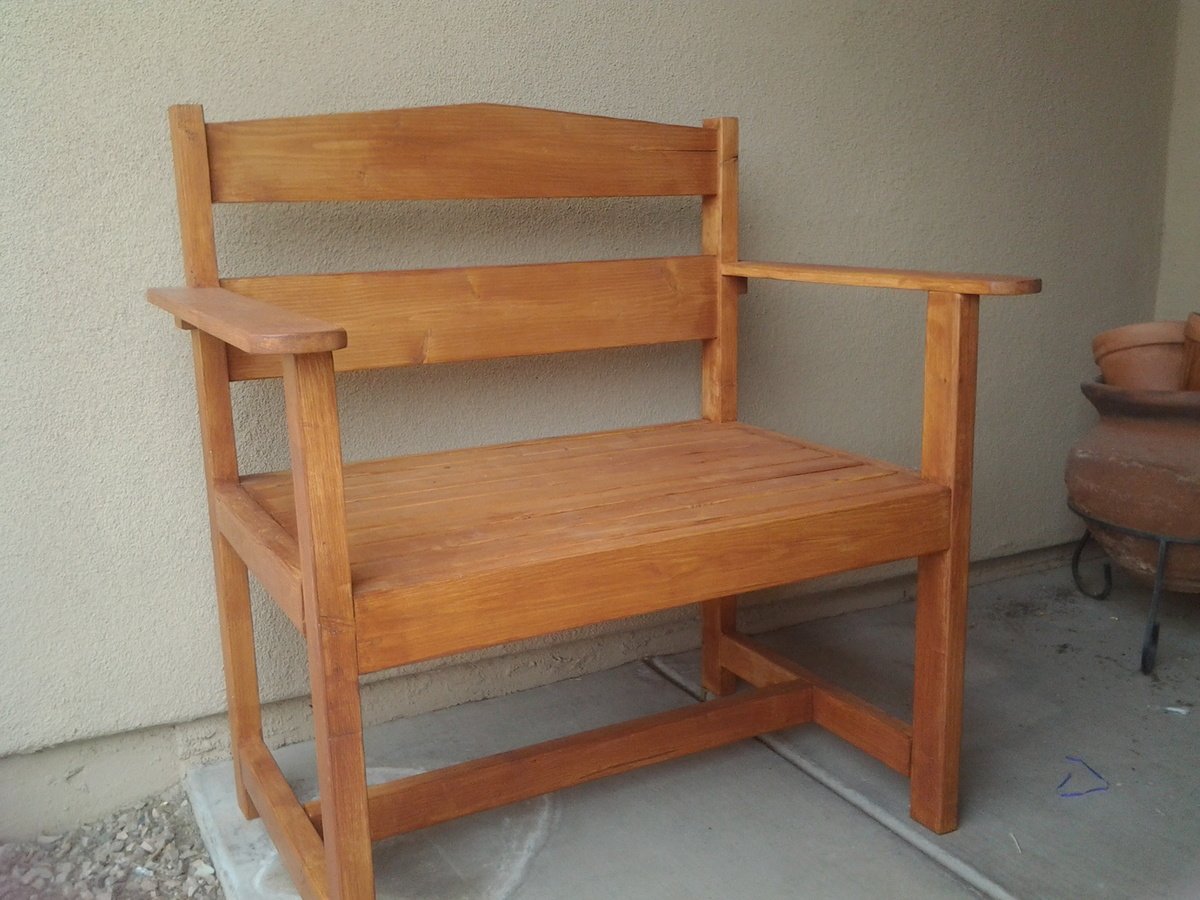
My husband and I built this as a memorial bench for a friend of a friend that , lost a child to a car accident last year. Hopefully it will give her a peaceful spot to sit in her garden. Thanks for the plans and support!
Built from Plan(s)
Estimated Cost
45
Estimated Time Investment
Weekend Project (10-20 Hours)
Finish Used
Behr deck wood finish in cedar
Recommended Skill Level
Beginner
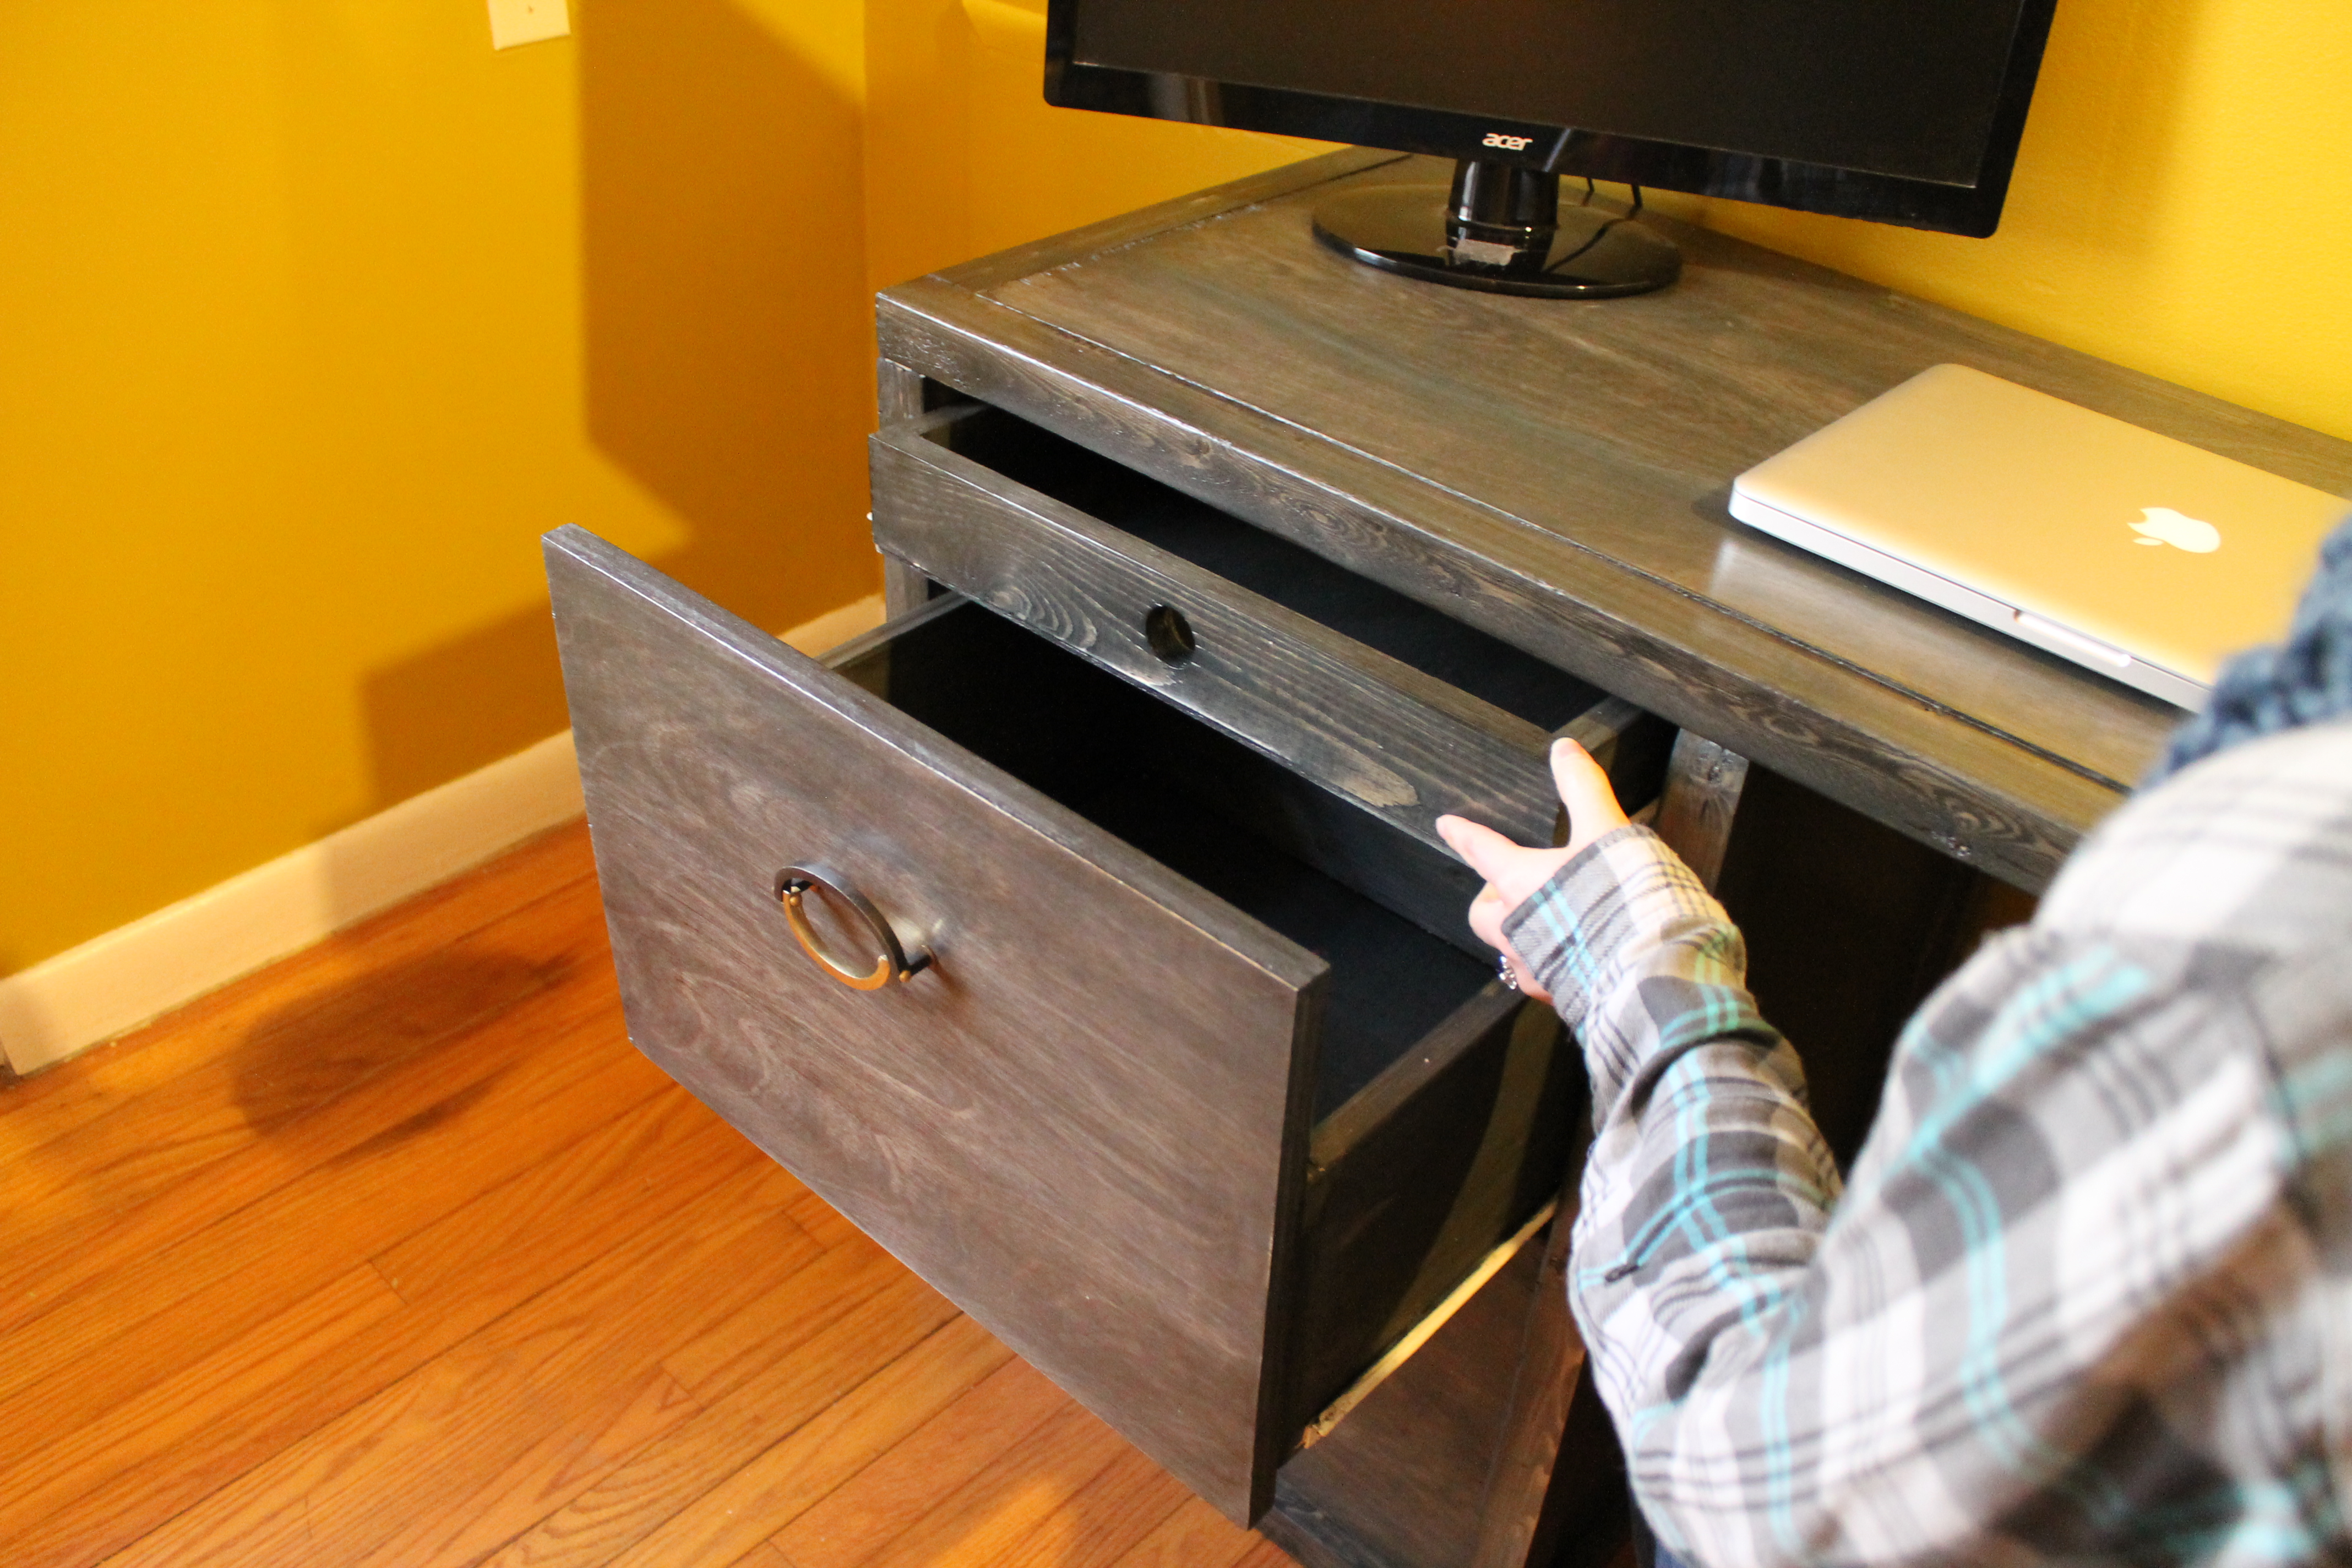
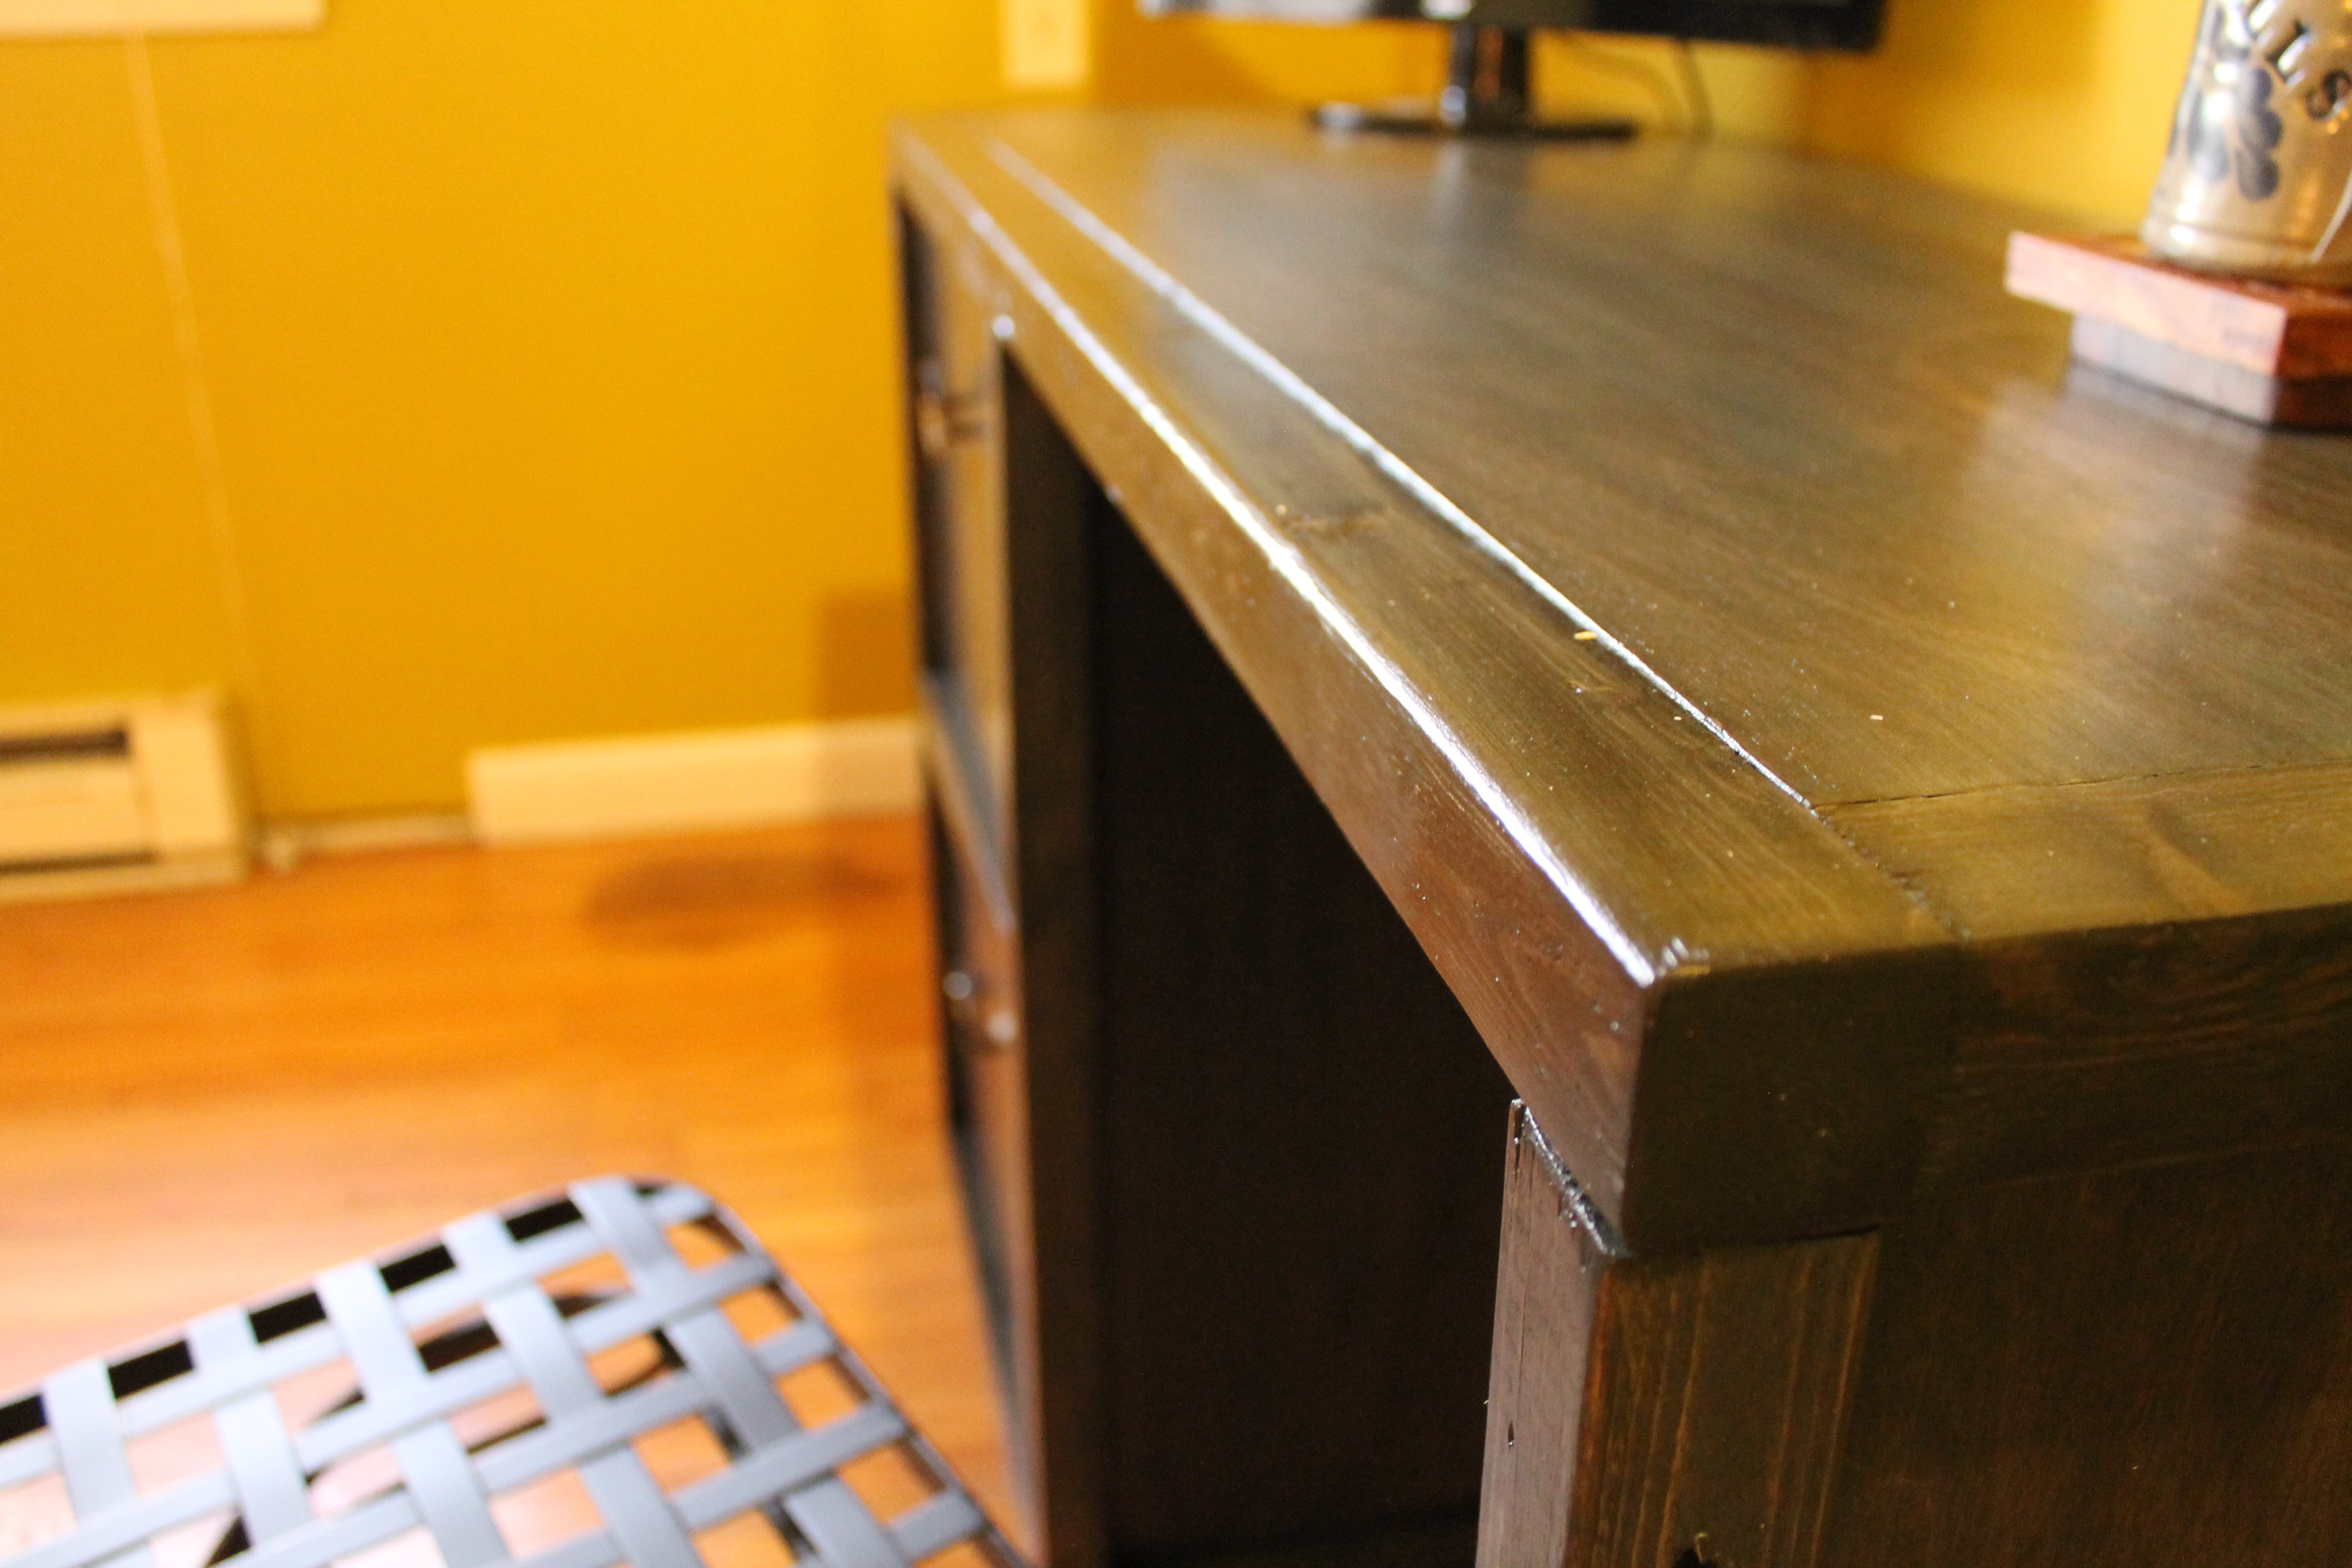
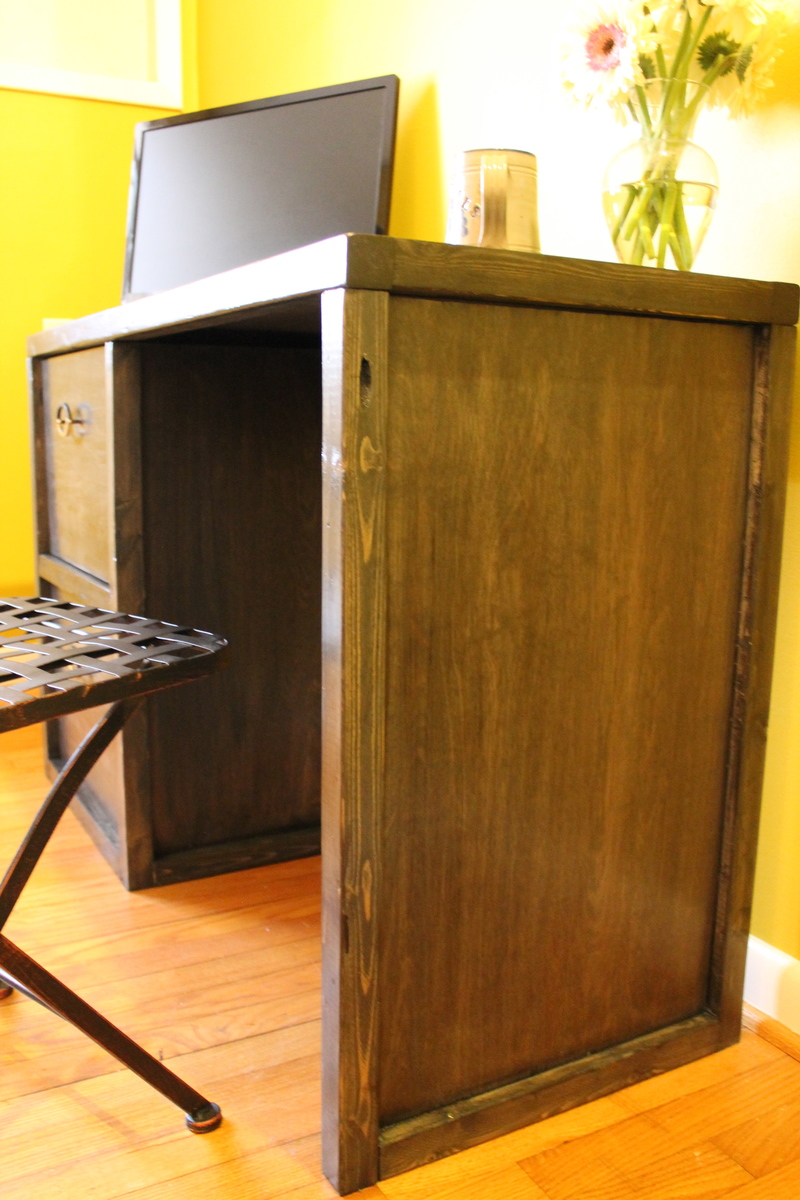
Modified Parson Tower Desk
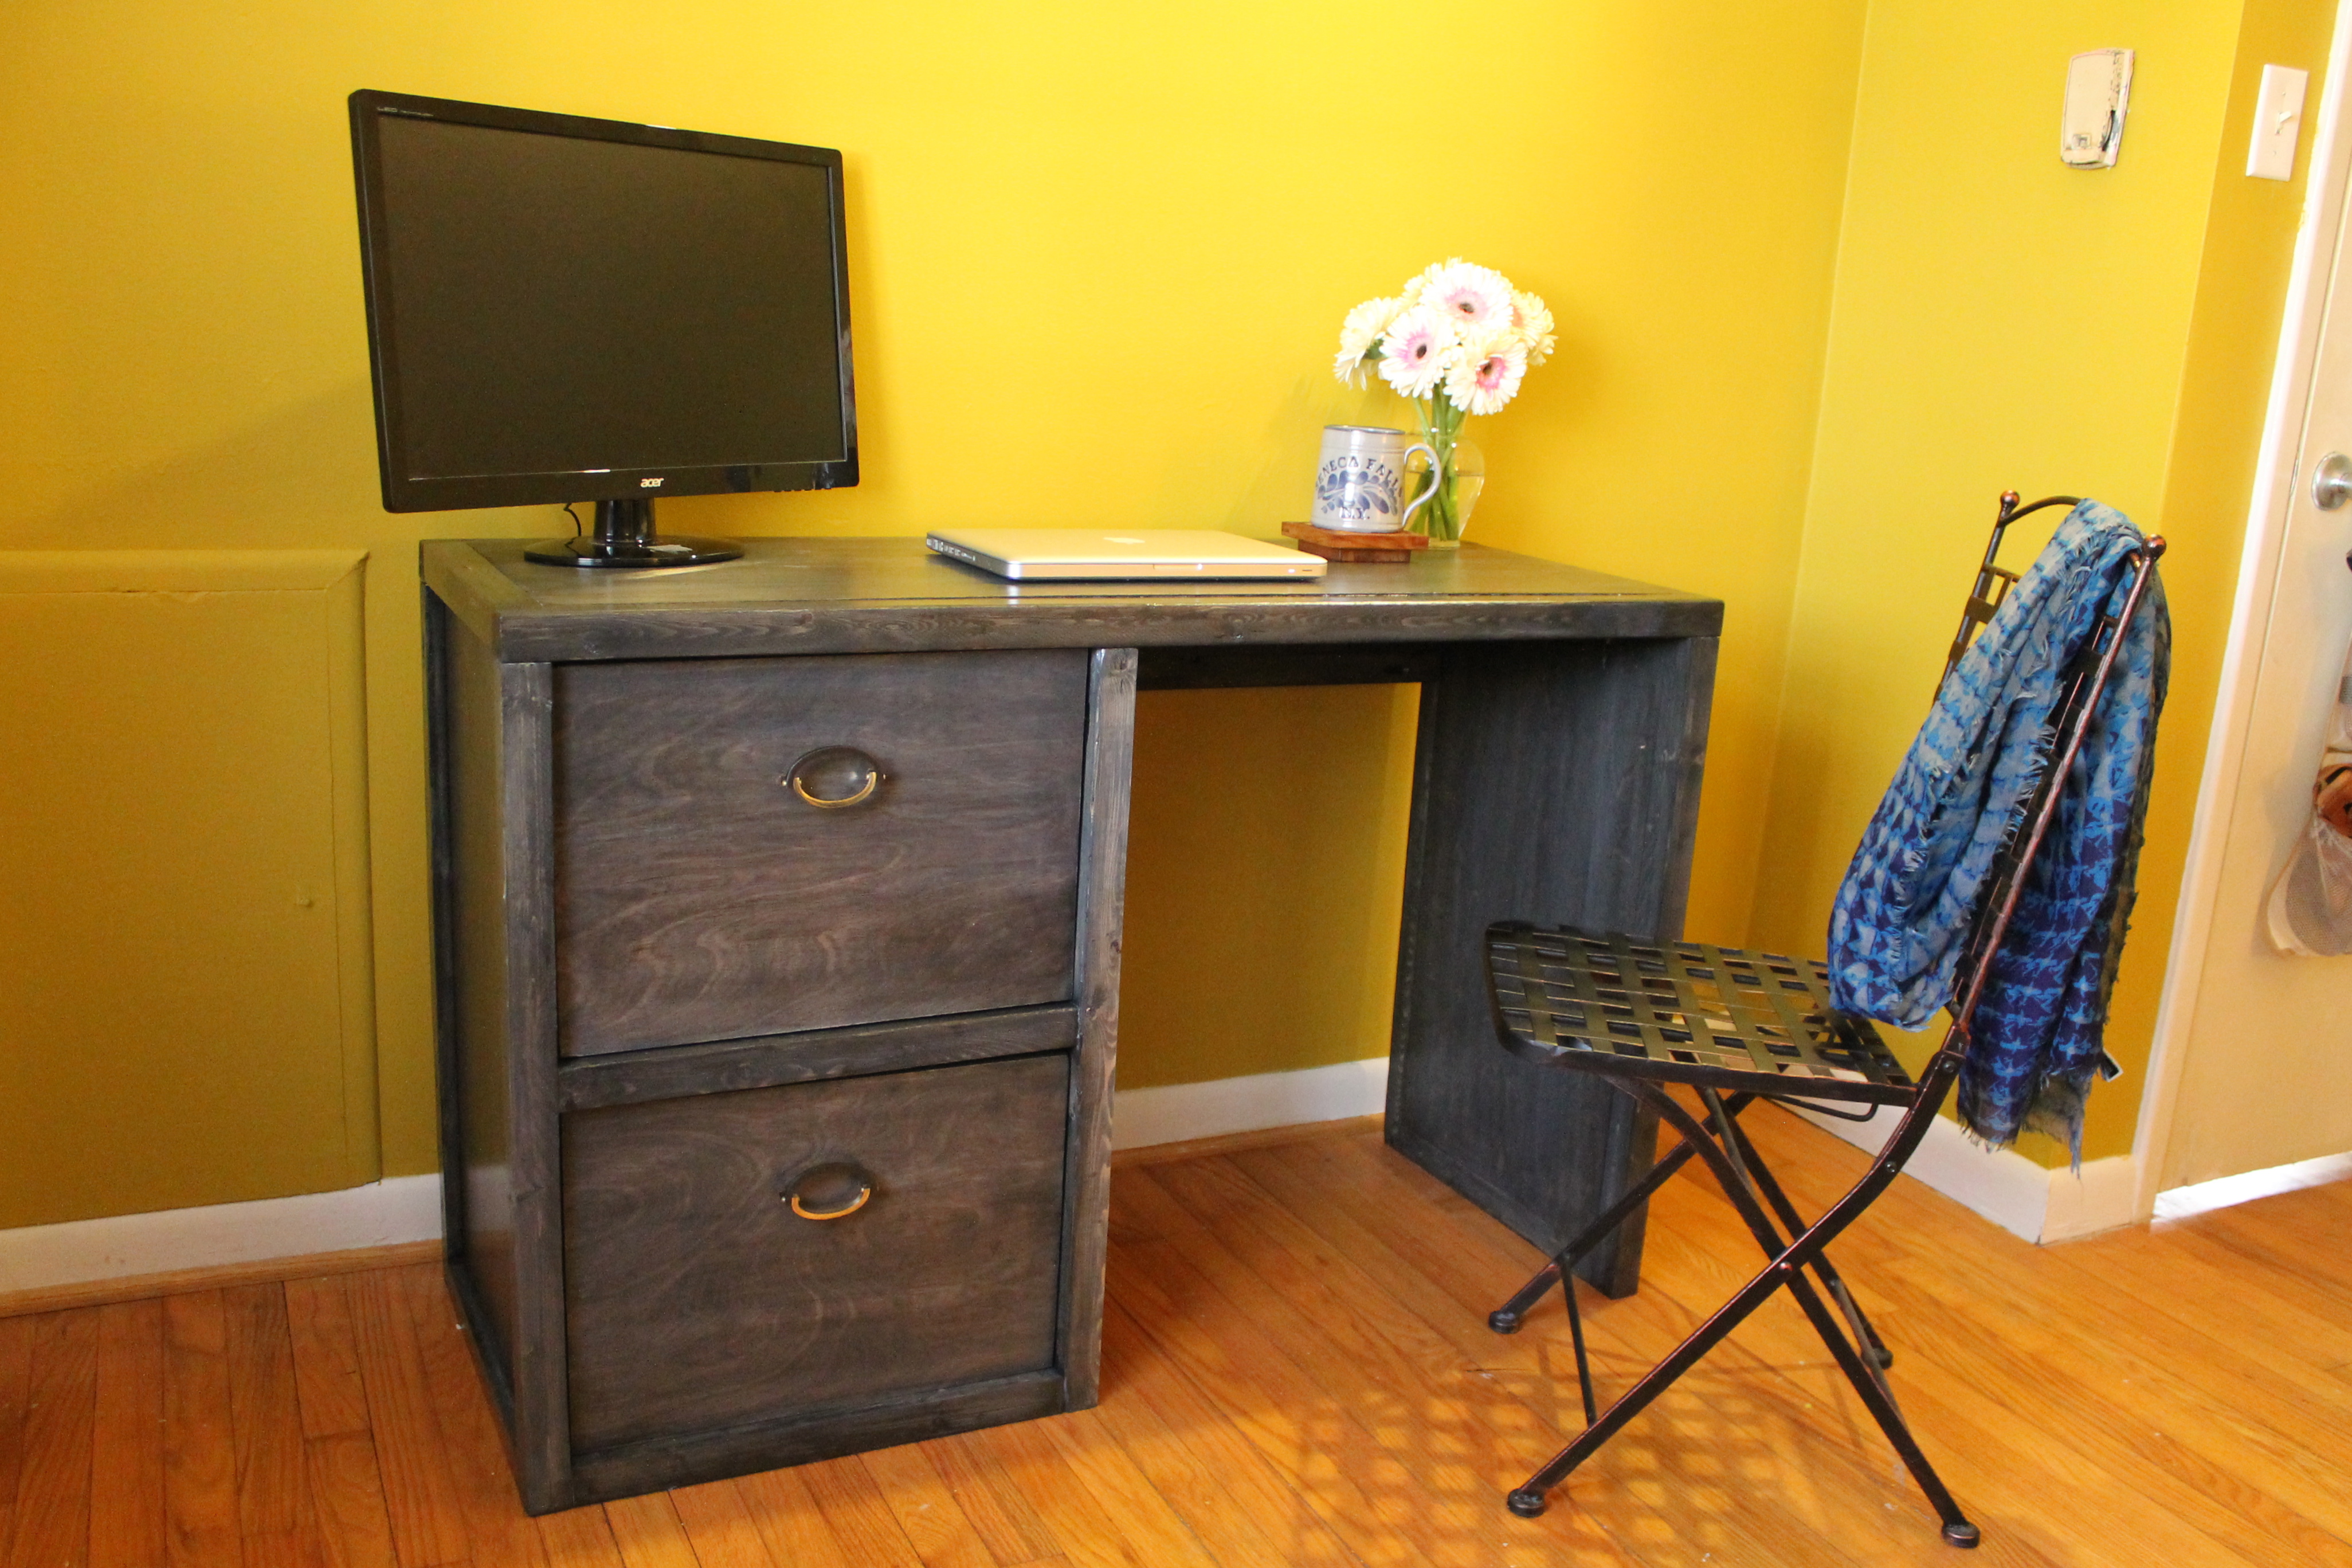
For my second build, I made myself a desk! I really liked the clean lines of the Parson Tower Desk, but it was too big for my space, and I really wanted some storage. I was a little nervous to make any mods since I'm pretty new to building, but I think the desk turned out pretty well. I used the Tower Desk plans, extended the shelf width to fit my printer (on bottom), and then added a file drawer and a "hidden drawer" for smaller items and documents.
Built from Plan(s)
Estimated Cost
$100-$120 including hardware
Estimated Time Investment
Week Long Project (20 Hours or More)
Finish Used
Layer 1: Minwax water based Charcoal Grey; Layer 2: Minwax water based Classic Black; Layers 3, 4, & 5: Polycrylic
Recommended Skill Level
Beginner
Comments
Mon, 03/16/2020 - 20:30
Do you have any plans for…
Do you have any plans for the drawers? I really love this modification but haven't made drawers before and would love some tips.
Thanks!
Wasn't so hard.
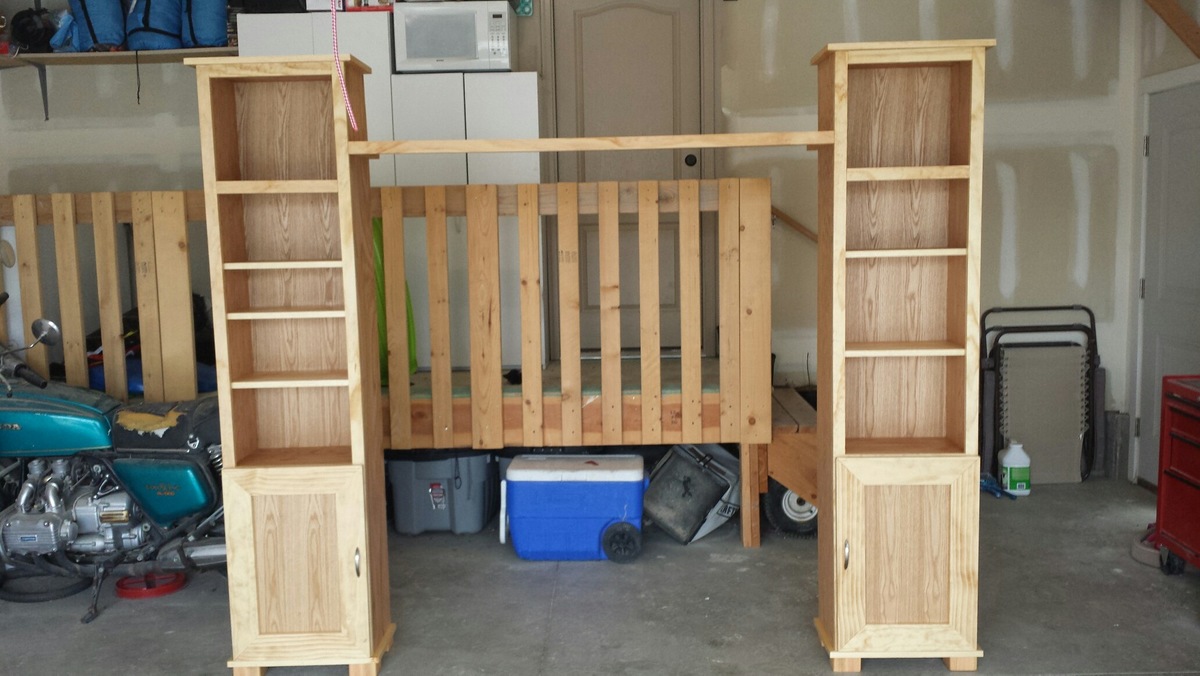
Storage towers. New to this site. Thanks for all the great plans.
Built from Plan(s)
Estimated Time Investment
Day Project (6-9 Hours)
Finish Used
Clear
Recommended Skill Level
Intermediate
Vintage Style Apple Crate

Handmade vintage style Apple crate with logo printed in the side. Guide can be found at my blog

Estimated Cost
Zero. Used pine pallet wood and tools and hardware that I already had
Estimated Time Investment
Afternoon Project (3-6 Hours)
Finish Used
Haven't been got a around to finish yet as i am considering my options
Recommended Skill Level
Beginner
Val's Toy Box
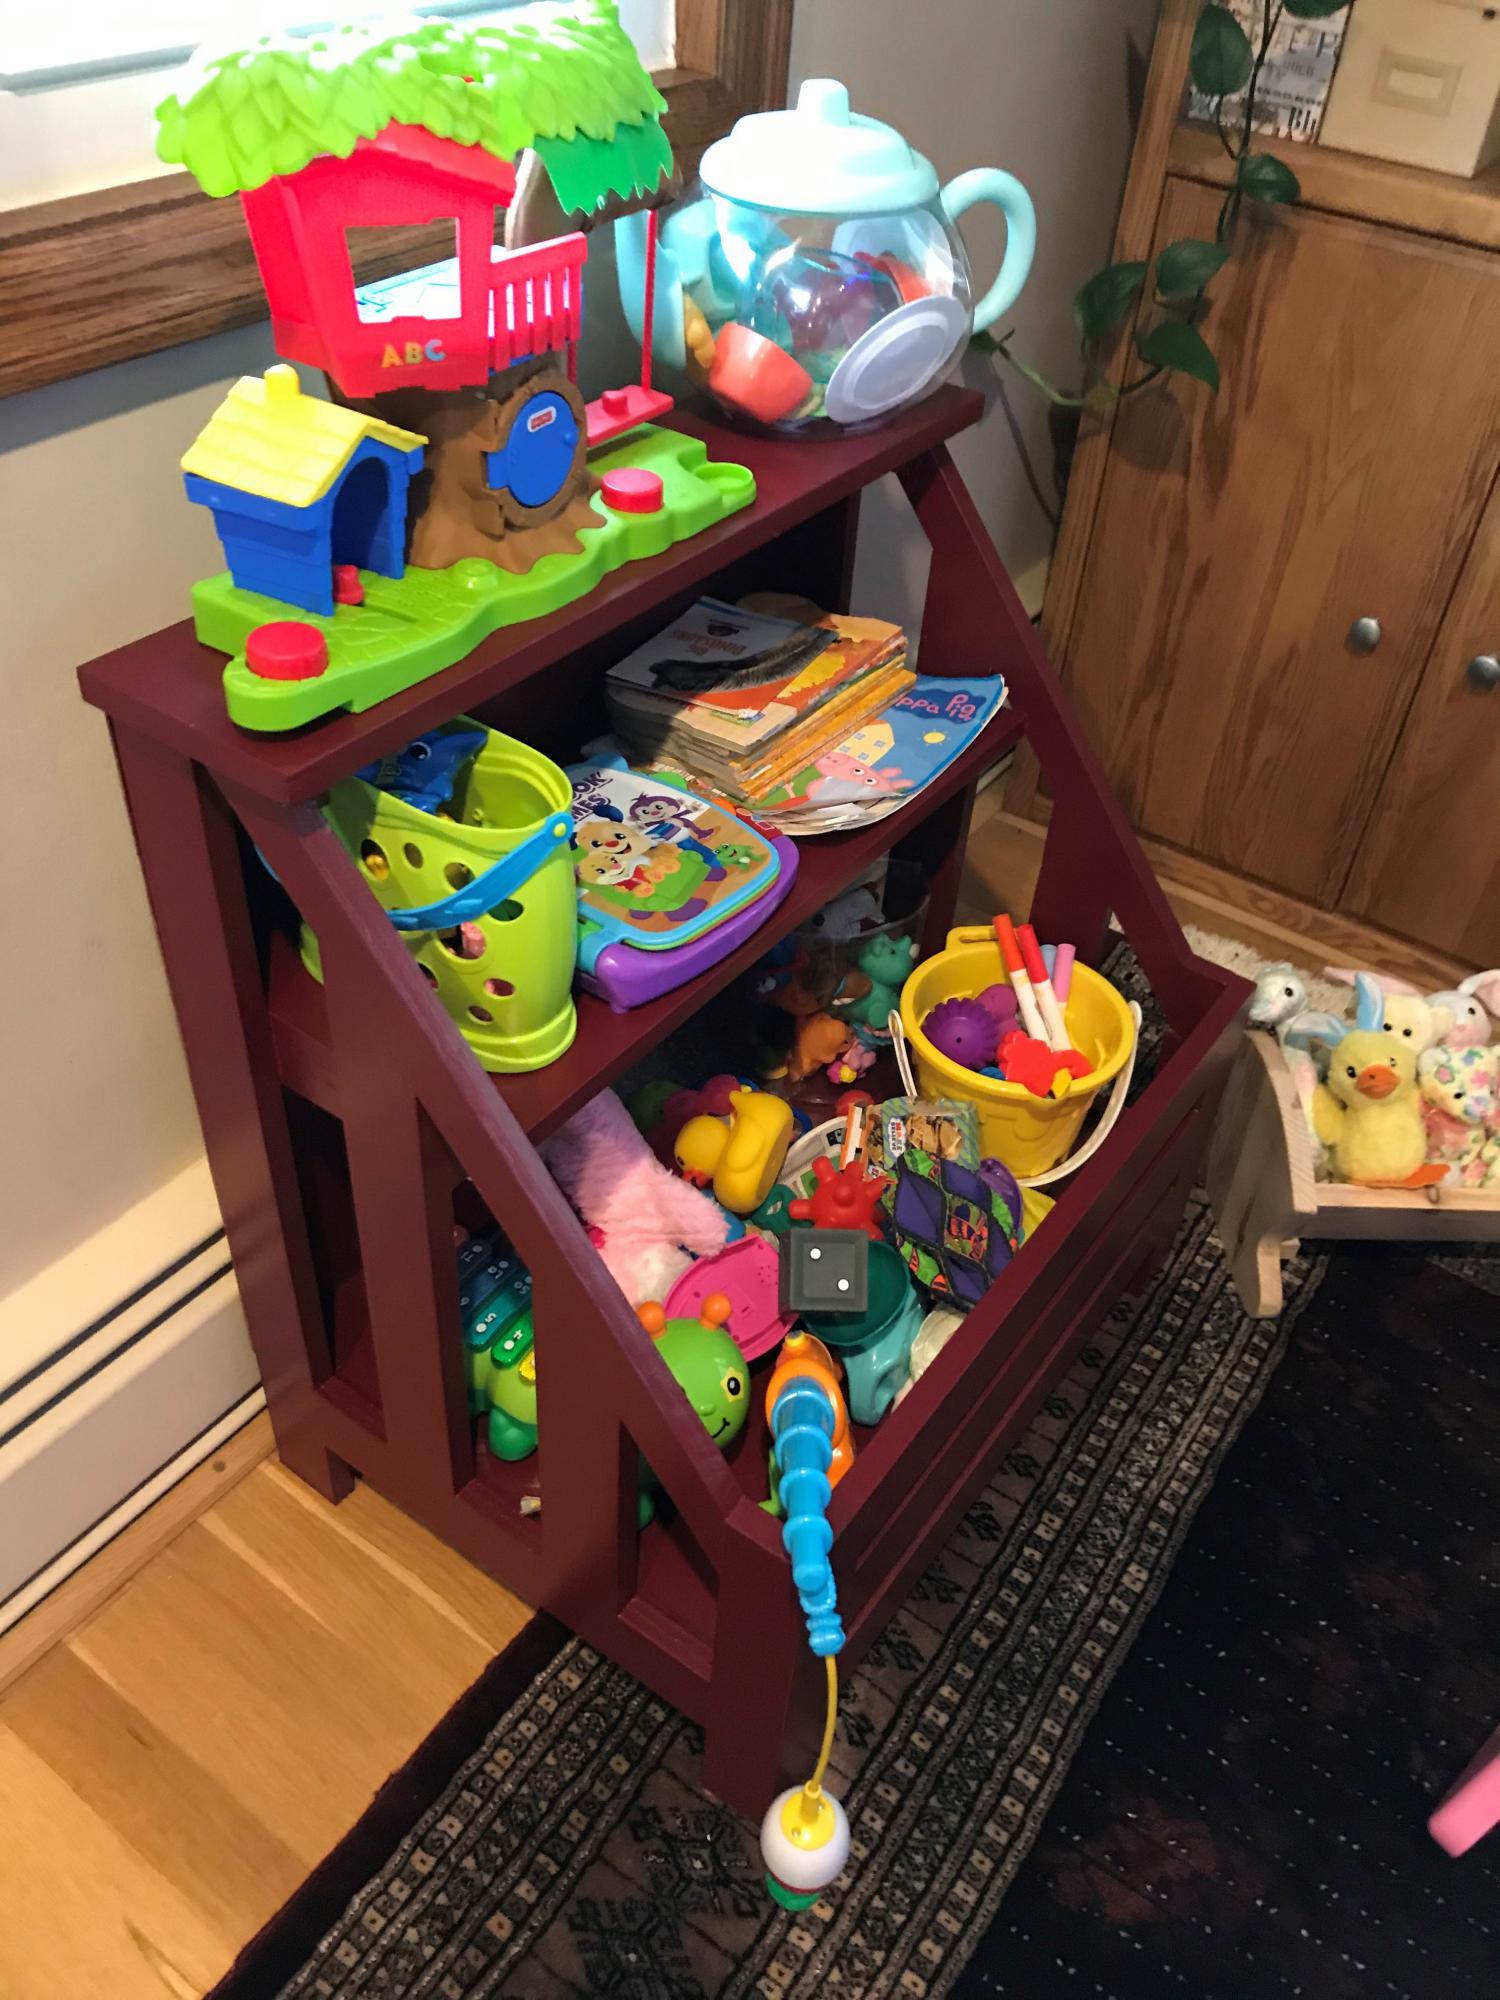
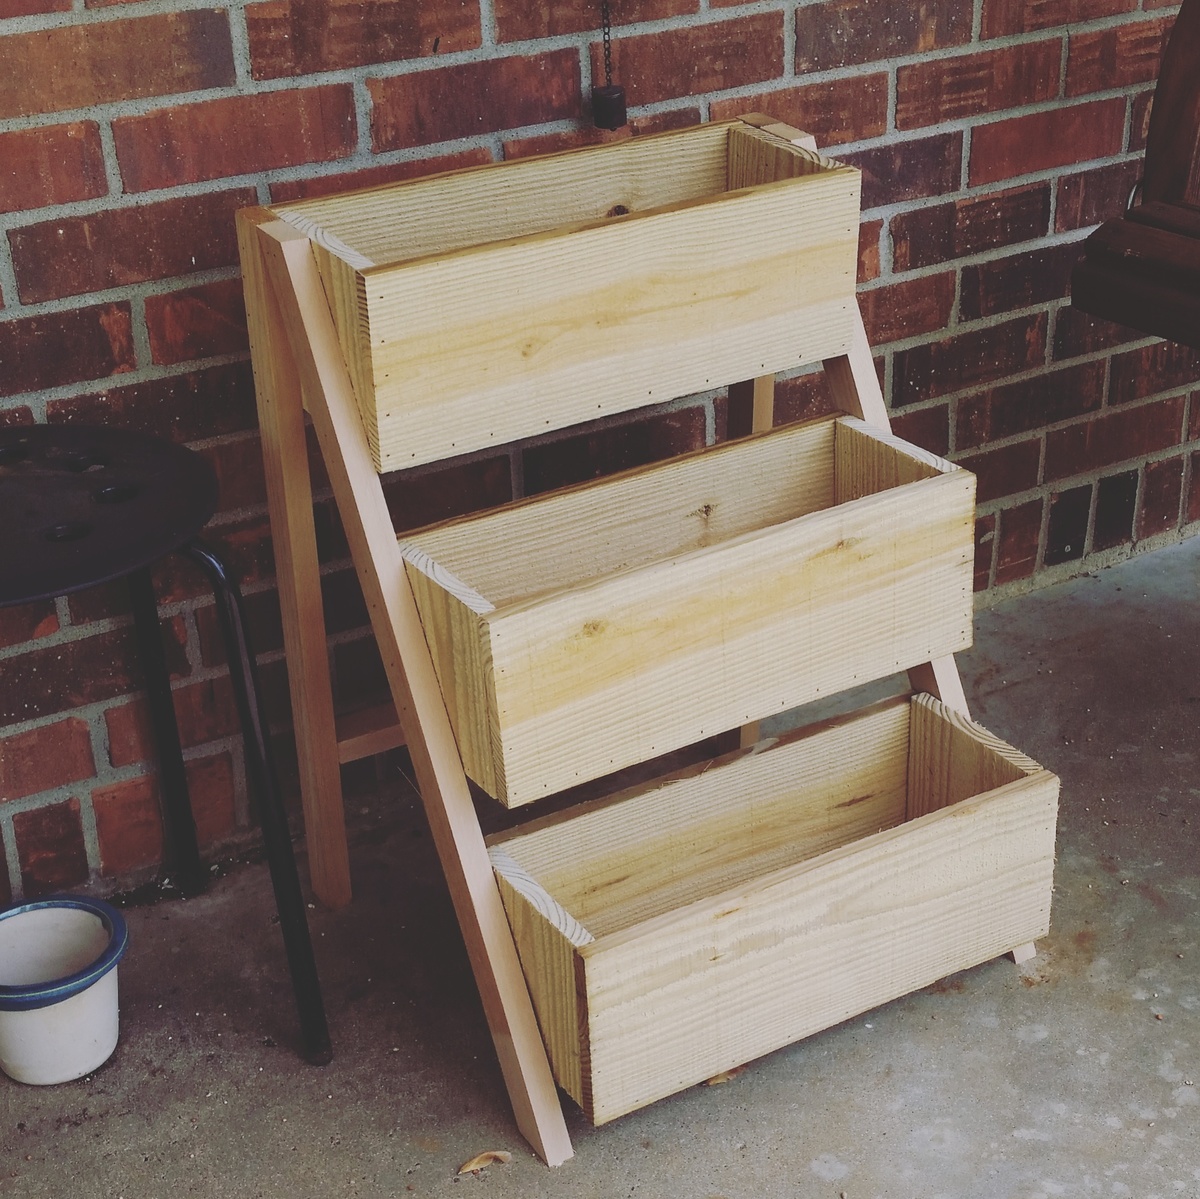
Using free plywood scrap from a local business, I made the toy box by cutting the 3/4 plywood into the same nominal sized wood. I filled in the edge of the exposed wood with spackling and sanded it smooth. Two issues I came across with this build. The width of the top shelf, nominal 7 1/4", was too wide so I cut it down to 6" and the middle shelf supports stuck out side of the angled rail so I cut those down by about 1/8". Three coats of paint to cover. I'm pretty proud of myself as this was tagged as an advanced build and it's only the fourth item I've built! Thanks for the great project plans!
Built from Plan(s)
Estimated Cost
$14 (wood was free)
Estimated Time Investment
Weekend Project (10-20 Hours)
Finish Used
Rustoleum Ultra Cover Premium Latex Paint, satin, claret wine. Primed with Kilz white primer. Needed 3 coats of paint to get full coverage of white primer. Paint directions recommended against rollering it but it left too many brush strokes so the second and third coats were applied with a 4" roller.
Recommended Skill Level
Intermediate
Comments
White Twin Platform Bed
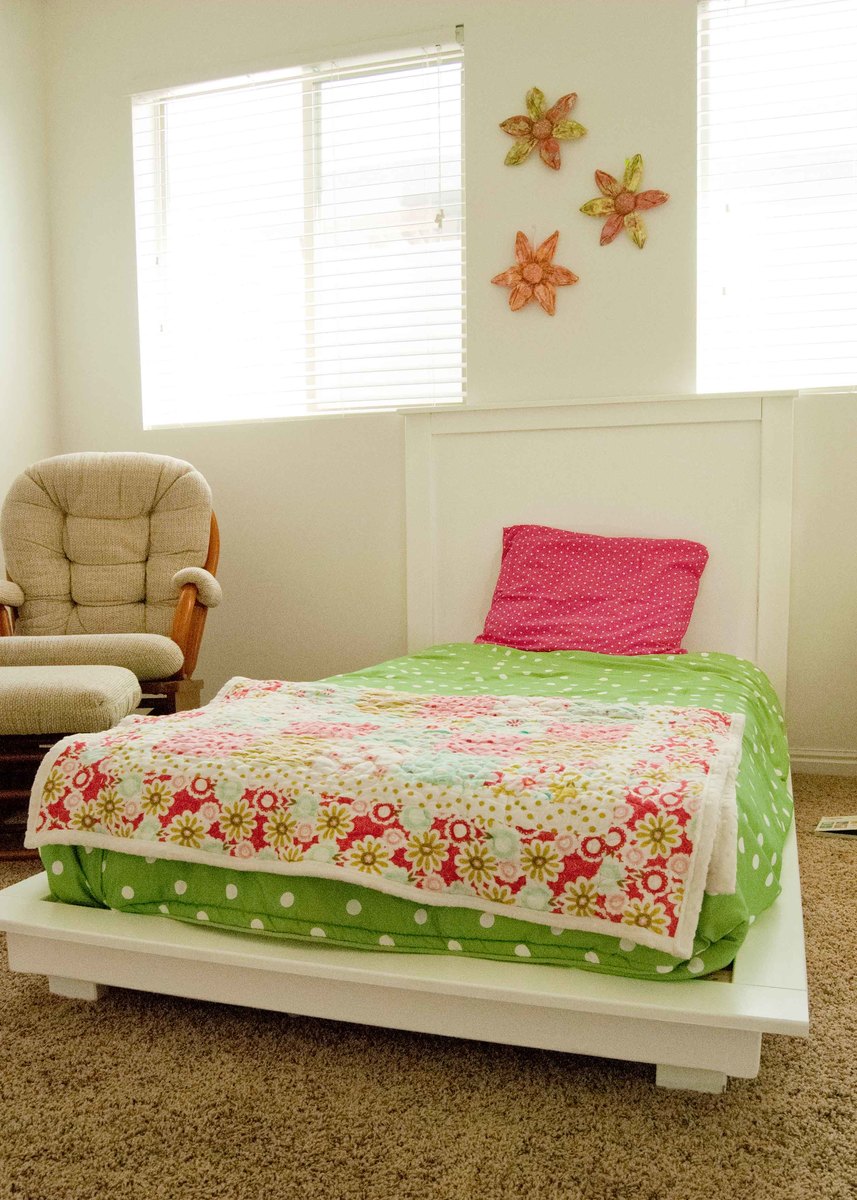
This was a pretty simply bed to make and would have only probably taken half a day to build if we were more familiar with building furniture from scratch. Instead of using the pocket-hole screws we just used countersink screws as suggested in one of the comments of this tutorial and that work great. We just filling the holes afterwards before painting. For more tips and advice from what we learned from building this bed you can check out my blog post on the bed http://www.stripesandpolkadotsblog.com/take-back-tuesday-diy-platform-b…

Built from Plan(s)
Estimated Cost
120 for both the bed and headboard
Estimated Time Investment
Day Project (6-9 Hours)
Finish Used
Semi-Gloss White paint and primer
Recommended Skill Level
Beginner