Michael's Book Shelves
The first furniture I built from Ana-White's page. My son liked it so much!
Ps: Home Depot employer cut all the pieces for me...Saved me an hour! :)
The first furniture I built from Ana-White's page. My son liked it so much!
Ps: Home Depot employer cut all the pieces for me...Saved me an hour! :)
My wife, Carrie, and I decided to make this bench for a very deserving couple for their wedding. It turned out great and this will be the first of many pieces we'll build. Thanks for the plans Ana!
I made this with pine boards. I used an old twin mattress for the cushions and covered with some material I had on hand. I love it.
Sat, 06/06/2015 - 06:14
Looks like a great place to relax. Your Golden seems to be enjoying it!
Great project and my wife loves it. I added a door, locking hinges, and made a custom cutout with shelf for the machine to sit flush with the table. I switched to piano hinge for the leaves and locking hinges for the 2x2 legs. Turned out great.
Such a fun and fairly quick and easy Christmas gift for my 8 yr old daughter. She’s been begging for a AG dollhouse and with limited space in our house, this compact design fit the bill. I bought the shelf help kit and all I had to do was assemble, add trim and cut out the windows. Highly recommend the kit, no wasted plywood (and it was high quality too!) Thank you Anna!
Sun, 12/26/2021 - 17:17
That is darling, thank you so much for sharing!
This week, I built the Farmhouse Bedside Table. It was quick and easy to build, but be sure to add a few more hours to paint.
I have a small bedroom with a very long but shallow closet at the foot of my bed. I built Ana’s Queen Storage Bed and had a small short and narrow bedside table from my old apartment. The spaces on both sides of my bed were perfect for the Farmhouse Bedside Table and the right height, so I decided to try to build the Farmhouse Bedside Table.
As for the materials -- I found beautiful 2x2's and 4 not-so-great knobs at an estate sale for a total of $2. I spray painted the knobs silver to match with the other hardware in my bedroom. These knobs are temporary until I find something I love. I found the tops on the side of a curb. It looked like the tops were formerly a bookshelf.
I bought the 2x2, the 1x12 and 1x6. I paid approximately $40 for the wood for the two tables. I sold my existing (shorter) bedside table on Craigslist for $40. Essentially, I was able to build a free side table that fit better with my space.
I decided to cut the wood myself as I haven’t had great experience getting accurate cuts from the store. I used a circular saw to cut and opted to not add the 1/8 depth cut because I was afraid of messing up my project. I used the kreg jig for the joints, my boyfriend’s brad nailer to build the drawers and a finisher nailer to secure the top.
I was unsure about the drawer slides but I completely love them now. It was easier and a much more affordable solution than buying slides from a store. I would use this type of slides on drawers that have very light use.
I love these bedside tables and would highly recommend building them too.
My new Craft Table I built from Ana White's plans. I combined her plans from her Modern Craft Table (http://ana-white.com/2010/09/modern-craft-table) and the desk drawer from her Craft Tabletop for the Modular Collection (http://ana-white.com/2010/02/plans-bedford-project-table-top-with.html). I modified the plans slightly, I added 1x2's aroung the tabletop instead of edge banding or nosing to give it a nice decorative finish. I also used 1 x 3's instead of using 1 x 2's for the floating base for the tabletop so you could see more of the floating base since the 1 x 2's around the tabletop covered up the majority of the floating base from view. I also created a frame for the table top to sit on which also helped stabilized the 2 bookshelves in place, as well as adding support to the frame of the drawers.
Mon, 07/01/2013 - 11:23
I love the blue accents! So much better than all white. Nice job on this. I don't know if I'd have the nerve to use it after all that work with the chalk paint :)
I followed the plan but made the sofa longer, the cushions were on clearance from Pottery Barn for $160 and the cushions are about 96 inches wide.
I used weather treated wood and did not want to spend more since its my first project. I used Behr exterior weatherproof transparent stain. I attached the seats back piece using a 2x2 attached on the bottom with screws and pocket hole screws are used to attach the 2x2 to both sides of the arm frame.
I love how it turned out. I was not expecting for it to come out this nice but I am really impressed.
I hope you guys like it too!
Total cost is around $240 including paint, wood, screws and the cushions.
My wife wanted a Hall Tree with a bench to sit on and shoe storage. I used Mimi's Hall Tree plans for the Hall Tree and added the Shoe Rack/Bench for the base. It's all made out of Hickory. I love the multitude of colors in that wood.
1st picture was made out if old scrap wood. Holds 2 bottles of wine and 2 wine glasses, it’s being used when the people go camping with there motorhome.
2nd picture is a rolling work cabinet/table/storage with working drawer for a small kitchen, teak top, 3/4 pine construction with pocket holes
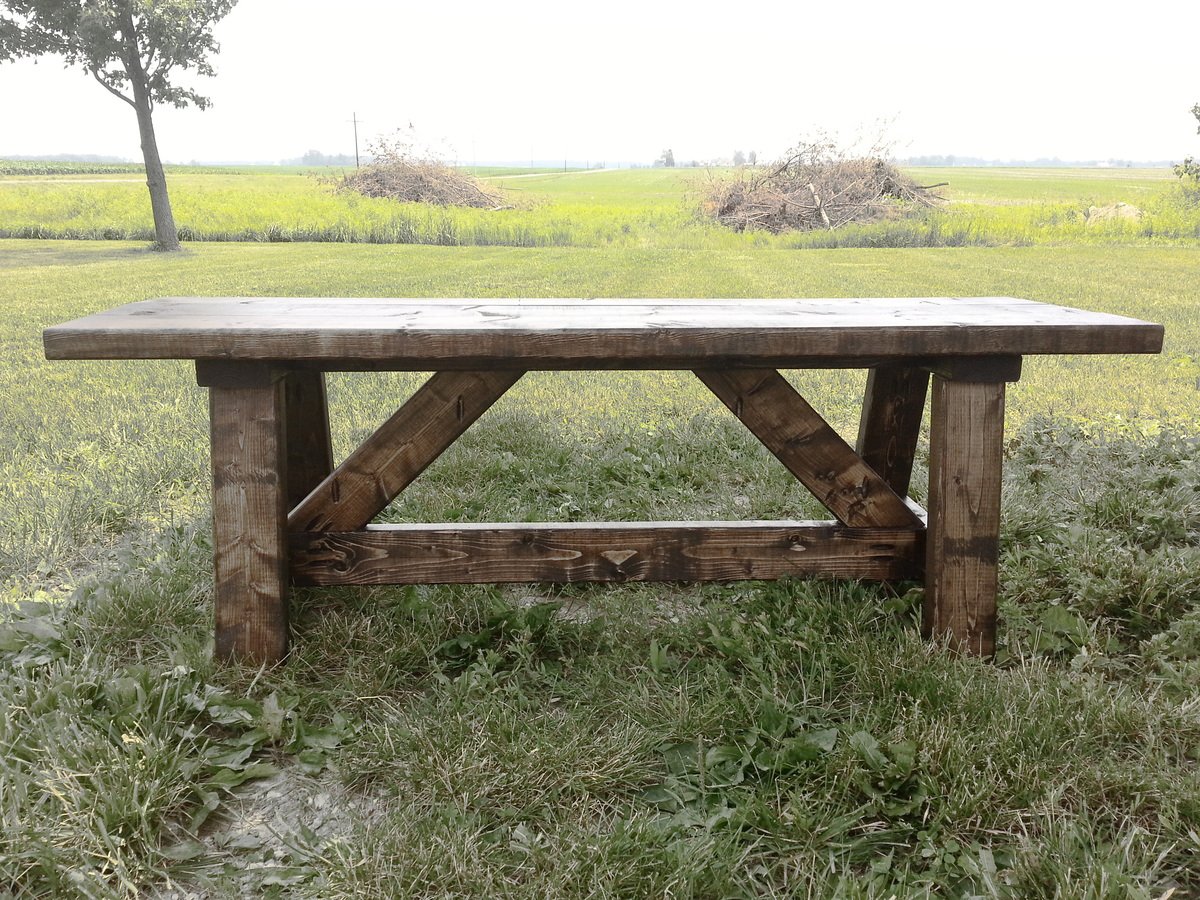
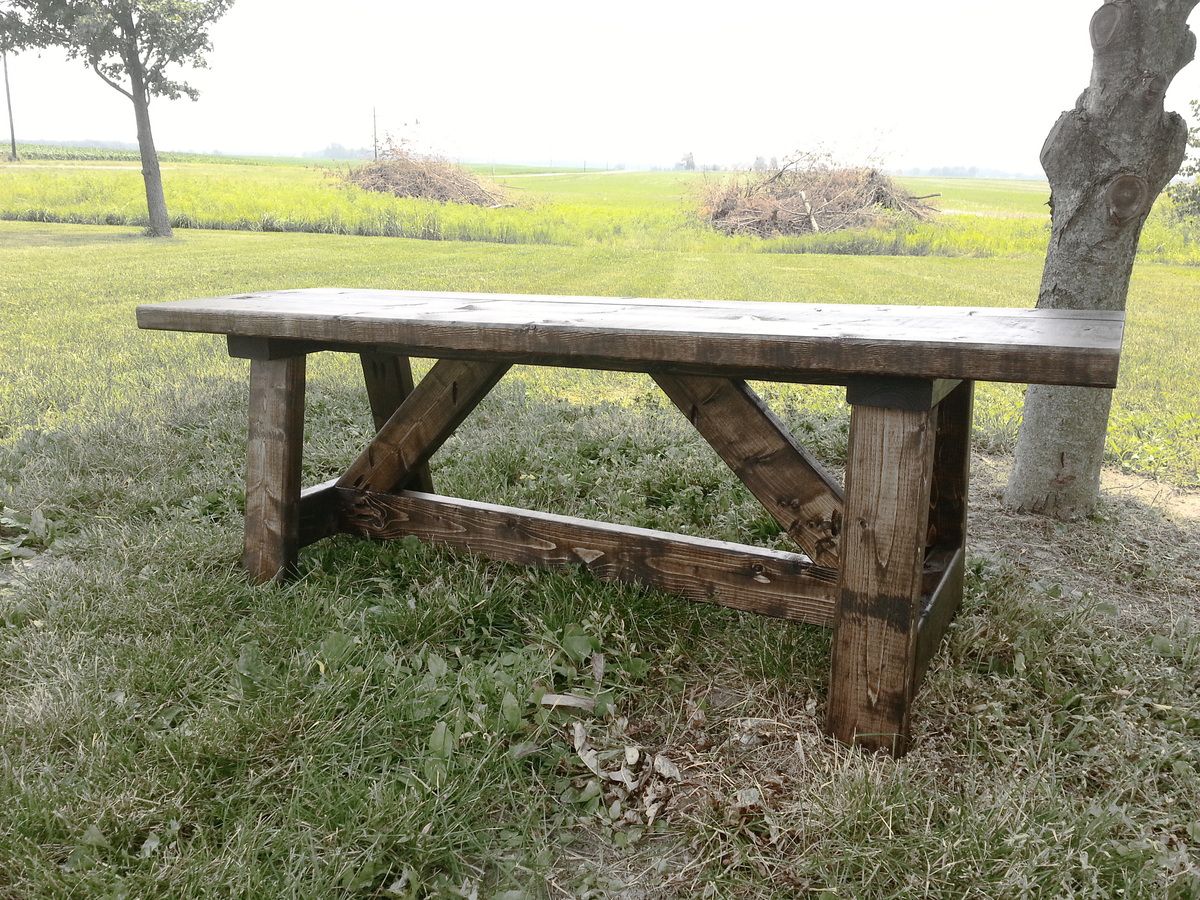
This was my first solo project using Ana's plans. I did the whole thing while my husband was out of town, with my 4 kids (including a toddler and newborn) milling around. We surprised him with it for his birthday when he got home. He was shocked.
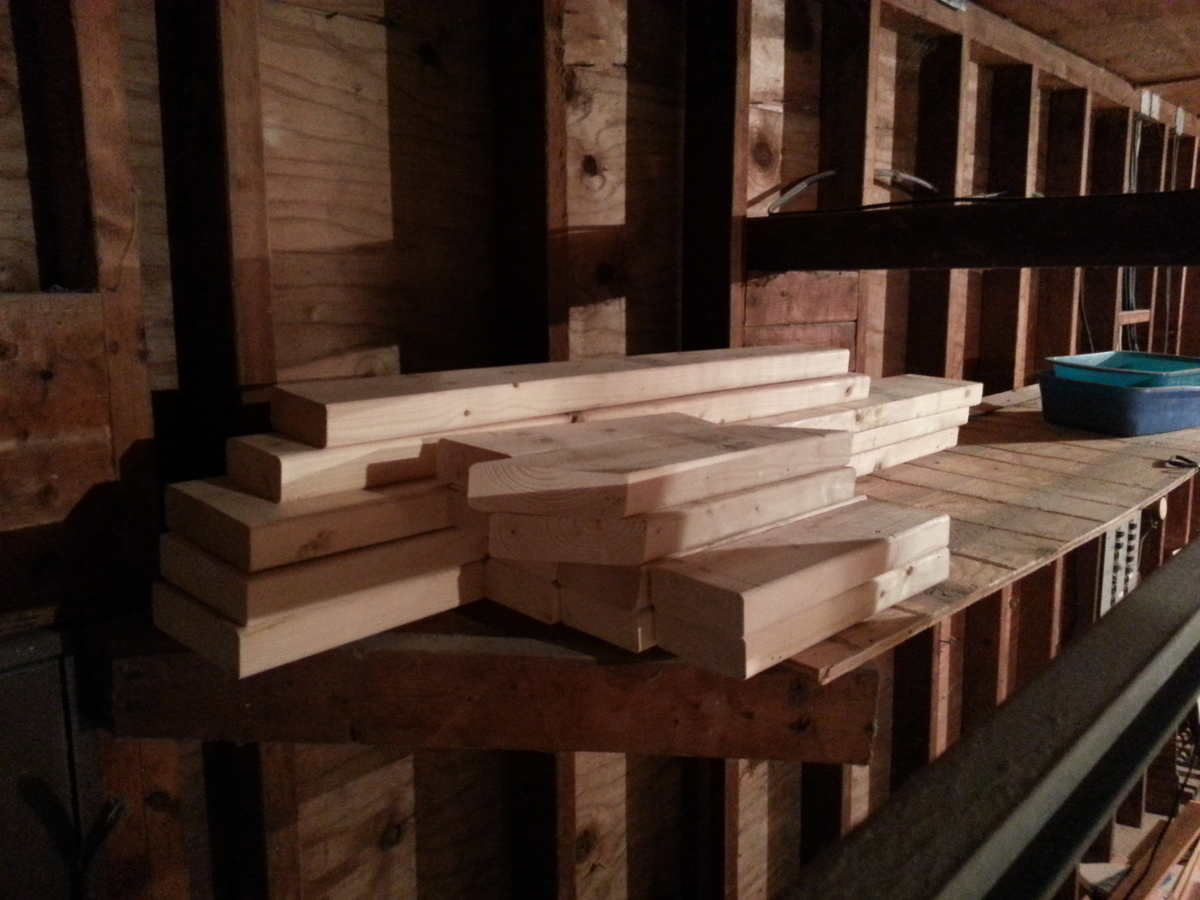
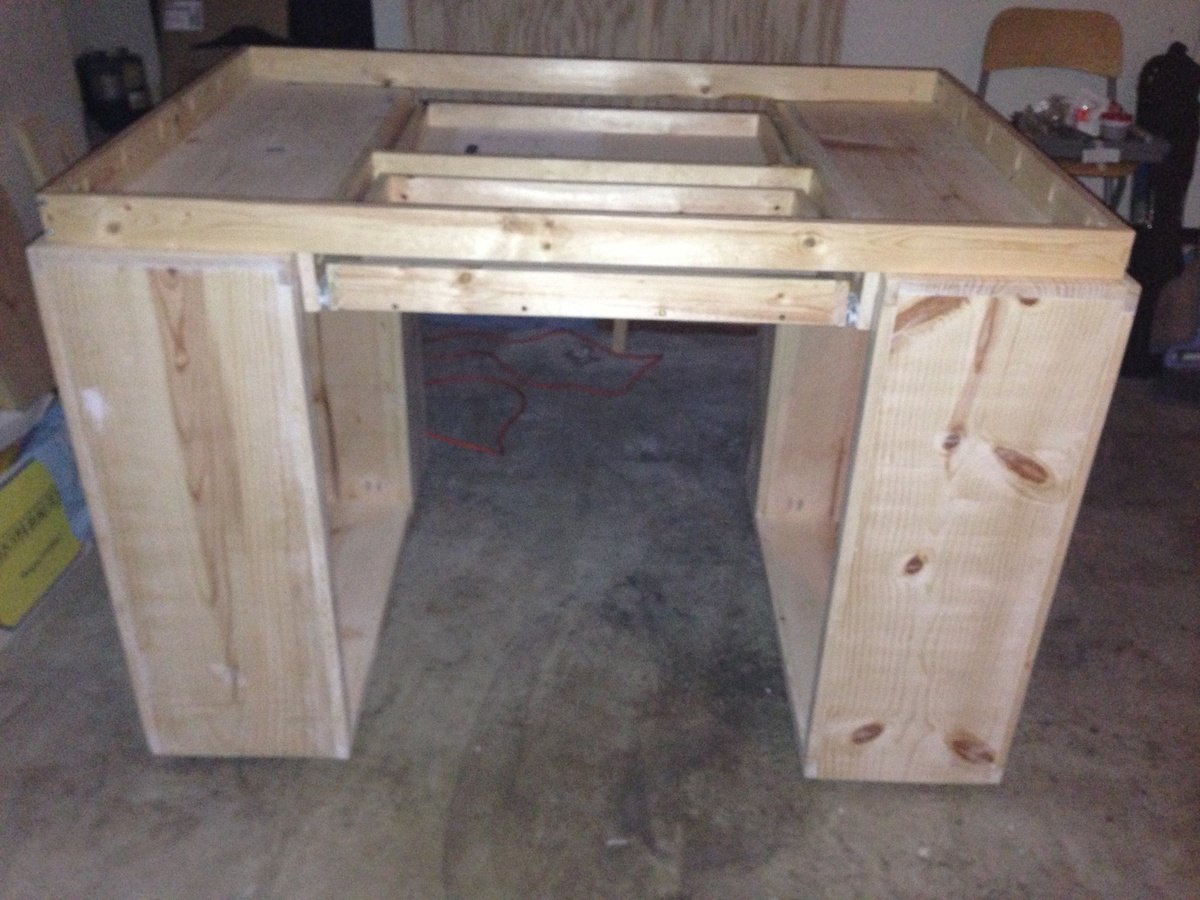
The plans were straight-forward and easy to understand. I had everything cut at the hardware store, because I was afraid of the miter saw, but I ended up using it anyway to fix an incorrect measurement. (It wasn't so bad.)
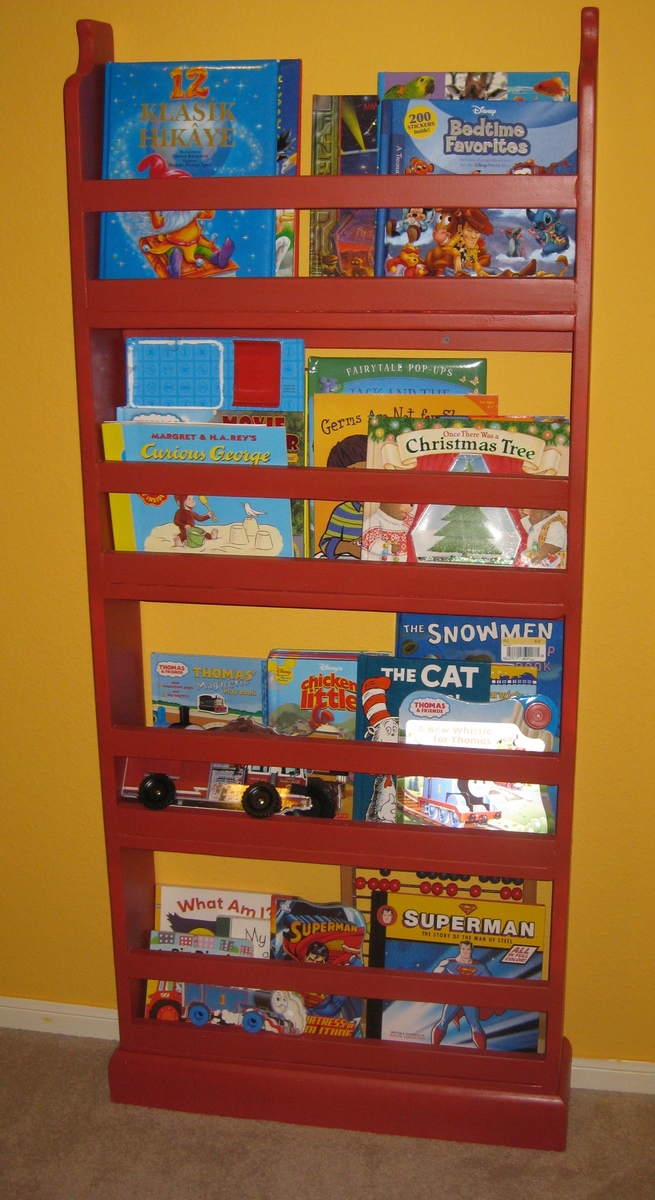
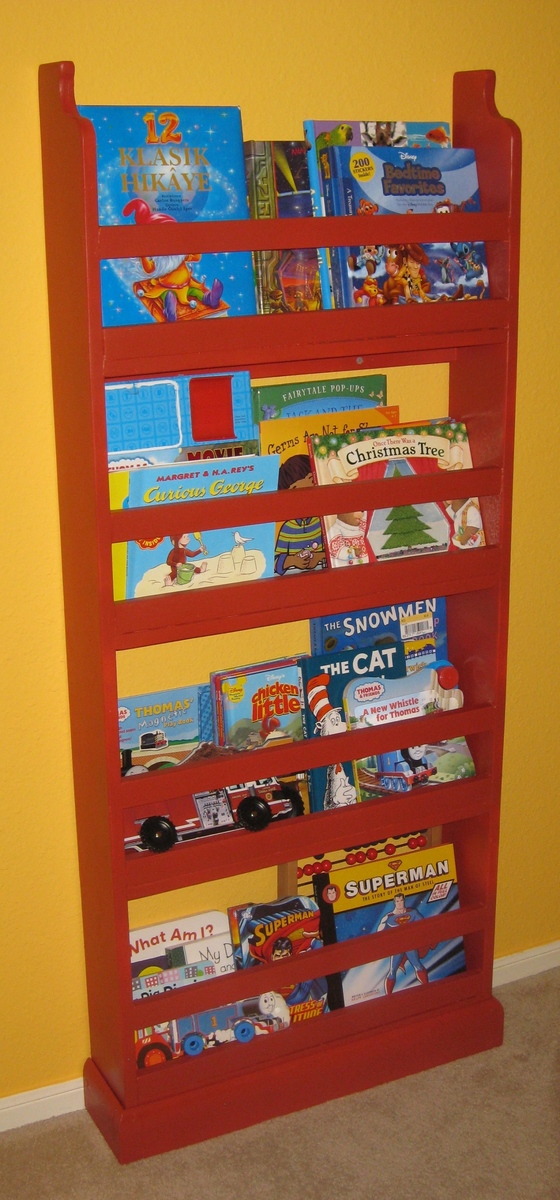
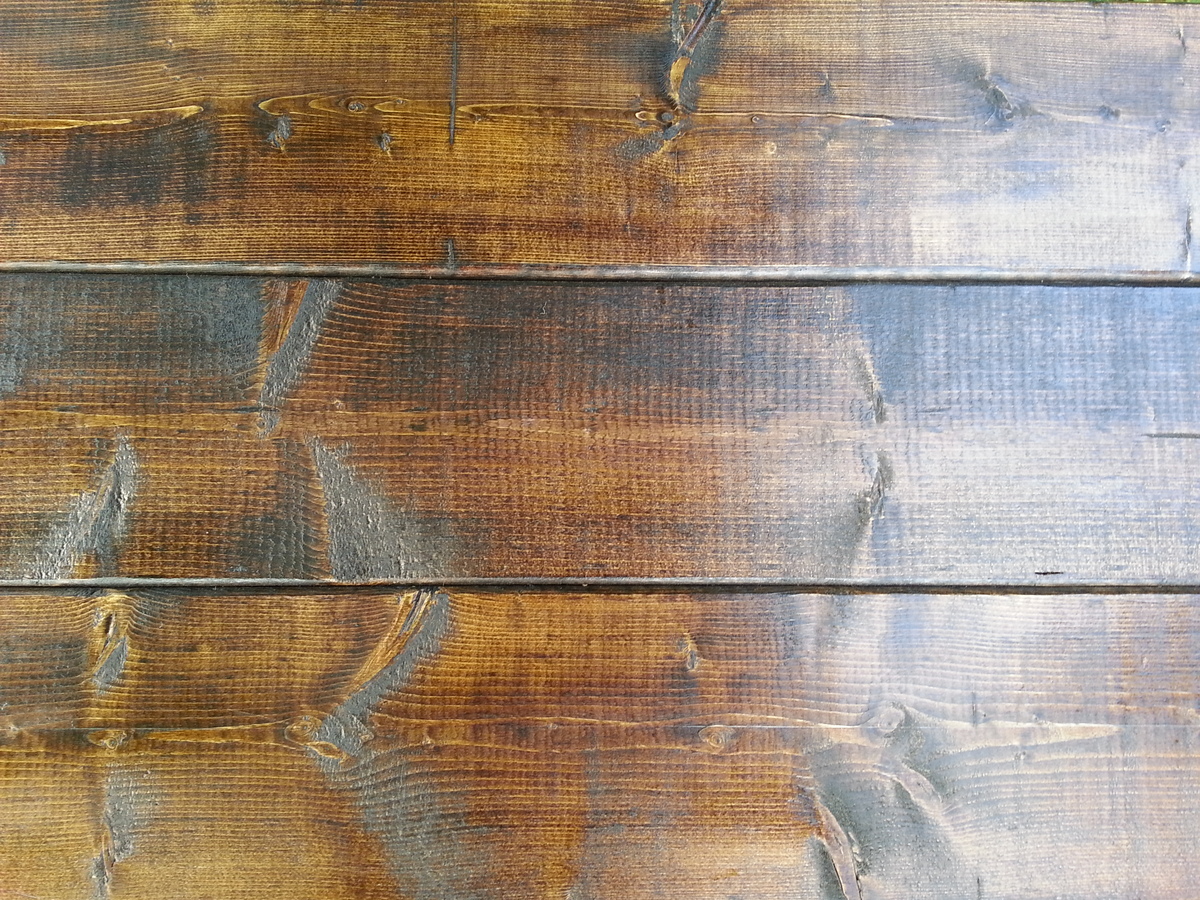
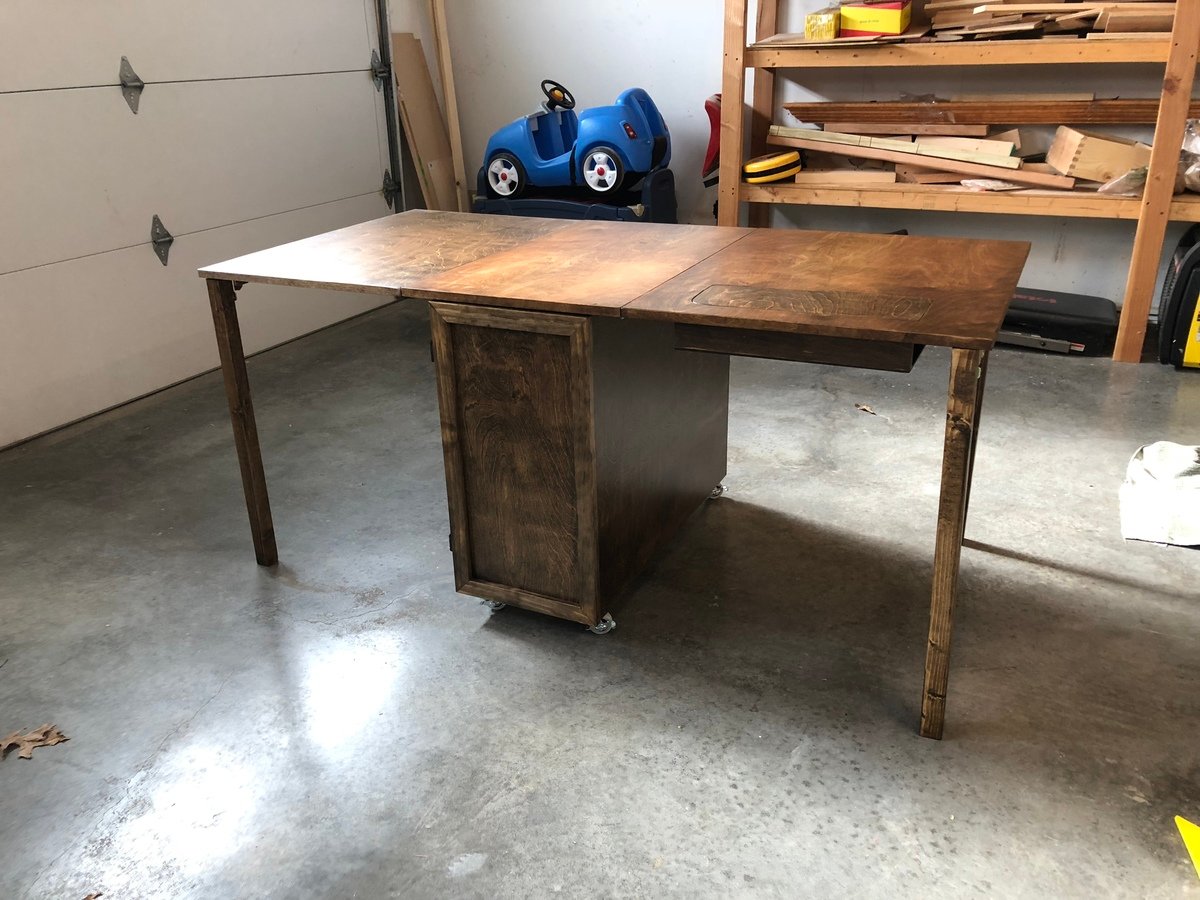
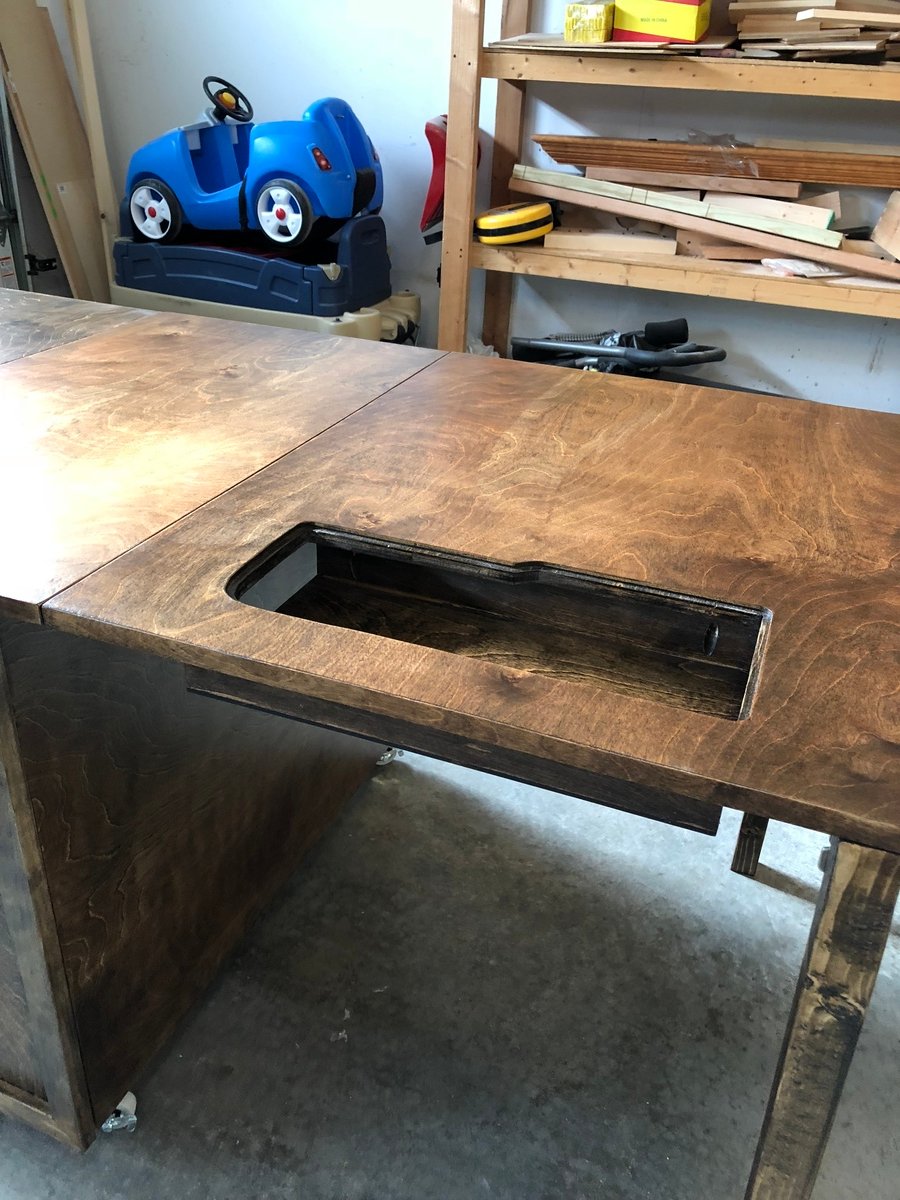
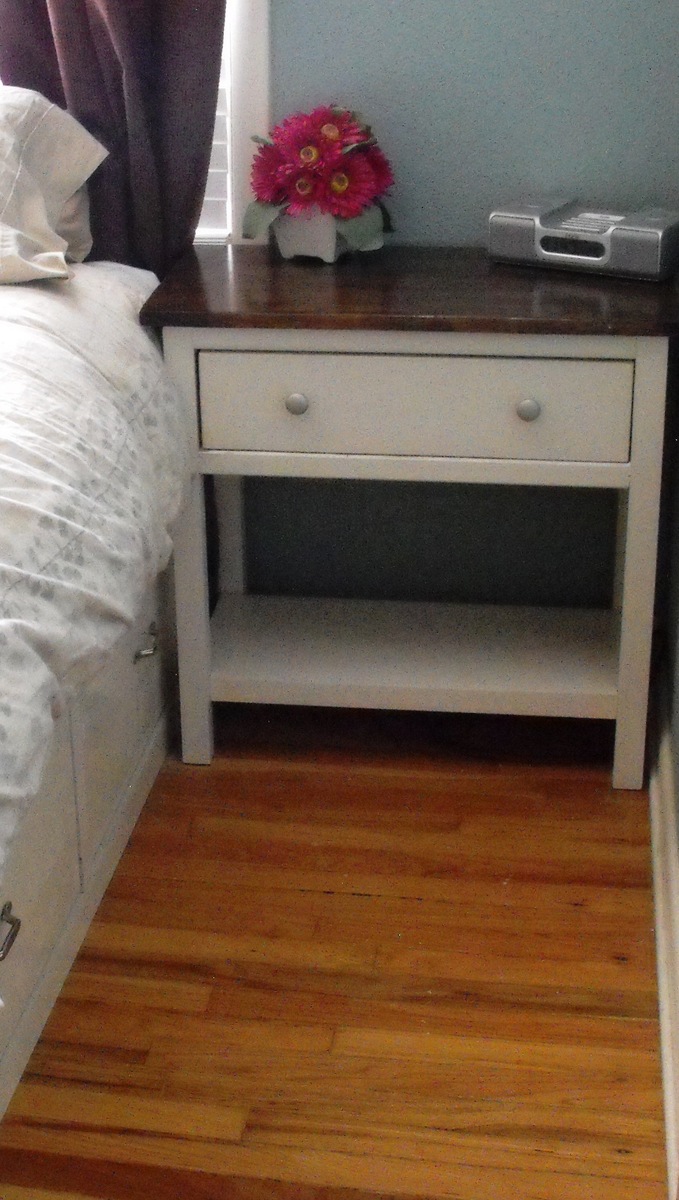
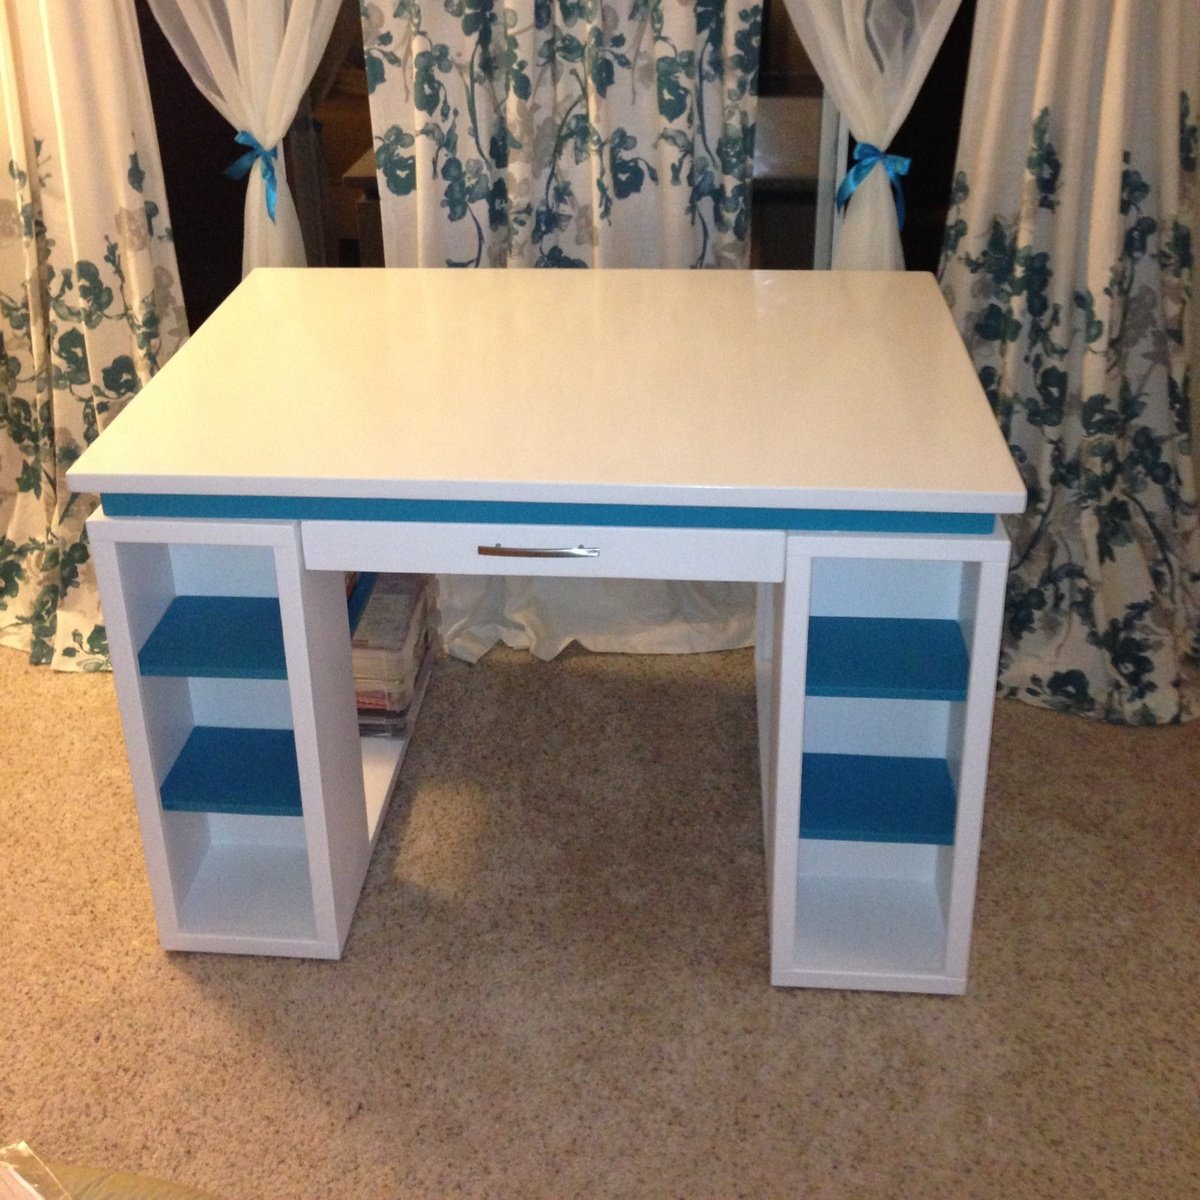
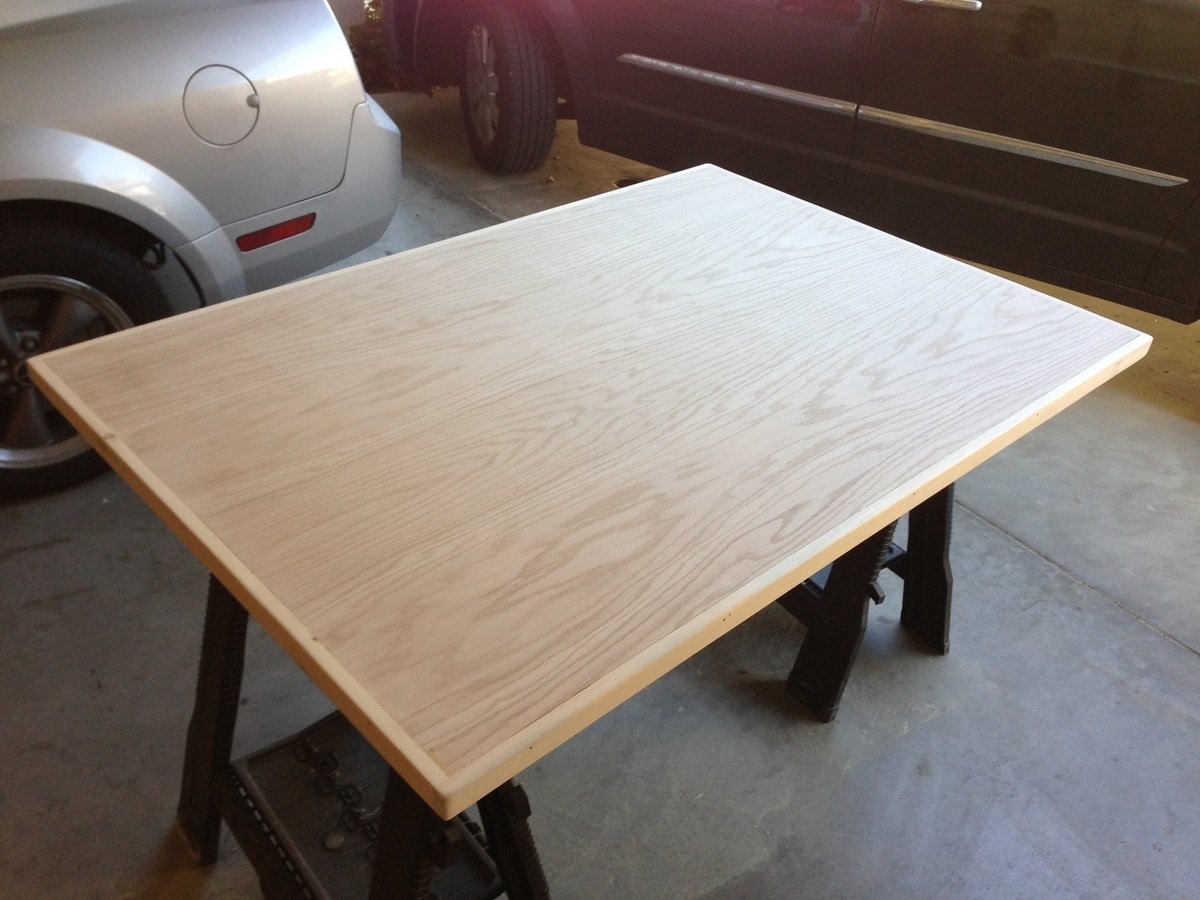
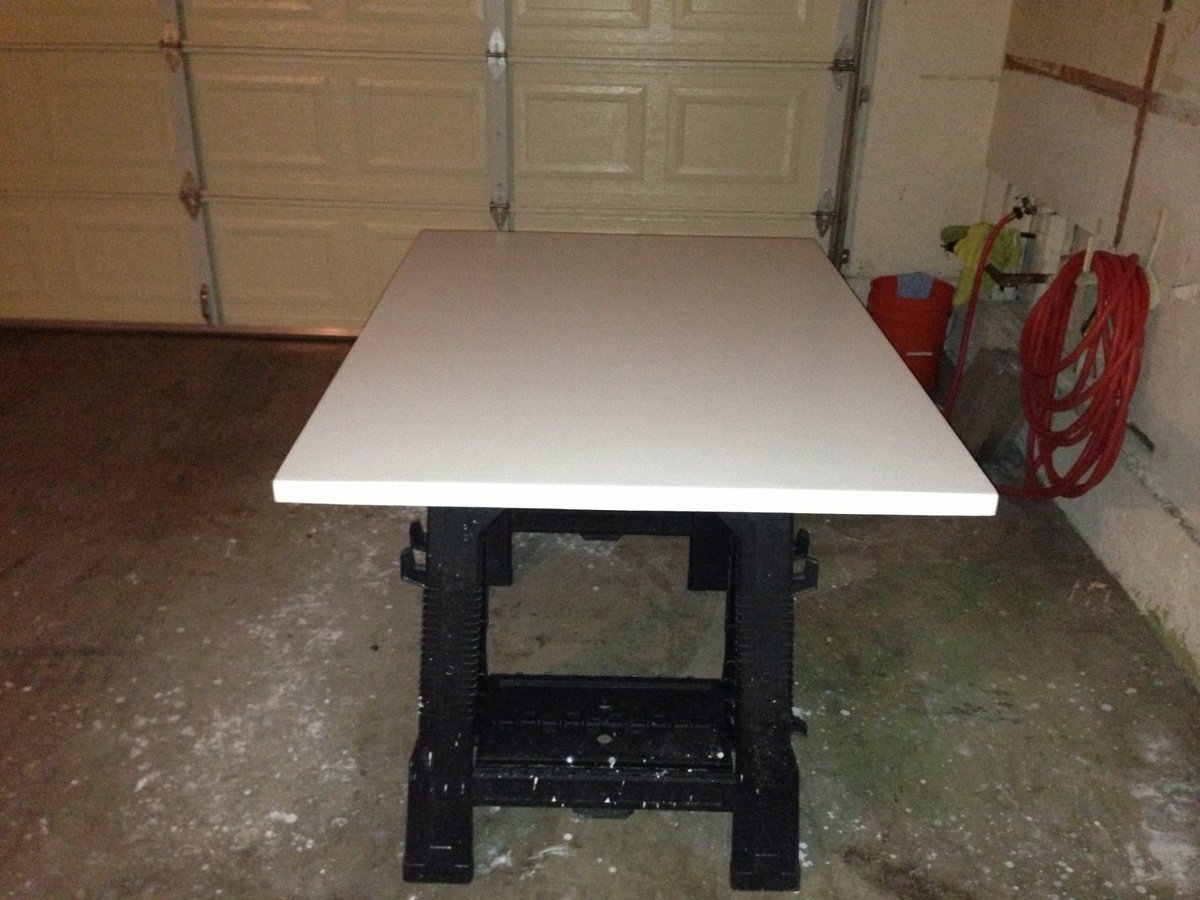
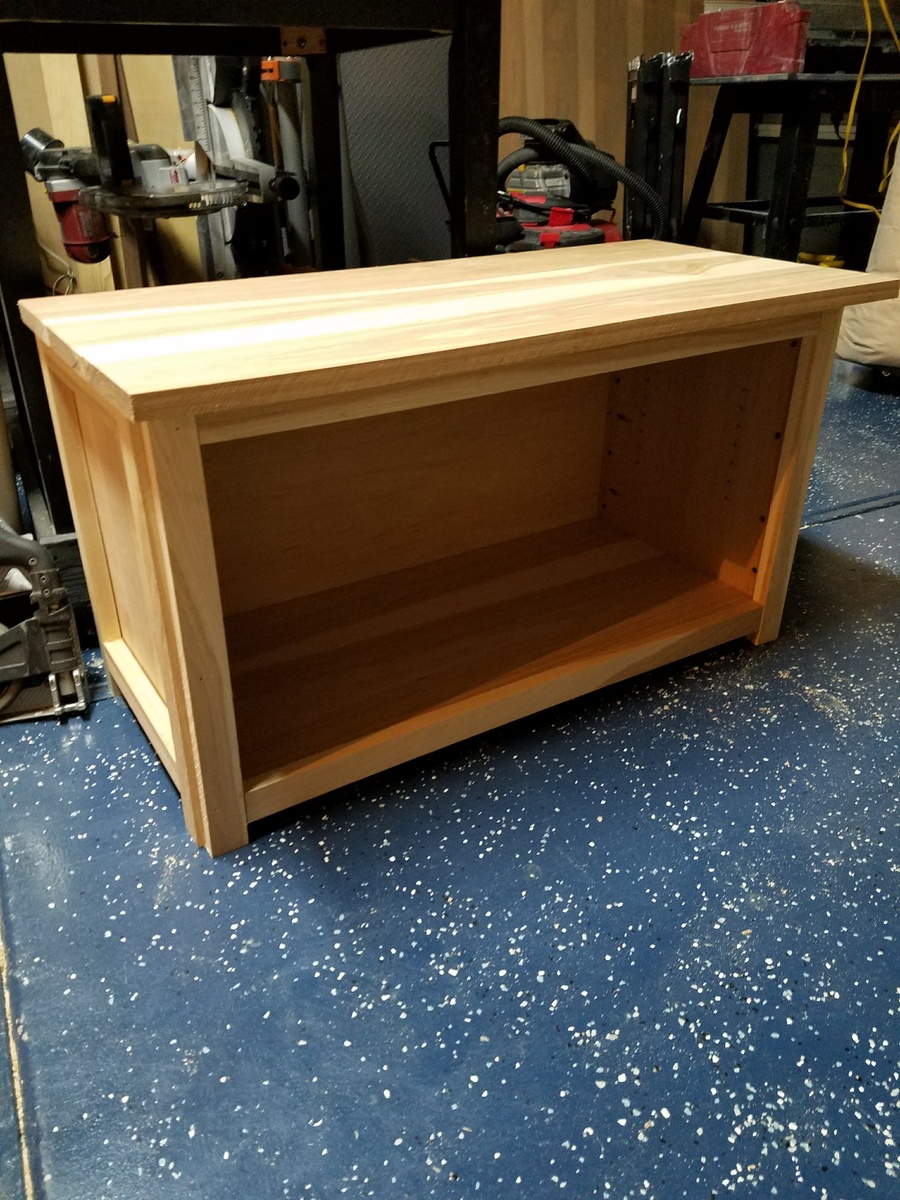
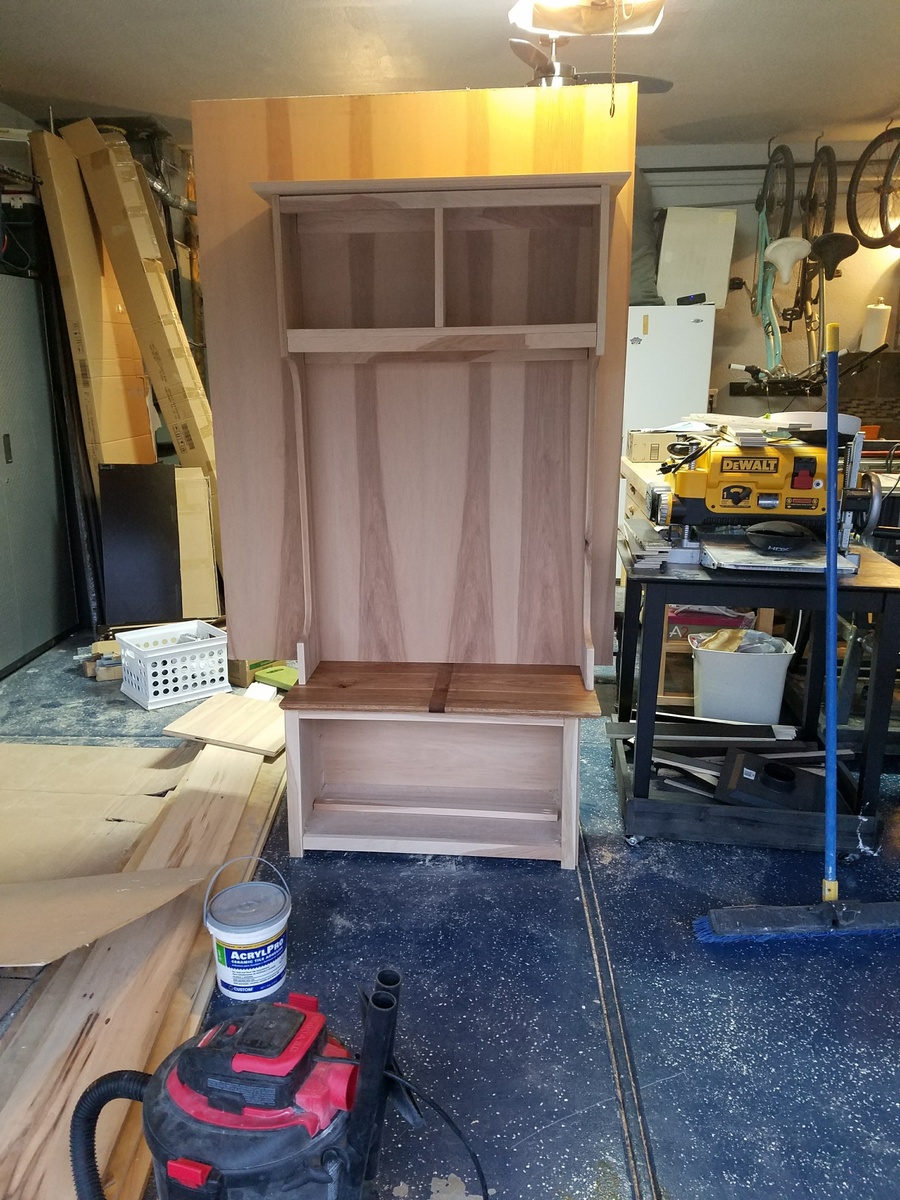
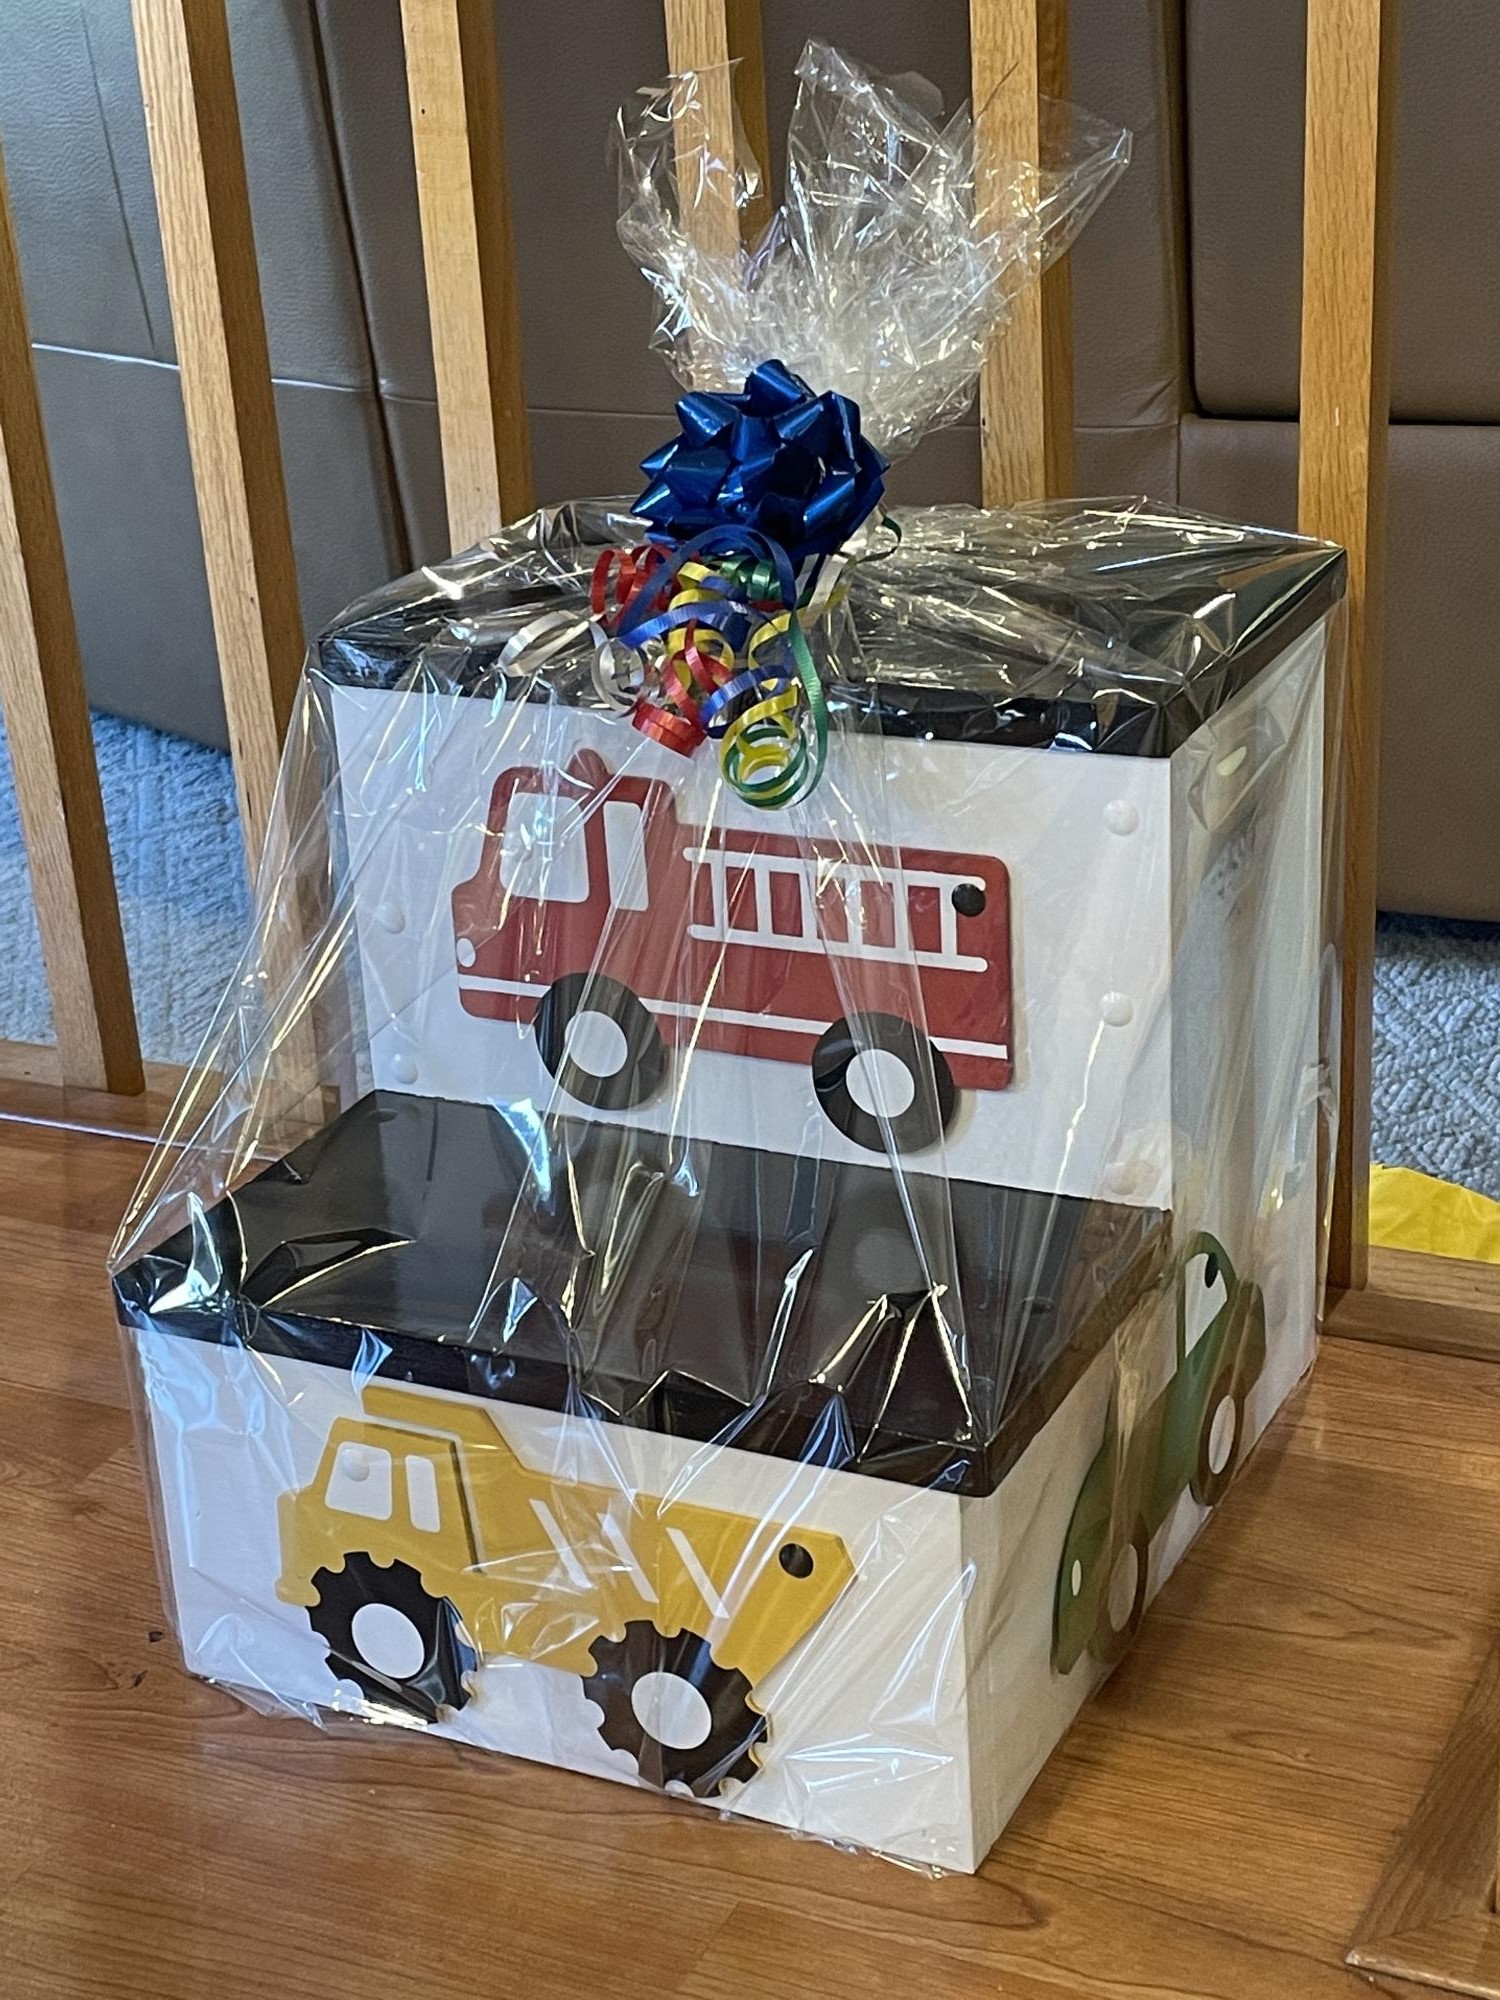
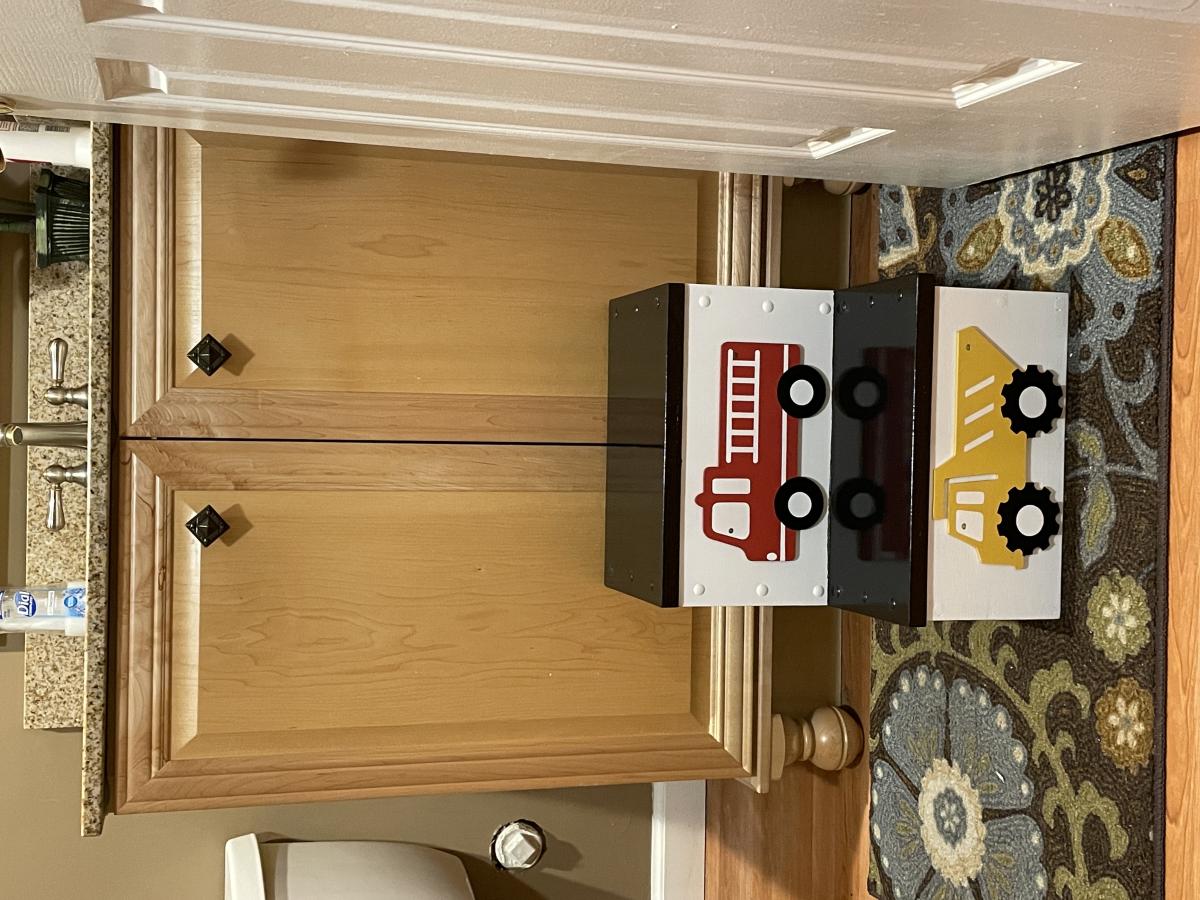
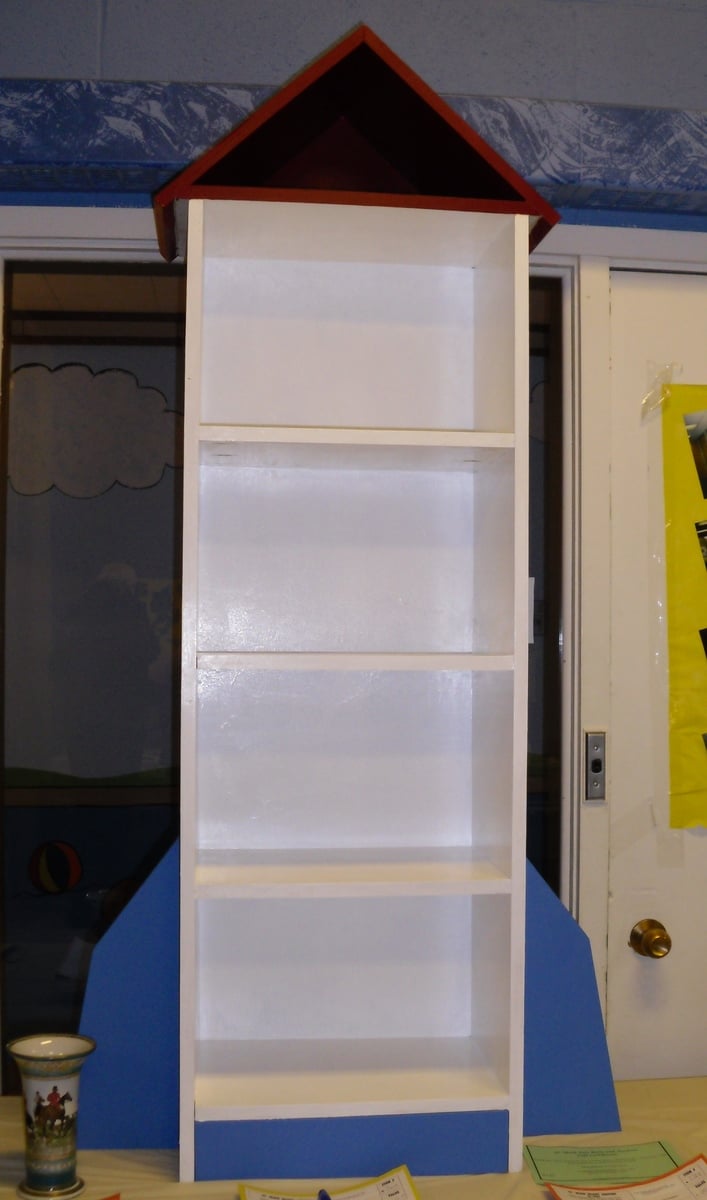
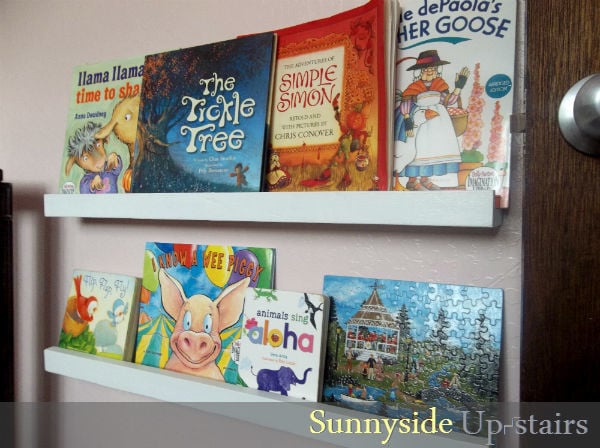
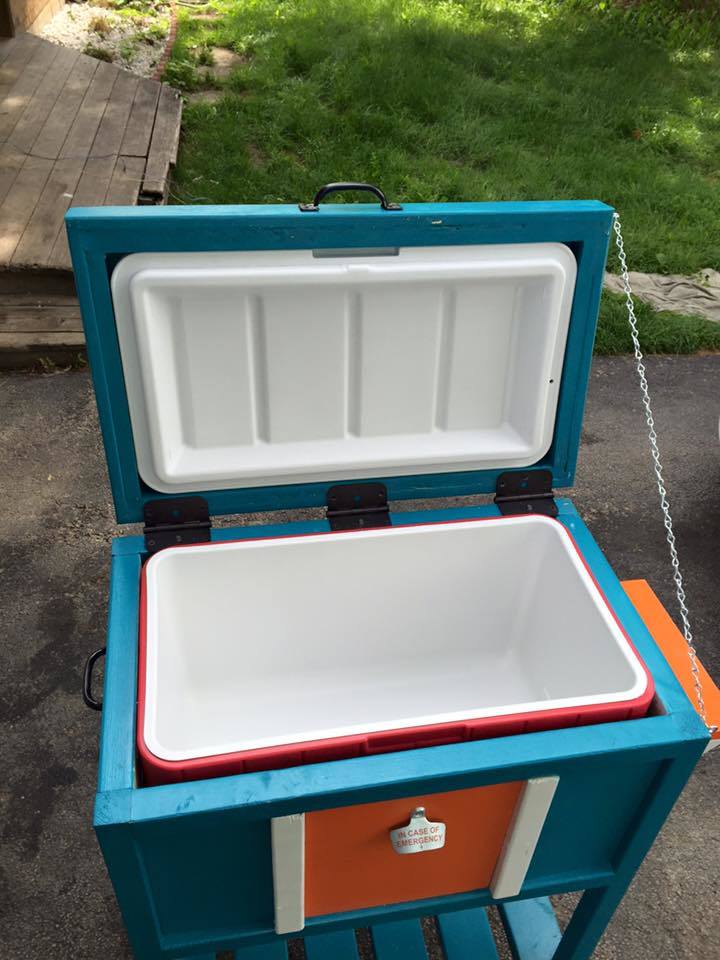
I painted the bottom and stained the top separately, before putting them together, so I could get the finishes everywhere, and there wouldn't be bare wood showing through when you open the top.
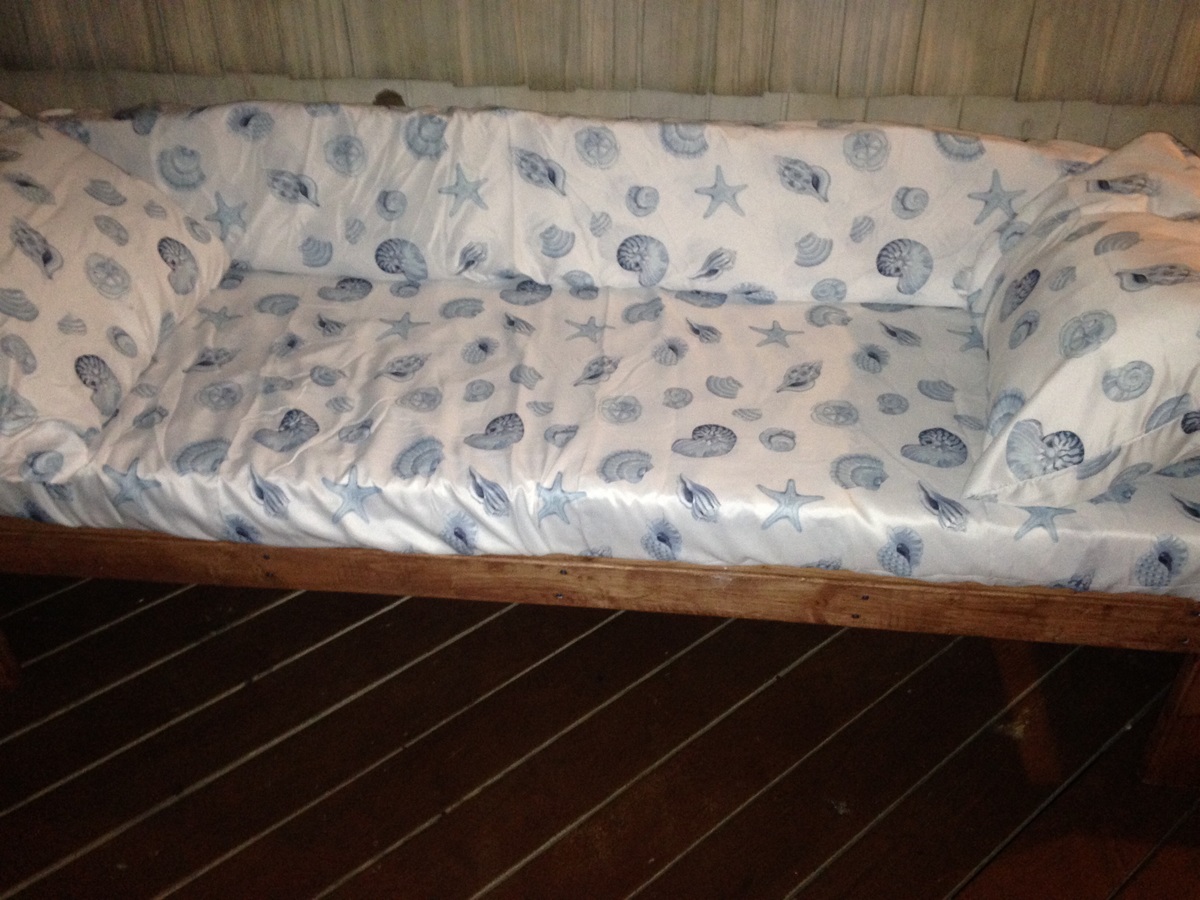
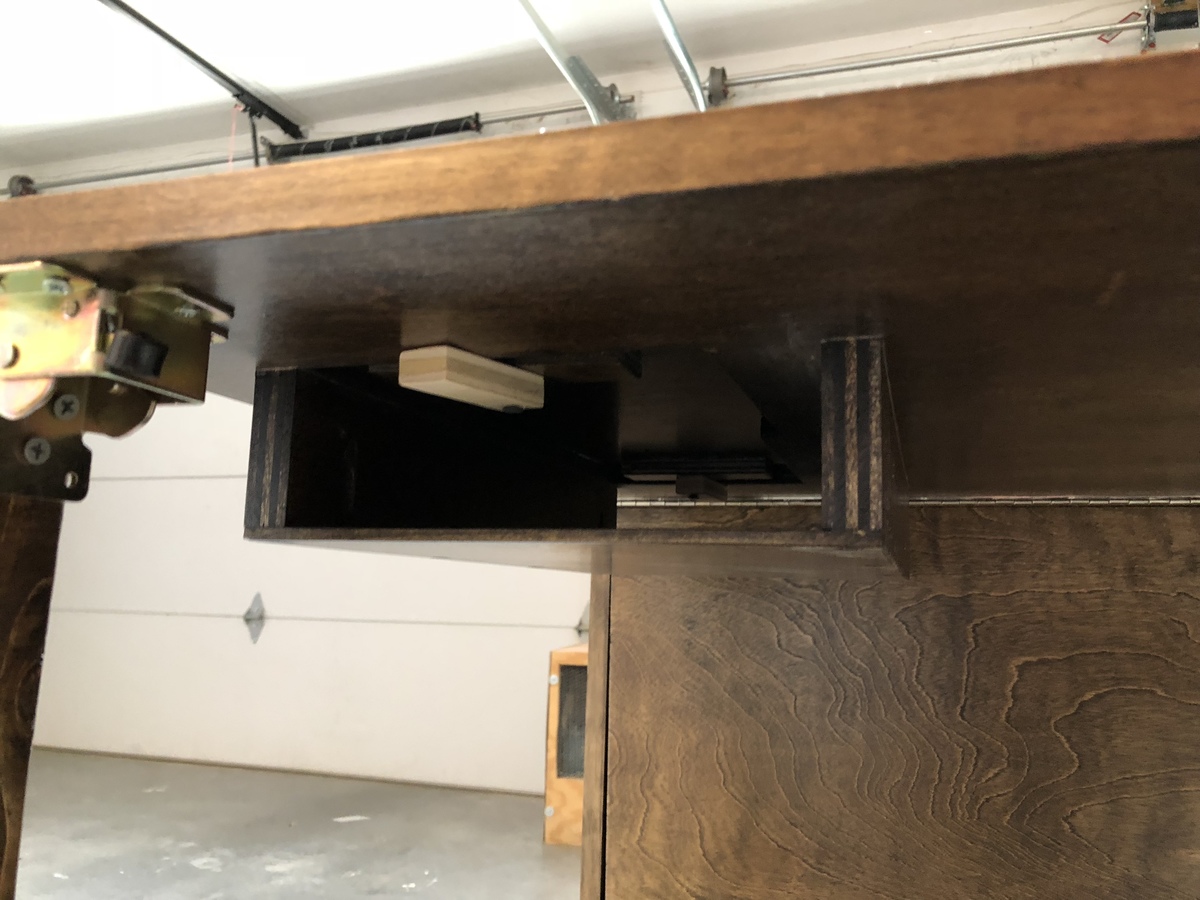
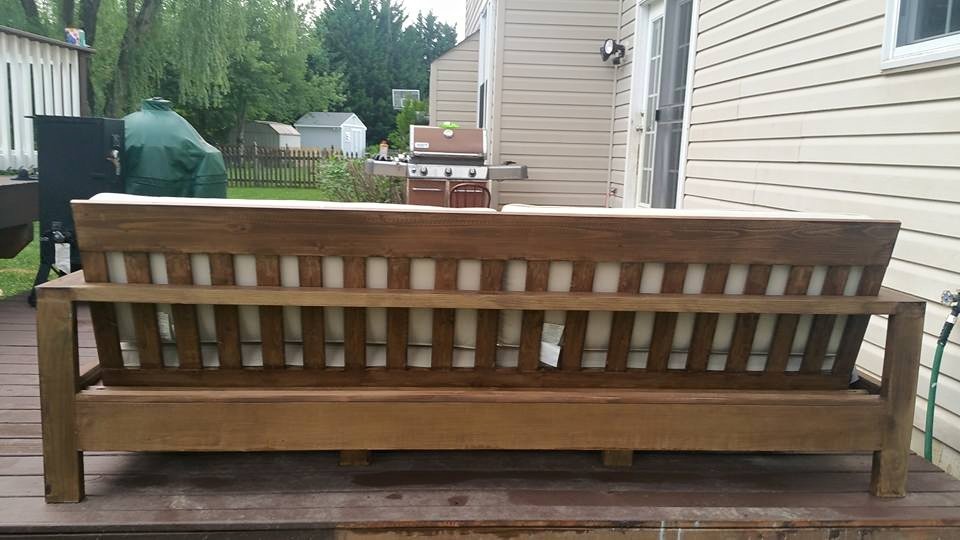
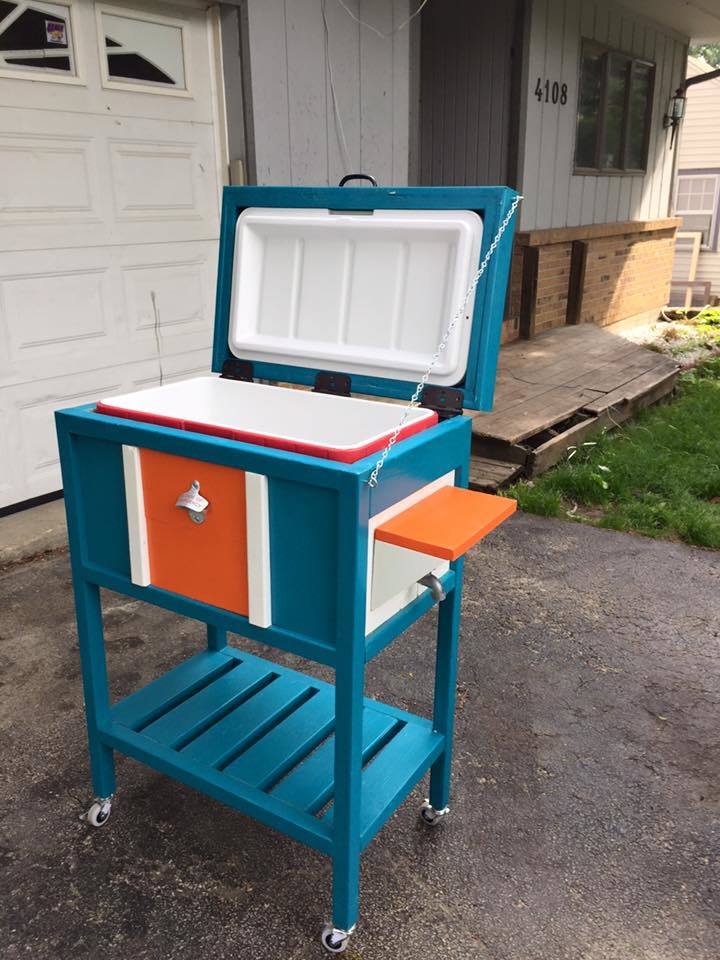
I used narrow profile hinges, just like in the plan, and they work beautifully. Three was the prefect amount. The trickiest part was screwing the top on, because I was afraid the screws would protrude into the storage compartment. But I measured carefully (several times) and used clamps to keep everything in place. Then I marked where the screws would go with chalk. It worked perfectly.
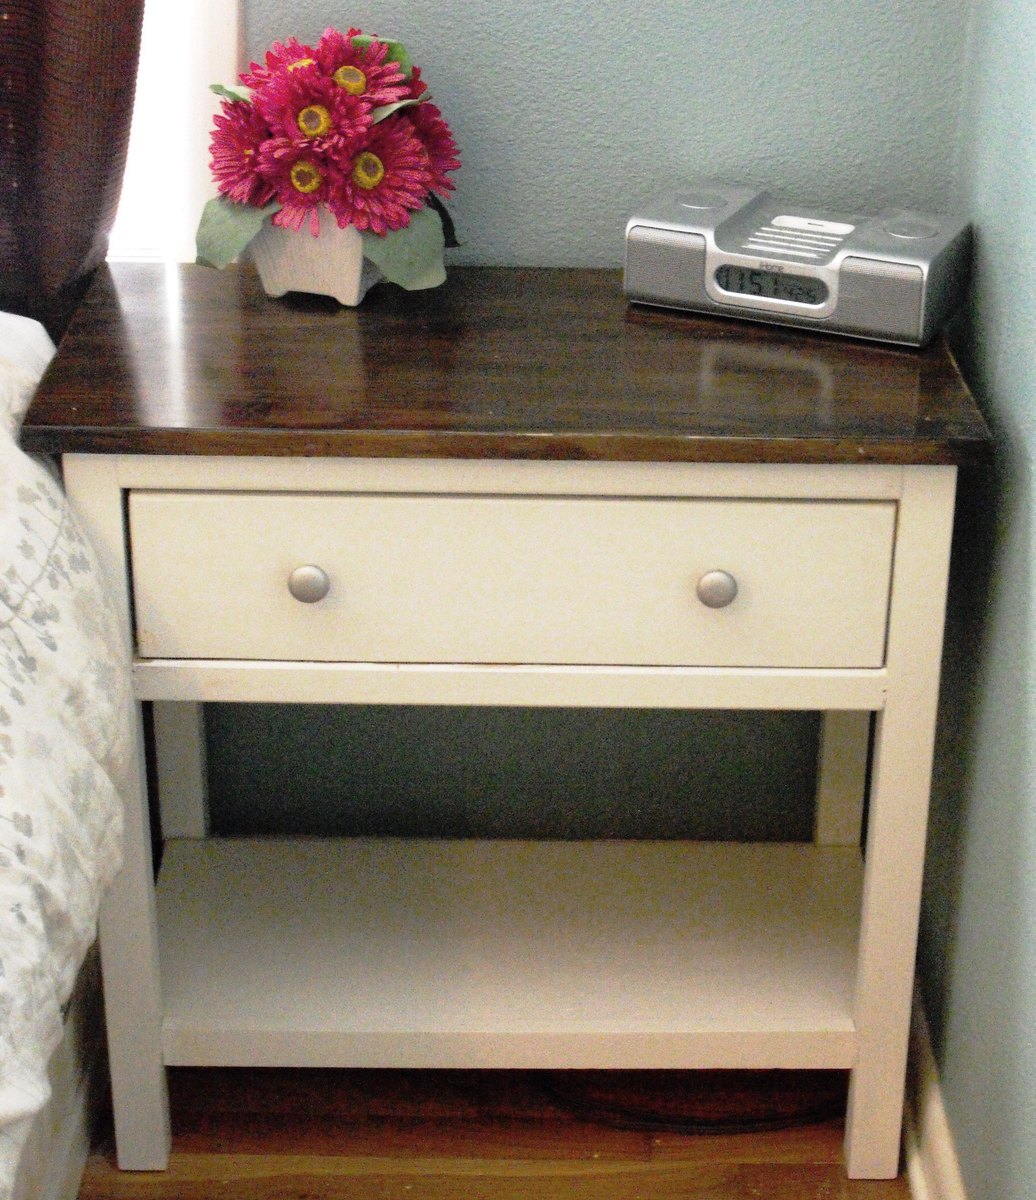
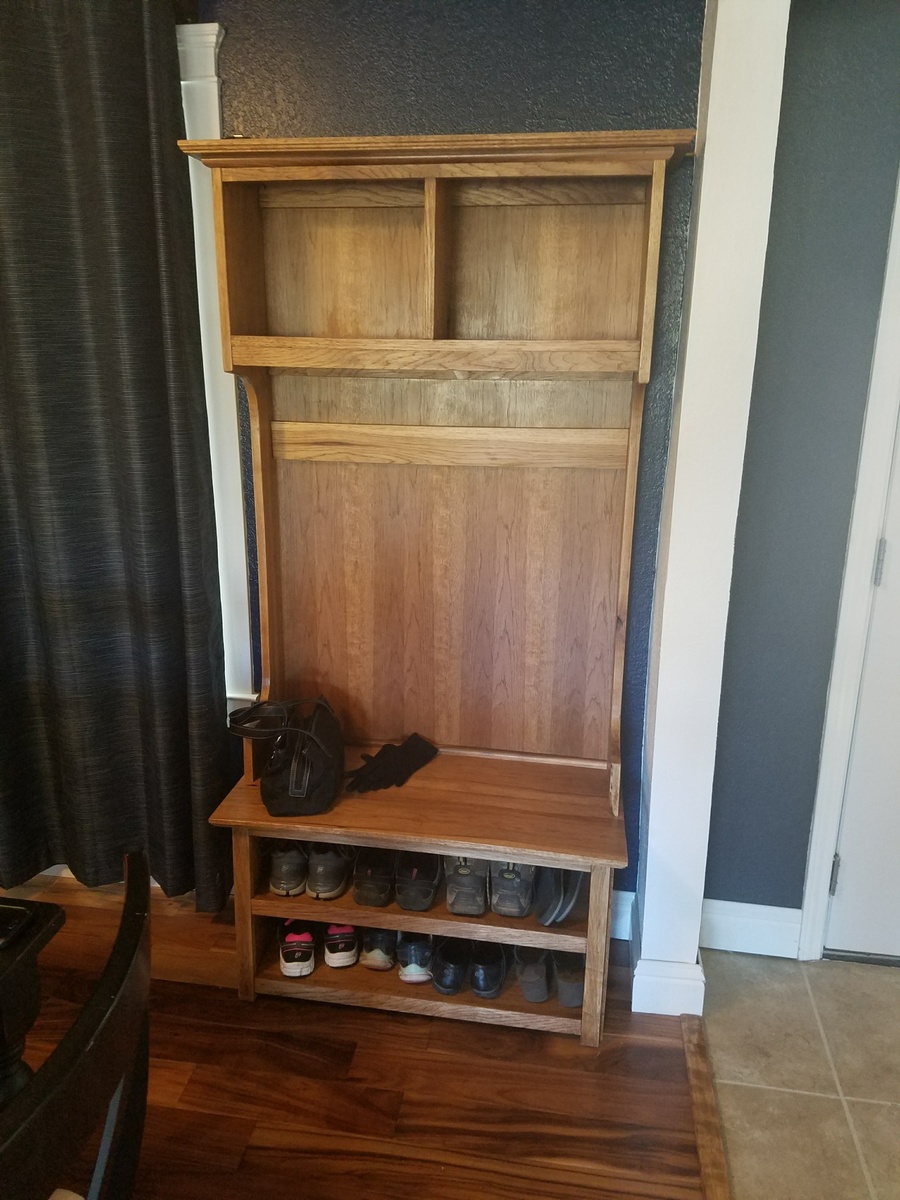
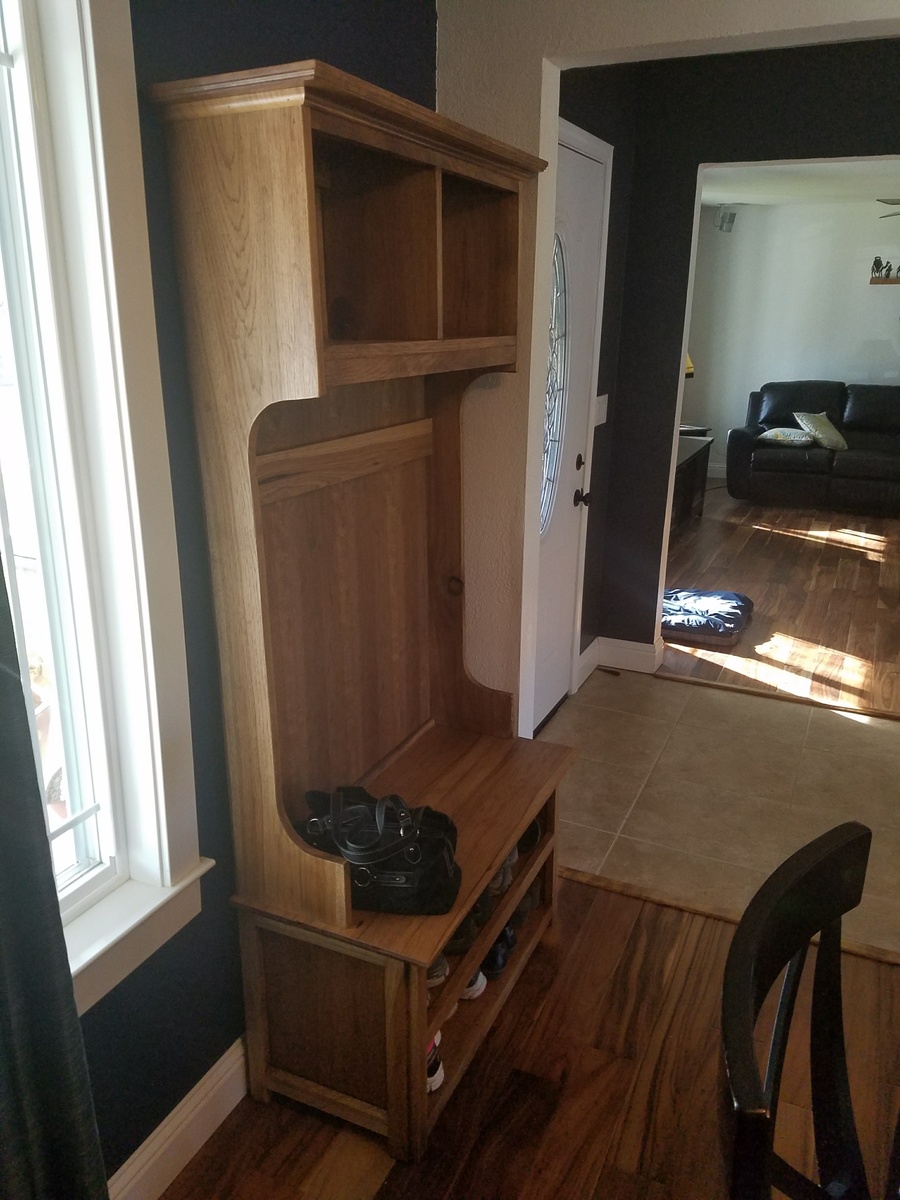
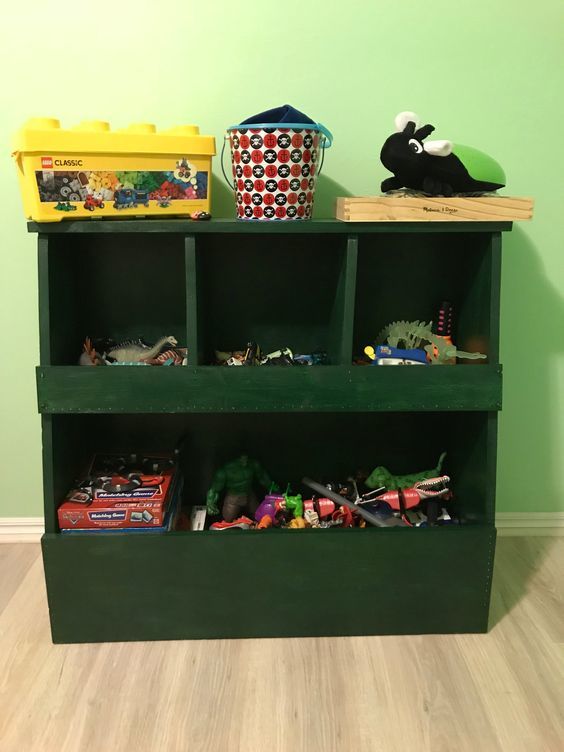
This bench is the final step in reworking our entryway. We have a small house with lots of kids, so we need our spaces to work for us. Having a bench that also keeps up with our library books is a perfect addition. I can't wait to use Ana's plans to make the rest of the house work for us too!
More details on the blog post.
http://lassothemoon.typepad.com/lasso_the_moon/2013/06/entryway-flip-to…
Thanks, Ana!
ps. The time estimated is total time--including working around the kids, and trying to figure out how to turn on the miter saw (20 min!).
The money is my estimate of what it actually cost, even though my hardware store bill was a little more--but I'm using some of the screws, stain, etc on other projects.
Thu, 06/27/2013 - 15:38
I am so impressed and happy you just went for it! It turned out great and I love the finish!
In reply to Impressive by Ana White Admin
Thu, 06/27/2013 - 19:28
Thank You!!
--Anna (Lasso the Moon)
Fri, 07/05/2013 - 23:30
Great job on your first "solo" build. I still use my husband all the time too. He is a contractor and all so it's handy having him around especially when I need heavy stuff moved. hehe. I just hate when he says "your gonna cut your arm off". Geez :P My dad doesn't even worry about that and has let me cut wood since age 12. Anywho....
It looks like you've been building all by yourself for years. Very well built and looks sturdy. It can be hard with a whole bunch of little one running around. Or wanting to play with the power tools without realizing how dangerous. I always unplug my miter saw when it's not in use. (I too have to work around 4 little ones, boys ranging from 12 - 2) Don't be afraid of the saw. It's a lot easier than it looks, just watch your fingers. (or arms) haha
~Melody
Sat, 07/06/2013 - 06:44
Yeah, after the first couple cuts I wasn't scared at all. But I did remember to unplug it every time. And lock it down. My 2-year-old wanted to help me drill all the holes--it's a wonder I got those hinges on straight. I do love the pocketholes for child participation, though. She set the screws in the holes for me, and thought she was big stuff.
Sun, 07/07/2013 - 00:39
I never even thought about letting my 2 year old put the screws in. I always just have him hand me things or let him play w/ scrap wood. I dont have a Kreg Jig, I just hold the drill at an angle, but pocket holes are pocket holes right?. I'm gonna try that. Thanks. He will be so happy to actually get to do big boy work
~Melody
Mon, 07/08/2013 - 21:14
Just a heads up if you want a pockethole jig...I couldn't afford the Kreg, and wasn't sure I'd even like building, so my husband found one at Harbor Freight for about $40. A little more affordable. If this one goes bad somehow, I'll probably upgrade, but it was a great way to start drilling pocket holes with not quite so much investment.
--Anna
In reply to An Alternative to the Kreg... by Lasso the Moon
Thu, 07/11/2013 - 17:15
THANKS FOR THE TIP. :)
Table and bench before we finished it
This is a farmhouse queen bed that I built with the assistance of Ana’s plan. I put my own flavor in it with a modified structure and cosmetic touch. Enjoyed this build very much!
We used to have to hold him up to wash his hands.Made with all scrap plywood,screwed and glued (covered the screws with buttons & glued them into the screw head). He cant wait to wash his hands and brush his teeth now.
The Kreg jig made this project a snap to assemble. The shelves attach quickly with pocket holes. I wondered how to line up a screw from the inside of the bookcase with the fin when my husband pointed out that pocket holes would work well. Sure enough, 30 minutes later I had two fins drilled, attached, puttied, sanded and painted. I love my Kreg jig! I made this bookcase for an auction, which is why it's sitting next to a fancy vase on a table
(in case you're wondering about the photo).
We built this A-frame chicken coop using the plans from Ana White. We modified them a bit to include a front door, a solid front wall, and 8-foot untreated cedar fence boards (cut in half) for the loft floor instead of plywood. We also used hardware cloth instead of chicken wire since racoons are a problem where we live, and they have been known to reach through chicken wire to grab at hens. Instead of being able to open both sides of the top of the coop, we only put doors on one side just to make the building process a little simpler. The hardest part of building the whole coop was cutting the 60* angles on the 2"x4" trusses. Our cuts are not exactly perfect, so the nodes (meeting points of the 60* angle cuts) are a little rough, but we plan on covering this with a roof cap eventually. More photos and details are on my blog: http://littlefarmbigcity.wordpress.com/2013/06/29/red-white-and-blue-co… -kate
I think this turned out pretty good for it only being the second piece of furniture I have ever built.
Thank you Ana for the plans to make these two outdoor chairs. They are most comfortable while sitting by the fire pit. Thank You!
I've been married for a little over 12 years now and we have NEVER had a bed frame or side tables. I had never built anything on my own (without the hubbies input) and I have to say that it was extremely empowering! I'm so proud of how it turned out! It took me a while to cut the pieces out because I used a handsaw and guide....ugg, we need a saw and once I get one I'm moving on to a bed frame!
Using scraps I originally purchased from a Re-Use warehouse on my island (O'ahu), I put together two book display ledges for my daughter's bedroom. They are made with 2- 1x2s (lip and bottom) and 1- 1x4 (back). I was able to make two 28 3/4" ledges from first cut to installation in the 3 hours my daughter had gone on a "field trip" with my mom and brother and surprised her with new book ledges when she got home. :)
I'm new to woodworking but I'm already obsessed. I was looking for something I could make for Father's Day and came across this. I thought it'd be perfect for my dad especially if I did it in his favorite team's (Miami Dolphins) colors. It's definitely not perfect and there was a lot of frustration when it came to putting the cooler inside... but I'm proud of the finished product.