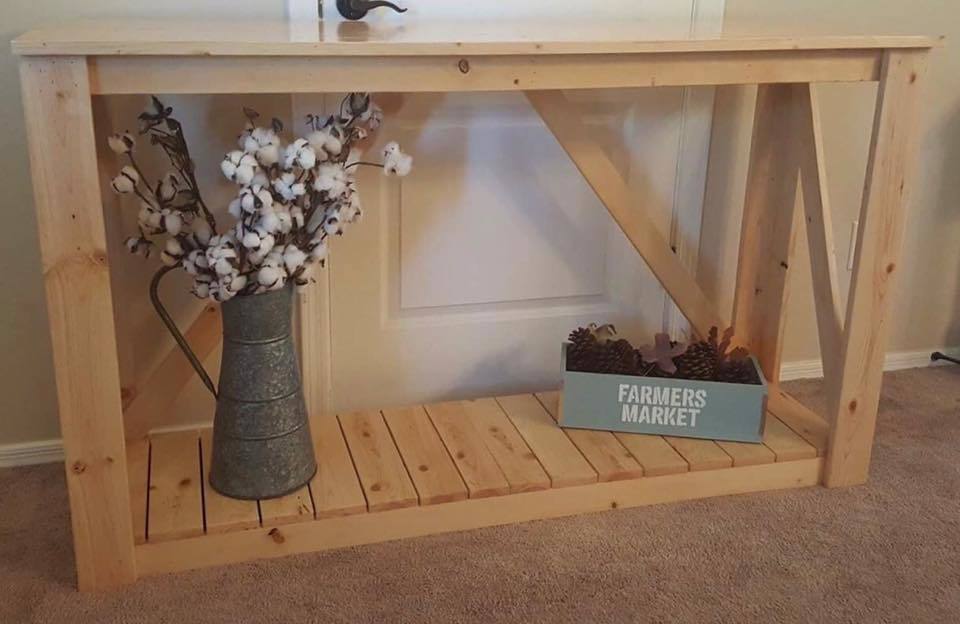
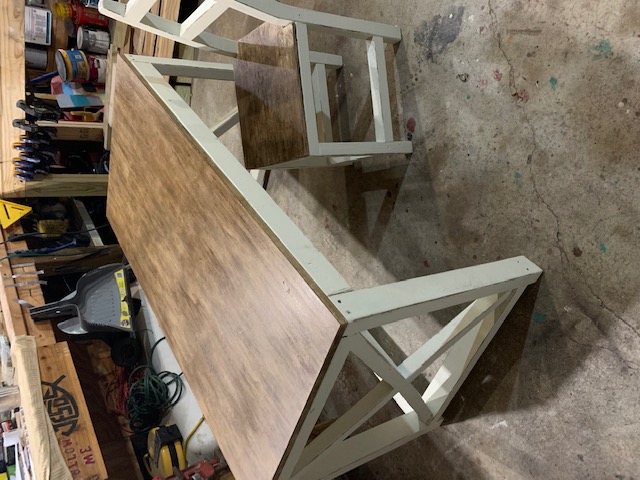
Plant stand
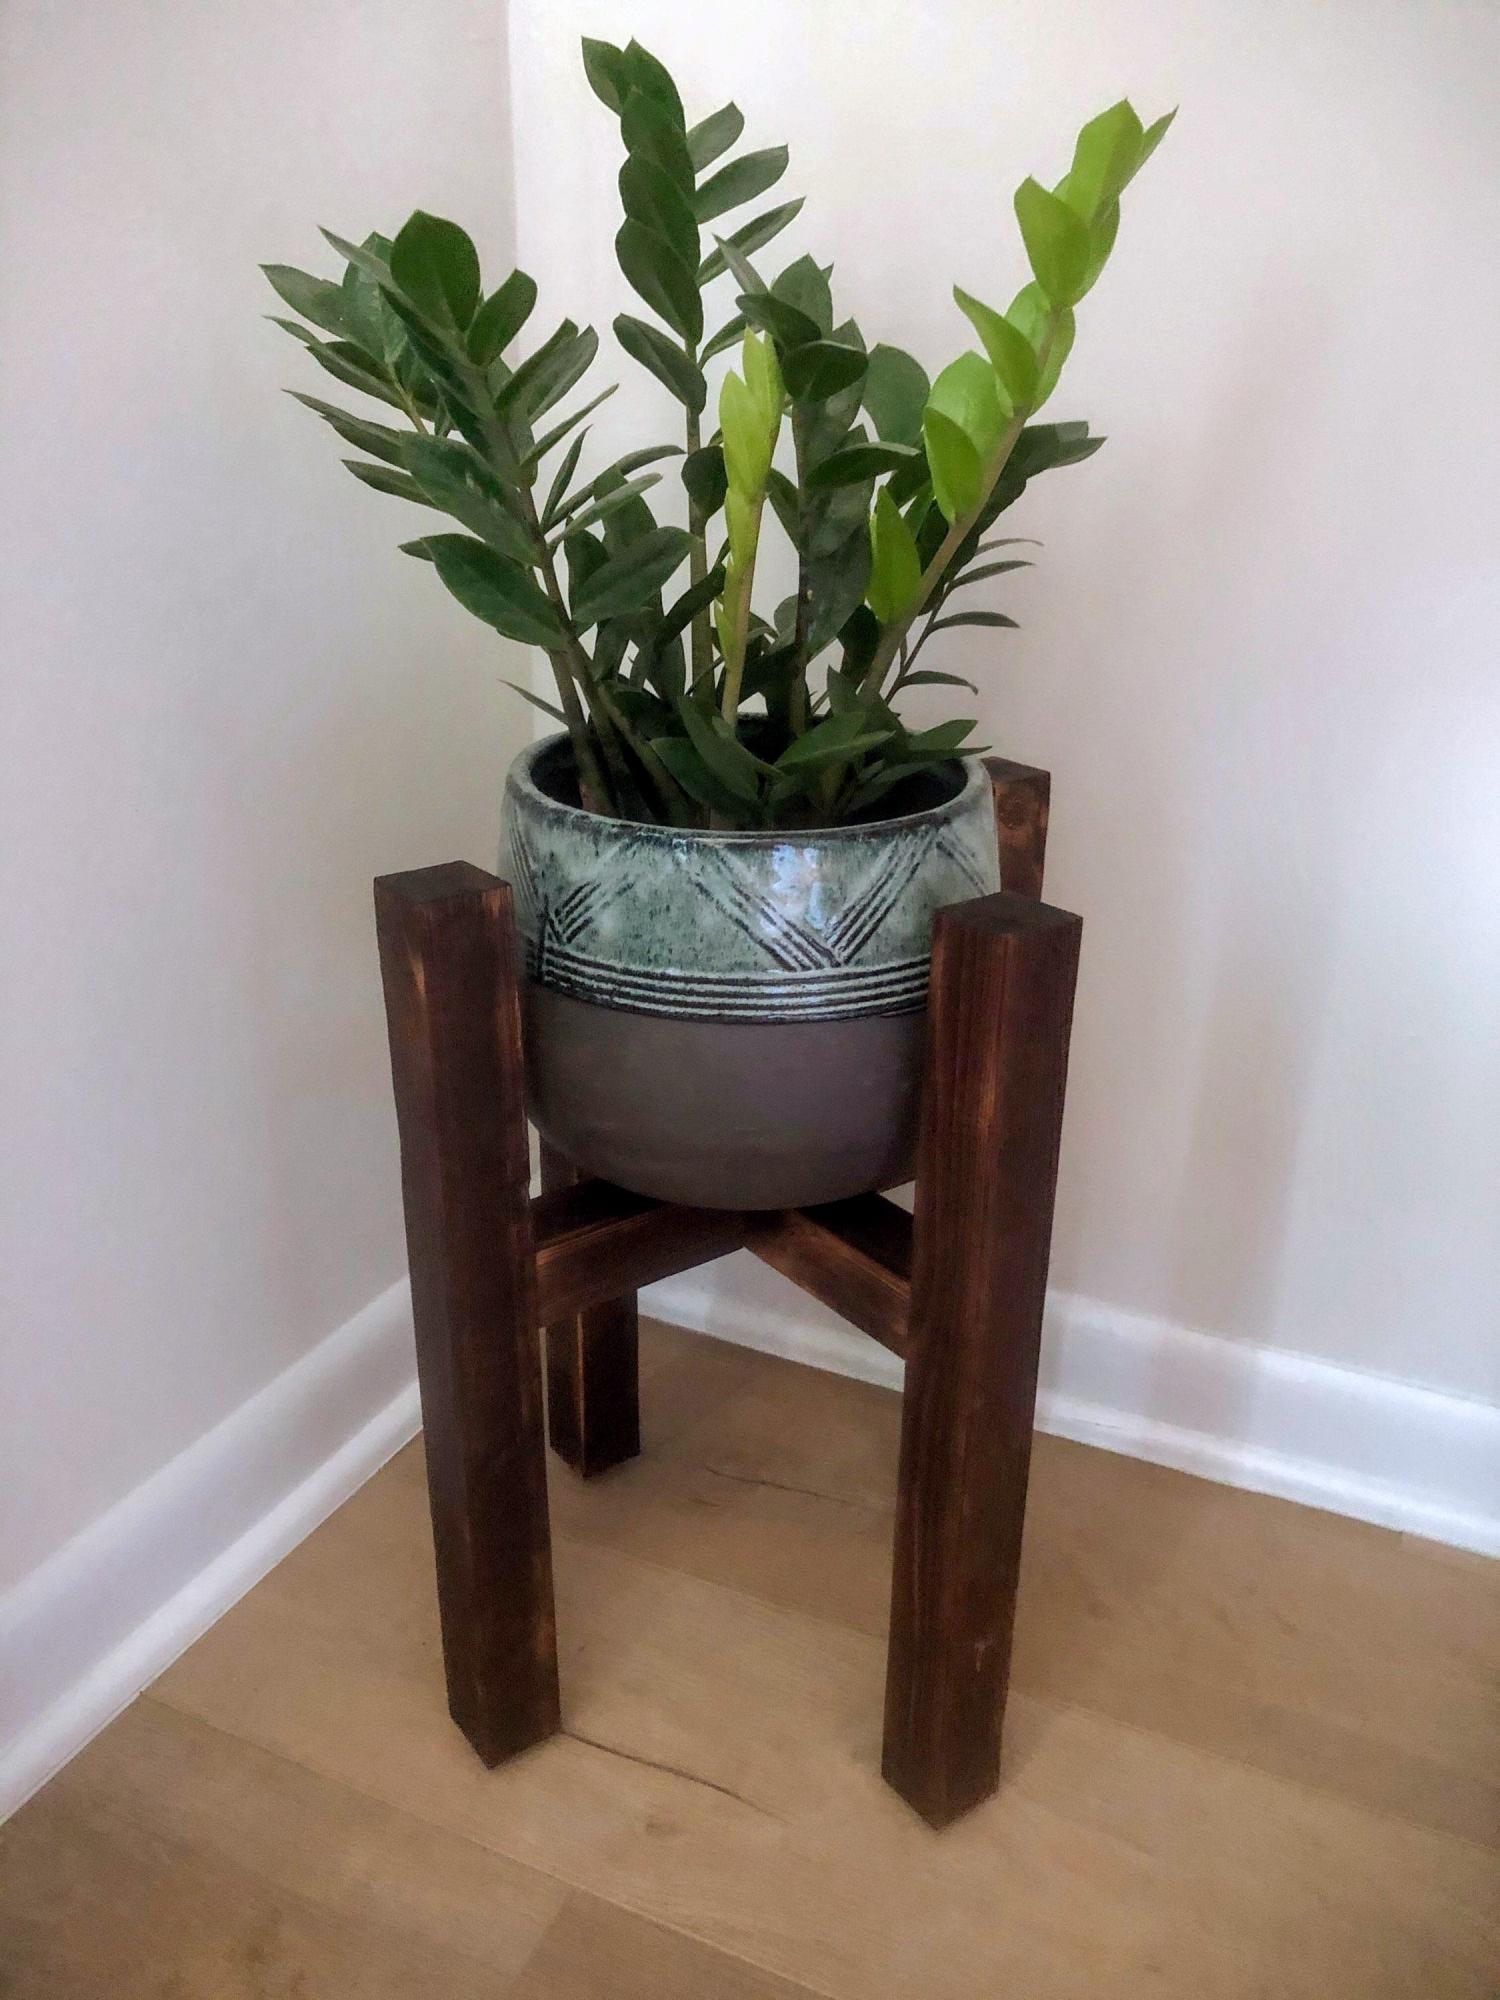
I made 3 of these for a friend. 2 @ 16", 1 @ 20".
Built from Plan(s)
Estimated Cost
$40.00 for 3
Estimated Time Investment
Afternoon Project (3-6 Hours)
Finish Used
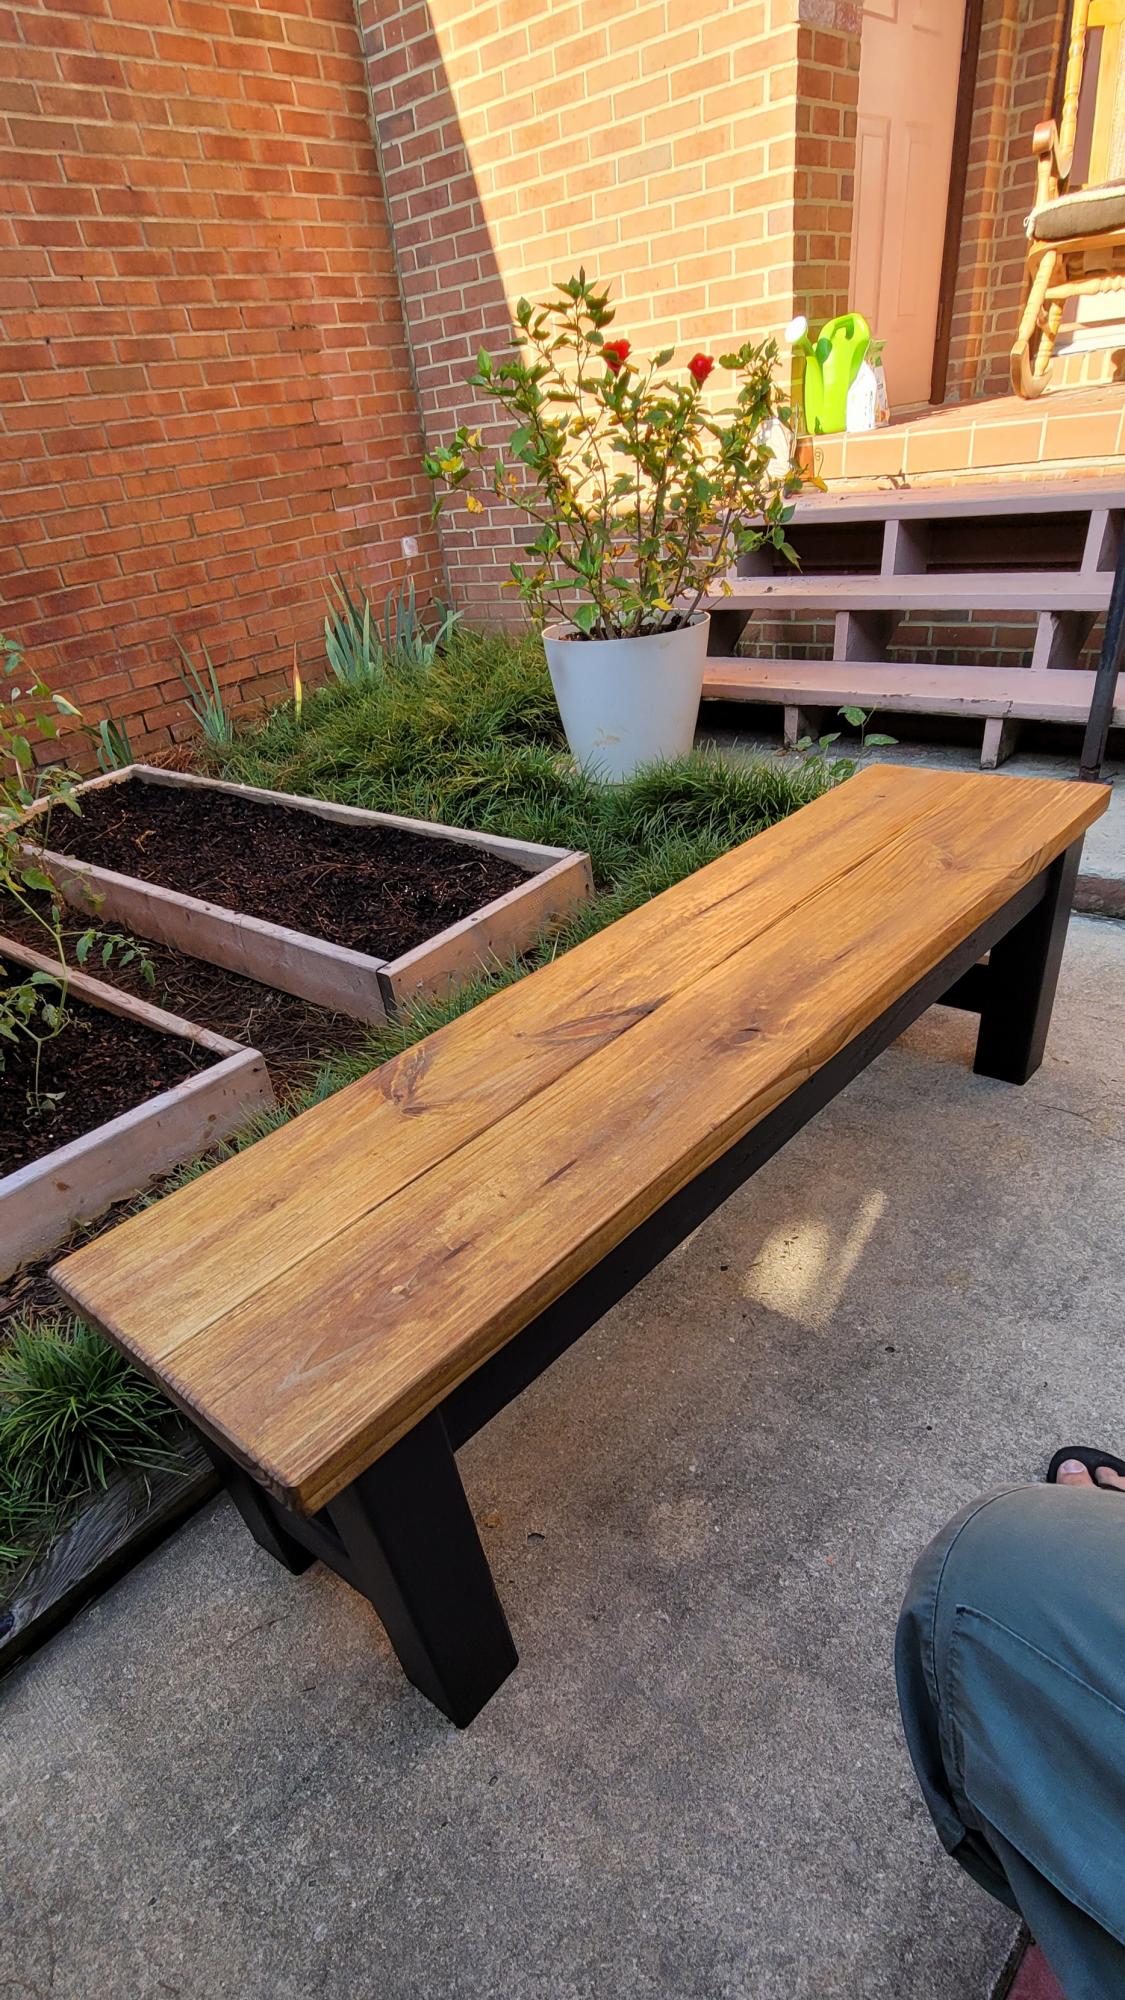
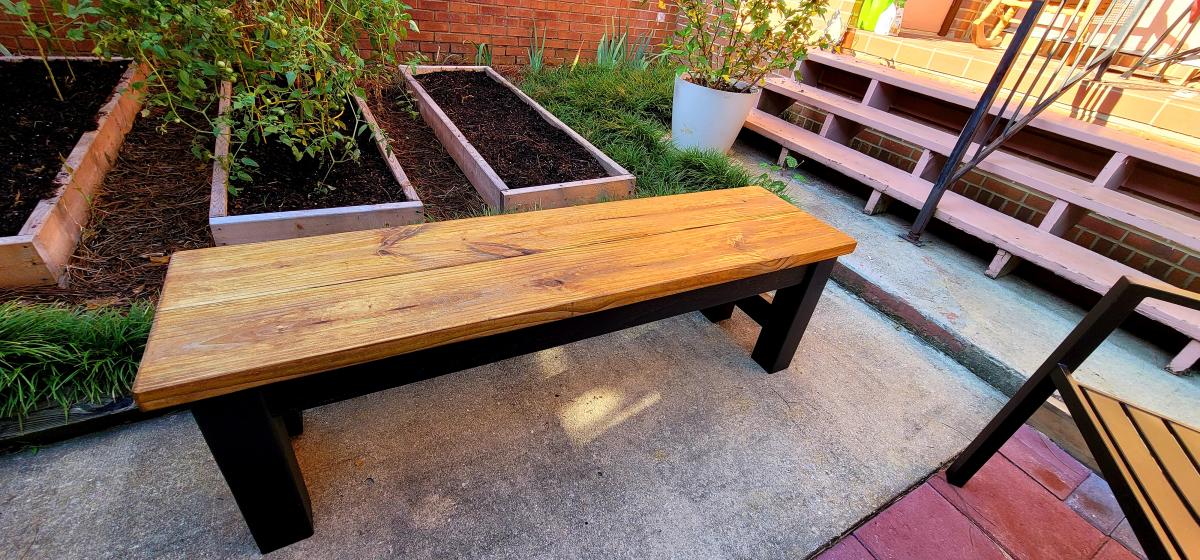
Shui sugi ban. Just burned and brushed off.
Recommended Skill Level
Beginner