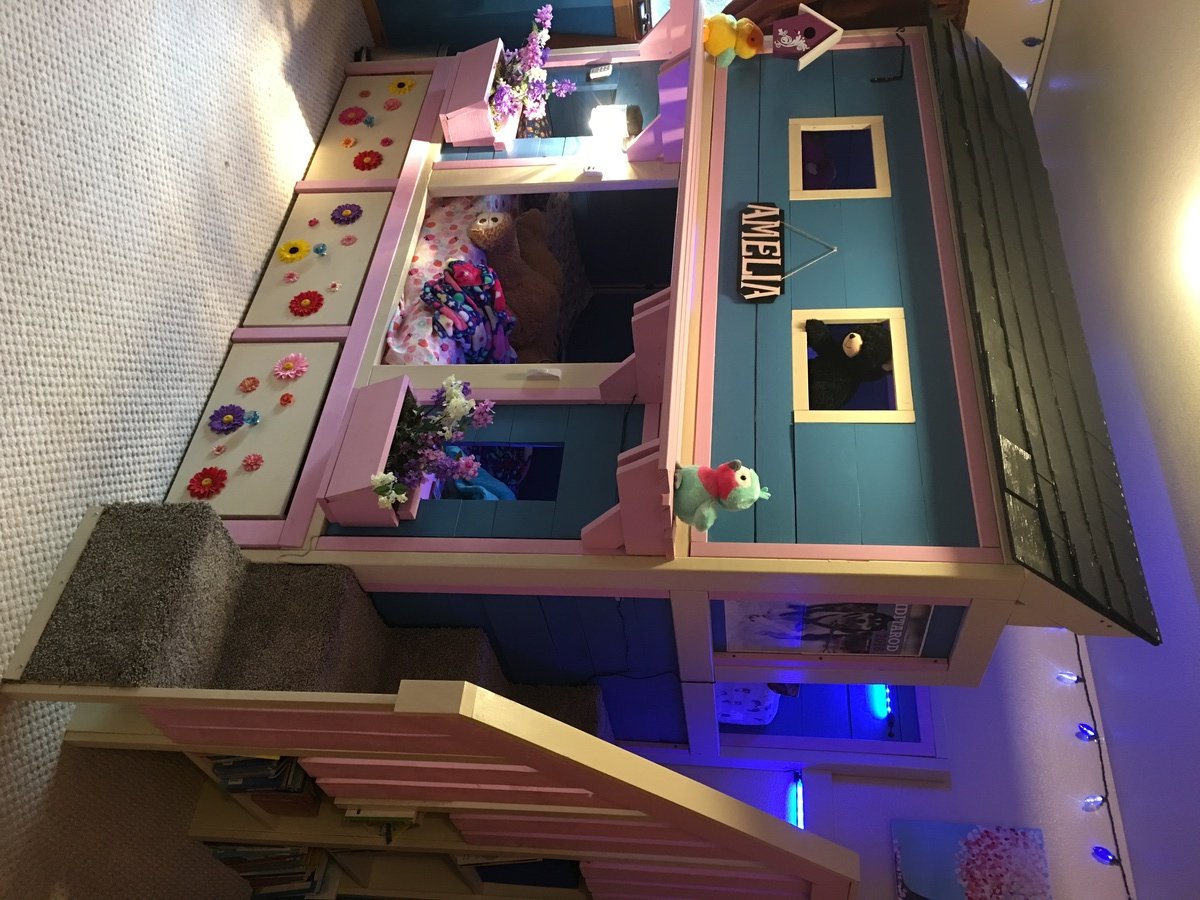
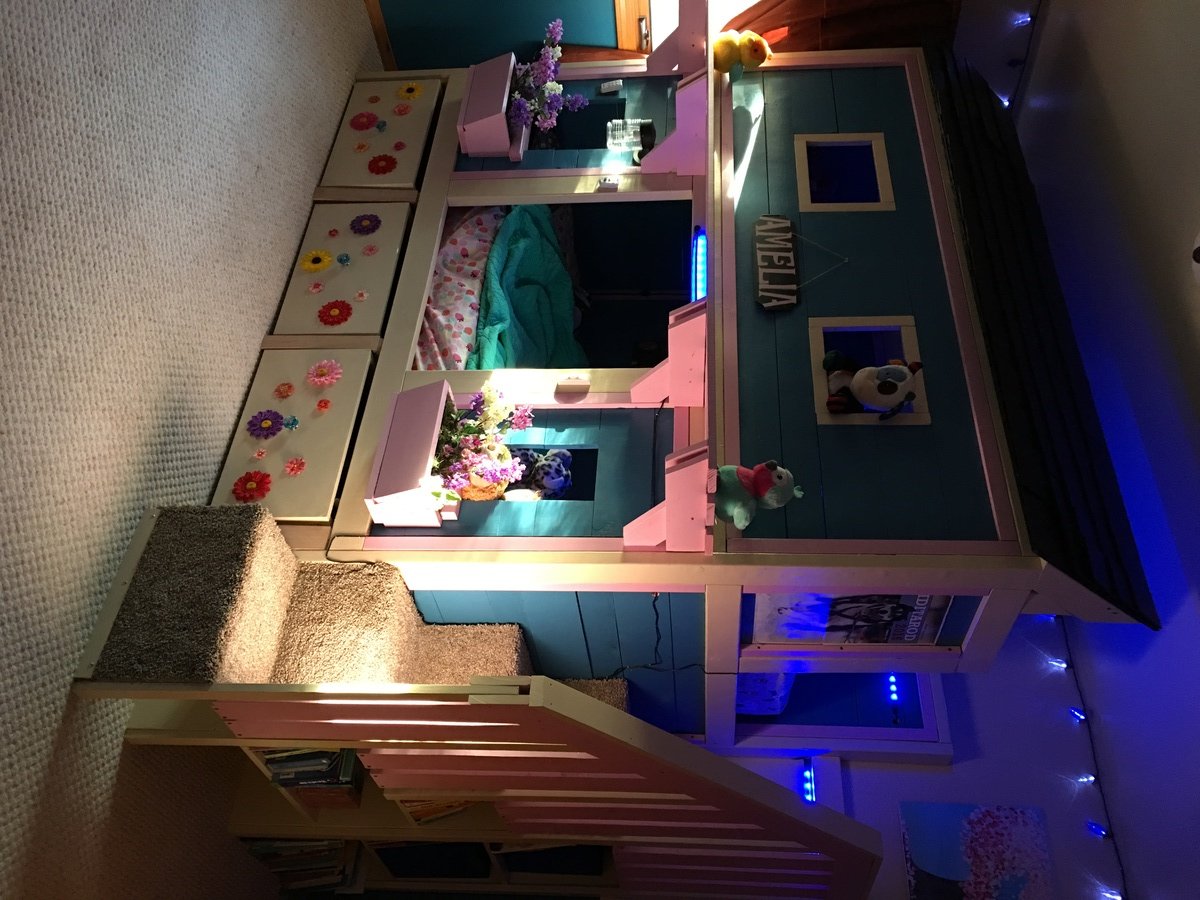
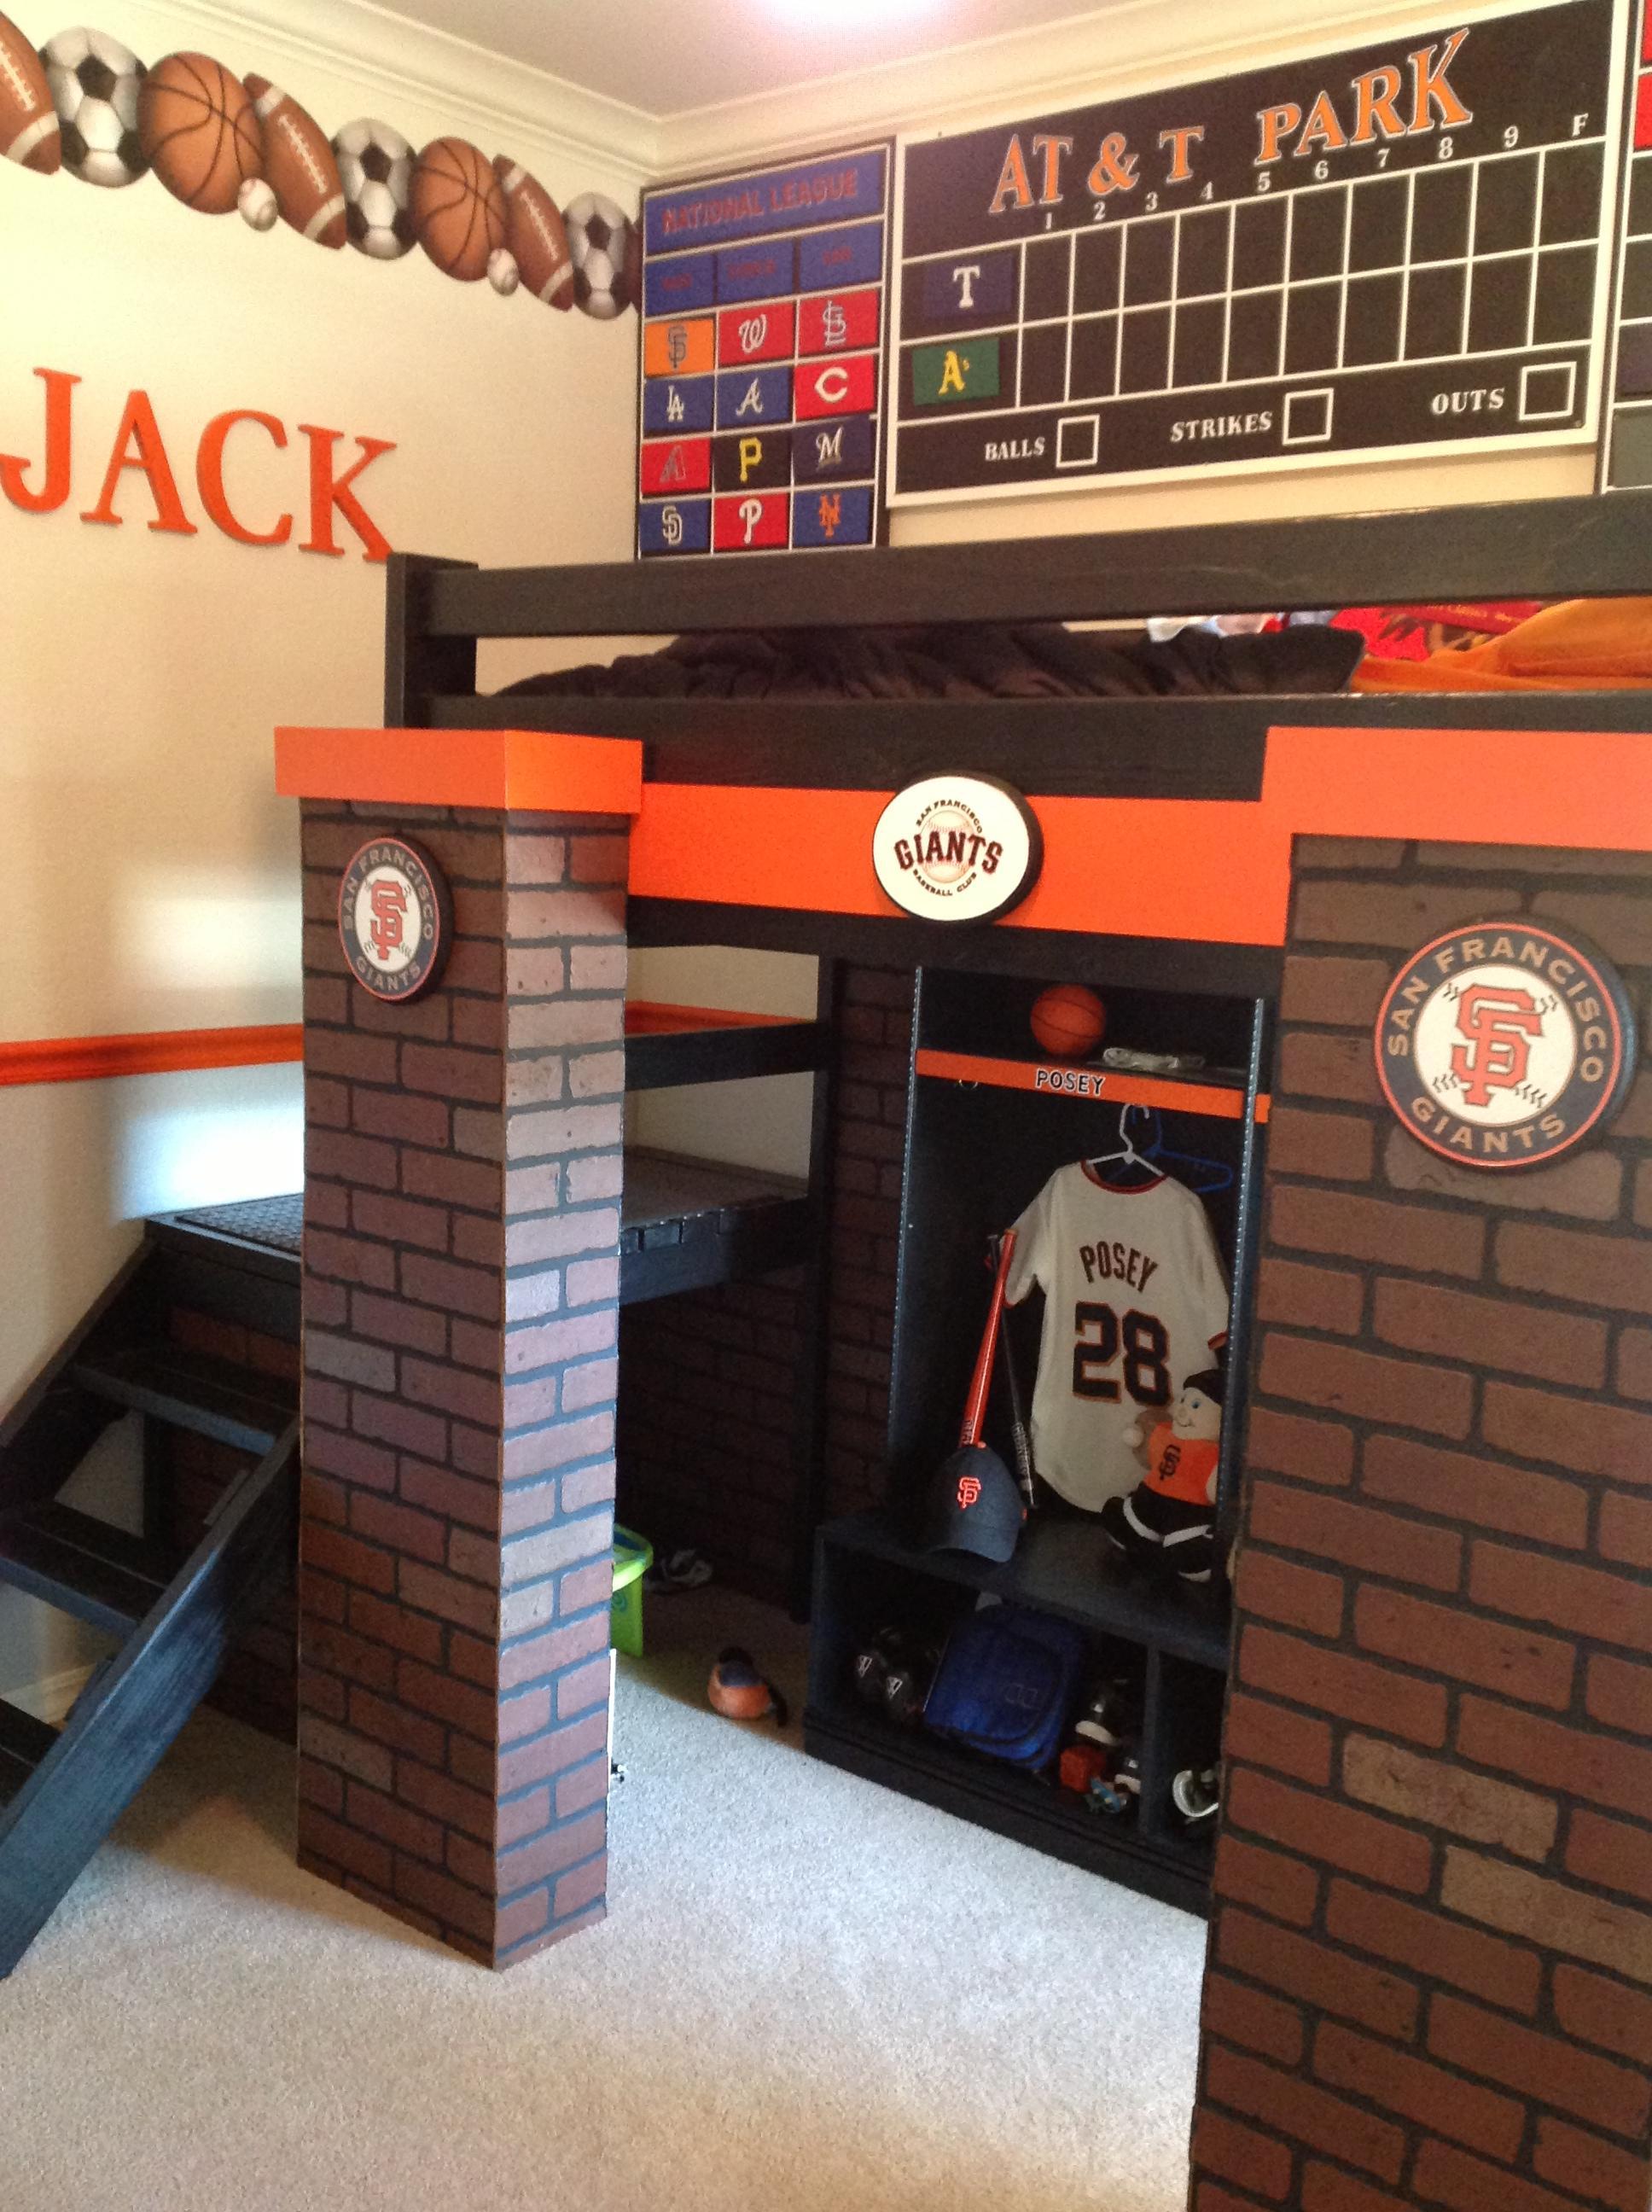
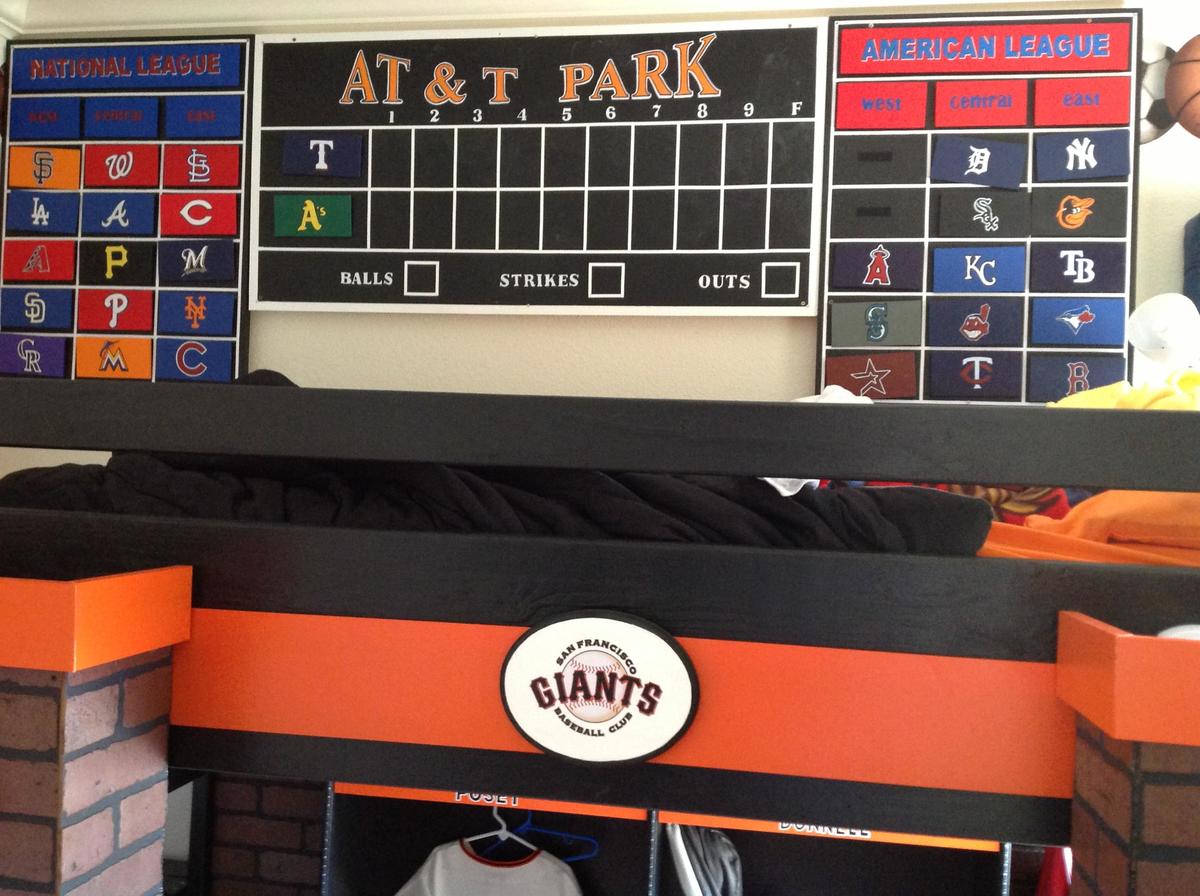
My 7 year old nephew, Jack loves the San Francisco Giants, so my brother and I decided to create an AT & T Park bed using Ana's Camp Loft Bed plans as a guide. I started with the scoreboard to hang above the bed. The teams are all hand painted and hung with Velcro so Jack can arrange the teams according to their current league standings. He can also decide who he wants to play and change the teams on the actual scoreboard, which is painted with chalkboard paint.
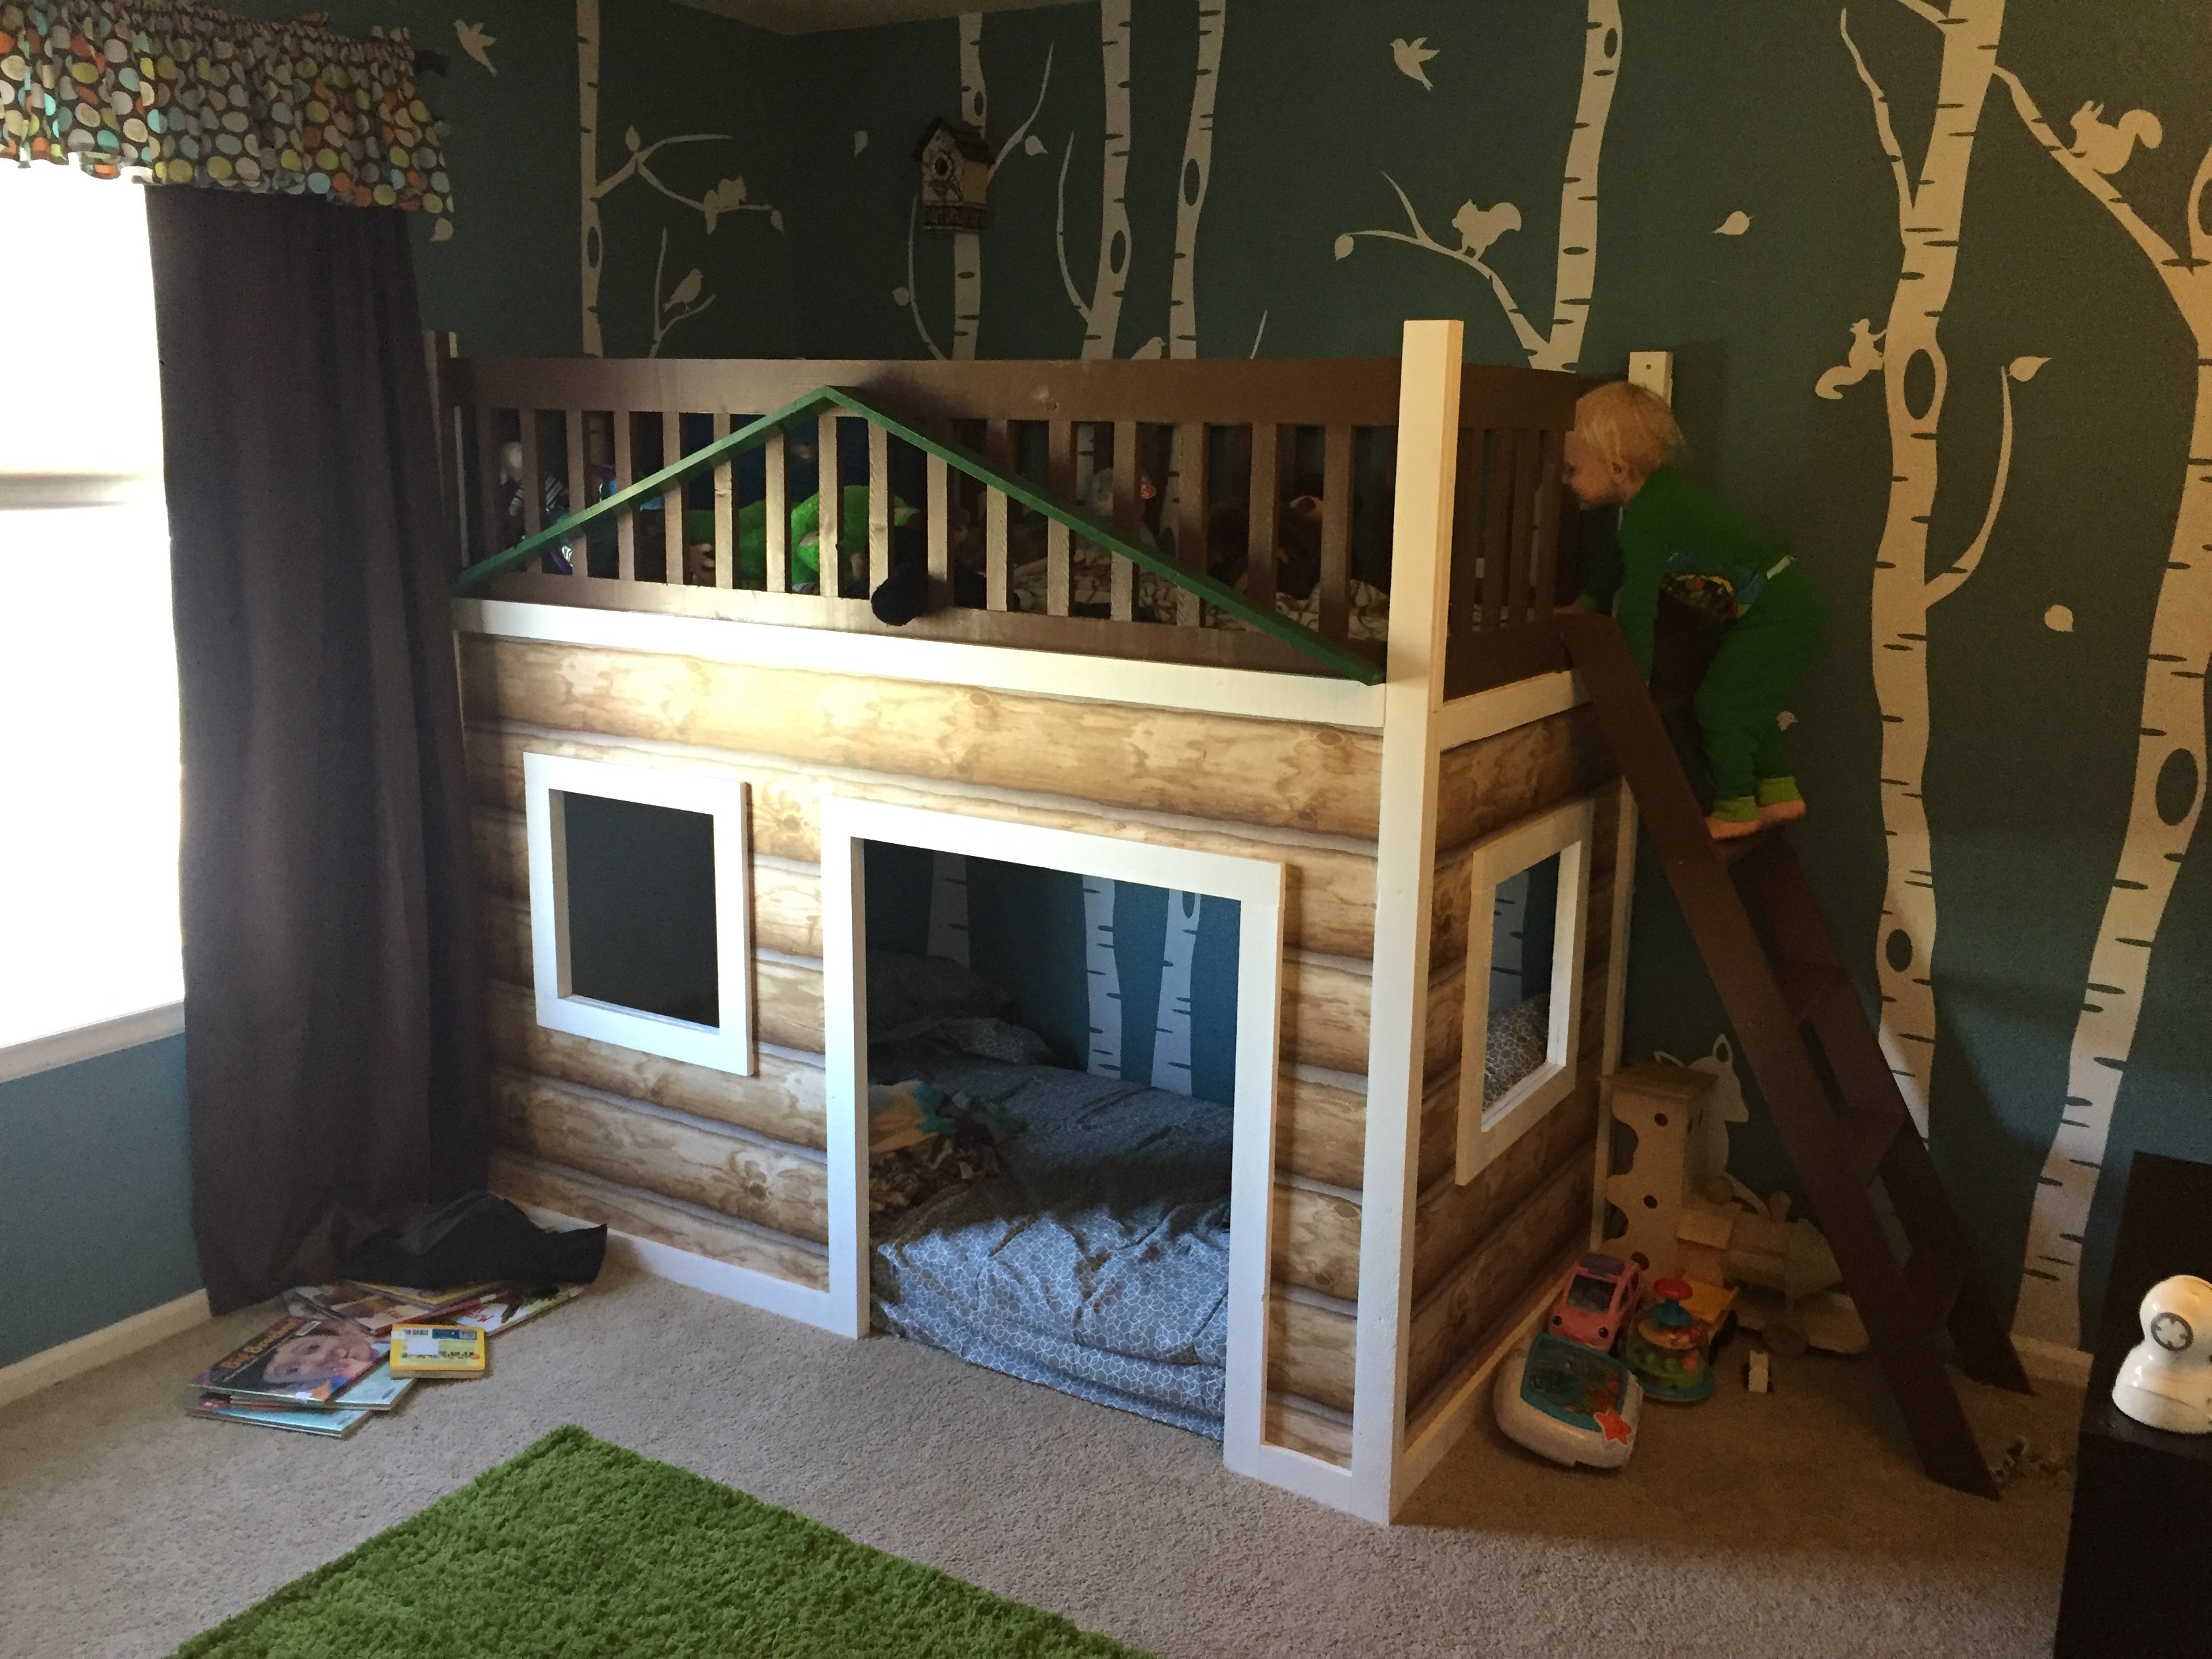
The bed was created using Ana's plans. We added brick facade columns to make it look more like AT & T Park. The columns have shelves in the back built in for storage. I found some great Giants stickers and added them as well.
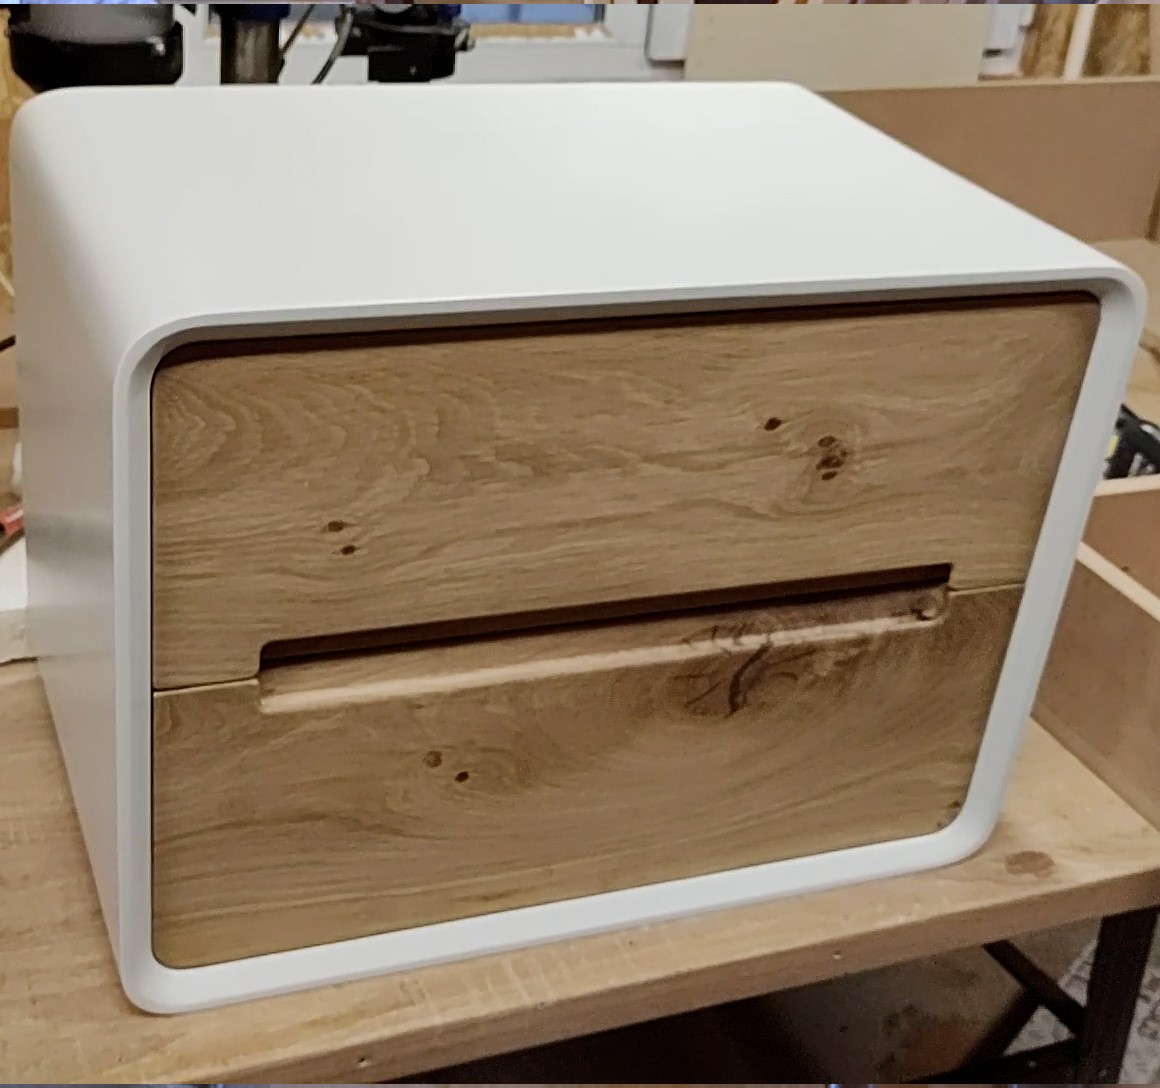
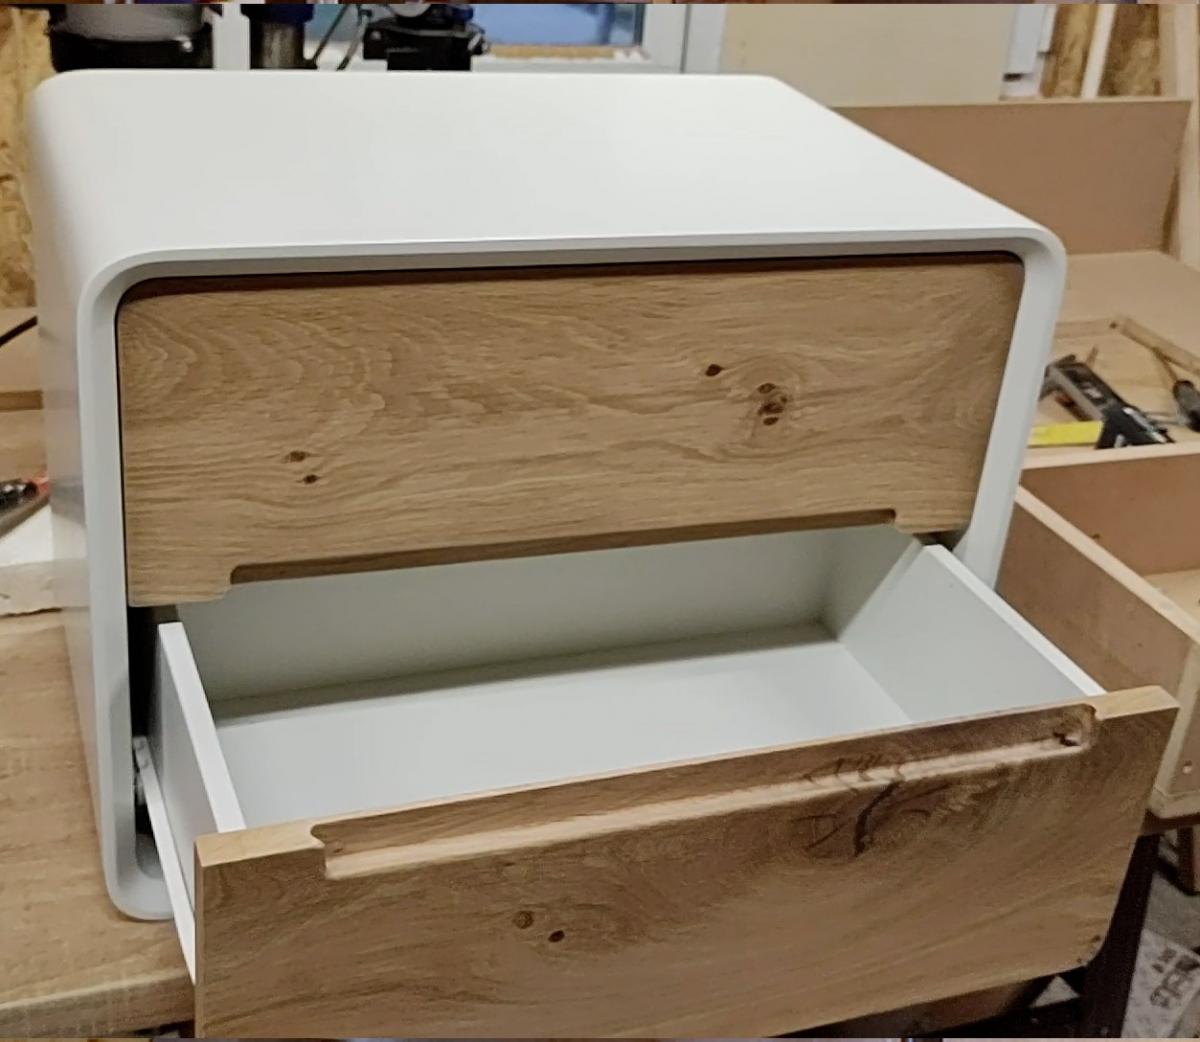
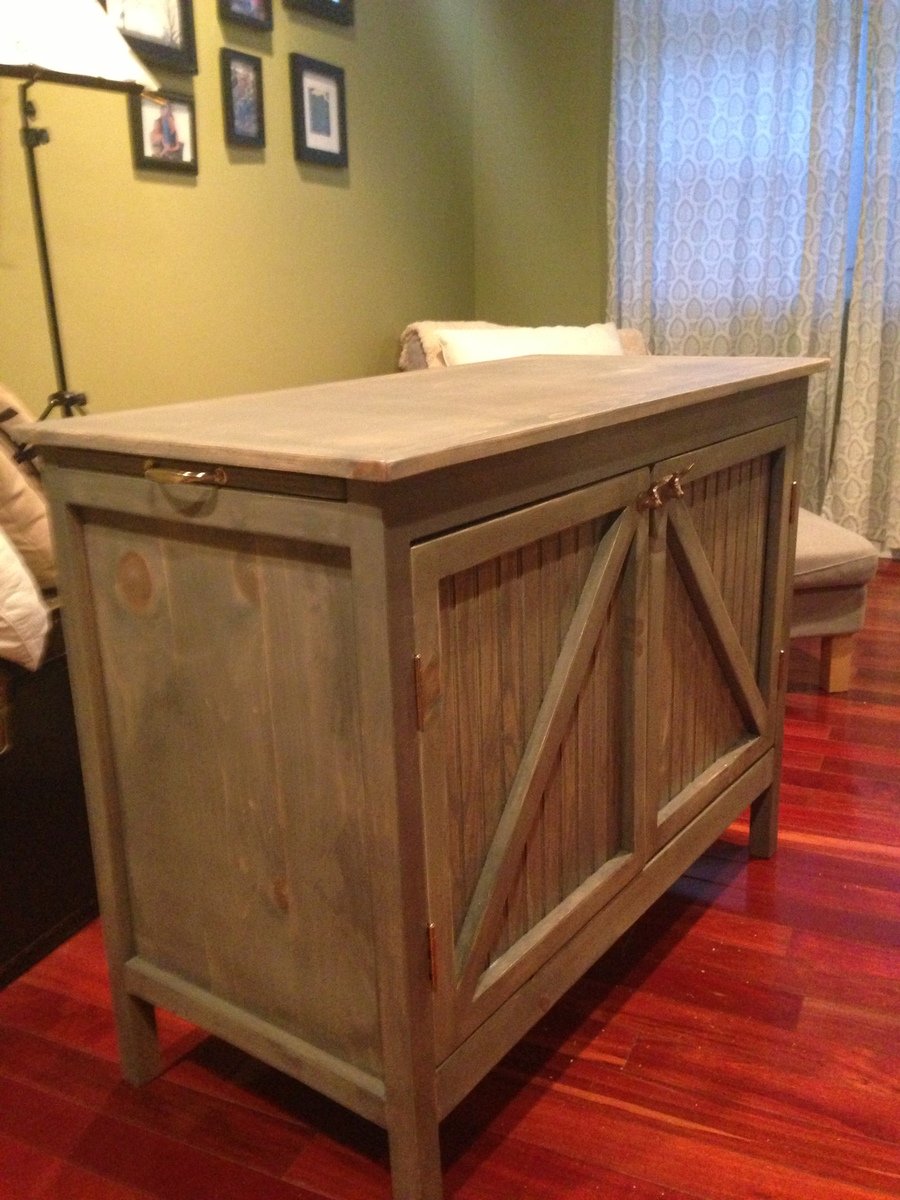
Under the bed, I built a locker using Ana's Small Locker Cabinet plans for Jack to hang and store all of his athletic gear.


Comments
handmadewithash
Fri, 01/02/2015 - 11:11
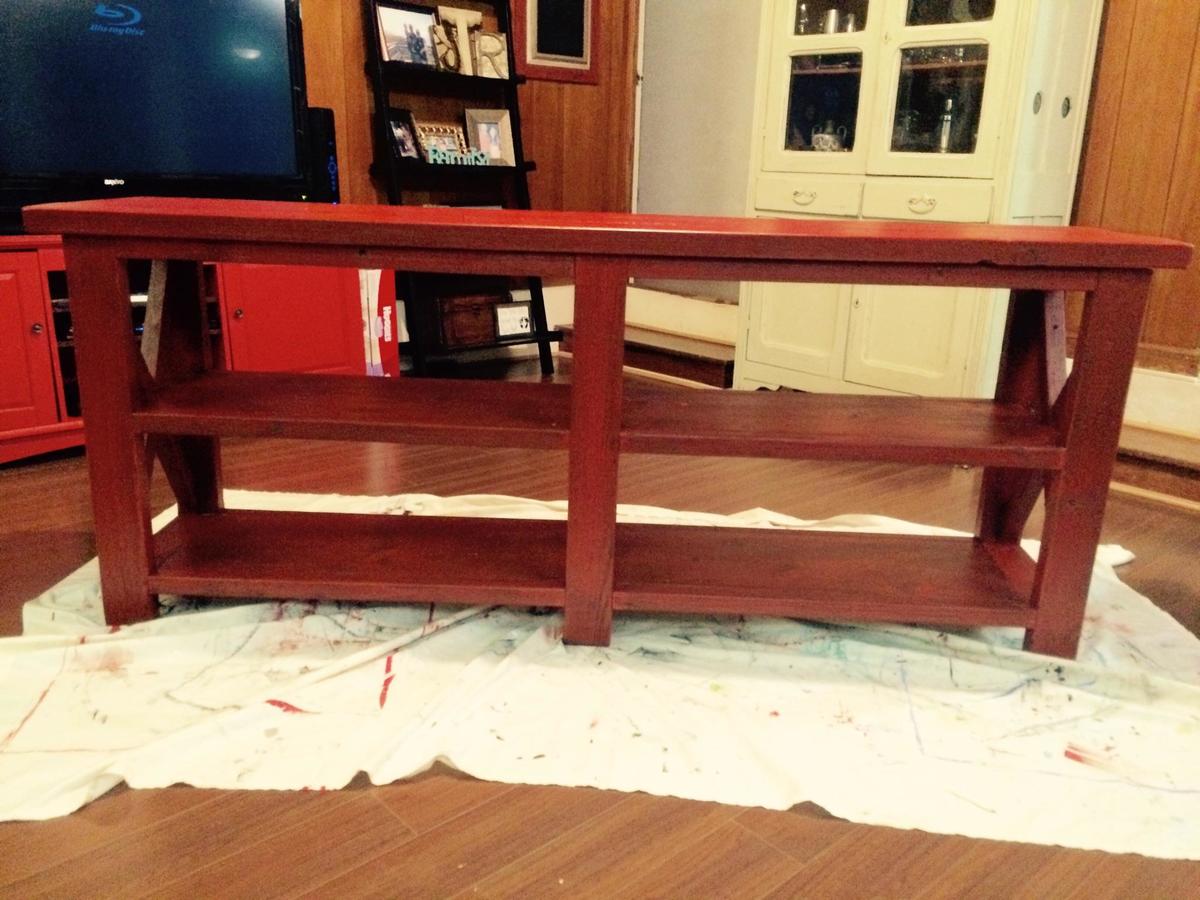
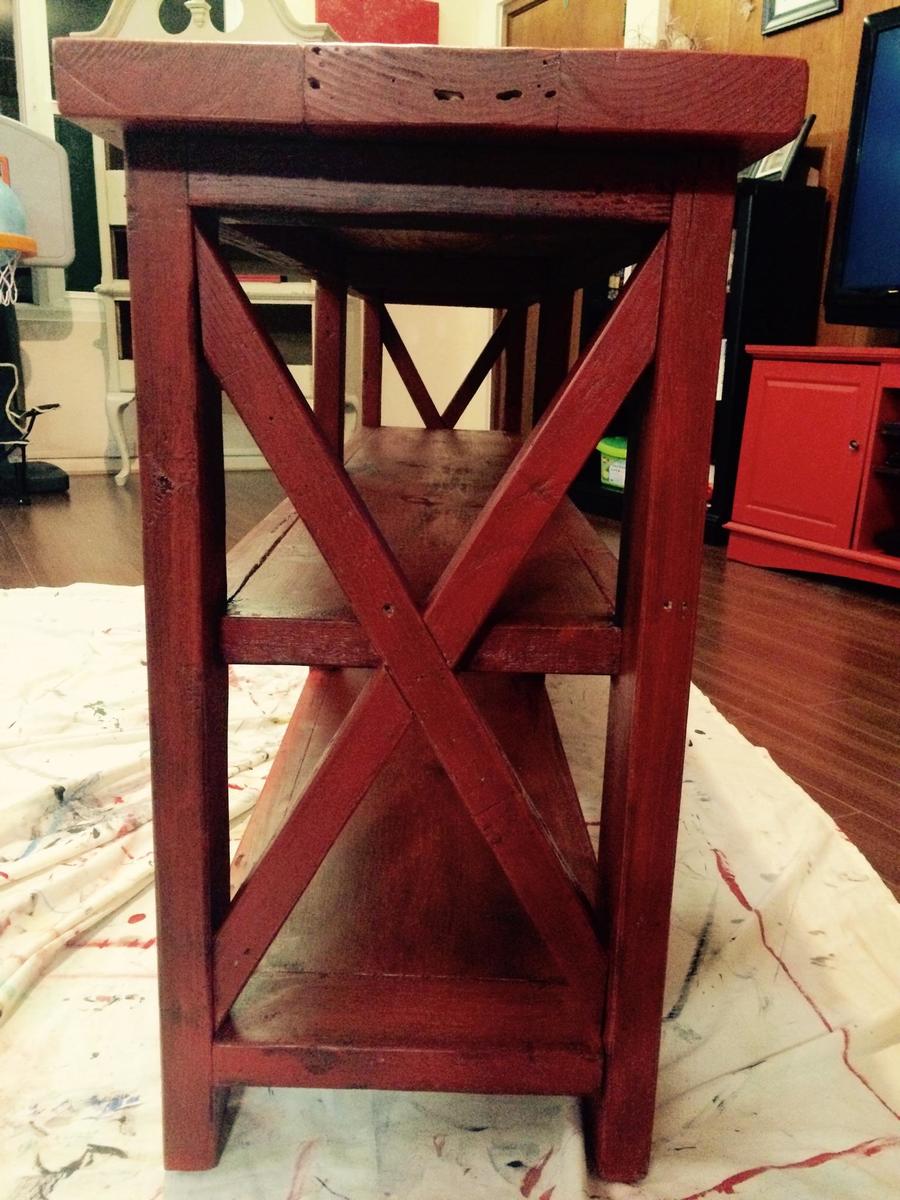
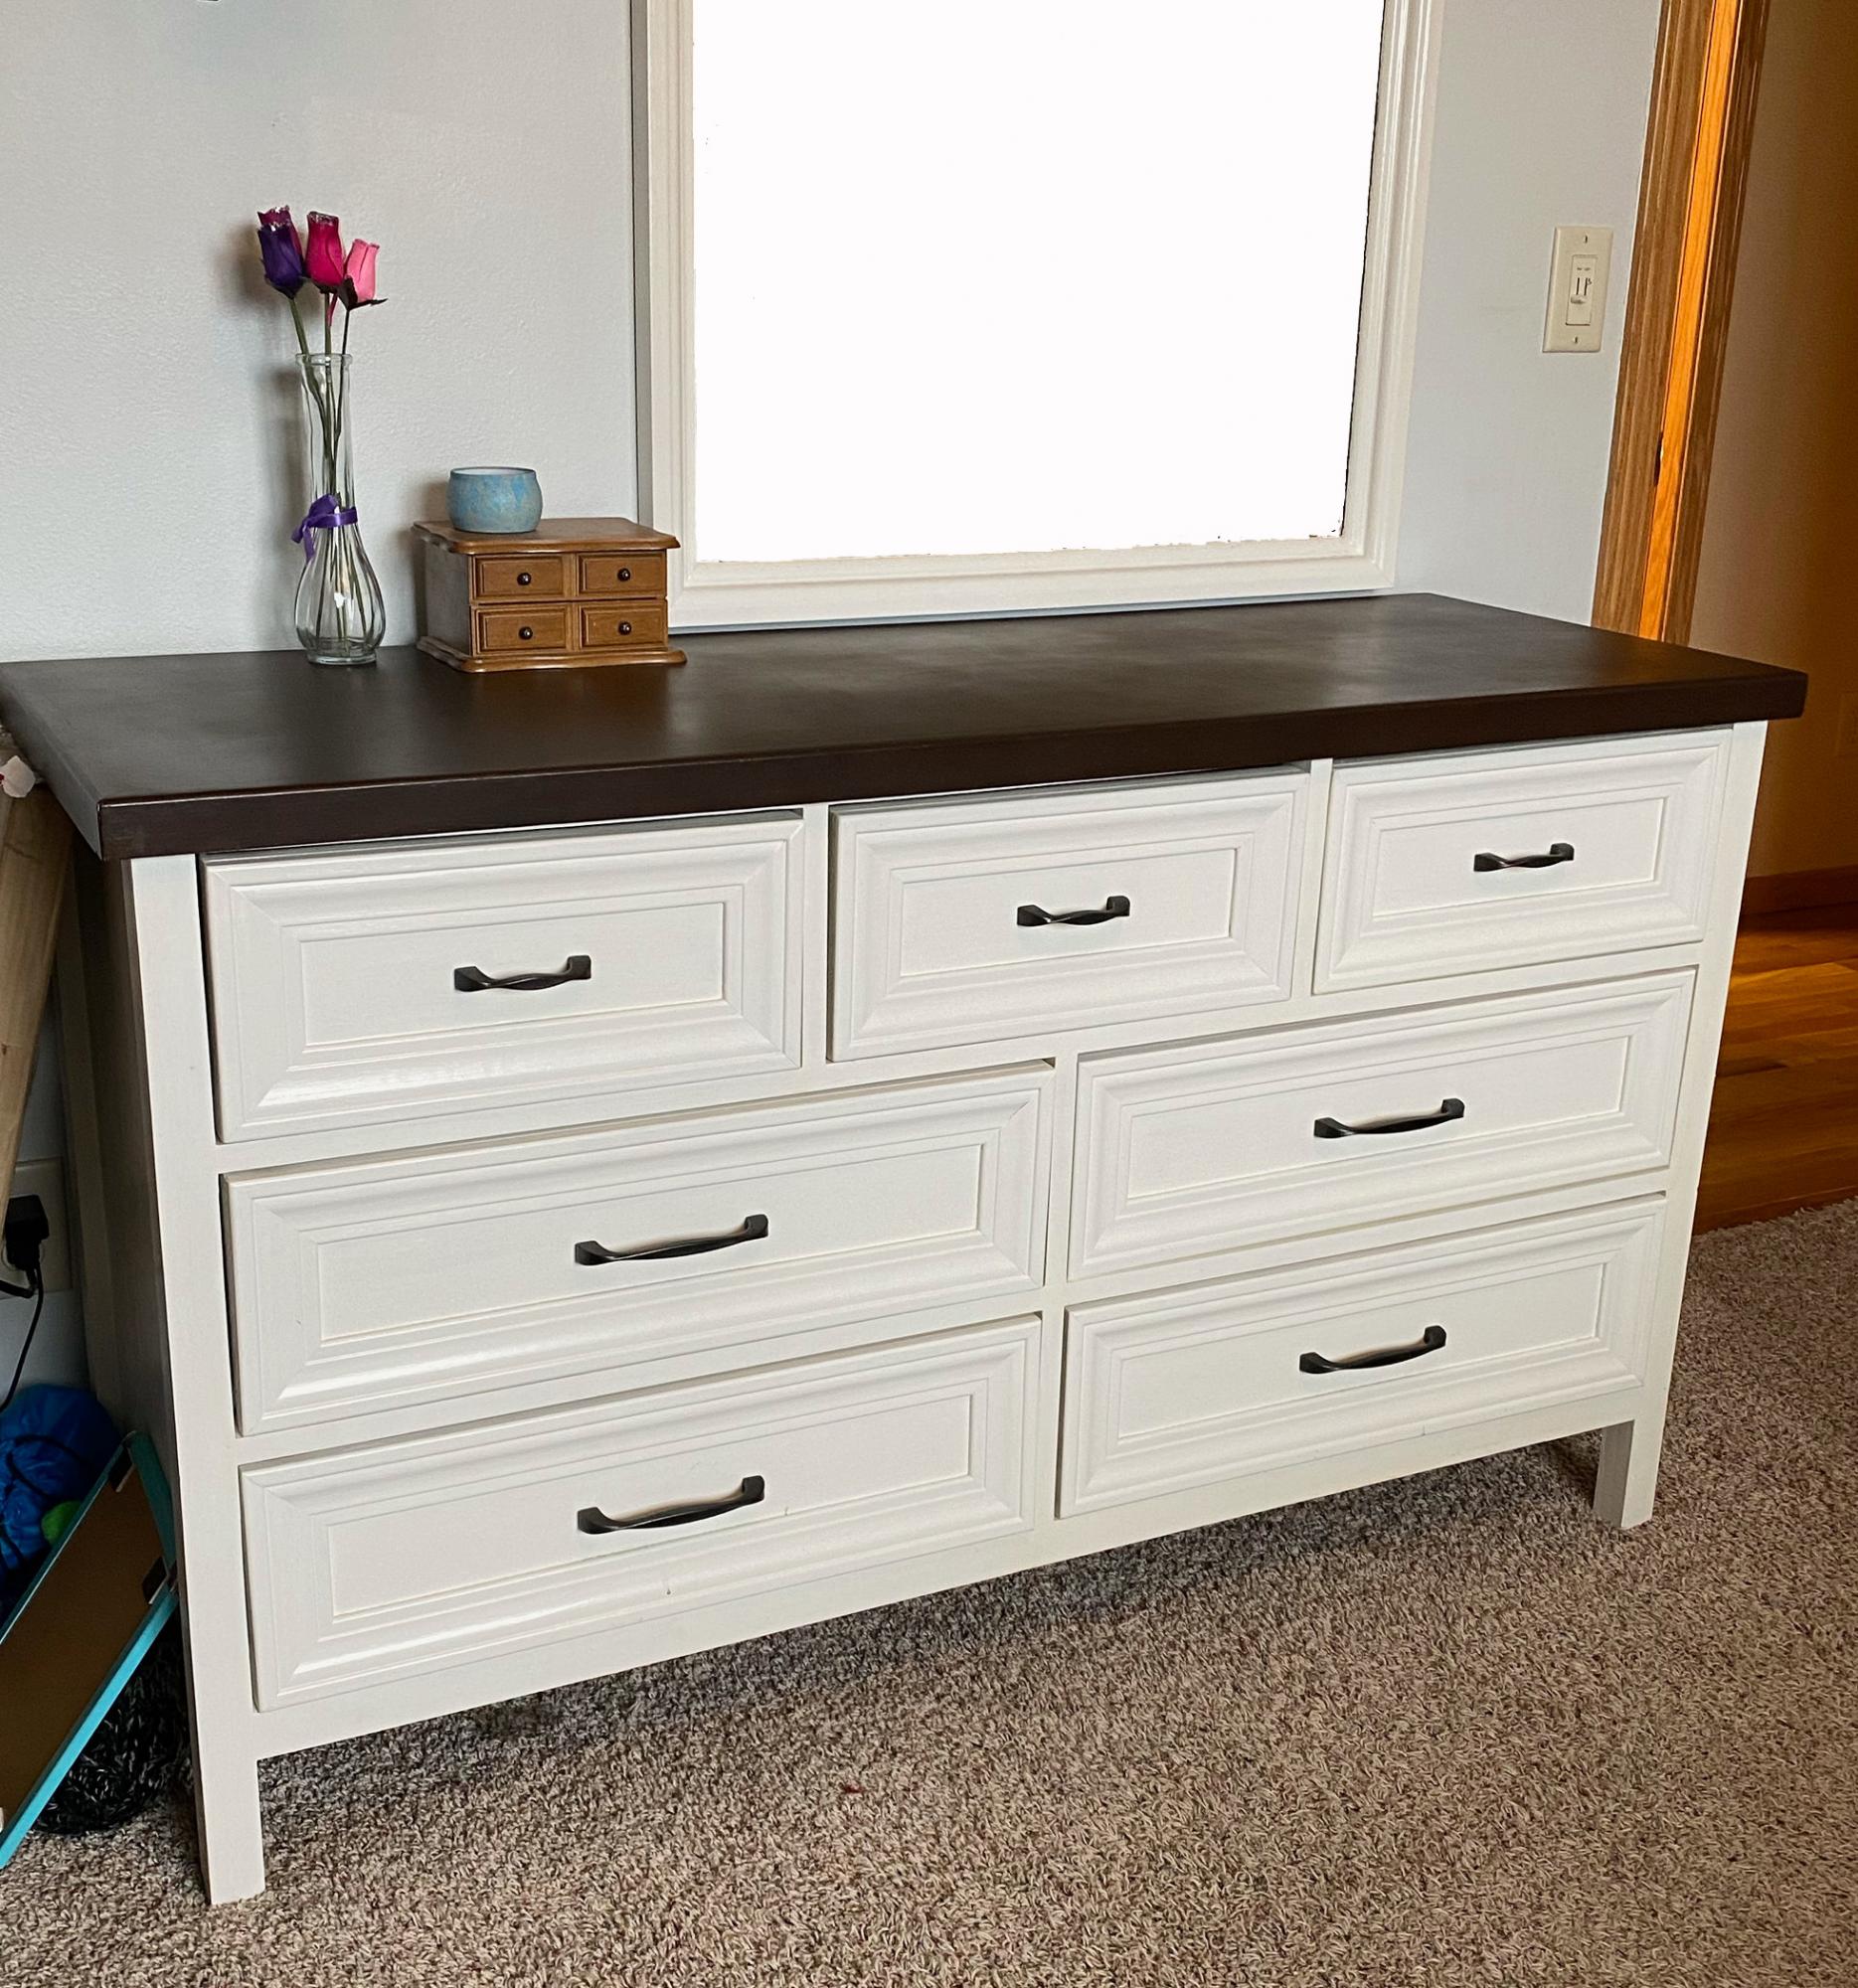
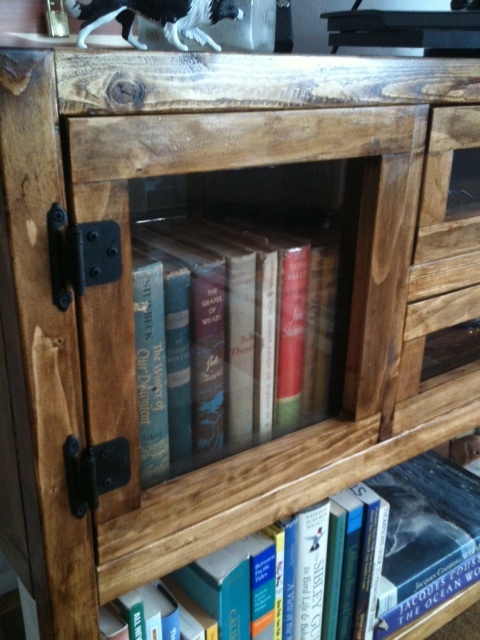
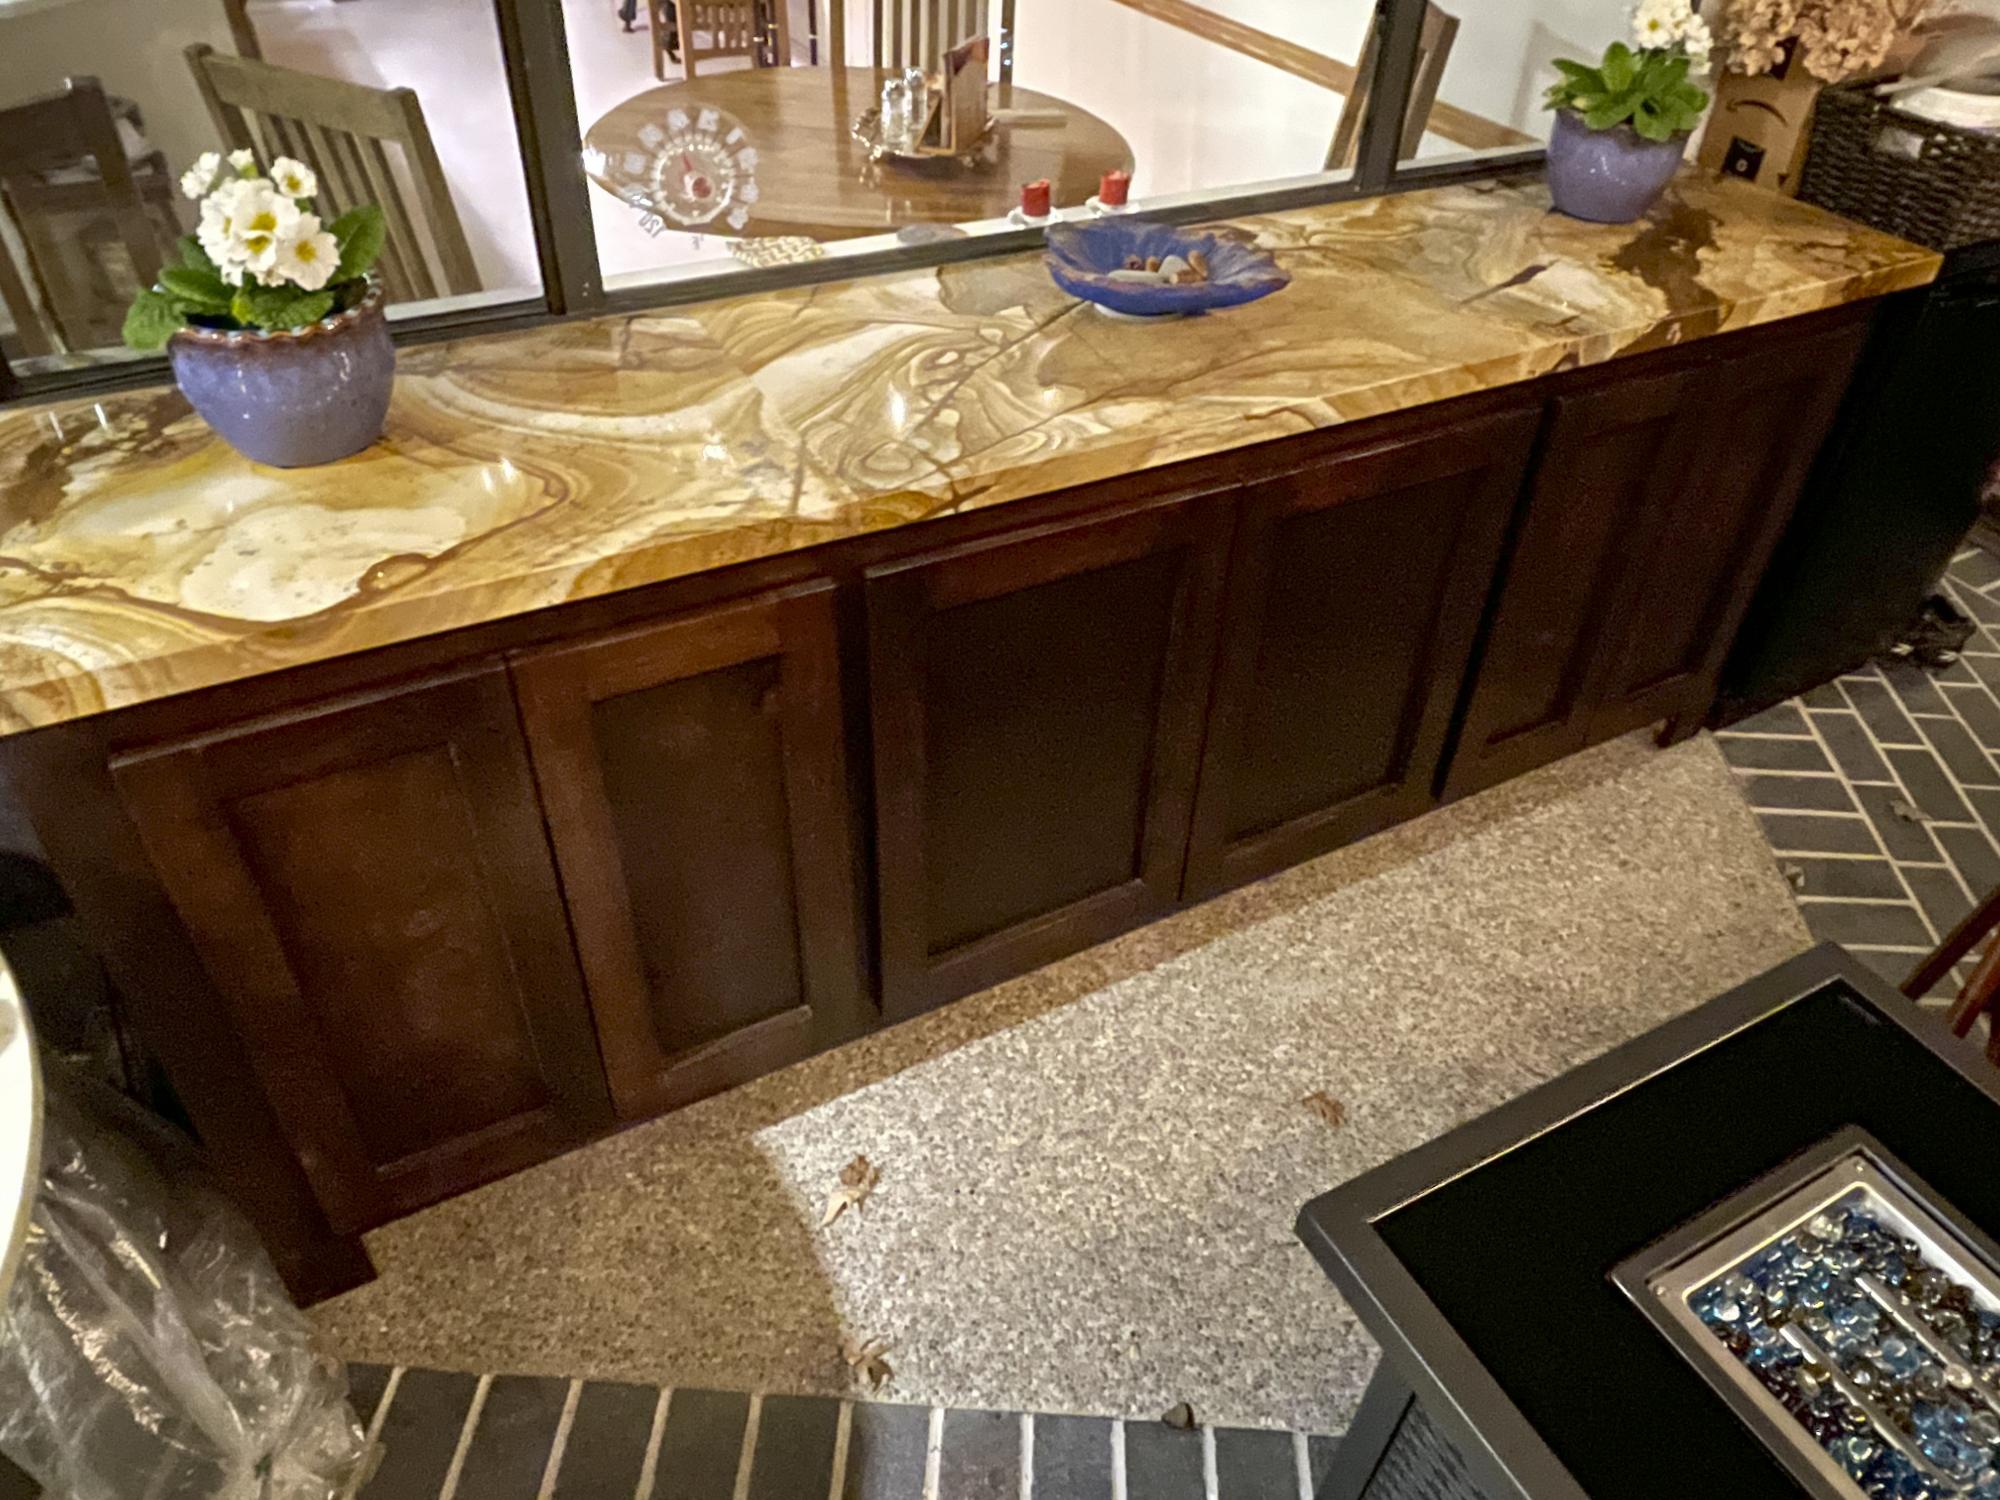
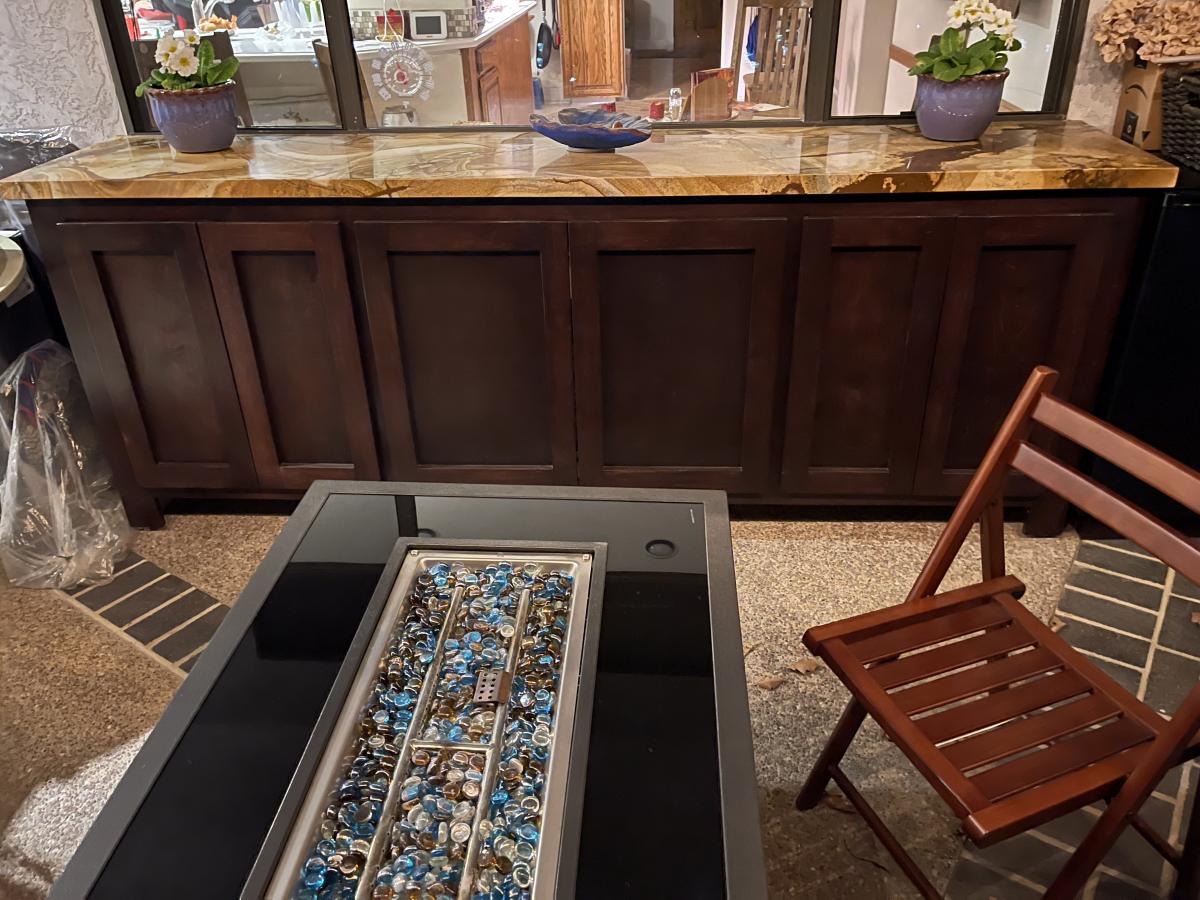
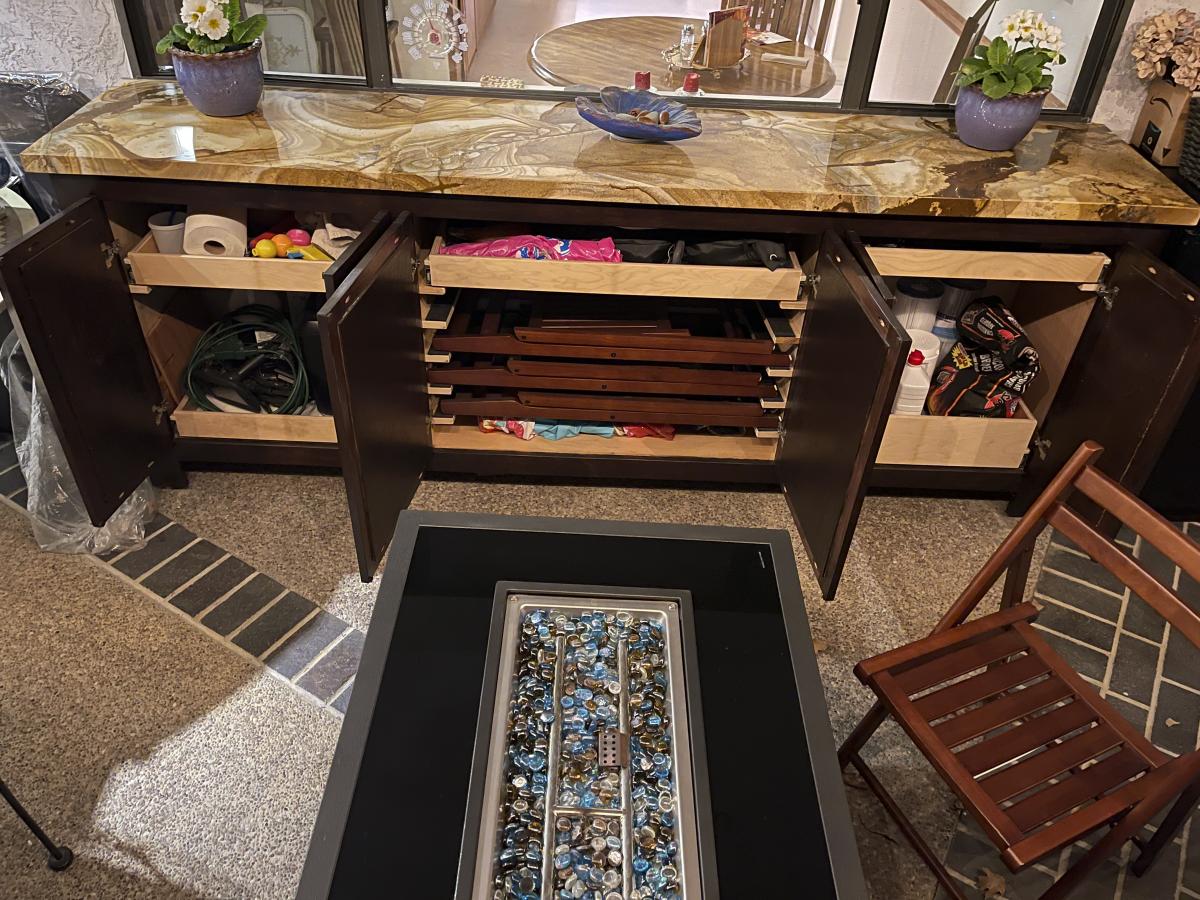
Very nice job on the console.
Very nice job on the console. It turned out great! What did you use for the finish?