Ah behold the allure of a really good set of plans. :) Famous last words, "it looked a lot easier on paper!"
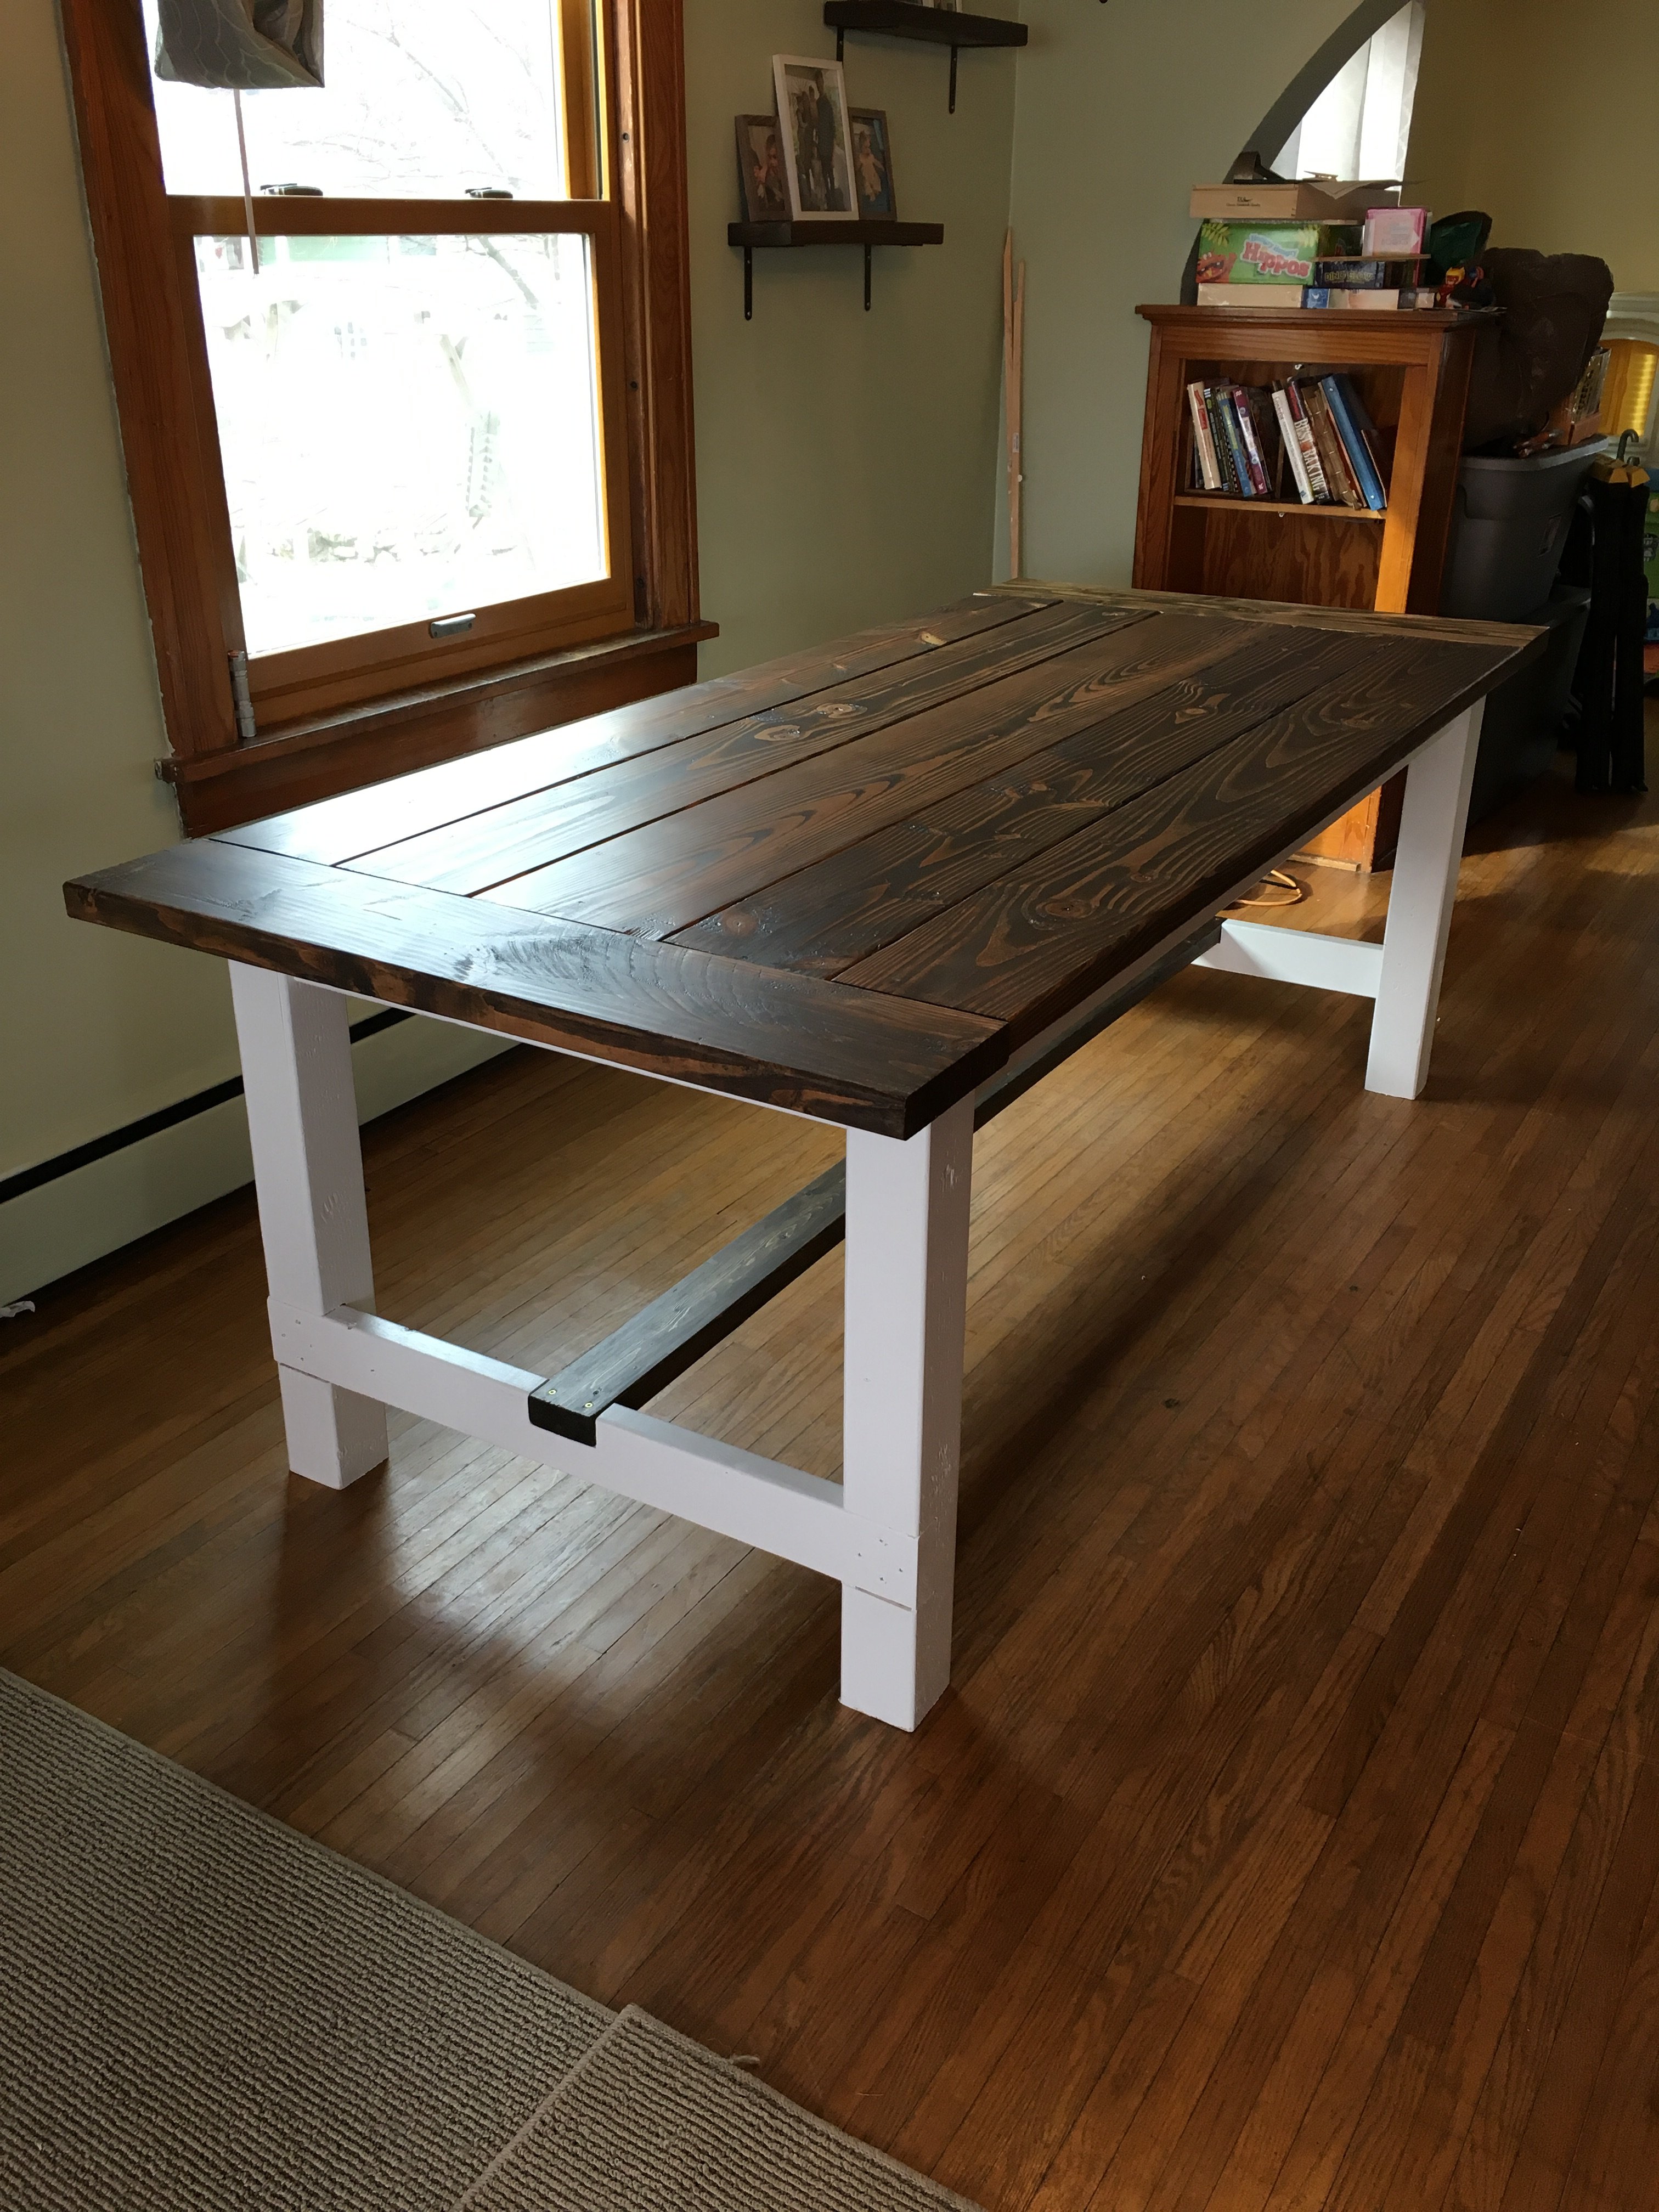
I happened across the wonderful plans for the Farmhouse Table on this site. Then I saw how it only took Handy Andy a mere 2-3 hours to make his out of reclaimed wood and thinking I would enlist my retired carpenter father to help me, easy peasy, right? Well, that was the plan anyway. :)
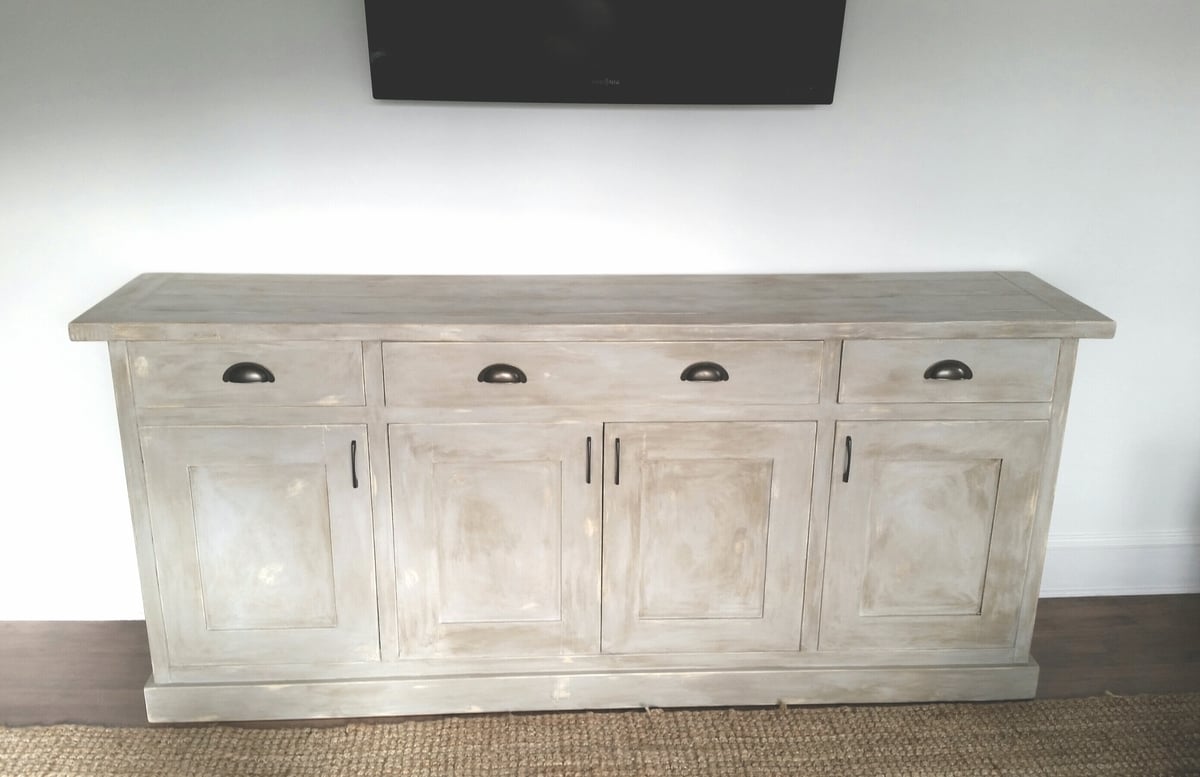
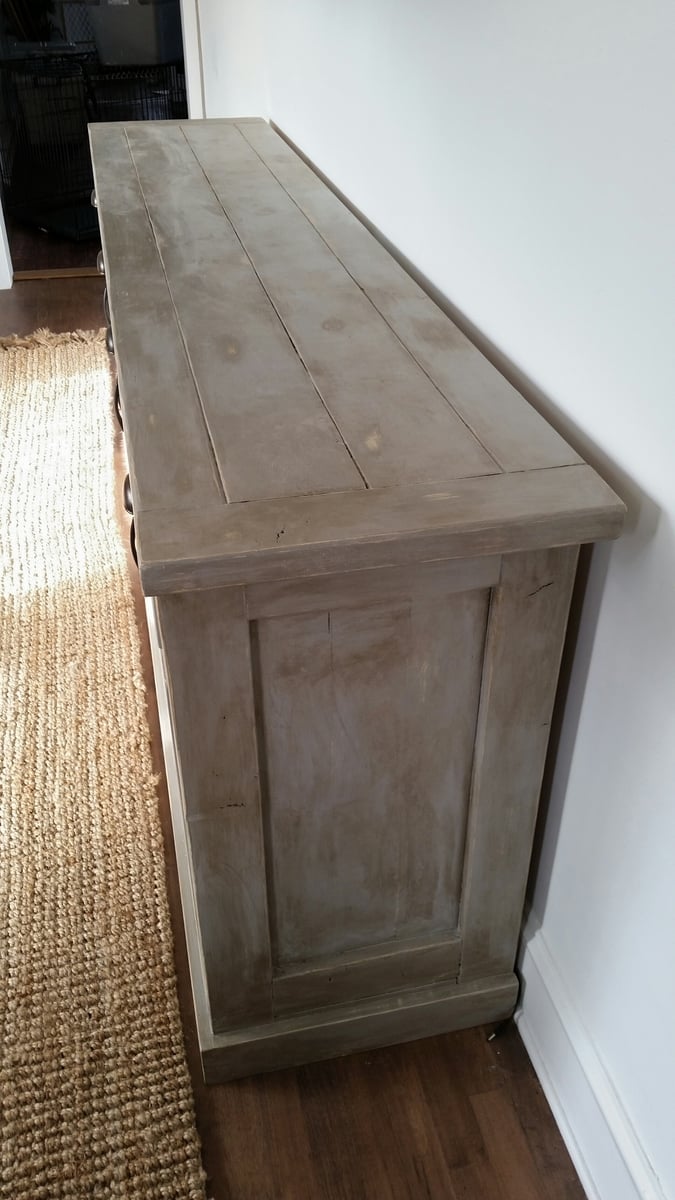
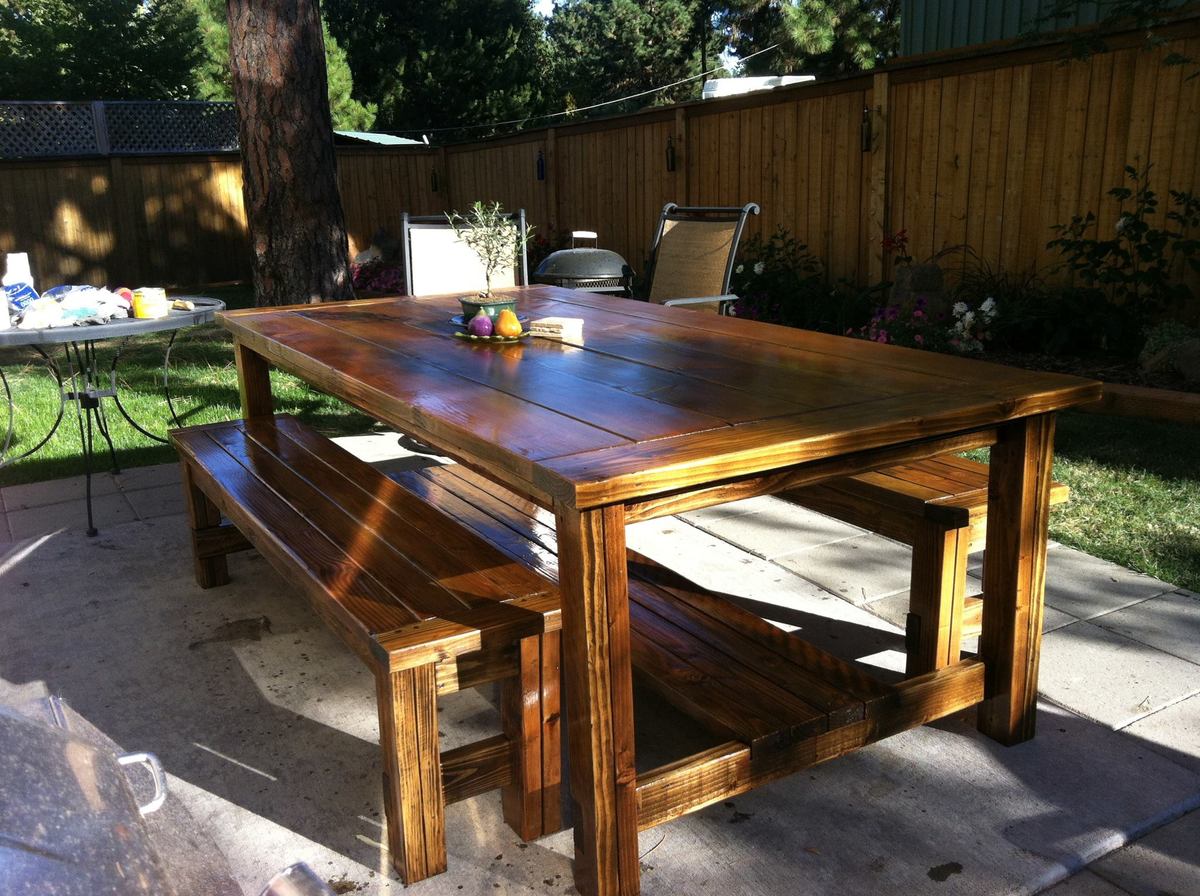
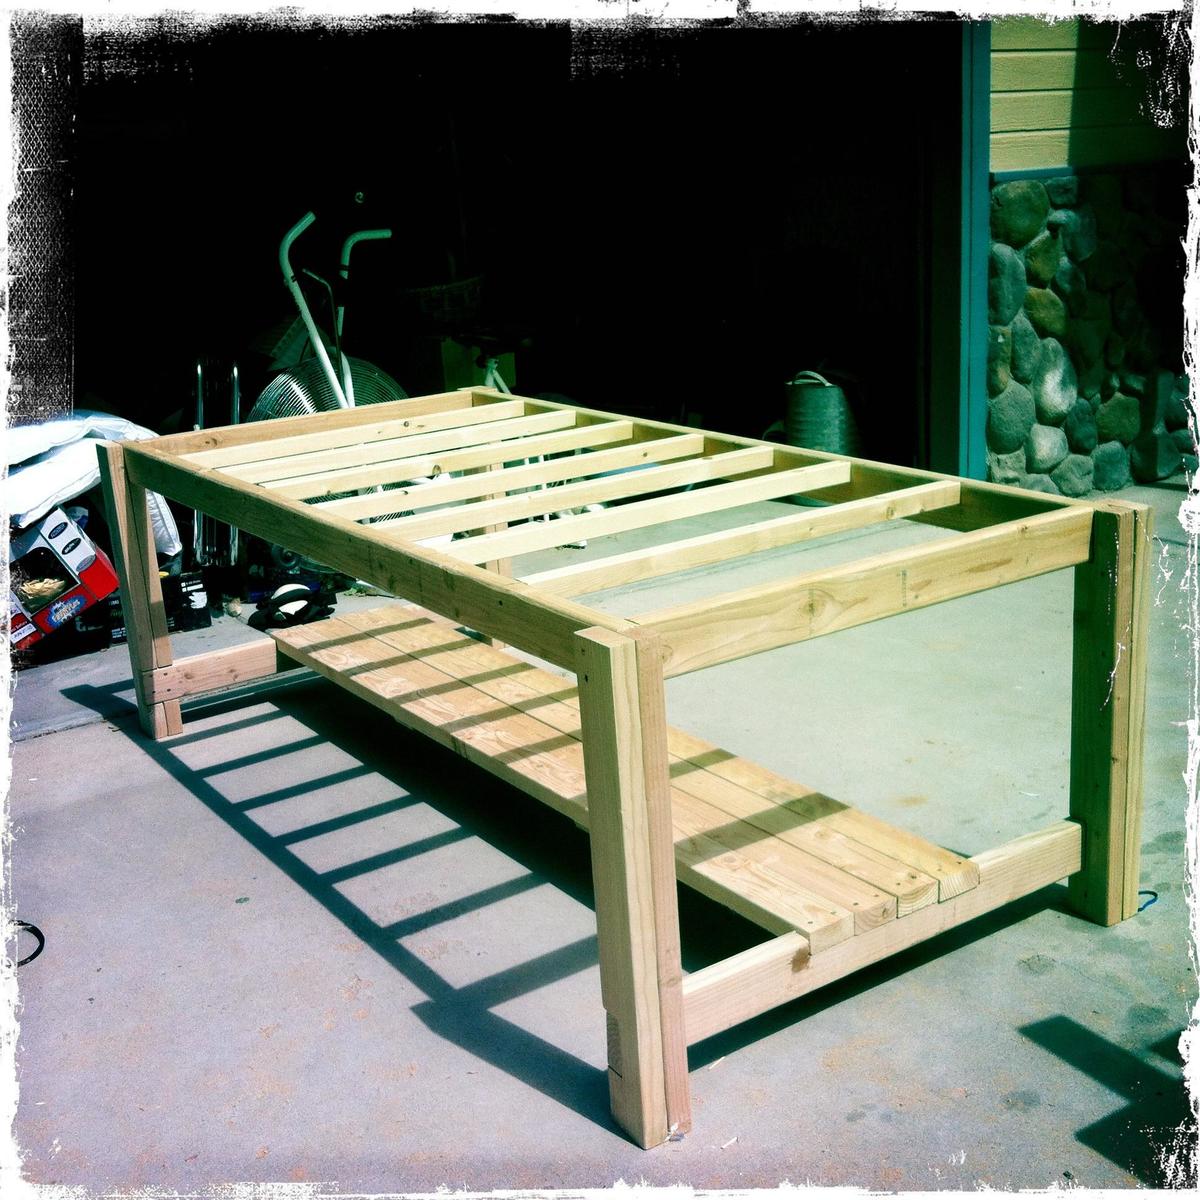
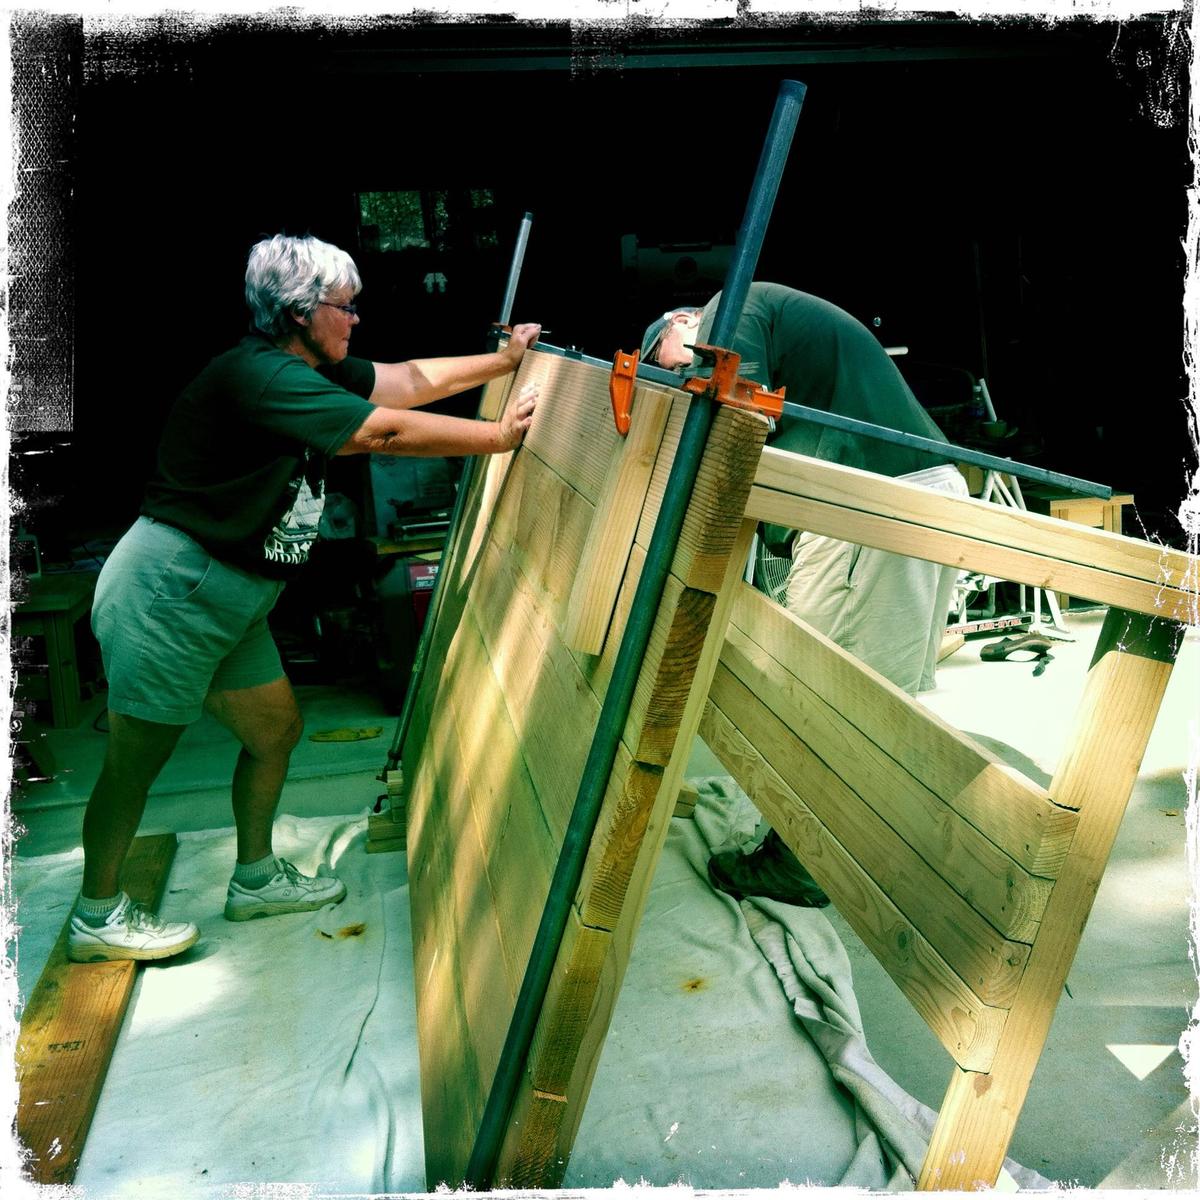
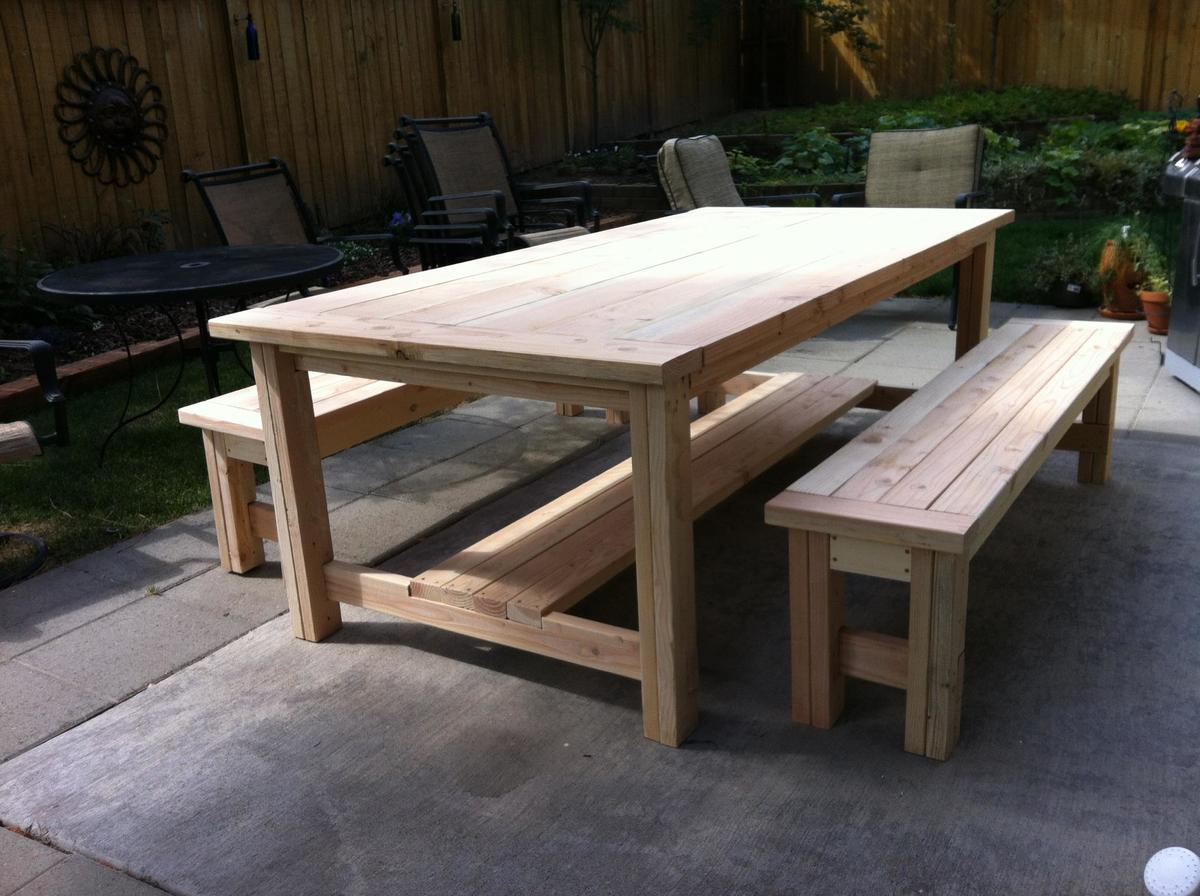
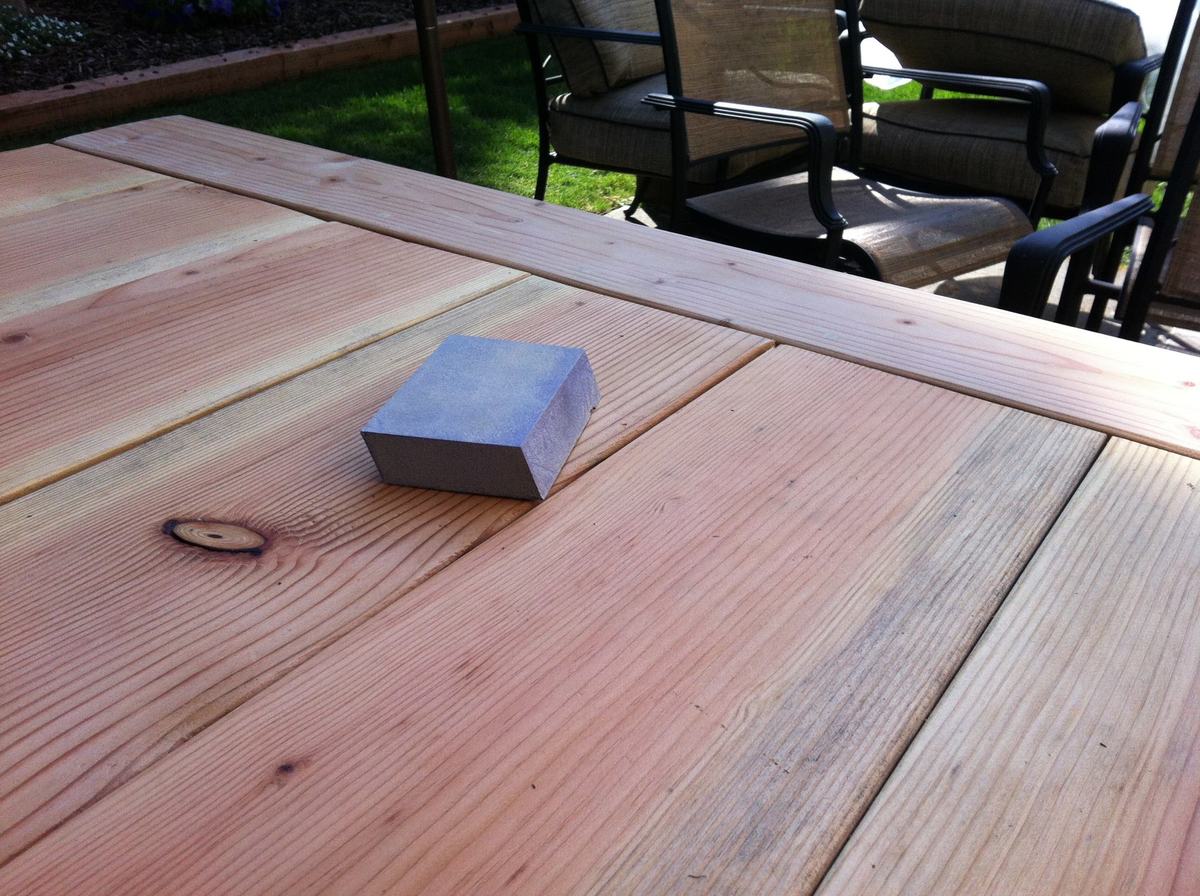
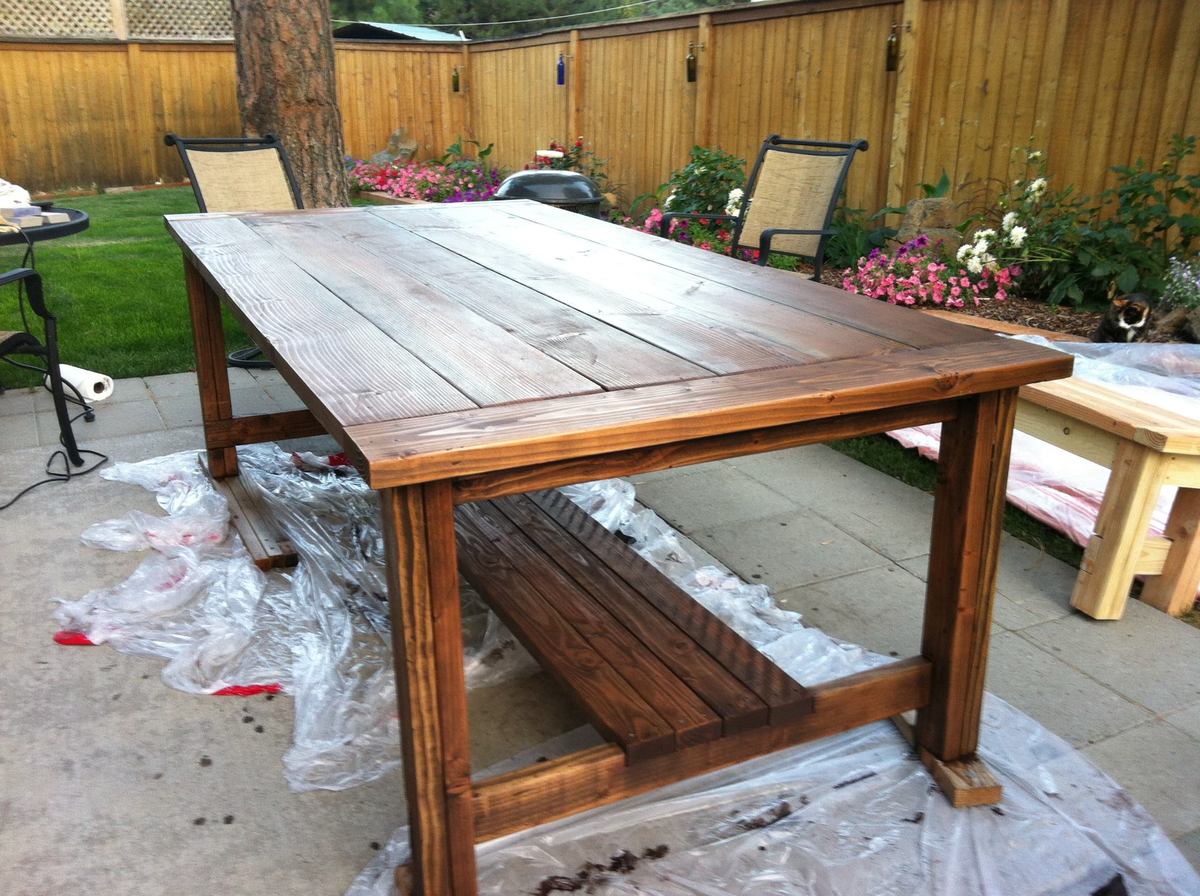
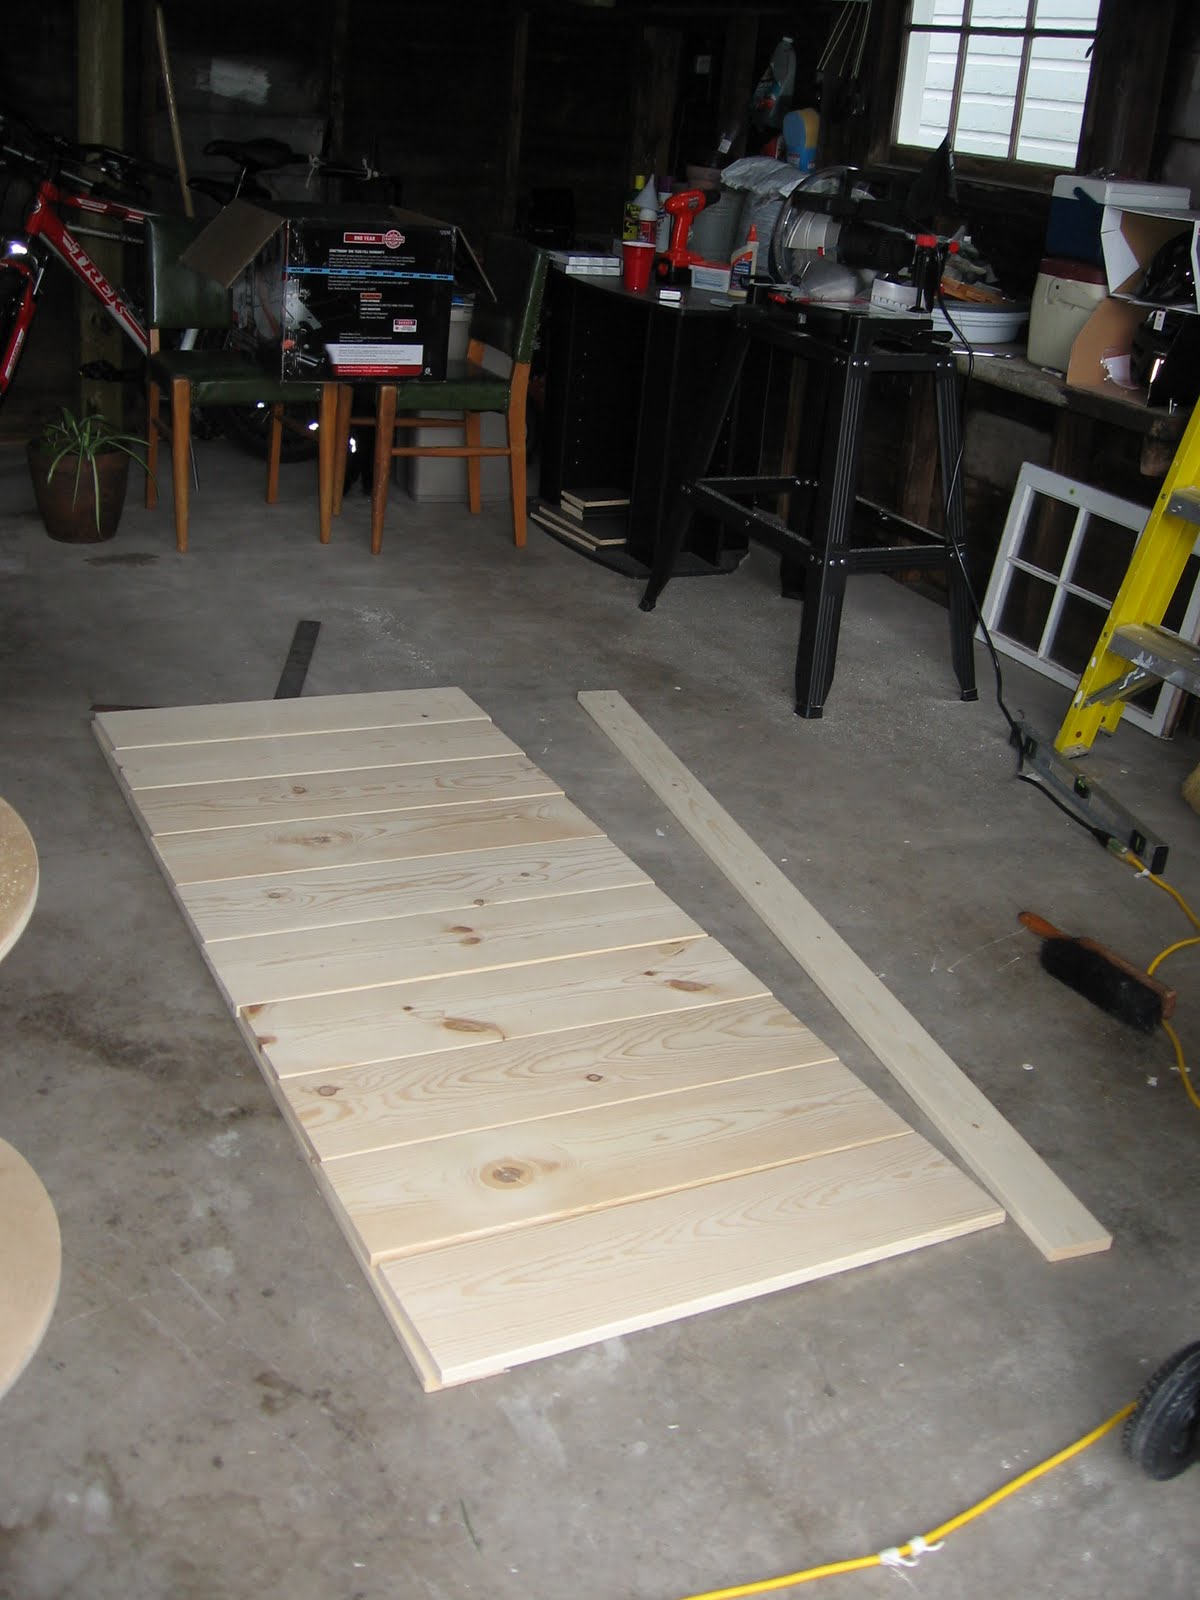
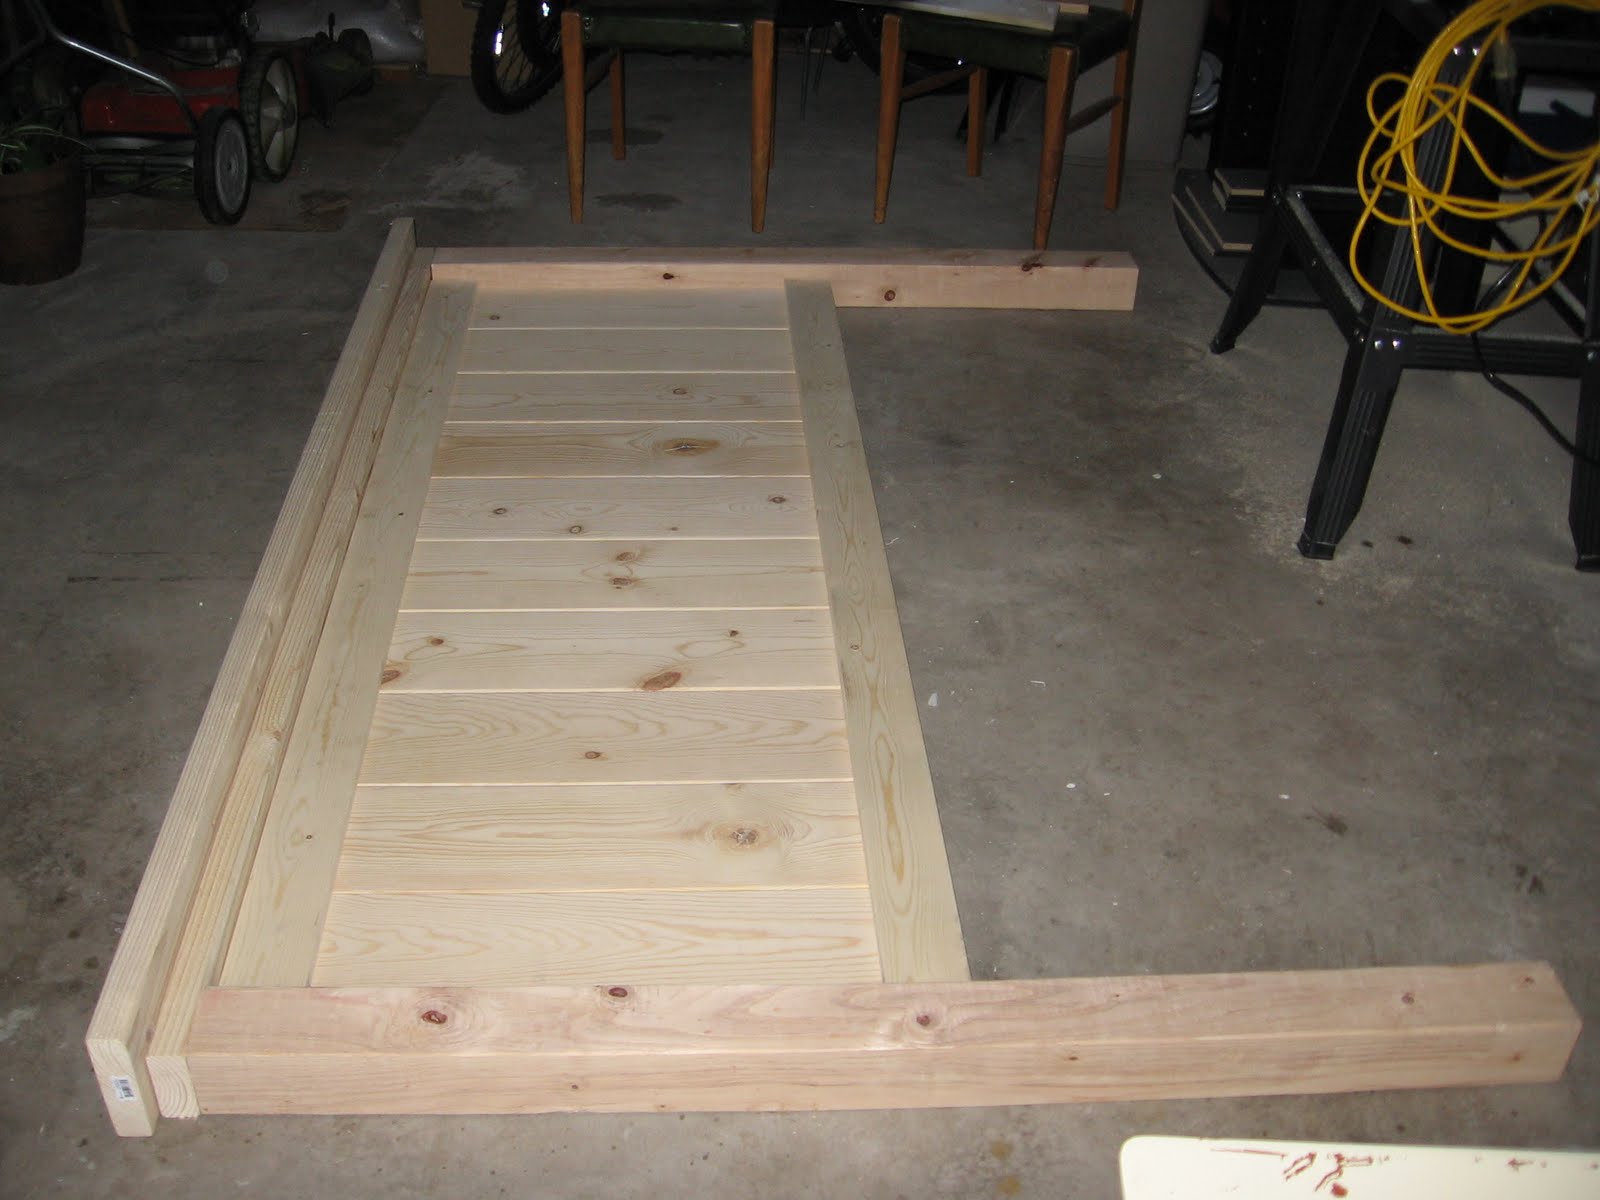
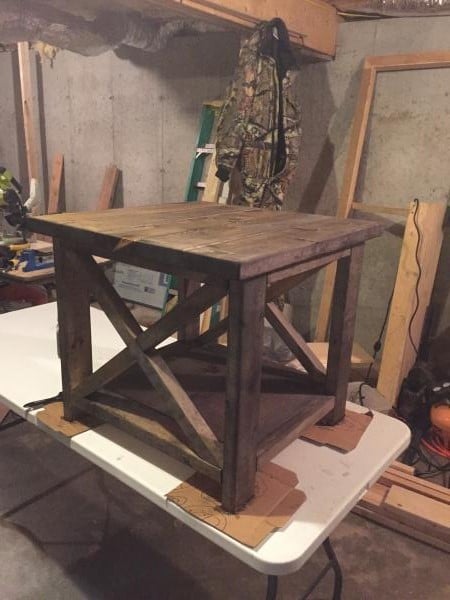
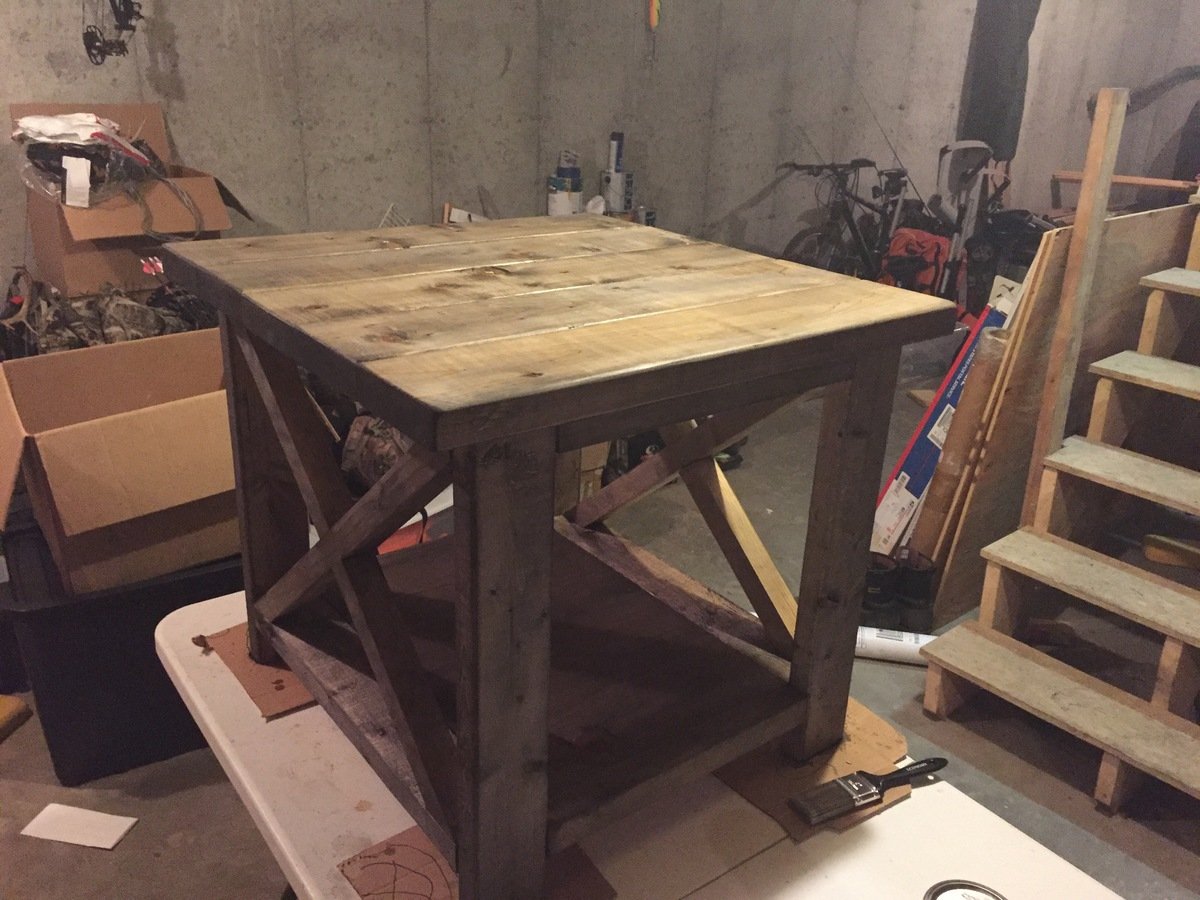
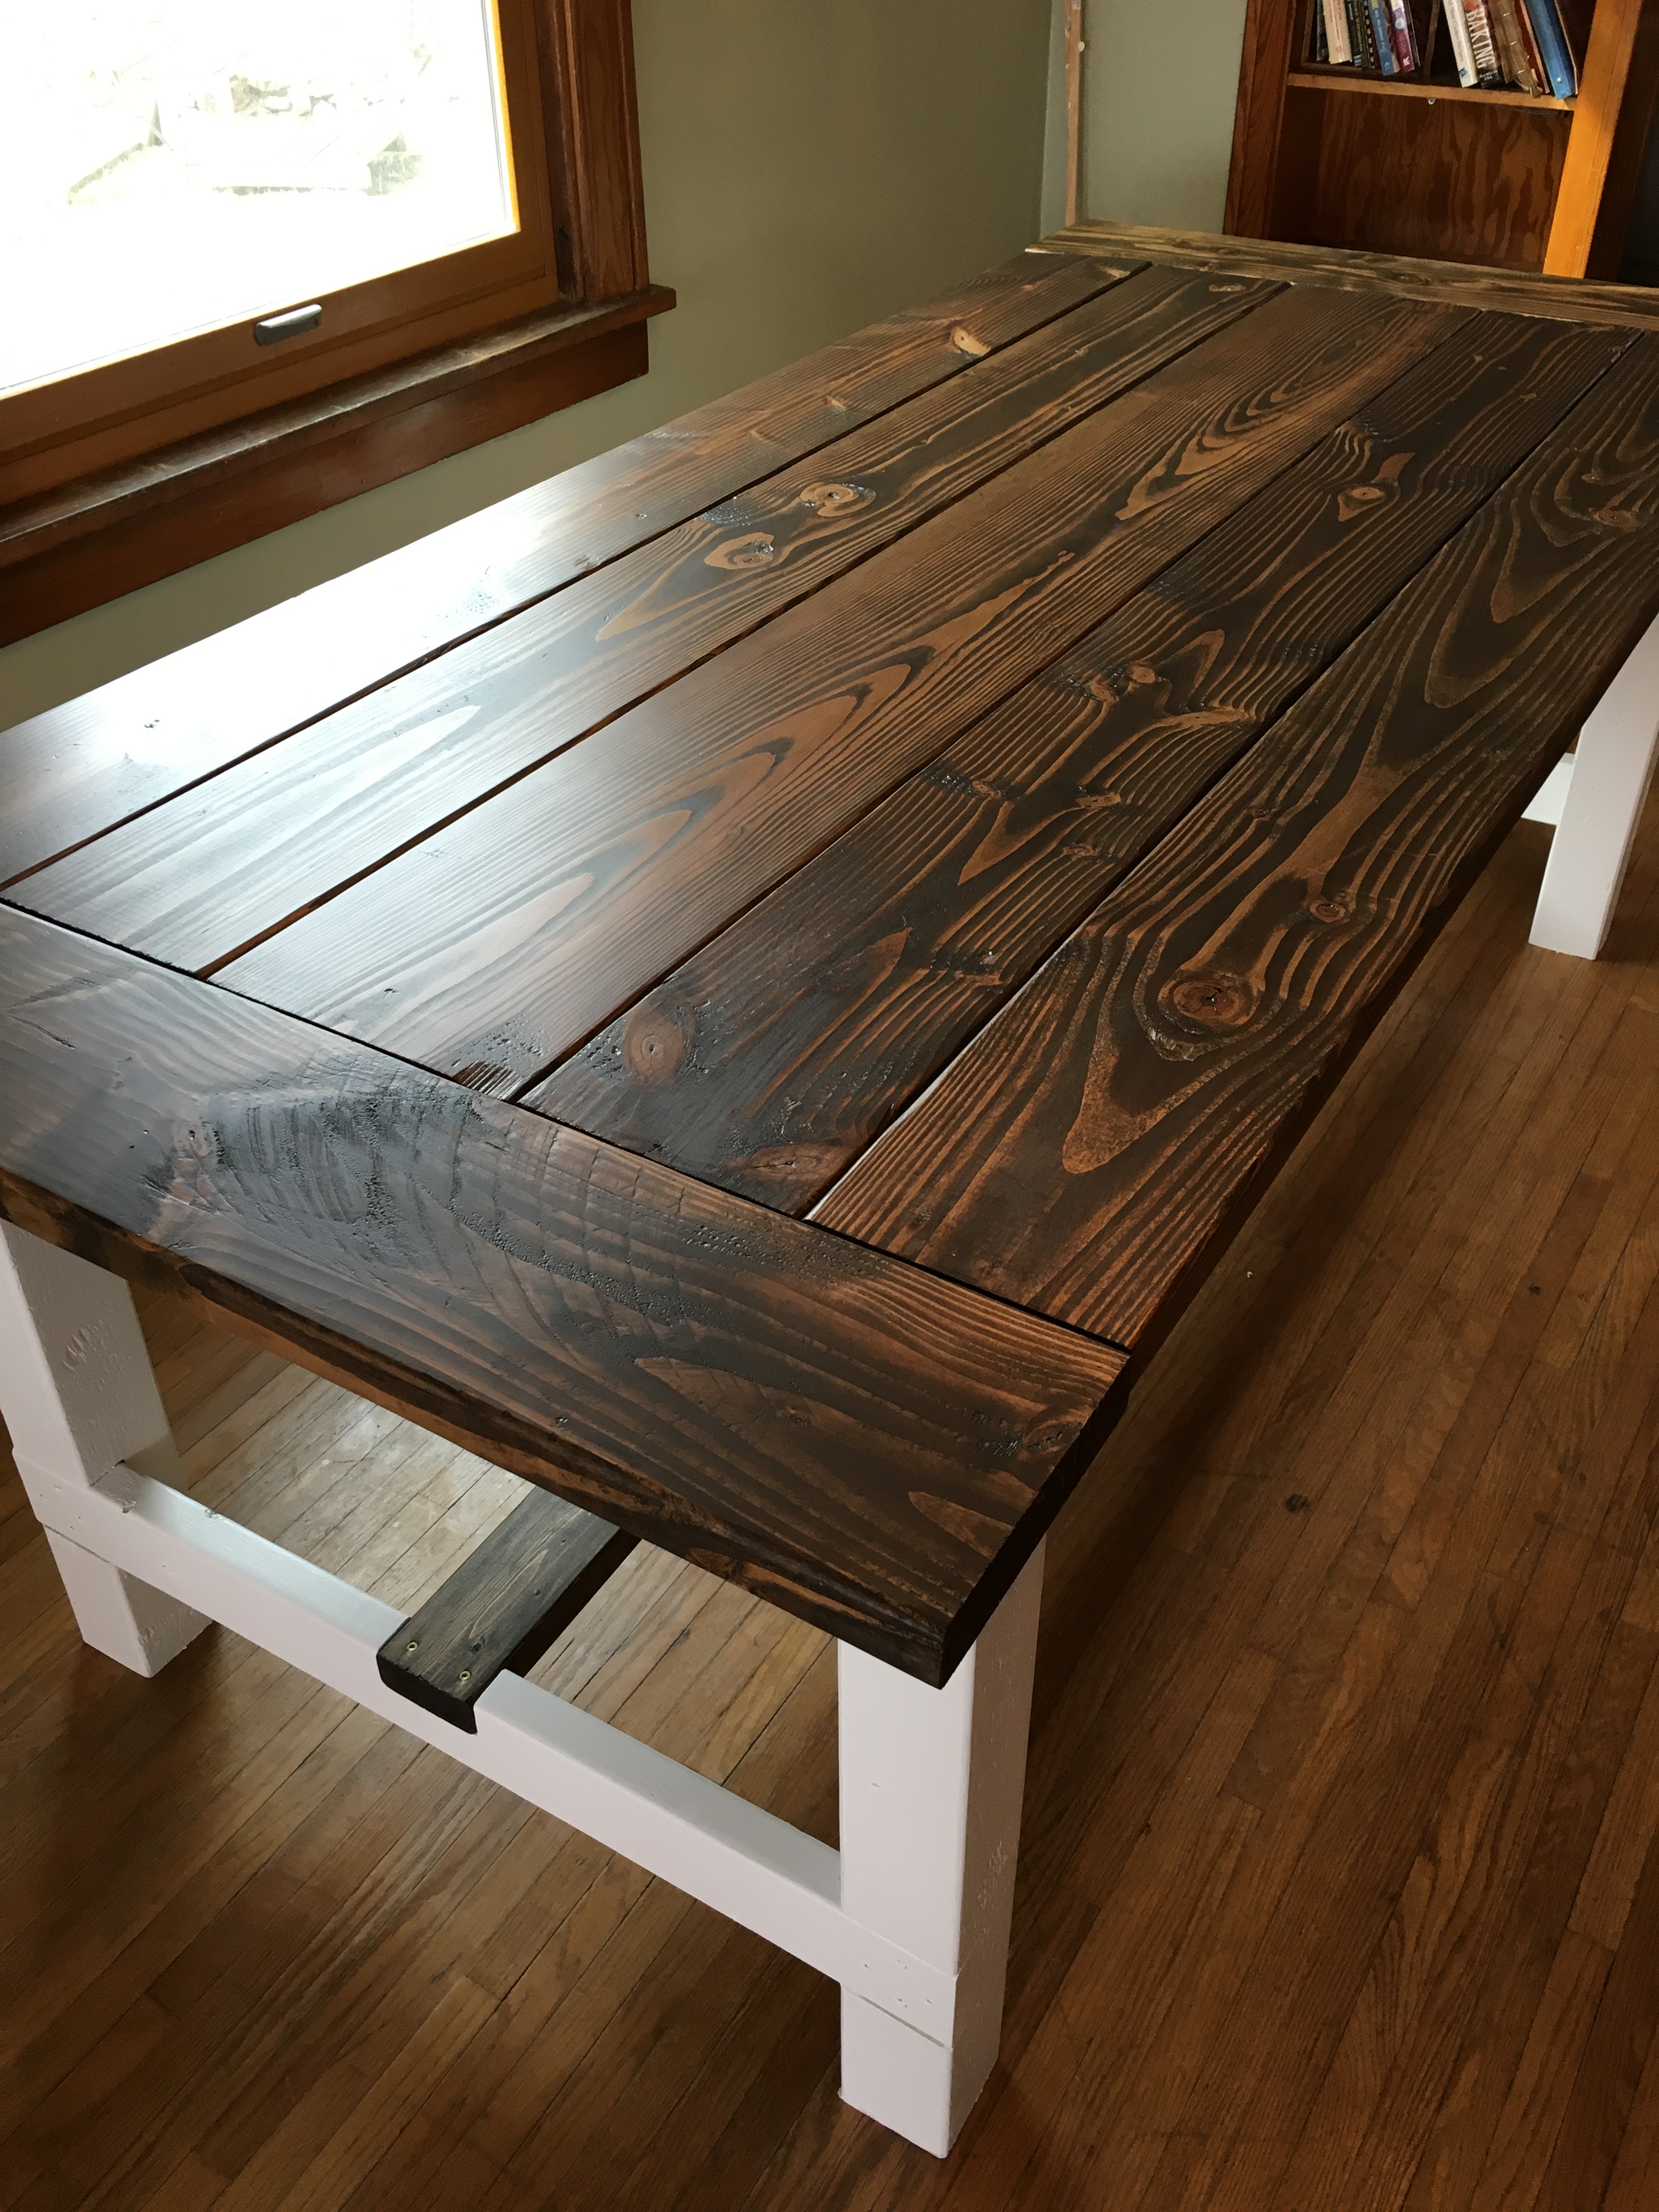
A couple of things to note, I purchased new fir wood as it was the most cost effective and frankly the least problematic in regards to finding the straightest boards. I did vary the design in that I added the shelf under the table for both storage as well as a footrest for diners. The design I ended up with was a little more complicated and I tried sanding as much of the boards from the beginning as possible in order to try and cut down on the amount of time spent on my knees later. Yeah, that was a nice thought.
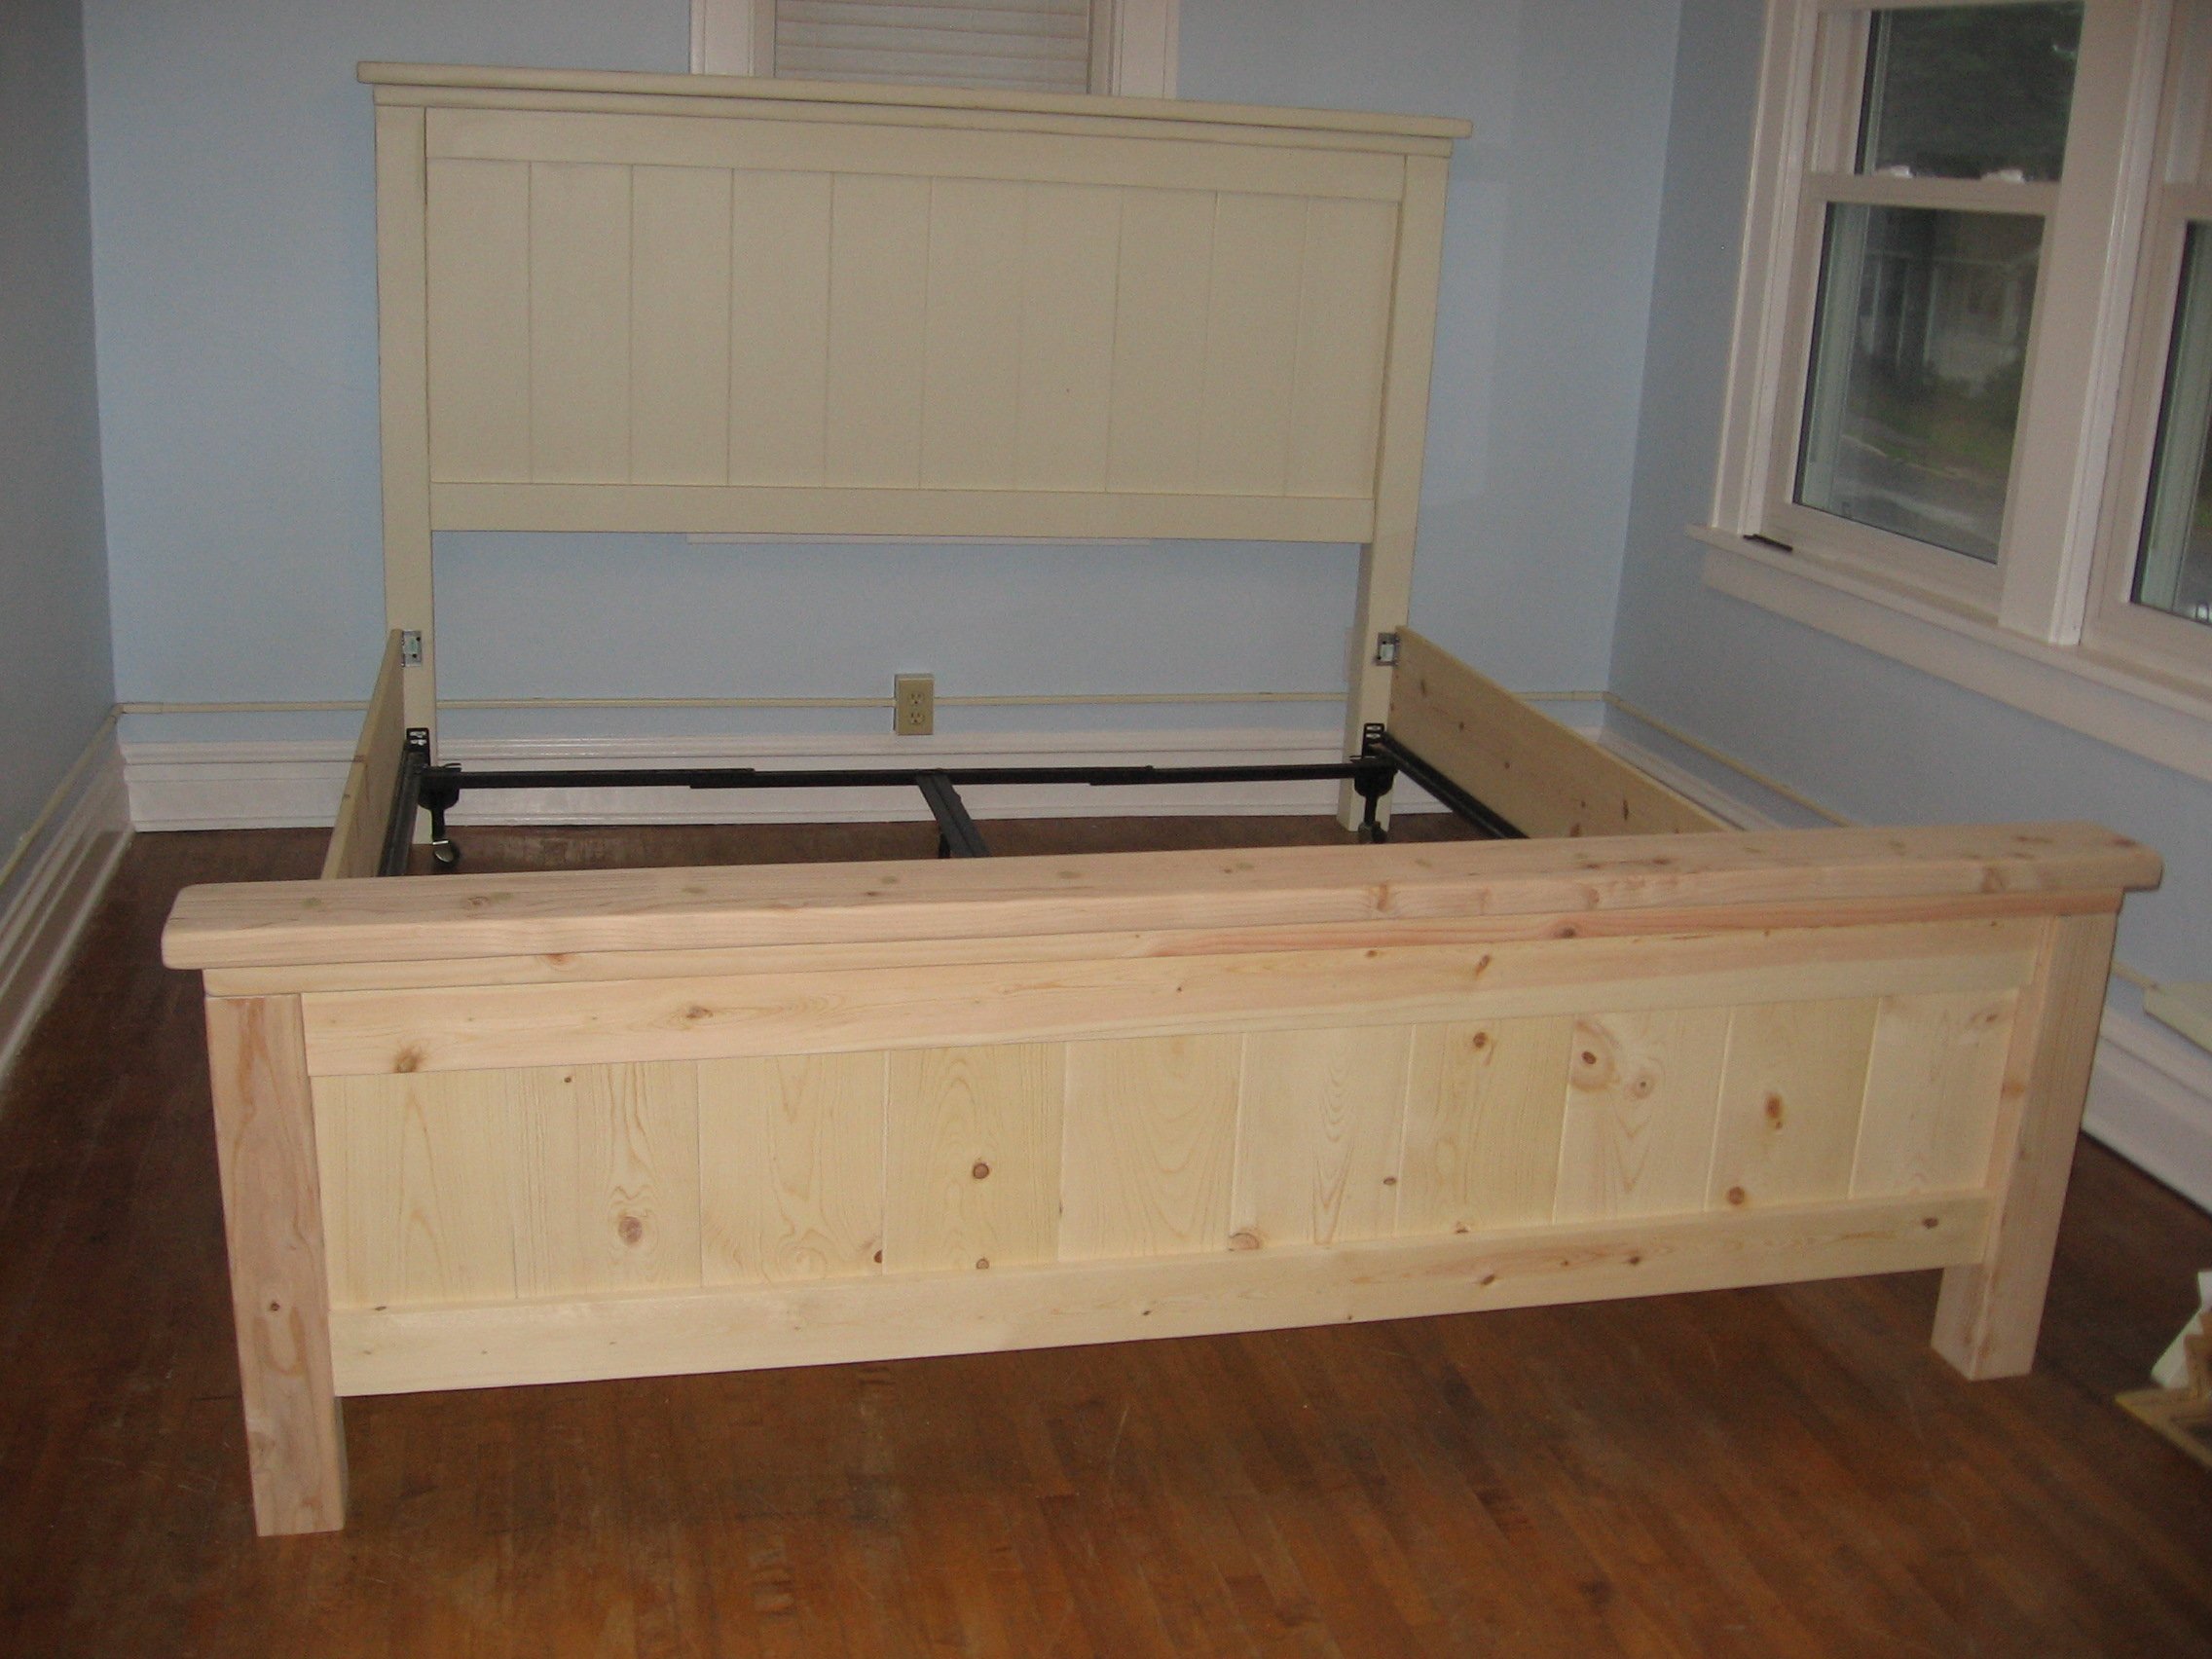
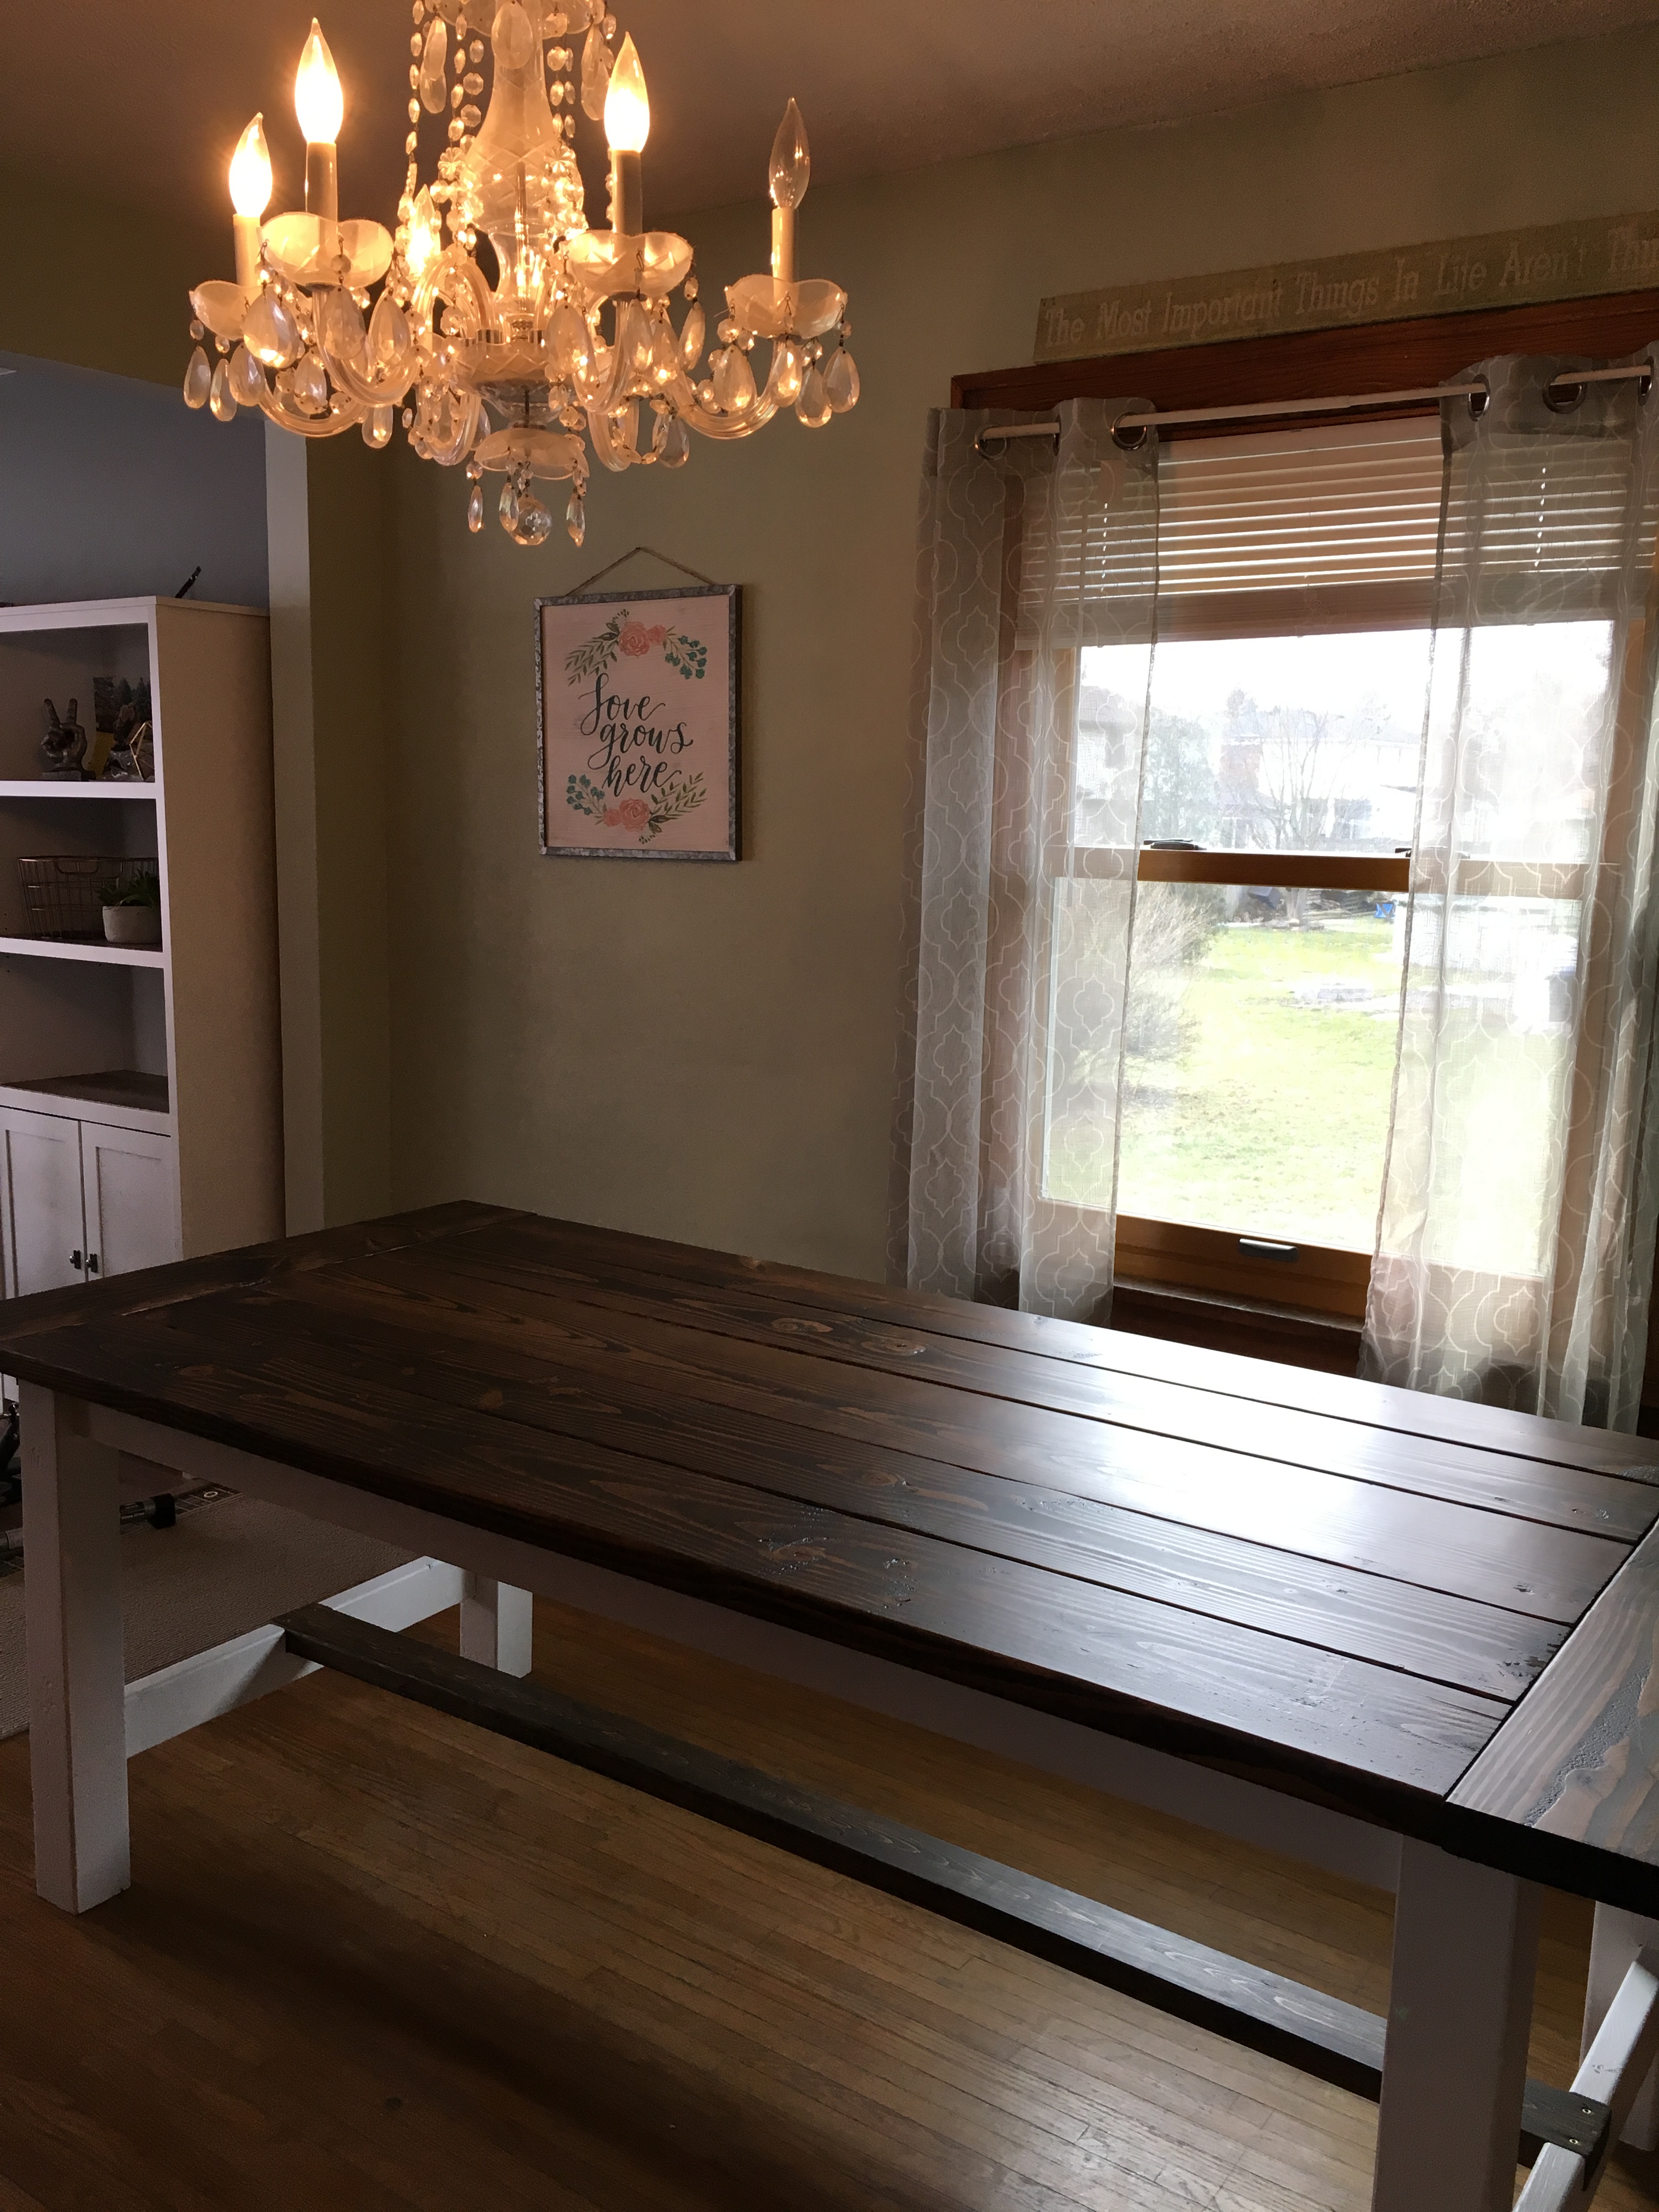
Dad and I followed the plan provided, allowing my modifications for the footrest/shelf and I also made my top 45" wide. (I have another dining table that I had hopes of butting them together for large dinner parties if needed and wanted them relatively the same size). I will say that what I ended up with was an extremely heavy table which I transported home to stain and varathane on my own.
A couple of weeks later, well, the project took more than 2-3 hours (heh) but I am really happy with the results. If I were to do it again, I would probably have stained it a tad darker as this was my first staining/sanding/varathaning project and I took a little too much of the stain off sanding. It's okay, maybe someday I will strip off the varathane and restain it. Then again, it took so much time to do the first time maybe I won't!
A couple questions:
I would like to keep my table outdoors, but would like to add low profile metal feet to protect the wood. Does anyone have a suggestion where to look for heavy duty feet?
Second, any suggestions on how to get the spar varathane off my concrete patio? Yikes!
Thank you Ana for the wonderful plans!


Comments
mybartmart
Fri, 09/27/2013 - 21:17
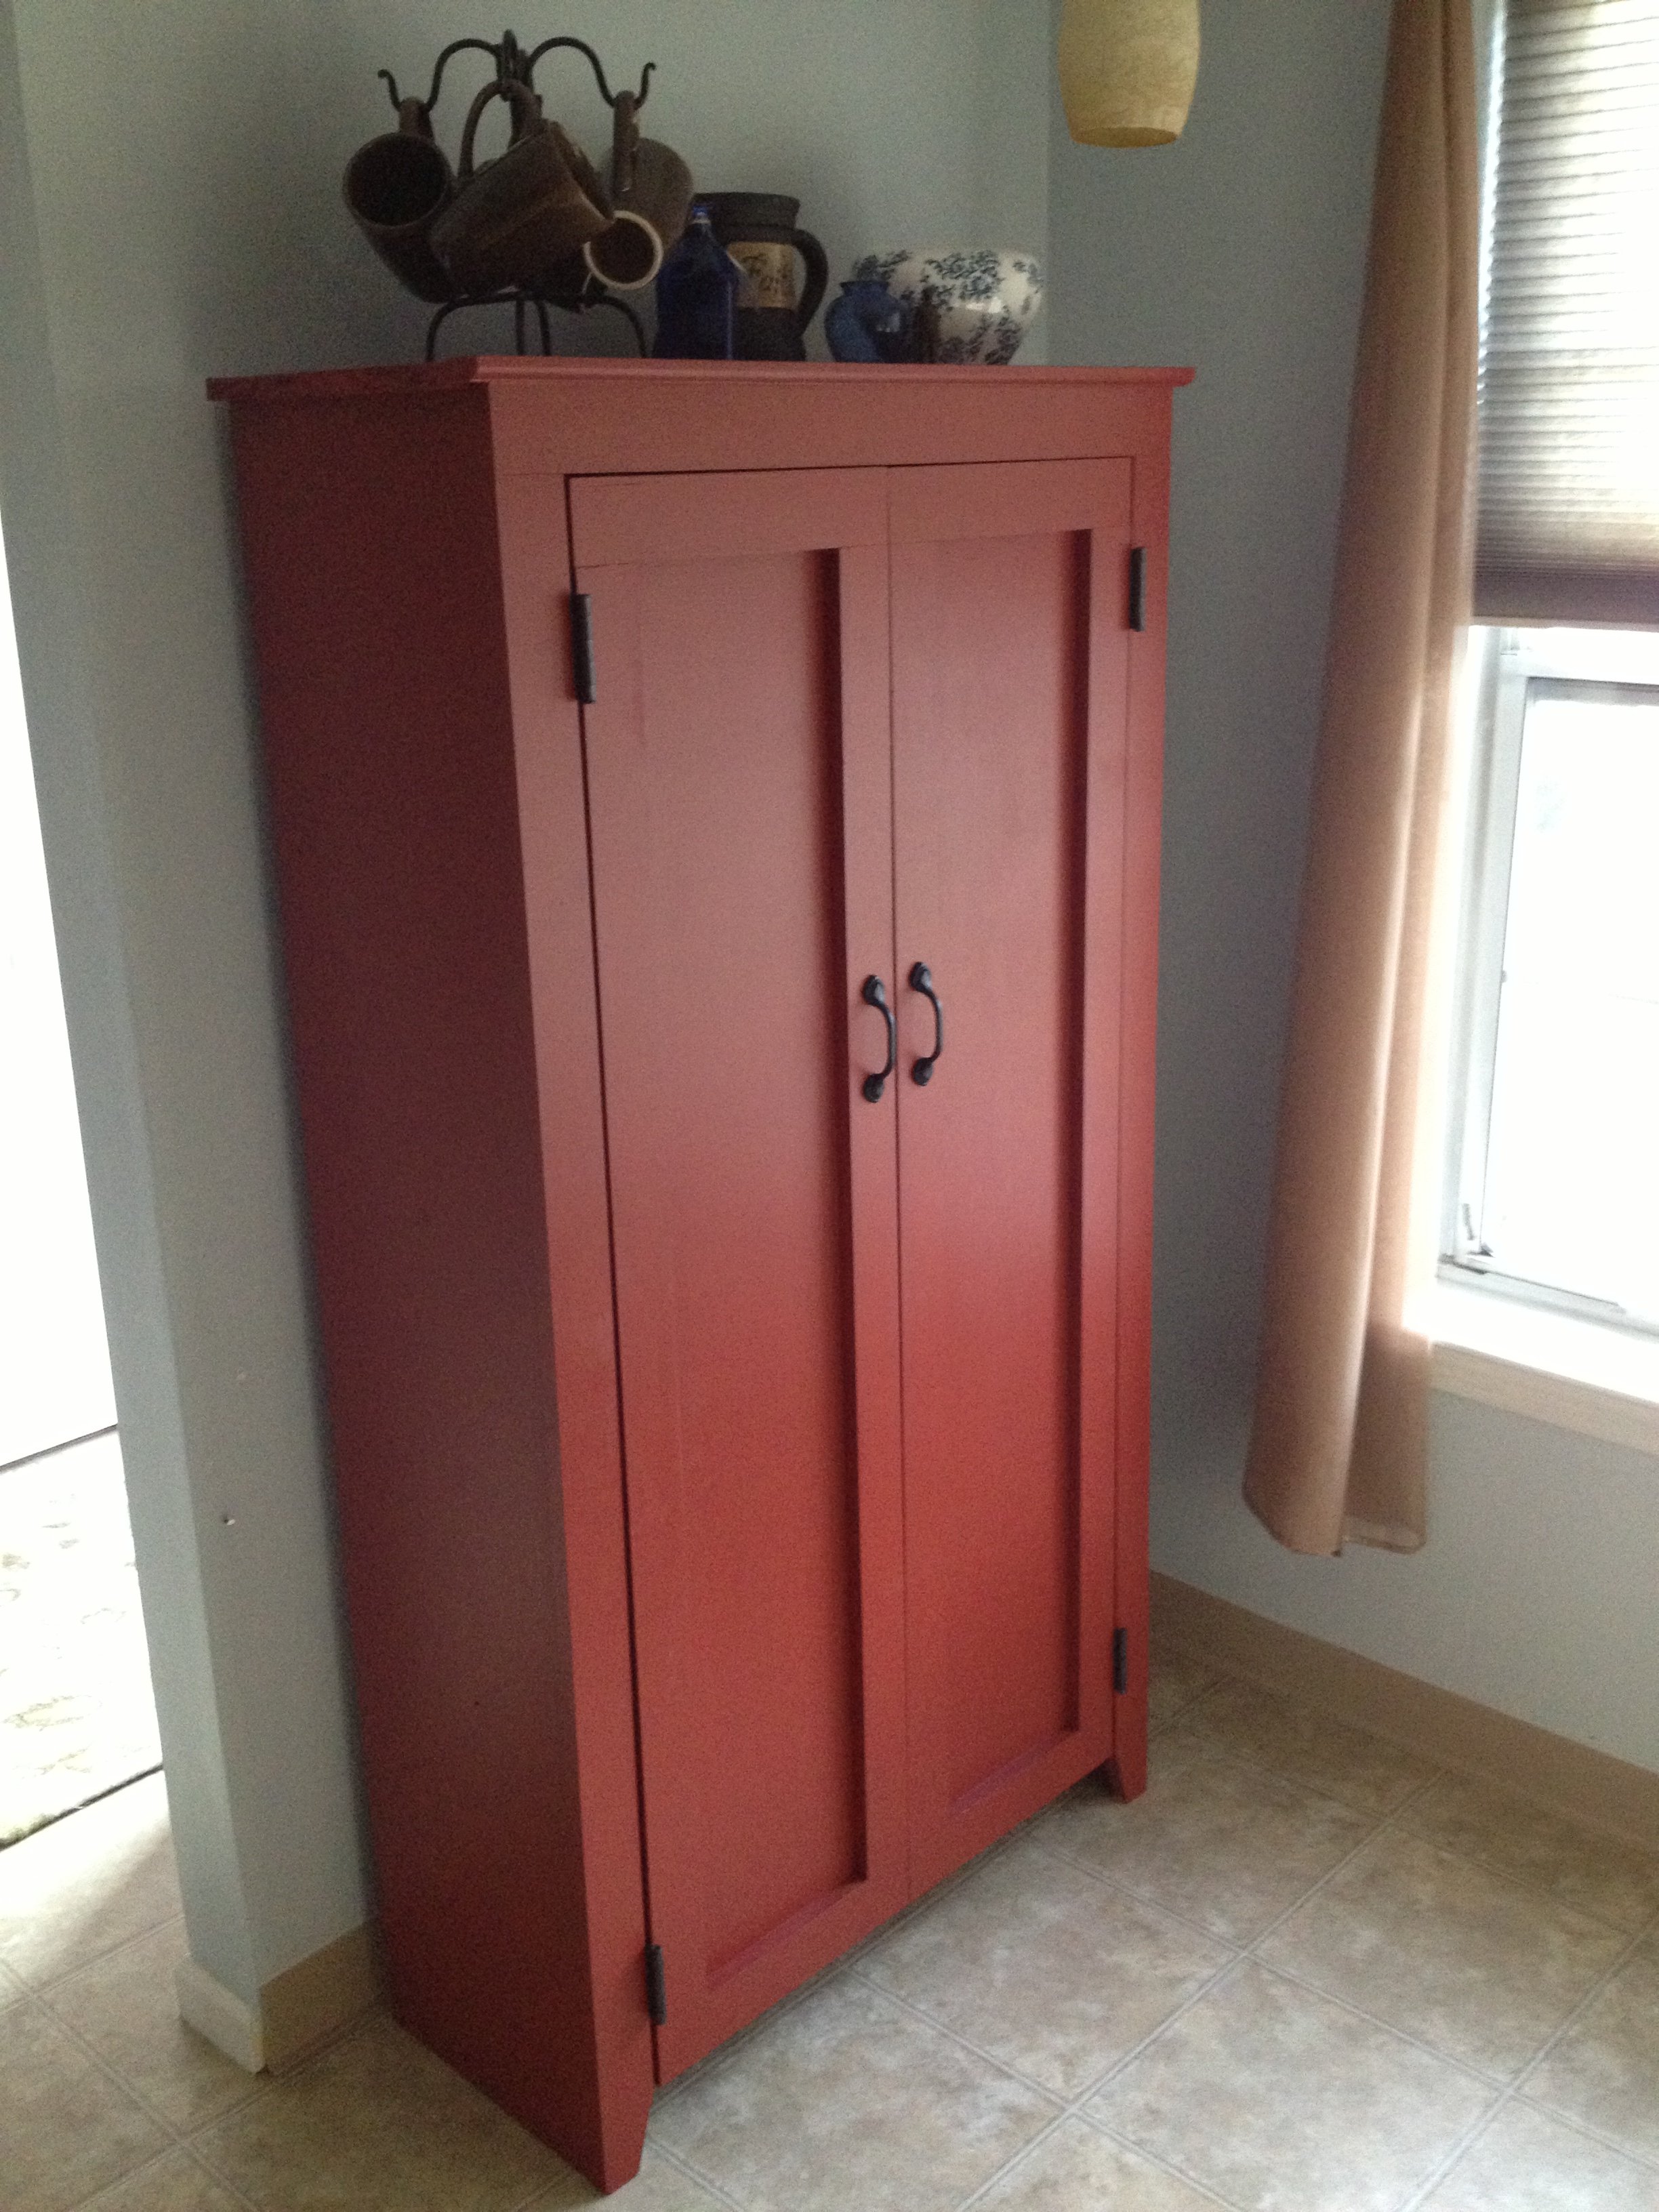
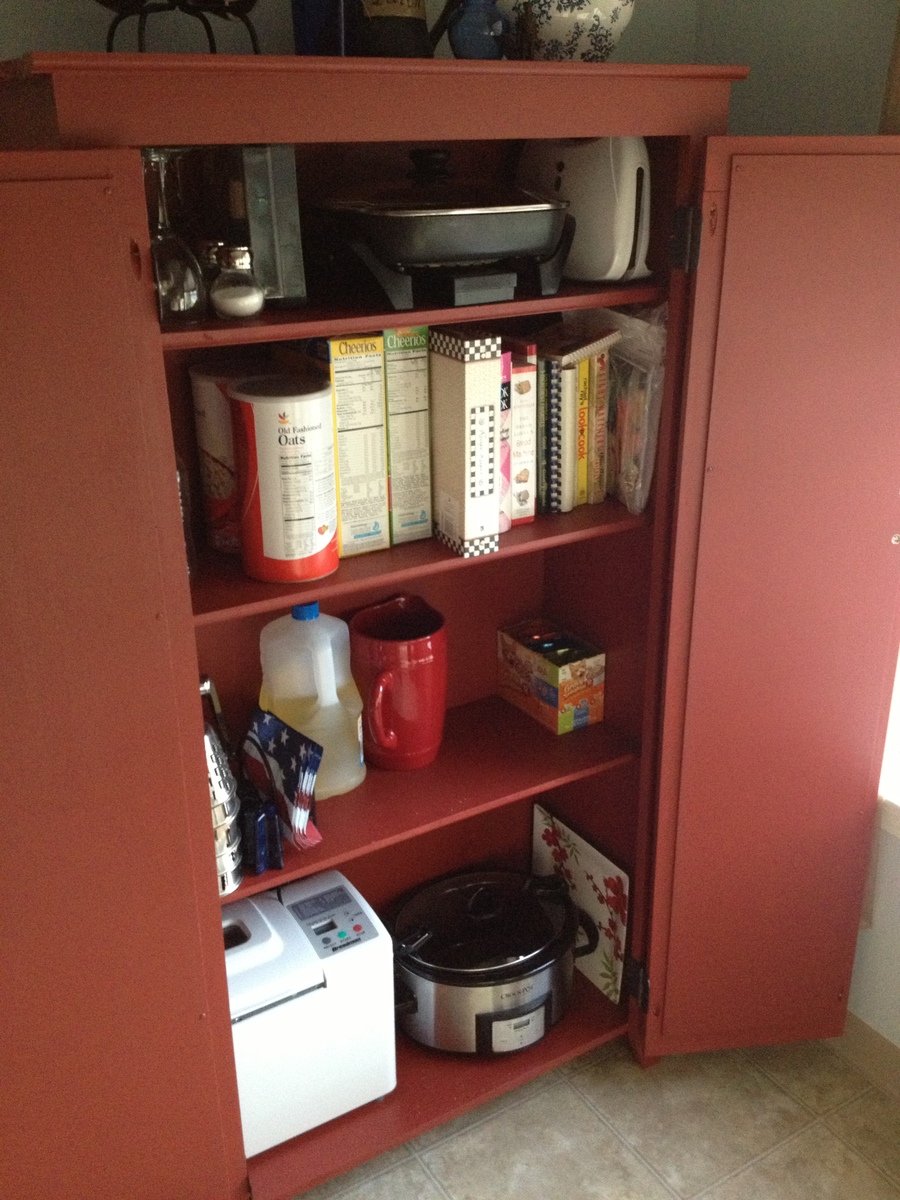
paint colour
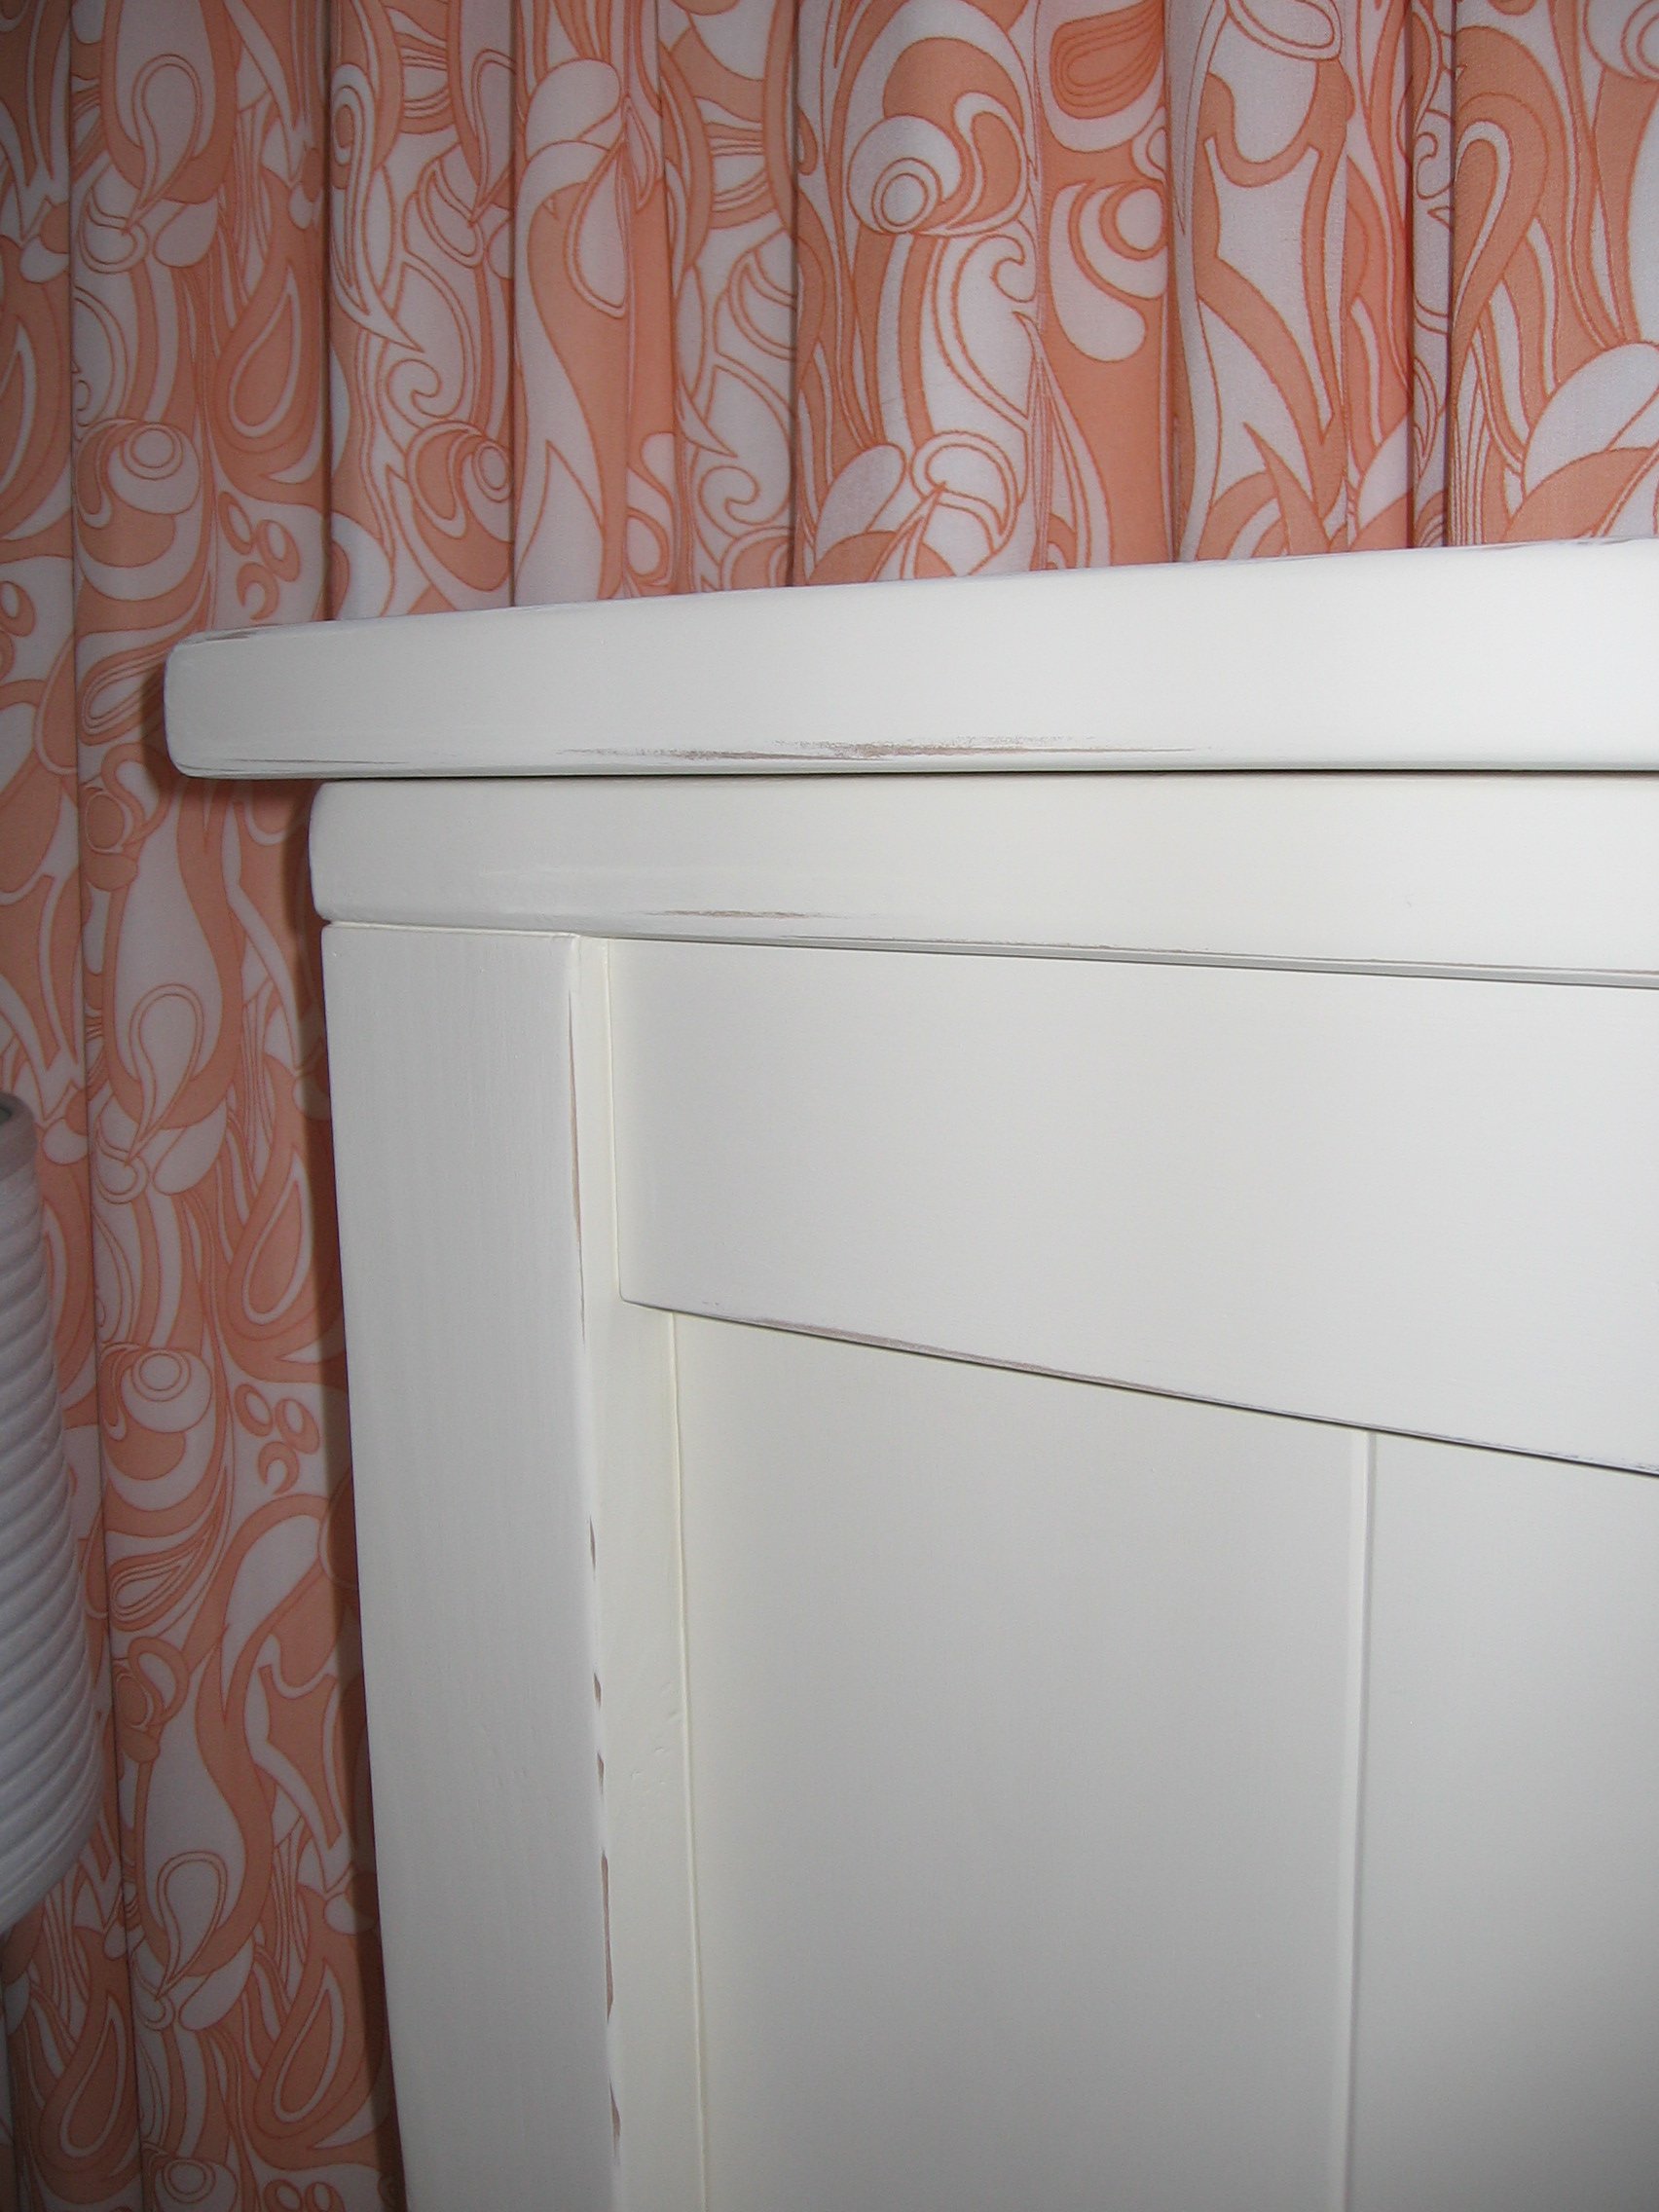
That paint colour is beautiful. As is the pantry, very well done. I wish you could find out the name and brand of the colour. It is stunning.
mybartmart
Fri, 09/27/2013 - 21:17
paint colour
That paint colour is beautiful. As is the pantry, very well done. I wish you could find out the name and brand of the colour. It is stunning.
rjustice21
Mon, 09/30/2013 - 05:30
I believe this was the color.
I believe this was the color. Red Brick S-H-170 by Behr. Hope that helps.