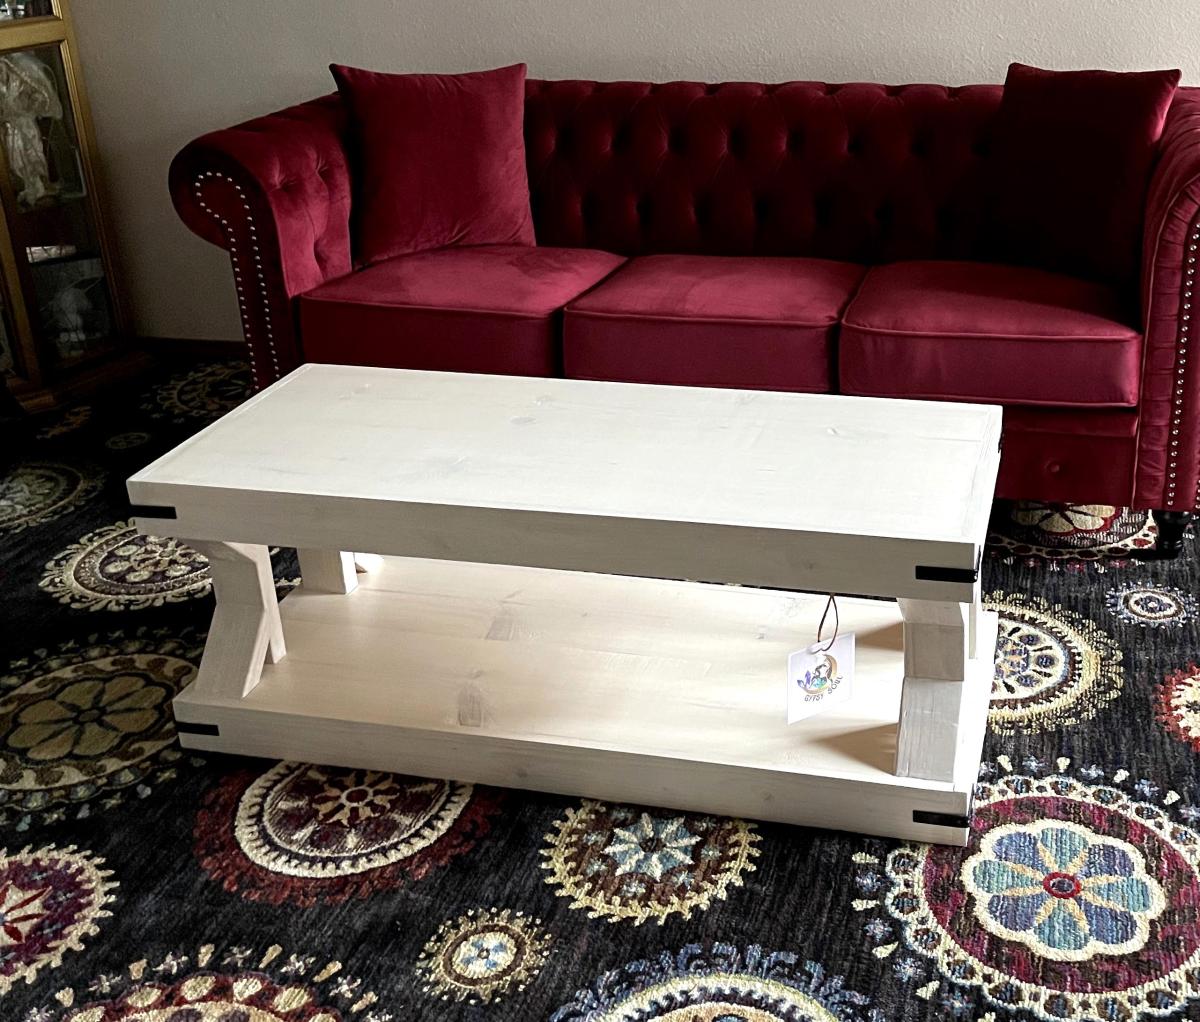
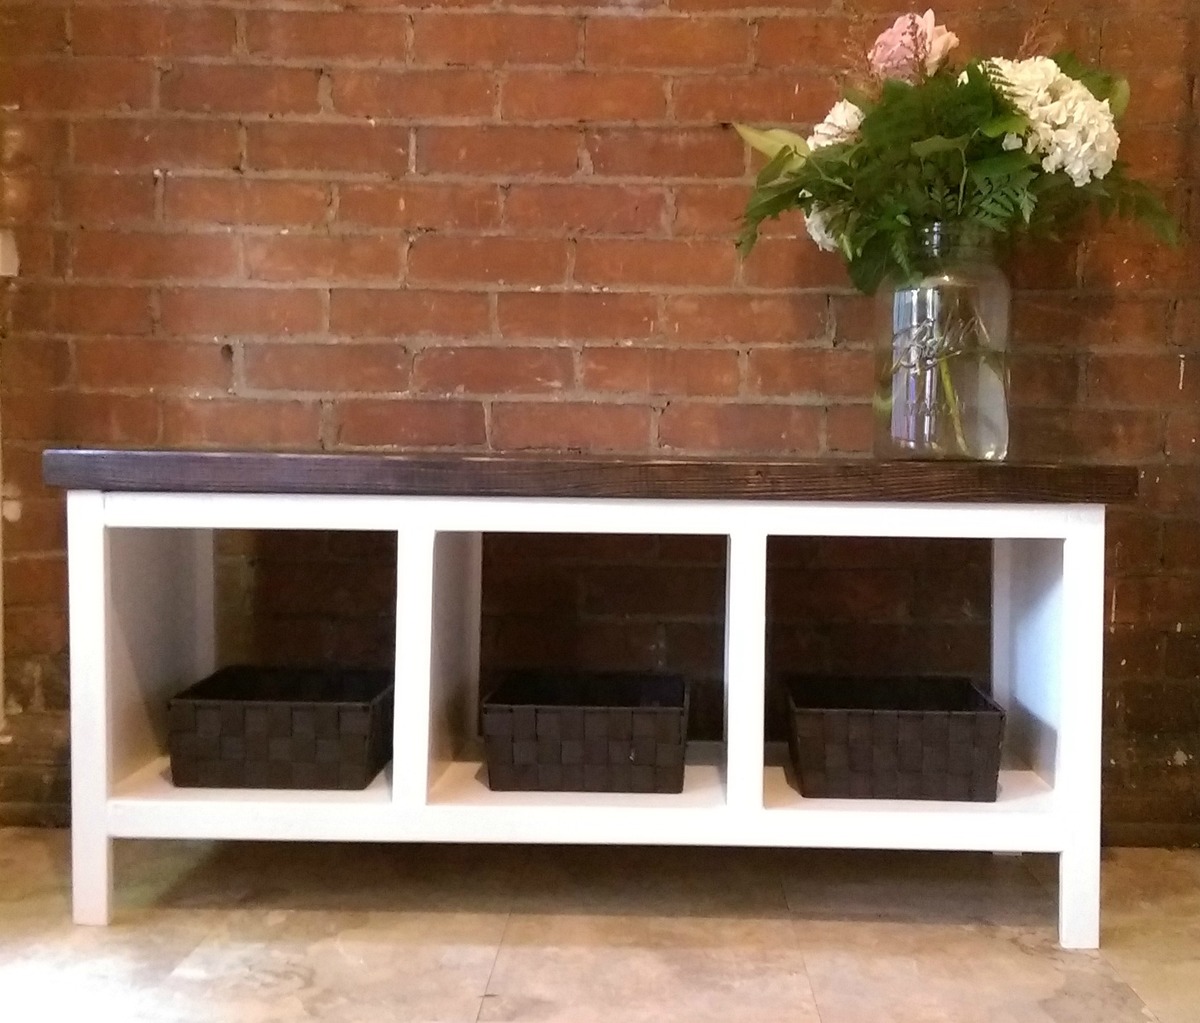
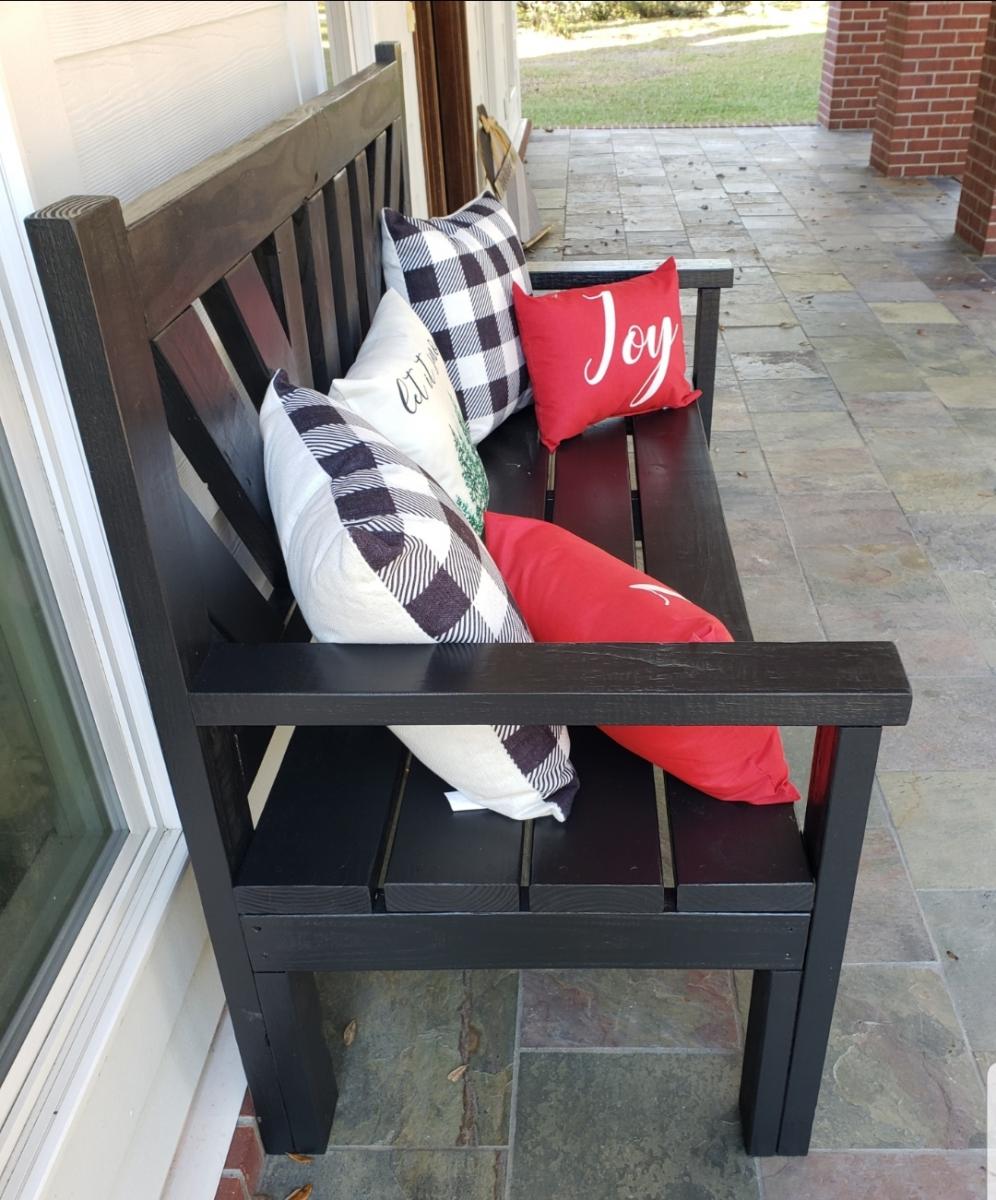
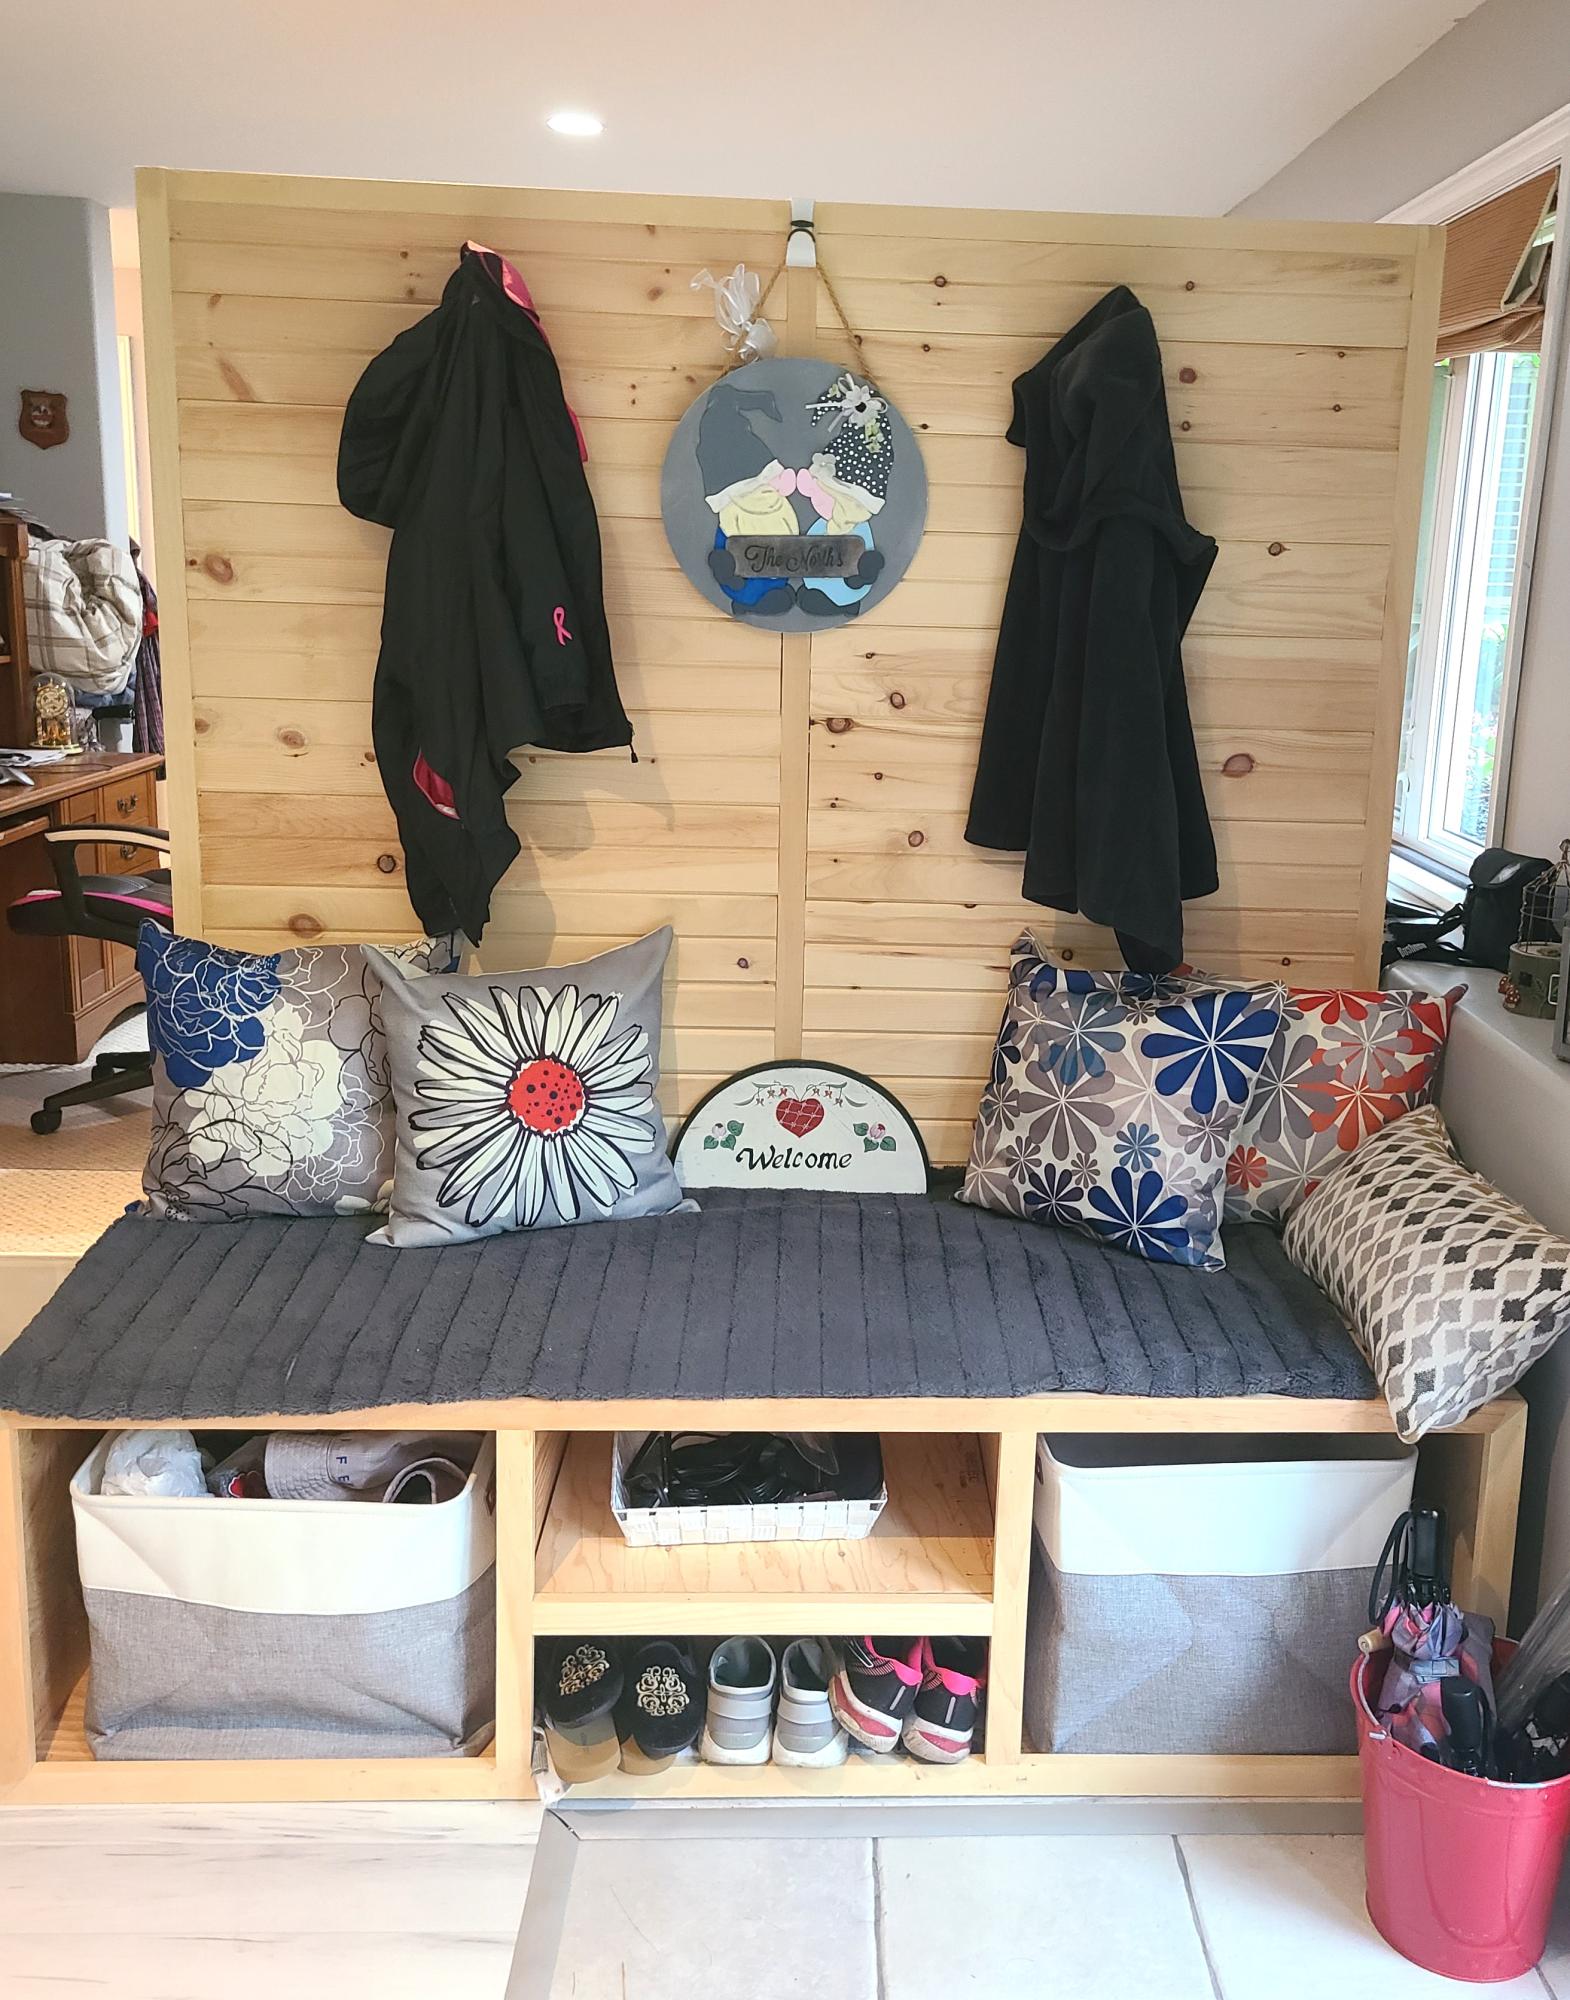
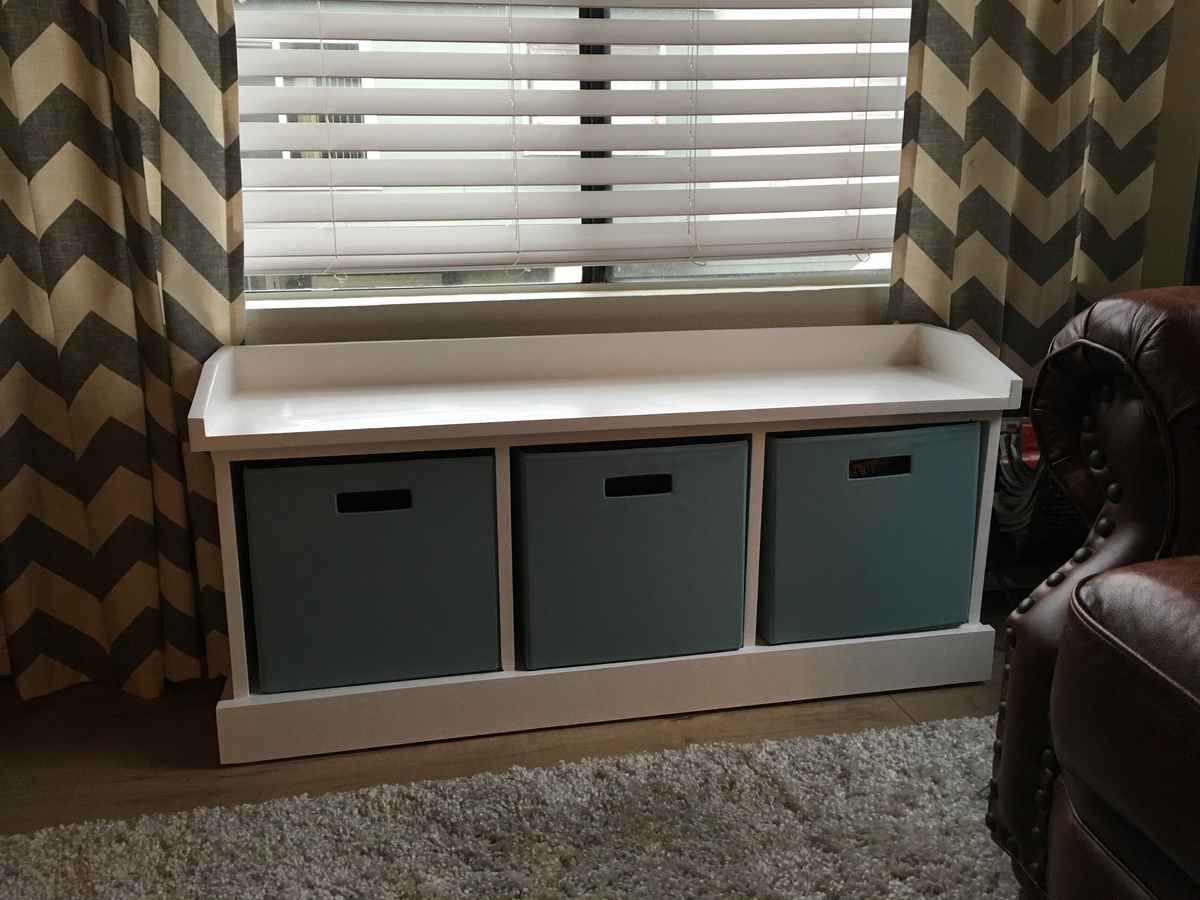
Entryway Bench
I just completed my first project and while it's not perfect, I learned a lot and am pleased with the results!
I built this Lego table for my son’s fifth birthday. I added some dividers in the trays for organization, Brickyard plates for the table top and road tape around the edges.
Ana White's plans are super easy and fun to do! I made these for my mom and I really enjoyed doing it. It’s an antique white water base stain.
David Marks
Followed the plans but used hardwood for the edging instead of a veneer.
On the desk version I found that screws are needed from the inside of the desk sides to the frame to strengthen the joint. I also added a cross brace to support the desktop, the brace also conceals the power strip and laptop cables.
The desk version also needs to be secured to the wall with more than the picture hanging kit. I used a painted screw and fender washer on the middle shelf. With that attachment the desk is solid as a rock.
Sun, 03/18/2012 - 23:20
Absolutely love the desk mod! The full shelf is amazing too!
Mon, 03/19/2012 - 18:00
My wife turned me on to your site. We like your style.
I'll be building a modified (larger) version of your cubby bench. The goal is "false drawer front doors" that hide shoe cubbies.
I'll be sure to post the work.
http://ana-white.com/2011/01/perfect-cubby-bench-plans-want-it.html
Tue, 06/10/2014 - 12:43
I would love an additional picture of the desk bracing. Also, I'm curious how deep you made the desk. Great mod! Hope ift has held up well.
These bunk beds are a big hit for daughters, nieces, granddaughters, and even full grown kids. After making a few as gifts, I decided to make three at once and cover several birthday parties at once.
The plans were very well done and I just followed along. Worked great!
Thanks for the plans!
Peter
p.s. I put that these take more than 20 hrs, because there's a lot of gluing and waiting time while doing the guard rails.
p.s.s. An old pillowcase is the perfect size for material for the mattresses.
This bench was really simple to make. I built it over the course of three days - I needed the first night for the wood glue to set, and then the second night for the paint to dry. I added two 2x8 boards on top, stained a dark walnut, for a more finished look. I'm so proud of how this turned out - it's my first wood working project of any sort since my grade 8 shop class! Next up: the Bigger Kid Picnic Table. :)
This very large porch bench is made of regular pine since it is under a covered porch. I did modify the back and change from the x design to this diagonal. I like it! The plan was easy to follow and I will be making another one for the other side of the porch! I used exterior black paint.
Thu, 04/16/2020 - 11:27
Would you mind sharing the cut list/wood needed for the modified back! I like it even better than the original!
Tue, 04/21/2020 - 02:33
Hi! Sorry I just saw your comment. I just measured and cut to fit after I got the back together. I just placed the boards how I wanted them and marked the angles and cut them. The center is just straight boards cut to fit. I used 2x4 scrap pieces that I had left over.
New bed for my boy. Great plan and not expensive.
Sean Hight on Facebook
This is a mini version of the Laundry Basket Dresser that fits 2 baskets instead of 3. VERY easy to do!
Thanks Ana White for creating such great plans! This was my first furniture build and I must say I am so happy I did it! Our living and kitchen area are now complete (finished mine just in time for Christmas) which was a life saver! This table can hold a lot of decor and cookies!!
Have yet to get the hardware spray painted and attached - but even with out it looks amazing (already have been asked by 4 friends when I can build them one). We decided to go with Grey Stain and a satin poly.
We've just moved and closet space is very limited to just clothes for my two girls. I have been wanting to get them a toy box but wanted something that I could say that I had made for them. The original plan was ok but these kids have a lot of toys. Most of the time I'll build the full project and then disassemble to ensure that everything lines up properly, that's when I decided that the depth wasn't going to be enough for these young hoarders. Before final prep I added an extra 1x4 to the front and back of the side panels. Overall I'm very happy with the way it came out.
Every year I ask my dad to help me build something and here is our project for the year. I absolutely LOVE this bed!
Samantha
We made this in king size, and used a 2x4 instead of a 2x6 for the center so the mattress would sit a little lower. We also built the legs around 2 1x6 blocks each instead of one.
Toy box plan from sunset magazine and letters from elentology.com for name letters. I traced the letters from printer paper onto the back rest using a pen, painted the letters and traced with a black painter pen.
Love my flag table
Square Outdoor Table
Kitchen Island built from ana white's plans. I attached a wine rack to the underside and changed the design of the shelves to support more weight.
Wed, 01/15/2014 - 09:34
Really like the contrast between the stain and the paint. Great job on your new kitchen island.
Tue, 09/02/2014 - 12:19
Did you use pocket screws for the shelf supports? Also, what were your dimensions for the shelf supports and shelf tops? They look like about 2 1/2" wide for the tops and 3" for the supports. Thanks in advance.
Great plans! Great table! Thanks!
My first attempt at any furniture. My mother has been asking for one of these for a long time. I finally got to it
Todd North