Serving Tray
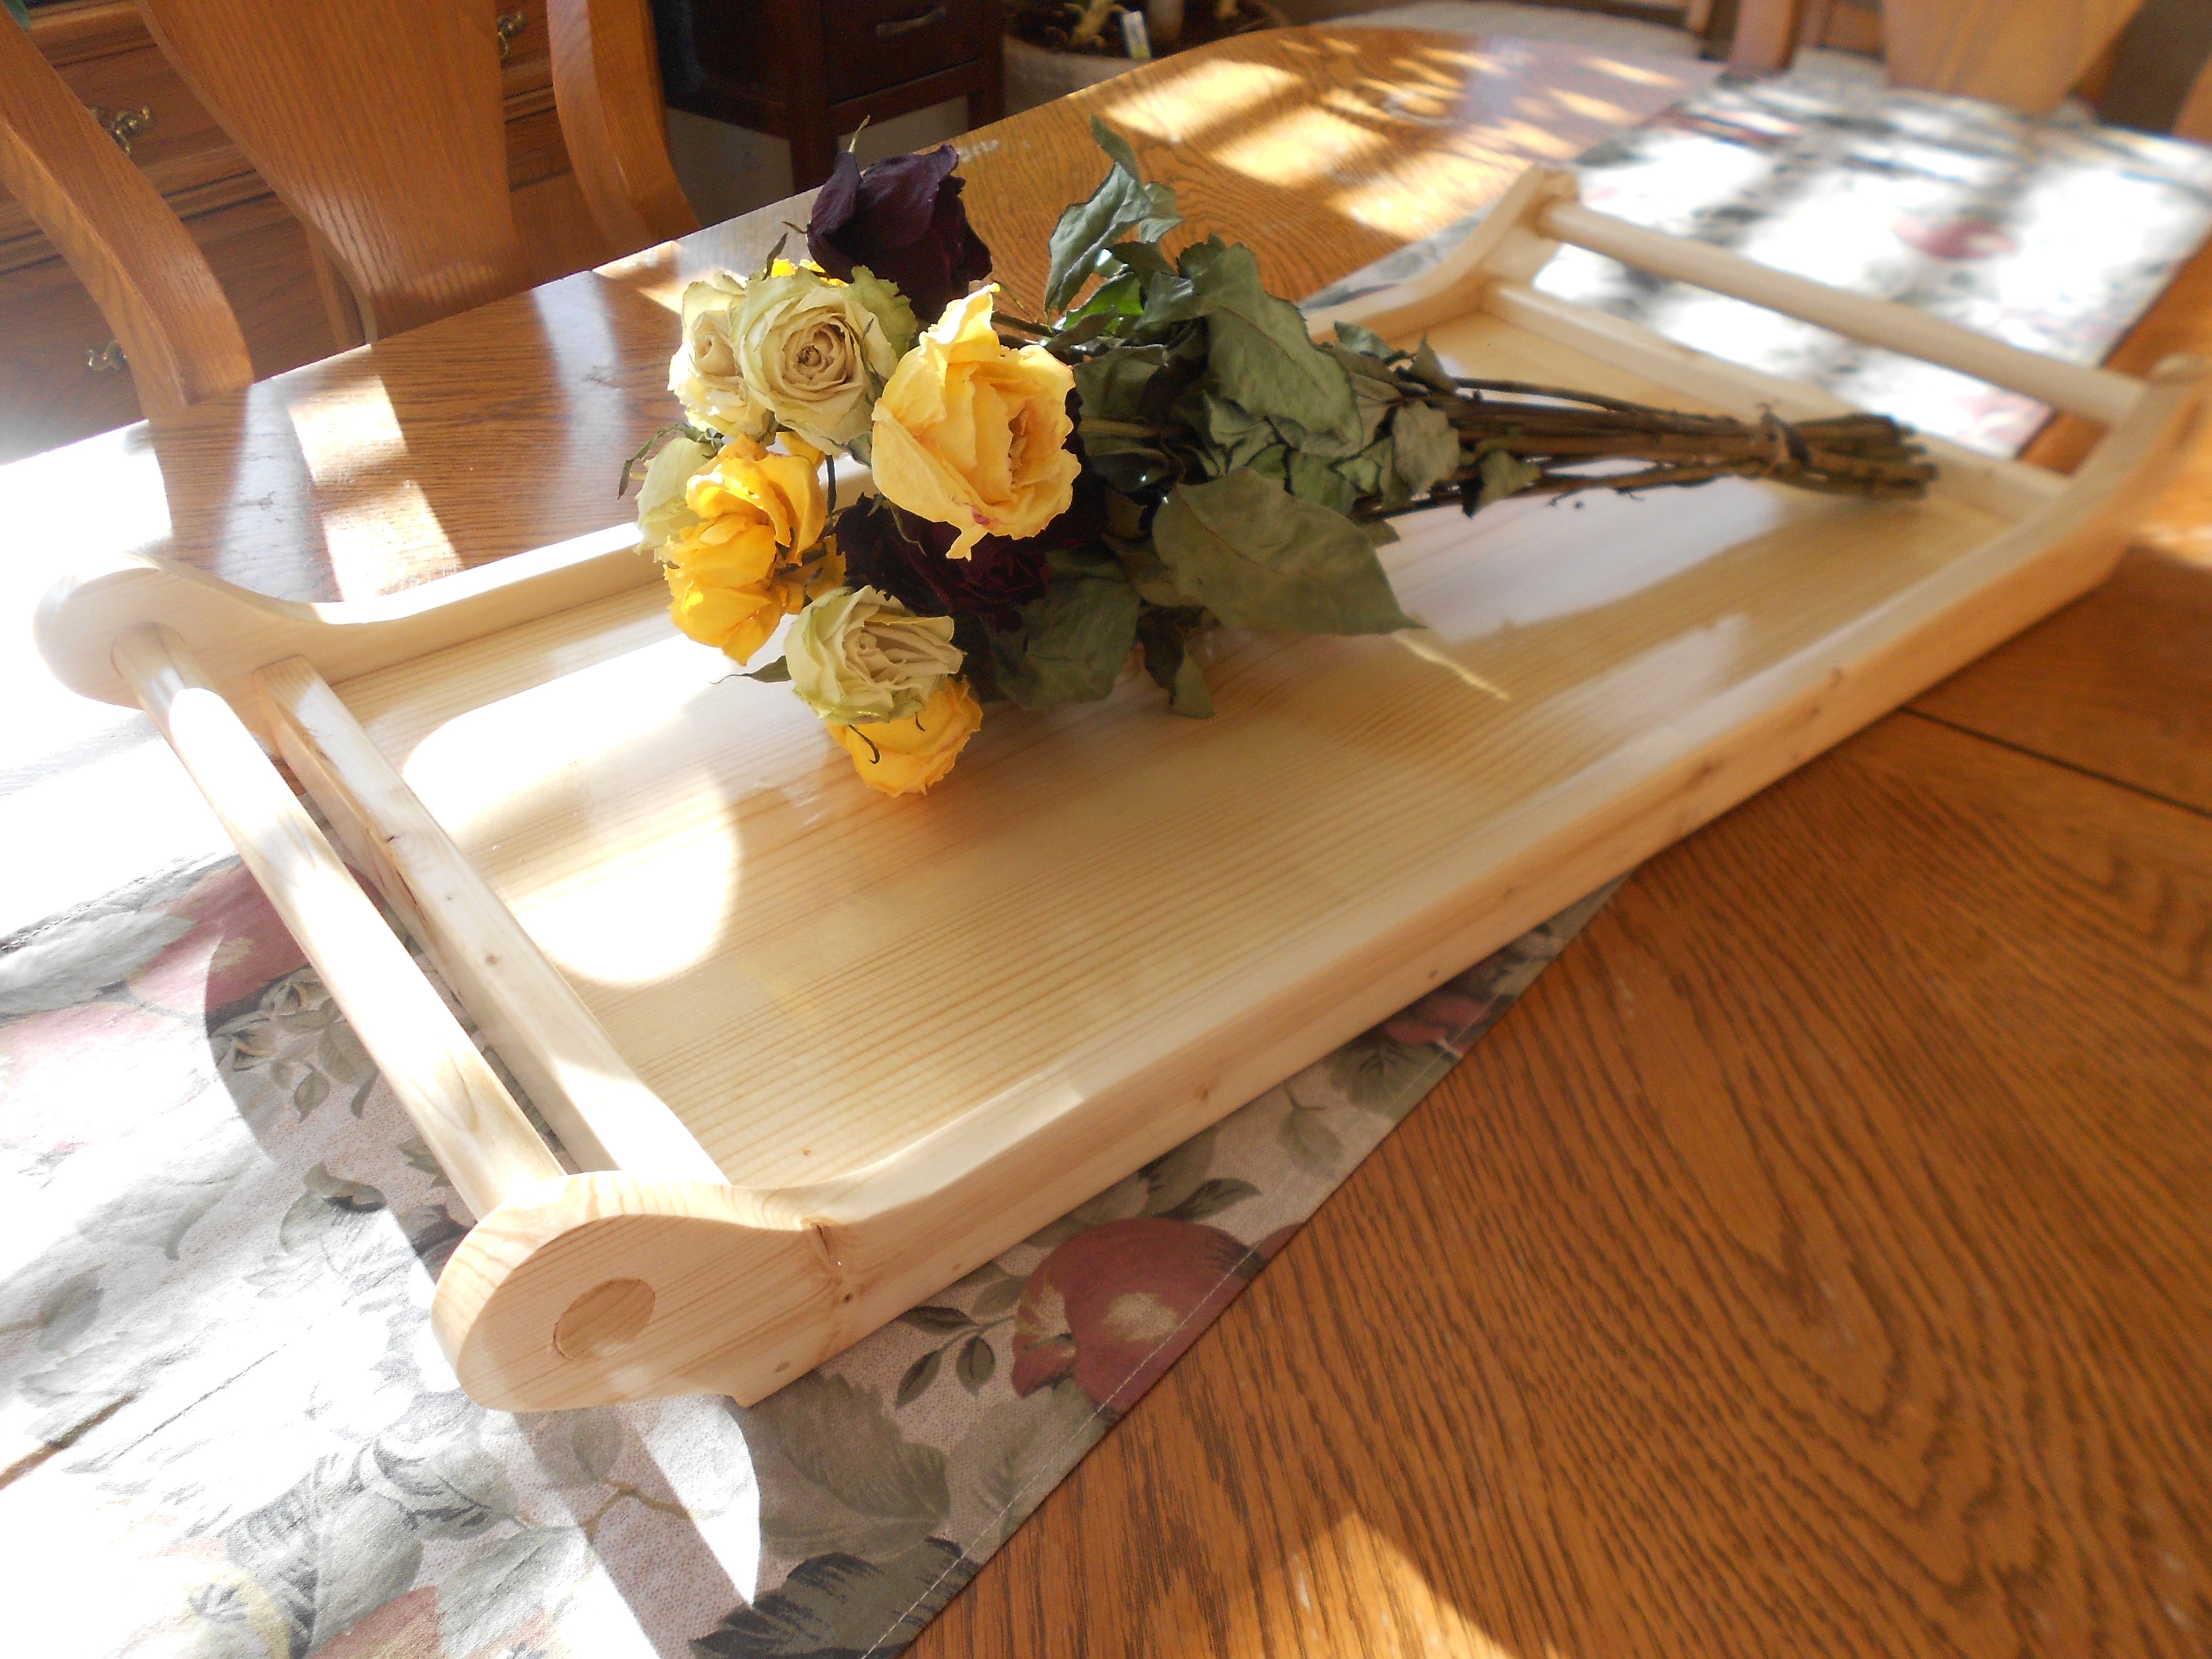
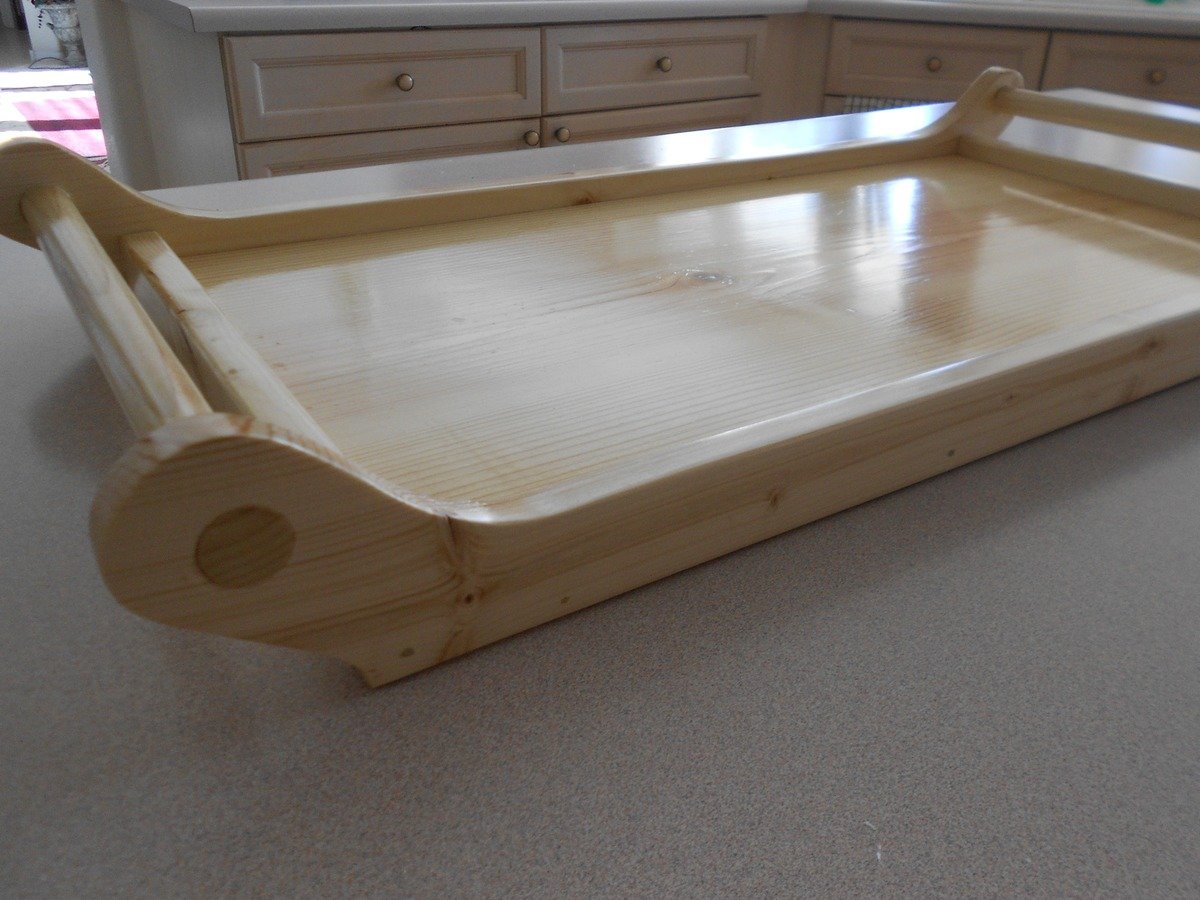
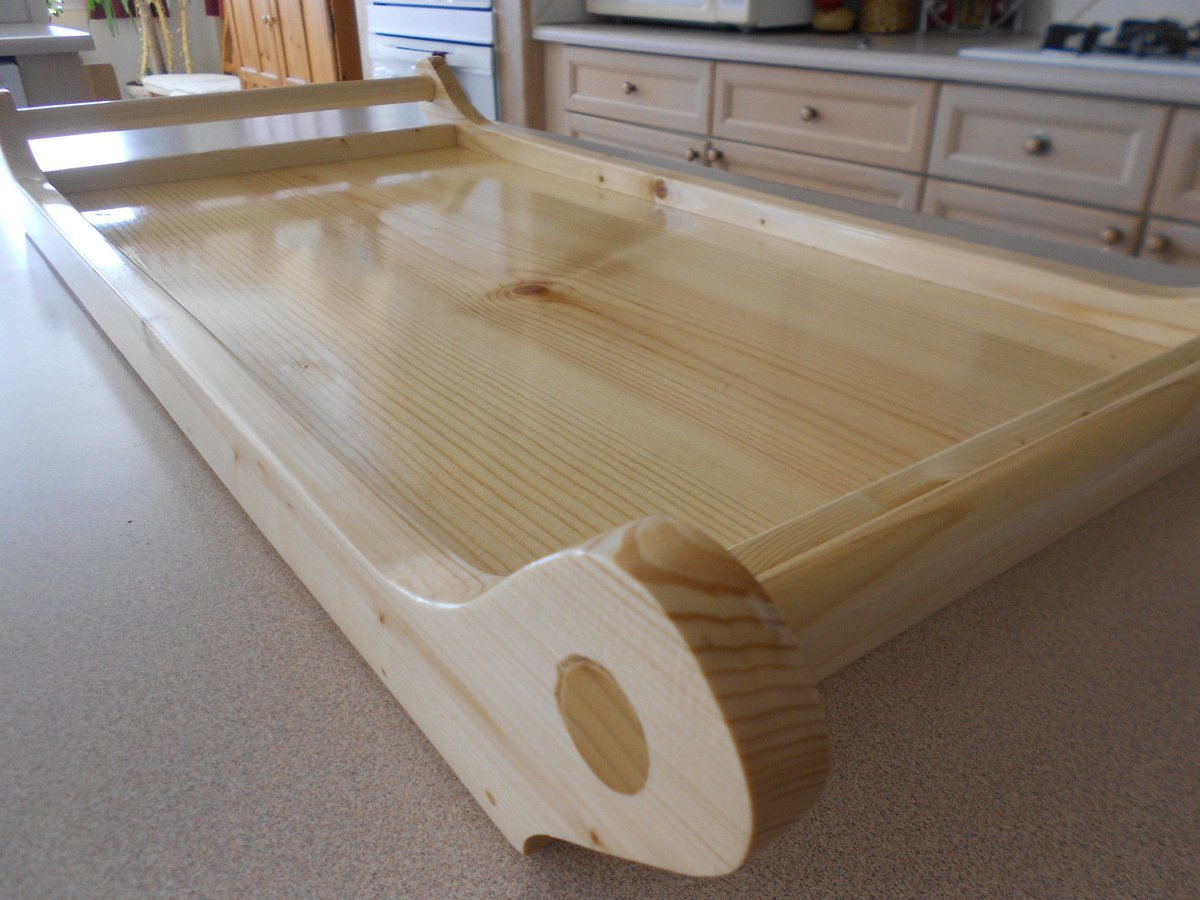
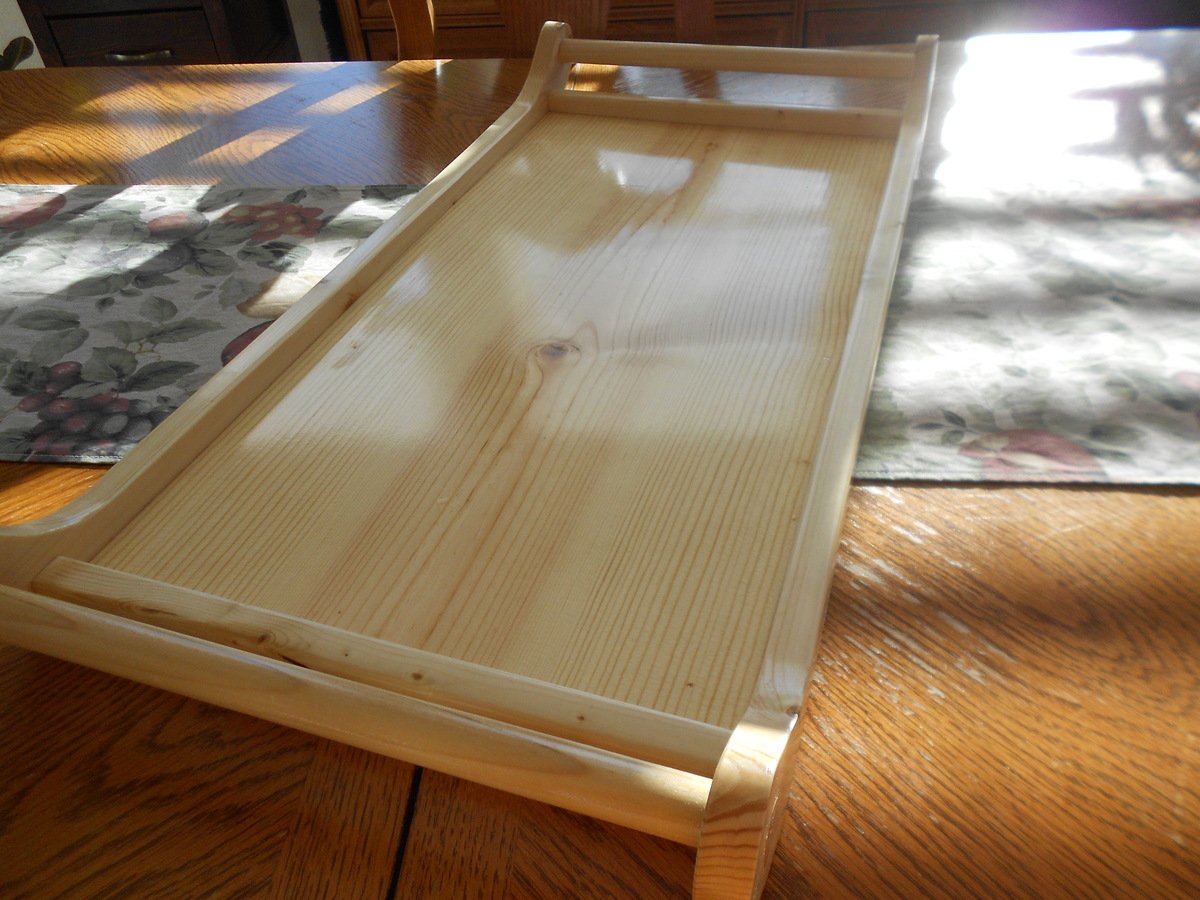
I wanted to try a high gloss finish on unstained pine and this seemed like a great project to try it out. I can’t believe how often I use this tray. Now I don’t know how I got by without it! Thanks for the plans!
Built from Plan(s)
Estimated Time Investment
Afternoon Project (3-6 Hours)
Finish Used
No stain. Hi gloss finish.
Recommended Skill Level
Beginner


Comments
Pam the Goatherd
Fri, 02/15/2013 - 19:20
The unstained wood with the
The unstained wood with the high gloss finish is very sleek looking! Very nice!