Kid-Sized Adirondack End Table
![](/sites/default/files/100_3063.jpg)
I made this little Adirondack end table and chairs set for my niece and nephew. I made the end table following the Adirondack Stool or End Table plan. I made the chairs using the pattern found in Ana's book.
![](/sites/default/files/1_61.jpg)
![](/sites/default/files/5_16.jpg)
I made this little Adirondack end table and chairs set for my niece and nephew. I made the end table following the Adirondack Stool or End Table plan. I made the chairs using the pattern found in Ana's book.
Here’s my Brag photo! This is the bedside table made from 2 x 4 and 2 x 6 lumber from your plan list.
by David
Finally Finished! We needed to put two girls in the same room, so we could make room for a baby. The beds I found in furniture stores were either affordable with good reason (poor quality!) or expensive with good reason (solid wood). So this was the alternative. I eliminated the box spring and elevated the platform 15 inches high, so there is tons of storage space under those beds! Another builder found this fabulous bed hardware, which I used and definately recommend: http://www.rockler.com/product.cfm?page=11
It allows you to assemble and dissemble the bed quickly without a screwdriver, which is great if your in the military! One word of caution though, in the original furniture plans, the cleats attach to the inside of the bedposts. If you use the rockler bed hardware, the cleats will attach to (roughly) the middle of the bed posts. So in order to have your mattress platform be the proper width (not too wide), you need to use a table saw and trim 3/4 an inch off the width of each of the panels for the headboard and footboard prior to assemly.
Wed, 06/22/2011 - 10:58
They turned out SO good! Our girls LOVE sharing their room in their special beds. The bedding you have on the beds is super cute too!
Wed, 06/22/2011 - 14:15
These turned out beautiful! I love the crisp white! (just like i did my queen size one!)
but THANK YOU SO MUCH for posting the hardware information!! i am not 100% thrilled with how i assembled the side rails onto the head/foot boards, and i just ordered this hardware to re-do the siderails! awesome! thanks!
I love my new coffee table!! It was so hard to decide which to make, Ana-white has so many plans to choose from. I chose this one because it looked sturdy and rustic. I wasn't looking for anything to fancy since my kids and a husband like to put their feet, food, drinks, and projects on everything... this was perfect. I thought the plans were very simple to follow. I used a clear satin finish verses the gloss and I really liked how it turned out. Still cleans well too. This was a fun, easy, and affordable project that made a great addition to my living room :)
My brother in law recovered some mahogany boards from a job site so i jumped on the opportunity to use some real quality lumber in a project. Using the Triple Pedestal Farmhouse Table plans as a guide i built this 500lbs beauty. Boards are joined with biscuits, legs are glue joined and 4x4. legs are bolted to table top with 3/8-16 bolts and nut inserts. 6 inch black steel 5/8 11 bolts and nuts were used to hold the cross beam.
I decided to use tung oil on this dense wood with no stain at all.
The whole project took about 2 months working weekends. If you have any questions about the project you can contact me at [email protected]. I am going to sell it since i dont have a need for it or the room.
Coffee table made from rustic x coffee table plans.
This was my second project since college 8 years ago and I am so pleased how well it turned out.
My son really wants a bunk bed so I promised him I would make the simple twin bed to complete the set. Eventually that is...May also make a trundle too.
Thanks!
This build was our first one. I completed all the cutting and putt together while my better half completed all the staining and weather treating.
I loved the plan of the cooler table, while looking at that one i saw a modified version that was longer and had 4x4 for legs...
i choose that design due to the weight of the table and figured 2x4s just wouldn't be sturdy enough for the extra length my girl friend wanted.
Tue, 06/10/2014 - 10:37
Hello! Came across your cool website looking to make a similar table. Do you have the original source from which you had found plans or have the plans yourself and can you recall the approximate cost for this project?
Thank yoU!
I built this Pottery Barn inspired planked wood shelf for my Wife's first Mother's Day. using several 1, 2, and 3 by 1s. I started by making the frame and then cutting boards to fill in the gaps. Once I had all of the puzzle pieces in place I drilled pocket holes on the back of the larger pieces to provide support to the shelves so it can hold a load (wine bottles, clocks etc.) Then I finished each individual piece and placed it in its correct location. Using several clamps to glue the smaller pieces together. Finally I hung the shelf in our dining room using a french cleat (Hobby Lobby $6 or $7).
Tue, 08/25/2015 - 12:29
The shelf looks great and will be treasured for many years to come I'm sure!
My husband and built this fancy "X" outdoor bench to go with the fancy "X" outdoor table we built a few weeks ago.
We added a bit to your shoe dresser plan. We ended up building into the wall since it had the perfect little indent and put a baby cabinet in the middle so we had access to the outlet.
by Angela
One of our first projects was the Farmhouse twin bed for our son. We couldn't love that bed anymore than we do. It is gorgeous and while it was a learning process, it was still much easier than we ever thought possible.
Sat, 07/09/2011 - 08:36
Your bed has inspired me to build one for my son. LOVE the color too! I'm going to add a trundle so he can have friends stay over. I'll post when I've got it finished.
I started with the queen storage bed plans and modified them to fit my needs. Two drawers on each side, one at the foot, all the same dimensions. I left open bins at the head of the bed because there wouldn’t be room to open drawers. They can be used for books or electronics, whatever my son wants to keep close. I mounted a power strip with USB ports inside the open bins (out of sight) so he can charge his electronics.
I used birch plywood for the benches, pine for the drawers. I painted the drawer boxes navy blue, matching one wall in the bedroom, and used edge glued birch panels finished with clear water based semi gloss poly for the drawer faces.
This is is definitely my most difficult project so far, and the one I love the most.
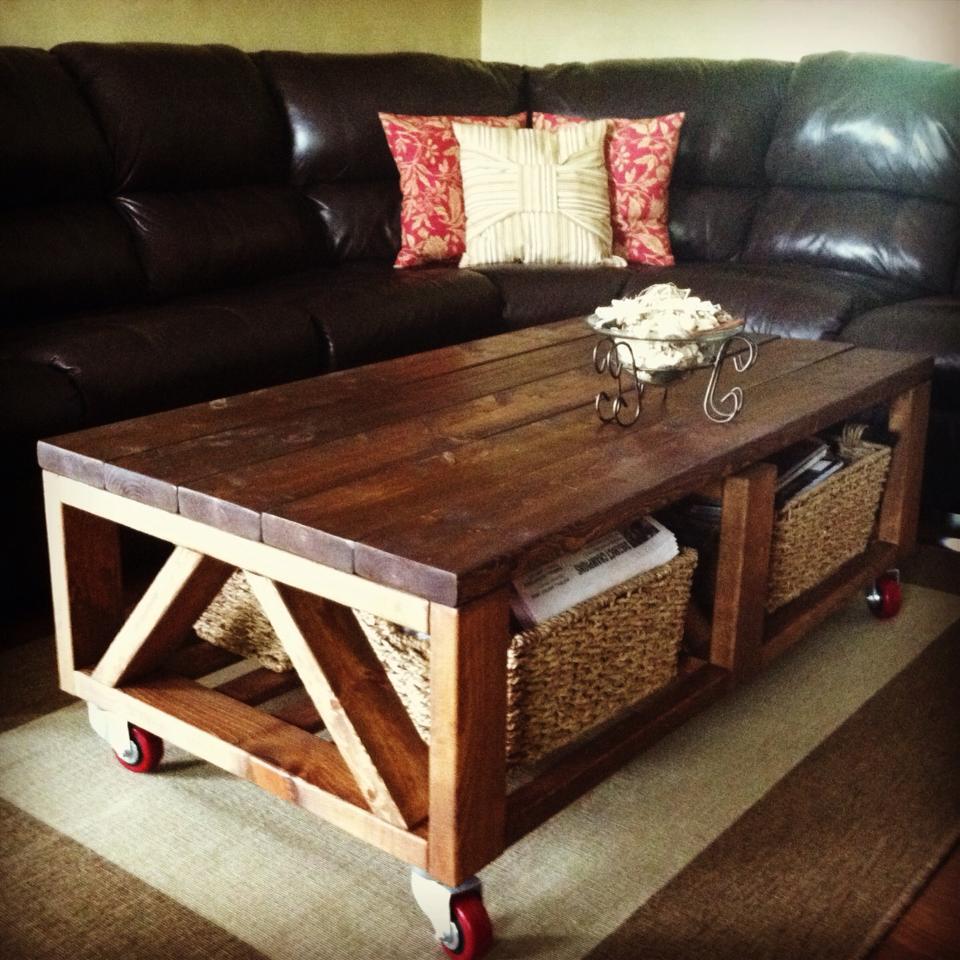
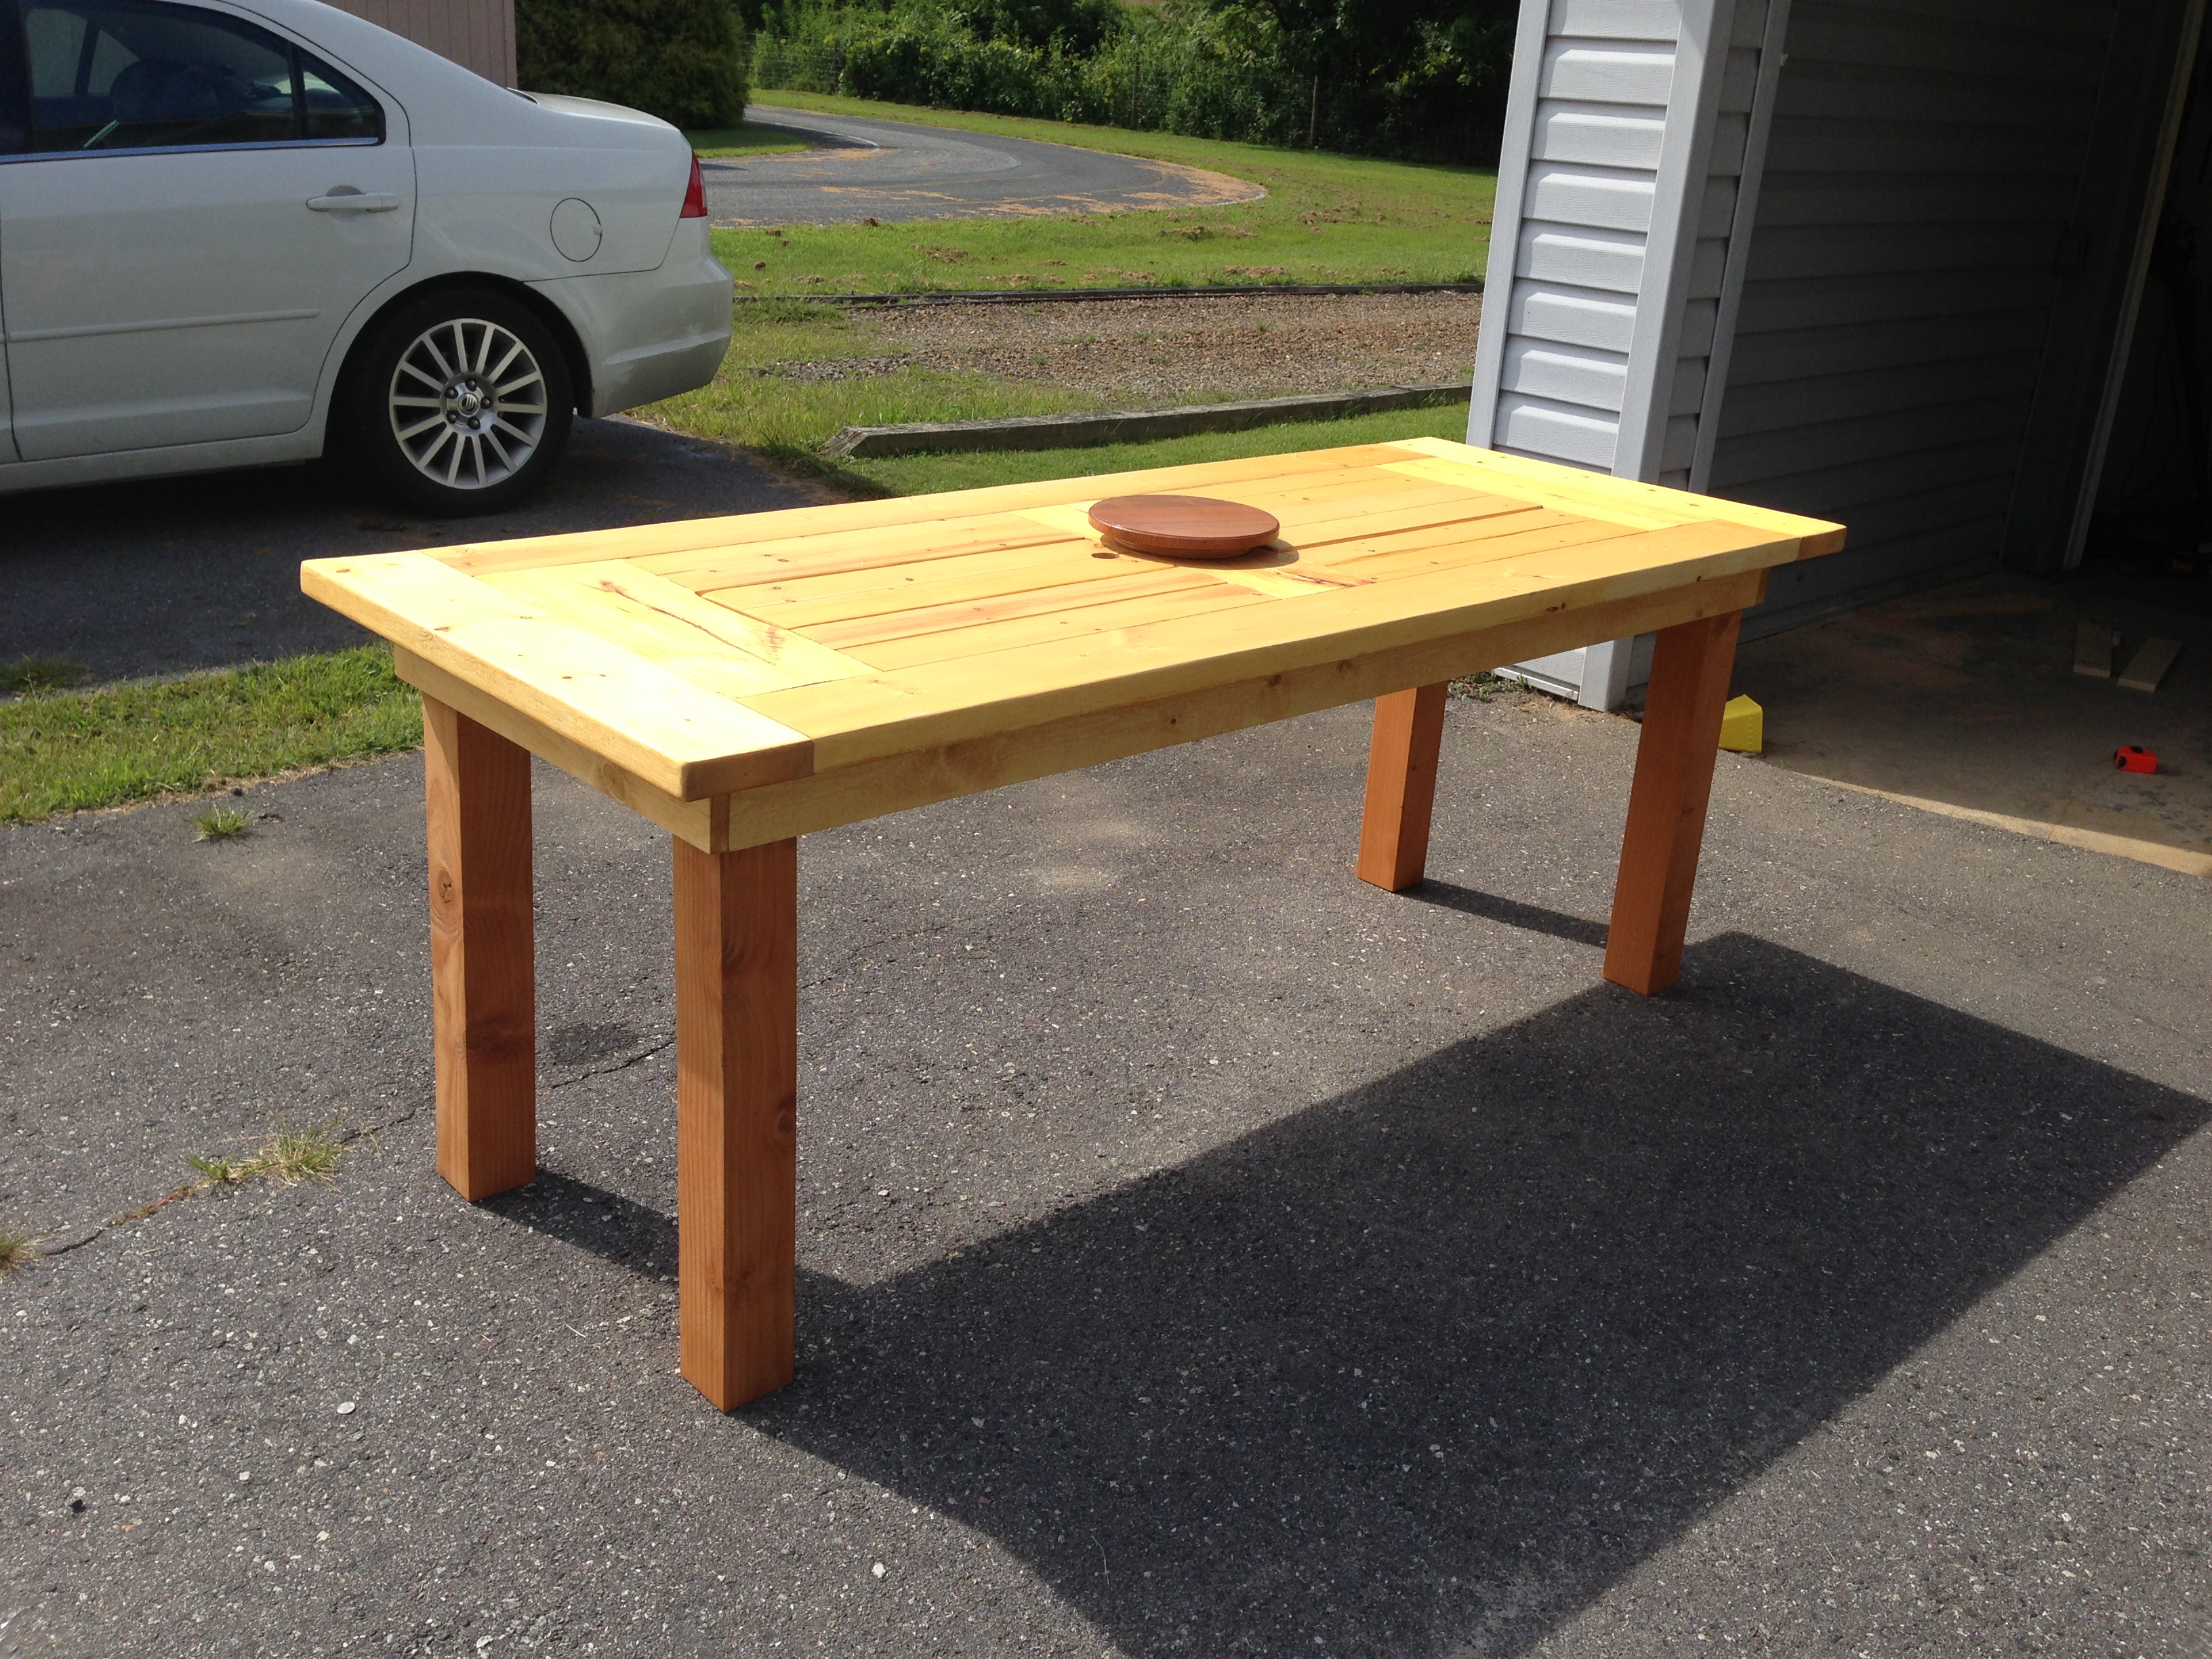
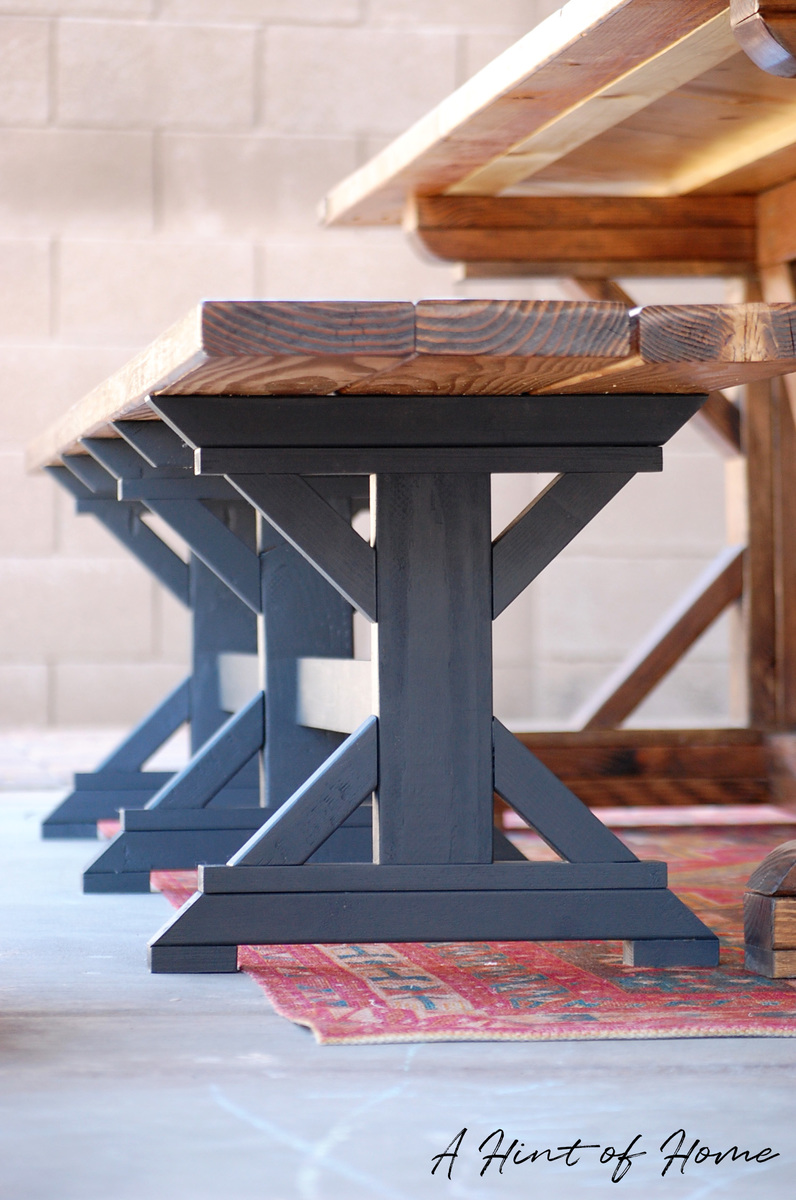
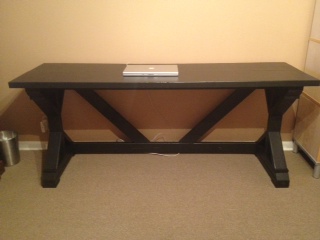
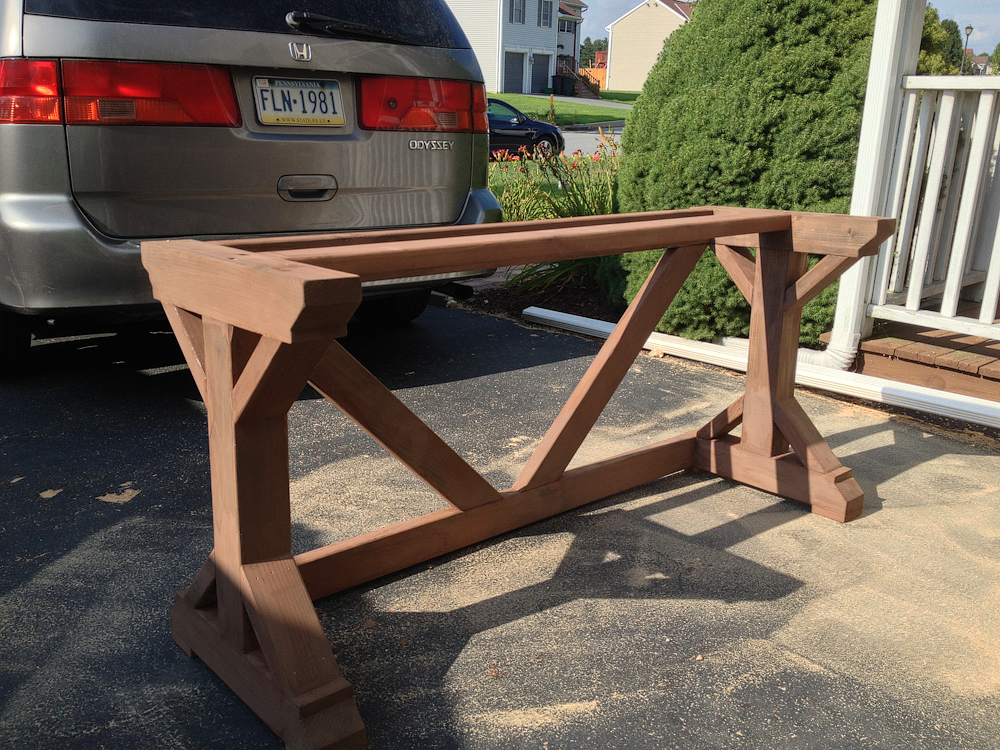
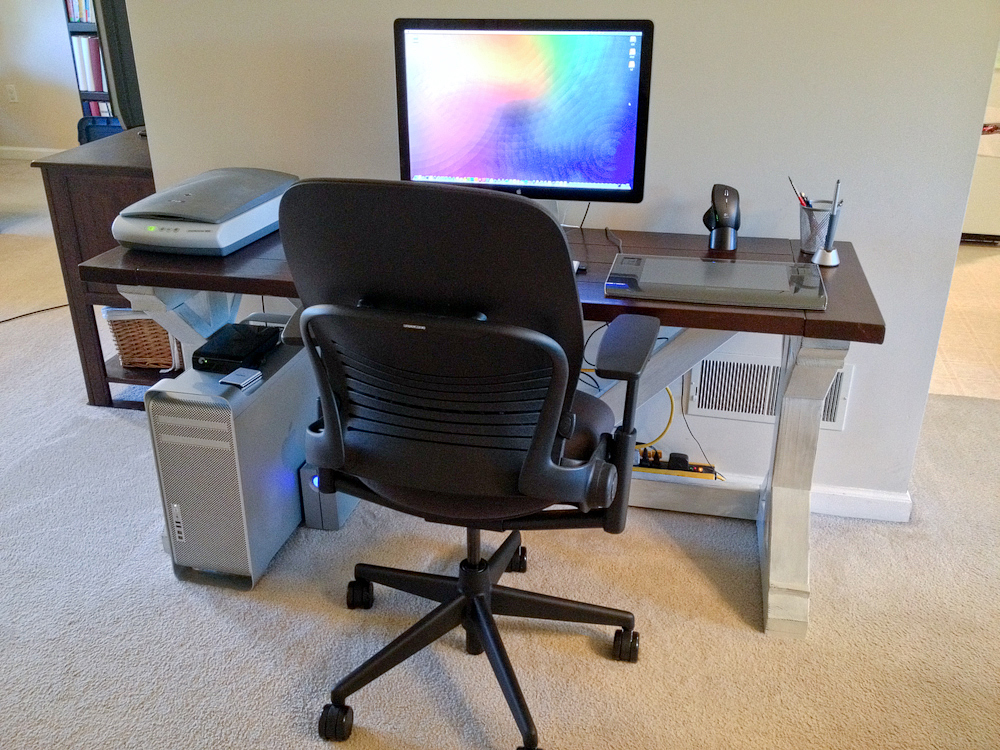
I love the fancy X desk plans but made some adjustments to suit my tastes better.
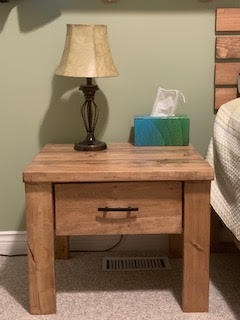
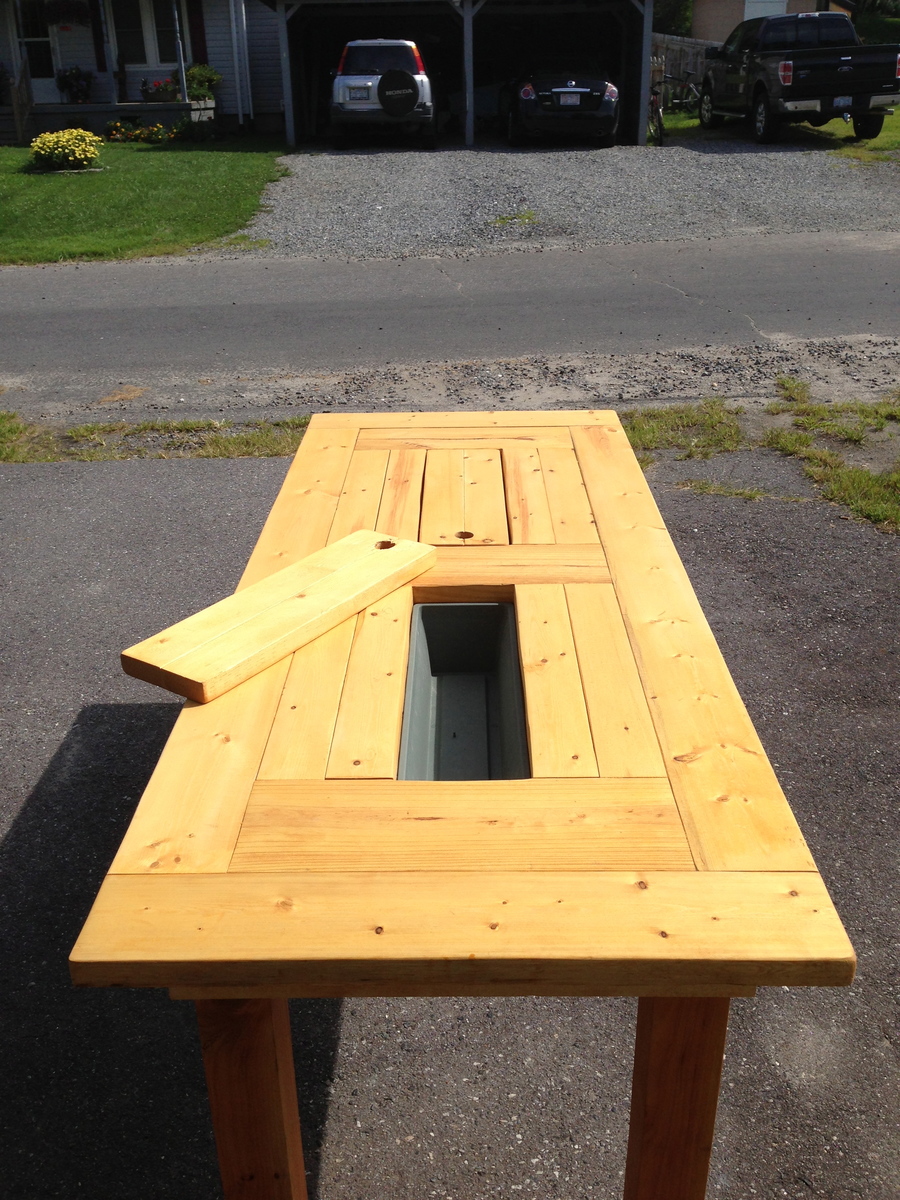
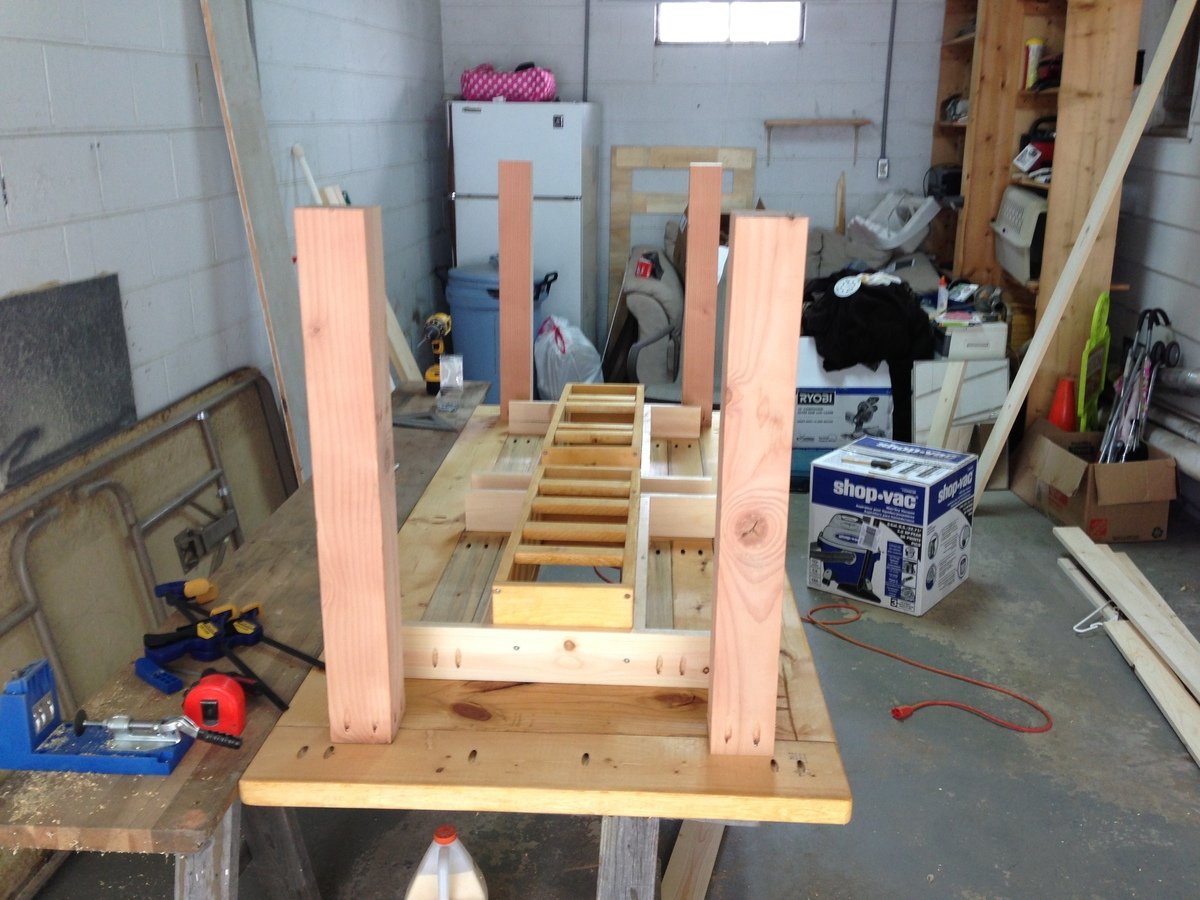
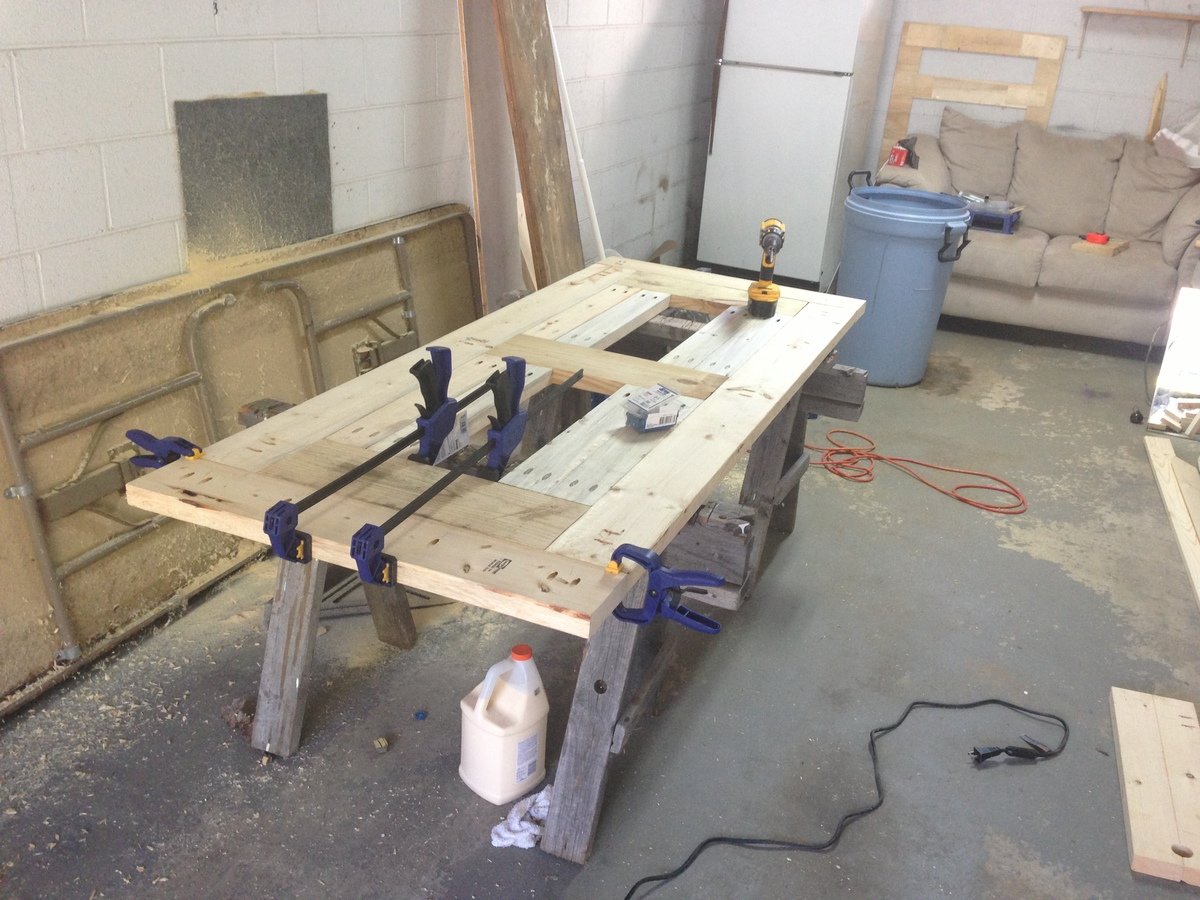
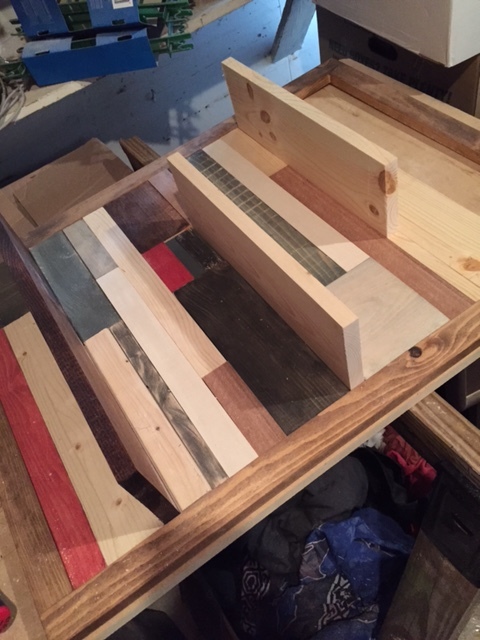
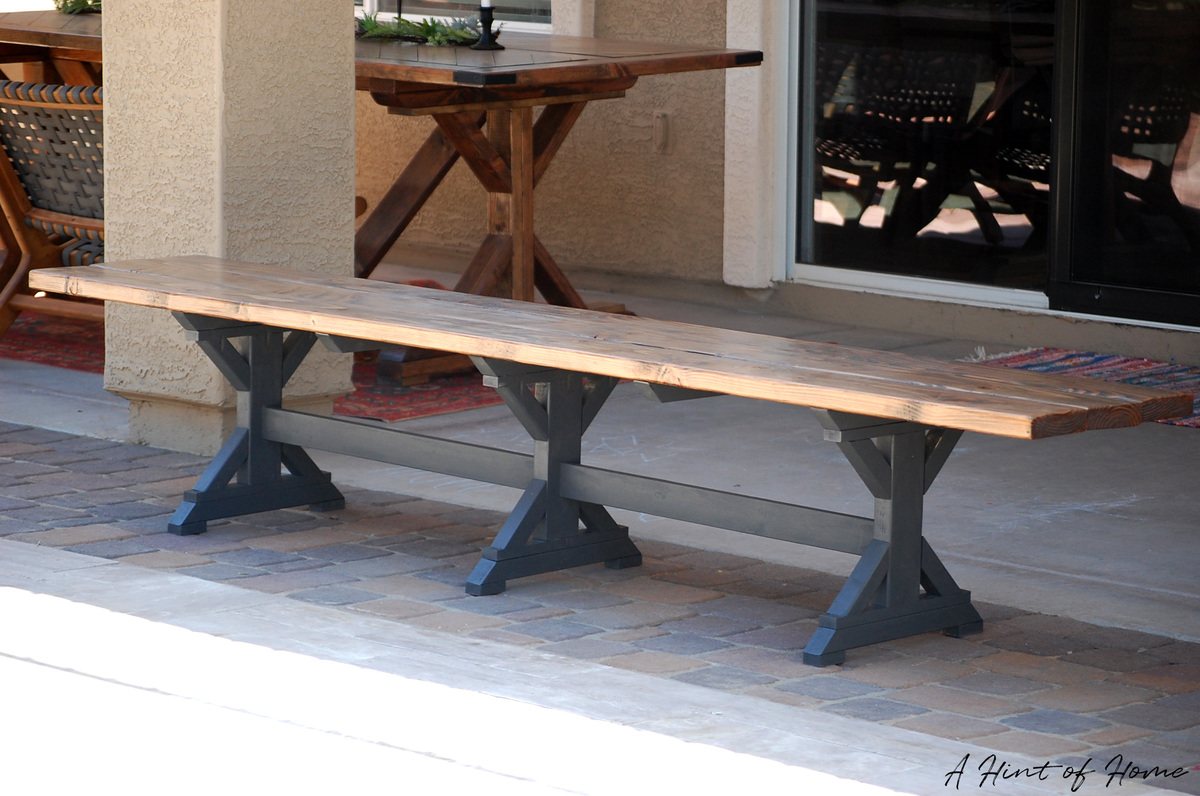
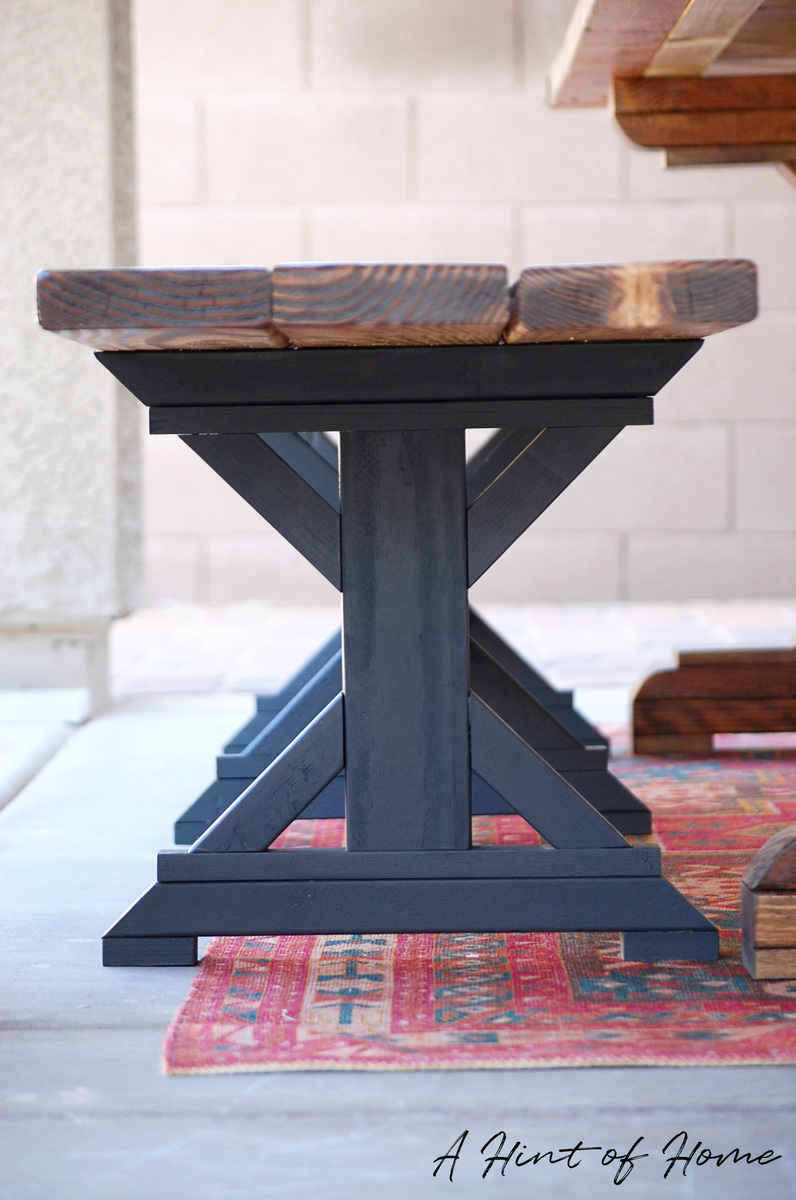
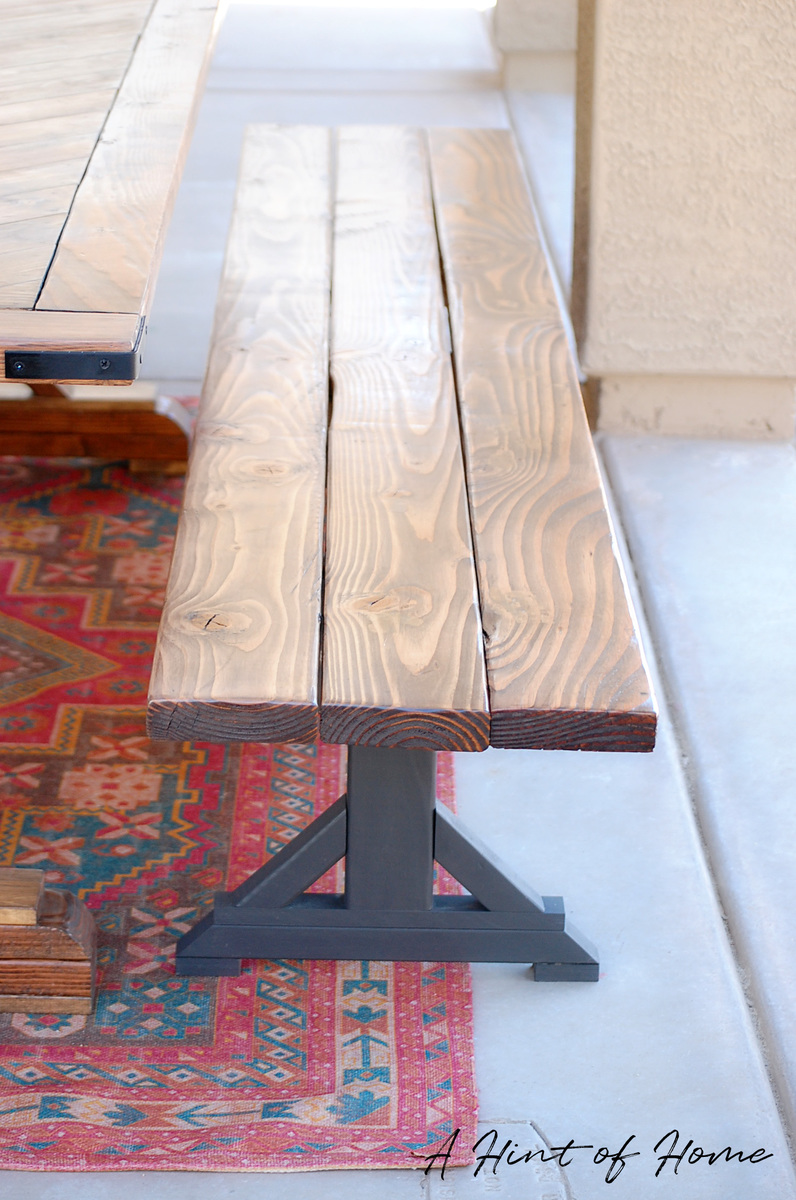
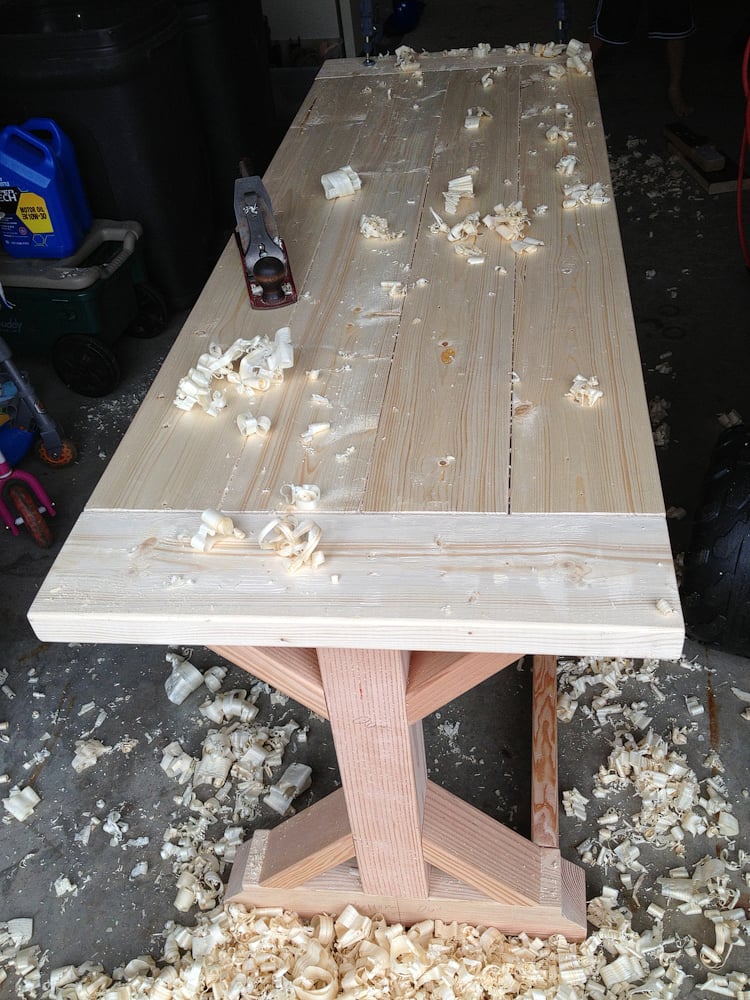
I used 4x4s instead of the 2x4's for the legs and 2x6's instead of 2x12's for the top. Once I have everything built, I hand planed the desktop to even out the 2x6's and make it feel less like standard hardware store lumber and more like an old handmade farm table. I love all the slight surface imperfections that the hand plane left behind.
As always, building it doesn't take long, but finishing it does. I only had about 6 hours invested in the build, but doing the many layers of stain, paint, shellac, and poly took several more days to complete.
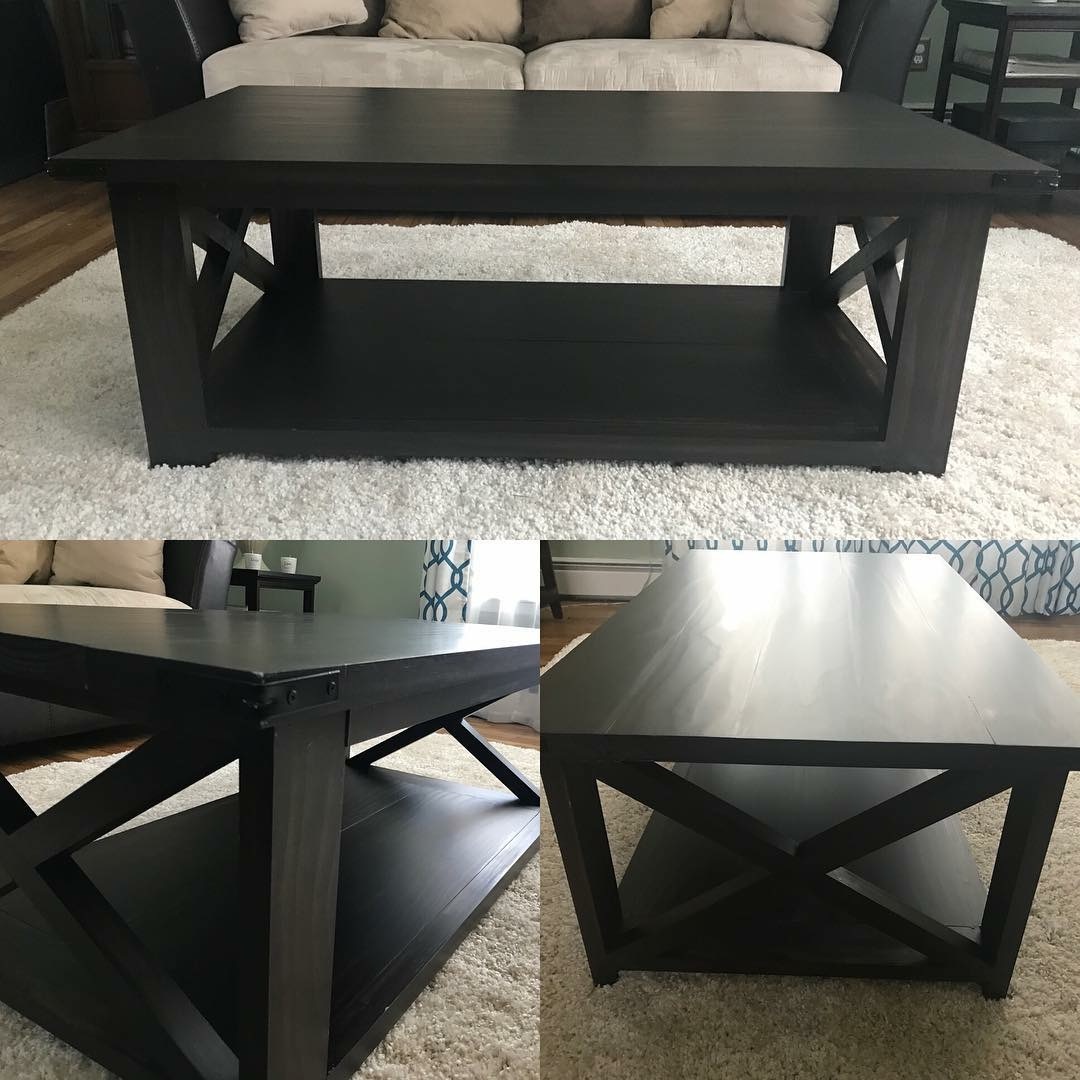
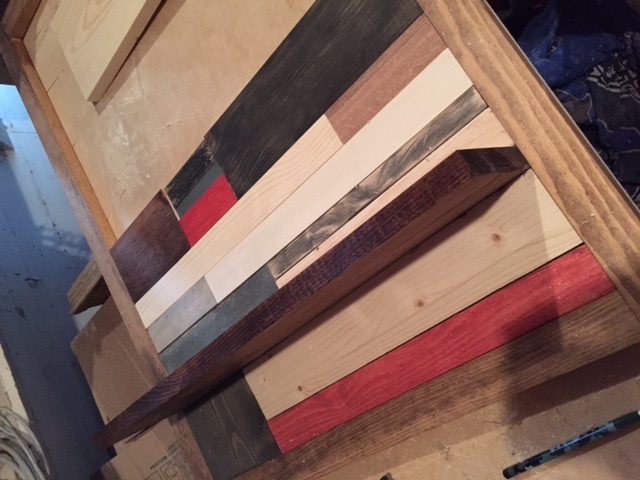
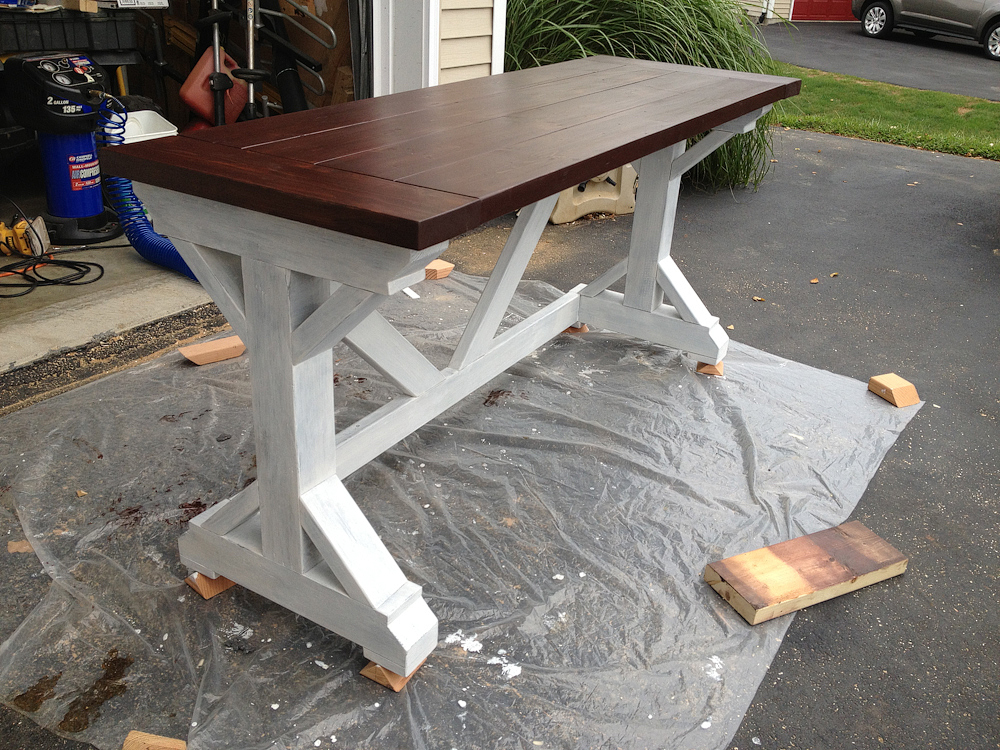
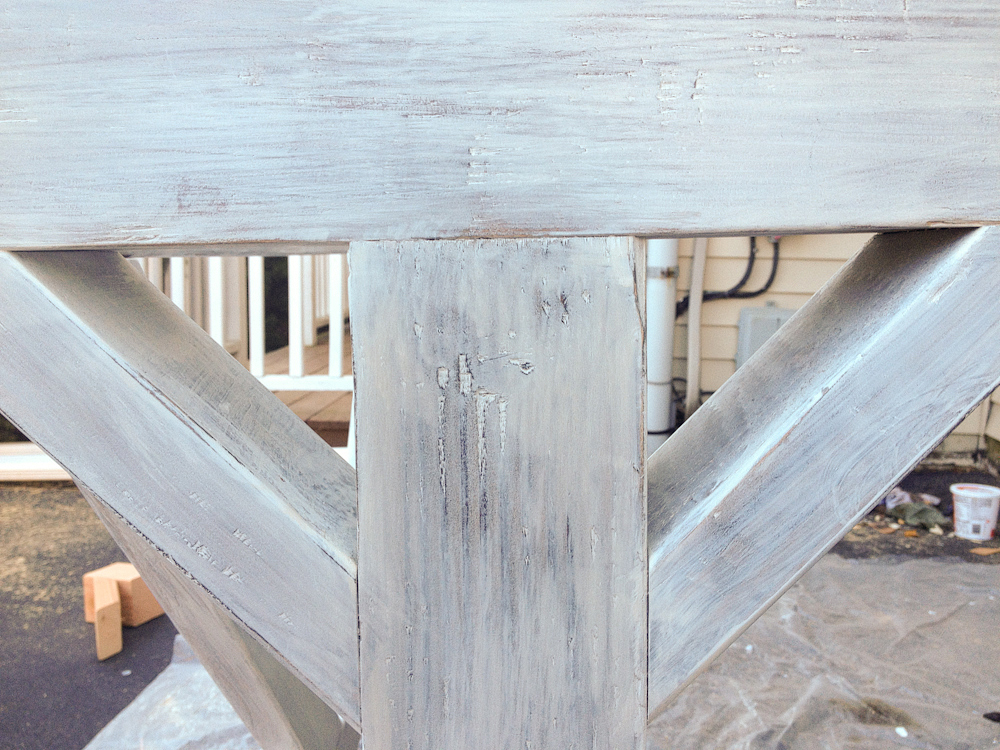
for the base of the desk, I started by staining it with a vinegar and steel wool concoction. After letting it dry I lightly sanded off the chalky surface, leaving the aged looking wood. I then used white primer and a rag to give it a white washed look. After the white washing was dry, I used fine steel wool rubbing the surface to reveal some of the faux aged wood below. CAUTION: If you plan on using water based stains, paints or sealers, you may want to avoid using steel wool to avoid rust spots.
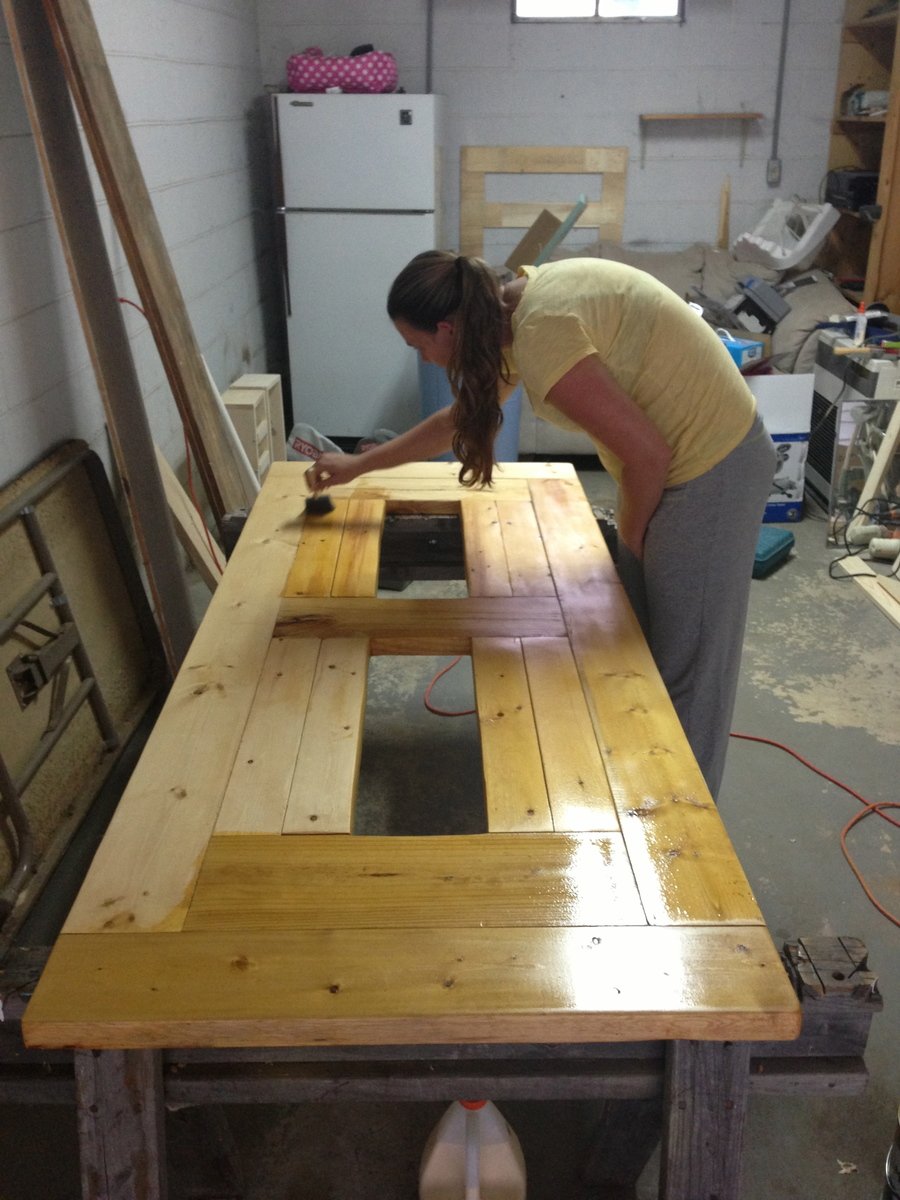
For the desktop I alternated coats of Morish Teak and Rosewood from ZAR until I was happy with the color. I had some troublesome knots that kept leaking sap so I sealed them with de-waxed shellac. before sealing everything with polyurethane.
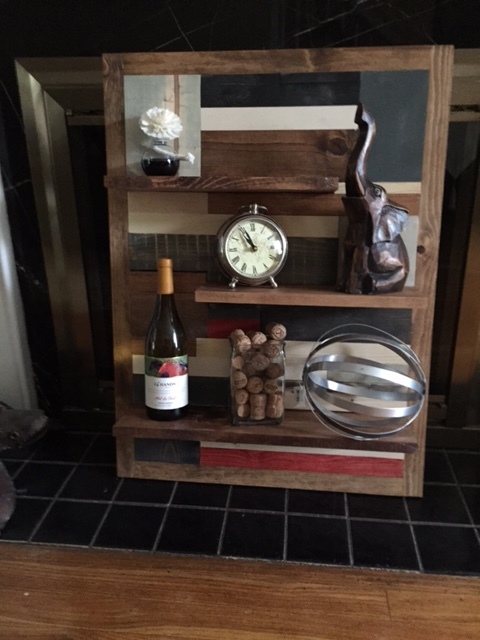
I'm really happy with my new desk. Thanks for the inspiration!
Built two of these to go with the mantel headboard. we used 3 different pieces of molding that are in the same sequence as the headboard. To save money I made the angled feet rather than using the pre fab bun feet. We used a piece of lexan to put on the top to protect against water. When we attached the top trim we made sure it was level with the lexan I made the crate to fit so that we had some type of storage. The color of the crates match the center of the headboard
I really needed more Pantry space in my small kitchen. Found these plans on the site and set out to make it. Needed a little splash of color to add to my otherwise earth-tone color scheme. Love it!
Mon, 05/28/2018 - 19:47
I needed more pantry space in my small kitchen. Found these plans on the site and set out to make it. Needed a little splash of color to add to my otherwise earth-tone coleor scheme.
Love it!
Revamping the backyard with your awesome sectional plans!
With the third baby set to arrive in several months, I needed to take back the crib from my youngest and consolidate the girls living space. After scouring the Anna White site and looking dreamily at plans and general building instructions for several months, these beds are what I came up with. A combination of the Lydia and Farmhouse beds, I made alterations for the wood I had on hand and the final product I envisioned- complete with decorative trim and even wallpaper! My girls love them!