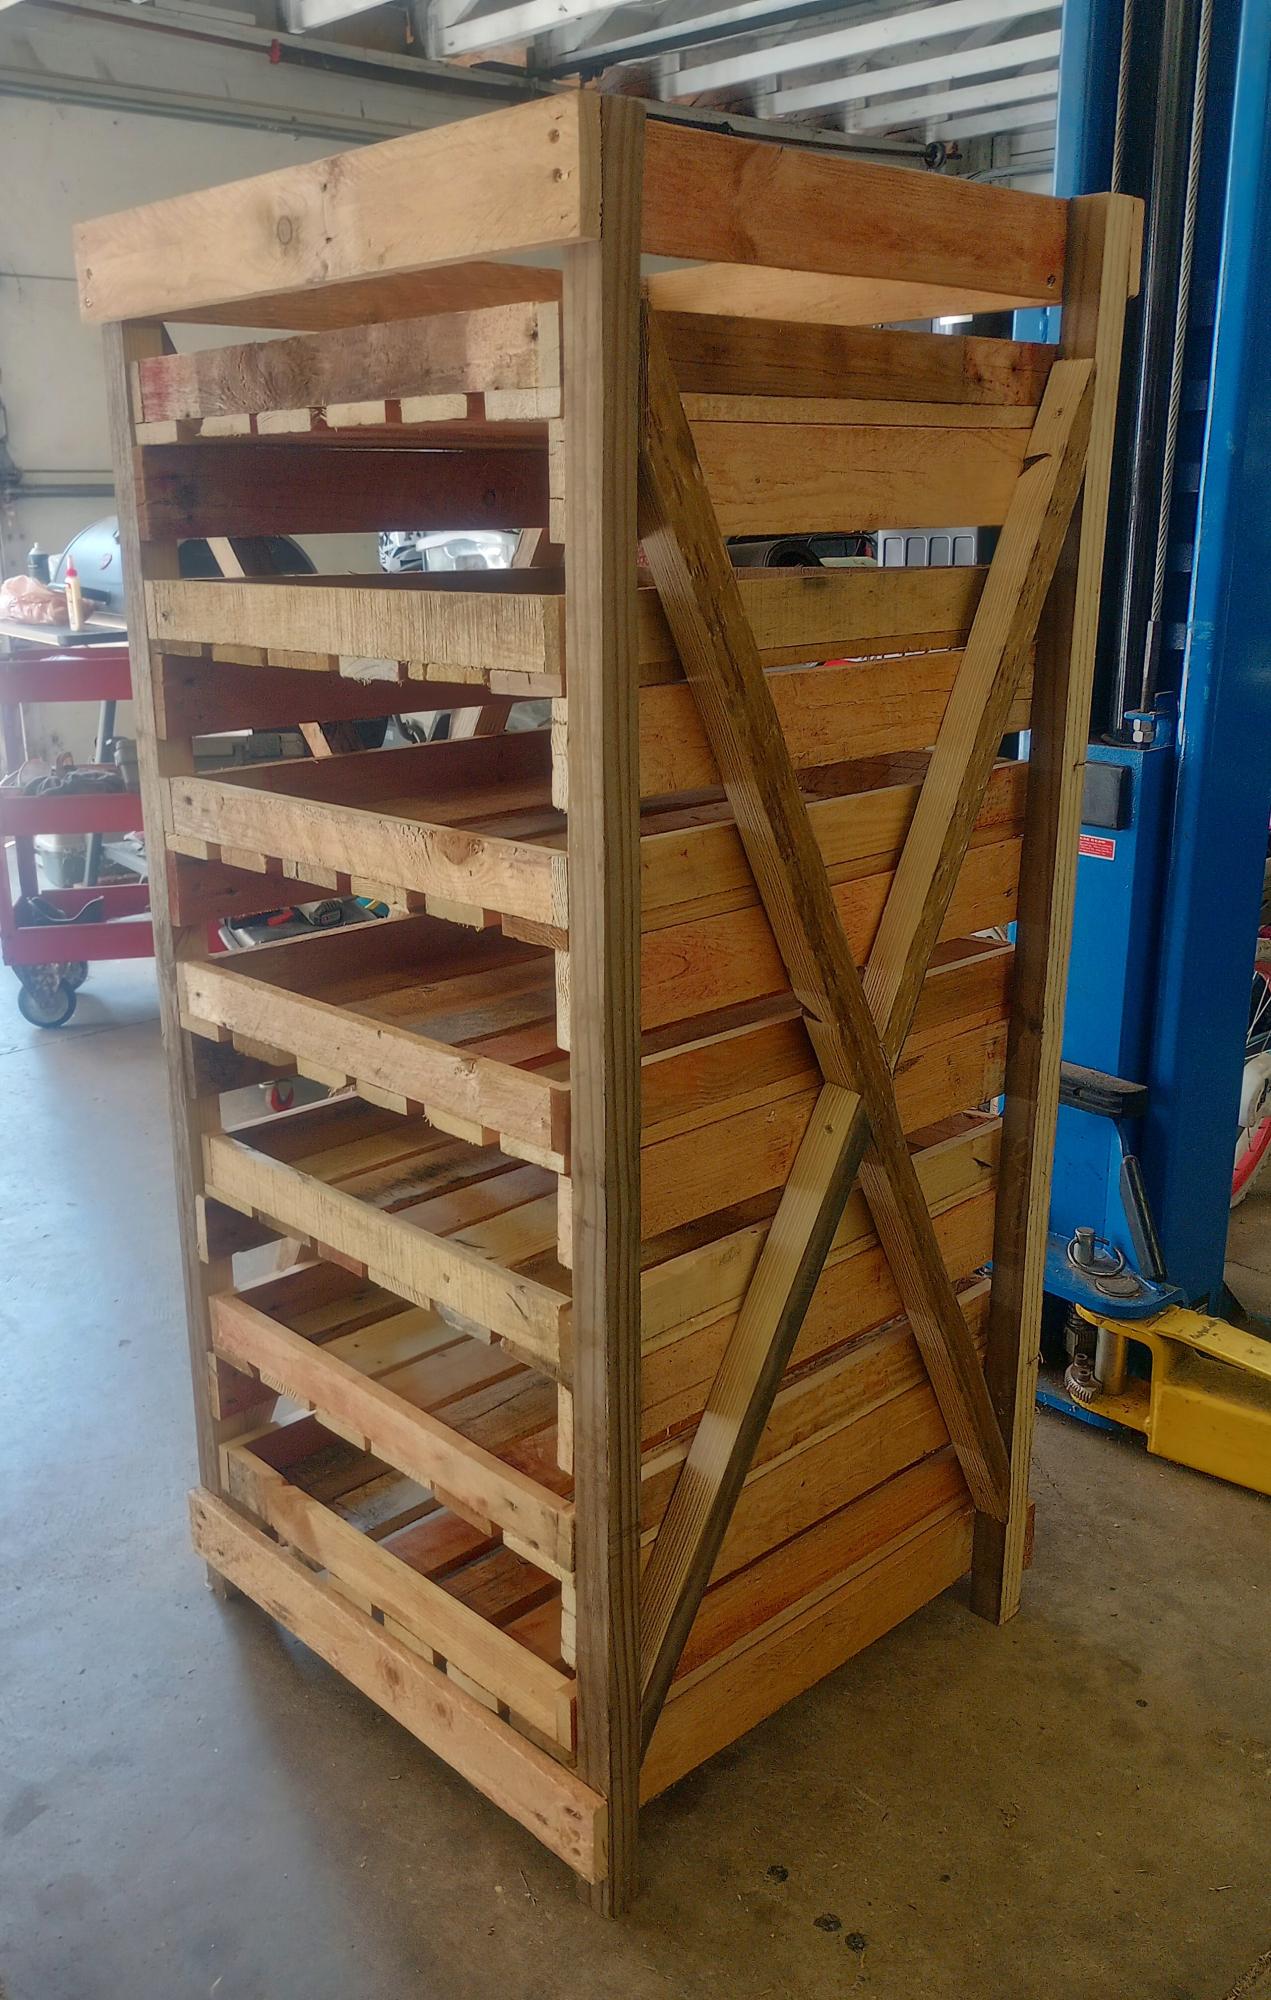
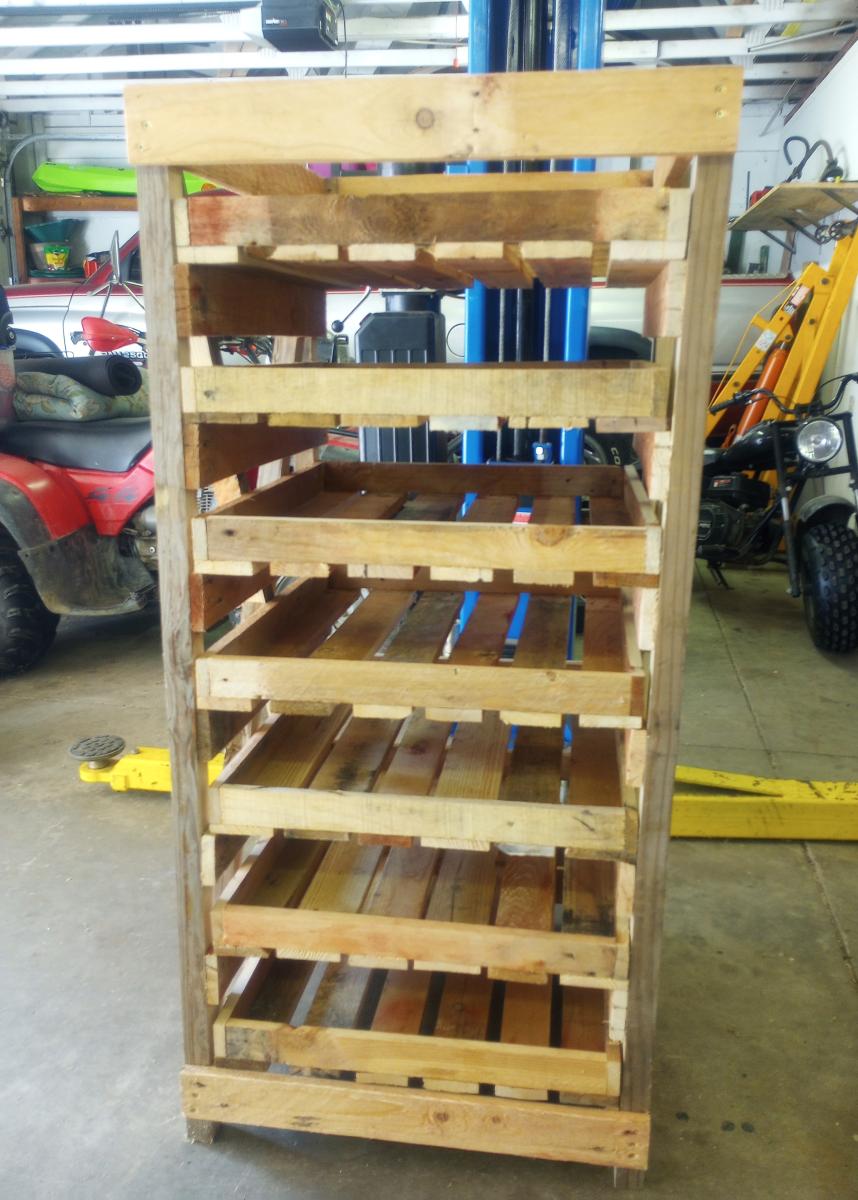
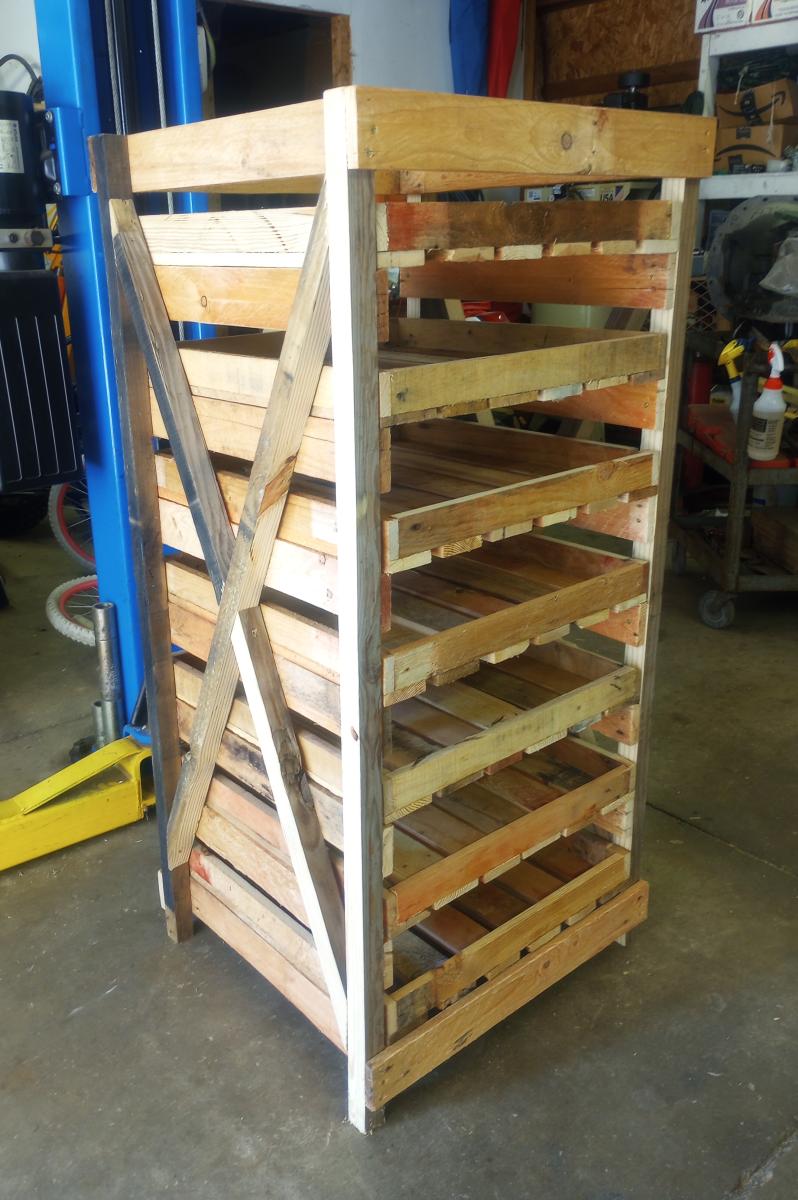
DIY Can Organizer
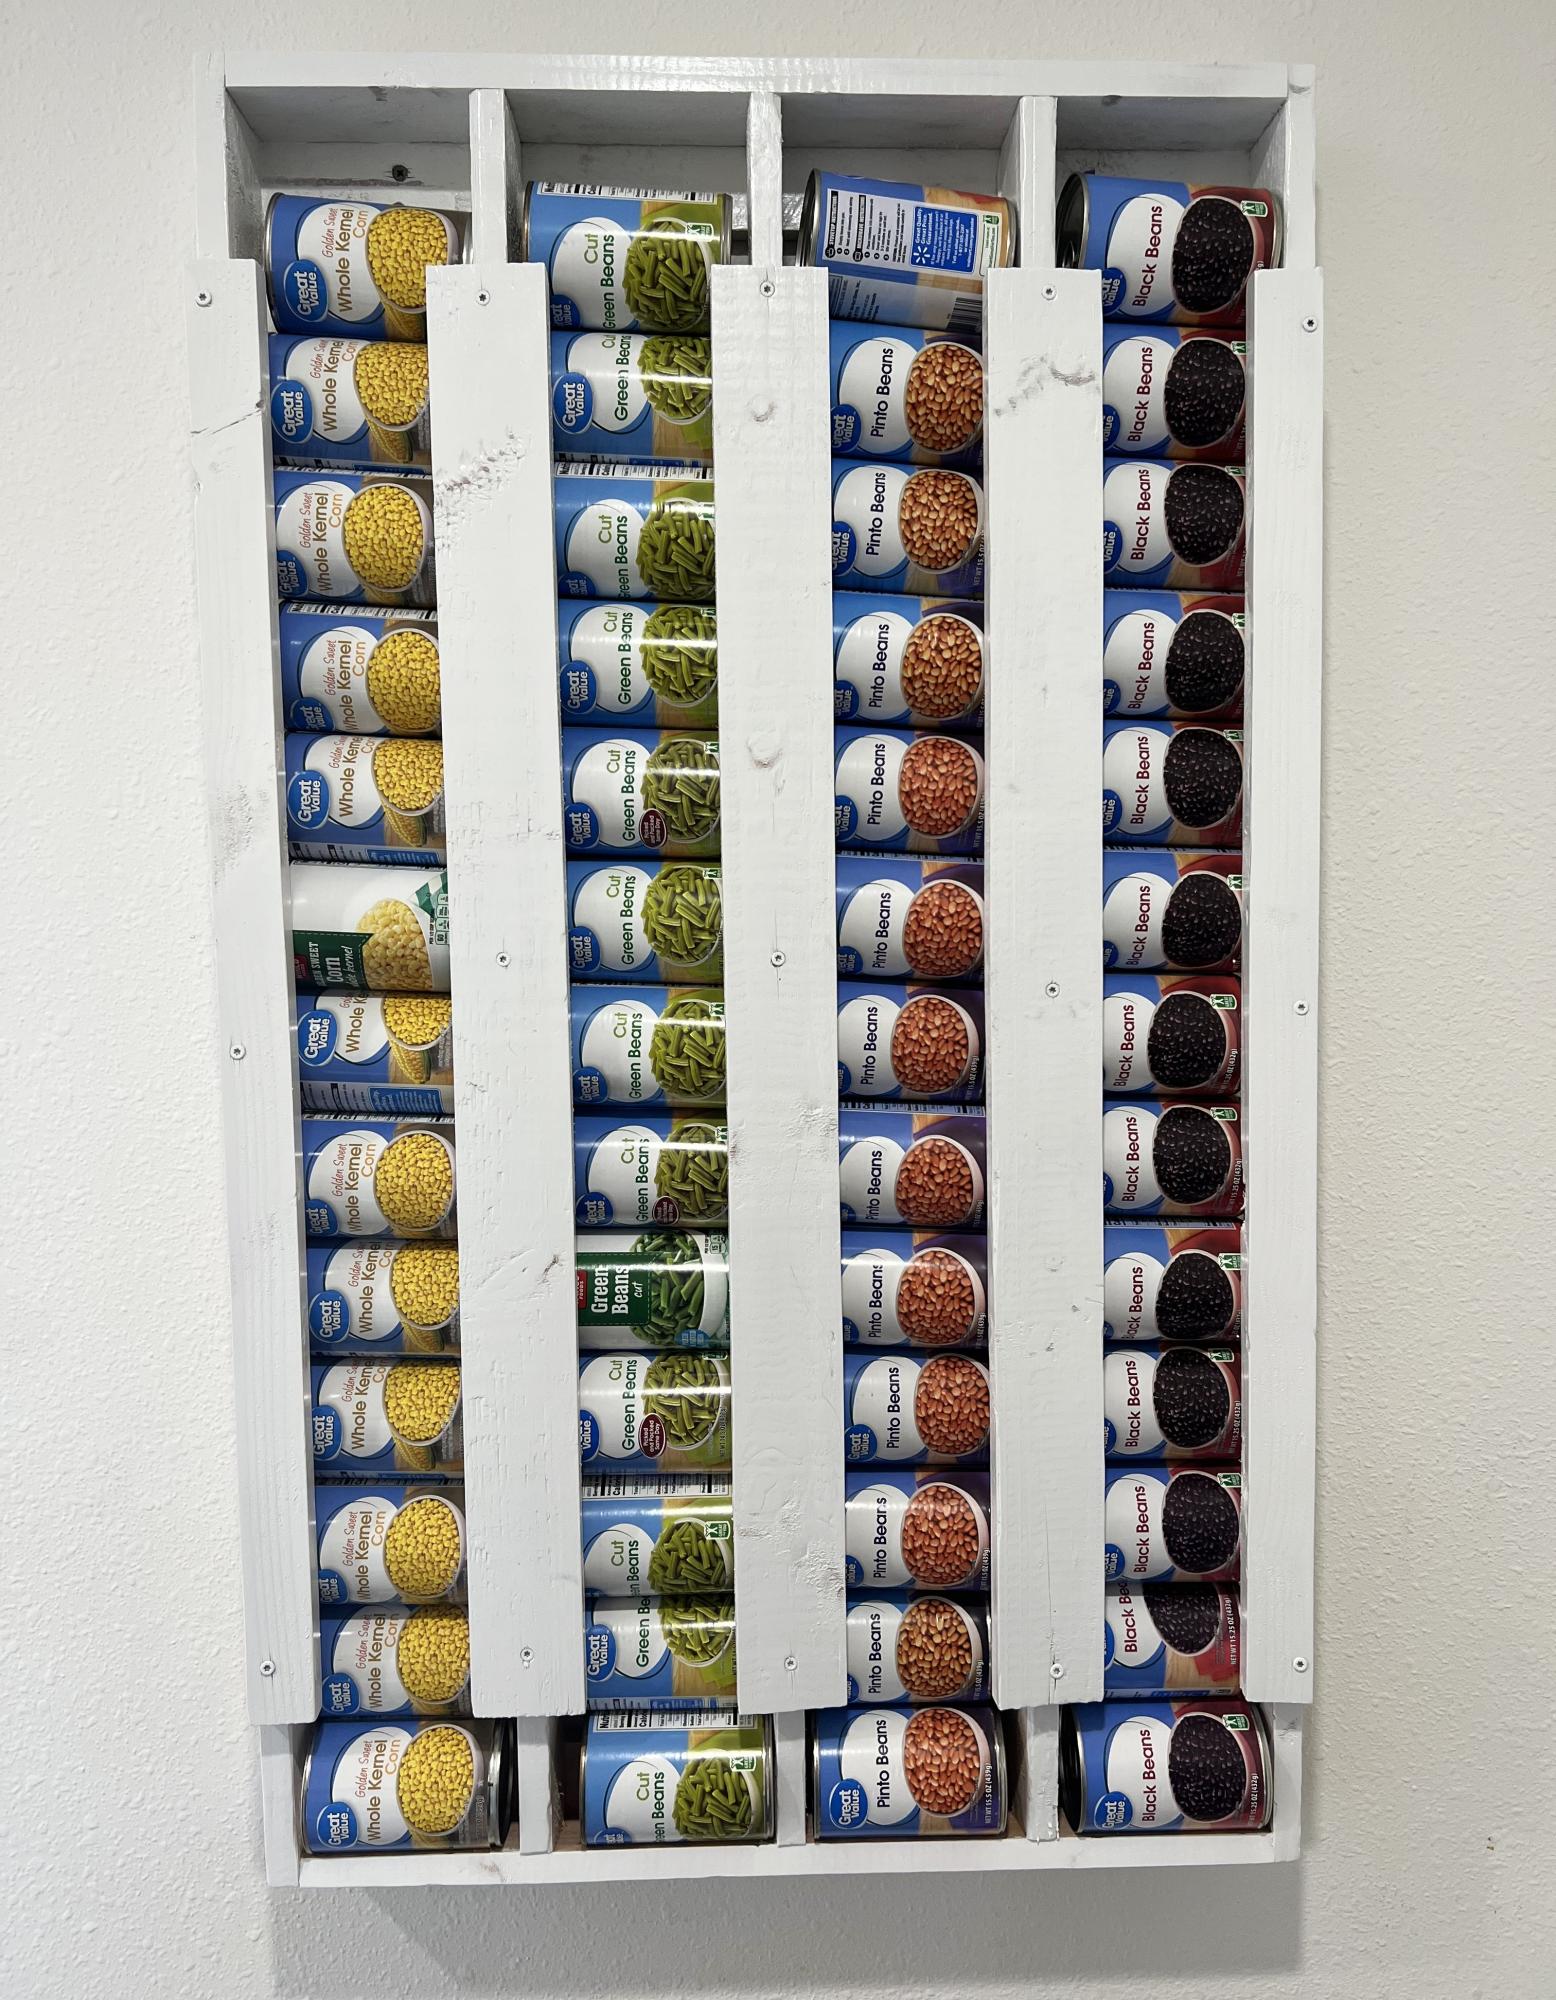
Super easy! I love it!
Built from Plan(s)
Super easy! I love it!
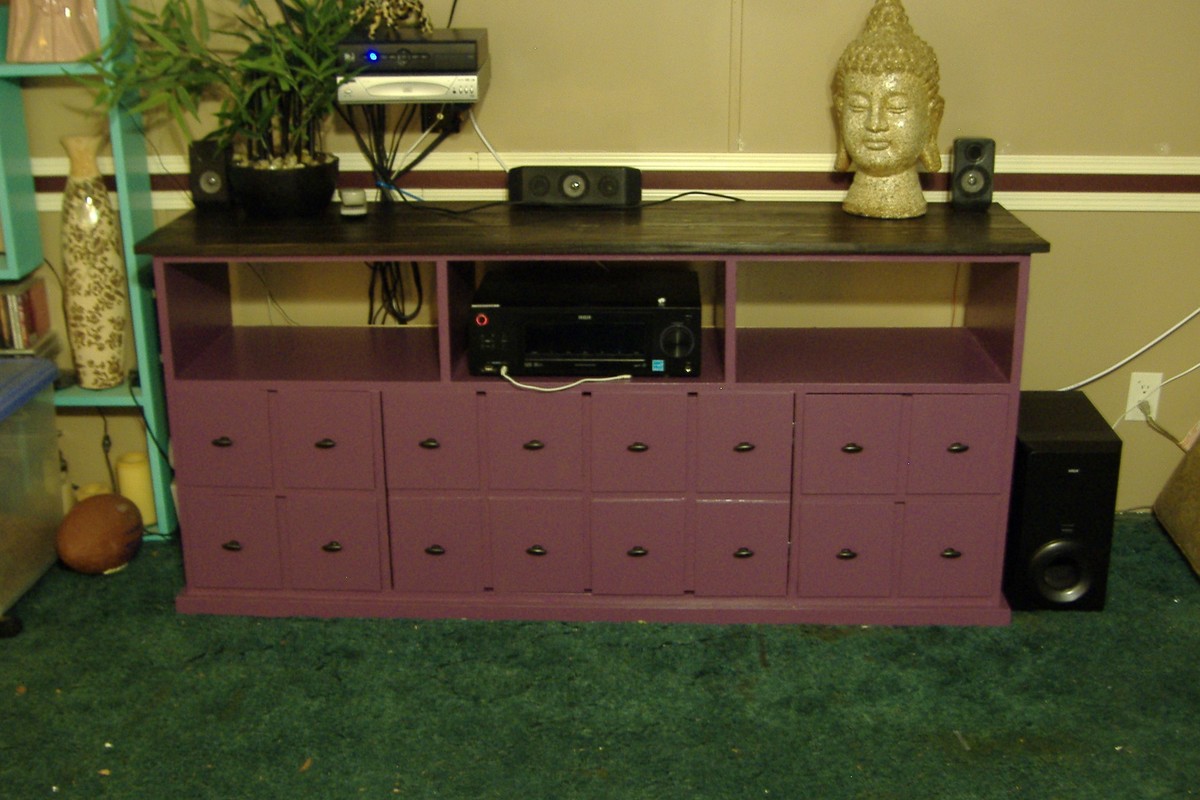
Loved this plan, also! In fact, a male co-worker helped me pick out the color! I made the open shelves taller and left the back off so my media components could get lots of air flow!
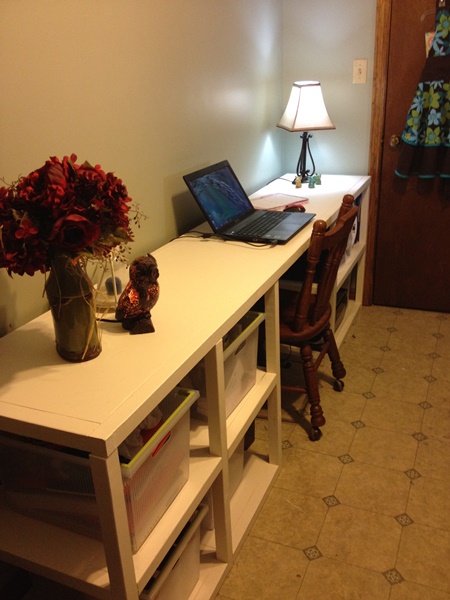
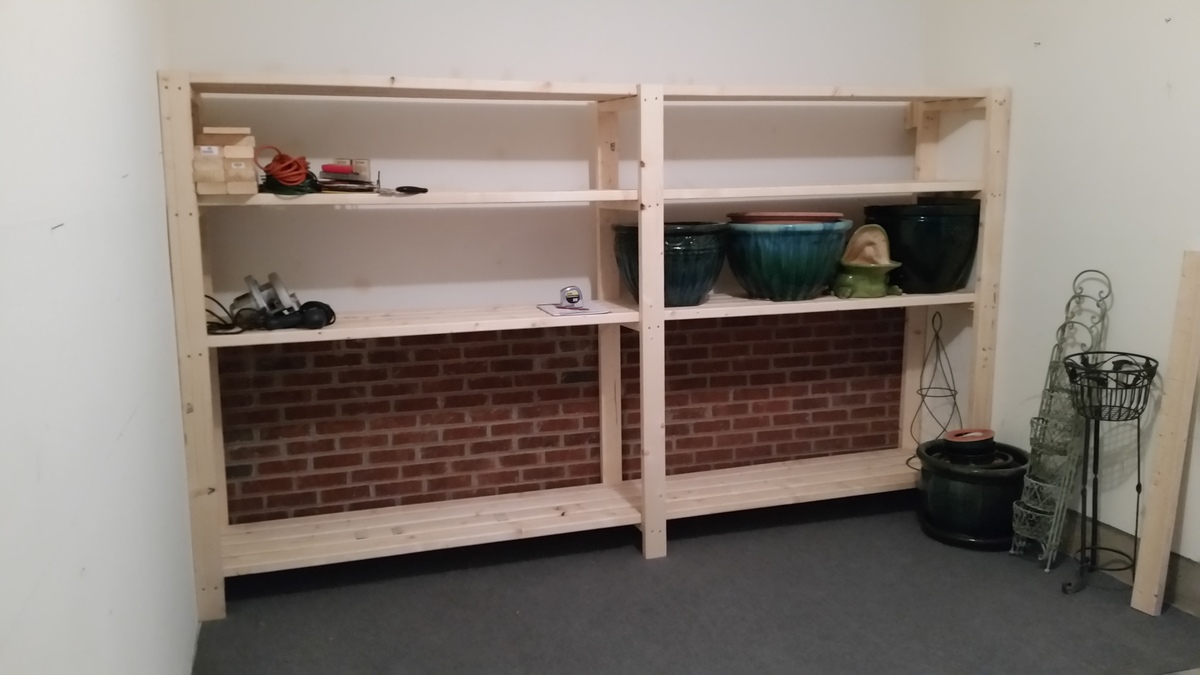
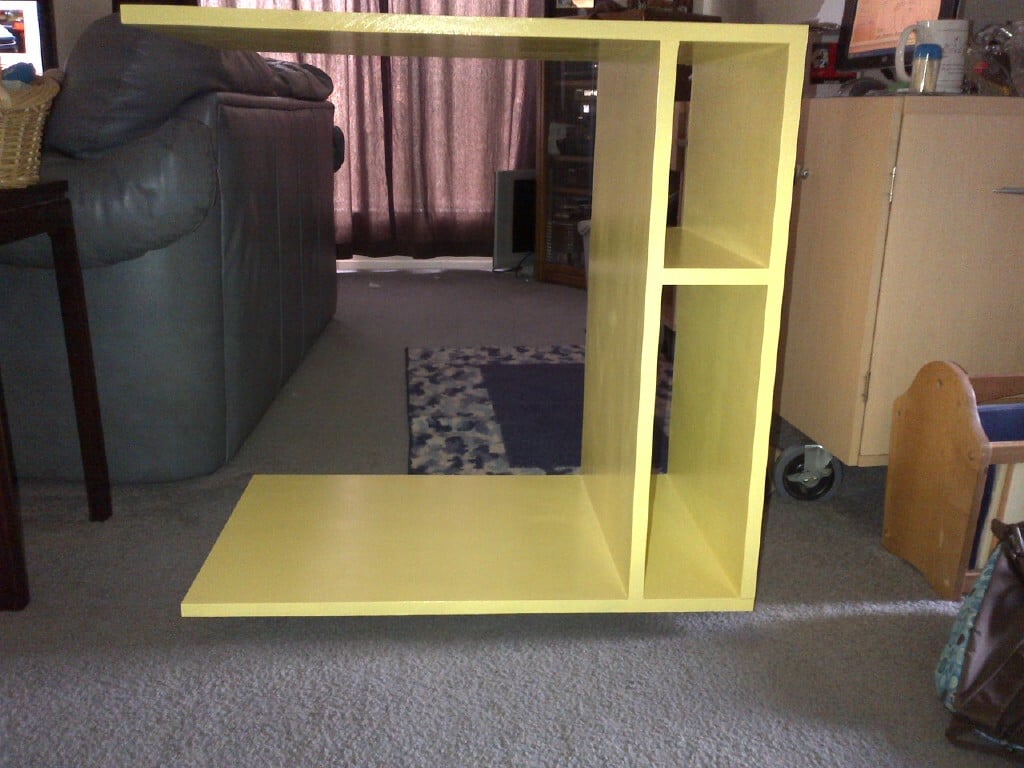
I needed a desk that served not only as a space to work, but something that had good storage and didn't take up way to much floor space.I looked and looked and couldn't find anything I loved until I ran across the Parson's Tower Desk plans on Ana-white.com. The depth of the desk was perfect, but I needed more storage, so I decided to play in with sketchup and see if I couldn't make it more of what I needed.
I ended up with a supersized Parson's Tower Desk!
It has four smaller cubbies to the left side and 2 wider shelves to the right side.
You can see a front view and all the pictures at the blog post!
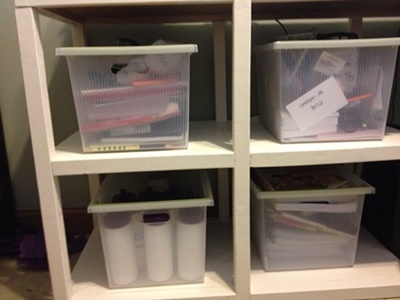
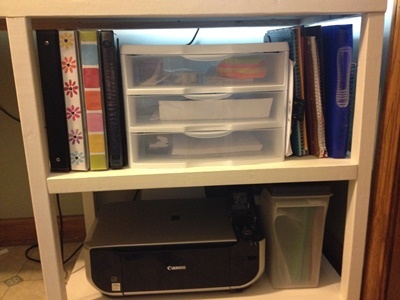
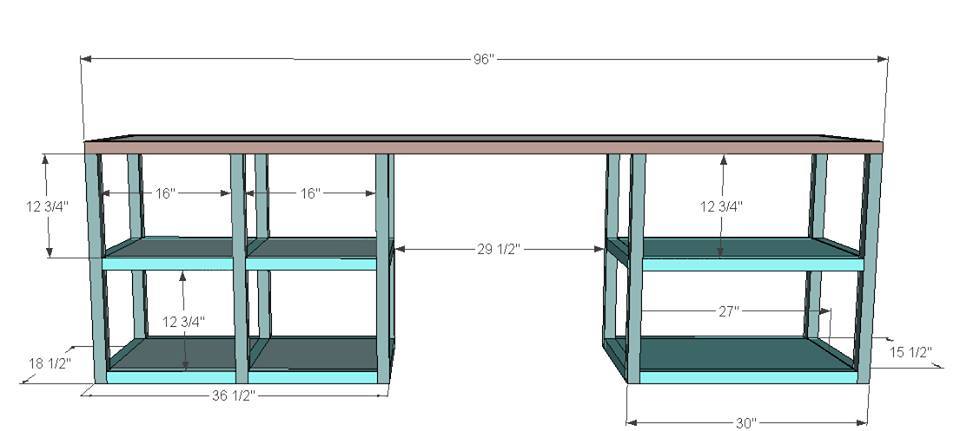
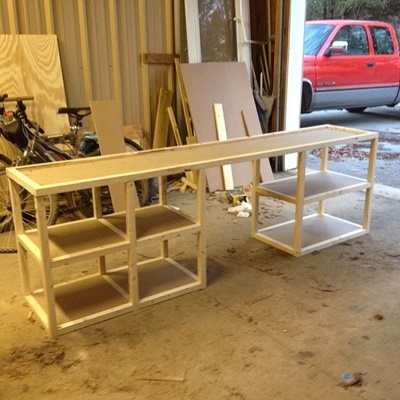
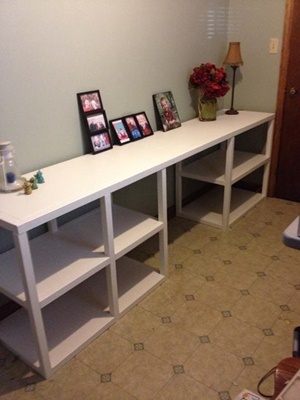
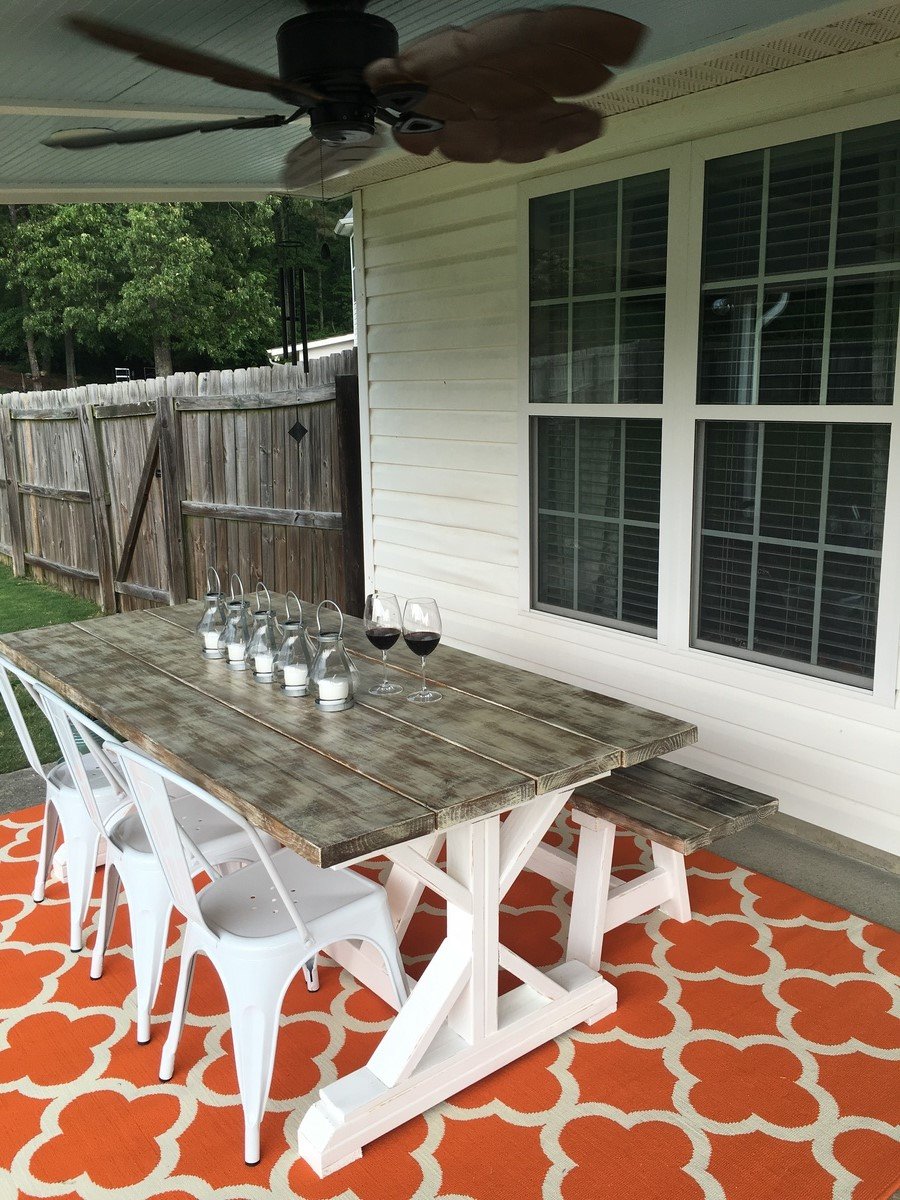
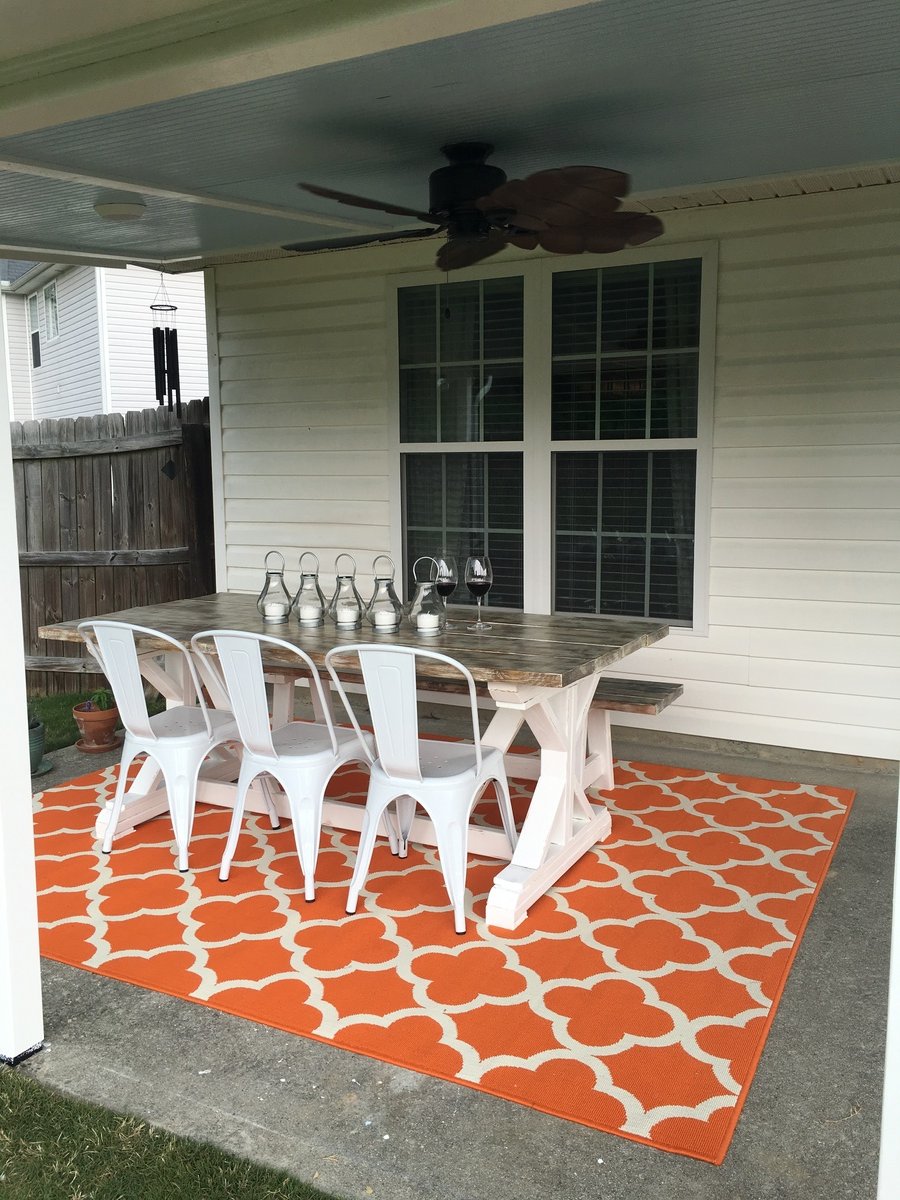
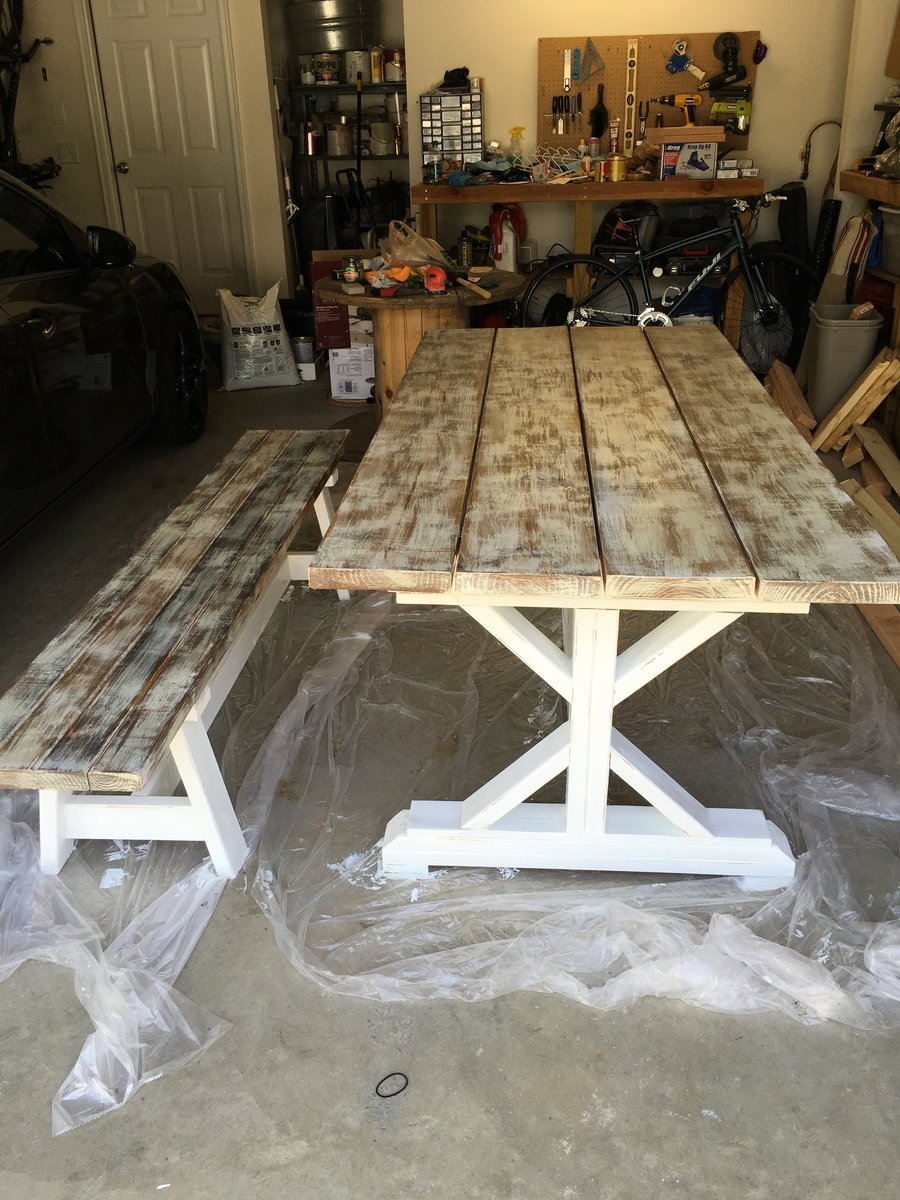
table took one day and bench a few more hours. Sturdy beautiful table
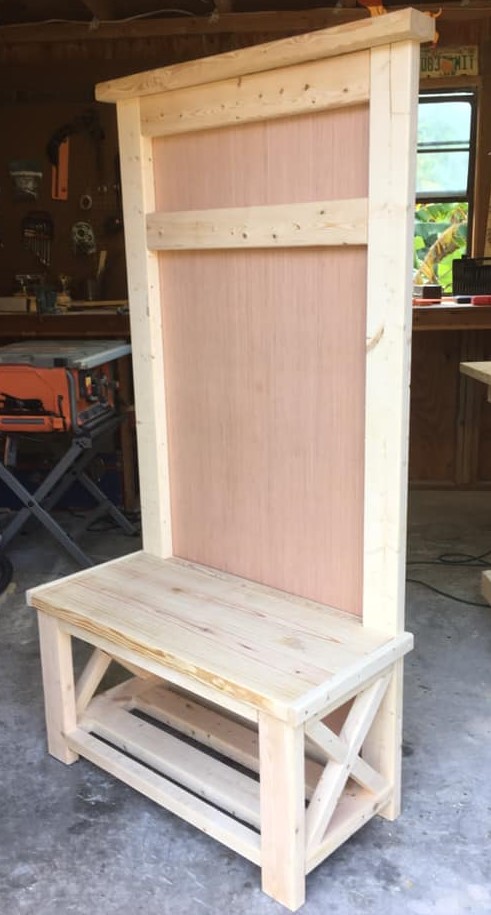
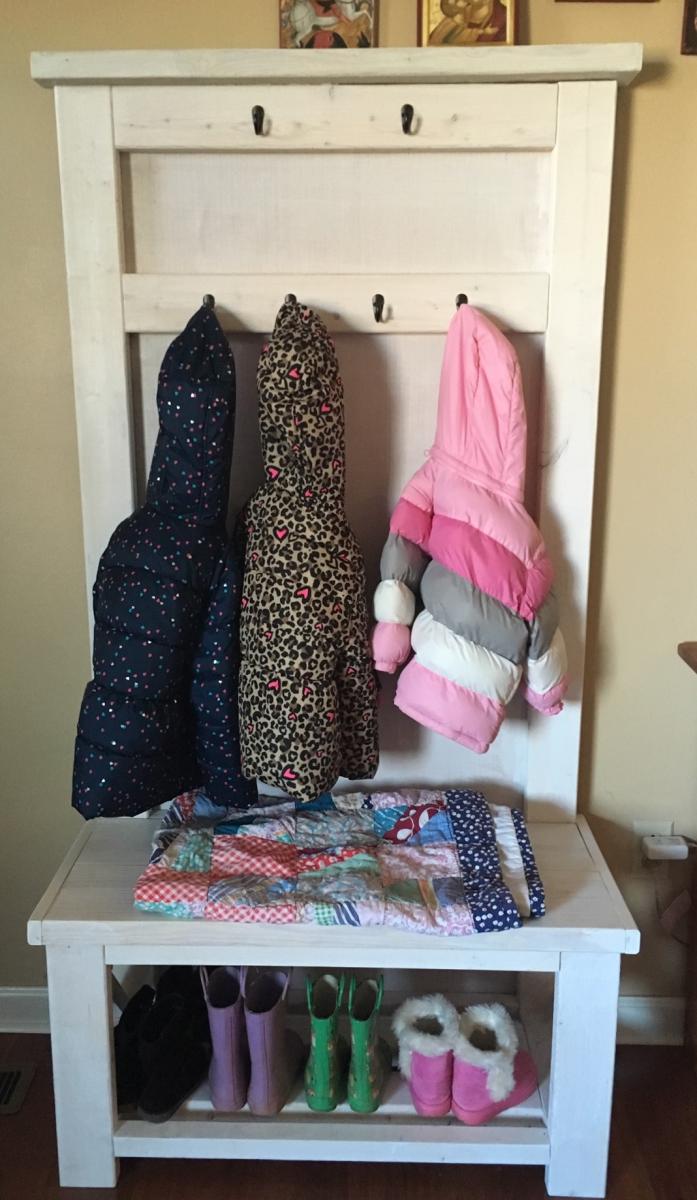
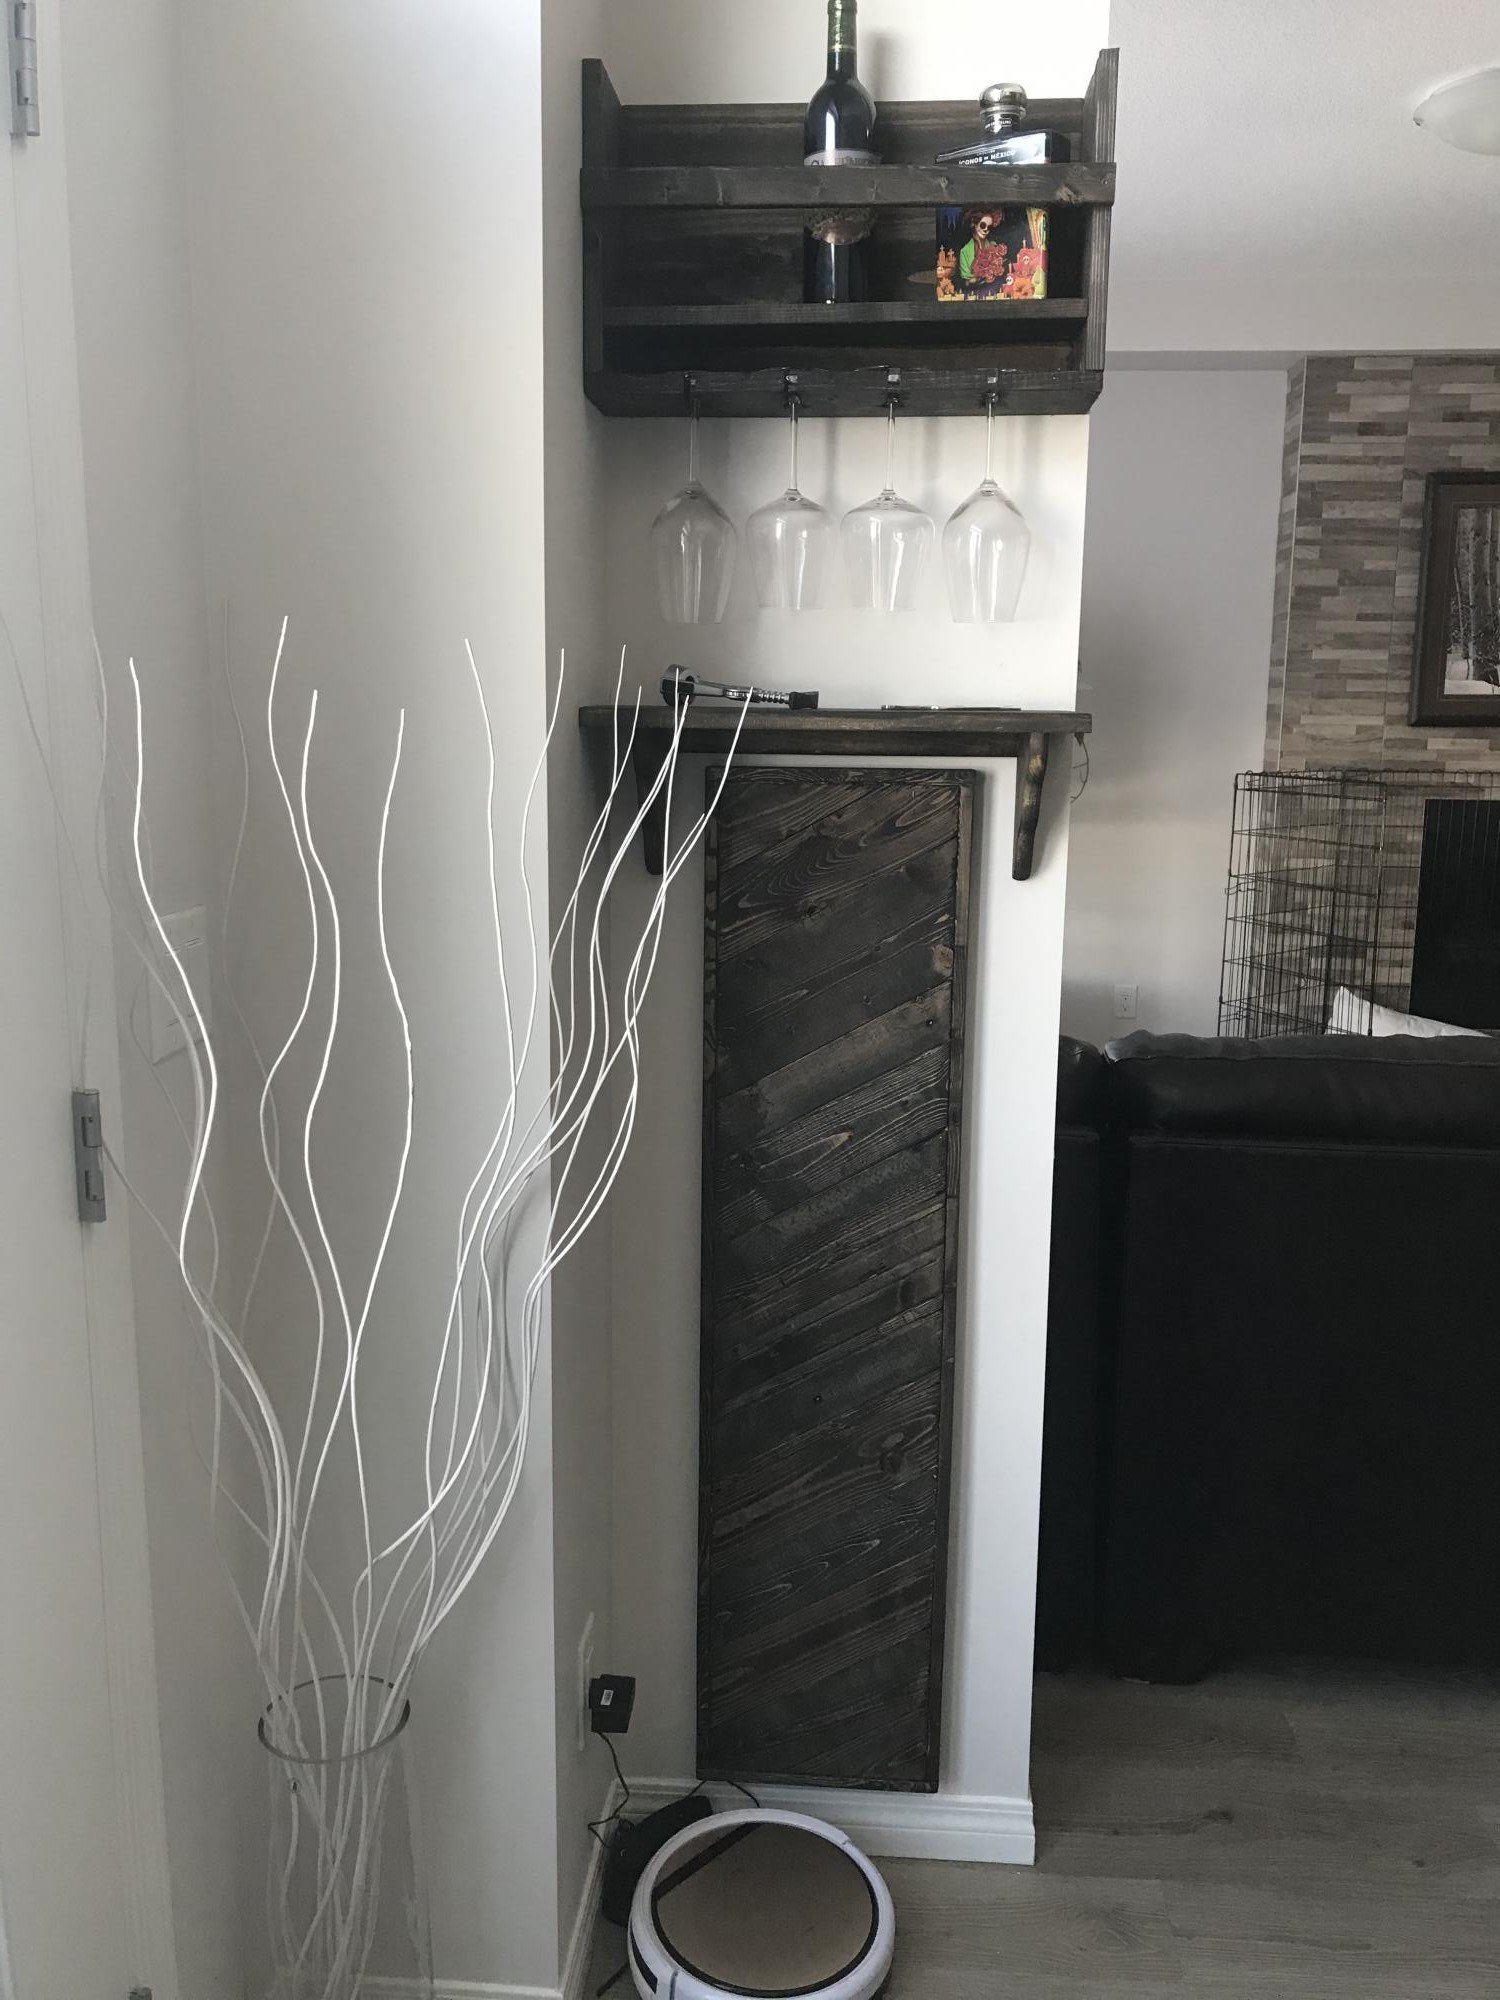
I built this scaled down version of Ana's Hall Tree to fit into a 3 foot wide space in my daughter's living room.

I was able to build the bed with the Rockler surface mount brackets and this allowed complete removal of the side rails without any screws. We are a military family that moves every 3 years and this makes it so much easier and less wear and tear on the beds. Any family that moves consistently can understand that the hardware can only take some much abuse before it compromises the integrity of the furniture.

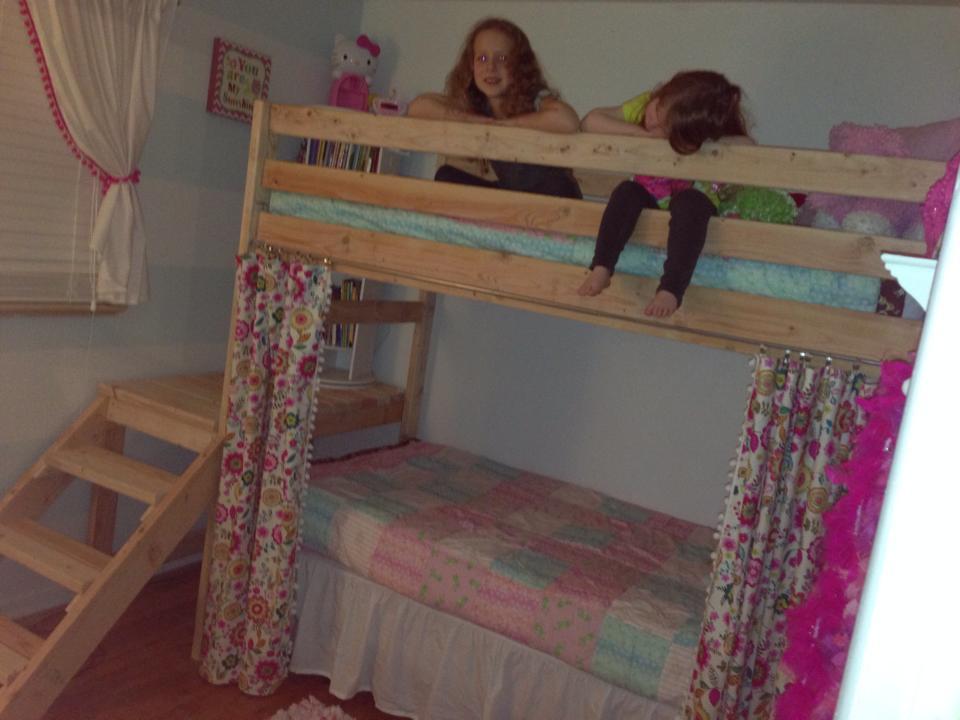
My girls each had their own room that they never used! So, dad decided to combine their rooms which gave us an office. They have since spent more time in there then anywhere in the house but it was a mess! 2 beds in a tiny room was not working! So I made dad make this bed, and it is AMAZING! It has made my life so much easier getting them ready in the morning, not tripping around beds, and they spend time in it, and take pride in keeping it clean!!
We added about 6 inches, making it normal bunk bed height, but didn't change anything else. No finish yet, because I love the look and haven't decided what to do. We also, did not use a kreg jig. Hubby just drilled in sideways, and it worked fine.

Thanks so much forthe plans. Voila, done!
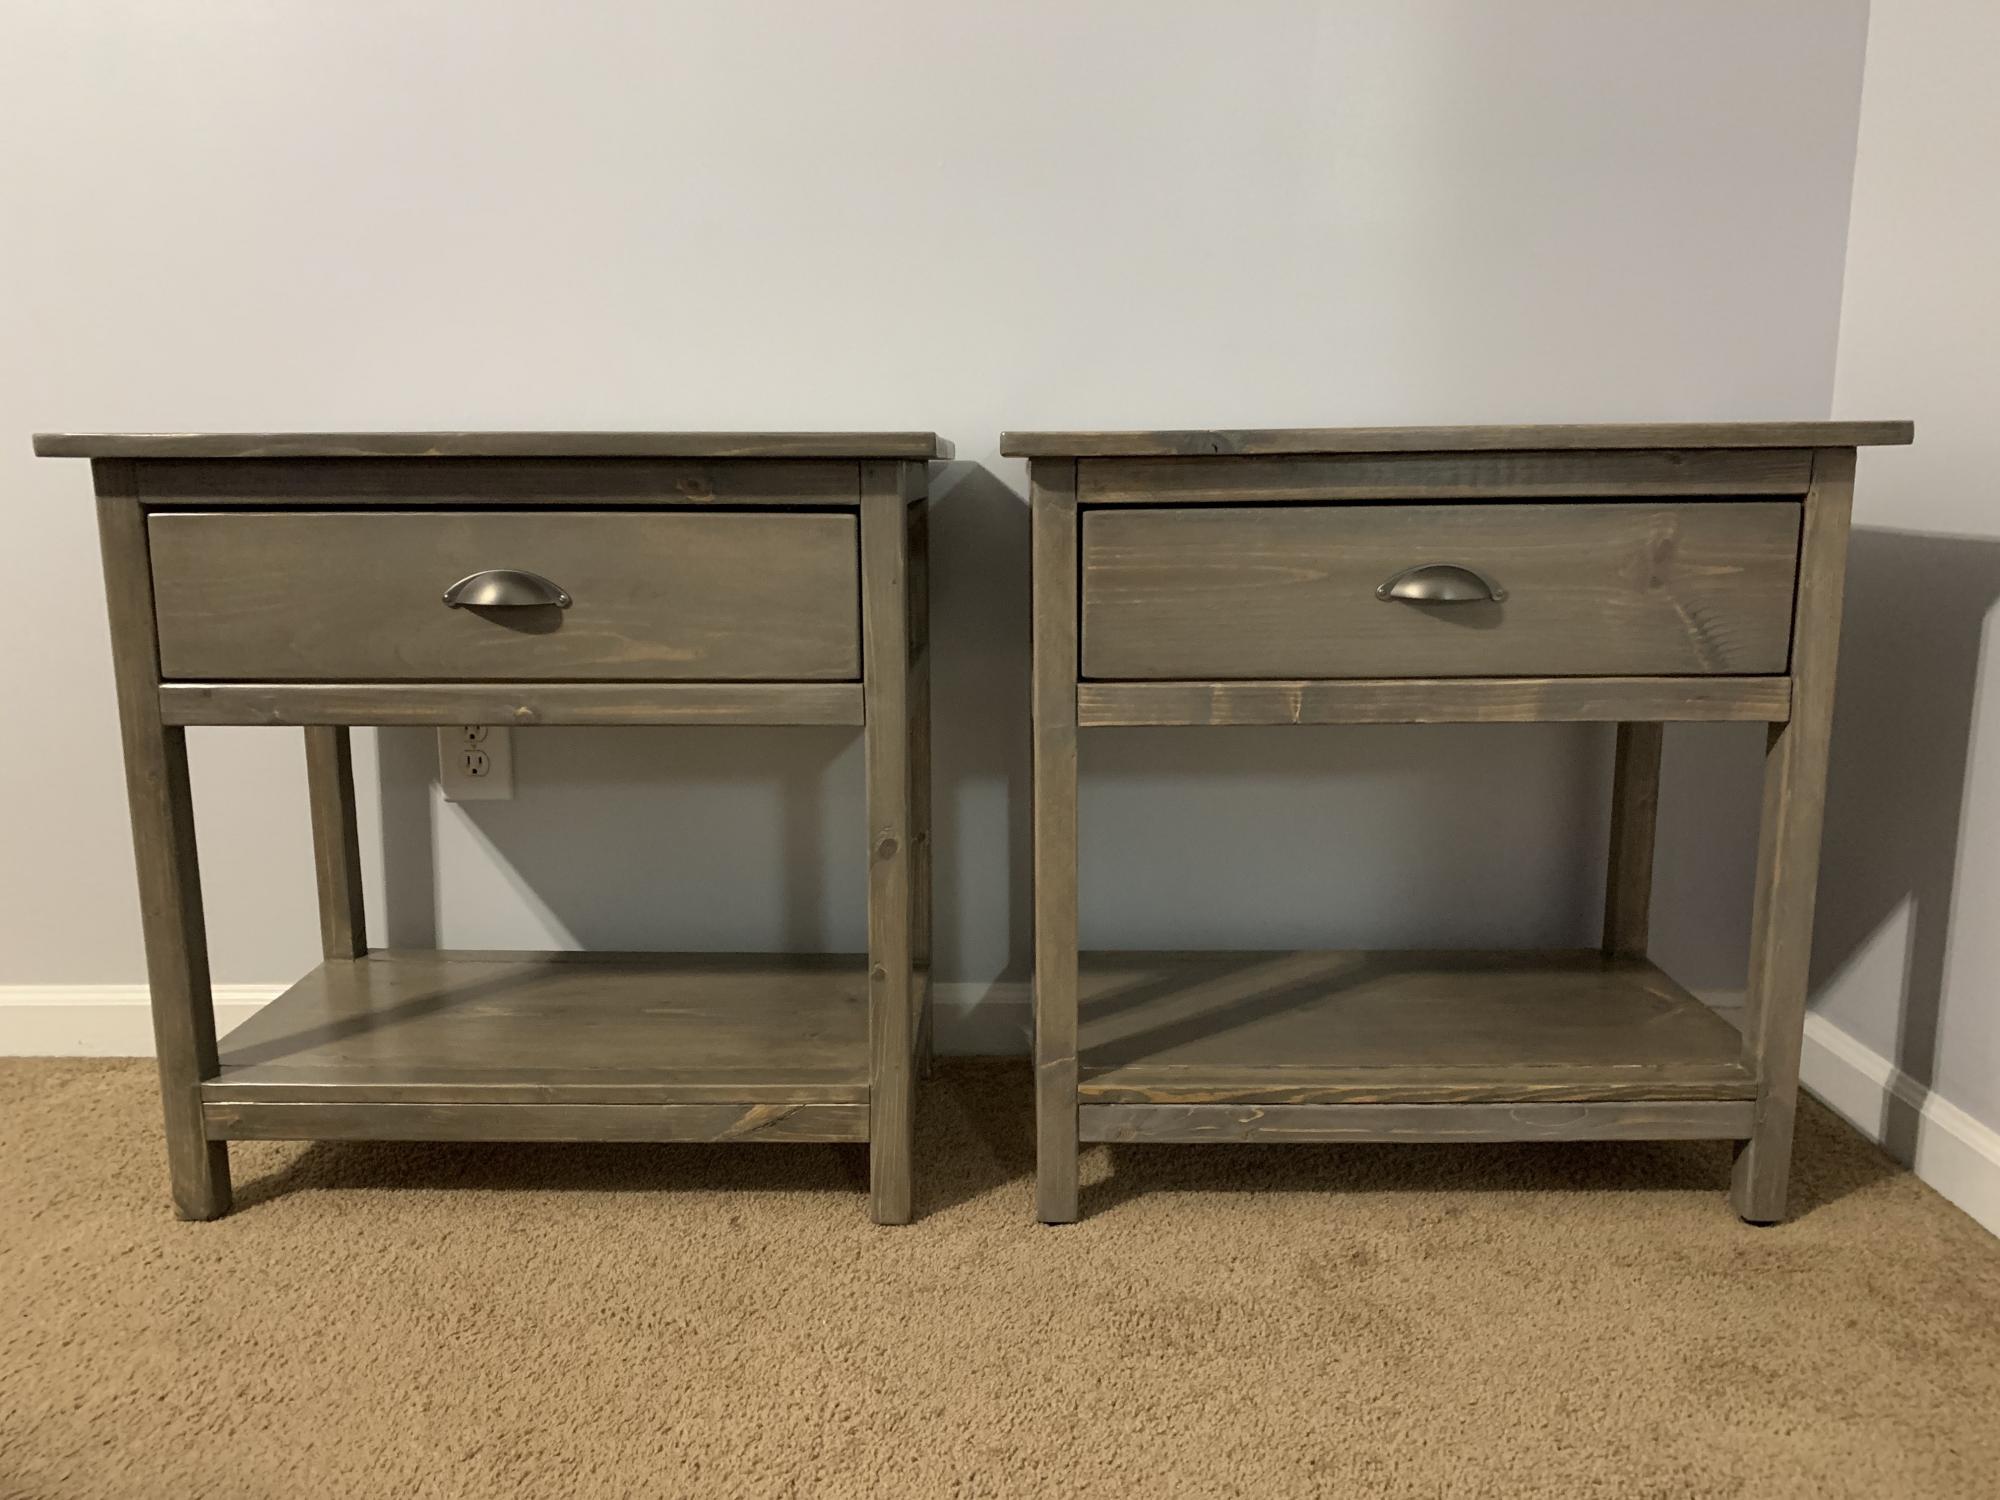
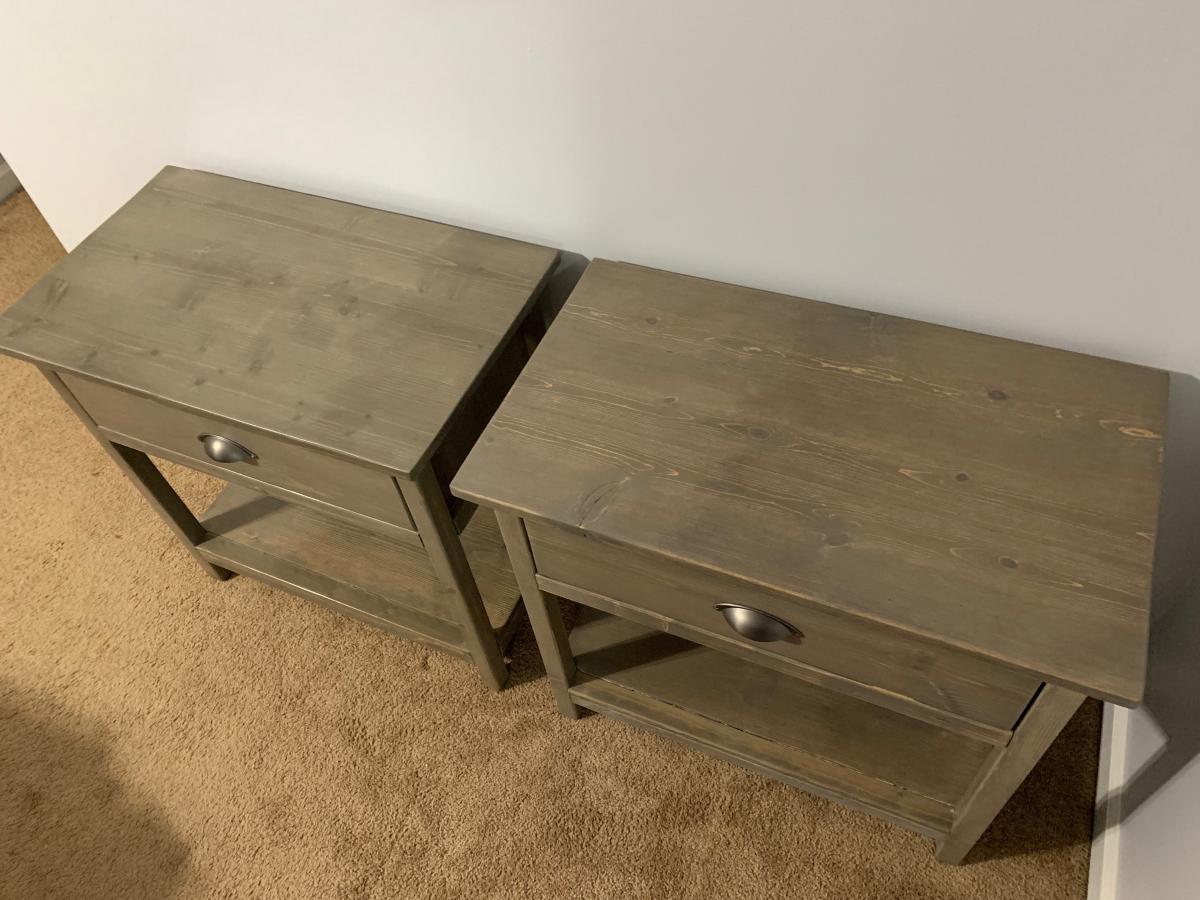
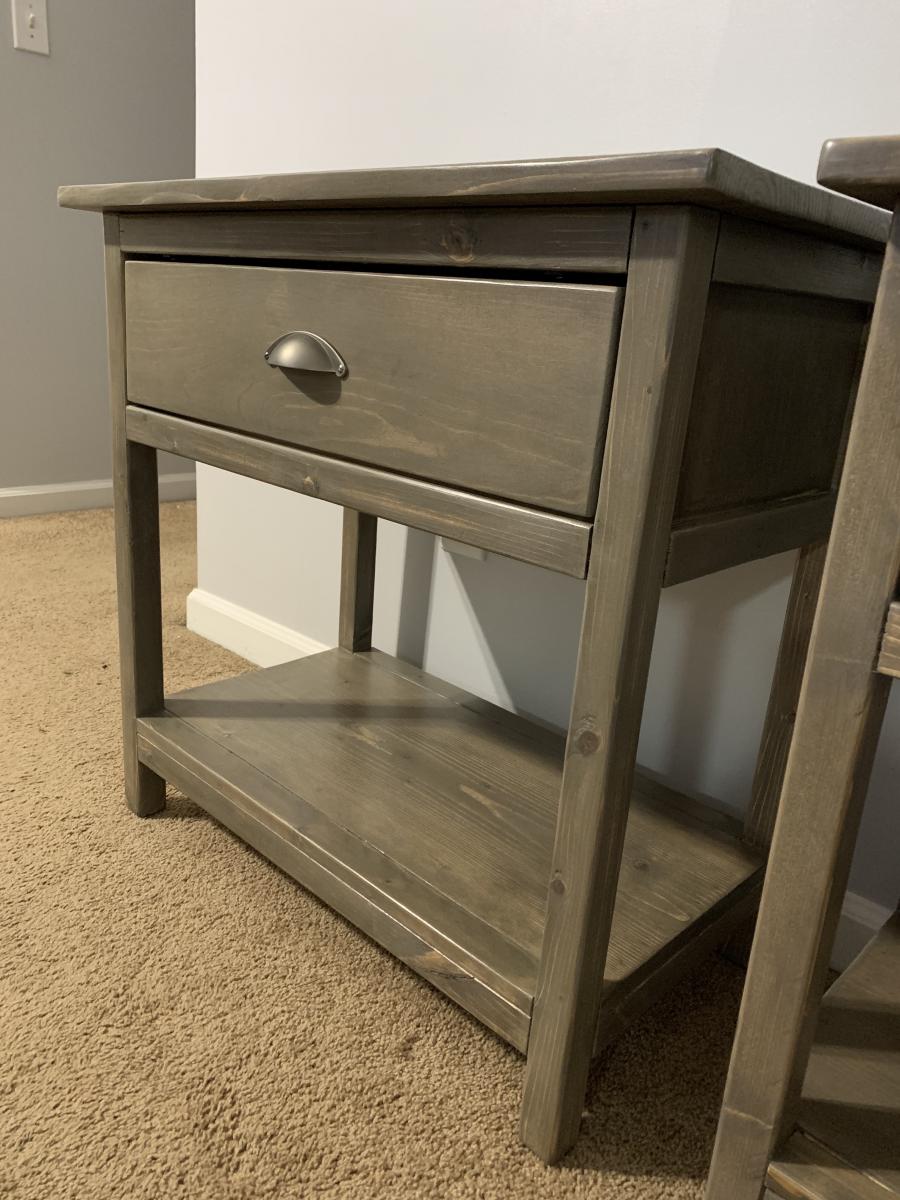
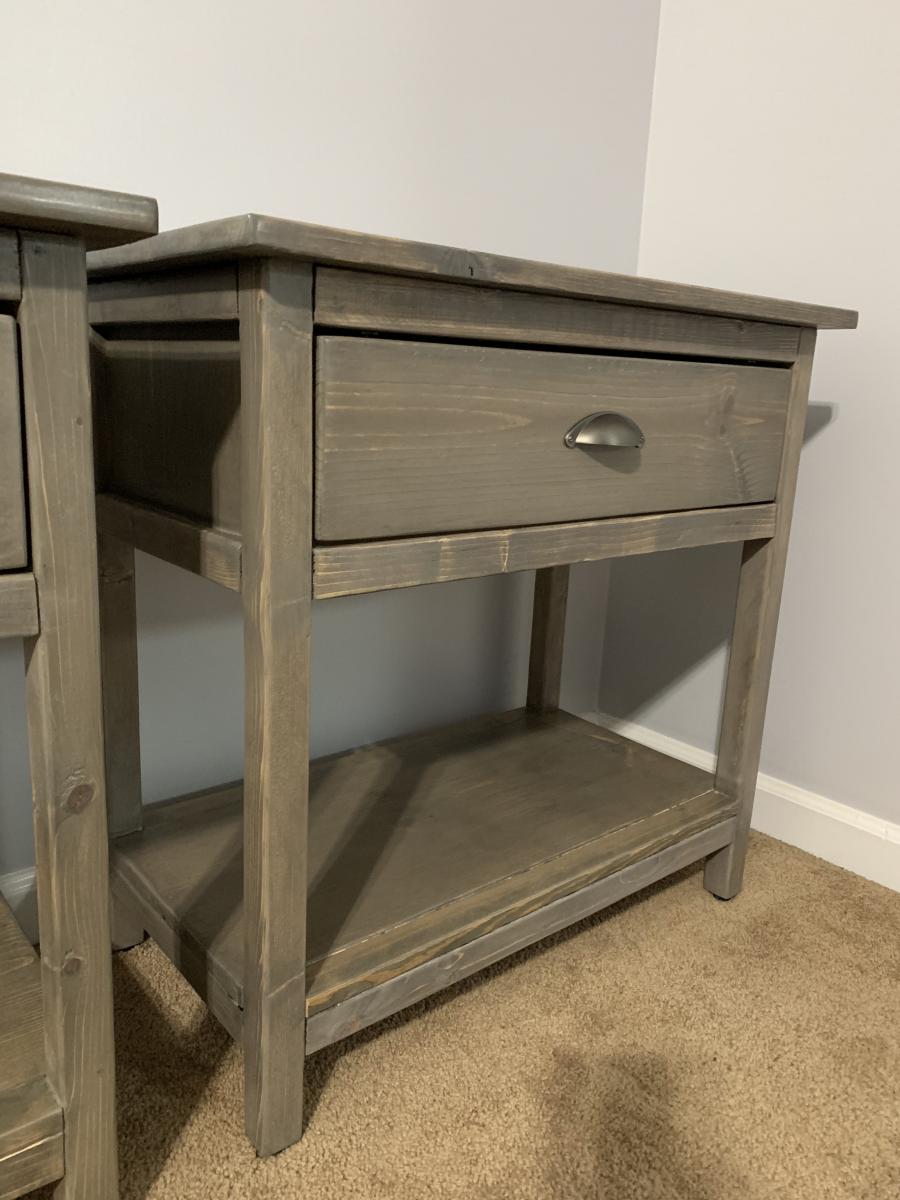
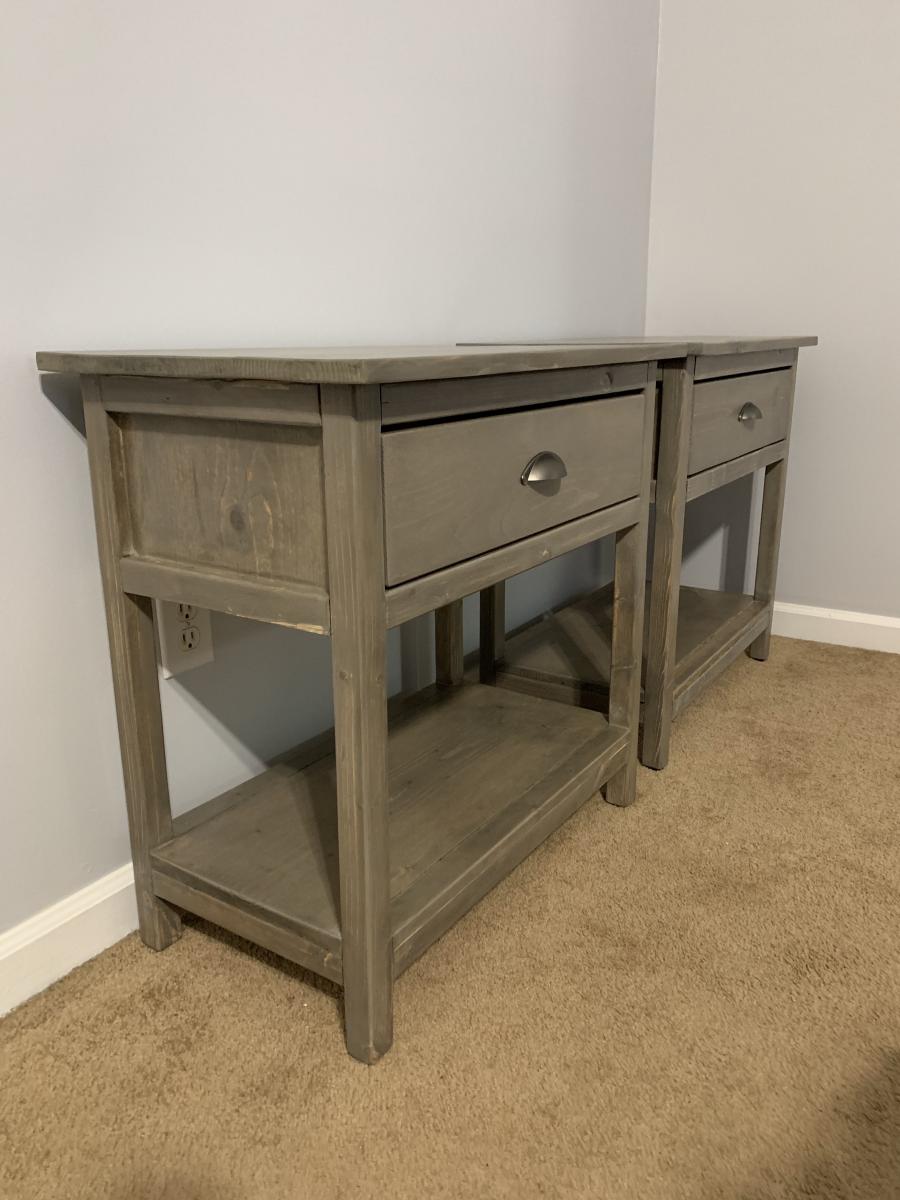
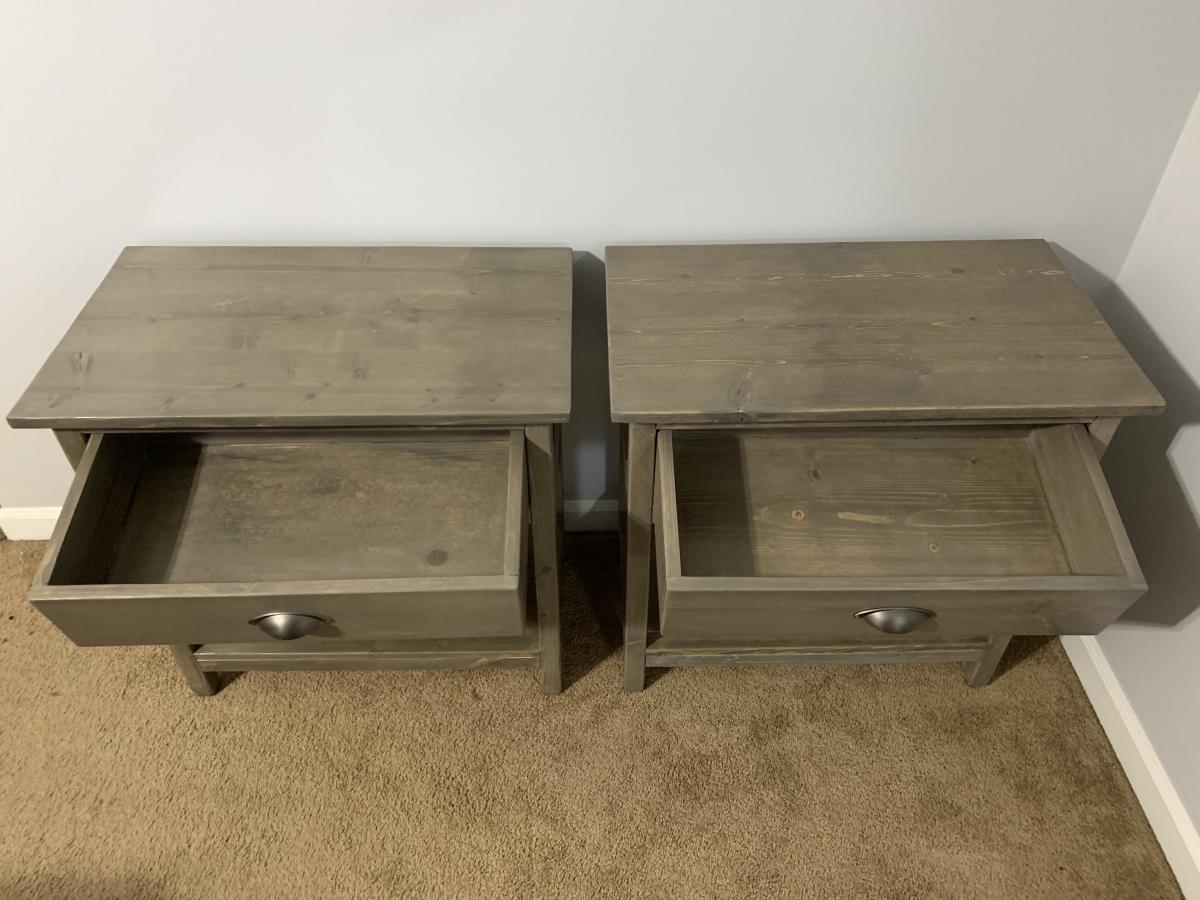
Made these side tables and they turned out great! I did buy some drawer stops from Swisco to keep the drawers from falling out.
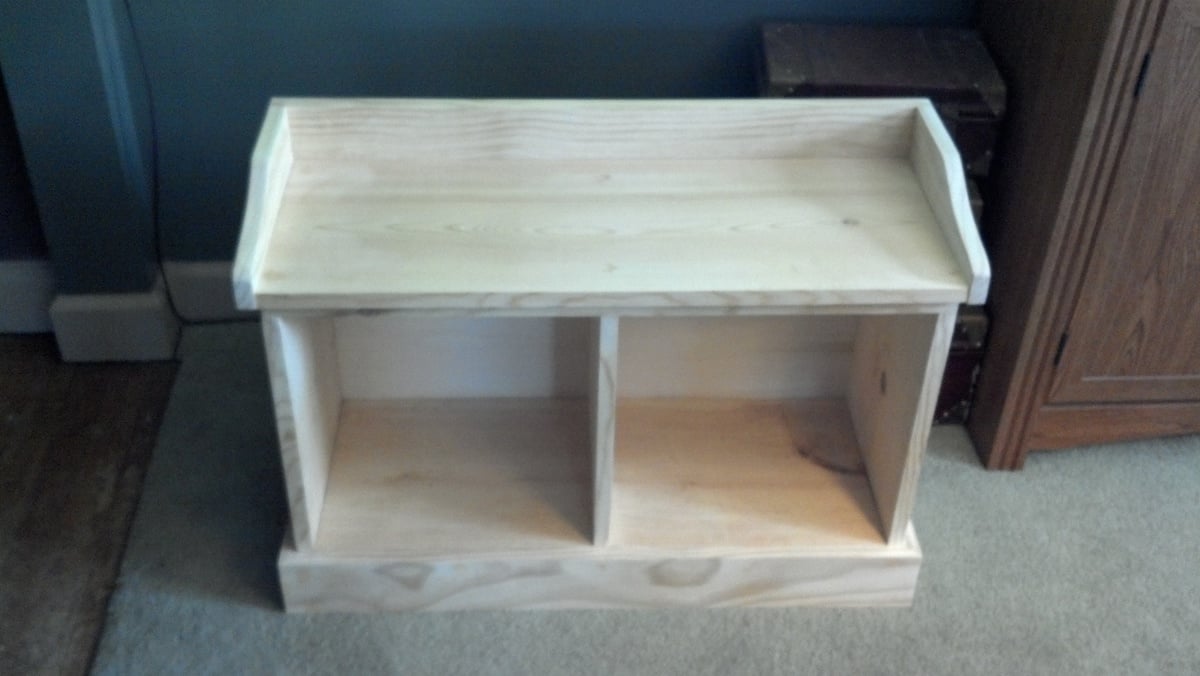
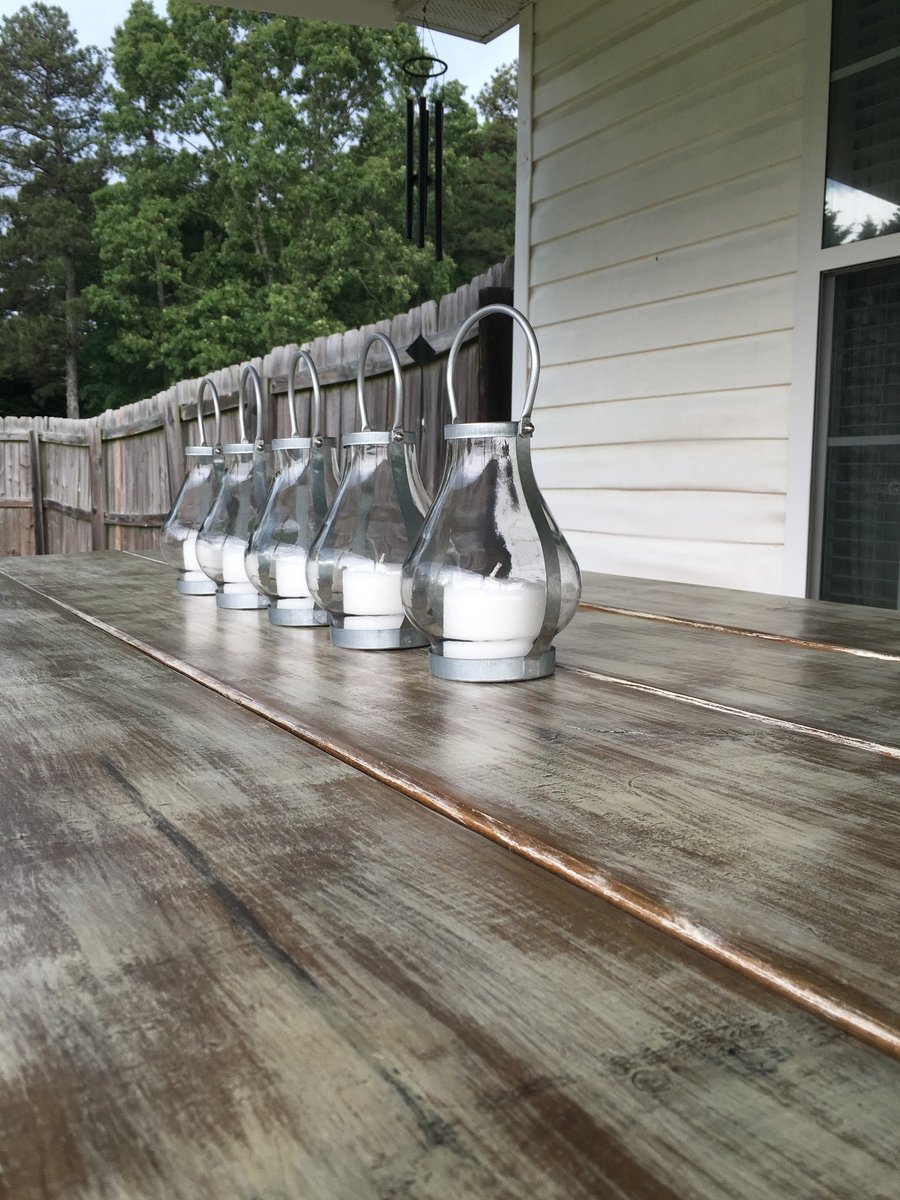
Made this bench for my sister to go with the entryway shelf
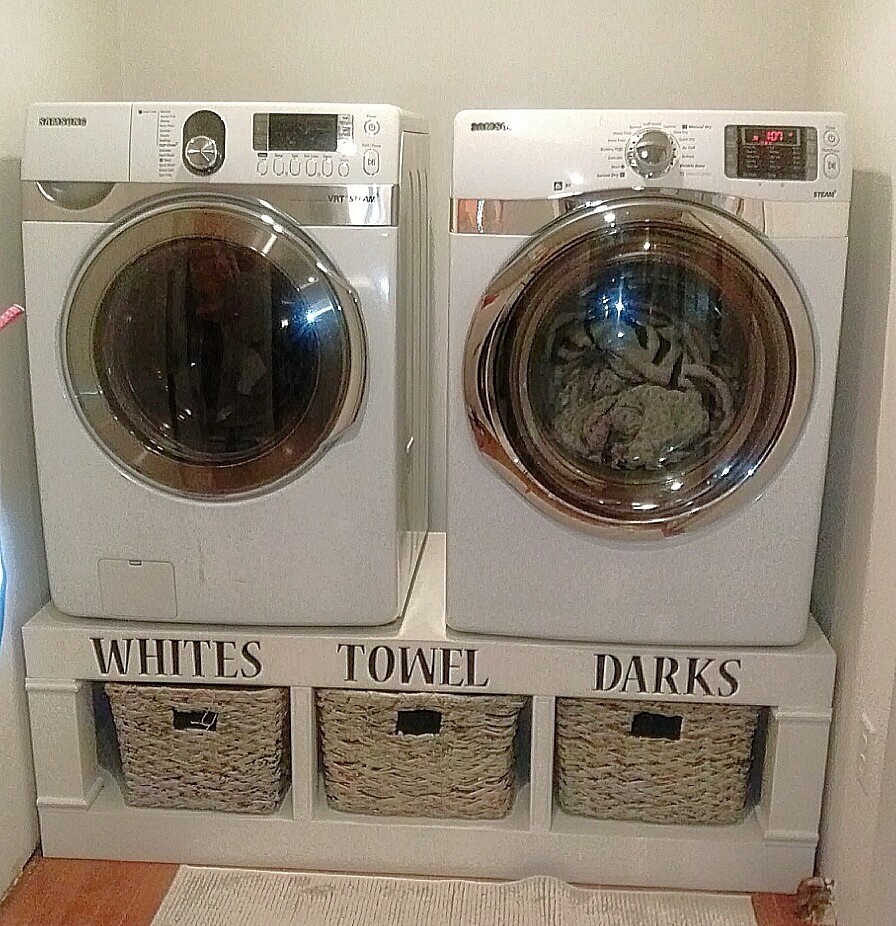
After reviewing the comments I was a bit hesitant to start this project but then I realized I will build then make my own opinion. I am very happy I did because these pedestals are sooo wonderful and beautiful. This project must be built with extreme detail and everything must be square, etc to avoid any vibrations and complications. I did include extra center supports and thought of it like building a house frame.

Mon, 02/10/2014 - 11:38
Looks solid! Did you follow the plans? We have a samsung front load washer / dryer as well. It's not the same as yours, but we have a hard time keeping it from moving around. We have tried making it as level as possible but still have a problem. Did you find by putting it on a pedestel that you had any issues? I was thinking maybe if I did build a pedestel, I could drill or recess holes on the platform for the feet to go in to prevent it from shifting around. Let me know your thoughts, thanks.
Thu, 02/13/2014 - 10:50
Thank you for your comment! I will send you a follow up note with my comments this evening. Thank you and have a great day! Happy Building.
Sat, 02/15/2014 - 12:33
Hello - Yes we did follow Ana's plan with some minor modifications. My suggestion would be to knotch it like a corner deck post so the 4x4's can go through the platform. If you don't understand I will happy to forward you a drawing. Just let me know. Thank you! Good luck!
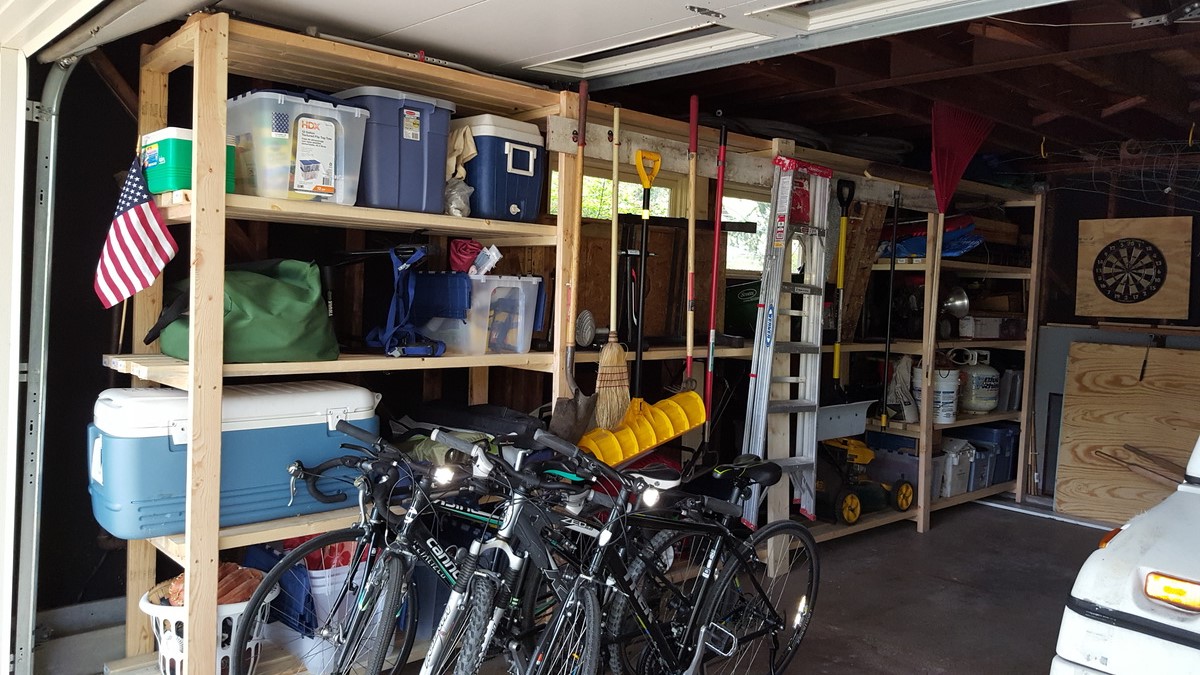
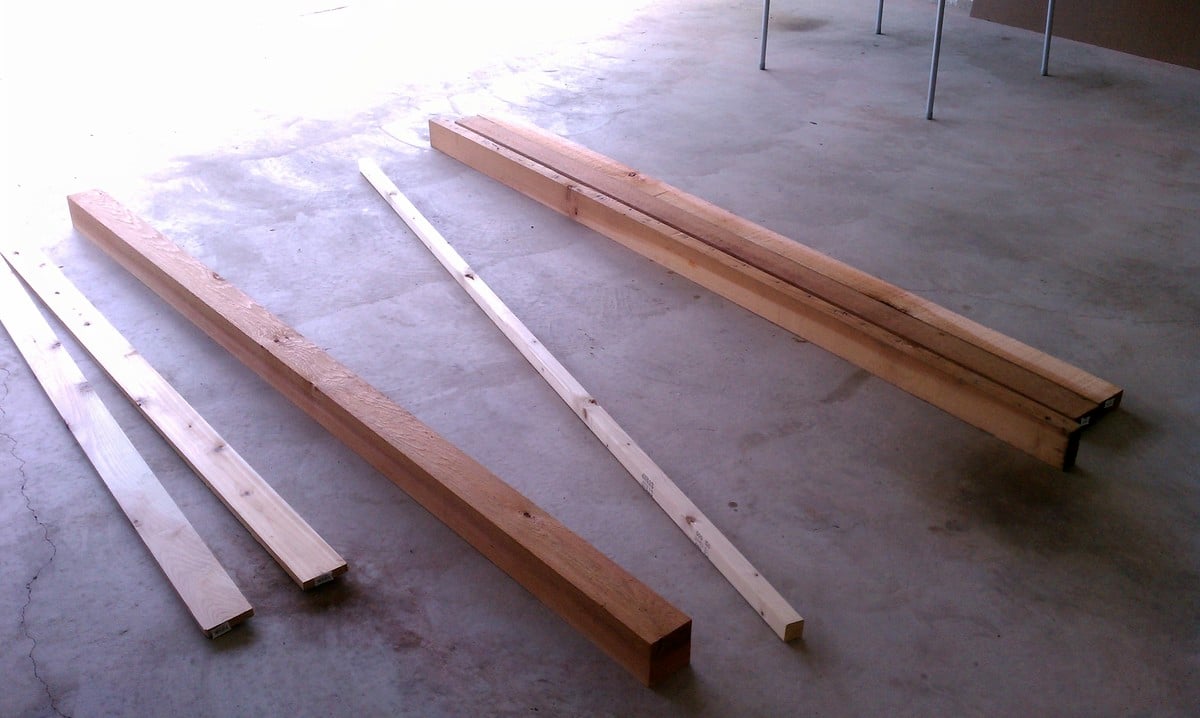
20' long, 25" in deep, 7.5' tall
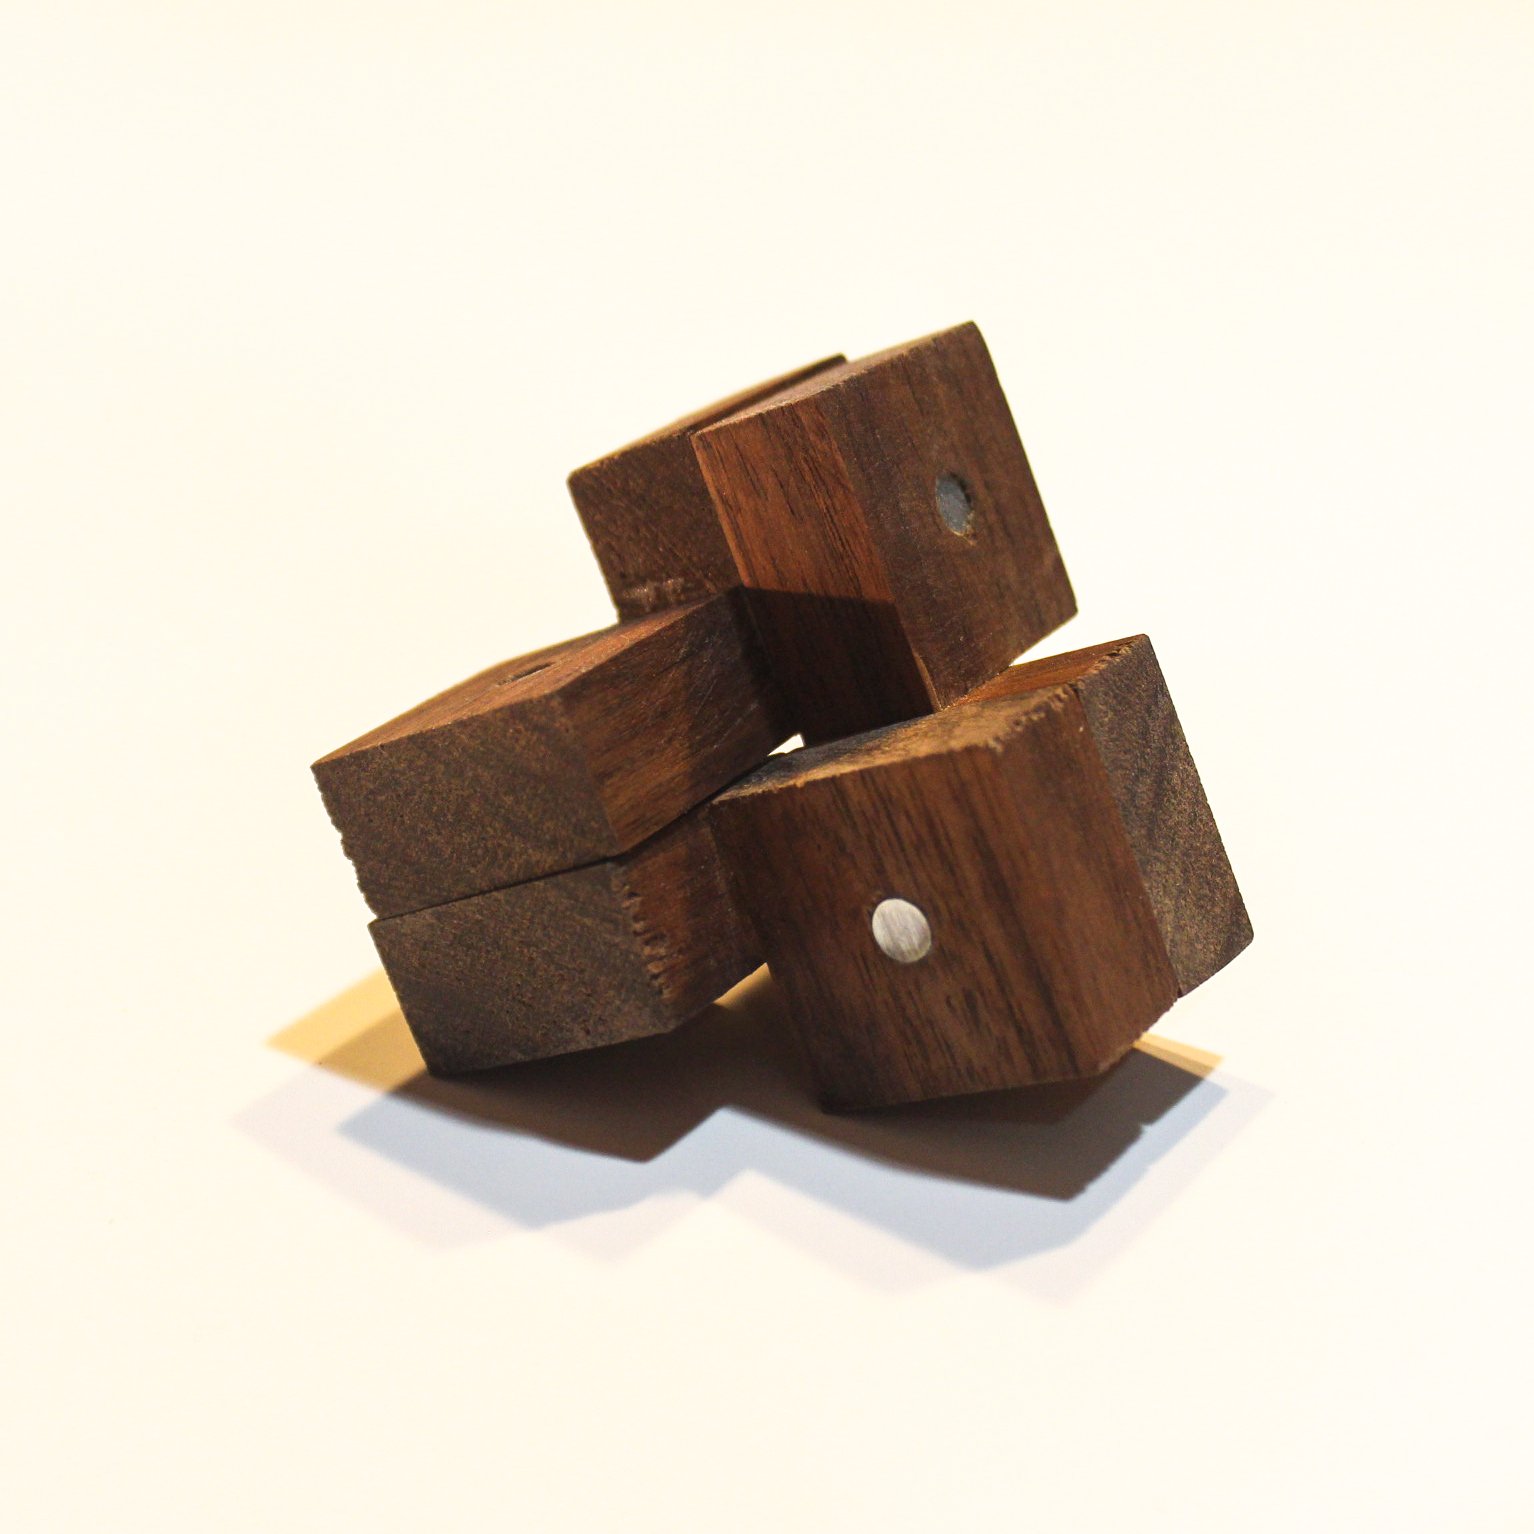
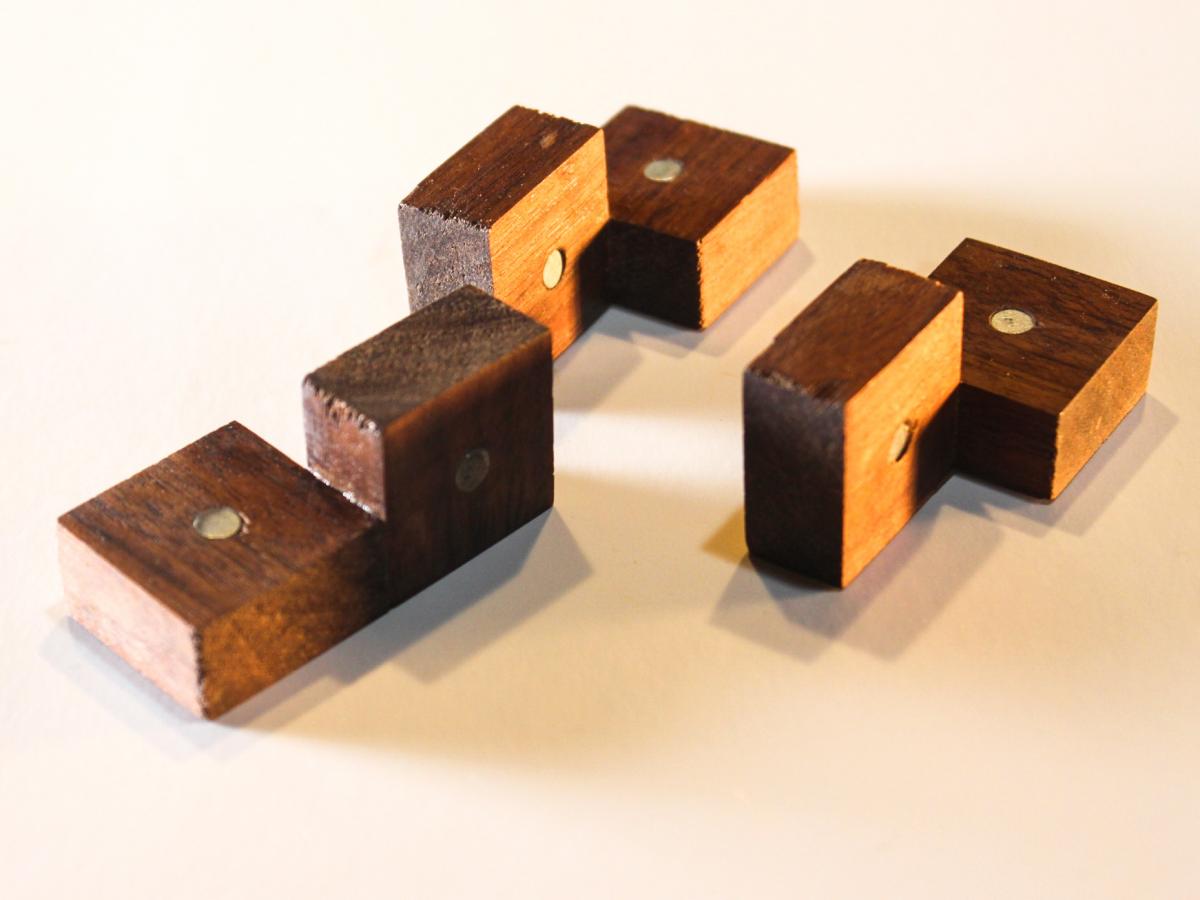
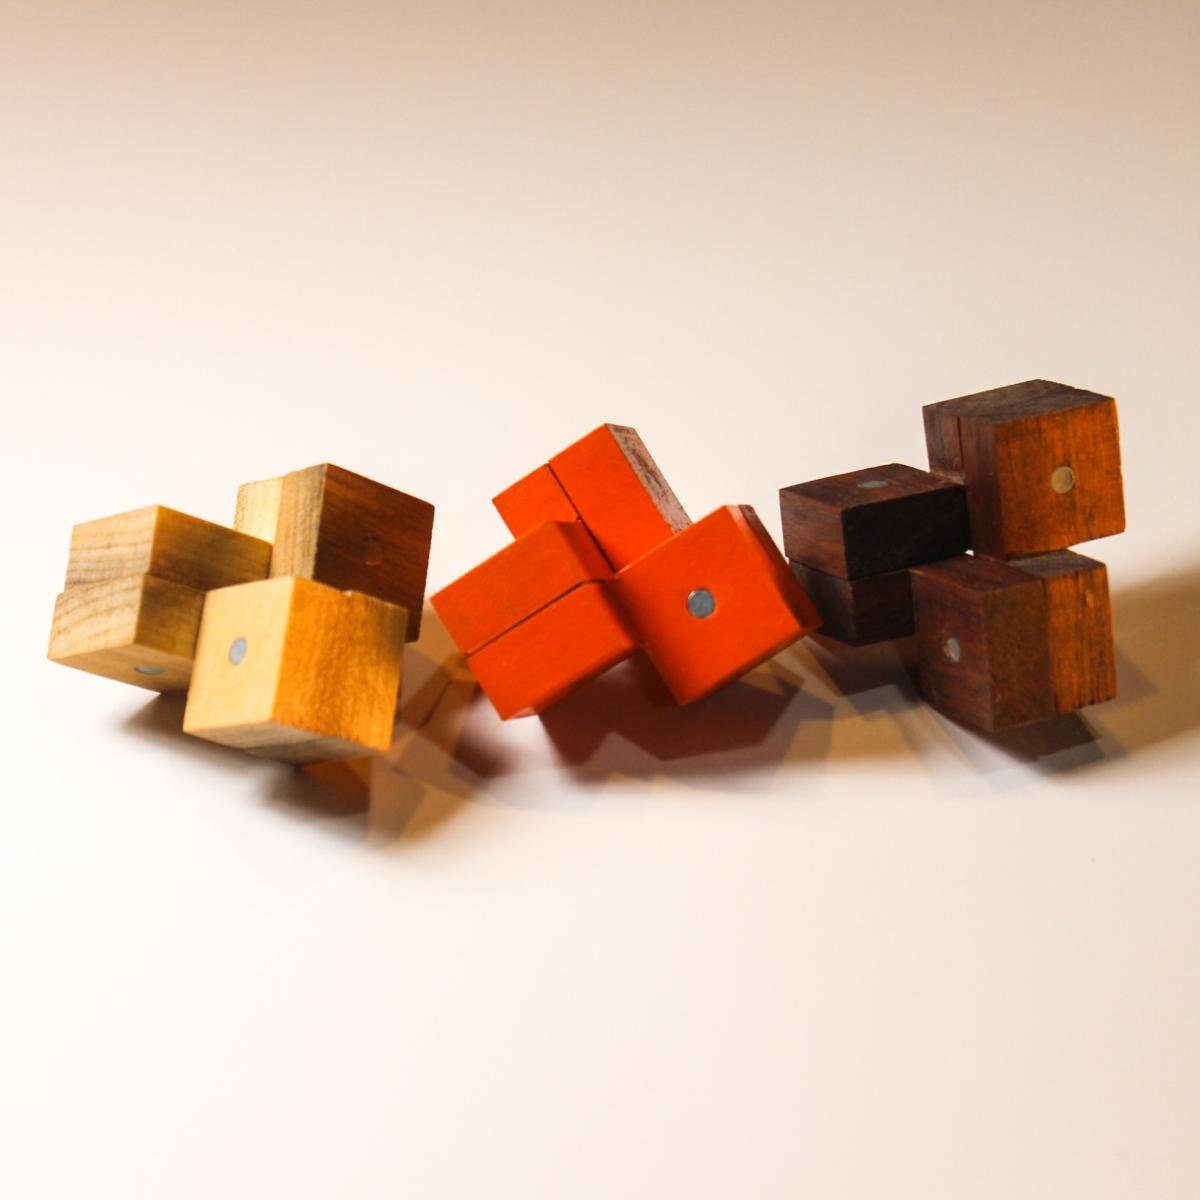
The goal of this puzzle is to make three cubes from the given pieces. Although this puzzle only has three pieces, the solution is pretty challenging – mainly due to magnet polarity.
Super easy to build. See Build Instructions here: https://www.instructables.com/id/Three-Cube-Puzzle/
Solution: https://youtu.be/f4uDDqVUijo
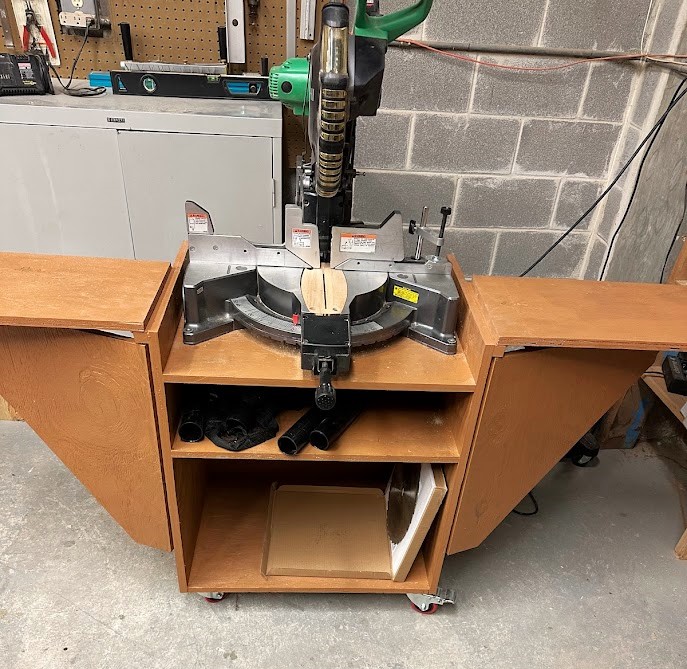
A friend and I built the mobile miter saw stand from your plans. We live in a retirement community and use the saw in our woodworking shop.
This was the first project I built with the Kreg jig.
Building was pretty easy.
Painting it was not so fun.
Not much more to say :)
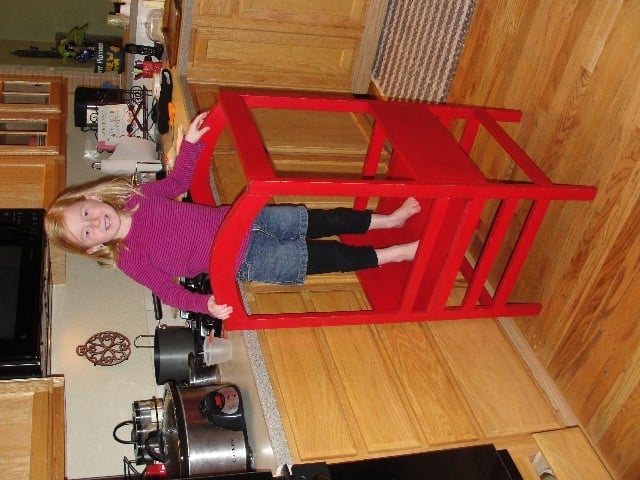
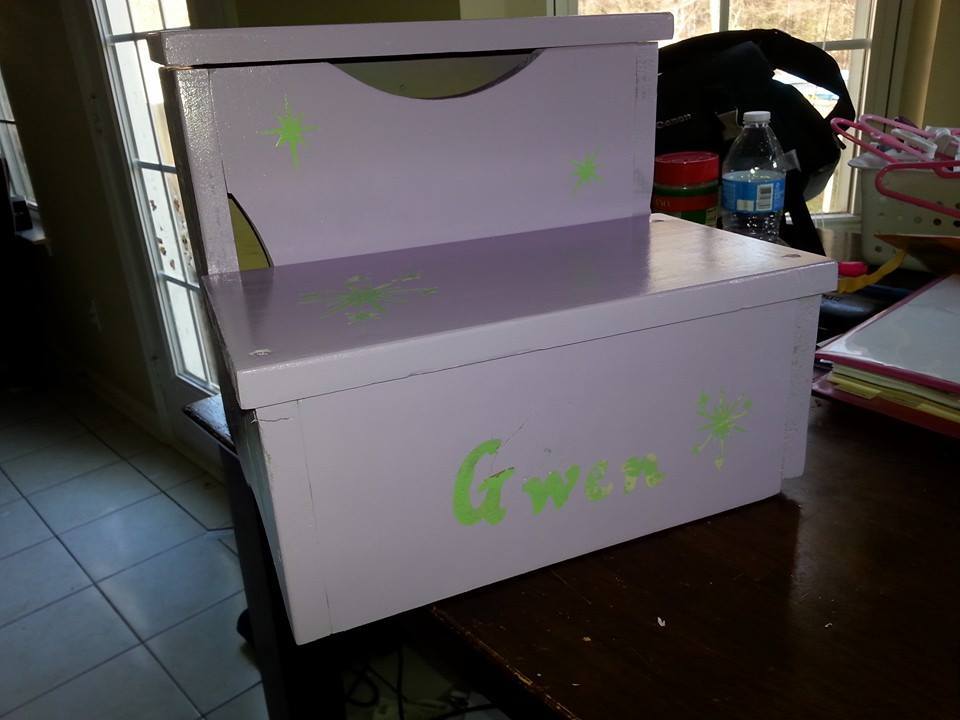
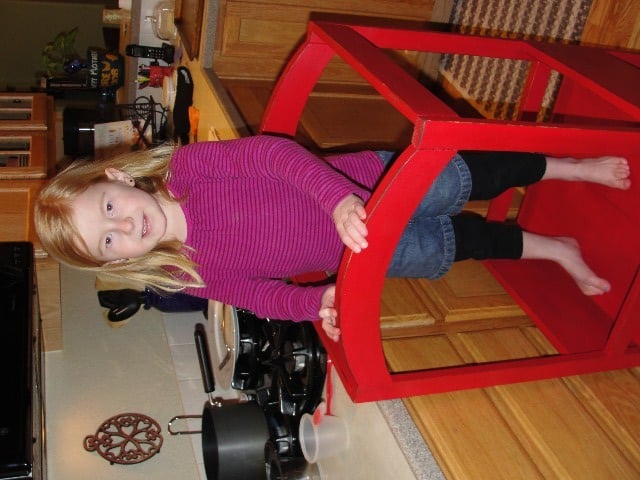
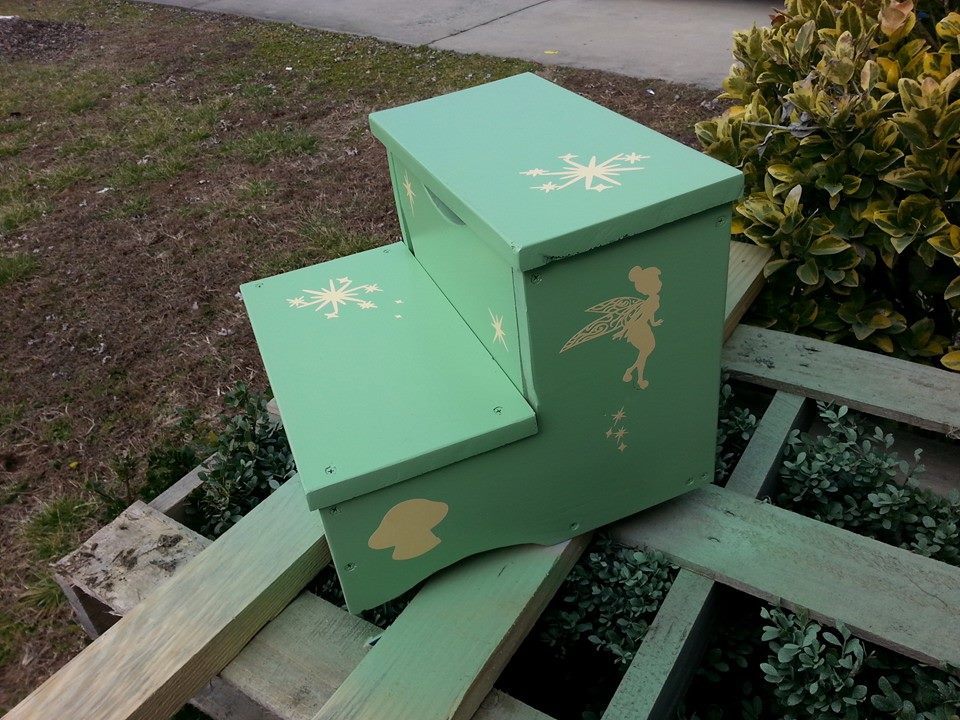
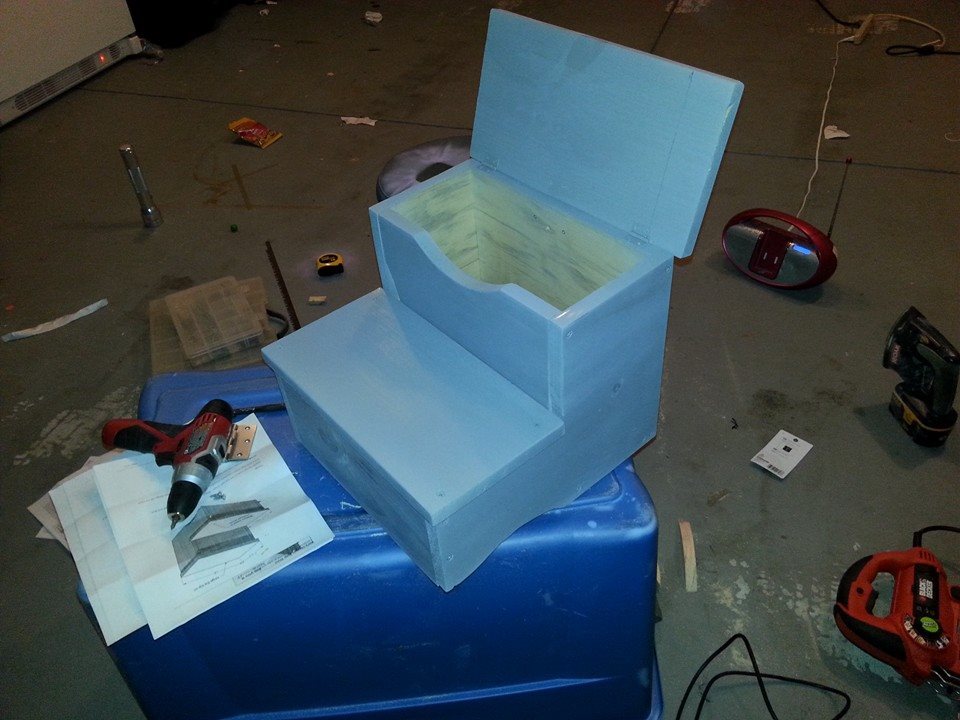
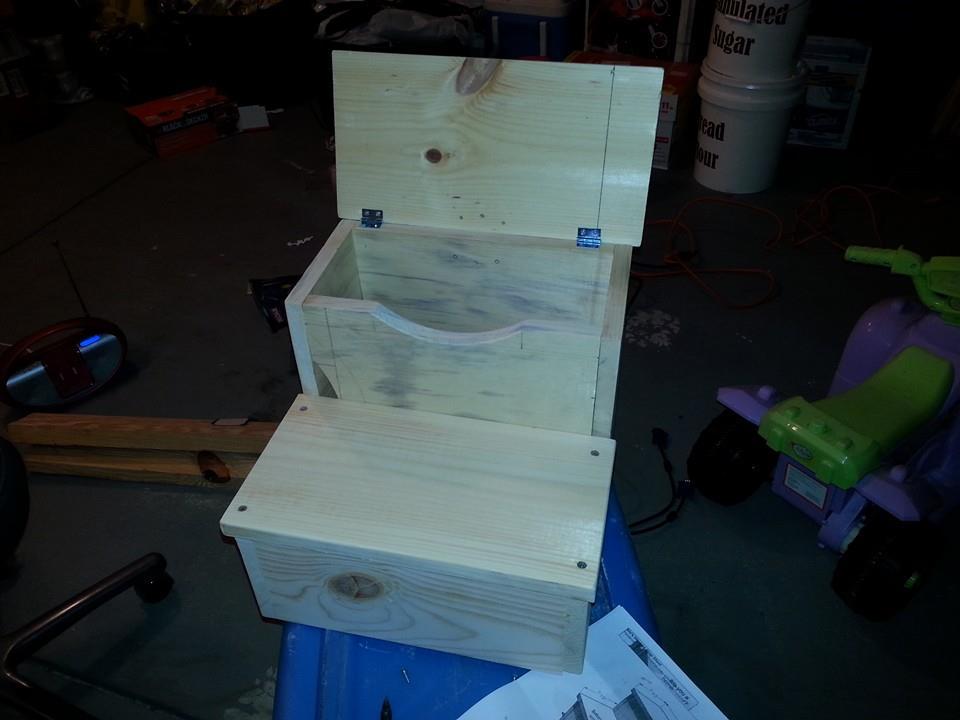
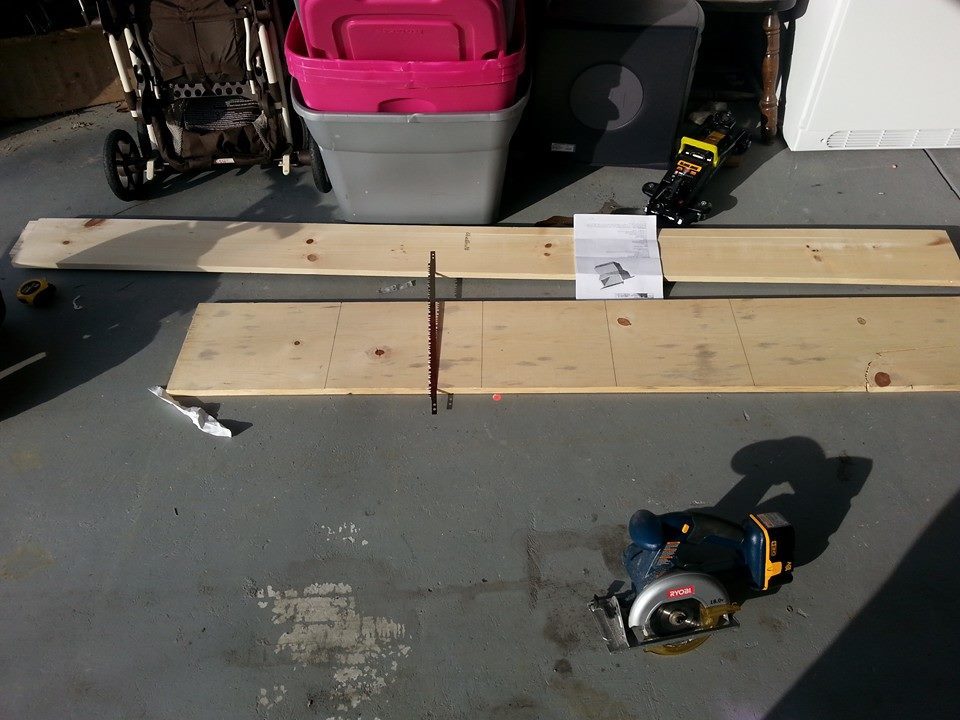
I undertook this project for my daughters new twin bed so that she could climb up into it. It actually went really smooth for my first project, the only issues we had was a little paint peeling at the end.
What I did was sand and primer the steps, then when that was done the entire thing was painted pistachio, after that was done and dry we attacked vinyl stickers for our daughters name and little tinkerbell characters and starbursts, the final step was to paint the entire thing purple and when it was dry we peeled off the vinyl stickers and the pistachio underneath showed the designs through and we like to think it was a success.
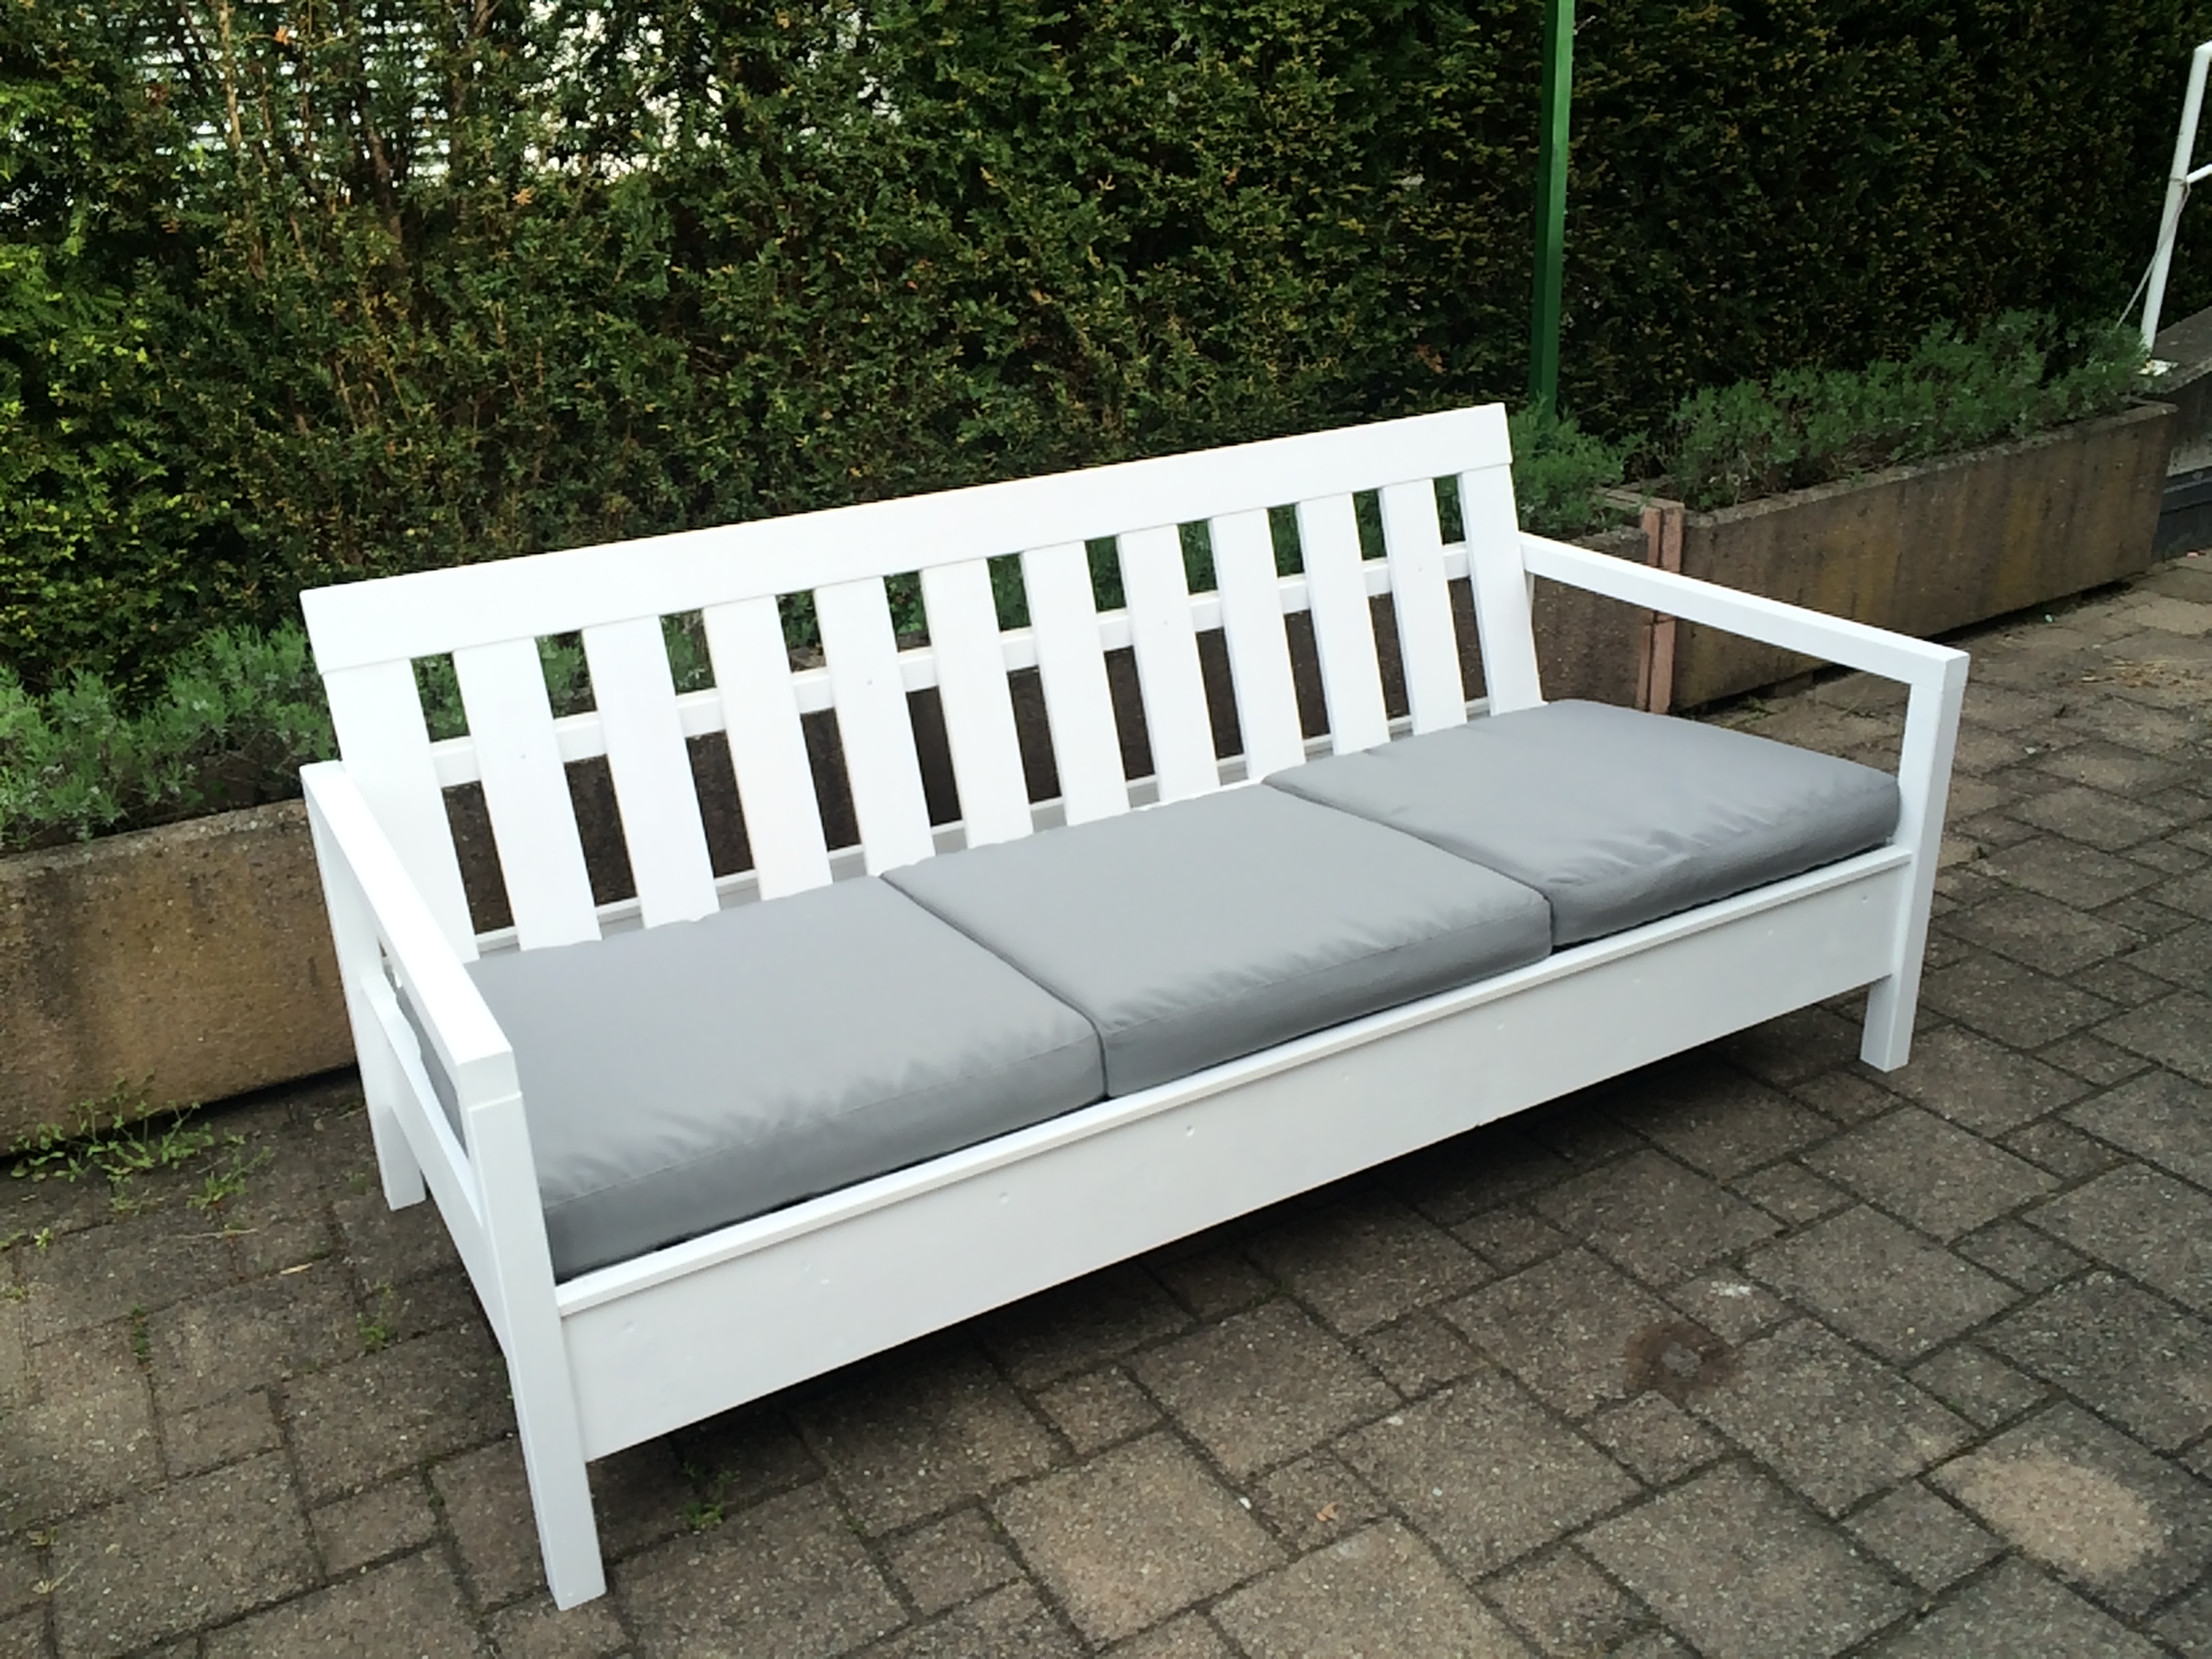
After looking on Ana's homepage for quite some time and dreaming about building my own furniture, I finally took the first step and ordered myself the small Kreg Jig. I am so happy with the outcome!
Living in Switzerland, I had to do some calculations as the wood available has different sizes and of course, I am used to centimeters... And math is not my strongest skill! But apart from some minor miscalculation with the back of the sofa, it all worked out - luckily I the slats were too long and not too short :-)
Thank you Ana for sharing your plans!
Expressing stain
I followed the plans mostly. My wife really liked the design. I spaced the drawers out 4 more inches I believe and I made a removable top ,not pictured, so I could stack on top of it. It came out great. Cool idea thank you!
Mike
Wed, 10/04/2023 - 08:36
Thanks for sharing, it looks awesome! Would love to see it filled up:)
This is the first thing I've ever built and with a few minor imperfections, it turned out great. I wanted a rolling table for my laptop, but needed a larger one than the plan for my big laptop and to use a mouse. My table is about 26" x 18". Since I don't have the proper saw, I bought a sheet of MDF at Home Depot and had them do the cutting for me and it cost abut $35 bucks total. Casters were about $8 & paint was $11. I decided to do mine with the shelves so I'd have storage for laptop peripherals like usbs, external hard drive, and cords. I was really scared to get started screwing stuff in, but once I did it was pretty easy. I did slightly crack the wood on my first screw and read up about it and figured out I screwed too close to the edge. It only took a couple hours to put together, the painting was the long part.
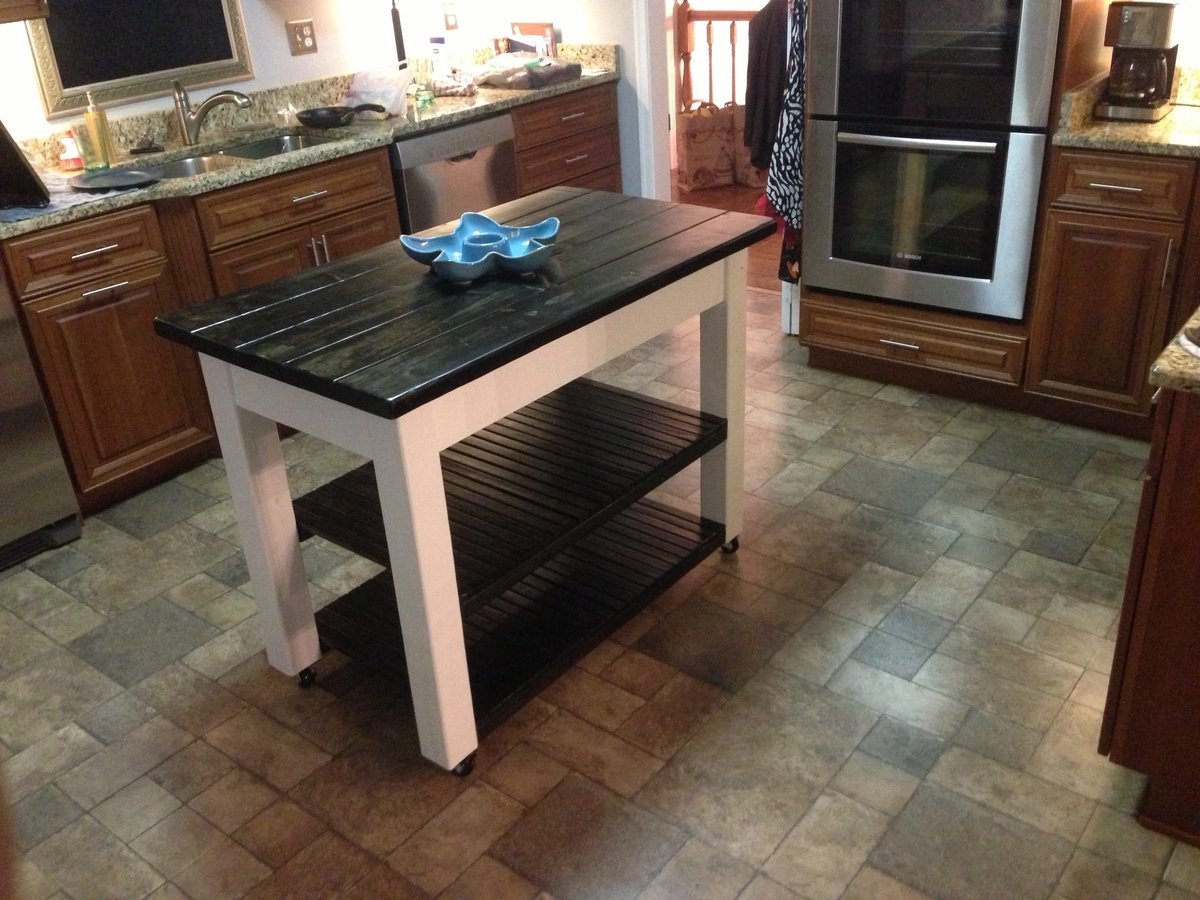
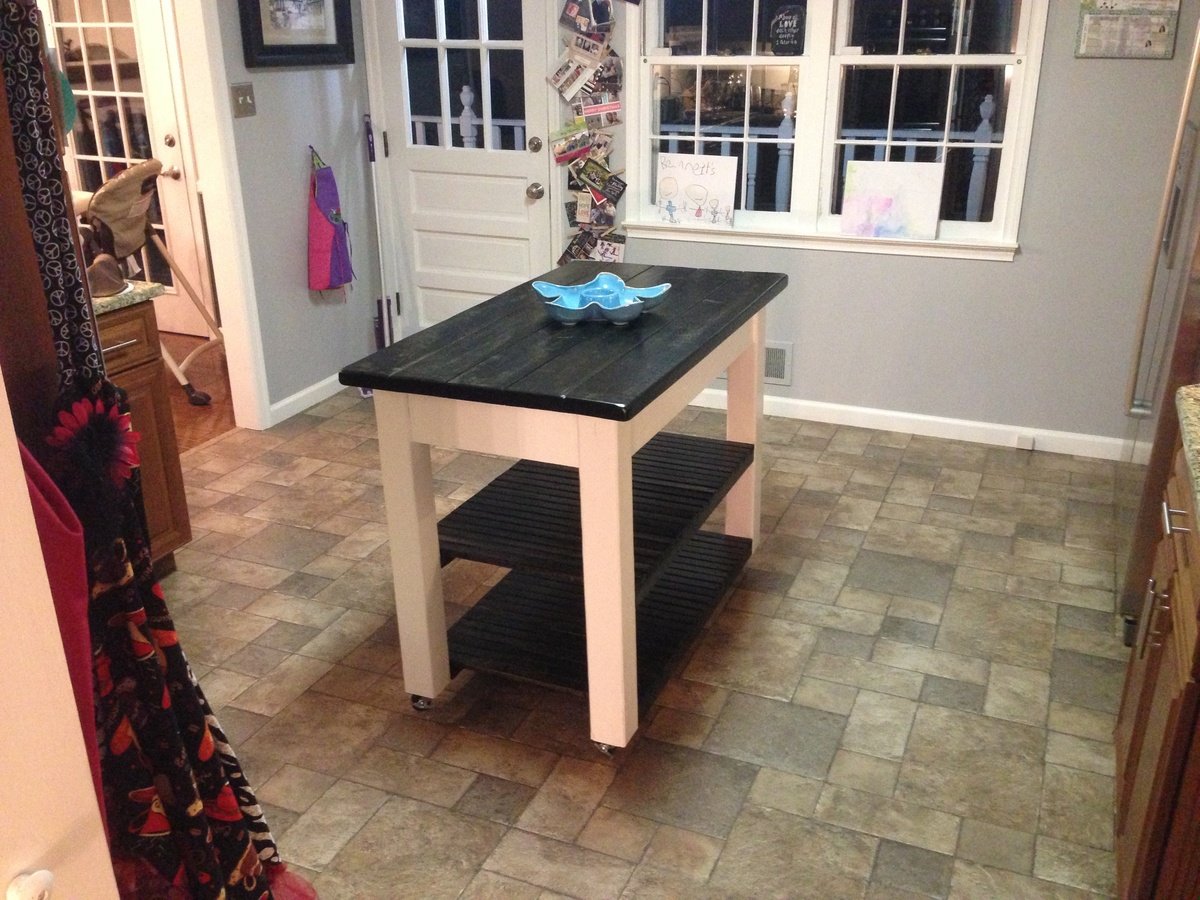
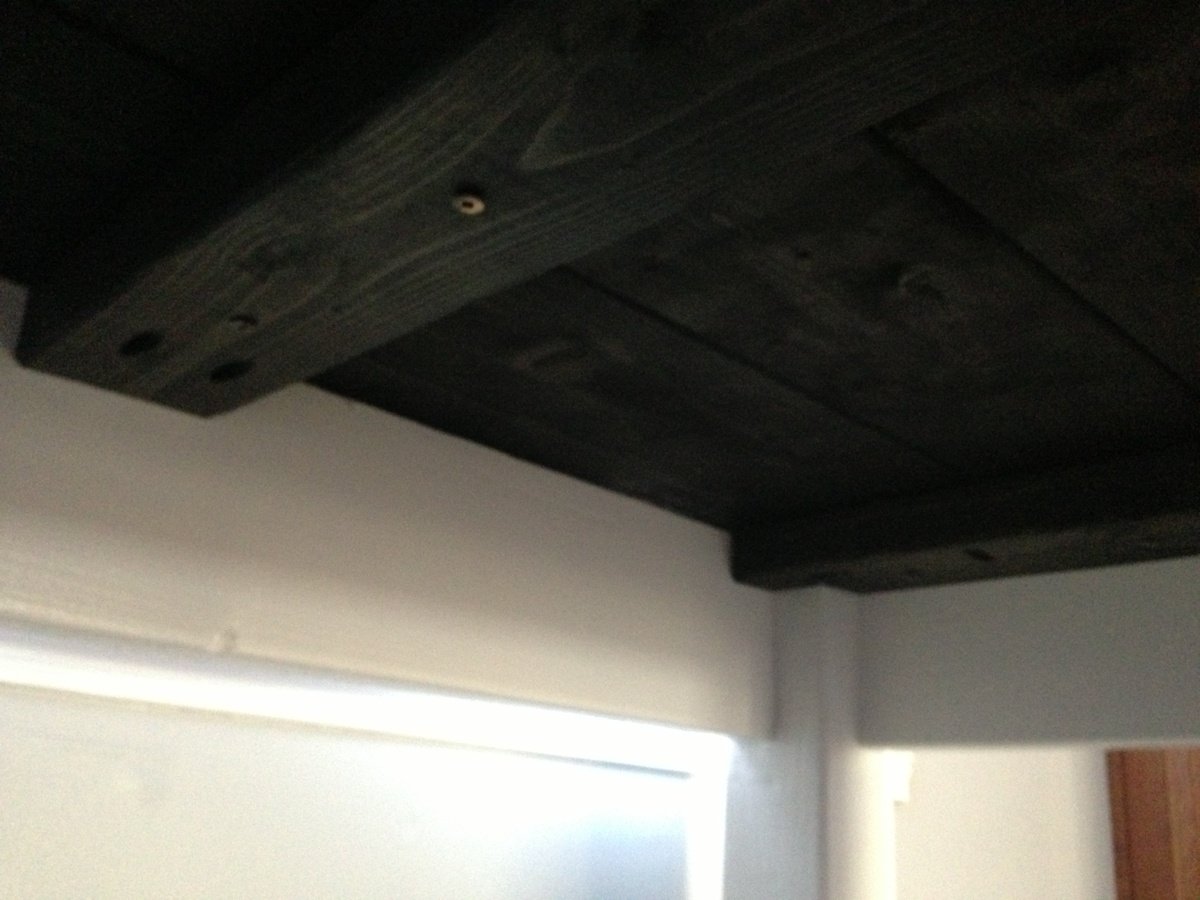
The main modification on this project is the locking casters that allow us to use it as an island or a side counter. The legs are also 4x4's rather than 2x4's. The tabletop is five 2x6's at 48" (just cut 8' board in half) joined with glue and pocket hole screws. I attached the top to the frame with three support planks and pocket hole screws (pic attached). The frame and legs are painted white and the top and shelves are stained with Minwax Ebony and three coats on Poly.
Ana, thank you again for such a great service to all of us novice builders. This was a blast and extremely useful for our family. We are most grateful!