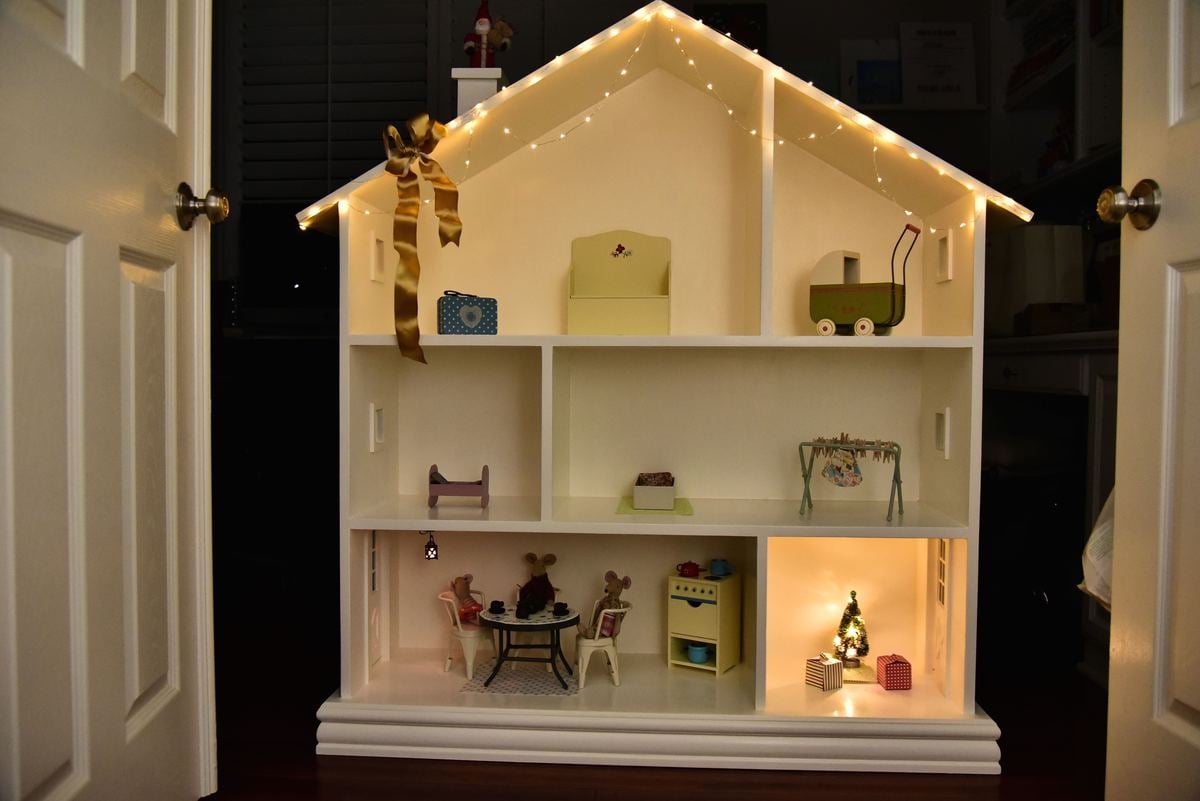
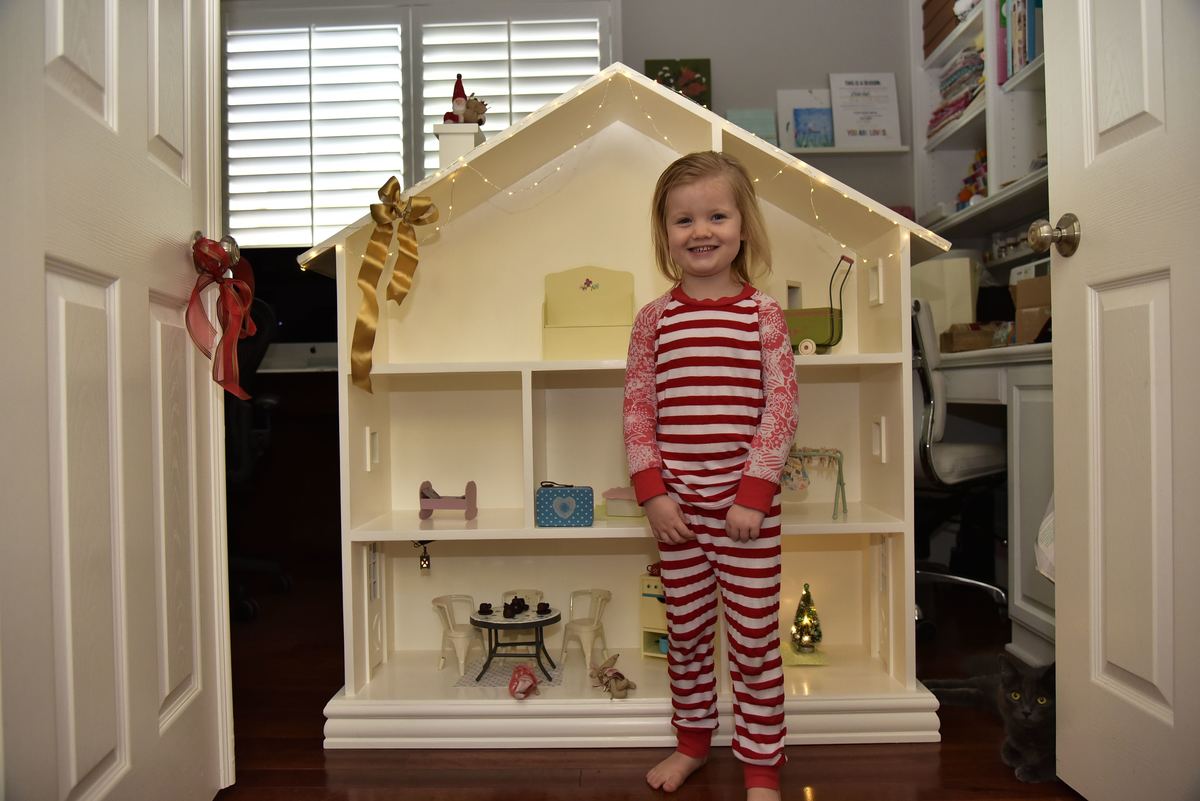
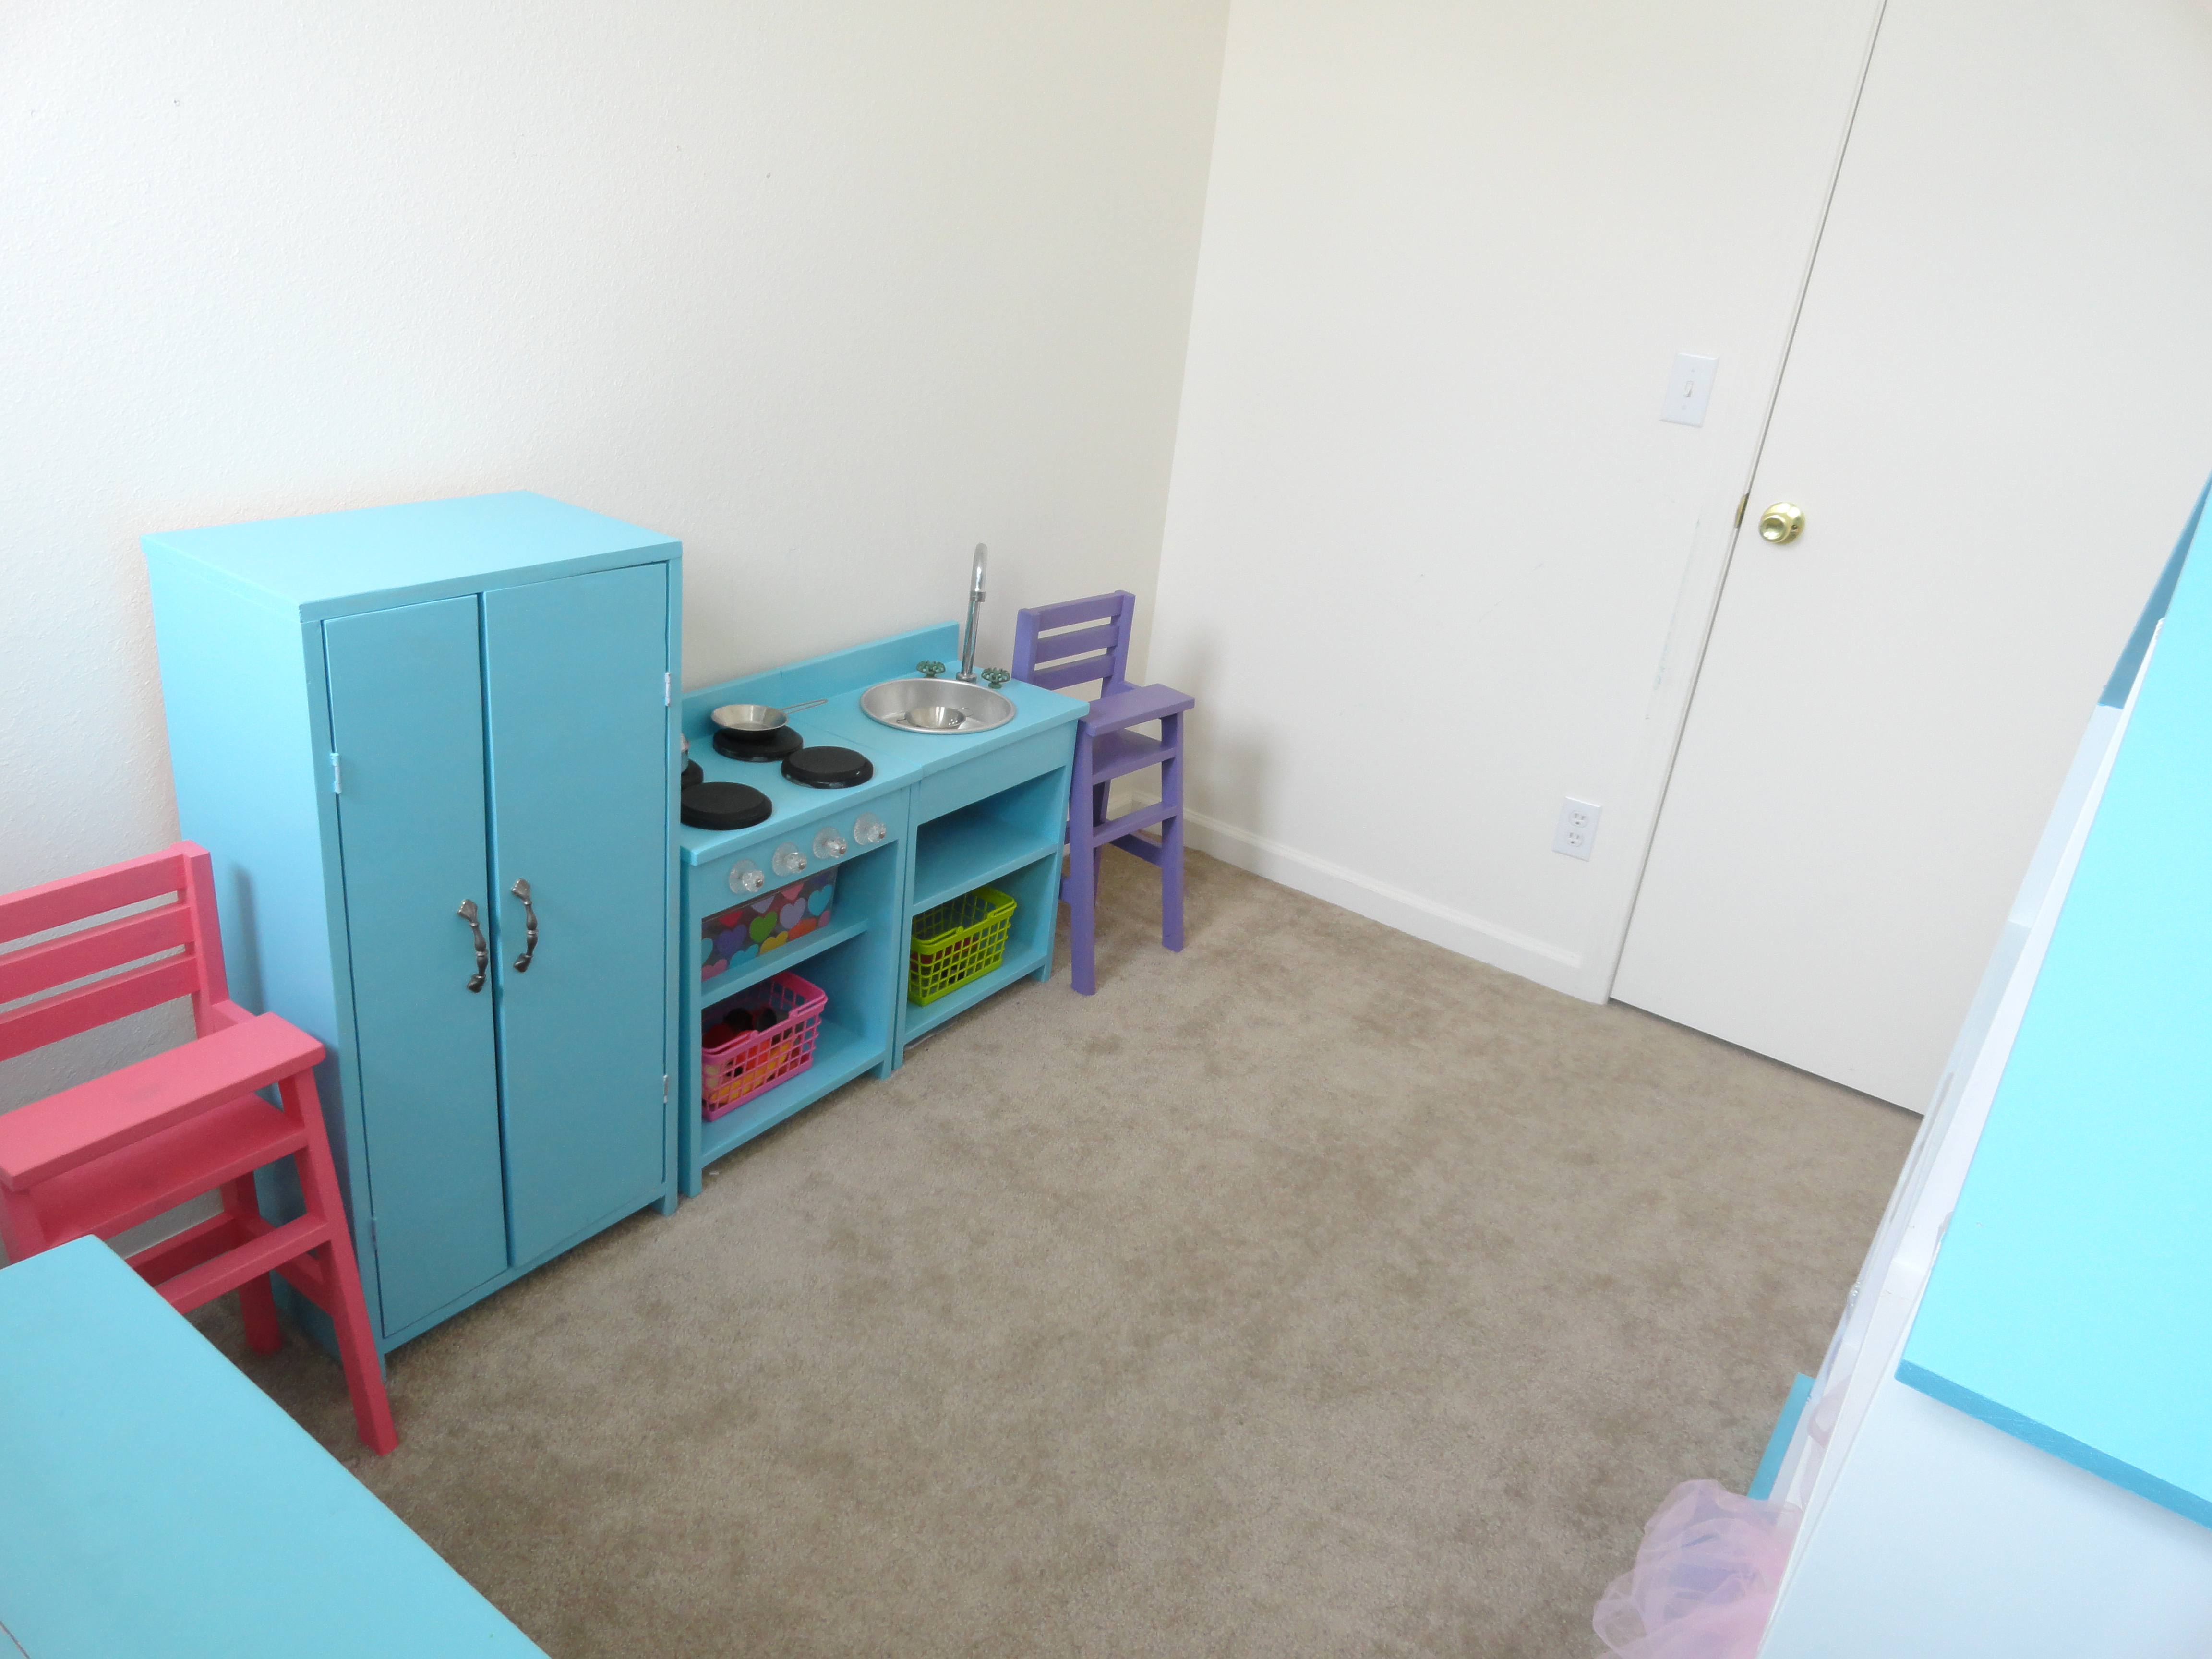
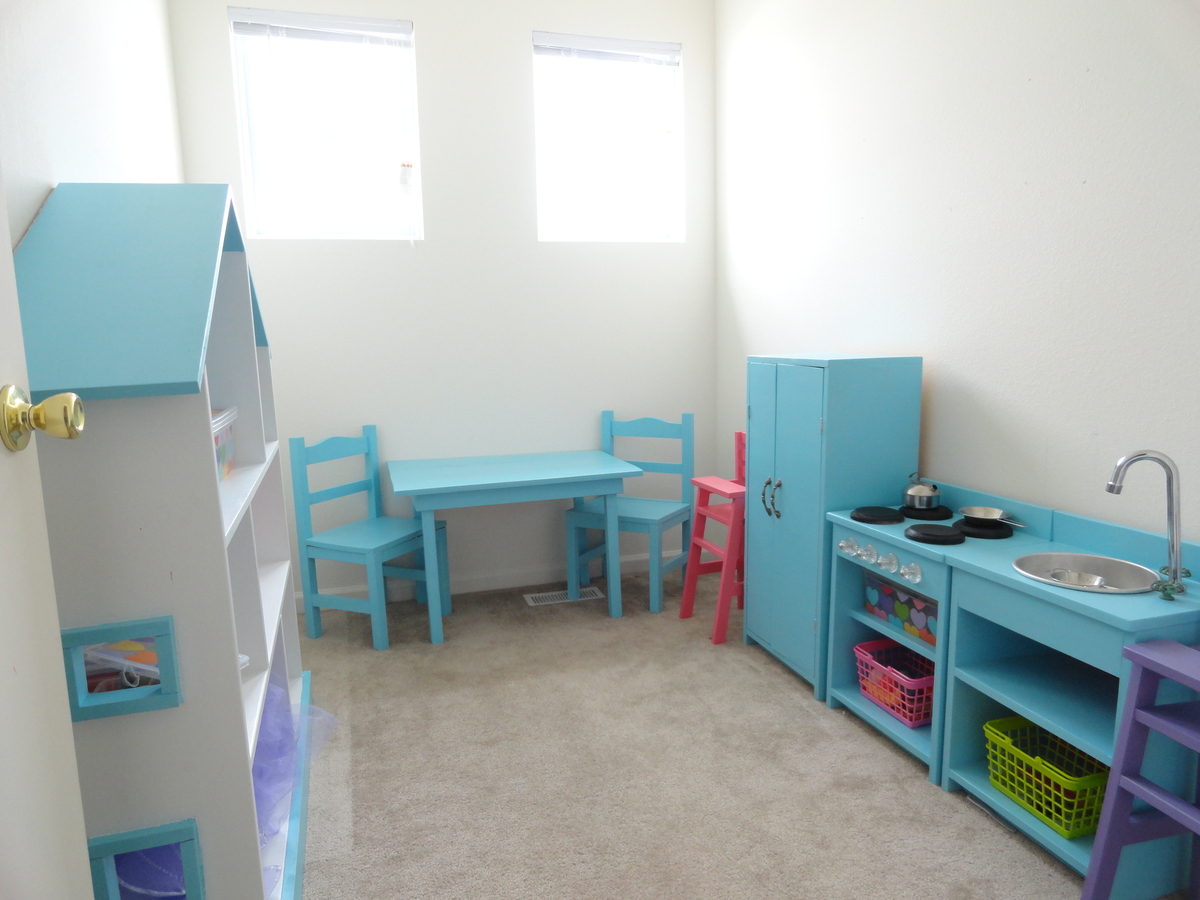
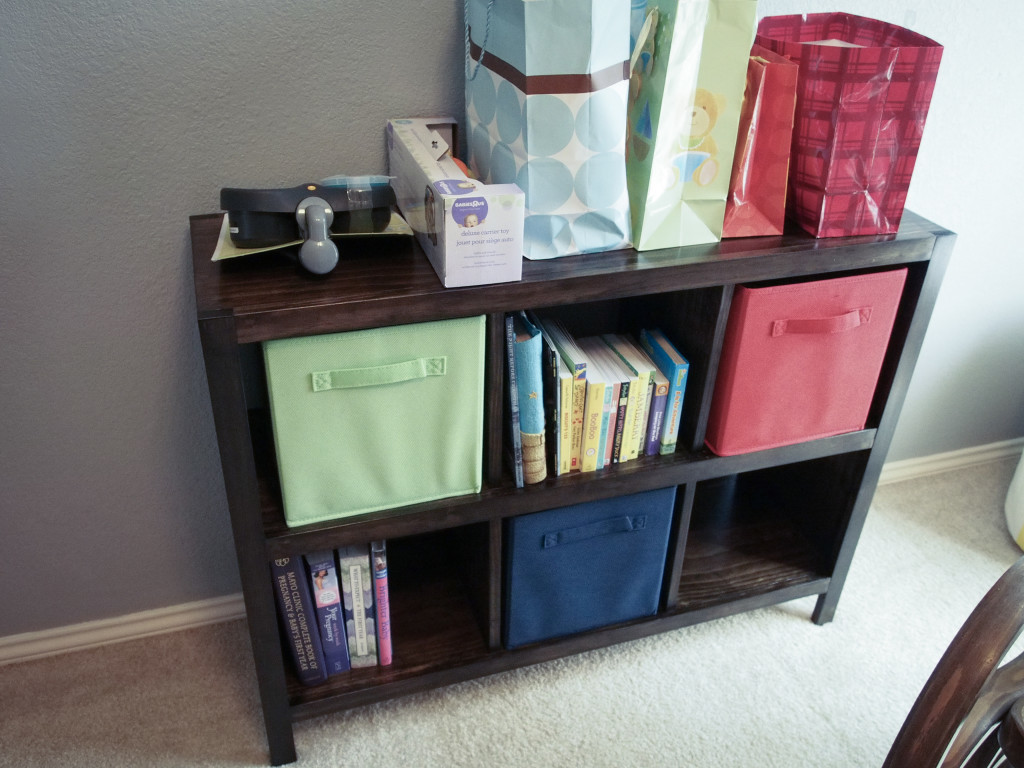
Hannah's Bookcase
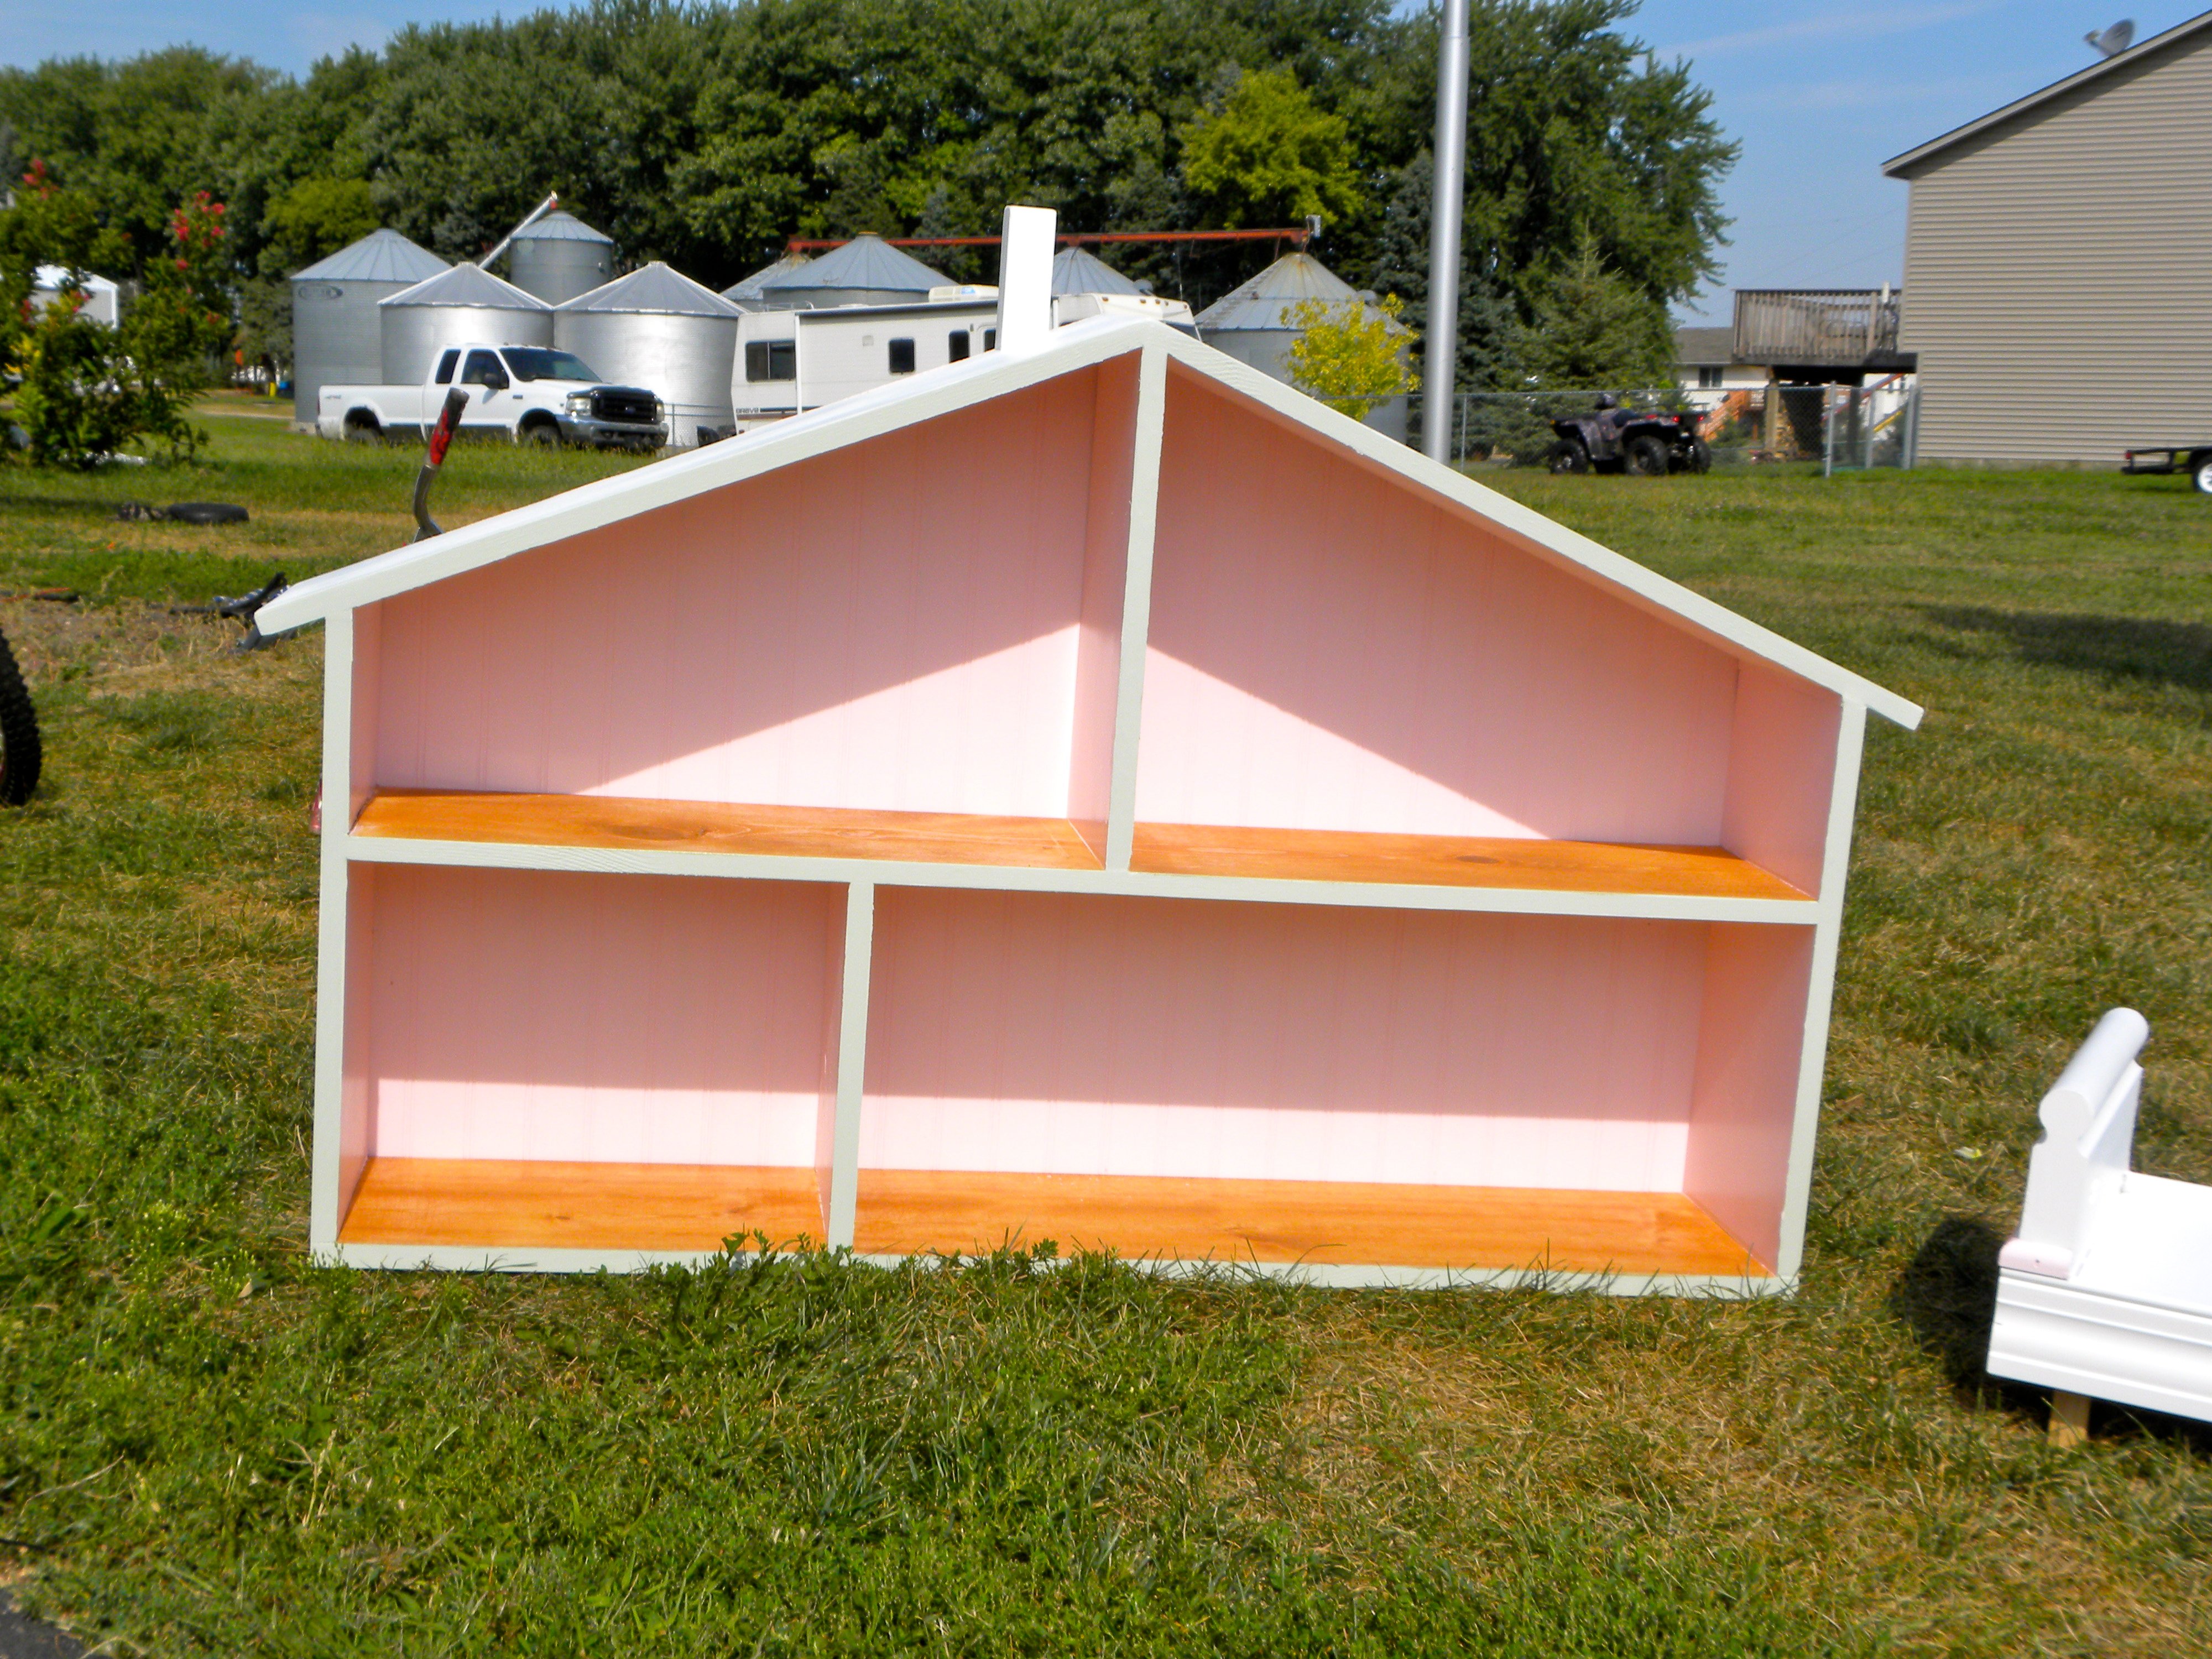
Just modified the size to fit a townhome bedroom. Love that even as a two year old, she is able to climb all over these and not damage it in the least. Though the white walls are now crayon decorated.
Built from Plan(s)
Estimated Cost
$50
Estimated Time Investment
Afternoon Project (3-6 Hours)
Finish Used
Minwax Ipswich Pine
White & Green & Pink Paint
White & Green & Pink Paint
Recommended Skill Level
Starter Project