Community Brag Posts

Toy Box/Nightstand

Submitted by AK1013 on Wed, 06/24/2015 - 12:08

This is the 2nd thing I've ever built in my life. I had a ton of trouble with the angle cuts because of an old miter saw and my lack of skills with a protractor but it turned out okay.

Built from Plan(s)
Estimated Time Investment
Weekend Project (10-20 Hours)
Recommended Skill Level
Beginner

Rory’s Treehouse

Submitted by Anonymous (not verified) on Tue, 12/28/2021 - 08:51

Recent projects:
Treehouse for my 6-year old granddaughter
Desk for my 6-year old granddaughter

Comments

Modified Weatherly Pergola

Submitted by ColleenM on Tue, 05/10/2011 - 09:15

I've wanted a pergola for a long time. I liked some parts of the Weatherly Pergola, but needed some different aspects because of my deck, property and locale. I did some research, laid out a modified design and plan - and voila! Easy as pie - you just need 2 people (or more) because of the weight of the cross beams support. I did it myself using clamps, but I don't recommend it.
My current project is designing cabinets and a bar for an outdoor kitchen to go under the pergola! :D

Built from Plan(s)
Estimated Cost
$500
Estimated Time Investment
Weekend Project (10-20 Hours)
Finish Used
I used the same exterior paint that I used on the house, so it would not appear as this large dark looming thing on an already dark deck. It's a Valspar exterior satin paint, watered down to be more like a stain and sprayed on (2 coats).
Recommended Skill Level
Beginner

{mini} ten dollar ledges

I knew I wanted some of these shelves in my daughter's room but it seems bedroom sizes in Australia are quite a bit smaller than the US! I couldn't spare a long wall to fill with books so chose this narrow space to the side of the window.

The length of time I took for this project was for several reasons:
* I was a total beginner!
* I had to cut all of the lengths of wood with a hand saw & sand with sandpaper wrapped around a block of wood.
* It took about 5 coats of paint to cover the wood properly.

I adjusted the measurements from Ana's plans to fit the smaller space & while daunted at first at the prospect of attaching things to walls, I was so thrilled with how they turn out. I'm looking forward to challenging myself with something a little more complex next (perhaps with some power tools this time to assist!).

Built from Plan(s)
Estimated Time Investment
Weekend Project (10-20 Hours)
Finish Used
Paint
Recommended Skill Level
Starter Project

Comments

Birthday Kitchen

Submitted by katrinaj55 on Sat, 06/27/2015 - 00:01

This was a pretty good and at times challenging project but it was fun and totally worth it when I saw the look on my daughter's face

Built from Plan(s)
Estimated Cost
$50
Estimated Time Investment
Weekend Project (10-20 Hours)
Finish Used
Polyurethane
Recommended Skill Level
Beginner

Natural Pine

Enjoyed making this queen sized bed frame. Thanks Ana, for the great plans! I am adding some lights to it in the next few weeks, that I'll wire through the 4x4's, to add individual reading lamps. I plan on complimenting the bed frame with your farmhouse style nightstands, that I am going to modify with a hidden power supply and some rollers for the drawers. Once done, I'll submit the brag post! Again, thanks Ana, for your great and inspired plans!

Built from Plan(s)
Estimated Cost
$175 (4x4's are expensive where I am, and I went with KD Whitewood instead of just regular pine 2x4's)
Estimated Time Investment
Weekend Project (10-20 Hours)
Finish Used
Natural
Recommended Skill Level
Beginner

Door Spice Rack

We just moved into our newly built home, I love to cook, and realized really didn't have a good spot in the pantry for all the spices. This was my first project and in doing internet search for ideas came across Ana White's website, not only did I find the spice cabinet plan I was looking for, but a treasure trove of other projects and ideas. New to this so I have found Ana's site to be such a blessing. Yes, this made me a hero to my wife!

Built from Plan(s)

Fancy Laundry Basket Dresser

This has been on my to-do list for a long time. We have not had a dresser for years, and have used our closets for our clothes. In our old house, I had built a storage unit for our closet, and we used clear plastic storage bins for our smaller, non-hanging items. Then we moved to our current house. Which had nice closets, but the bins didn't work so well. But we made do, fully intending to change it when we had time. Six years later...I found the time. LOL.
When Ana posted the laundry basket dresser, I knew it would work for our current bins! But I wanted them out of the closet, and I didn't really want to look at them. So I thought about doors. Finally worked it out, and here are the changes that I made.
I made it to fit my bins. Added some legs. Added 1x2 trim all around to help hide the plywood and beef it up to help the doors. Added the doors(gotta love that kreg-jig!). I used Ana's plan for the basic glass doors for those, same as the ones I did for my kitchen.
When it came to the inserts, I knew what I wanted, but it just took a bit of time to get everything together.
The inserts are plastic-plexiglass. I LOATHE cutting that stuff, and we won't go into the detail and language that was involved with that part. Finally got two workable pieces. Used my xyron to make circular stickers, and laid them out in my desired pattern. Then sprayed with frosted glass spray paint(awesome stuff!). It gave it that modern edge that I wanted, and disguised the stuff inside.

Estimated Cost
~40
Estimated Time Investment
Weekend Project (10-20 Hours)
Finish Used
Valspar glossy black spray paint, valspar aqua
Recommended Skill Level
Intermediate

My workbench

Thanks for the work bench plans! Mine measures 3 feet by 6 feet. We have a single car garage so I put locking casters on mine to enable me to move it. Easier to clean, easier to access all sides then put it back in the corner. The frame is 2x4, the top is leftover ash flooring. The lower shelf is leftover 2 by (4s, 6s). I may add another layer of ash to the top but it's functional as is. Stands 36 inches tall.

Built from Plan(s)
Estimated Time Investment
Afternoon Project (3-6 Hours)
Finish Used
unfinished as of now. Planning a clear coat for top.
Recommended Skill Level
Intermediate

Owl Love It!

Submitted by dynoboy on Tue, 06/30/2015 - 19:46

I built this as a birthday present for my sister and niece, she loves owls so I figured out a way to enlarge and image and stenciled an owl onto the top of the cover. Super happy with the way that it turned out. I used some retired climbing rope for the handles and screwed them in on the underside. I am going to put some rock around the outside so there is a buffer for the weed whacker.

Built from Plan(s)
Estimated Cost
~$650
Estimated Time Investment
Weekend Project (10-20 Hours)
Finish Used
Exterior Latex Paint
Recommended Skill Level
Beginner

Comments

A Simple Modern Doll House x 2!

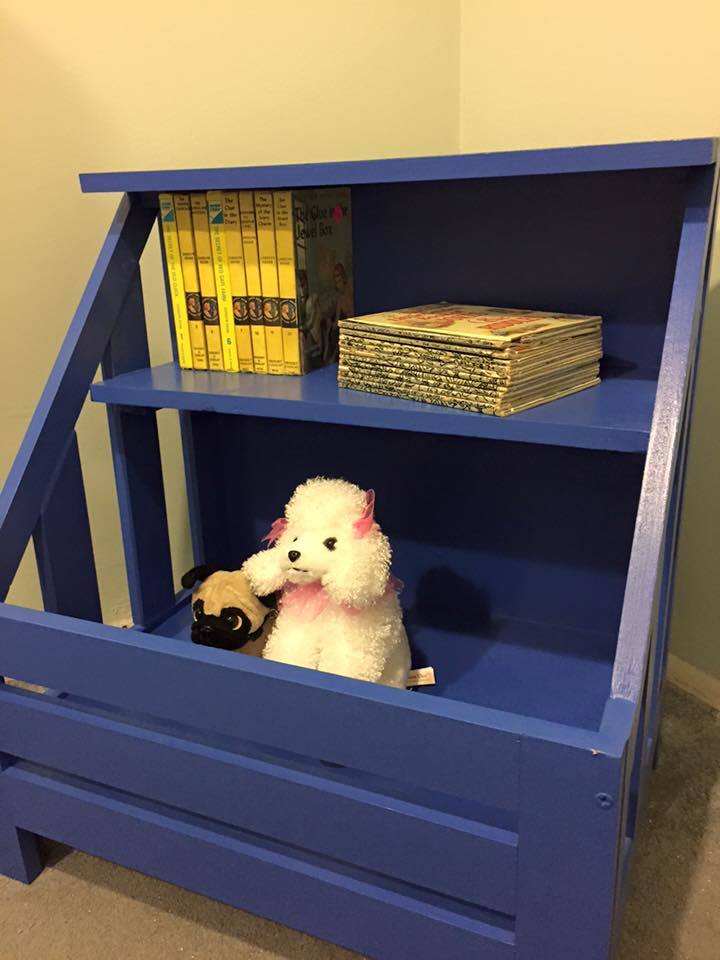
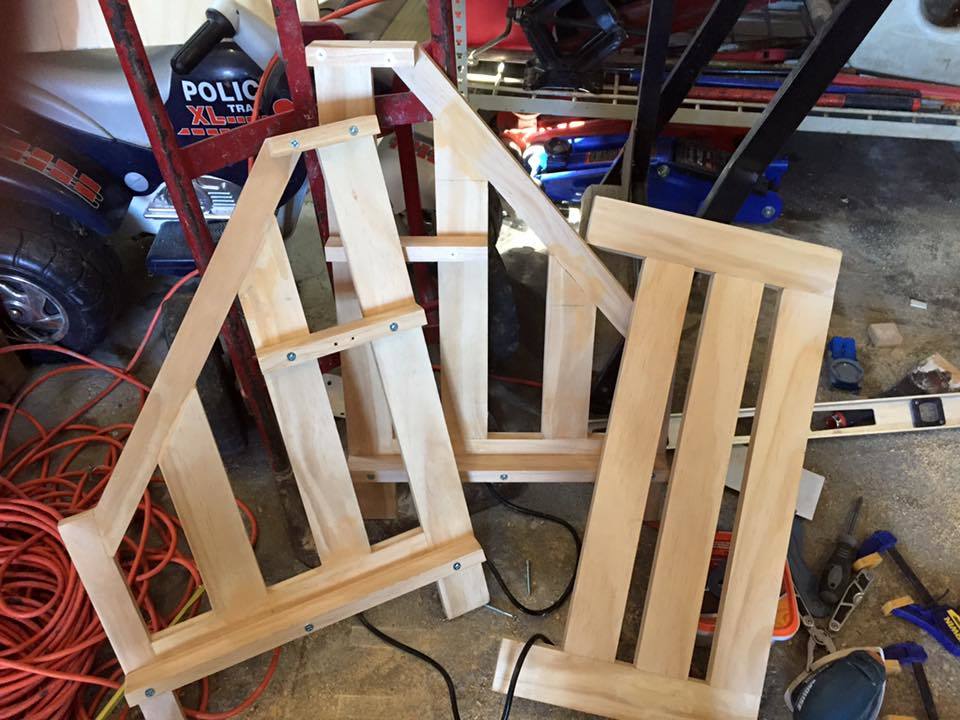
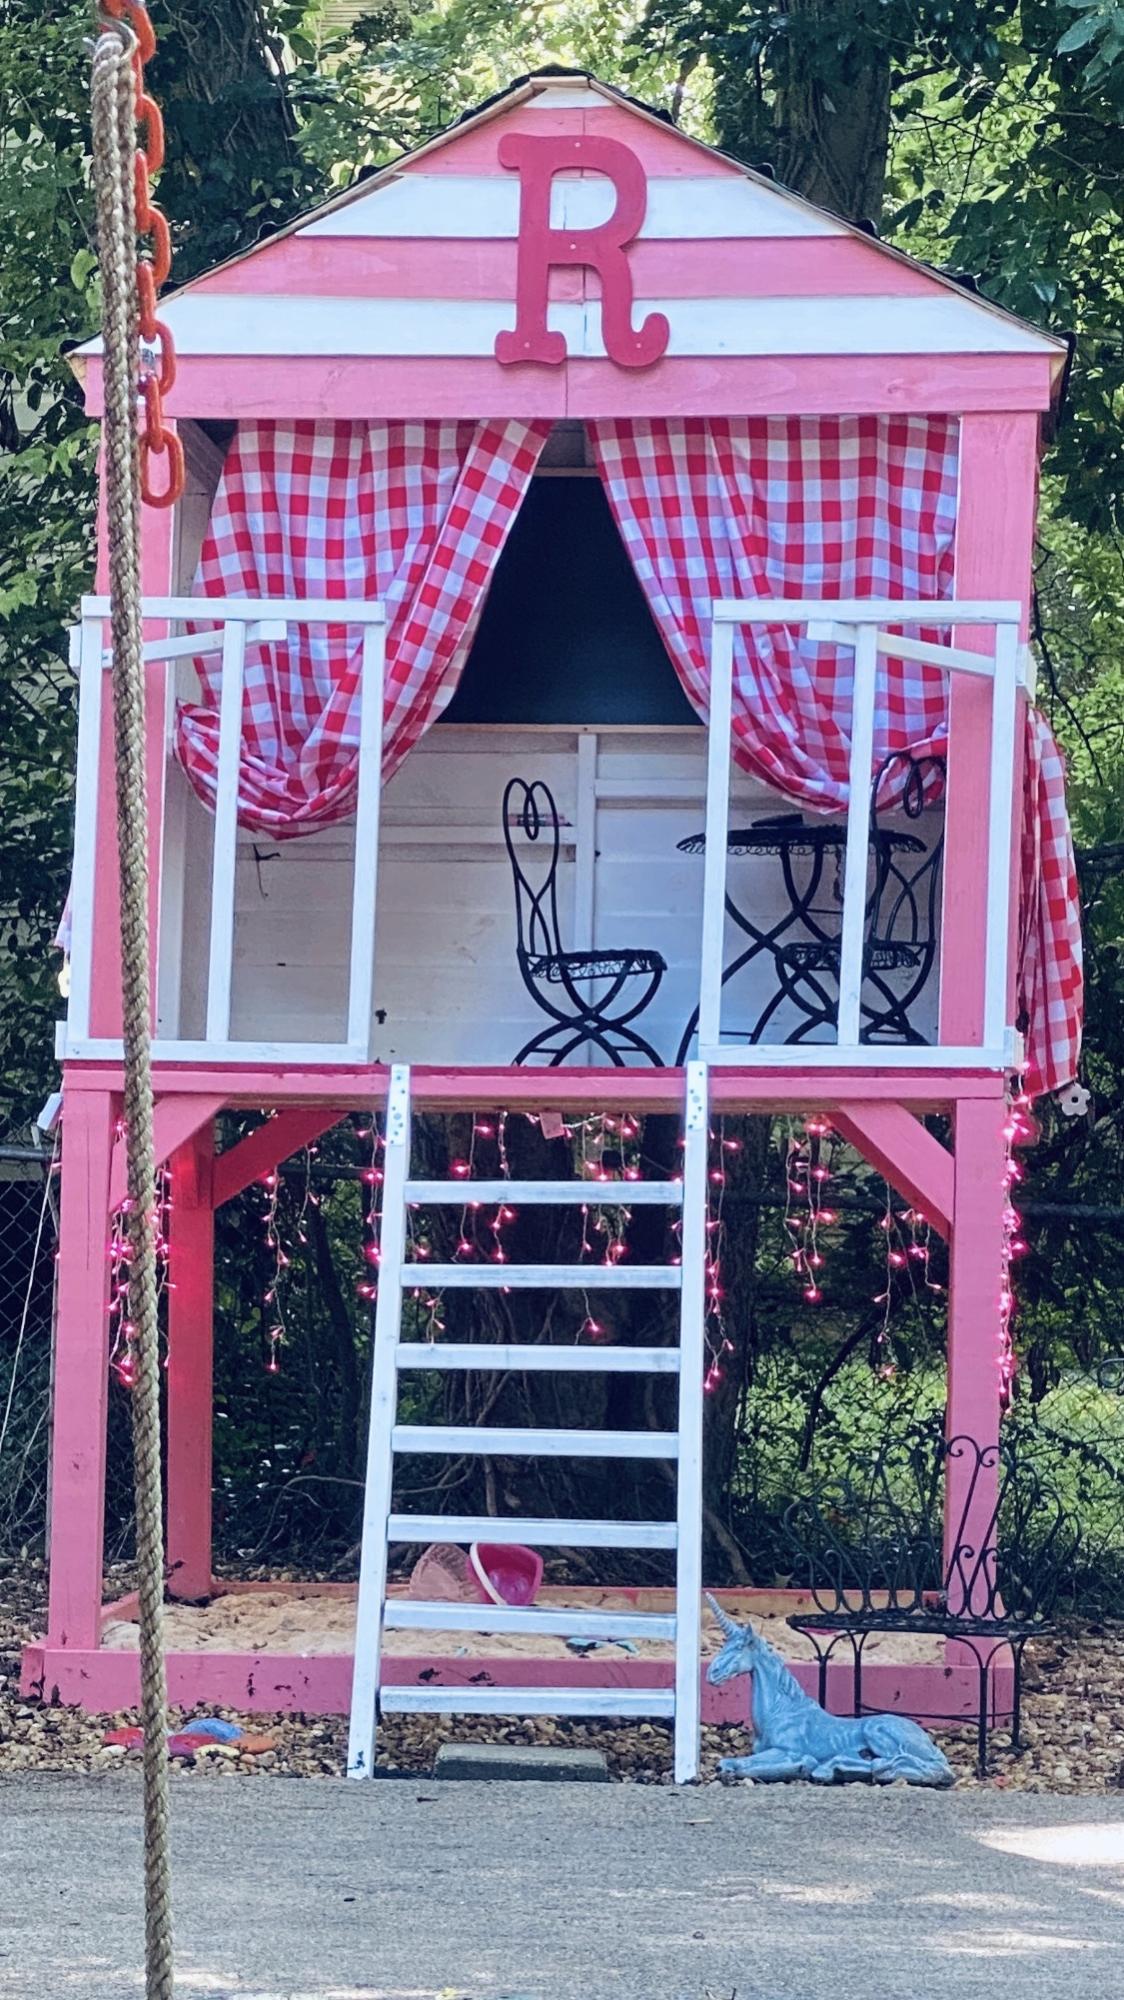
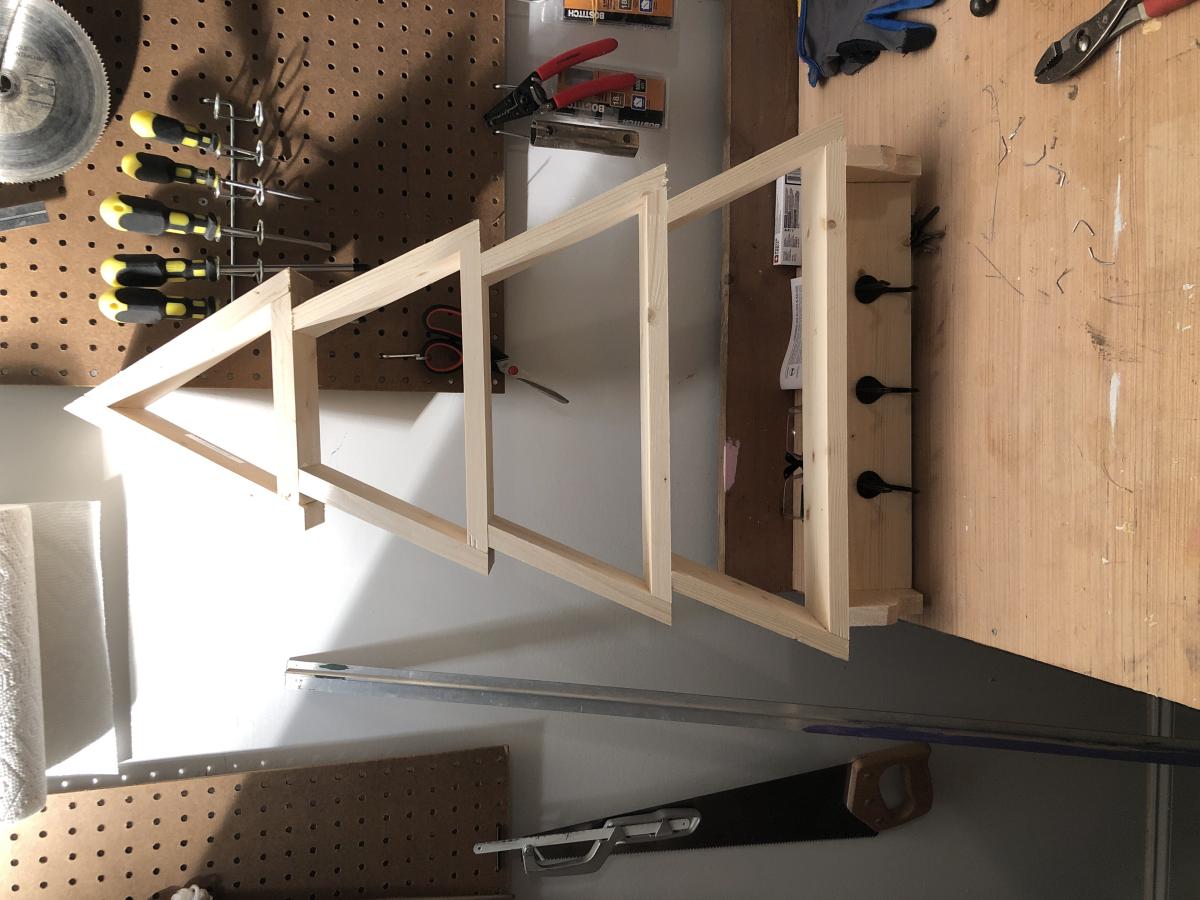
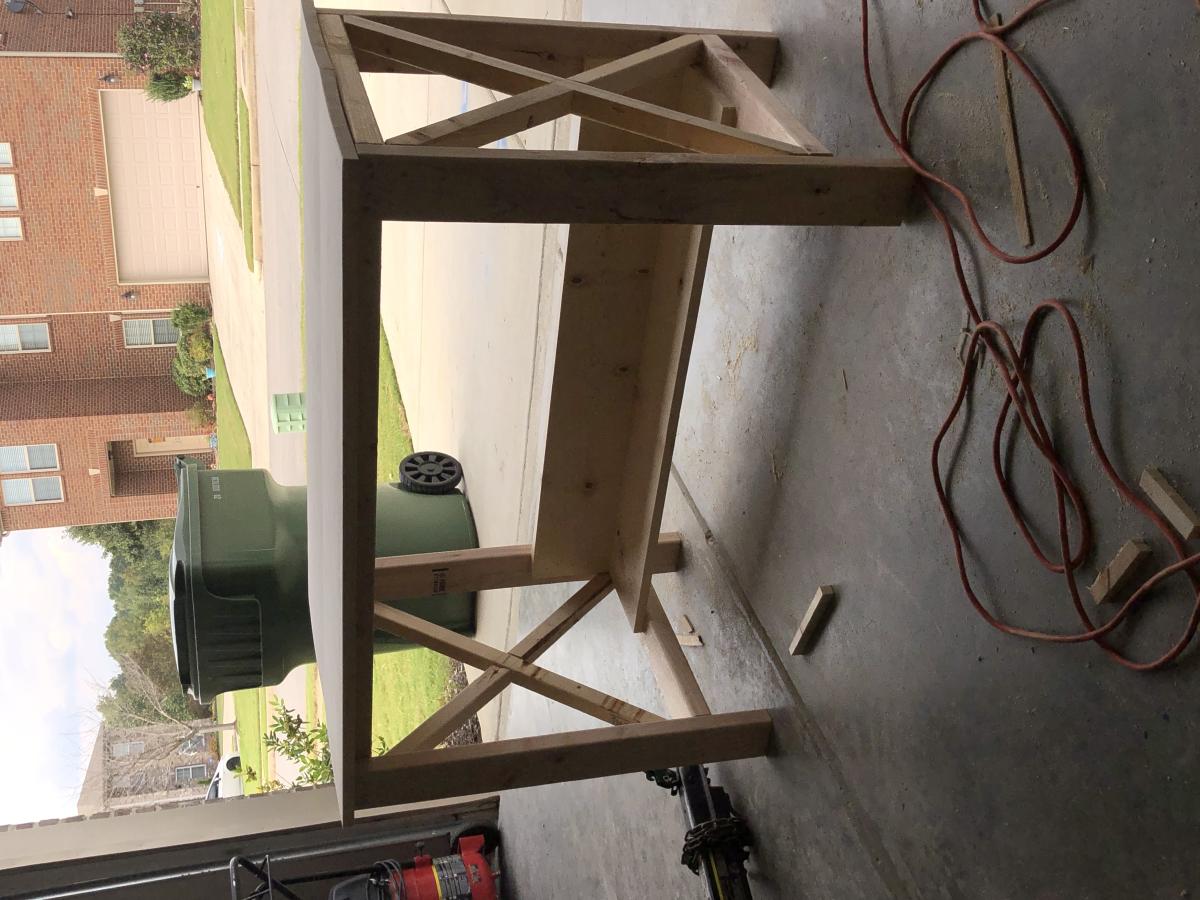
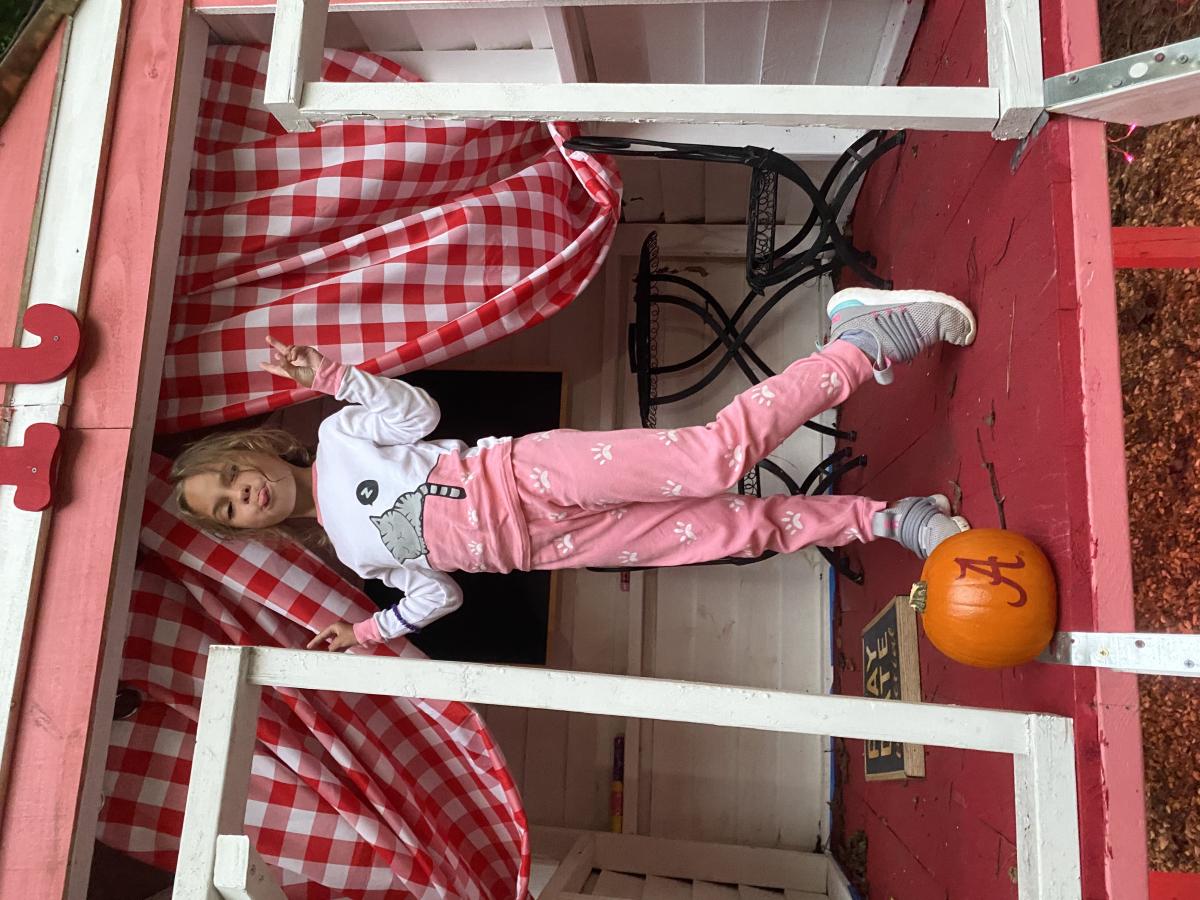
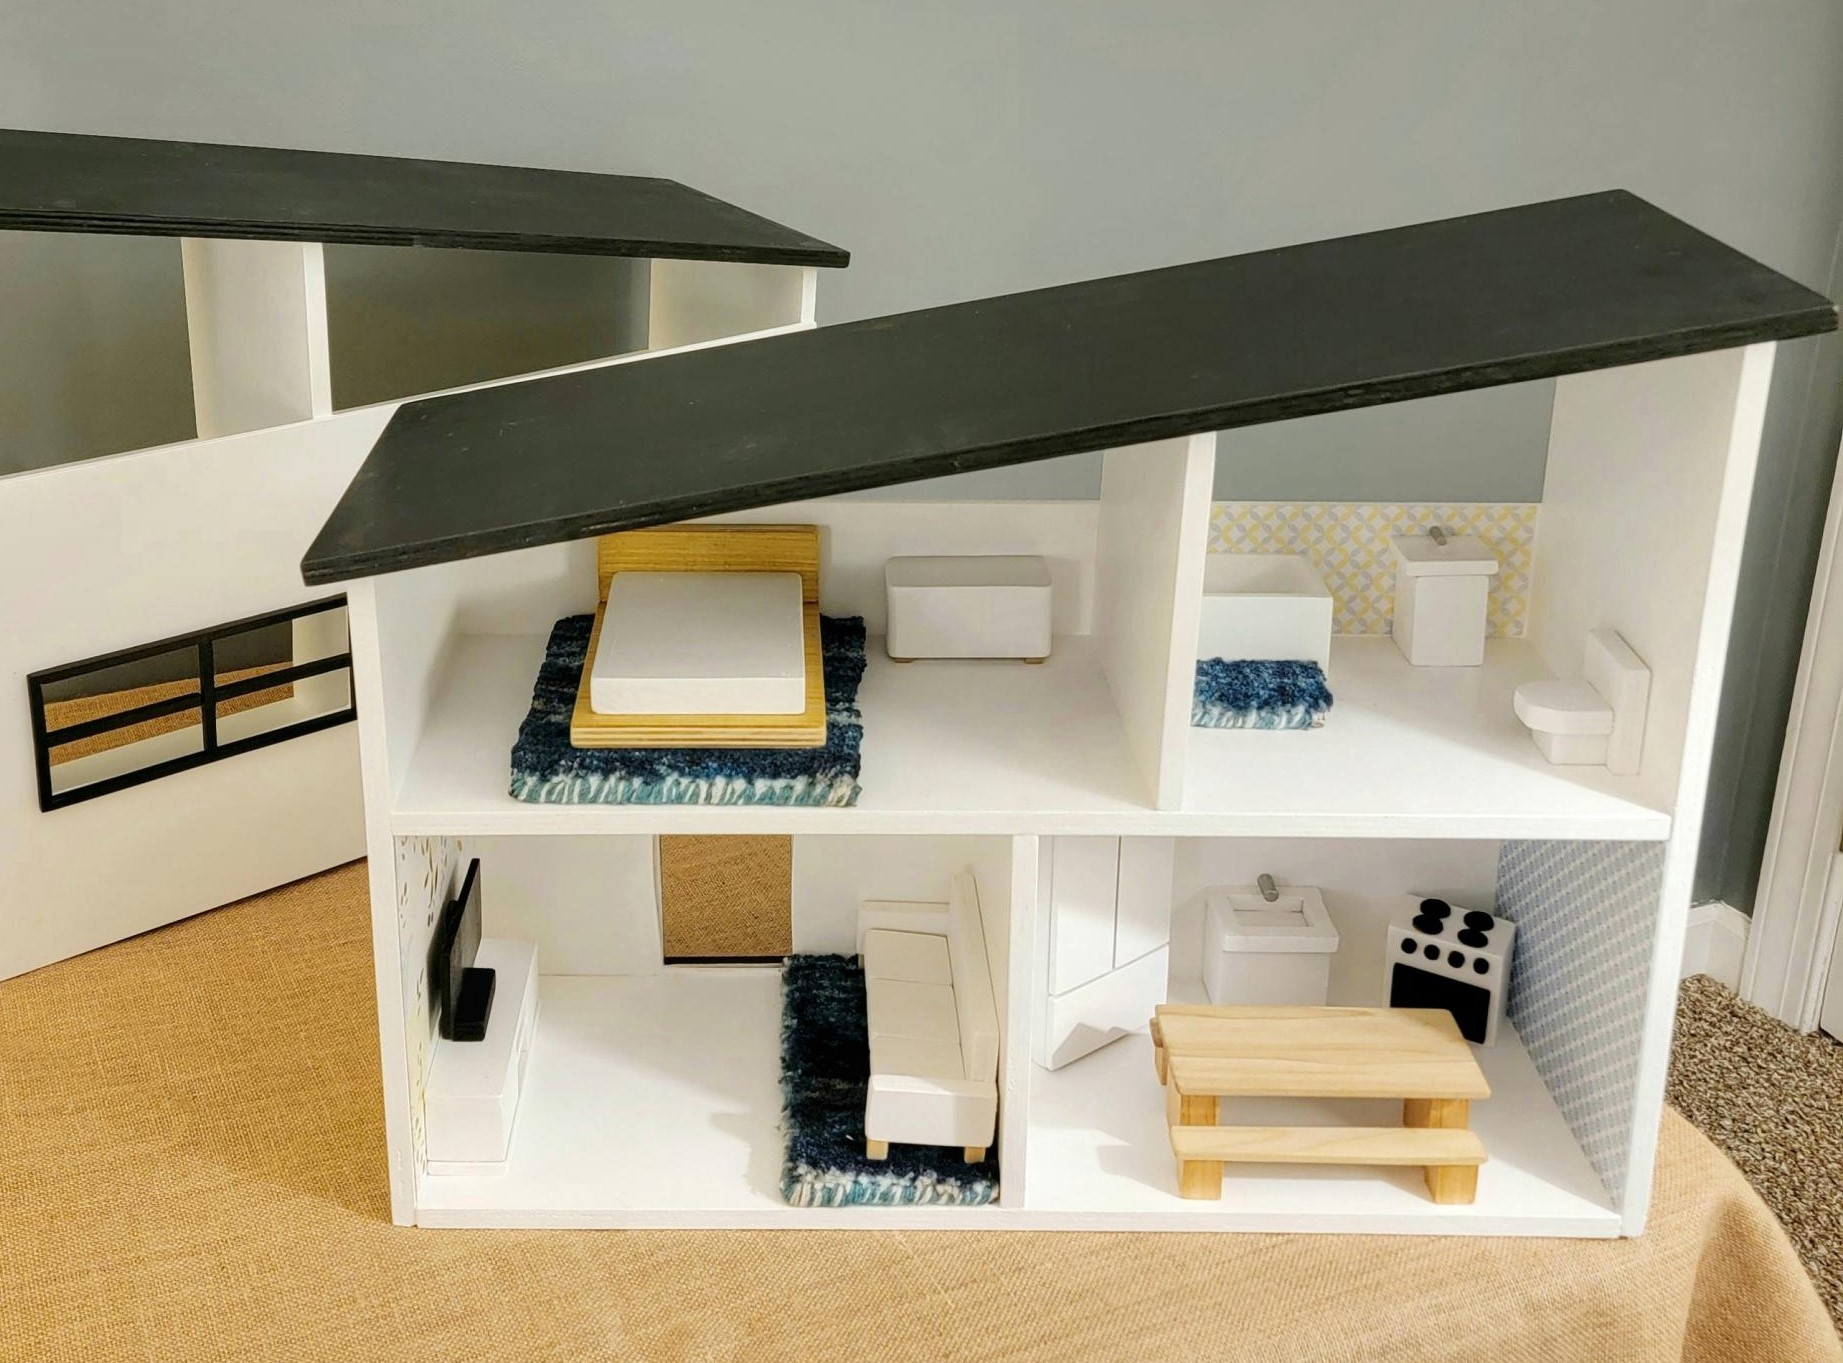
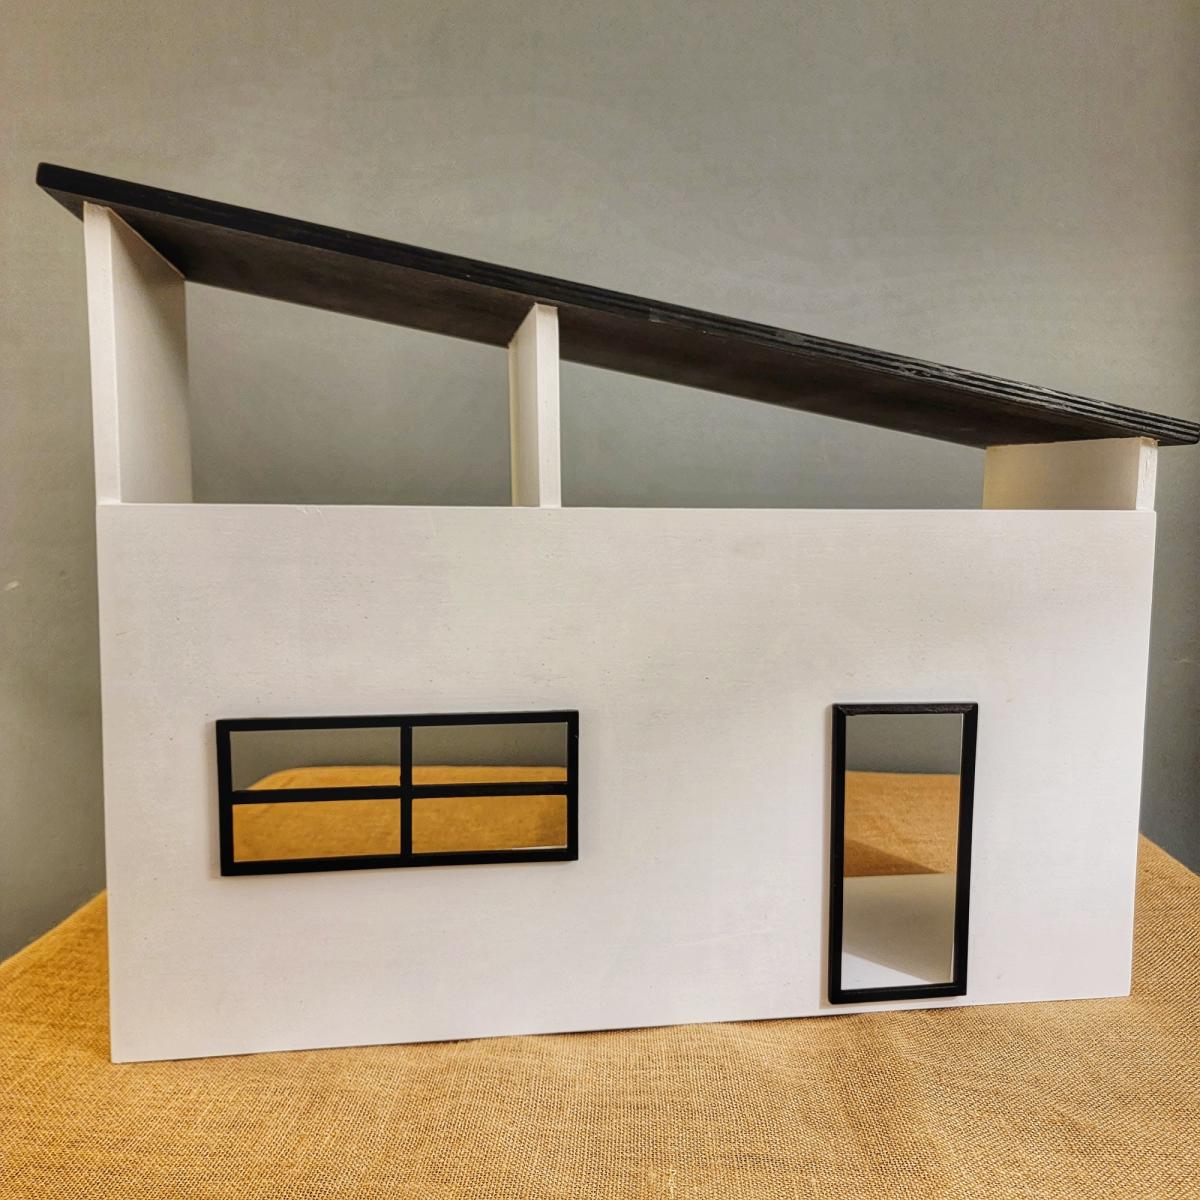
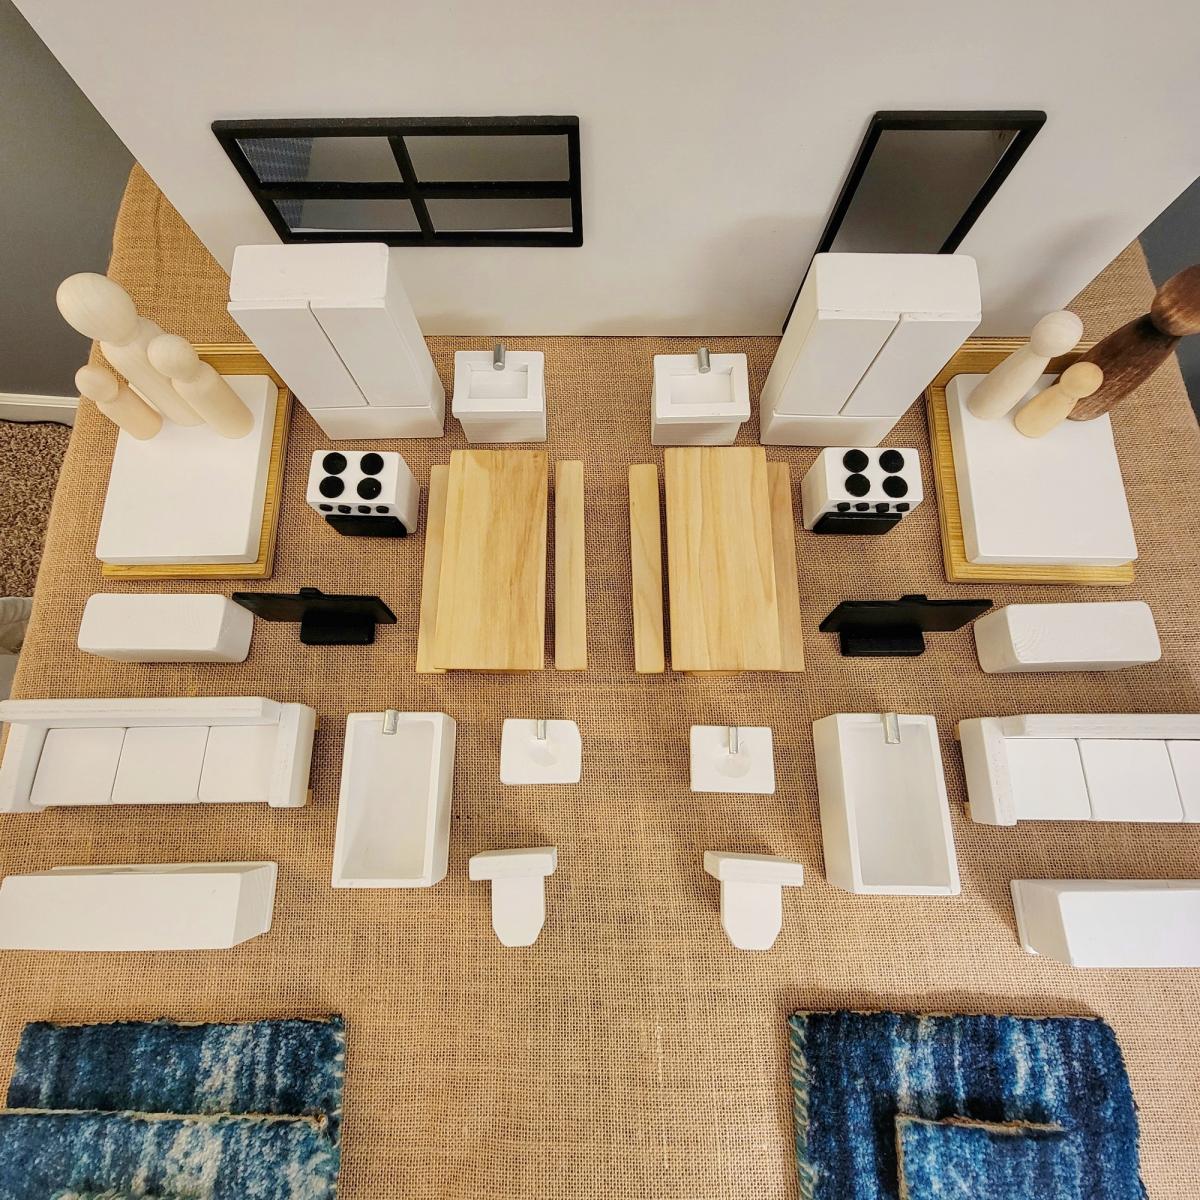
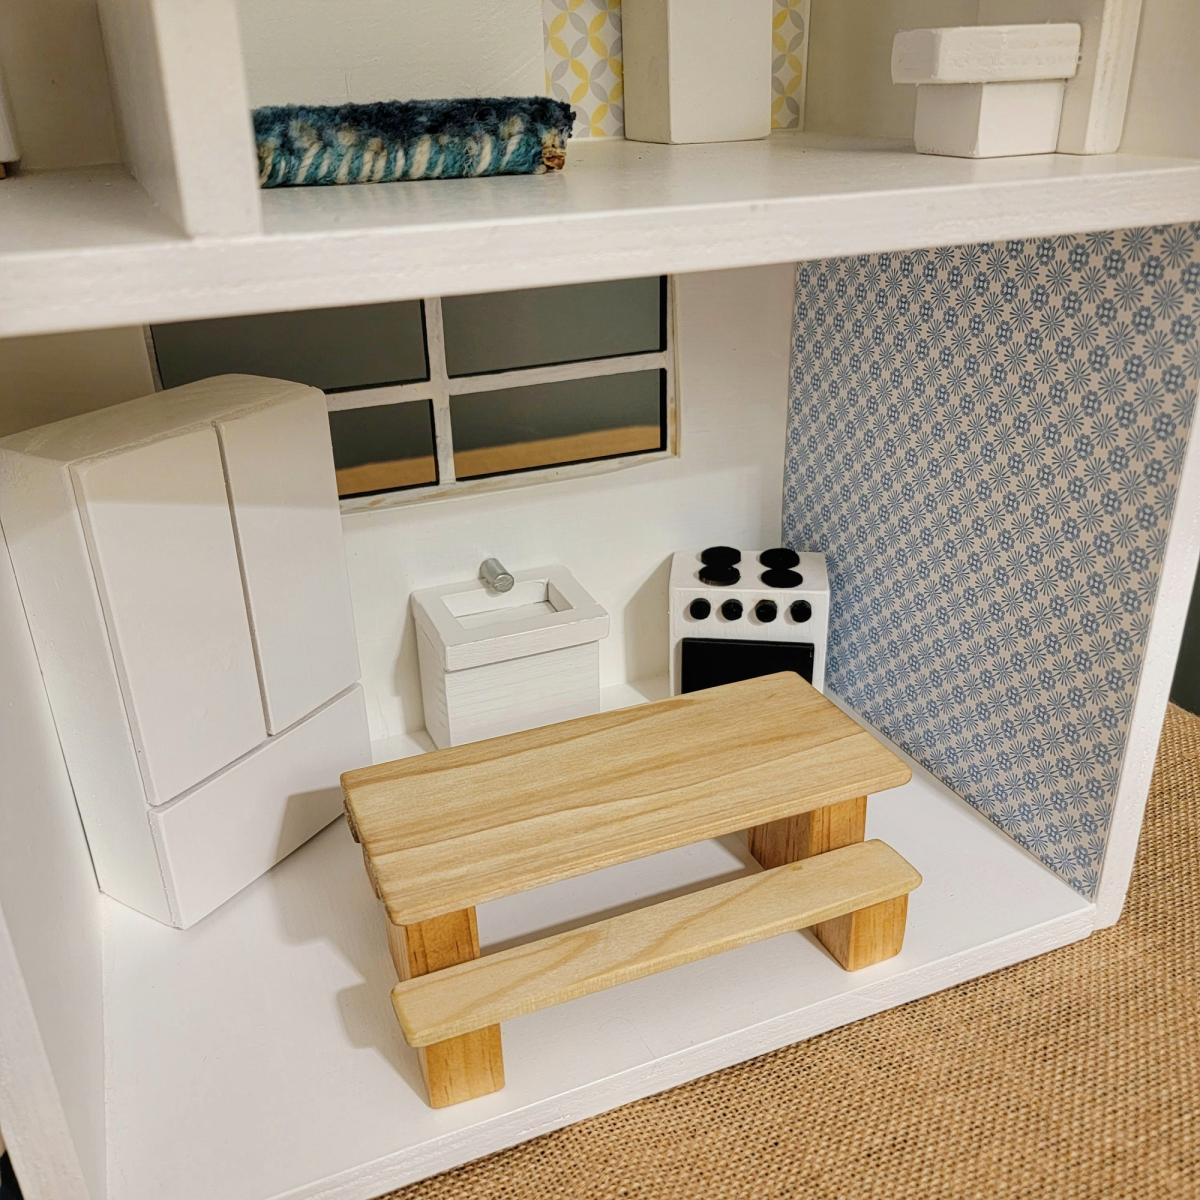
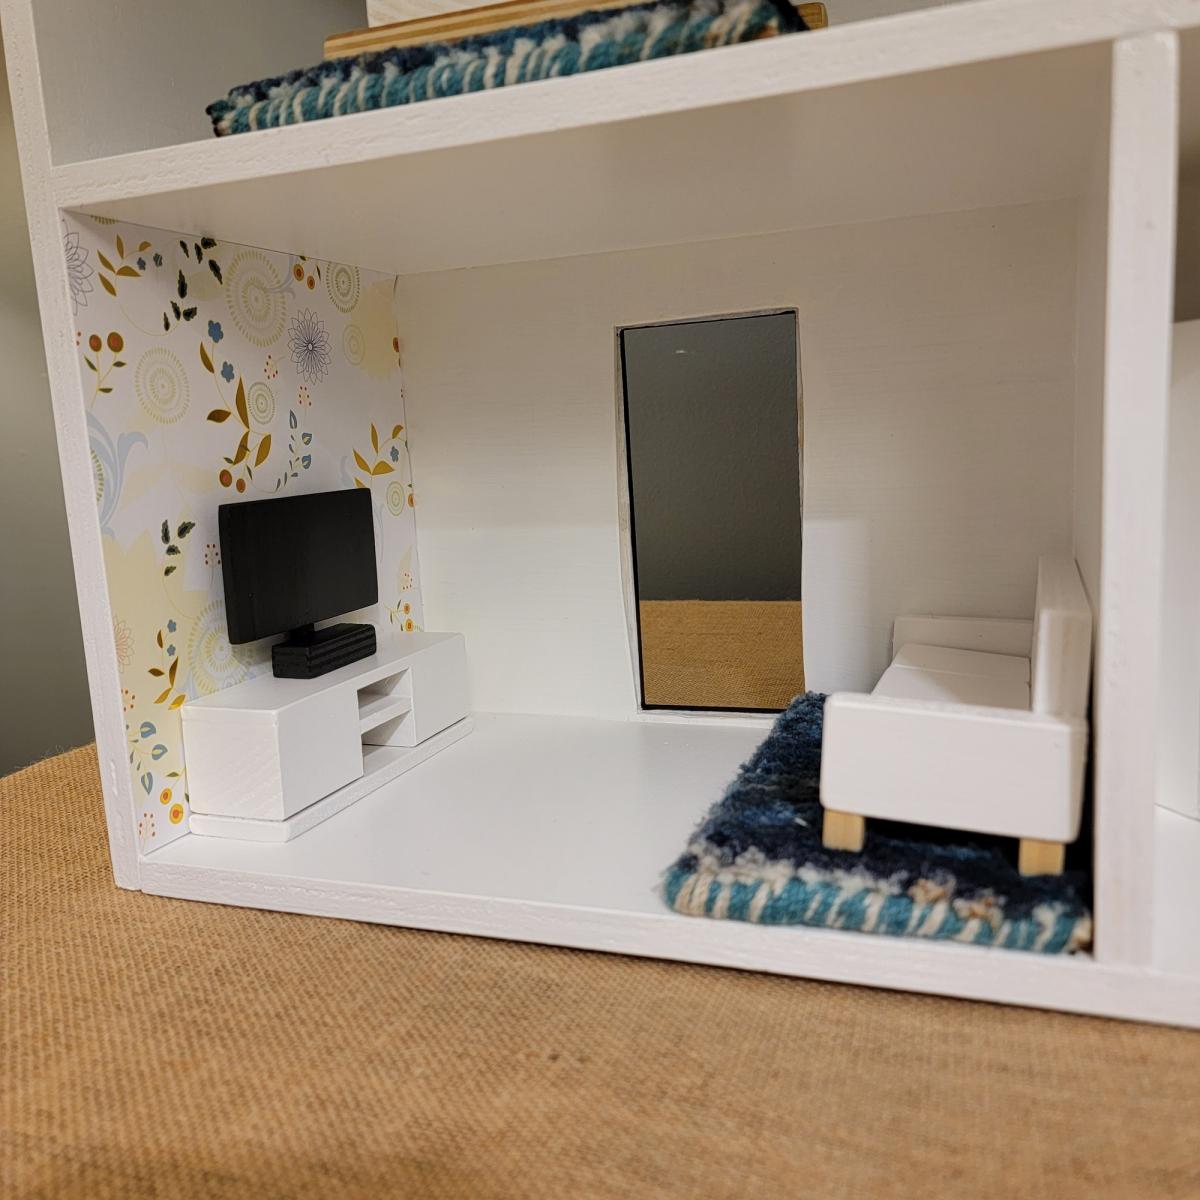
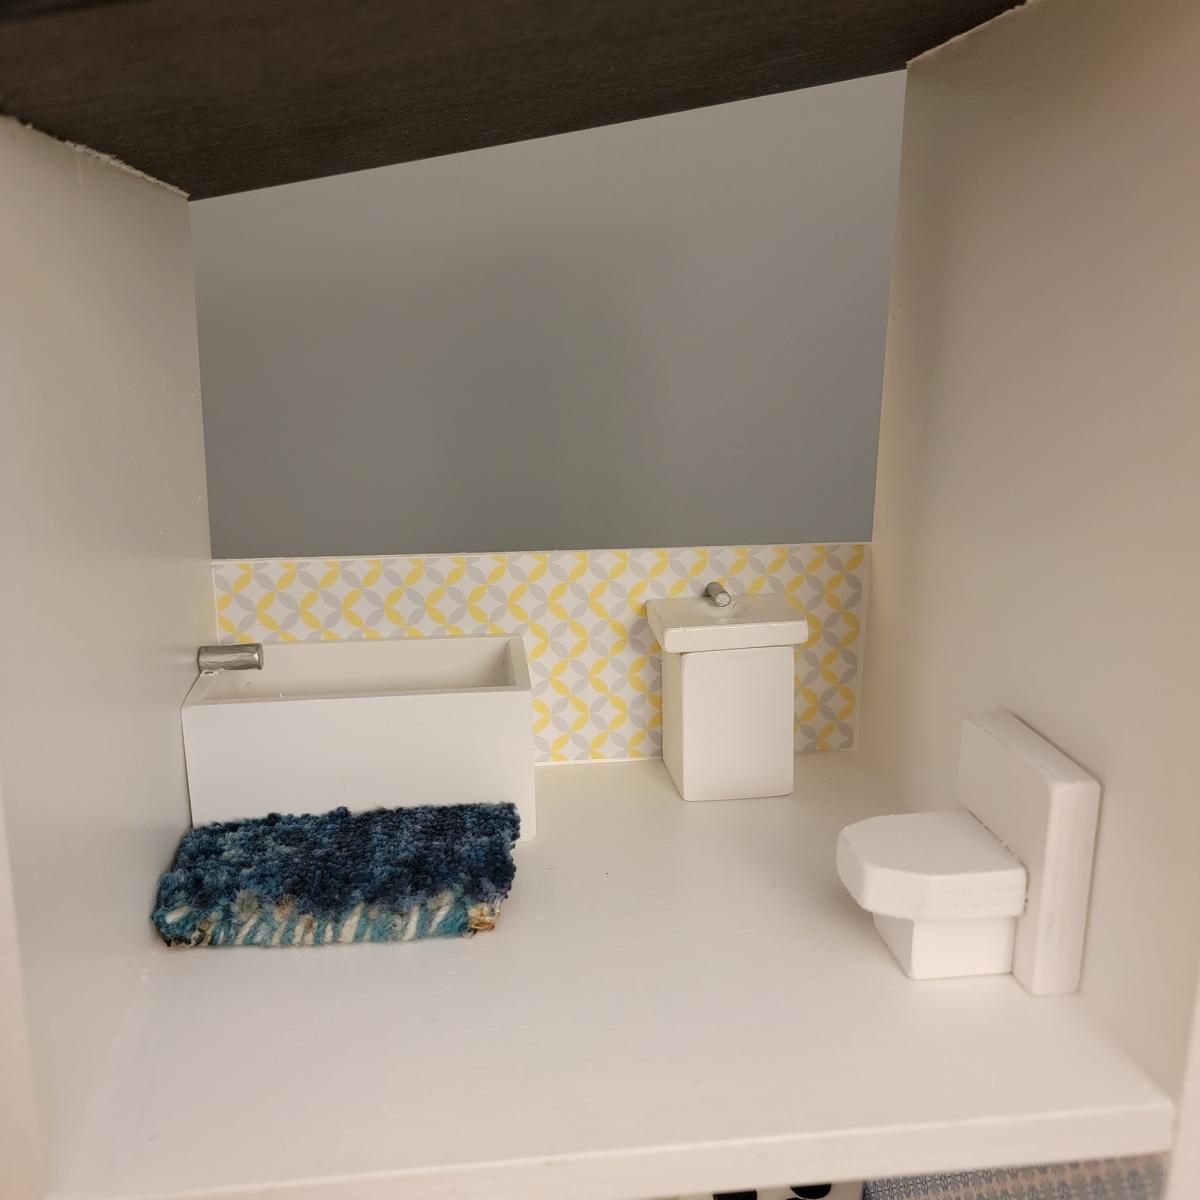
I spent a couple of weekends making the knockoff West Elm Doll Houses using these free plans, as Christmas gifts for my 3 year old honorary nieces. The plans made building the doll houses quite easy! I opted to add trim pieces on the door and window openings, which saved me some headache, since they didn't need to be cut perfectly straight, and I also decided to cut the door and window openings out before attaching the front side to the rest of the house, just in case I messed up. The furniture was a bit harder without any plans (it's noted that the plans will be available soon, but they weren't when I did this build), but I just looked at the photos and made things up as I went along, using scrap wood and wood glue, which was pretty fun. Total cost was about $75 for both of these doll houses, the furniture and spray paint. For the finishing, I used Minwax Wood Finish Oil-Based in Ebony for the roofs and exterior window and door trim, which I stained before attaching. The rest of the house is Benjamin Moore Advance in Chantilly Lace, since that's what I had on hand, followed by two coats of Rust-Oleum spray paint in Satin Clear Enamel. For the furniture I opted to spray paint it all in satin white or black, also followed by two coats of the enamel spray. I used acrylic craft paint on the faucets, to give them a pop of silver. And I added some scrapbook paper for wallpaper and some cut up rug samples, for a little color! Both of my friends' 3 year olds are a little on the young side for these, but they've been enjoying learning how to play with them!

Built from Plan(s)

Comments

Farmhouse Toddler Bed

Submitted by candeanne on Sun, 05/15/2011 - 15:43

Farmhouse Toddler Bed, made by my father & I for my son Corgan. Adapted to 28" wide crib mattress from following adaptations in comments. My first project! LOVE this plan! Thanks so much Ana! This bed will last for a very long time.

Built from Plan(s)
Estimated Cost
$80 with wood + all supplies (my dad had all the tools needed)
Estimated Time Investment
Weekend Project (10-20 Hours)
Finish Used
Minwax Dark Walnut, one application. It looks darker/less yellow in person than in the photo.
Recommended Skill Level
Beginner

cottage bench with storage

My son used your plans to build this bench for his Eagle Scout project. It now resides at the University City, MO Head Start, along with over 90 books that people donated for the children. He couldn't have done it without this site! Thank you so much!

Estimated Time Investment
Weekend Project (10-20 Hours)
Recommended Skill Level
Beginner

Comments

Peppa Pig House

Submitted by Katielauer on Mon, 01/22/2018 - 07:43

Roof to be added later. Modified Dream Dollhouse to 1/2 size -- perfect for 2 yo!

Estimated Cost
$30-45
Estimated Time Investment
Weekend Project (10-20 Hours)
Finish Used
Deco Art acrylic paint in wildflower pink. Decopage scrapbook paper to interior walls and floors
Recommended Skill Level
Beginner

Market Stand

Submitted by Anonymous (not verified) on Sun, 01/16/2022 - 06:17

Plans were easy to follow and we were able to build it using scrap and salvaged wood, and leftover paint. Only had to buy screws and the chalkboard sign materials, so very affordable to make. Birthday boy LOVES it! We set it up with some bakery toys, but the dramatic play options are virtually endless. This is one of those type of toys that will be part of all kinds of play with kids of all ages. The size is great for him at 3 years old but I expect it will be usable for many years before he outgrows it. Well worth making.

Built from Plan(s)

Comments

Classing up my Living Room

Submitted by Corina on Wed, 05/18/2011 - 08:26

This was my very first build! I am very happy with the results and I am so proud to have made such classy yet practical pieces of furniture. My living room has gone from being overrun by children to a comfortable, organized space for all.

I certainly learned alot on my first build. I learned that I hate gel stain, that I will now pledge my undying love to the mighty Kreg Jig, and that building furniture is addictive. I will be making so many more projects, I have at LEAST 5 more pieces planned. I think I will never buy furniture again (except maybe upholstered furniture).

Built from Plan(s)
Estimated Cost
$100 per pair
Estimated Time Investment
Day Project (6-9 Hours)
Finish Used
Minwax Gel Stain
Recommended Skill Level
Beginner

Love, love, love this swing!

Still unhung - but just had to share this wonderful swing we picked up today from our handyman. Thank you, Ana! The modifications to the plan we requested were a higher back and the front side table detail. We had it built for $350 - not including cushions.

Built from Plan(s)
Estimated Cost
350
Estimated Time Investment
Weekend Project (10-20 Hours)
Finish Used
Forest Green paint.
Recommended Skill Level
Beginner

Kentwood Nightstand

These were so fun to make, it was my second build ever and not too hard. I was worried about doing a door for my first time but making sure everything was square as I went made it  fit right in perfectly. The kreg jig is a must!

Estimated Cost
$40-$50
Estimated Time Investment
Afternoon Project (3-6 Hours)
Finish Used
Creamy white satin paint with 2 polycrylic satin clear coats
Recommended Skill Level
Beginner

Outhouse

Submitted by taimysha on Thu, 01/20/2022 - 18:13

This is the 1st Ana White project I ever built. I now have several items of hers under my belt. I built this the summer of 2017 for the solar eclipse. We live directly in the path with longest viewing times. I placed an ad and got responses from all over the country of people wanting to stay on our property. This outhouse like all of Ana's other plans were easy to adapt to fit my needs. I extended the roof to include the covered porch and only used tin. I also added a couple of shelves a 2 mirrors. Almost everything I used to build this were things we already had. It's mainly built used our old swimming pool deck that we had torn down. The versatility and the clarity of Ana's project plans make this my go to building site!!

Comments