Community Brag Posts

A gift for a lovely family

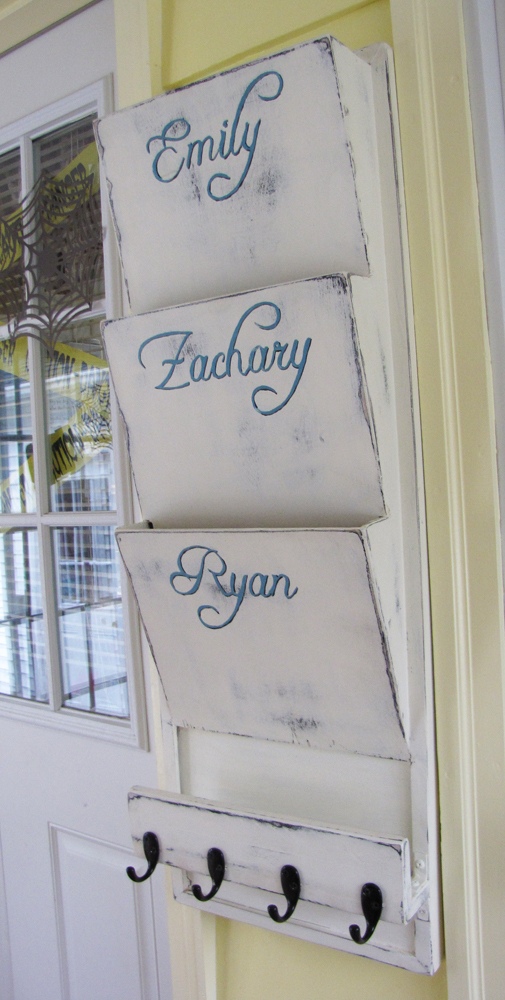
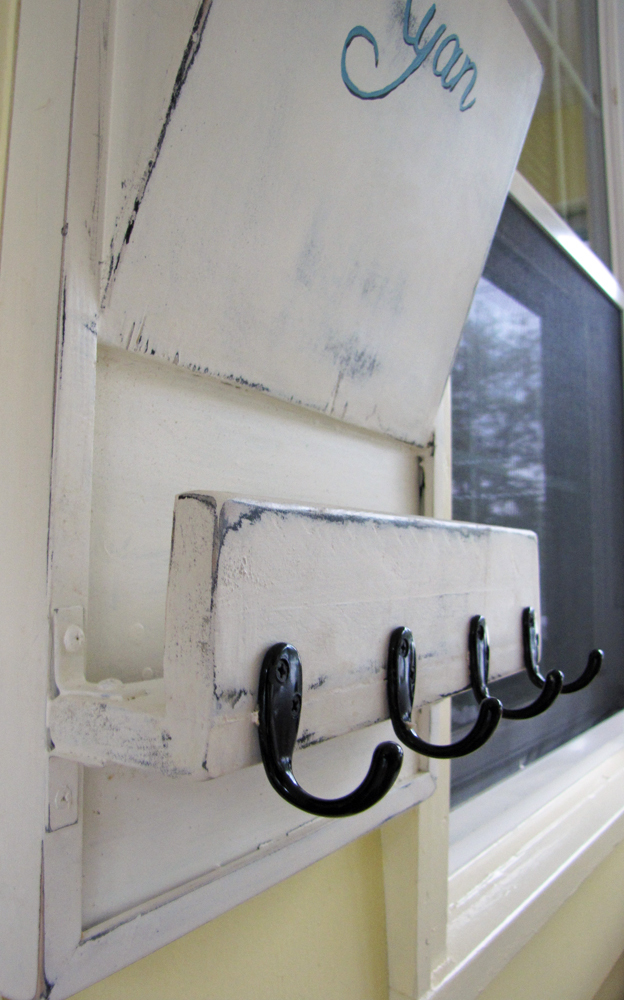
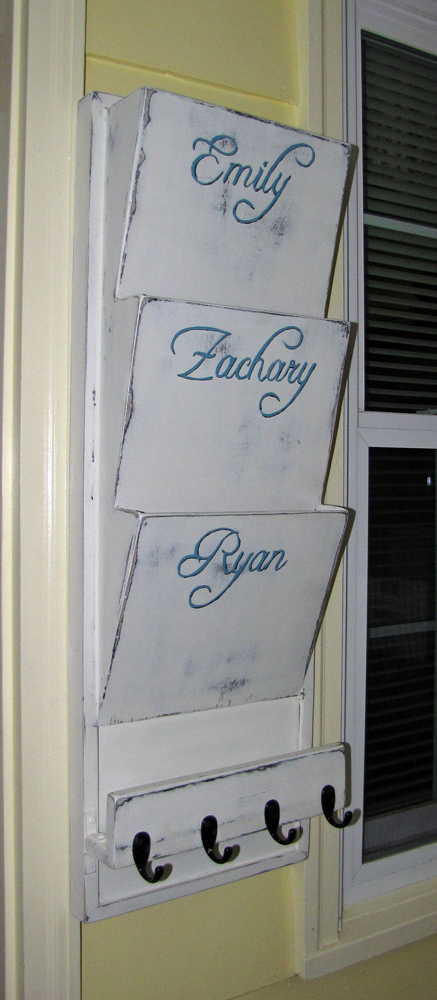
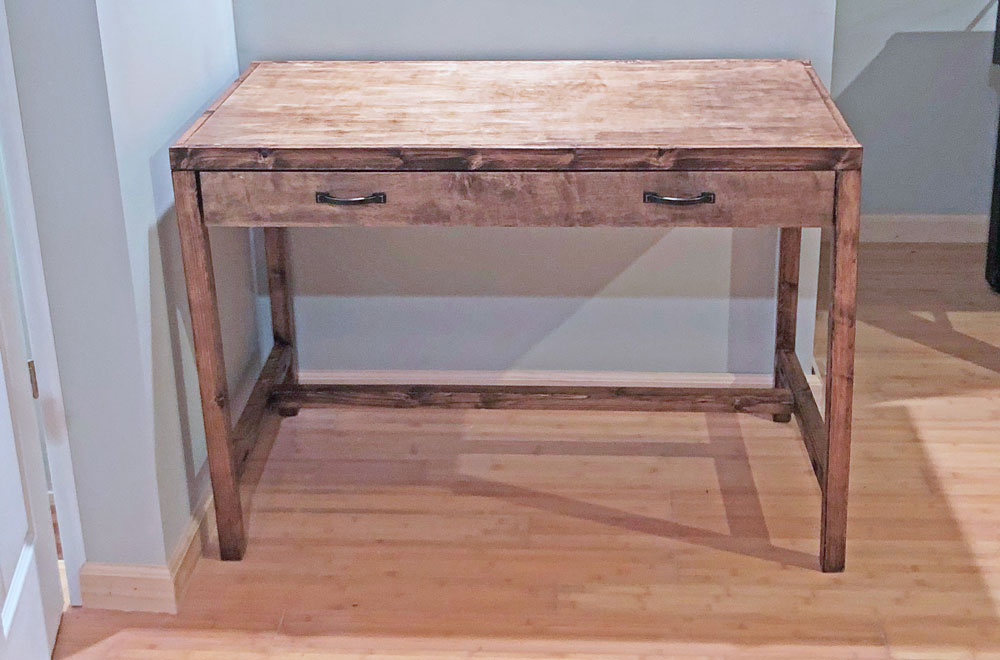
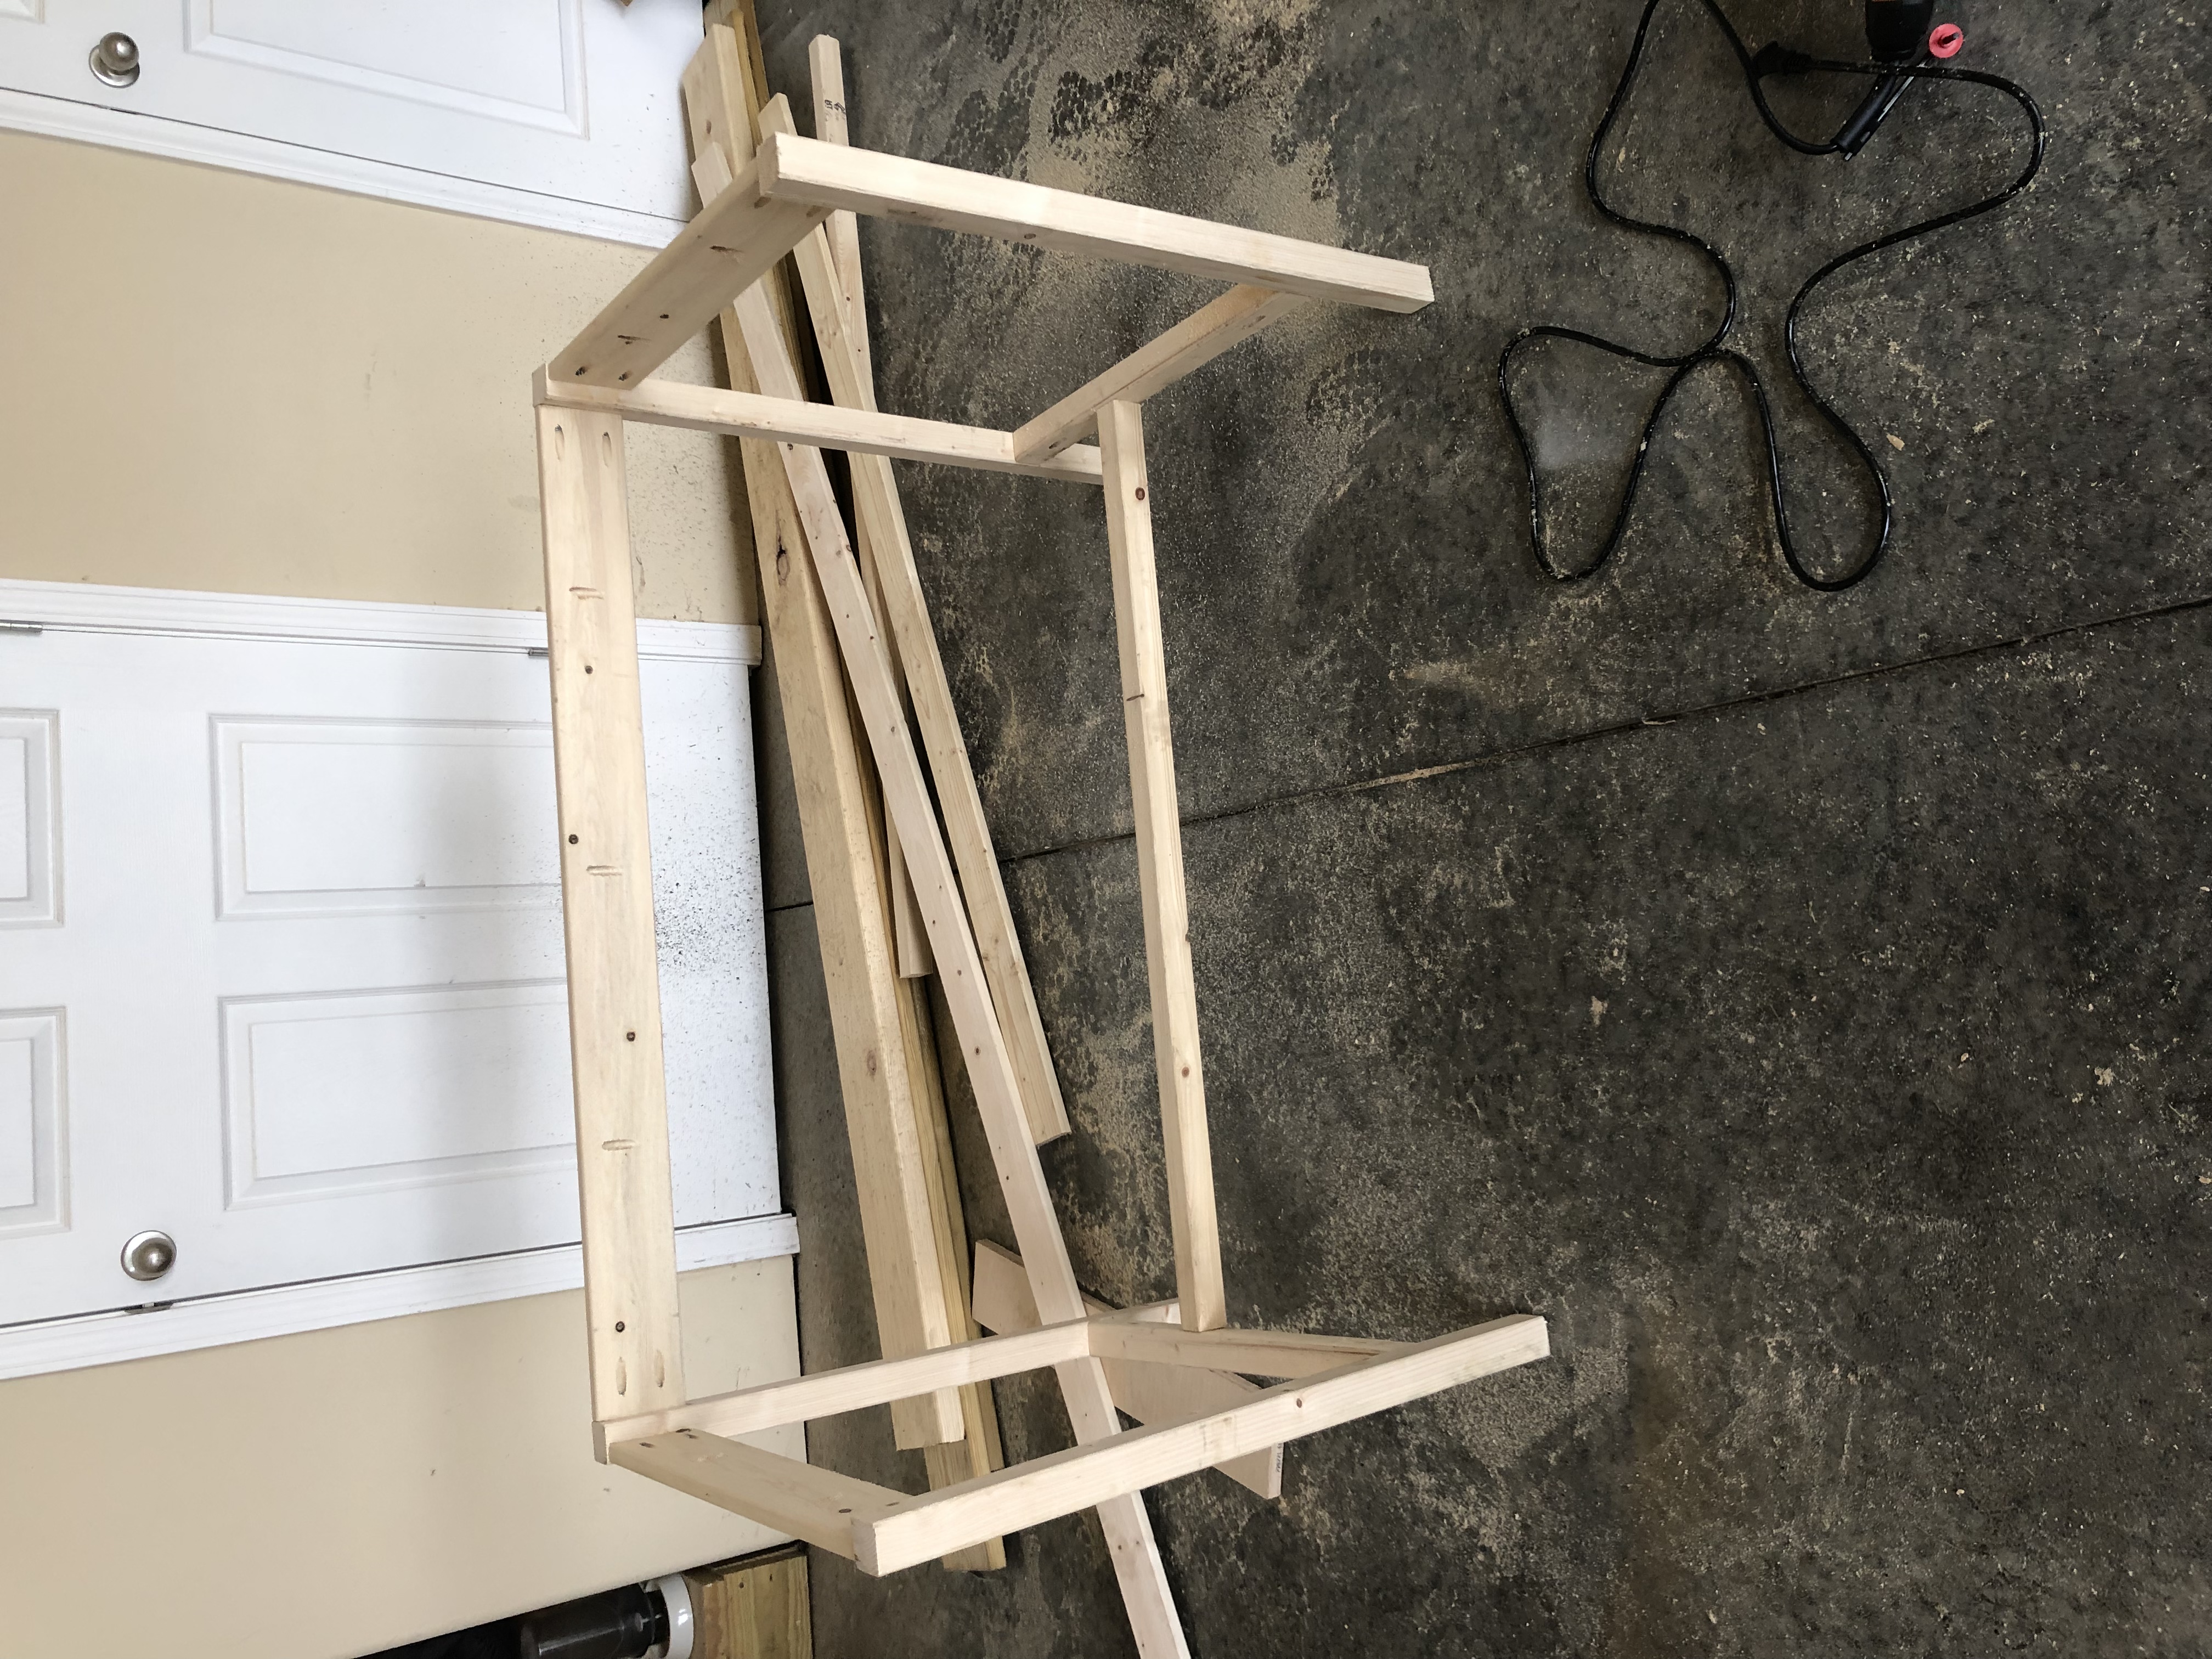
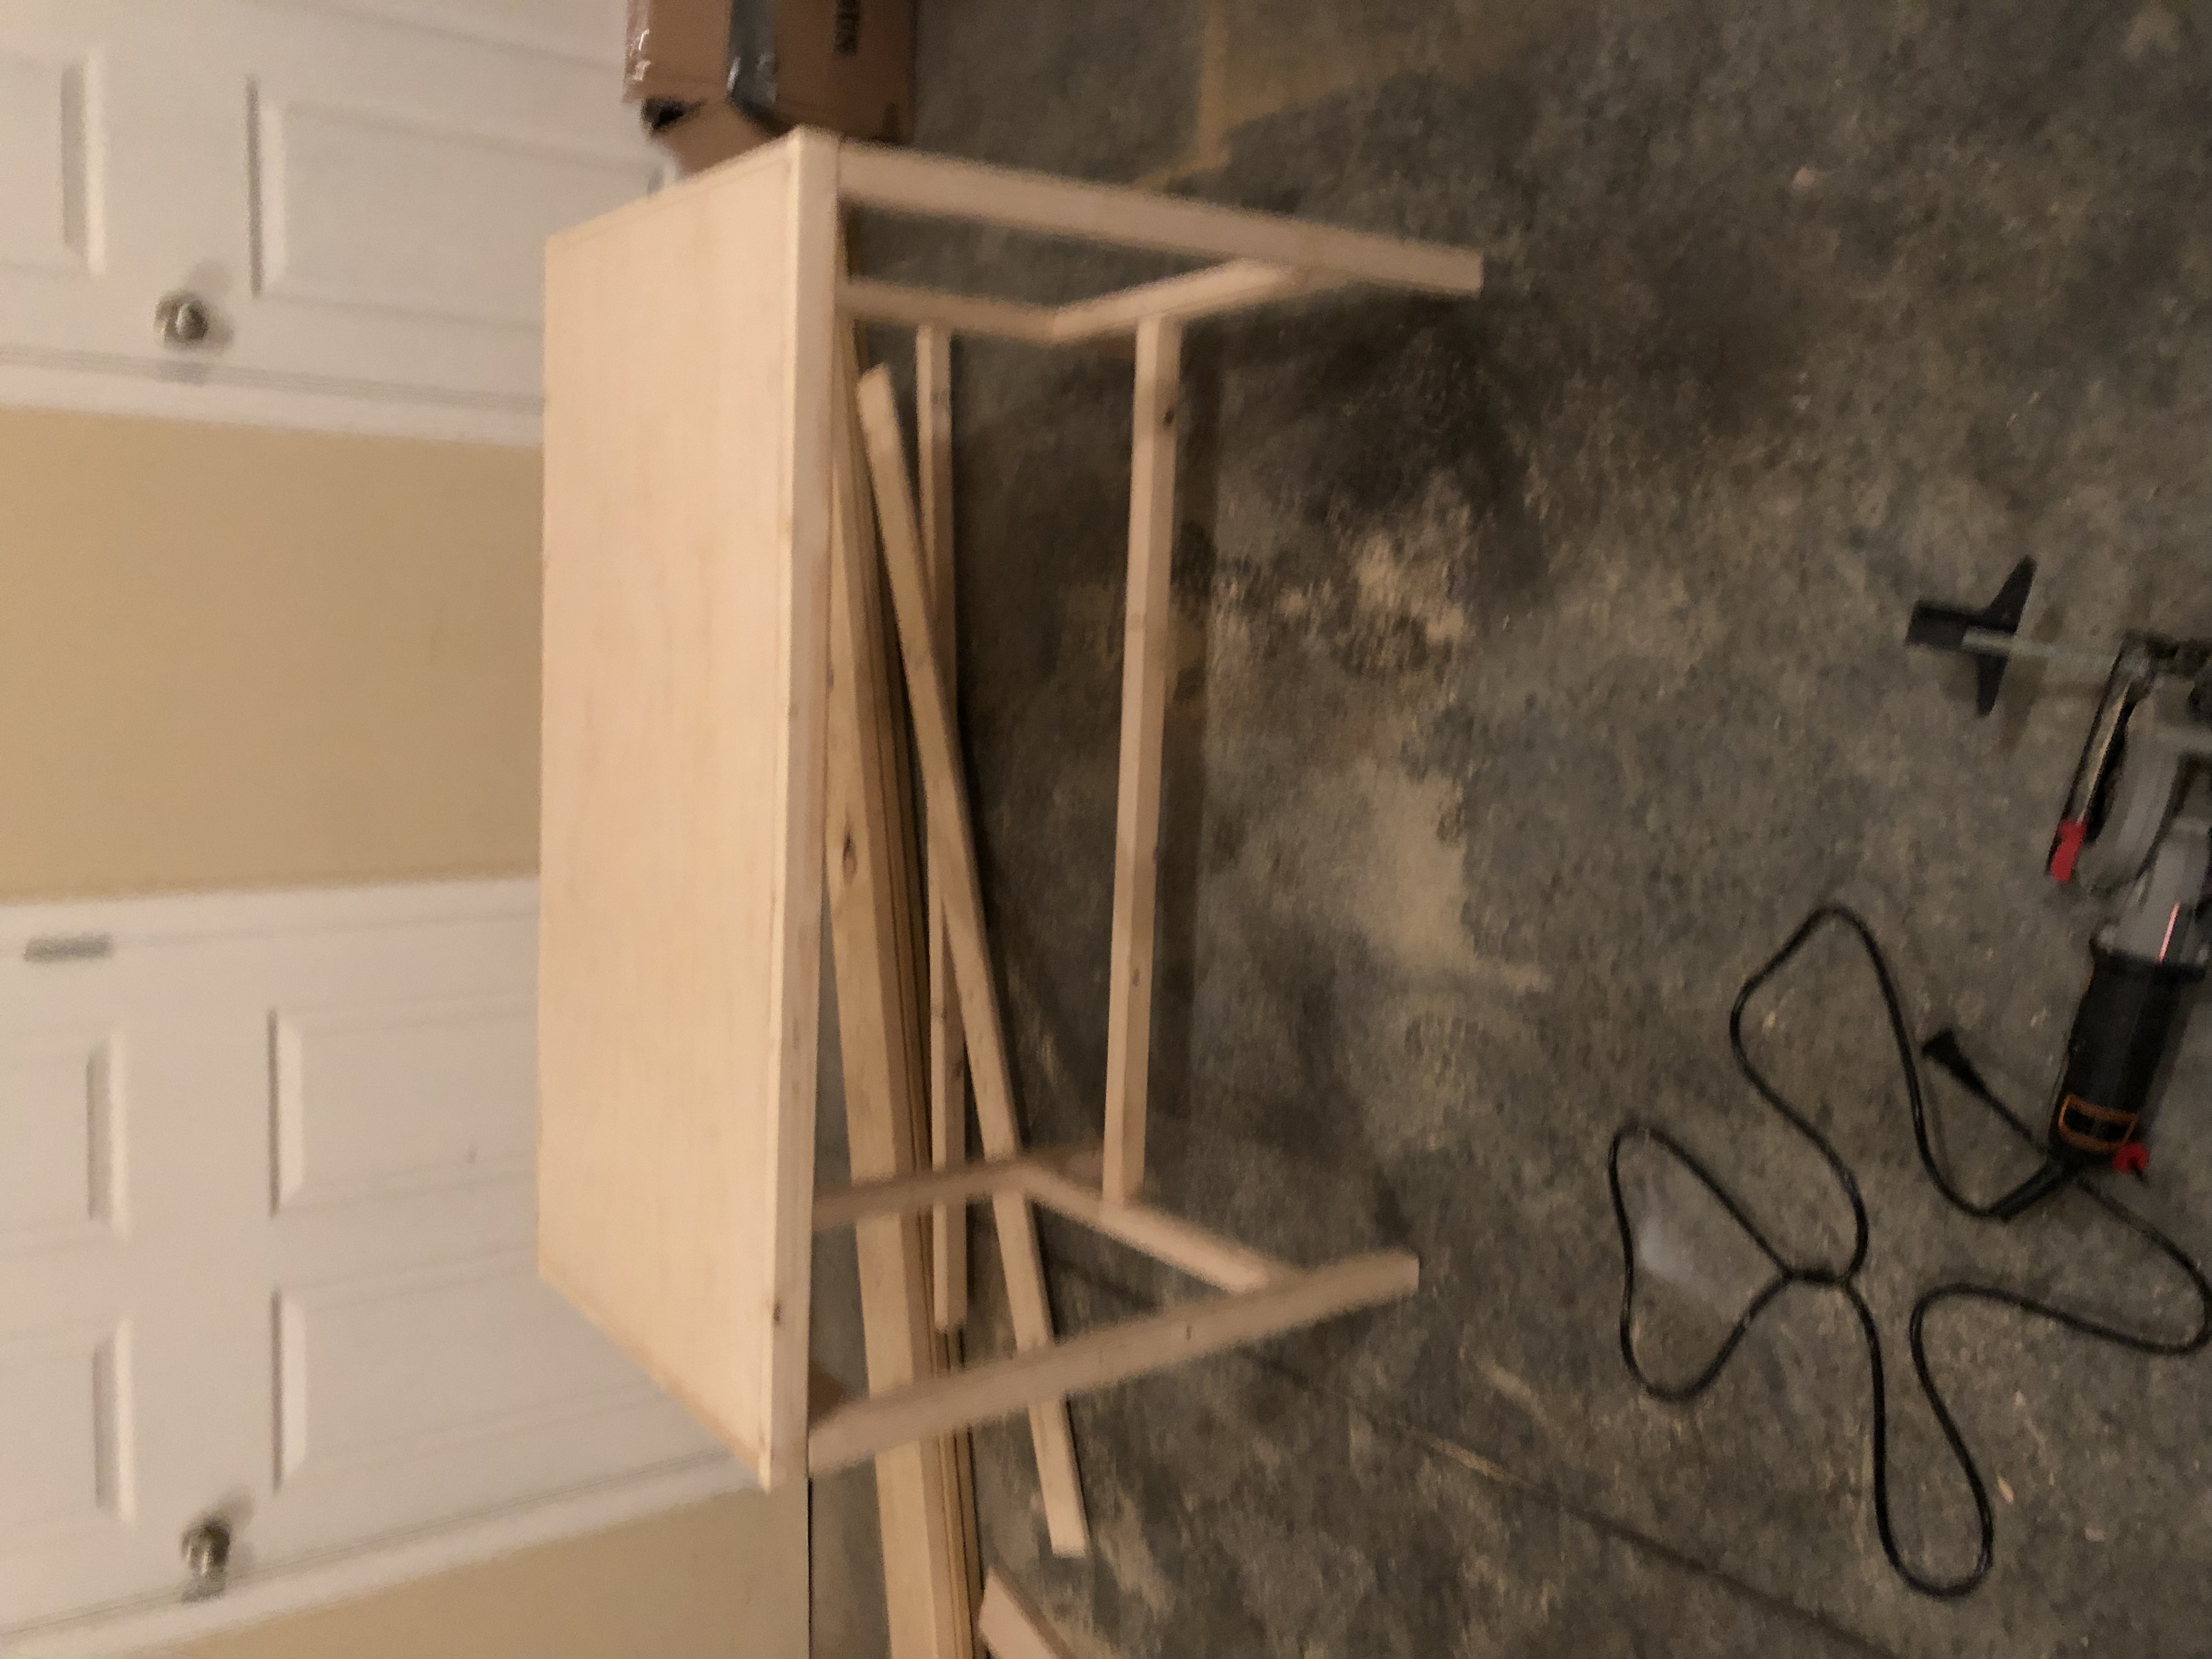
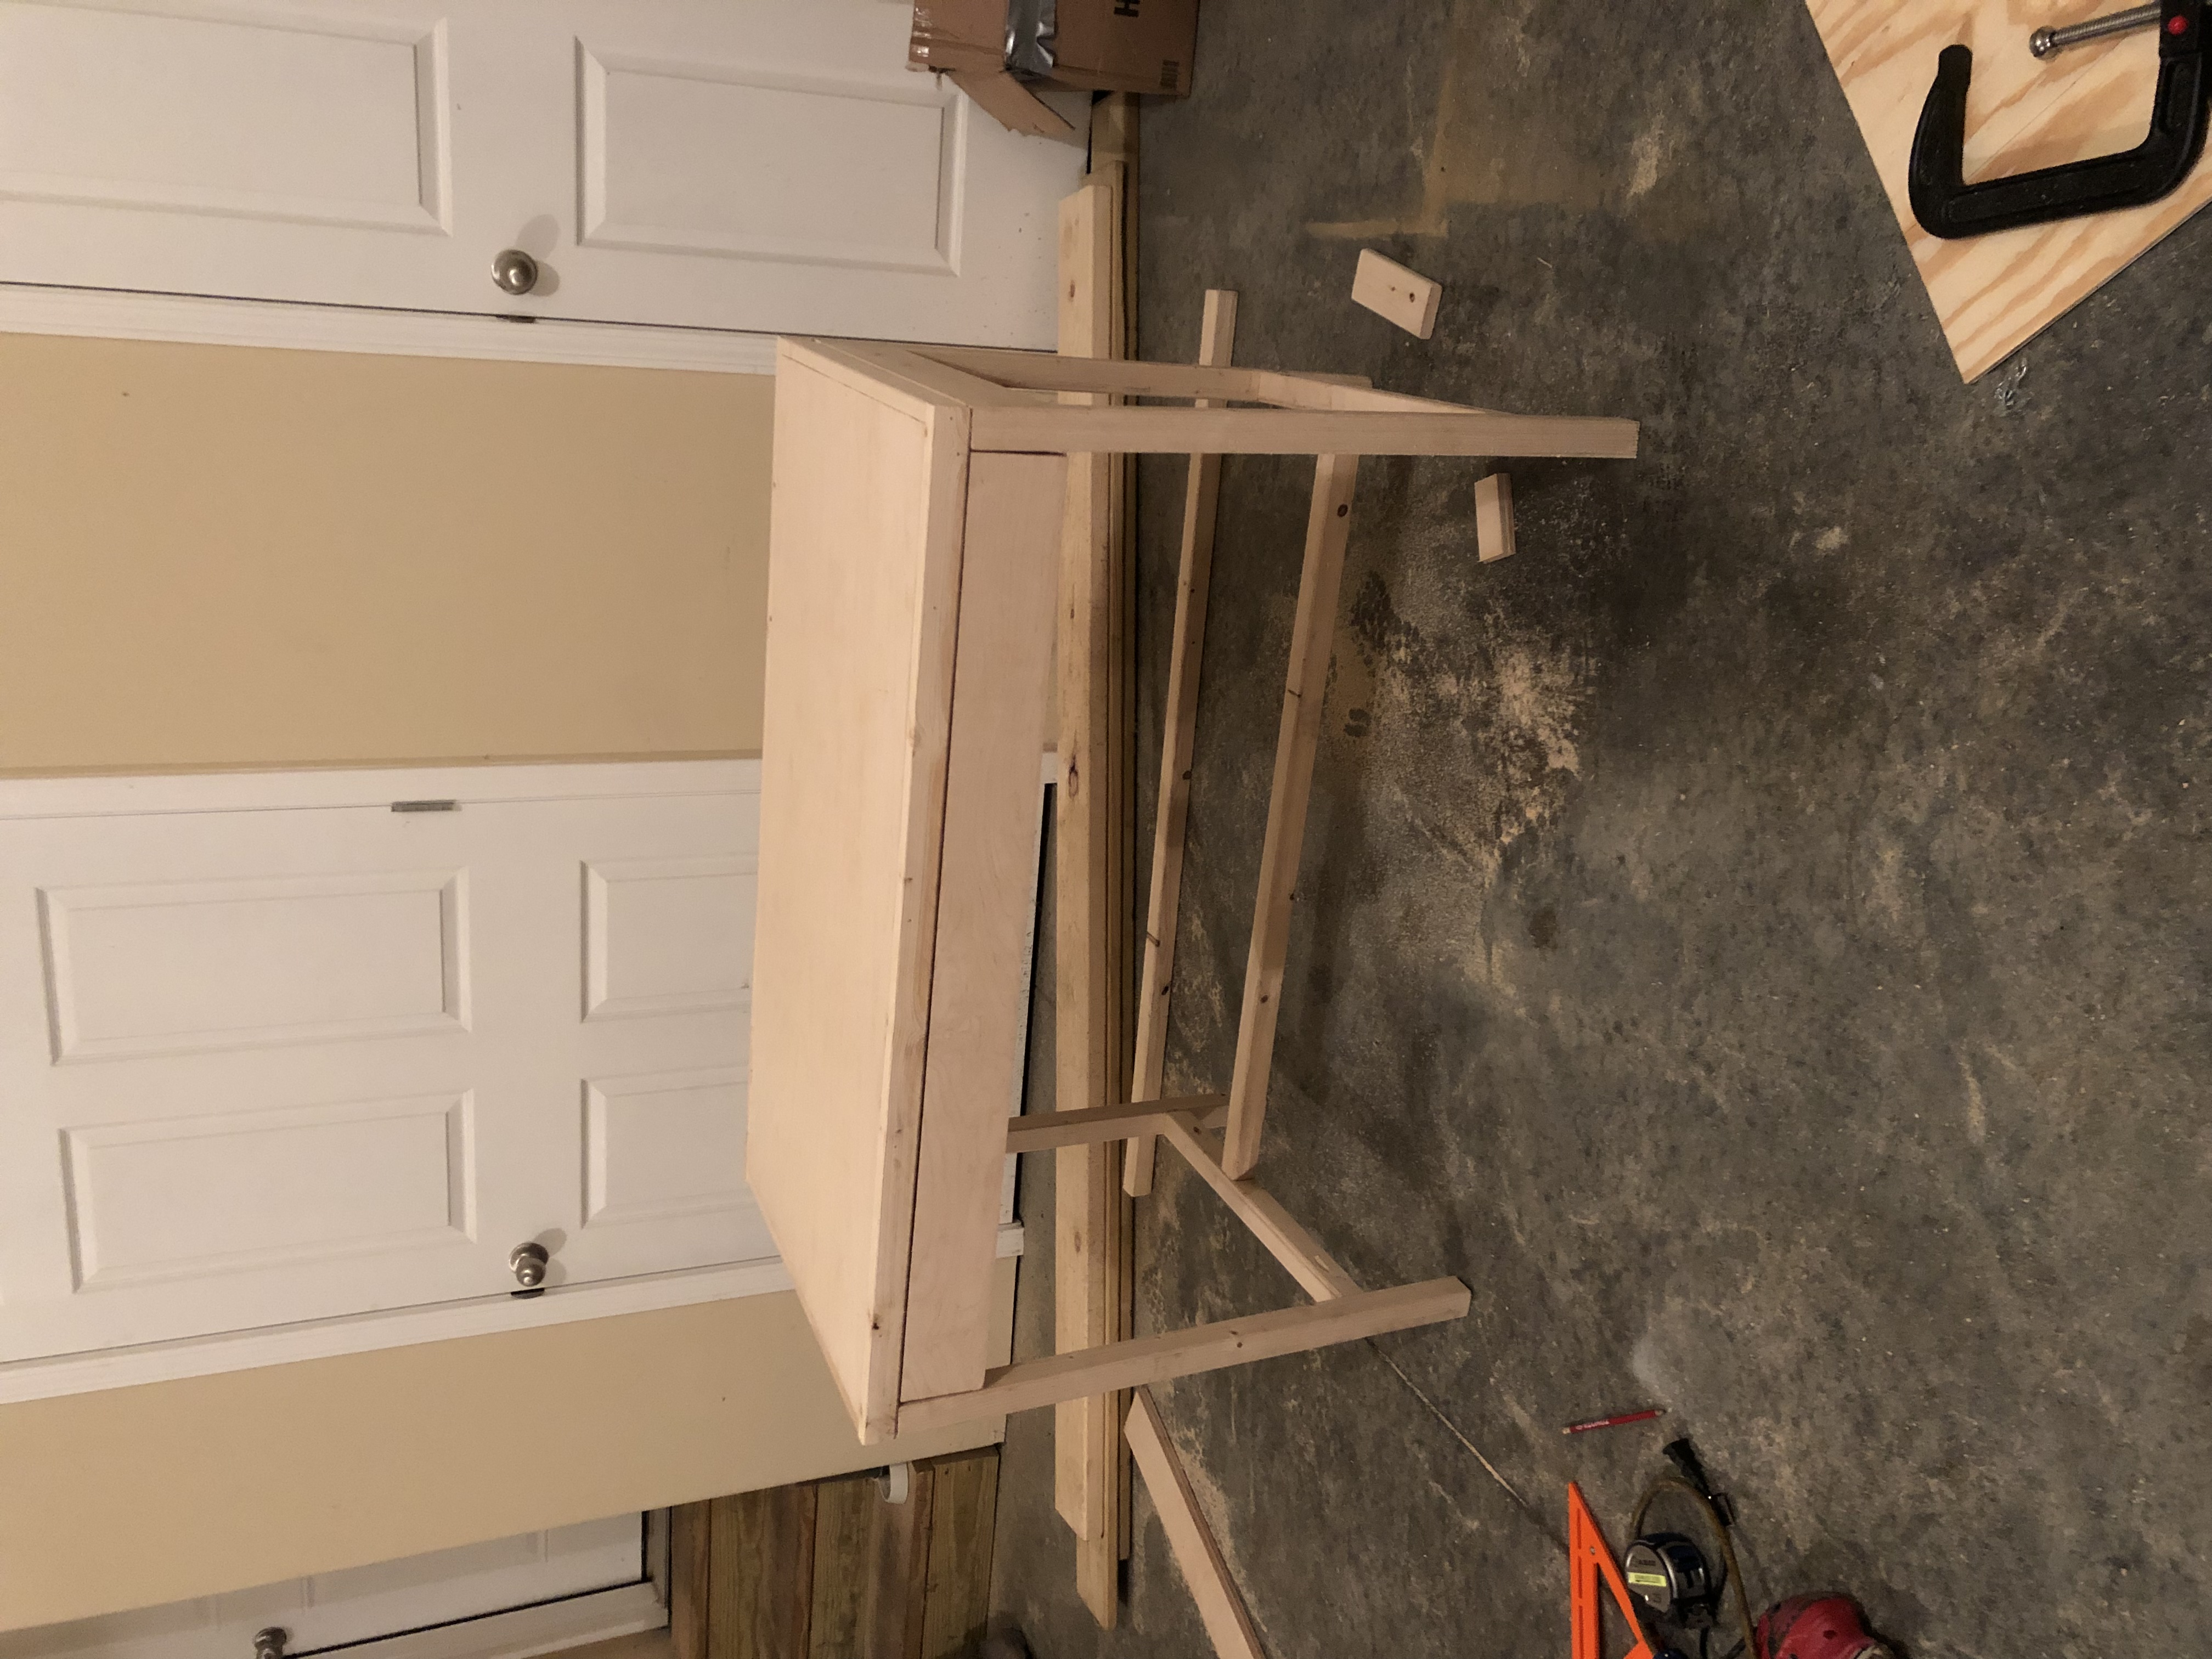
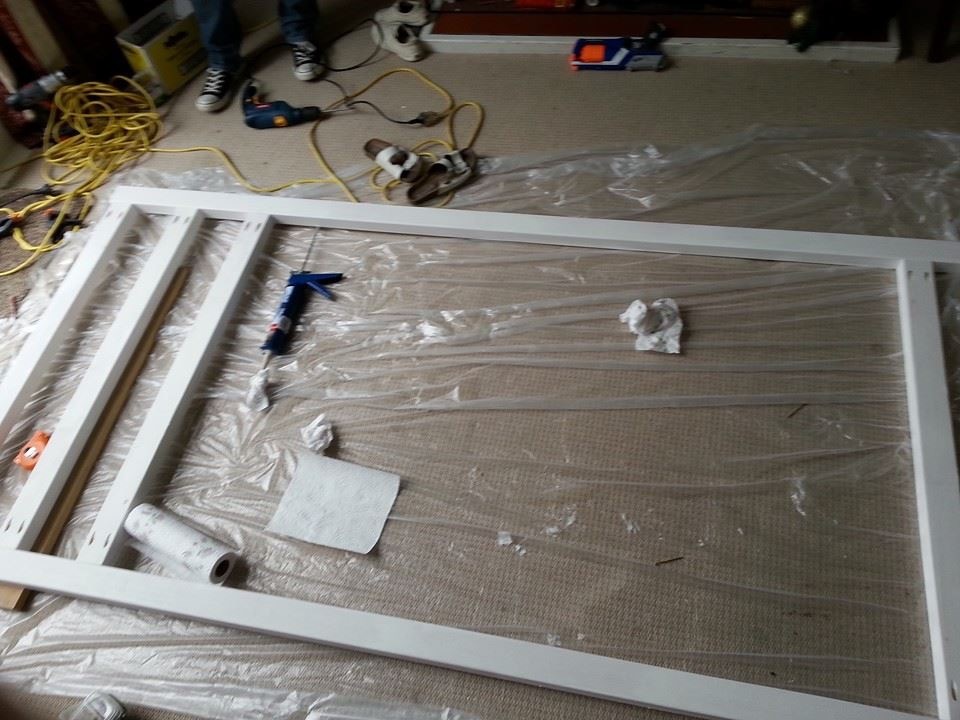
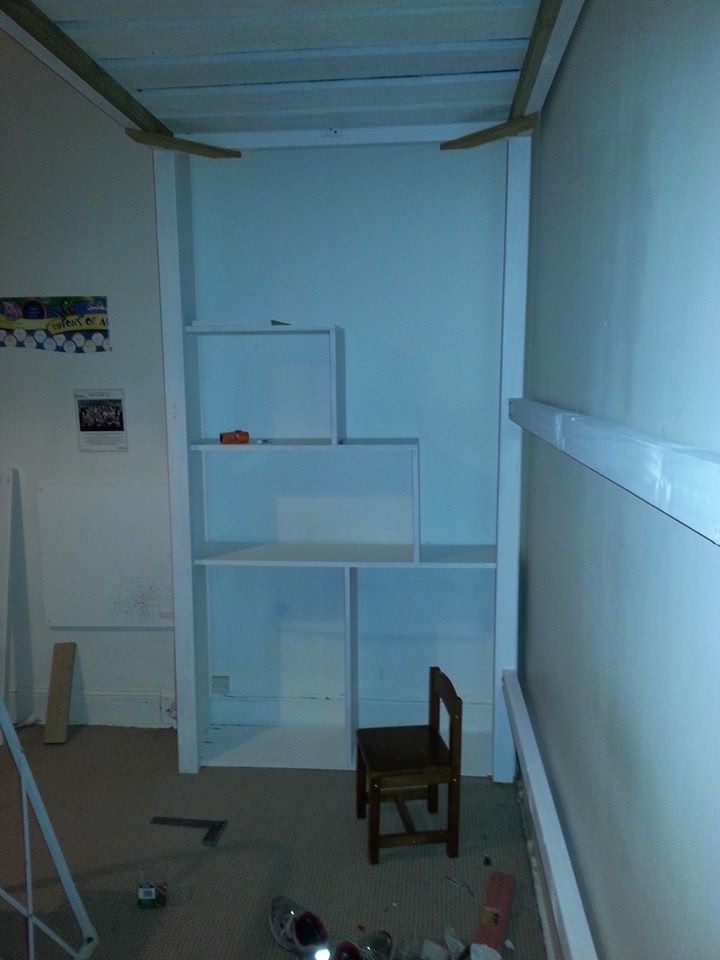
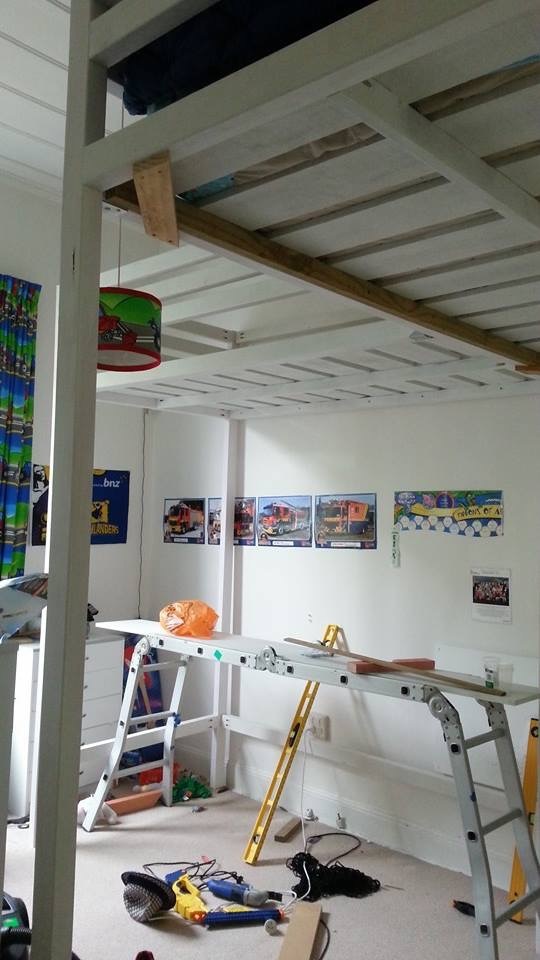
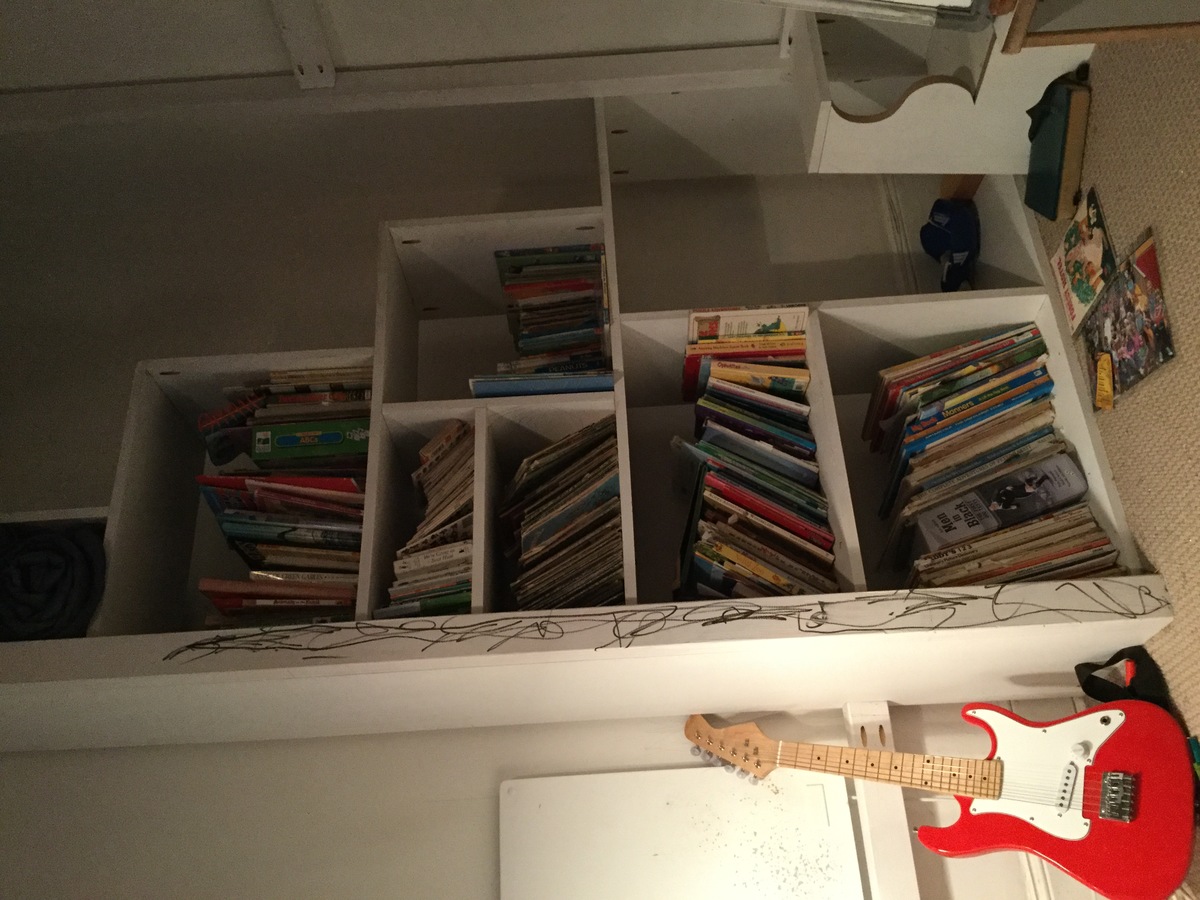
We have a family that we are very close with. We both have young boys with Down syndrome, so getting to know them has been a lifesaver. Well, I wanted to help "save their life" too by making another organizer bin for the kid's schoolwork. I used scraps from my garage and an old Ikea frame that a friend gave me. As you can see, I modified from the original plan to add a letter holder and hooks for the keys. Now they don't have to "ohhh and ahhhh" when they come to my house, because now they'll one all of their own.

Estimated Time Investment
An Hour or Two (0-2 Hours)
Finish Used
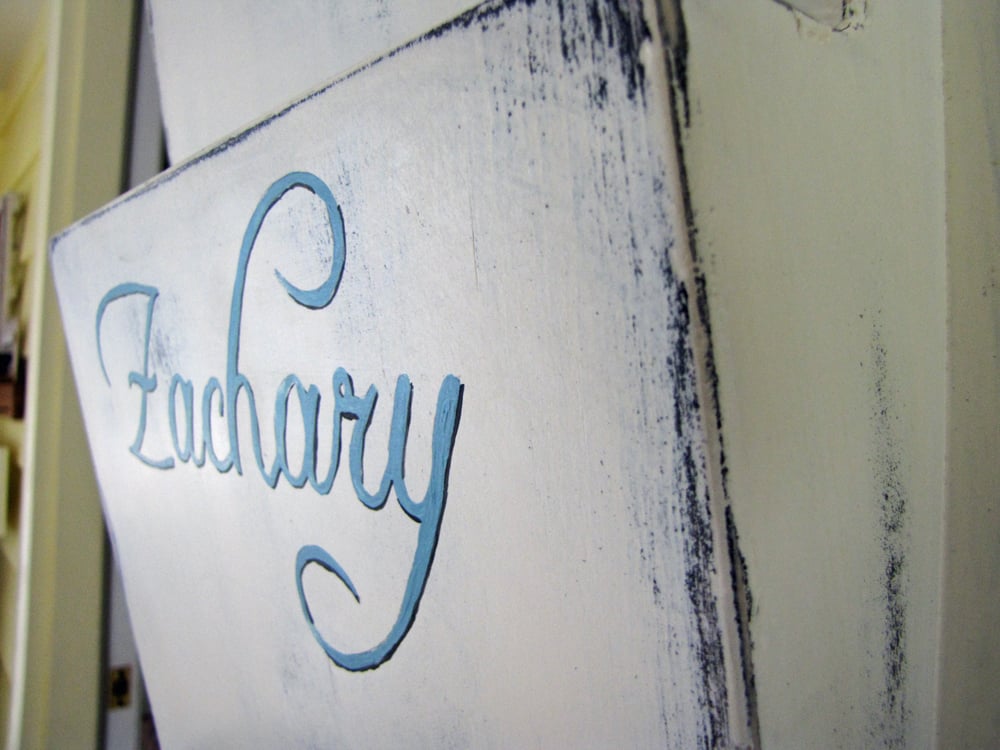
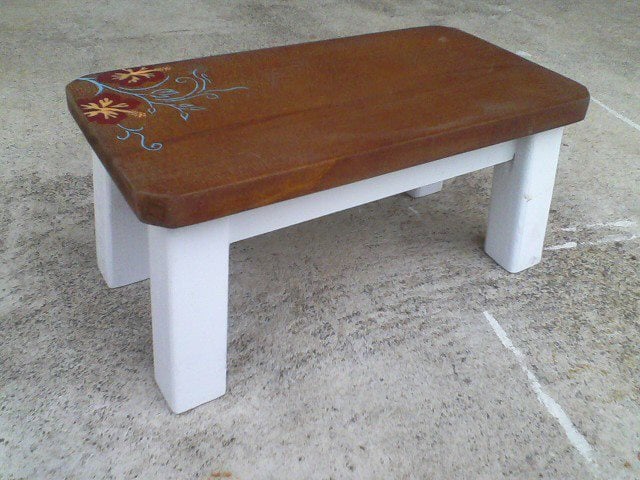
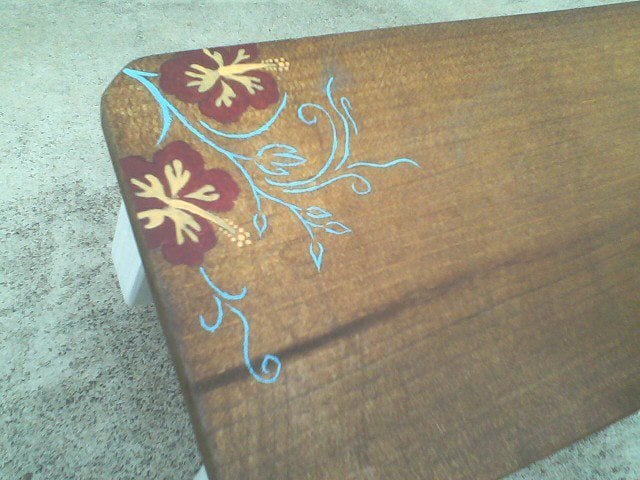
I spray painted it black and then added a creamy white over the top. I used a turquoise paint to make the names. I was brave and used a think font and even braver by adding the shadows. But I'm very happy with the way it came out.
Recommended Skill Level
Beginner

Comments

Guest (not verified)

Sun, 02/19/2012 - 13:51

Hope I dont sound stupid but how did u add extra holder? Thank you :]

debandtom25

Wed, 03/07/2012 - 06:07

I just made it from pine. You can use screws/nails or L brackets to keep it together and to attach. I can't remember now how I did it.

First build modified pedestal bench

We wanted a bench to go with our new table, but couldn't find one we liked, so we decided to make this our first project. Finished it with paint and an over glaze to match the finish on the chairs. Couldn't be happier with the results!

Built from Plan(s)
Estimated Cost
$50
Estimated Time Investment
Afternoon Project (3-6 Hours)
Finish Used
Paint with an over glaze, sealed with poly acrylic
Recommended Skill Level
Starter Project

Industrial Barn Breakfast Table

Submitted by Colindidit on Wed, 01/06/2016 - 07:04

This is a table and bench set I made for a couple of friends who moved into a new home and needed a place to eat and study. I incorporated some scrap iron, piping with purchased lumber. In addition to beating the lumbar with chains, old tools, chisels, etc. I used a vinegar and steel wool mixture to create the distressed appearnce and sealed it with natural color danish oil. The vinegar also helps create a nice rest patina to the metal which I sealed with a clear spray enamel.

Estimated Cost
$180
Estimated Time Investment
Weekend Project (10-20 Hours)
Finish Used
Vinegar and steel wool mixture. Danish oil.
Recommended Skill Level
Beginner

Comments

Slat Bench

Submitted by RHgaijin2 on Sun, 04/14/2019 - 07:06

I extended the slats past the legs by 2 inches on each side. Stained the legs Cherry and Torched the seat. All the wood was reclaimed.  

Here is the video:  https://youtu.be/lI5d3r2-41o

Estimated Cost
Less than $10
Estimated Time Investment
Afternoon Project (3-6 Hours)
Finish Used
Stained Legs
Torched Seat
Recommended Skill Level
Beginner

Church pew

Submitted by Anonymous (not verified) on Fri, 02/24/2023 - 06:34

First time using jigsaw, think it turned out pretty good! What a fun project to build!

Comments

Little Step Stool

Submitted by loniwolfe on Fri, 11/04/2011 - 11:30

Maddie needed a little extra boost to comfortably reach the bathroom sink. She loves this stool!

I modifyed the Simplest Stool to be oober short, and painted the design using leftover wall paint samples

Built from Plan(s)
Estimated Cost
$0, used scraps and leftover stain and paints
Estimated Time Investment
An Hour or Two (0-2 Hours)
Finish Used
Minwax Spray Stain (Color was either Early American or Gunstock), White Spray Paint, Minwax Spray Clear Coat, and wall paint samples for design.
Recommended Skill Level
Starter Project

Comments

sgilly

Fri, 11/04/2011 - 12:08

It's so tiny, but just perfect! I'll be this is kept and loved, and used for your daughter's children!

loniwolfe

Fri, 11/04/2011 - 12:32

Thanks! Thats what I'm hoping! That's also why I'm debating on whether or not I'm going to paint her name across the top like originally.

sgilly

Fri, 11/04/2011 - 15:56

Some time ago we found a small piece of furniture that had been made by my grandfather. How'd we know? He'd carved his name along with "for Betty" on the bottom of the piece. It wasn't a particularly pretty piece of furniture and we wondered why it had been kept as long as it was - until we found the engraving (that's really too nice a word, primitive carving is more like it!). If in doubt about putting her name on it, just put it underneath. Someone will find it years from now and know how much love went into making it!

Long version of flip top storage bench

Submitted by Anonymous (not verified) on Thu, 01/07/2016 - 10:46

We are loving the way this turned out. I made it 5.5 feet long, split the top and added a divider support bar in the middle inside the top storage area. It feels super sturdy (has had our twin toddlers climbing and banging all over it without a problem!) and is getting a ton of use. Winter gear in the top, and shoes/boots in the bottom. As my first big wood-working project, it was relatively easy thanks to the instructions. Having the wood pre-cut at Lowes saved me needing the tools, but the pieces were not exact. I also found that this cost us more in materials than was listed, maybe because I bought the higher-grade pine, and we made a longer bench. I

Estimated Cost
$150
Estimated Time Investment
Weekend Project (10-20 Hours)
Finish Used
Base: Minwax stain in Jacobean, with clear furniture wax on top
Top: Homemade chalk paint in Valspar Posh Red, with clear furniture wax on top
Recommended Skill Level
Beginner

Bench!

Submitted by kcav1706 on Thu, 05/02/2019 - 06:24

I used Ana's website and found the plans for this awesome and adorable bench! I placed it on my front porch at my house and it really brings a feeling of "home" to the outside! The best part about it is that I only used six 2x4s and the cost was under $18! (If I would have read the first direction about cutting the long pieces first then I could have avoided going back to Home Depot for an additional 2x4 lol) Also- if you have never done a miter cut before that has to be a precise length, make sure to cut the board longer than what the plan says and then cut the angles. I made the mistake of making a cross cut at 13" and then making the 45° angle, causing it to be too short. 


Built from Plan(s)
Estimated Cost
$18
Estimated Time Investment
Afternoon Project (3-6 Hours)
Finish Used
Minwax Helmsman indoor/outdoor clear mini-gloss.
I first sanded everything, stained it with Minwax "Jacobean" color, sanded it again (220 grit) then used the protective finish. I sanded it lightly once more and then reapplied another coat of the finish.
Recommended Skill Level
Beginner

Laundry Cart/Storage

We used Ana's Laundry Basket Dresser plan and modified it slightly to fit our needs and our space. We made spaces for two laundry baskets, plus a shelf for laundry supplies and a bigger top for ironing/folding. We also attached casters to the bottom so we can wheel it around wherever we want!

See more pictures on our website strawbridgestuff.com

Built from Plan(s)
Estimated Cost
$20
Estimated Time Investment
Afternoon Project (3-6 Hours)
Finish Used
Semi-gloss white spray paint
Recommended Skill Level
Beginner

Comments

cathryn j (not verified)

Fri, 11/11/2011 - 09:31

I have been eying this plan and you have given me a great idea on how to modify the dresser plan to fit my area. Looks great!

Vegetable Bin Cupboard

My husband's and my first Ana White build. Made it for my mom for Mother's Day 2015. She loved it and I absolutely loved how it turned out!

Built from Plan(s)
Estimated Time Investment
Weekend Project (10-20 Hours)
Recommended Skill Level
Beginner

Comments

Writing Desk

I built this as a Mother’s Day present. There were a few hiccups (i.e. the cut list doesn’t include the drawer face which I didn’t know while shopping), but the plans were great and most of the project went smoothly. 

Built from Plan(s)
Estimated Cost
$70
Estimated Time Investment
Day Project (6-9 Hours)
Finish Used
Minwax Provincial
Recommended Skill Level
Beginner

BABY/DOG GATE

Well with a new addition to family it was time to start baby proofing the house. With some help from the wife we decided to build a dual purpose door to keep babies out and dogs in. After looking all over the internet this is what we found. I hope you like it. sorry about the photo being so dark..

Estimated Cost
$60
Estimated Time Investment
Afternoon Project (3-6 Hours)
Finish Used
antique white paint and kona stain.
Recommended Skill Level
Starter Project

L shaped loft beds

Submitted by AbiCurrie on Wed, 01/13/2016 - 00:49

We have 12 foot studs in our house so I wanted to make use of the height of our ceiling to provide more space on the floor for the boys to play! With two boys sharing a room, the beds were going to take up a lot of valuable floor space. I found the bunk bed plans in Ana's book and decided to modify them to make loft beds. We had to do two so decided on an L shape so we could fit them into the room! Once we made the first bed we decided we should put only one set of stairs in to save space. The safest way we could think to do this was to place the stairs against the wall so the boys were less likely to fall. The stairs double as book shelves. The coloured rope was an added safety feature we thought up and gives me peace of mind! This was a fun, relatively easy build for two non-builders making their first big project. I bought a Kreg pocket hole jig for this project and it was a life saver. I can't imagine doing this build with out it!!! We completed it in about two to three days while my brother was down on holiday. It was fun and good brother sister bonding time! I am about to embark on phase two of the boys room, this time by myself , adding a storage dresser under one bed. I will modify Ana's laundry dresser plans to fit some plastic storage boxes. Then a day bed/sofa under the other bed using Ana's Alaska cabins day beds plan and finally (if I'm still standing) a shorter version of the craft table for the middle of the room! That's my year planned! Hope you enjoy the pictures, the beds are so big and high it's very hard to get a good photo. 

Estimated Cost
$300-400 NZD
Estimated Time Investment
Weekend Project (10-20 Hours)
Finish Used
Dulux - White paint matte finish. I painted all the wood before assembly, I highly recommend this. It needs another coat post build but I can confess I haven't gotten around to it yet!!!
Recommended Skill Level
Beginner

Farmhouse King bed headboard, frame and platform

I followed most of the farmhouse plans for the headboard and footboard.  Adjustments were made for the size of our mattress being 80x77 here in Canada.  Also the primary reason for building a bed was to get away from boxsprings as I am am just too sensitive with previous back injuries to they 'not so flat' feel.  Because of this I somewhat designed a slat system based on our mattress' guidelines for maximum gap between slats.  I framed a simple setup just 3/4" below the side rails so the slats would be flush with it.  Also our floor is not flat (yikes) so the side rail is not the same measurement from end to end it is instead done using a level (out 1/4" over about 7 feet).


Estimated Cost
Cost was actually near $500 here in Canada. Lumber in about $240 and I did not have any wasteful cuts. I did not have all of the screws, brad nails, glue and so on so the greater cost was paint plus hardware which was a shock. I do have plenty left over for future projects though. Still happy though as the bed would be far more new and I know its not made form mdf with a veneer. A week in and very happy still with everything.
Estimated Time Investment
Weekend Project (10-20 Hours)
Finish Used
We ended up painting primarily because of the Cedar/Spruce contrast. The Cedar was primed then 2 coats of white. The Spruce was all done in 2 coats of white with about 8 hours between coats. We definitely cheated construction and started 4 hours after the last coat, which I wouldn't advise even though we didn't have issues. It was a risk because of a time crunch.

Behr No 7900 Alkyd Satin Enamel
Kilz Premium Primer/Sealer and stain blocker for the cedar
Recommended Skill Level
Beginner

I can’t believe I did this! Thanks Ana!

Submitted by Anonymous (not verified) on Fri, 03/17/2023 - 11:21

My first “real” build! I’m thrilled with how it turned out! Thanks Anna for giving me the confidence to give it a try.

Comments

learning tower

Submitted by clamoss on Wed, 10/30/2013 - 23:02

Thanks for the plans. I'm a novice at best, but this was an easy, well designed project. Our boy is going to get a ton of mileage out of this!

Recommended Skill Level
Beginner

Full Size Simple Bed with Arch

Submitted by jalfieri on Mon, 12/05/2011 - 17:14

I'm building new beds for my daughters for Christmas. My oldest wants a bigger bed, so she's getting the full size simple bed. My baby bear needs a little more space in her room, so she gets the loft bed. The loft bed is finished but no pic's yet, as I can't assemble it till Christmas. For the full bed, I combined the Simple Full Bed with the Simple Bed with Arch. It's not quite finished yet, but here is a picture of the headboard. I'll add more pics when I'm done. I want to thank Ana for the hard work she puts into this website. To go out and buy similar beds to the ones I'm building would have probably cost me a couple thousand dollars, and would have been made of flake board. Because of Ana's plans, both my children will sleep on good quality, solid wood furniture for under five hundred dollars. Thanx Ana!

Estimated Cost
$200
Estimated Time Investment
Week Long Project (20 Hours or More)
Finish Used
Behr Premium Plus Ultra
Recommended Skill Level
Intermediate

Comments