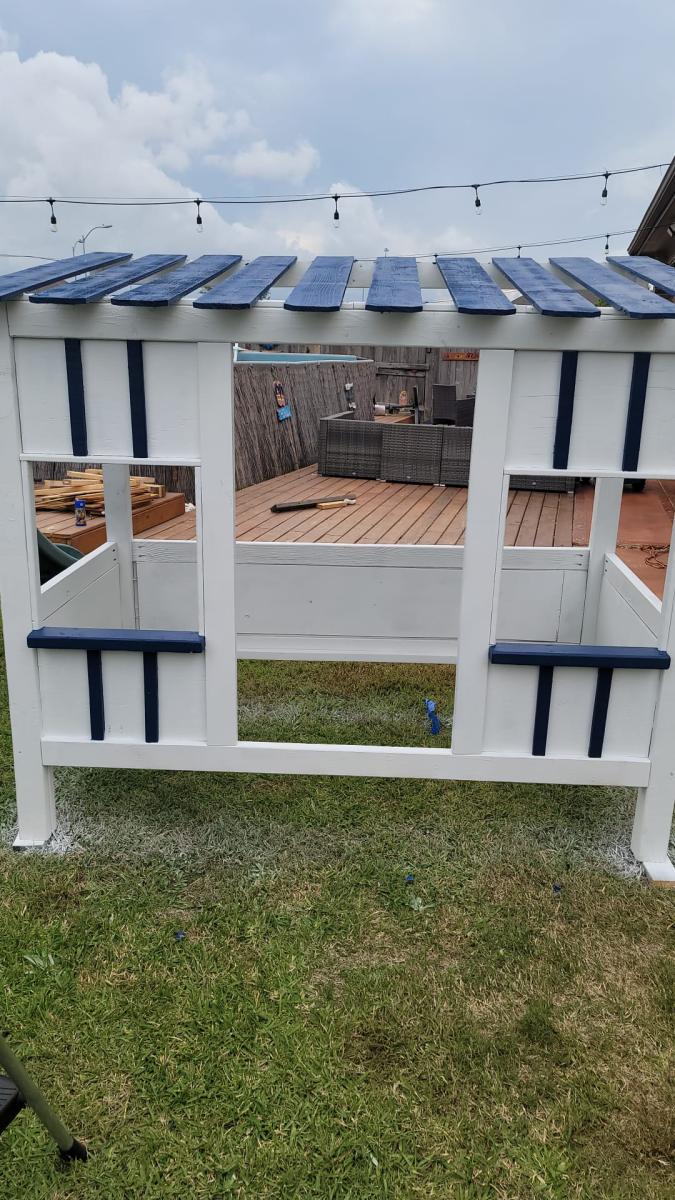
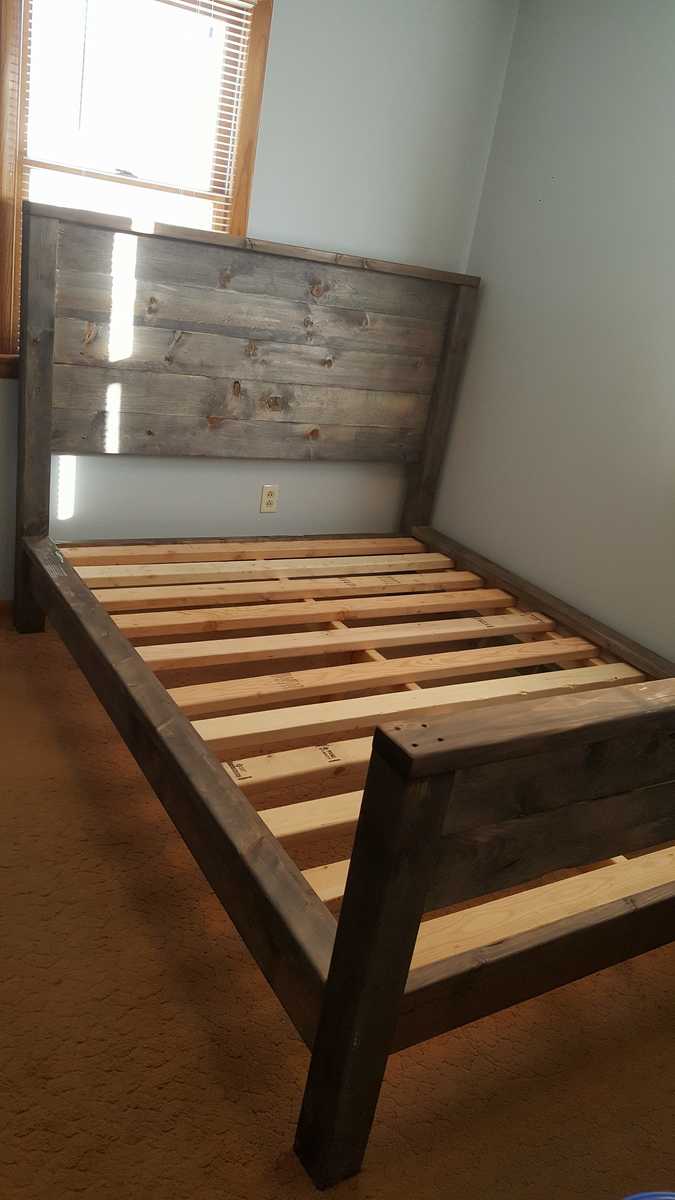
Cabin style bed
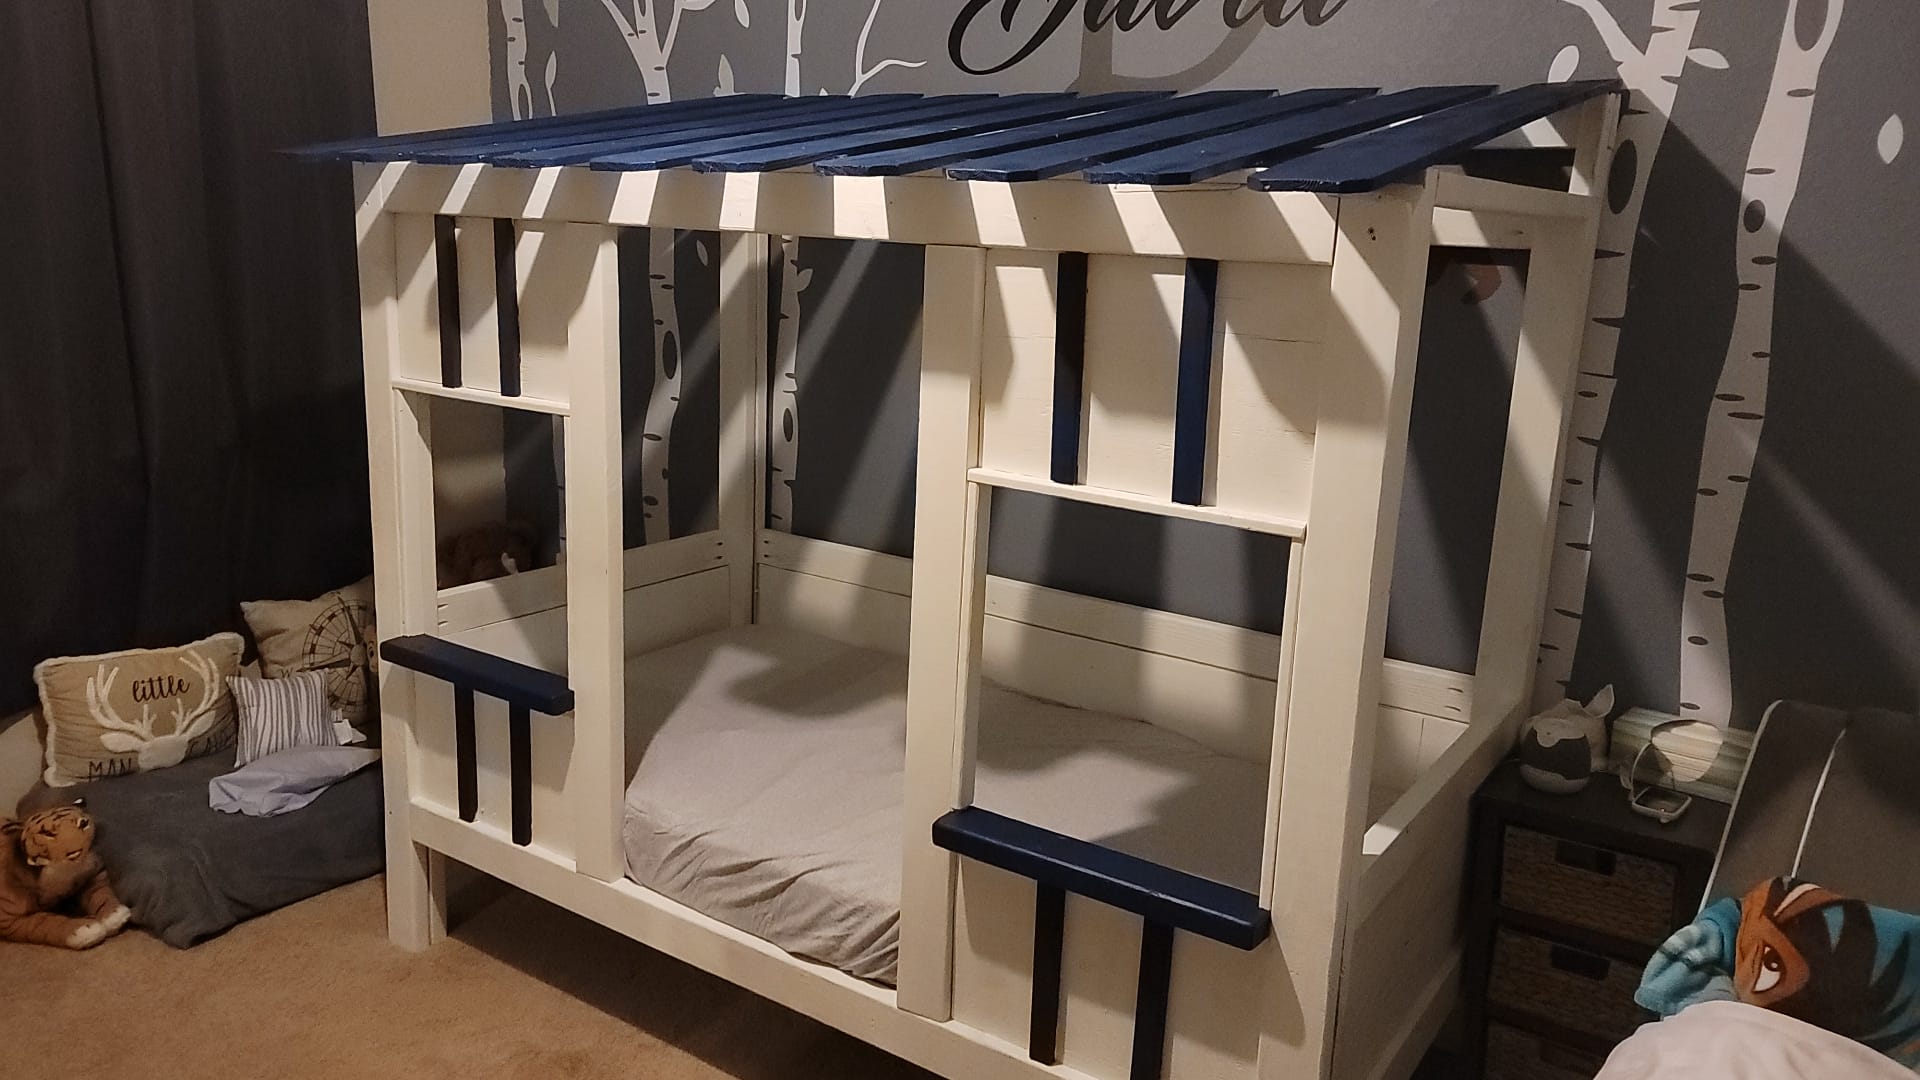
This was my version of the cabin bed plans on this site.
My son loves it and of course my wife does too..
Built from Plan(s)
This was my version of the cabin bed plans on this site.
My son loves it and of course my wife does too..
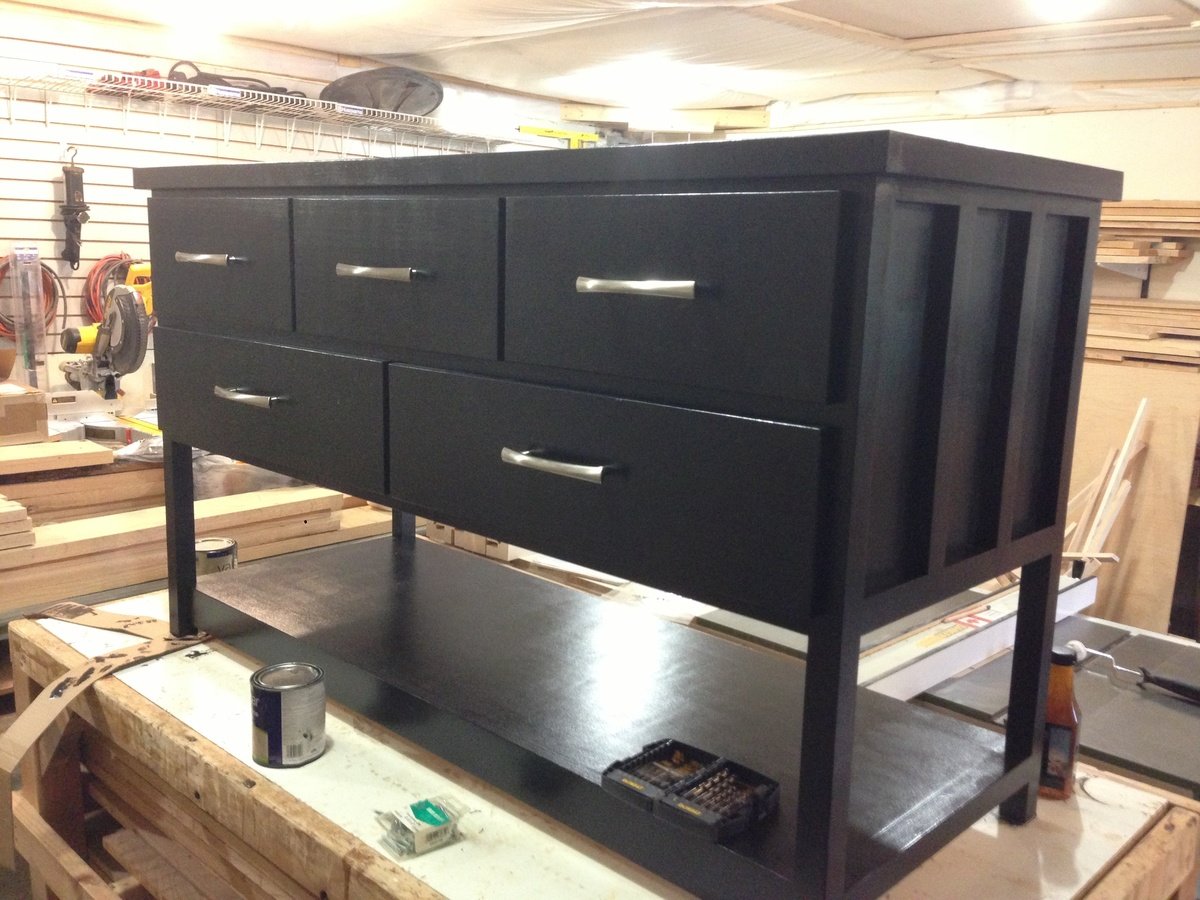
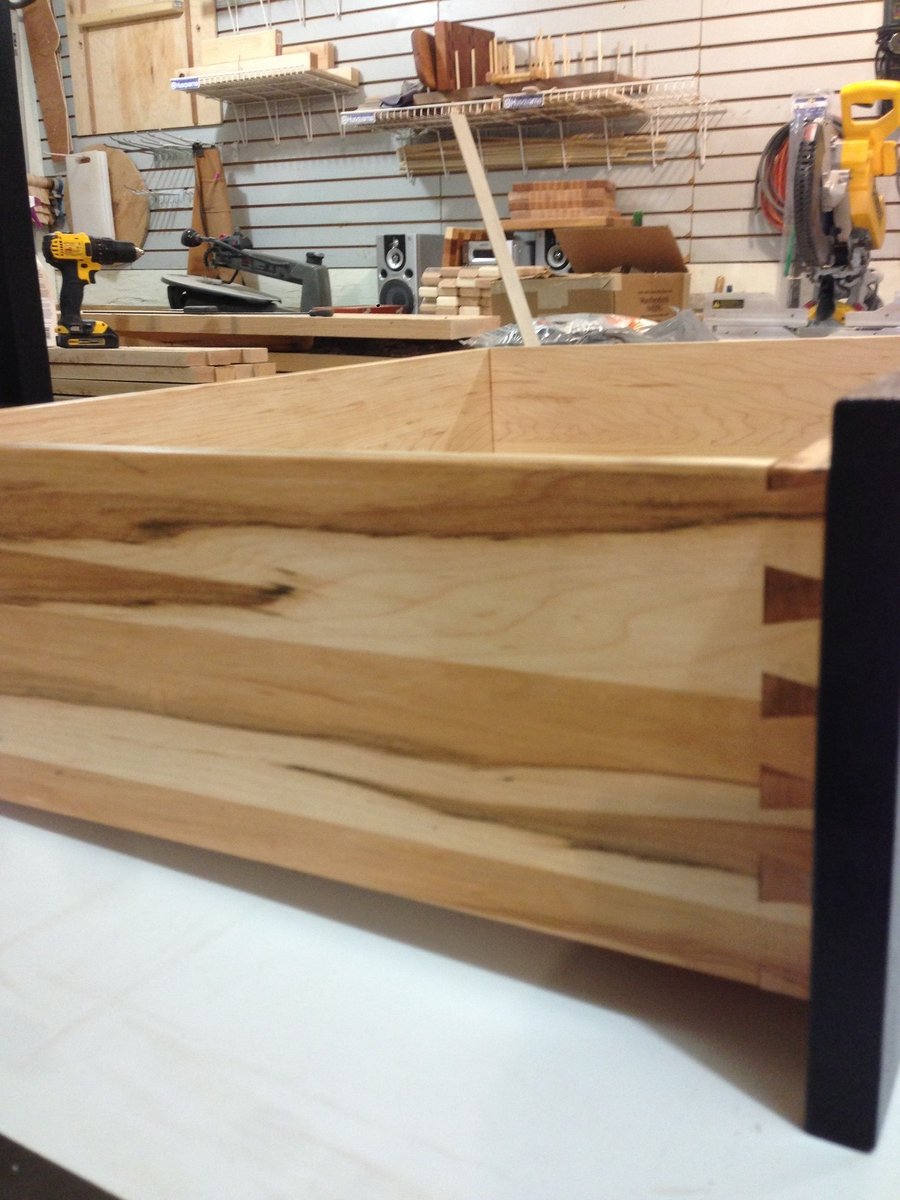
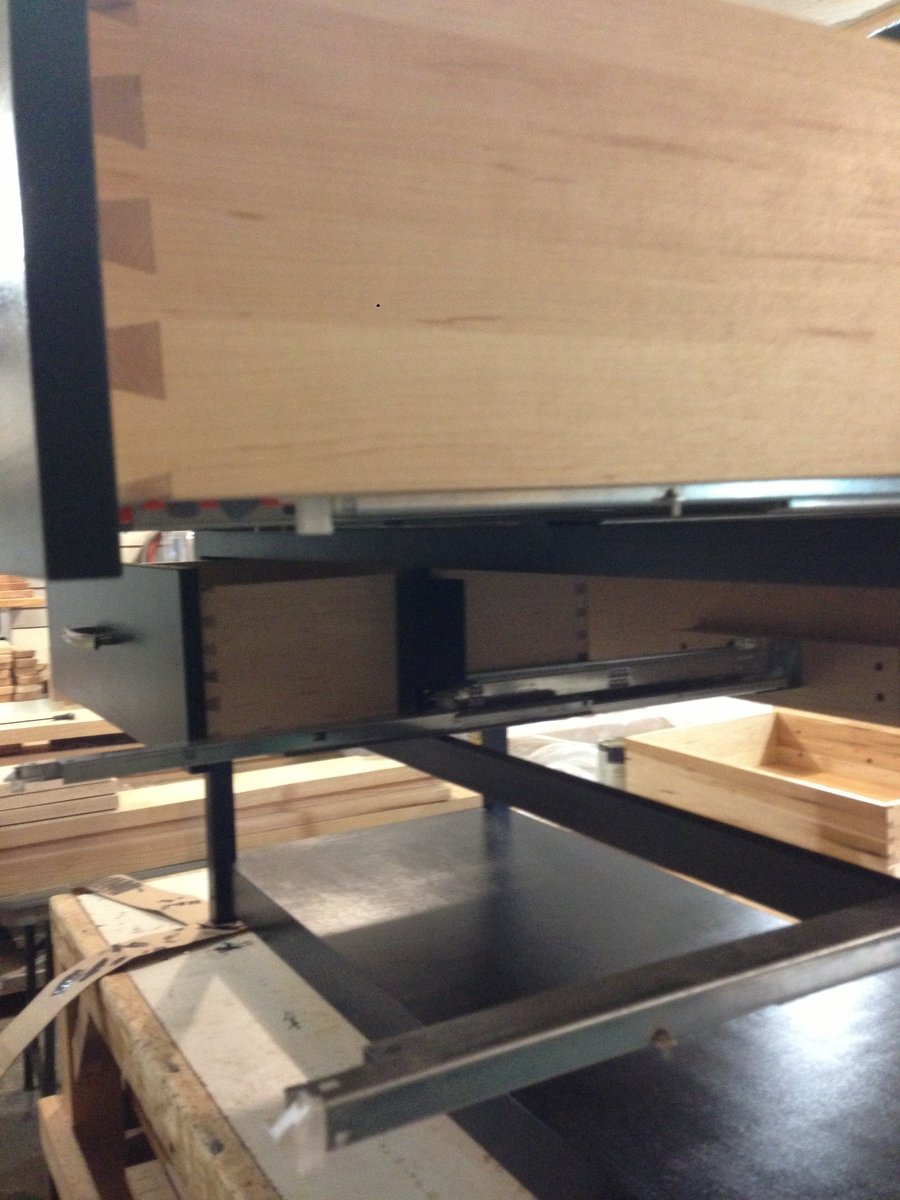
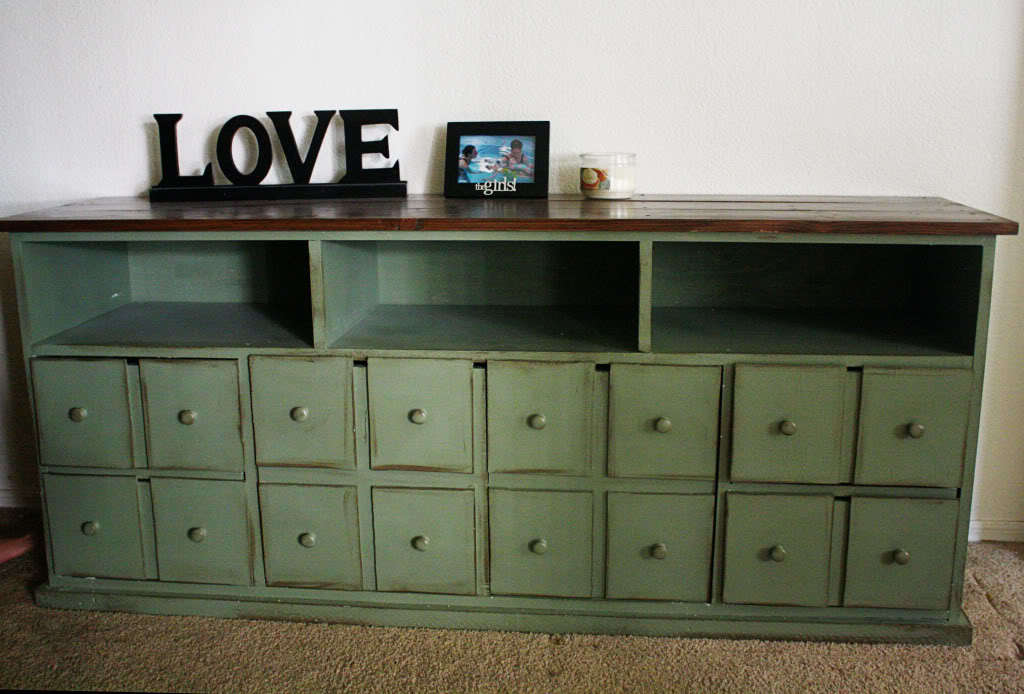
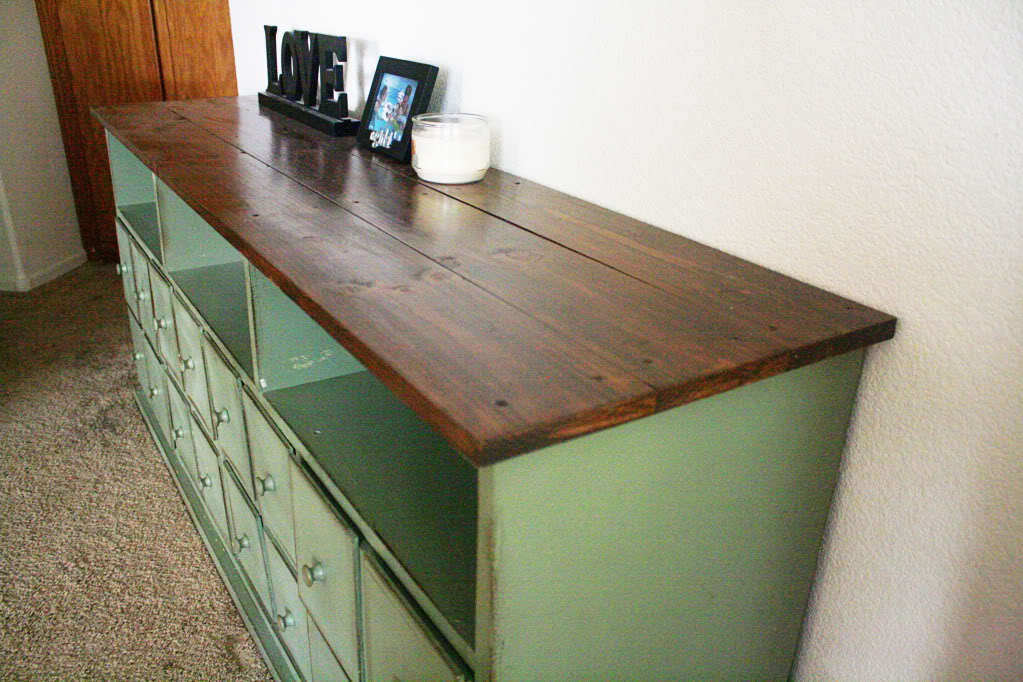
I liked this dresser. I modified the plan to suit my needs and added some features to bring it up to my tastes. I dovetailed the drawers and used Blum soft close 18" under mount slides. The drawers were costly and time consuming but I am very happy with the form and function. I added some height and depth.
I also used some different construction methods. I built the legs first then three individual face frames that were attached individually, instead of adding one piece at a time.
This was a great project, I wish I haven't painted it but using brown maple is really best suited for paint.
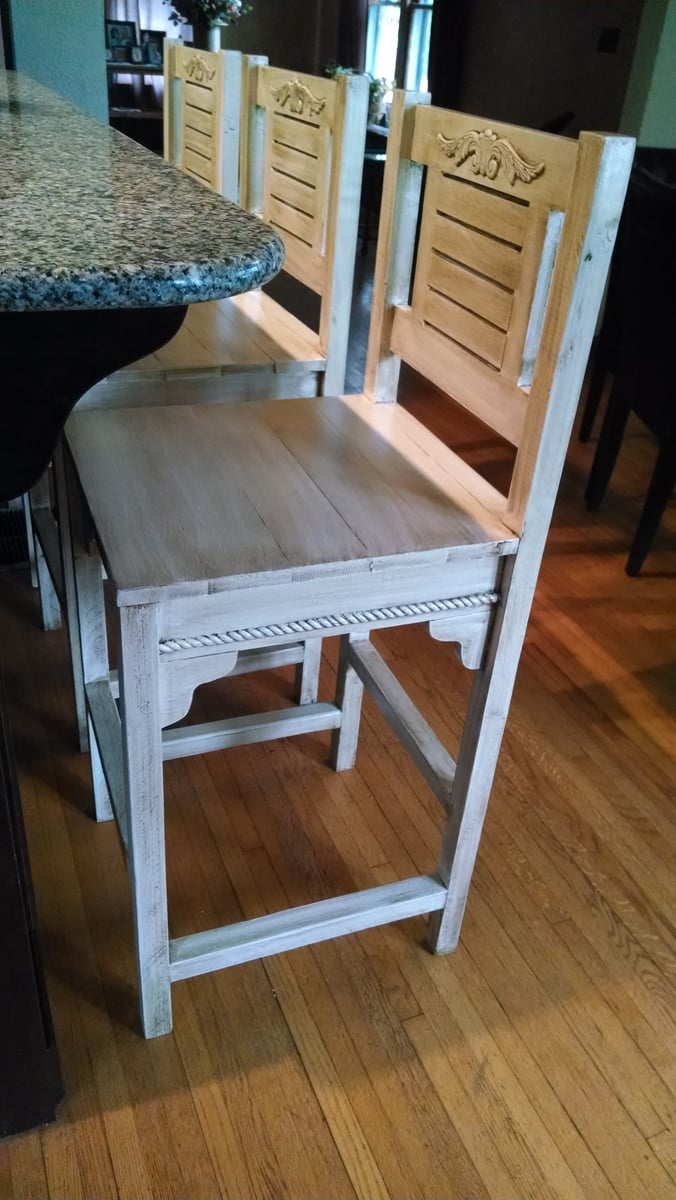
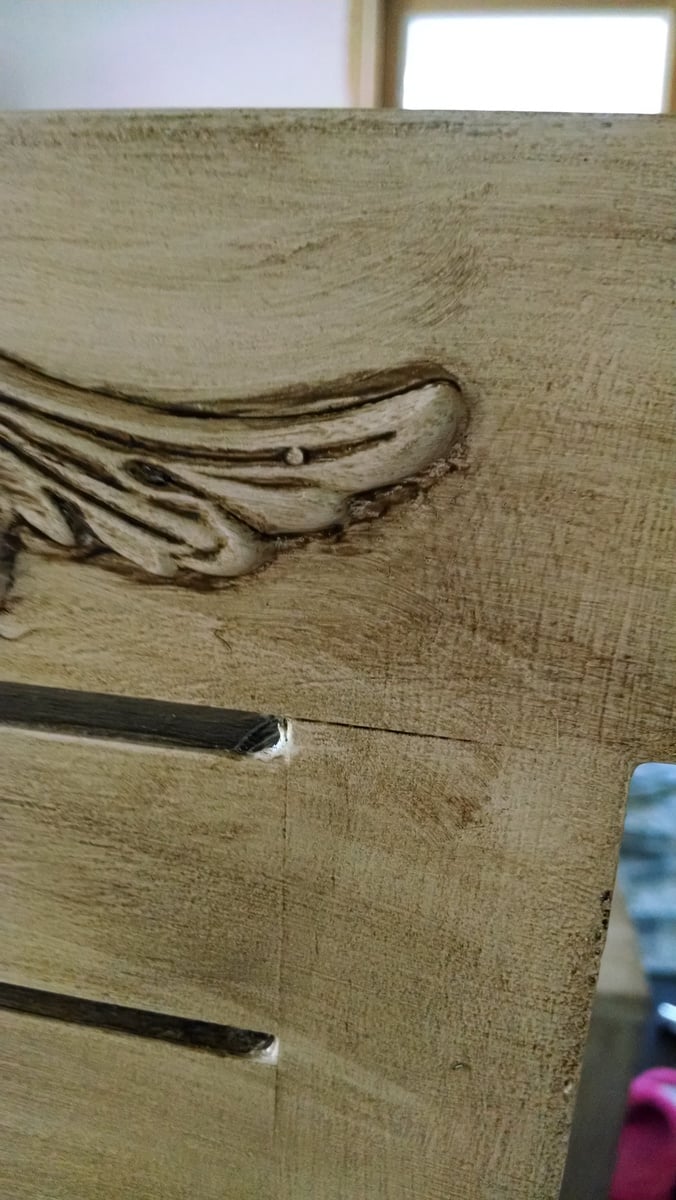
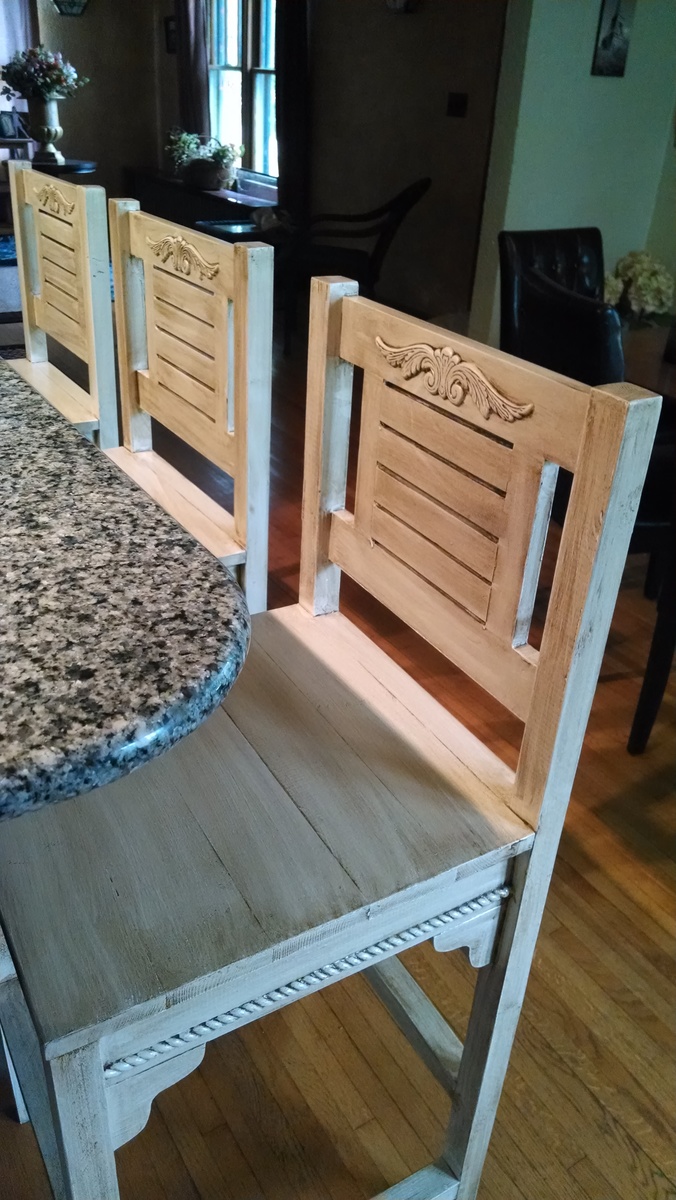
Added some decorative detail with roping and accents to apron pieces and back. Then painted and glazed the whole piece. Adjusted seat height but not overall height. Built it for our awesome neighbors.
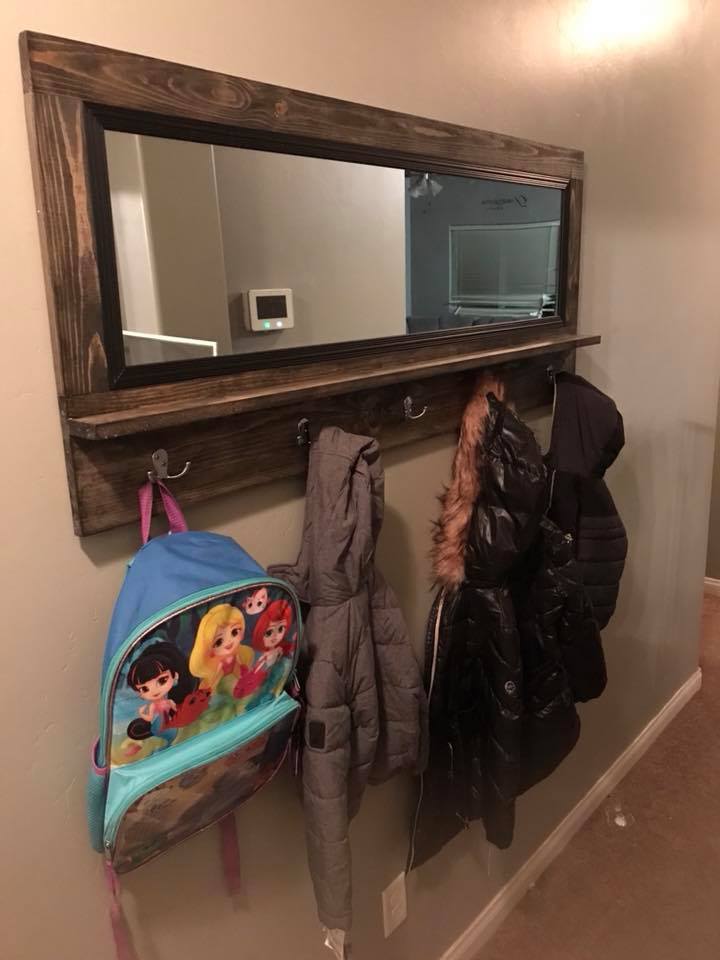
This is my favorite build so far! It took me a little longer than it should because I’m still learning and I second guess myself more than I should. I also made the mirror flush with the frame and glued it in the back.

My first project. Thanks, Ana! I'm already addicted!

Based on the original rustic-x-coffee-table. Modified the length, width and height dimensions to fit our needs. To accommodate our desired widths, we mixed 2x4 and 2x6 boards. Followed the theme for a side table as well.
The cross braces used 1/2 depth mirrored dados in each full brace instead of 1 full and 2 cut pieces (this was done using a series of partial depth cuts with a sliding-compound miter...I don't own a table saw...yet).
Finishing was done using steel wool + vinegar, followed by satin poly. We wanted to have more protection and a little more "warmth" than a wax coat. Two coats of poly thinned by 1:1 mineral spirits was used to keep coats light with minimal build up. A light sanding to bring down grain-lift was done after the first coat. This allowed some of the fine wood texture to come through that would be lost with a typical 3-4 full strength poly coats.

I started with Ana's raised garden beds, but due to limited funds, opted to cut down the size of the beds to be able to use a smaller amount of lumber.
I also used 2x4's screwed together instead of 4x4 posts for the legs.

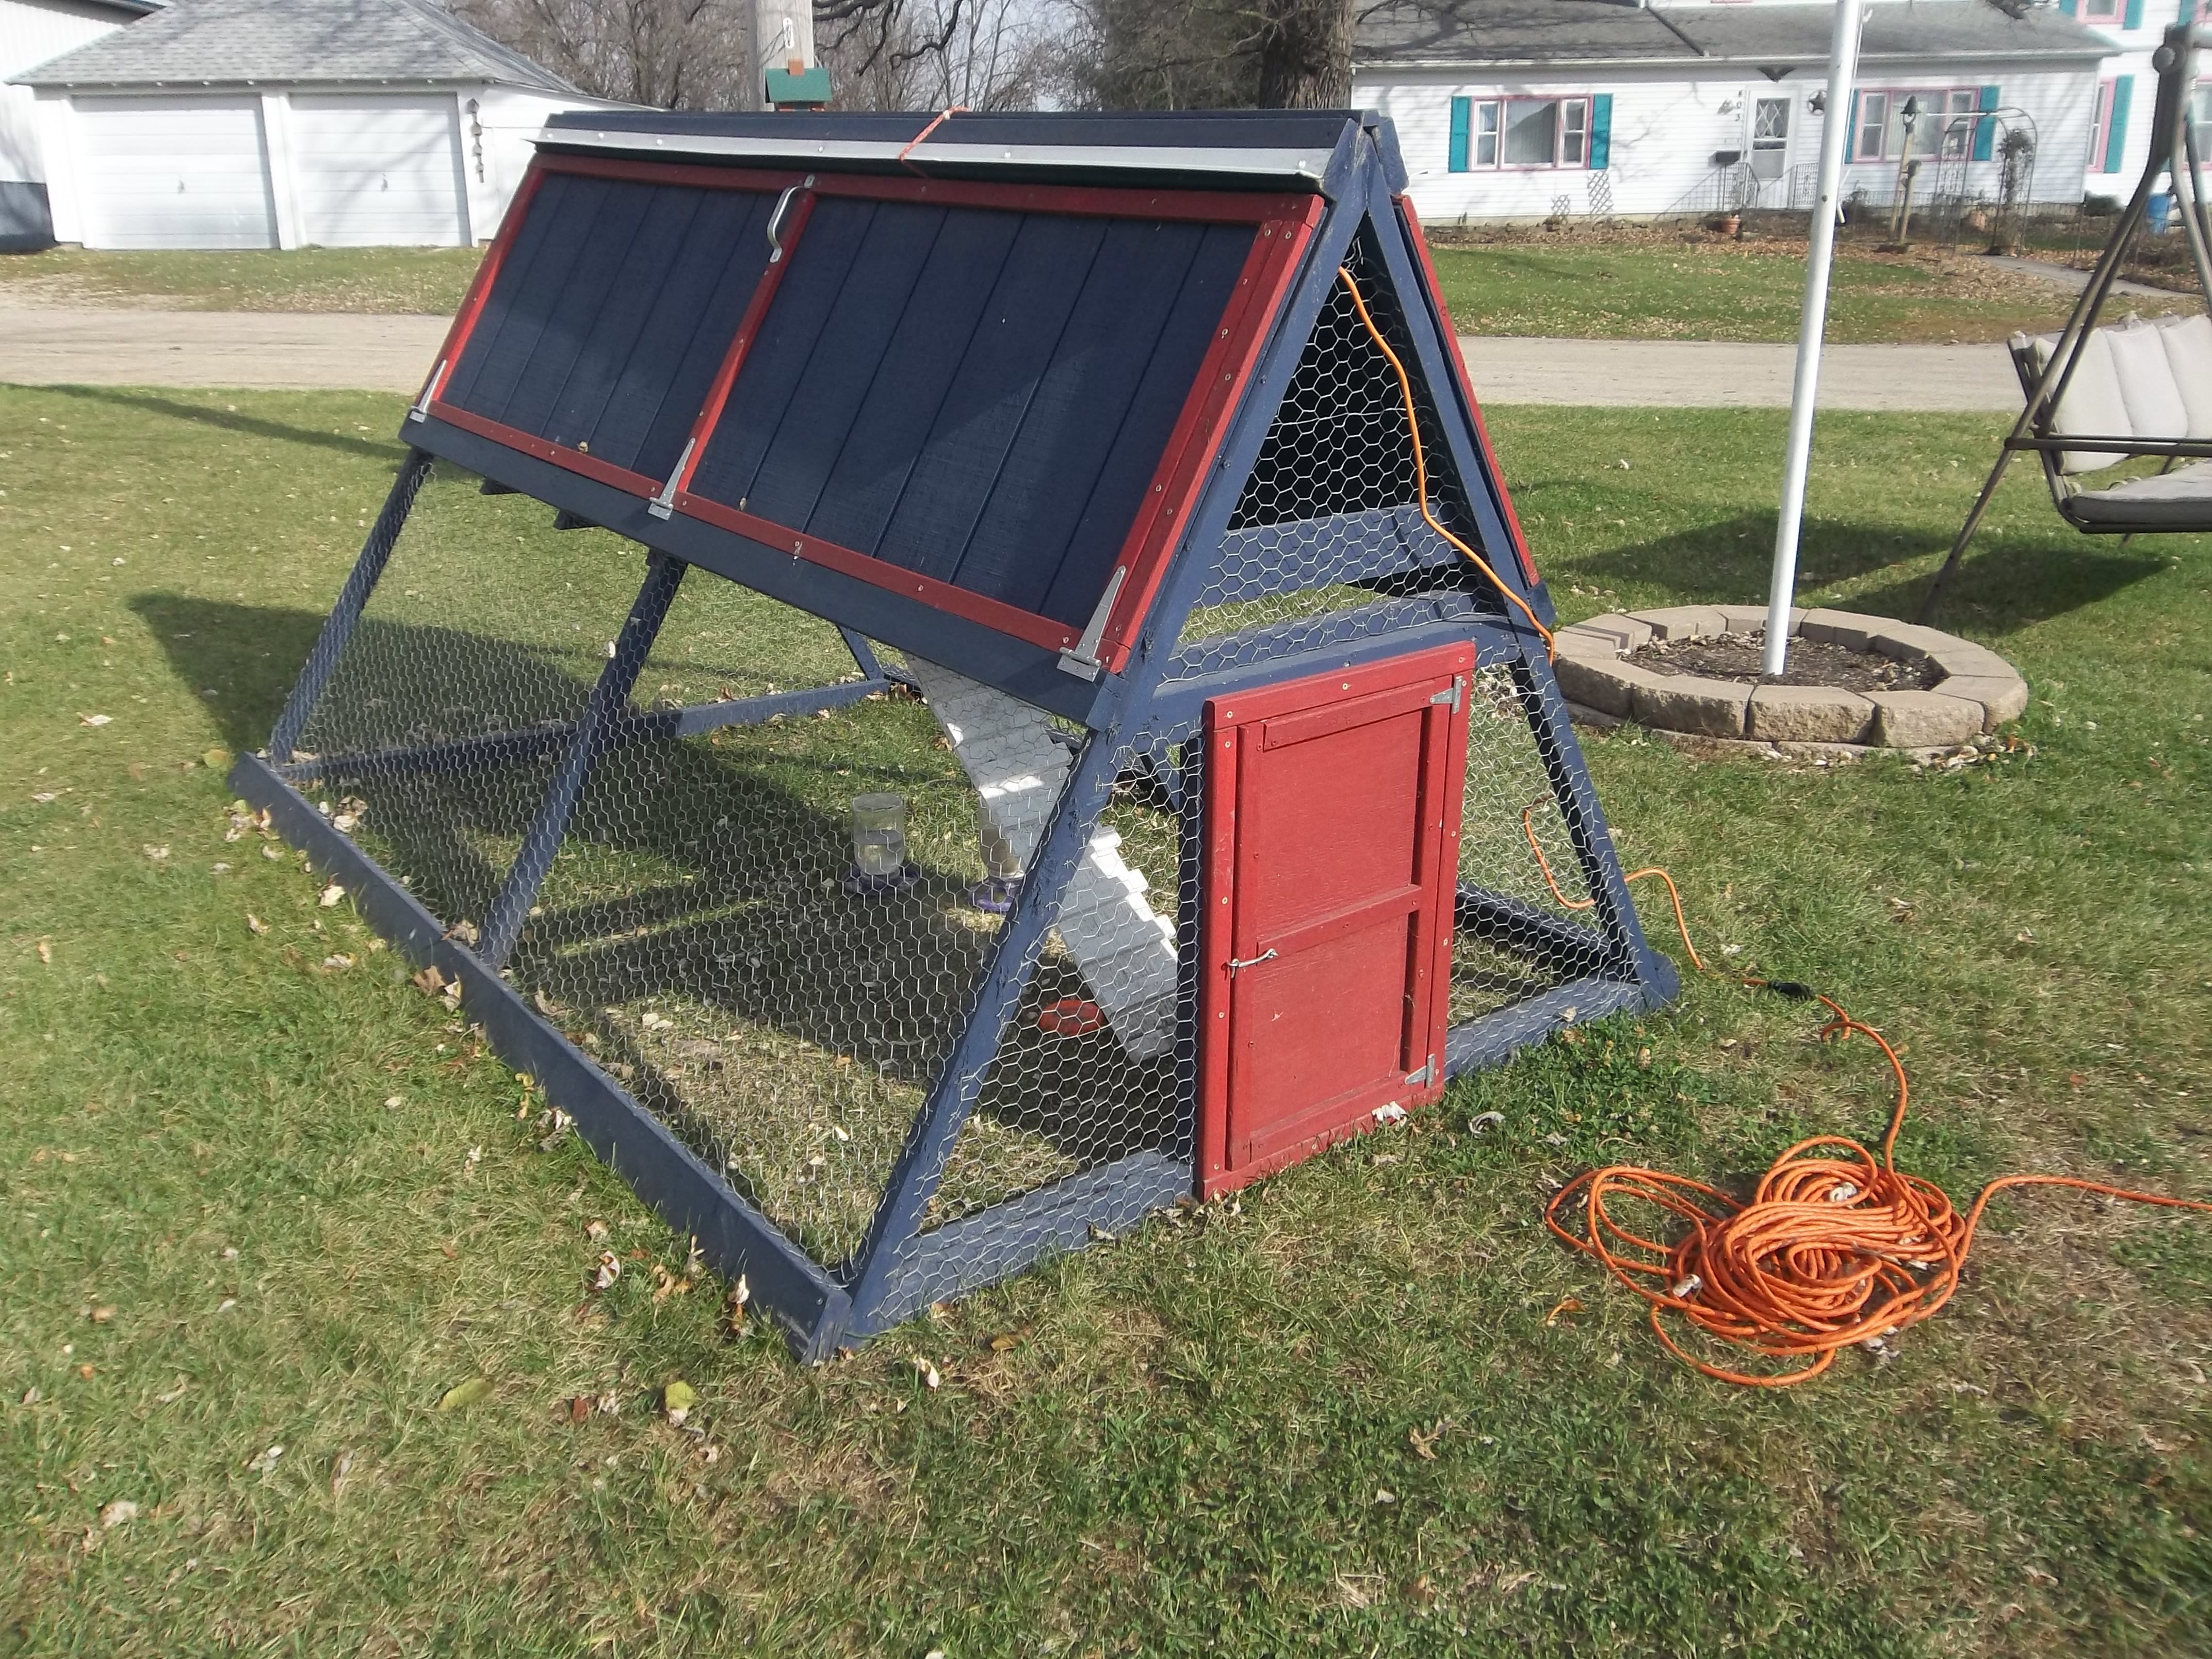
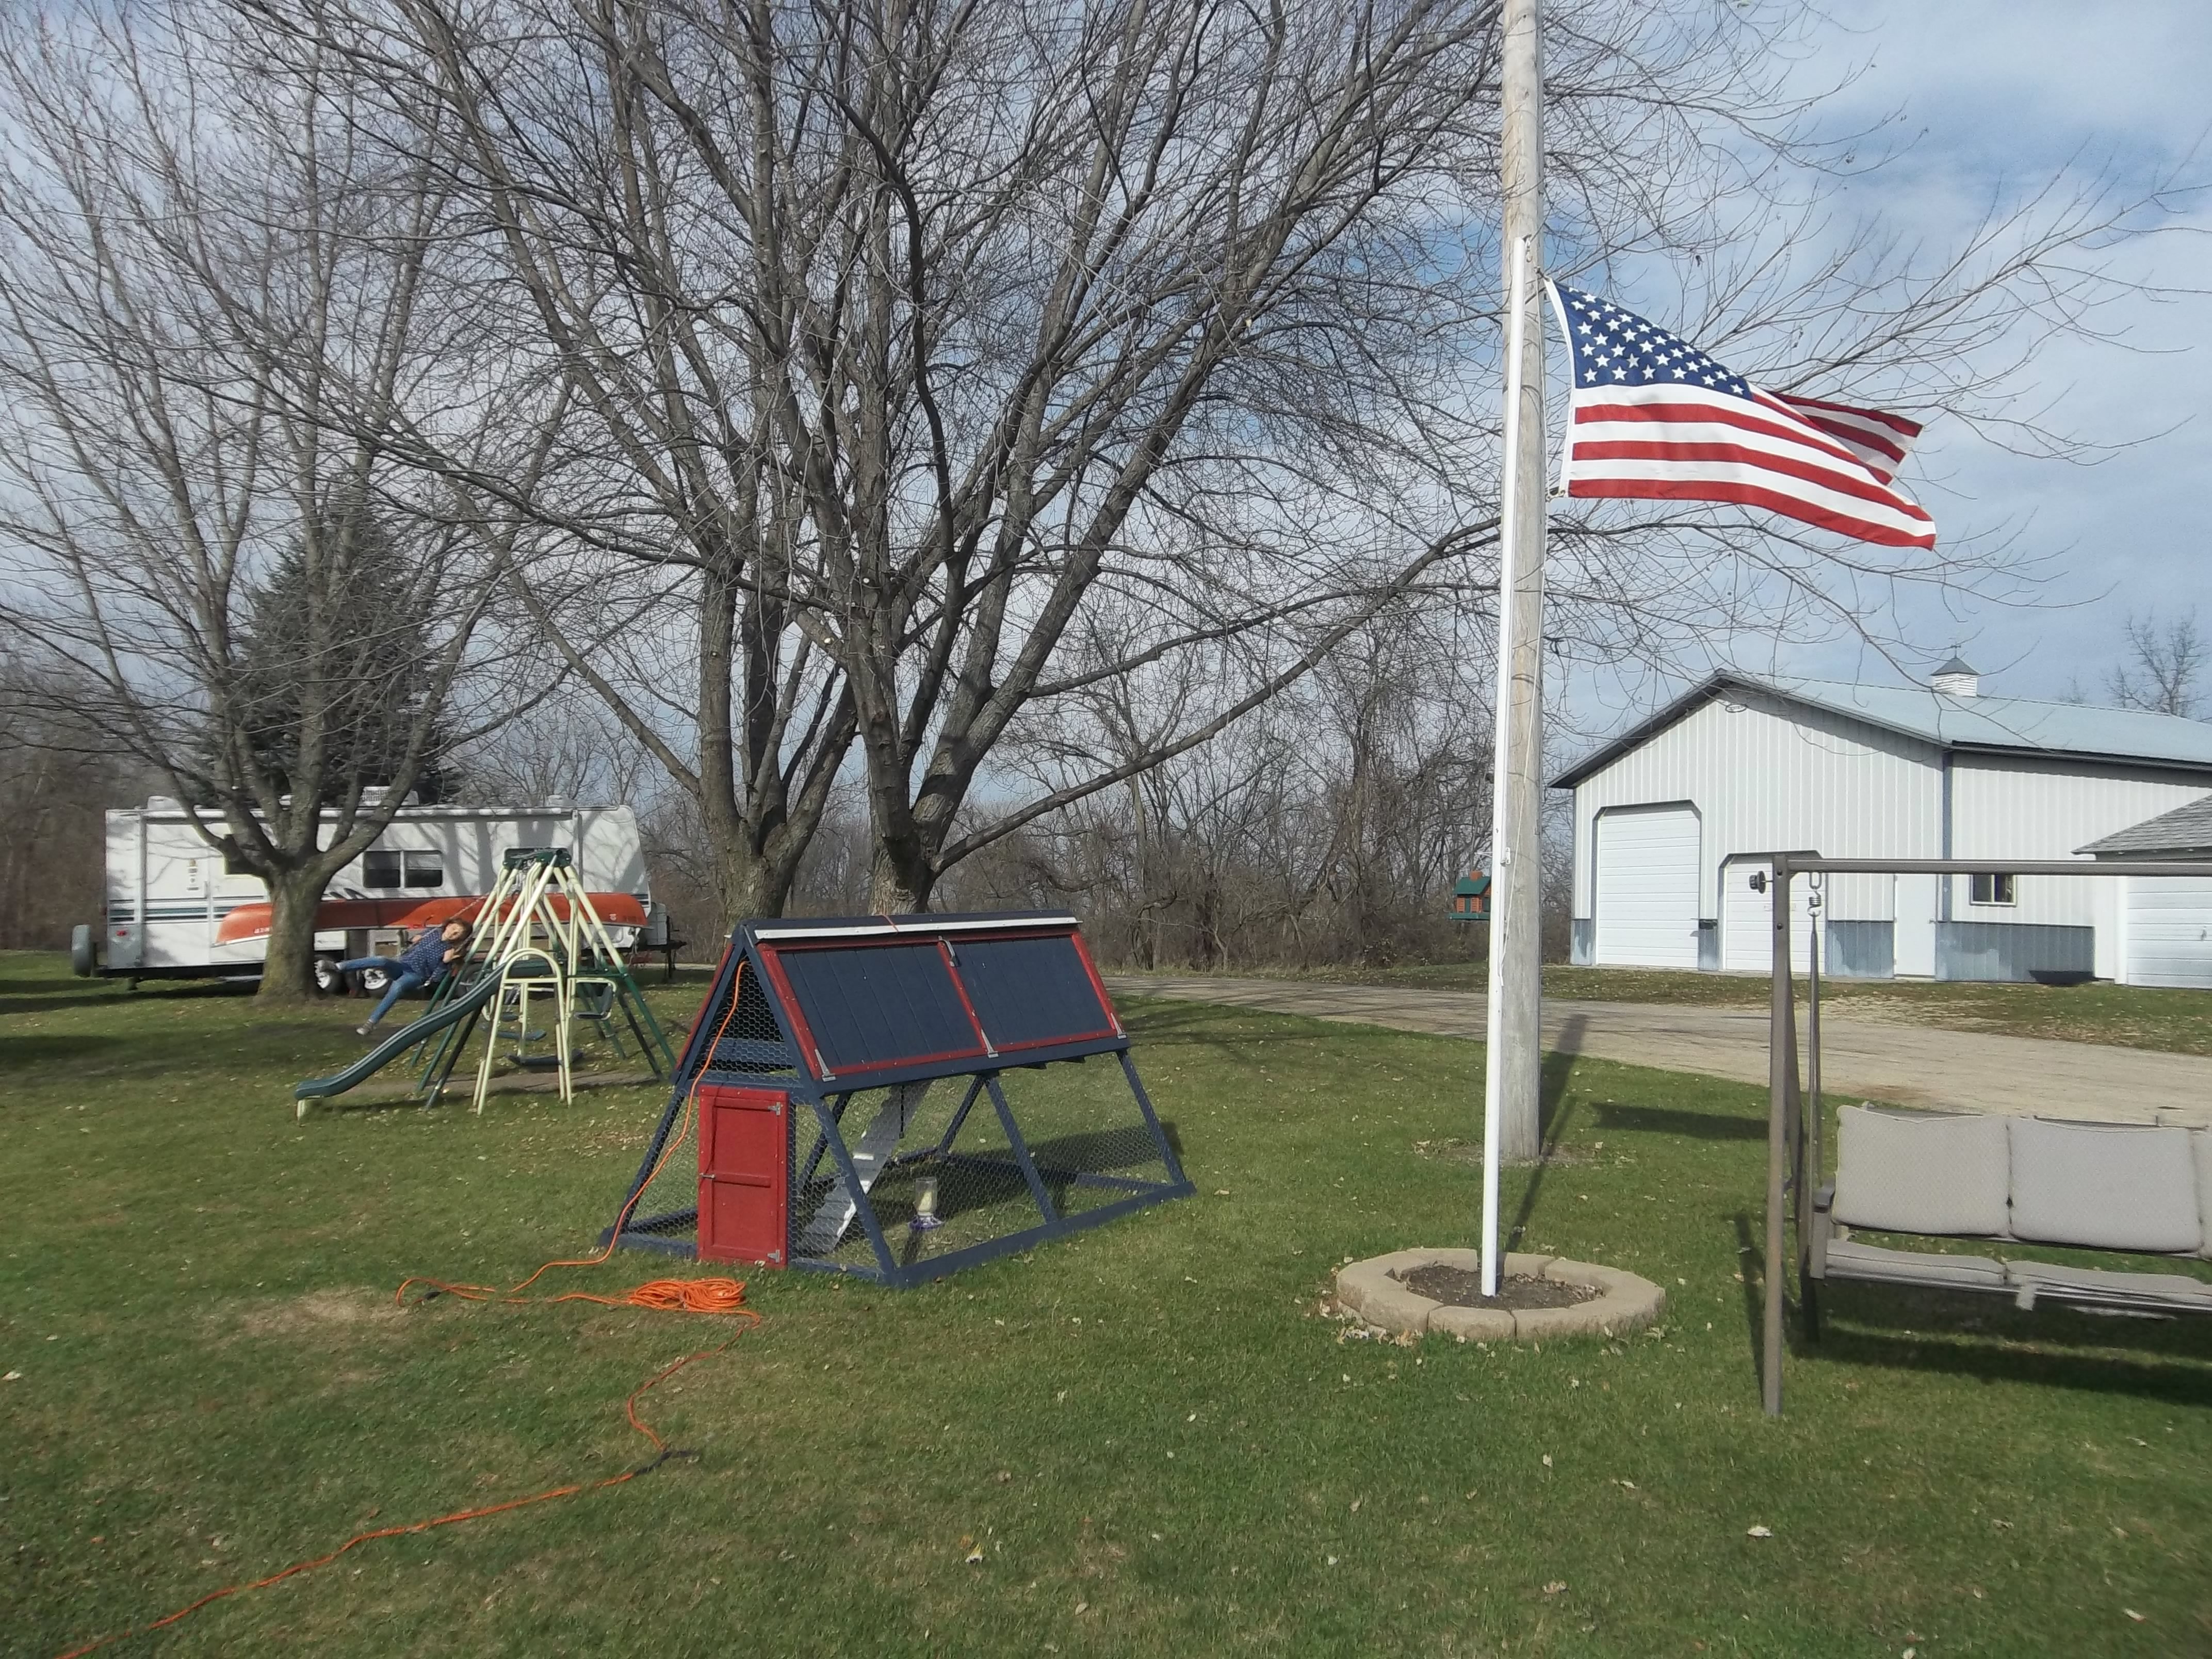
My husband used your plans to make this for our pet chicken that we hatched in a homemade incubator. I painted it though!!!
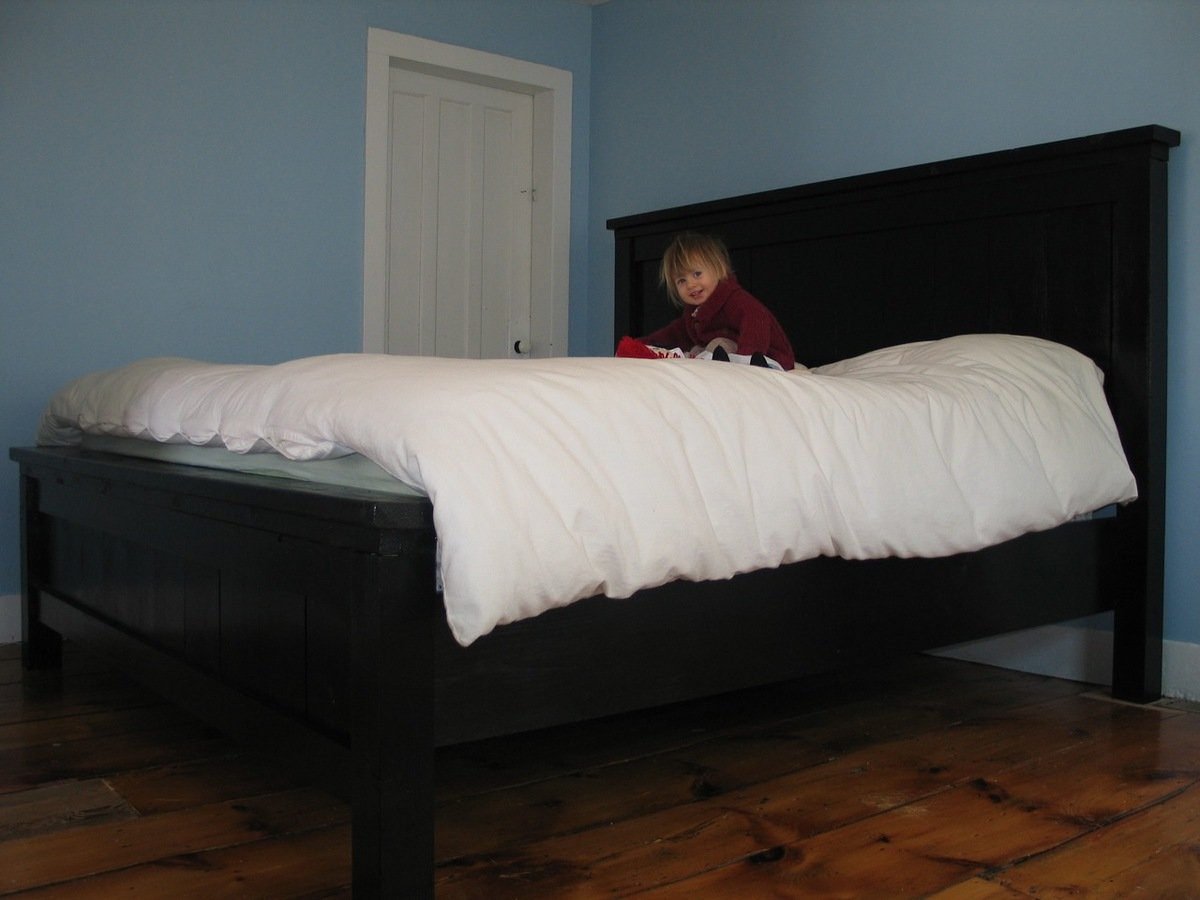
My first big build (modified to turn the 'right' way), after the kids table and chair set. It's not perfect, but its awesome! And mega sturdy. I even managed to use the Kreg Jig to attach the side rails to the end posts for extra sturdiness.
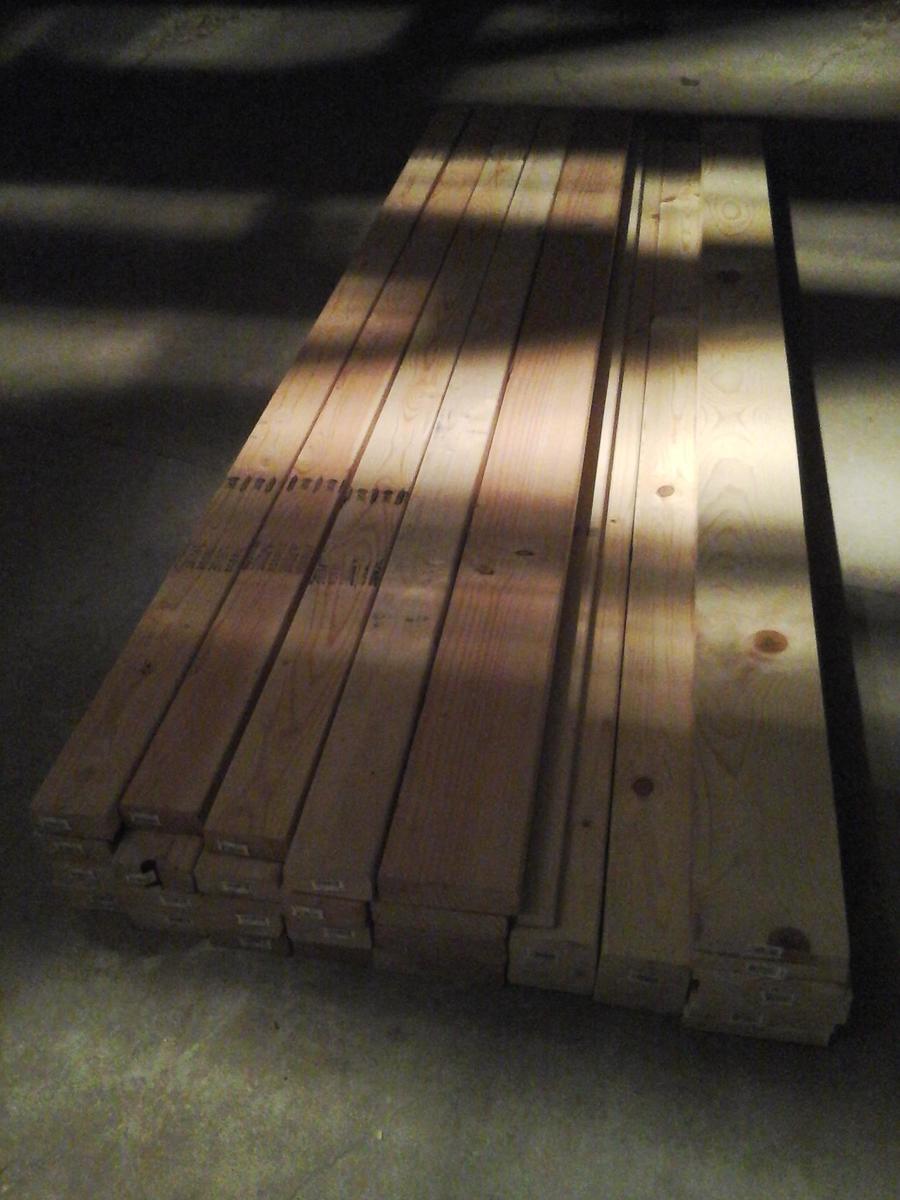
Advice: Get straight boards the first time. Yikes.
Project took a month all told, mostly due to the little angel sitting on the bed.
Now I've got a so many ideas swimming in my head. Built-ins in every room!
Thanks Ana!
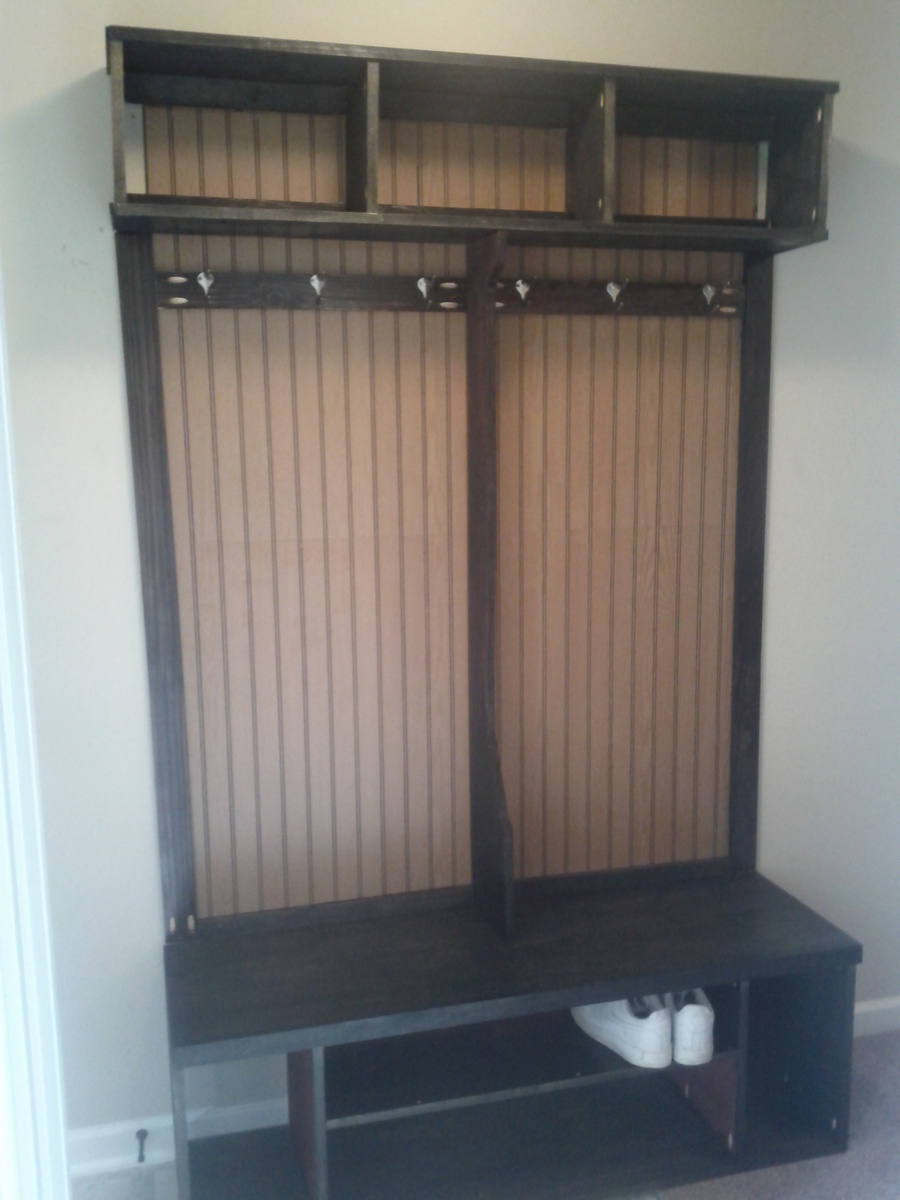
A simple mudroom hutch for my small entry way. Come on in take of your shoes, hang up your coat, and put away your hat. Make yourself tahome. This was inspired by the Yellow mudroom hutch I found on this site.
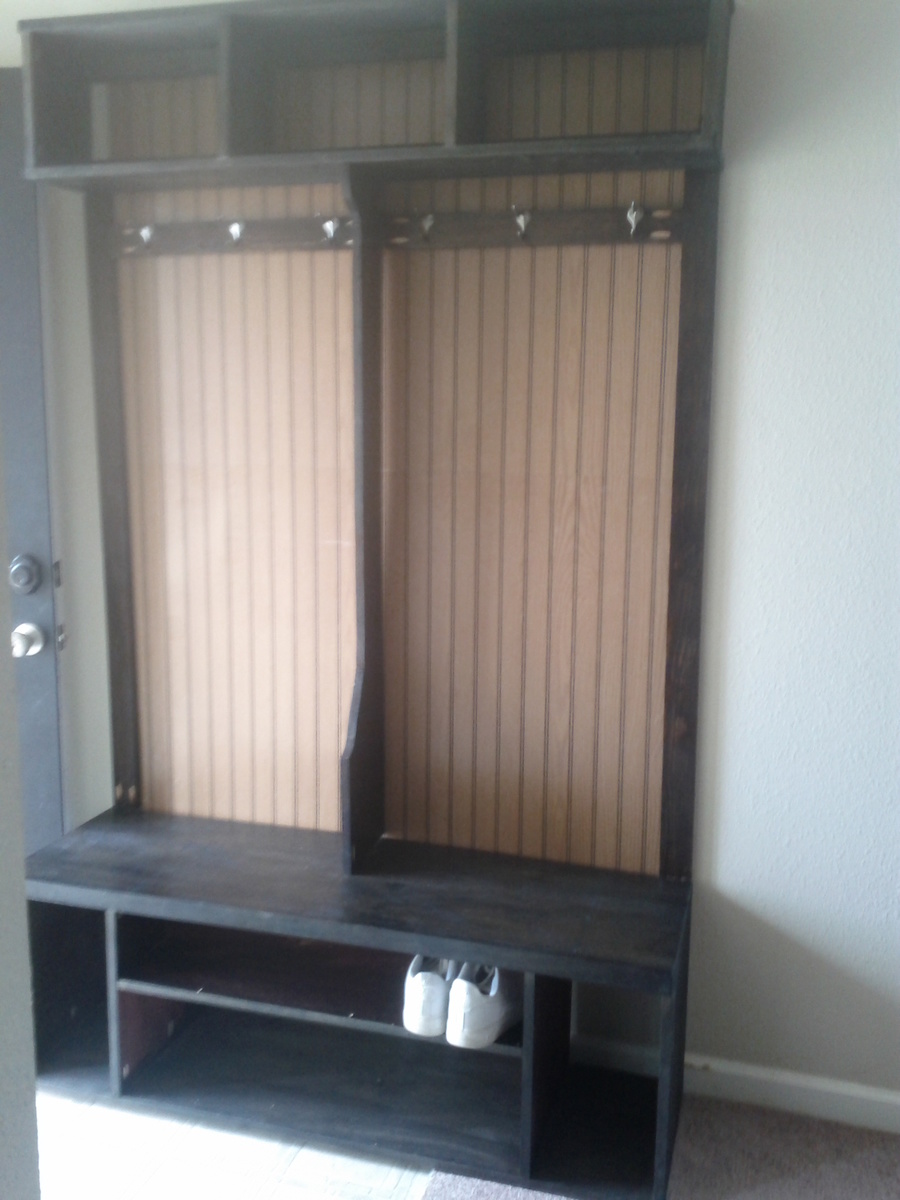

Table was a fairly straight forward build. The only thing I'd do differently if I were to make another one is to paint the base pieces before assembling. Once the base is together its hard to get in between the angled supports. I ended up having to use my paint sprayer to paint the base because brushing it on was just not working for me. I ended up buying the round top piece from the Blue big box store and it was around $11 so that put the cost of this table over the price quoted in the plans.
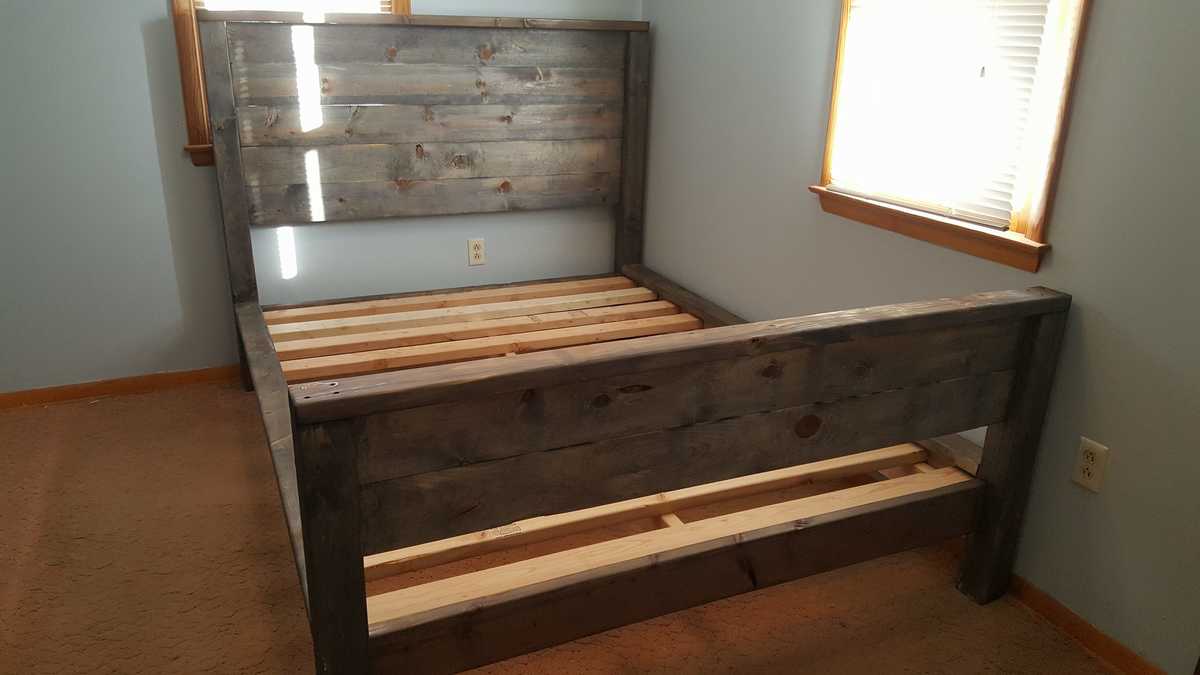
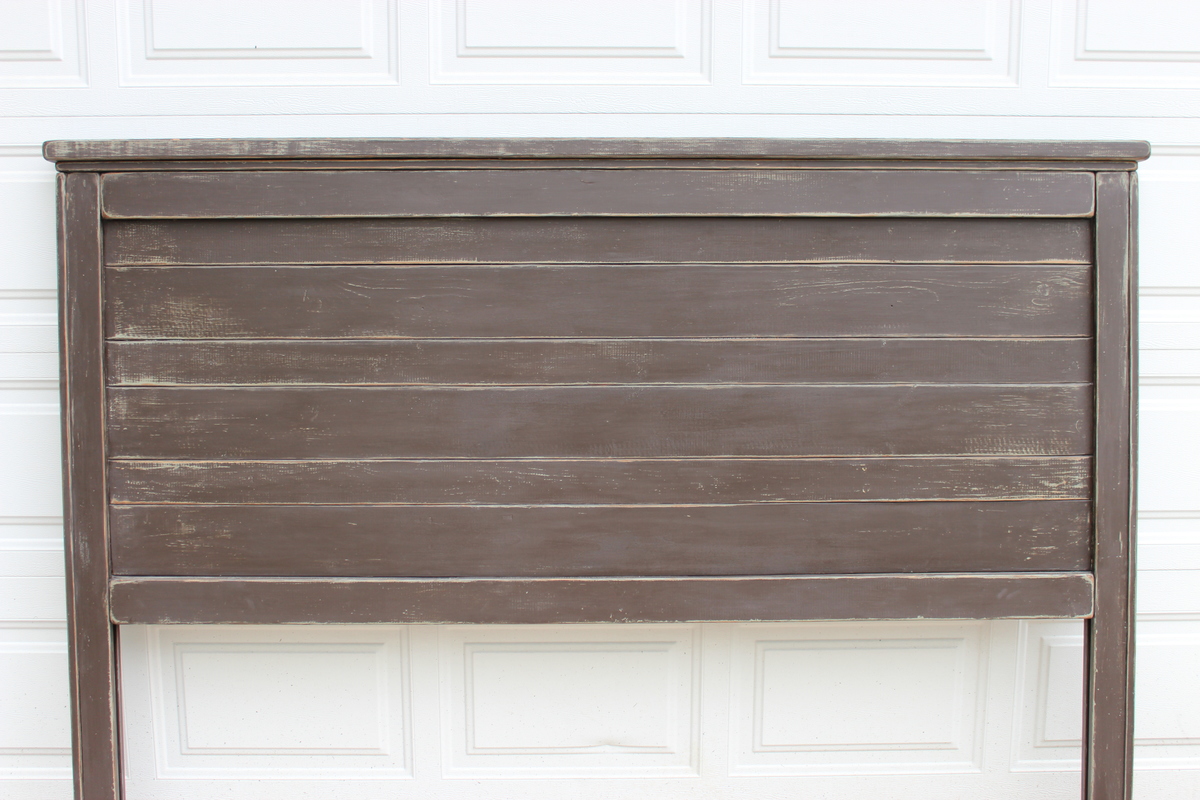
I had so much fun building this bed. I was able to bring home the wood and have it all built in one evening. It took the most time sanding. Once the entire bed was sanded smooth and stamp marks from the mill removed, I started the weathering process. I tried a spray bottle and wasted so much of the material. It ran and streaked. Once I figured it out, I took a foam brush and applied the aging liquid. It worked beautifully and came out perfectly even with the rough start.

Mon, 06/03/2019 - 15:26
This is really beautiful! I love the footboard.
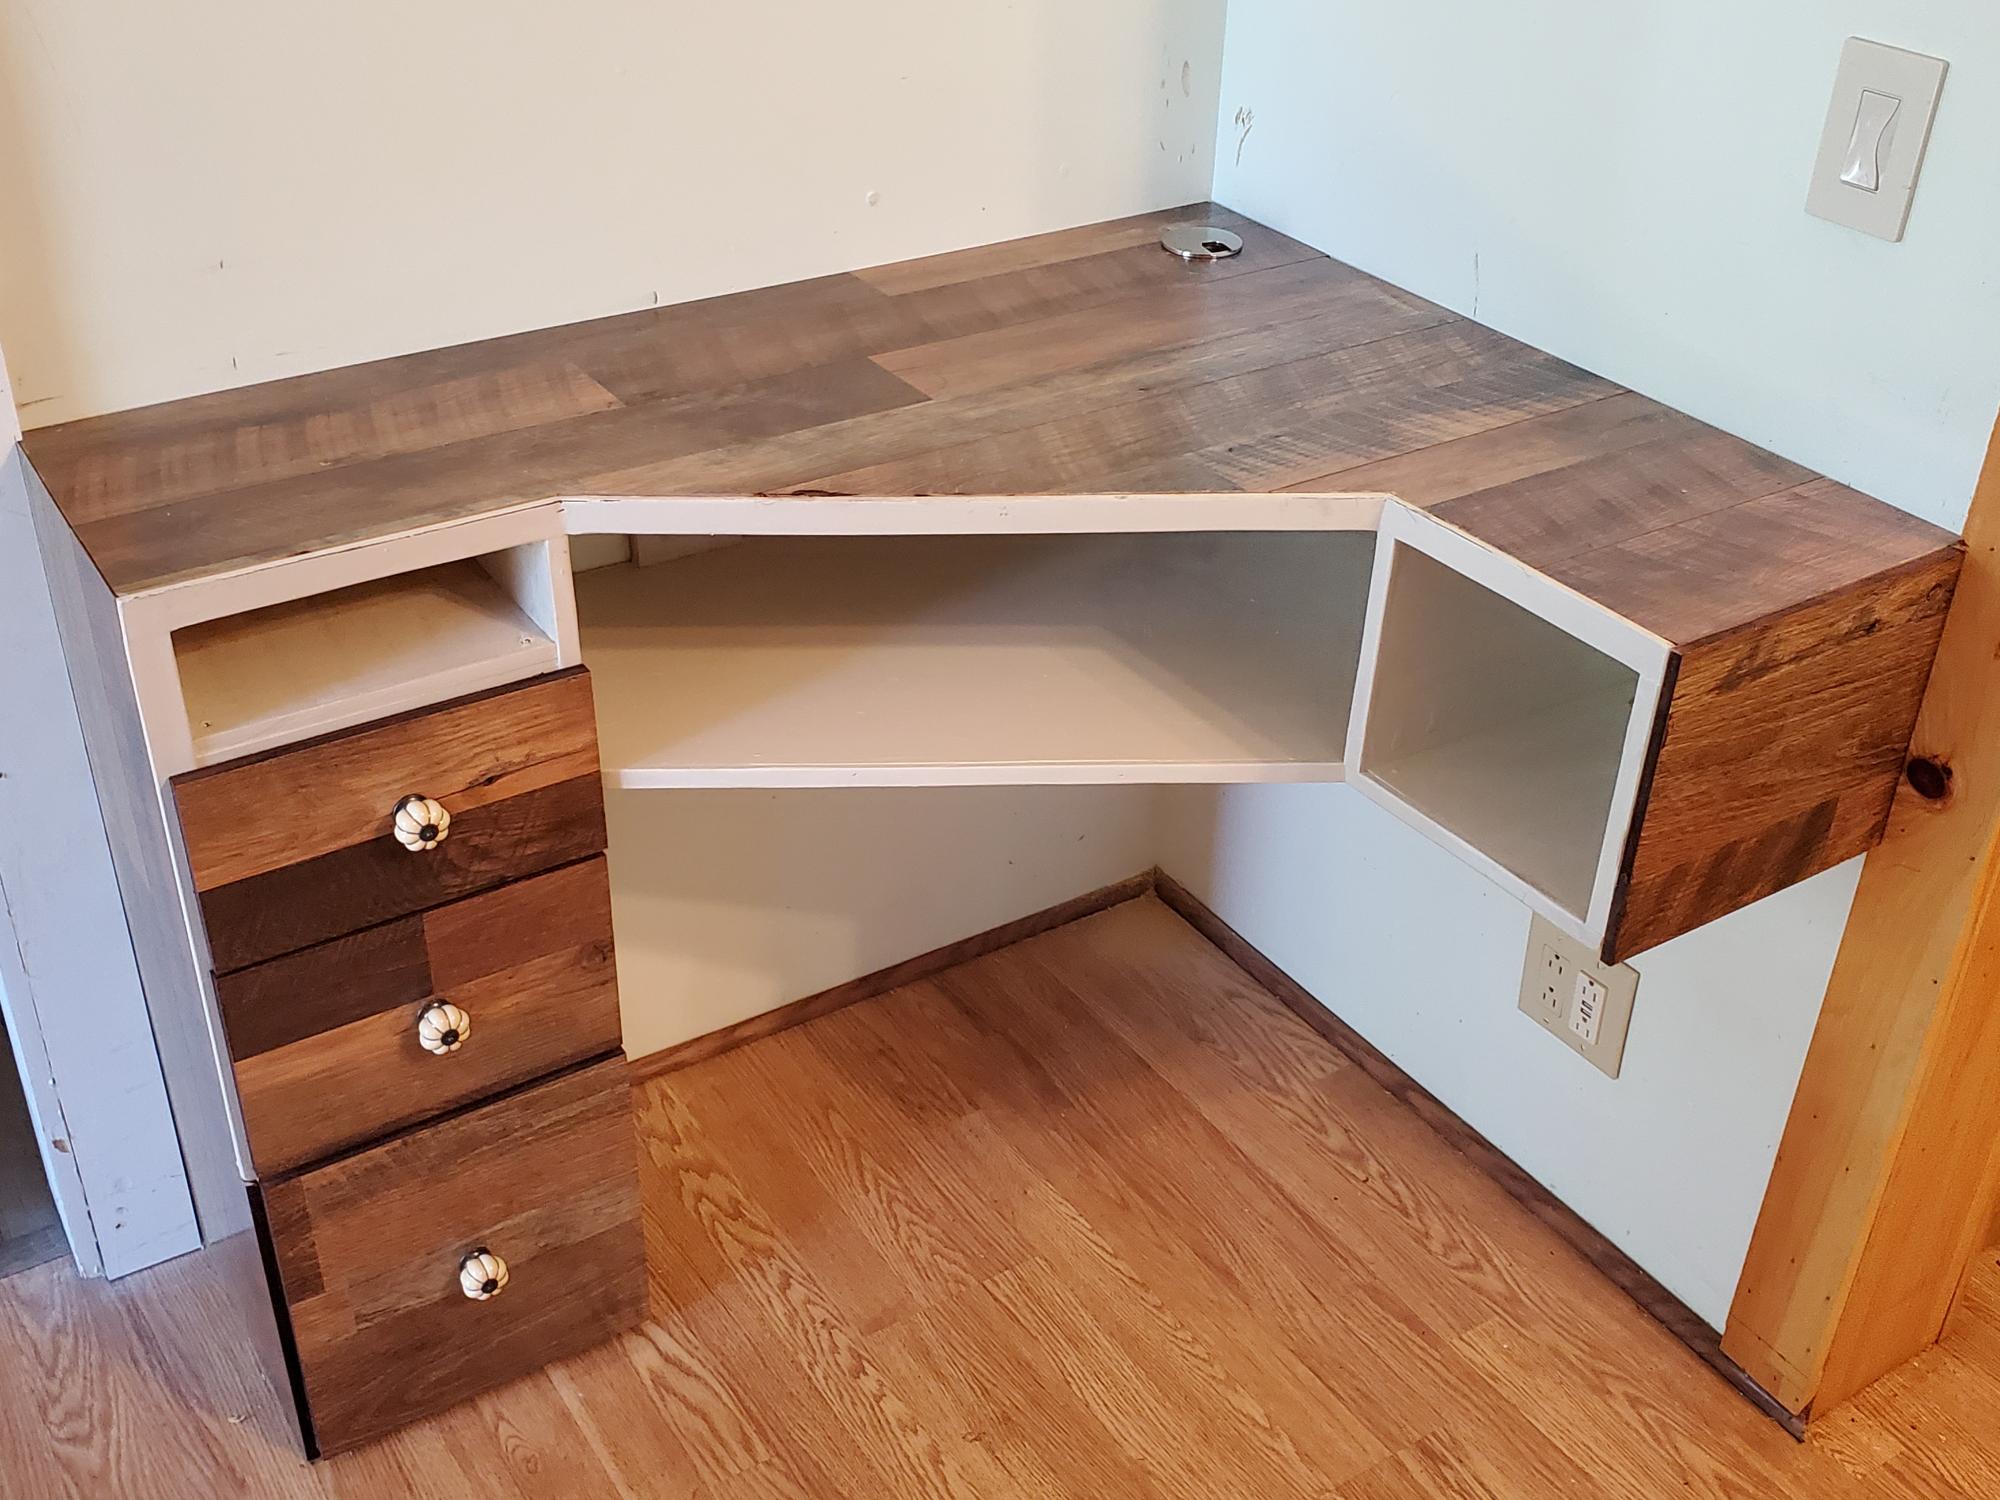
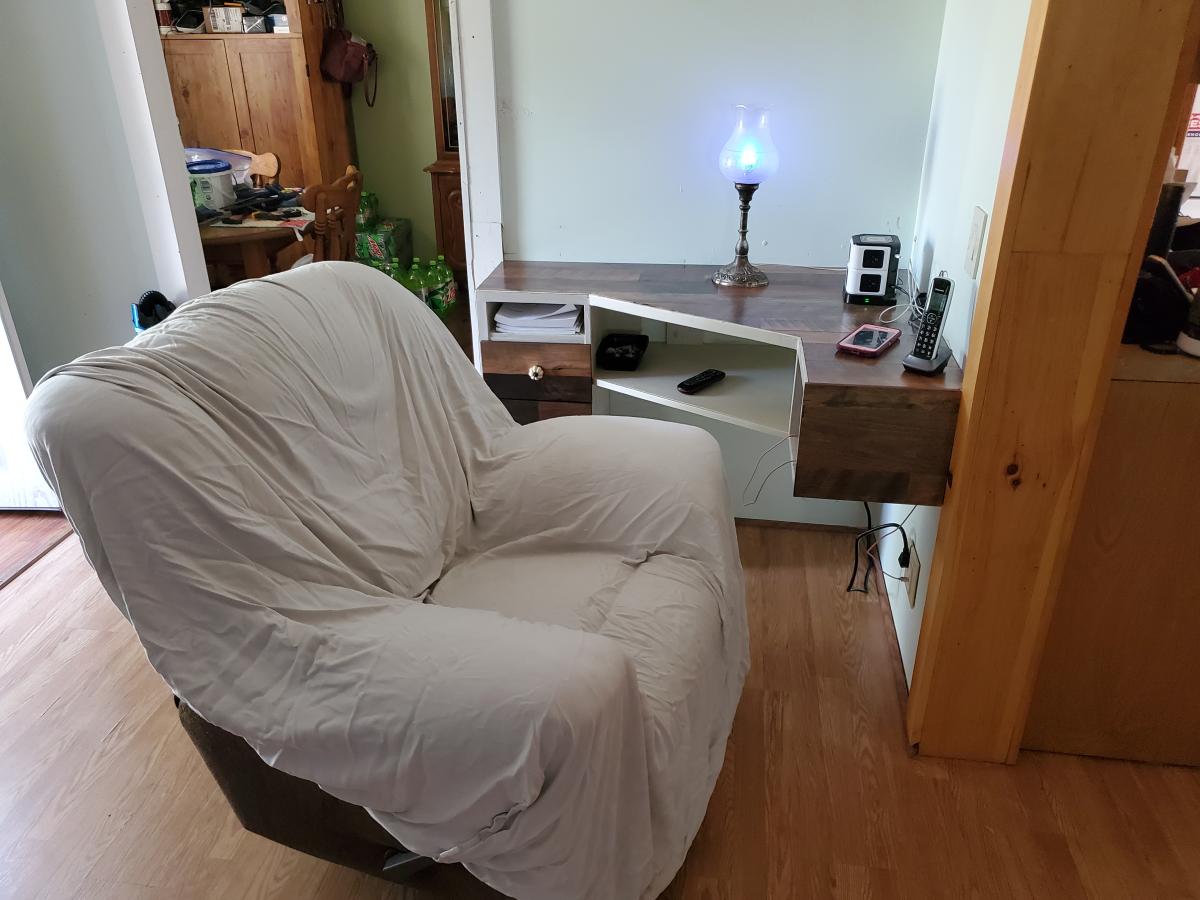
I was looking to build a desk for my wife. I searched around on YouTube for ideas and came up with this one: https://youtu.be/IN0j34WDlg4. I made a few modifications and added a few features to come up with this corner desk.
1 sheet 3/4" blond wood plywood.
1/4 sheet of 1/2" plywood for the drawers.
1 box 10mm laminate flooring.
1/4" trim cut from poplar for the edges of the plywood.
It took my wife and I about 2 days to complete the project.

Well, I finally decided to tackle this project! I still need to finish the bottom of the legs and sand some of the fillings, but I had to bring it in rthe light so that I could see it better. Building the actual console was pretty easy, it was the drawers that gave me fits. This is my third project with drawers so I'm determined get the hang of building them. It took a while to finish because I stained it, then didn't like the way the stain turned out, and decided to go ahead and paint it black.
Thanks Ana for your plans and inspiration.


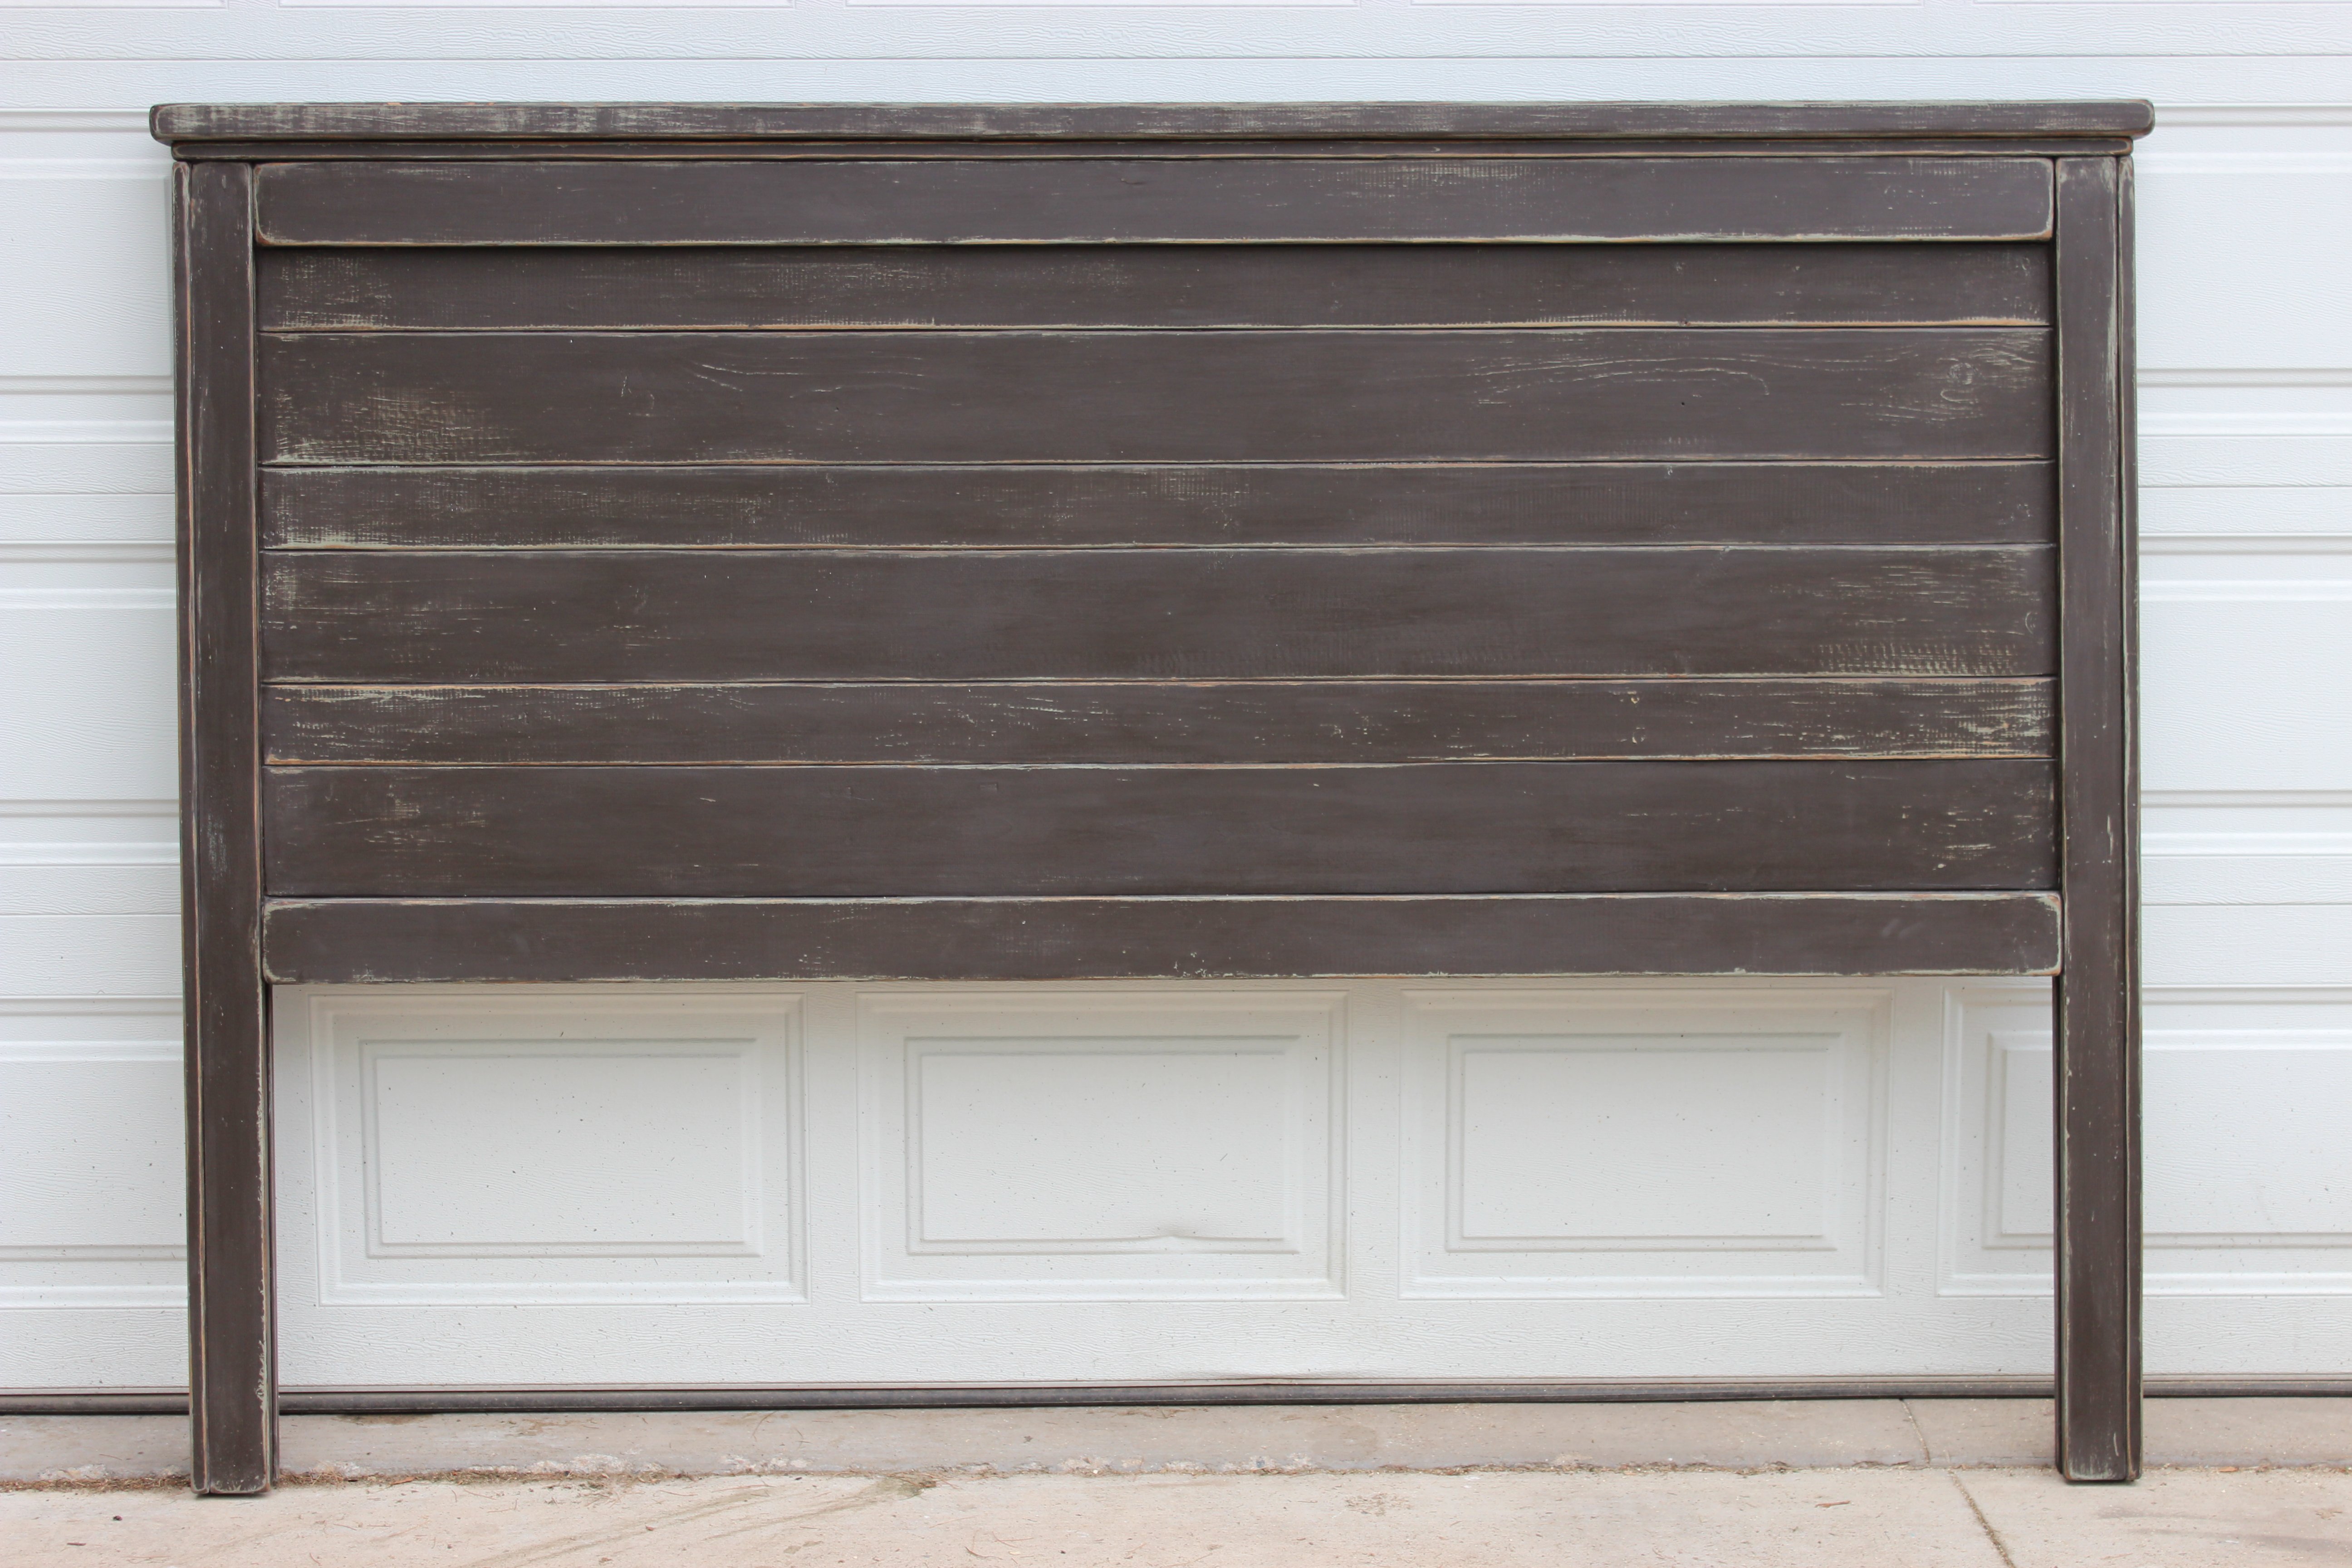
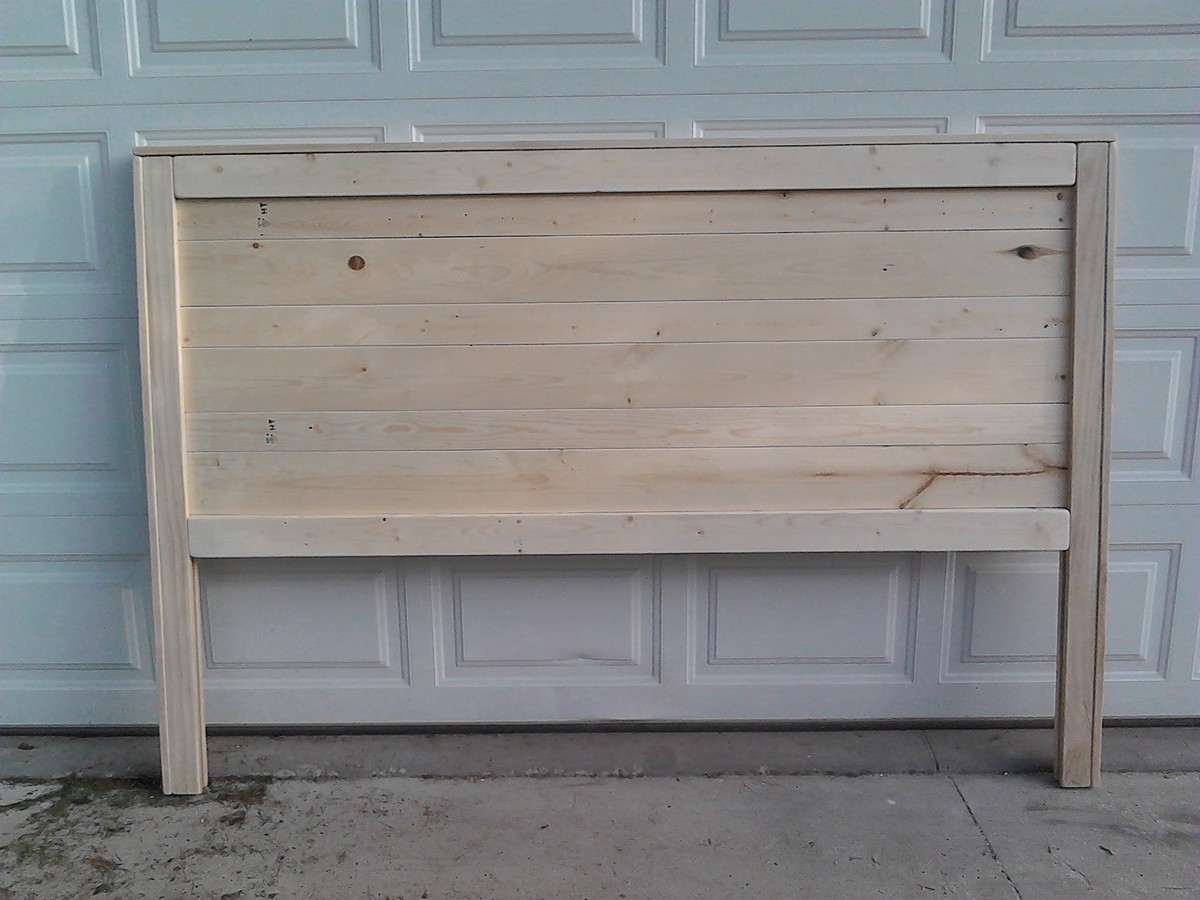
First project build!!! Plans were easy to follow. Built Memorial Day weekend. This is a very solid and heavy headboard with a lot of character. Bought all the wood at Home Depot. All grade 2 pine except for the 1x4's. They are only sold in select pine. I cut all the wood myself as I followed the plans in each step. Didn't want to make any mistakes being to short with cuts. I used wood glue and all nails for this project and it is sturdy!. I didn't really see in the plans where to use the kreg jig. Although I'm sure it was used in the back of the headboard where the boards "butt" together. Instead I put an extra board for support in the back which worked out really well.
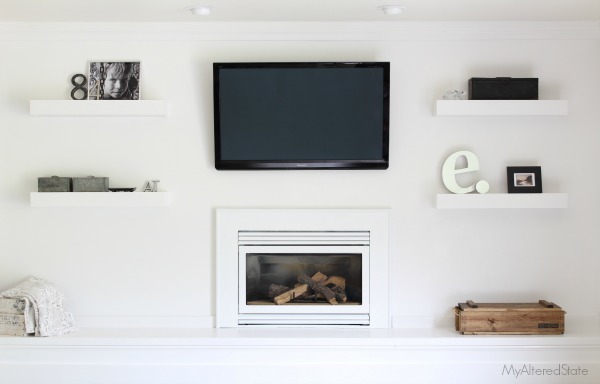
I needed a solution to my shelving problem. I wanted something clean looking, modern, and white to flank both sides of my fireplace. Count on Ana White to come up with a plan. Within seconds of sitting down to surf her site, I found that perfect plan to build four floating shelves.

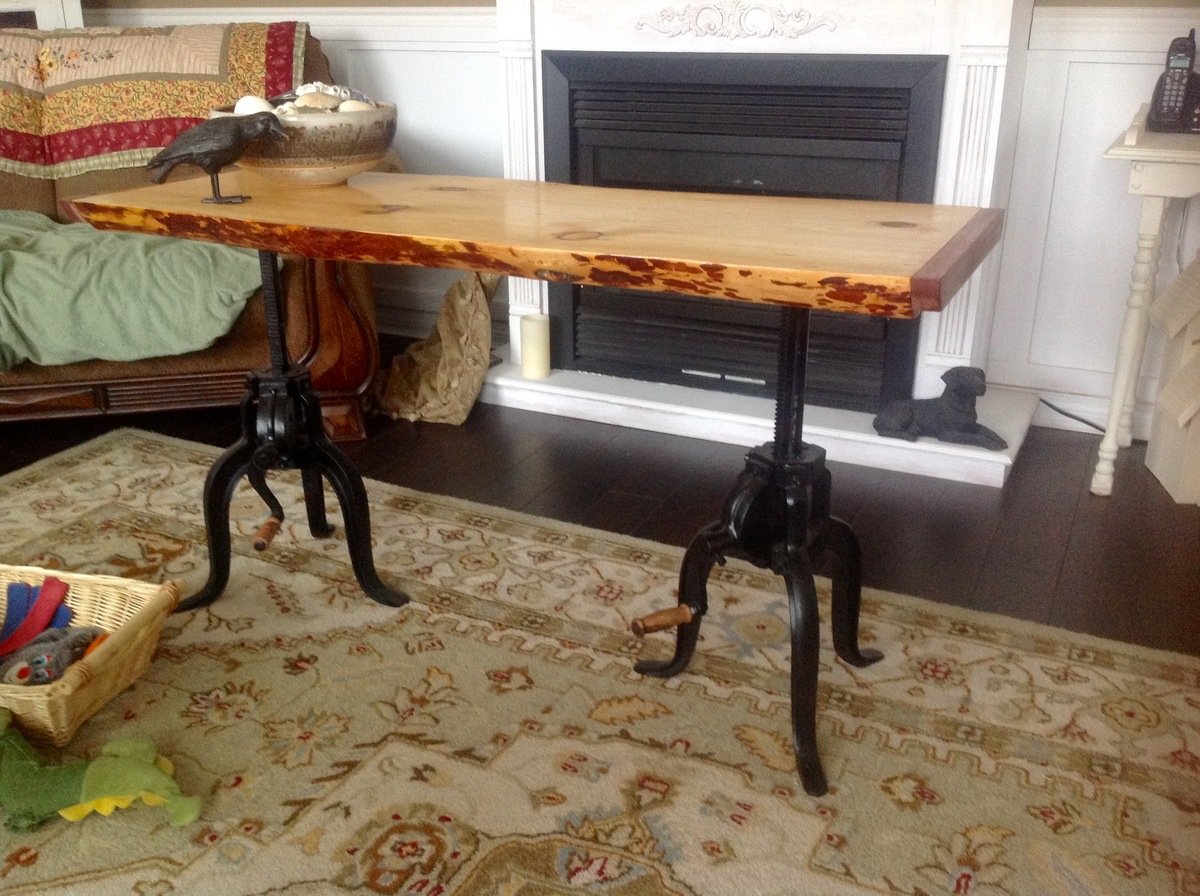
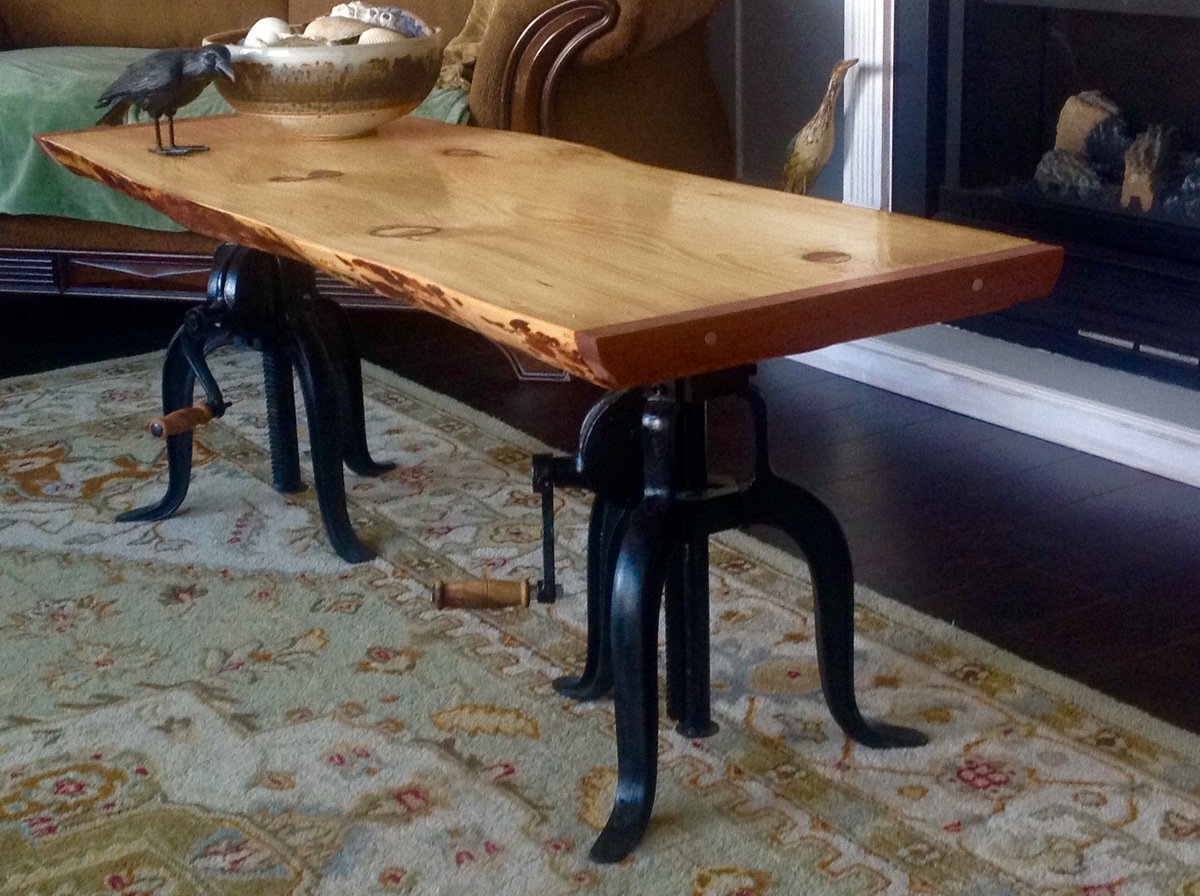
Adjustable height table made from a pair of adjustable stools, stools had the cast iron bases with a crank handle mechanism. I removed the wooden seats & installed a live edge board onto the 2 bases, table can now be a coffee table, sofa table, TV table or whatever you chose.
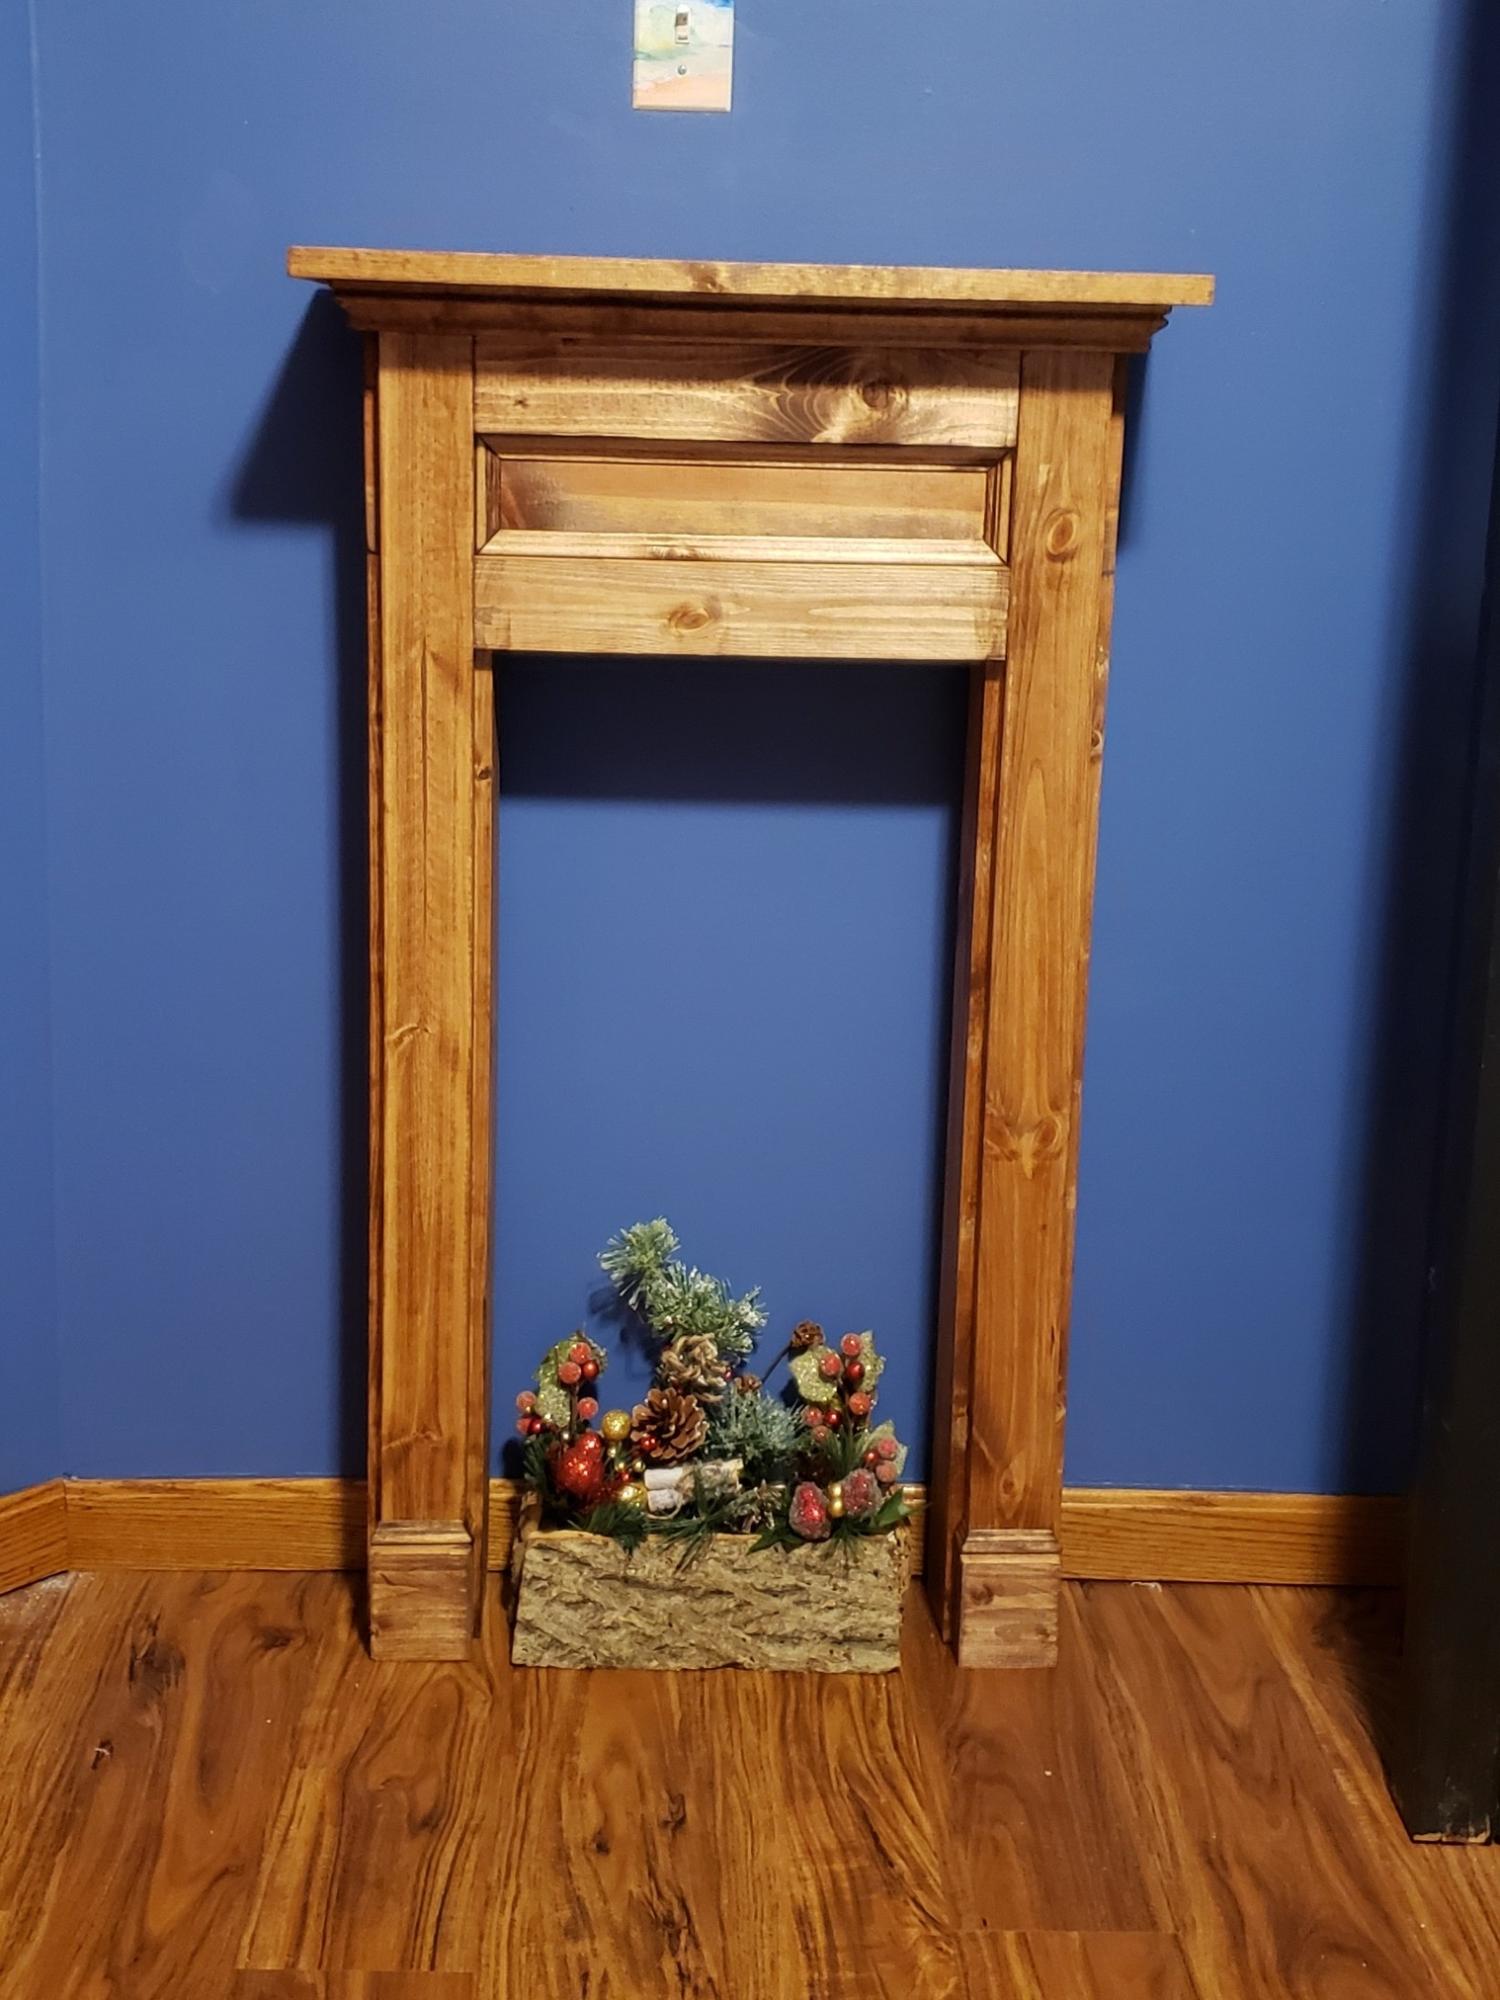
This is a modified version of Mimi's fireplace, adjusted to fit an area only 24" wide.
Fireplace is 21" wide at the mantle.
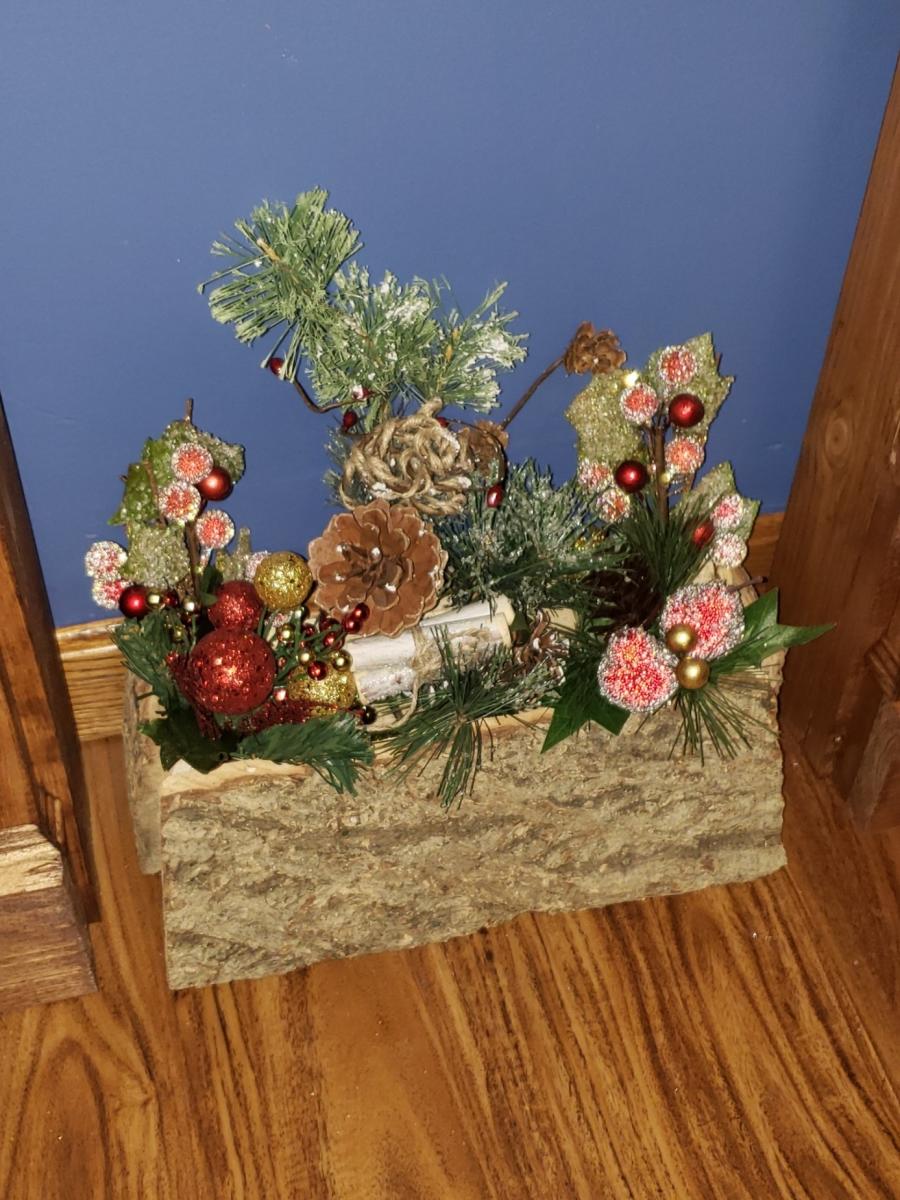
The Yule log was made from a supermarket log by cutting off the face and cutting down the rest of the log to make the planter.
Thu, 12/16/2021 - 07:44
The wood is white pine finished with Minwax Early American with 10.32's red added per quart.

Our latest project... I love it!
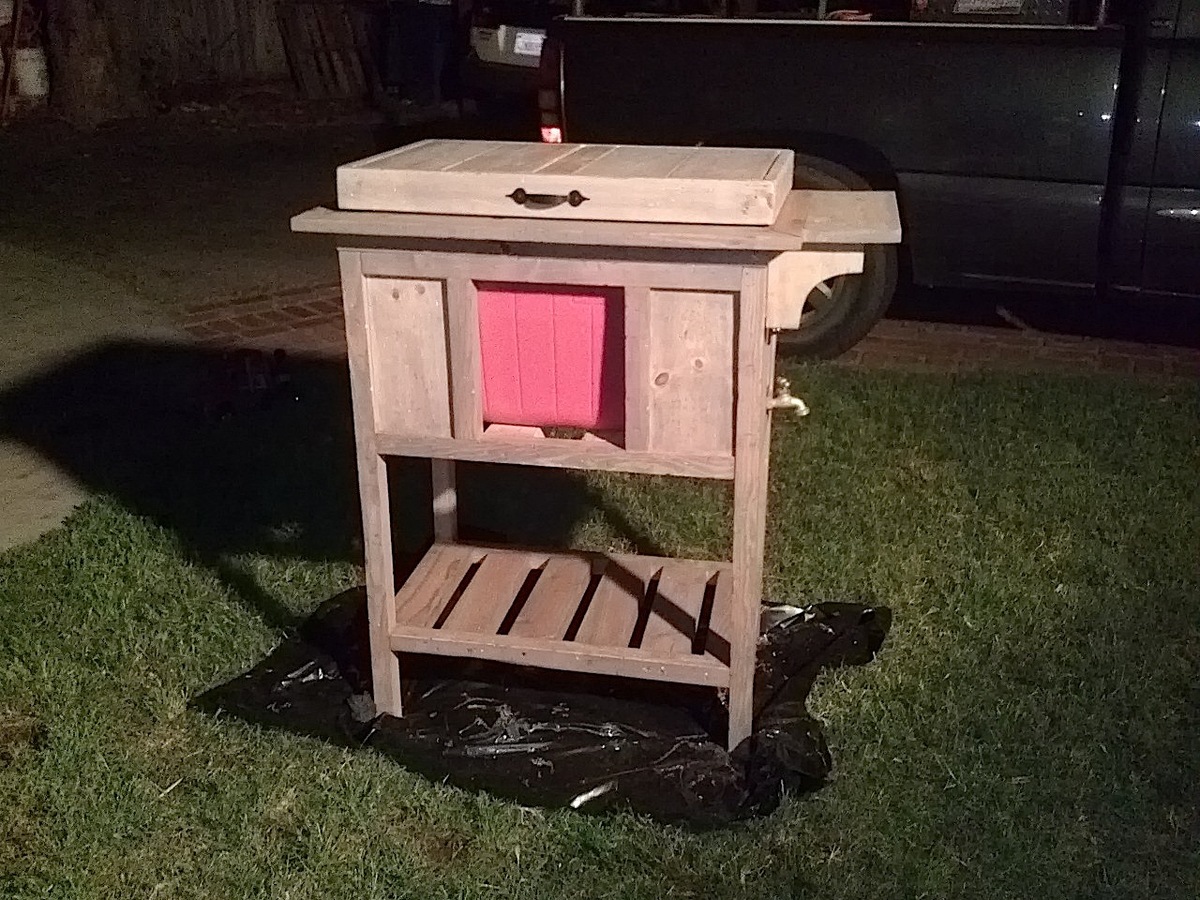
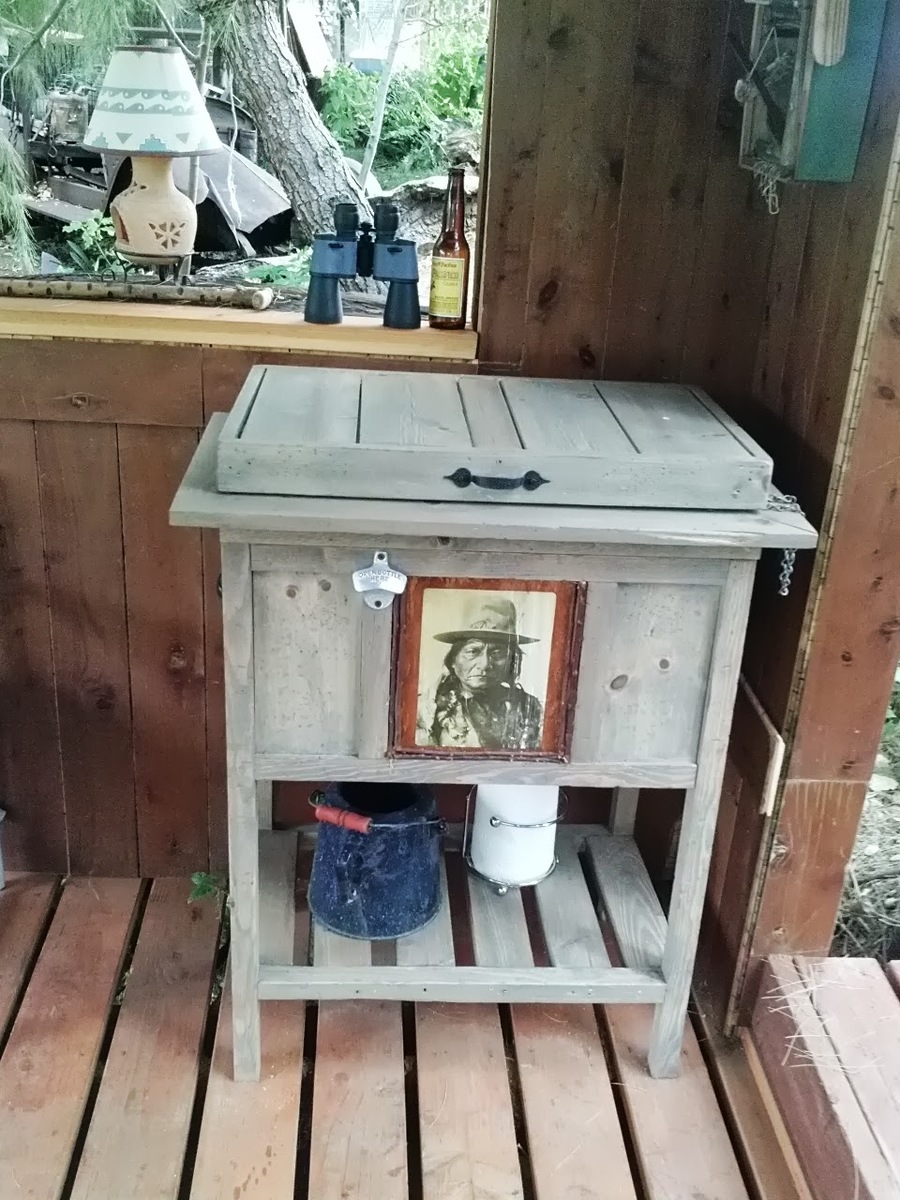
1st I want to say, the part thats uncovered on the middle will be covered but Im letting pops customize that spot with a picture or whatever he chooses.
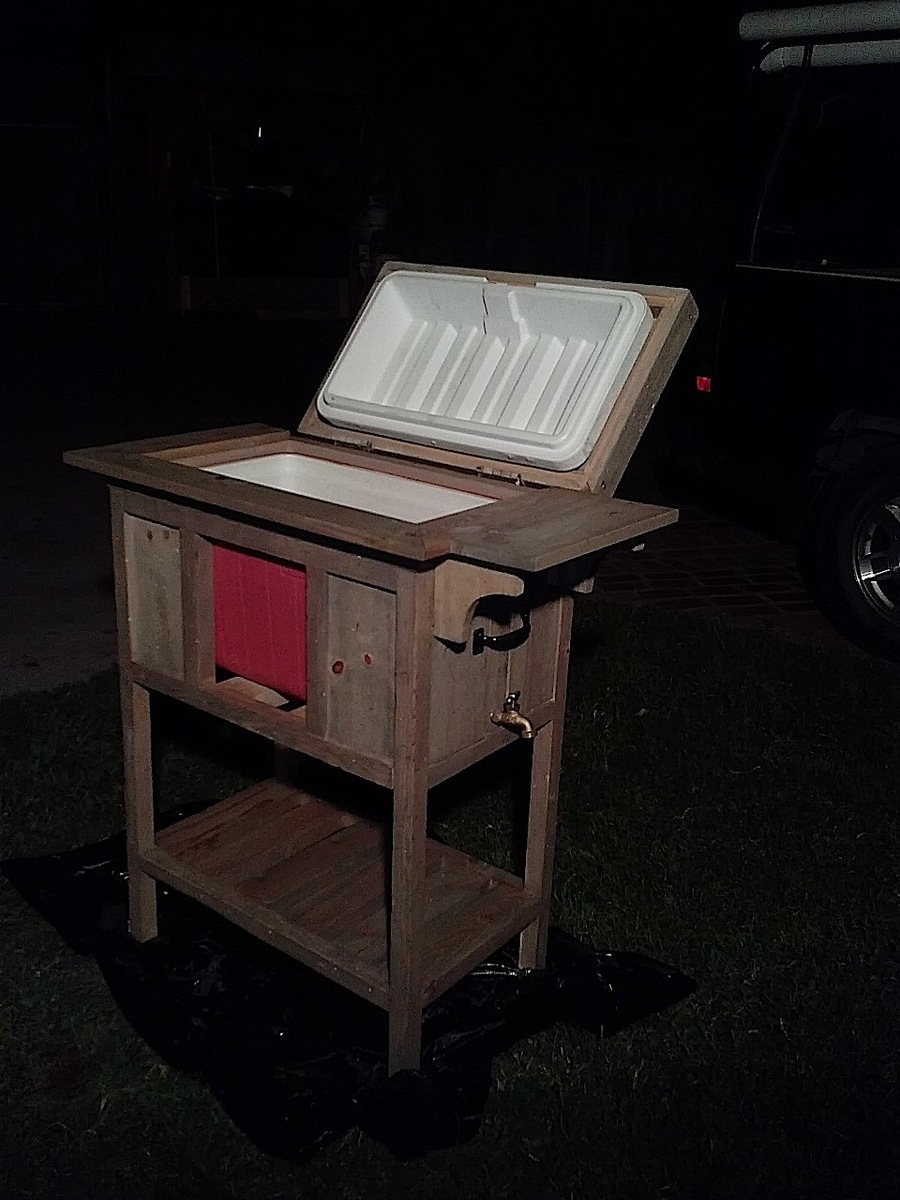
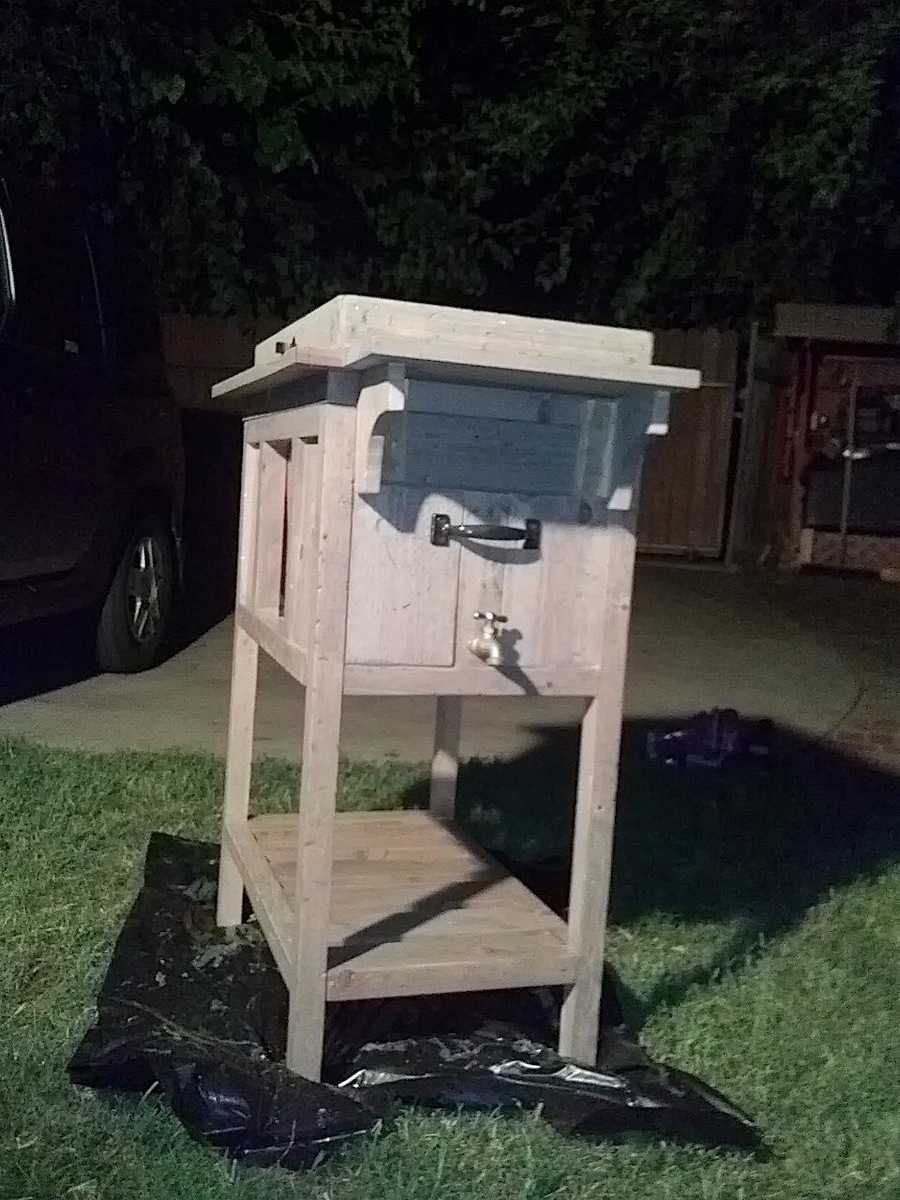
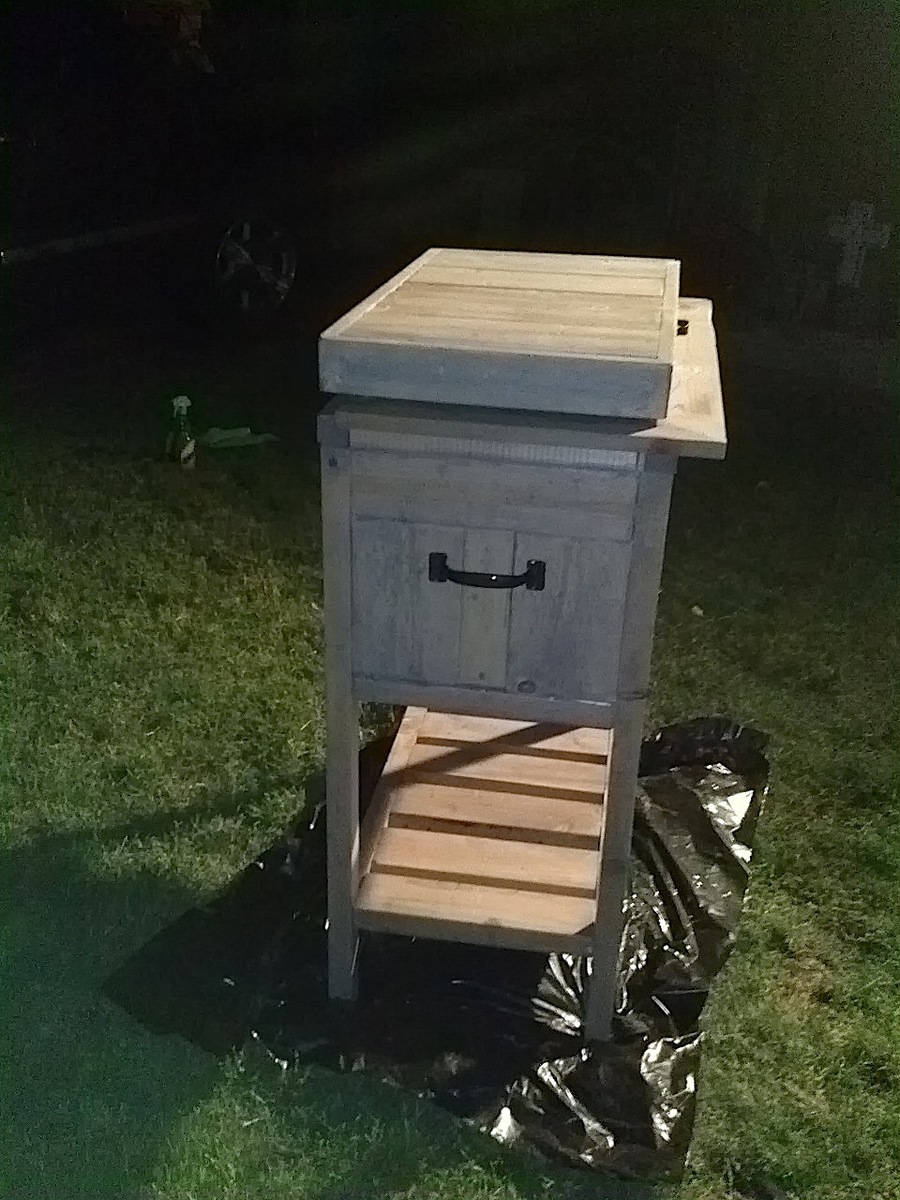
My dad made most everything I have ever had in life including the house I live in. So I wanted to make him something this dad's day that he could really use and enjoy. He just built a hang out place in his back yard that I call "his fort" Since he's in his 60's now and a little more mellow, he has a lot of little parties with friends, family, basically anyone who wants to come hang out in his back yard. lol. (He claims to have made the fort a covered stage for my 12 year old and his band. But I know the truth. hehe. it's his fort :) ) So I thought this cooler stand would come in handy. He saw me working on it a few days before fathers day and told me he was afraid I was gonna make his something girly. hehe. He's such a man's man. I love my pops and am soooo happy he likes my gift. Its already in use in the fort. hehe


Sat, 07/06/2013 - 09:40
This turned out great! Every adult needs a fort, your Dad is a lucky man!
In reply to This turned out great! Every by birdsandsoap
Sun, 07/07/2013 - 00:27
Thank you, I'm just returning some of his hand made hard work. Thank you for the best father day idea ever. I'm sure I would have made him some girly thing if I hadn't come across your cooler plans. hehe. He is so happy with it and its held up, even with regular use and his heavy hand. :P it's the only thing keeping things cool in his fort and he brags to all of his friends about how his daughter made it for him.
Thanks again!
~Melody


Comments
Ana White Admin
Sat, 11/06/2021 - 17:40
So cute!
Great job, love the finish choices, thank you for sharing!