Community Brag Posts


Peppa Pig House

Roof to be added later. Modified Dream Dollhouse to 1/2 size -- perfect for 2 yo!


Built from Plan(s)
Estimated Cost
$30-45
Estimated Time Investment
Weekend Project (10-20 Hours)
Finish Used
Deco Art acrylic paint in wildflower pink. Decopage scrapbook paper to interior walls and floors
Recommended Skill Level
Beginner
Market Stand
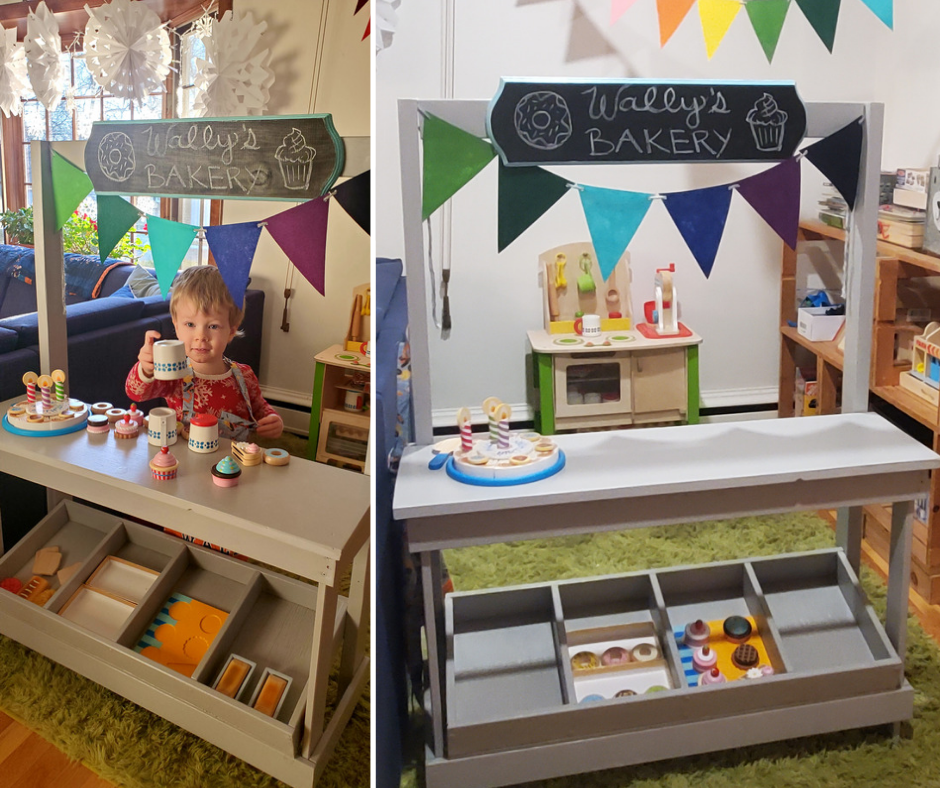
Plans were easy to follow and we were able to build it using scrap and salvaged wood, and leftover paint. Only had to buy screws and the chalkboard sign materials, so very affordable to make. Birthday boy LOVES it! We set it up with some bakery toys, but the dramatic play options are virtually endless. This is one of those type of toys that will be part of all kinds of play with kids of all ages. The size is great for him at 3 years old but I expect it will be usable for many years before he outgrows it. Well worth making.
Built from Plan(s)
Comments
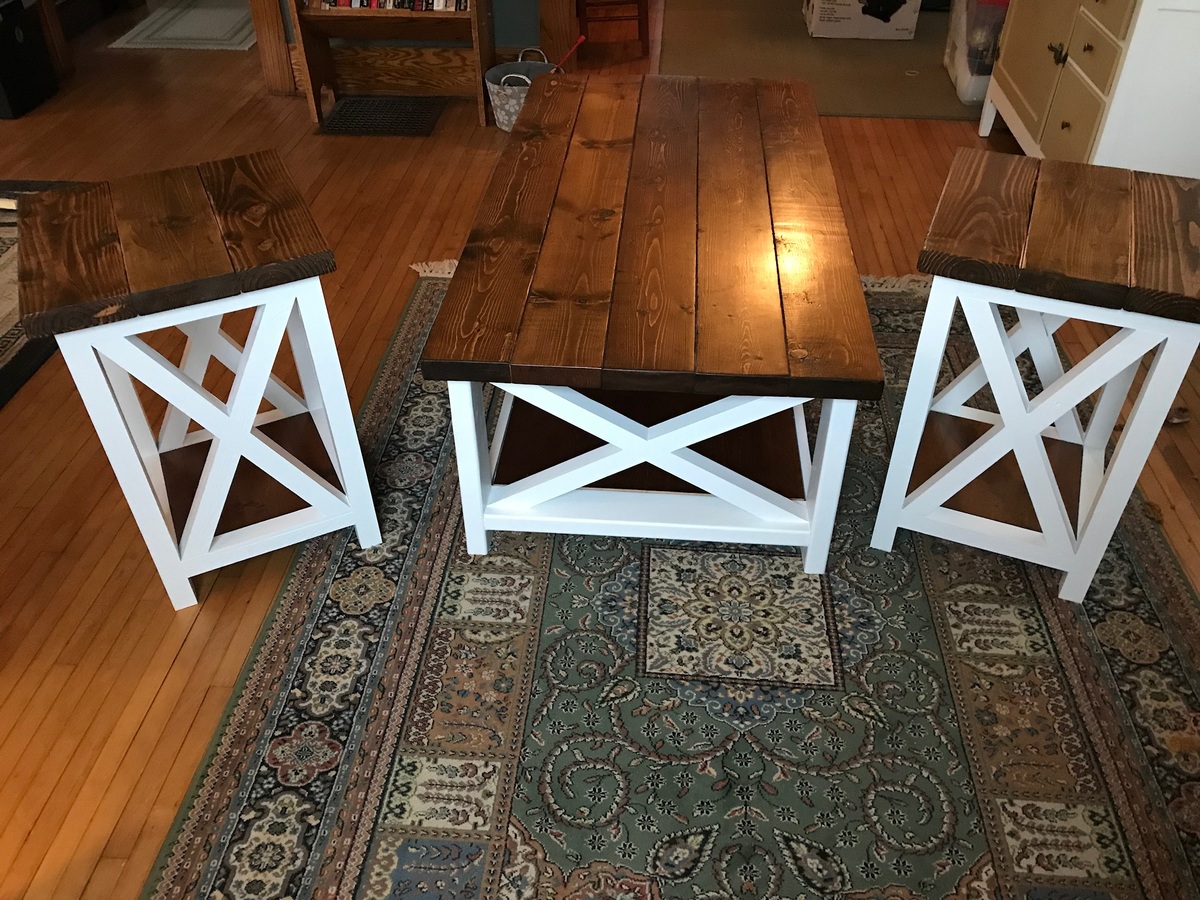
Classing up my Living Room

This was my very first build! I am very happy with the results and I am so proud to have made such classy yet practical pieces of furniture. My living room has gone from being overrun by children to a comfortable, organized space for all.
I certainly learned alot on my first build. I learned that I hate gel stain, that I will now pledge my undying love to the mighty Kreg Jig, and that building furniture is addictive. I will be making so many more projects, I have at LEAST 5 more pieces planned. I think I will never buy furniture again (except maybe upholstered furniture).


Built from Plan(s)
Estimated Cost
$100 per pair
Estimated Time Investment
Day Project (6-9 Hours)
Finish Used
Minwax Gel Stain
Recommended Skill Level
Beginner
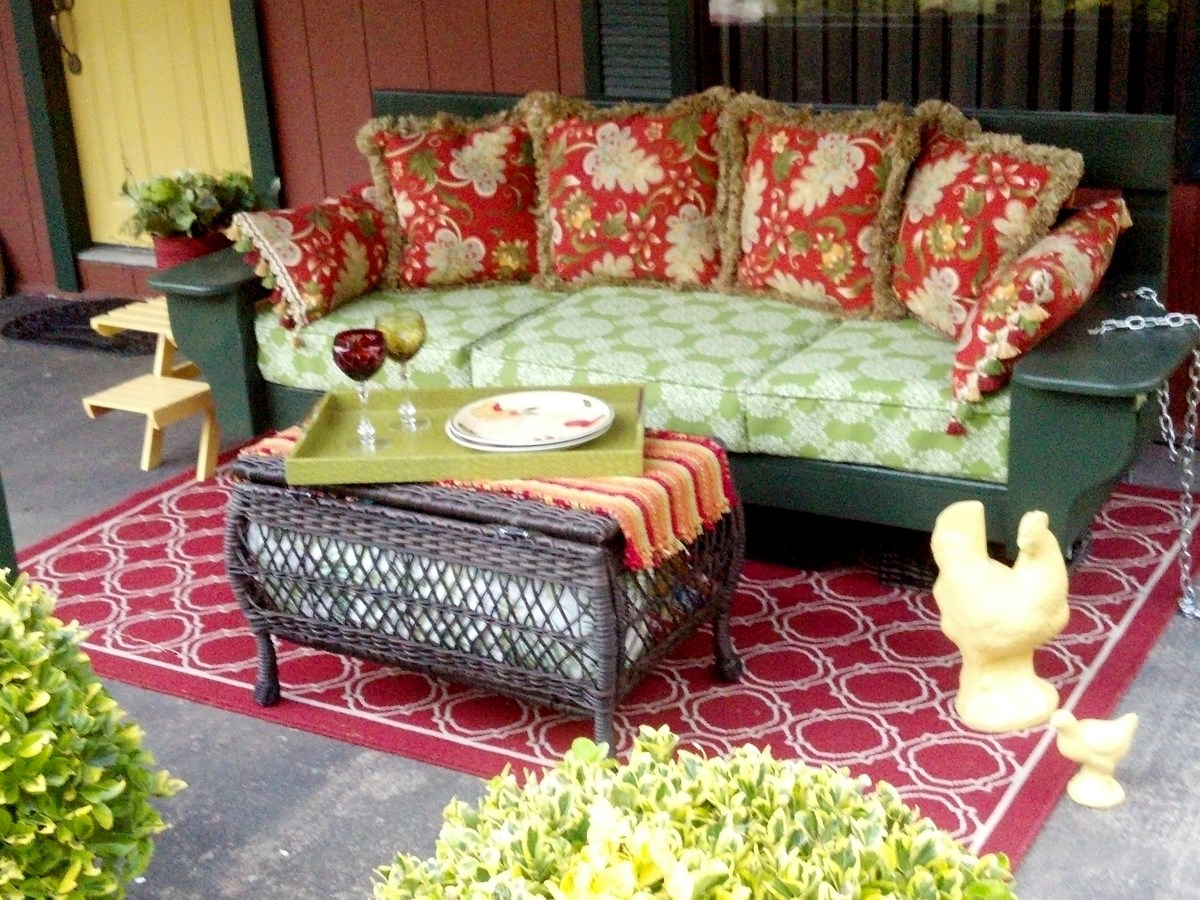
Love, love, love this swing!
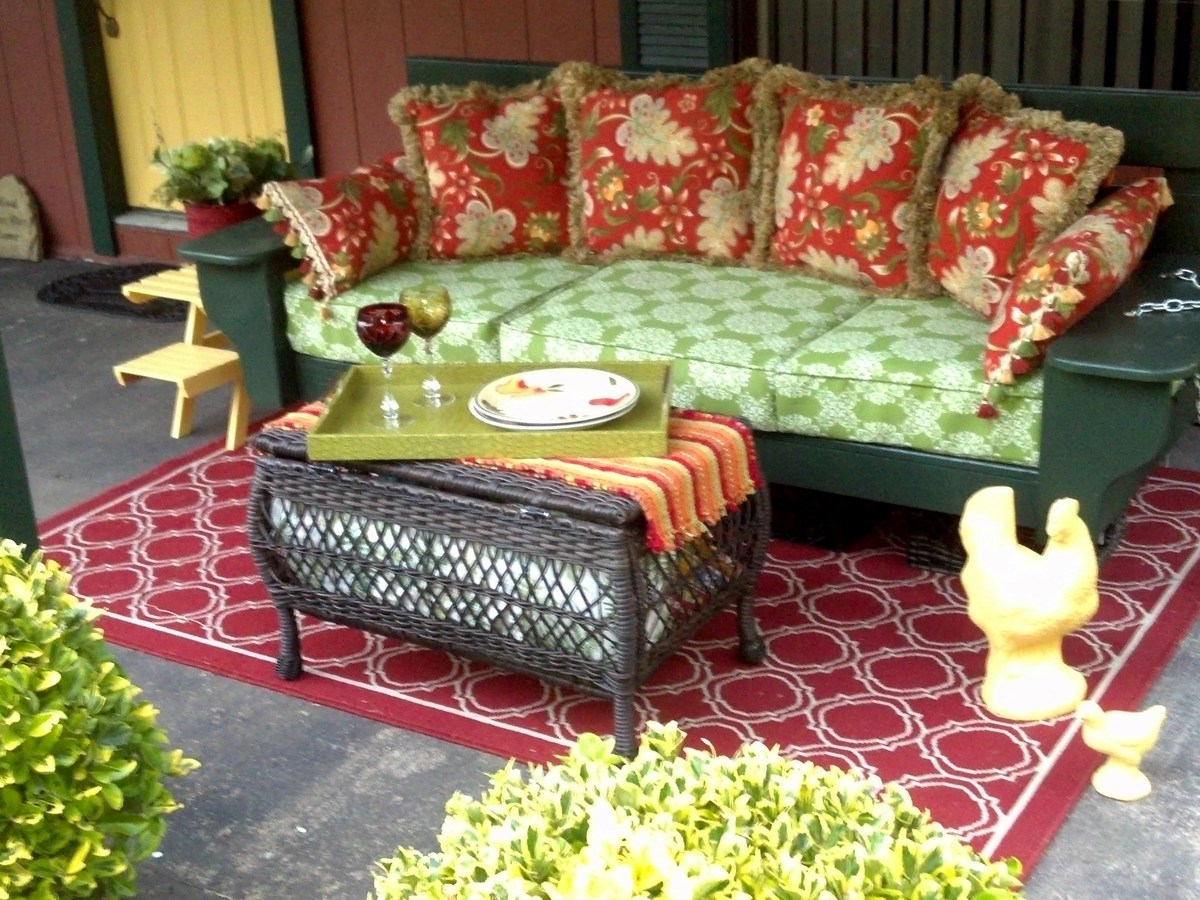
Still unhung - but just had to share this wonderful swing we picked up today from our handyman. Thank you, Ana! The modifications to the plan we requested were a higher back and the front side table detail. We had it built for $350 - not including cushions.
Built from Plan(s)
Estimated Cost
350
Estimated Time Investment
Weekend Project (10-20 Hours)
Finish Used
Forest Green paint.
Recommended Skill Level
Beginner
Rustic X coffee table
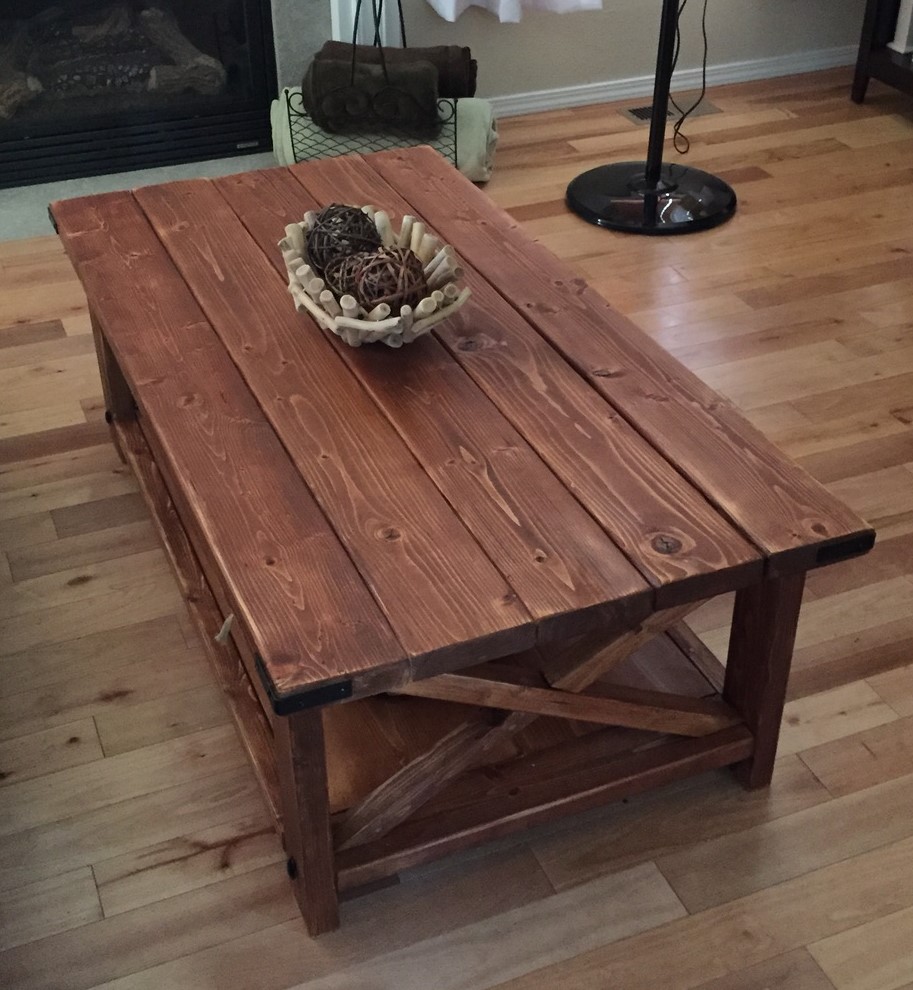
I built the rustic coffee table. Love it!!
Built from Plan(s)
Estimated Cost
$50
Estimated Time Investment
Day Project (6-9 Hours)
Finish Used
Min wax English Chesnut
Recommended Skill Level
Beginner
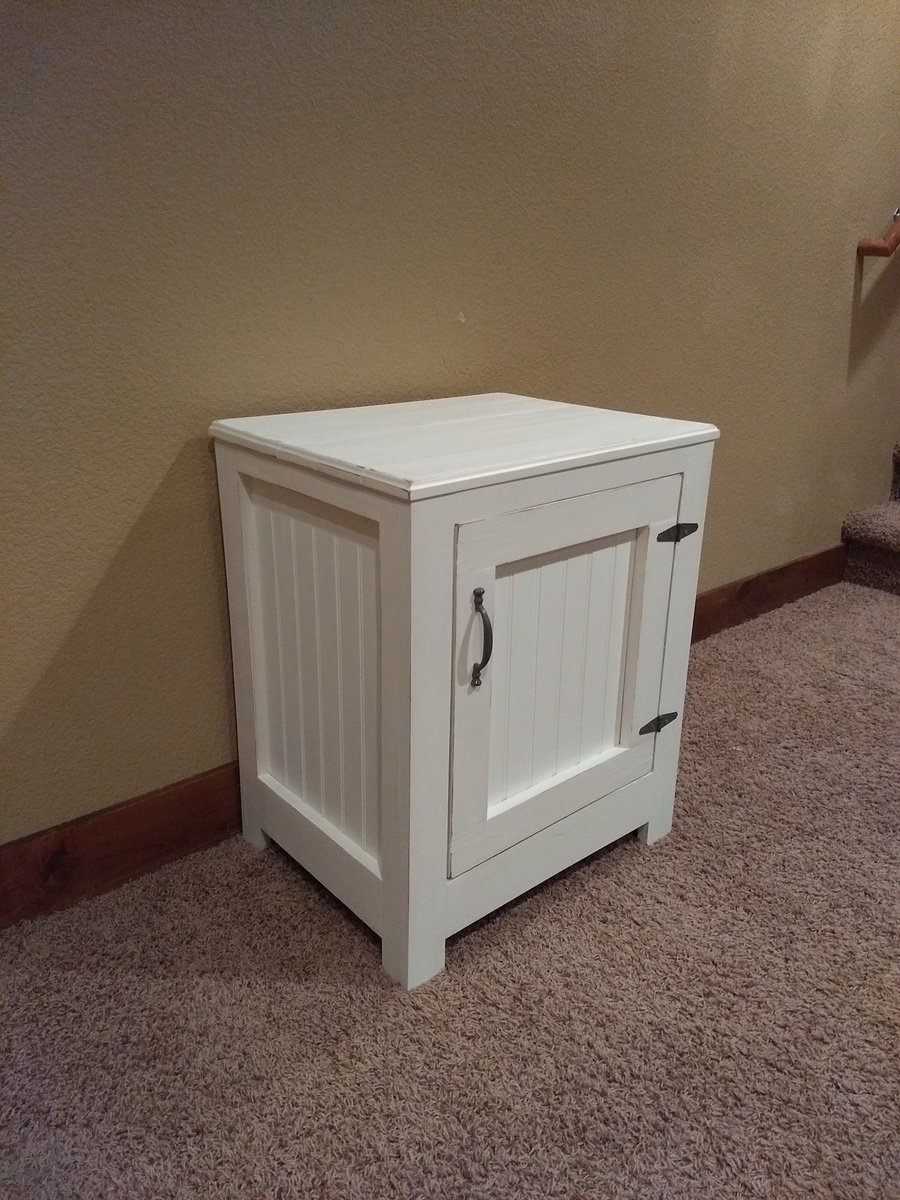
Kentwood Nightstand
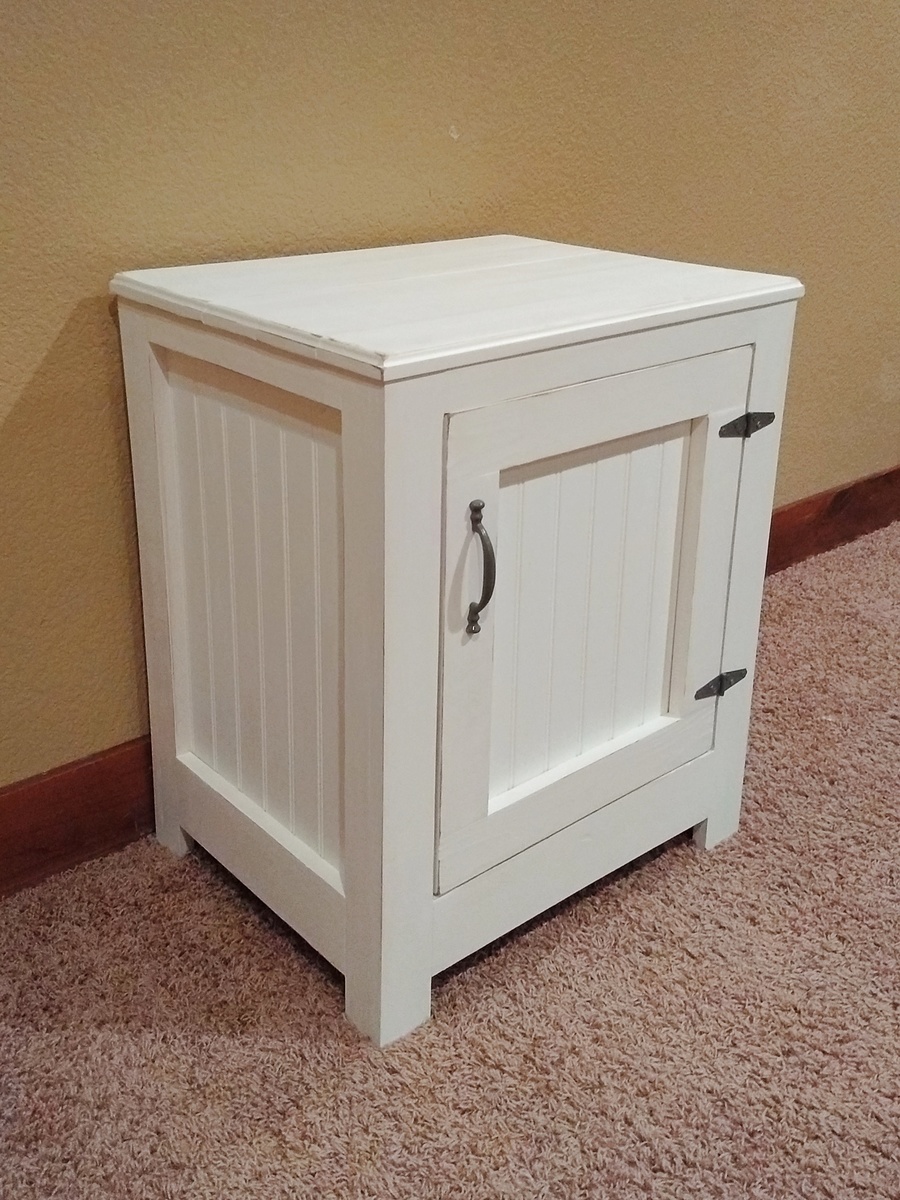
These were so fun to make, it was my second build ever and not too hard. I was worried about doing a door for my first time but making sure everything was square as I went made it fit right in perfectly. The kreg jig is a must!
Built from Plan(s)
Estimated Cost
$40-$50
Estimated Time Investment
Afternoon Project (3-6 Hours)
Finish Used
Creamy white satin paint with 2 polycrylic satin clear coats
Recommended Skill Level
Beginner
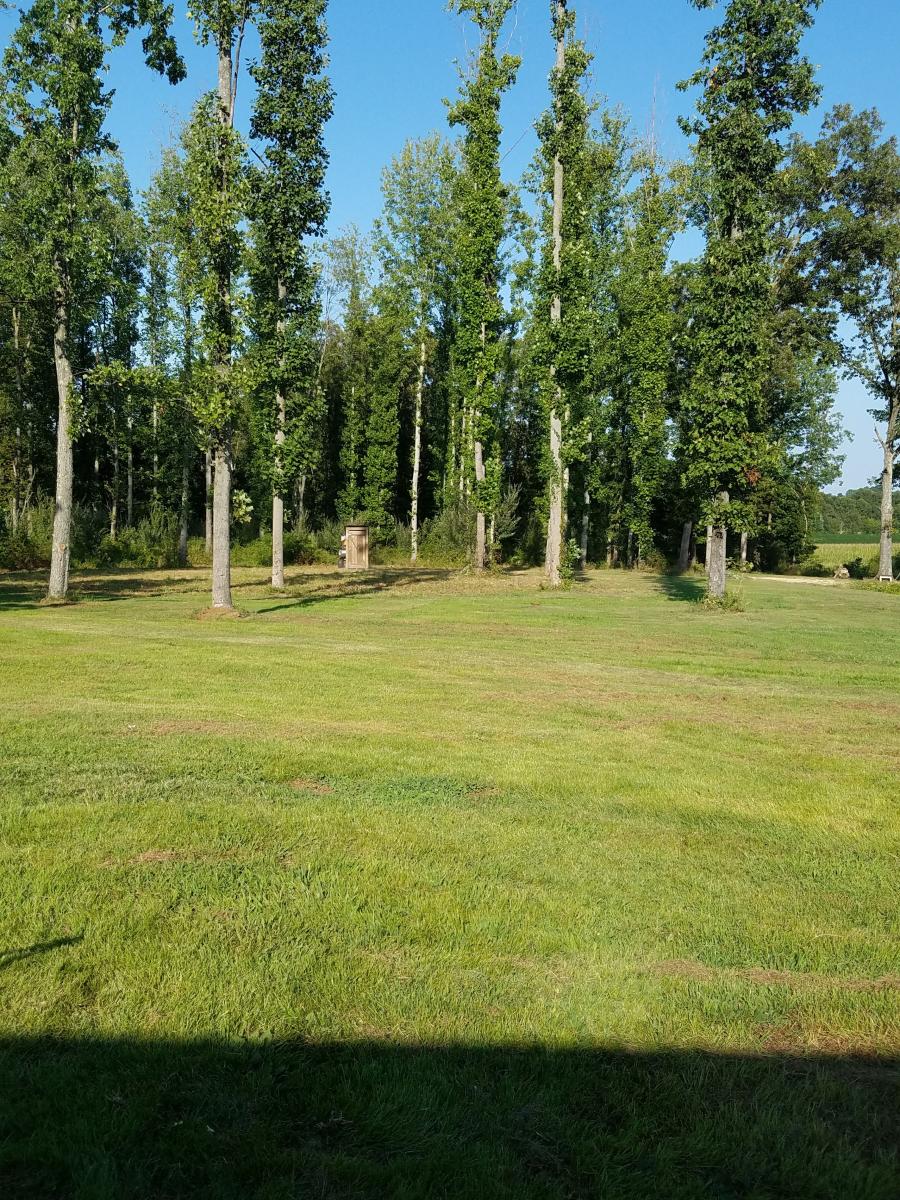
Outhouse
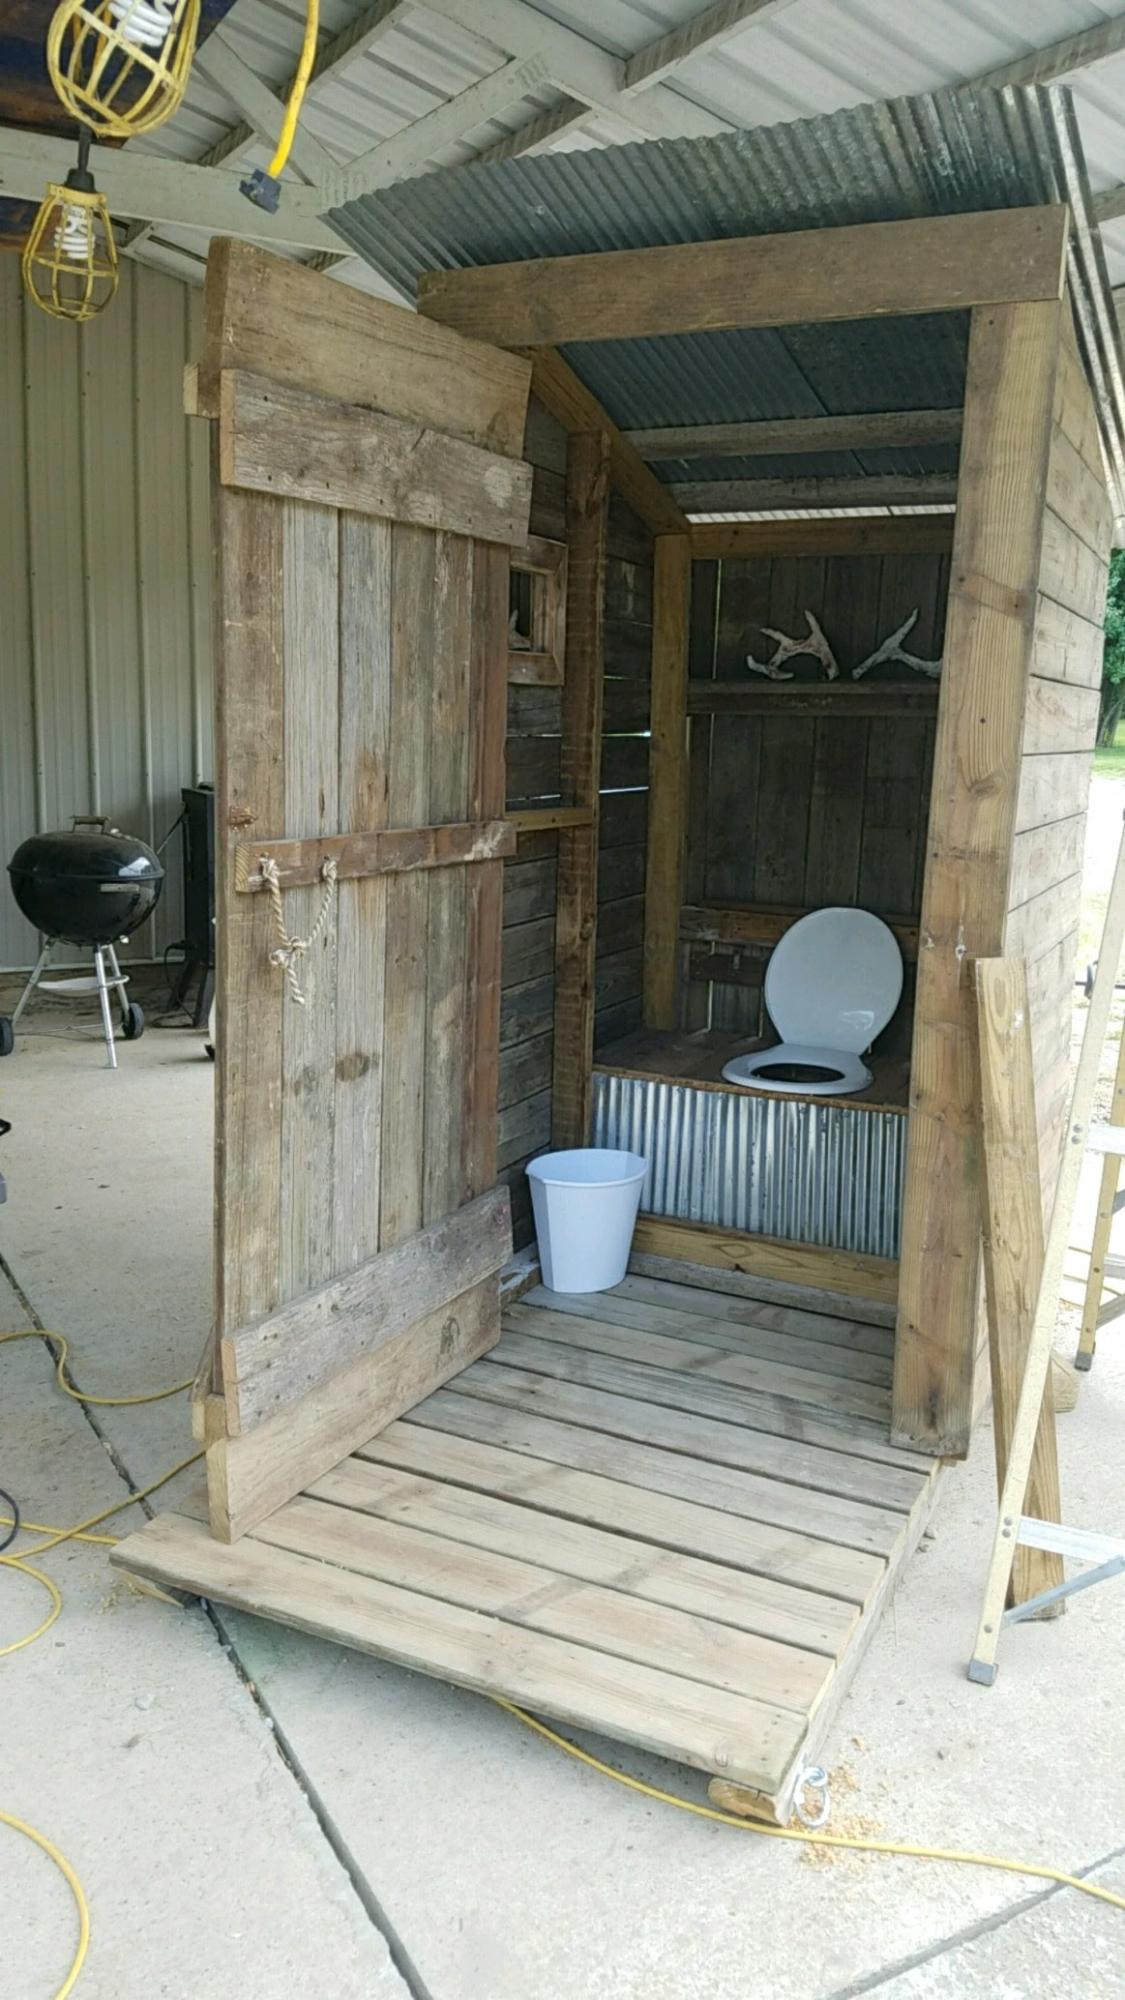
This is the 1st Ana White project I ever built. I now have several items of hers under my belt. I built this the summer of 2017 for the solar eclipse. We live directly in the path with longest viewing times. I placed an ad and got responses from all over the country of people wanting to stay on our property. This outhouse like all of Ana's other plans were easy to adapt to fit my needs. I extended the roof to include the covered porch and only used tin. I also added a couple of shelves a 2 mirrors. Almost everything I used to build this were things we already had. It's mainly built used our old swimming pool deck that we had torn down. The versatility and the clarity of Ana's project plans make this my go to building site!!
Comments
Vintage Step Stool
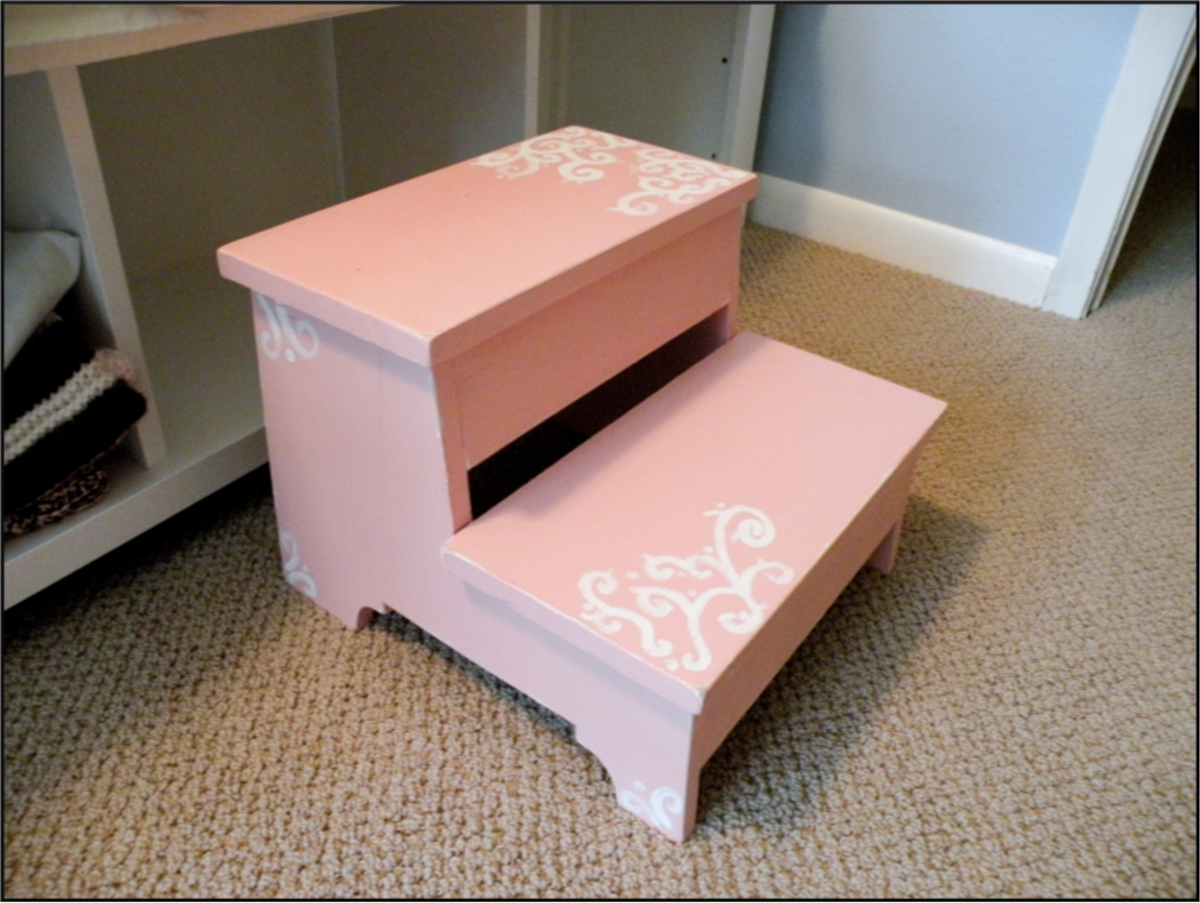
My take on the vintage step stool. I just used scrap wood for the supports. I painted it pink and then added some detail with white paint. Then I sanded over everything to make it more vintage-y. I was pleased with the result. The sanding really distressed the white detail.
Built from Plan(s)
Estimated Cost
$10? Mine was free.
Estimated Time Investment
An Hour or Two (0-2 Hours)
Finish Used
Satin paint
Recommended Skill Level
Starter Project
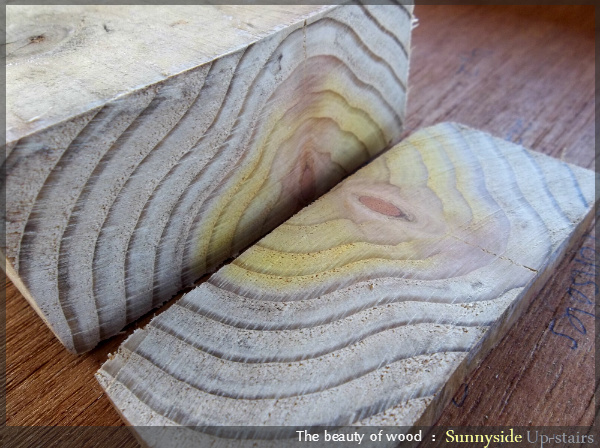
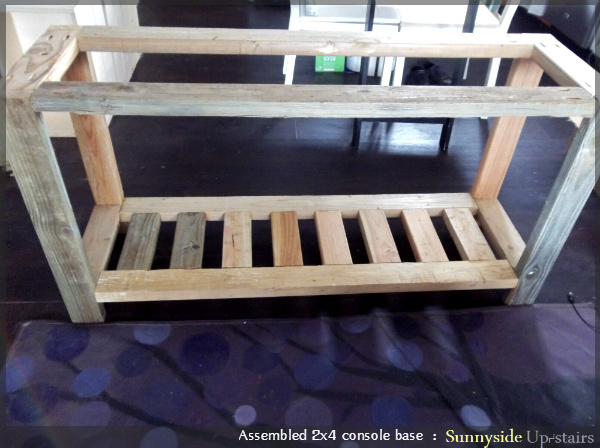
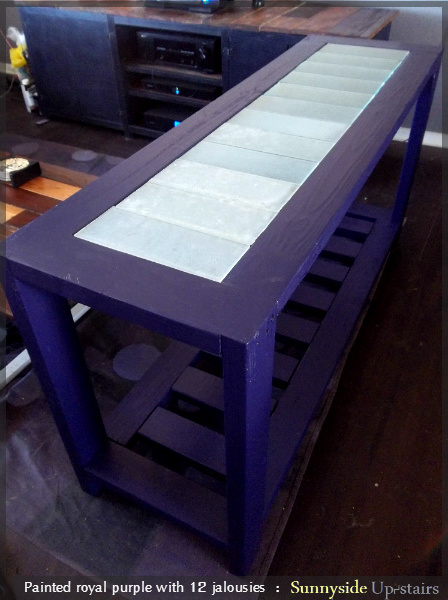
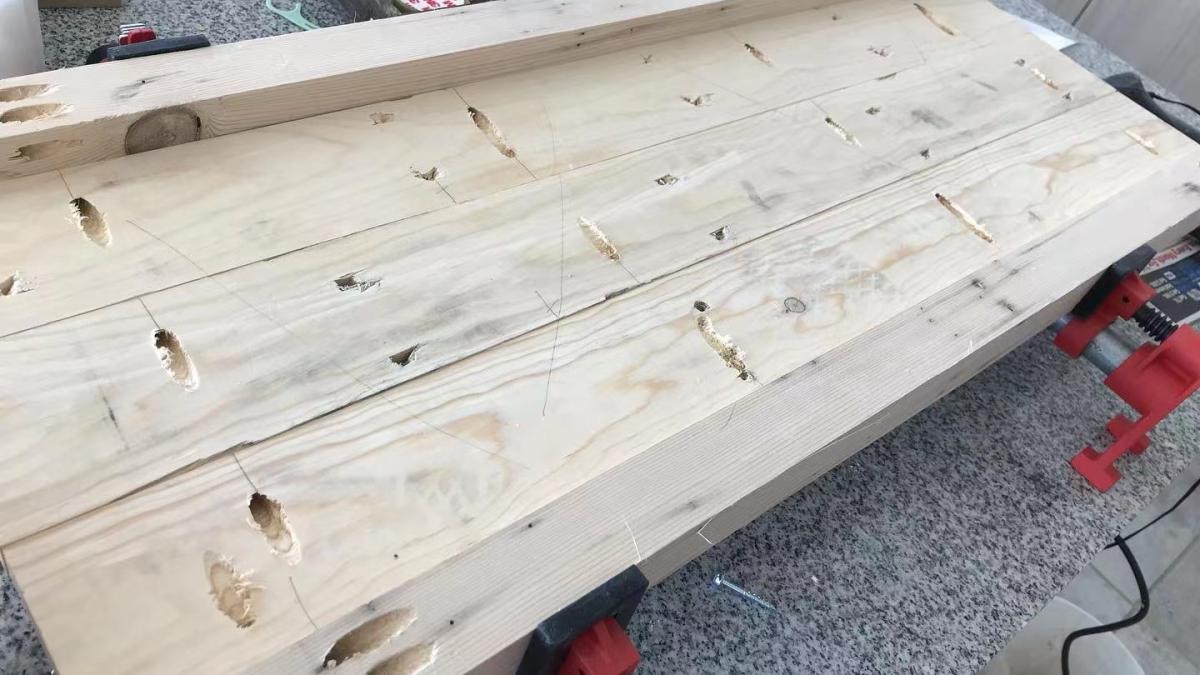
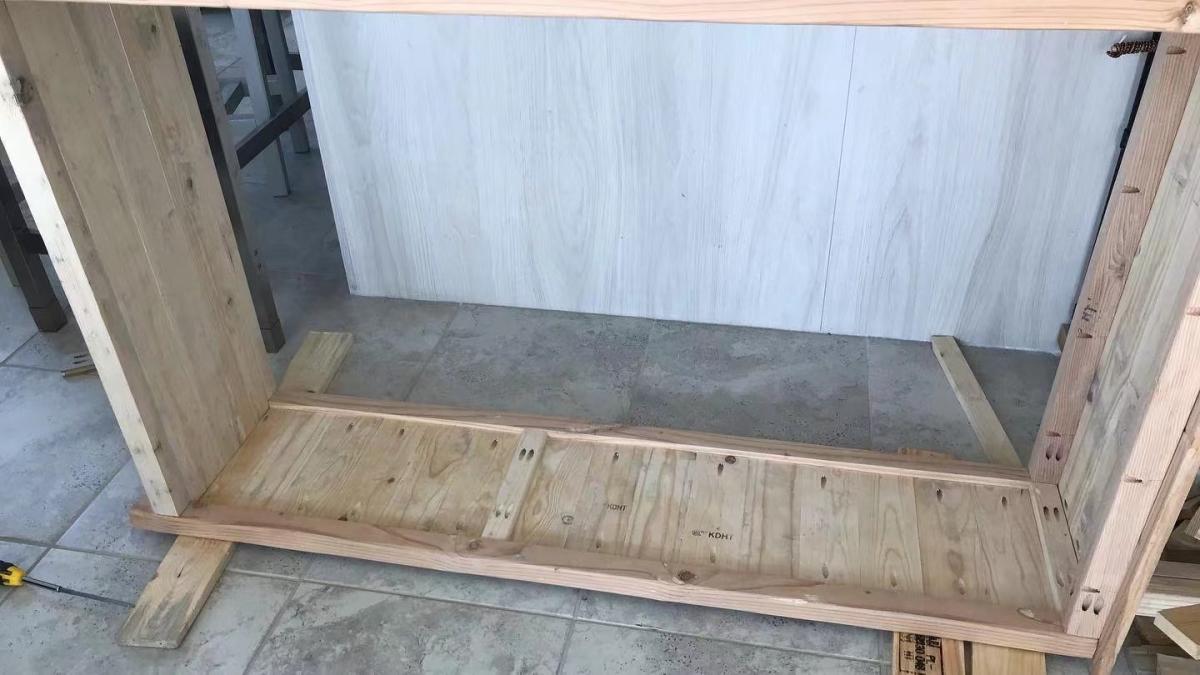
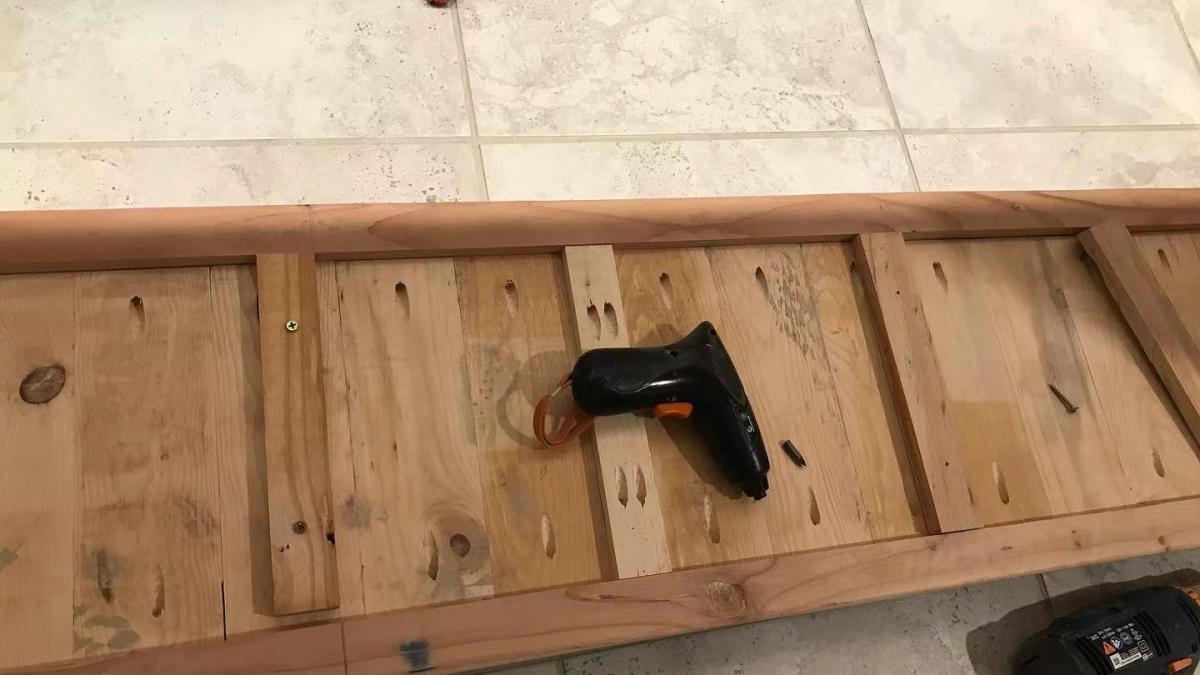
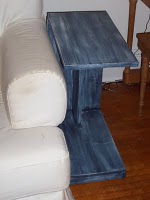
2x4 and Jalousie Console
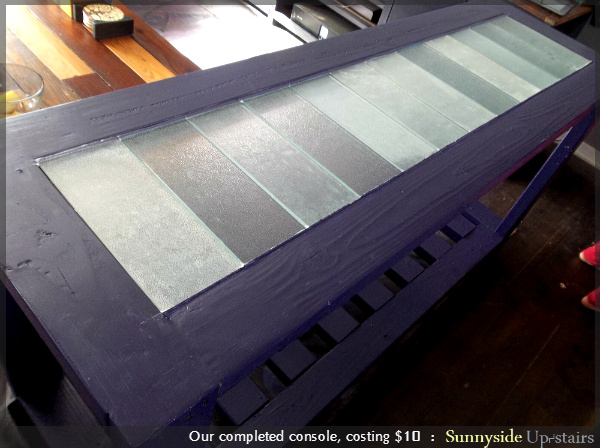
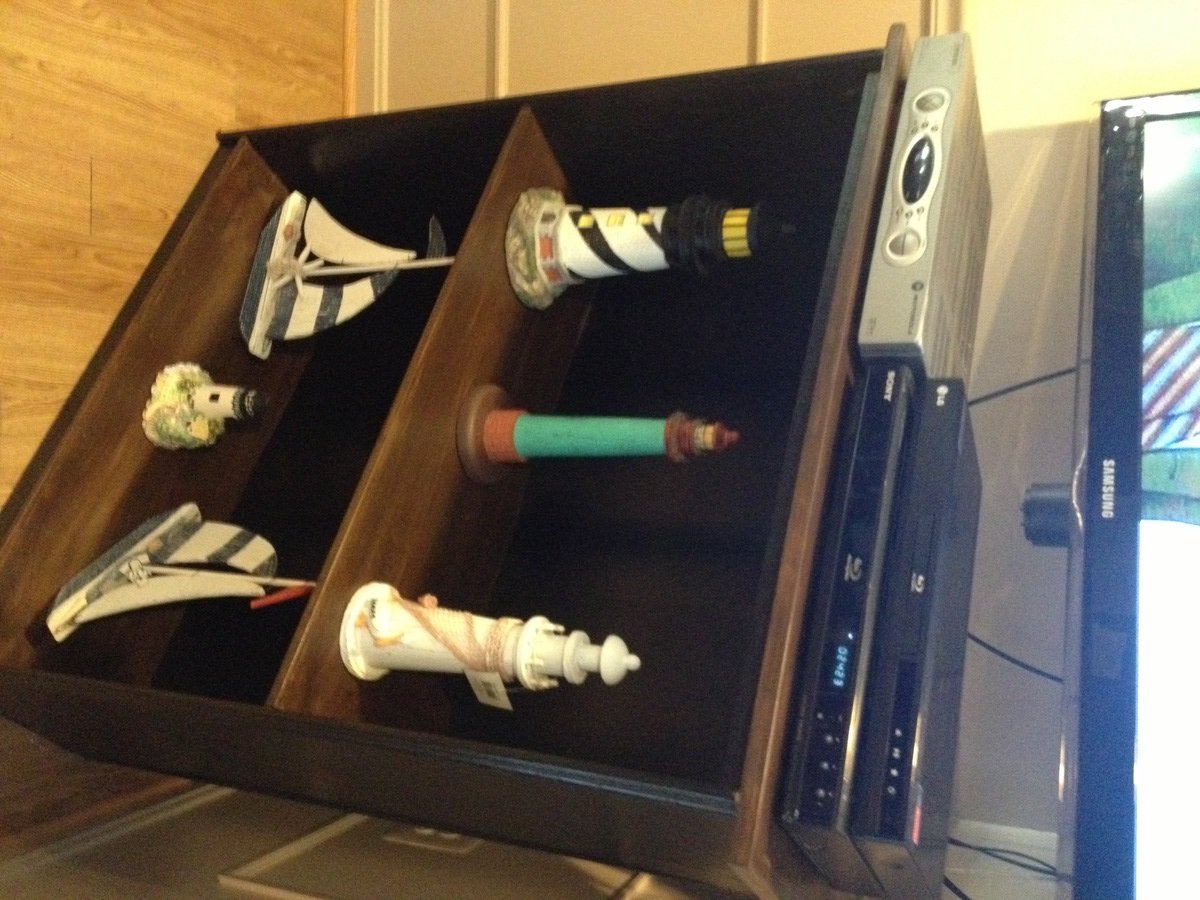
Using reclaimed 2x4s stored in our garage, old tempered privacy glass jalousies, and deep purple paint, I built a rear console to place behind our sofa in our home theater living room. :)
I consider this an Intermediate project, only because of the care needed to cut and install the glass. The items on the rear console top are fairly lightweight and the glass is short enough to hold firm on its supports.

Estimated Cost
$10 using reclaimed 2x4s, old jalousies, and supplies we already had
Estimated Time Investment
Weekend Project (10-20 Hours)
Finish Used
Royal Purple semi-gloss paint
Recommended Skill Level
Intermediate
Comments

Wed, 08/14/2013 - 14:41
Inspired!
This is beautiful! I'm inspired to try building something with glass! I have an old display cabinet that I was thinking of giving away, but after seeing this I decided to disassemble and save the parts and make something out of it. :)
Tue, 09/24/2013 - 09:24
Thank you, Joanne! =D I'm
Thank you, Joanne! =D I'm always impressed with how many projects you are motivated to work on in your home! =D
Tryde coffee table

This is my first ever wood work piece. I am really keen to build a dining table, but as a first project I decided to start with a coffee table. My partner asked for a small table to fit next to the sofa so i changed the measurements on the plan and halfed most of the width of the wood.
I am in Australia, so I had to convert to metric and find wood that would be good for a first project. I headed to our local hardware called Bunnings. Bough myself a circular saw for around $30 and the wood was around $80 total. Premium grade dressed pine.
I made it a bit taller to be near the height of the sofa, which works great for a side table.
I stained it with cedar stain and varnish three coats. I am really happy with the finish product.
On to my next project ...kitchen dining table. I have learnt a lot and will upgrade my saw to a mitre saw.
I didnt use counter sink drill bit for the screws as the wood was quite soft, but will for the next project. I think this will give a better finish with the wood putty.
Thanks Ana, very inspiring and hope to do many more projects.

Built from Plan(s)
Estimated Cost
$120AUD
Estimated Time Investment
Weekend Project (10-20 Hours)
Finish Used
Cedar stain and varnish 3 coasts, using a brush.
Recommended Skill Level
Starter Project
Smaller end tables

The end table plans looked really big. I decided to cut it down to 16.5 inch square tops. With the smaller table size I used 2x2's for the legs. I think they turned out well. I plan to sell them. I already have a buyer for the coffee table. Thanks for the ideas and plans.
Estimated Cost
$15 per table
Estimated Time Investment
Day Project (6-9 Hours)
Finish Used
Dark walnut and colonial maple mixed. Bright white latex paint.
Recommended Skill Level
Beginner
wider kentwood bookshelf
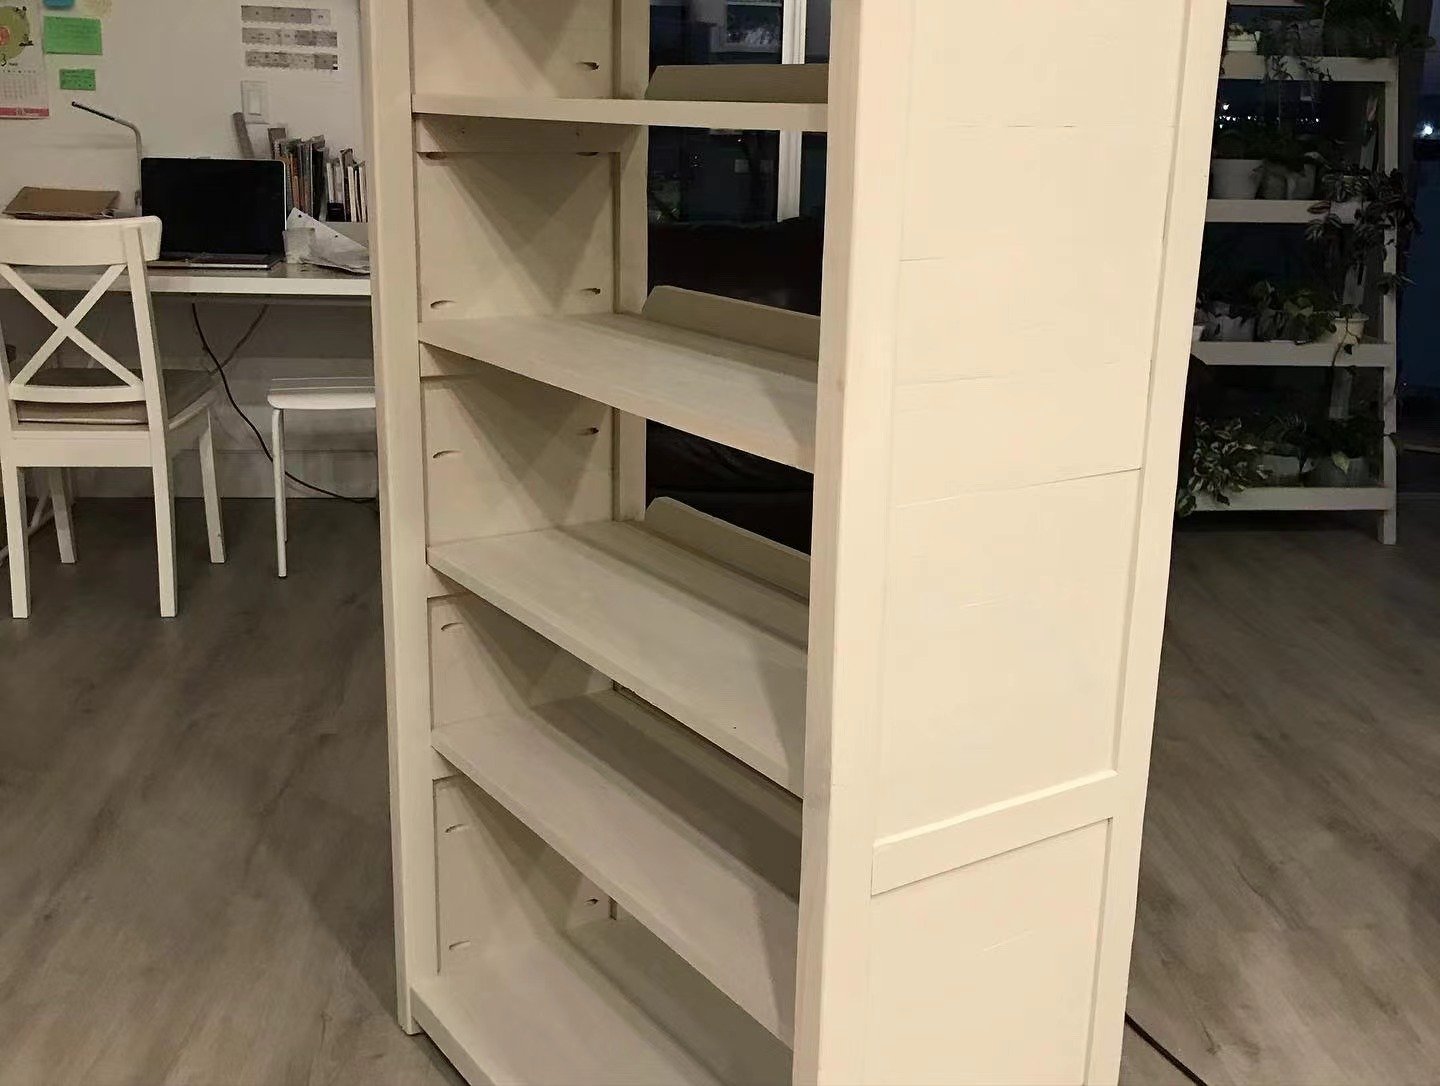
I made a wider bookshelf with reclaimed wood. Those wood slats 1*4 and 2*4 were from pallets .I used pocket hole to put them together. After painting, it looks much better.

Built from Plan(s)
Comments
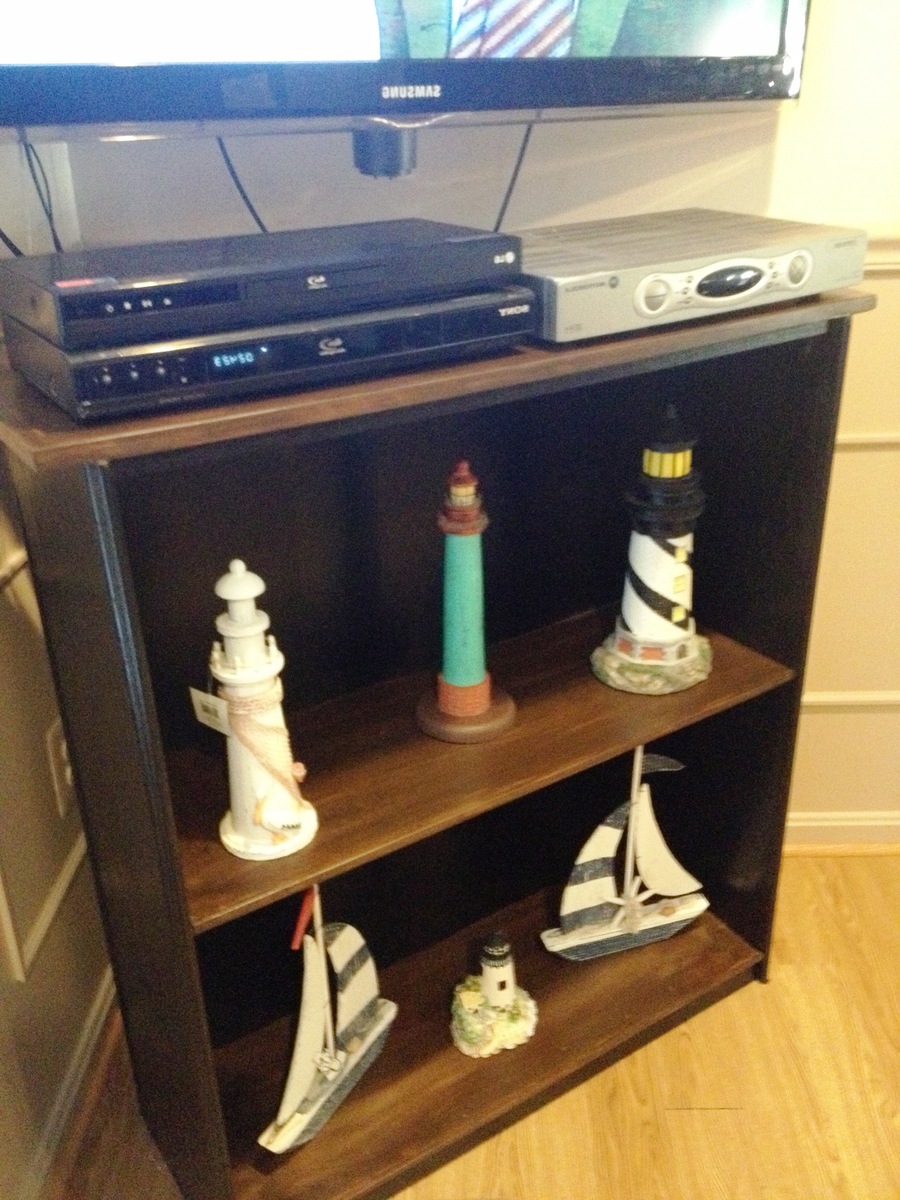
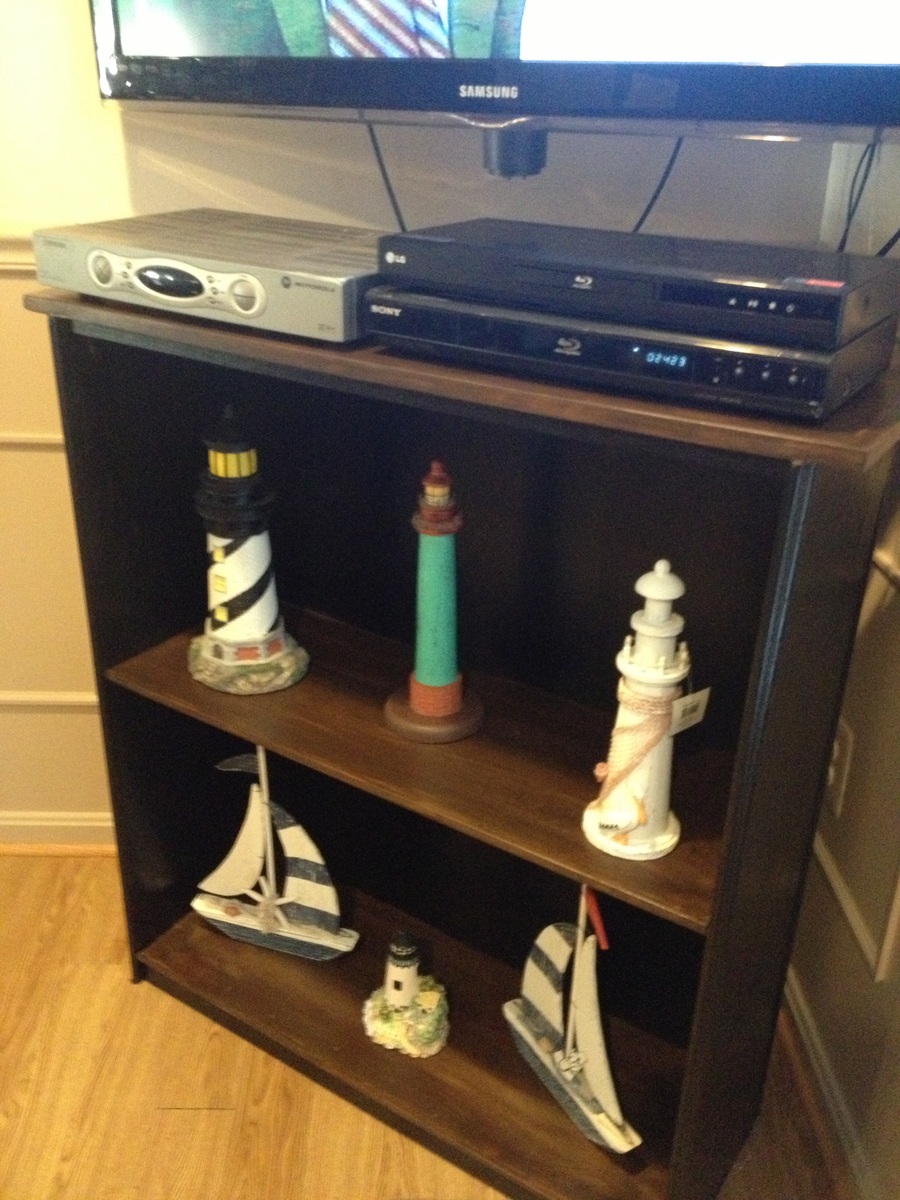
Simple Bookshelf from reclaimed wood
Built entirely from reclaimed wood (plywood, scraps, and left over trim). Using what was on hand, adjusted the plans to be 39 3/4" tall and 36" wide, and added a toe kick. This took a couple of afternoons to build and finish. Painted with black semi-gloss paint and stained with Walnut stain. The plywood is from other projects that were disassembled and ripped to 1x12 size boards. The trim is a mix of S4S, mini stop, and oak shelf edge. This was a fun build, and it fits perfectly under the TV.
Note- I'm not sure why the lead-in picture comes up sideways when you click to expand it -- does anyone have advice on what to do to the picture to make it expand without rotating? It worked fine when I attached it below under 'additional photos.'
Built from Plan(s)
Estimated Cost
0
Estimated Time Investment
Day Project (6-9 Hours)
Finish Used
Black semi gloss paint (Ace Royal), Minwax express color in Walnut (2 coats) and 1 coat Minwax Oil Modified water based poly over everything.
Recommended Skill Level
Beginner
Comments

Tue, 07/16/2013 - 14:38
Building machine :)
Joanne, you're a building machine! I'm inspired by how much you've built and how soon you complete your newest projects. Love that we both built birthday gifts that are black and stained reclaimed wood. =D We're in sync.
I'm still learning about building. Could you explain what S4S is and mini stop? Also, can we be friends on here? I'd love to continue tracking your work.
Tue, 07/16/2013 - 15:28
Thanks so much!
Yvonne, thanks so much for the nice comments! We love the black and walnut furniture, it's becoming our motif in the living room. I've added some links to the trims I used on this project.
This is the mini stop moulding I like to use for edging shelves, decorating cabinet doors, and on my island and pantry, used it instead of quarter-round at the floor on the base moulding.
http://www.lowes.com/pd_7129-1487-951+8PINE_4294715696__?productId=3042…
This is the 1/2" x 3/4" S4S (surfaced 4 sides) moulding I used on this one. It's also available in 3/4" x 3/4". This makes great edging for plywood, but it's so versatile I've used it for drawer slides and lots of other projects too.
http://www.lowes.com/pd_3487-1487-254+8+PINE_0__?productId=3667700&Ntt=…
Here's the shelf edge. Mine was oak but it's the same shape as this:
http://www.homedepot.com/webapp/catalog/servlet/Search?storeId=10051&la…
PS - you're in my friends list! :) Joanne
Wed, 07/17/2013 - 09:28
Hurray for Friendship and Learning :)
Thank you for sharing the links and information and for the friendship. :)
I'd like to play with adding some trim to furniture I will build for my daughter's room, since we are using a more traditional/classic style in there. Everything I built for our living room is un-trimmed.
I also am still learning about wood types. Since I shop for lumber in my garage and at a re-use warehouse, I usually have no idea what woods I am working with. I paint the wood based on the look I'm trying to achieve, and I stain it for the same reason too. Then someone gently critiqued my use of lumber, remarking that I should not paint reclaimed wood, that I should paint fir and pine, leave reclaimed wood natural, and only stain wood with grain patterns, or I am not using the wood optimally.
Of course, real life confuses me because the mini stop and S4S you shared are "stain grade pine," and look darker than the pine I've seen. I'll definitely keep a look out for them when building for my daughter's room and maybe even our bedroom (which only has a bed and some closet space, but we're building for it last.)
Also, I dropped by a big box store to pick up plexiglass for a new project and I came across signs for wood called "Common Board." Needless to say, I am confused. lol.
=D Are you working on a new project, too? I am definitely look forward to your next step.
Wed, 07/17/2013 - 16:46
Reclaiming Wood boards and trims
Hi Yvonne,
I do the same thing! I'll use whatever's on hand in my garage before going out to buy a board, and paint or stain them to make the project look the way I'd like it to. This summer I'm on a mission to use up my scraps and disassembled projects that have been cut into standard sizes. My current project is another bathroom vanity retrofit to make it look like a Napoleon vanity. This one will be blue with a walnut glaze. I'm working on some little drawers to go in front of the sink. I'll post a brag when it's all done. PS - out here in Maryland our Lowes calls those boards "whitewood" boards. They are a lot cheaper than the hardwood boards and select pine, but you do have to look through them harder to make sure to get straight ones. For those I think the wood species the stores offer depends on the region you are in. Our Lowes' trim selection is limited in the narrow sizes, so they only carry stain grade for those.
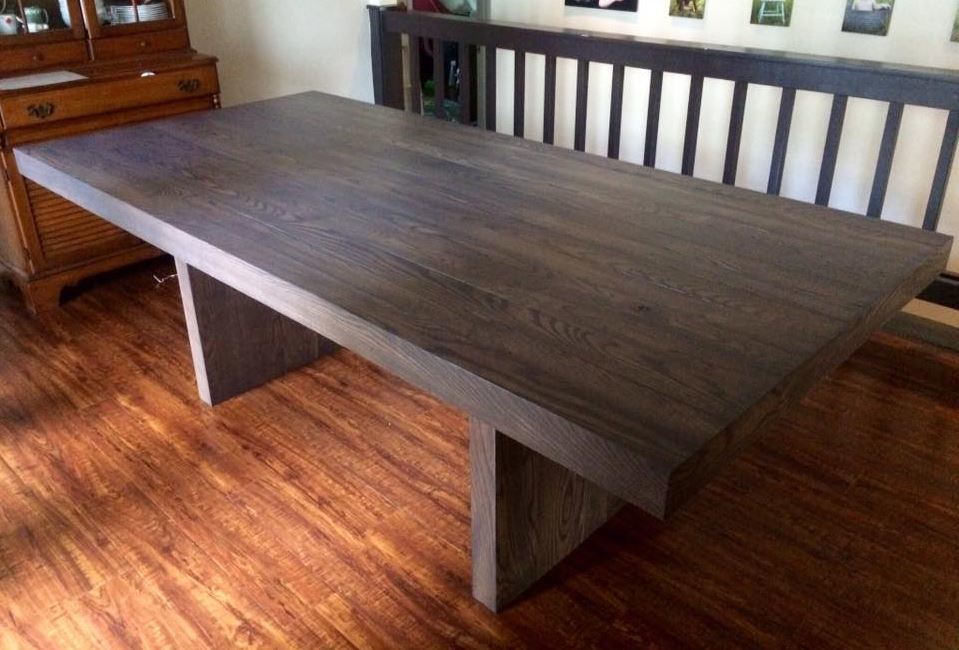
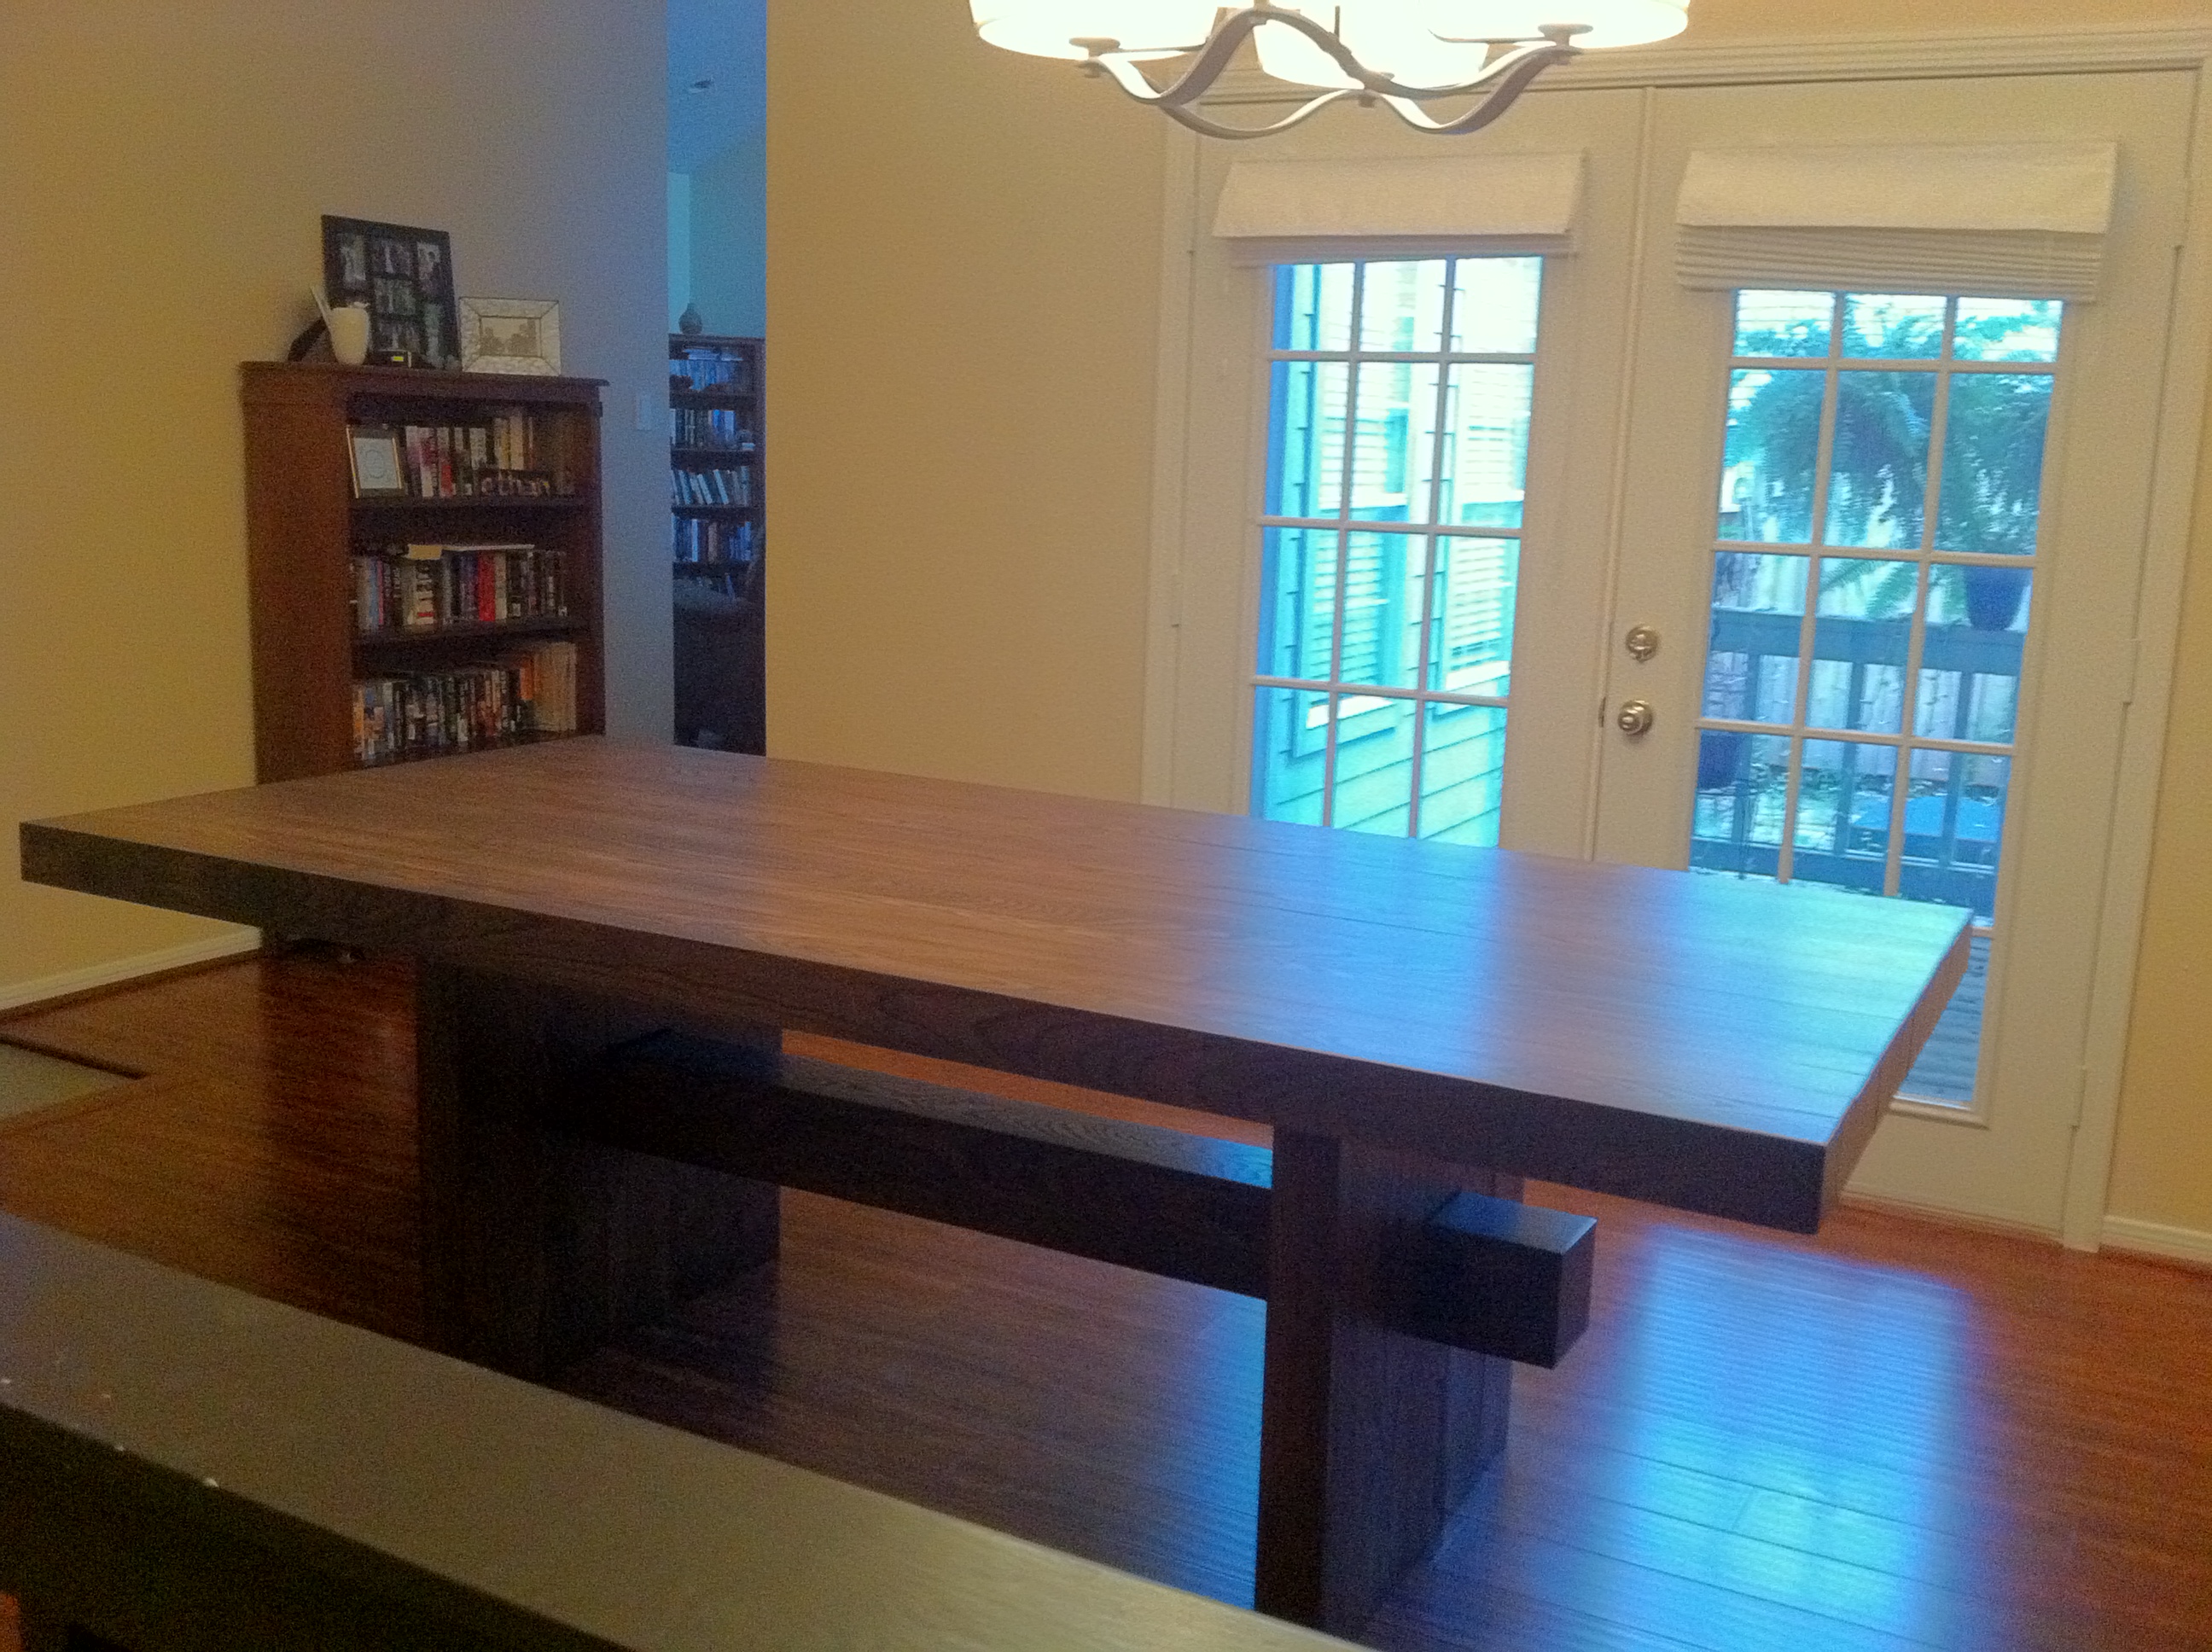
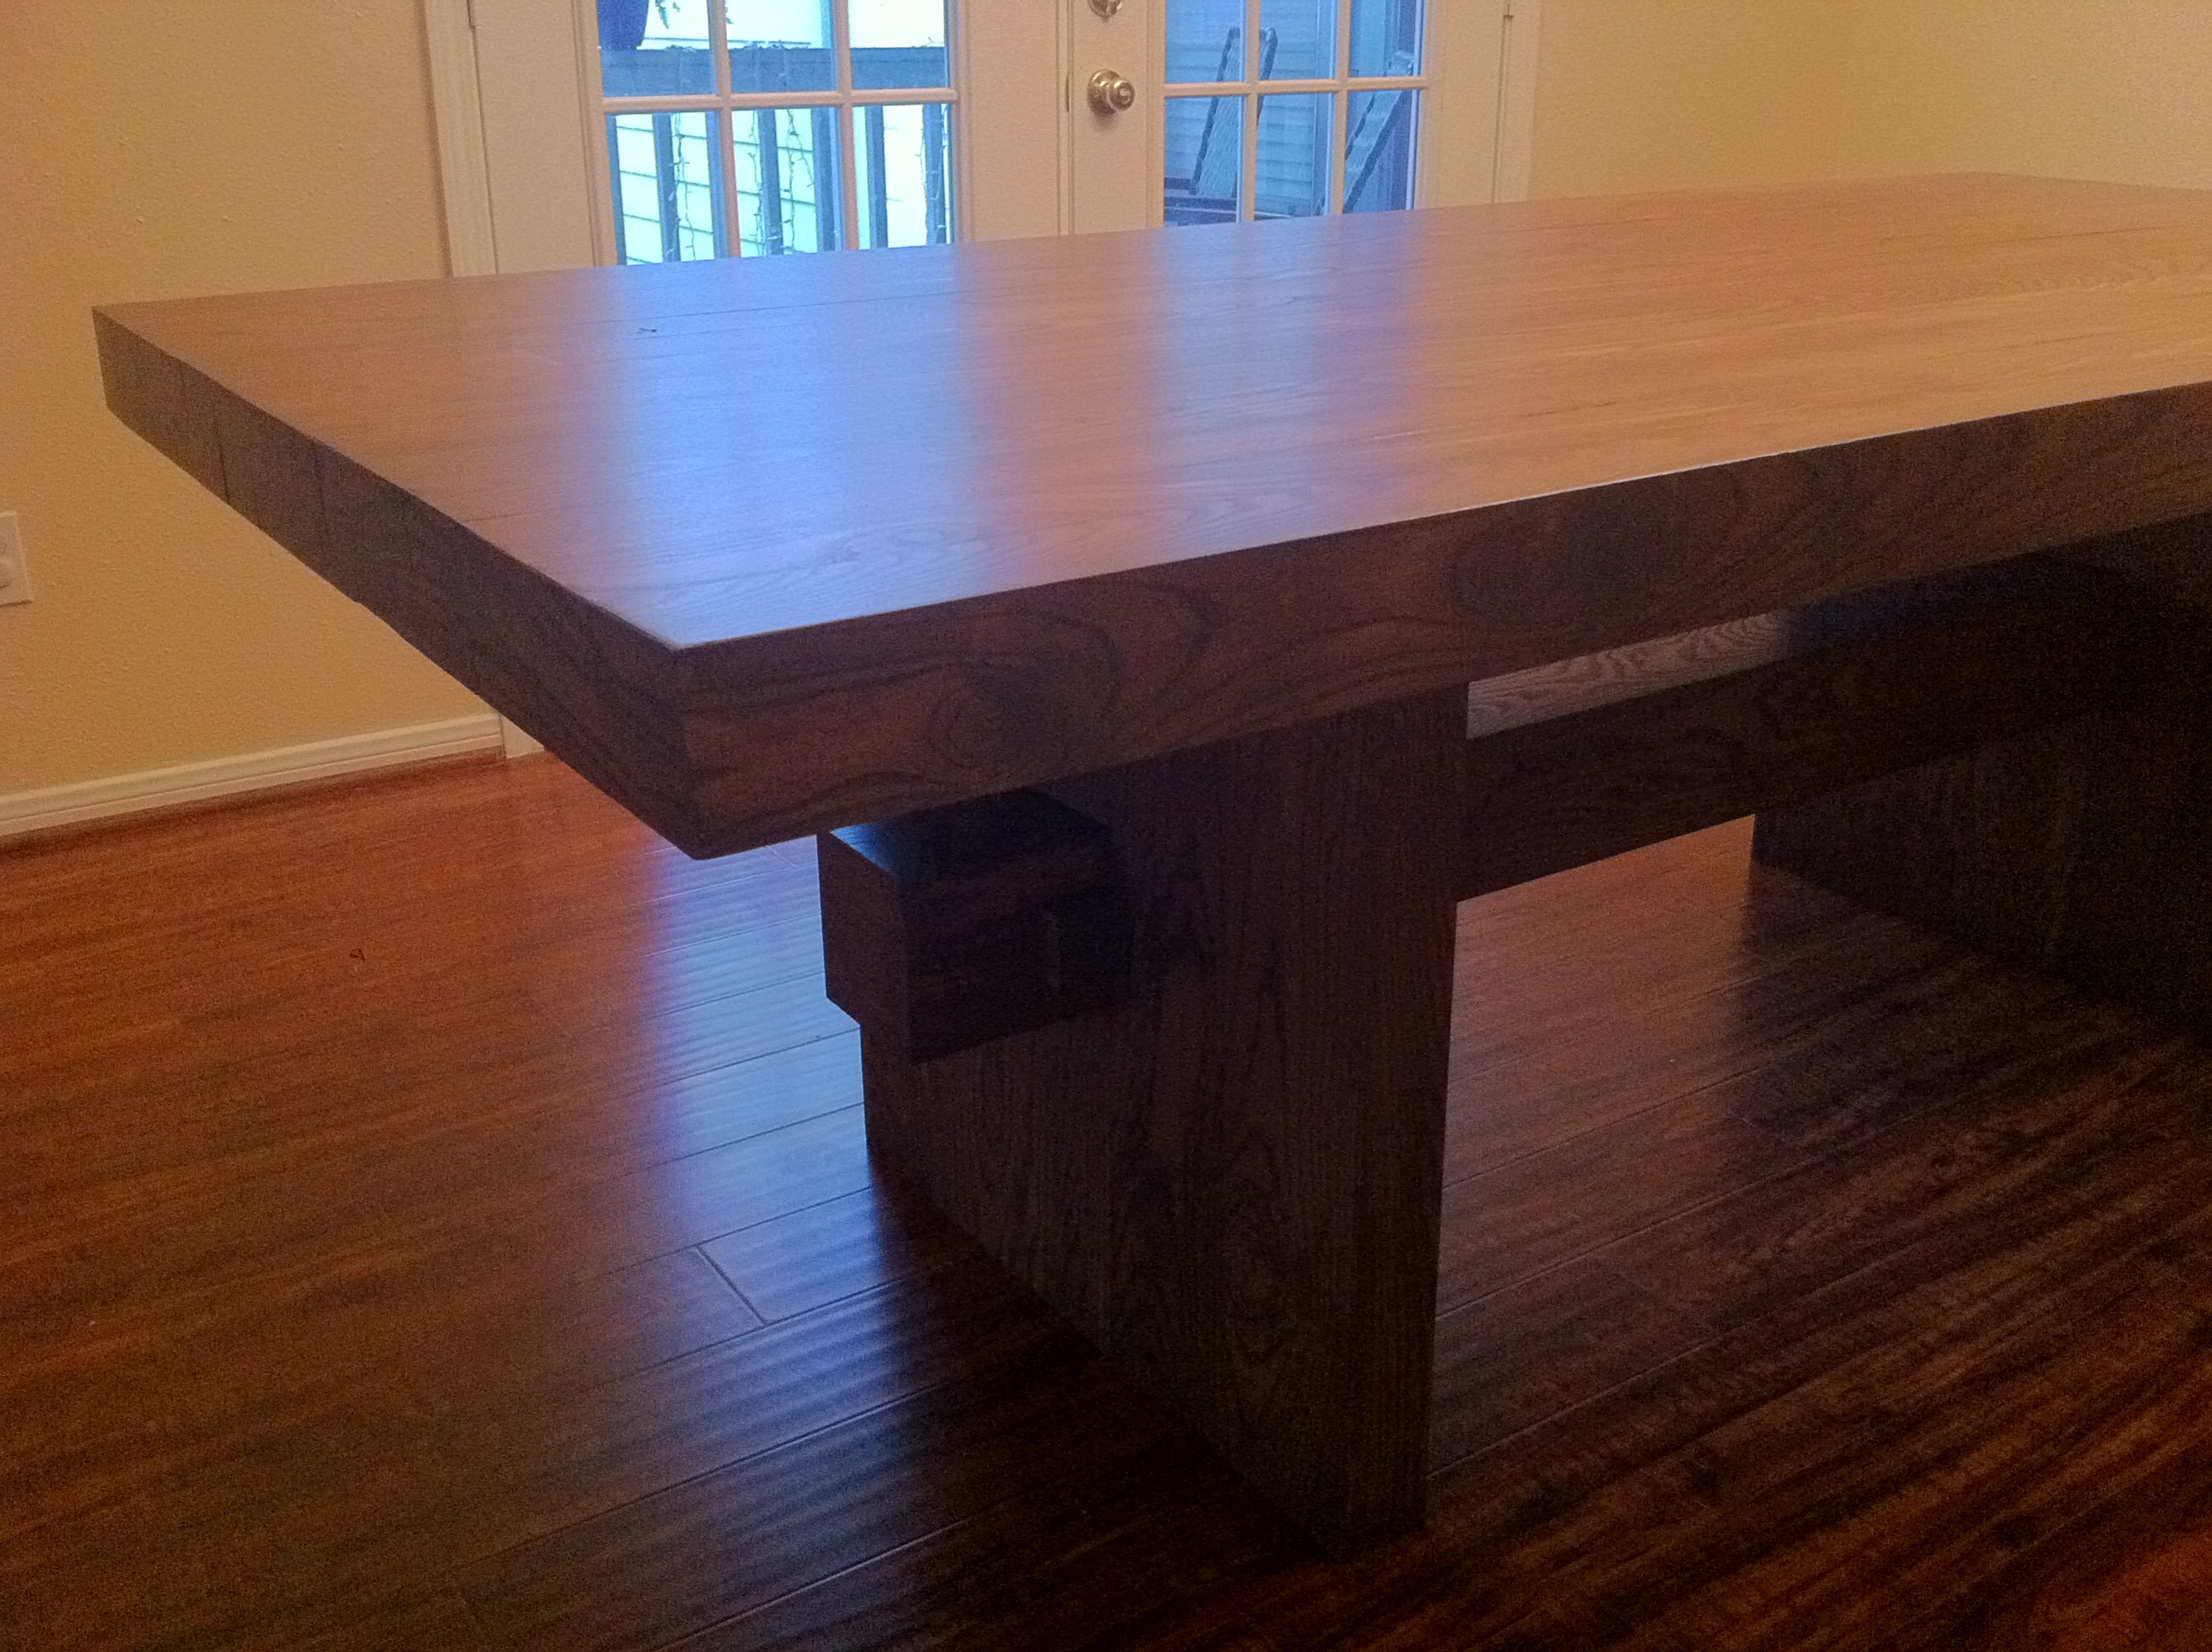
Modern Dining Room Table
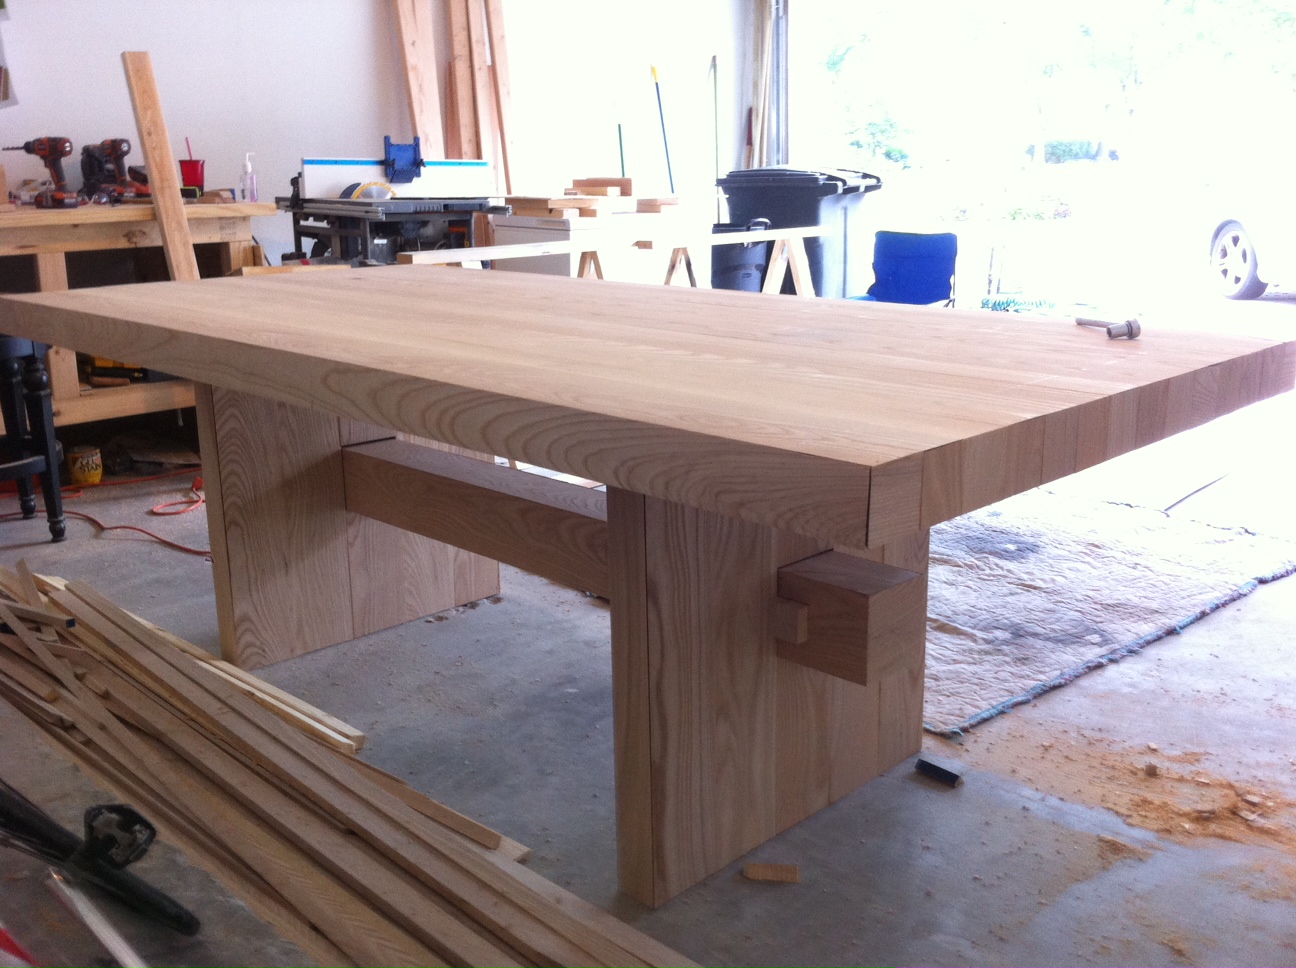
Plans developed myself after sneaking photos from the underside of the table at West Elm.
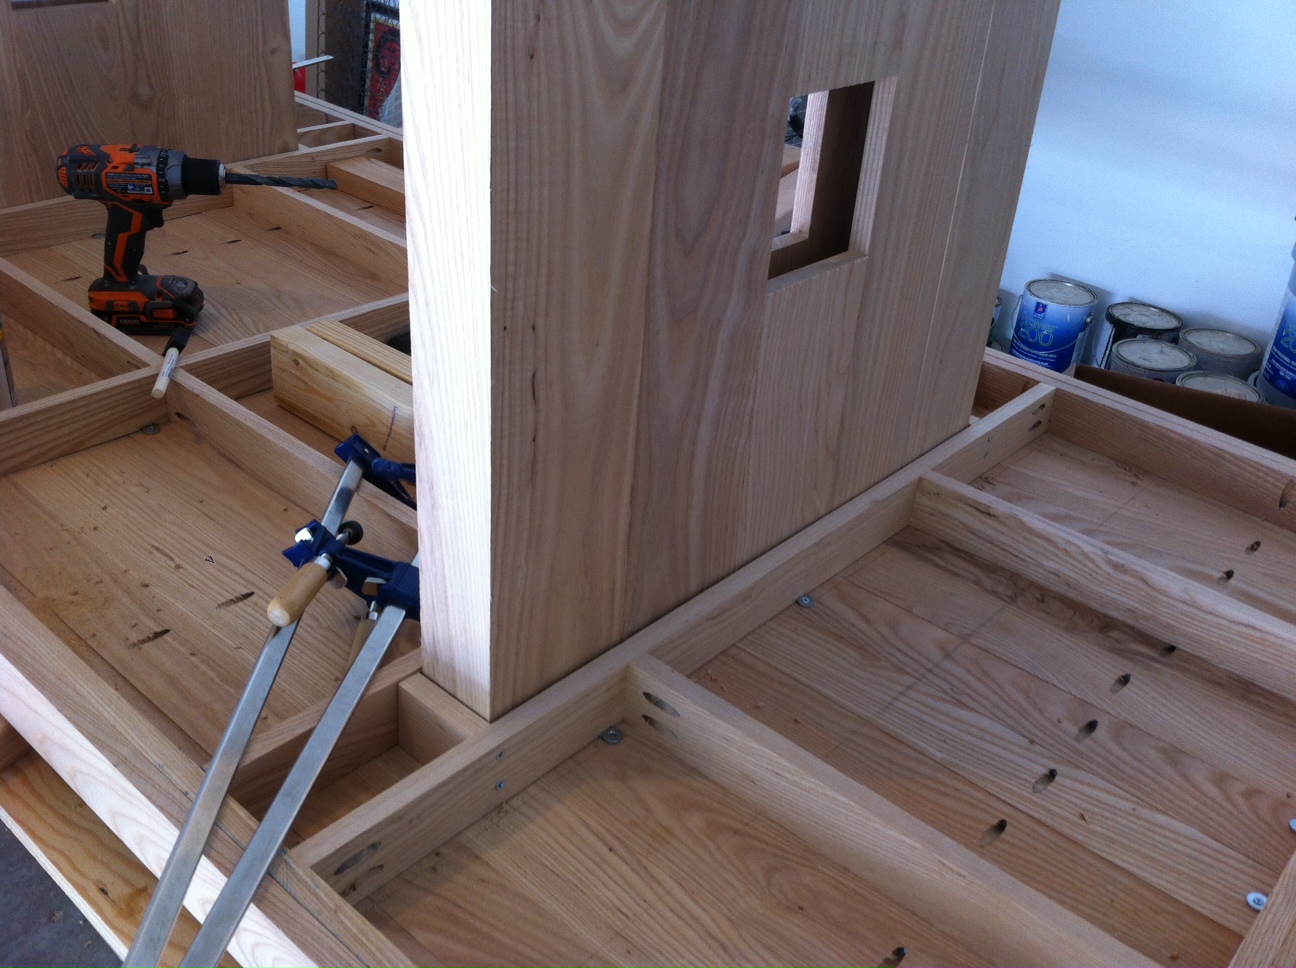
Pine 2x4s make up backbone of the 2 legs and the horizontal piece underneath.
Used the figure 8 fasteners for members going across the table top to allow for any slight seasonal movement of the table top.
Not shown, but each leg is secured to the table top with (4) 2.5" bolts and a countersunk t-nut
Because I'm a beginner, this has taken up 75% of my weekends since mid-March. Would not recommend this as a 1st major project. 3 way bevels are a pain in the arse. Thank God for the Timbermate filler.. that stuff worked great to give me crisp corners.

Estimated Cost
$450 in Ash.
Couple hundred more in finishing materials, screws, pine 2x4s, miscellaneous odds and ends
Couple hundred more in finishing materials, screws, pine 2x4s, miscellaneous odds and ends
Estimated Time Investment
Week Long Project (20 Hours or More)
Finish Used
50-50 Rustoleum Kona and Weathered Gray.
Polycrylic Clear Satin - 3 coats (5 on table top) with brown paper bag sanding between coats.
Polycrylic Clear Satin - 3 coats (5 on table top) with brown paper bag sanding between coats.
Recommended Skill Level
Intermediate
Comments
Wed, 01/13/2016 - 13:54
I don't have plans, sorry.
I don't have plans, sorry.
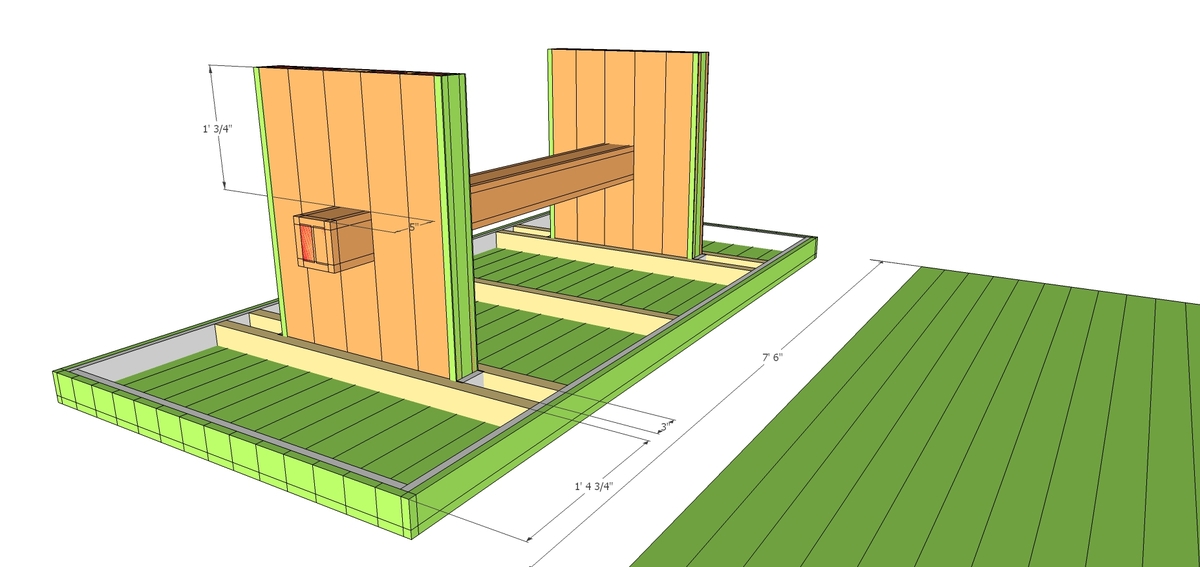
I'm a heavy sketchup user... had a detailed sketchup model that I put some key dimensions on (what you see above), and an exploded table view that color coded my pieces by wdith and gave the lengths of each board.. Lot of it was measuring as I went along.
Thu, 03/03/2016 - 16:41
Please!!!! give more info
This is the table i want to build. It is the only my wife and i both agree on. Is there any way you could go through the steps? the sizes of wood you used and how you kept them together. Please responf back here or Message me!!! The way you did the legs is what really has me.
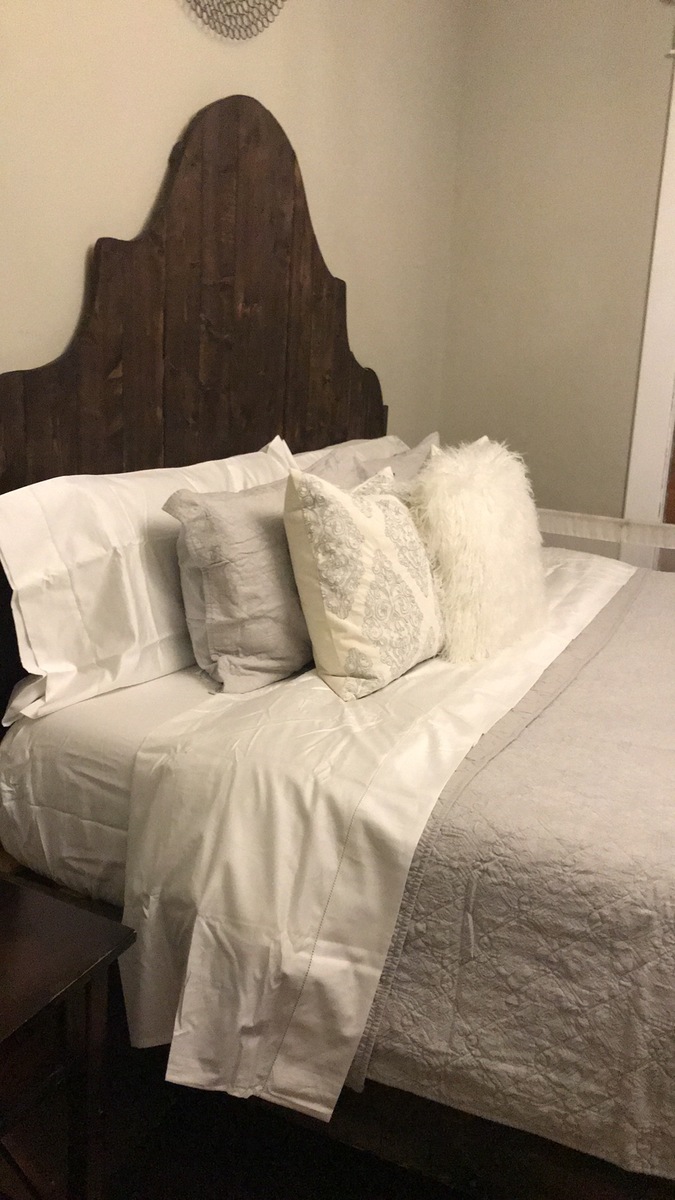
Fancy arch bed
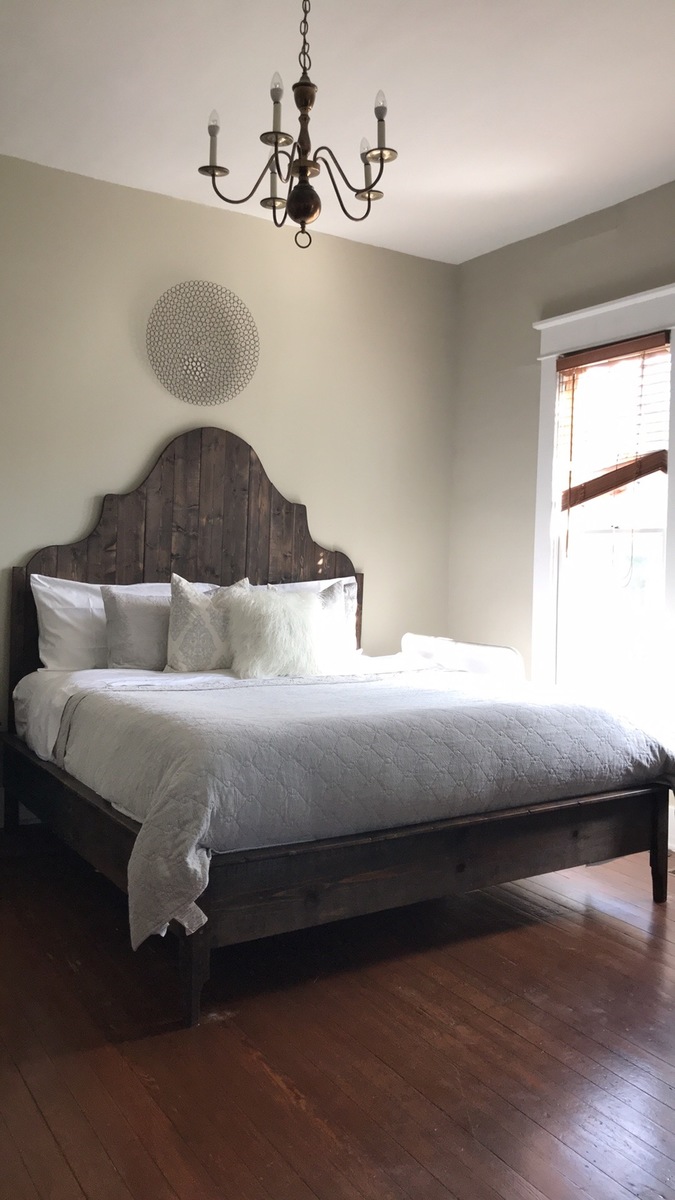
Beautiful bed. Arches were a little difficult to achieve symmetry.
Built from Plan(s)
Estimated Cost
$120
Estimated Time Investment
Weekend Project (10-20 Hours)
Finish Used
Jacobean stain
Recommended Skill Level
Intermediate
Miter Saw Cart
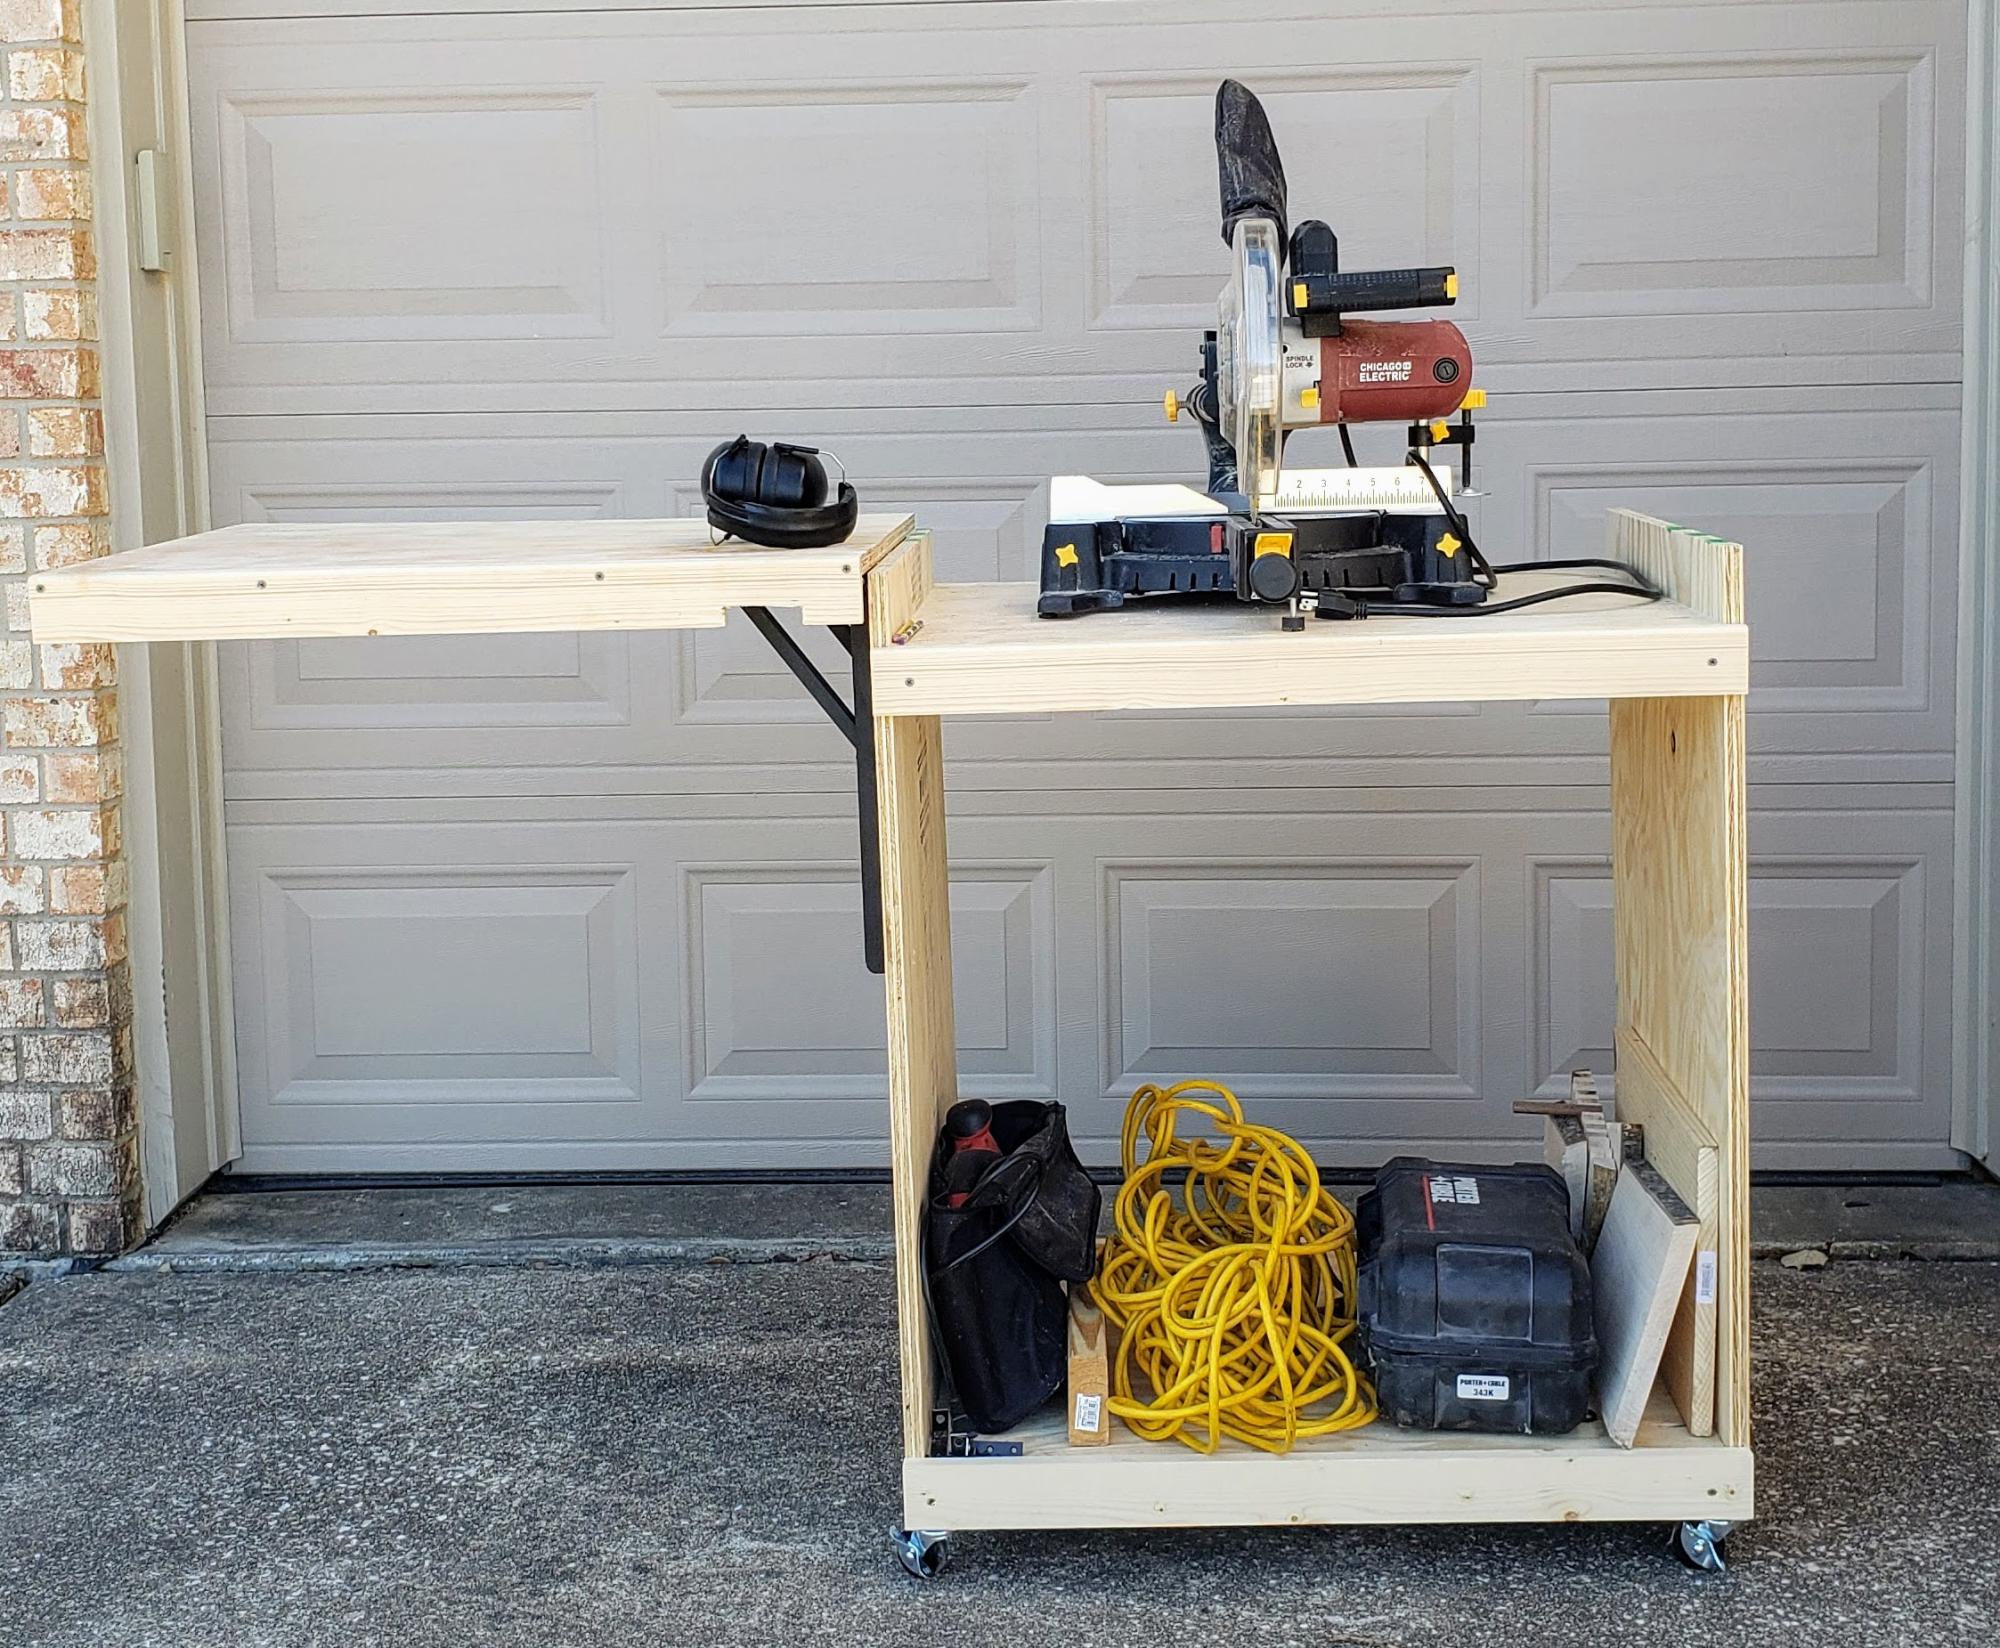
Followed the plans and it came out great. I am still thinking about the extension on the right side since the hinges are so expensive.
Built from Plan(s)
Comments
All by myself!
These tables are the first thing I've ever built all by myself, and I couldn't be more excited. I think I'm addicted...
Built from Plan(s)
Estimated Cost
$15 + paint
Estimated Time Investment
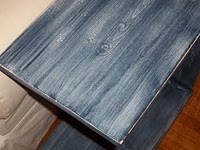
Afternoon Project (3-6 Hours)
Finish Used
The paint is Cavalry by Pittsburgh in high gloss. The weathering technique is basic: I primed the pieces, then used a 3" foam brush to put a light, inconsistent coat of blue on all surfaces. The trick is to make complete strokes, from one edge to the other; it's also helpful to start your stroke away from the edge and move back and forth in complete strokes to avoid dark edges.
Once the paint had dried, I sanded the edges to complete the weathered look. I put 2 coats of spray polyurethane on the top surface only, because I'm sure we will use them a lot!
Once the paint had dried, I sanded the edges to complete the weathered look. I put 2 coats of spray polyurethane on the top surface only, because I'm sure we will use them a lot!
Recommended Skill Level
Starter Project
Herb Garden
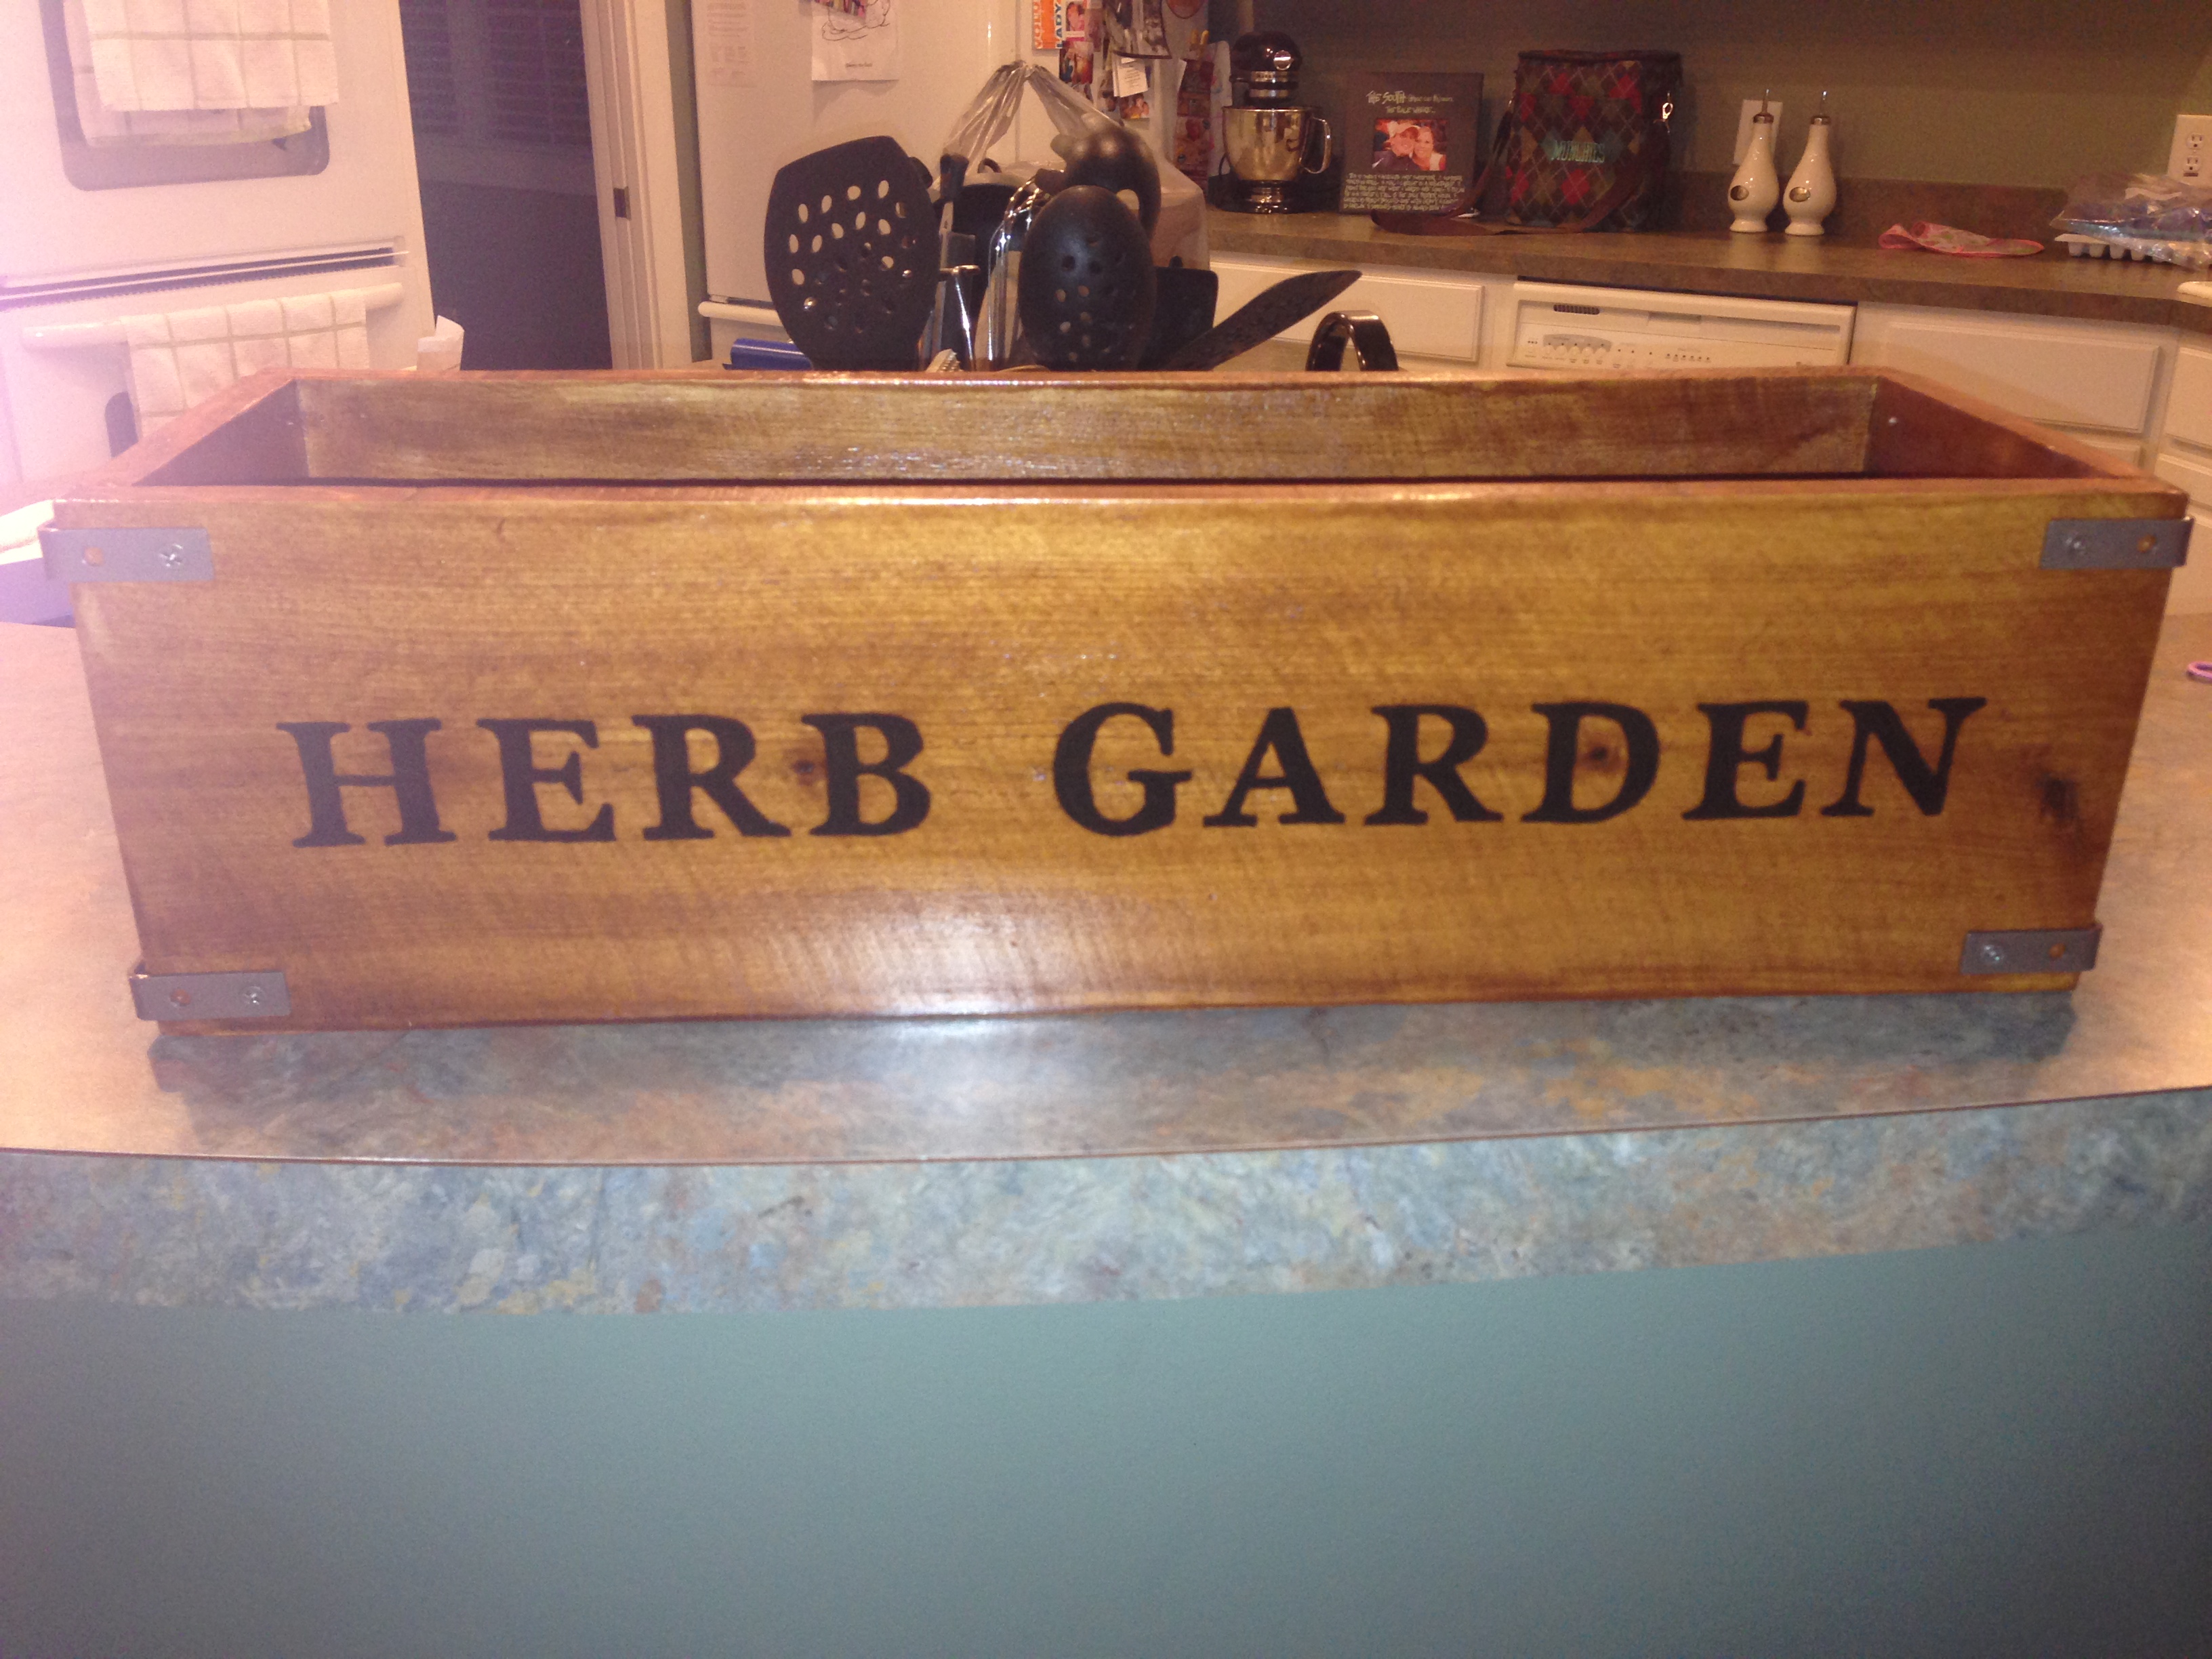
Herb Garden Planter Project - Such a simple project that costs less than $5.00
I added L brackets to the corners for a different look. I spray painted the brackets with a copper finish. I did not need to use wood filler because I covered the nails with the L Brackets.
Built from Plan(s)
Estimated Cost
$5.00
Estimated Time Investment
An Hour or Two (0-2 Hours)
Finish Used
Minwax Wood Finish and Minwax Quart Helmsman Semi-Gloss Spar Varnish
Recommended Skill Level
Beginner
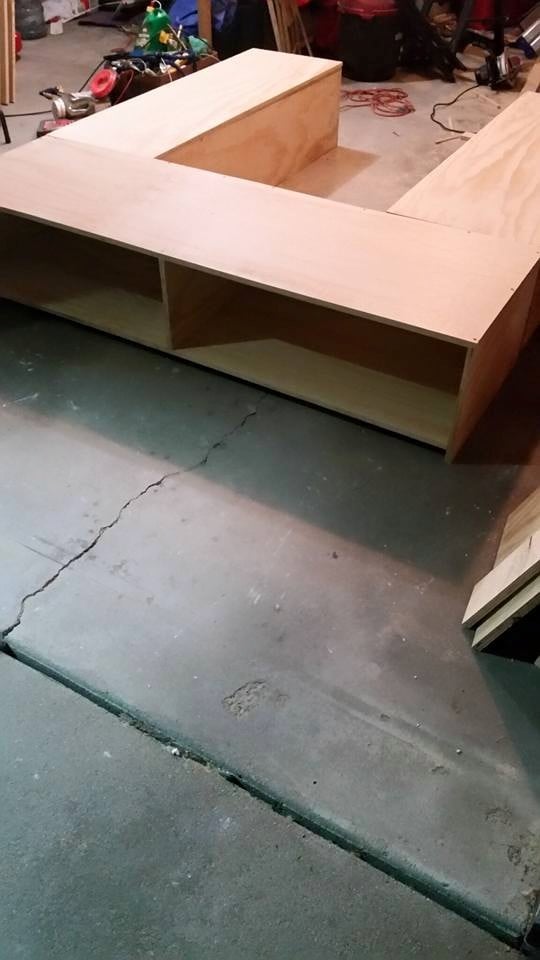
King Storage bed
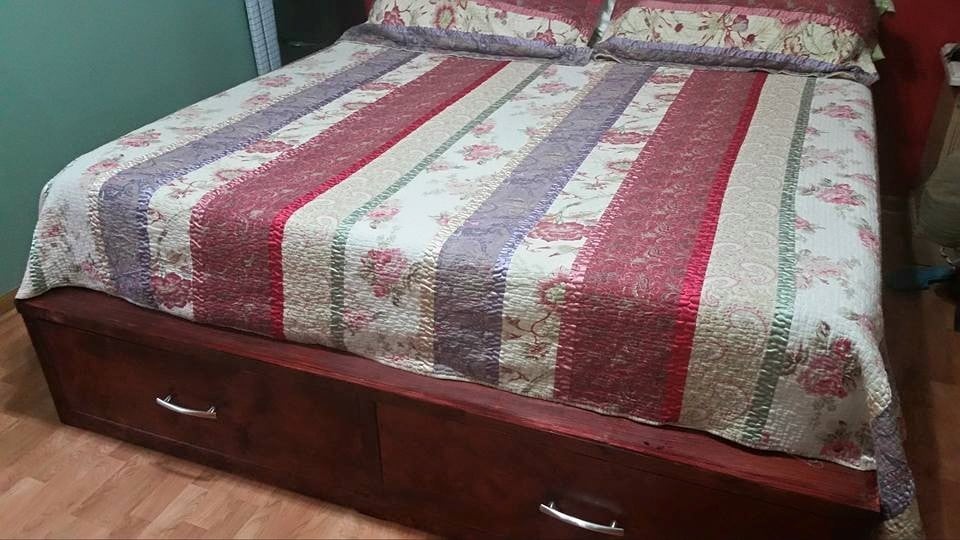
From start to completion, it was exactly two weeks. One of those weeks, I was sick and didn't get a chance to do much. I believe we picked the hottest days to work on this project, so we were taking more breaks than actually working.
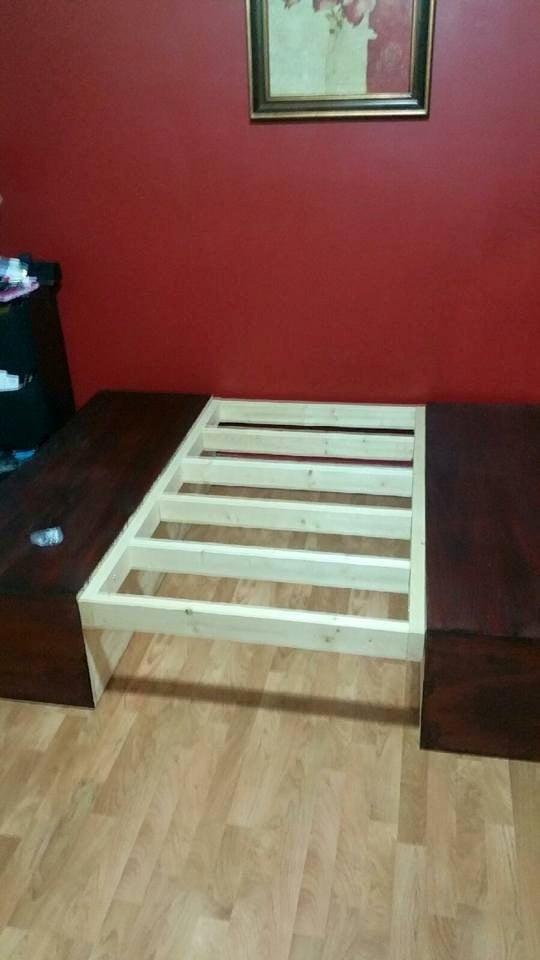
Built from Plan(s)
Estimated Time Investment
Week Long Project (20 Hours or More)
Finish Used
Bombay Mahogany stain
Recommended Skill Level
Beginner
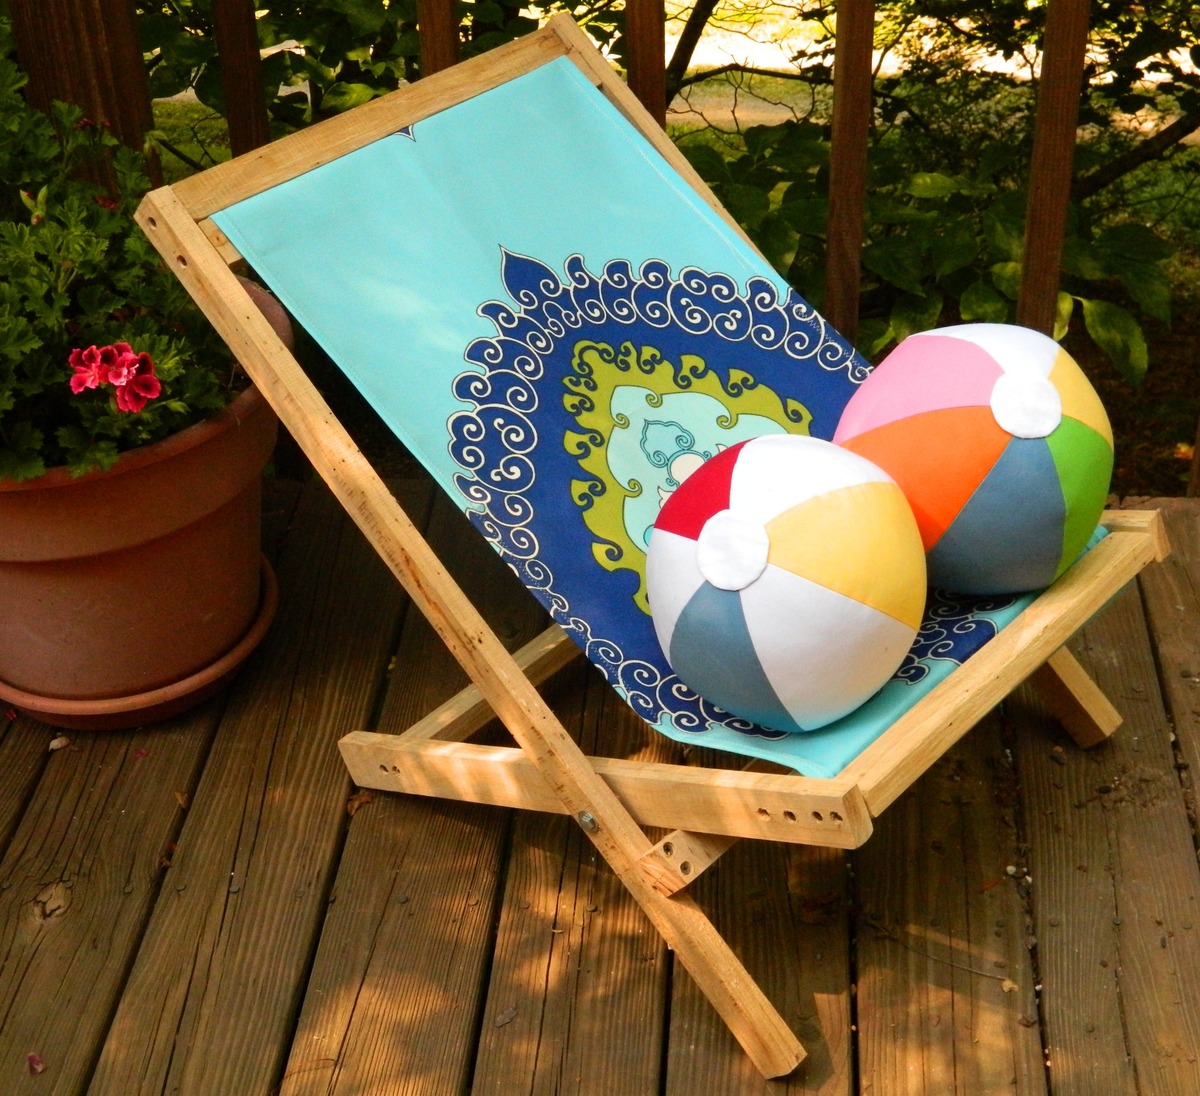
Kid's Beach chair
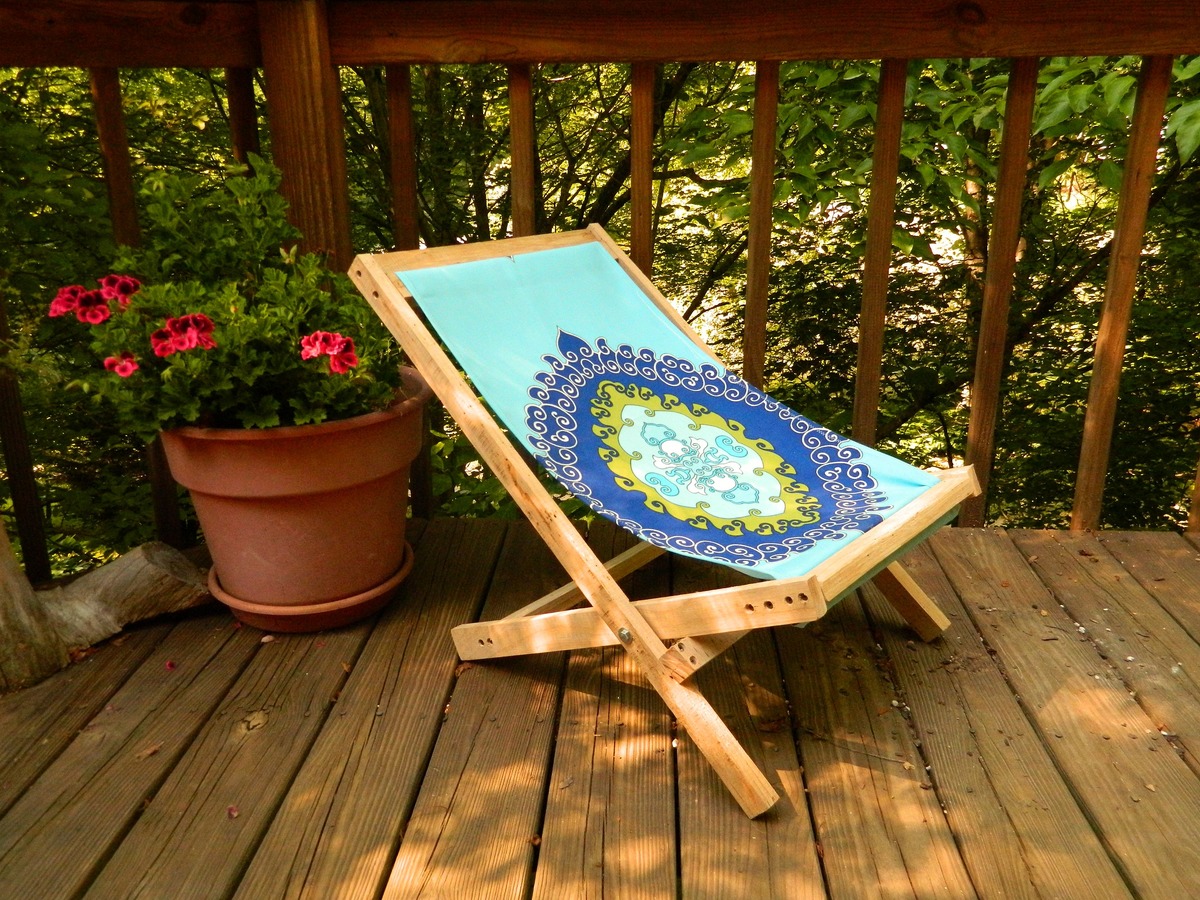
As soon as I saw the beach chair I knew I had to make one for my daughter. My wife is an expert seamstress, so I enlisted her help on the fabric portion. She already had the fabric, and I had left over wood. We love the beach and this will be perfect for the summer. See how to make the beach ball pillows in the bottom picture at my blog http://www.makeitlovely.com
Estimated Cost
Free
Estimated Time Investment
An Hour or Two (0-2 Hours)
Finish Used
None
Recommended Skill Level
Starter Project