Community Brag Posts
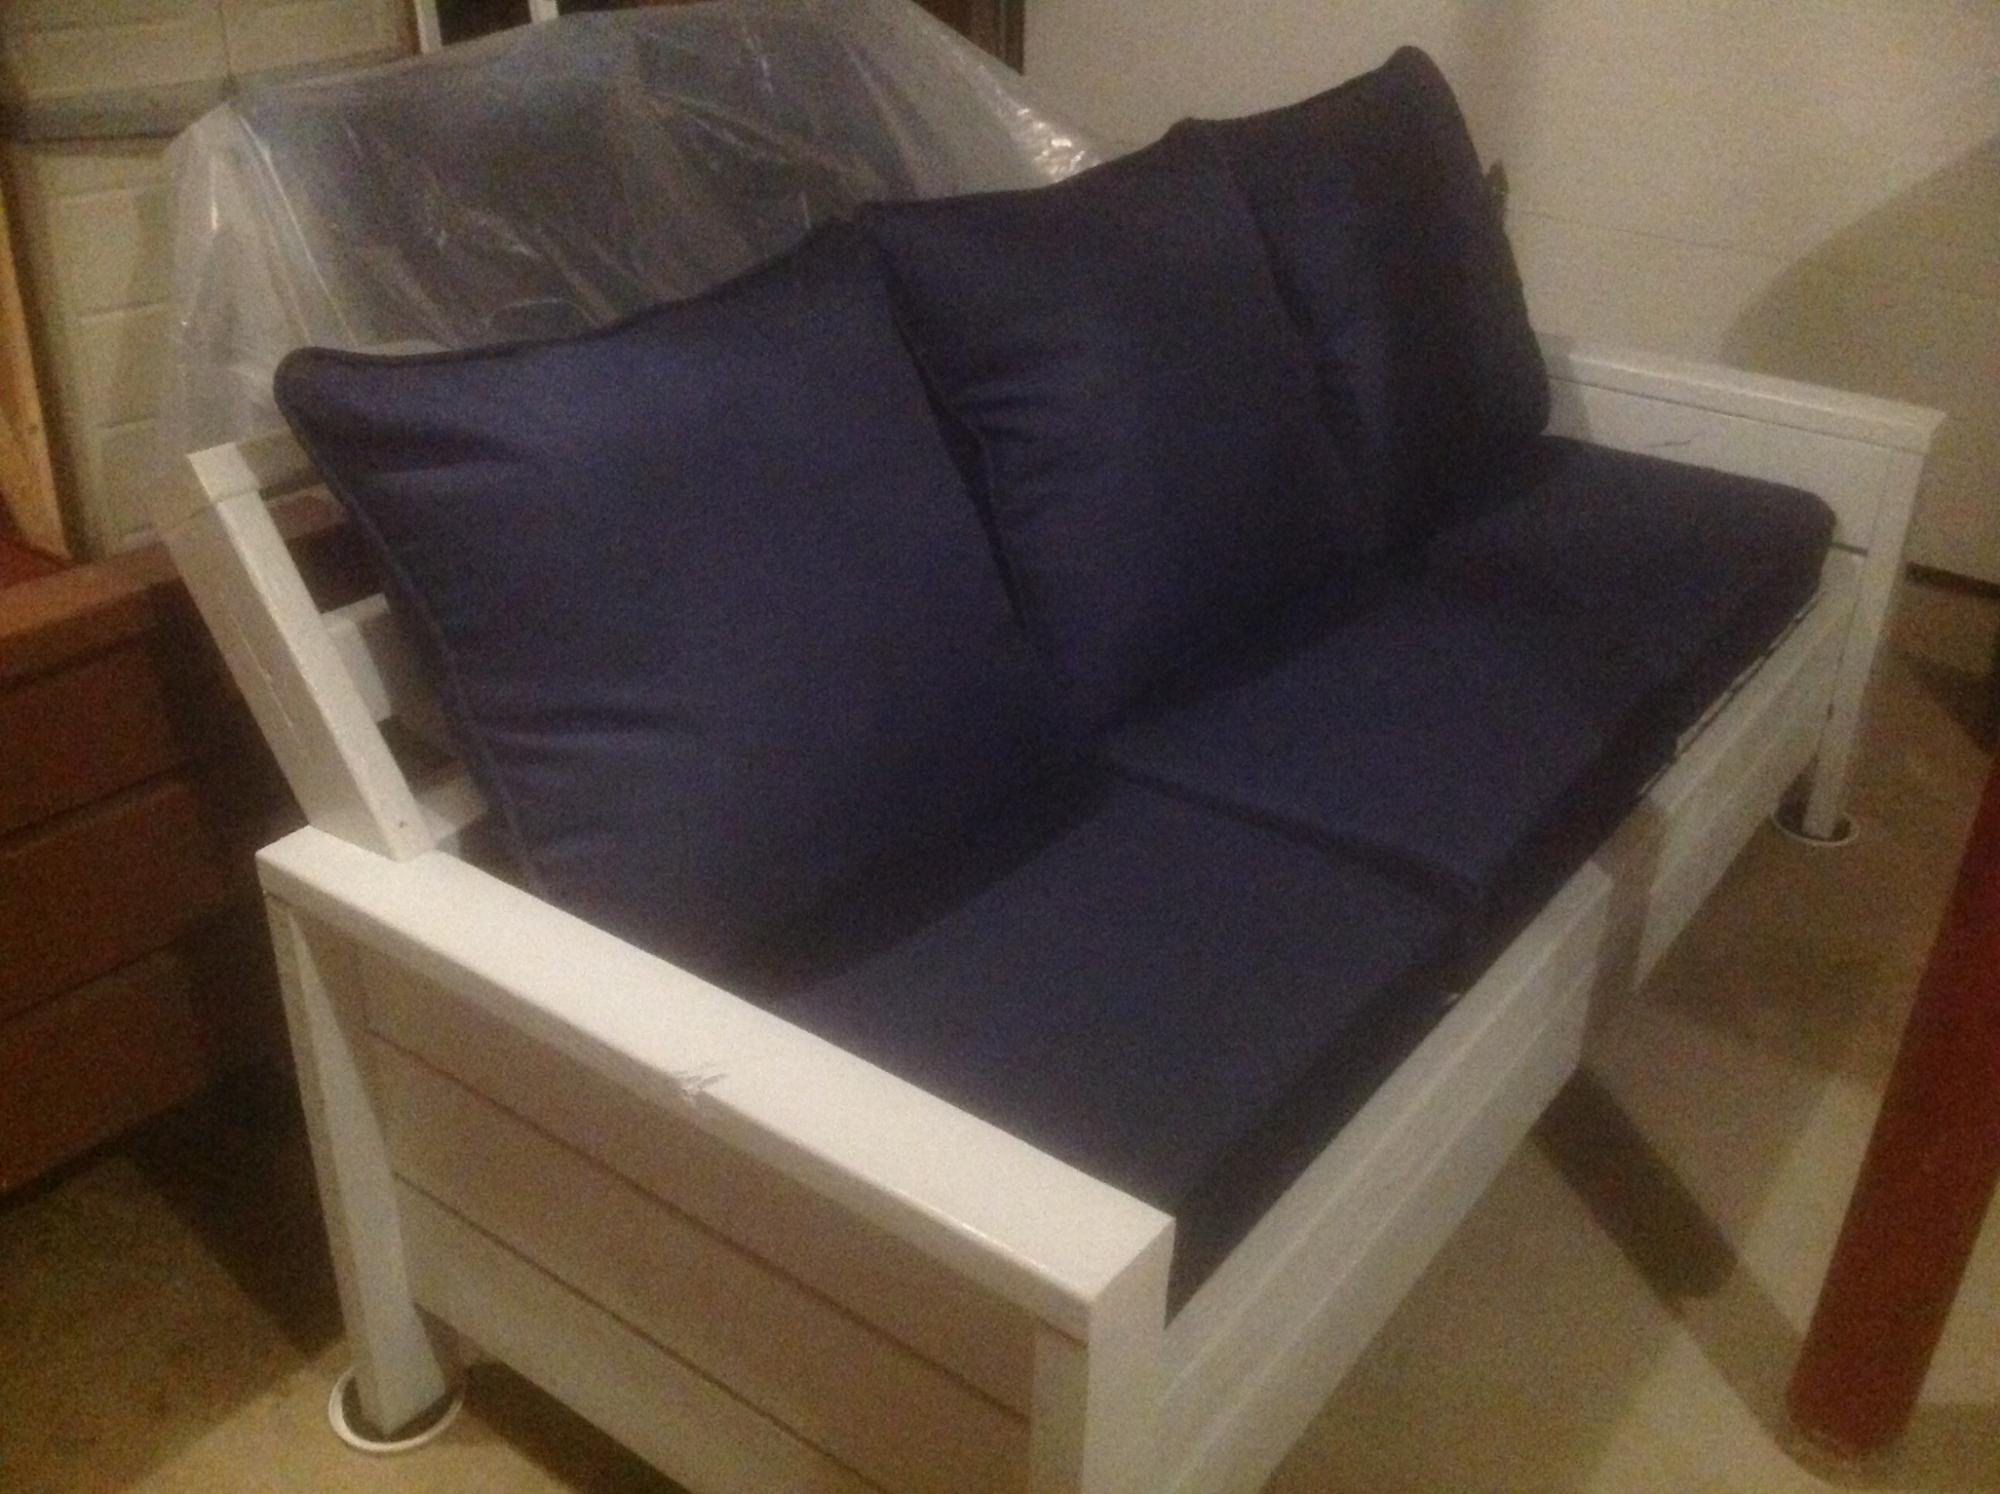
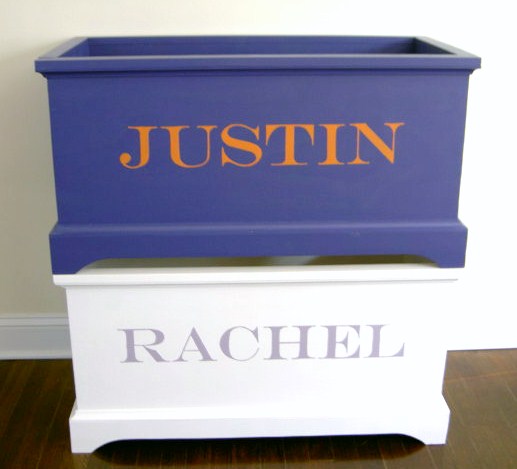
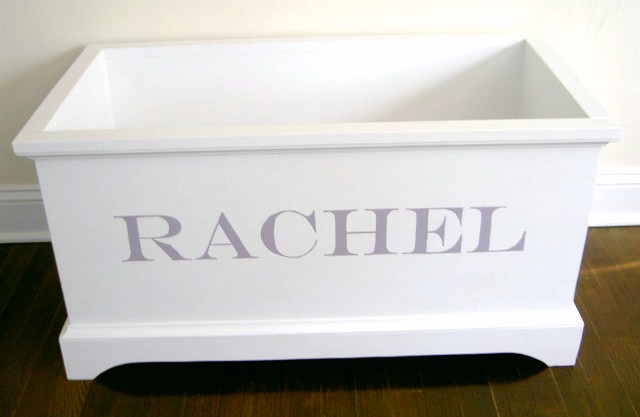
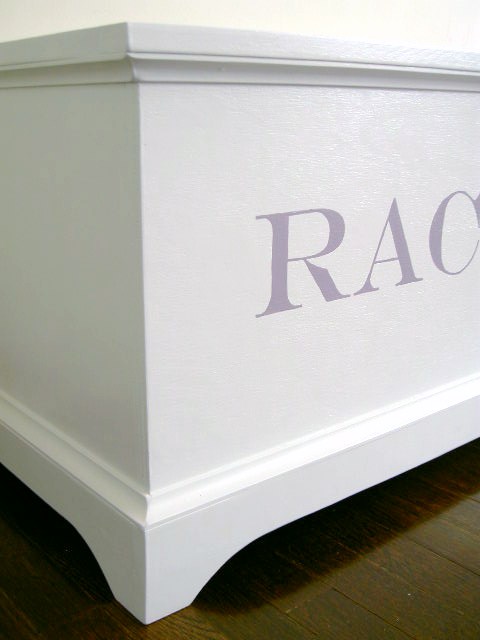
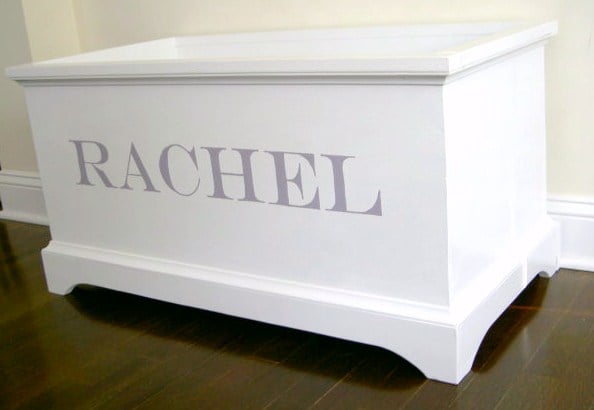
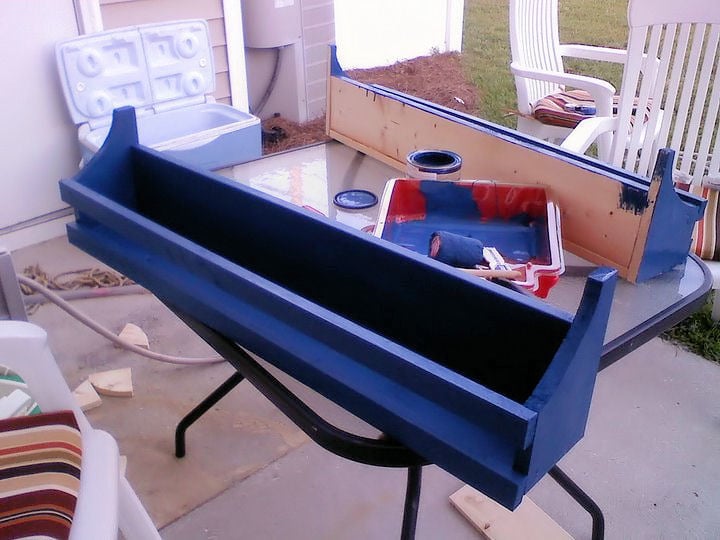
toy box #2 & #3
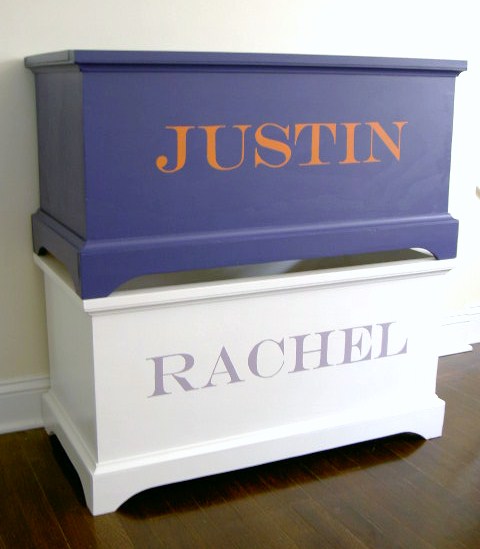
open toy boxes with personalization

Built from Plan(s)
Estimated Cost
$35.00 each
Estimated Time Investment
Day Project (6-9 Hours)
Finish Used
1. one coat primer
2. two coats semi-gloss white
1. three coats Behr paint + primer Signature blue
2. two coats semi-gloss white
1. three coats Behr paint + primer Signature blue
Recommended Skill Level
Intermediate
Comments

In reply to *sigh* by brookifer86
Mon, 06/06/2011 - 14:10
Thanks Brooke
I actually recognize your wedding guestbook bench from all the linky parties but I had no idea you were also a builder over here at Ana's place. Nice to have fellow buildy gals.
Tue, 08/30/2011 - 18:30
Cost
I agree with the others, your builds are always so beautiful. Question on cost: I noticed Lily's toy box cost you $50 and these cost you $35. Was it because these weren't cabinet grade. My co-worker wants me to make one for her daughter for Christmas and I'd like to keep the cost down while still having a nice product, of course!
Wed, 08/31/2011 - 03:36
Cost was lower
because I was able to use some scraps for the sides and short molding pieces. They are still cabinet grade, I wouldn't recommend using regular 3/4" plywood - it's too rough even with sanding it would be very rustic. One sheet of cabinet grade 3/4" plywood costs $29 at my HD, you can definitely get all your pieces from one sheet. Plus to keep costs down make the base molding out of plywood scraps rather than buying new especially if you are painting. I guess if you have to buy everything: 3/4 ply, 1 x 2s and cove molding it would be closer to $40 plus paint and primer. Good luck, such a nice sizable, sturdy, functional gift.
Wed, 08/31/2011 - 03:35
Cost was lower
because I was able to use some scraps for the sides and short molding pieces. They are still cabinet grade, I wouldn't recommend using regular 3/4" plywood - it's too rough even with sanding it would be very rustic. One sheet of cabinet grade 3/4" plywood costs $29 at my HD, you can definitely get all your pieces from one sheet. Plus to keep costs down make the base molding out of plywood scraps rather than buying new especially if you are painting. I guess if you have to buy everything: 3/4 ply, 1 x 2s and cove molding it would be closer to $40 plus paint and primer. Good luck, such a nice sizable, sturdy, functional gift.

Sun, 01/01/2012 - 17:41
Lid w/ hinges
I really like the look of this toy box! Would it be hard to add a lid with hinges ? Thanks
In reply to Lid w/ hinges by Brad chunn (not verified)
Sat, 01/07/2012 - 12:27
Lid
Brad I don't think a lid with hinges would be hard. Watch out for pinched fingers on those little ones - it inevitably always happens! Go for the slow closing hinge.
In reply to Footer by Guest (not verified)
Tue, 03/13/2012 - 14:14
Footer is attached
with 1 1/4" wood screws. Considering this is the support for the box unit I definitely recommend screws, 3 per long sides.
Good luck.
Tue, 03/13/2012 - 20:35
Footer corners
Thanks a bunch! One more question, I have the same base moulding you chose, how did you get the top corners to line up so seamlessly? When I put mine together as a sample they don't fit well at the top
In reply to Footer corners by Guest (not verified)
Wed, 03/14/2012 - 04:35
For base moulding
I used 3/4" plywood and cut out the arch with a jig saw. The corners should line up fine if your box is square. Once you attach the footer piece then miter cut the cove moulding and it should sit perfectly on the ledge of that footer. You can see more process picks in my posts here:
http://thatsmyletter.blogspot.com/2011/11/t-is-for-toy-box-4.html
http://thatsmyletter.blogspot.com/2011/05/t-is-for-toy-box.html
Wed, 02/28/2018 - 05:25
toy box with open top
hi Ana, love your plans. Made the toddler helper in a folding style now have to make another by request. I have a question on the cutting measurements for the open toy box. The side says cut 15 1/2 inche wide yet the bottom is 16 inch wide.Is that correcgt as would have the bottom stgicking out past the ends?? Could just adjust the base size just not sure if there is reaason for the difference am i missing something.
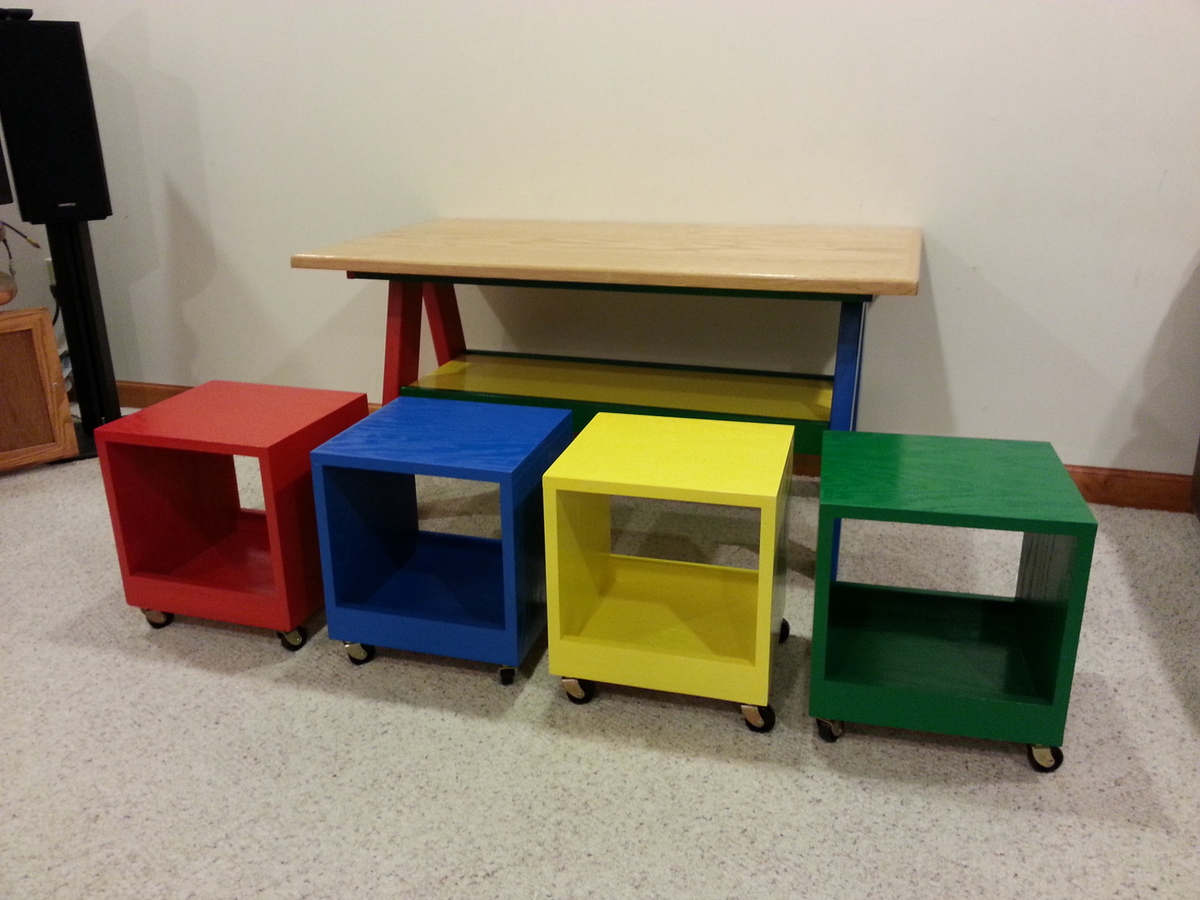
Kids Trestle Table
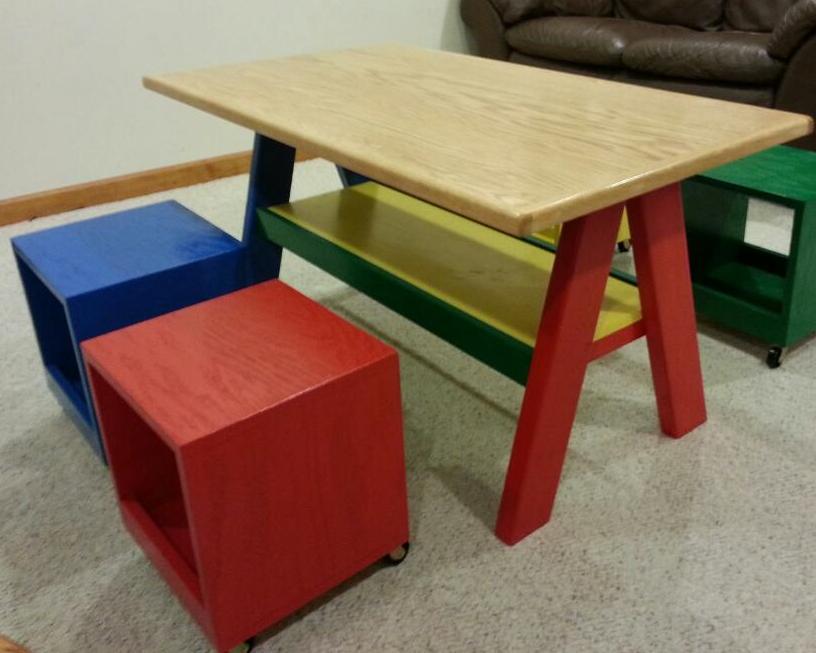
Table made for friends grand-kids using left over oak plywood. Storage cube seats from Shanty2chic plans. http://www.shanty-2-chic.com/2012/07/rolling-storage-cube-stools.html
Built from Plan(s)
Estimated Cost
< $70
Estimated Time Investment
Weekend Project (10-20 Hours)
Finish Used
Rustoleum paints - gloss finish.
Recommended Skill Level
Beginner
Comments

Tue, 07/23/2013 - 19:01
Fun colors!!
I built this as one of my first projects...it was a great confidence builder!! I love the way yours turned out and your colors are so cheerful and fun! Great job!!
Floating Shelves

Floating shelves for small master bathroom. 1x2" with thin poly on top and bottom. Ripped a 1x4" to cap the front. Stained with dark walnut.


Estimated Time Investment
Afternoon Project (3-6 Hours)
Finish Used
Dark Walnut with top coat of poly.
Recommended Skill Level
Beginner
Concrete Top End Table
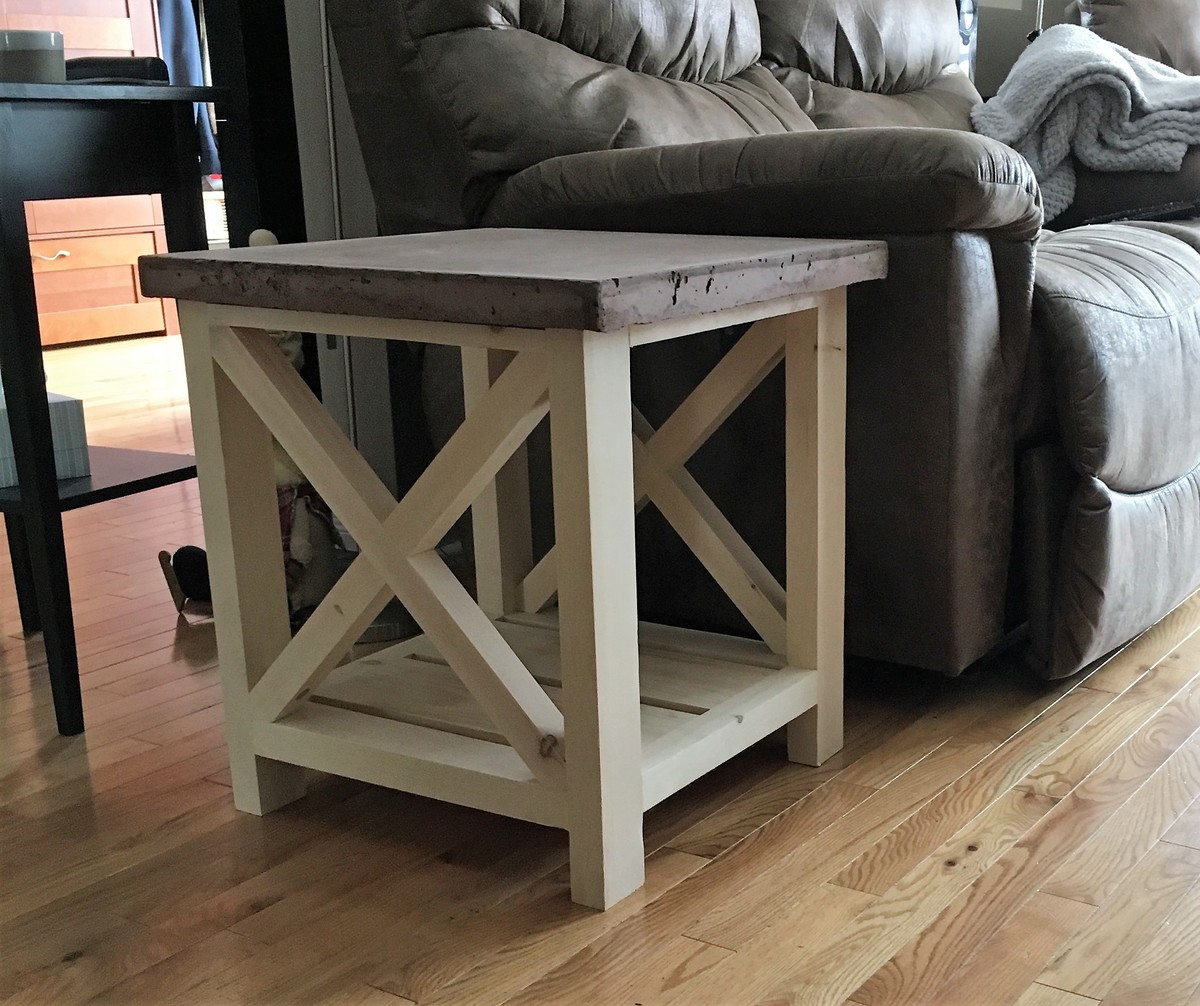
I decided to go with with a concrete slab on the top this project was quite simple especially with the well formatted plans
the slab is 20x20 so I had to make adjustments in my sizes!
Built from Plan(s)
Estimated Time Investment
Weekend Project (10-20 Hours)
Recommended Skill Level
Beginner
Pantry shelves adapated from Garage Shelves
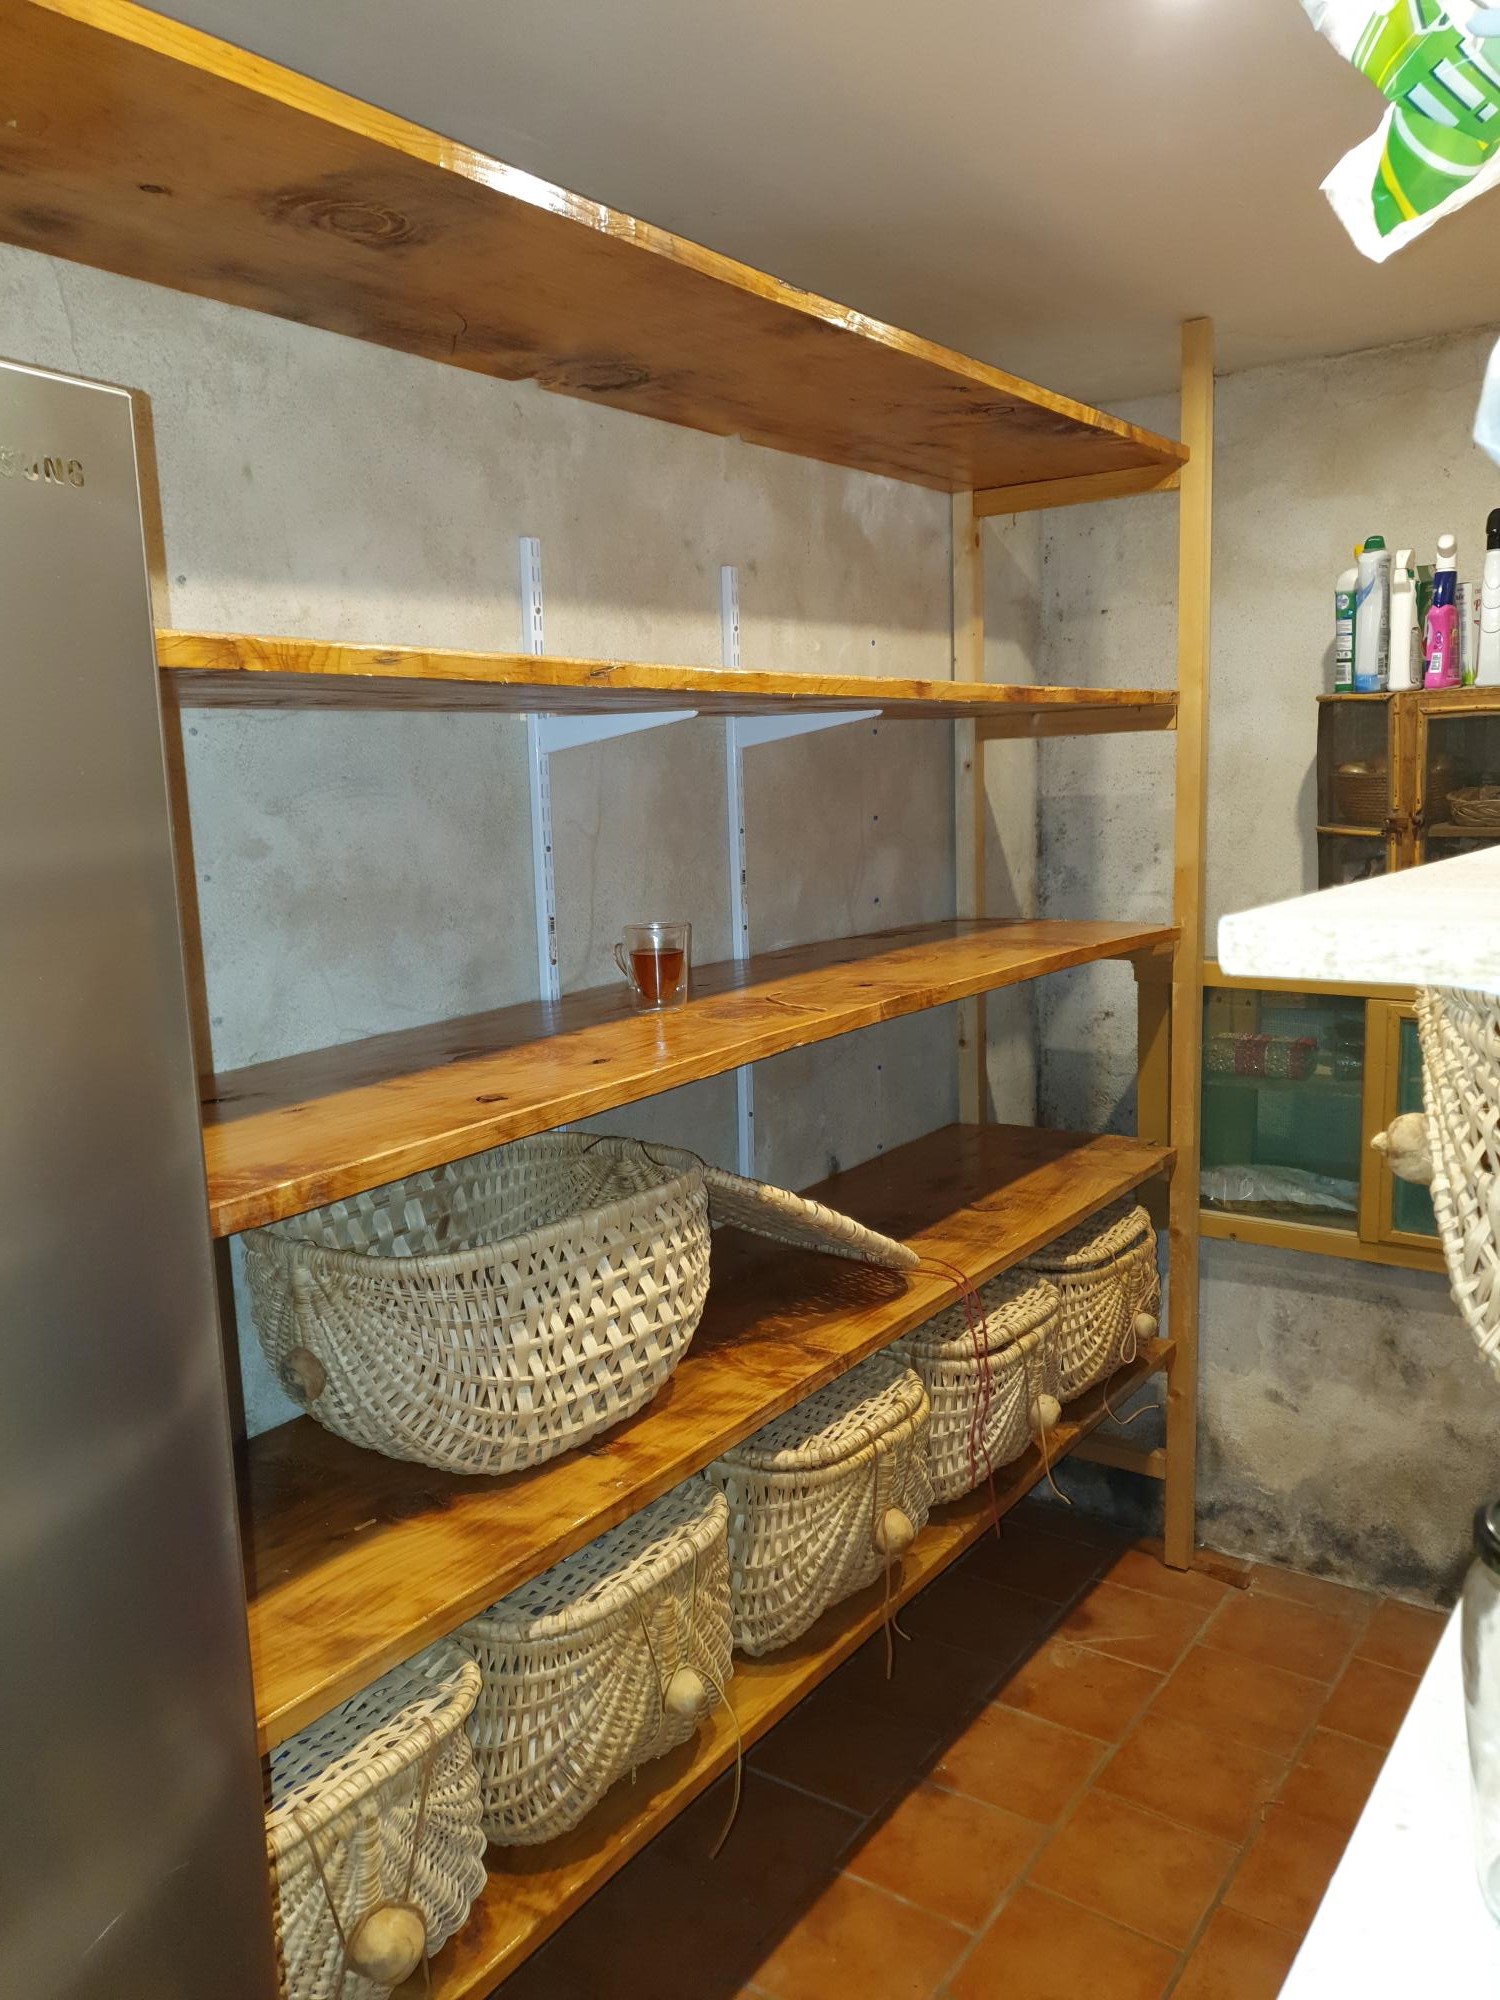
Thanks for the plans, adapted it to new pine standers but was able to obtain beautiful cherry tree panels from a defunct wood worker in the next village over. Planed those and used those to make a slightly more 'posh' version of your basic model. The supports on the wall you see are from the previous formica shelves. I left them in case the cherry starts rounding down.
Built from Plan(s)
Comments
Farmhouse Table Brag!!

I just bought a new house and this table was my first project for it. I'm so happy with how it turned out!!!! Thank you for the plans!
Built from Plan(s)
Estimated Cost
106
Estimated Time Investment
Weekend Project (10-20 Hours)
Finish Used
2 coats of Minwax polyshades "stain and polyurethane in 1 step" Bombay Mahogany Satin stain (#380)
Recommended Skill Level
Intermediate
Comments

Wed, 06/08/2011 - 14:00
Thank you for the smile! I
Thank you for the smile! I see we have share some web browsing habits! Congrats on the house and love the table finish! Great first project, really appreciate you sharing! Ana

Baby Bed

I used the plans at Diystinctlymade.com(DIY crib, Ana showed it on her website)to build this crib for friends having their first child this month! i changed the plans a little, instead of cutting both end boards I cut the center board. I put a decorative trim on the ends and sides. I stenciled the "love you to the moon" and "now I lay me down to sleep" on the ends of the crib I love making it!


Estimated Cost
$200
Estimated Time Investment
Week Long Project (20 Hours or More)
Finish Used
Rust-Oleum Chalk Paint Lined white
Rust-Oleum Chalk Paint Aged Grey
Anne Sloan clear wax
Rust-Oleum Chalk Paint Aged Grey
Anne Sloan clear wax
Recommended Skill Level
Beginner
Comments
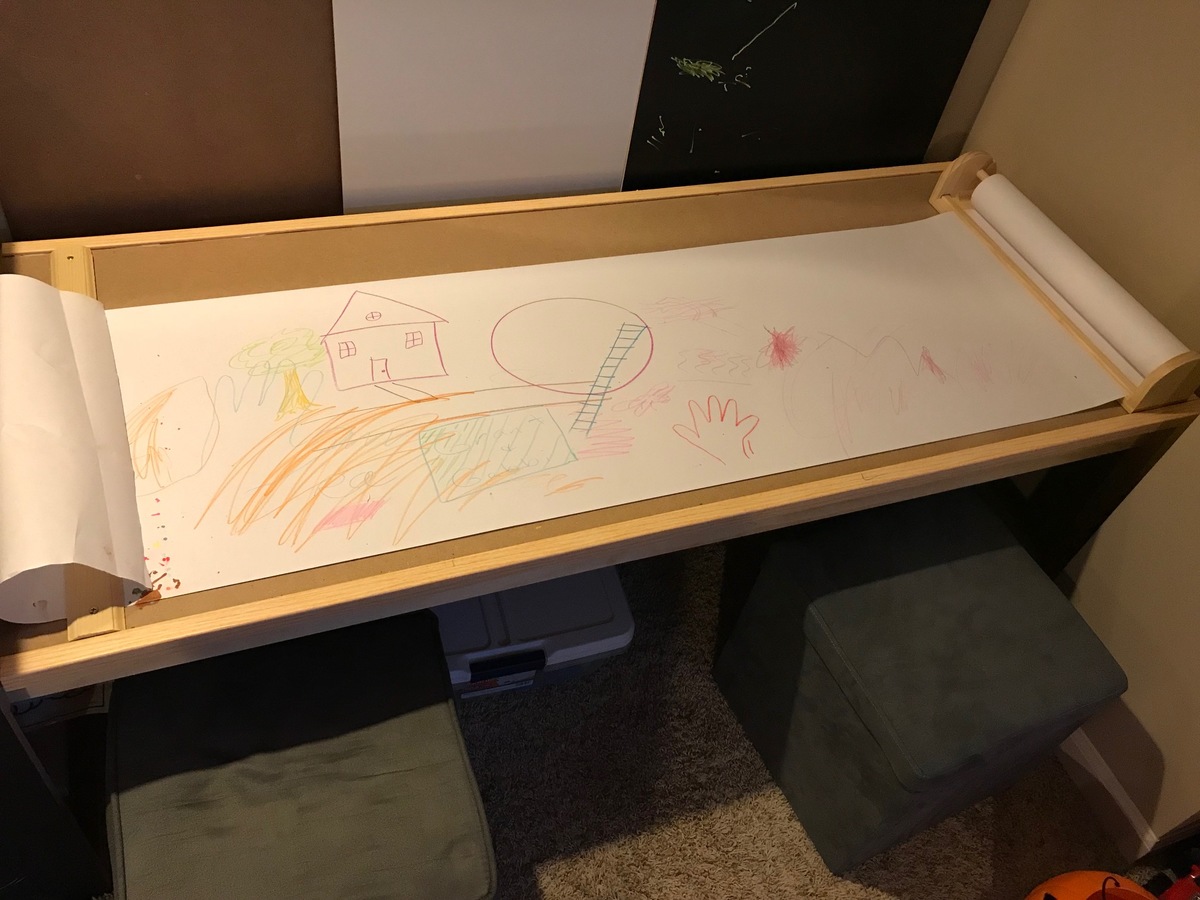
Art Table
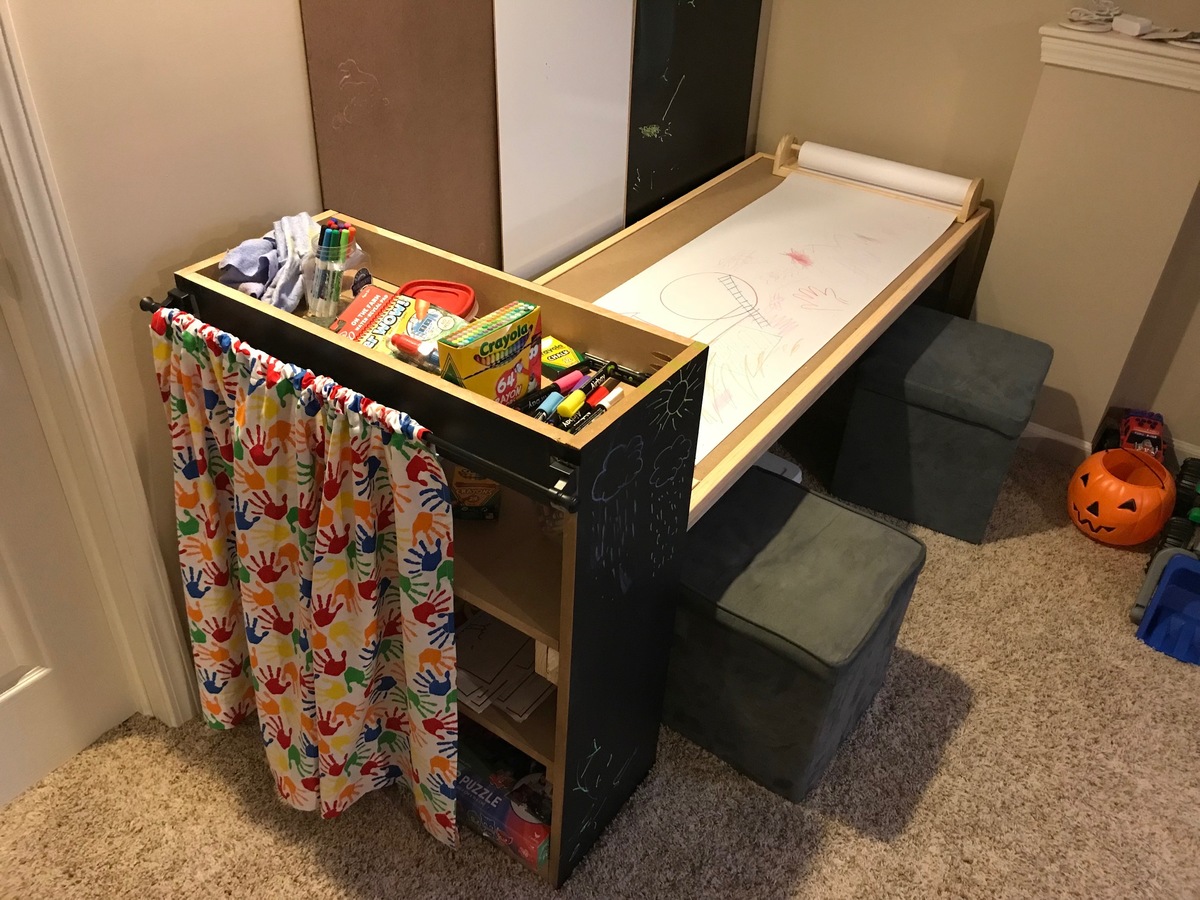
Followed the basic plans but made it longer to fit two kids. Put Chalkboard shelf paper on the end of the shelves. Bought 24"x48" chalkboard, whiteboard and panel board (use it for playing with PlayDoh) boards to swap out on the tabletop. Added some edge molding to hold insert boards in place. Added curtain on the end to cover shelves. Used MDF for tabletop and shelves. One 4'x8' board was enough for all components.
Built from Plan(s)
Estimated Time Investment
Day Project (6-9 Hours)
Recommended Skill Level
Beginner
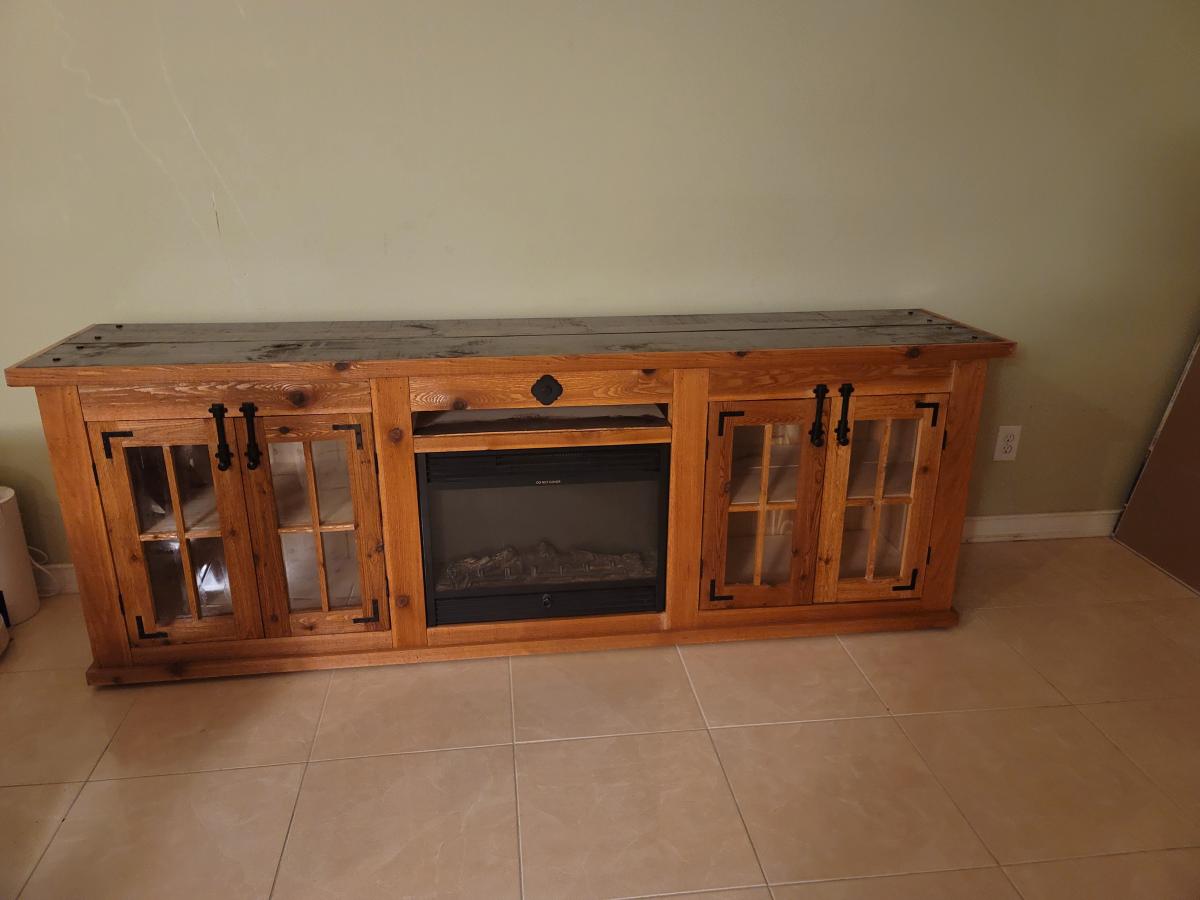
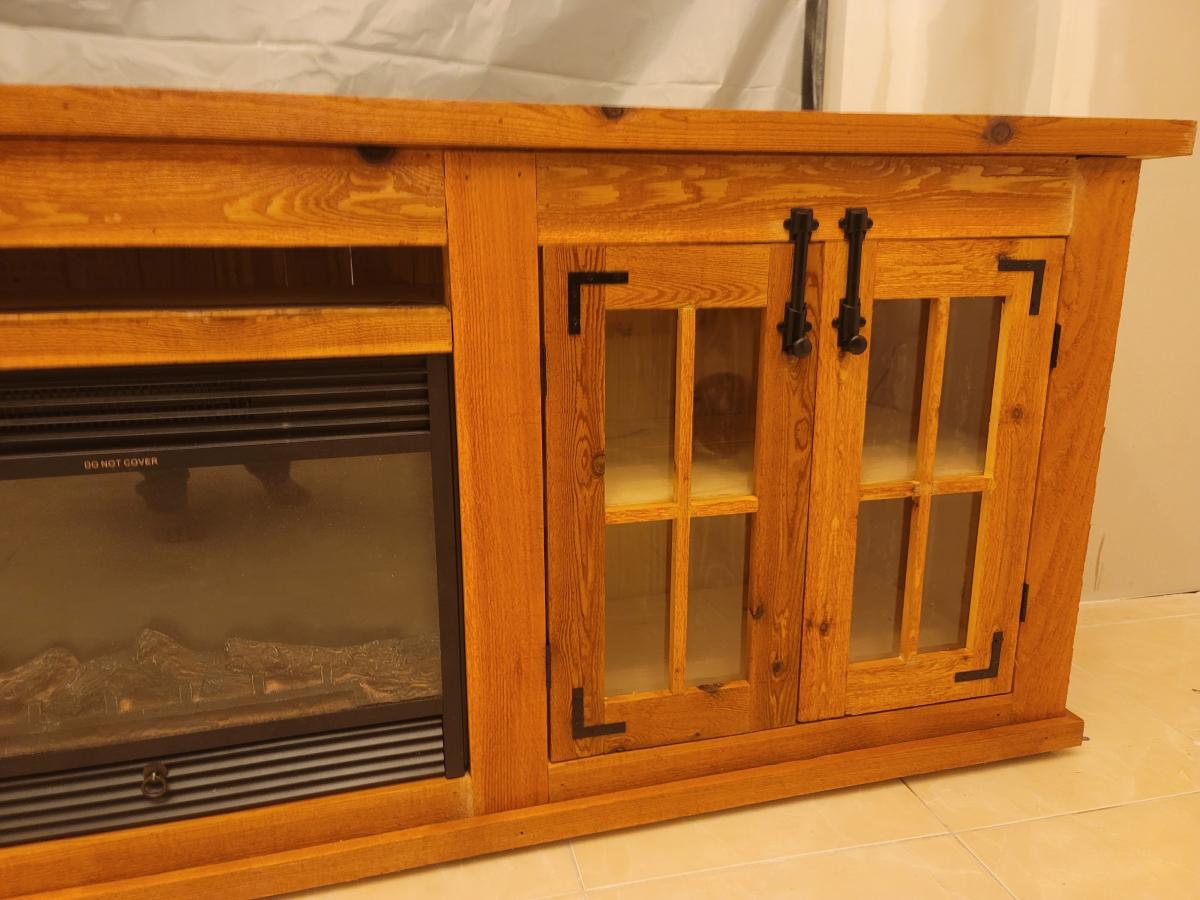
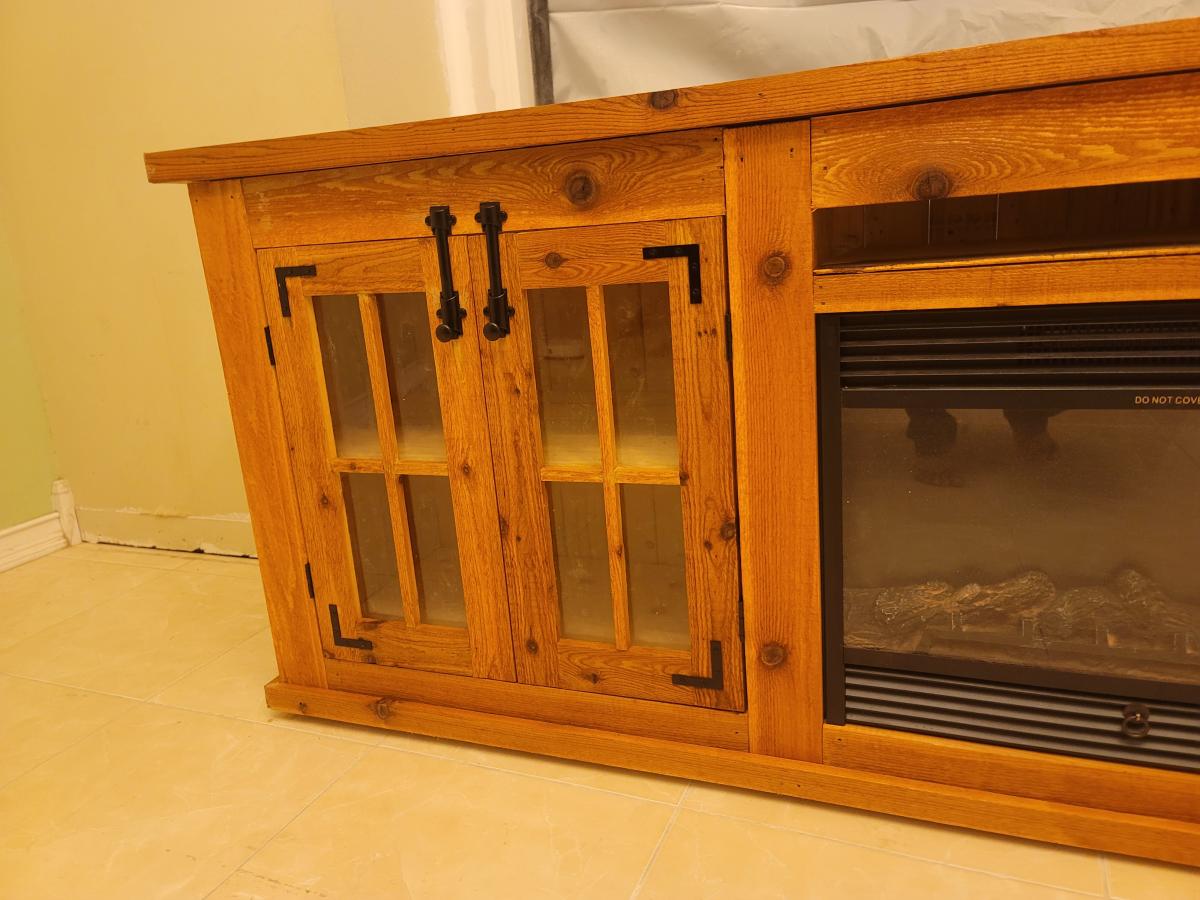
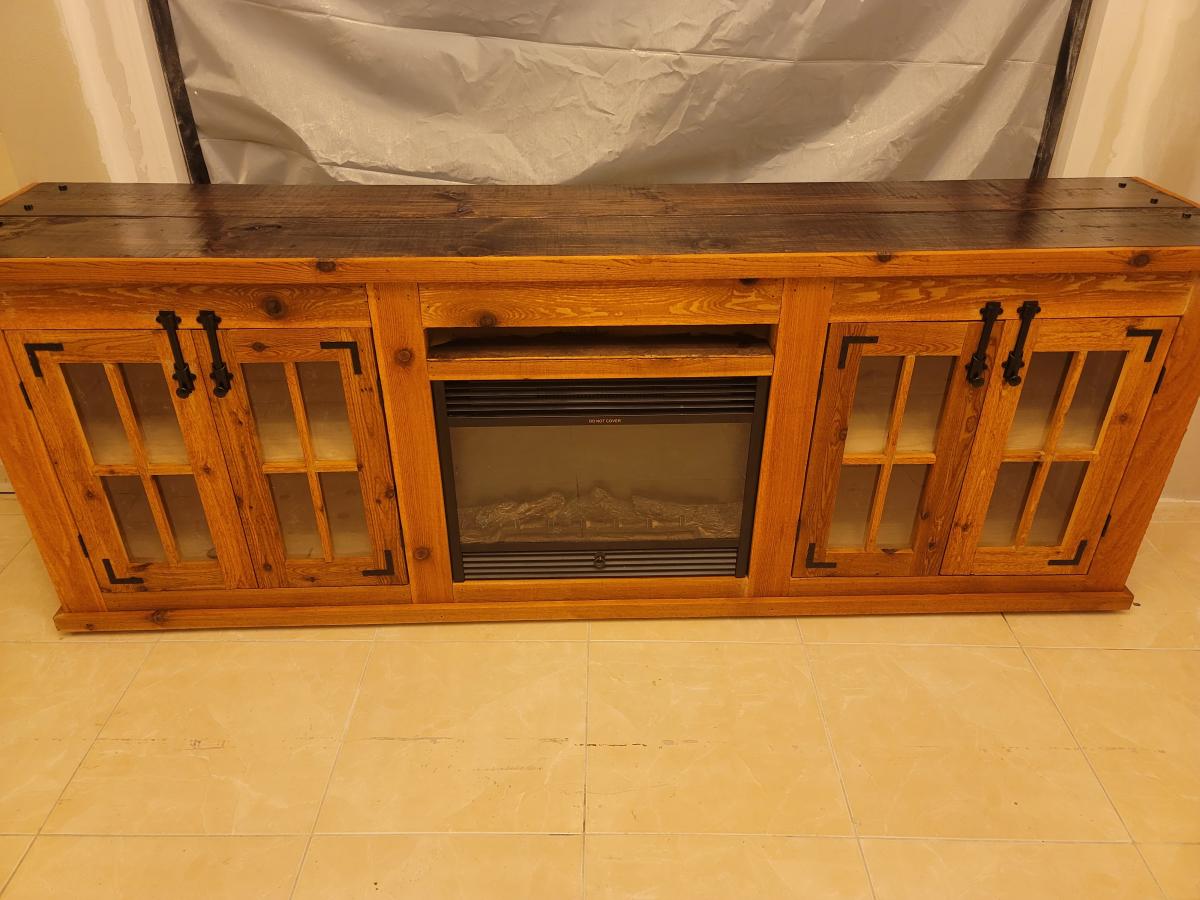
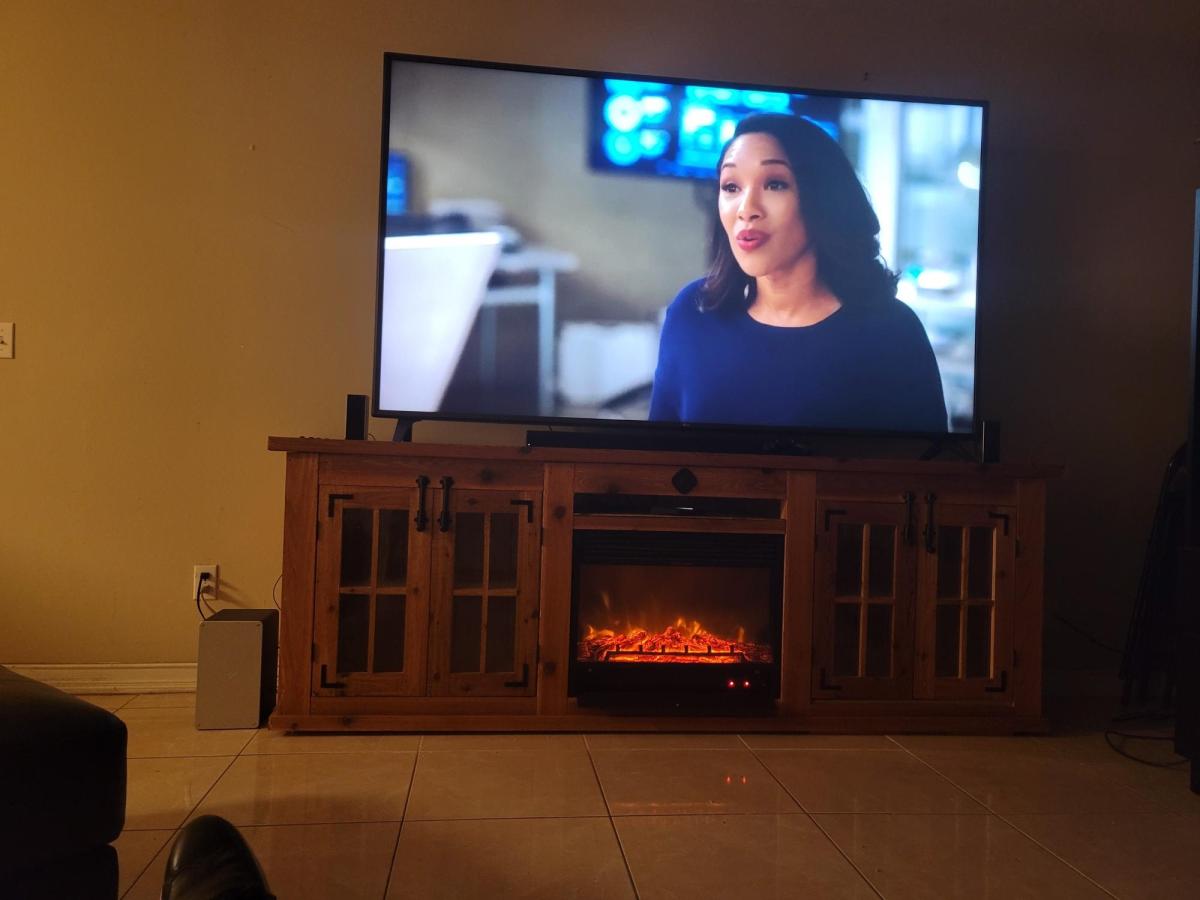
Inspired by Ana's barn TV stand
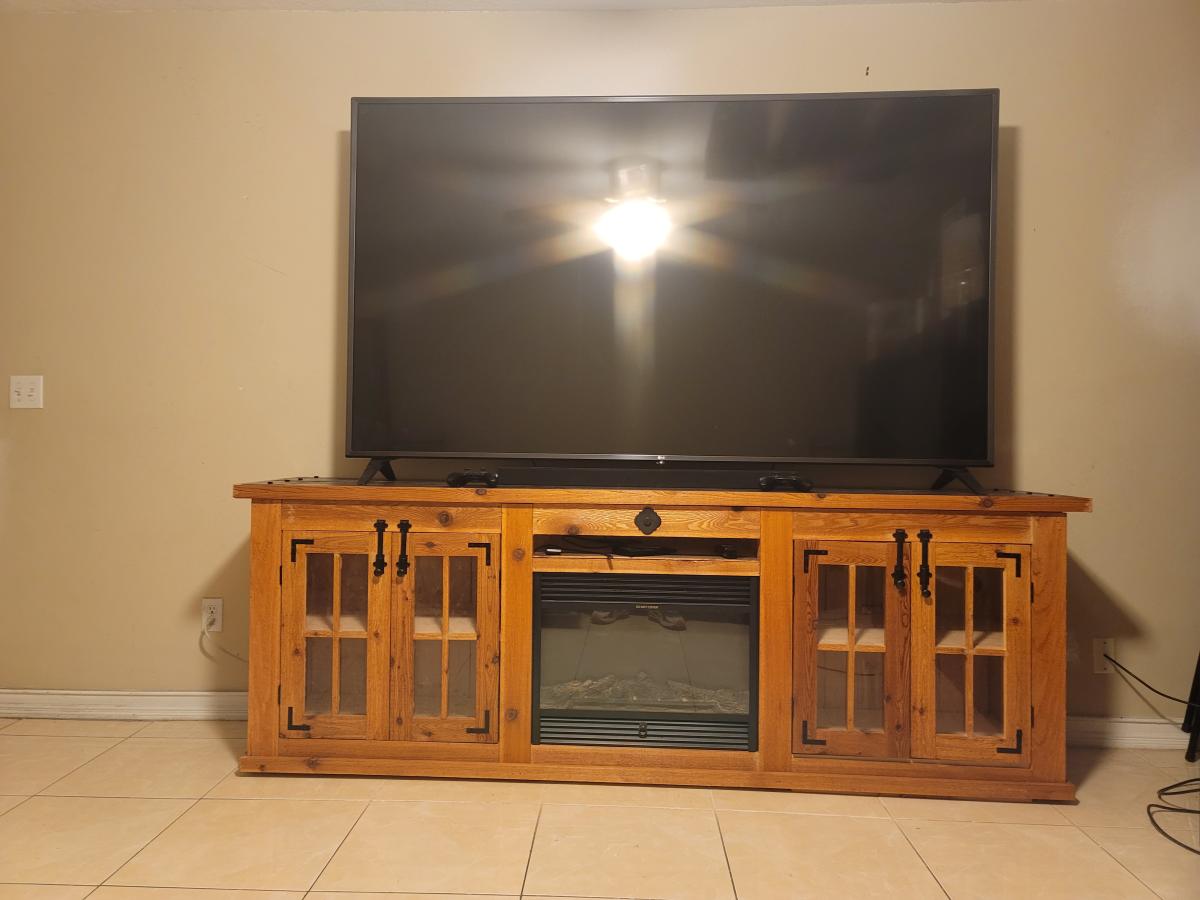
I made this TV stand from a combination of your DIY Farmhouse TV Console and another one I saw online ( Farmhouse Media Cabinet By Shades of Blue Interiors) with a little bit of my creativity. Thank you for everything you do for the community. God bless you and your family.
Comments
Thu, 04/21/2022 - 15:16
Very beautiful!
That looks amazing, love the fireplace insert too! Thank you for sharing:)
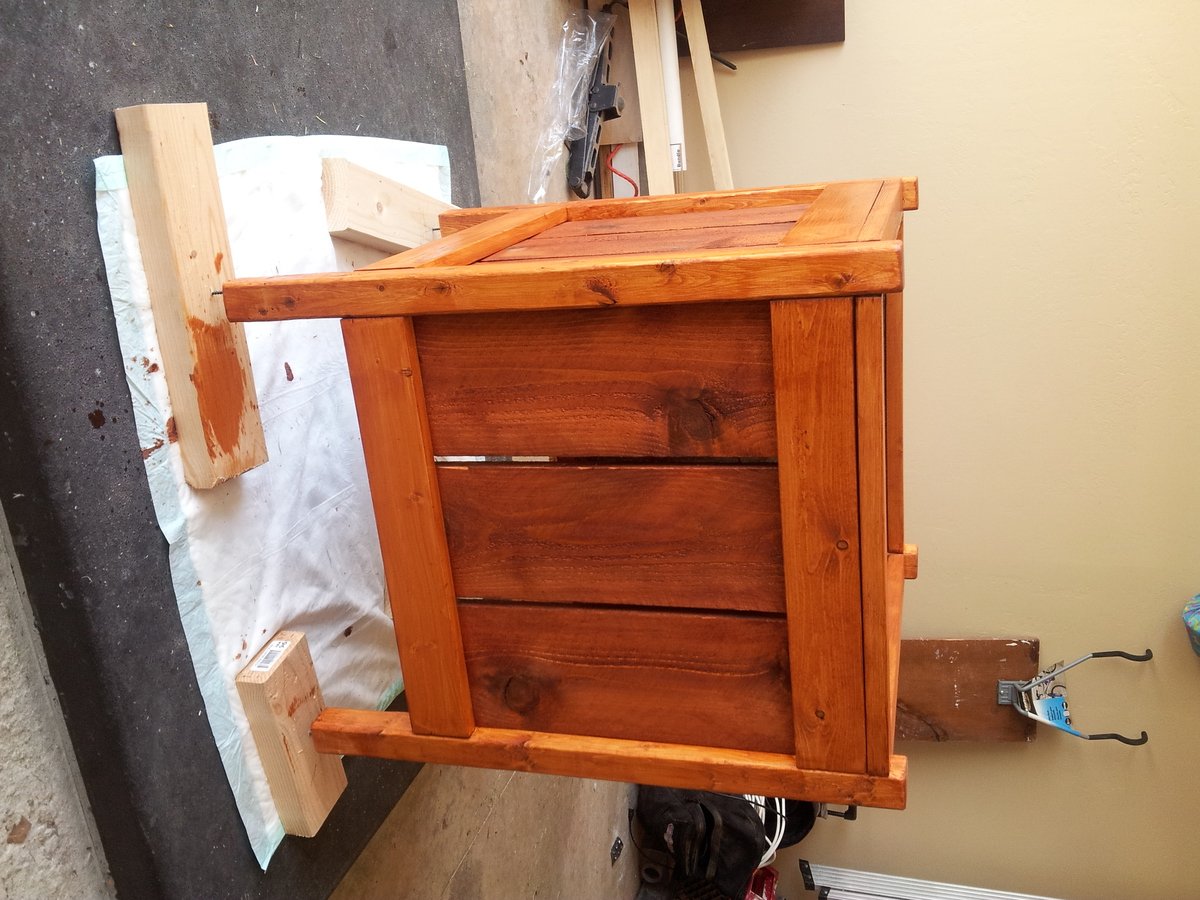
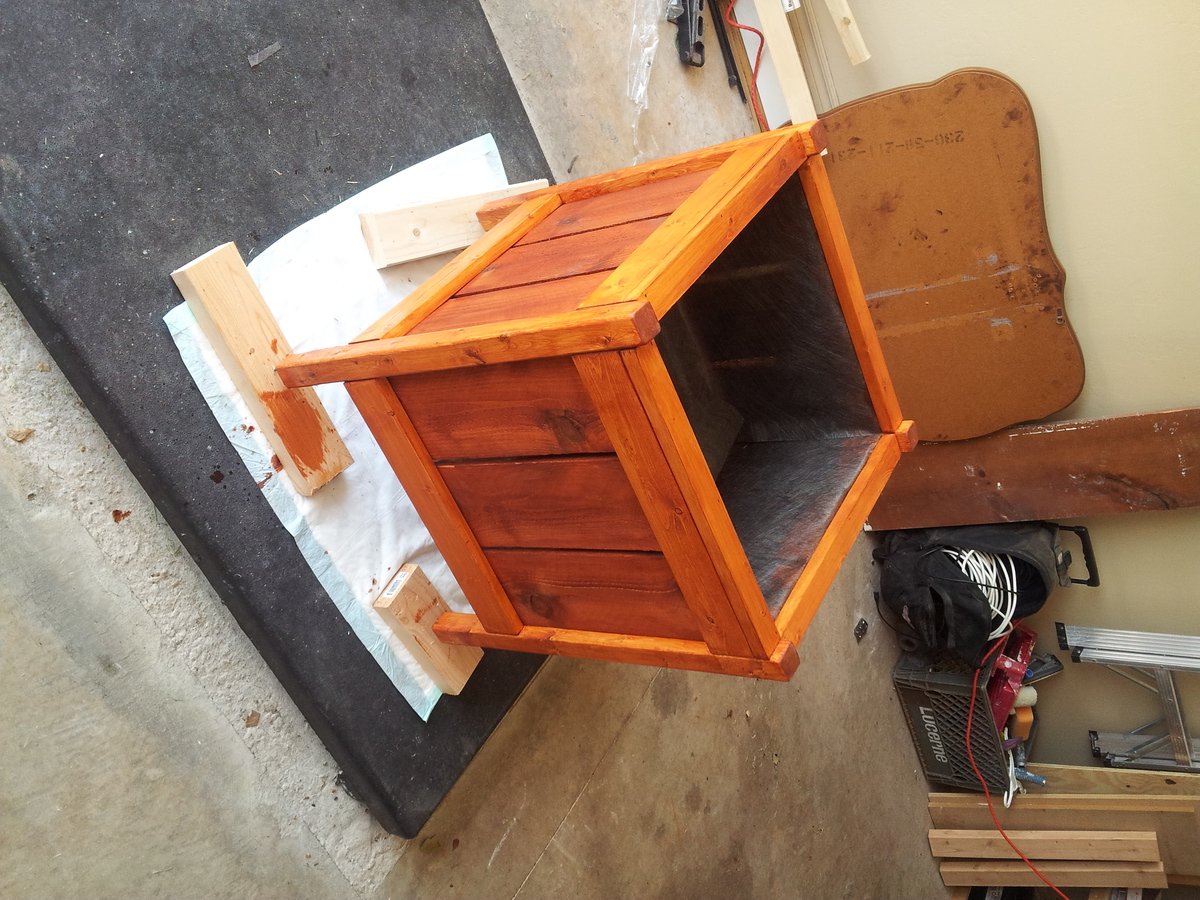
Dog kennel
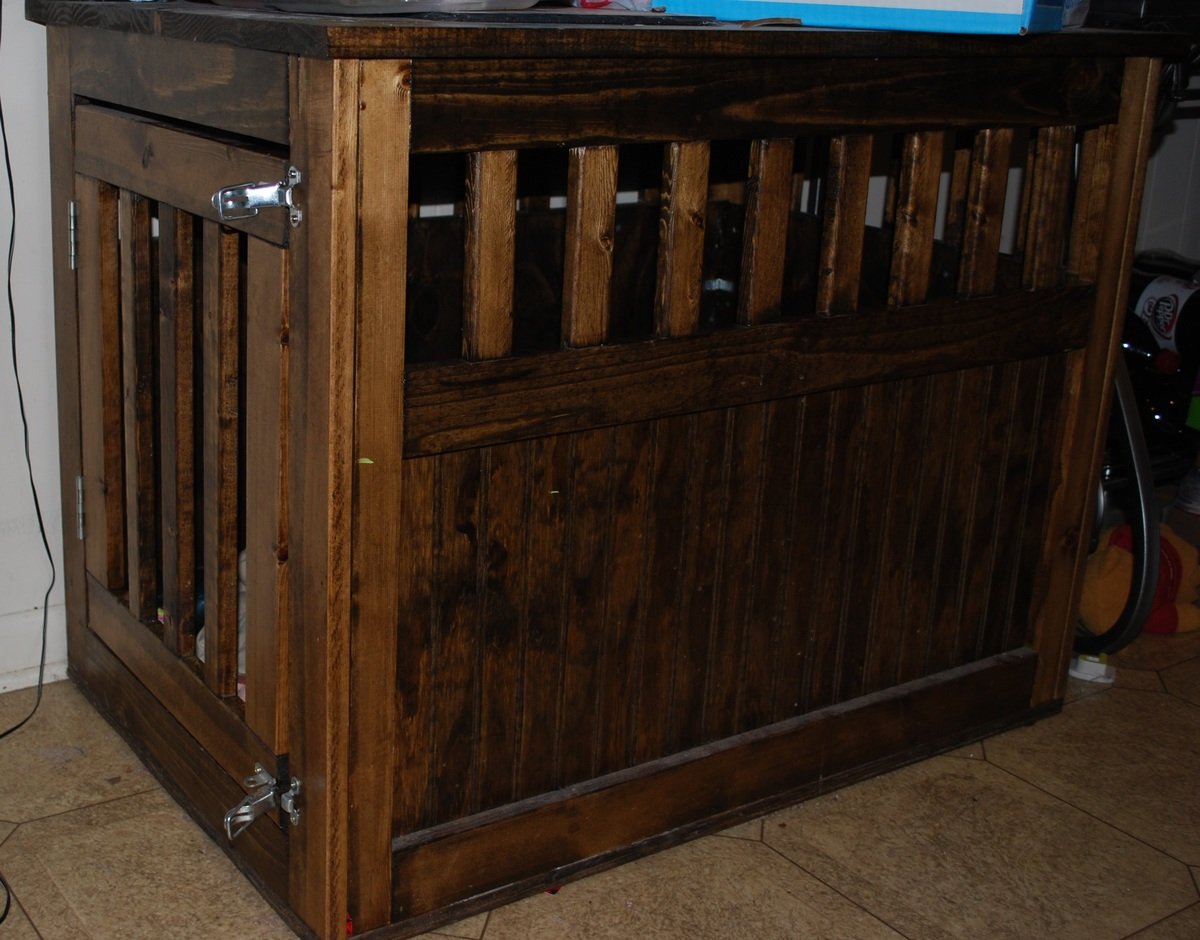
This was my first project with the kreg jig and I love it. Pretty easy once I got the hang of it. I used beadboard in place of 1/4 ply to dress it up a little but more. The hardest part was attaching the sides to eachother, I used 'L' brackets so it could be taken apart.
My dogs love this kennel! It is large enough for my weimaraner and my lab/pitbull mix to stay in it together. Most mornings they are laying in there waiting on us to lock the door.
I purchased a vinyl covered stress mat from 'Blue', it fits really well inside and just pulls out to be wiped down. I haven't needed to but it can be hosed down also.
Built from Plan(s)
Estimated Time Investment
Day Project (6-9 Hours)
Finish Used
Walnut stain then lacquered.
Recommended Skill Level
Intermediate
Comments
Wed, 05/02/2012 - 06:57
Dog Kennel
I am wondering what type of latch's those are and were you got them. I am also wondering were you purchased this mat from. I tried searching blue but could not find anything?
Custom Closet Organizer based on One-Piece Plywood plans

I used two of the closet organizers to help provide storage and separation in our 131" closet. I had to custom cut the shelving from slightly more than an additional piece of plywood.


Built from Plan(s)
Estimated Time Investment
Weekend Project (10-20 Hours)
Finish Used
Redwood stain.
Recommended Skill Level
Intermediate
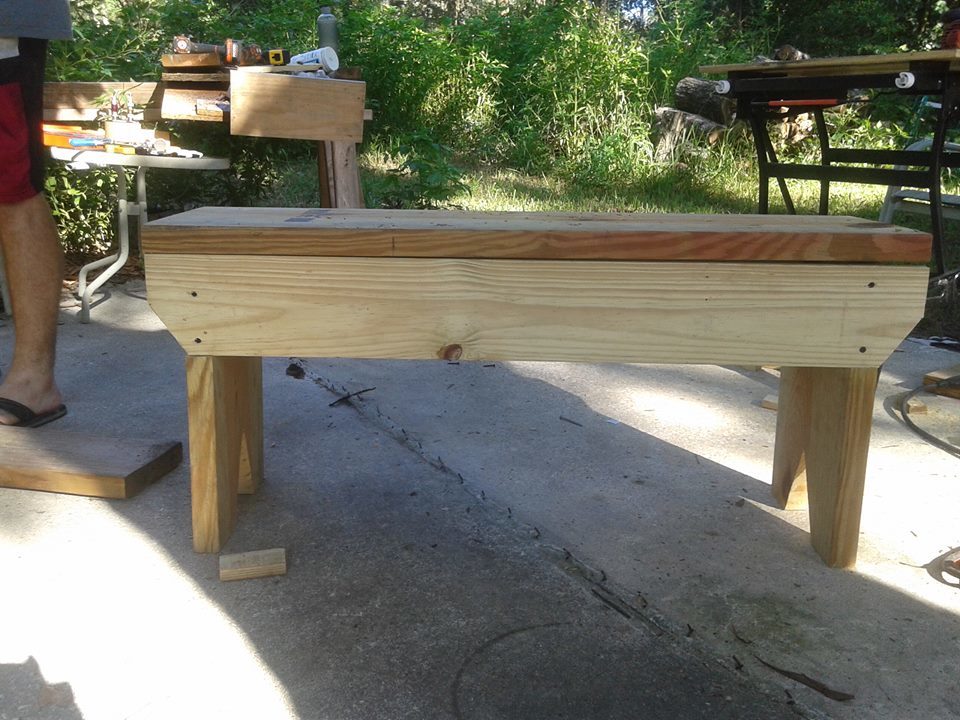
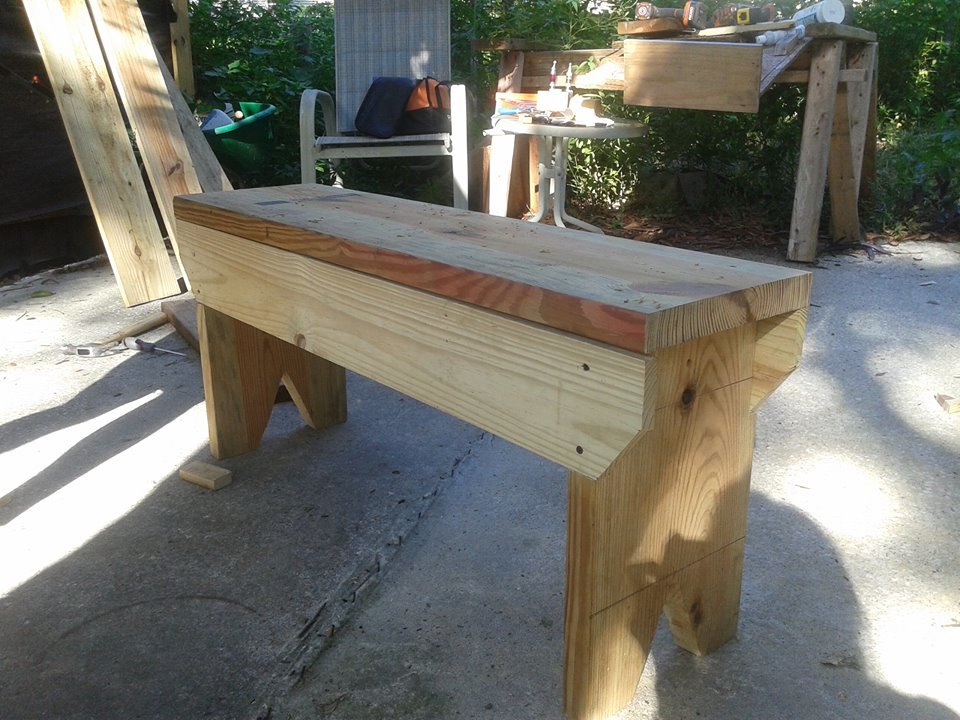
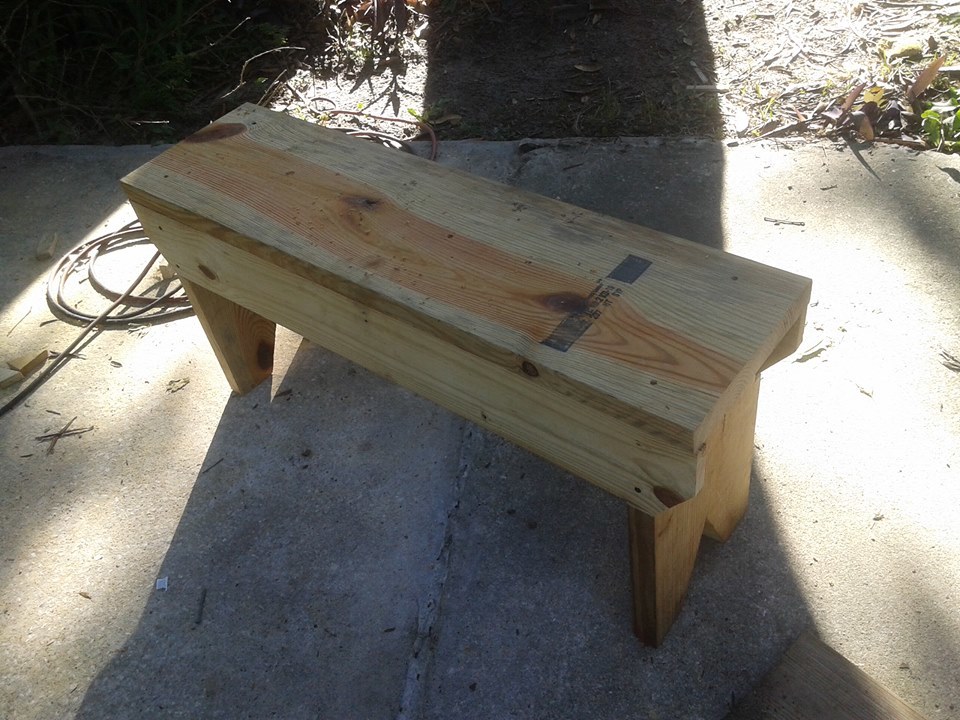
My first woodworking project - 5 Board Bench
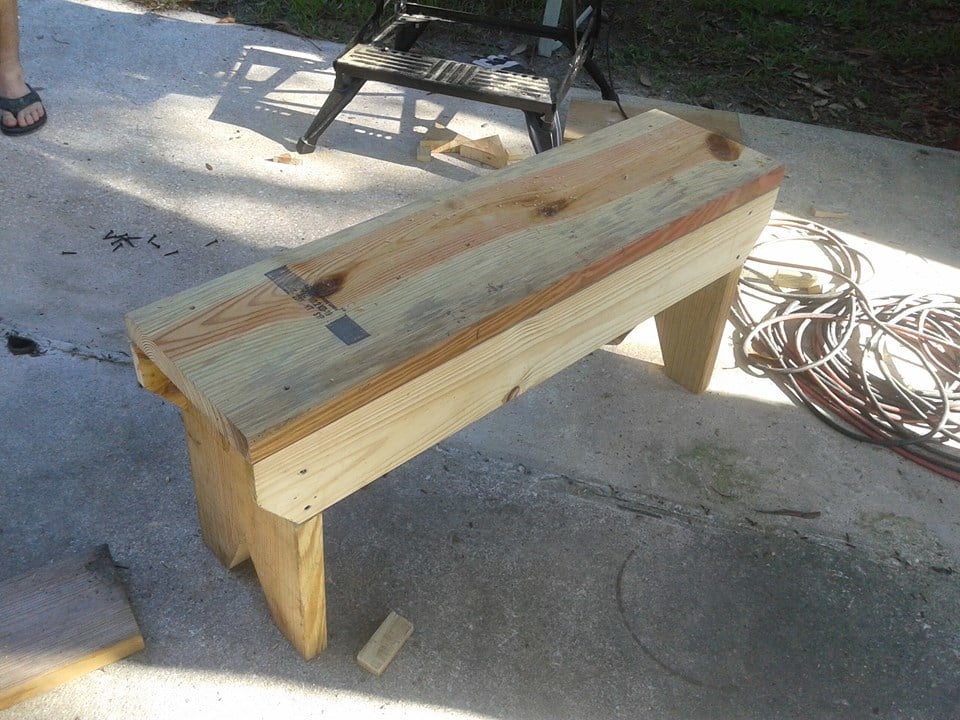
This was my first project so I picked one from the starter section. My fiance helped me to get familiar with the tools and learn to make the cuts. I am hooked. My goal is to learn well enough to get to the point where I can build built ins to make the most out of the small space in our home and maximize it. Since we started late in the day and it's Sunday, I will putty, sand and paint it next weekend. Gives me an excuse to go to Home Depot for materials for my next project ![]() We made some modifications though, we subbed 2x12 for 1x12 and 1x6 for 1x4. I wanted a thicker seat, and the local Home Depot was out of 1X4's. We had 1x8's but instead of ripping them in half we just made the jigsaw cuts a little deeper. We also used the 2x12 for the legs so those were a little thicker and sturdier. We'll likely make another and an outdoor table eventually. Thank you for a wonderful site!
We made some modifications though, we subbed 2x12 for 1x12 and 1x6 for 1x4. I wanted a thicker seat, and the local Home Depot was out of 1X4's. We had 1x8's but instead of ripping them in half we just made the jigsaw cuts a little deeper. We also used the 2x12 for the legs so those were a little thicker and sturdier. We'll likely make another and an outdoor table eventually. Thank you for a wonderful site!
Estimated Cost
I can't remember, we bought the materials some time ago and I have been wanting to do this for so long but kept procrastinating.
Estimated Time Investment
An Hour or Two (0-2 Hours)
Finish Used
Recommended Skill Level
Starter Project
Comments

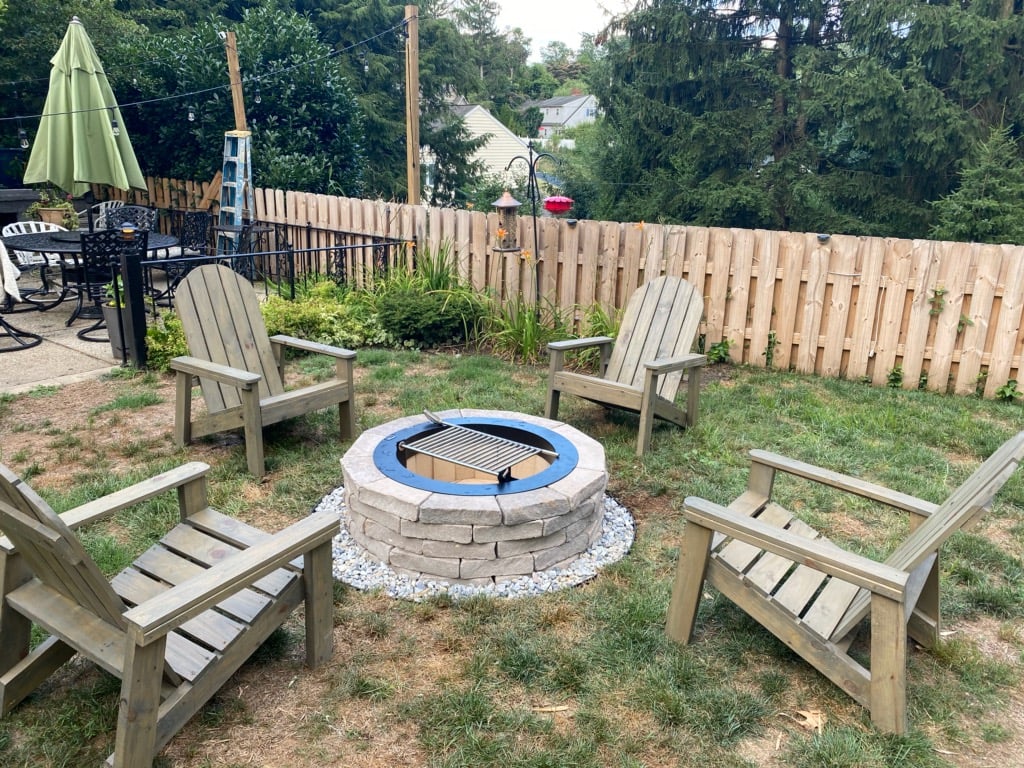
Outdoor double bench and Adirondack Chairs!
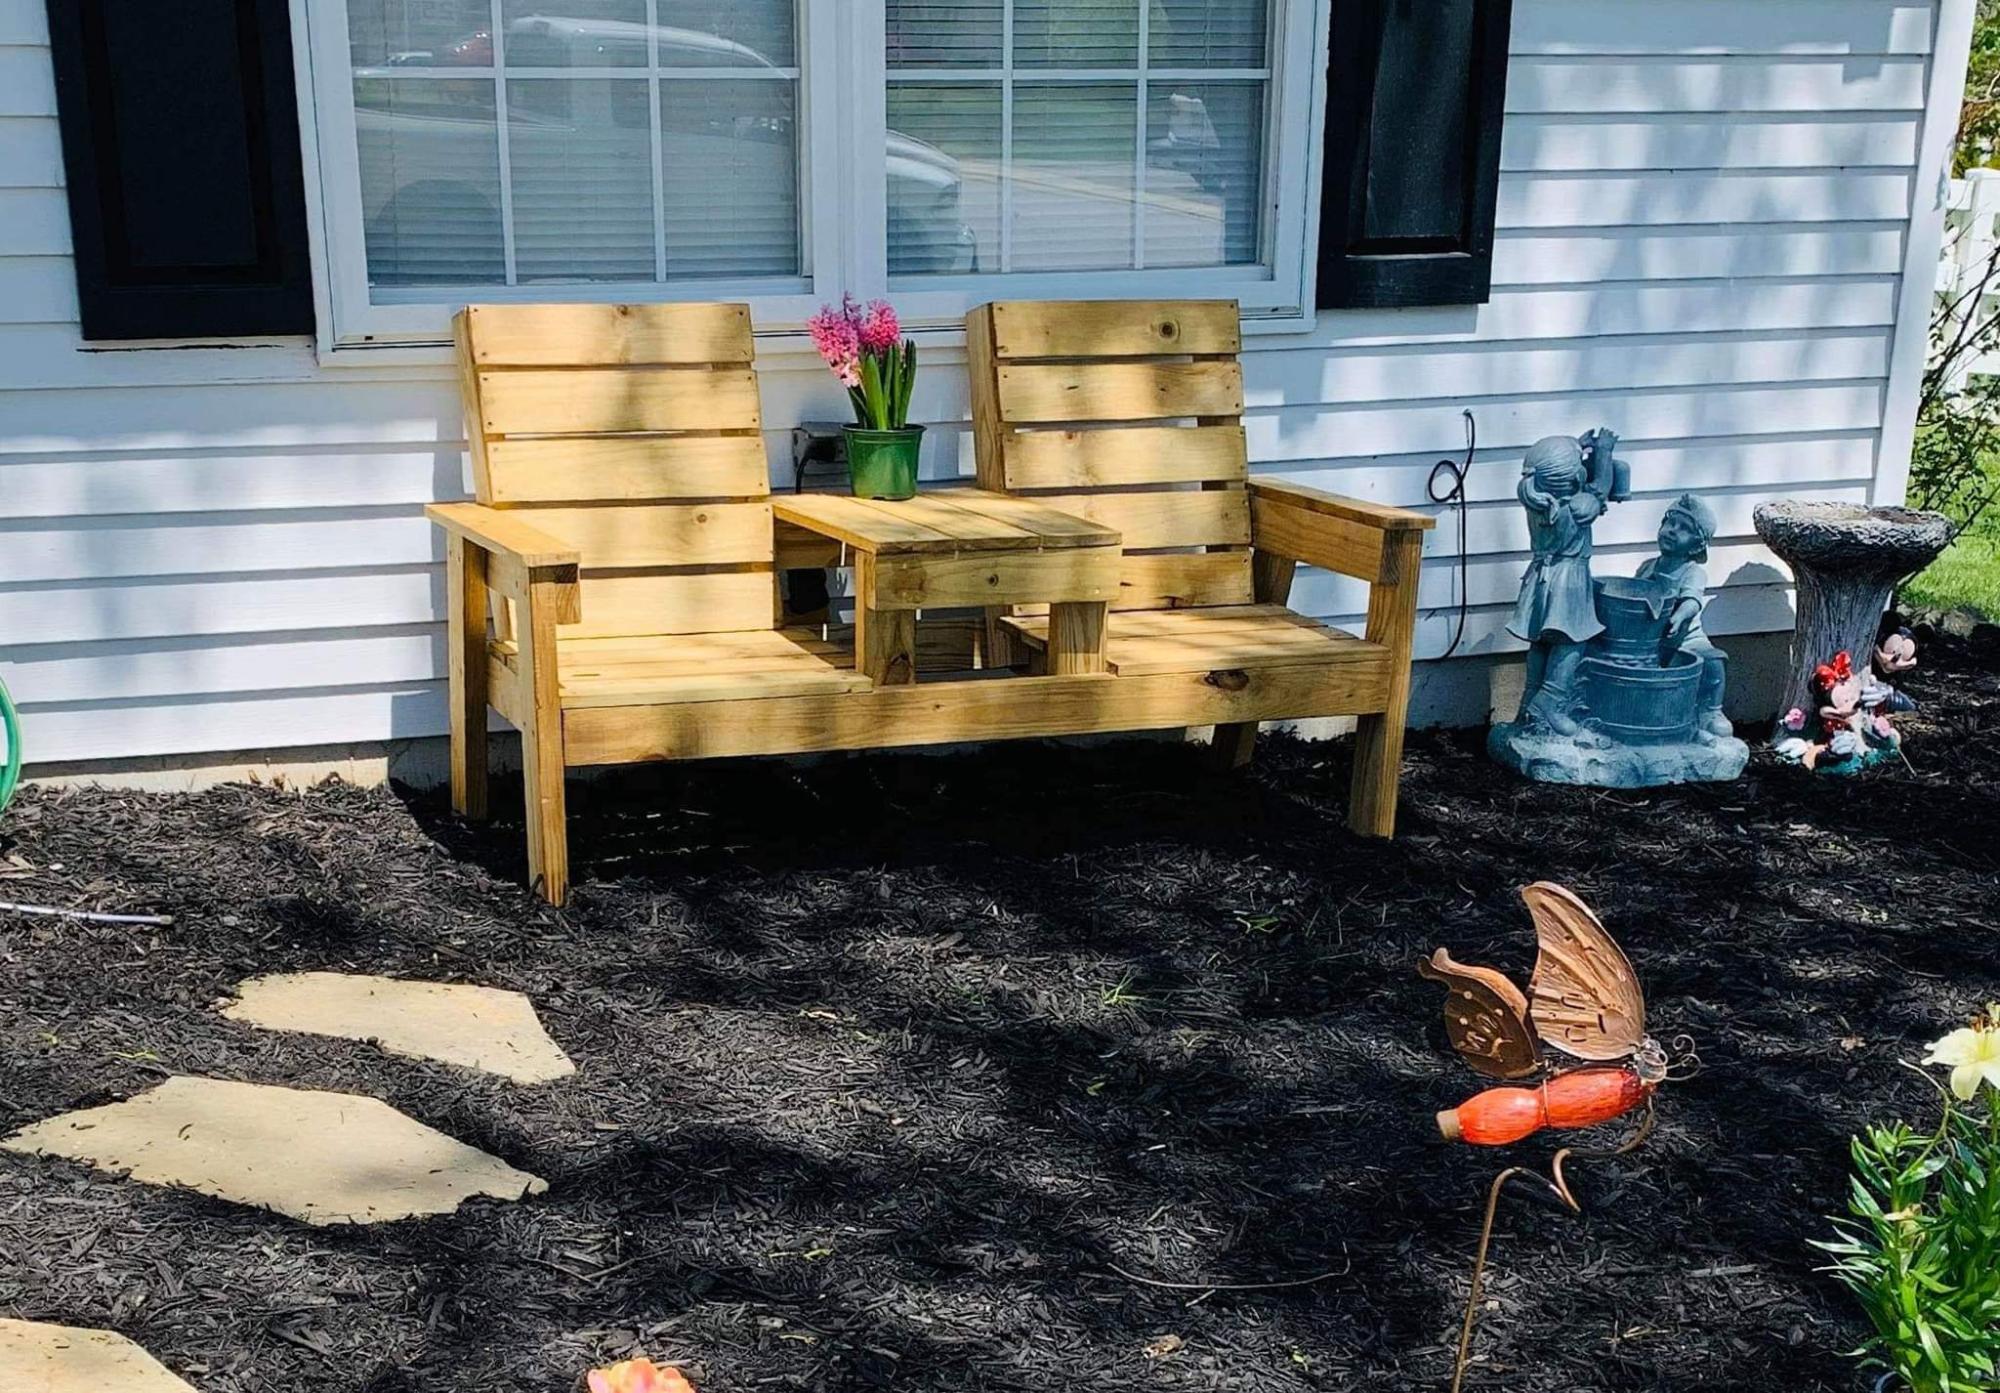
Nice outdoor bench and adirondack chairs by Nick!
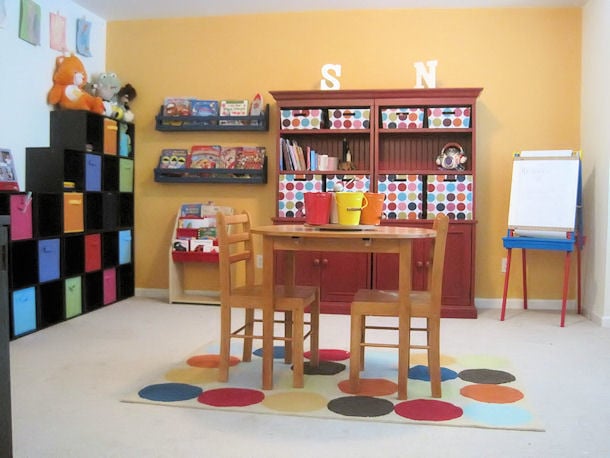
Love these Shelves!
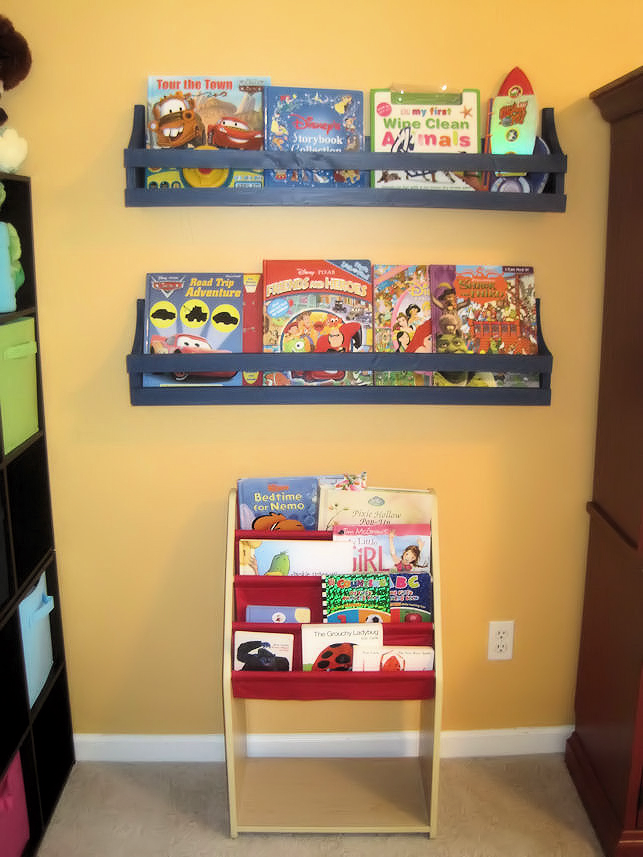
While my husband was deployed for a year I decided I wanted to redo the kids playroom. I wanted them to have a space that was organized. Somewhere easy so that what they were taught about putting their toys and books in a specific spot at school could be followed at home too! Well this is the plan that I had found Ana's site with. I loved these shelves on PBKids.com but hated the price. It was an amazing day in the Clark house hold finding Ana's blog! I had to build them right away! and well I did! they are Amazing and the kids love them! (keep in mind this was my first time building anything lol)(sorry for not posting this sooner)

Estimated Cost
$5 ea.
Estimated Time Investment
An Hour or Two (0-2 Hours)
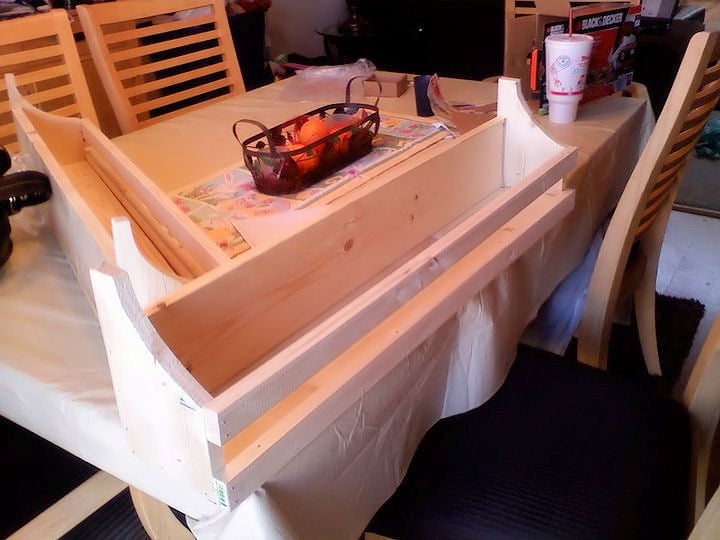
Finish Used
Semi Gloss Valspar blue. I would defiantly sand them down more if I make them again. Love the way they turned out even though I messed up on the first one but anyone who has ever seen them hasn't noticed lol.
Recommended Skill Level
Beginner
Comments

Wed, 06/15/2011 - 19:09
What a cute room!
I love the color of the shelves. They look so good in that adorably decorated room!
In reply to What a cute room! by brookifer86
Fri, 06/17/2011 - 12:07
Aww
Thanks hun! I love them... and thanks about their playroom.. I had just known what I wanted and worked hard to get it just right lol.. they love it too!
Mon, 06/27/2011 - 13:00
How to install
Hi - We've got ours all finished but not sure how we are going to install them. We know they'll go into a stud but I'm curious how you did it.
In reply to How to install by Guest (not verified)
Mon, 06/27/2011 - 15:39
The way i did it.
well the way i did it was get two screws found where the studs were and right above the top bar i rested my drill on it and I put each of them into the back of the shelf because I knew a book would cover the screws... now you can always add the same color paint over the screws to help them blend better when there isn't a book in there. Hope this helps. It made them really secure for when the little ones would get the books down. I know some suggested picture hooks.. but to me it just didn't seem sturdy enough.

In reply to The way i did it. by mandylynn523
Mon, 06/27/2011 - 19:14
That's what we're thinking too
We thought the same thing and I'm definitely not worried about a screw showing if a book is missing. :) I actually thought of picture hooks too but knew right away it wouldn't be sturdy enough for my kids.
Thank you!
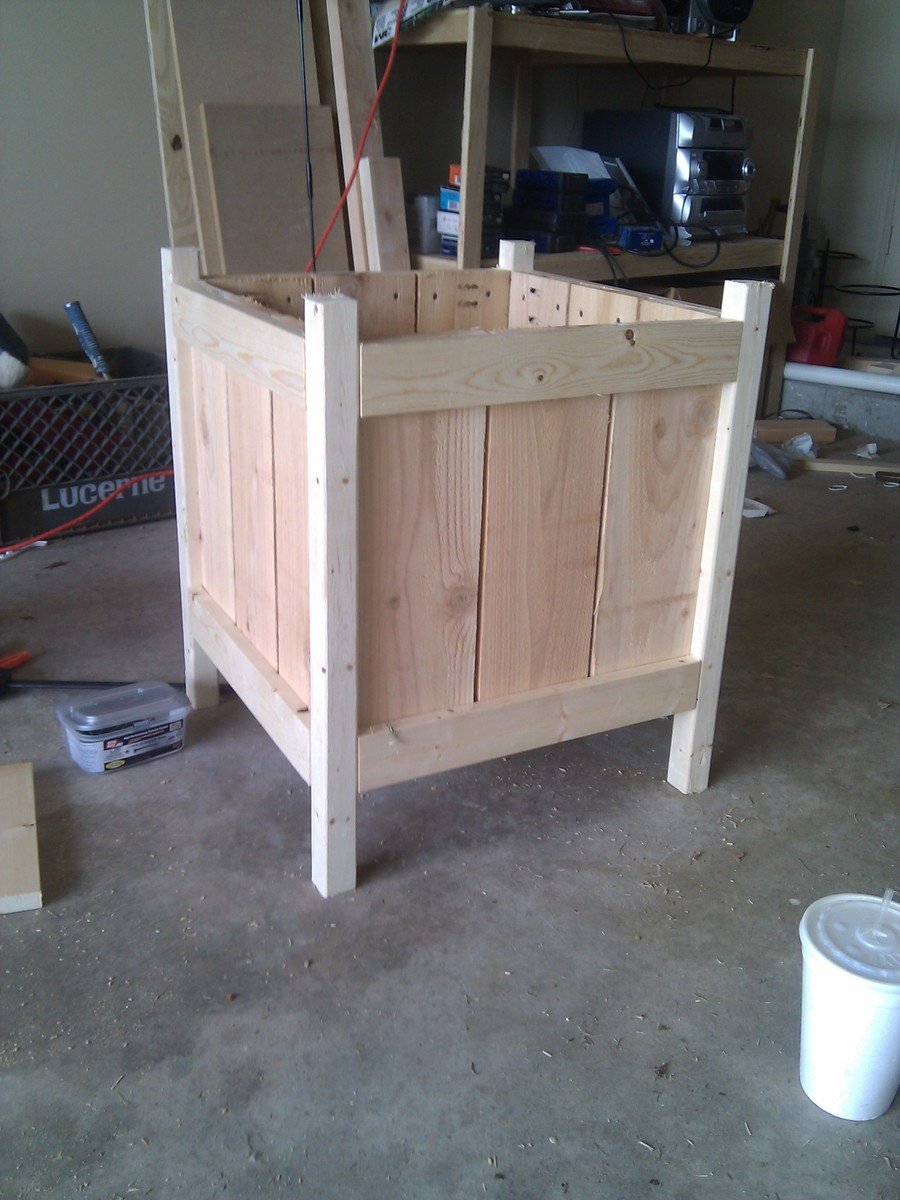
Cedar Planter
This is a cedar planter created using the plans from this website. I modified the legs some and also put a 1x2 across the top to finish it out. It is stained using Cabot Australian Timber Oil Stain in Mohagony Flame. I think it turned out great...and so does my wife!
Built from Plan(s)
Estimated Time Investment
Afternoon Project (3-6 Hours)
Finish Used
Cabot Australian Timber Oil Stain in Mohagony Flame
Recommended Skill Level
Beginner
Little Helper
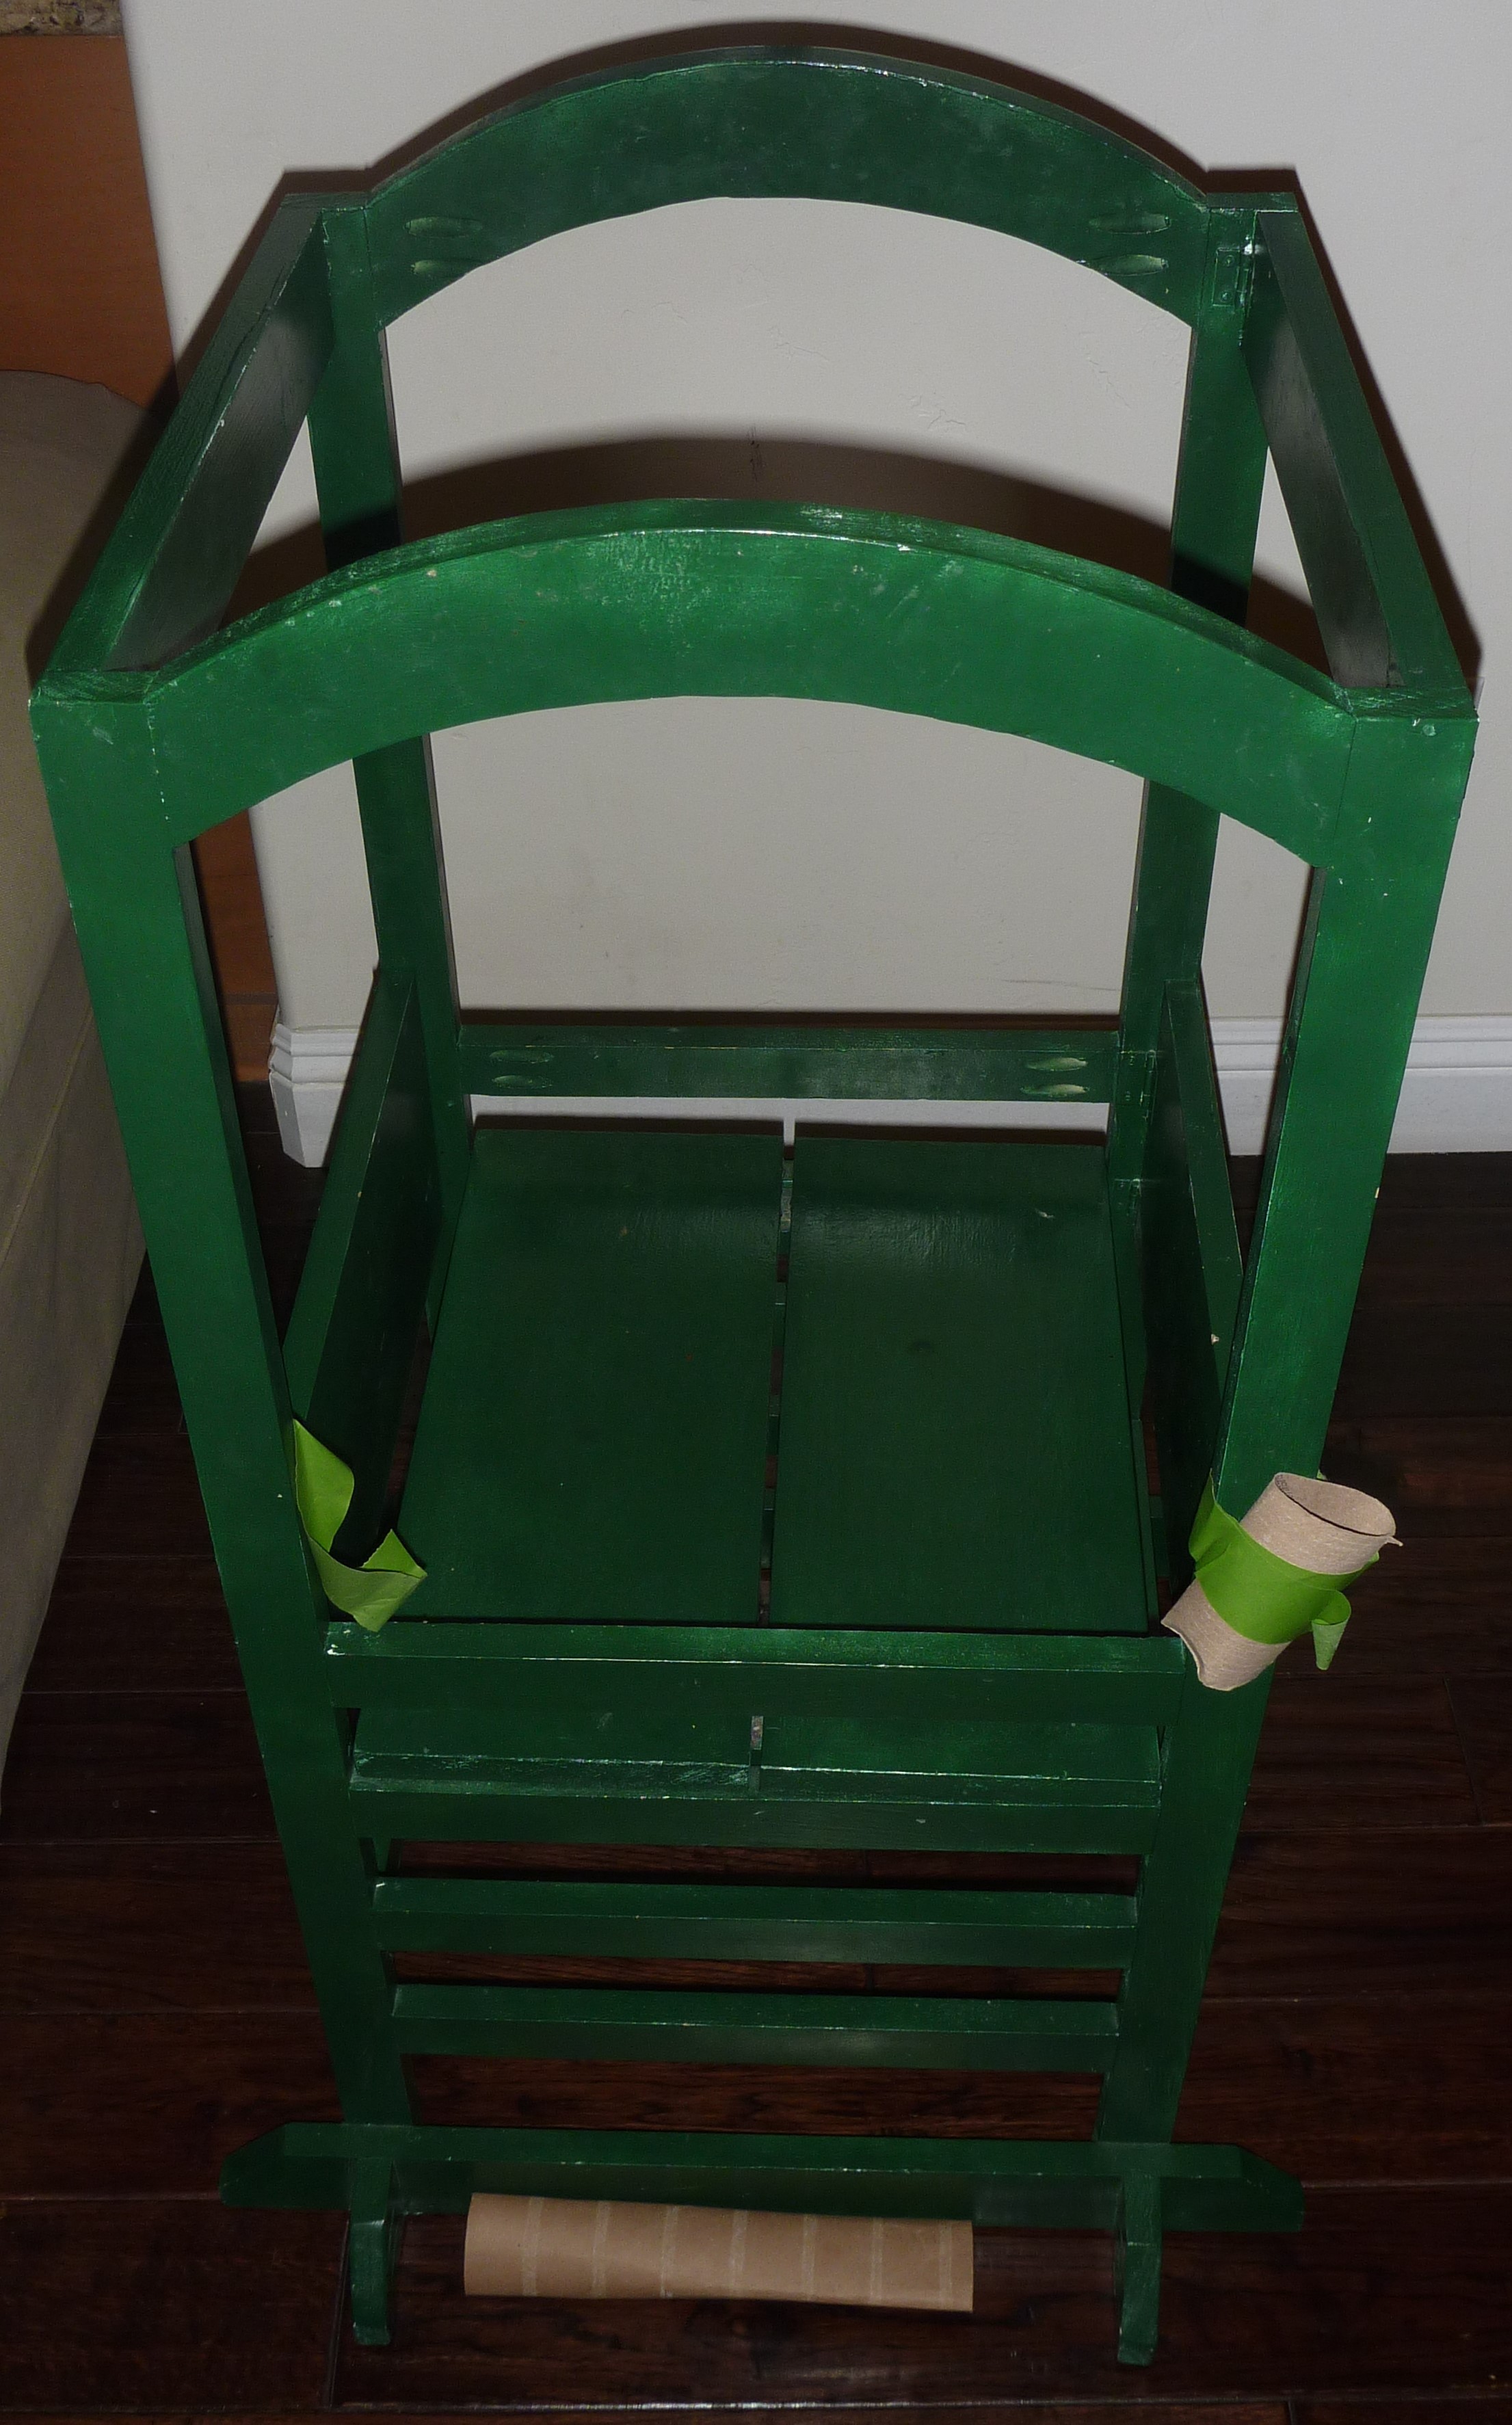
This was the first project I made from this website...my wife wanted to make it for our 2 year old (at the time).
Built from Plan(s)
Estimated Time Investment
Weekend Project (10-20 Hours)
Recommended Skill Level
Beginner
My Garden Shed
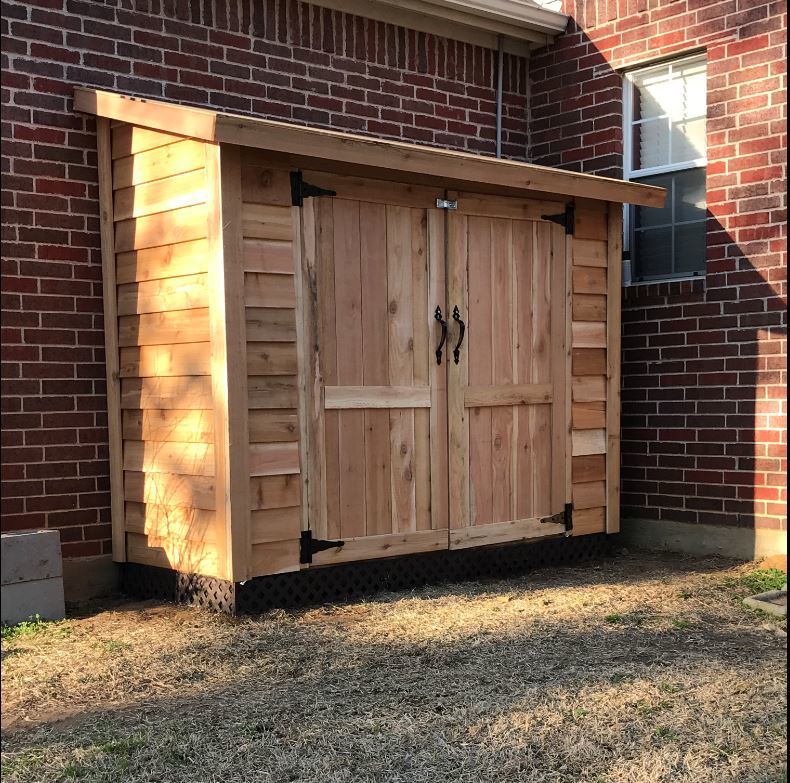
I used these plans of this project. Only differences are I used 2X3 studs. I also made the shed longer,, its 3ft X 8ft.. Also on the back I used two siding sheets since it wouldnt be seen. Did it over the weekend. Just needs shingles and stain. Anyway I love it. Had a spot behind the house where it fits perfectly. Thanks
Built from Plan(s)
Estimated Time Investment
Weekend Project (10-20 Hours)
Recommended Skill Level
Intermediate
Adirondack Chair with Vertical Slats

Built one of your Adirondack chairs today. Love it!
by Neil
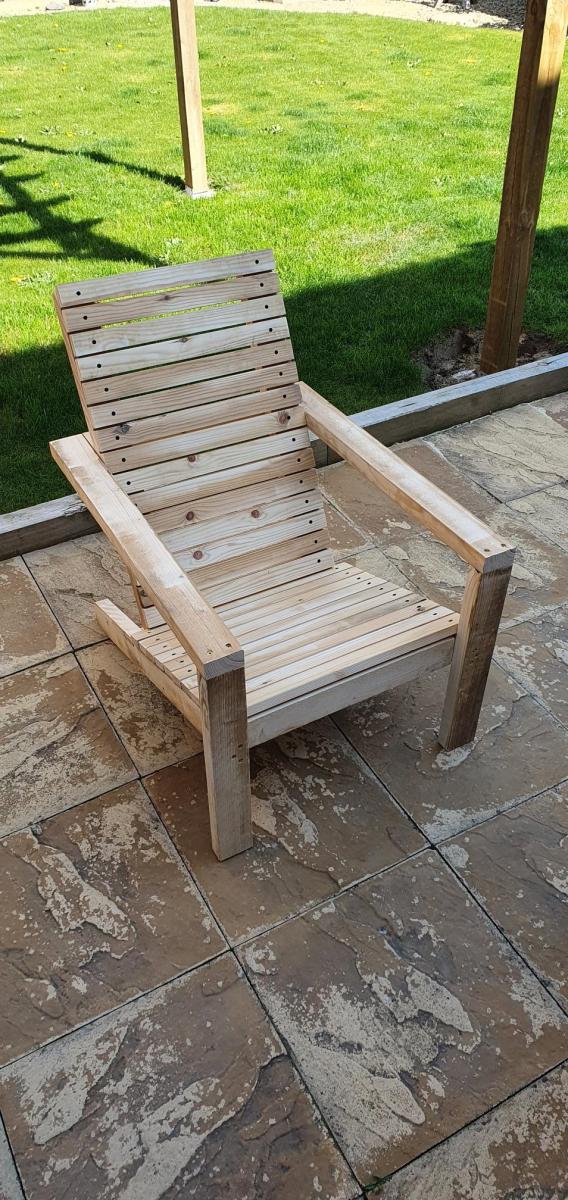
Built from Plan(s)
Comments
Ana White Admin
Sat, 04/09/2022 - 14:17
Very nice!
Thank you for sharing, this looks great!
Ana White Admin
Sat, 04/09/2022 - 14:17
Very nice!
Thank you for sharing, this looks great!