Community Brag Posts

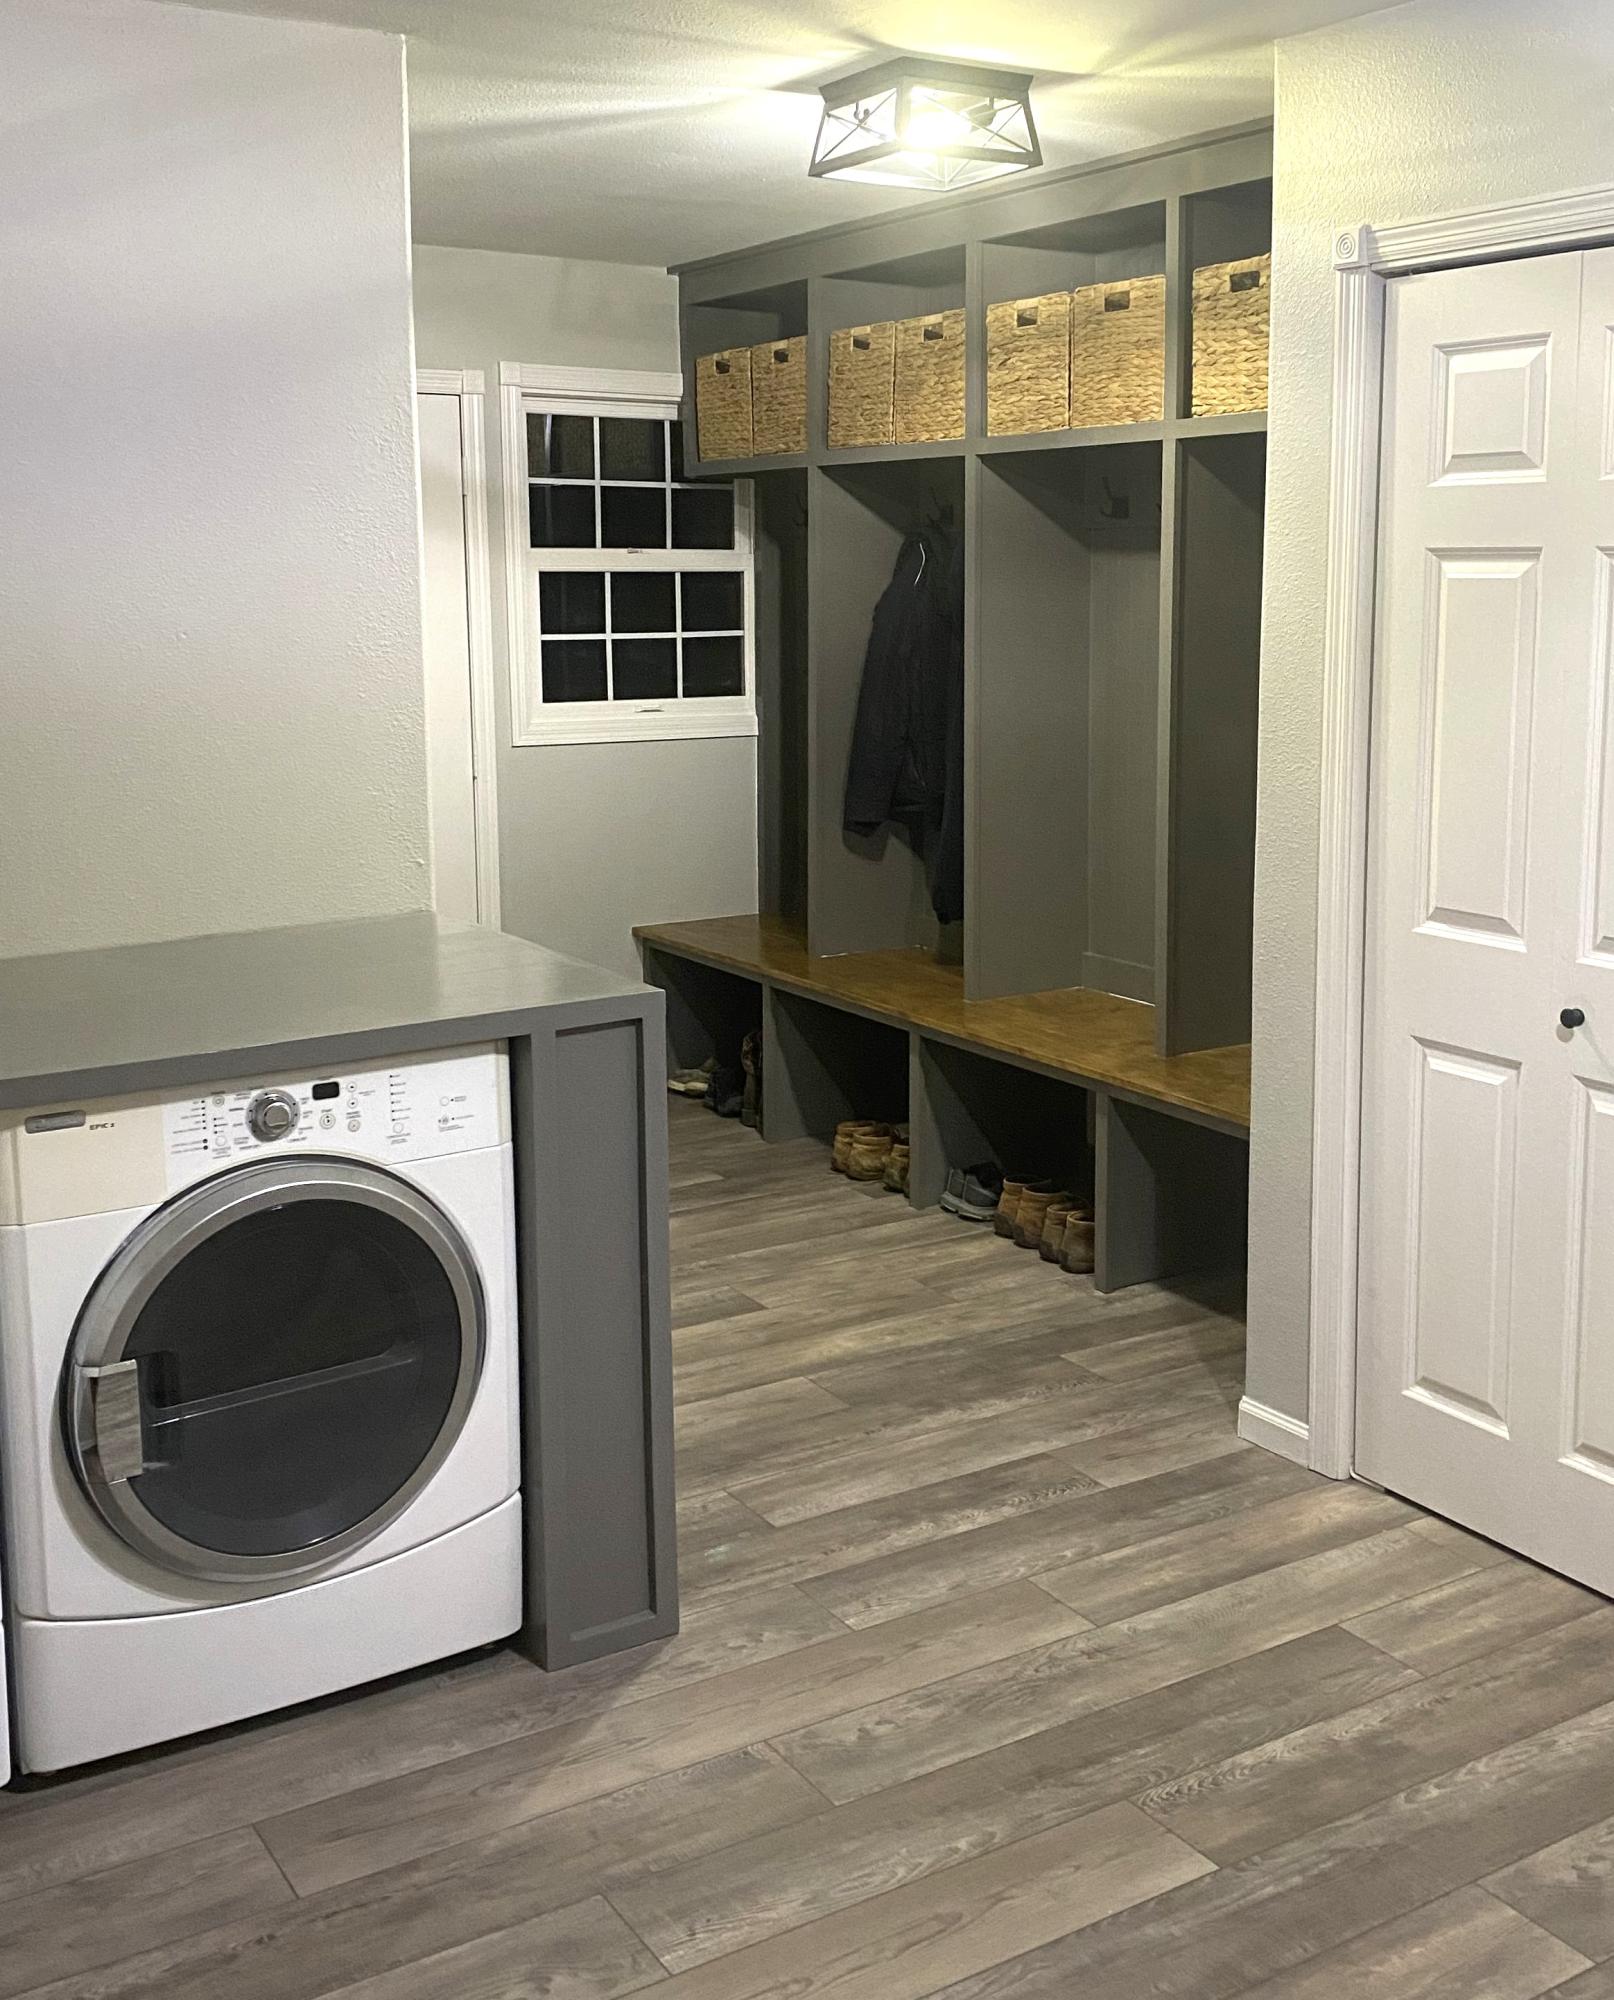
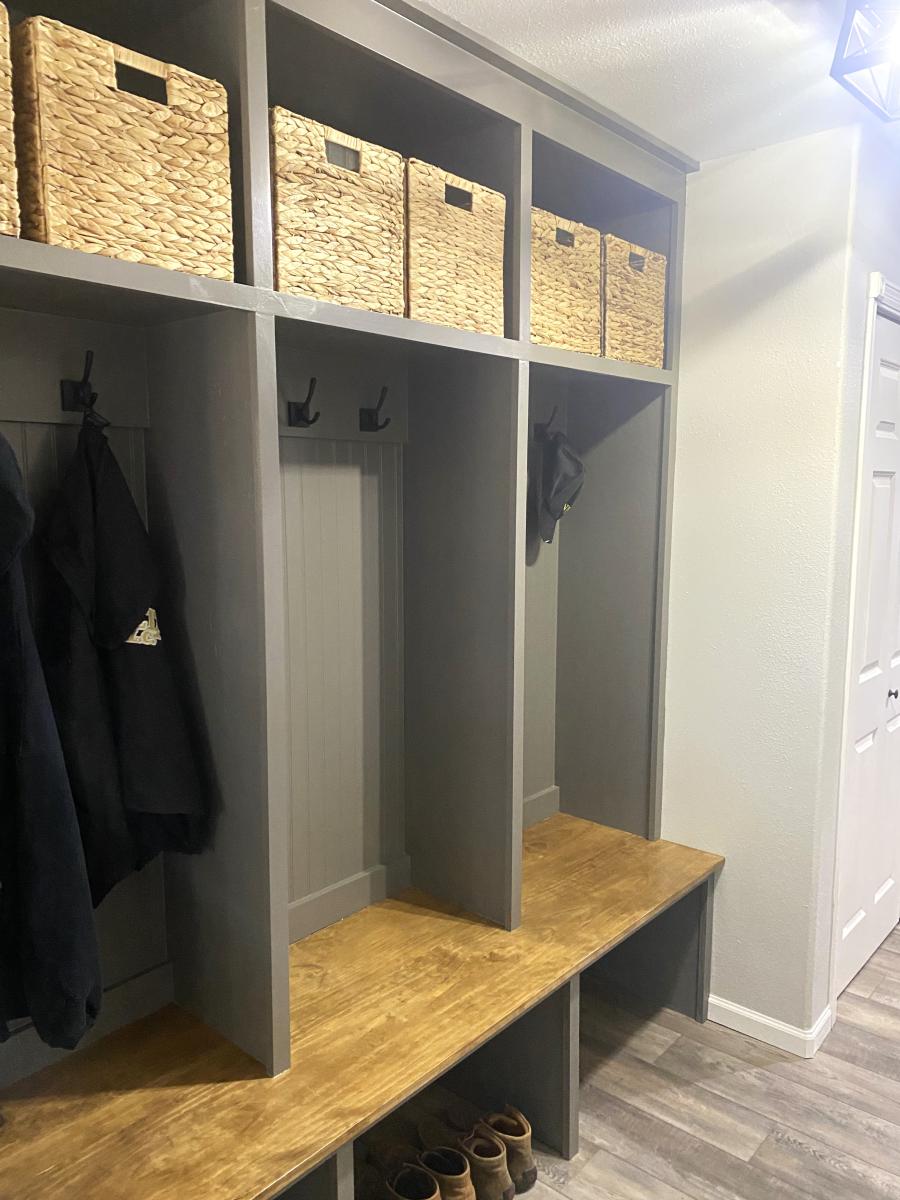
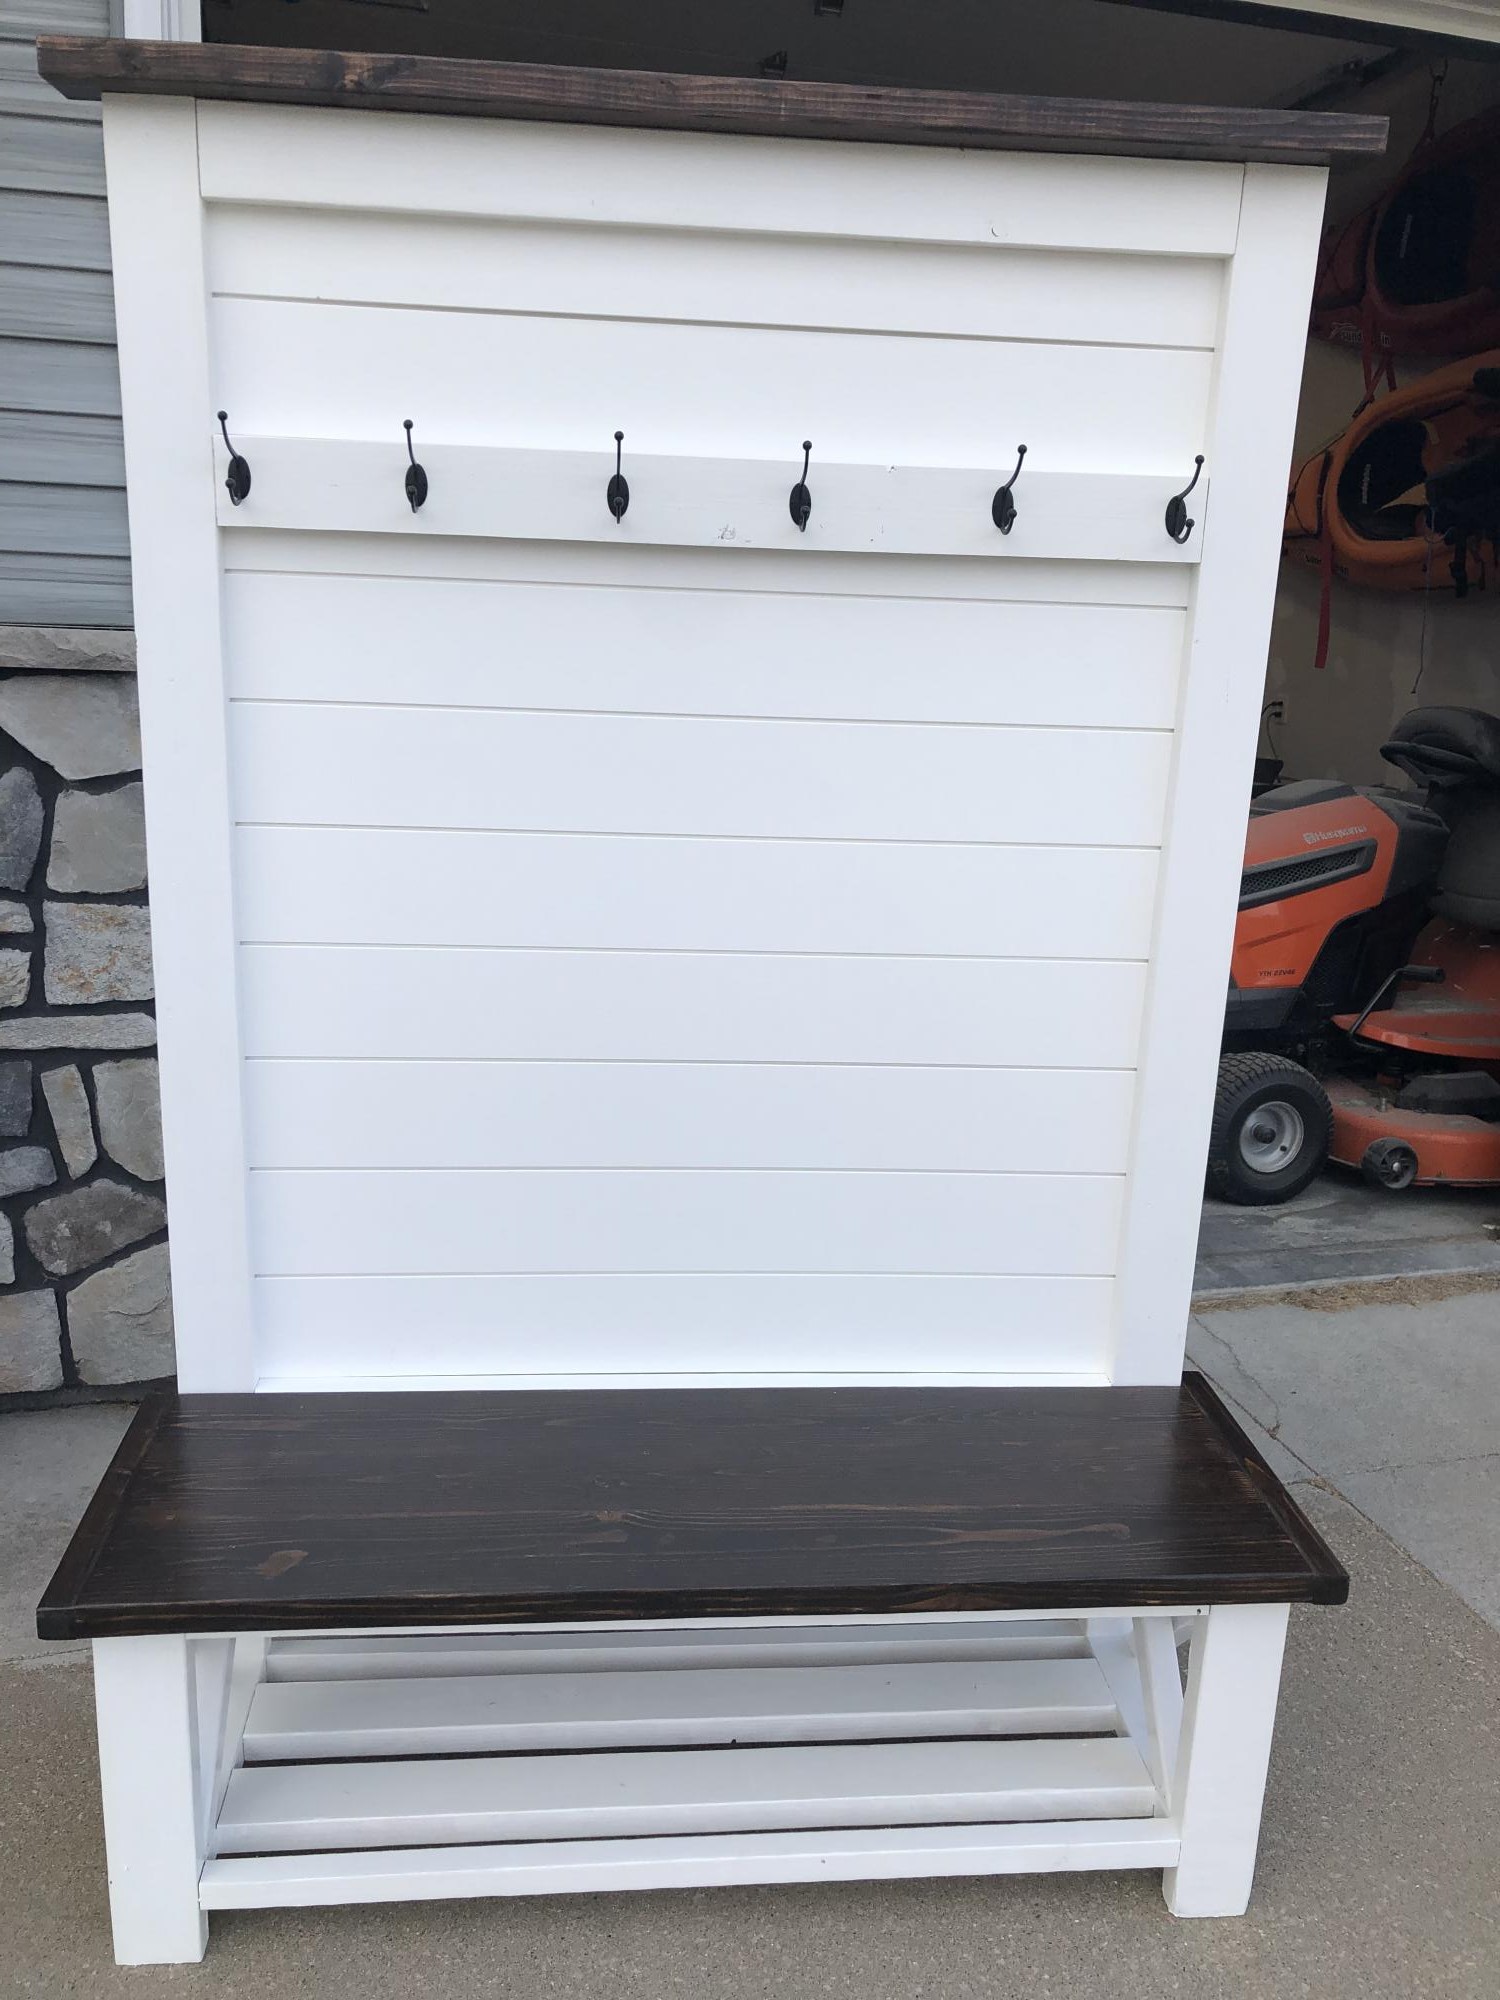
Hall Tree Bench with Shiplap Back

I made this for a cousin, but now I think I am going to need to make one for myself too!  I used shiplap for the back instead of plywood. It cost a little more but was less effort than cutting the lines into the plywood. Plus it was already finished. 

Built from Plan(s)

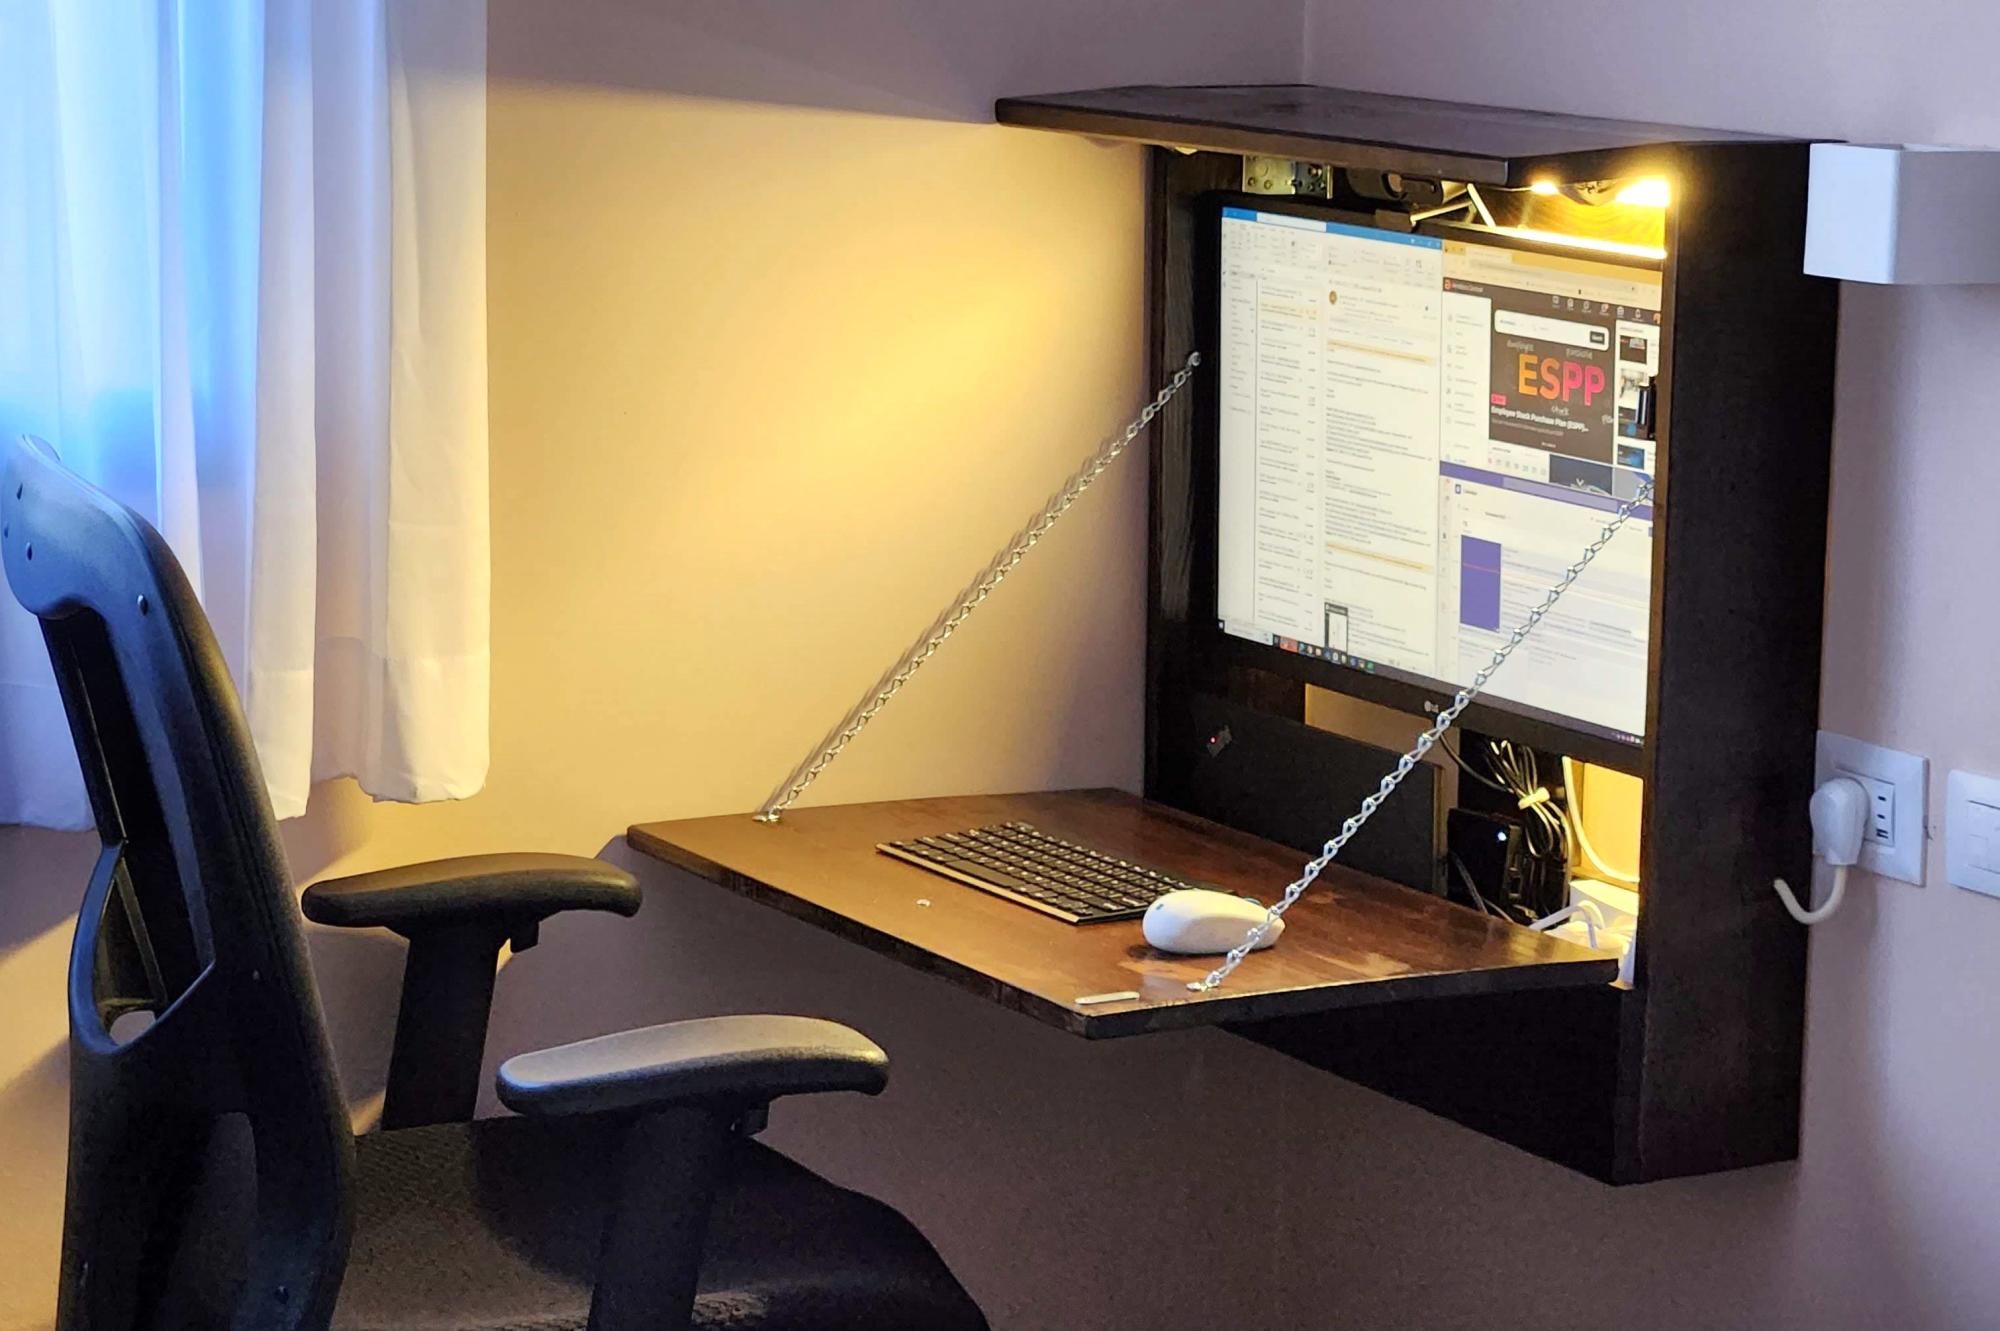
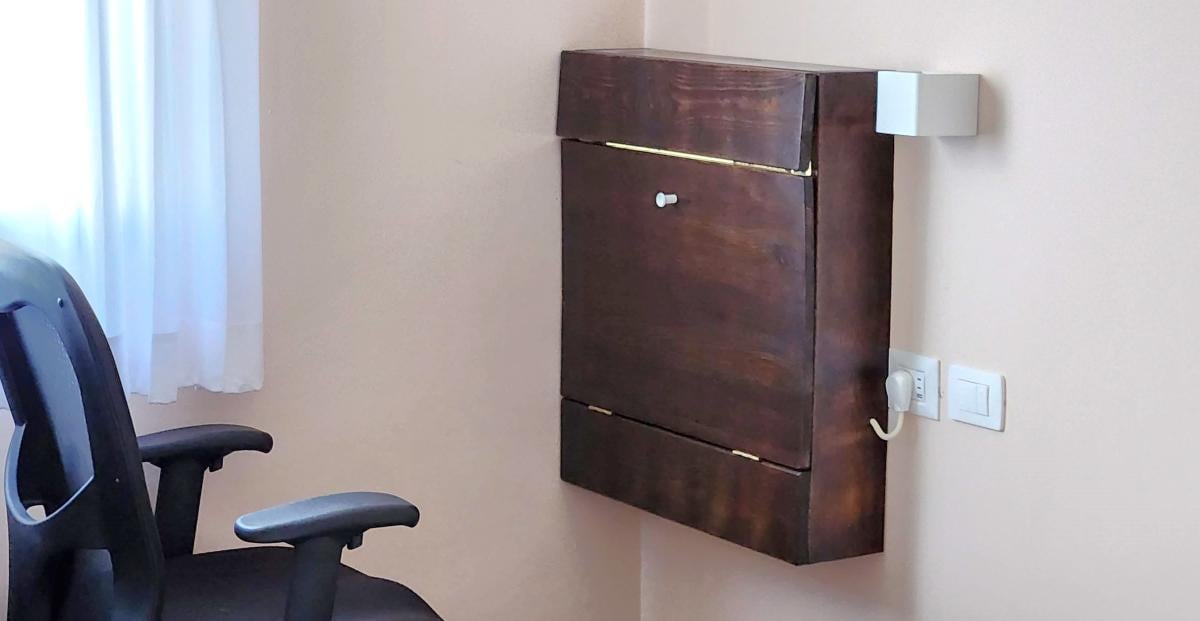
Concealed Wall Desk for Computer

Submitted by Gabie on Mon, 11/20/2023 - 10:51

I built this fold-up desk, out of sheer necessity. It's rather unassuming when closed, yet fully functional when open, with built-in power outlets and light, a large screen, a nook for the laptop and the chargers, etc. It's tailored to my needs and specific size limitations, but I think you could make a great general plan of it for anyone needing a small-space hideaway desk.

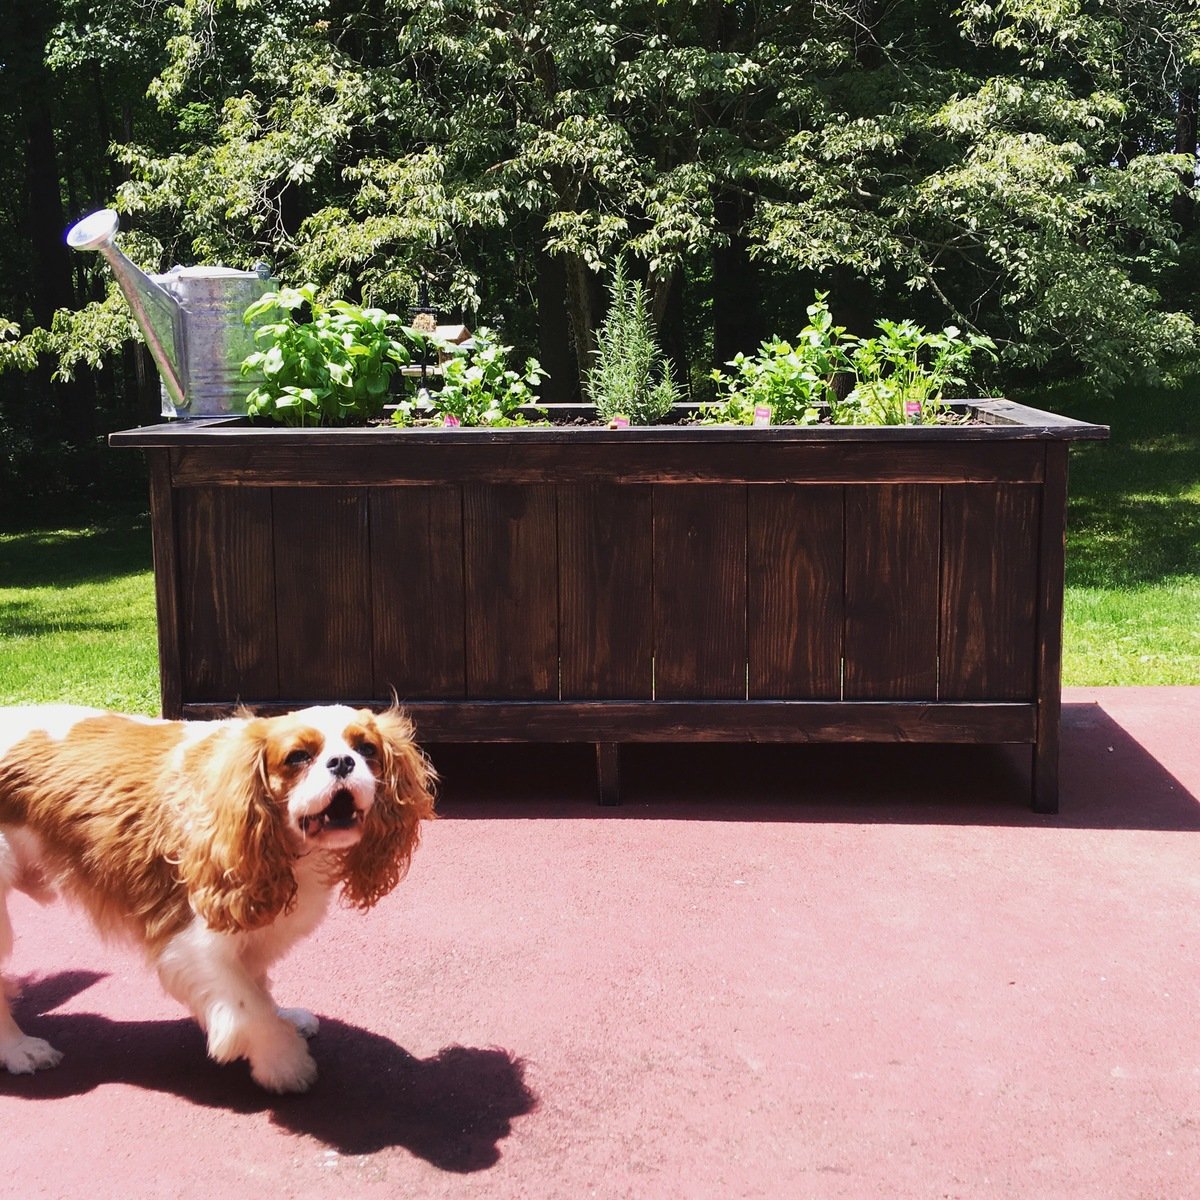
Herb Planter

Submitted by Anonymous (not verified) on Mon, 06/20/2016 - 14:42

Modified the dimensions to make a good sized planter for patio herb garden :)

Built from Plan(s)
Estimated Cost
~$50 for lumber and supplies
Estimated Time Investment
Day Project (6-9 Hours)
Finish Used
Minwax polyshades in classic black satin applied, then distressed with sander
Recommended Skill Level
Beginner

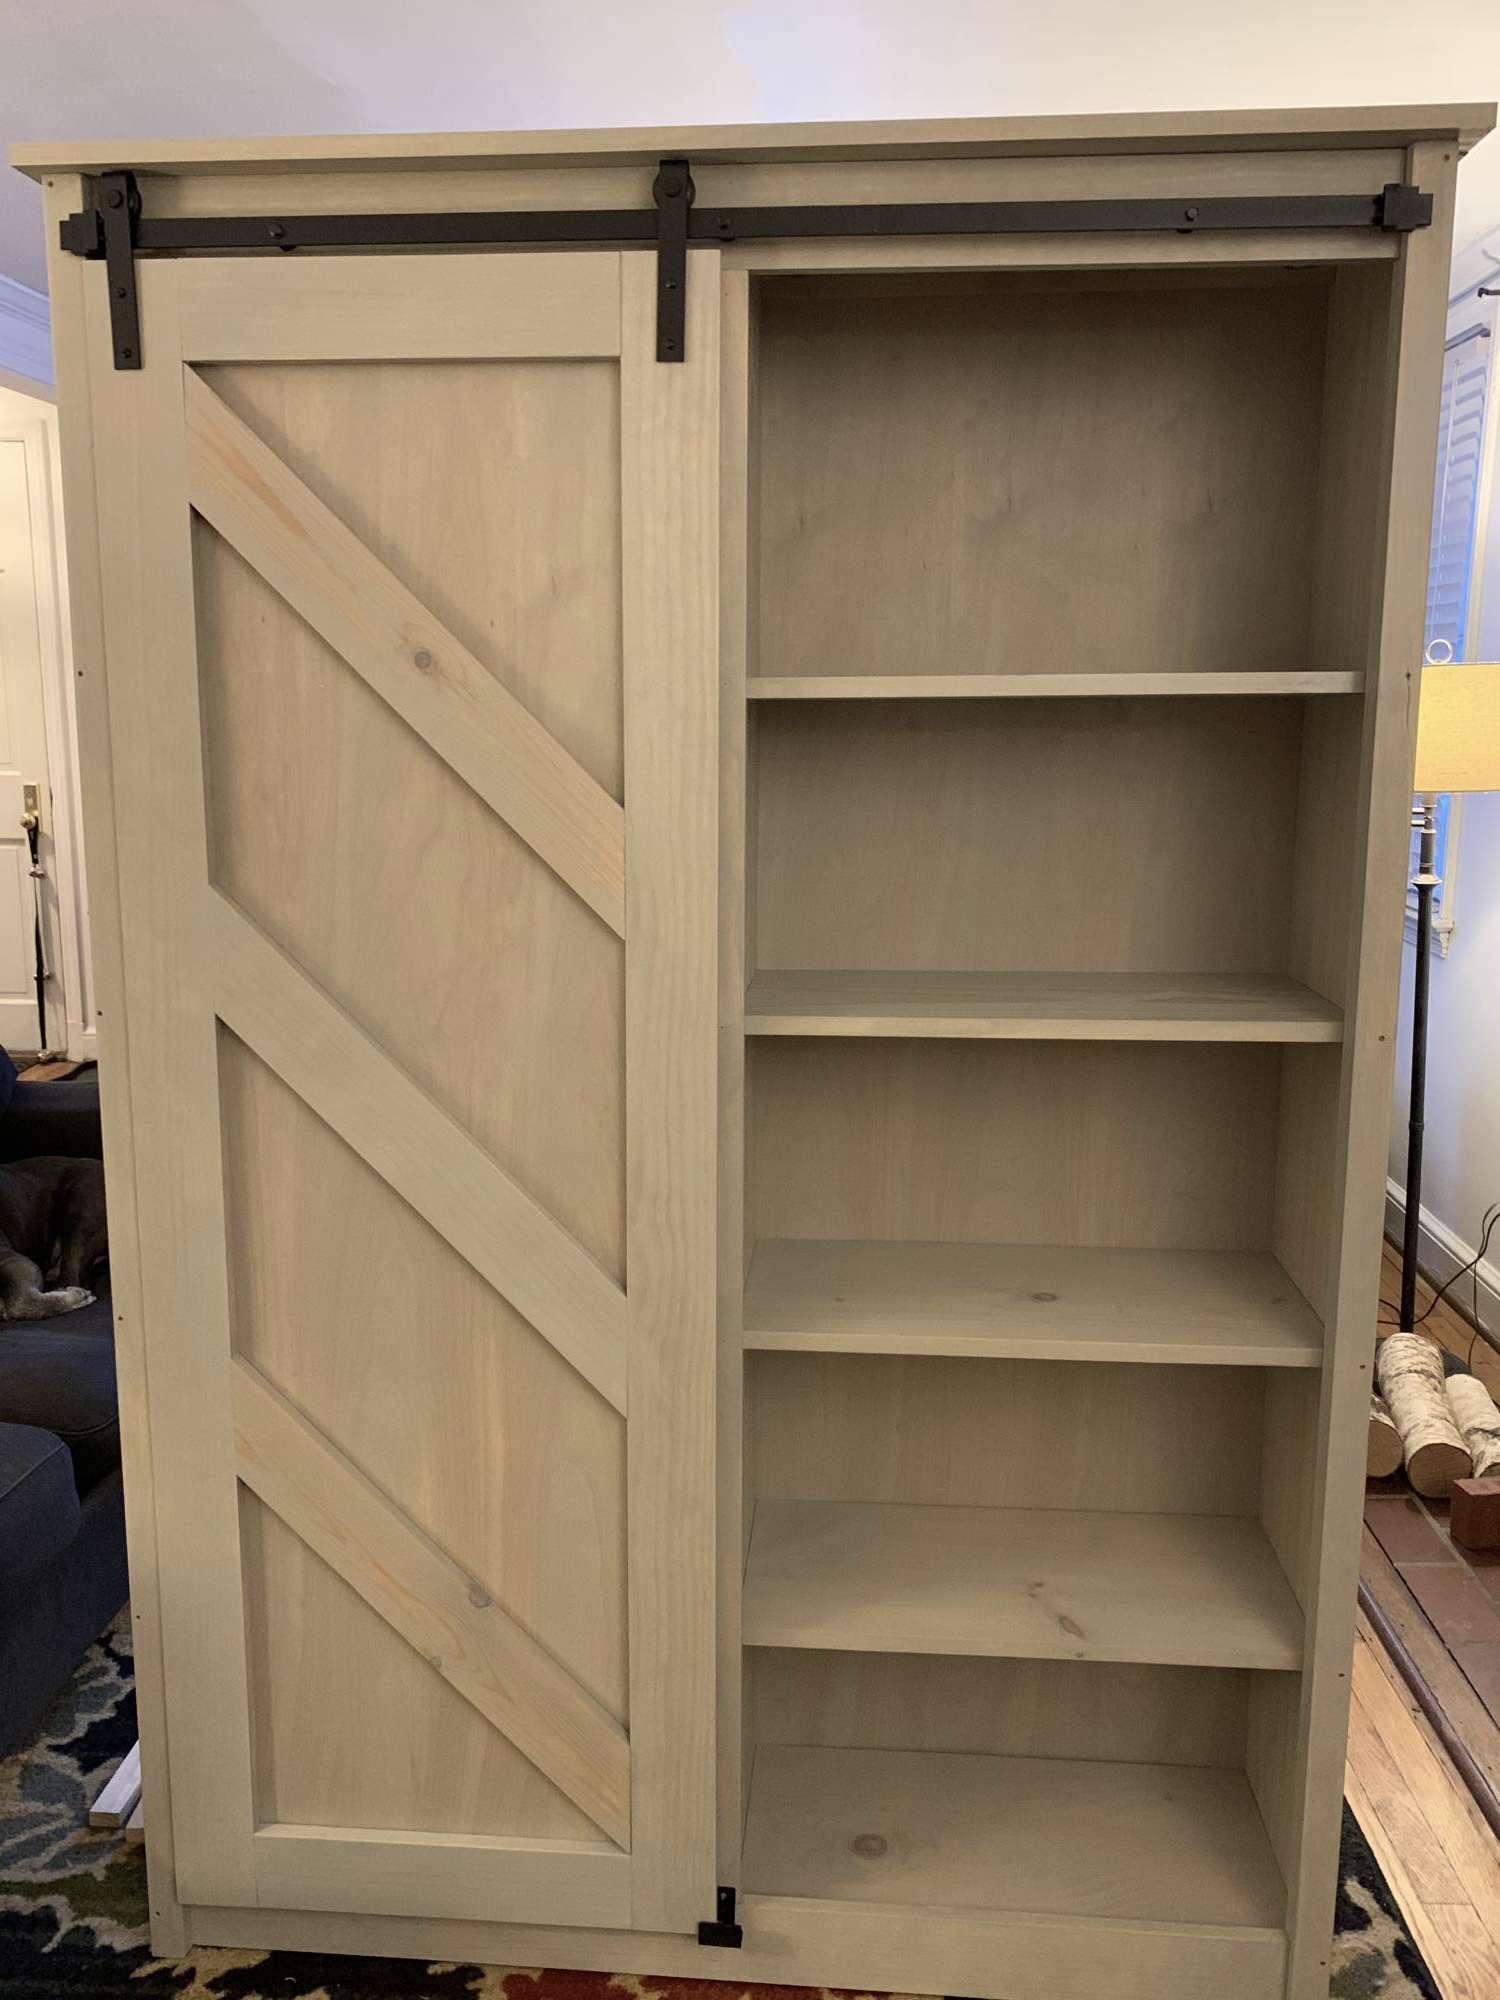
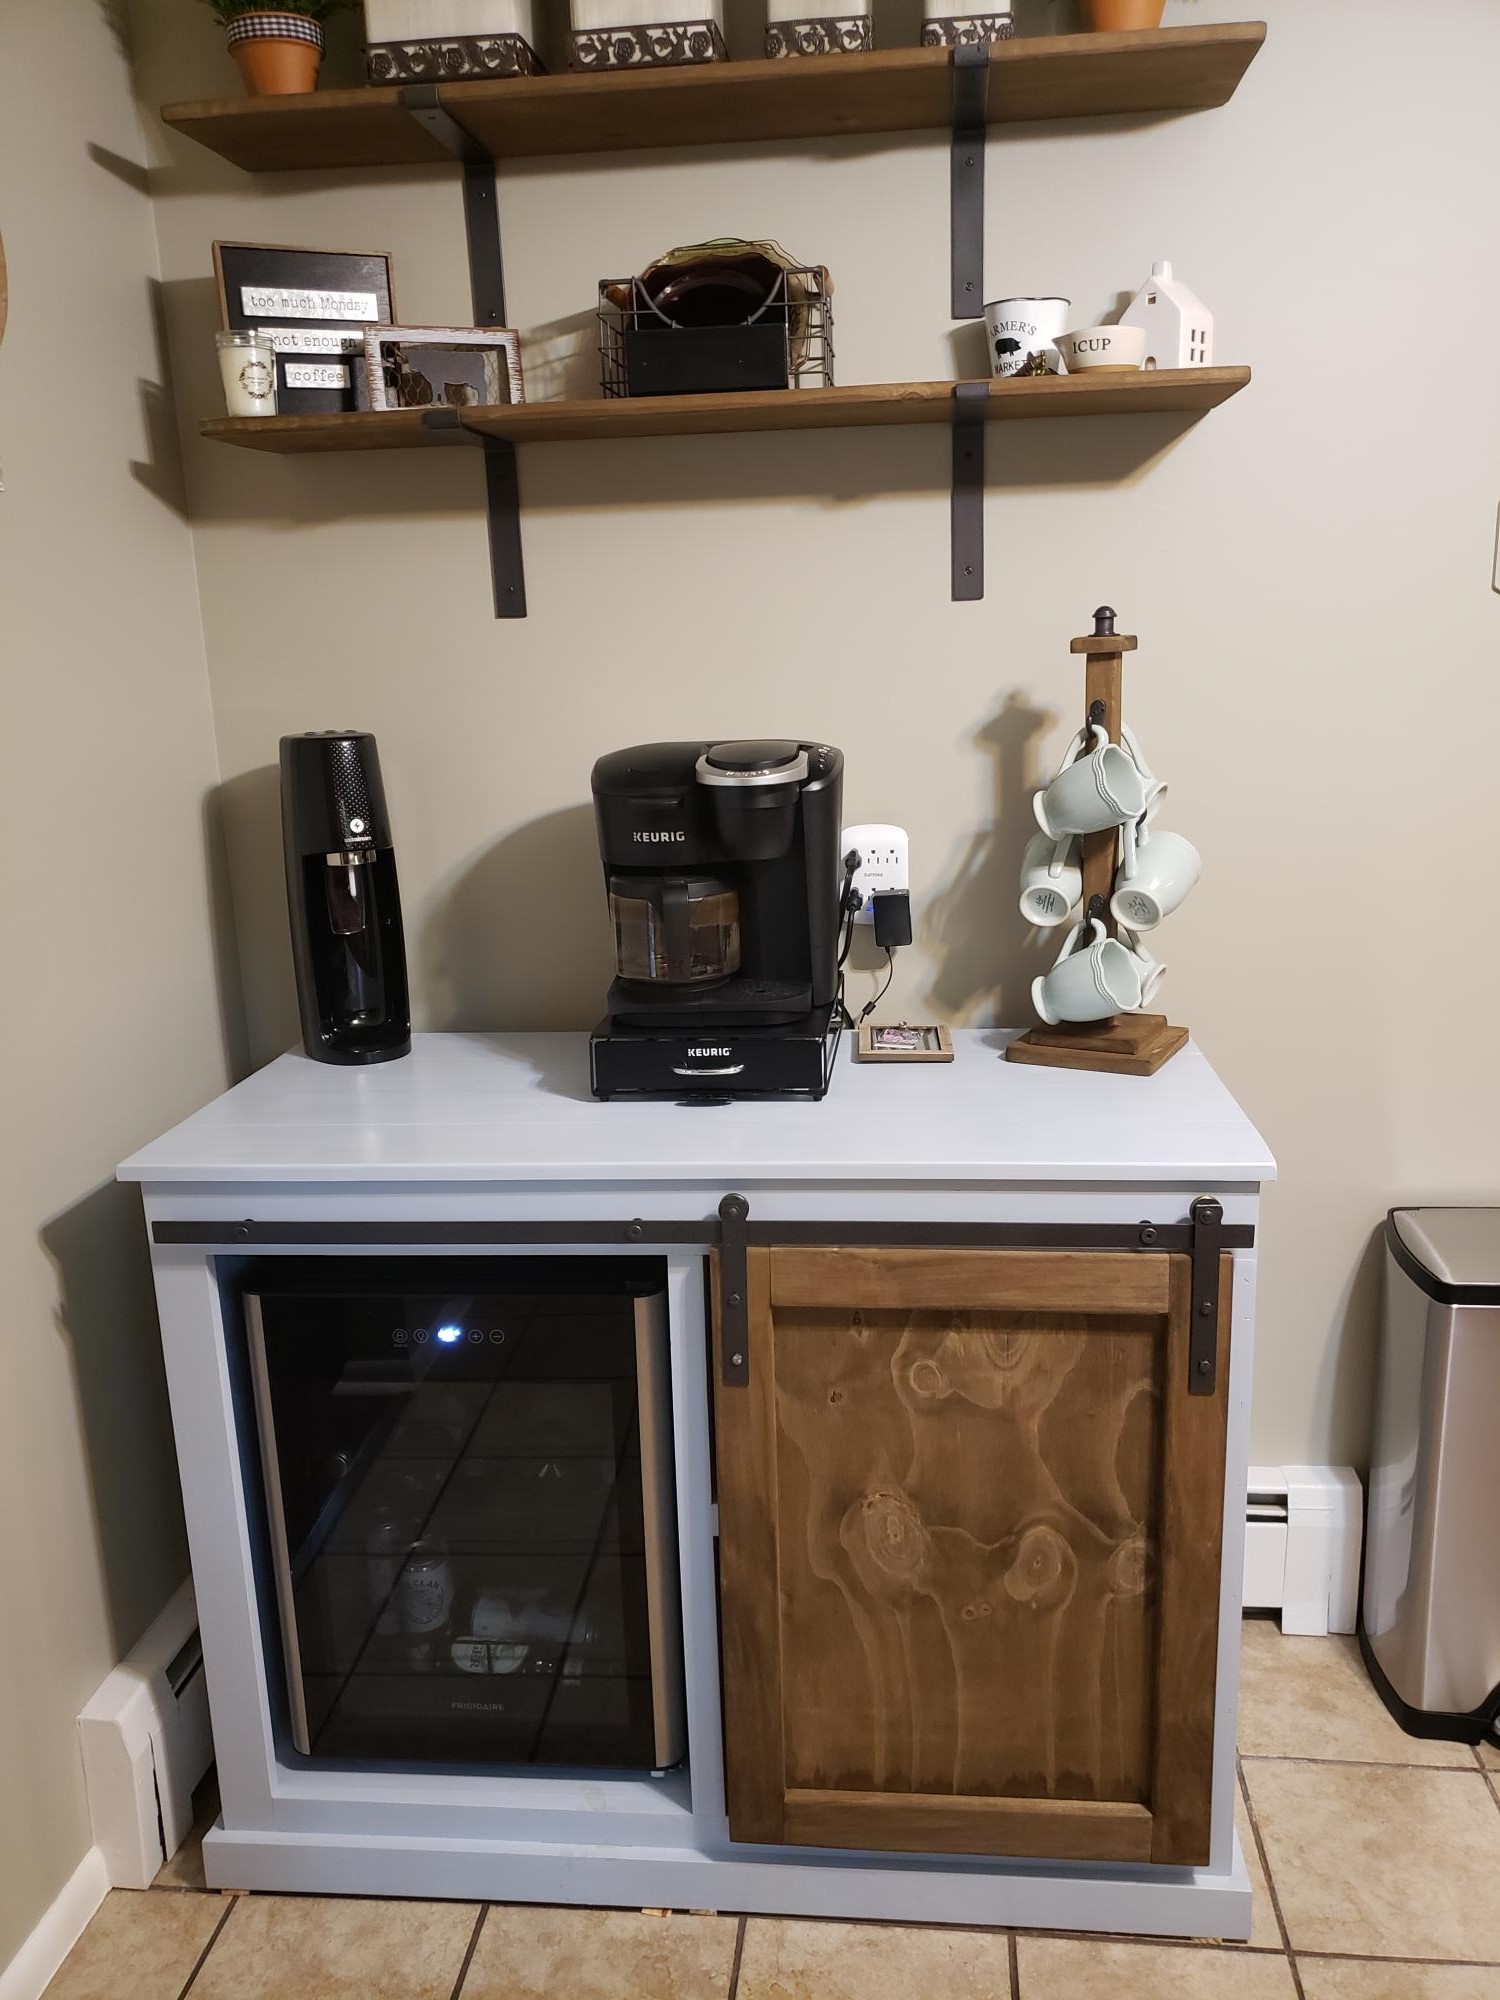
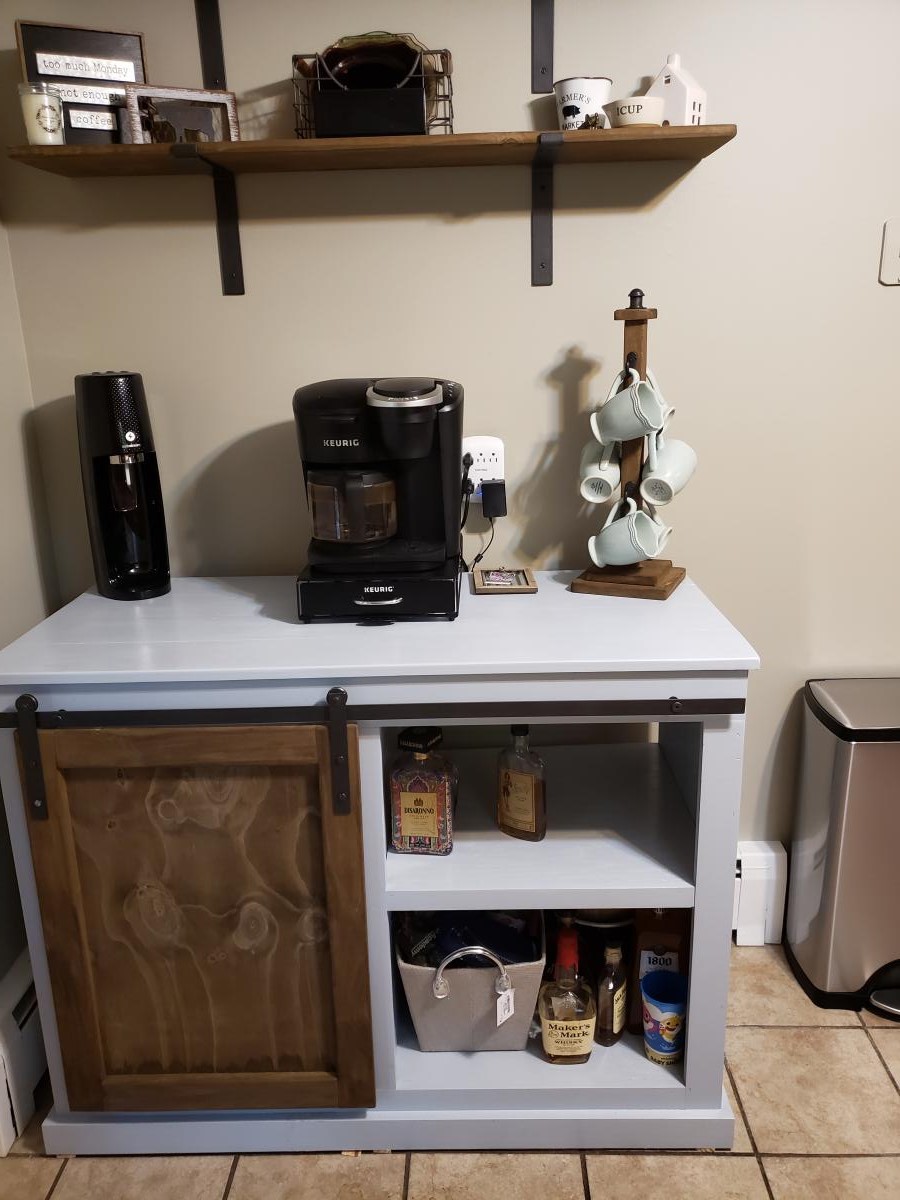
Barn Door Bookcase/ Side Pantry

Submitted by BmoreITguy on Wed, 04/22/2020 - 05:57

This took a lot of time and money but I like the way it looks. We have 4 kitchen cabinets and one drawer and no room for more so storage is tight.

Built from Plan(s)
Estimated Cost
400
Estimated Time Investment
Week Long Project (20 Hours or More)
Finish Used
Same as Ana’s
Recommended Skill Level
Advanced

Comments

BmoreITguy

Wed, 04/22/2020 - 06:00

Why is my picture sideways? Ana, one of the most frustrating things with this build was the mobile version of your site. Very laggy, typing lags, pages crash in the middle of typing or viewing and persistent ads are a nightmare

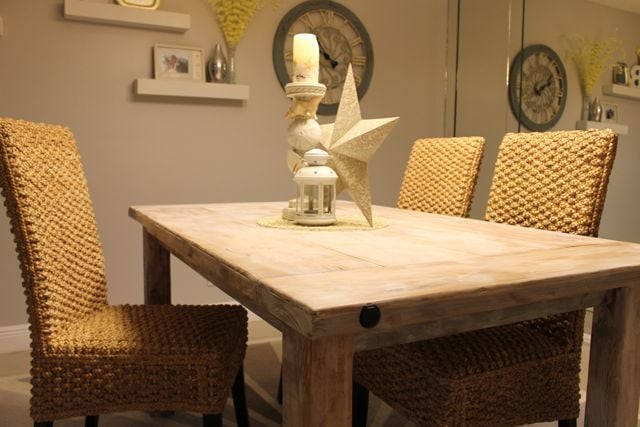
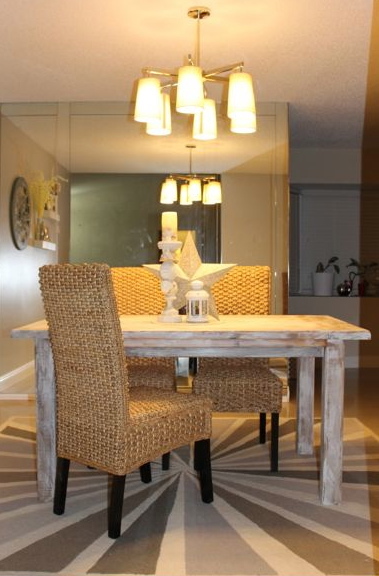
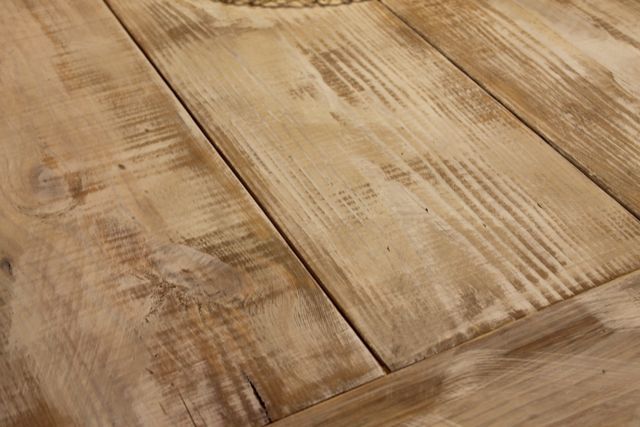
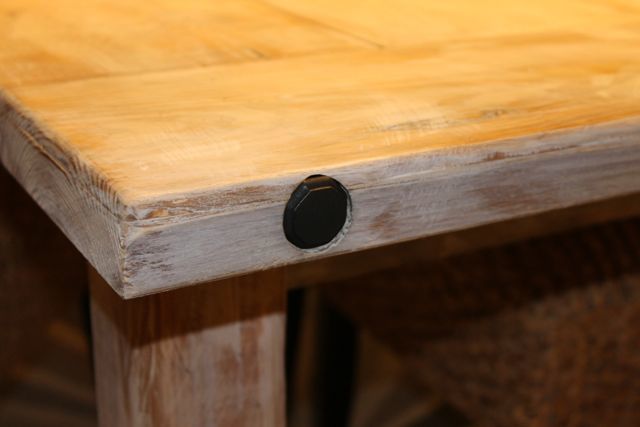
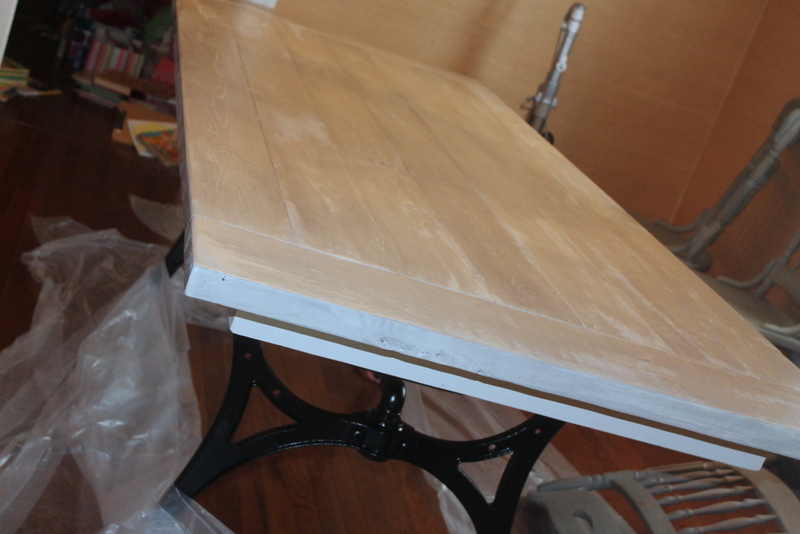
Shabby Chic Farmhouse Table

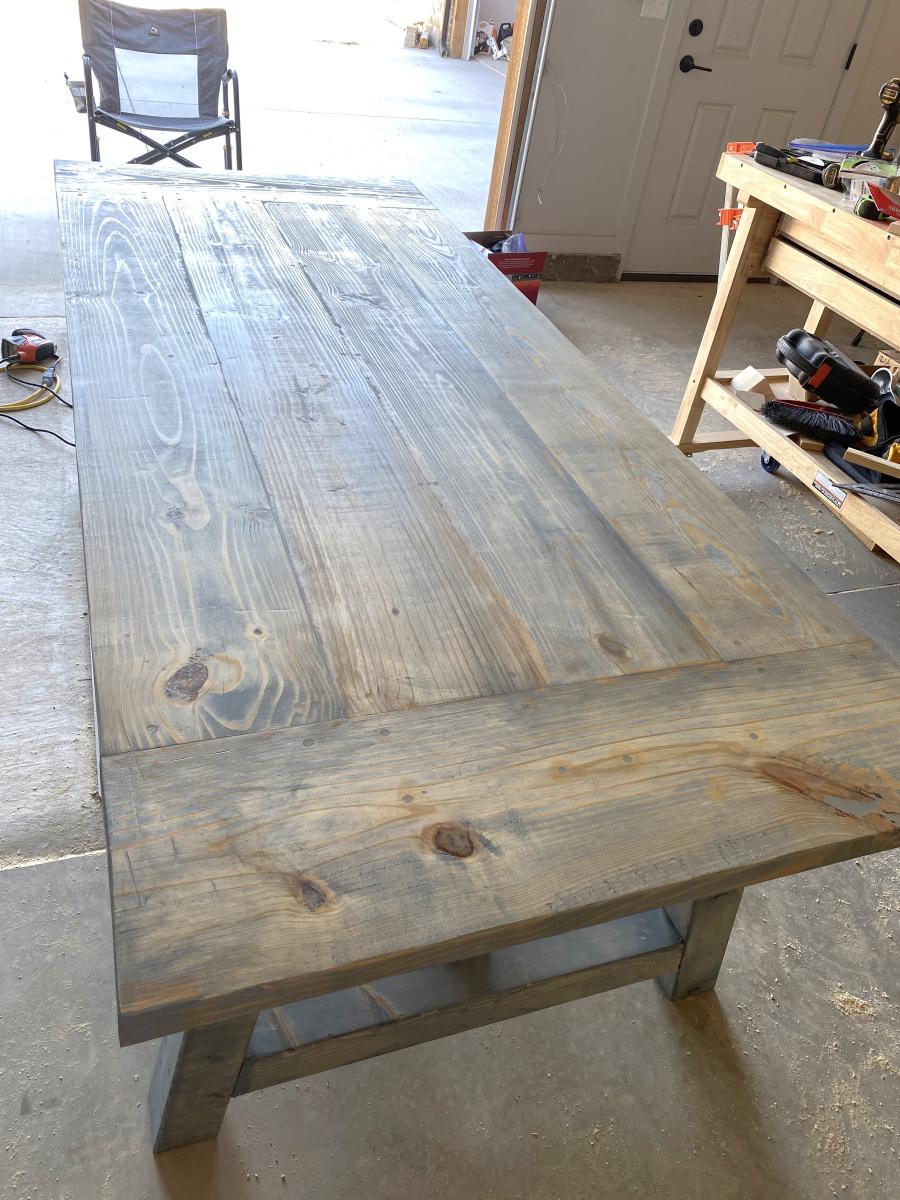
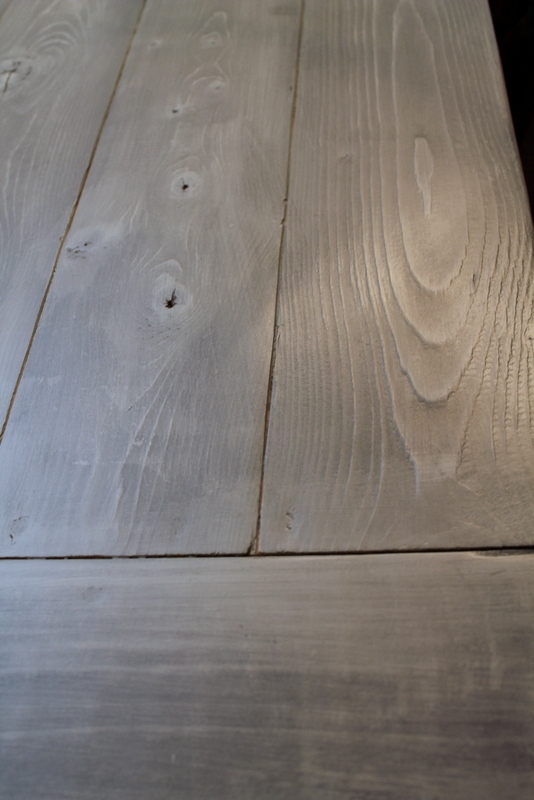
Finally got a chance to try my hand at whitewashing and I just love the outcome!

Estimated Cost
$70.00
Estimated Time Investment
Afternoon Project (3-6 Hours)
Finish Used
I first used a steel wool and vinegar mixture and then whitewashed over it. You can find a tutorial on my blog here http://sawgrasshome.com/?p=1717#

Recommended Skill Level
Beginner

Comments

Brooke B. (not verified)

Sat, 11/17/2012 - 13:12

What were the final dimensions of your table? I've been wanting to modify the plans so it will fit in our space as well. Thanks so much!

johnzaci

Wed, 07/24/2013 - 06:49

Hello I ahve seen your post here. I liked it, but one thing which i want to make sure that, these same things i found much expensive here on the http://www.biglovestyle.com/
I am not confirm what makes you to keep low:(
By the way, I am a little bit late to read your post. :(
Last Sunday me and my wife has changed all the old furniture and replaced it with the new.
I hope next time i will go to your shop first:)

Cabin/Simple Bunkbed

Submitted by Ballowe on Fri, 06/15/2012 - 21:41

We built this bed in the Cabin style, but we wanted to be able to stack it Simple style. It turned out beautifully!!

Finish Used
Sherwin Williams Fruitwood
Recommended Skill Level
Intermediate

Square Farmhouse Table

From the Modern Square Farmhouse table.

Estimated Cost
Around $5
Estimated Time Investment
Afternoon Project (3-6 Hours)
Recommended Skill Level
Beginner

Comments

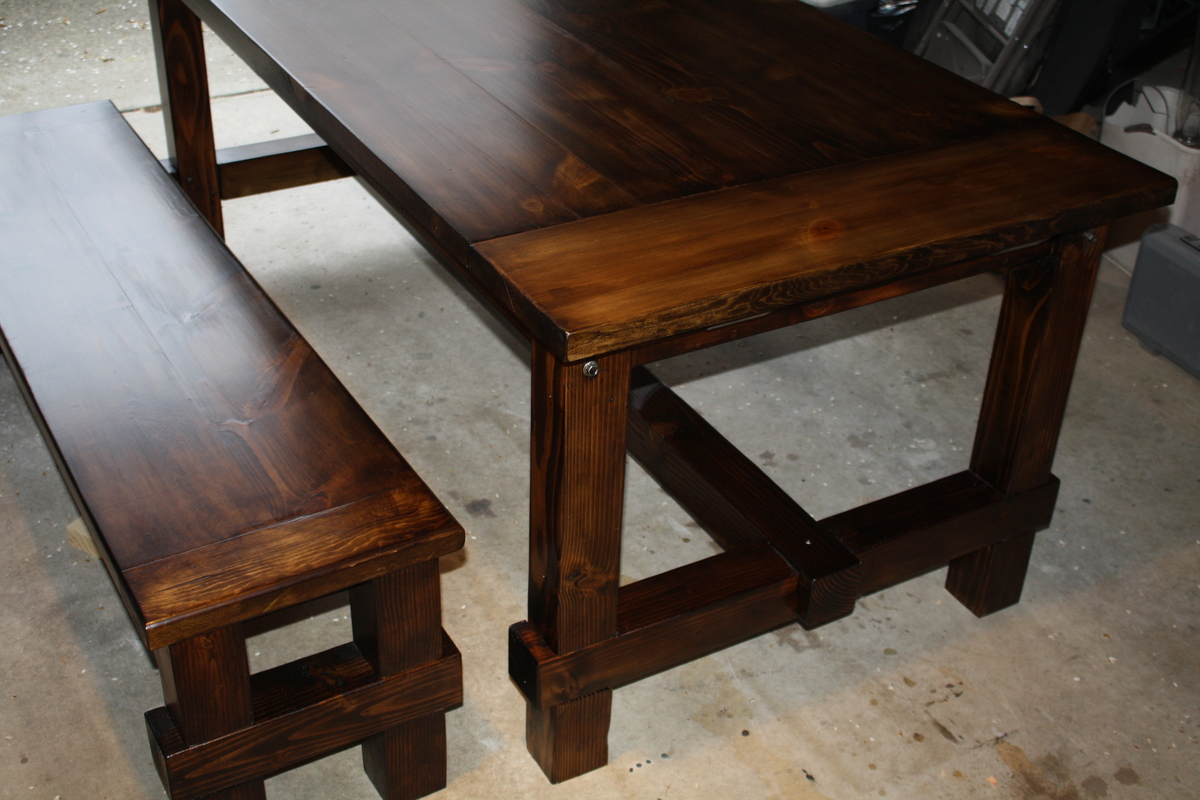
Farmhouse Table for Military Family

Submitted by Smokeydog on Tue, 04/15/2014 - 08:49

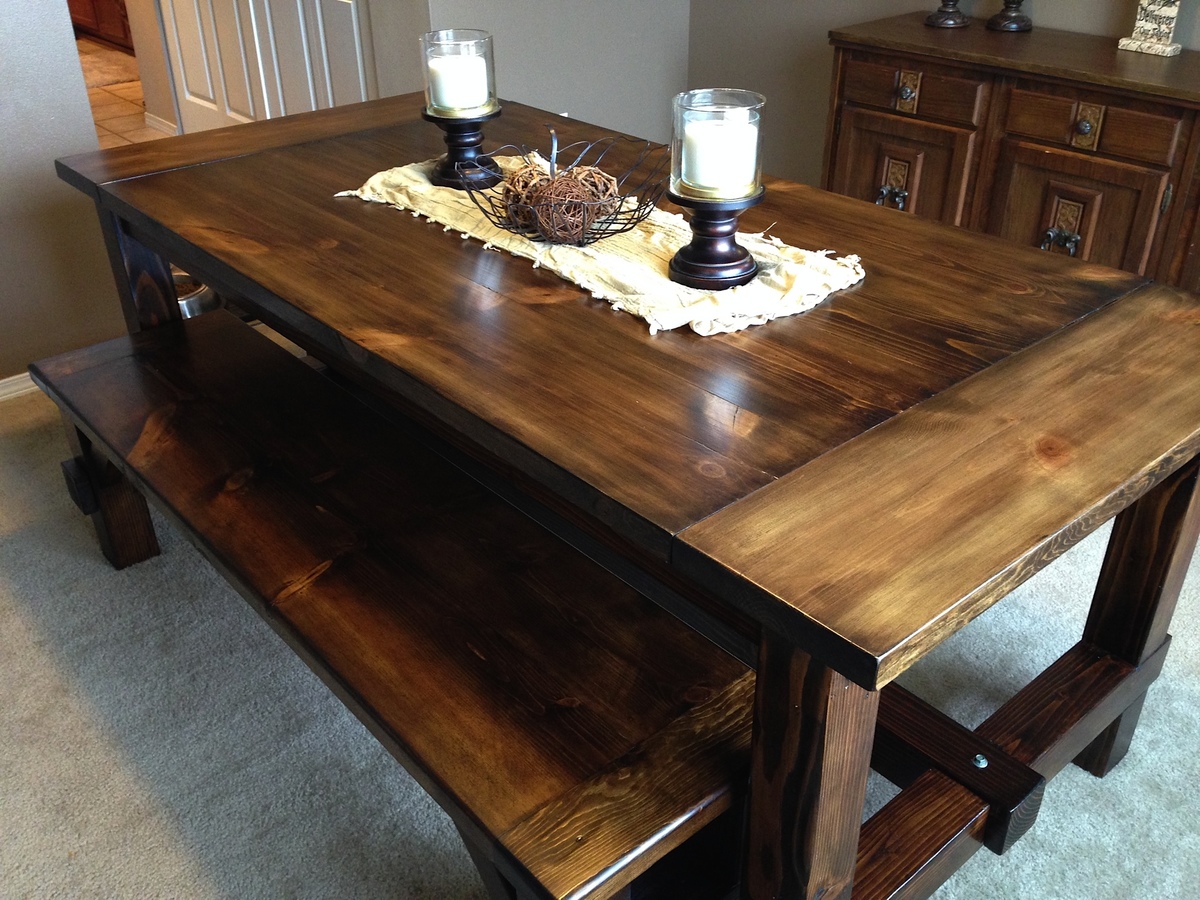
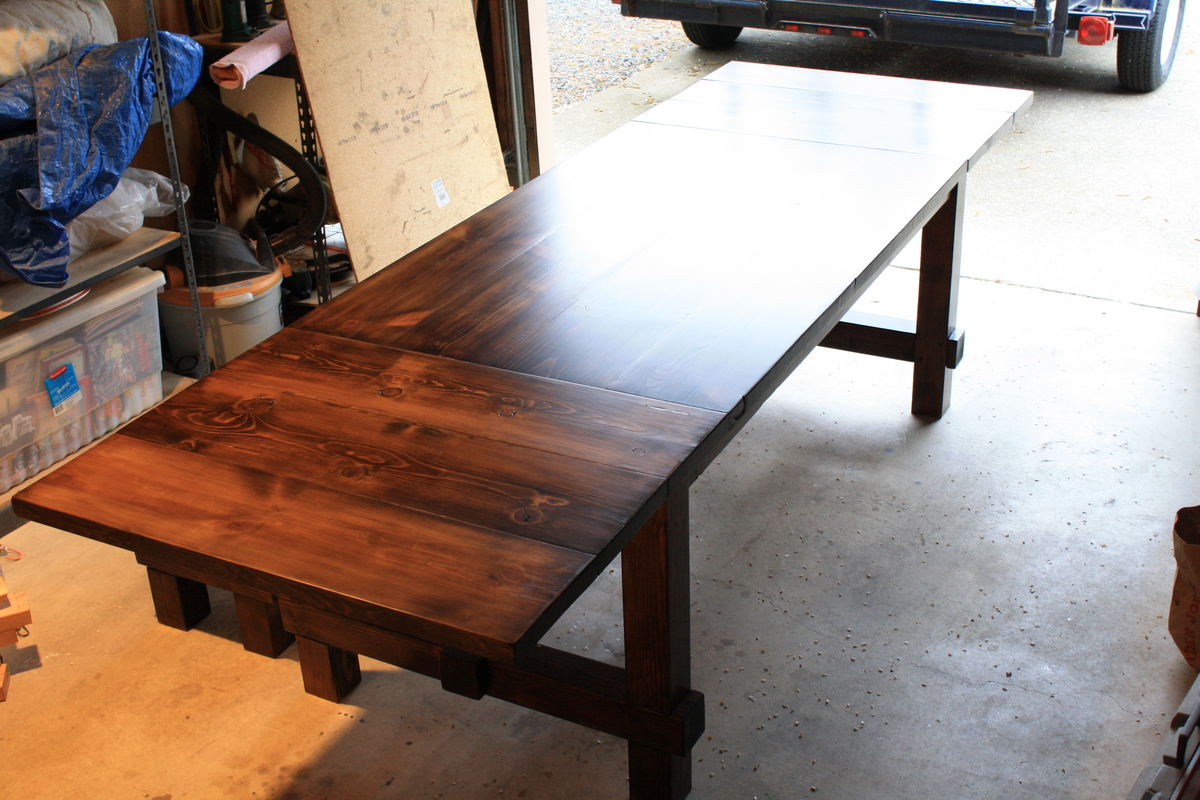
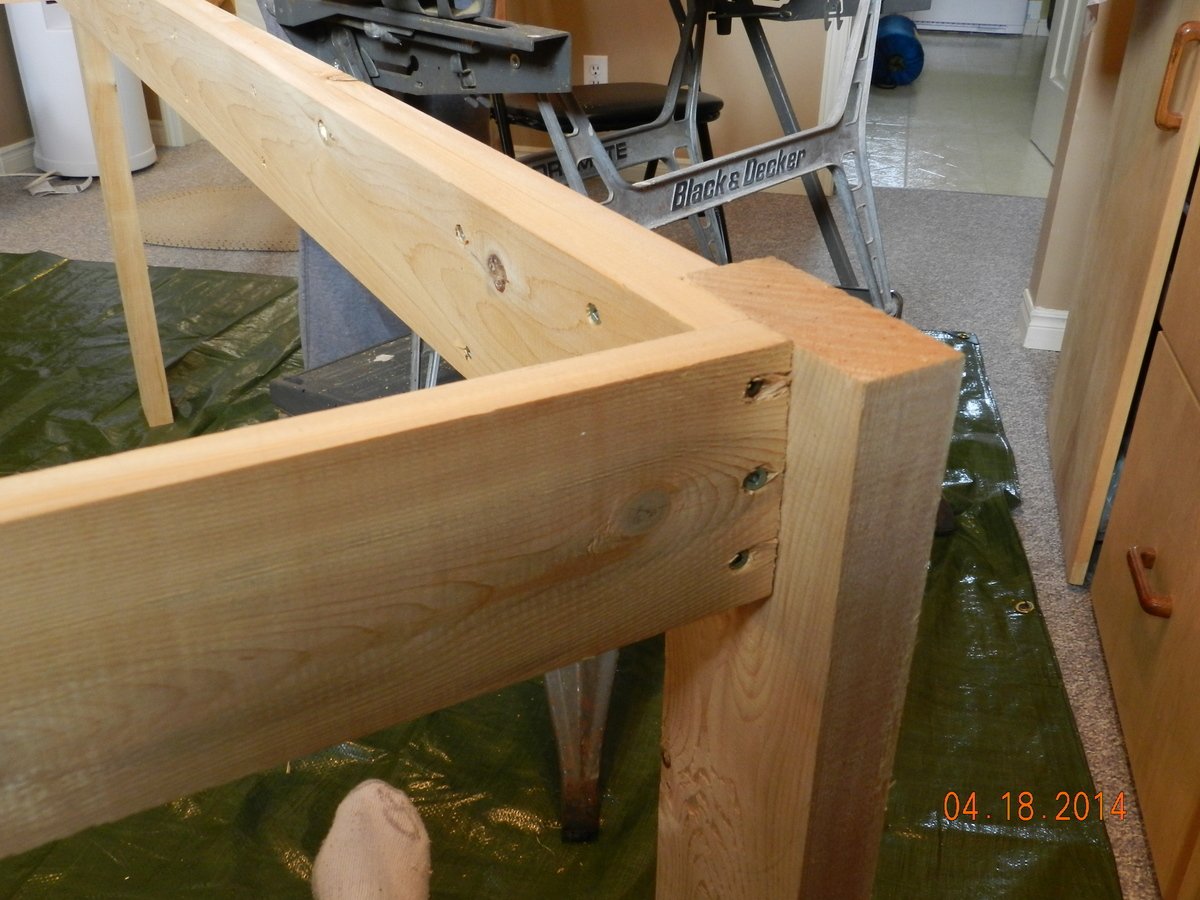
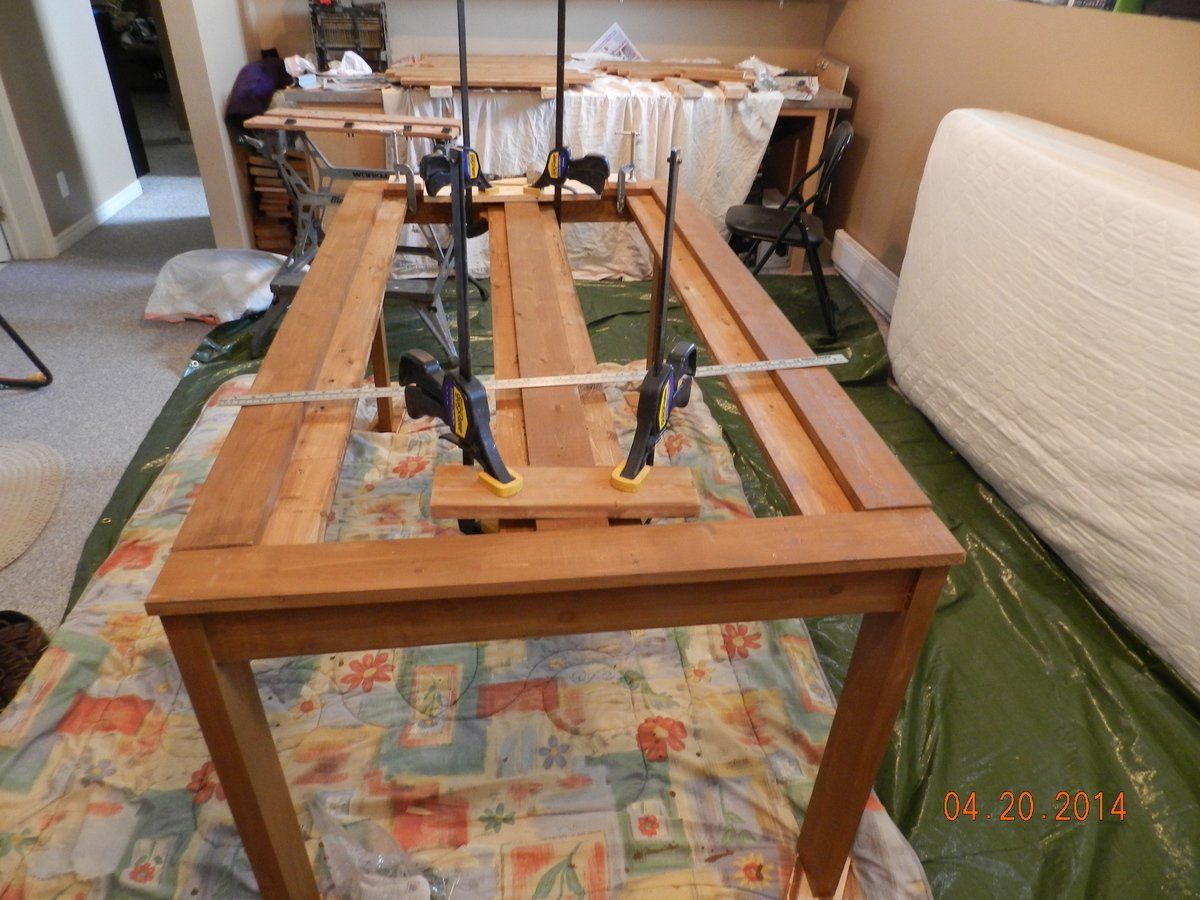
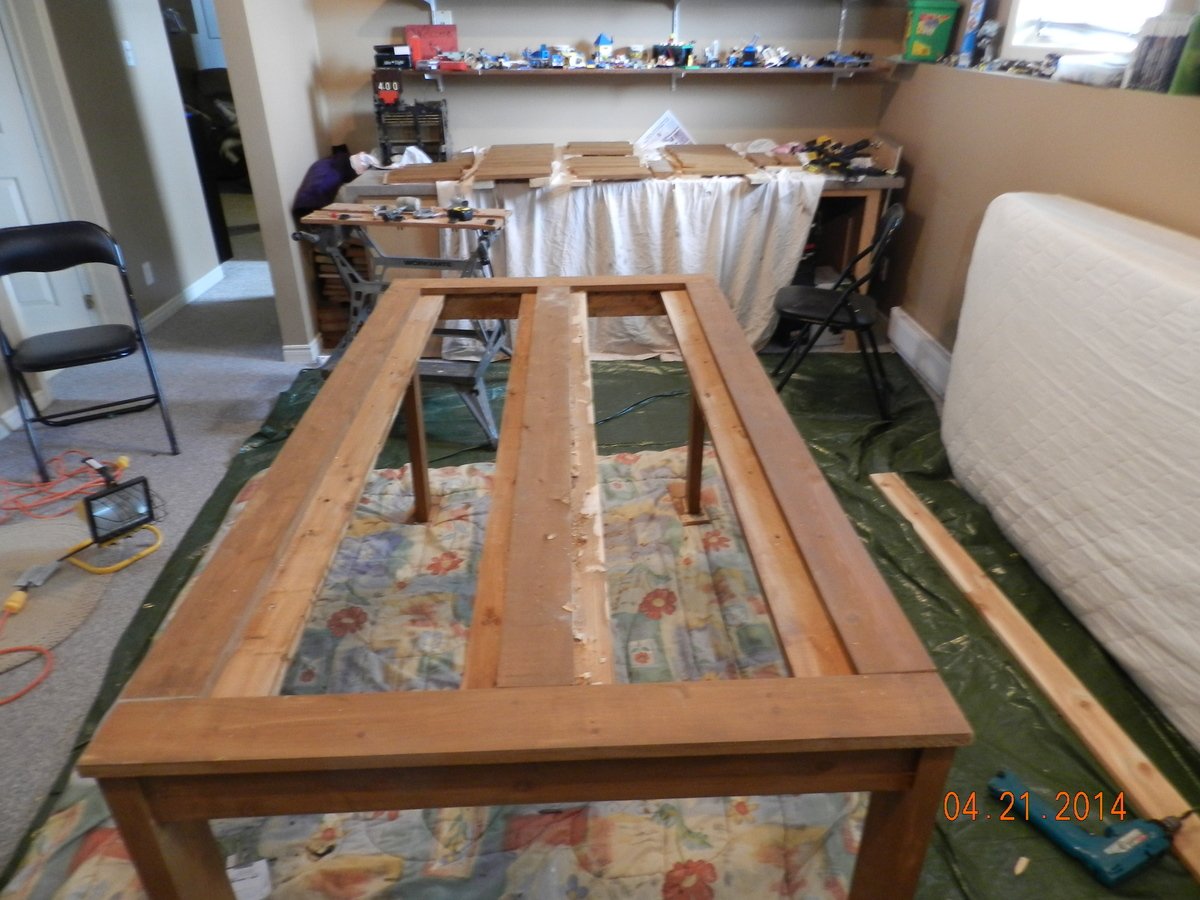
My niece's husband is career military and they move a lot. She saw the farmhouse table on Ana's site and asked if I would build her one that could be disassembled for moving and have extensions for large group gatherings. Challenge accepted!

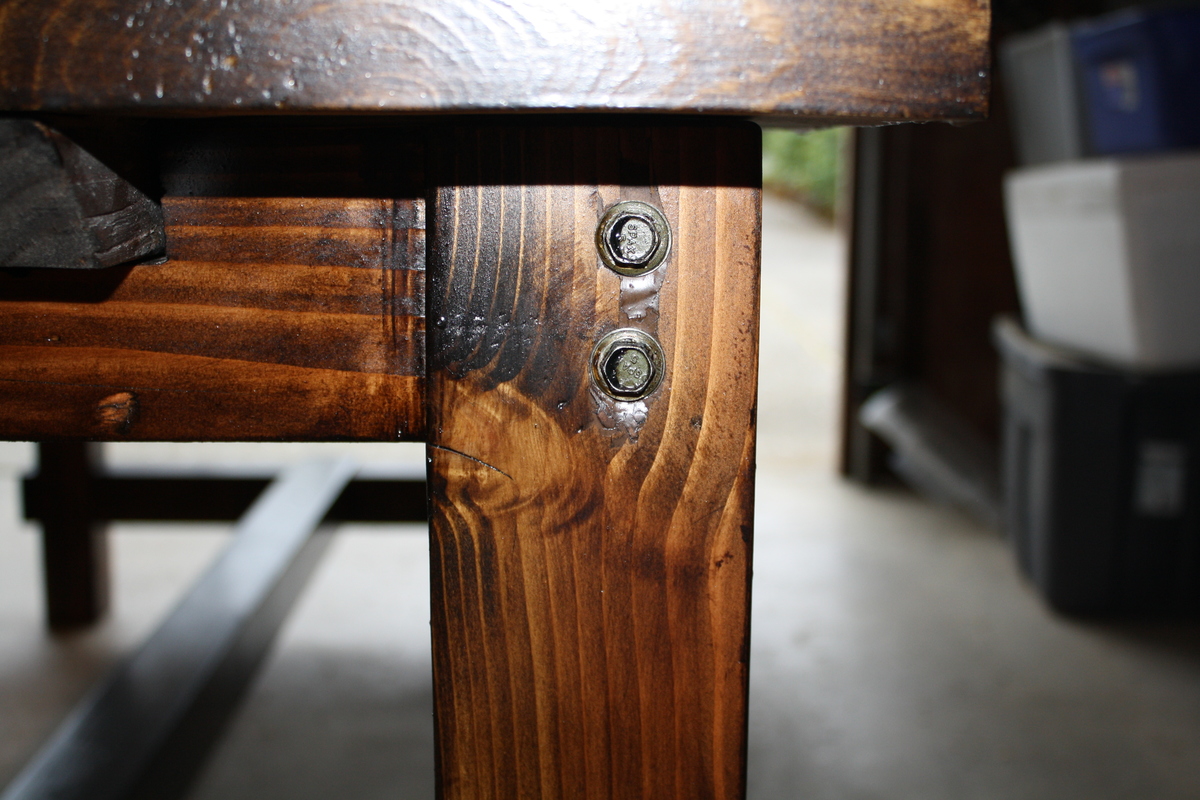
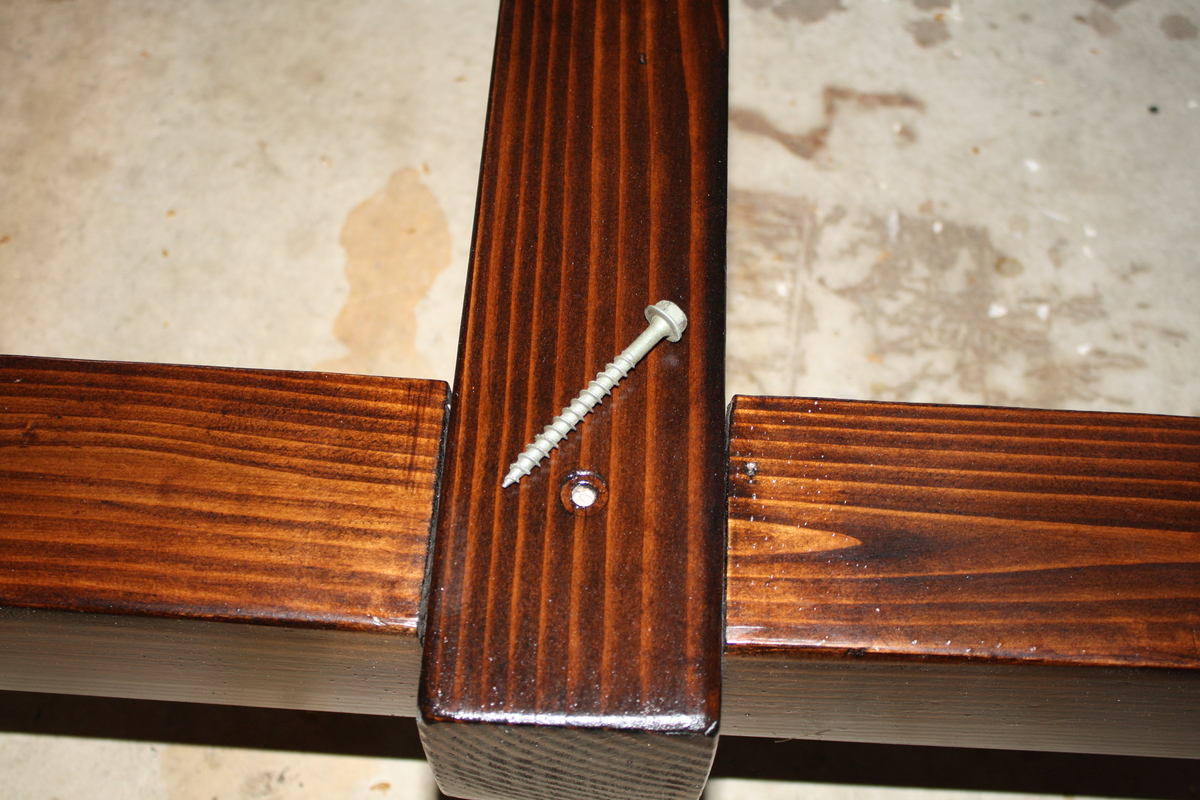
In order to take the table apart, I used 2 - 6 inch long lag screws at the top of each leg that screwed into the 2x4 supports for the table top. Due to the weight of the table, it is advised to turn the table upside-down when removing the screws or assembling the table. Next, I used 3 inch lag screws to secure the beam under the table. Again, the lag screws are easily removed for moving.

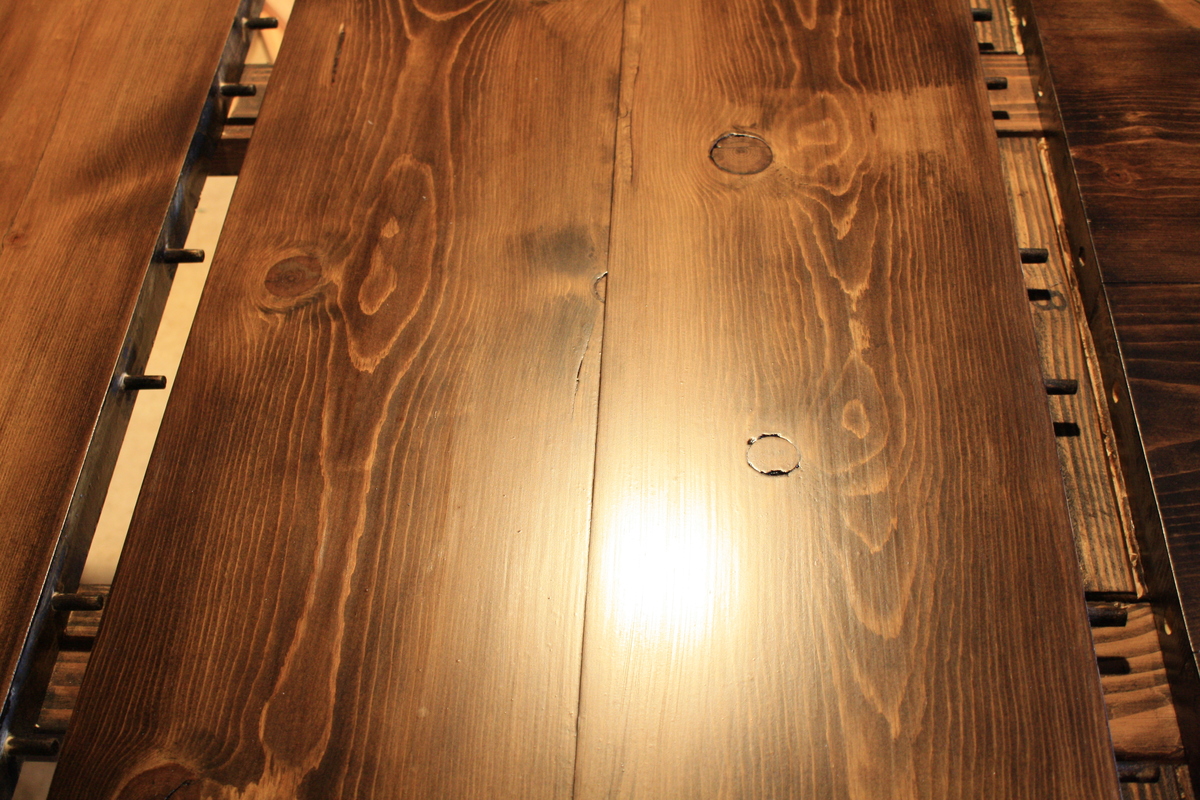
For the leaf inserts, I utilized a dowel jig so the leaf extensions could be easily inserted and removed on the sliders that support the breadboard ends. (It is necessary to drill the holes out a little larger that accept the leaf dowels. If this is not done the leafs will fit too tight and it is difficult, if not darn impossible, to remove them.) This was advantageous for two reasons ... (1.) The leafs are easily installed and removed; and (2.) No need for leaf extensions that have their own 2 x 4 sliders. This reduces storage space for the extensions and eliminates the slider insert hole cutouts on each end of the table because the slider is never removed.

The table, when disassembled, is in (8) sections:

(2) table leg sections
(1) table top
(1) Main beam from under the table
(2) Leaf extensions
(2) Breadboard ends attached to 2x4 sliders

My niece is simply thrilled with the table.
Estimated Cost
$295.50
Estimated Time Investment
Week Long Project (20 Hours or More)
Finish Used
Min-Wax Dark Walnut Stain and Satin Finish
Recommended Skill Level
Intermediate

Comments

staciemay

Tue, 04/15/2014 - 10:39

This table was built for me! I like it for several reasons, but the main reason is that because we are a military family. Therefore, we move every two to three years and our furniture always seems to break. I have always wanted a solid farm house table, but not only are they expensive, they are hard to manuver and move. My uncle customized this table so that it would serve three important purposes for our family. One, it extends with two easily storable extensions, two, it comes apart, giving us the opportunity to move with it; and three, it is incredibly sturdy, therefore, making our next move a guaranteed success. So excited to have everything I want in one table for 1/4 of the price.

CSaintD

Fri, 04/25/2014 - 07:59

Thank you so much for sharing your wonderful gift. I am retired military myself, so I know how hard it is to move so often. I appreciate your sharing with us how to make it so it can be disassembled. I am going to try to build this with your instructions.

Smokeydog

Fri, 04/25/2014 - 18:50

If you have any questions on how we put it together let me know. I'd be happy to help.

Smokeydog ( aka: Uncle Tim )

Outdoor Living Space - Inspired by Ana's Plans

Submitted by Anonymous (not verified) on Thu, 05/07/2020 - 10:25

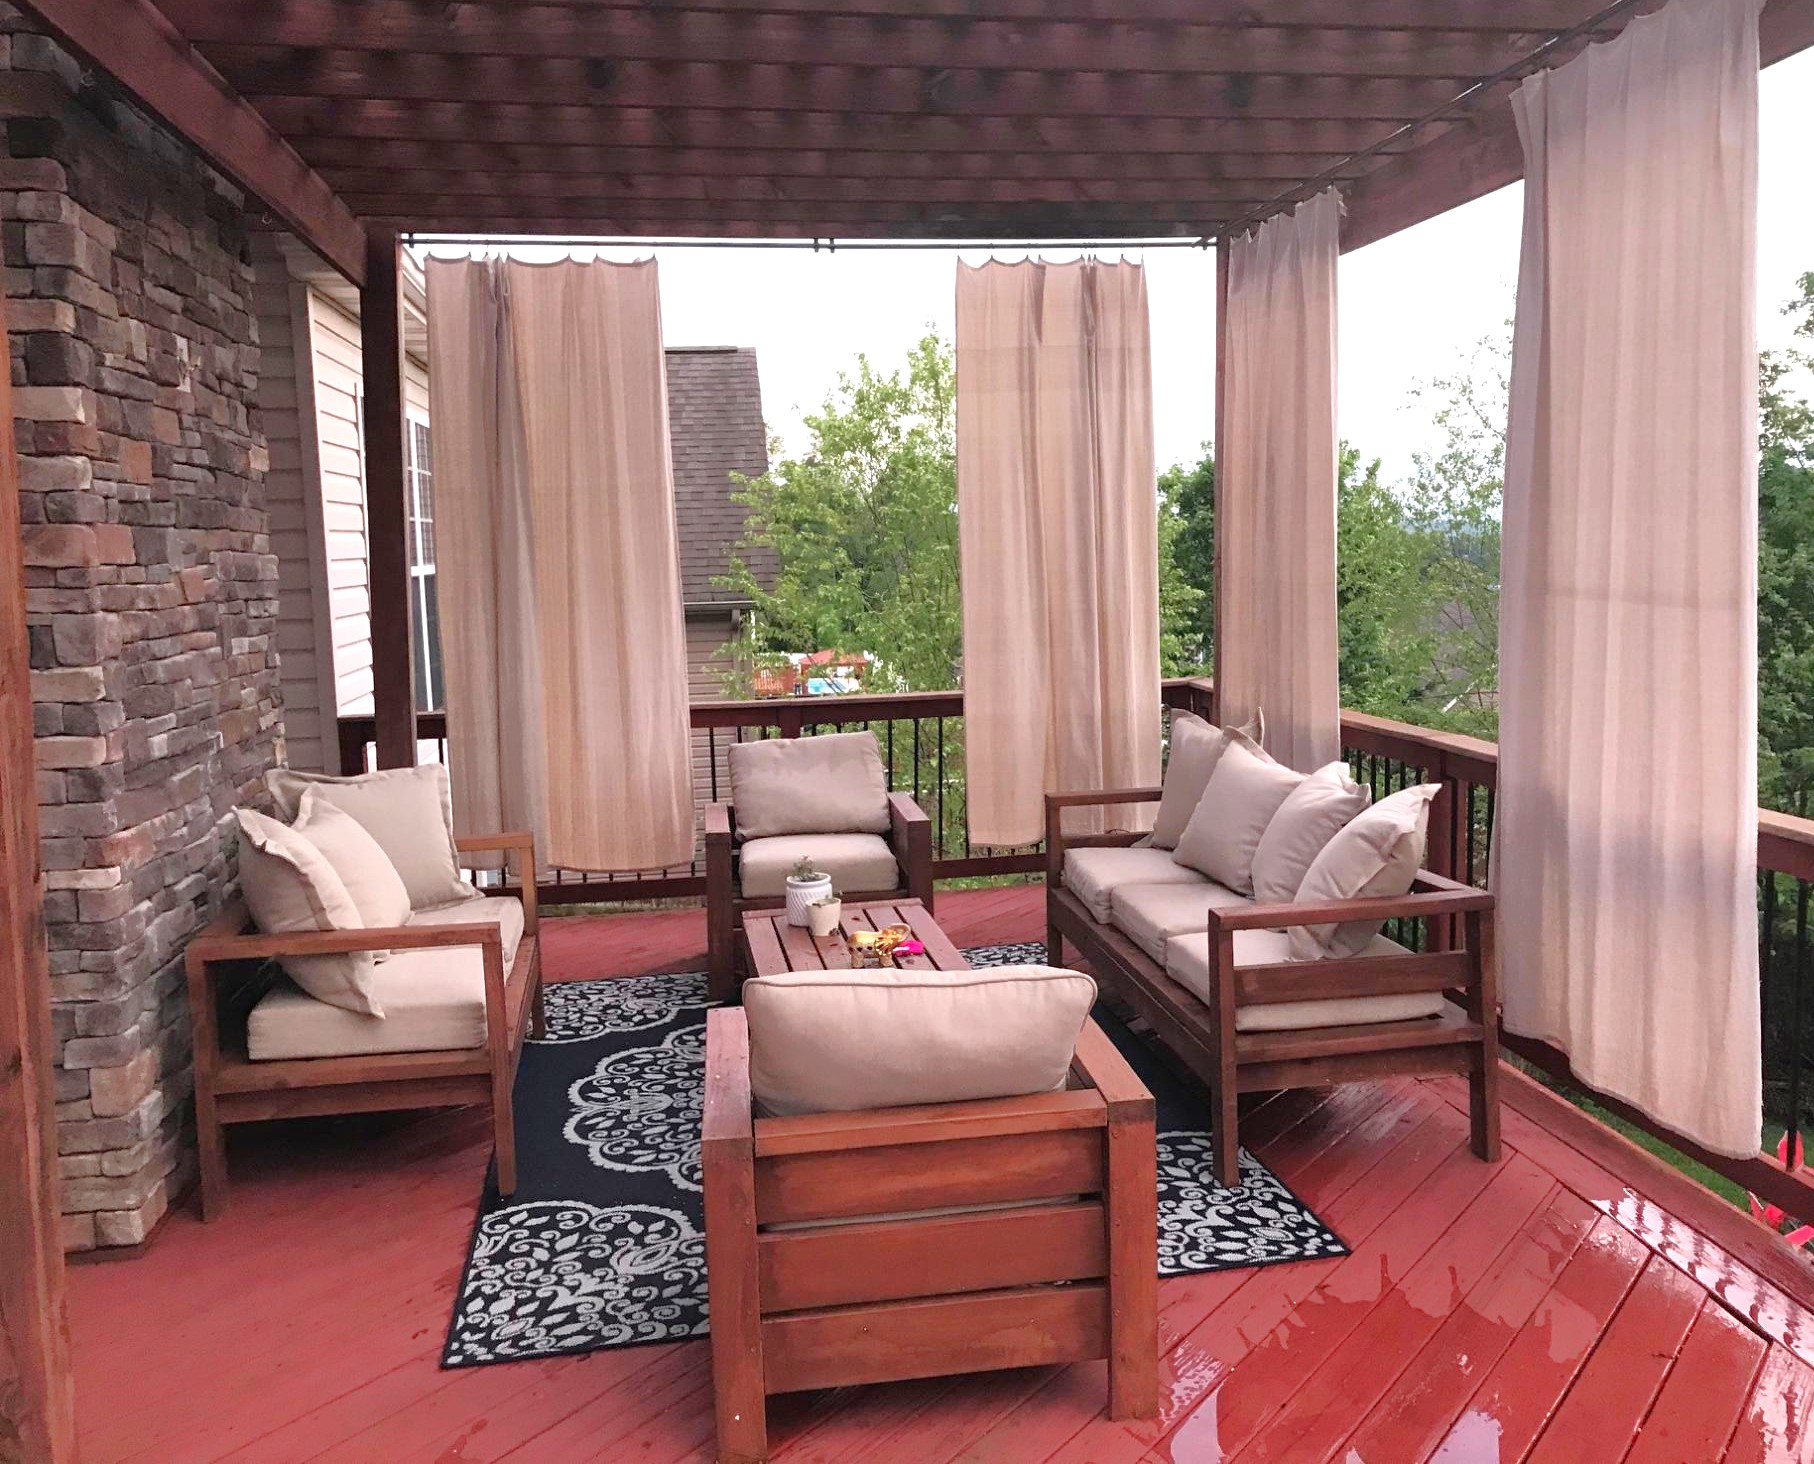
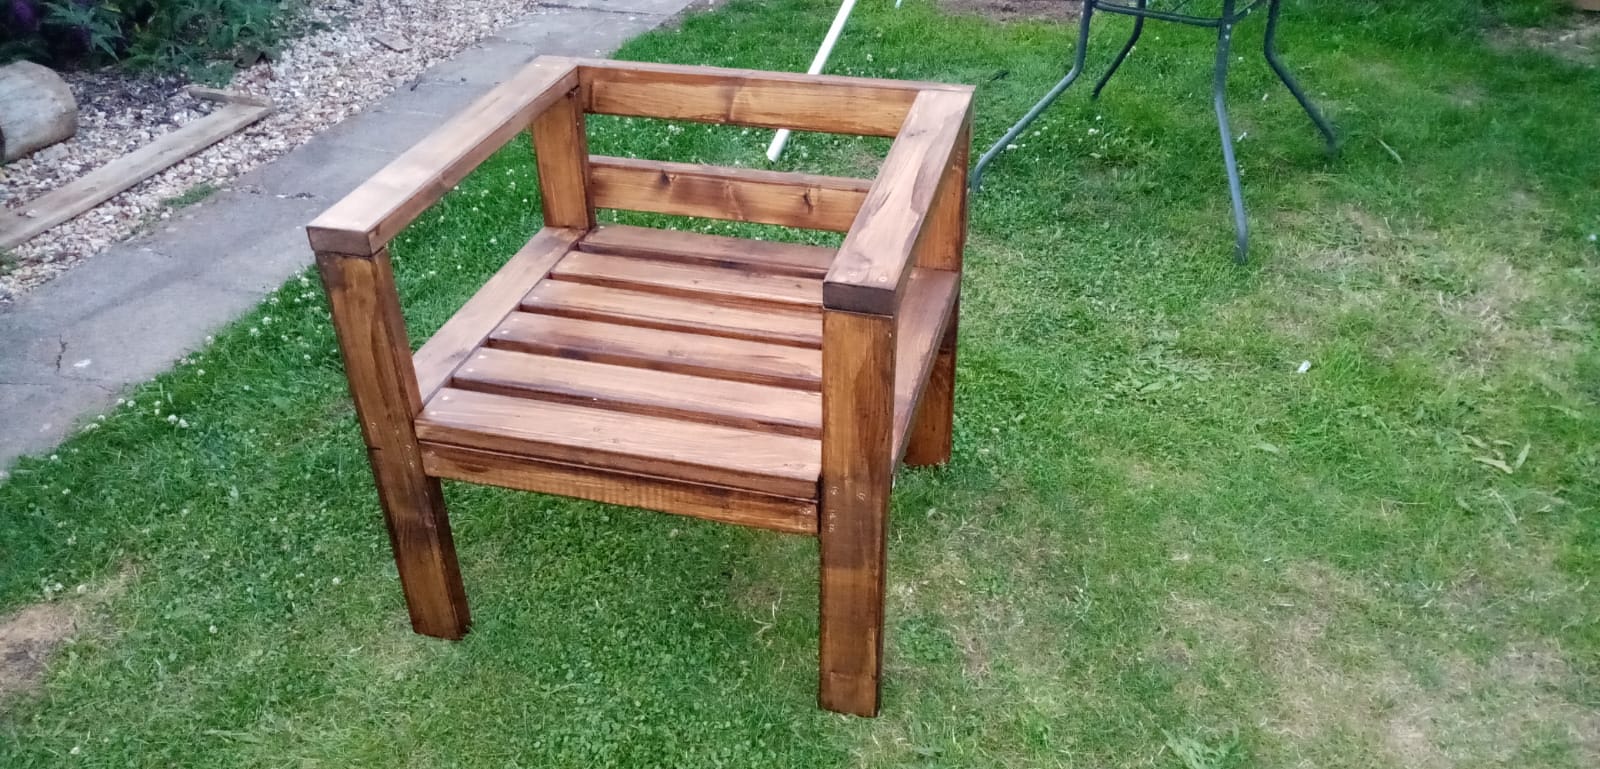
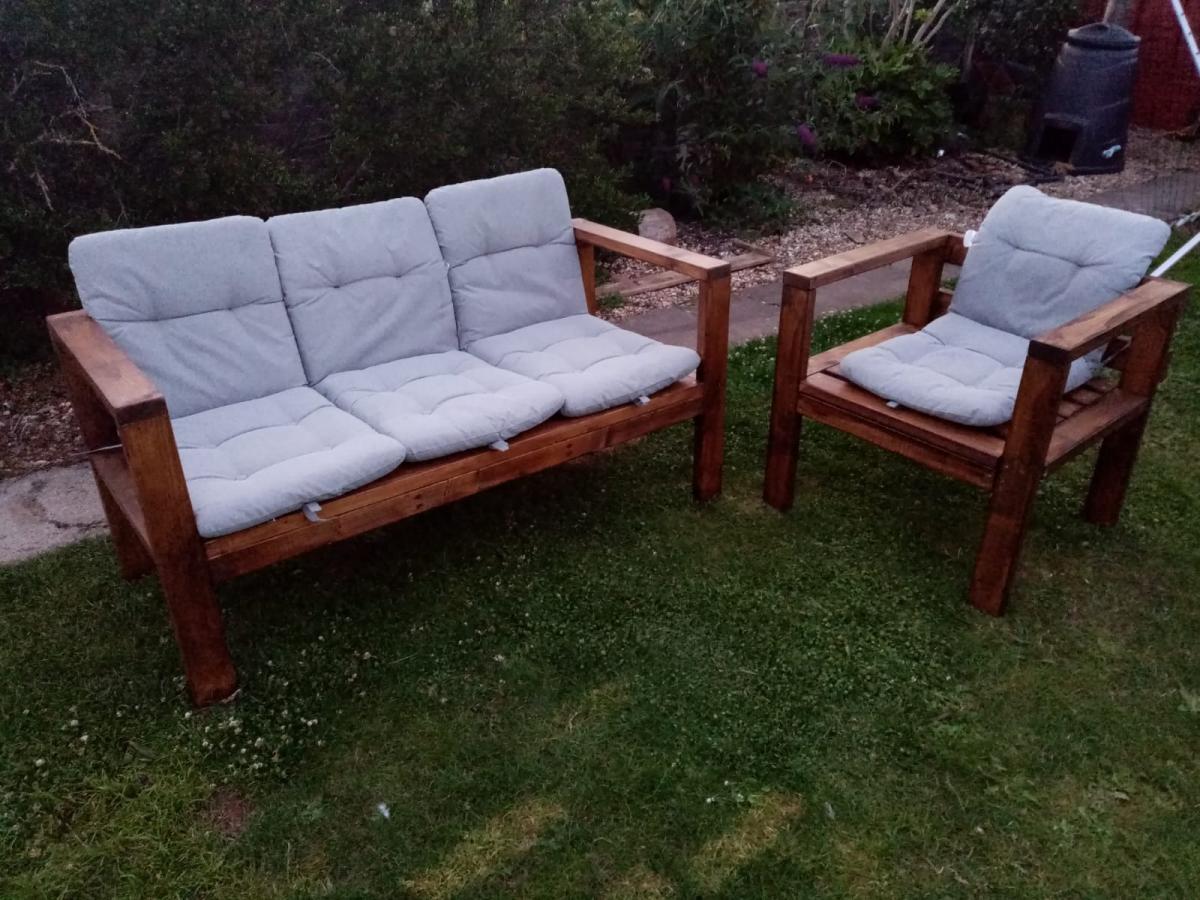
My wife and I were looking for a way to make our deck more enjoyable. I came across Ana's plans a year or so ago, and after building the couch and chairs, I decided to make a loveseat, add a rug and outdoor curtains. Hopefully one day I'll add some lights and an outdoor fan to complete the look.

Estimated Time Investment
Weekend Project (10-20 Hours)
Recommended Skill Level
Beginner

Comments

Seasonal And Holiday

Truss Table

Submitted by Anonymous (not verified) on Mon, 01/08/2024 - 10:12

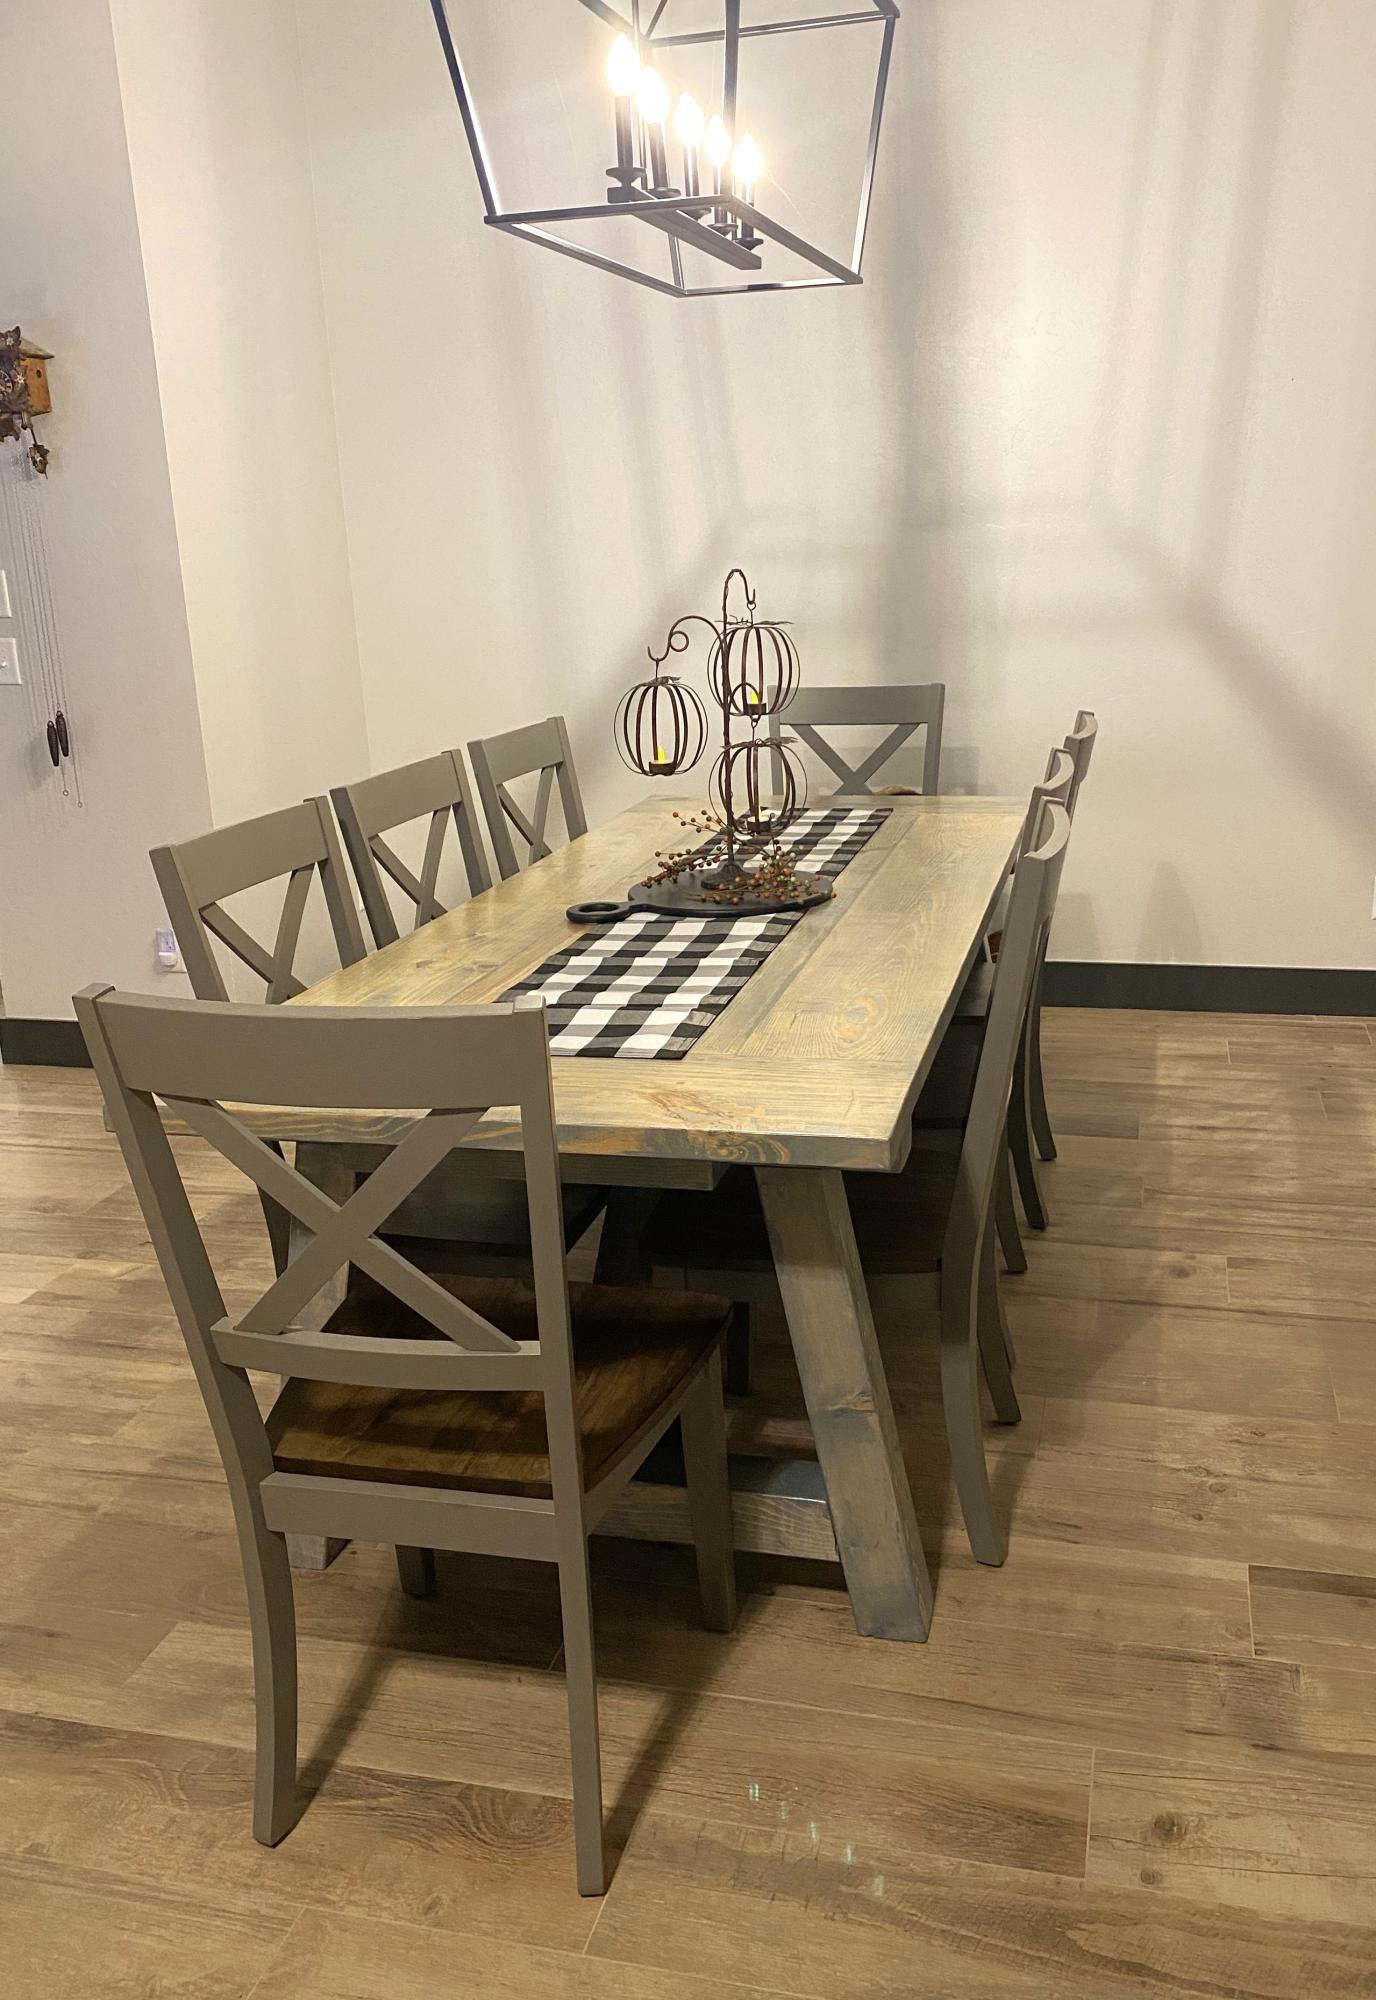
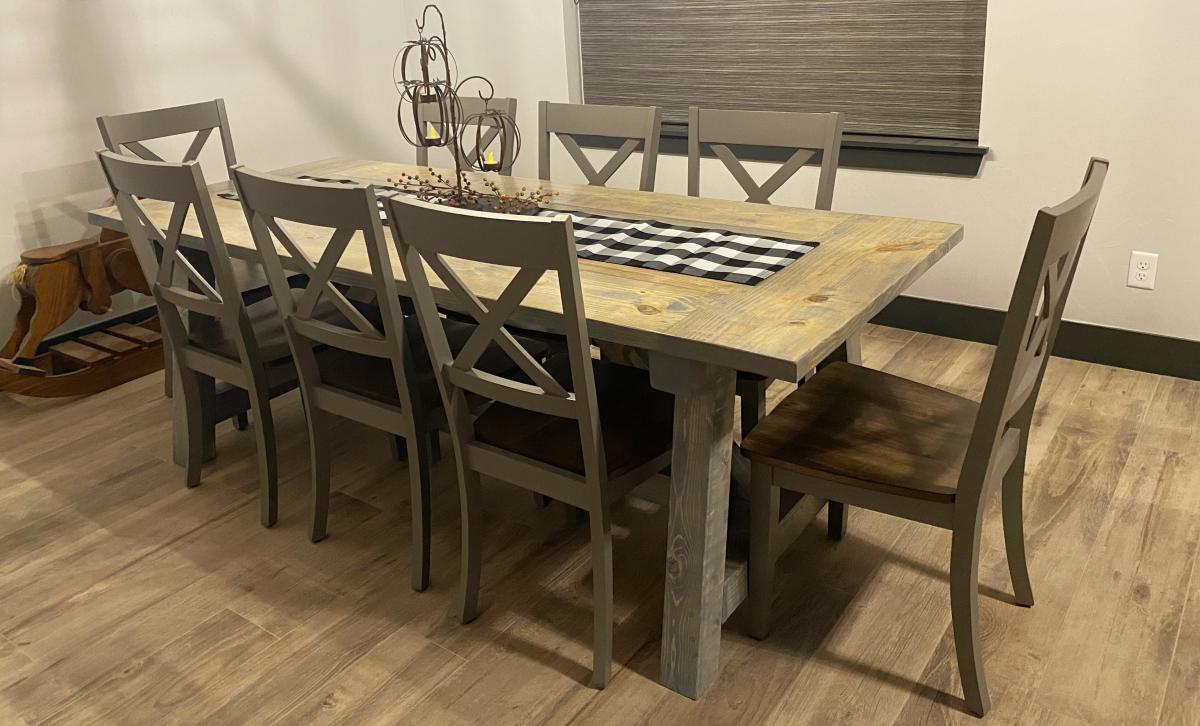
Our 4x4 Truss Beam Table made by my husband for our new house. Stain is Minwax slate gel stain.


Built from Plan(s)

Comments

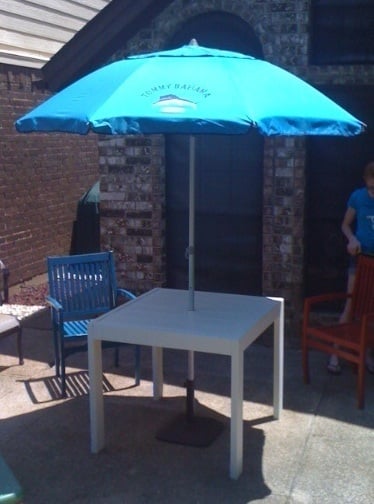
Modified Simple Outdoor Dining Table

Submitted by DD5.1 on Sat, 04/26/2014 - 20:00

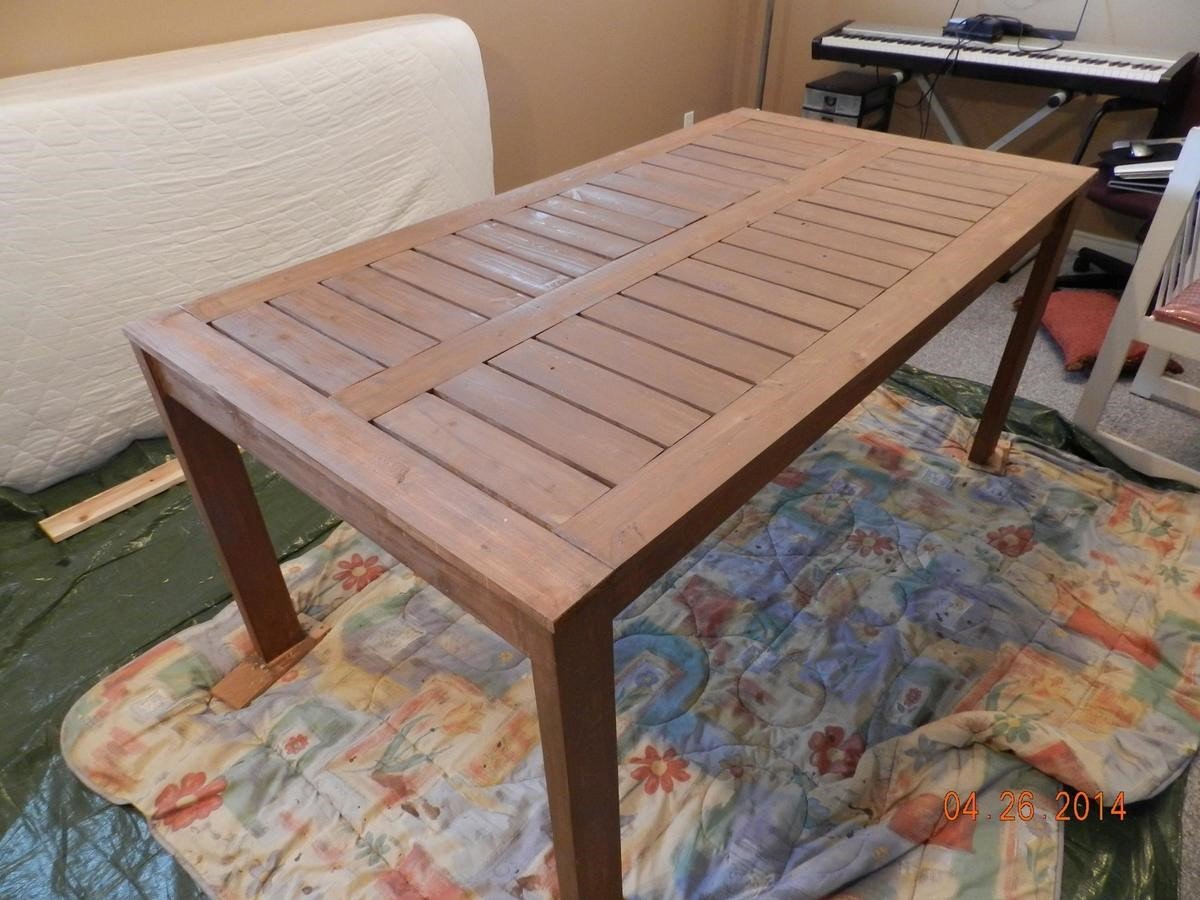
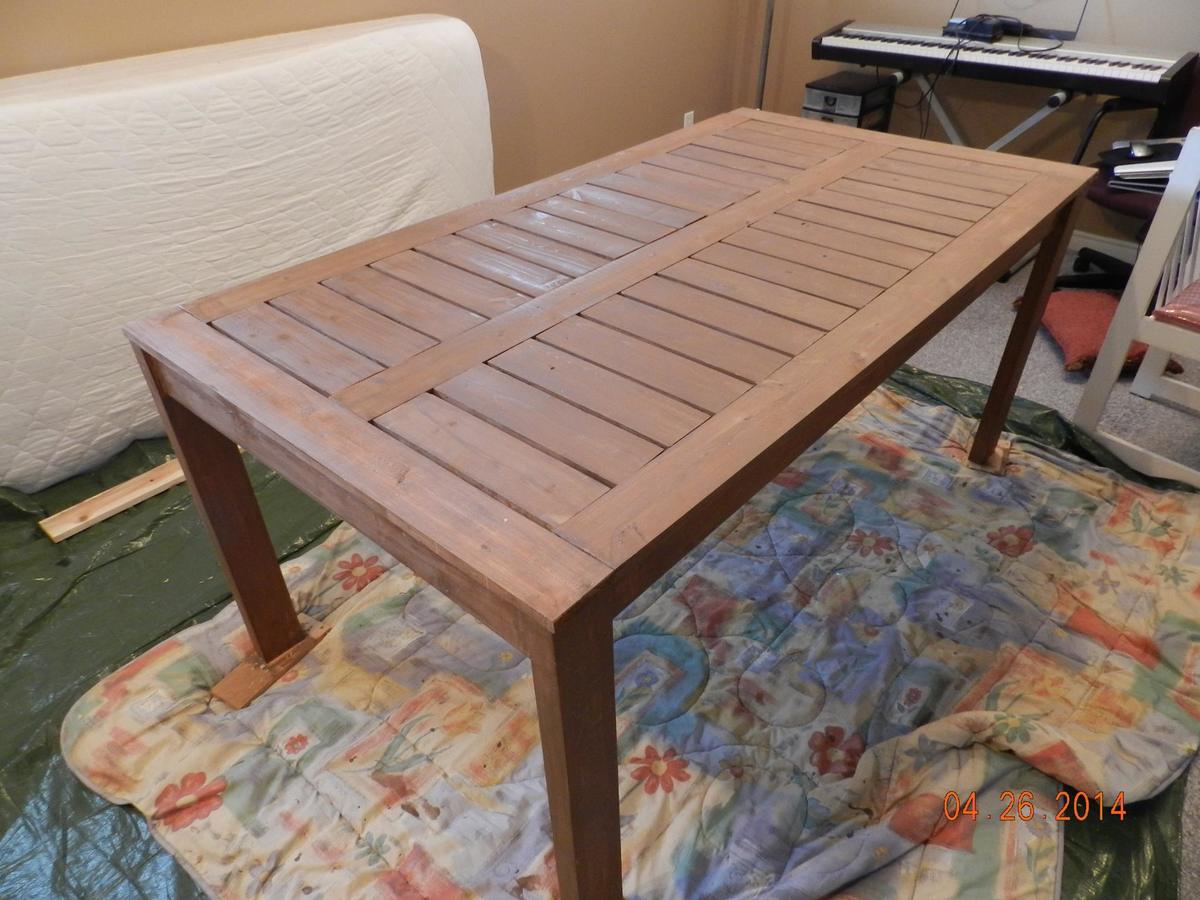
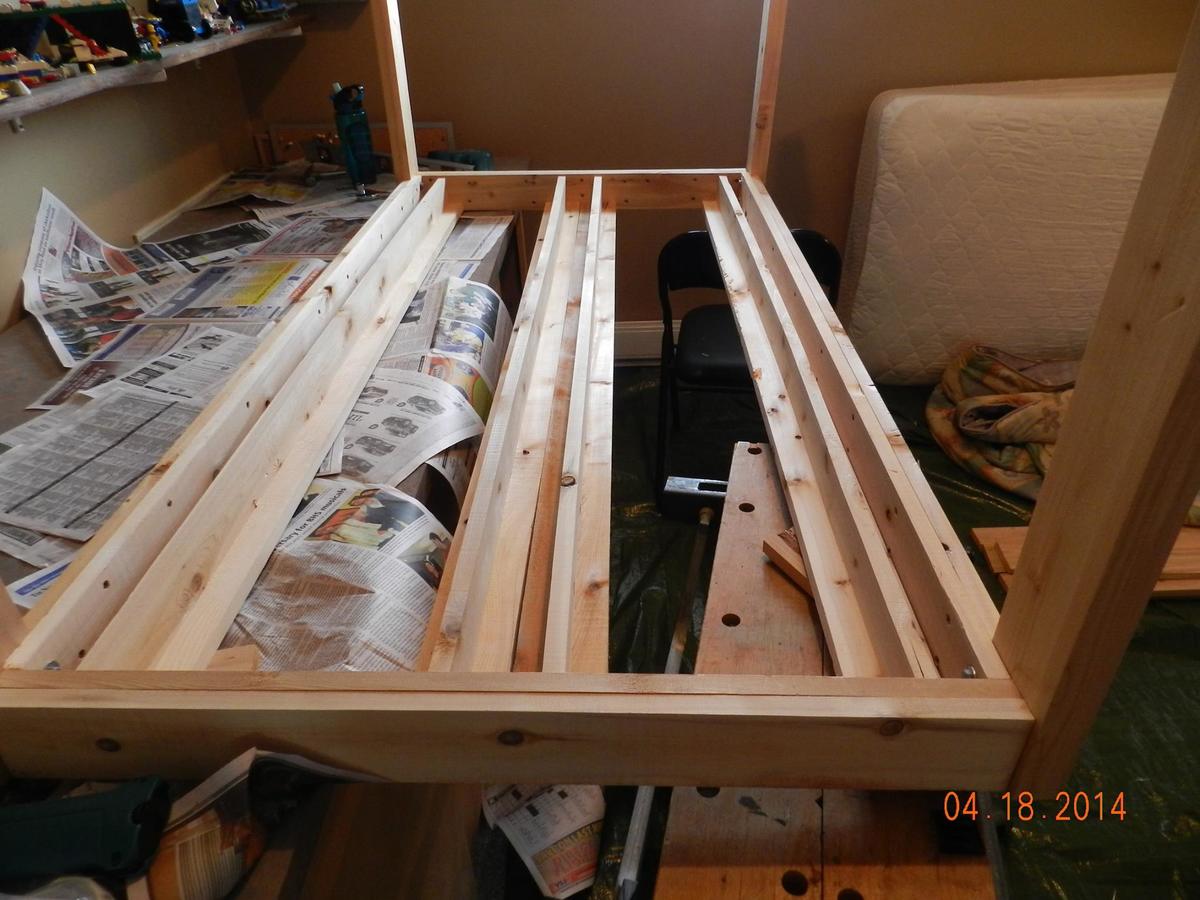
I didn't make any changes , his orginal design was great. Hope these pictures help others. I tried to link to the modified-simple-outdoor-dining-table but wasn't able too.

Built from Plan(s)
Estimated Cost
120
Estimated Time Investment
Weekend Project (10-20 Hours)
Finish Used
make sure you stain as you go
Recommended Skill Level
Beginner

Comments

DD5.1

Sun, 04/27/2014 - 14:06

Found the plans "modified-simple-outdoor-dining-table" and I built it. Very nice table, I posted more pcitures to help others

DD5.1

Sun, 04/27/2014 - 14:06

Found the plans "modified-simple-outdoor-dining-table" and I built it. Very nice table, I posted more pcitures to help others

Dog Food Storage Box

Submitted by Anonymous (not verified) on Mon, 01/29/2024 - 12:00

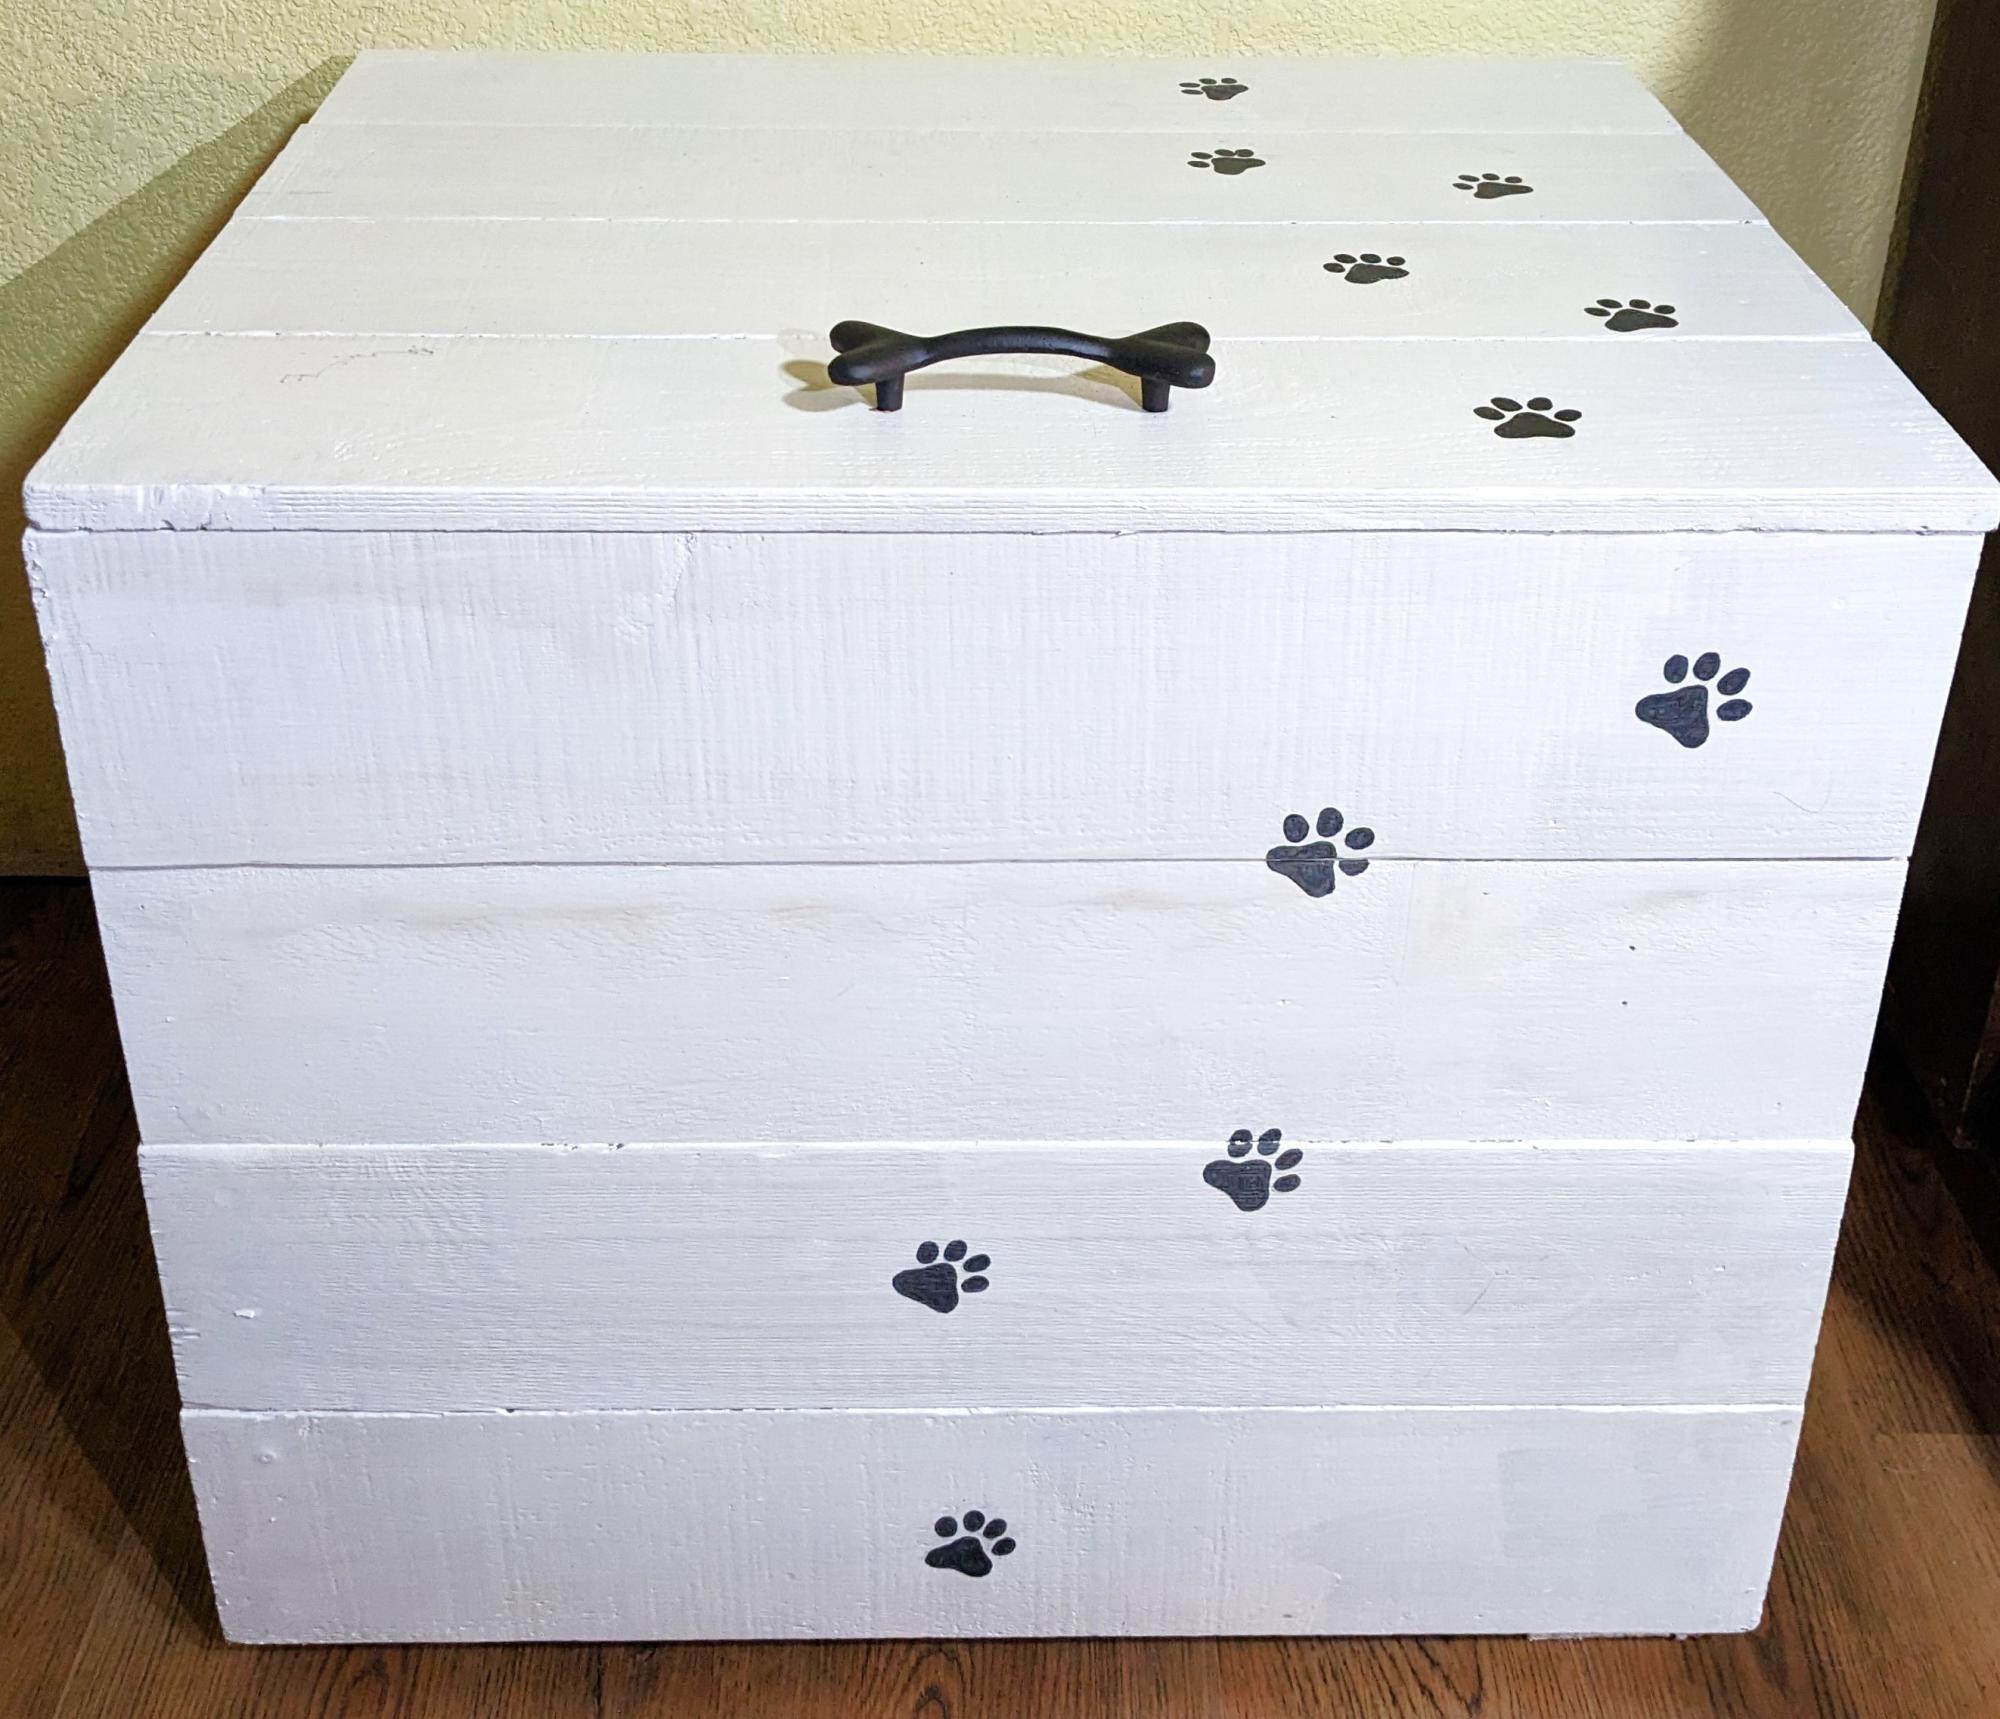
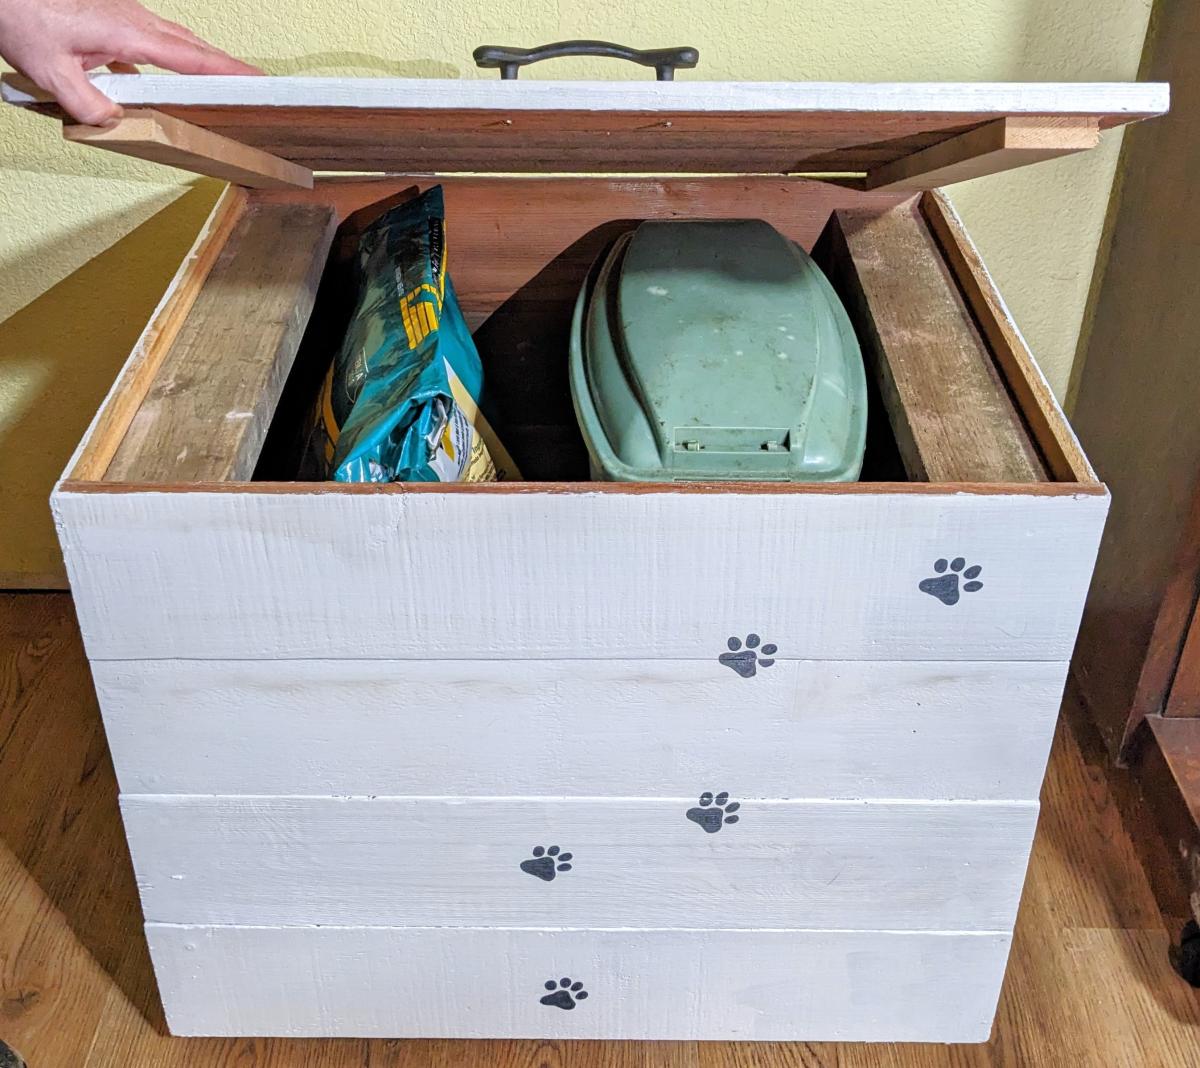
I've been searching for a pet food bin for a while now, and started looking for something cuter than an ugly plastic bin. I found a few things on Etsy but none were big enough and also cost a lot of $$$. I took the Modern Cedar Outdoor Storage Bench plans, and modified the size to fit large bags of dog and cat food from Costco, or pet food bins. I'm 55 years old and have fixed things around the house, but this was my first time building something.
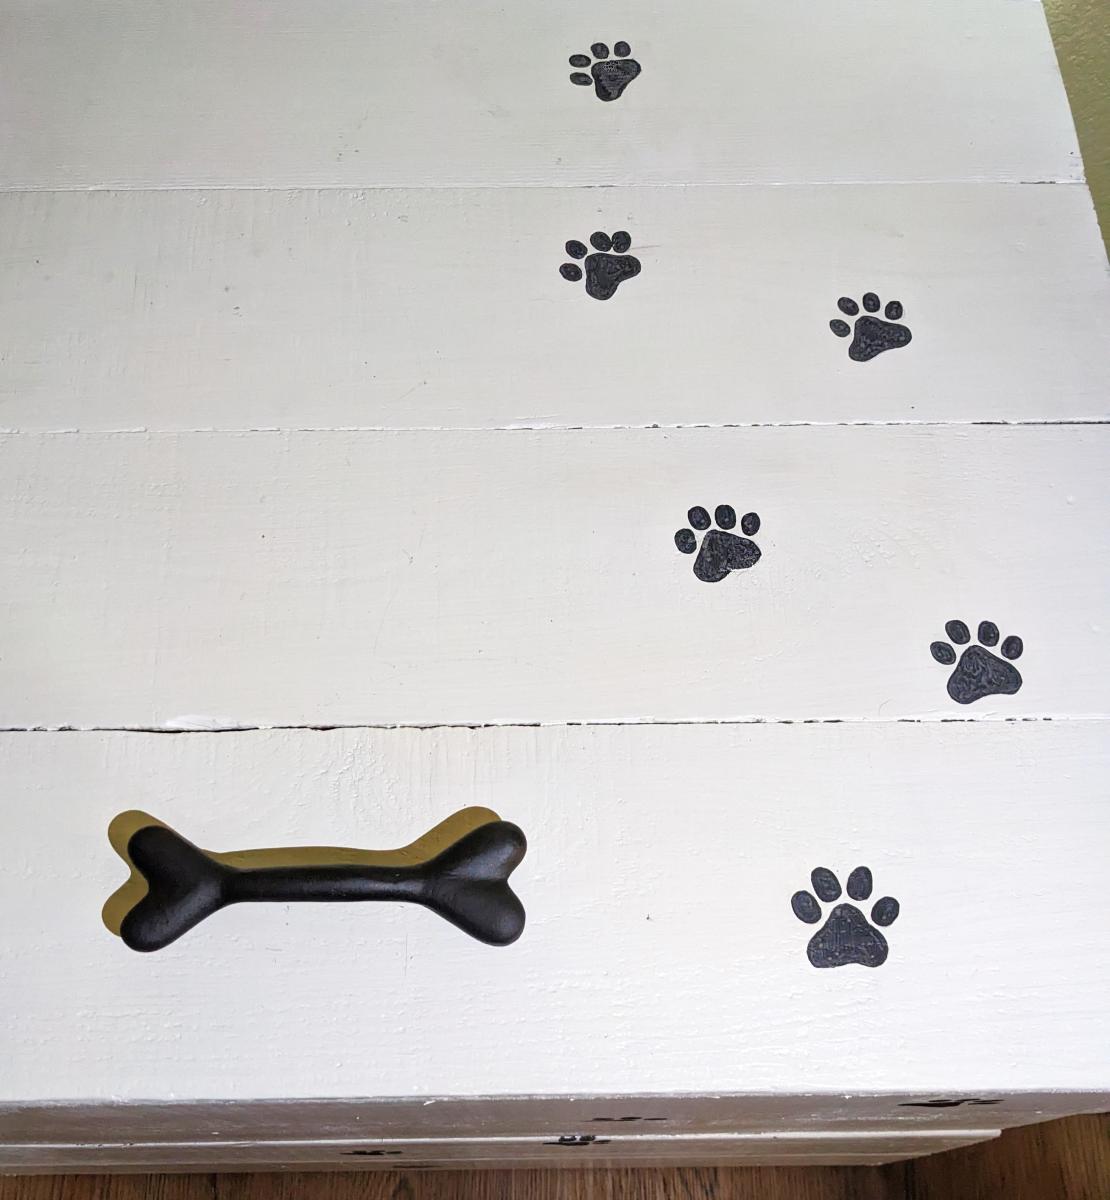
I am so happy with how this turned out! I found the dog bone handle online and my daughter painted the paw prints. Way cuter than what I found online and I built it using reclaimed wood I had laying around - my only cost was the handle. Thanks Ana!

Heather Durand https://www.facebook.com/pinkprincesshc

Farmhouse Small End Table

Submitted by mpjacob08 on Mon, 05/25/2020 - 09:33

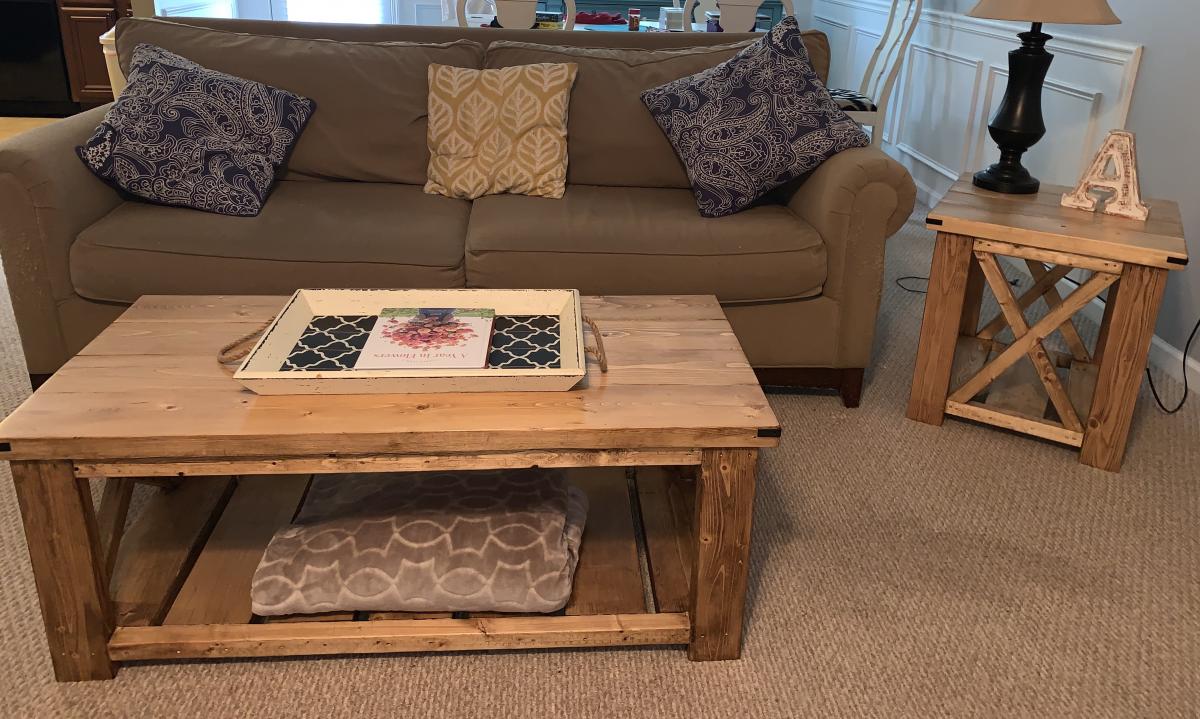
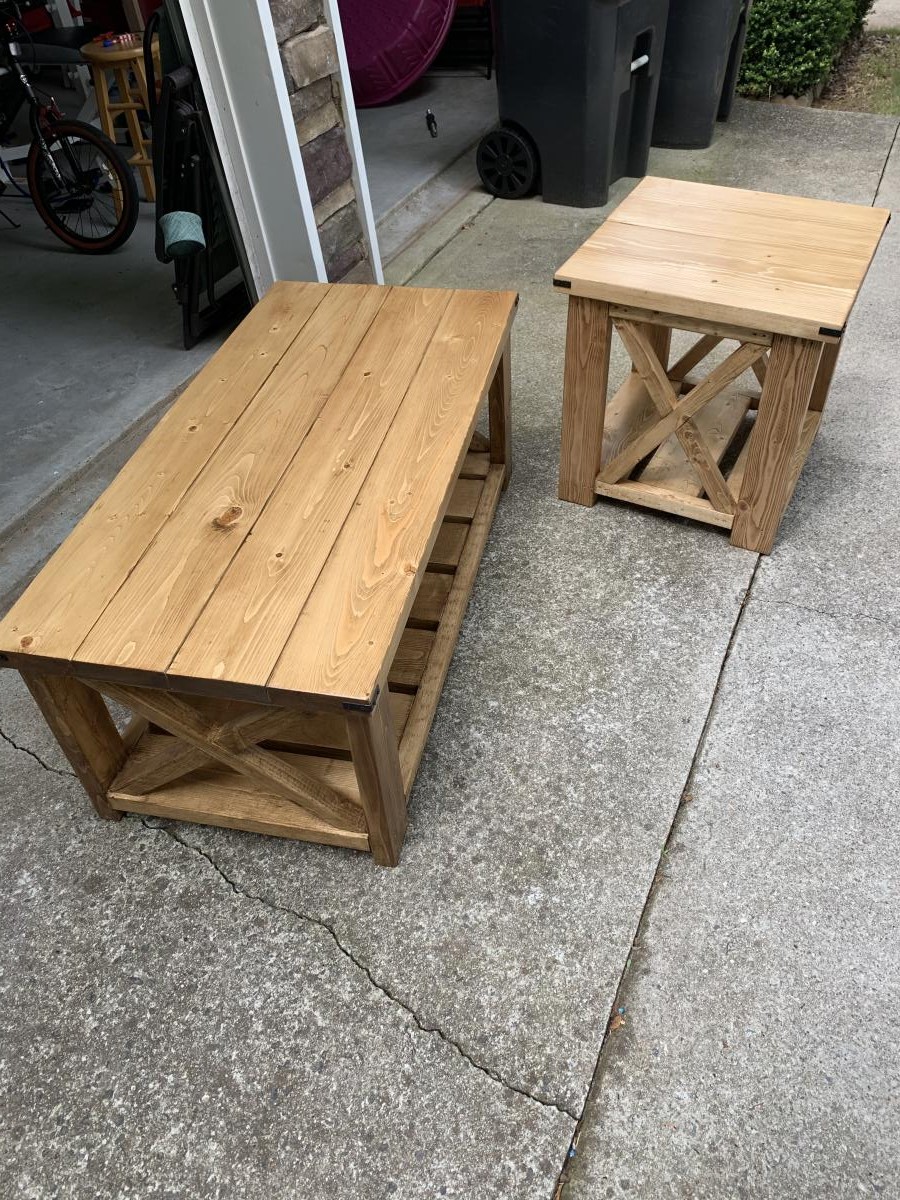
My 2nd ever build! Made to match farmhouse beginner coffee table. This is the smaller size posted. So Easy! Thank you for the plan and for the videos. I love them and am learning so much!
Built from Plan(s)
Estimated Time Investment
Afternoon Project (3-6 Hours)
Finish Used
Varathane golden oak stain, spray shellac, Varathane water based polyurethane
Recommended Skill Level
Beginner

Farm Table Sewing Base

Submitted by fallon on Wed, 07/25/2012 - 18:52

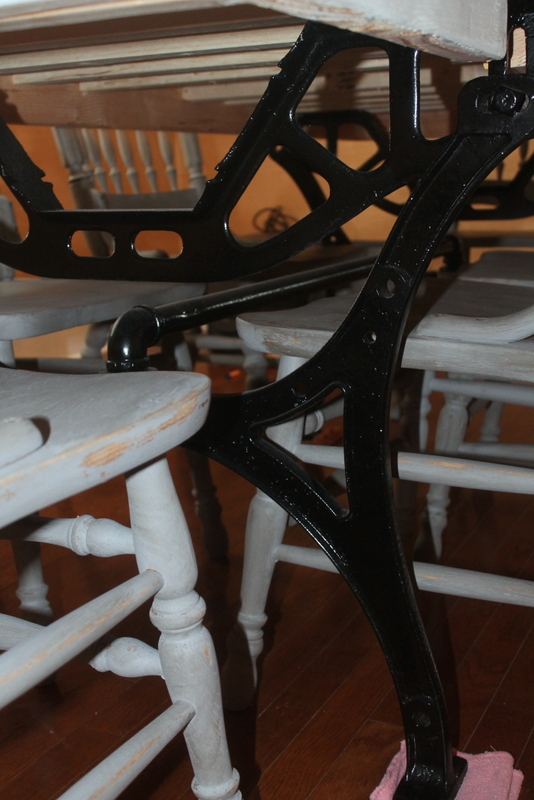
We just slightly modified the plan to accommodate our really great industrial sewing table base.

Estimated Time Investment
Afternoon Project (3-6 Hours)
Finish Used
First coat - Glidden Natural Linen
Stain - MinWax Classic Gray 270 (one person brushes while the other wipes it right off)
A little sanding for some aging
Several Coats of MinWax - Polycrylic, satin finish (sand between each coat)
Recommended Skill Level
Beginner

Comments

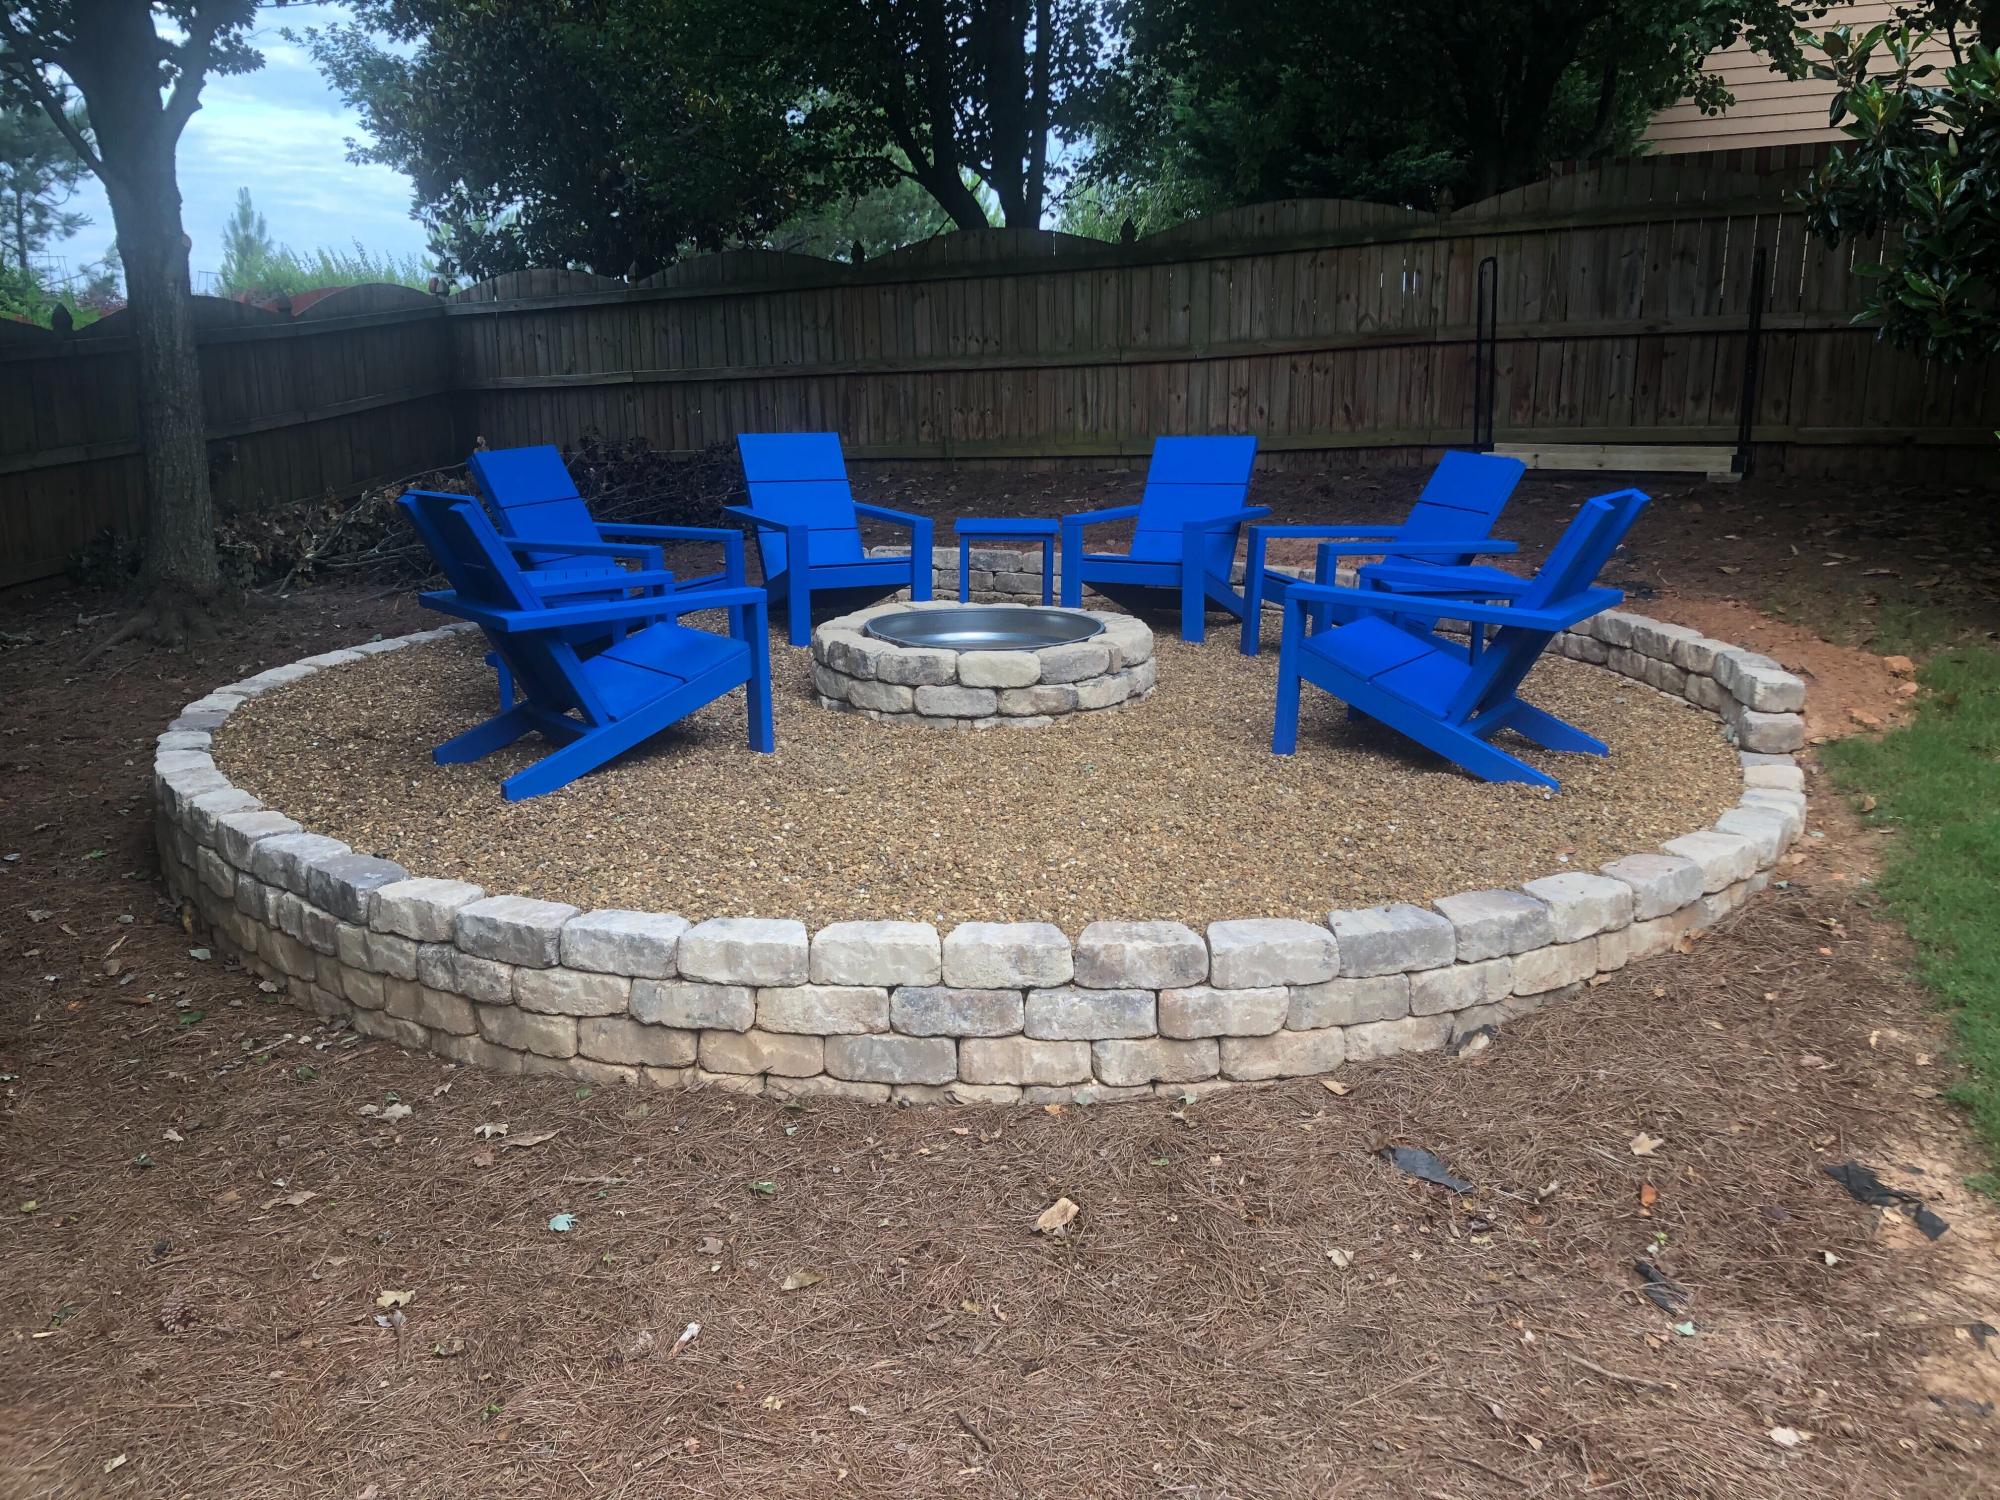
Modern Adirondack Chair

Submitted by dijonaise on Fri, 06/19/2020 - 05:49

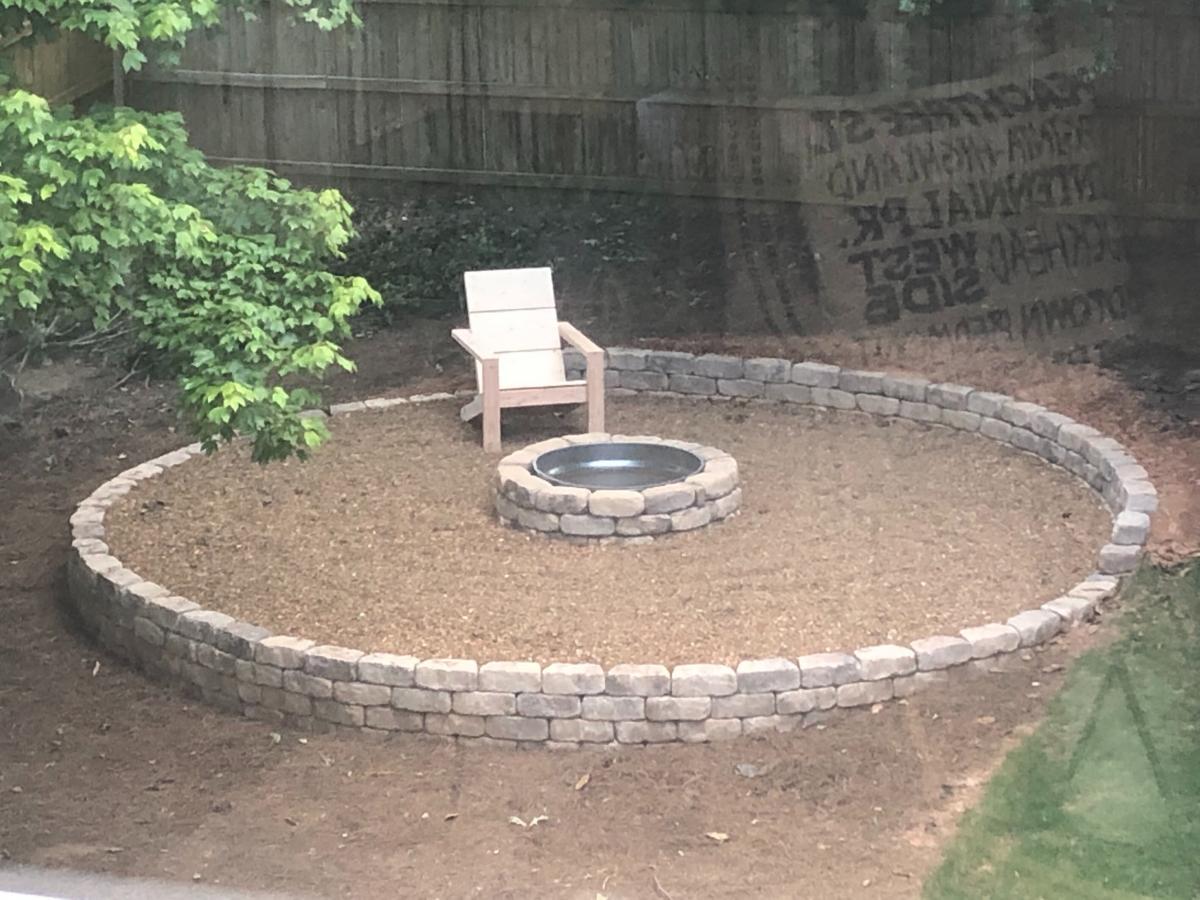
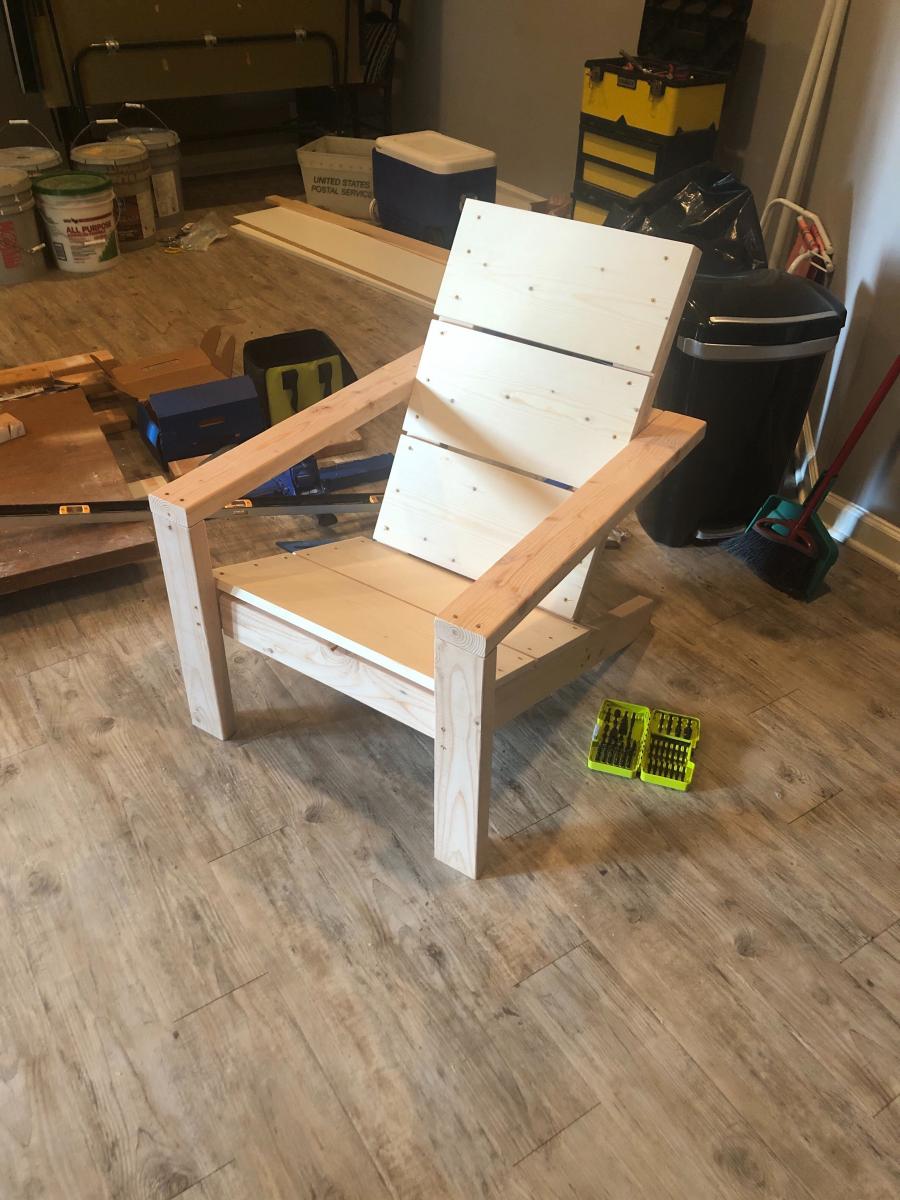
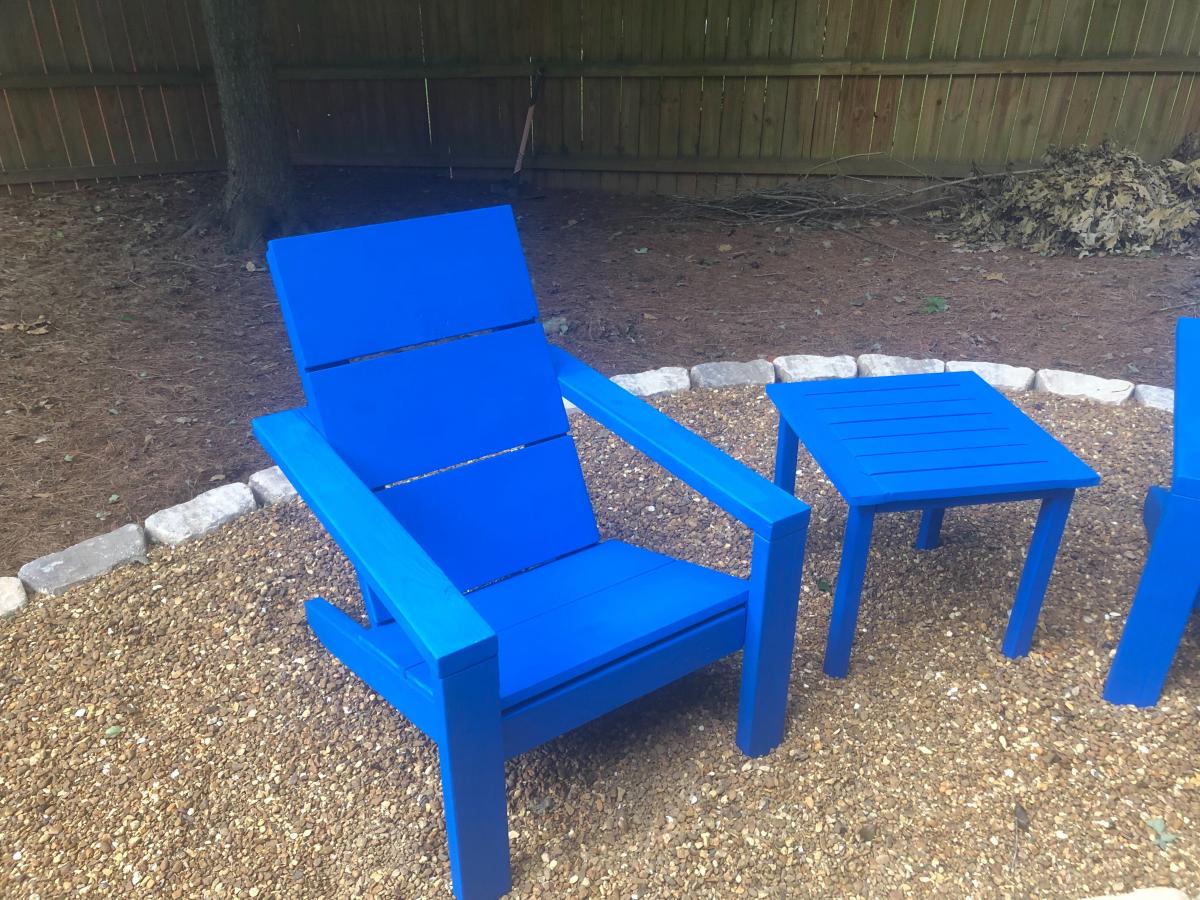
My little quarantine project all started with a three foot circle in the back corner of my yard and turned into this. After finishing the structure, we were looking at different furniture and considered either going on the cheap ($20 plastic chairs) or the expensive route ($1200) for this same setup. That was when I came across your site Ana. Your amazing plans and community's brag posts gave me the confidence to give it a go and we could not be happier with the result.

The chairs and tables went together super easy as everyone had mentioned. I sanded everything before cutting and then just sanded the cut ends. I did not have the stain on hand (not did we know the color) so we waited until after assembly to stain, which ended up not being too bad, just a lot of little nooks and crannies to get into. I used a small foam pad to get in between the boards.

Overall, I would say that the build, from start (rough lumber) to finish (sanded and assembled) took me about 2-3 hours per chair, and about the same to do two coats of stain on top and one on the underside, bringing the total time per chair to about 5 hours.

Now on to the landscaping... ;) I am also planning to build some planters to hold posts to hold some string lights around the perimeter. Boy how these little projects have a domino effect...but in the end, there is nothing better than sitting back and enjoying the fruits of your labor.

Estimated Cost
$40/ chair and $10/table. Total Project (including fasteners and stain): ~$300
Estimated Time Investment
Weekend Project (10-20 Hours)
Finish Used
SW6965 - Hyper Blue Solid Deck Stain
Recommended Skill Level
Beginner

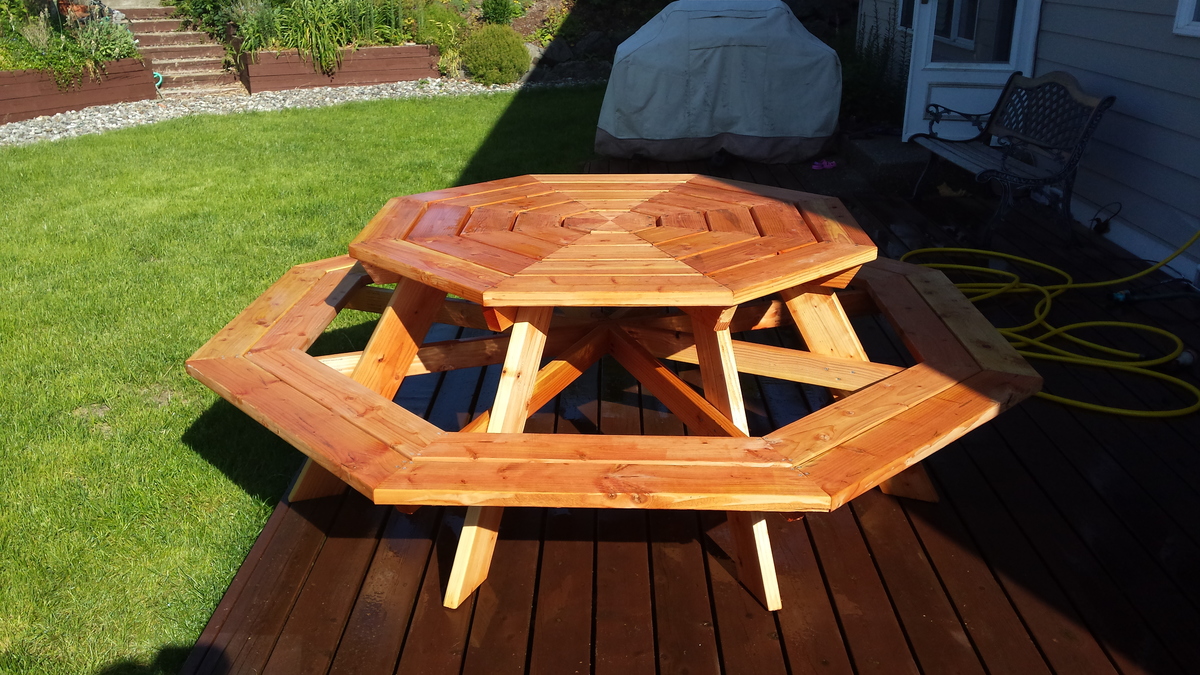
Octagon Table Finished!

Submitted by kkwong5 on Mon, 06/09/2014 - 08:47

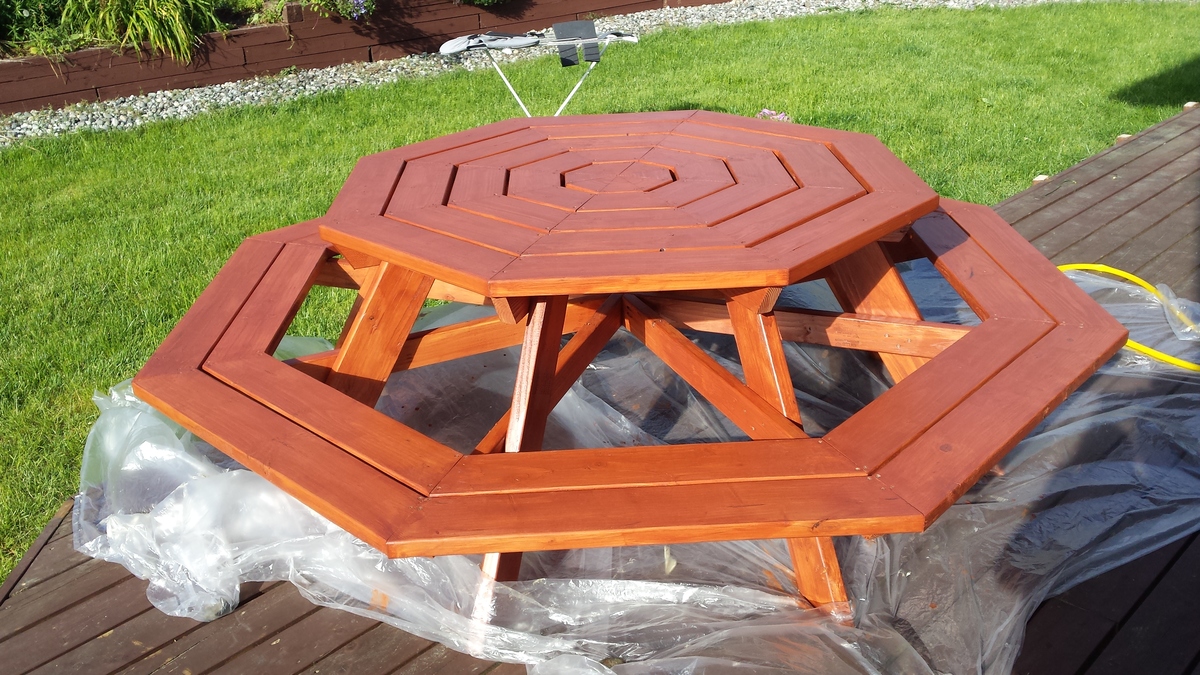
Finished building this table with the plan provided by Ana White! Worked out great. I stained it in a with a transparent deck stain in natural sequoia. Happy to help if anyone has any questions!
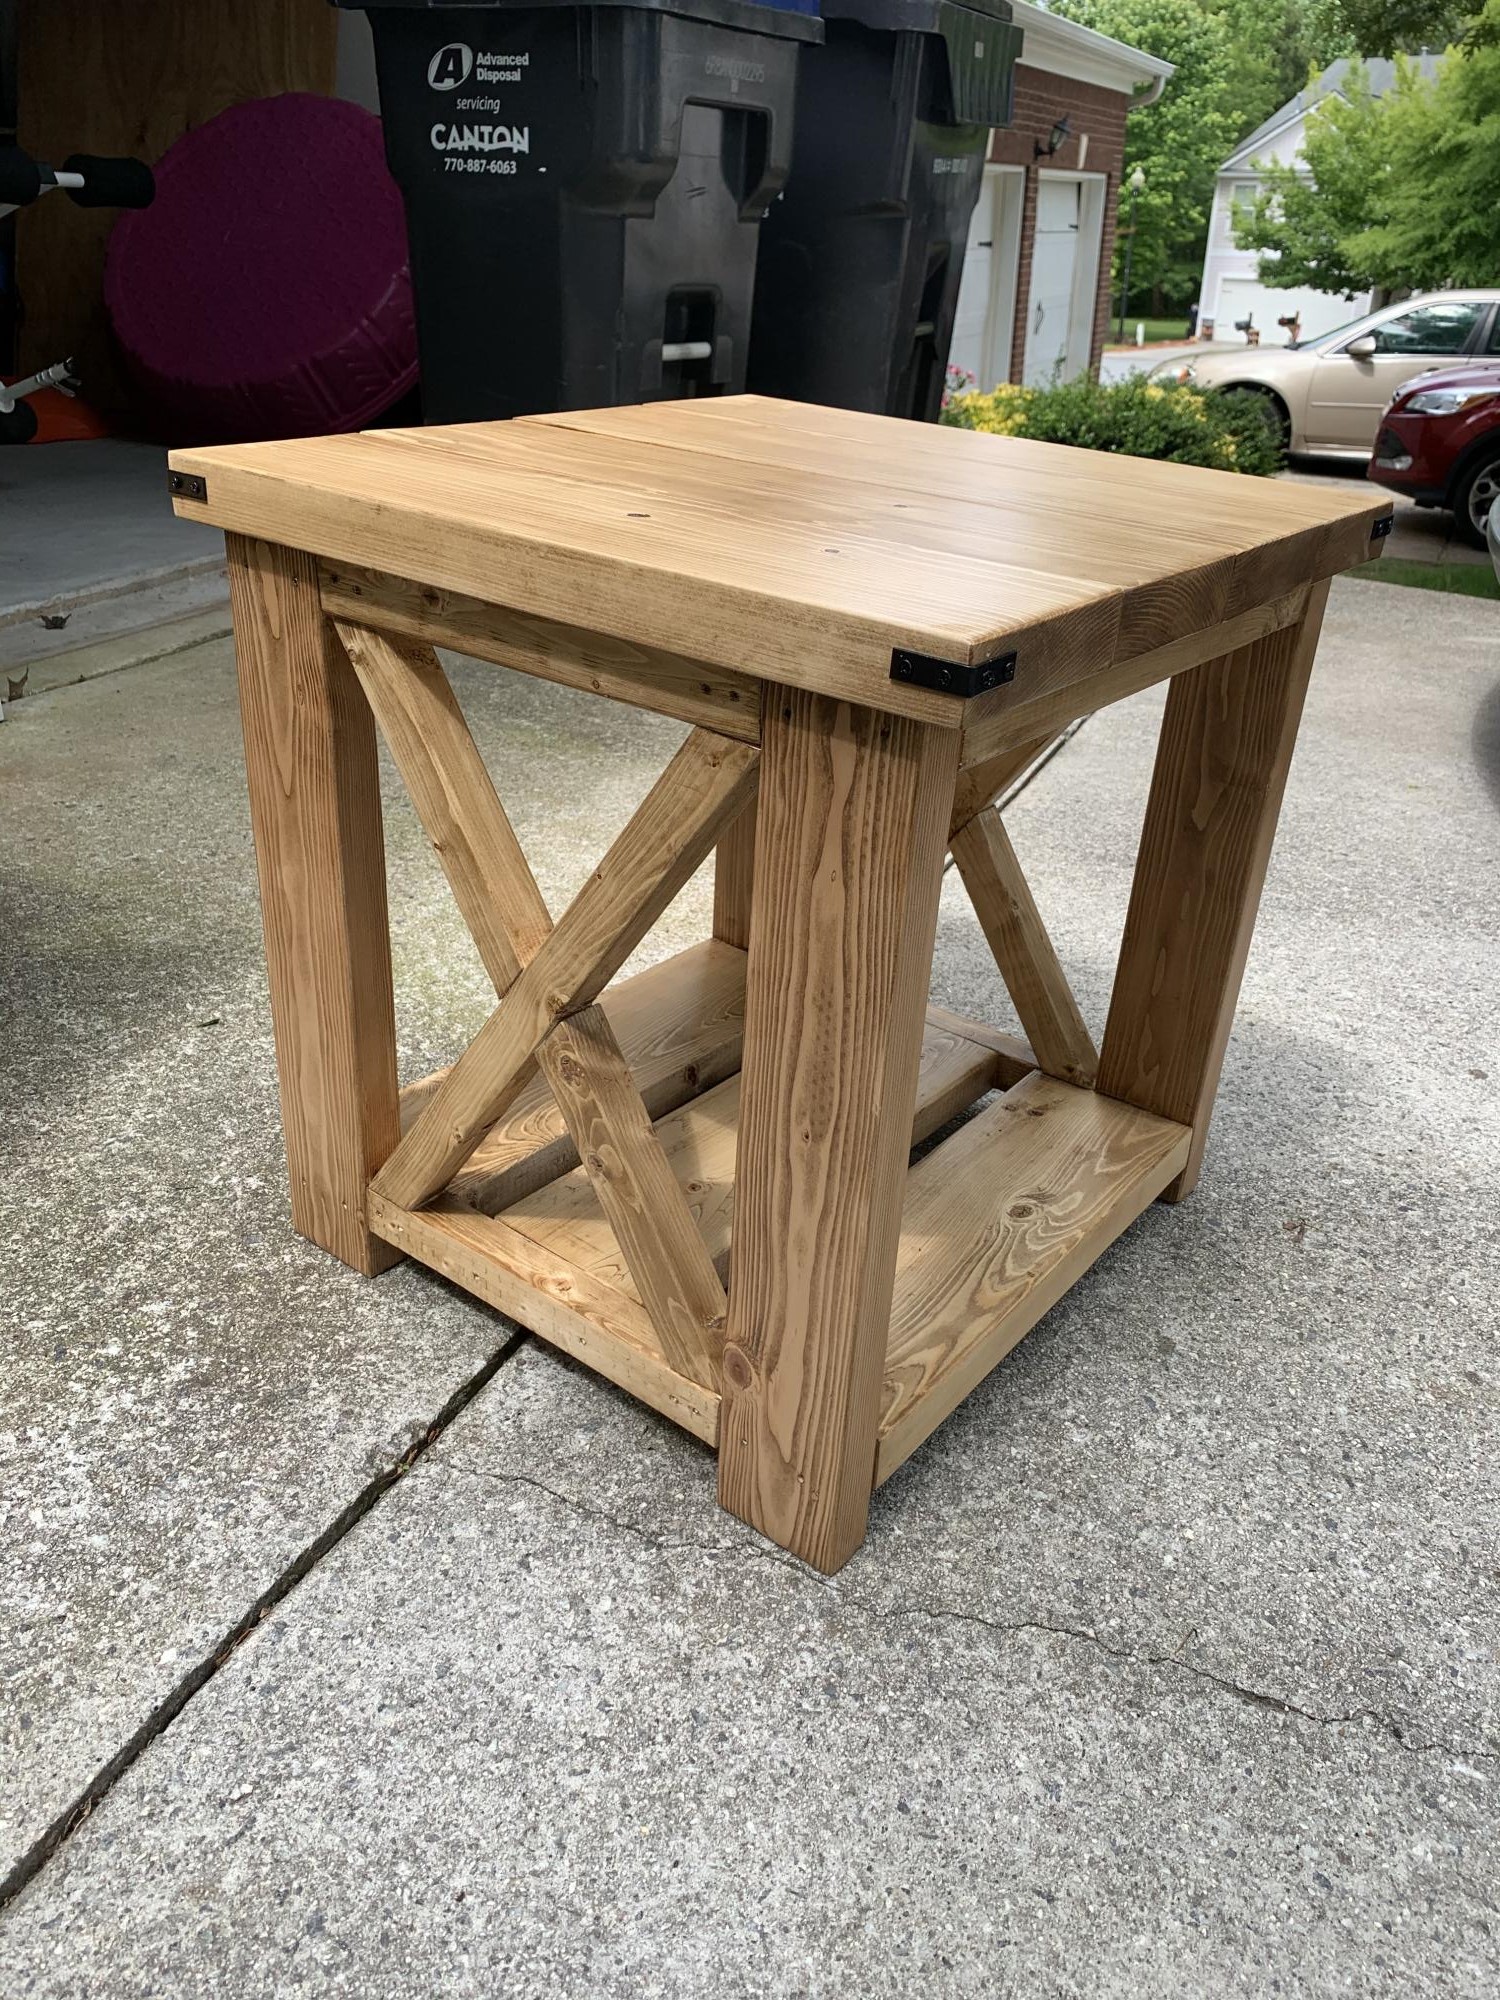
Tips: Definitely cut as you go. If you get the angles are off in the center when all the long pieces connect is it makes each top piece larger or smaller.

Built from Plan(s)
Estimated Cost
200
Estimated Time Investment
Week Long Project (20 Hours or More)
Recommended Skill Level
Intermediate

Comments

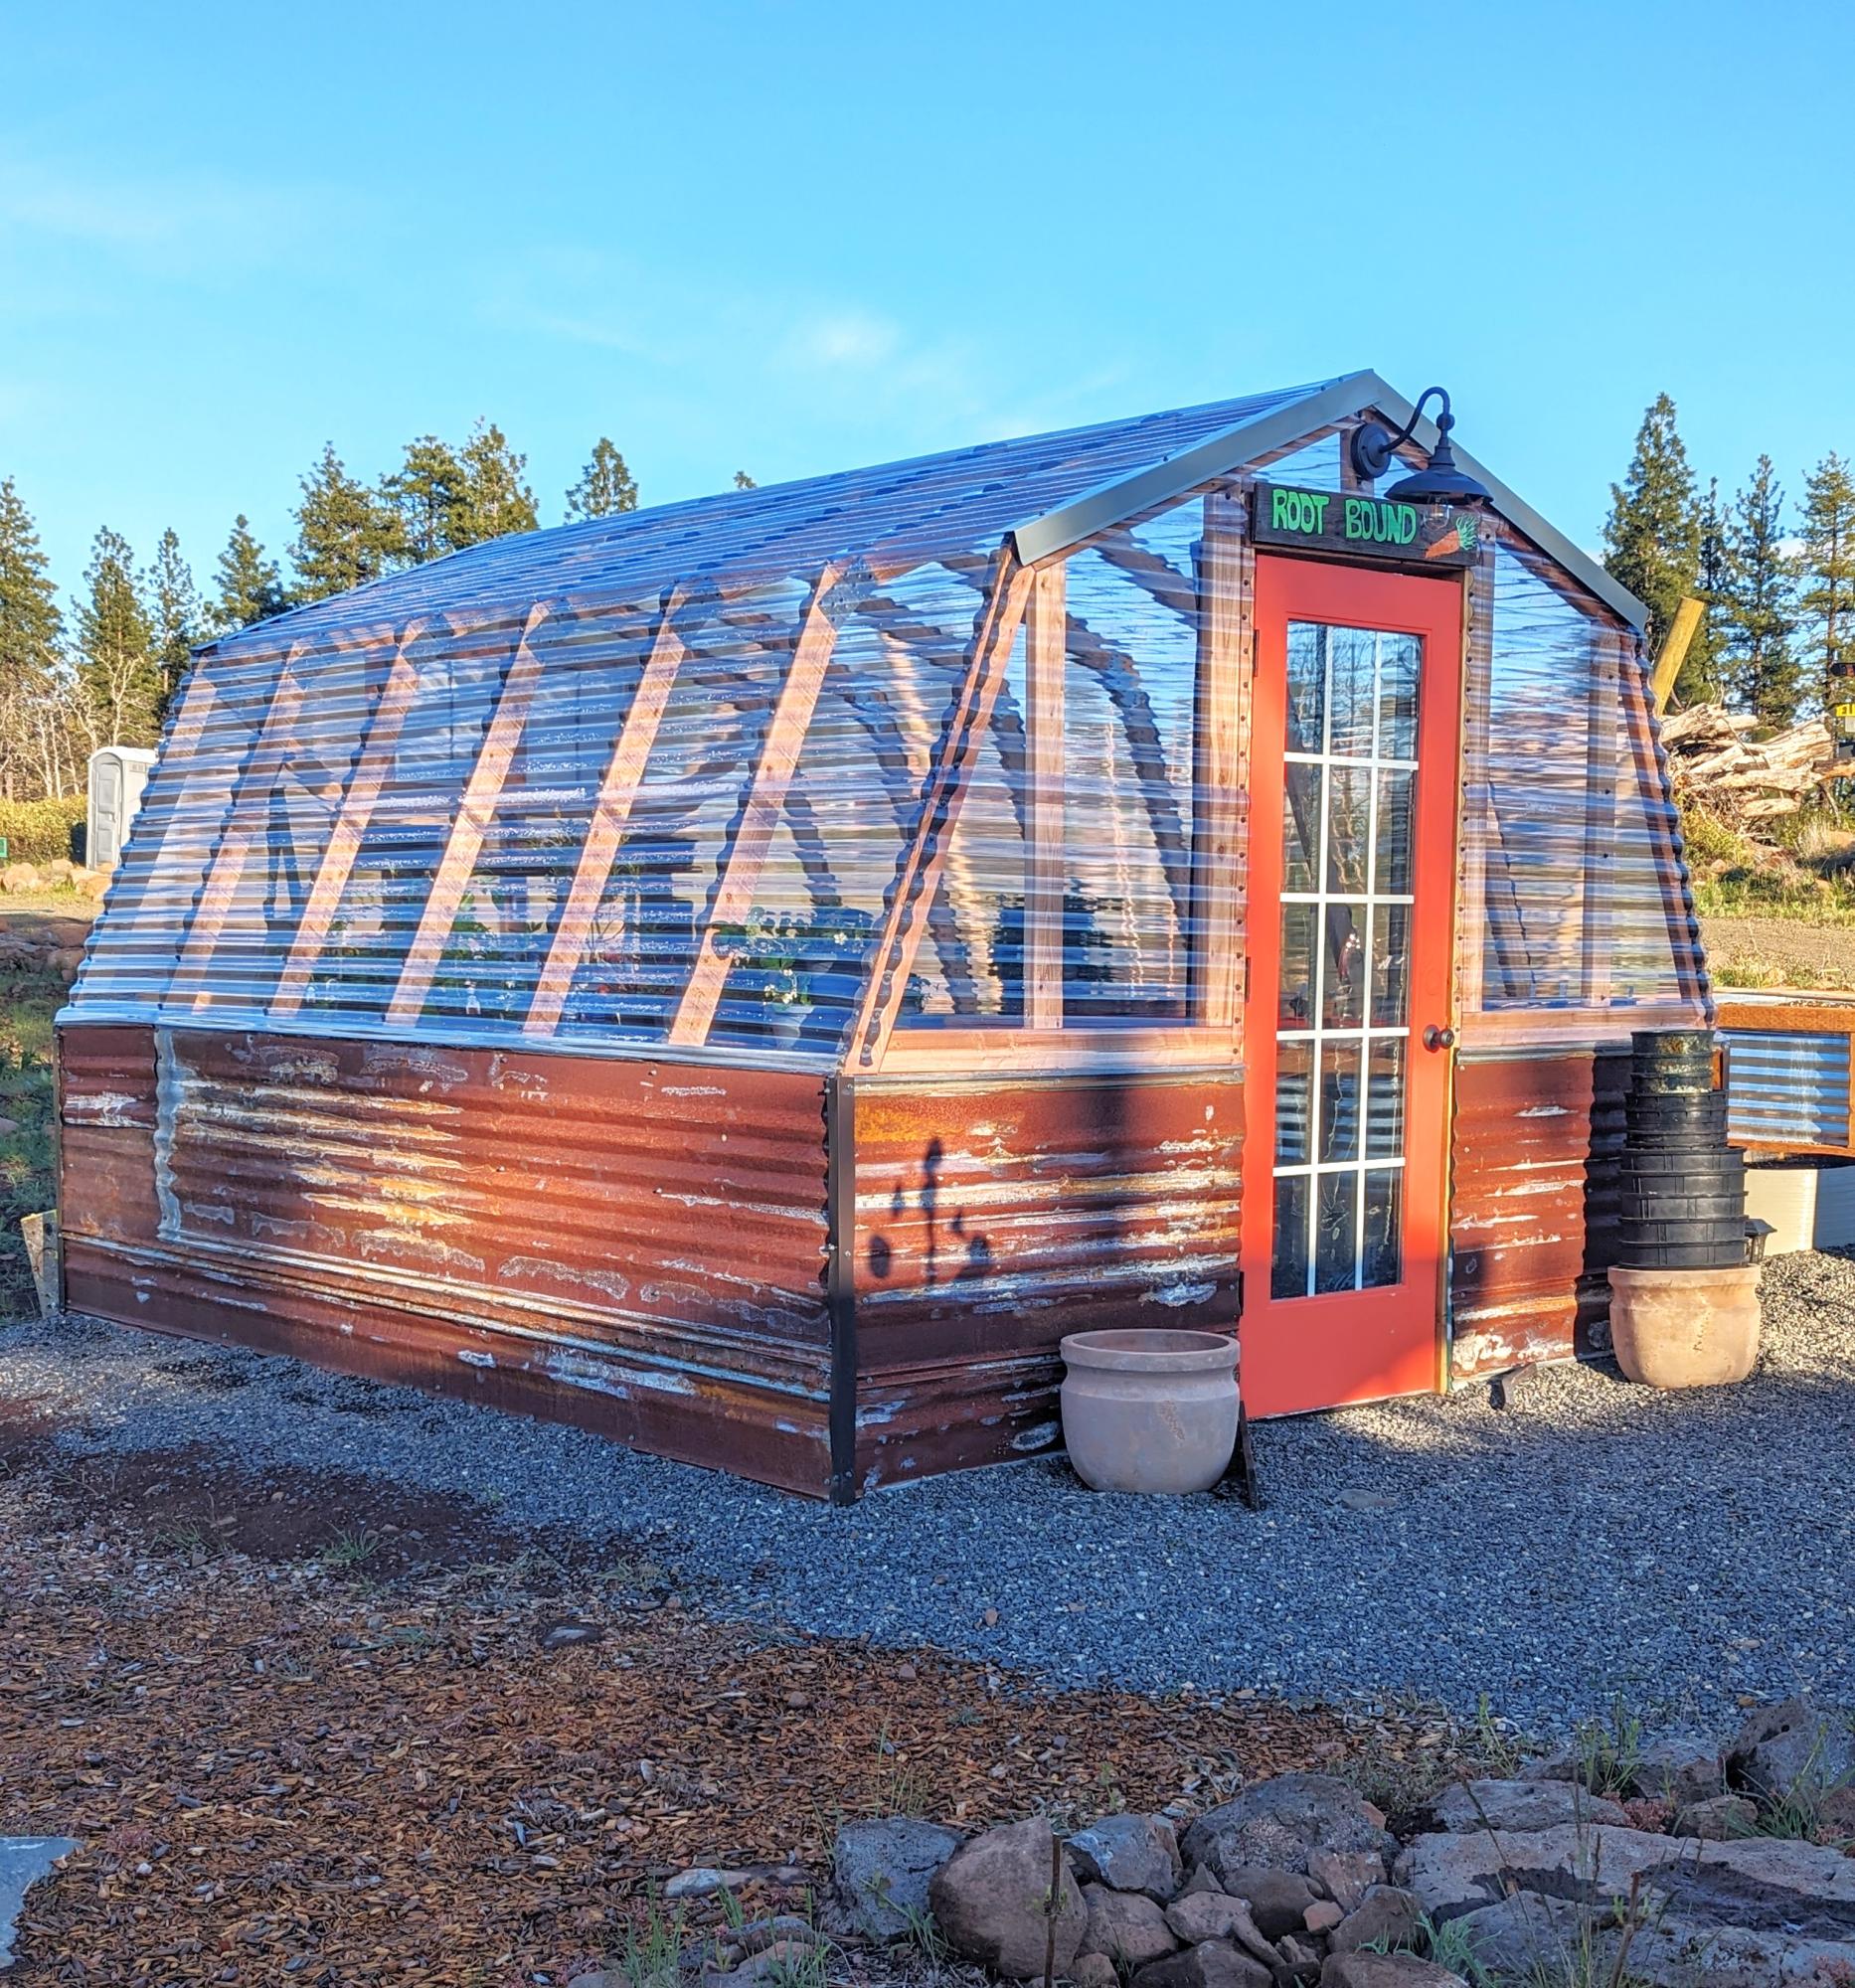
DIY Greenhouse with Reclaimed Material

Submitted by Anonymous (not verified) on Fri, 05/03/2024 - 08:00

My wife & I did this in two weekends, we're not that handy but your plans were easy to follow. Mostly reclaimed material. So fun & we love it!
Thanks!!

Tammie & Scott

Built from Plan(s)
Back