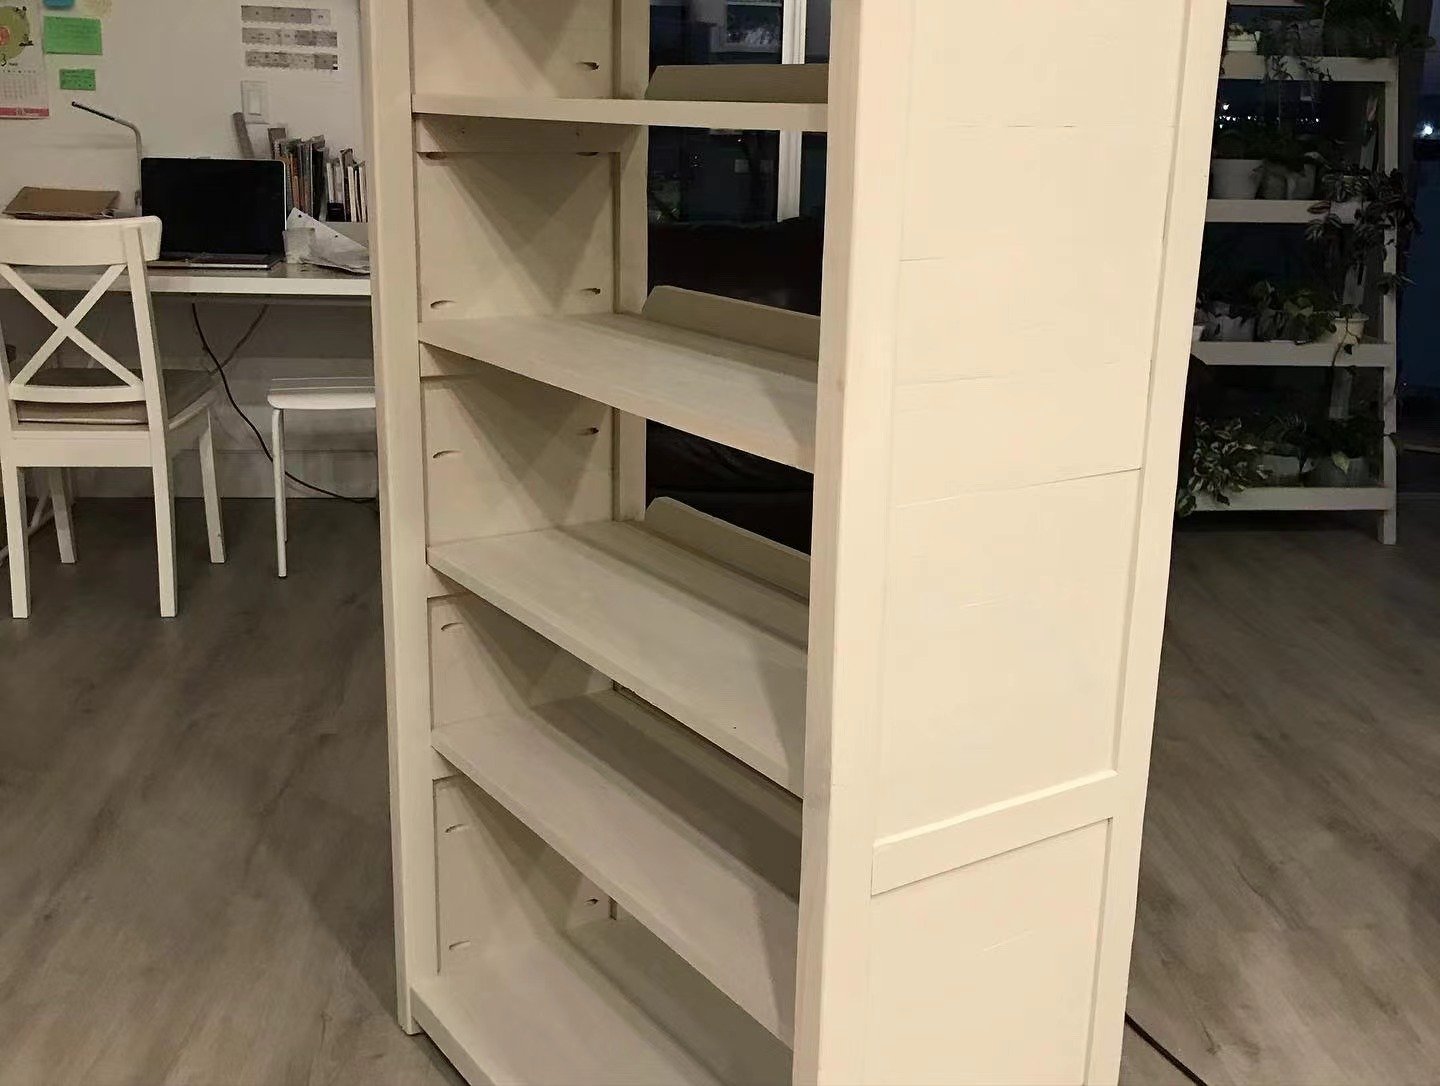
Natural Pine
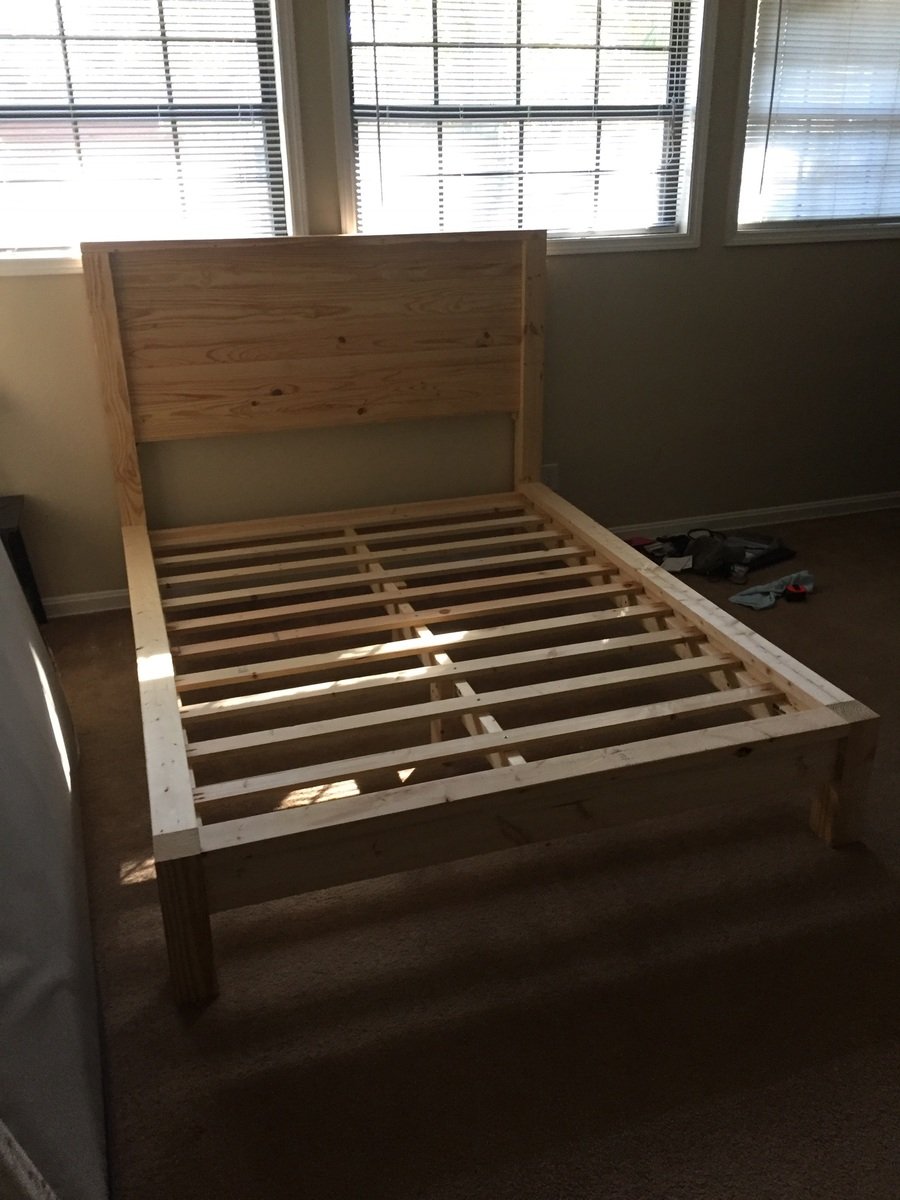
Enjoyed making this queen sized bed frame. Thanks Ana, for the great plans! I am adding some lights to it in the next few weeks, that I'll wire through the 4x4's, to add individual reading lamps. I plan on complimenting the bed frame with your farmhouse style nightstands, that I am going to modify with a hidden power supply and some rollers for the drawers. Once done, I'll submit the brag post! Again, thanks Ana, for your great and inspired plans!
Built from Plan(s)
Estimated Cost
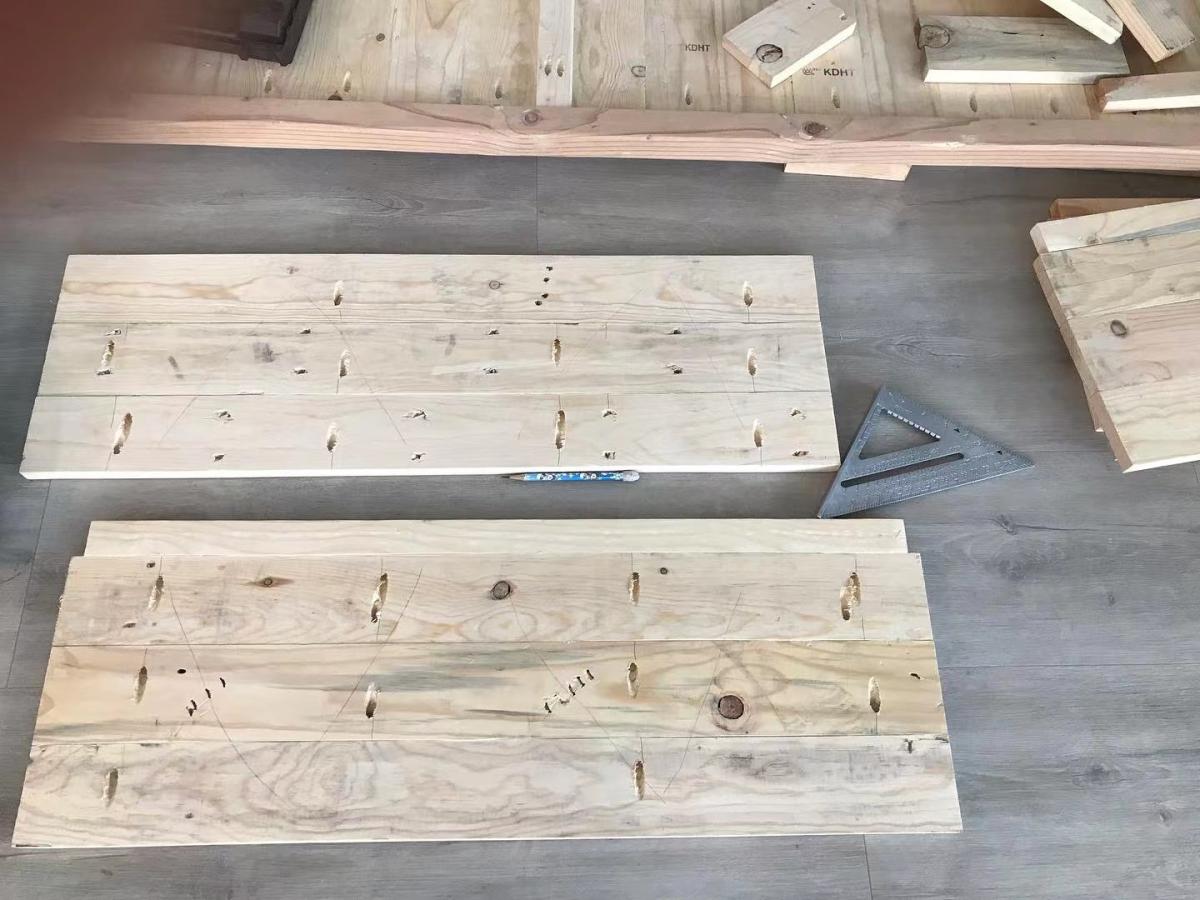
$175 (4x4's are expensive where I am, and I went with KD Whitewood instead of just regular pine 2x4's)
Estimated Time Investment
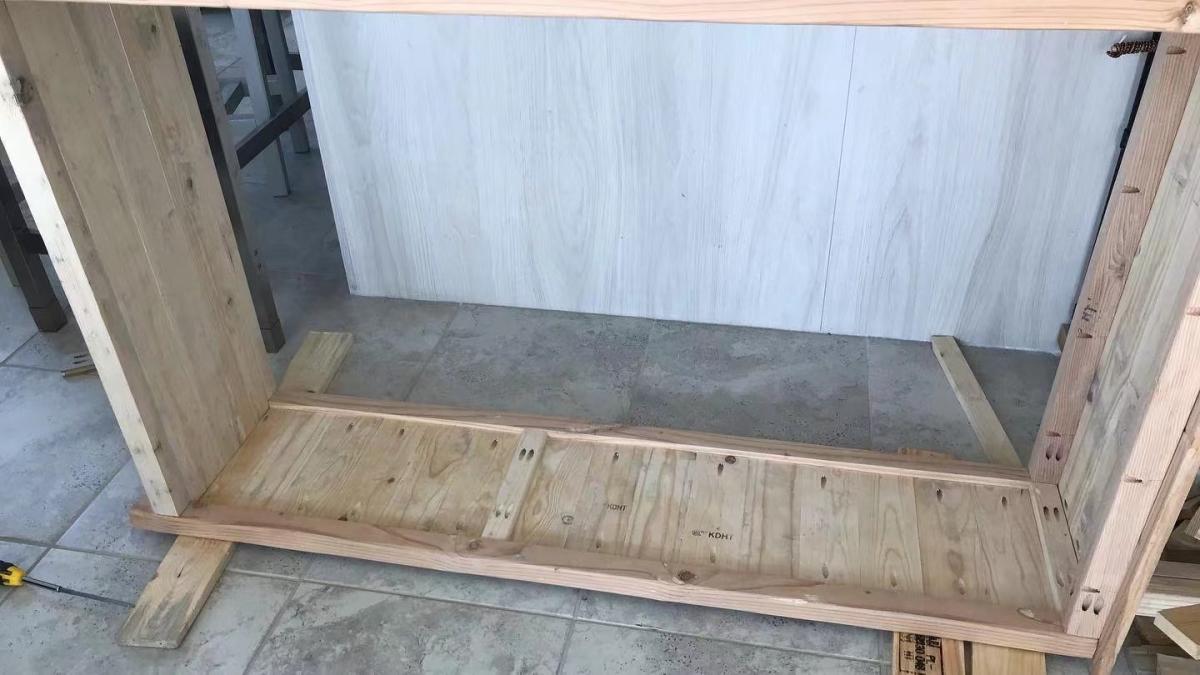
Weekend Project (10-20 Hours)
Finish Used
Natural
Recommended Skill Level
Beginner