Community Brag Posts
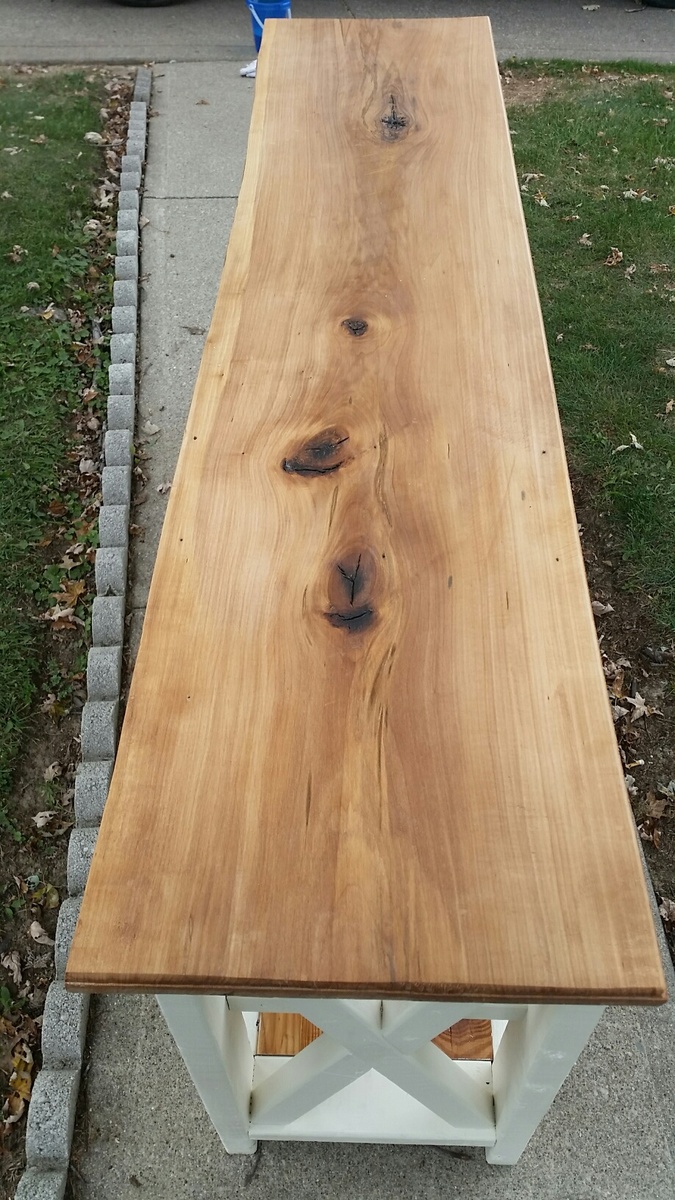
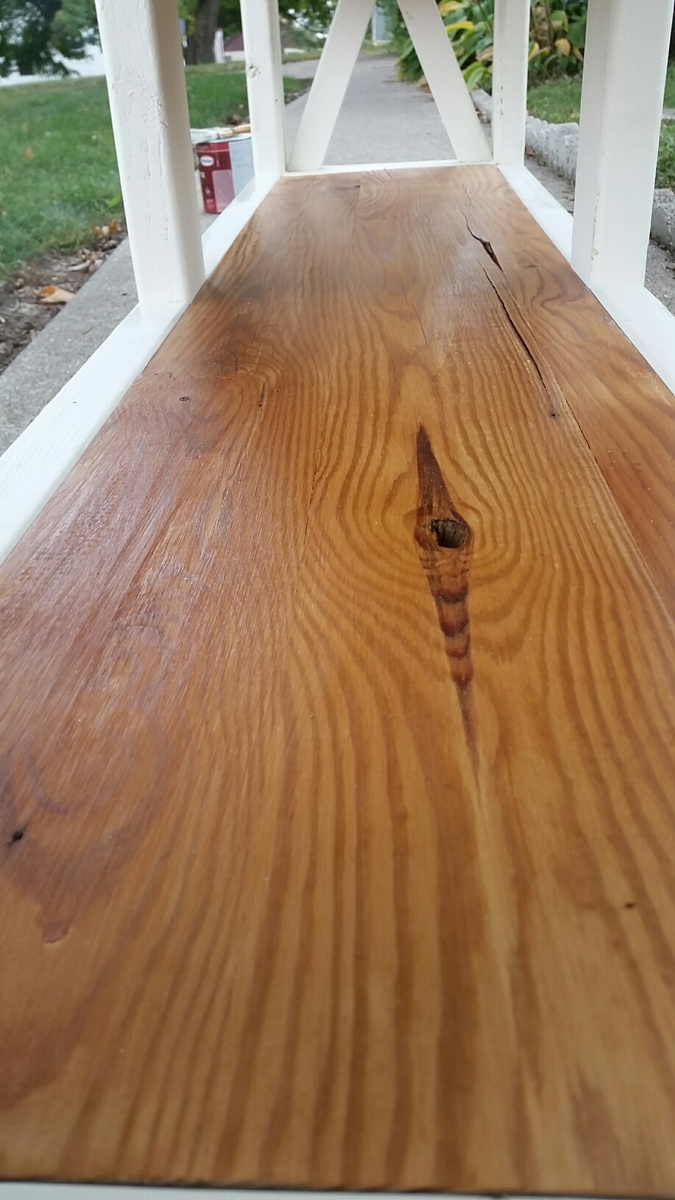
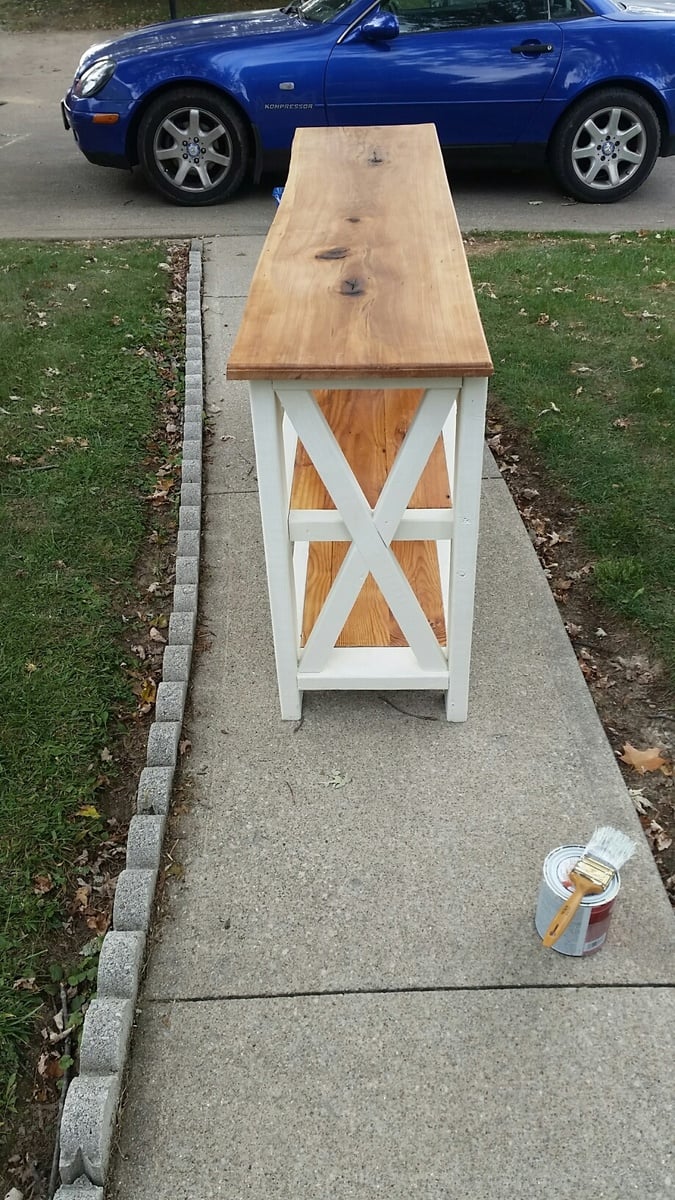
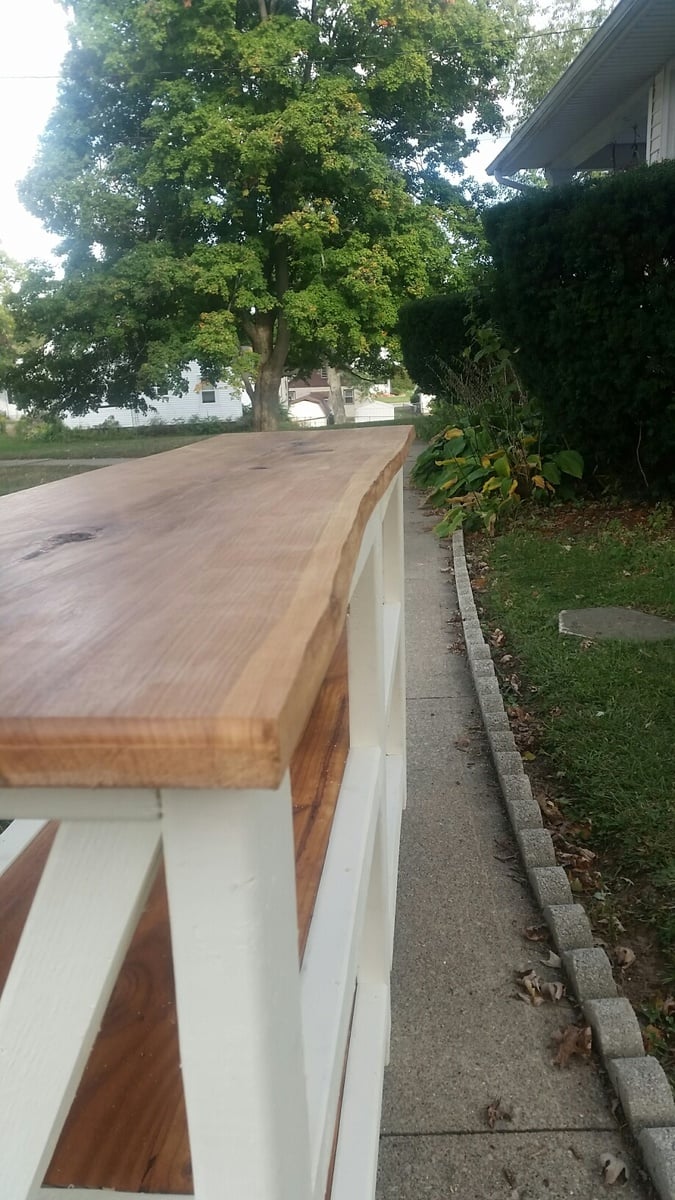
Rustic X Console Table
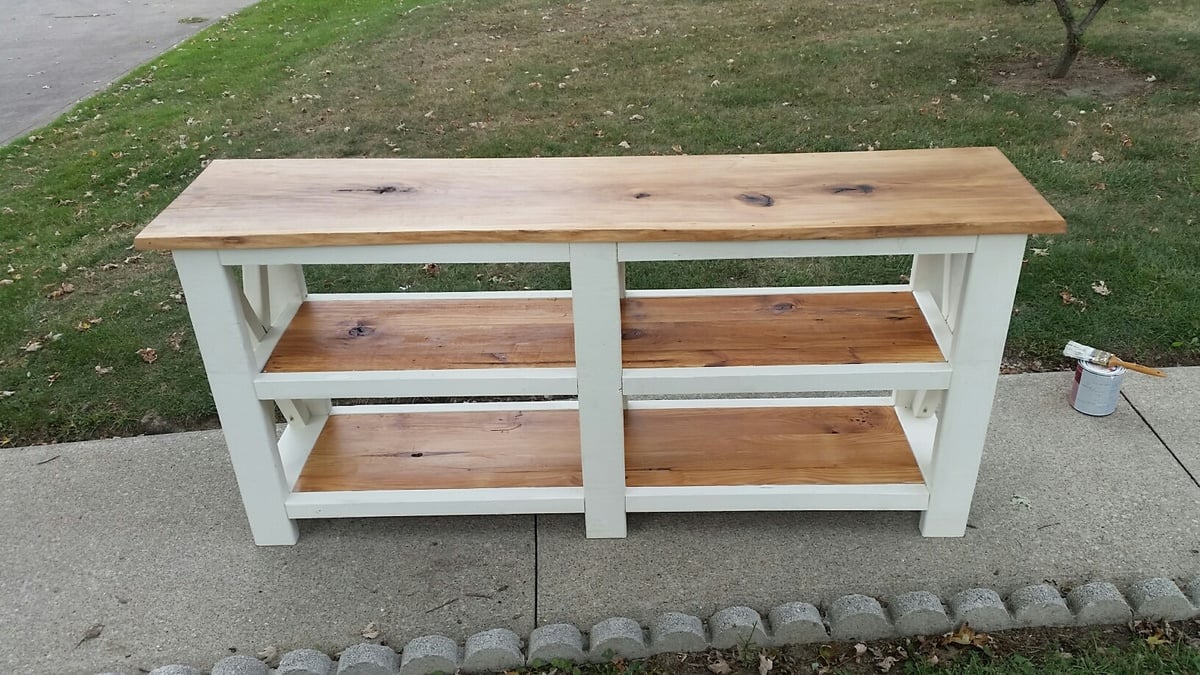
I followed Ana's plans to a T except my length is 10" shorter. Top shelf is a 1" x 15" solid Oak amish cut board. I left a live edge on the front as I really liked the flow of it. The bottom two shelves are 100yr old pine plank boards that a friend of mine tore out of his attic.
Built from Plan(s)
Estimated Cost
I already had the wood for the shelves and stain. Spent $25 on paint, screws, and 2x4s.
Estimated Time Investment
Weekend Project (10-20 Hours)
Finish Used
Minwax Oak
Recommended Skill Level
Intermediate
Comments
Tue, 09/29/2015 - 10:40
Thank you very much! I love
Thank you very much! I love the way it turned out ![]()
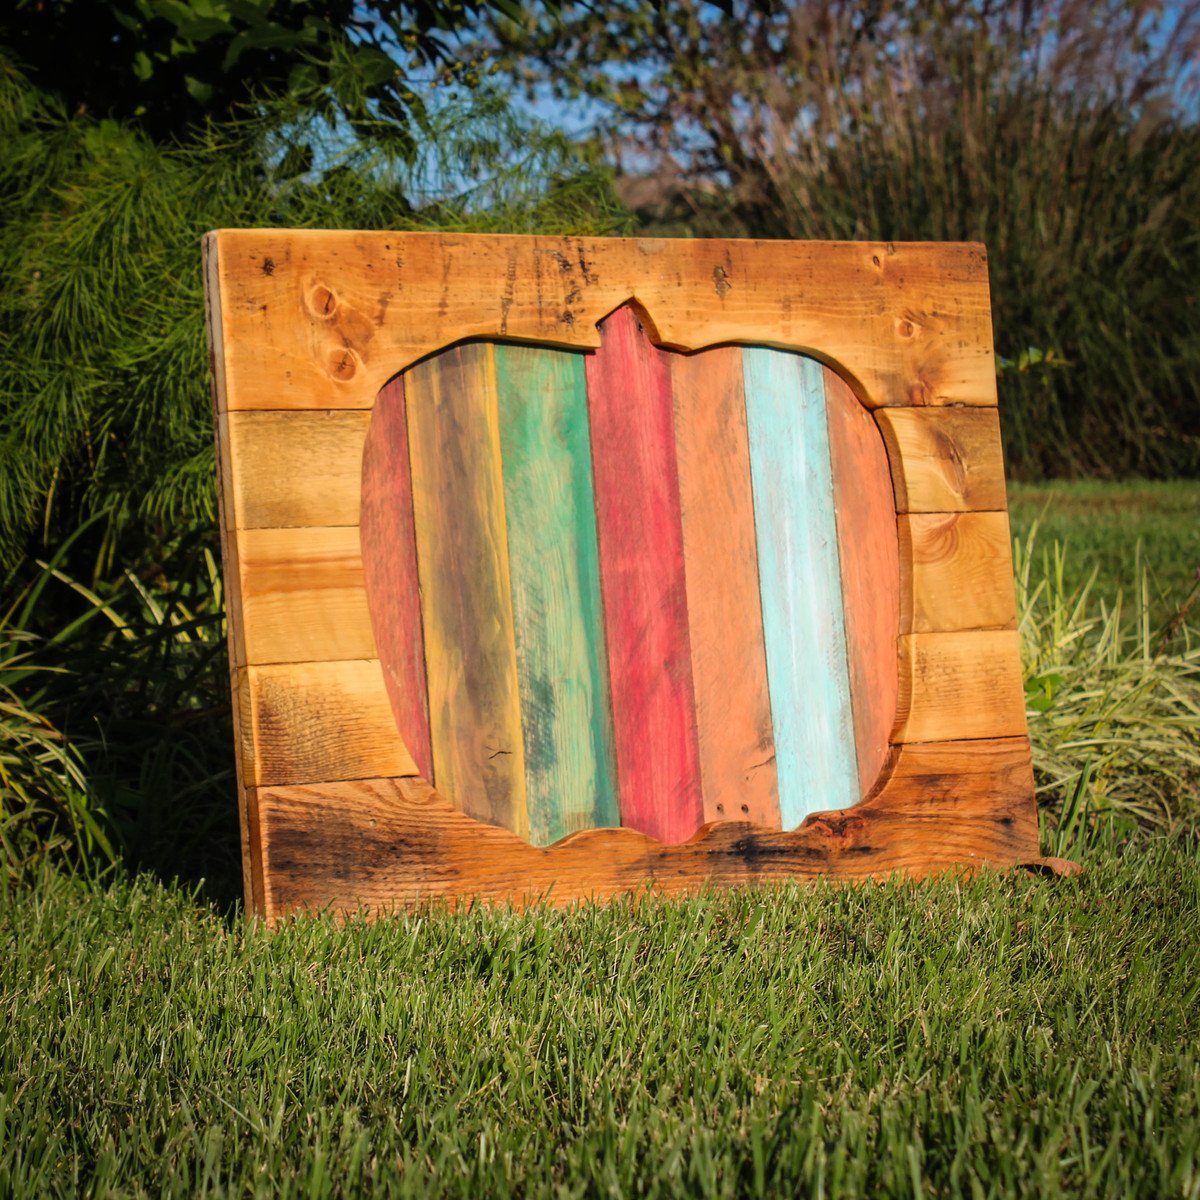
Pallet Pumpkin
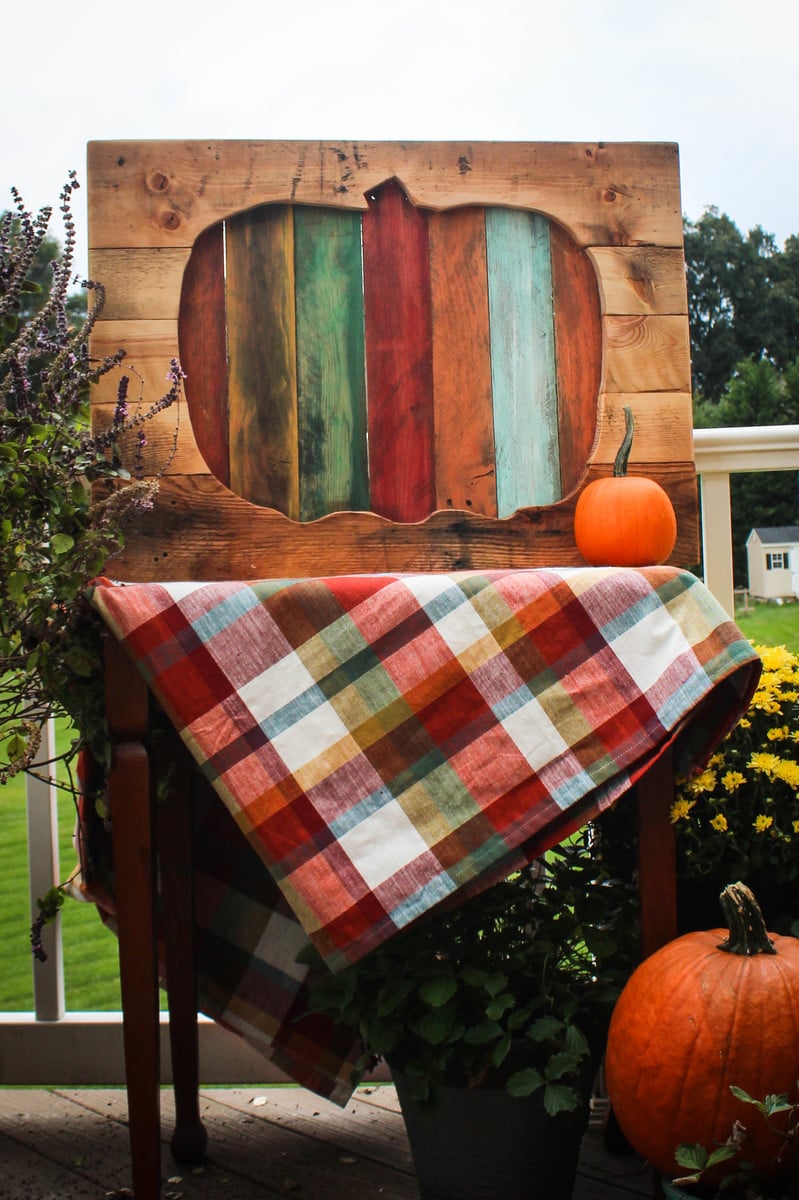
This pallet wood pumpkin project was so easy to do from start to finish. It started with the last pallet wood I had disassembled last year. Then I scavenged from the kids craft paint stash. Some dry brushing the paint on and swiping it off and it was done in time for the little trick or treatsters.
Estimated Cost
$1
Estimated Time Investment
Afternoon Project (3-6 Hours)
Finish Used
Paint
Recommended Skill Level
Starter Project
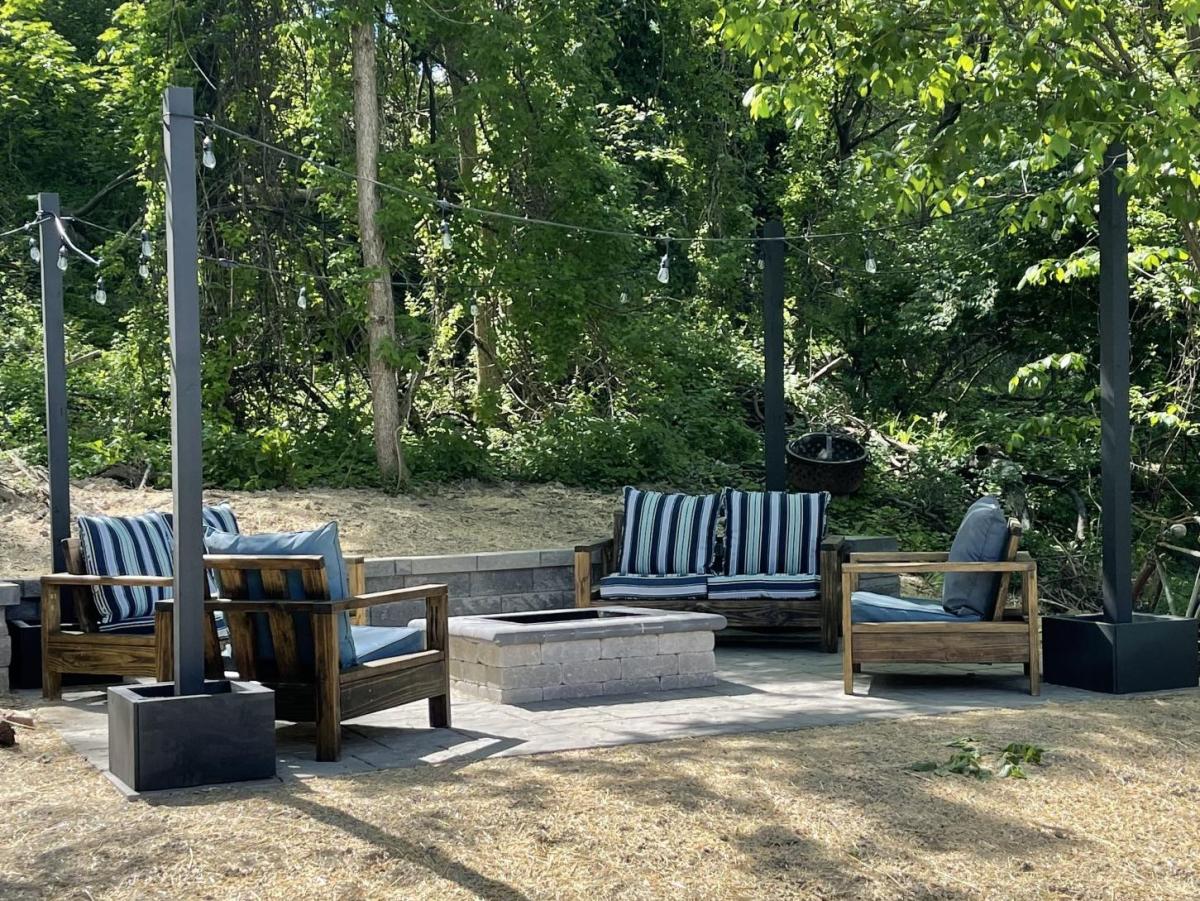
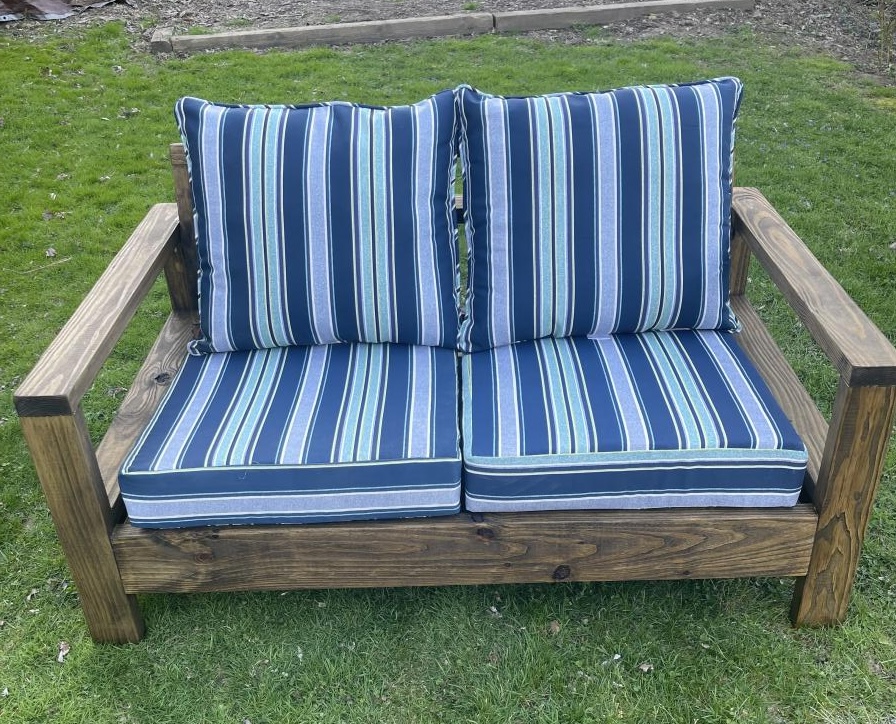
Patio Living
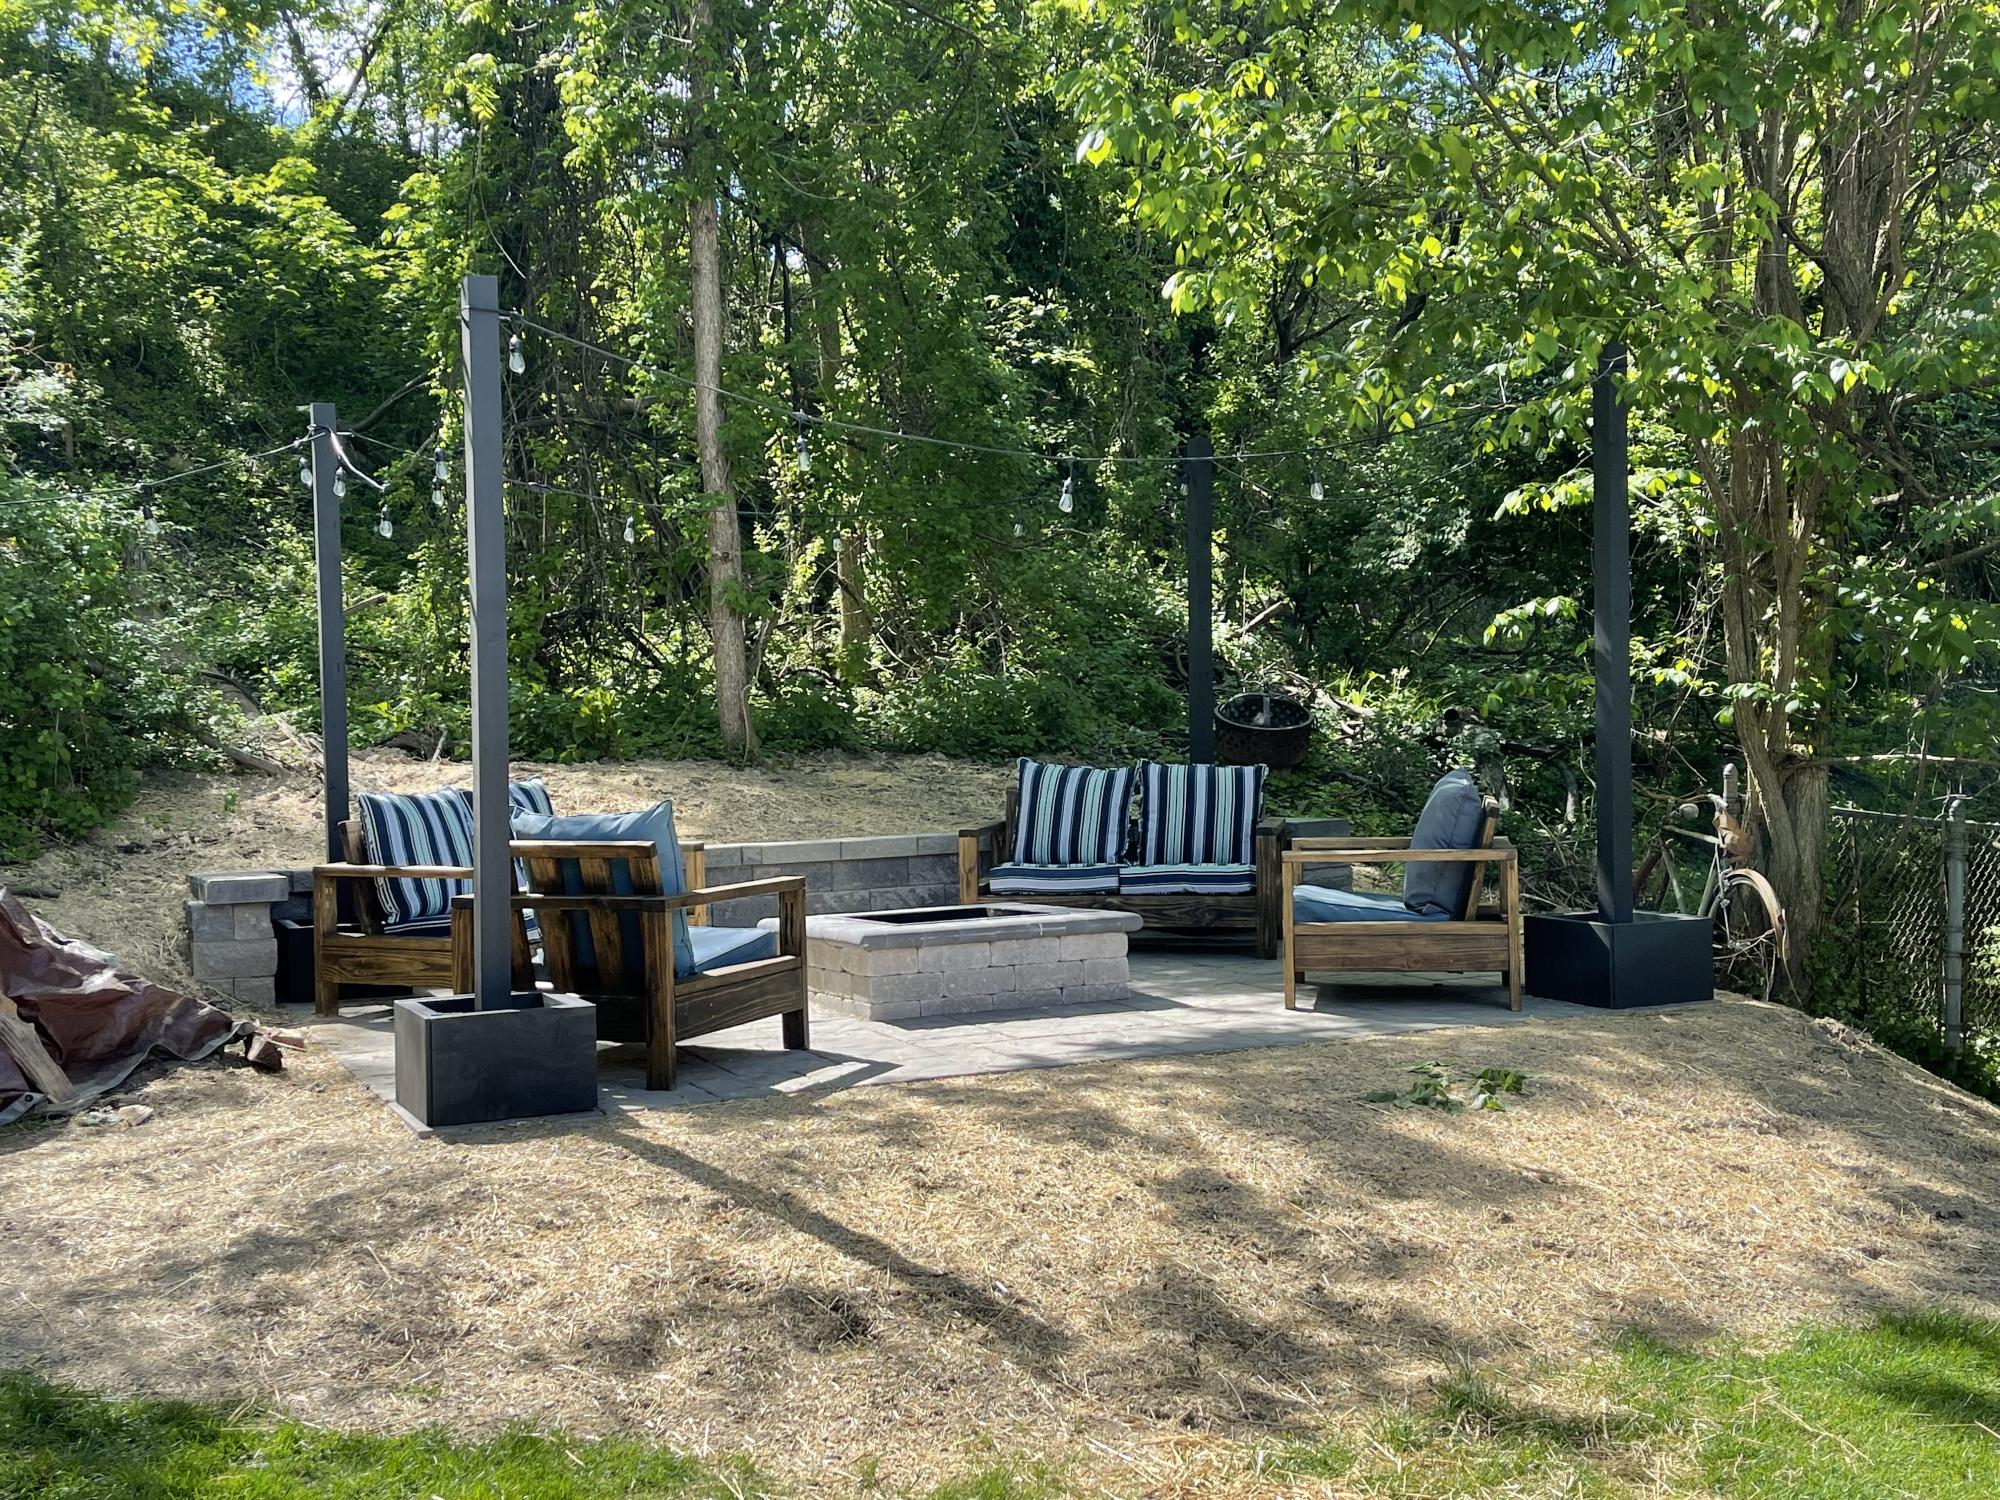
We had a new backyard patio installed this spring and after a tree fell last year and crushed most of our mix-matched furniture I knew it was time to build a new set. We opted for the chair and loveseat from the outdoor seating set. We did make one small adjustment which was to tilt the back so that the back of the seat was 8” from the back base - super small adjustment but we find the angle to be more comfortable. It only require recurring the seat slats and we secured the back to the frame through one screw in the back rest of the pieces. We get a ton of compliments on this and while super heavy and durable, we can move it easily on the patio stone to sweep and clean.
Comments
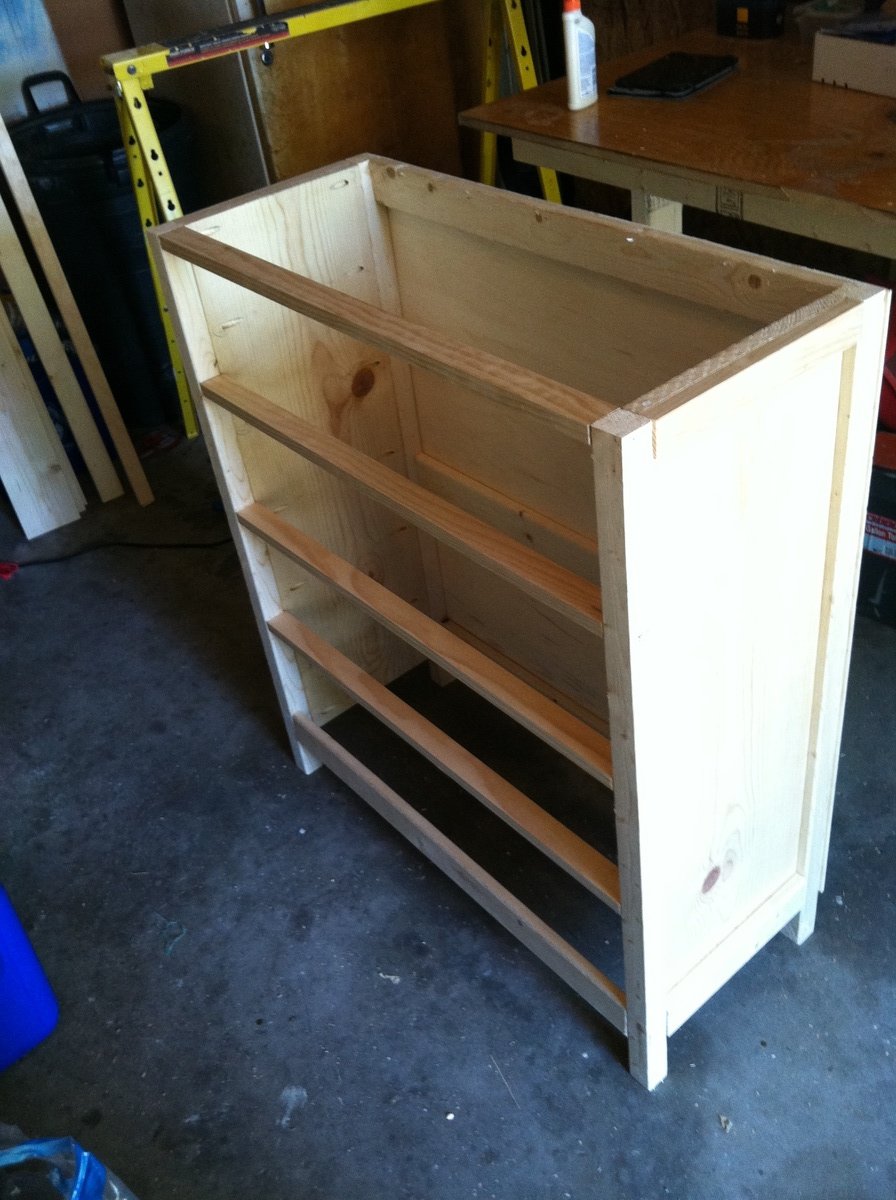
Creative storage solution

After months of staring at extra water bottles and soda on our kitchen floor, I decided to create my first original plan and build a cabinet to house all of those bottles.
Estimated Cost
$20 (I used left over MDF from a previous project)
Estimated Time Investment
Weekend Project (10-20 Hours)
Recommended Skill Level
Beginner
Comments
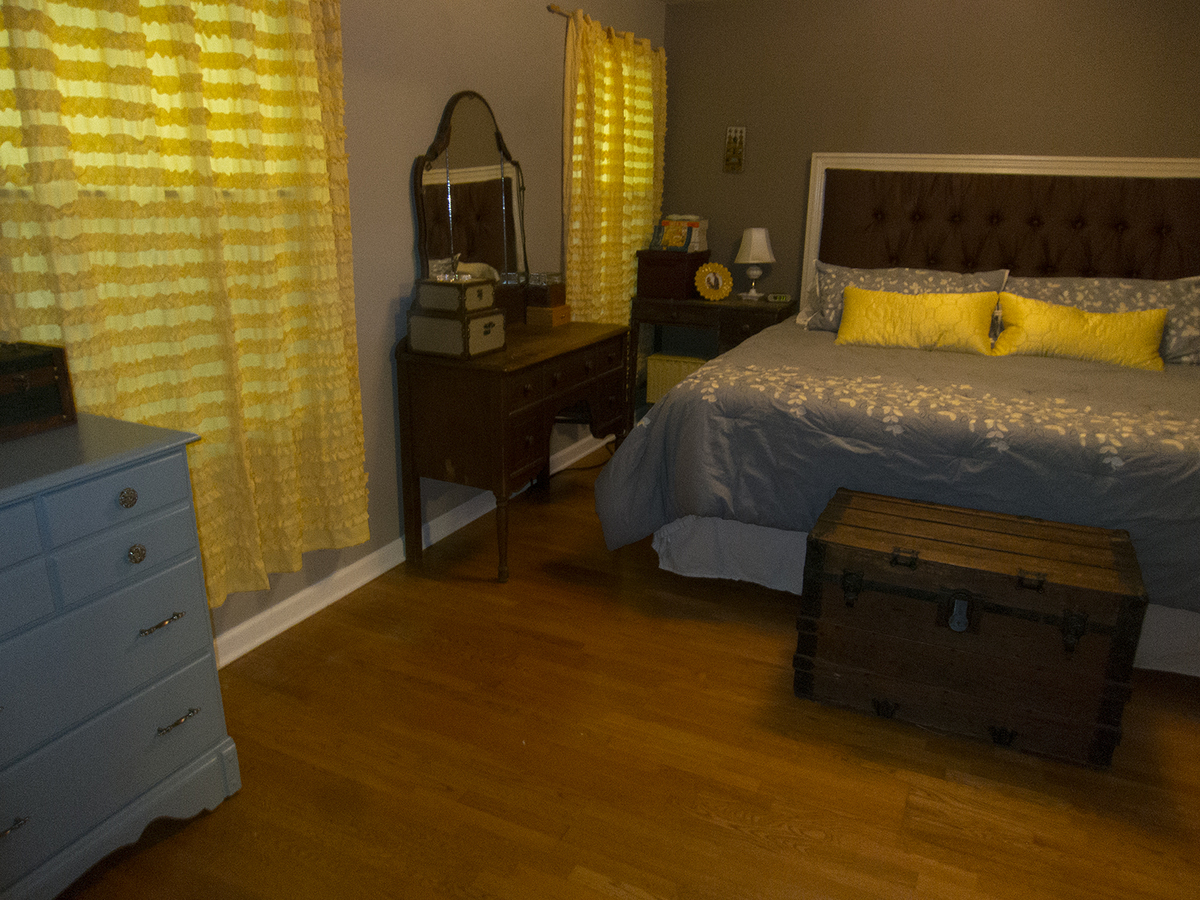
Framed and Tufted Upholstered Headboard
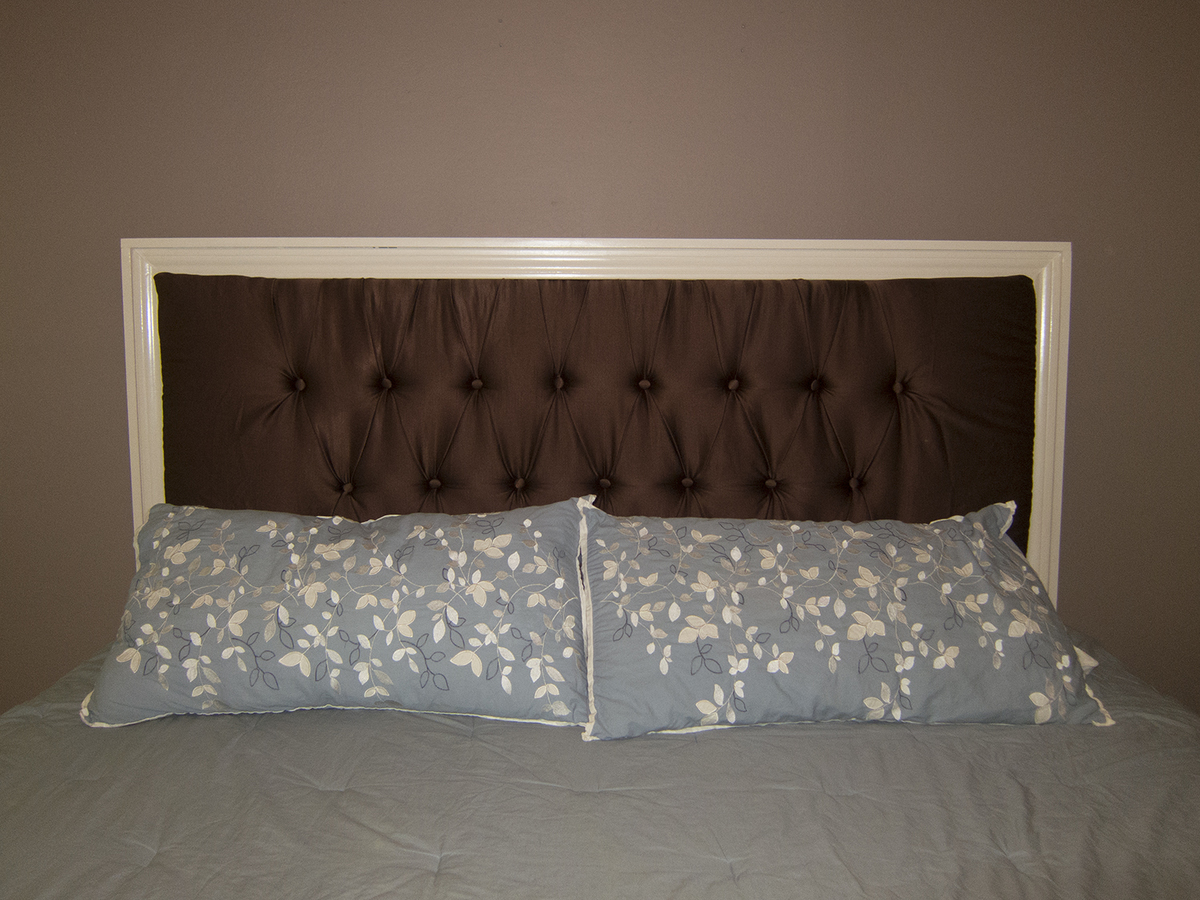
I love the look of diamond tufting, so that's how I did the upholstered insert, which added hours to the project. The frame itself was built in about 3 hours, so this could easily be an afternoon project if you skipped the tufting.
Built from Plan(s)
Estimated Cost
$200
Estimated Time Investment
Weekend Project (10-20 Hours)
Finish Used
Behr "White Mocha" with wipe-on poly finish
Recommended Skill Level
Beginner
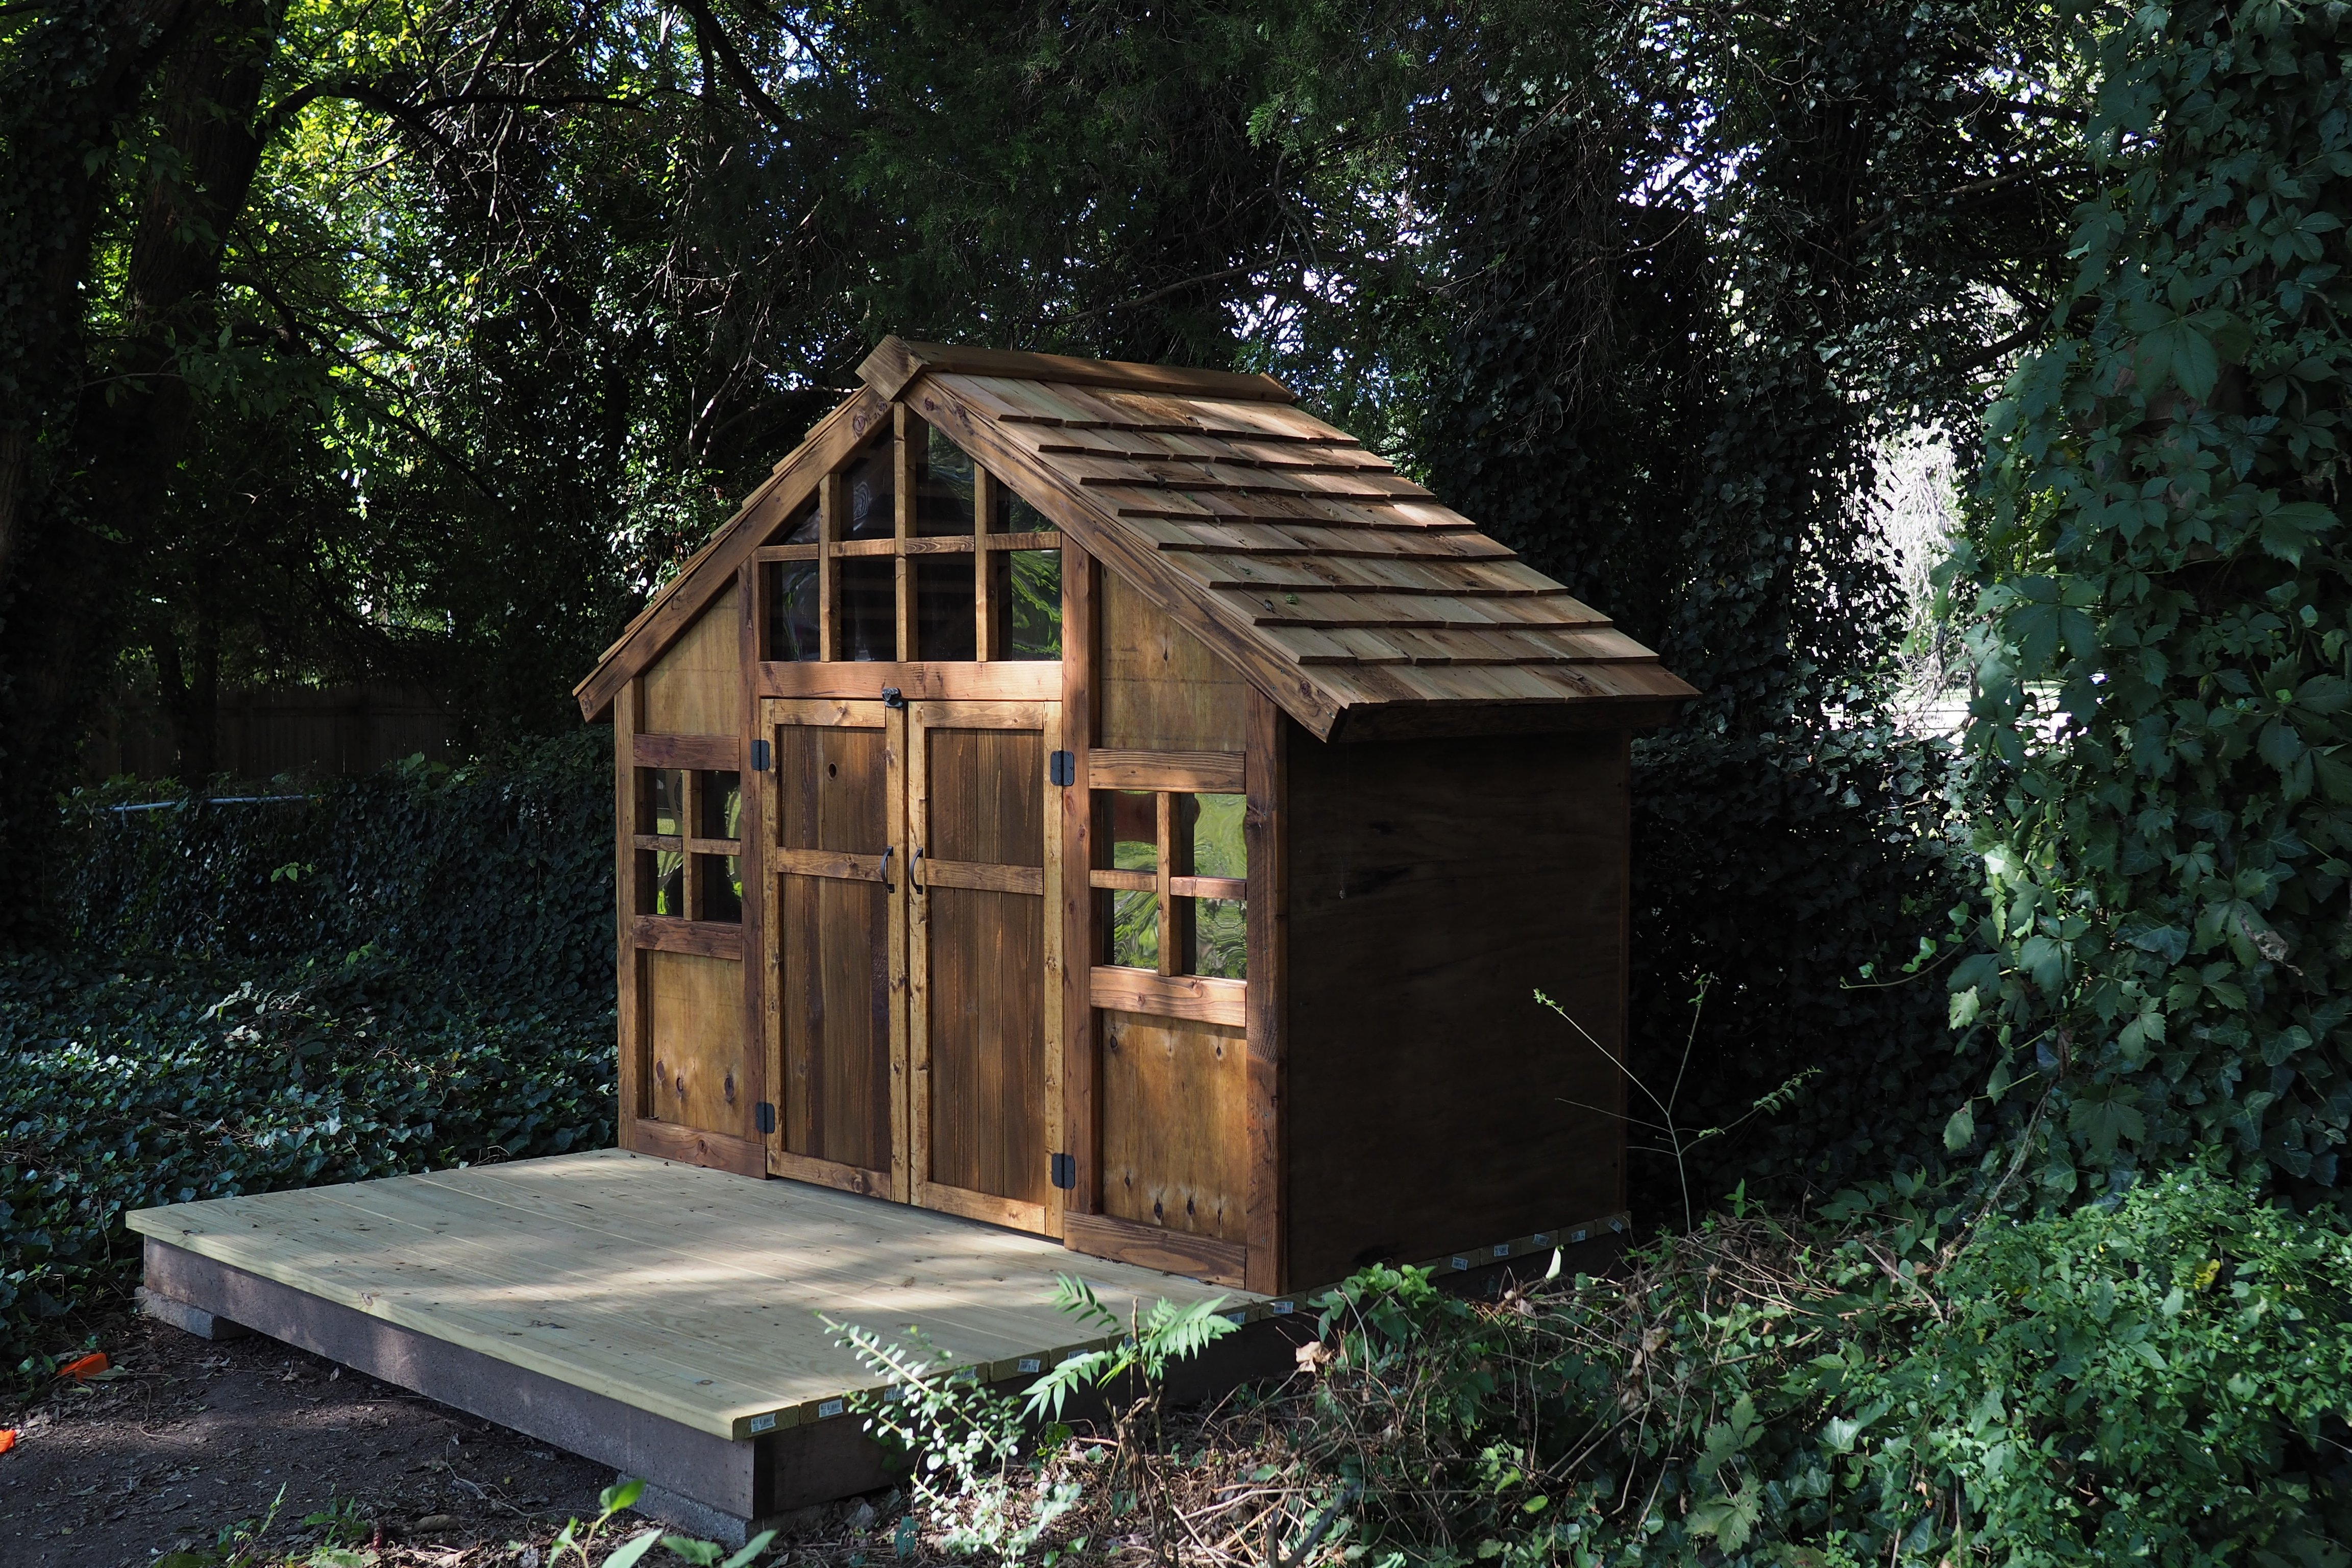
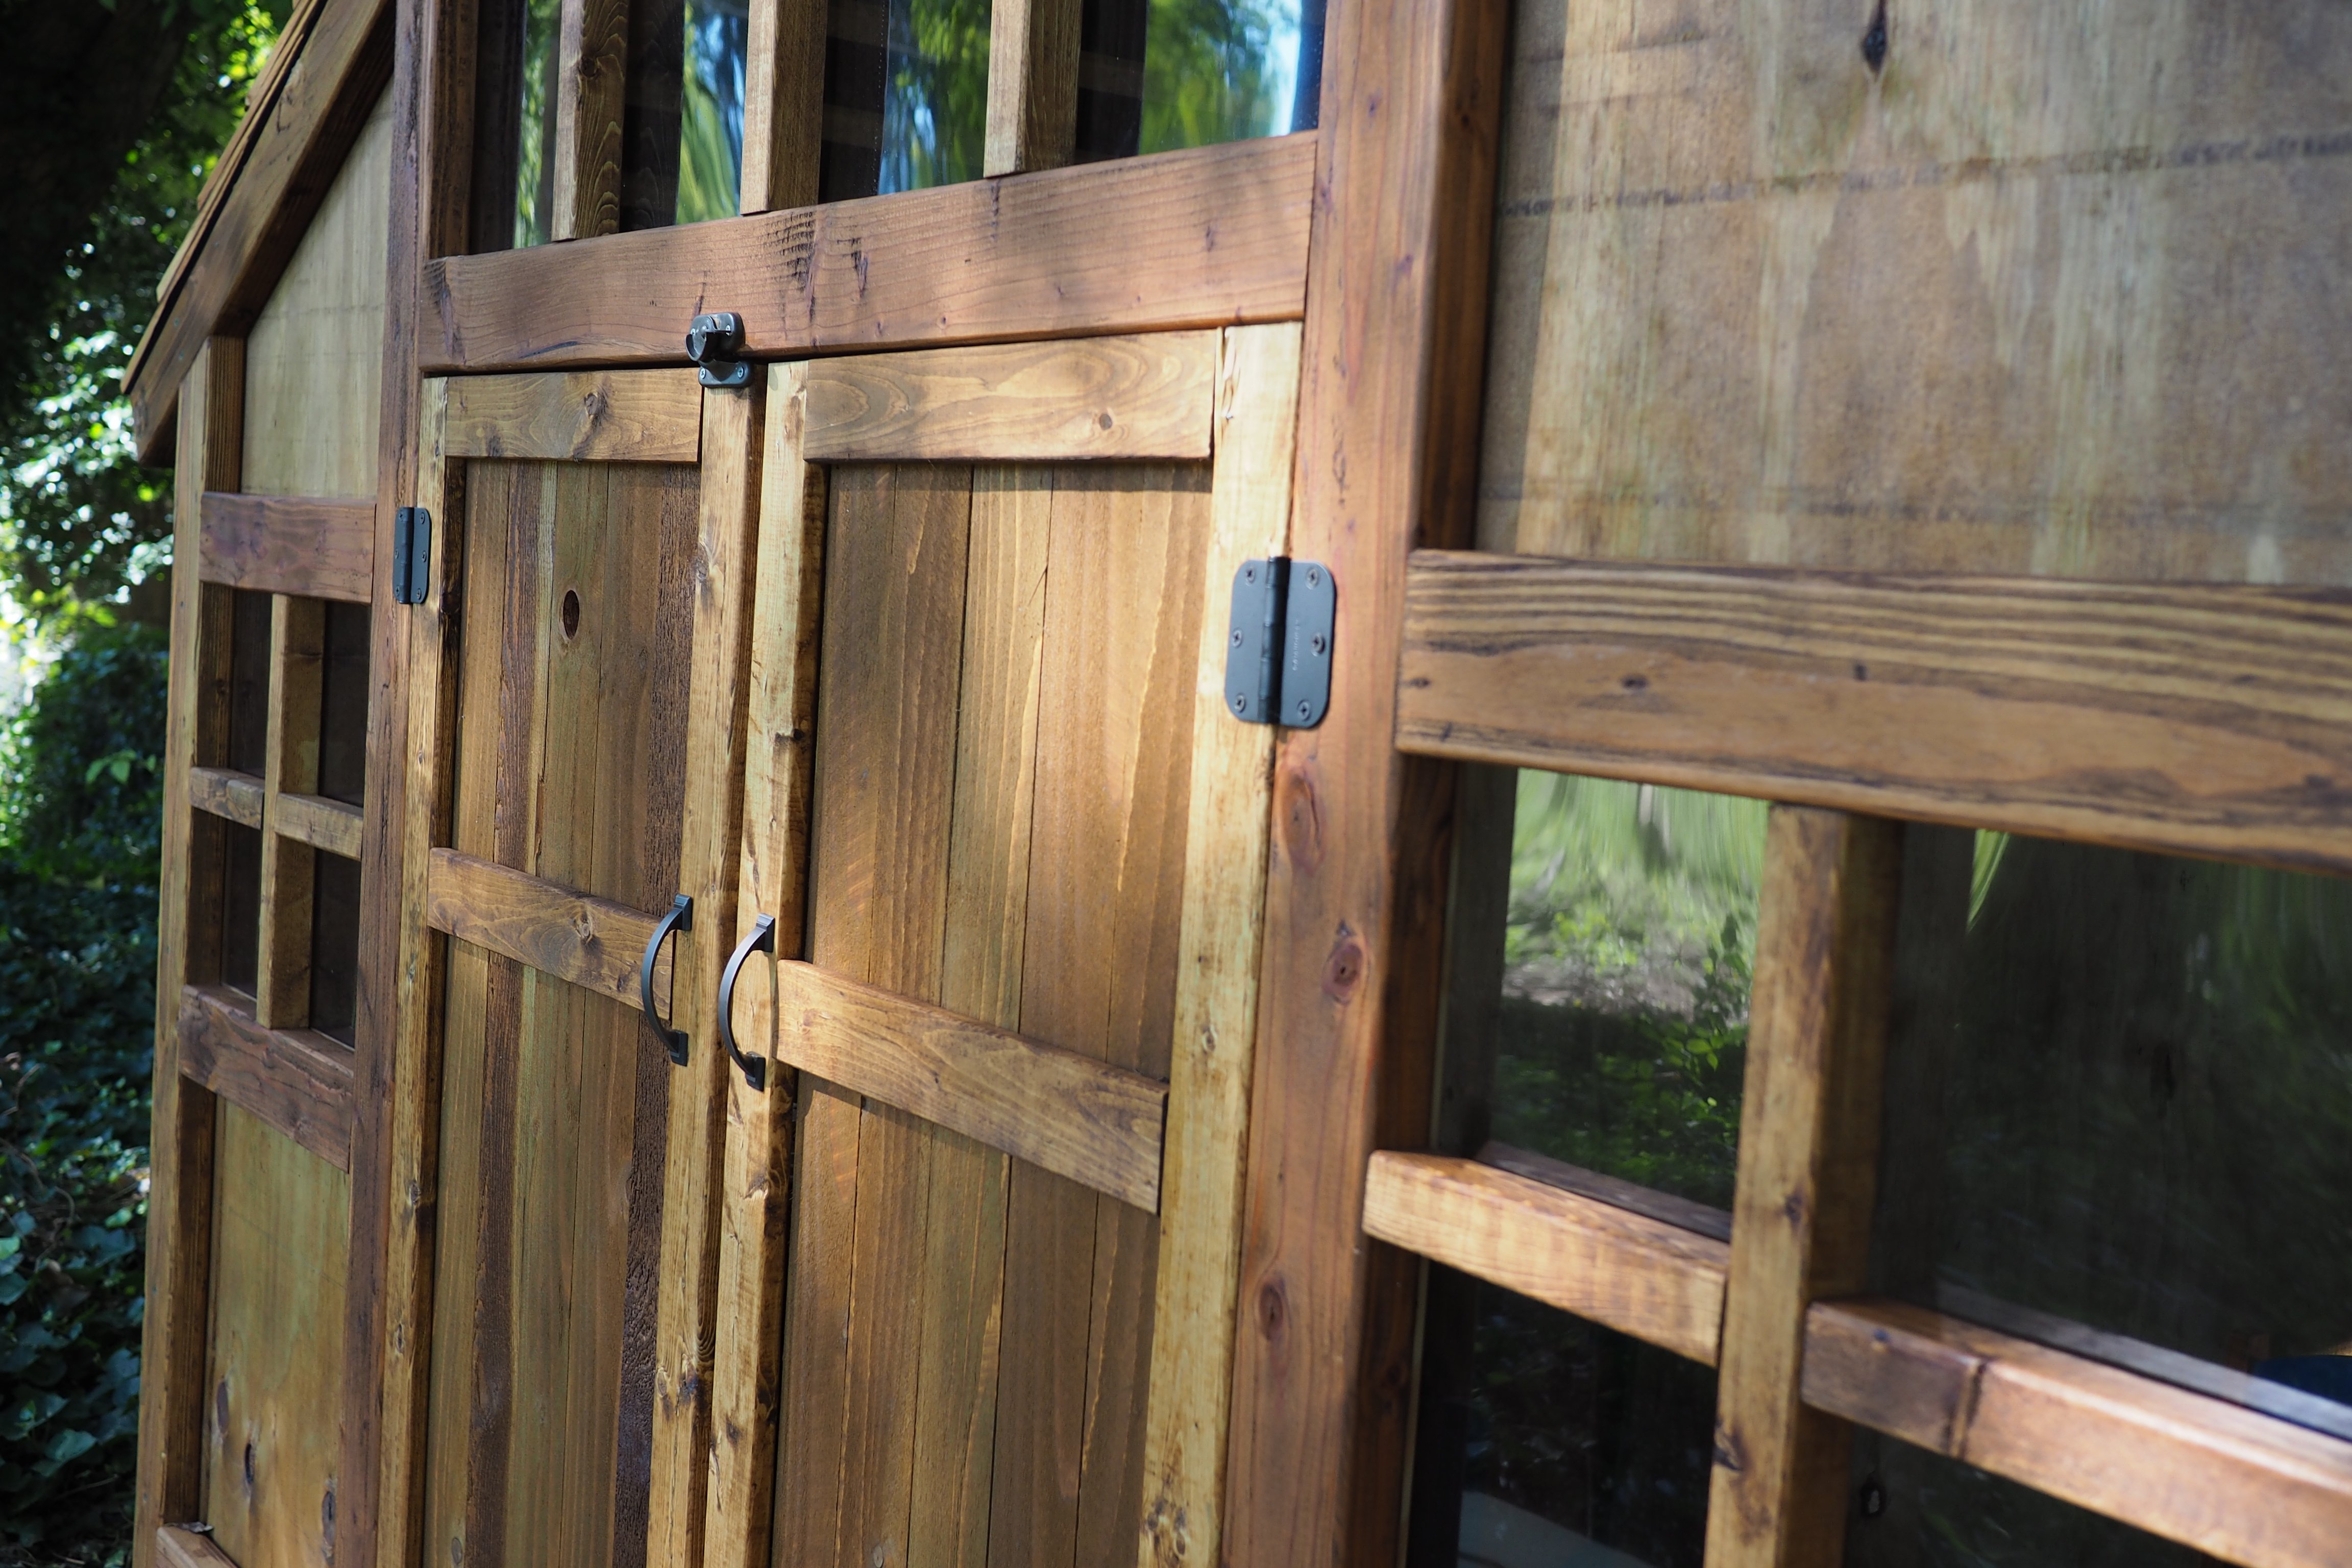
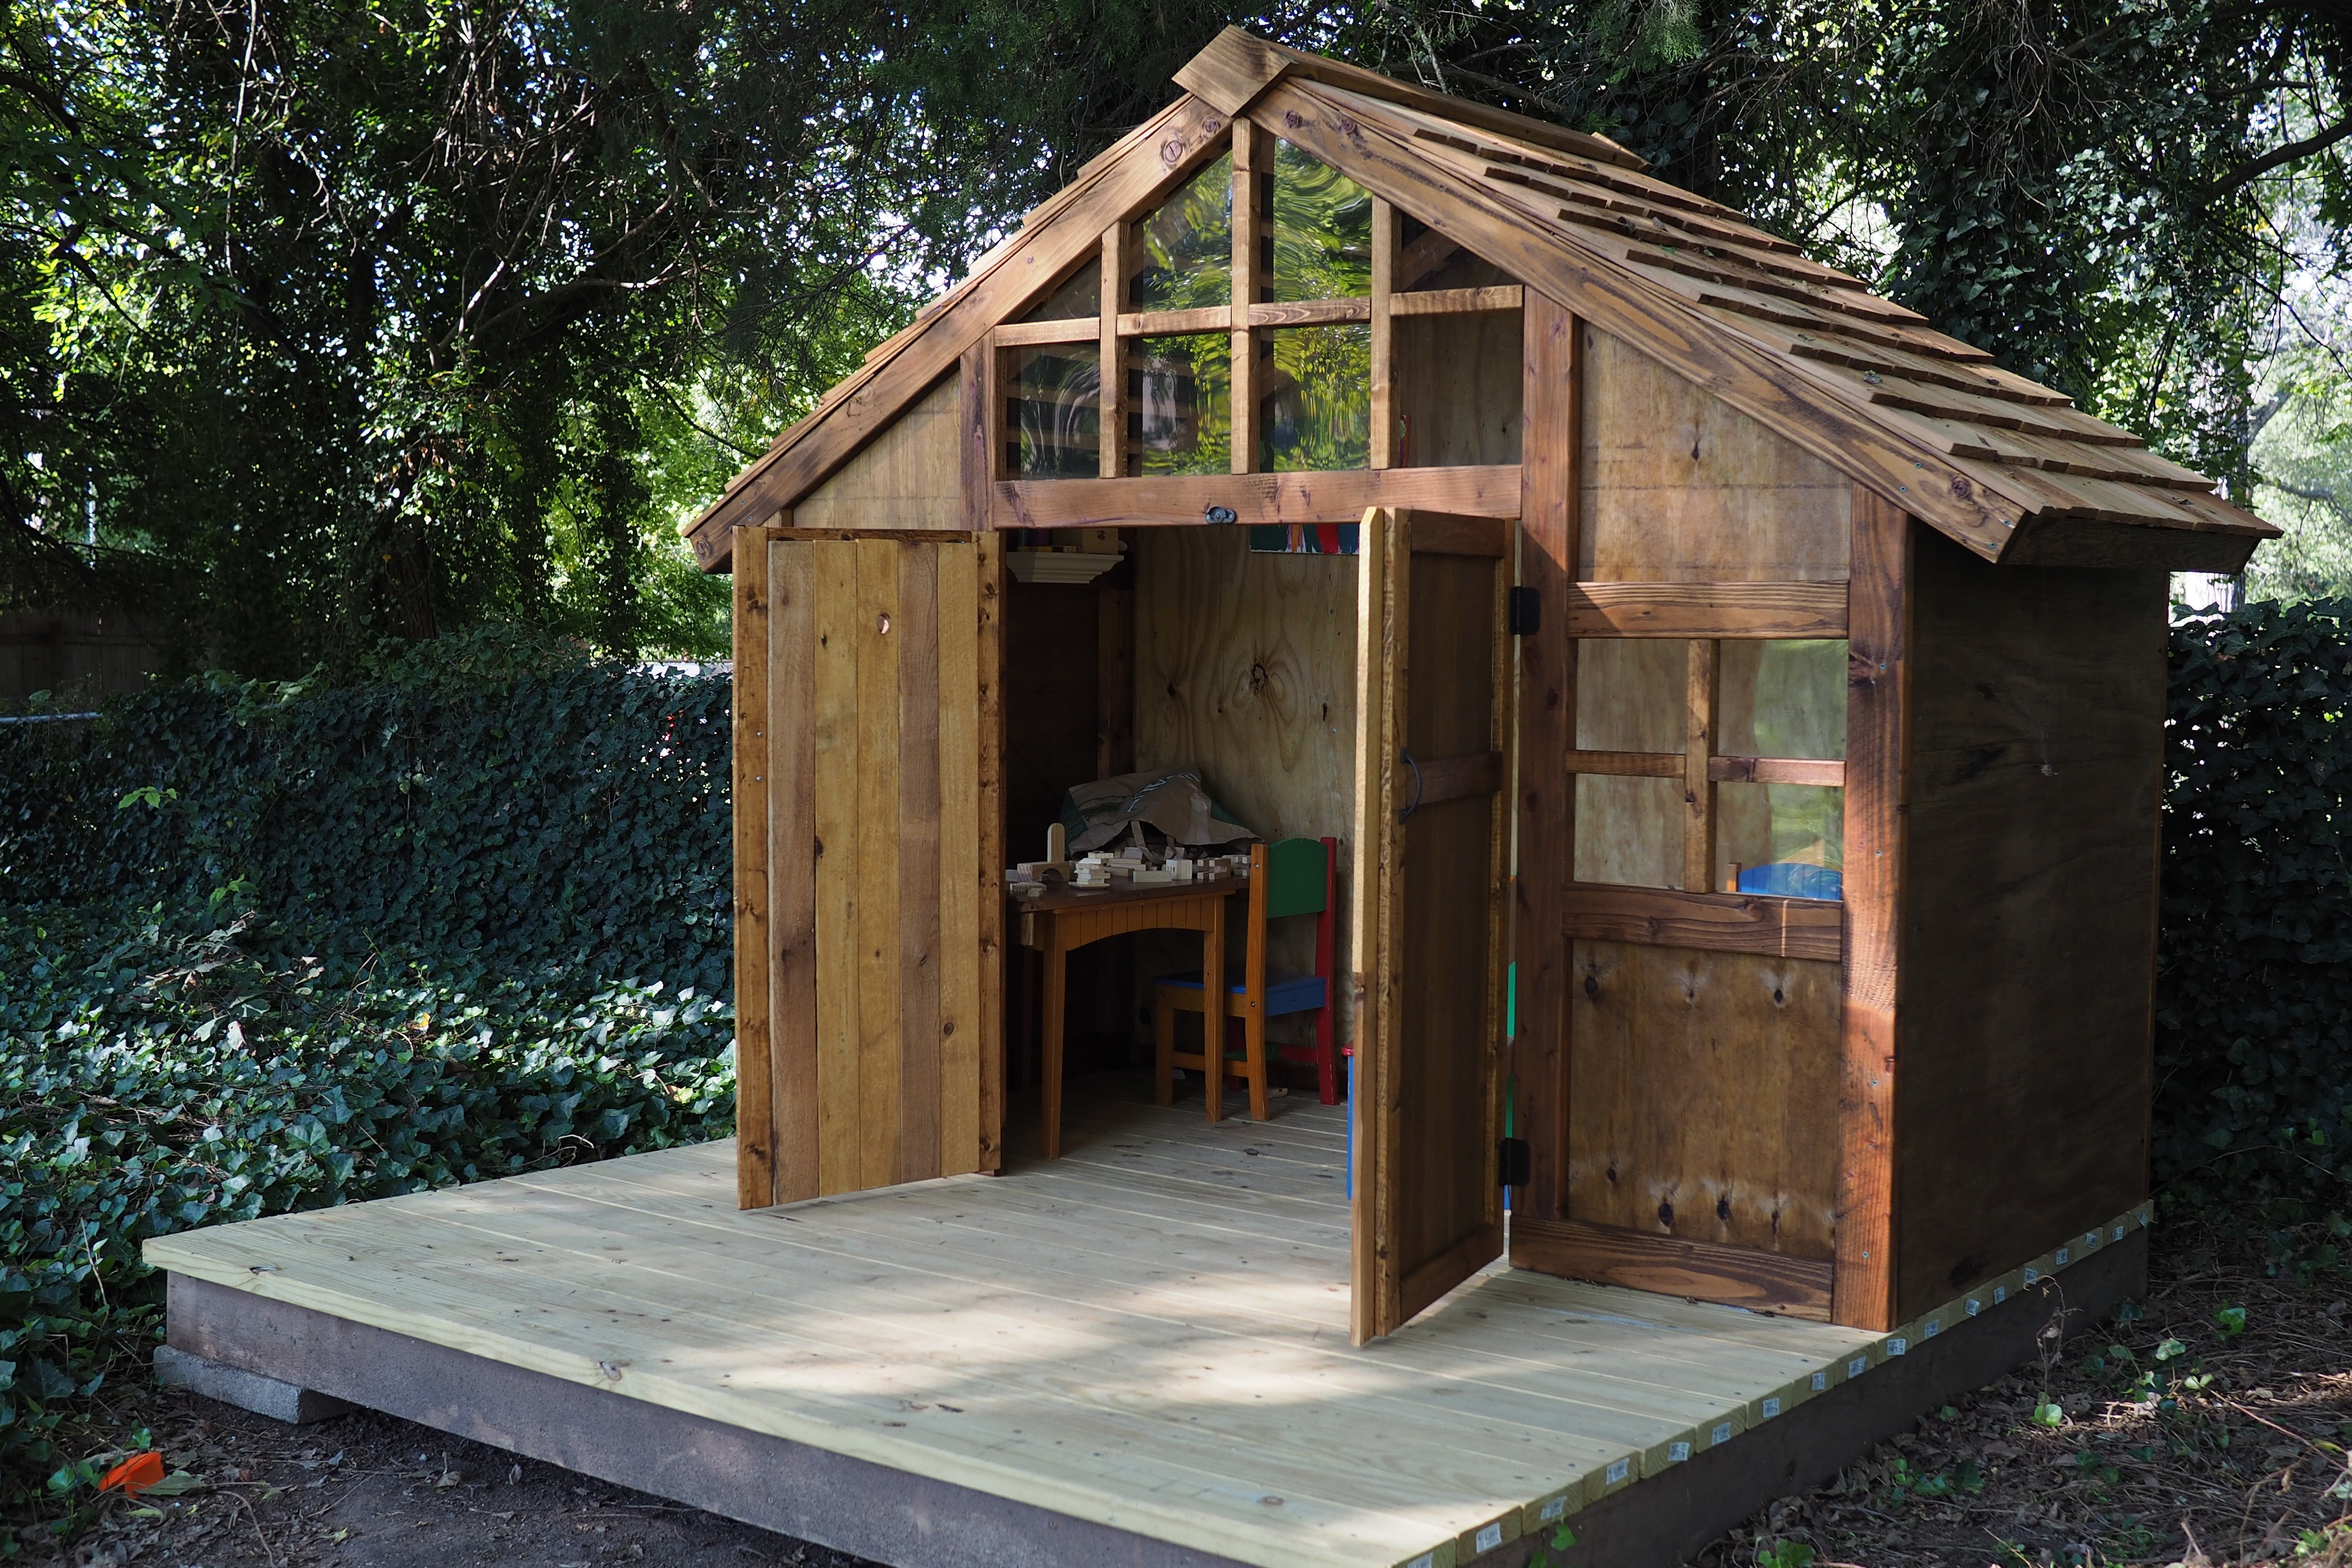
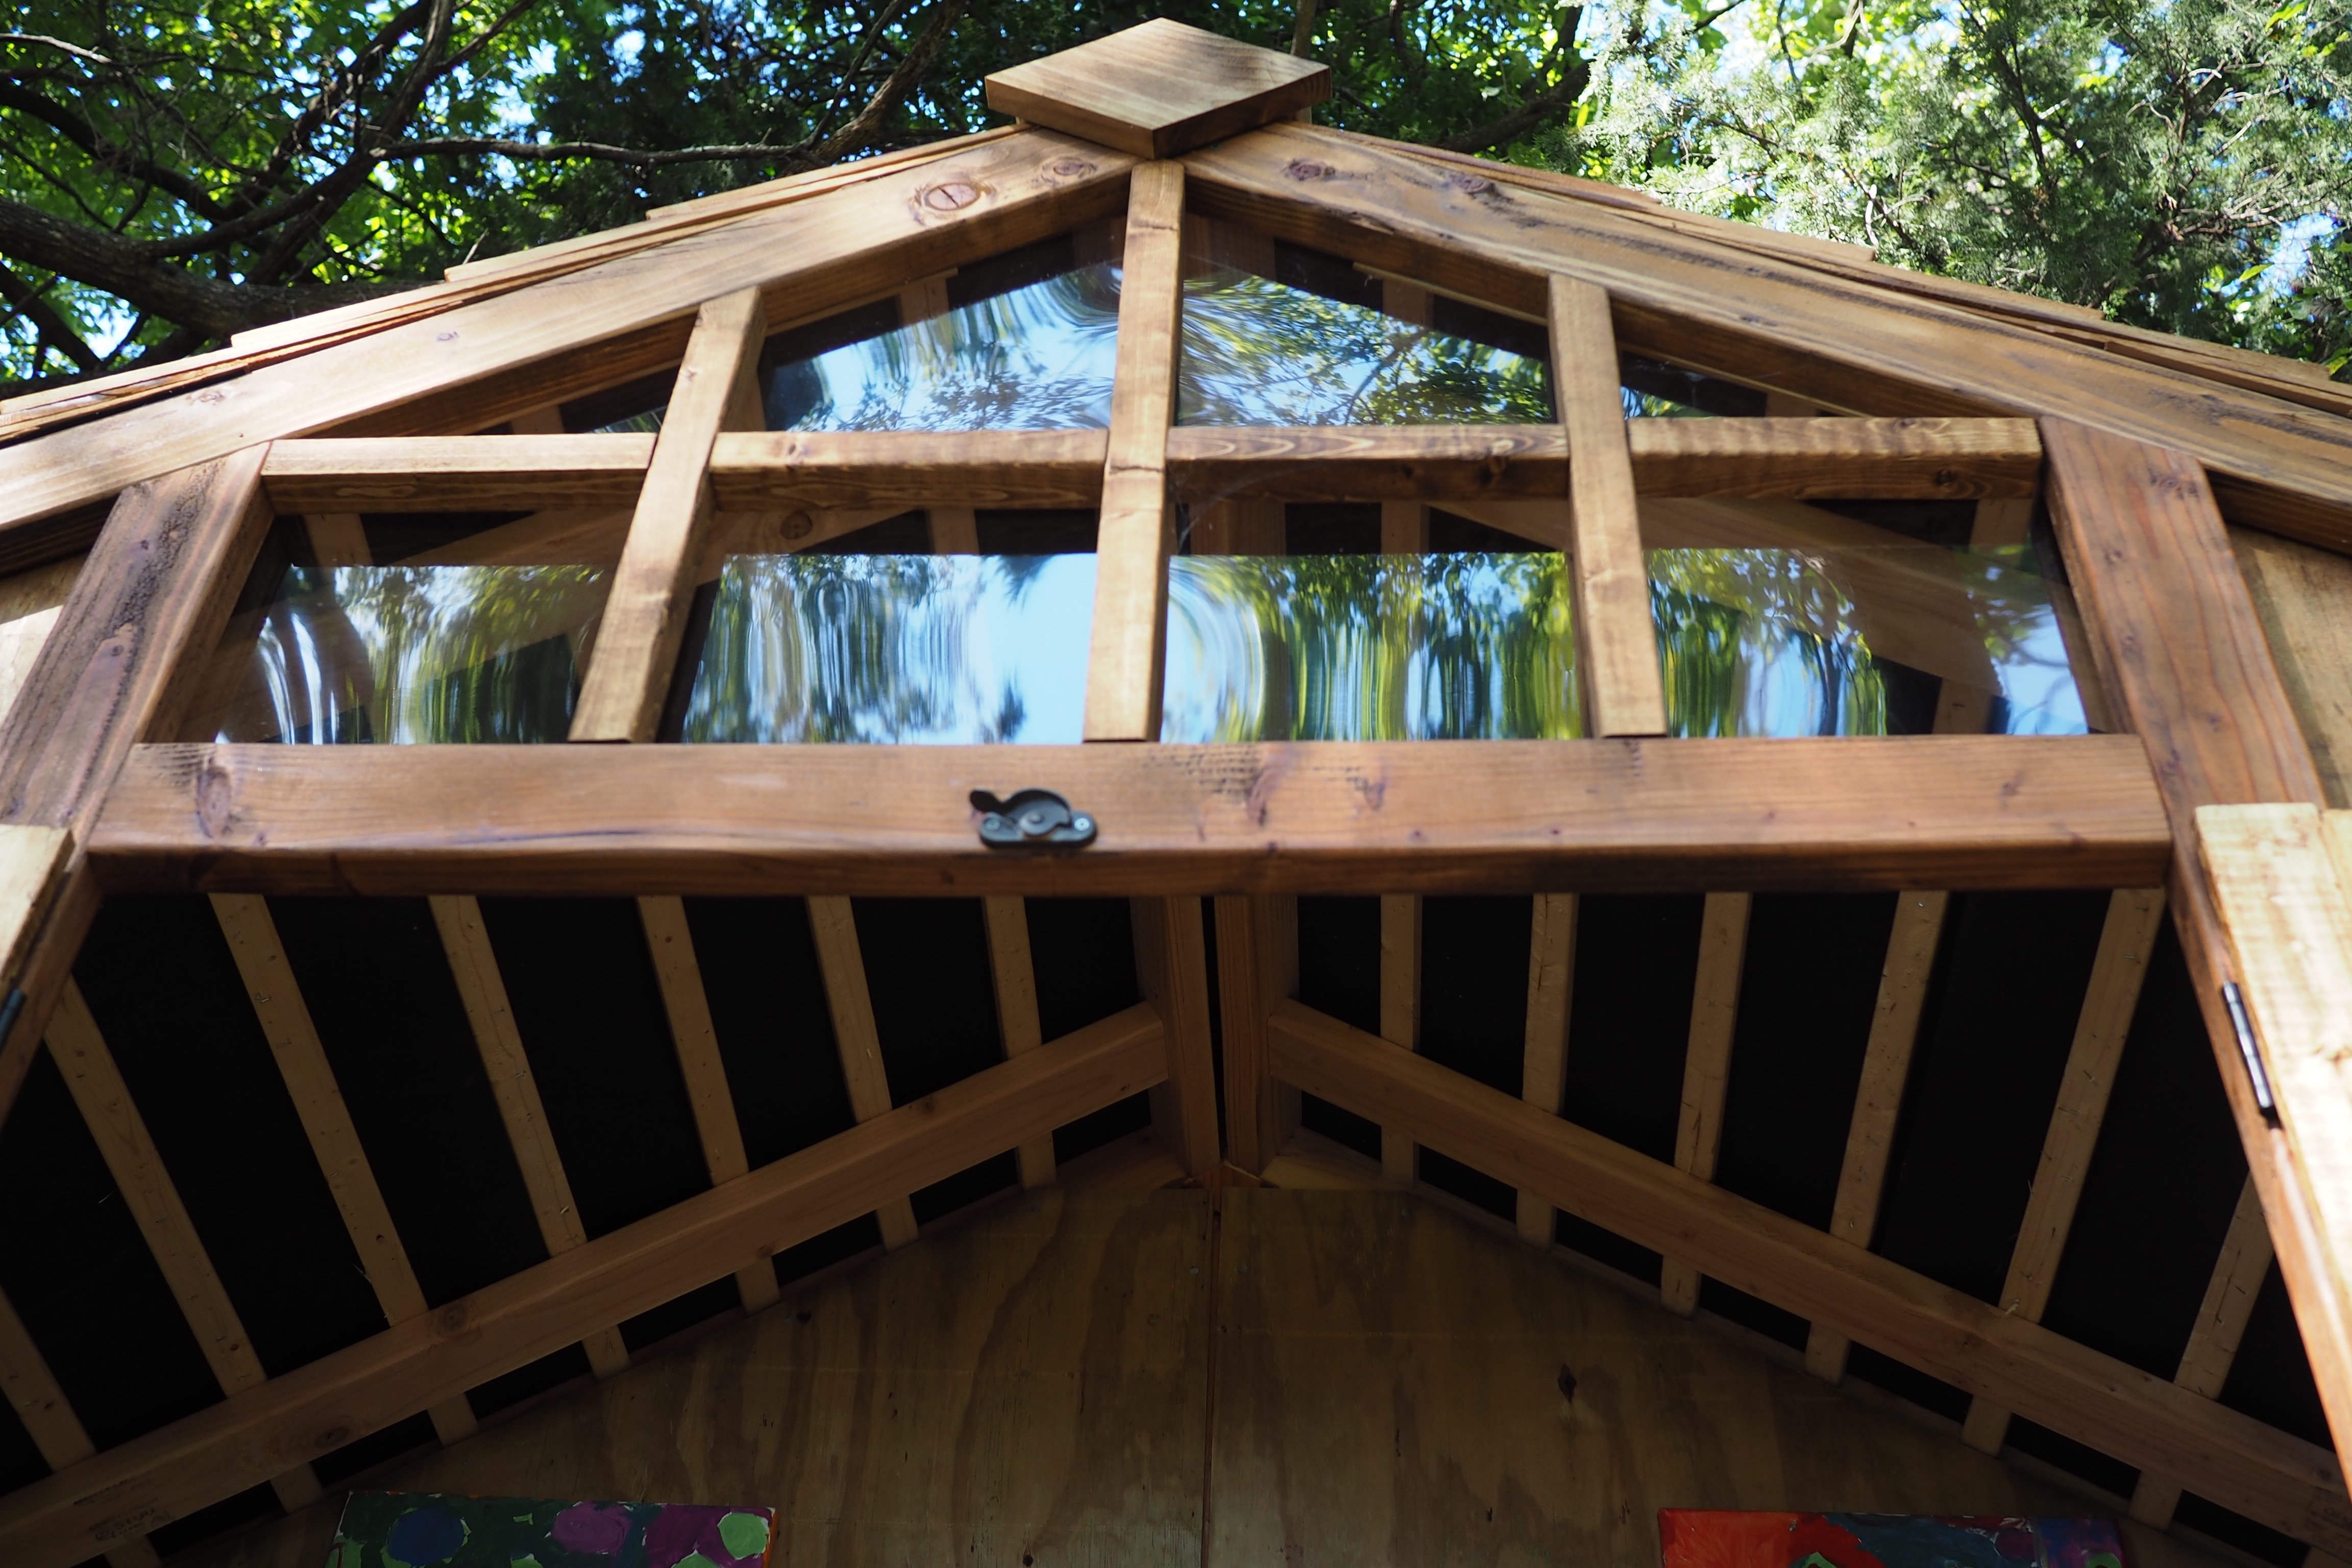
Craftsman Style Playhouse
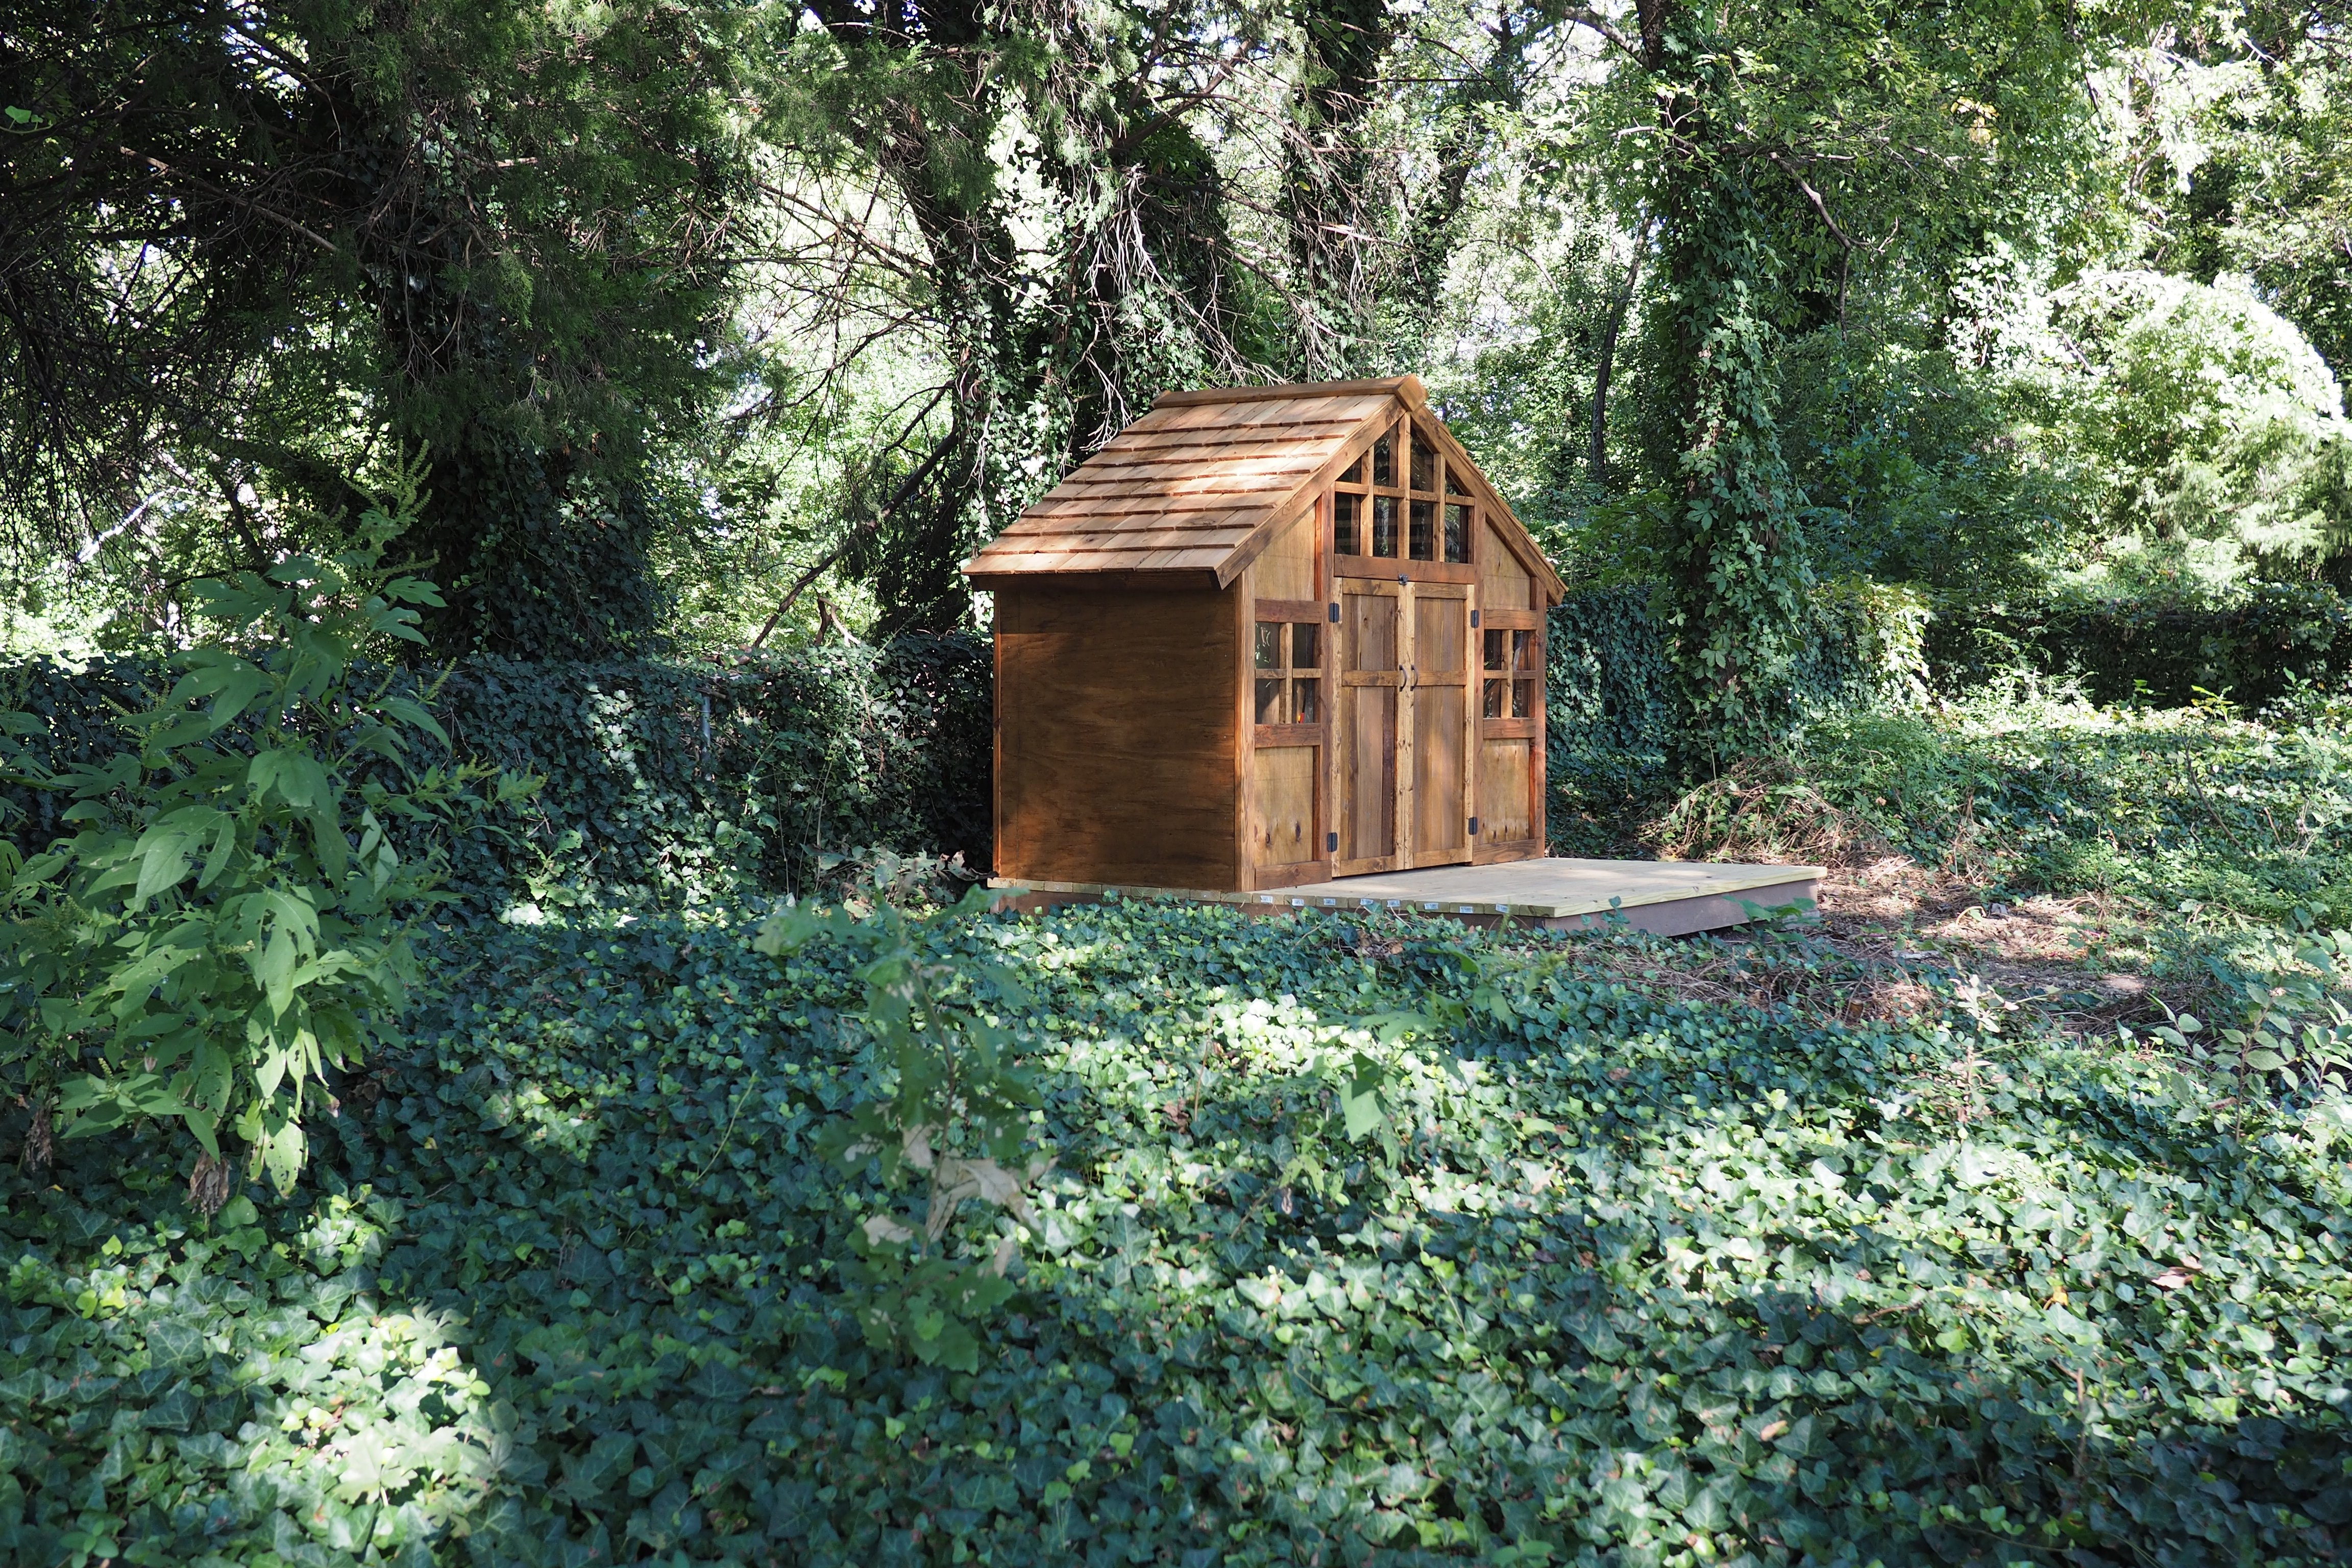
I mainly followed ana's plans for this playhouse. Instead of a plywood roof I used cedar shingles. I also added plexiglass to the windows.
Built from Plan(s)
Estimated Cost
$450, including deck.
Estimated Time Investment
Weekend Project (10-20 Hours)
Finish Used
Ready Seal - Dark Walnut
Recommended Skill Level
Intermediate
Comments
Portable miter saw station

Tweaked the mobile mitersaw plans by replacing one of the wings with a router table top. Now I have more space to get in/out of my vehicle. Thanks for the plans!
Estimated Time Investment
Afternoon Project (3-6 Hours)
Finish Used
No finish
Recommended Skill Level
Intermediate
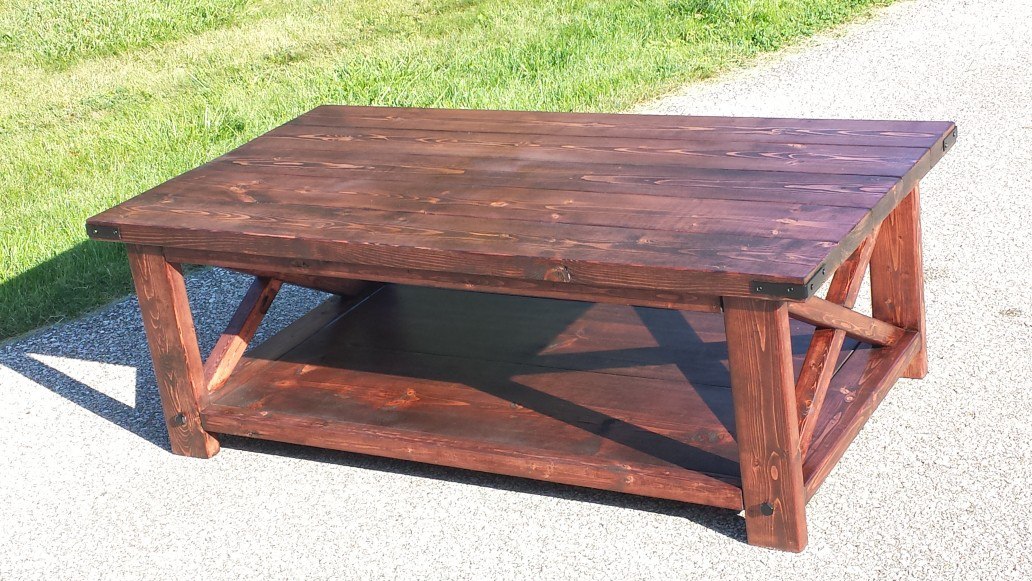
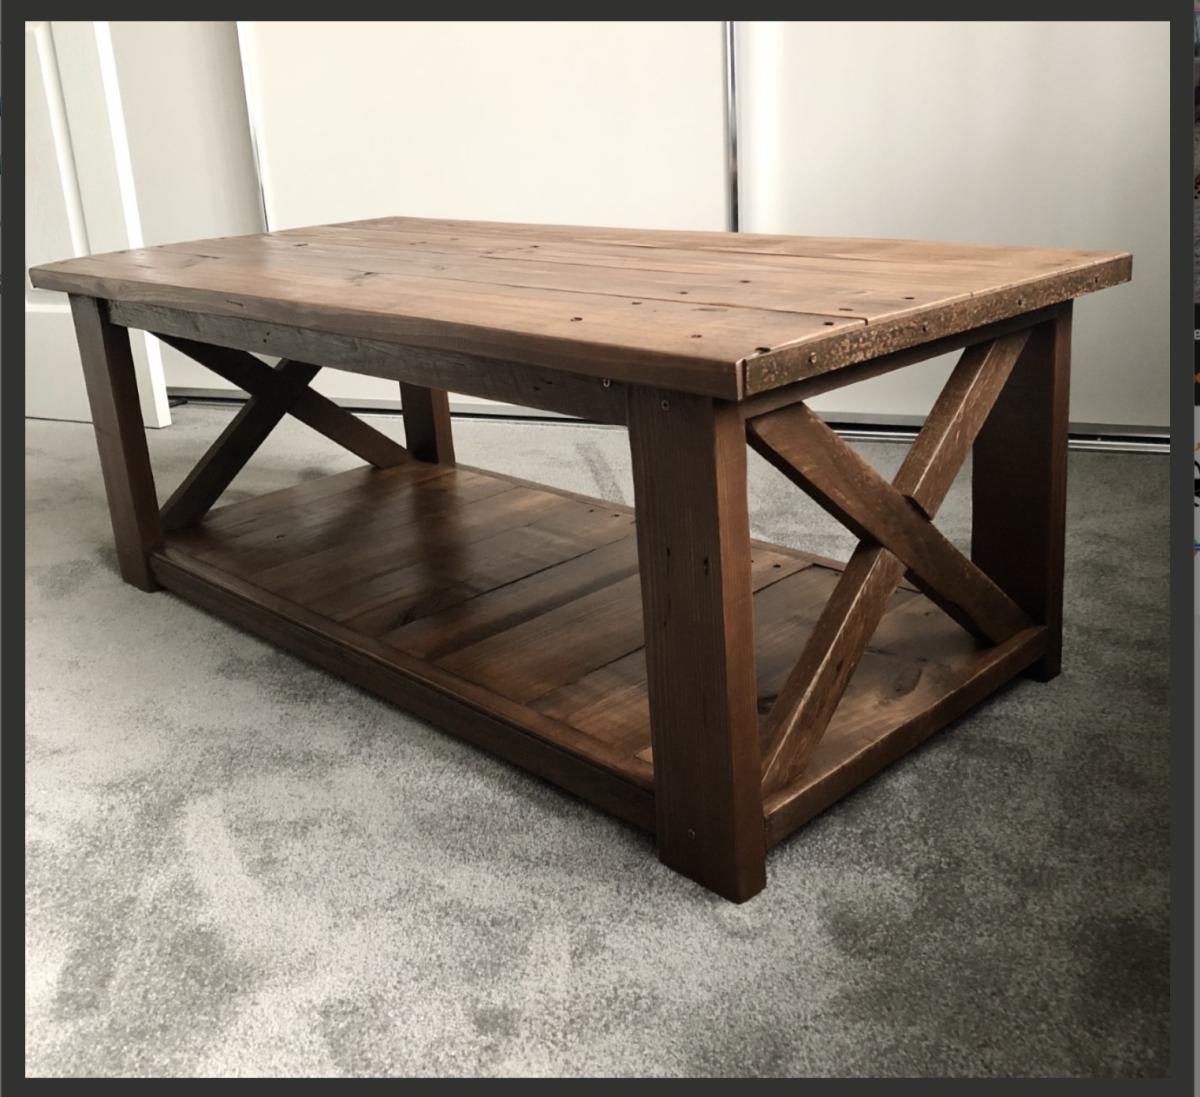
Altered Farmhouse Table
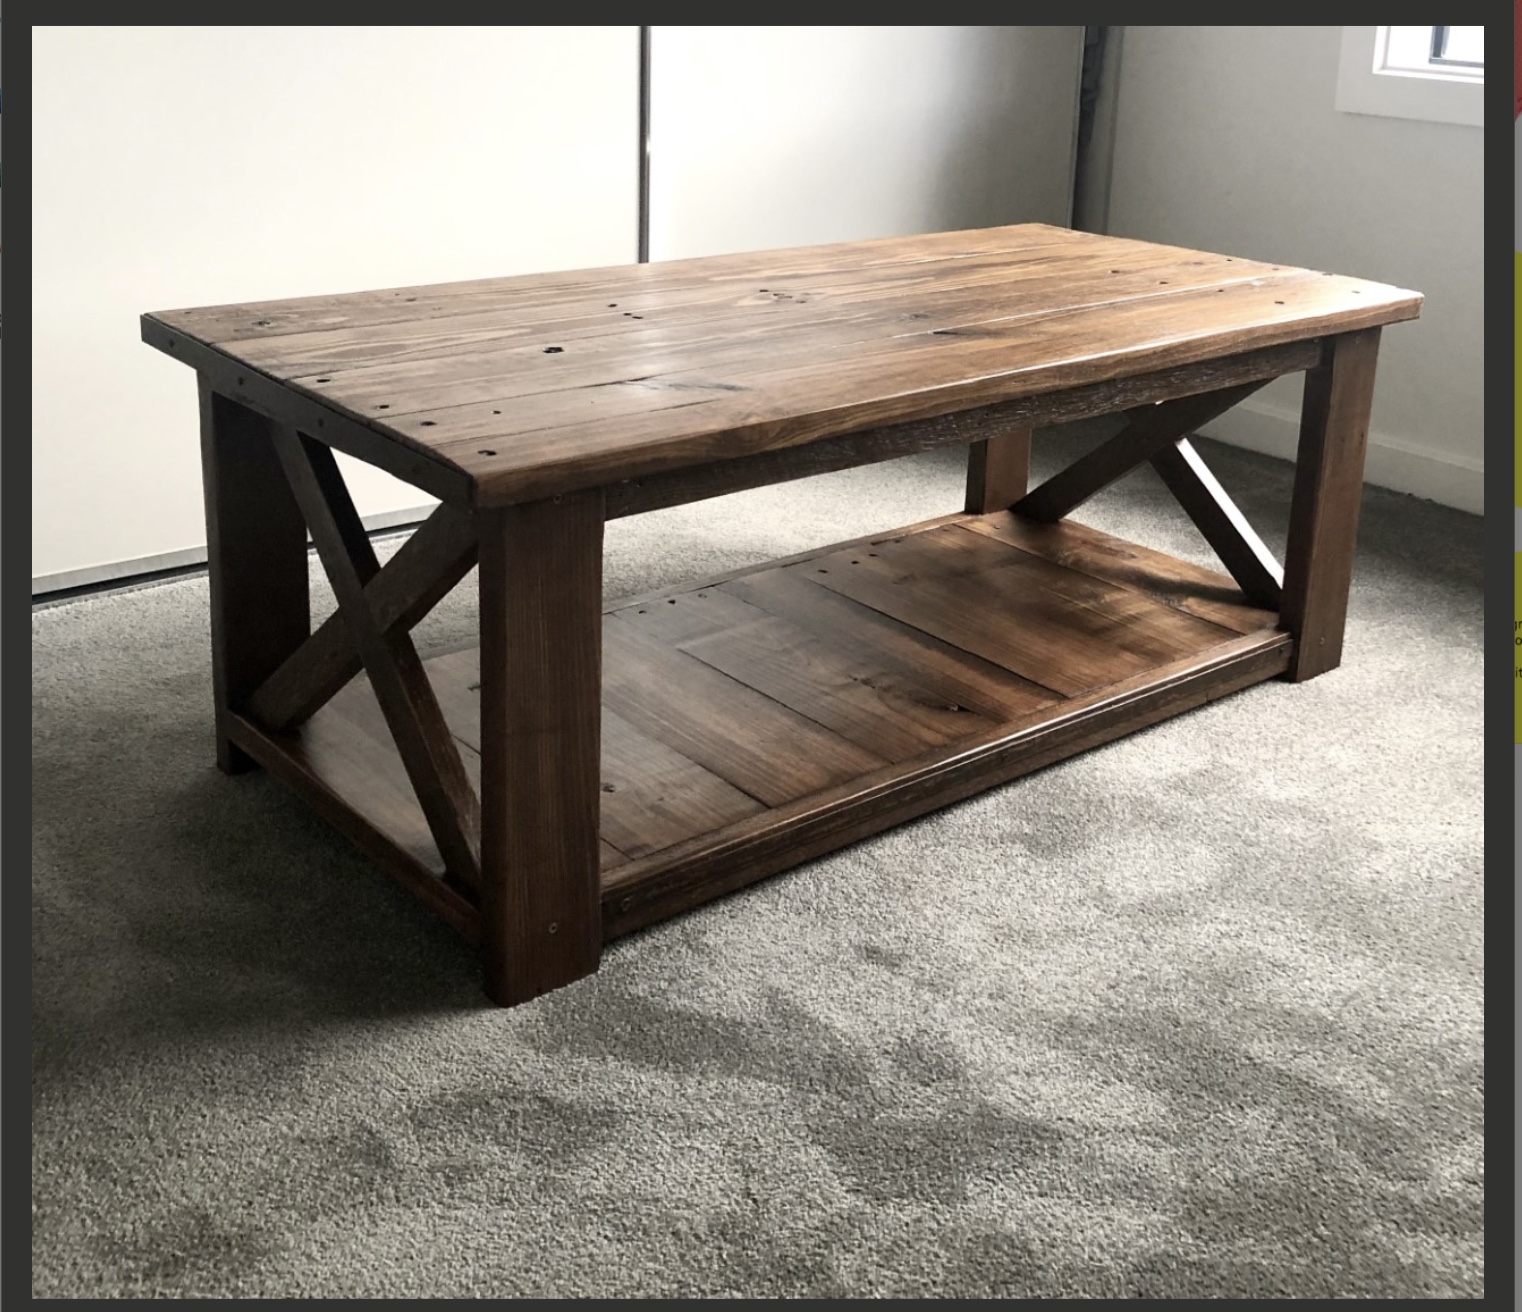
Hi. Just thought I’d share this for those who are on a really tight budget.
My nephew wanted me to make him a coffee table but to be honest, I didn’t have the funds. Wood is expensive here in Australia so I ought it from a place that sells wood recycled from pallets and crates. I had to work with what they had so it’s not as lovely and chunky as Ana’s and The wood was different sizes than the plan.
Where there were boo boo’s and pieces that weren’t quite matching, I covered them up with metal straps which I rusted to look old like the wood.
I hope he likes it. Thankyou so much Ana for the plan;))

Built from Plan(s)
Comments
Sun, 06/26/2022 - 19:33
Awesome character!
Great use of material! A one of a kind piece your nephew will love!
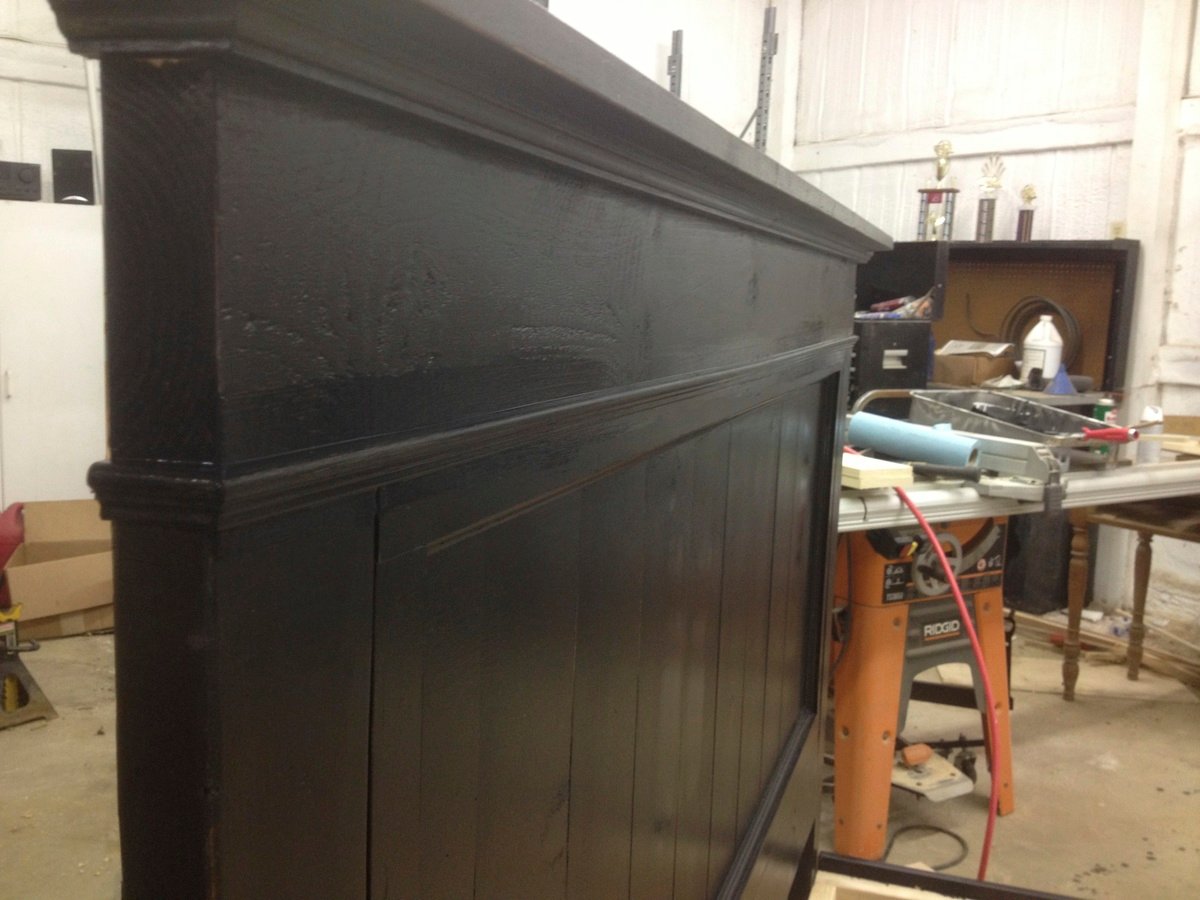
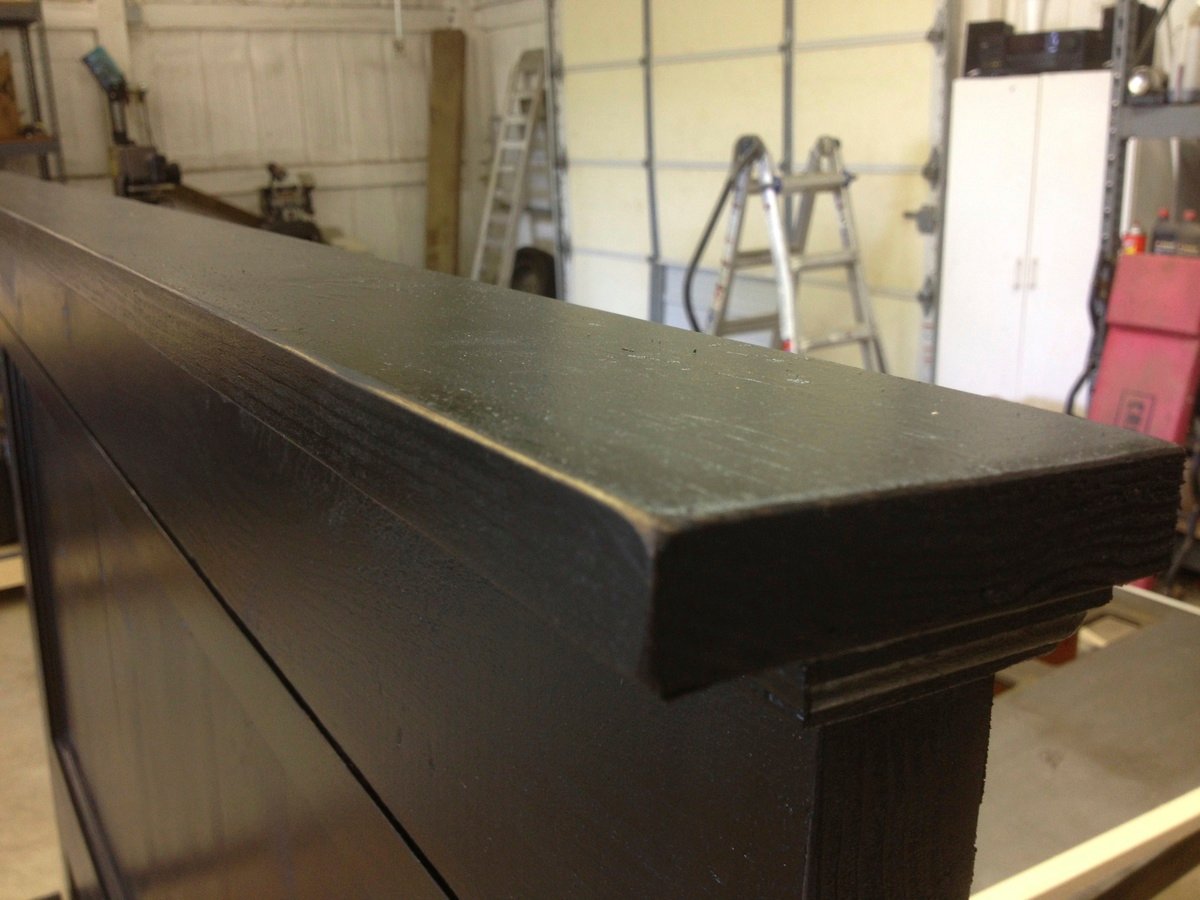
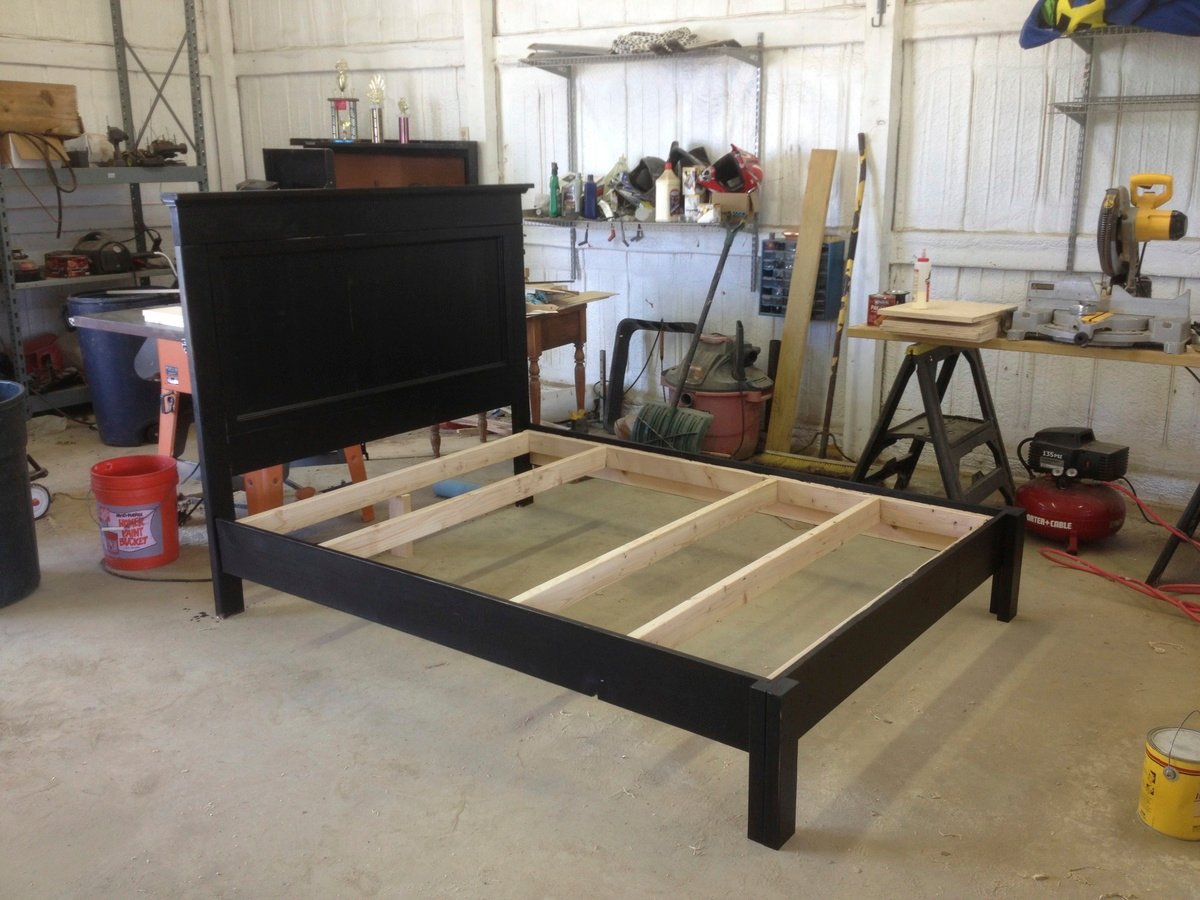
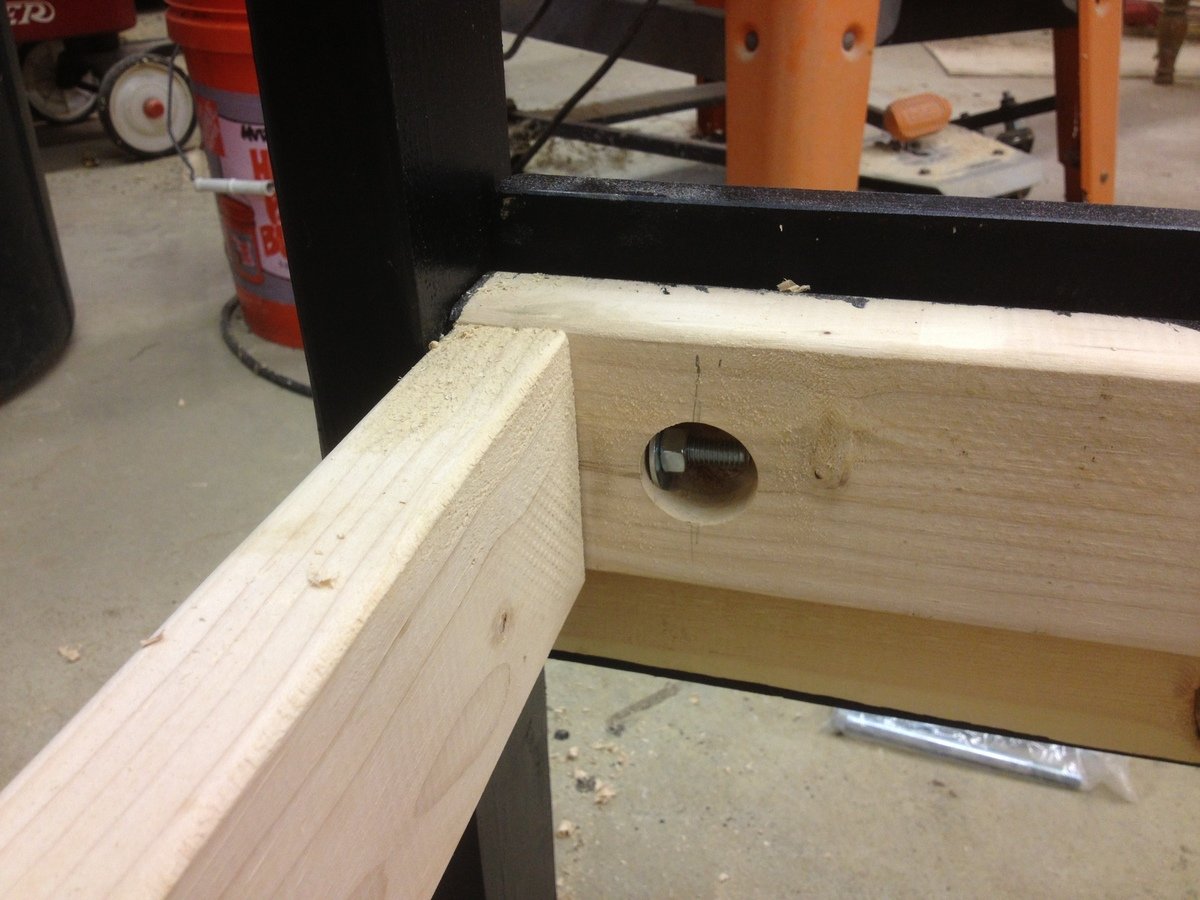
Fancy Farm House Bed
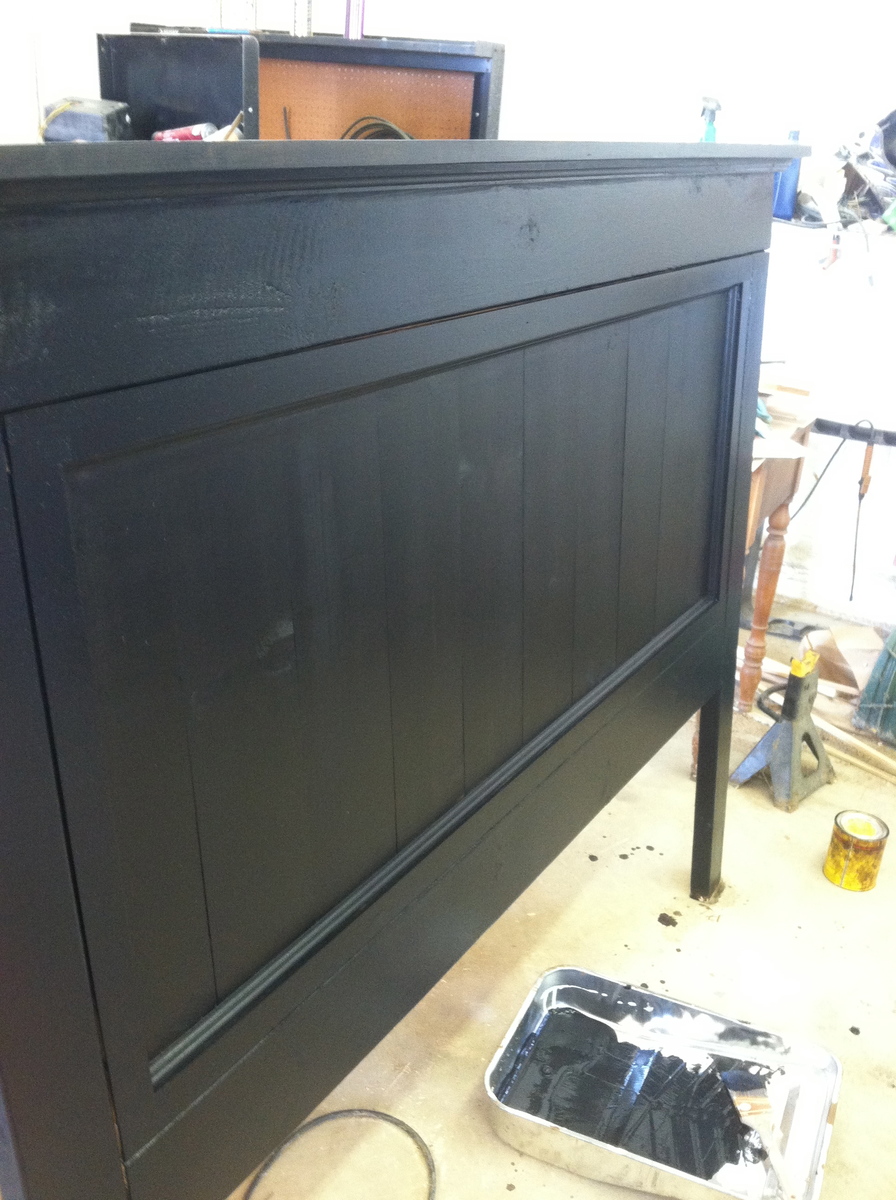
My son has been wanting a bed for a while now, We threw out his falsa-wood bed and I decided I liked this plan. I think I got the entire bed built in a few hours. There were a few details that would snag a rookie wood worker but just be creative in finding solutions. This bed is designed to be rustic.
I uploaded a very cheap assembly system that I used. I think total cost was less than 5.00 for two bolts and a couple washers.
Built from Plan(s)
Estimated Cost
150
Estimated Time Investment
Day Project (6-9 Hours)
Finish Used
Rust Oleum Black with burnished edges. Treated edges with Walnut stain.
Recommended Skill Level
Intermediate
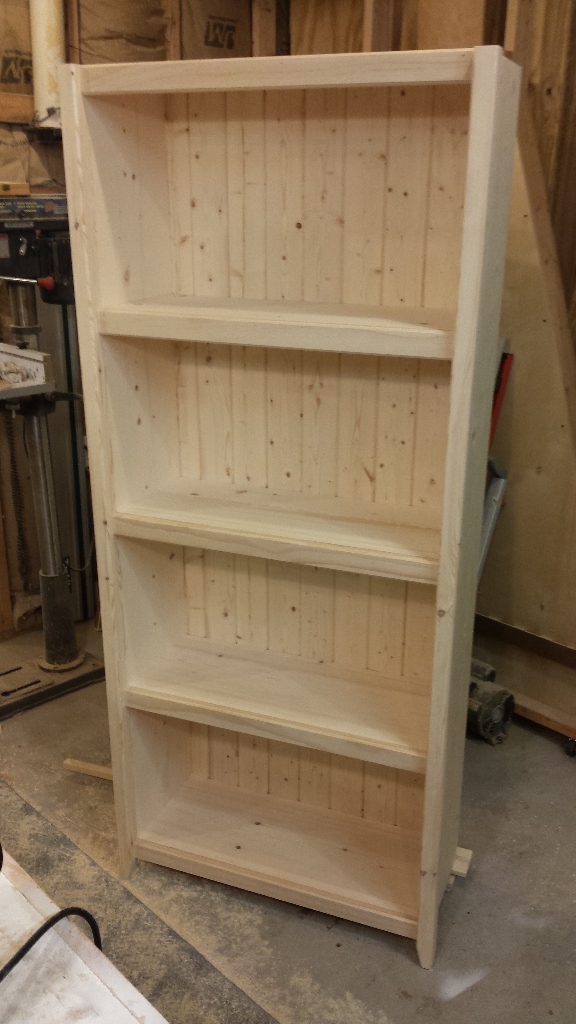
Bookshelf
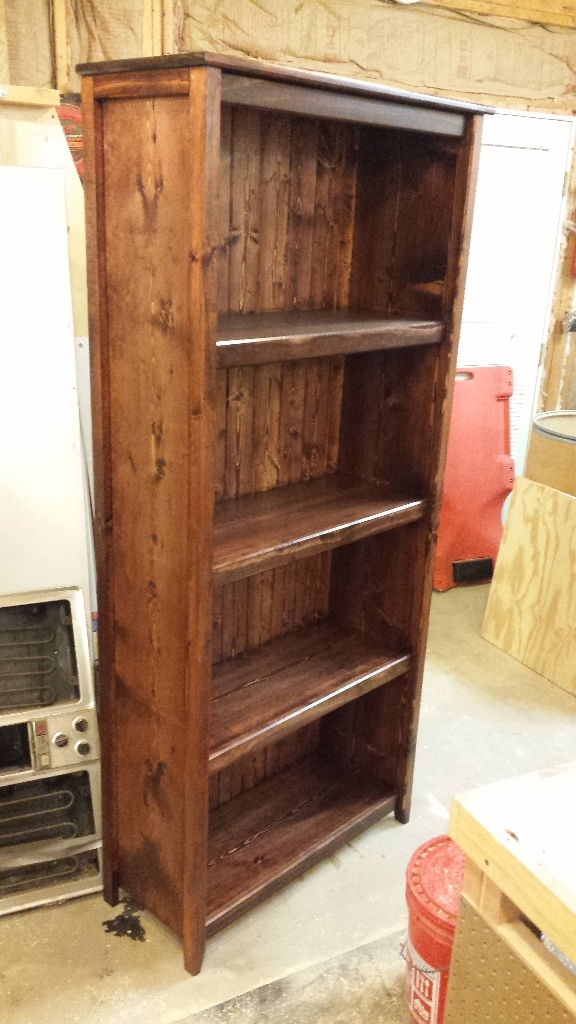
My wife really liked the look of the original project. I didn't like the like the construction methods used in the original plan. I changed the dimensions to suit our space and created dadoes for the shelves to rest in instead of pocket screws. I attached the front frames using biscuits and I eased all exposed edges using a chamfer bit. Sanded to 220, then stained and 4 coats of lacquer.
Built from Plan(s)
Estimated Time Investment
Afternoon Project (3-6 Hours)
Finish Used
Satin and Lacquer
Recommended Skill Level
Beginner
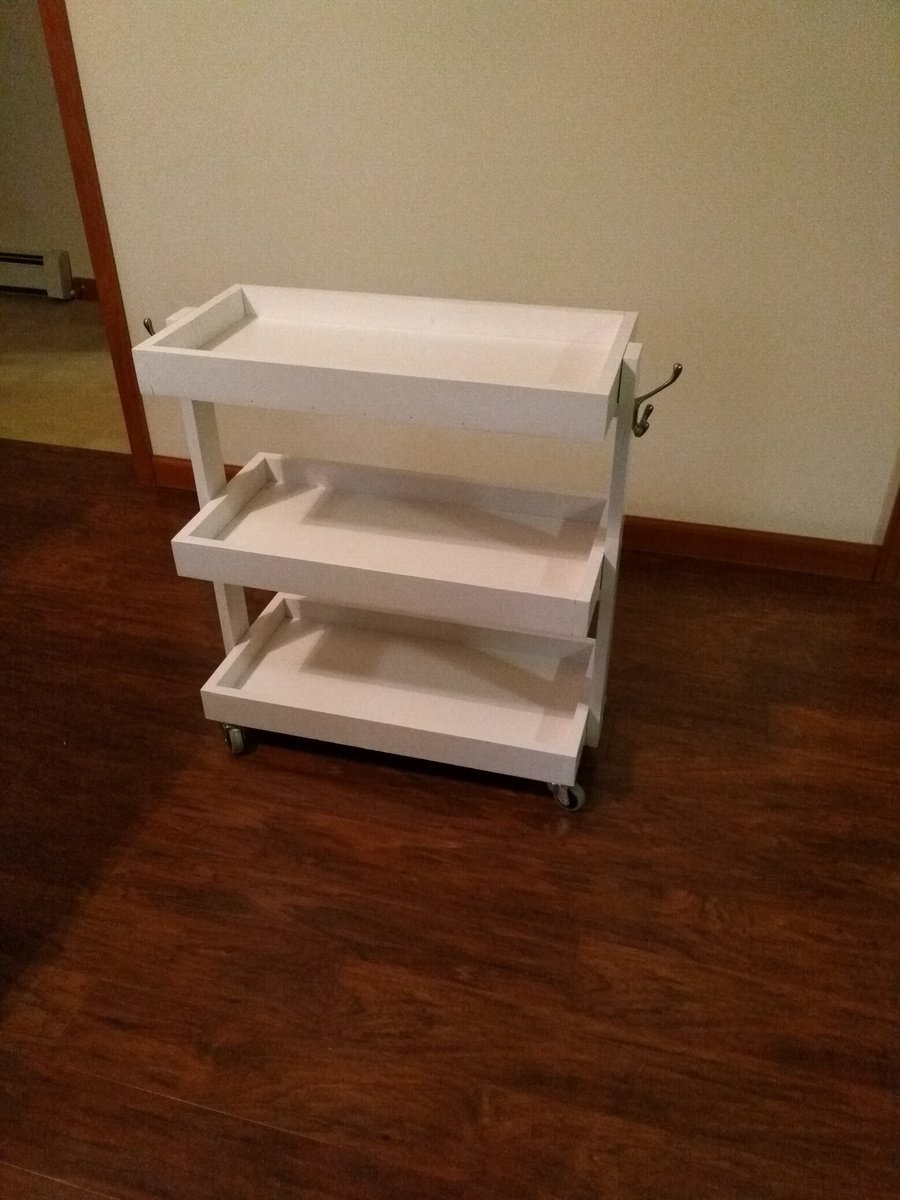
Rolling cart
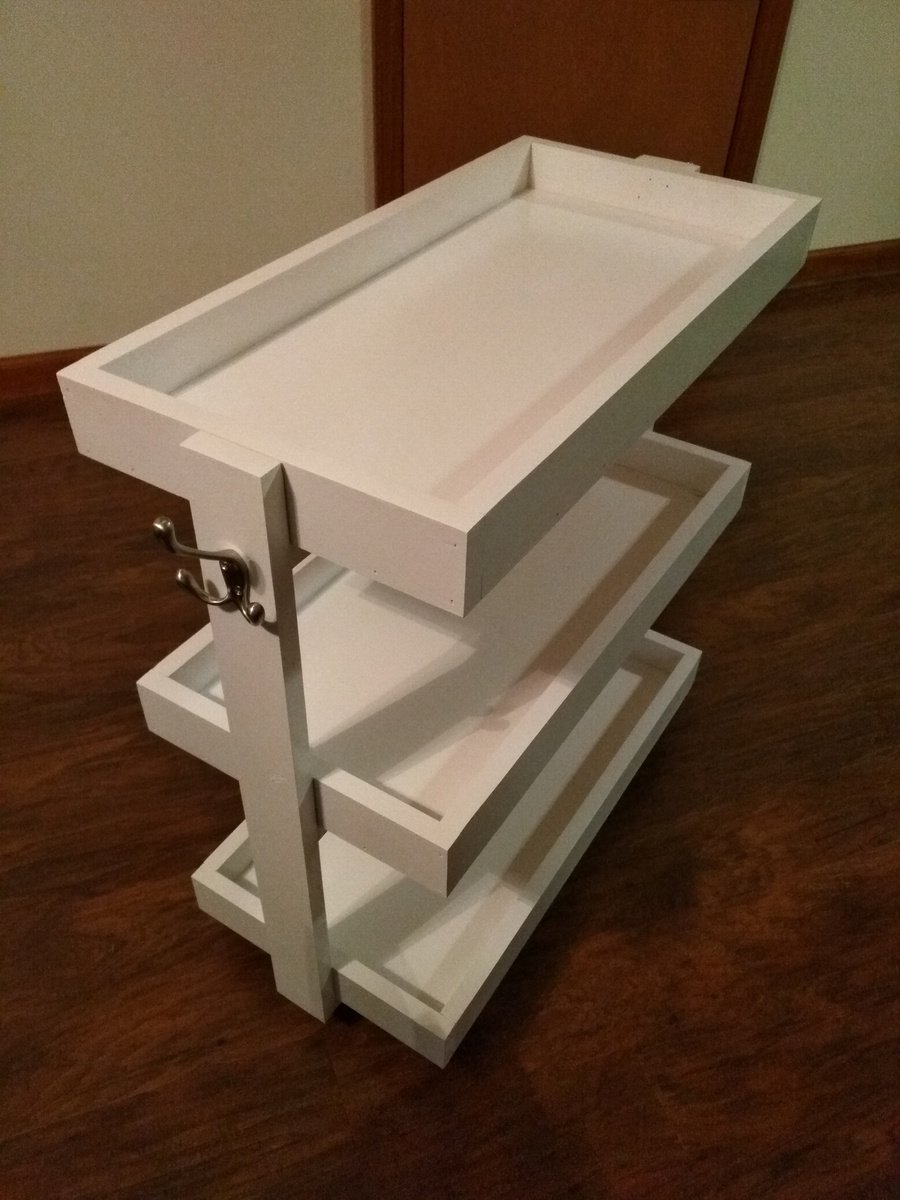
A quick and easy little project. We're using the cart to help organize our bathroom...great for accessories, baskets, etc.
Built from Plan(s)
Estimated Cost
$60 when you include decent casters and hardware
Estimated Time Investment
An Hour or Two (0-2 Hours)
Finish Used
White gloss aerosol
Recommended Skill Level
Beginner
Modern Adirondack chair with a couple of variations!
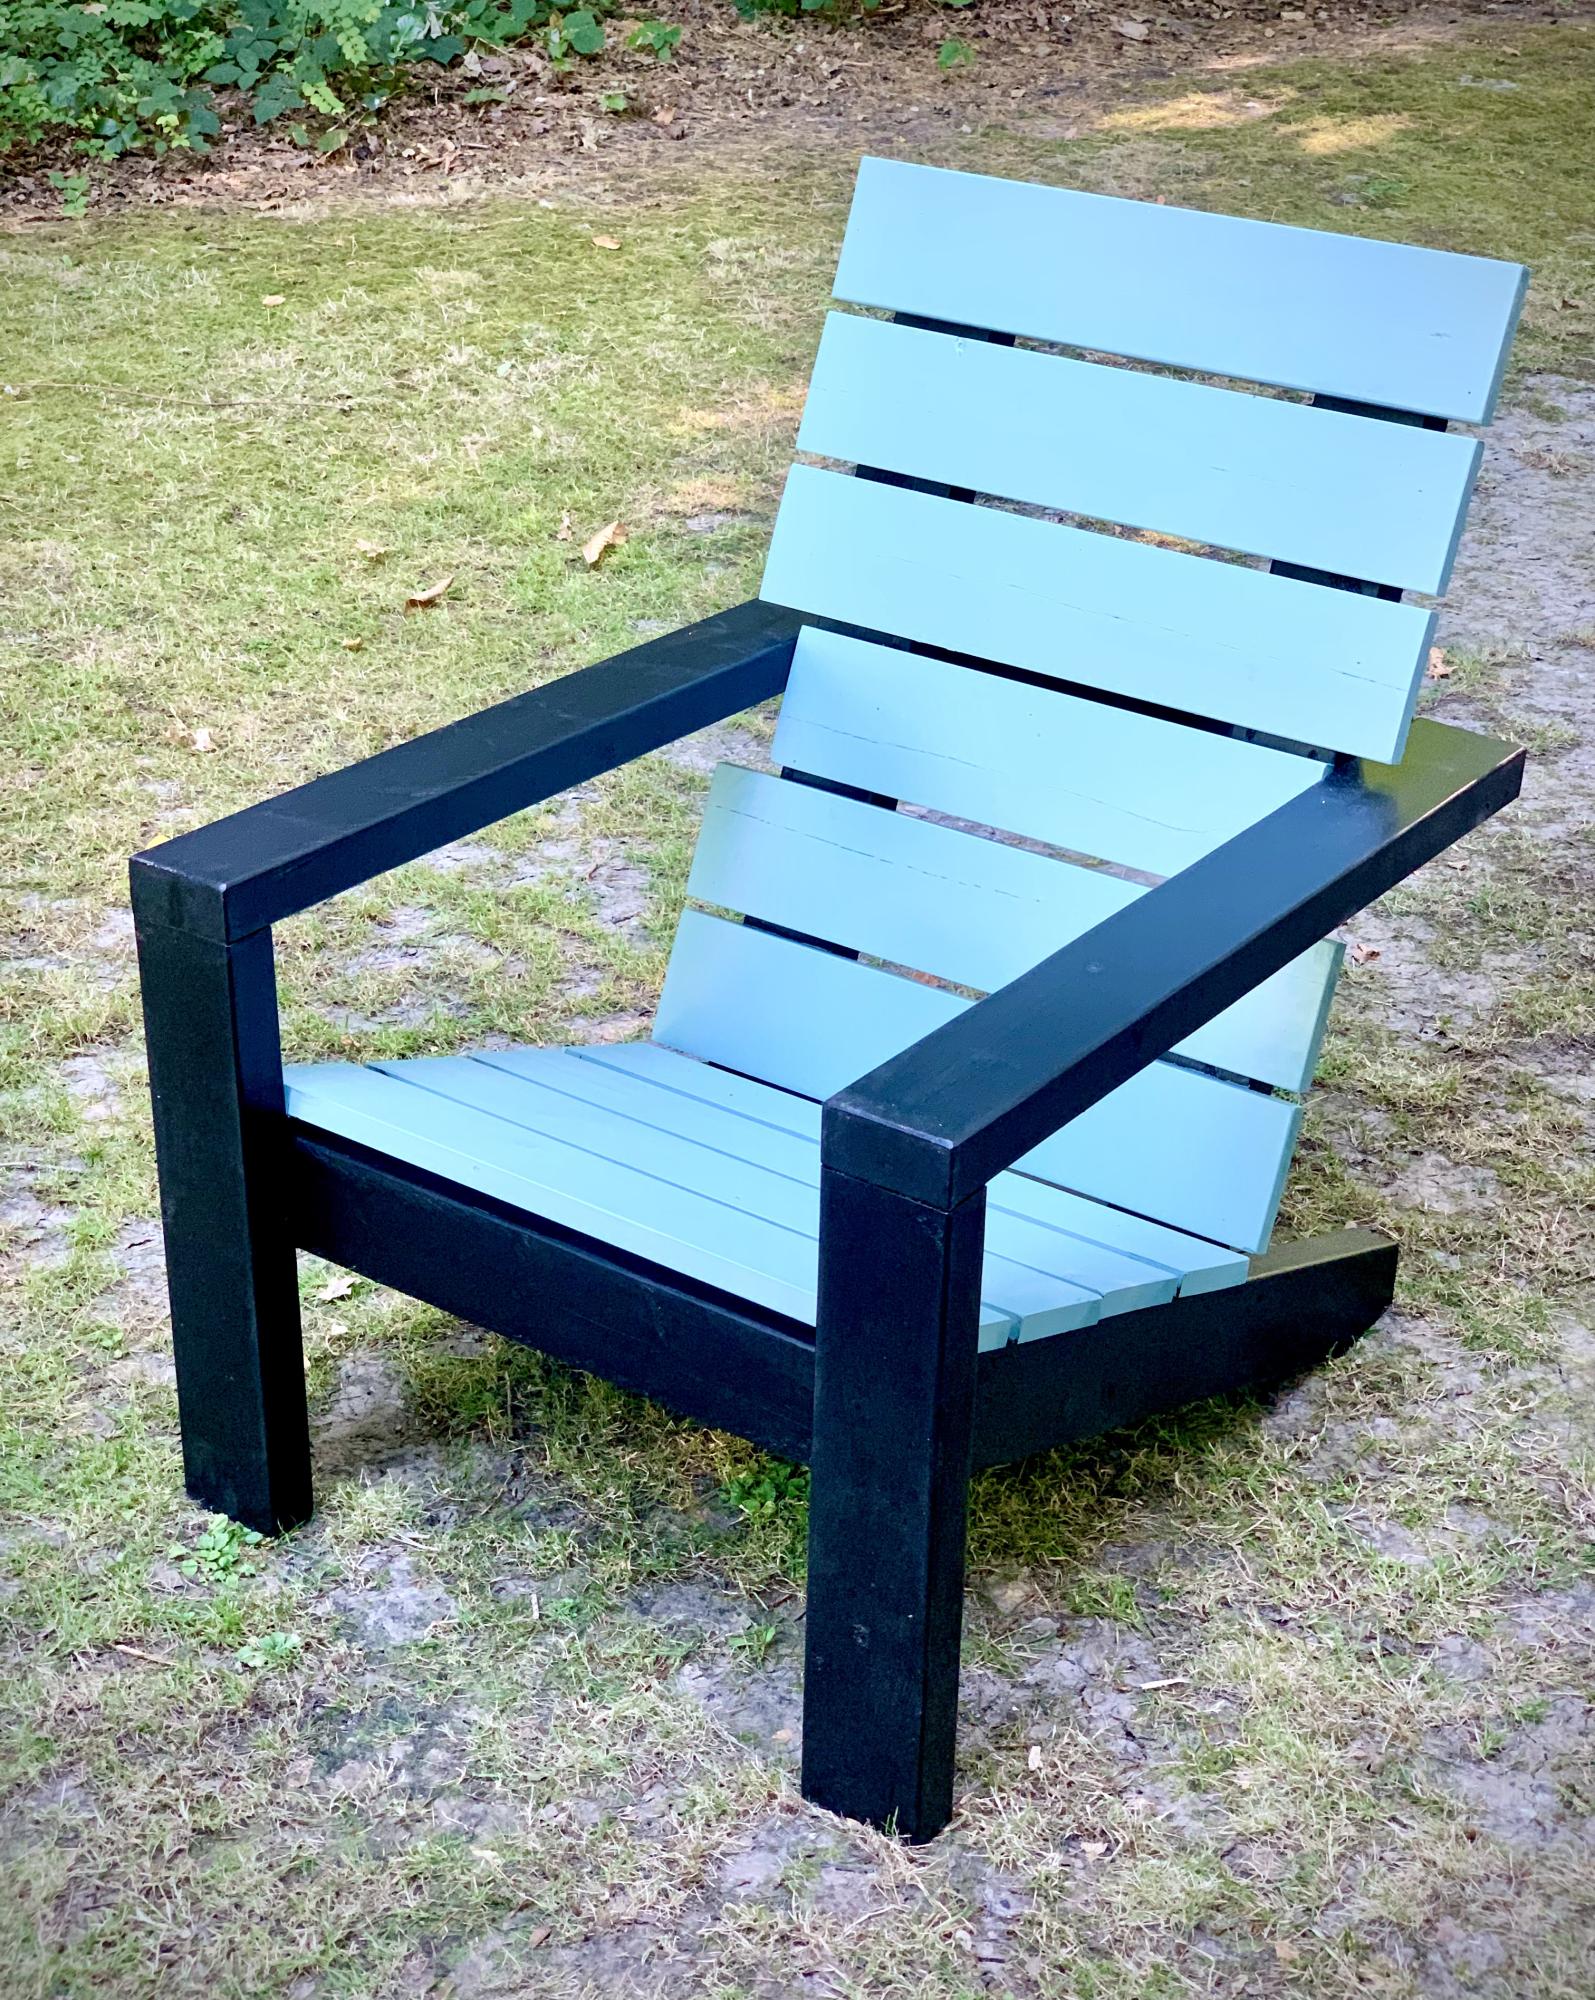
Needed a chair to sit and drink a beer in, this was a quick and easy build, and does the job of being sat in whilst drinking beer admirably well. Good work all round.

Built from Plan(s)
Comments
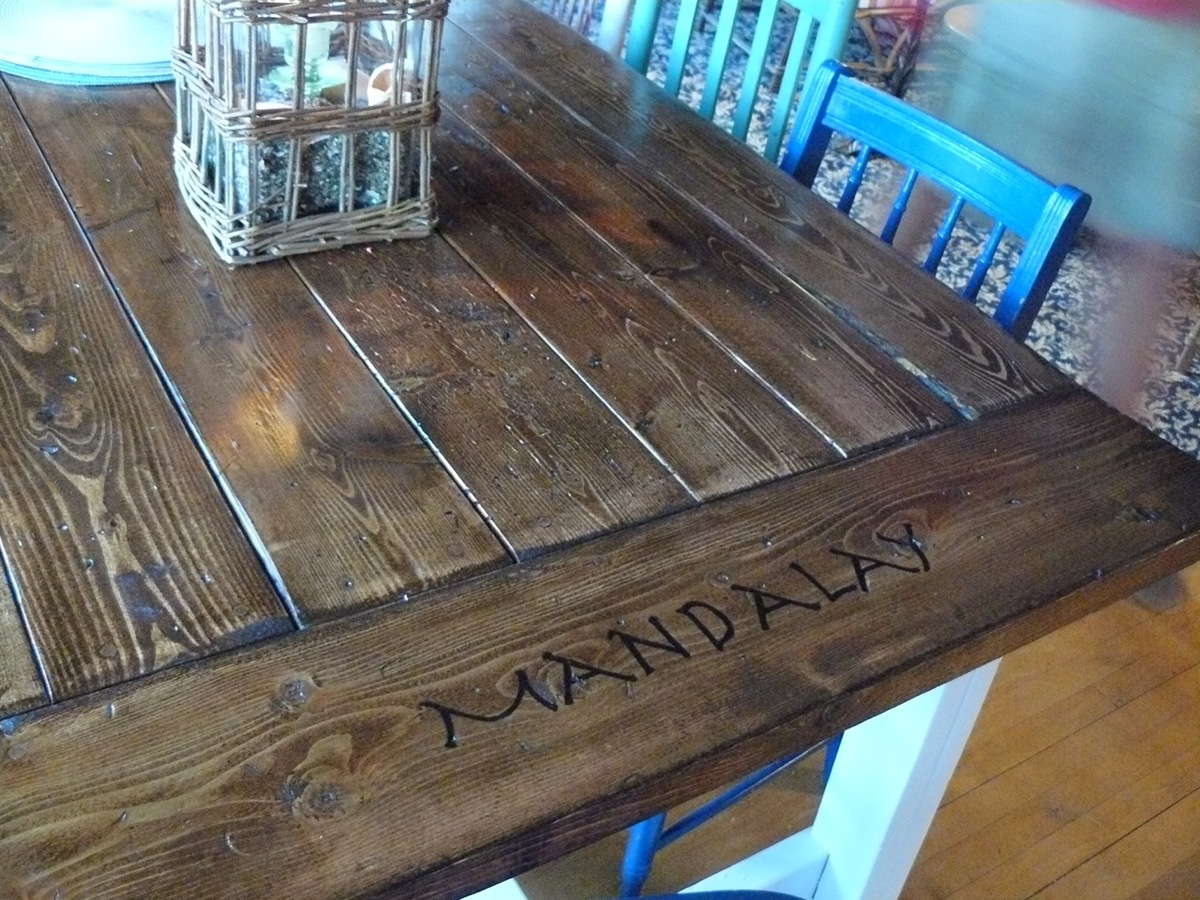
farmhouse table
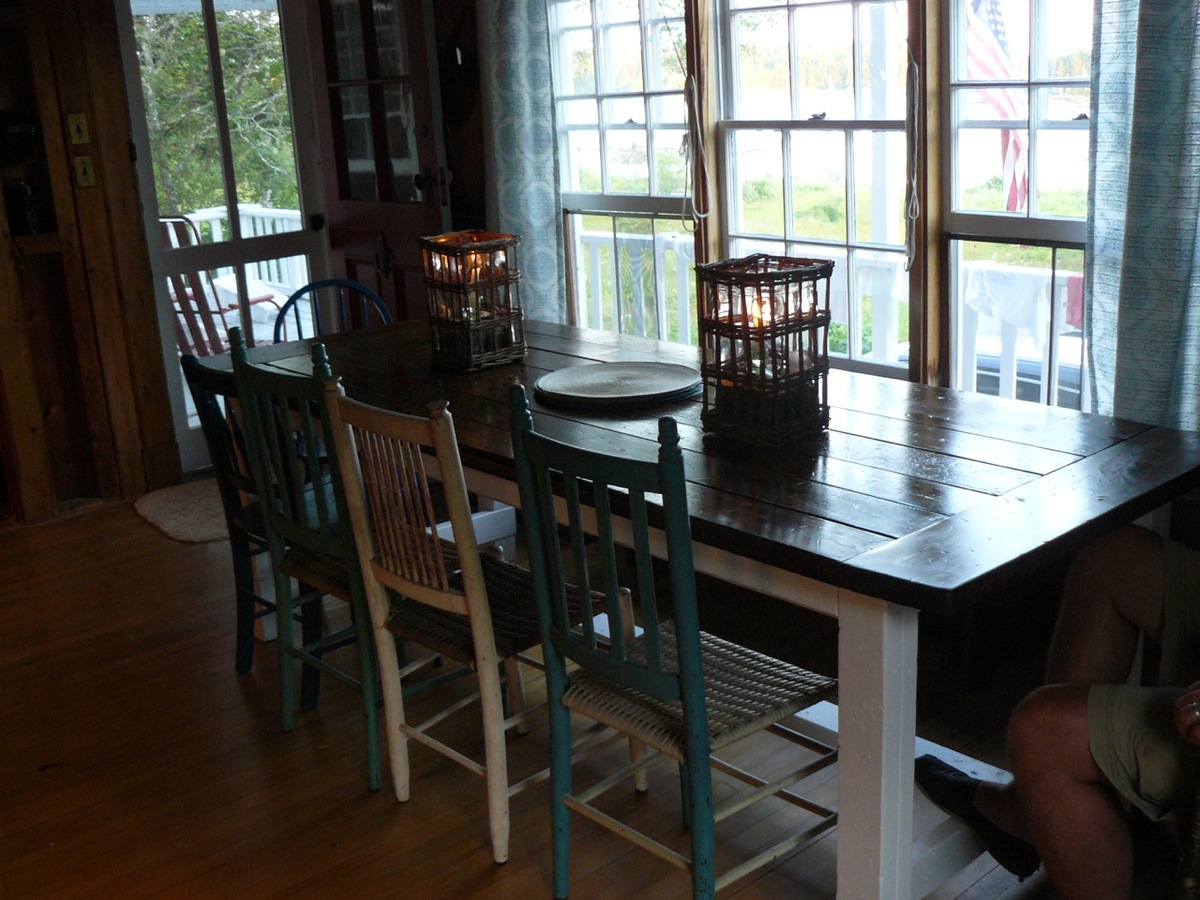
We used Ana's plans to build this Farmhouse Table for our summer cottage in Maine. We distressed it with all sorts of tools, blackening it with a blowtorch, having my daughter tap dance on it, creating wormholes with my Dremel tool and hand painted the name of our cottage on the ends. It turned out great, and we are enjoying many great meals of Lobster looking out on to the harbor!
Built from Plan(s)
Estimated Cost
Less than $200
Estimated Time Investment
Weekend Project (10-20 Hours)
Finish Used
Mini wax Jacoban stain; with satin Mini was poly
Recommended Skill Level
Beginner
Comments
Sun, 07/31/2011 - 20:29
AWESOME!!!!
Great job! Whenever we get to build this table, I would like to paint our last name at each end. Thank you for the idea!

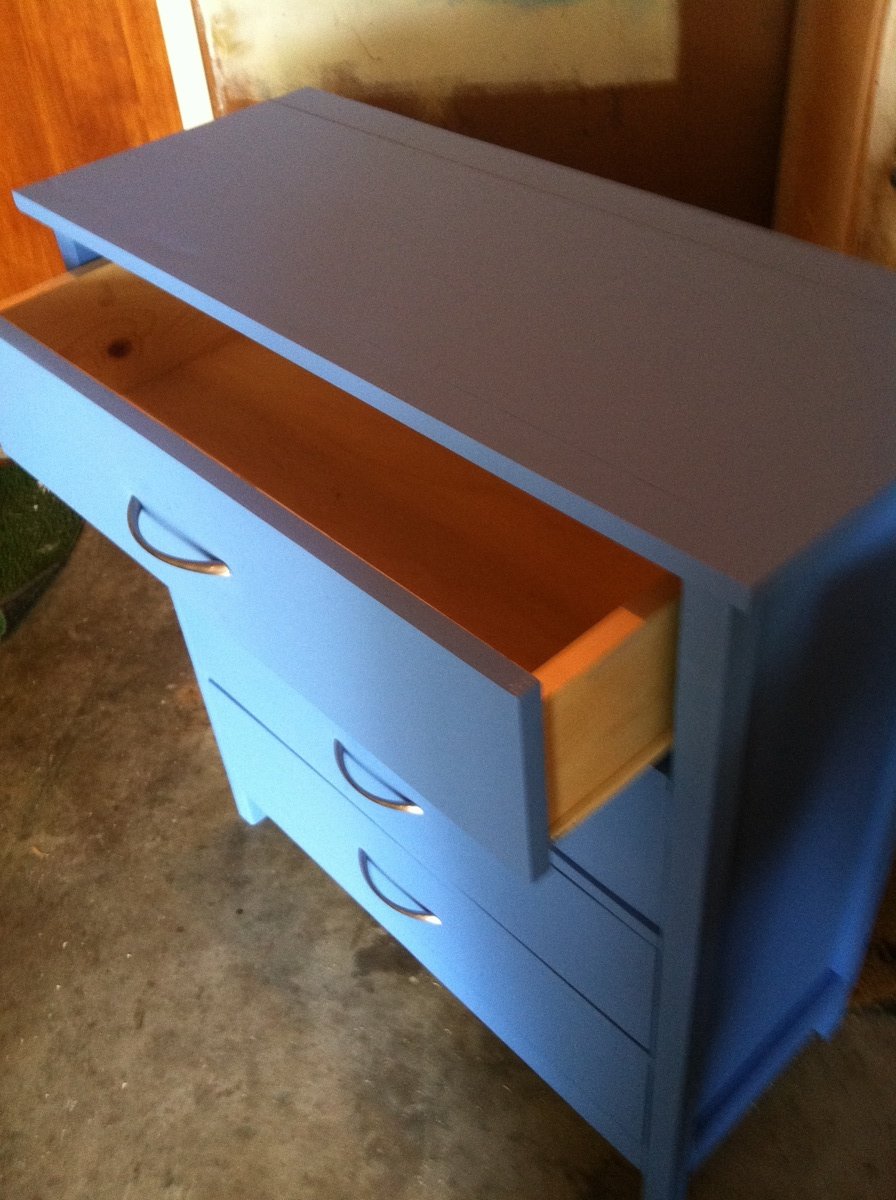
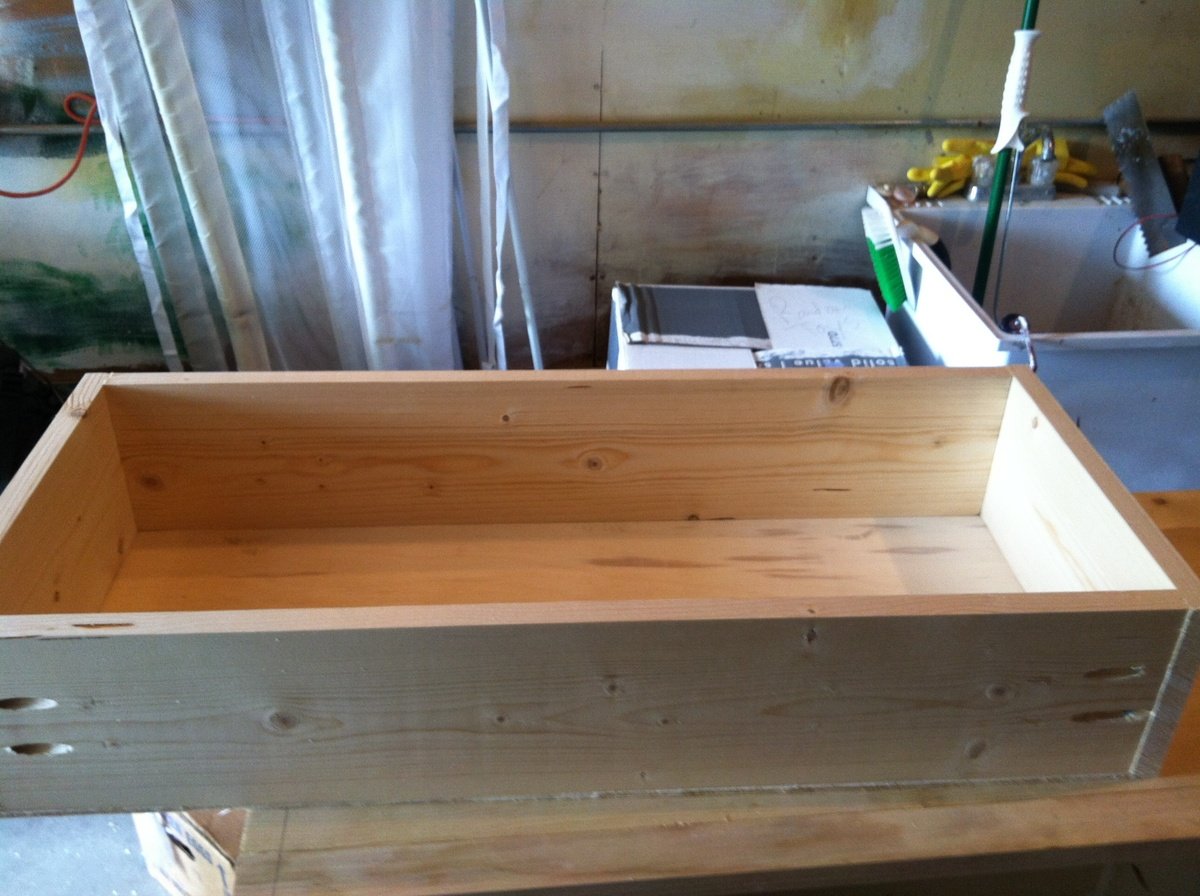
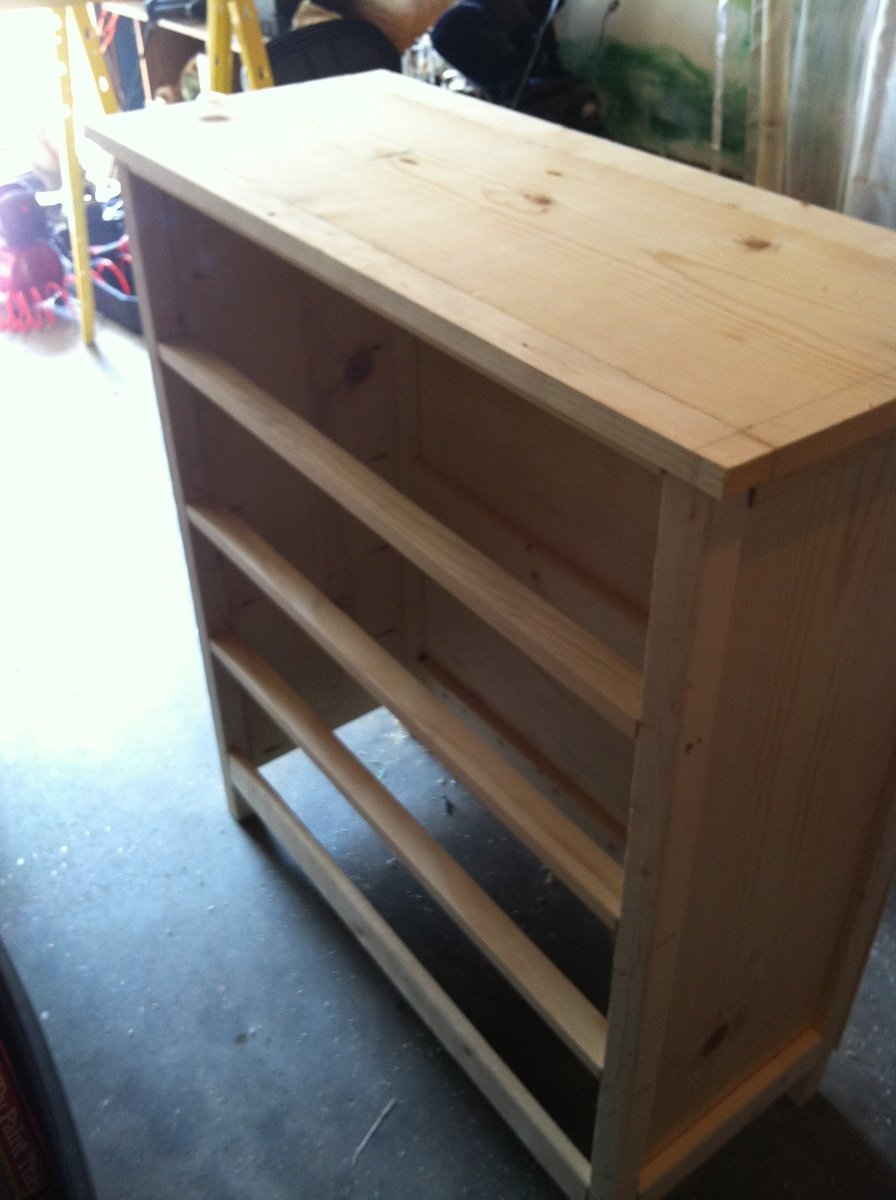
Beach dresser
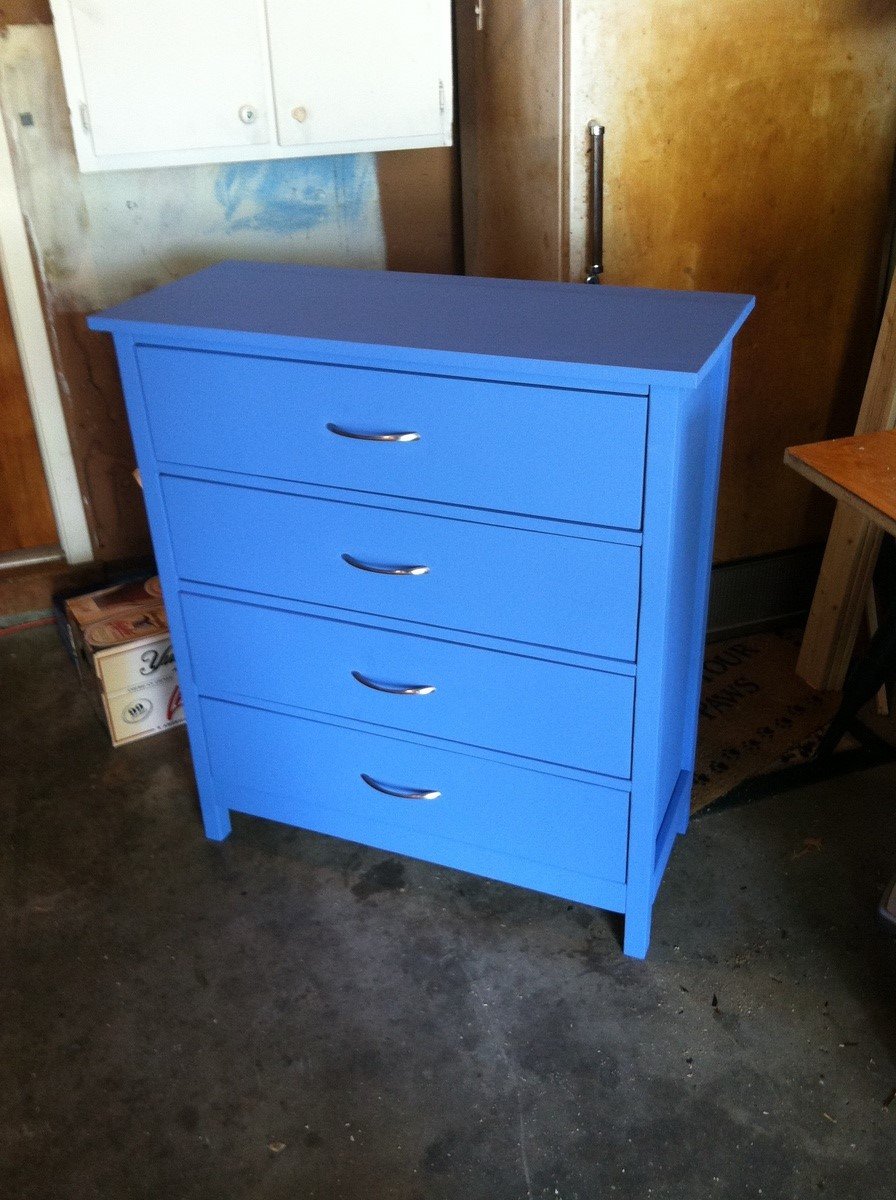
This was my second project. Just finished today. I've never done anything like this before so the drawer slides specifically were difficult. I ended up picking up a kreg drawer jig and it was a piece of cake! I initially wanted a minwax water based blue stain but the small amounts of wood filler residue on the drawer faces would not accept the stain and in a period of frustration I broke out some leftover blue paint. Luckily I think it looks better!
Built from Plan(s)
Estimated Cost
$200
Estimated Time Investment
Weekend Project (10-20 Hours)
Finish Used
Semi gloss blue paint
Recommended Skill Level
Intermediate
Complete kitchen gut and remodel

I completely gutted this kitchen to the studs. I built the cabinets and island with the help of Ana's plans. I installed tongue and groove knotty pine flooring I distressed it and installed 17 th century Common Rosehead Nails in all the butt joints and then stained it. I just finish building a faux beam to install in center of vaulted ceiling but have not installed it yet. Even though I selected intermediate skills, I have never built cabinets or installed flooring you can do this as a beginner. I just started doing wood work, I have been an aircraft mechanic for thirty years.


Estimated Cost
The complete project also including appliances and granite counter tops sheet rock, paint, insulation and everything was less than $10,000.00. I probably saved $30,000.00 doing everything myself. It took about a year long working in the evenings and weekends.
Recommended Skill Level
Intermediate
Comments
Sun, 10/11/2015 - 10:57
Great Job!
All of your hard work looks great, now sit back and enjoy! Thanks for sharing!
Tue, 02/07/2017 - 09:35
what was the cost of the
what was the cost of the kichen by itself? Can i do this without table saw? I dont own one.
Farmhouse Queen Bed
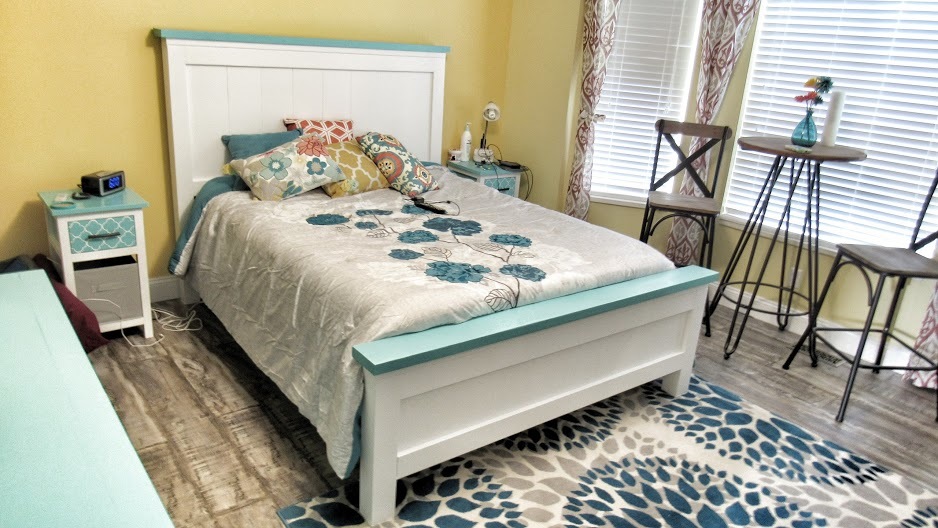
I;m just learning how to do things with wood. I made this for the bedroom update last year
Built from Plan(s)
Estimated Time Investment
Weekend Project (10-20 Hours)
Recommended Skill Level
Beginner
Comments

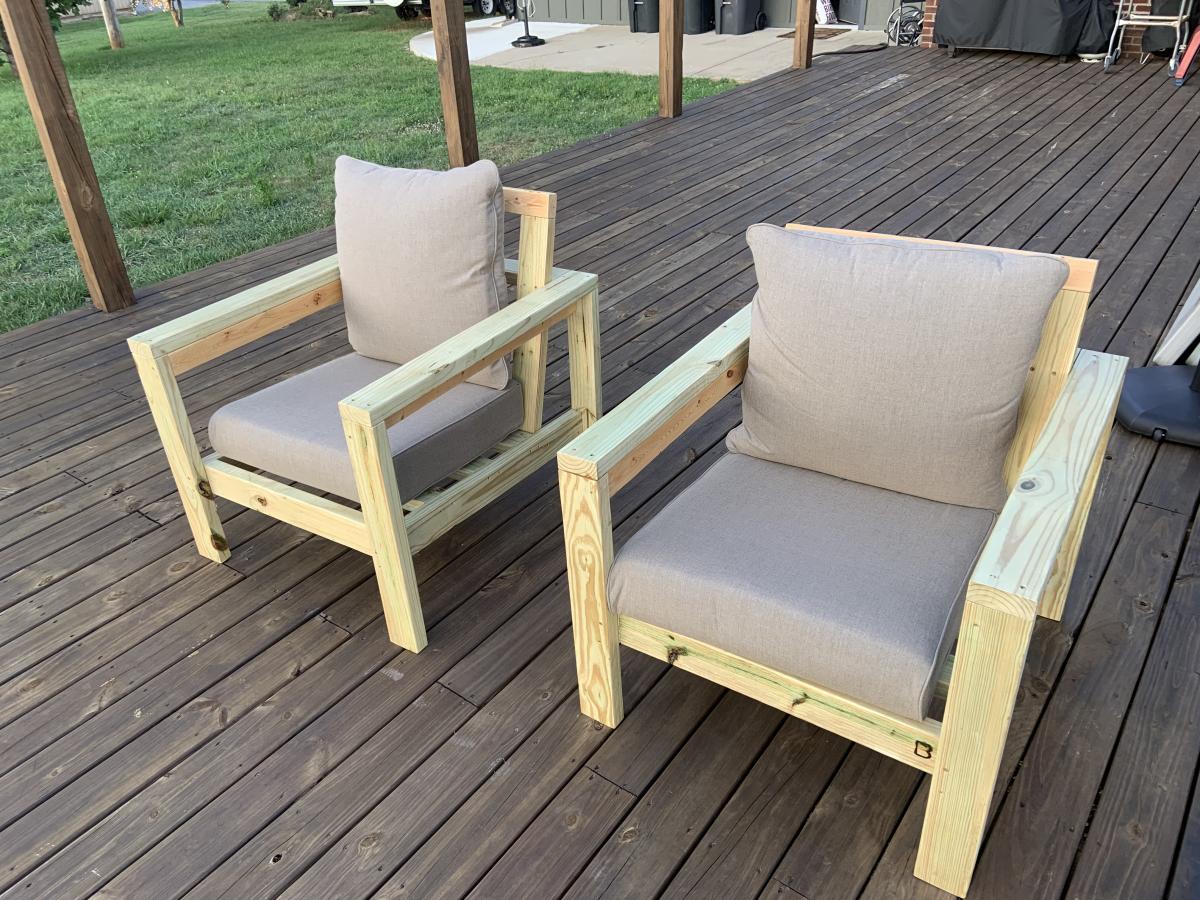
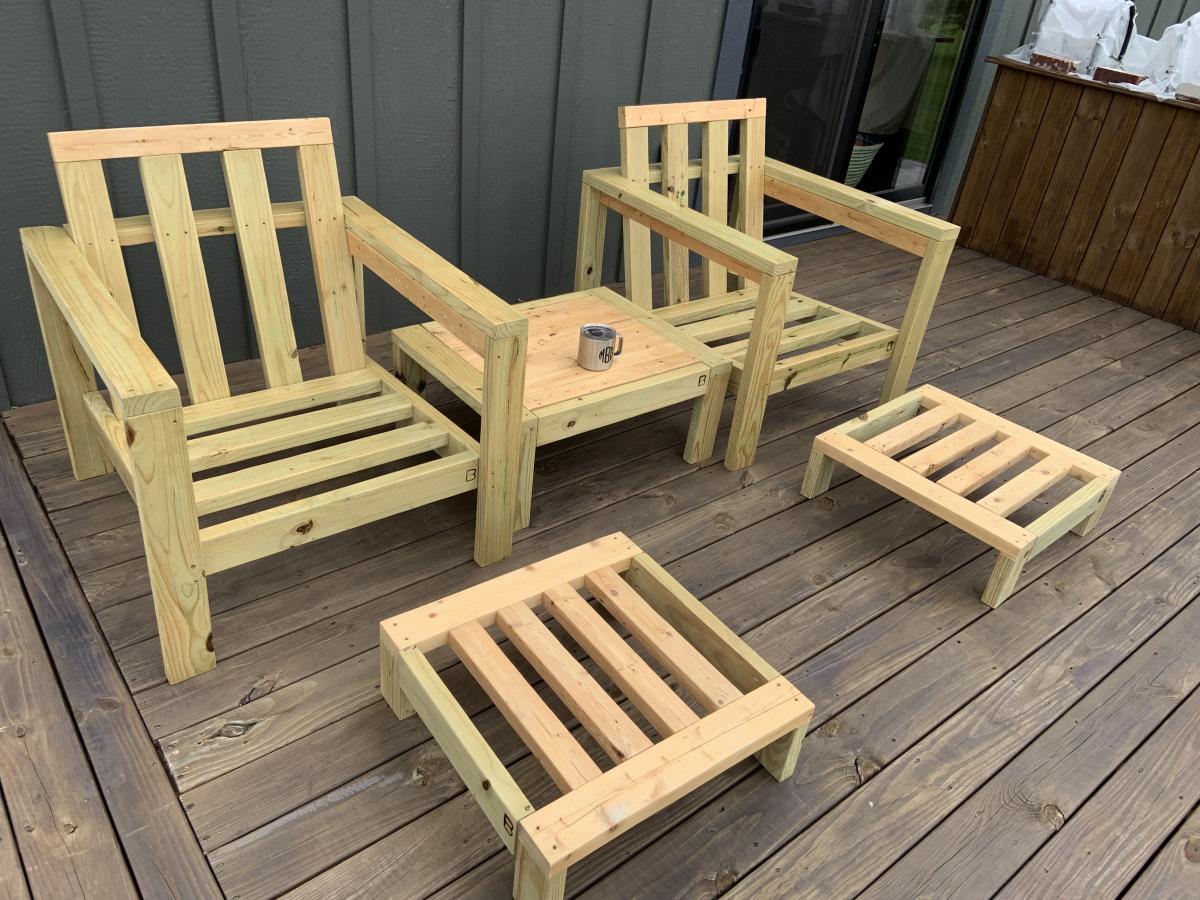
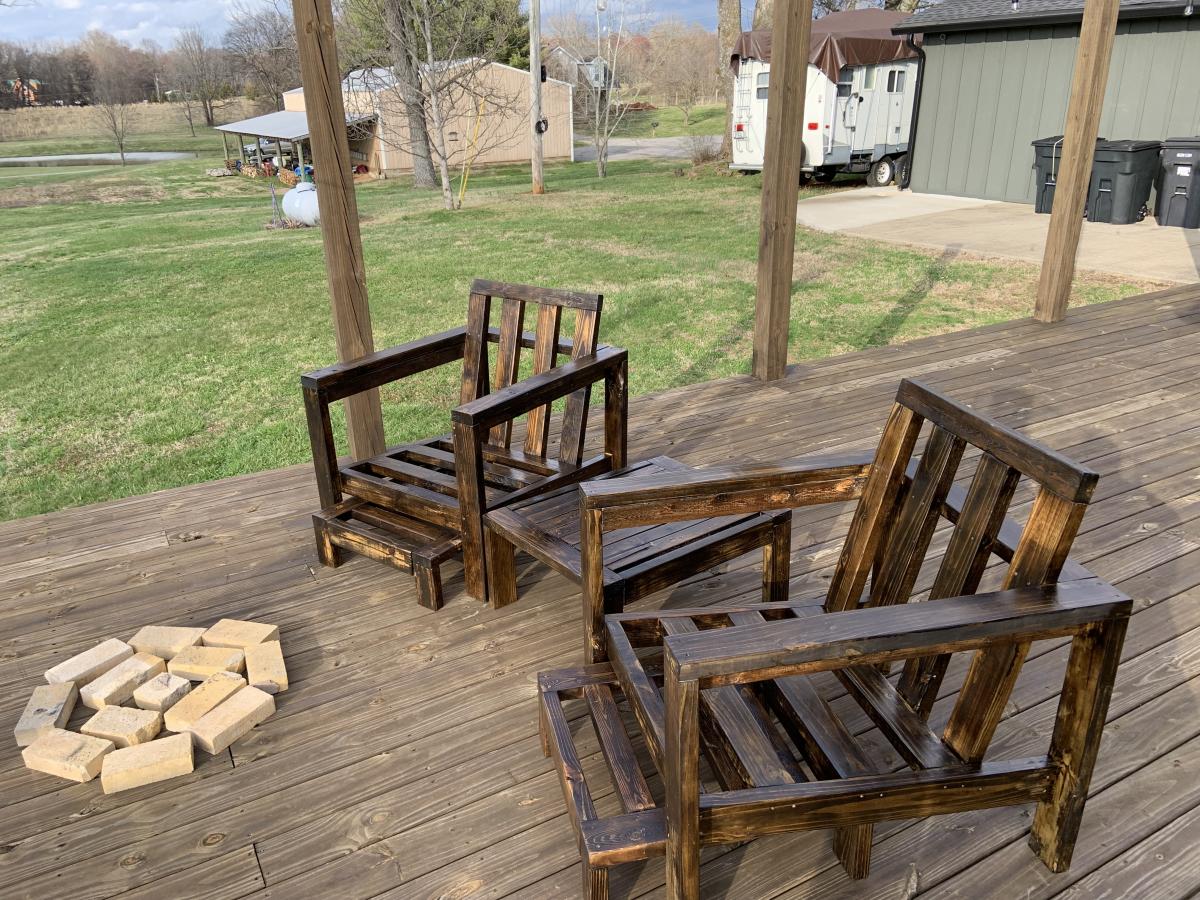
Deck Chairs

I made a couple of additions/modifications
I also made a couple of side tables and foot stools for the chairs. A total of four chairs, two tables and two foot stools for the deck set.


Built from Plan(s)
Comments
Em's Picnic Table
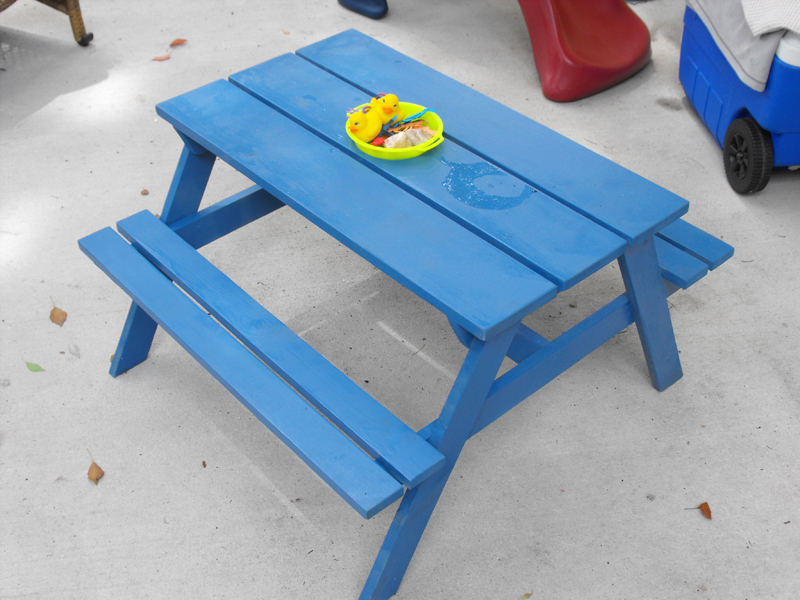
This was my first project - and it came out GREAT!!! Since our table saw lost its guard, I was too scared to use it. So I cut most of the wood by hand with our saw and miter box. It took FOREVER! But all that sweat was worth it. I love that I hand made something for my daughter. Thanks Ana!
Built from Plan(s)
Estimated Time Investment
Week Long Project (20 Hours or More)
Finish Used
A few cans of spray paint.
Recommended Skill Level
Starter Project
Comments
Kitchen Island
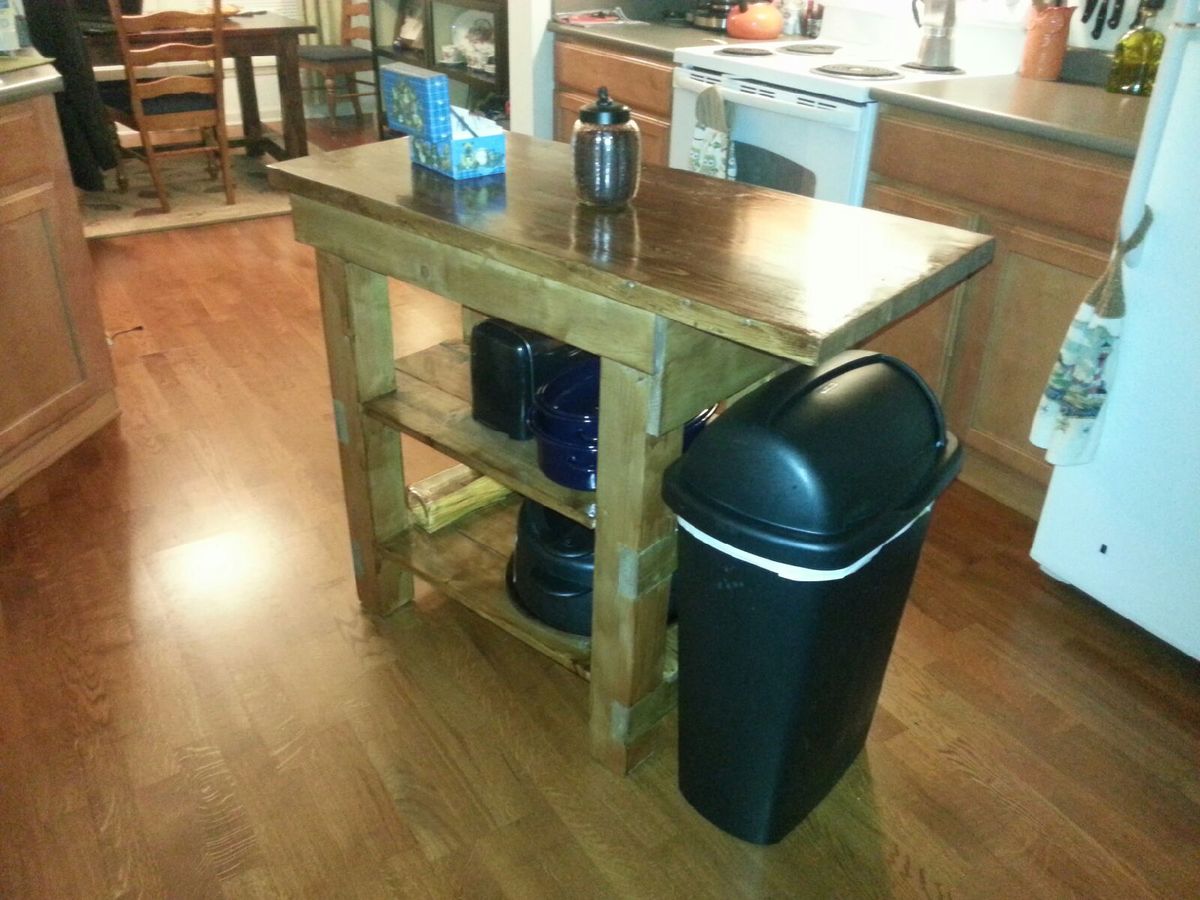
For my island we wanted a place to put the trash can so it was out of the way. We added a wider board to brace the side the can would go on to keep stuff from falling into the shelf area. Took my wife and I about 12 hours total to make.
Built from Plan(s)
Estimated Time Investment
Weekend Project (10-20 Hours)
Recommended Skill Level
Beginner
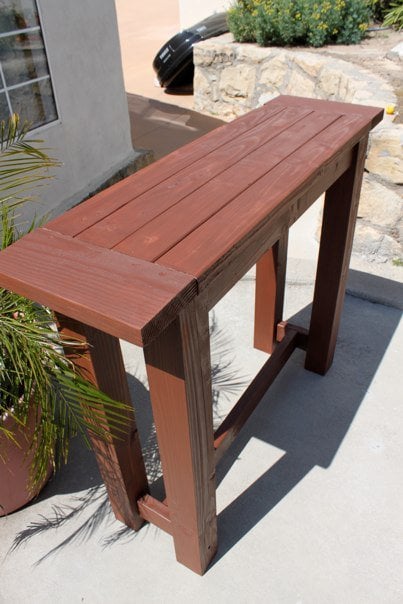
Rustic Console Table
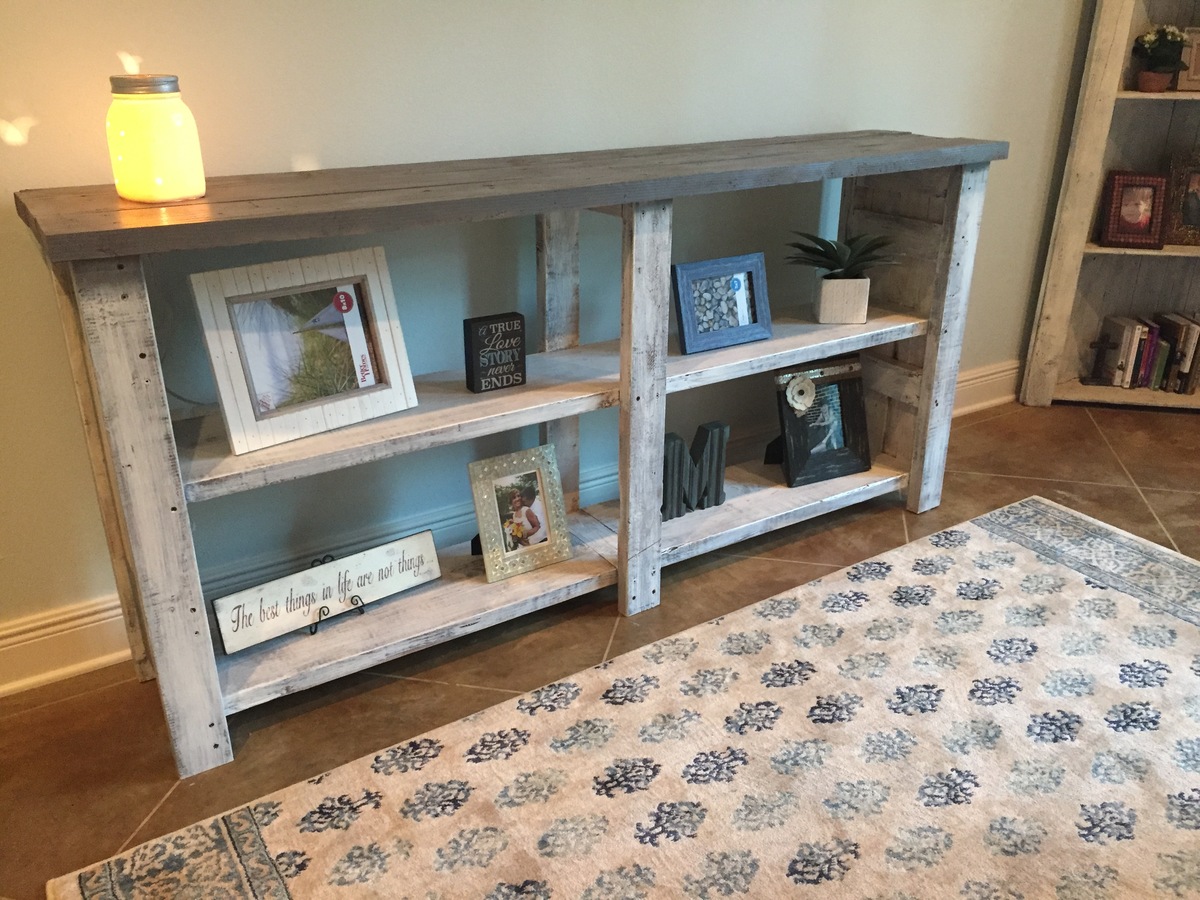
Made from scrap lumber. Used a multicolored pattern instead X. Also took out the 2x2s on the shelves.
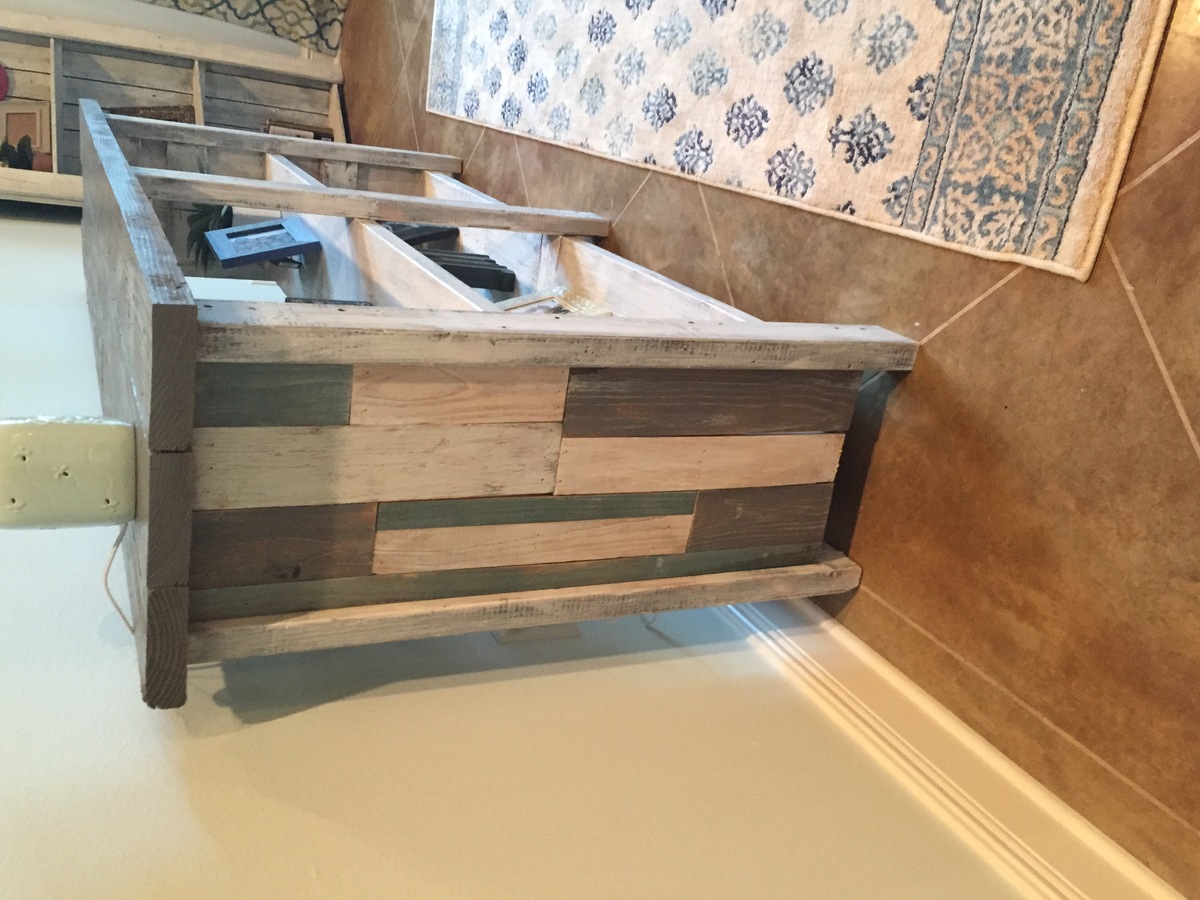
Built from Plan(s)
Estimated Time Investment
Afternoon Project (3-6 Hours)
Finish Used
Paint
Recommended Skill Level
Beginner