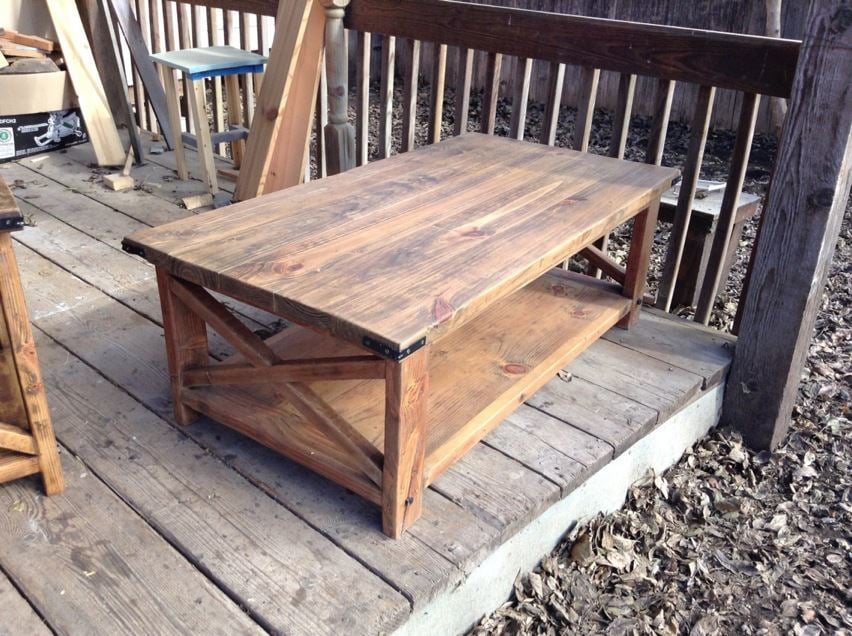
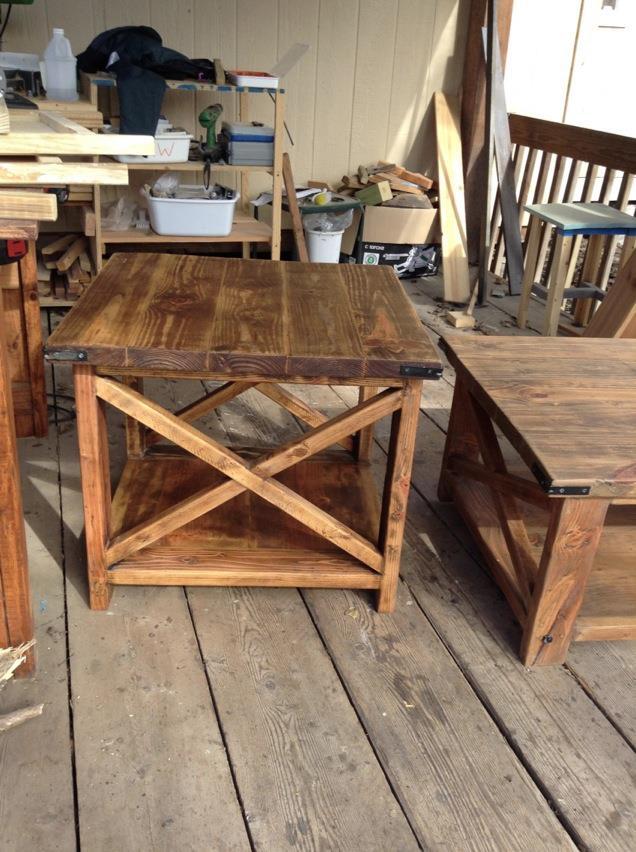
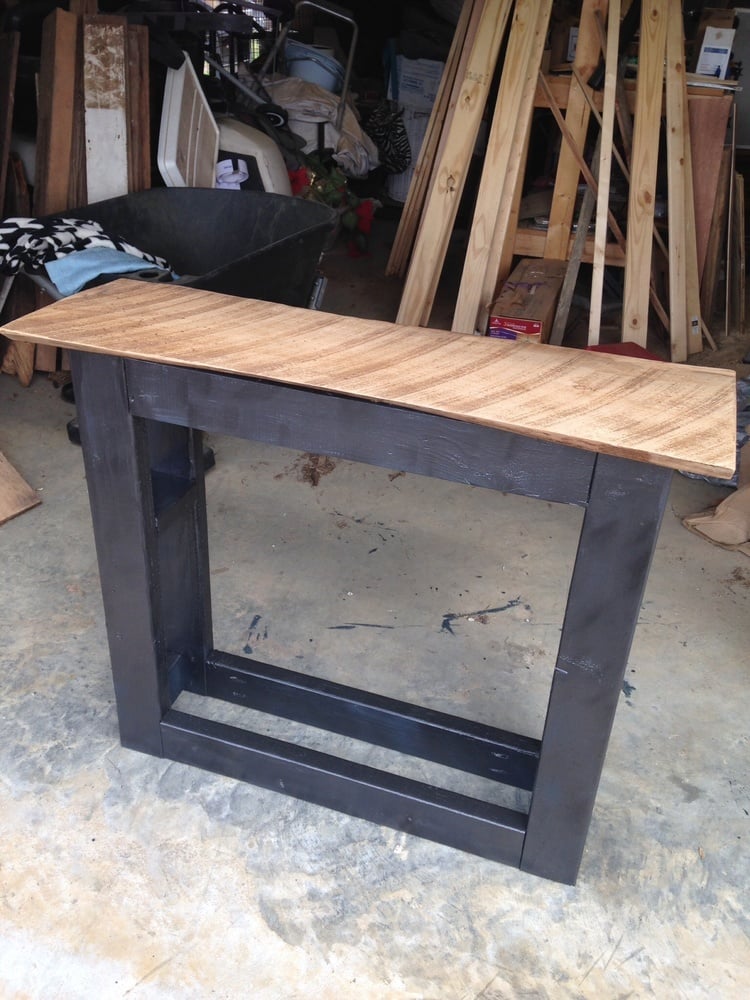
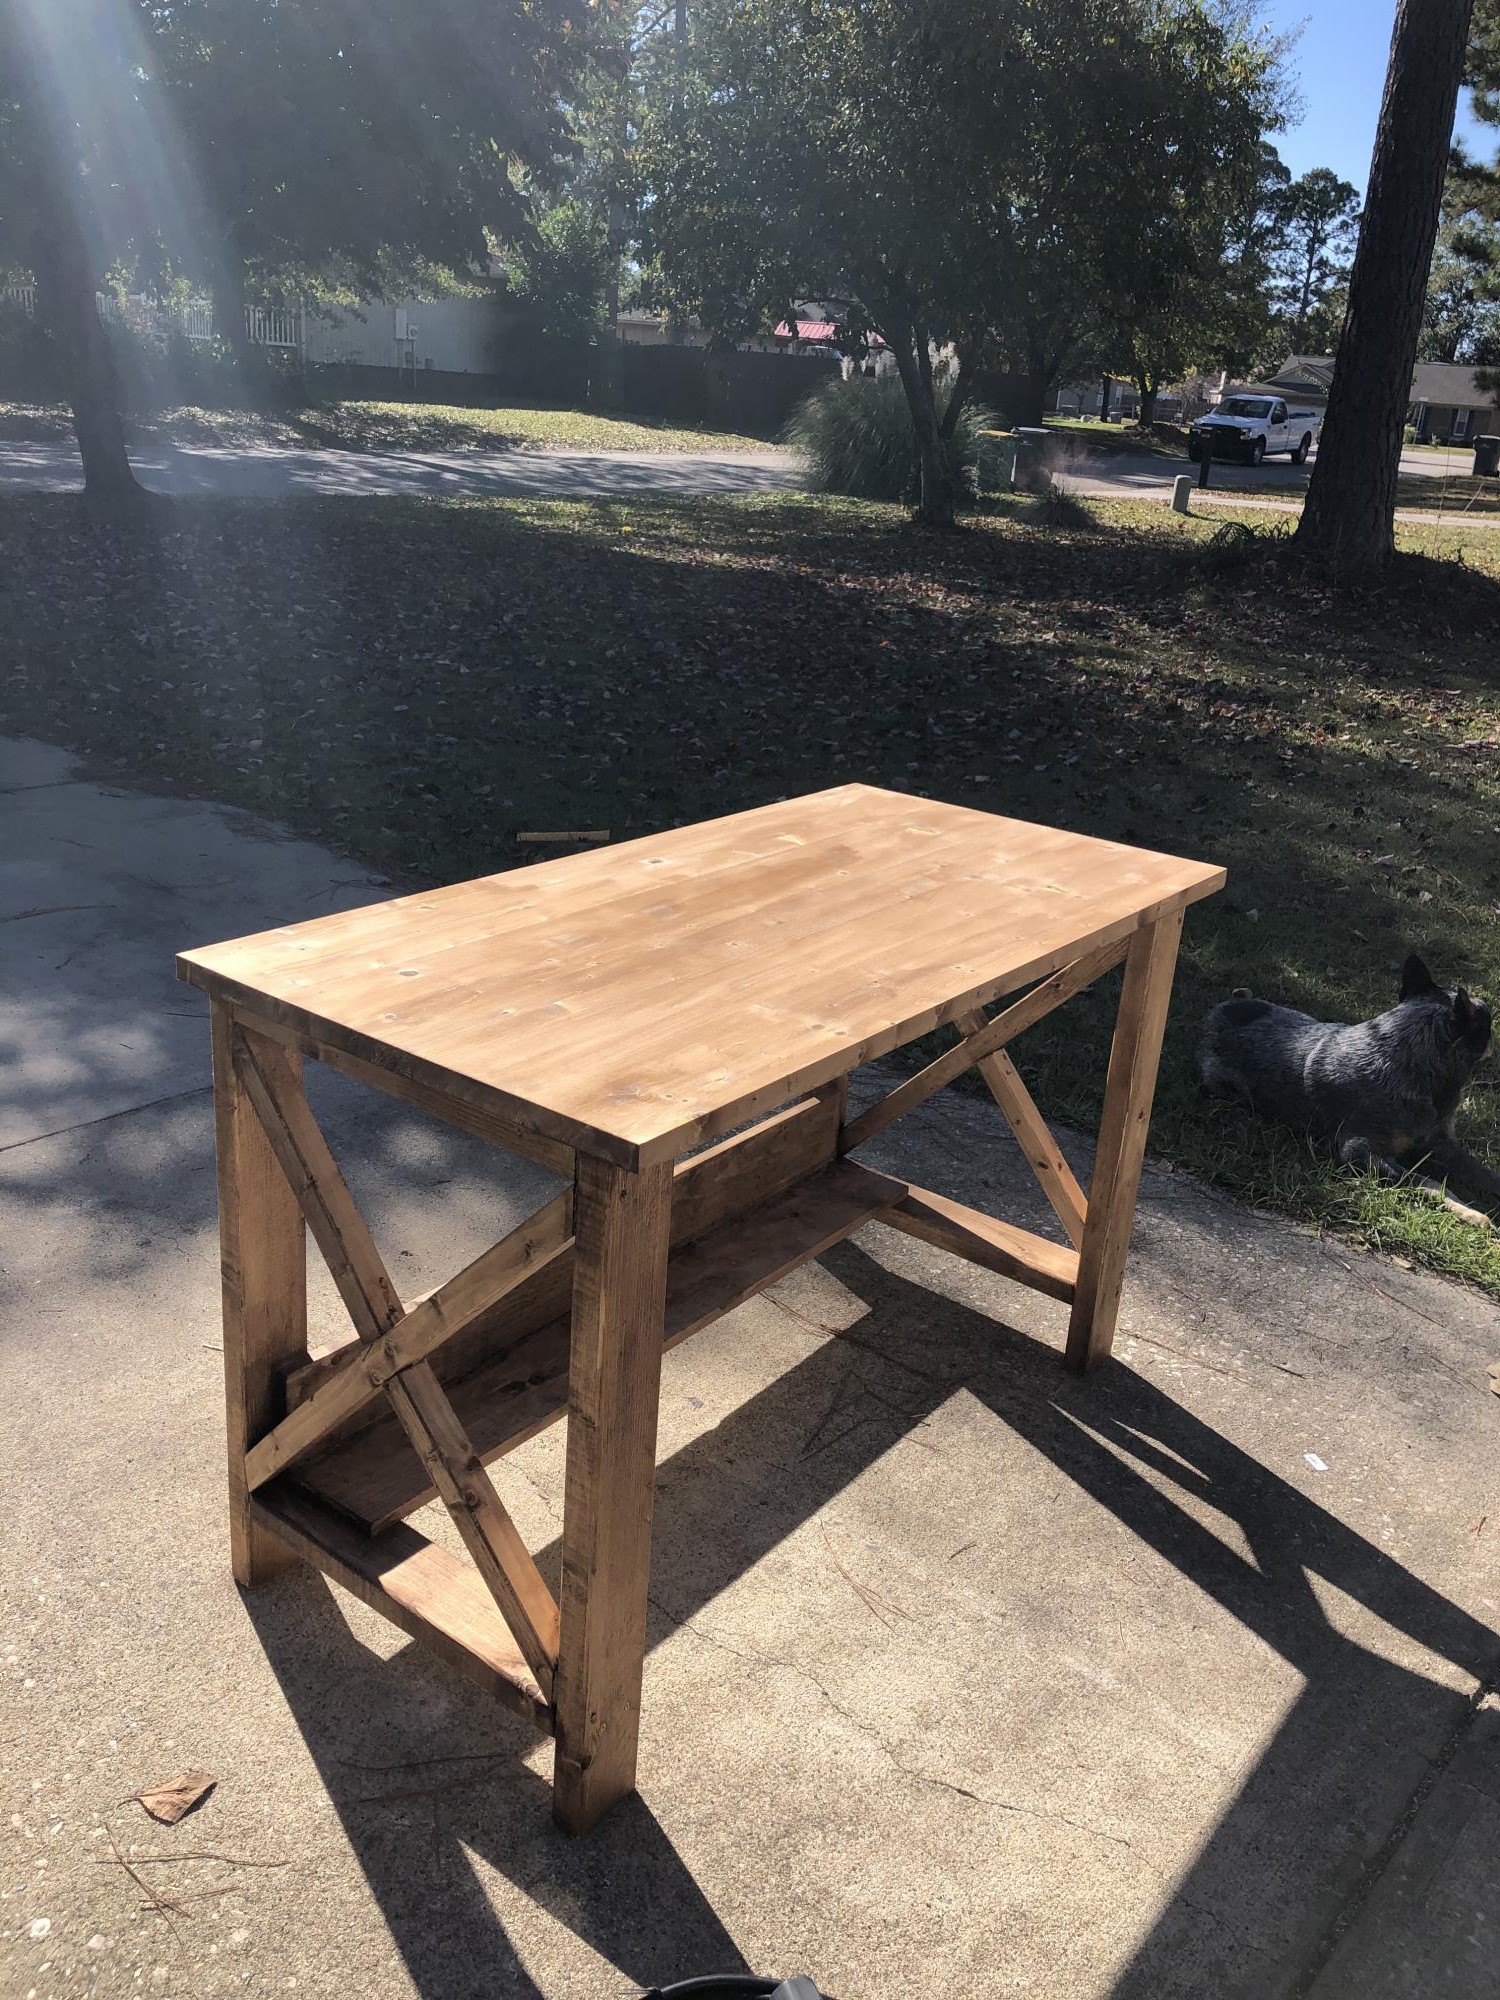
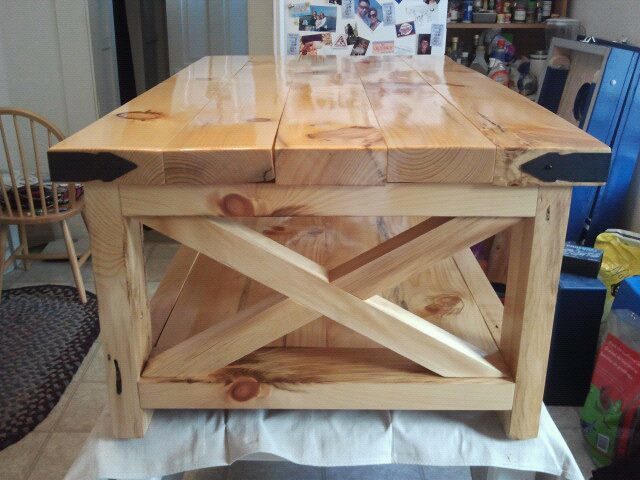
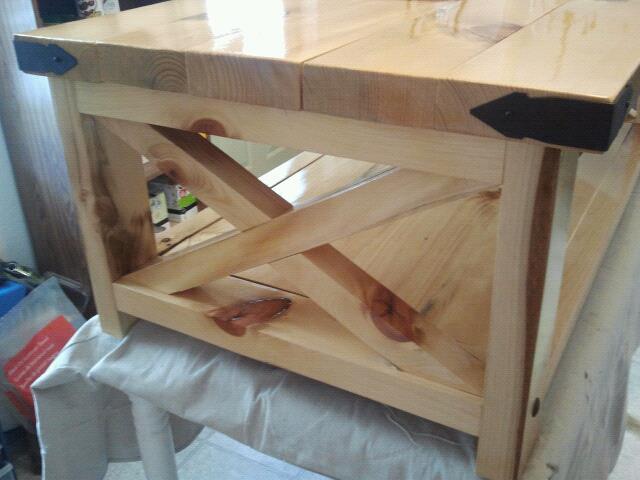
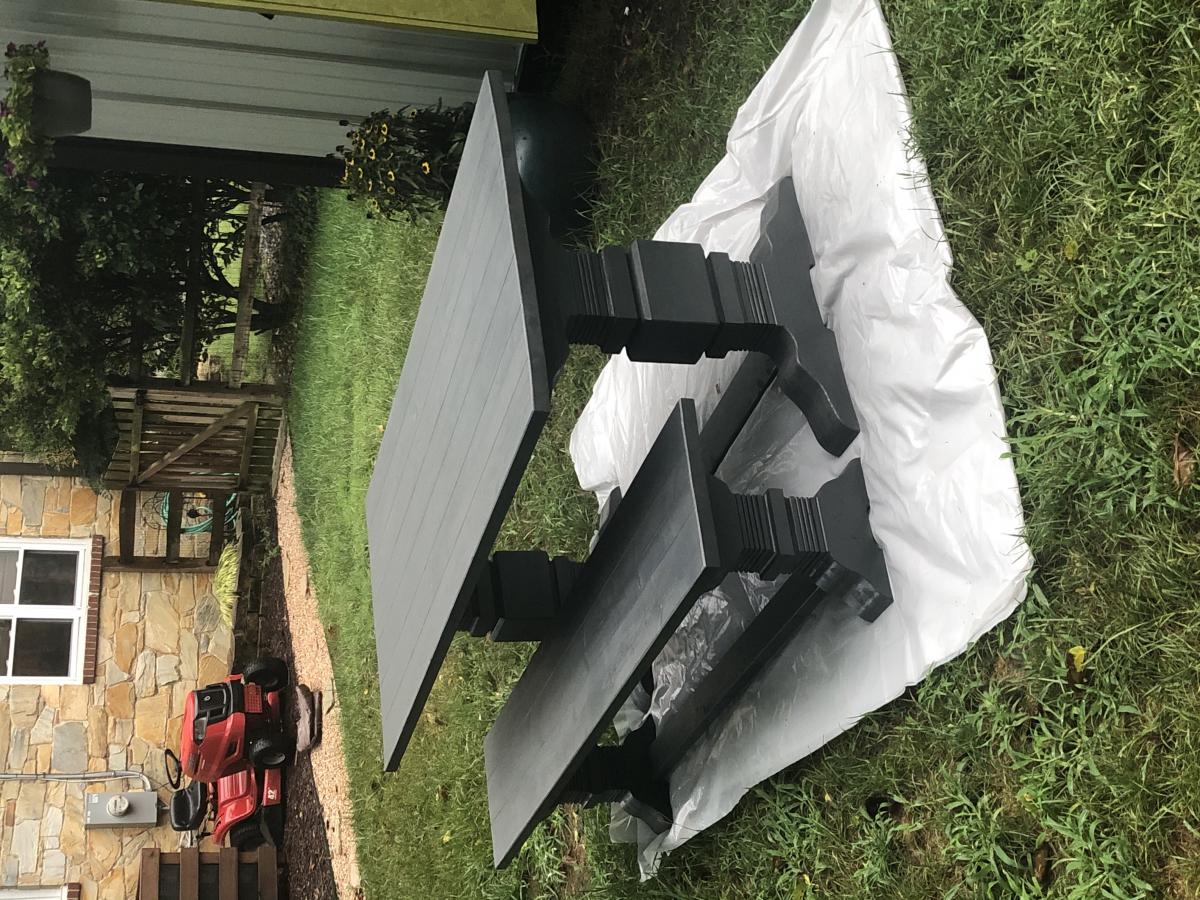
Farmhouse table and bench
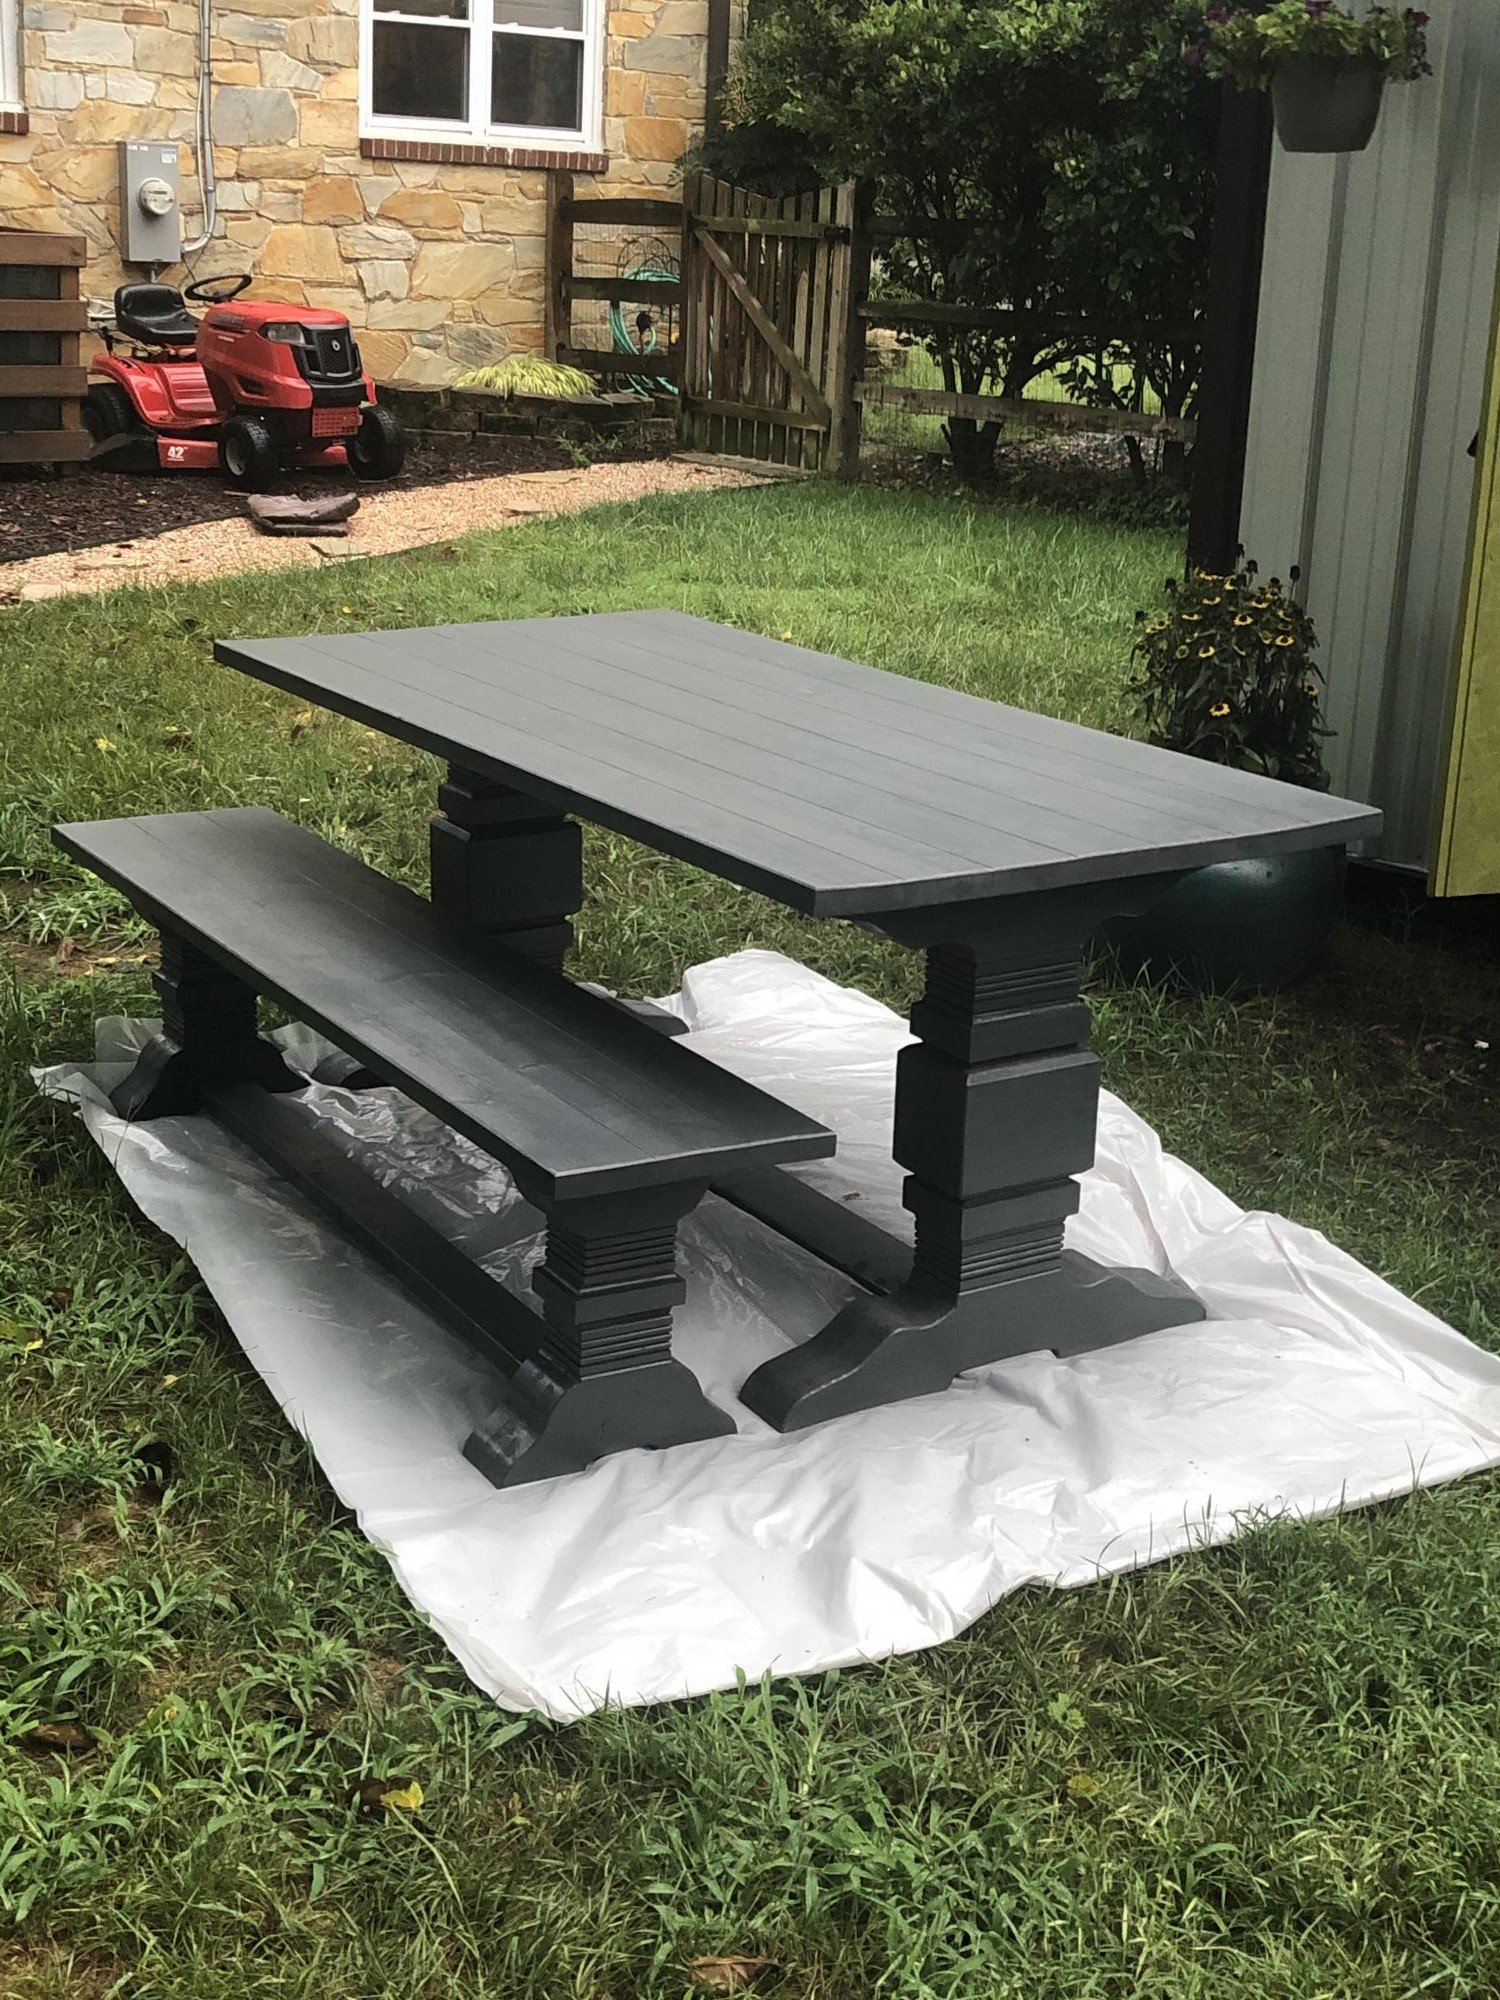
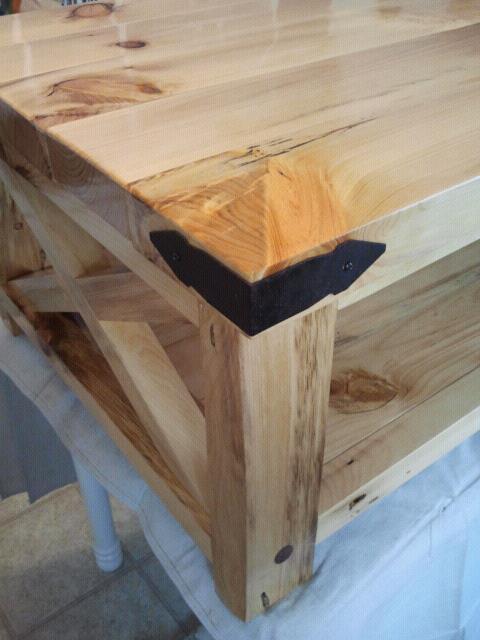
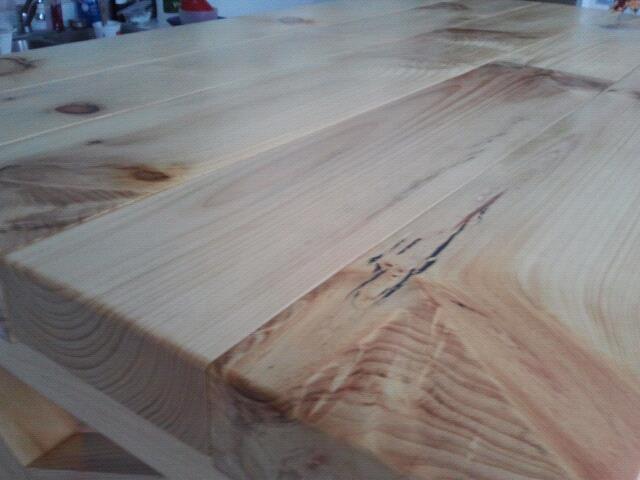
I built this farmhouse table and bench from 2x6s. For legs I cut different sized blocks and used different router bit profiles then glued them together.
Estimated Cost
100 dollars
Estimated Time Investment
Week Long Project (20 Hours or More)
Finish Used
Stain and poly
Recommended Skill Level
Intermediate