Garden Potting Bench
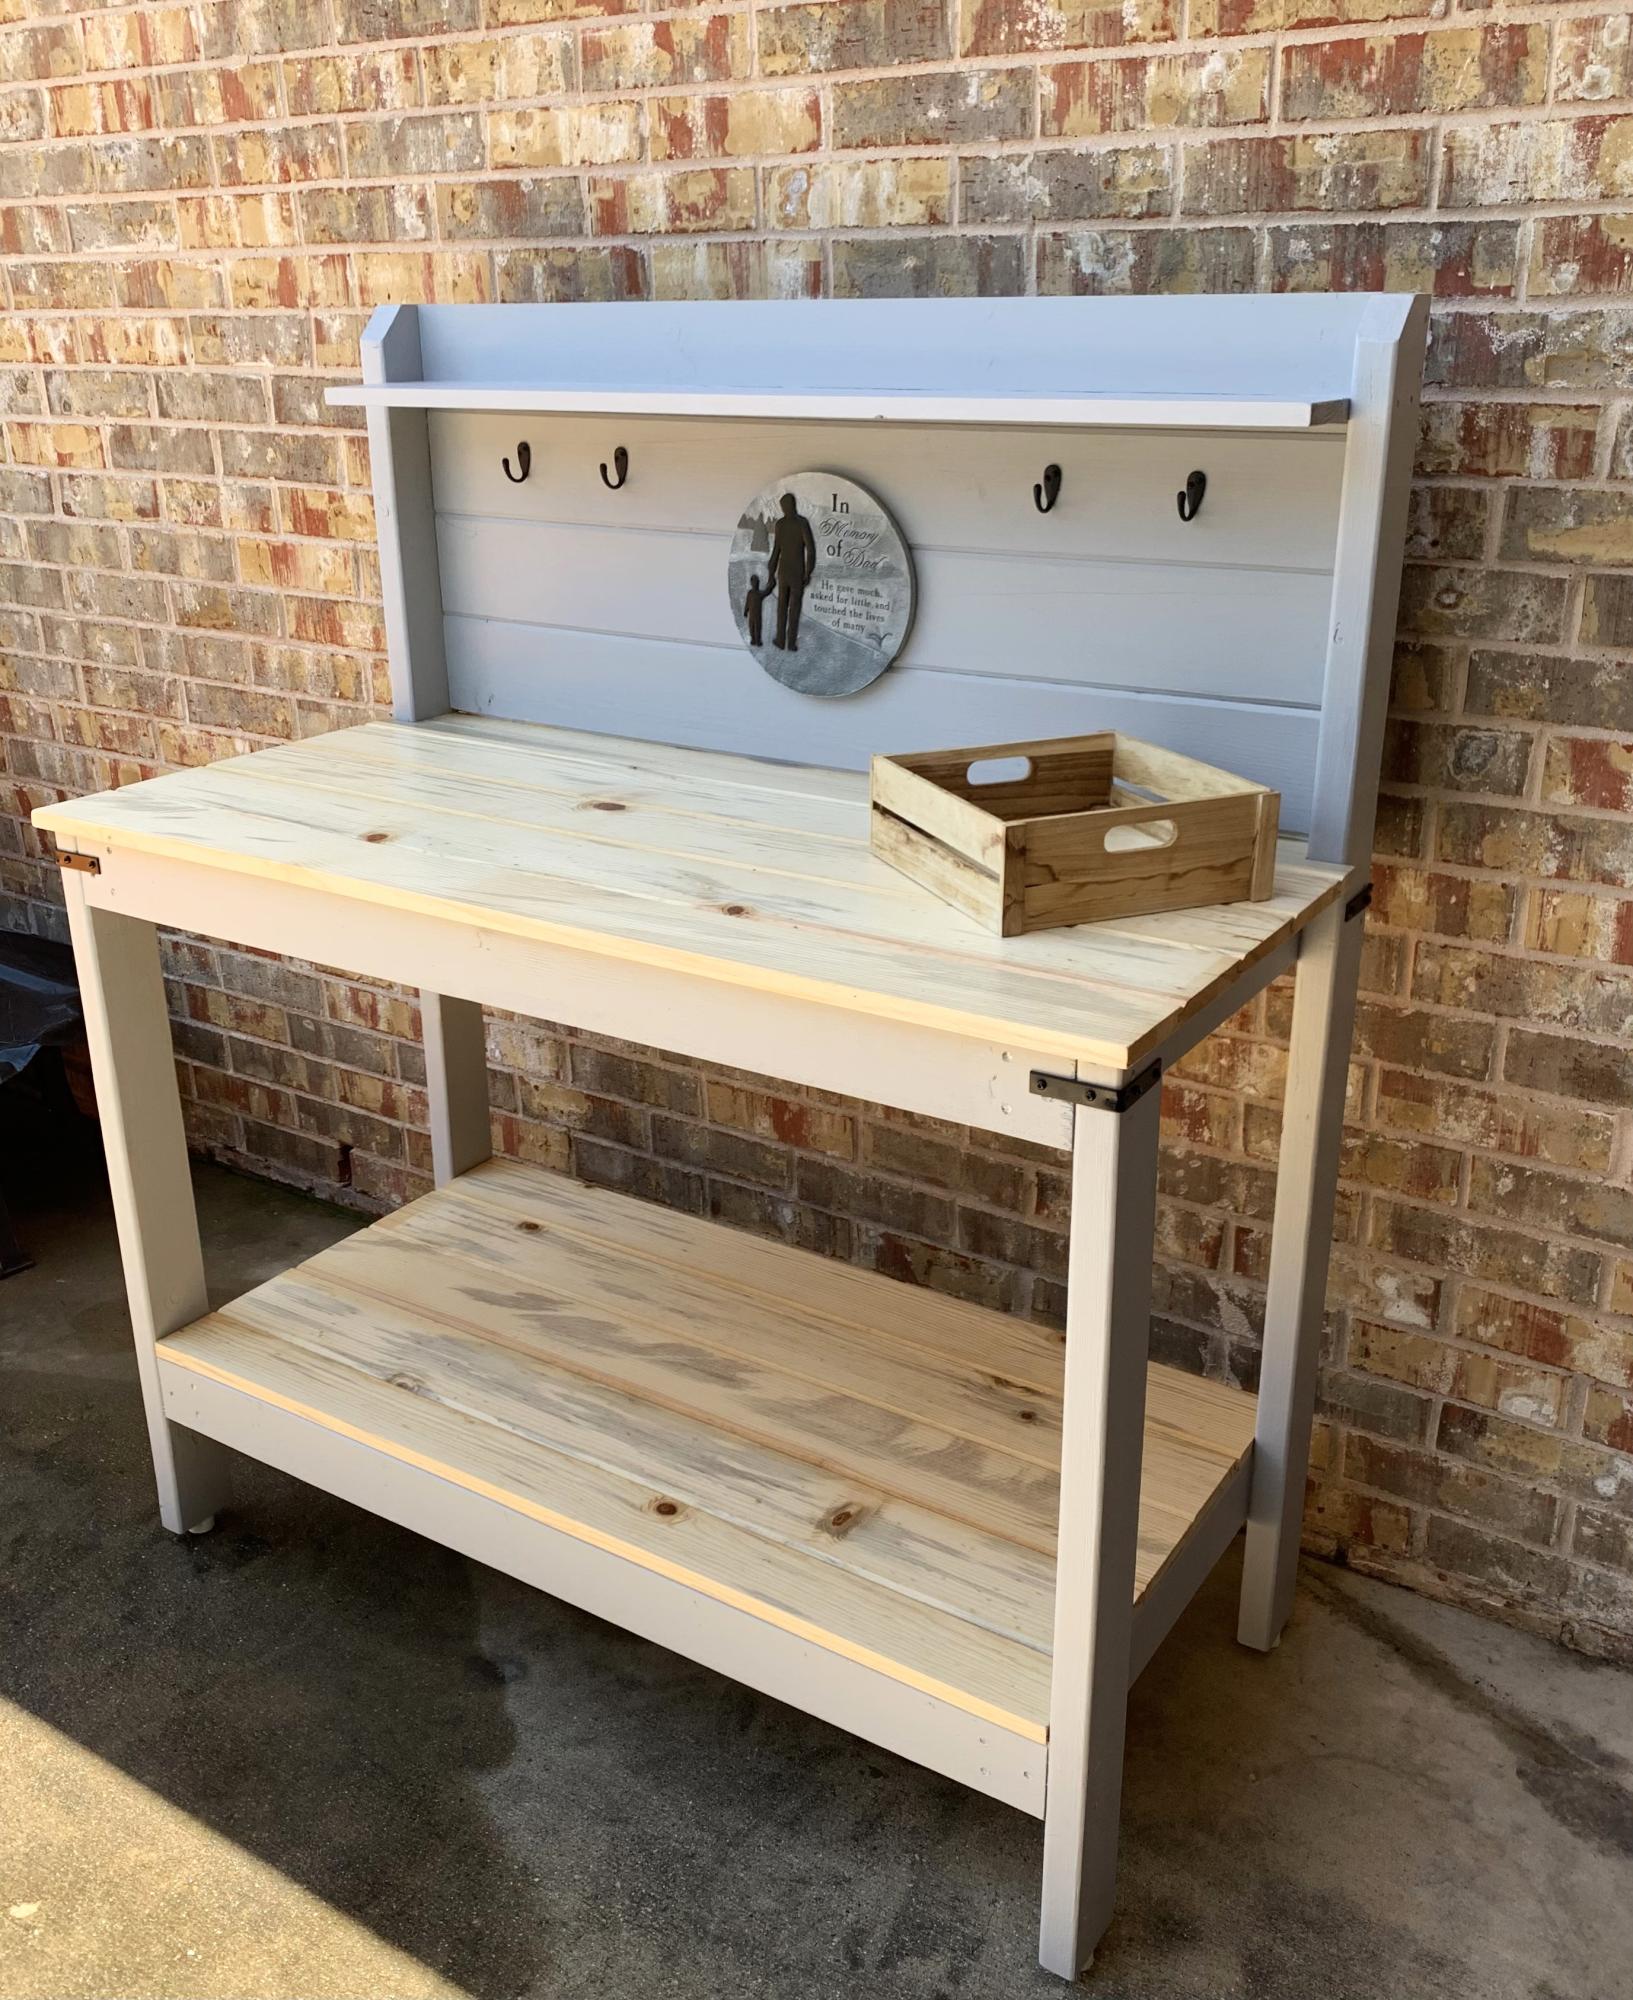
Dad was an avid gardener. After he passed away we wanted to build something in memory of him for our garden. Thanks for the inspiration to build this potters bench.
Built from Plan(s)
Dad was an avid gardener. After he passed away we wanted to build something in memory of him for our garden. Thanks for the inspiration to build this potters bench.

This was my very first real DIY build project - and I loved every second of it! Ana has made me an addict and now I can't wait to get started on another great project she has provided to us here on the blog.
These ledges were incredibly easy to assemble. I painted them using the trim finish in our home so it looks like that have been here all along - love that!
Thank you Ana for the inspiration!!!


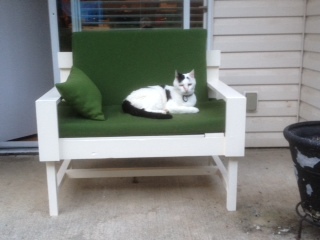
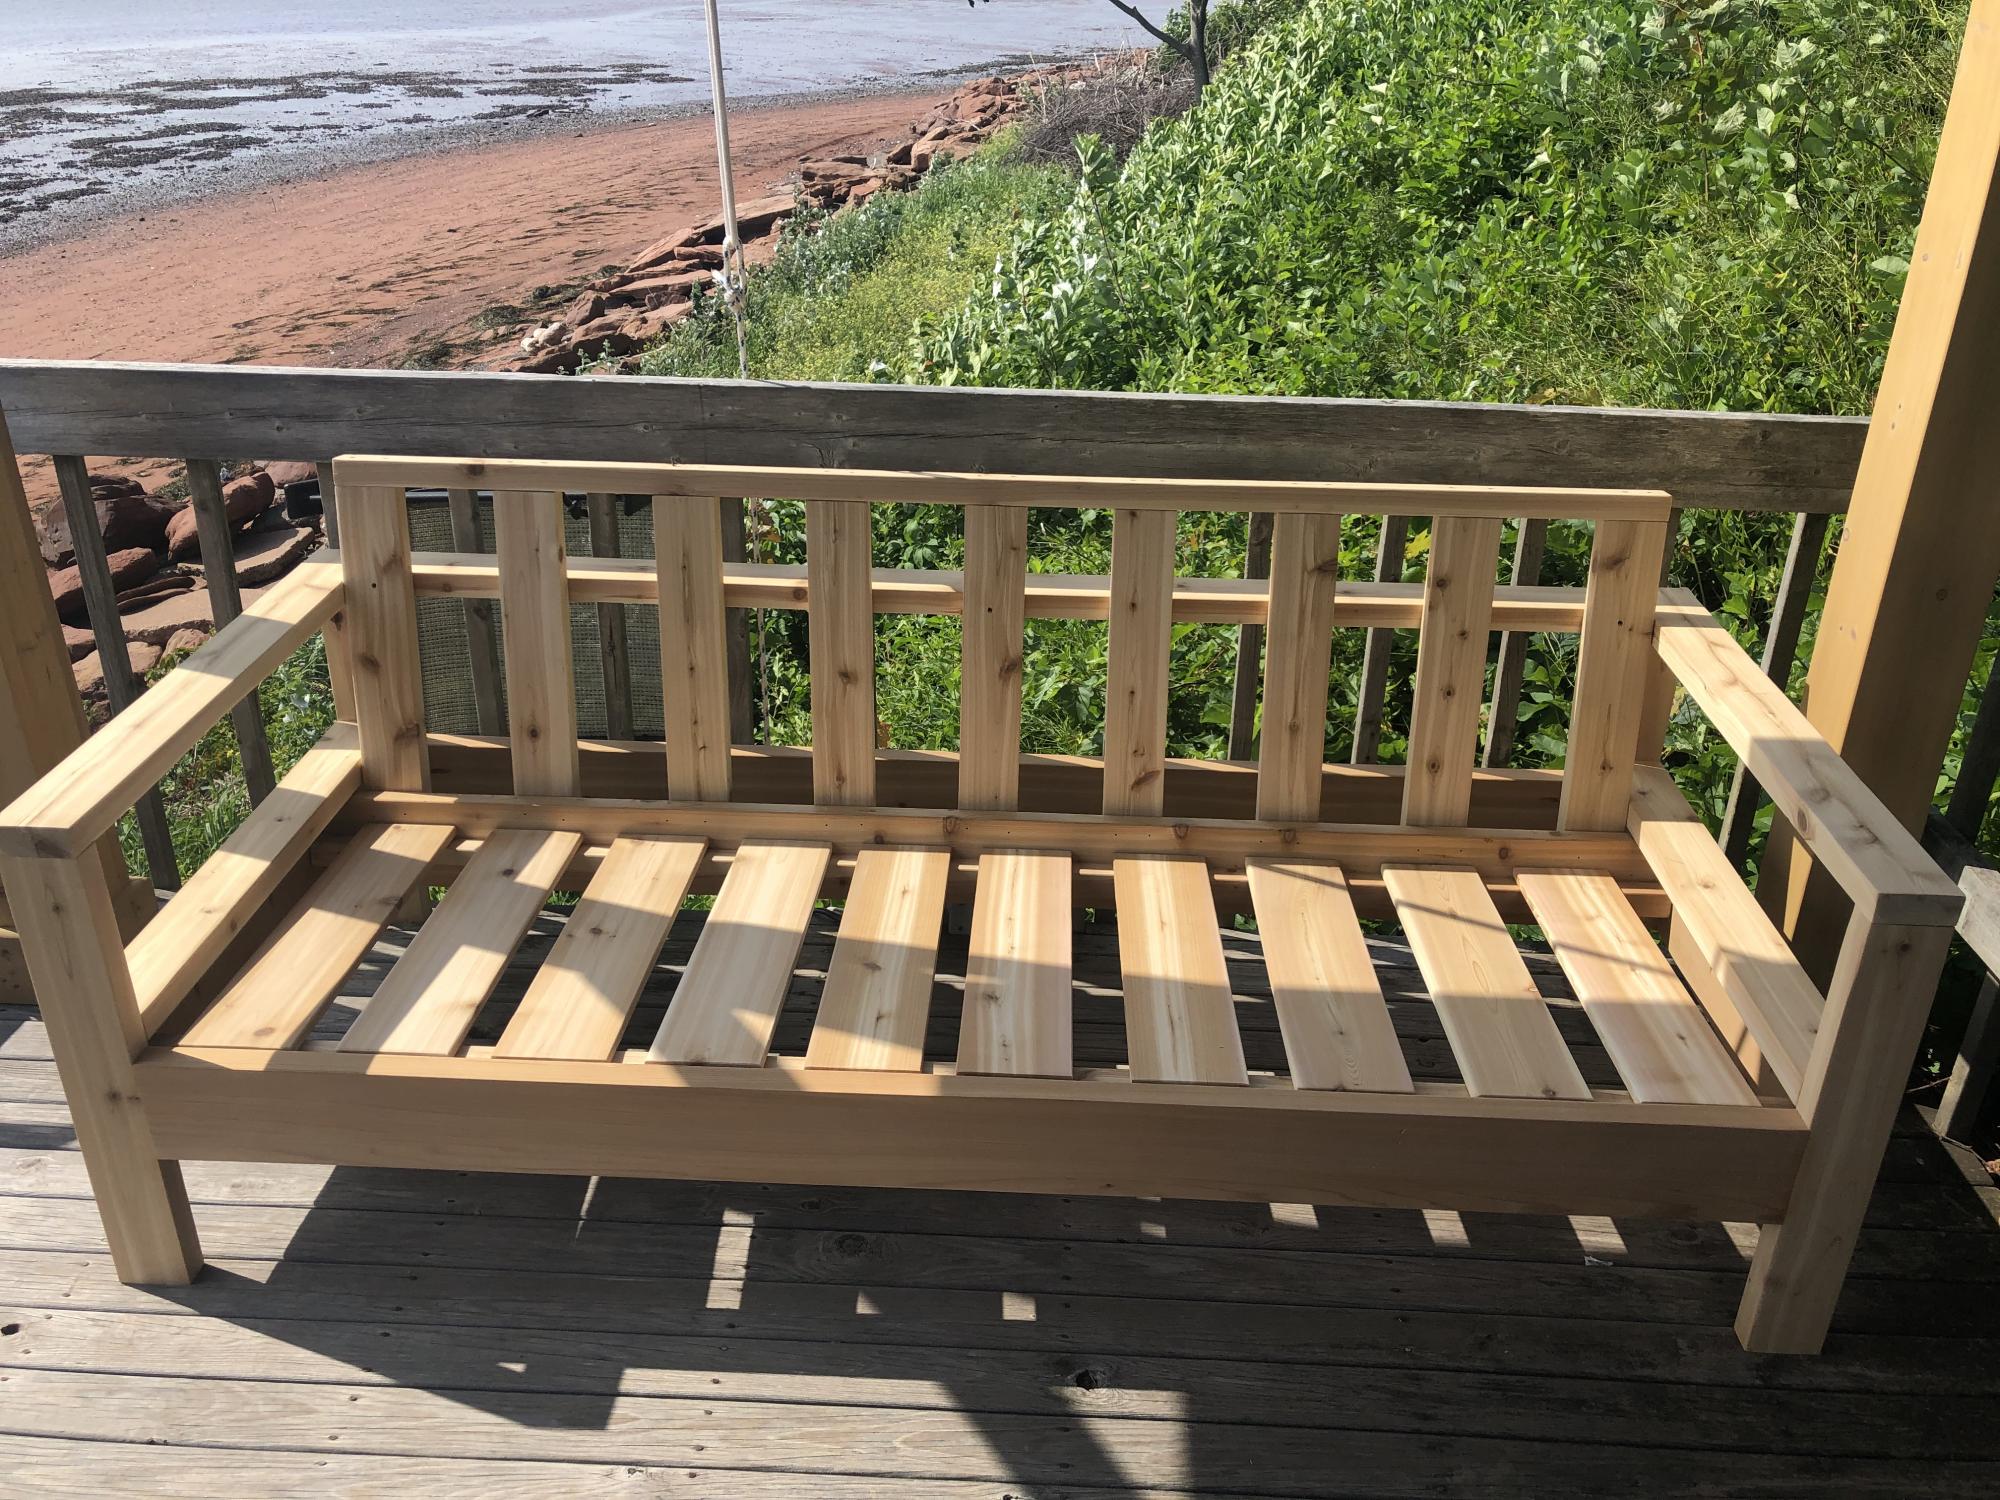
This is the large modern porch swing, scaled down to 24" x 36" and made with 1x4 for the frame and 2x2 for the legs. It's put together with the Kreg jig, which I now use to build everything. I may add a photo of the bare bench, once the cat gets off it.
Sun, 07/20/2014 - 15:16
It looks wonderful! Cute kitty. Maybe you'll get a chance to sit on it eventually. ;)
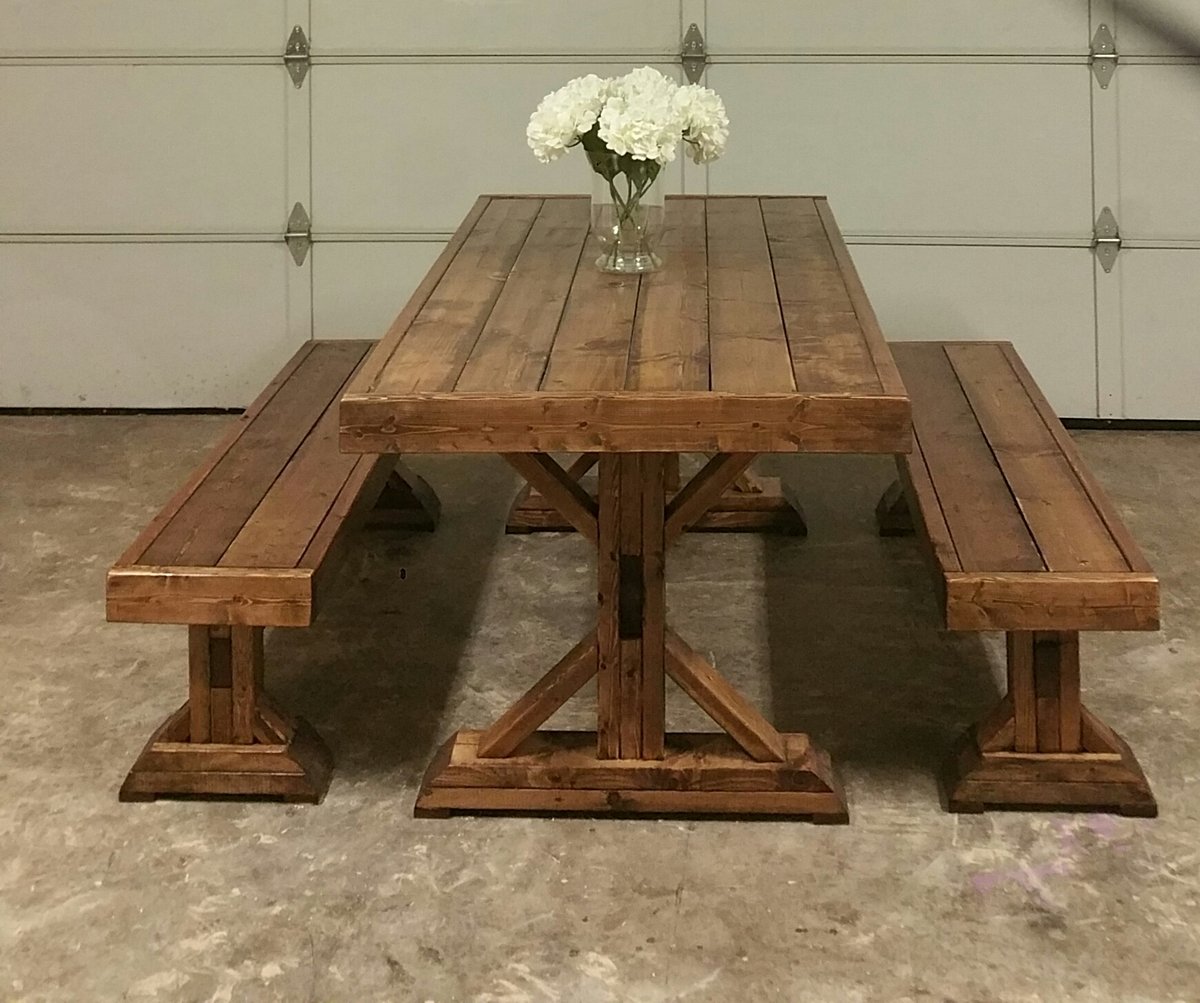
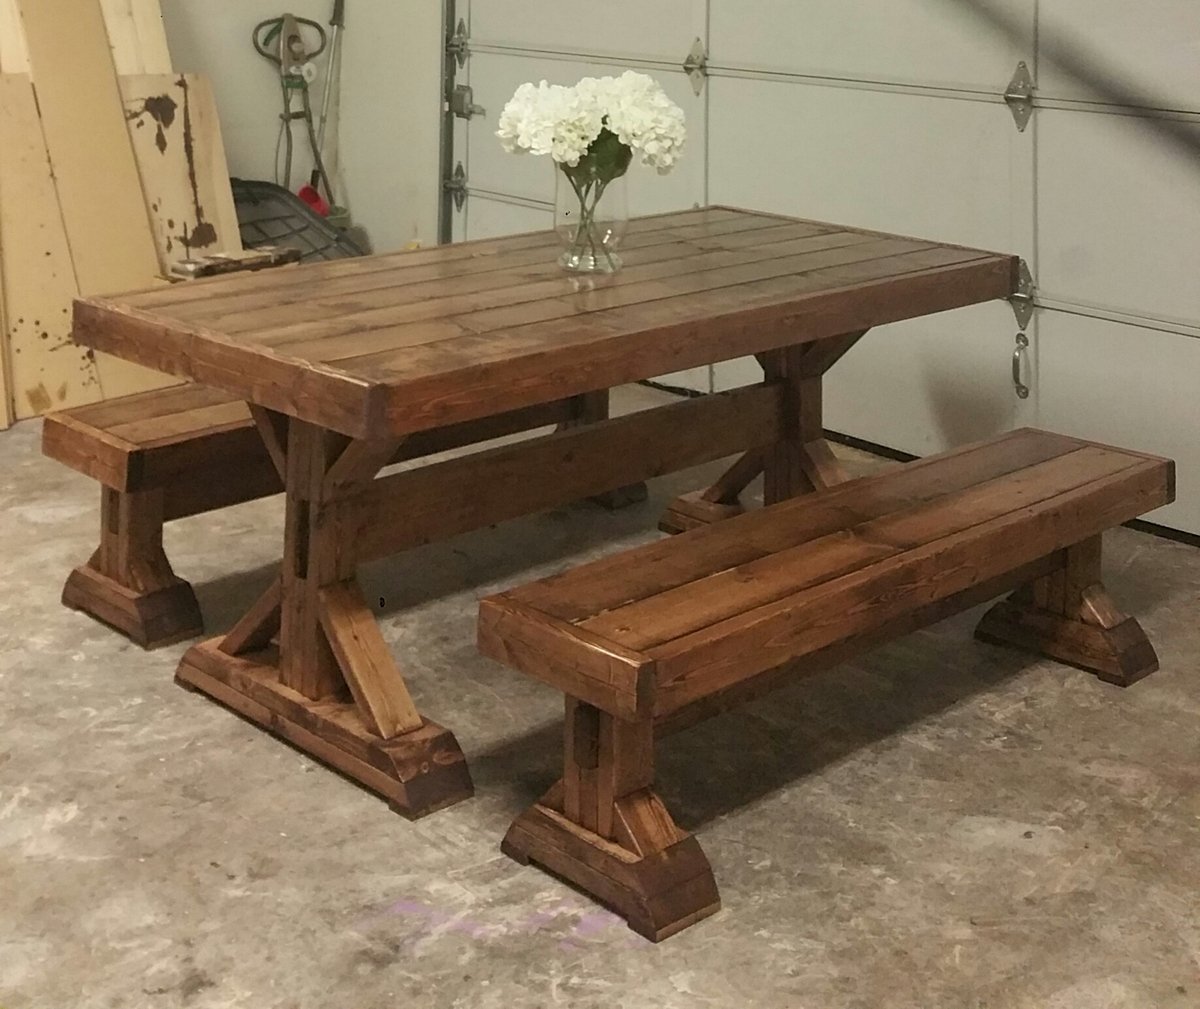
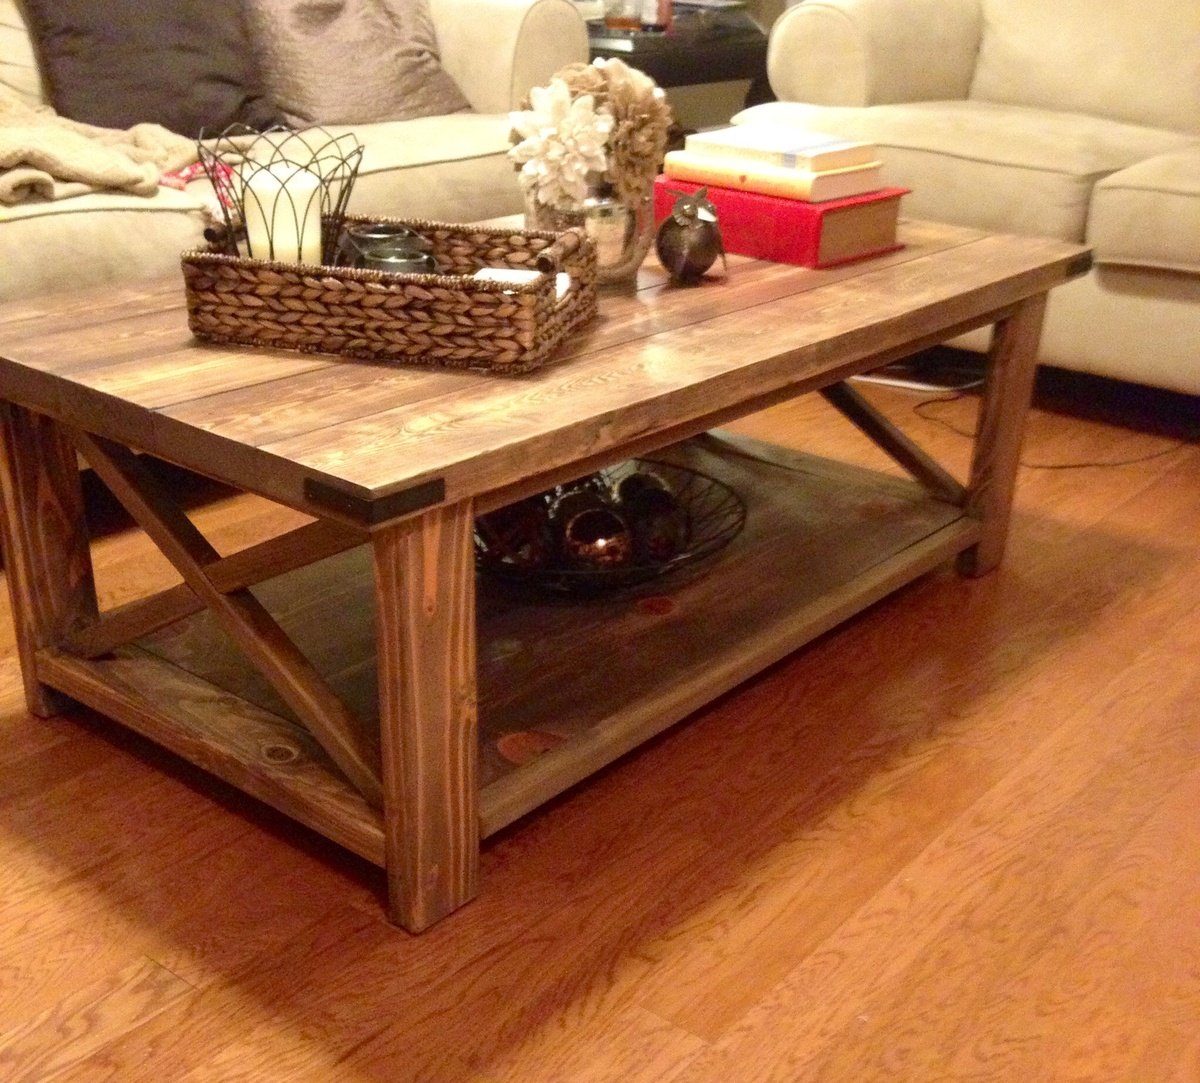
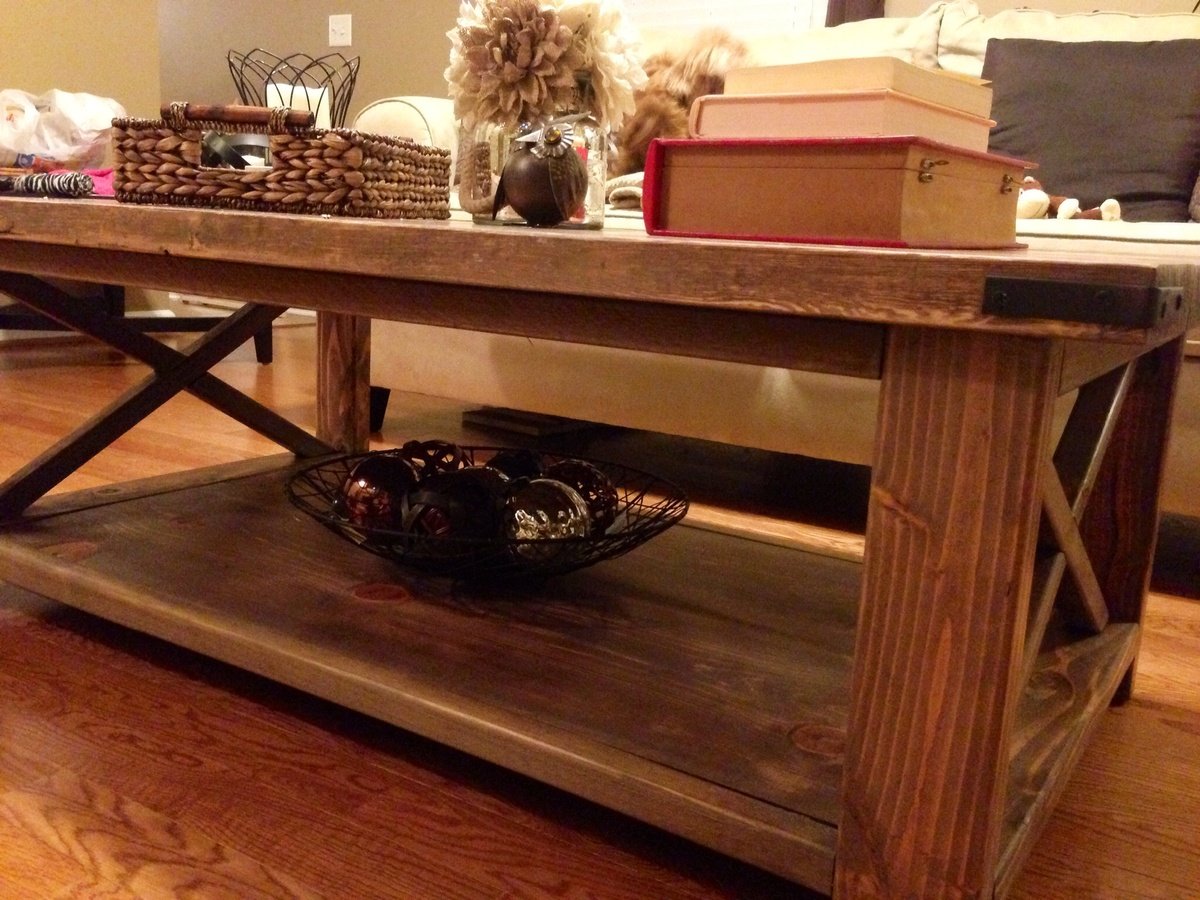
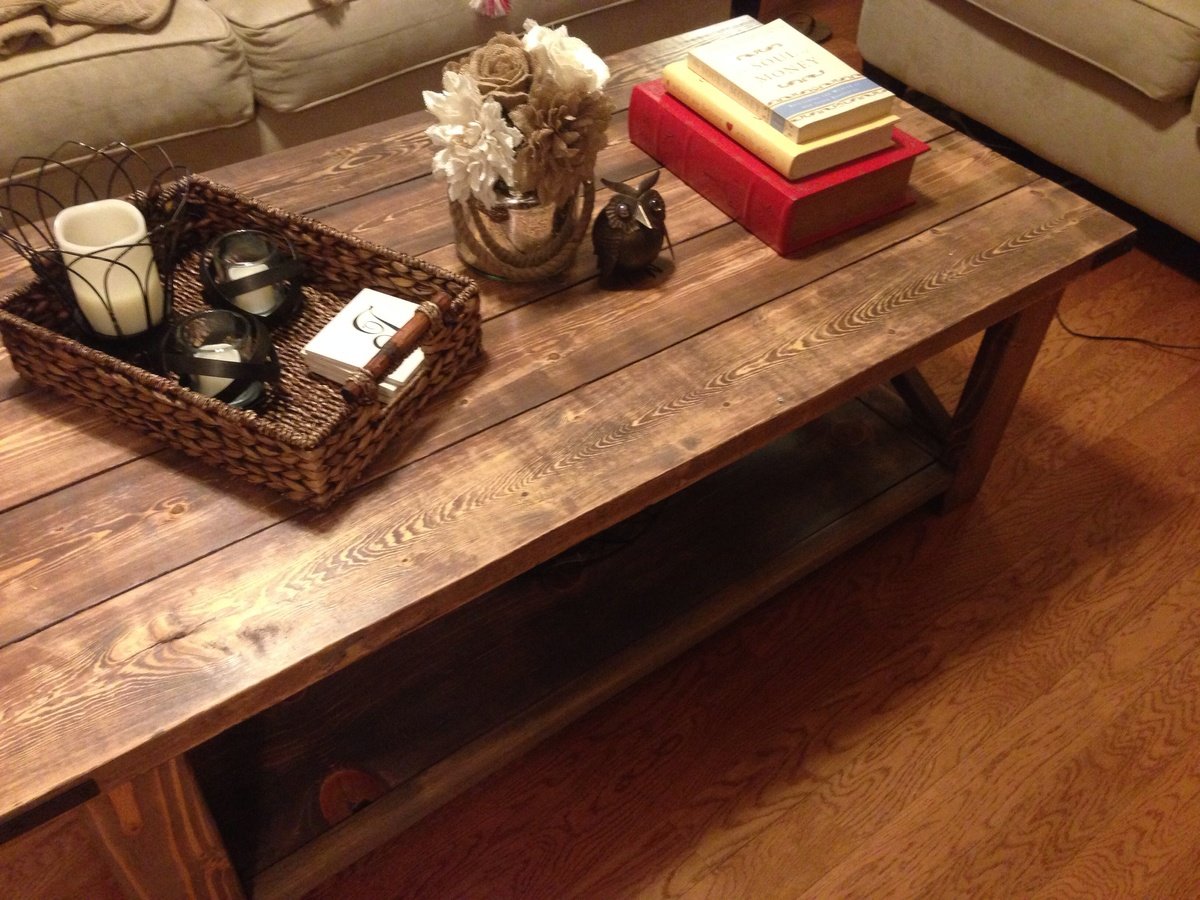
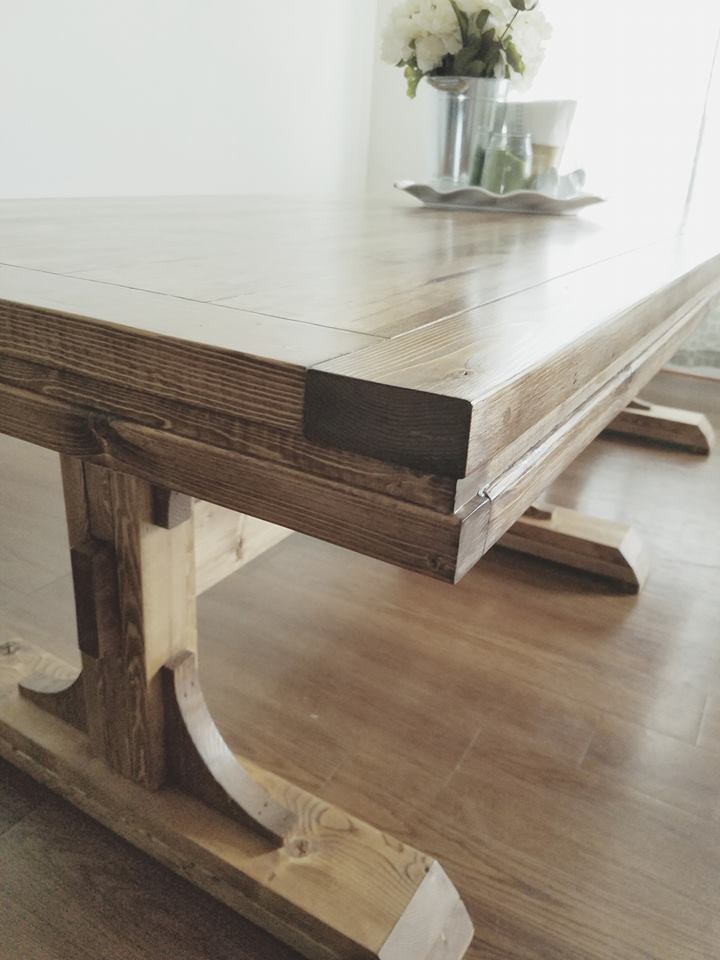
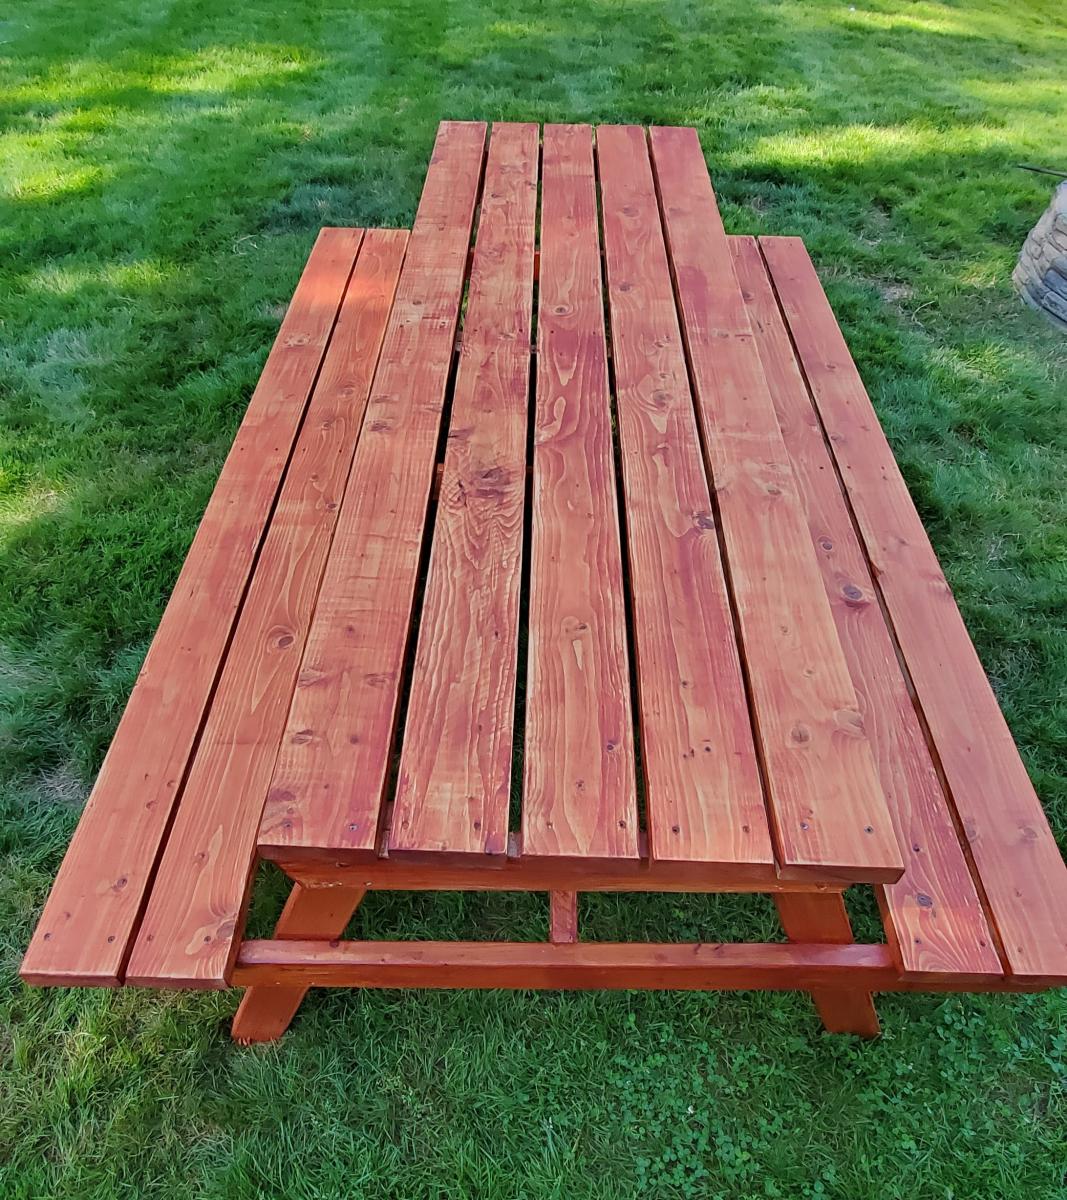
This table is 78 in which is shorter than the plans. I think it turned out great!

Great project! I modified slightly to fit Ikea's outdoor cushions and also used 1x6's for the seat slats as that's what I could get.
Minwax 'dark walnut' supports and minwax 'natural' table and seats; Minwax helmsman polyurethane gloss. 45° angled all corners and quarter round routered all top edges. Countersank screws, and added a bolt here and there on the seat supports (because UNO is a full contact sport in our house...).
The table had 8 adults on it last weekend. Would be a tight squeeze for 8 to eat dinner, but visiting over sweet-tea was perfect.
Two adults on one side only is when the table wants to go opposite of gravity.
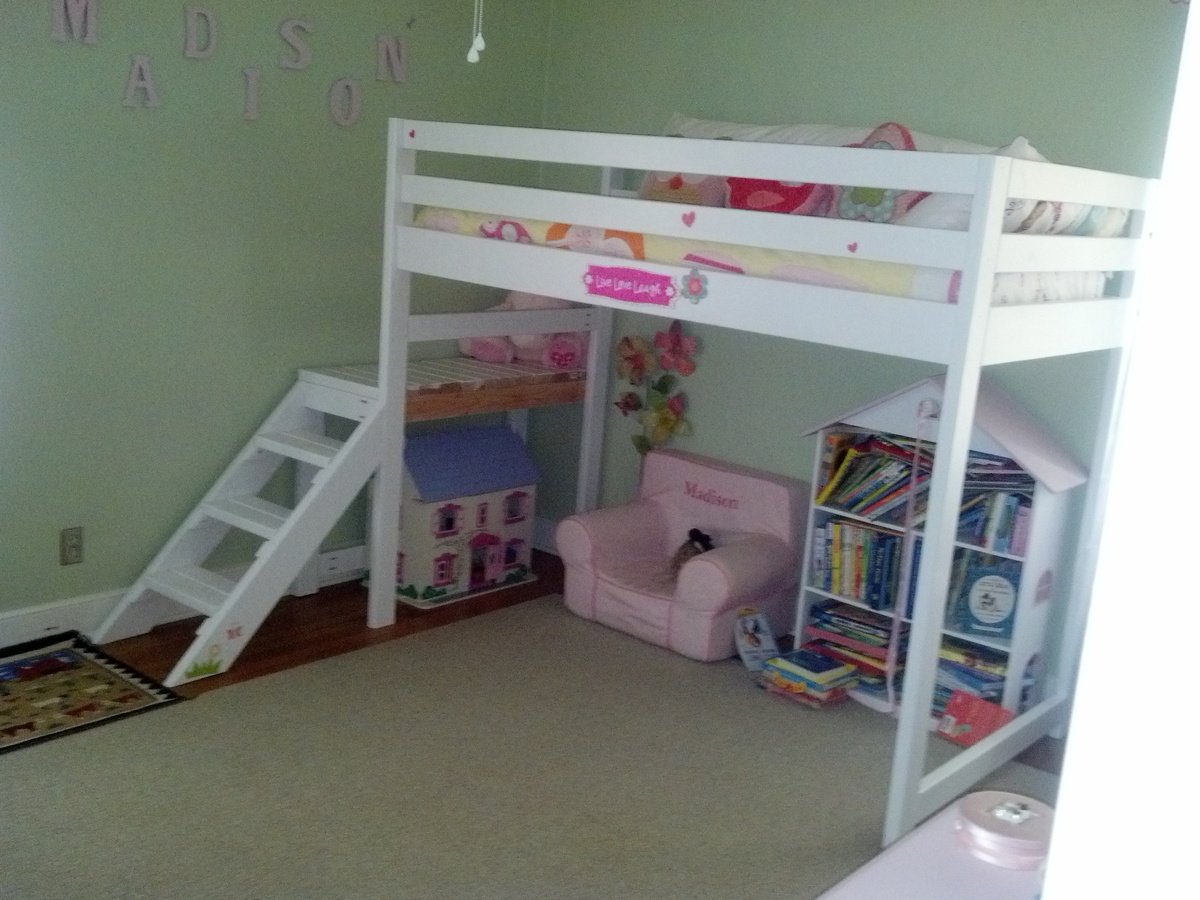
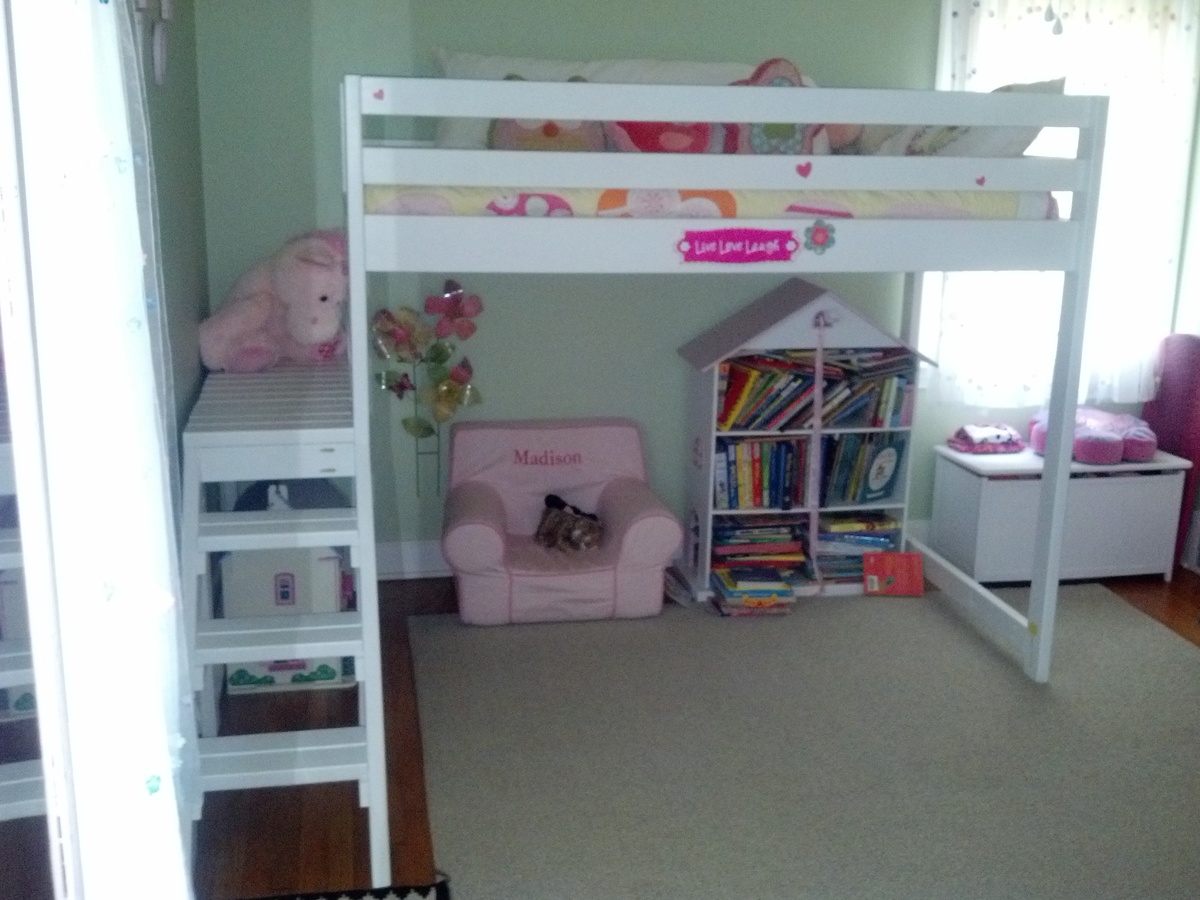
This was a fun project and my daughter loves her bed. She is the envy of all of her friends.
Great quick project, but painting on the other hand was very time consuming. This bed has one cost of latex Kills and 3 costs of Sherwin Williams interior eggshell.
To make the bed fit between the wall and window i had to shrink the stair width.
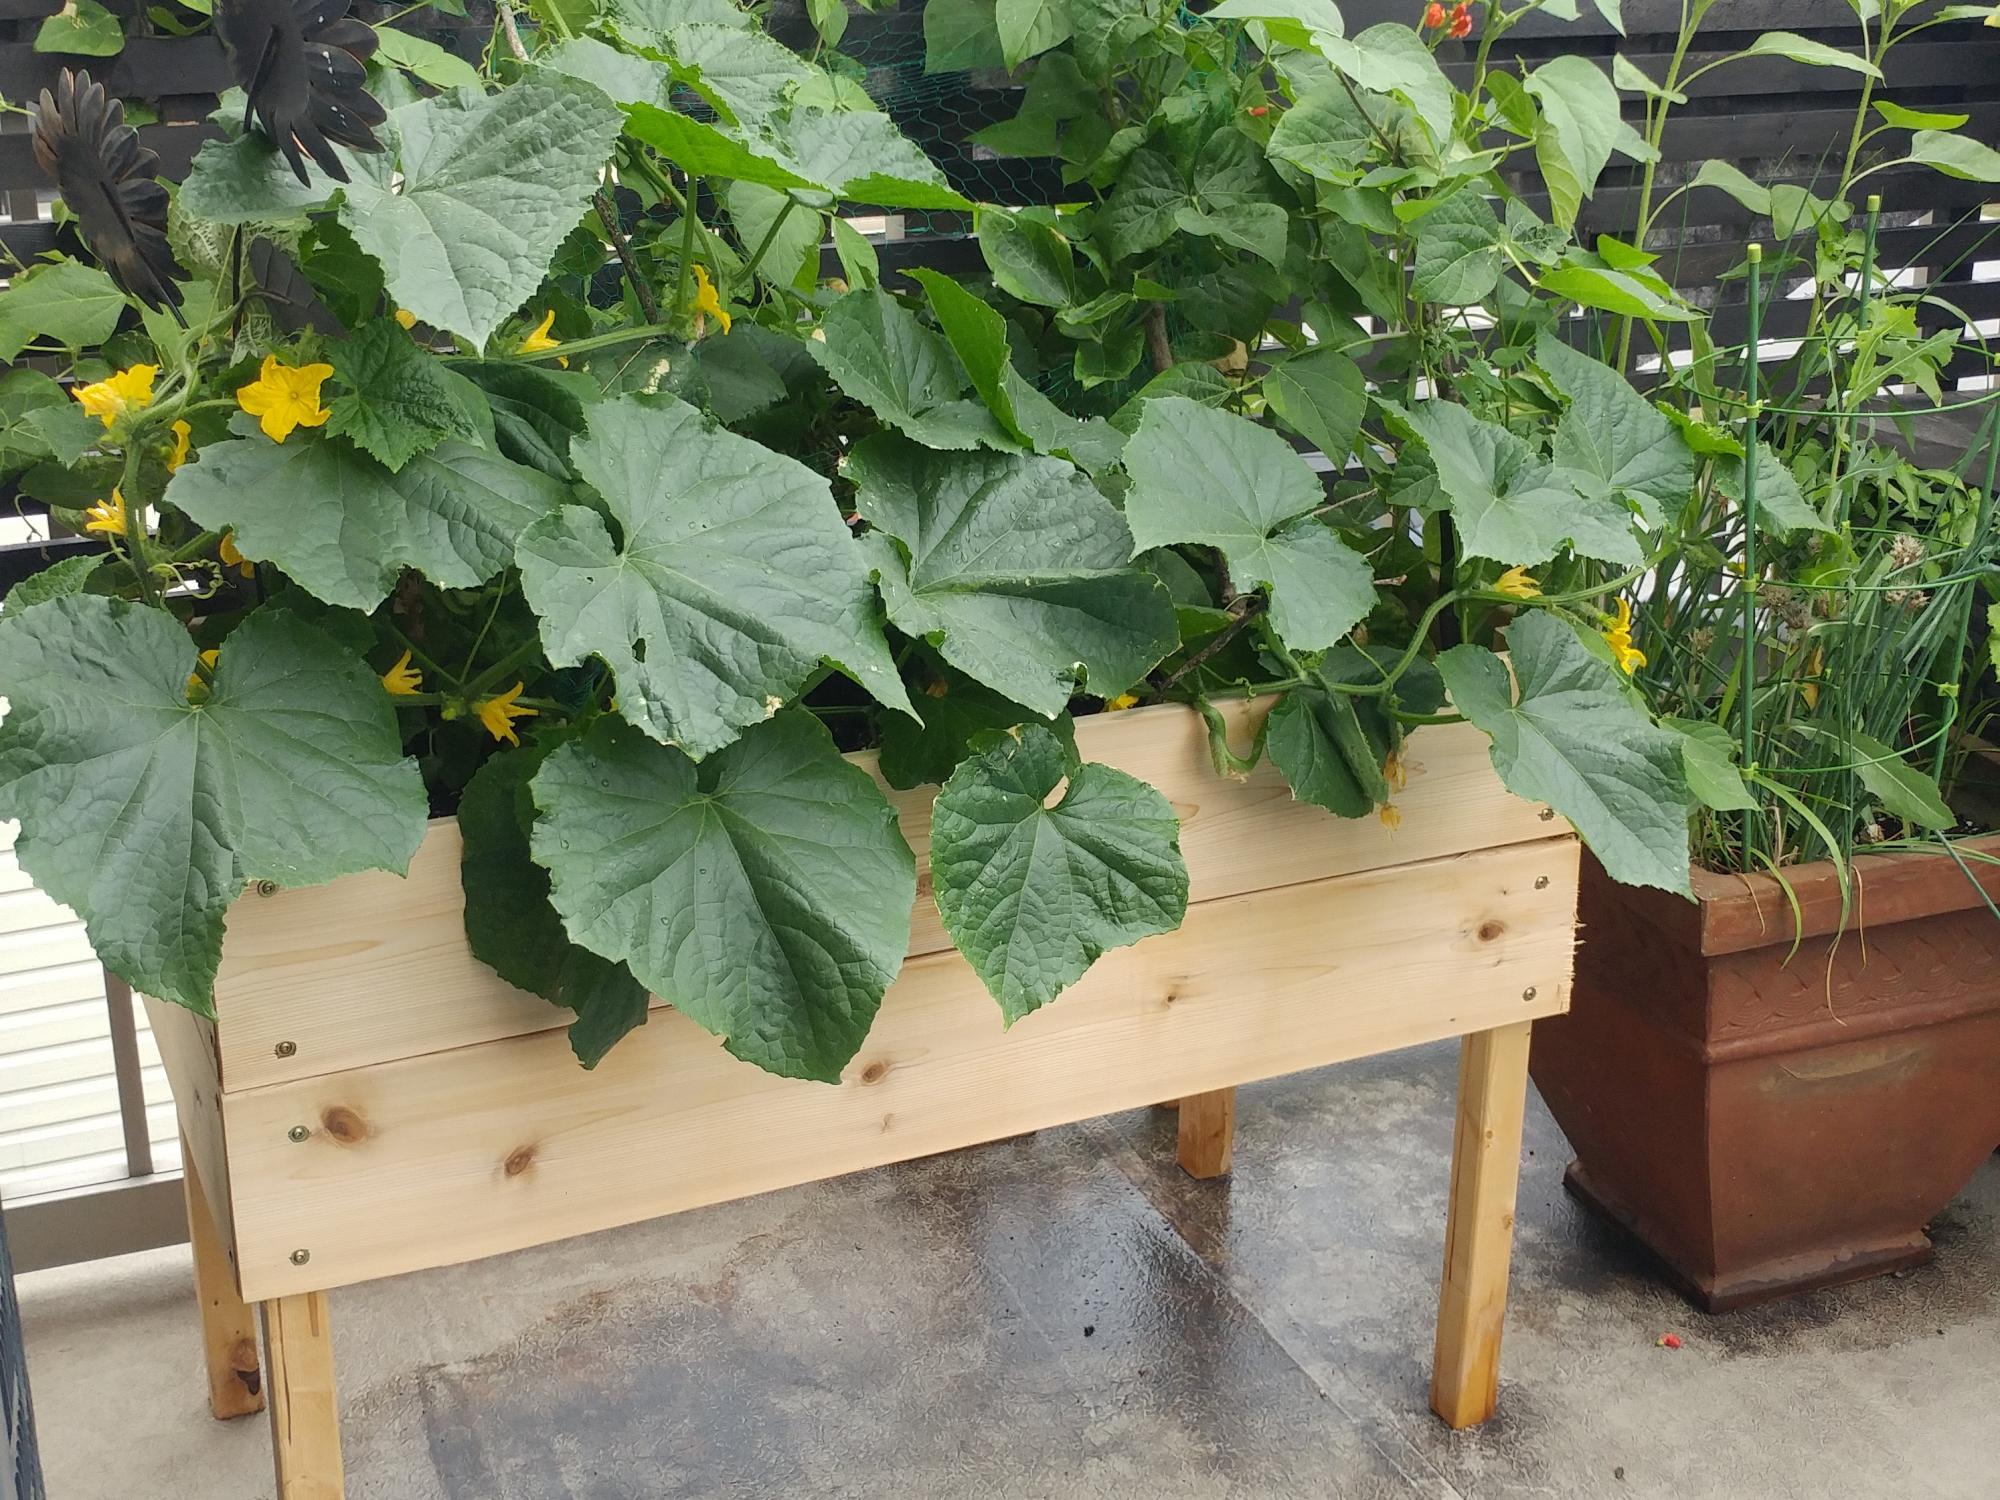
My first ever build! I made two of these planters for my deck. They were easy and the cucumbers and runner beans I grew from seed loved the deep soil in them! They make my little space feel like an oasis.
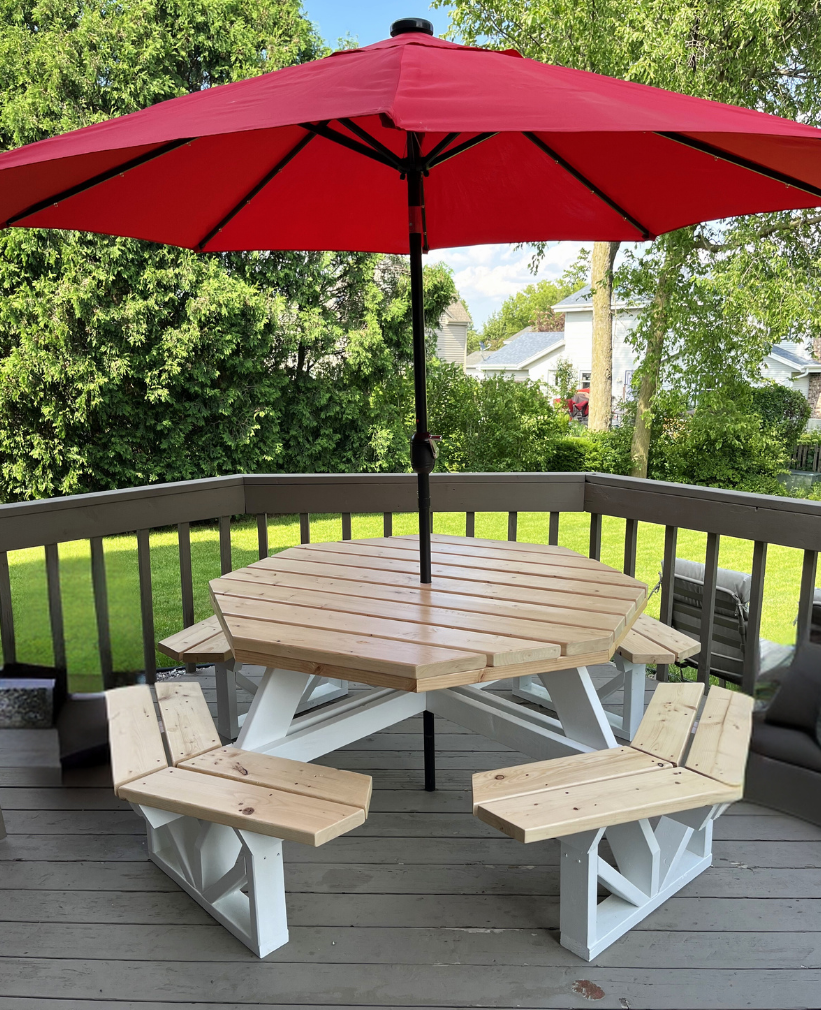
A new table for a new home for my son. Added hole and block for umbrella. Very satisfied with project and plans. Thanks Ana
Frank N.

I built this key locker from a jewelry armoire plan I found on TheDesignconfidential and the link is http://www.thedesignconfidential.com/2012/09/key-locker-aka-small-jewel…
It is a wonderful and simple design. Easy to build. Cost me abut $17 since I went for the S4S poplar wood for the frame and door. I used scrap hardwood flooring for the door face. The key is from Hobby Lobby at $2. All the rest including the knob, hinges, hooks, etc were gathering dust in my garage.

Fri, 09/28/2012 - 08:07
Ana the stool the locker is sitting on is one of my very first projects I got from your site. It definitely is the most useful and used.
This was our first project and I love how it turned out!

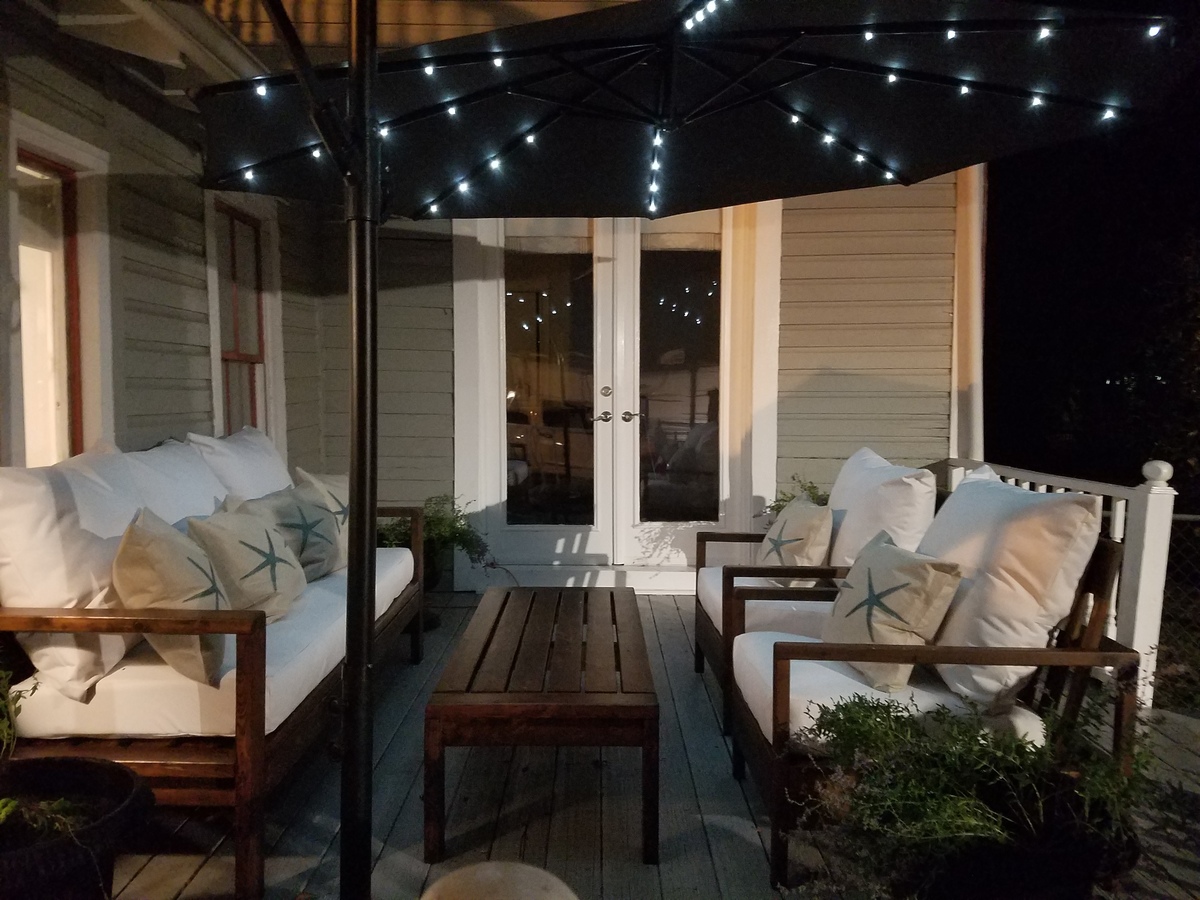
Between my day job and daily chores I somehow managed to build this, make the stain with the vinegar/steel wool, and sew all the cushions in about a week and a half. The hardest part for me was lifting the sofa onto the deck by myself after I built it.
I also made the chairs from this site (simple white outdoor chair) and the coffee table.
Thanks Ana and everyone for contributing your plans and for everyone posting their projects. It helps me do it to.
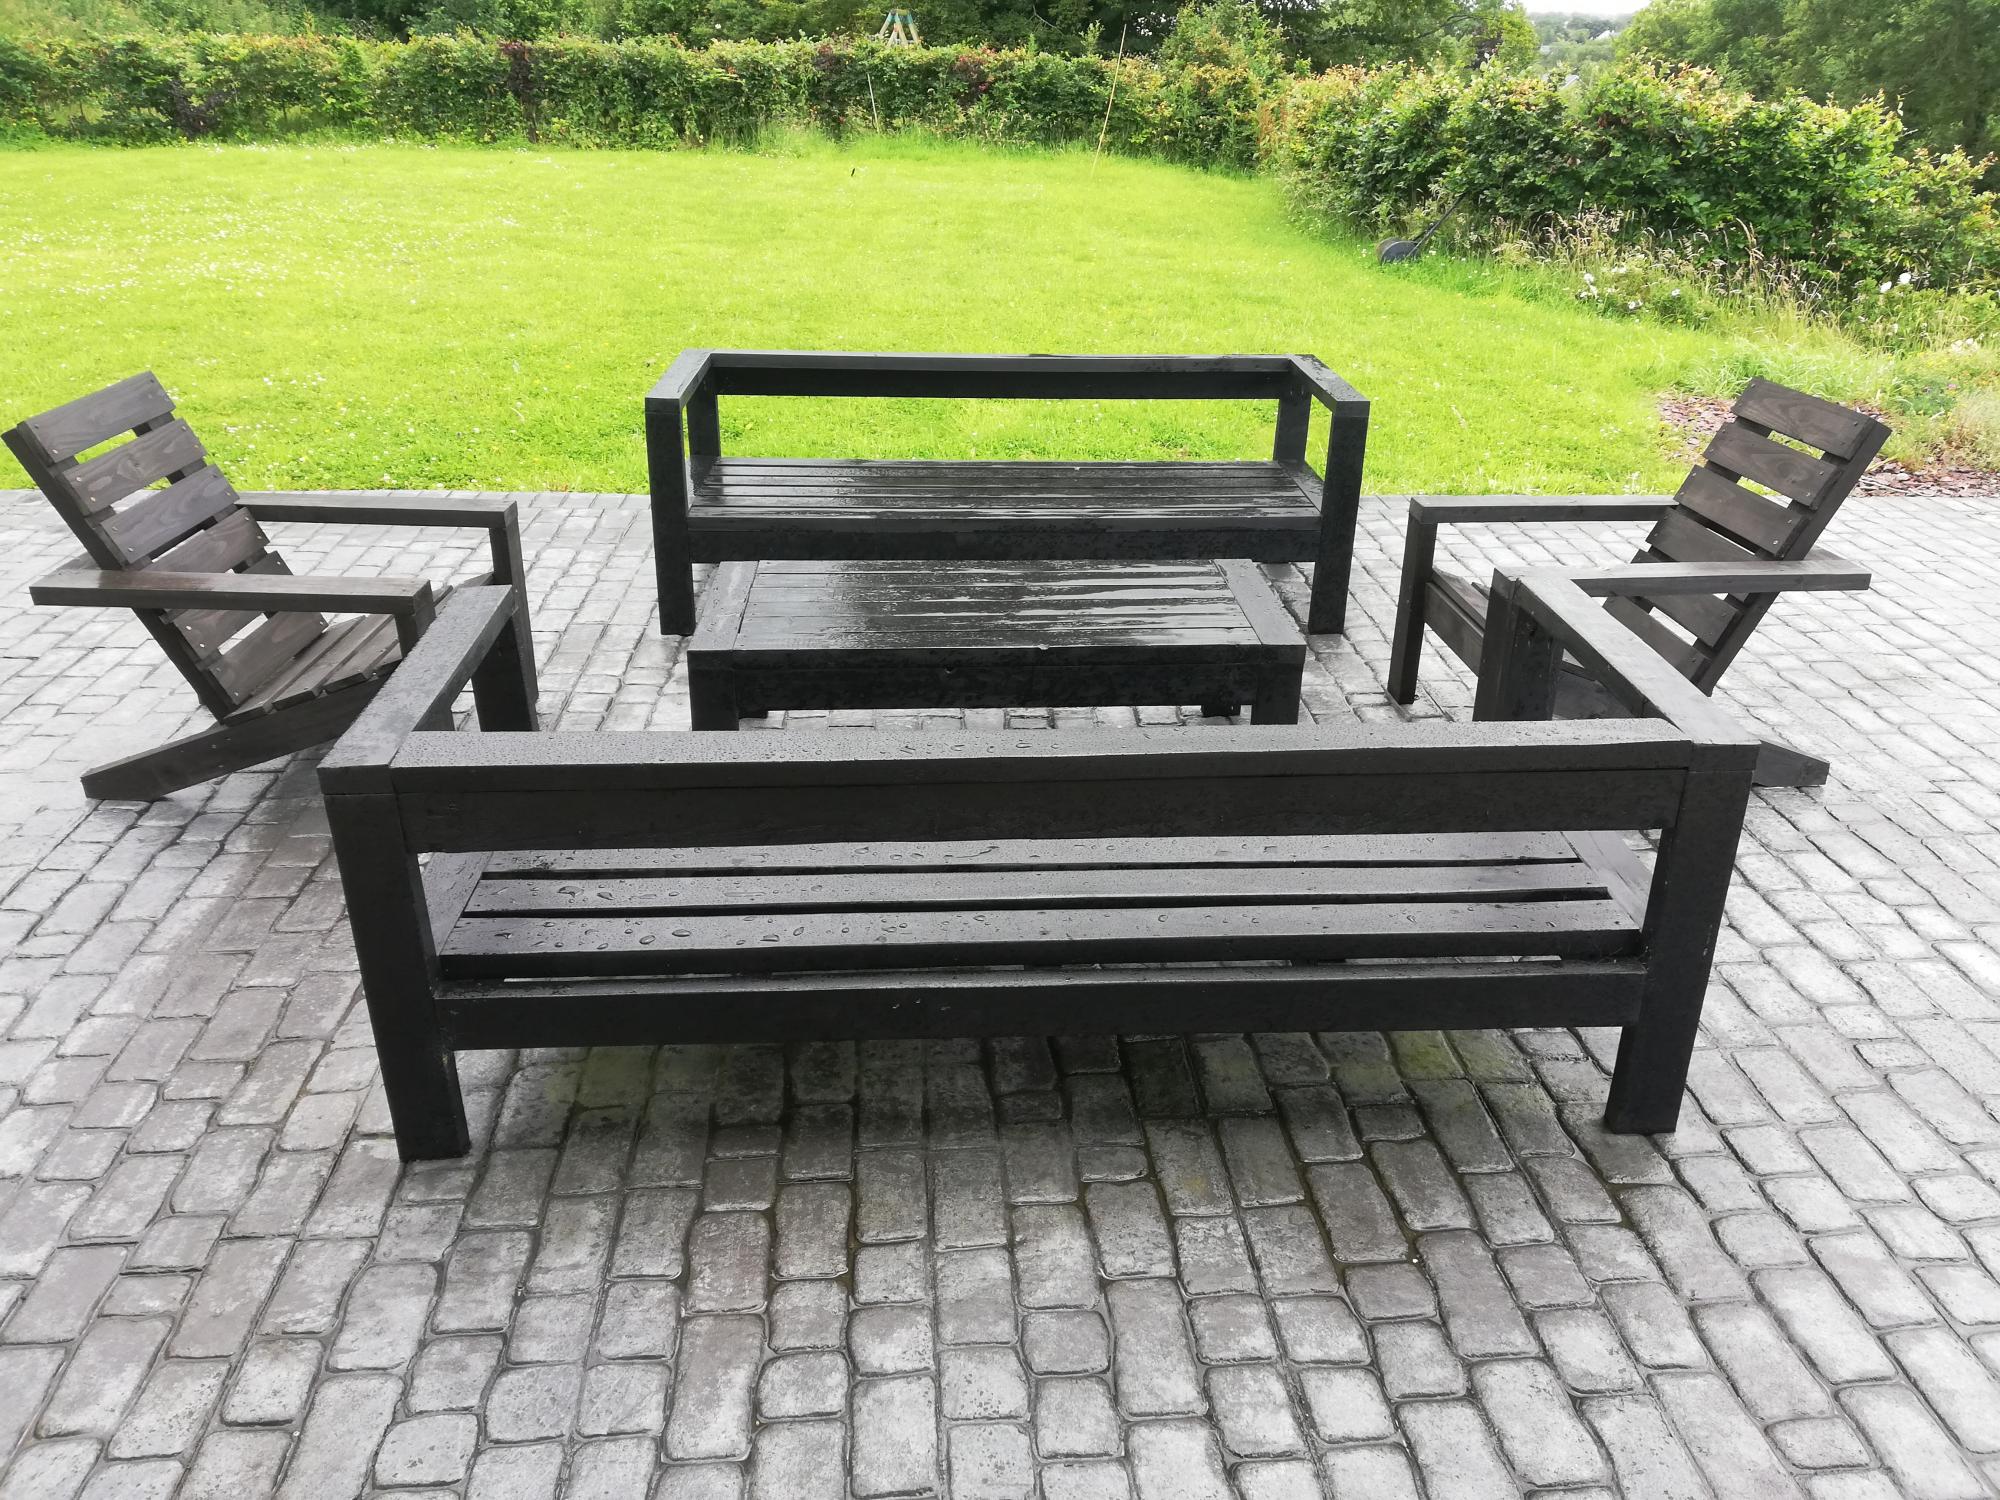
Thanks Ana for your easy to follow plans - I made the sofas and coffee table two years ago, and added the Adirondack chairs in June.

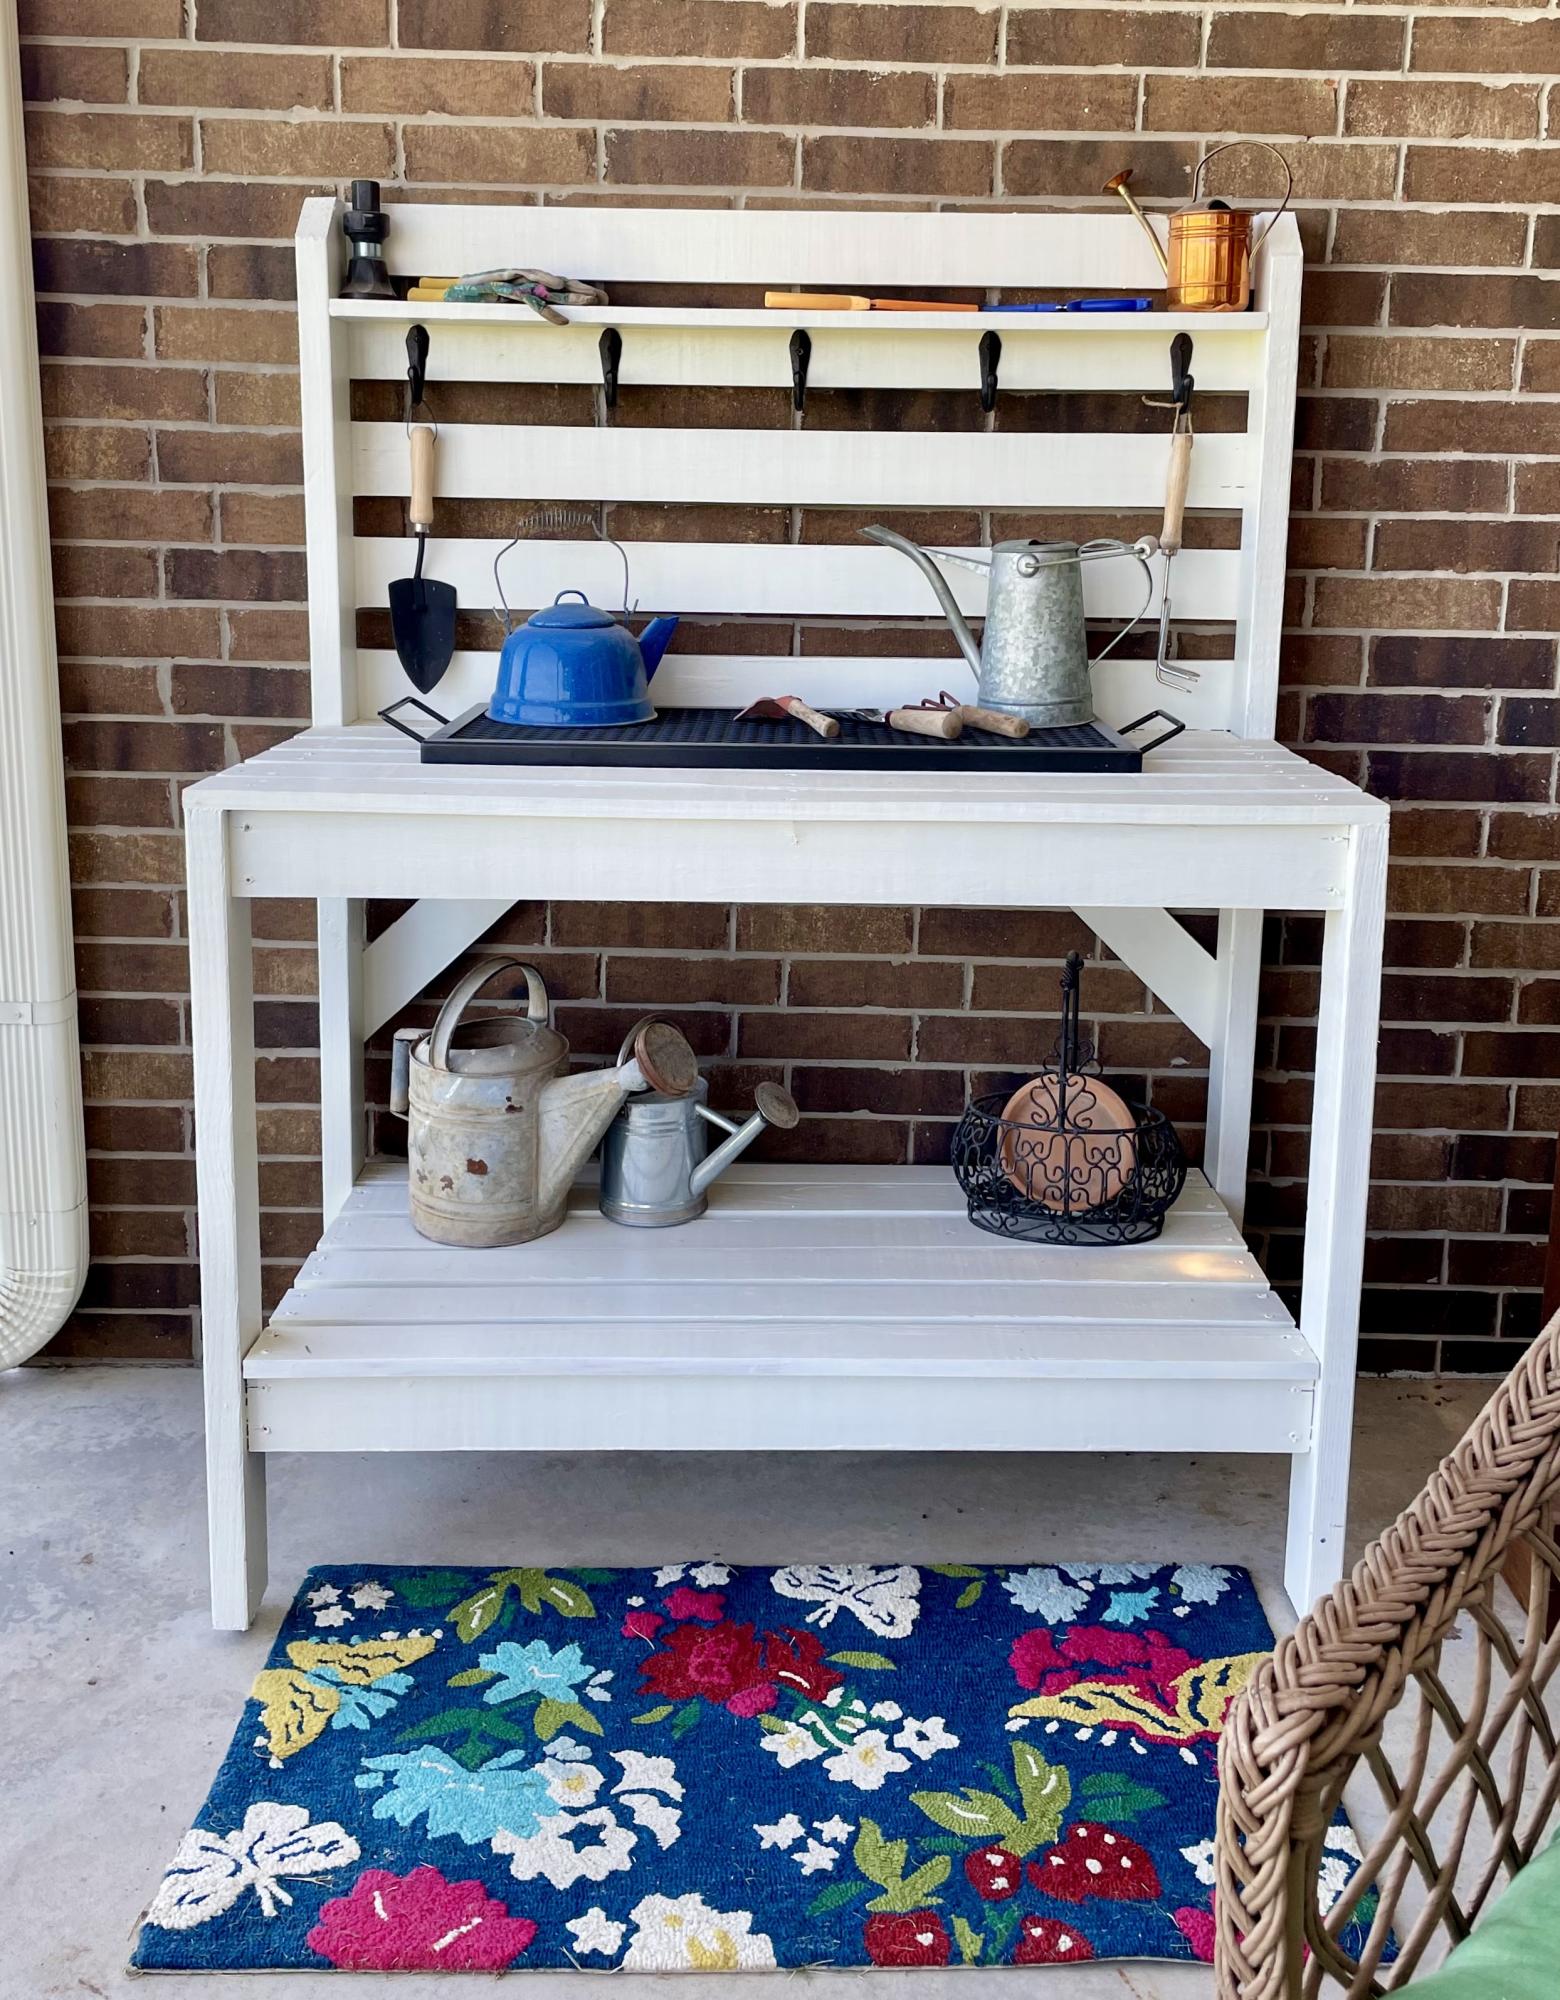
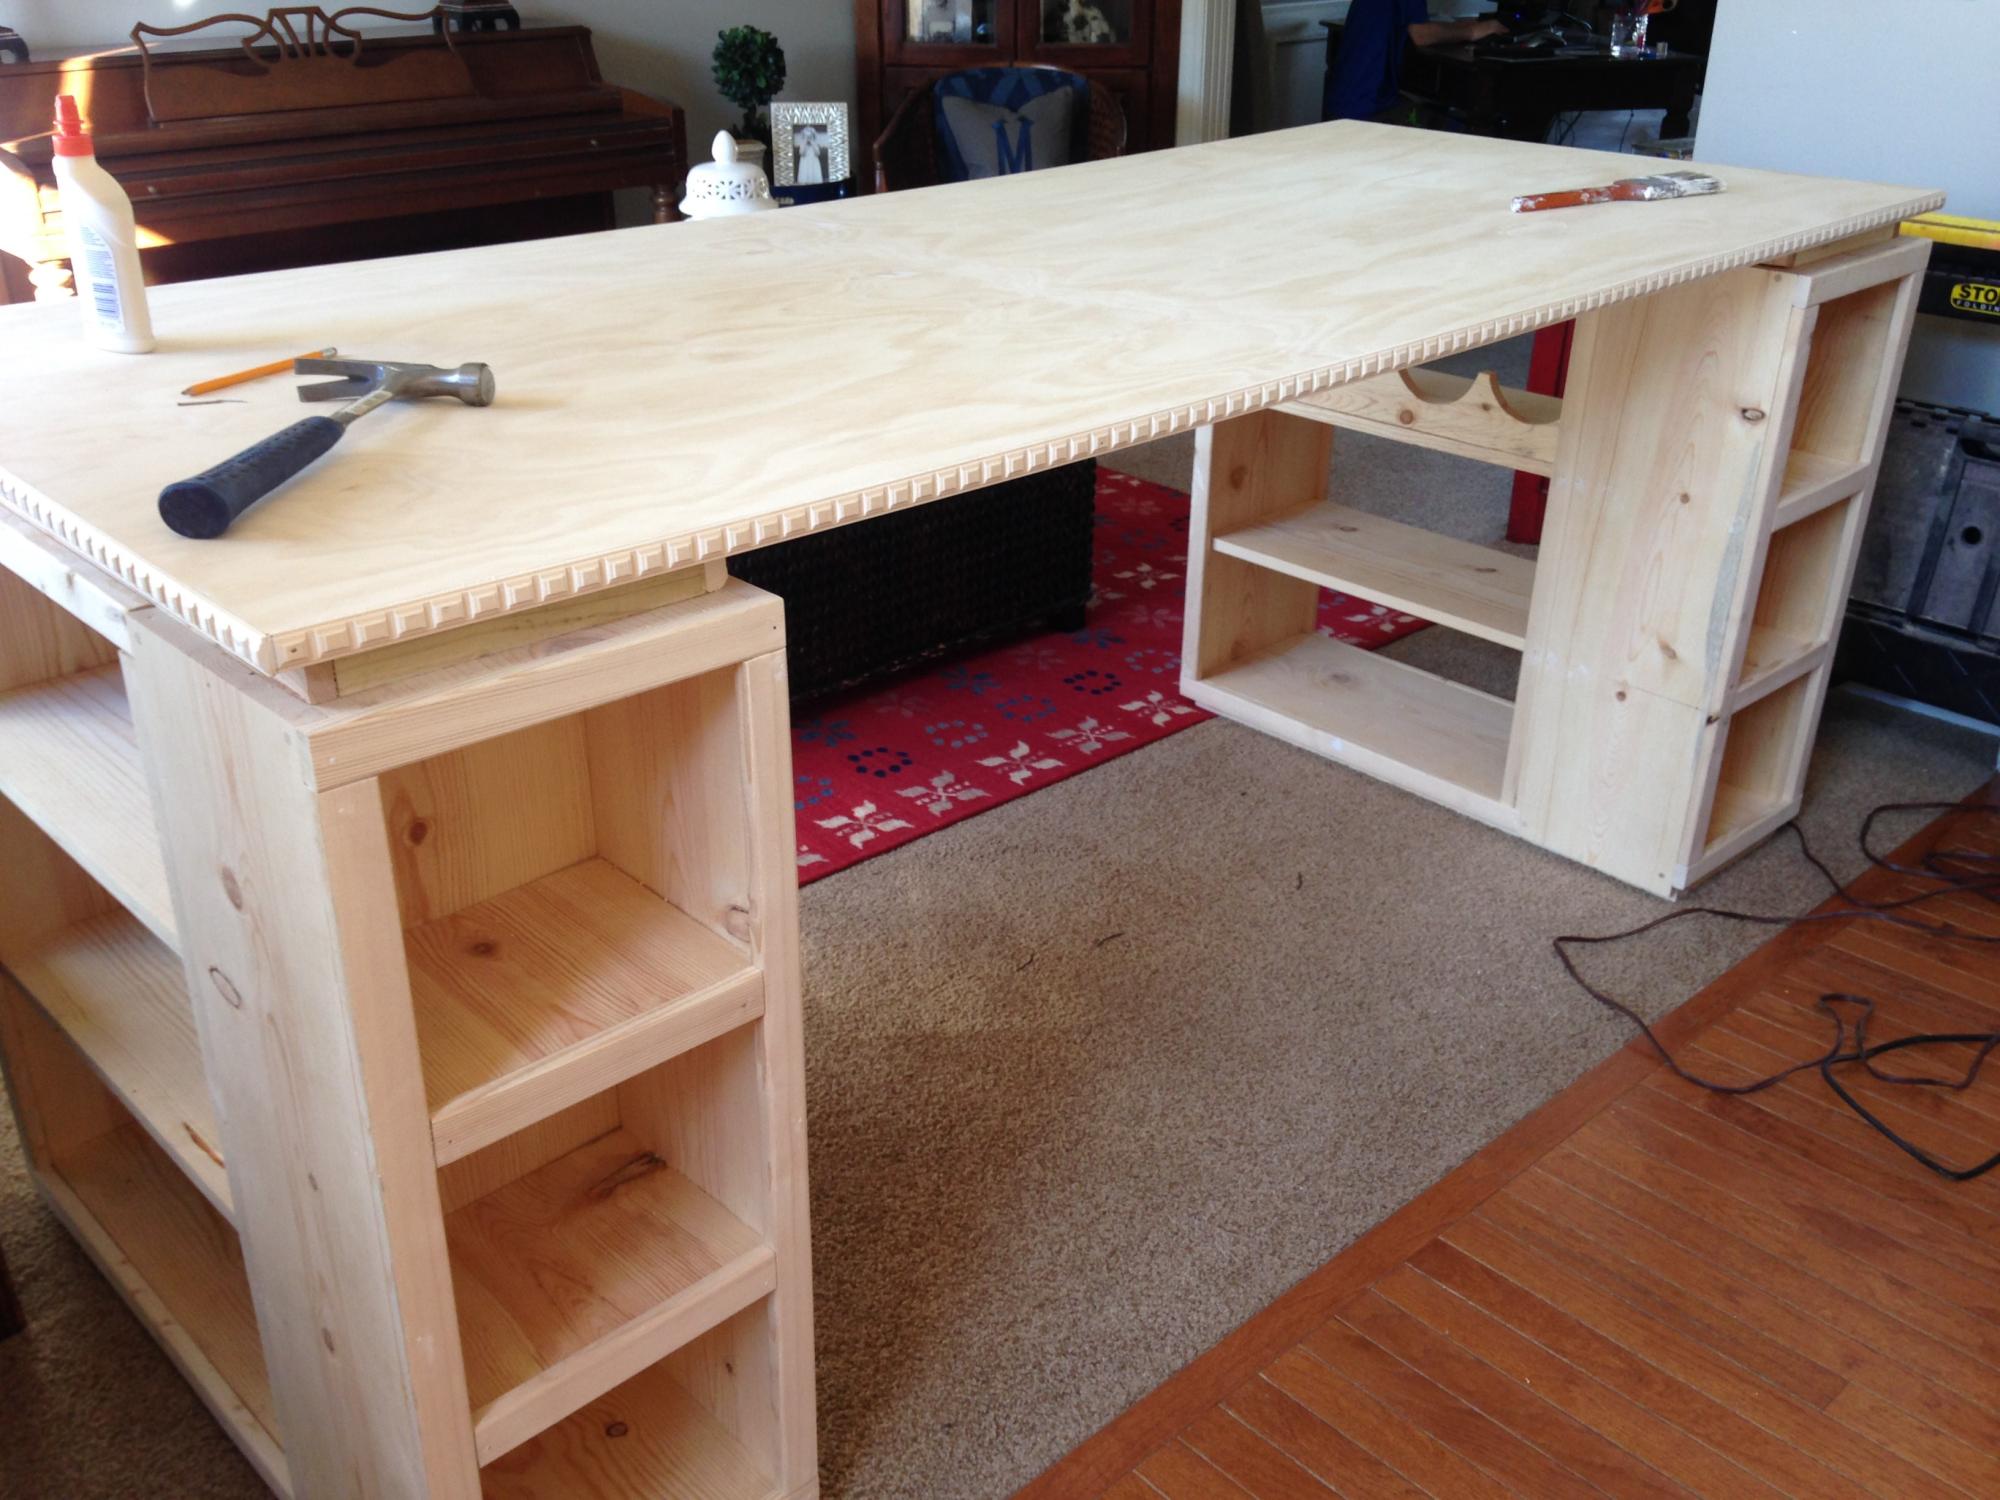
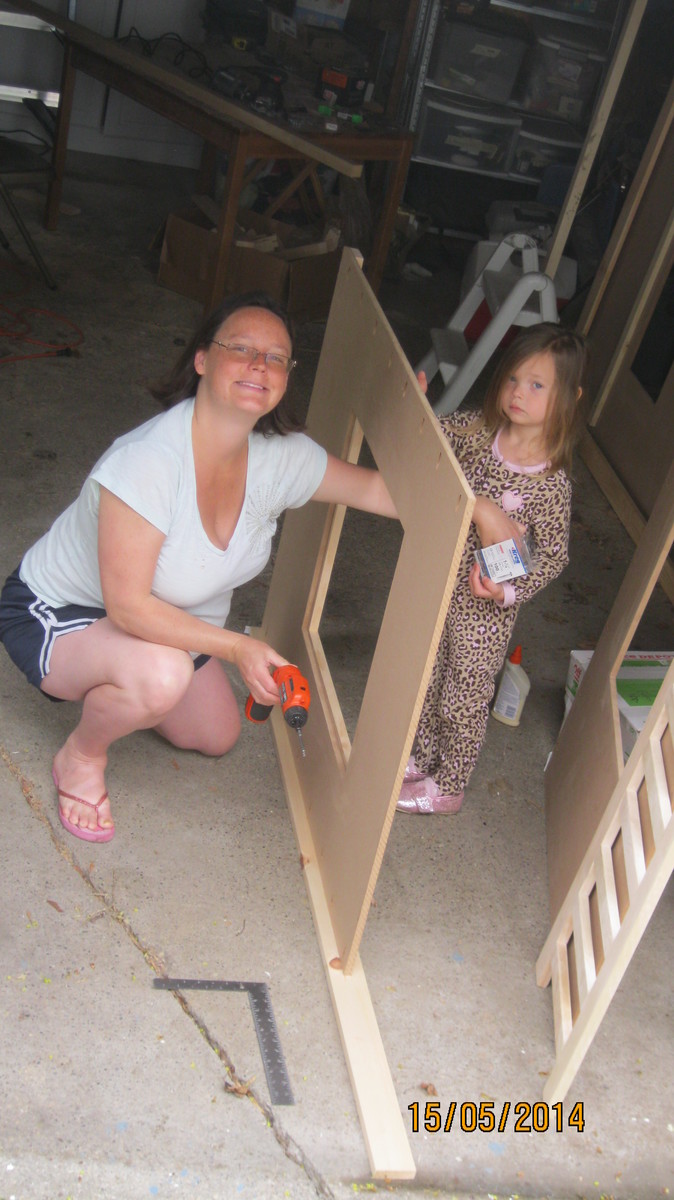
My husband built me a potting bench and I painted it with leftover house trim paint. We did make it several inches wider and added a middle 2x4” under the top surface slats to help with bowing boards. I added iron hooks for tools. Love it!
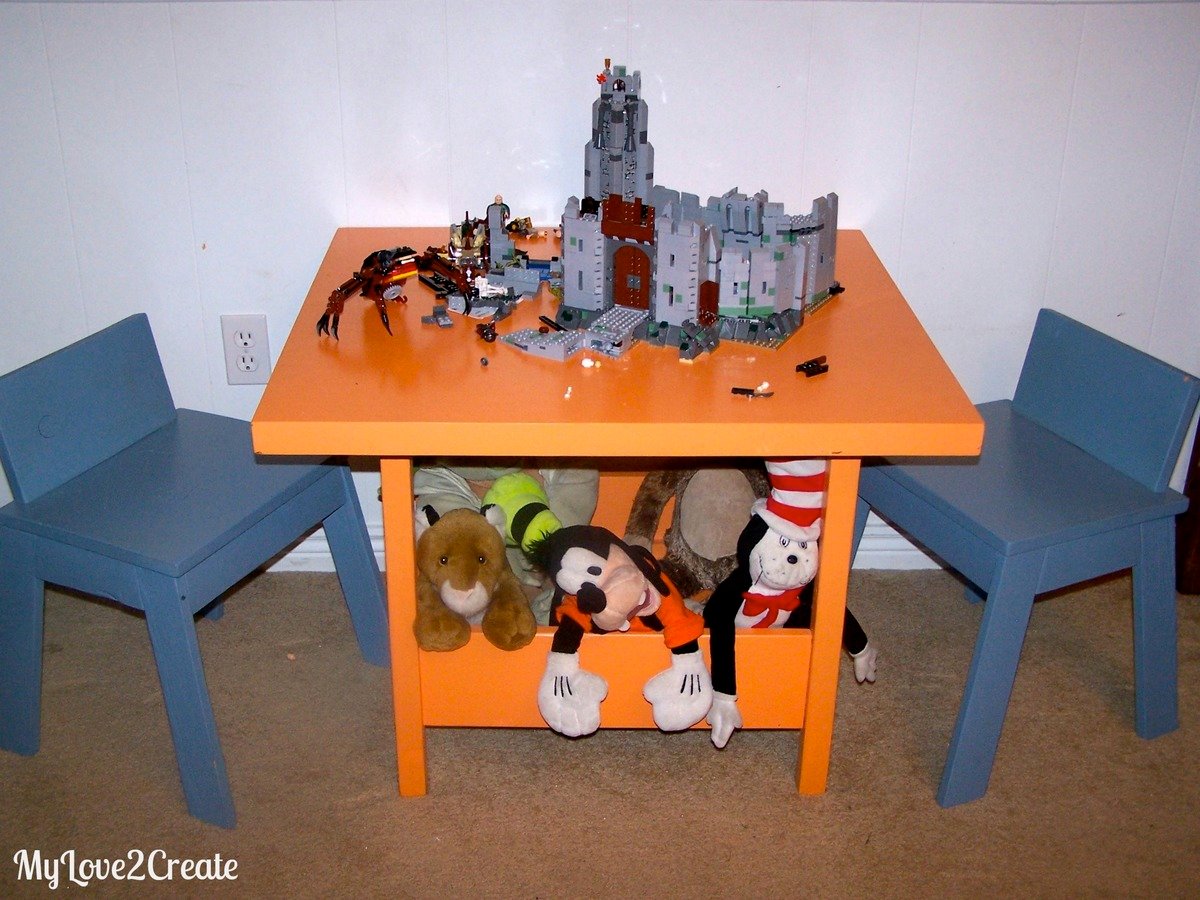
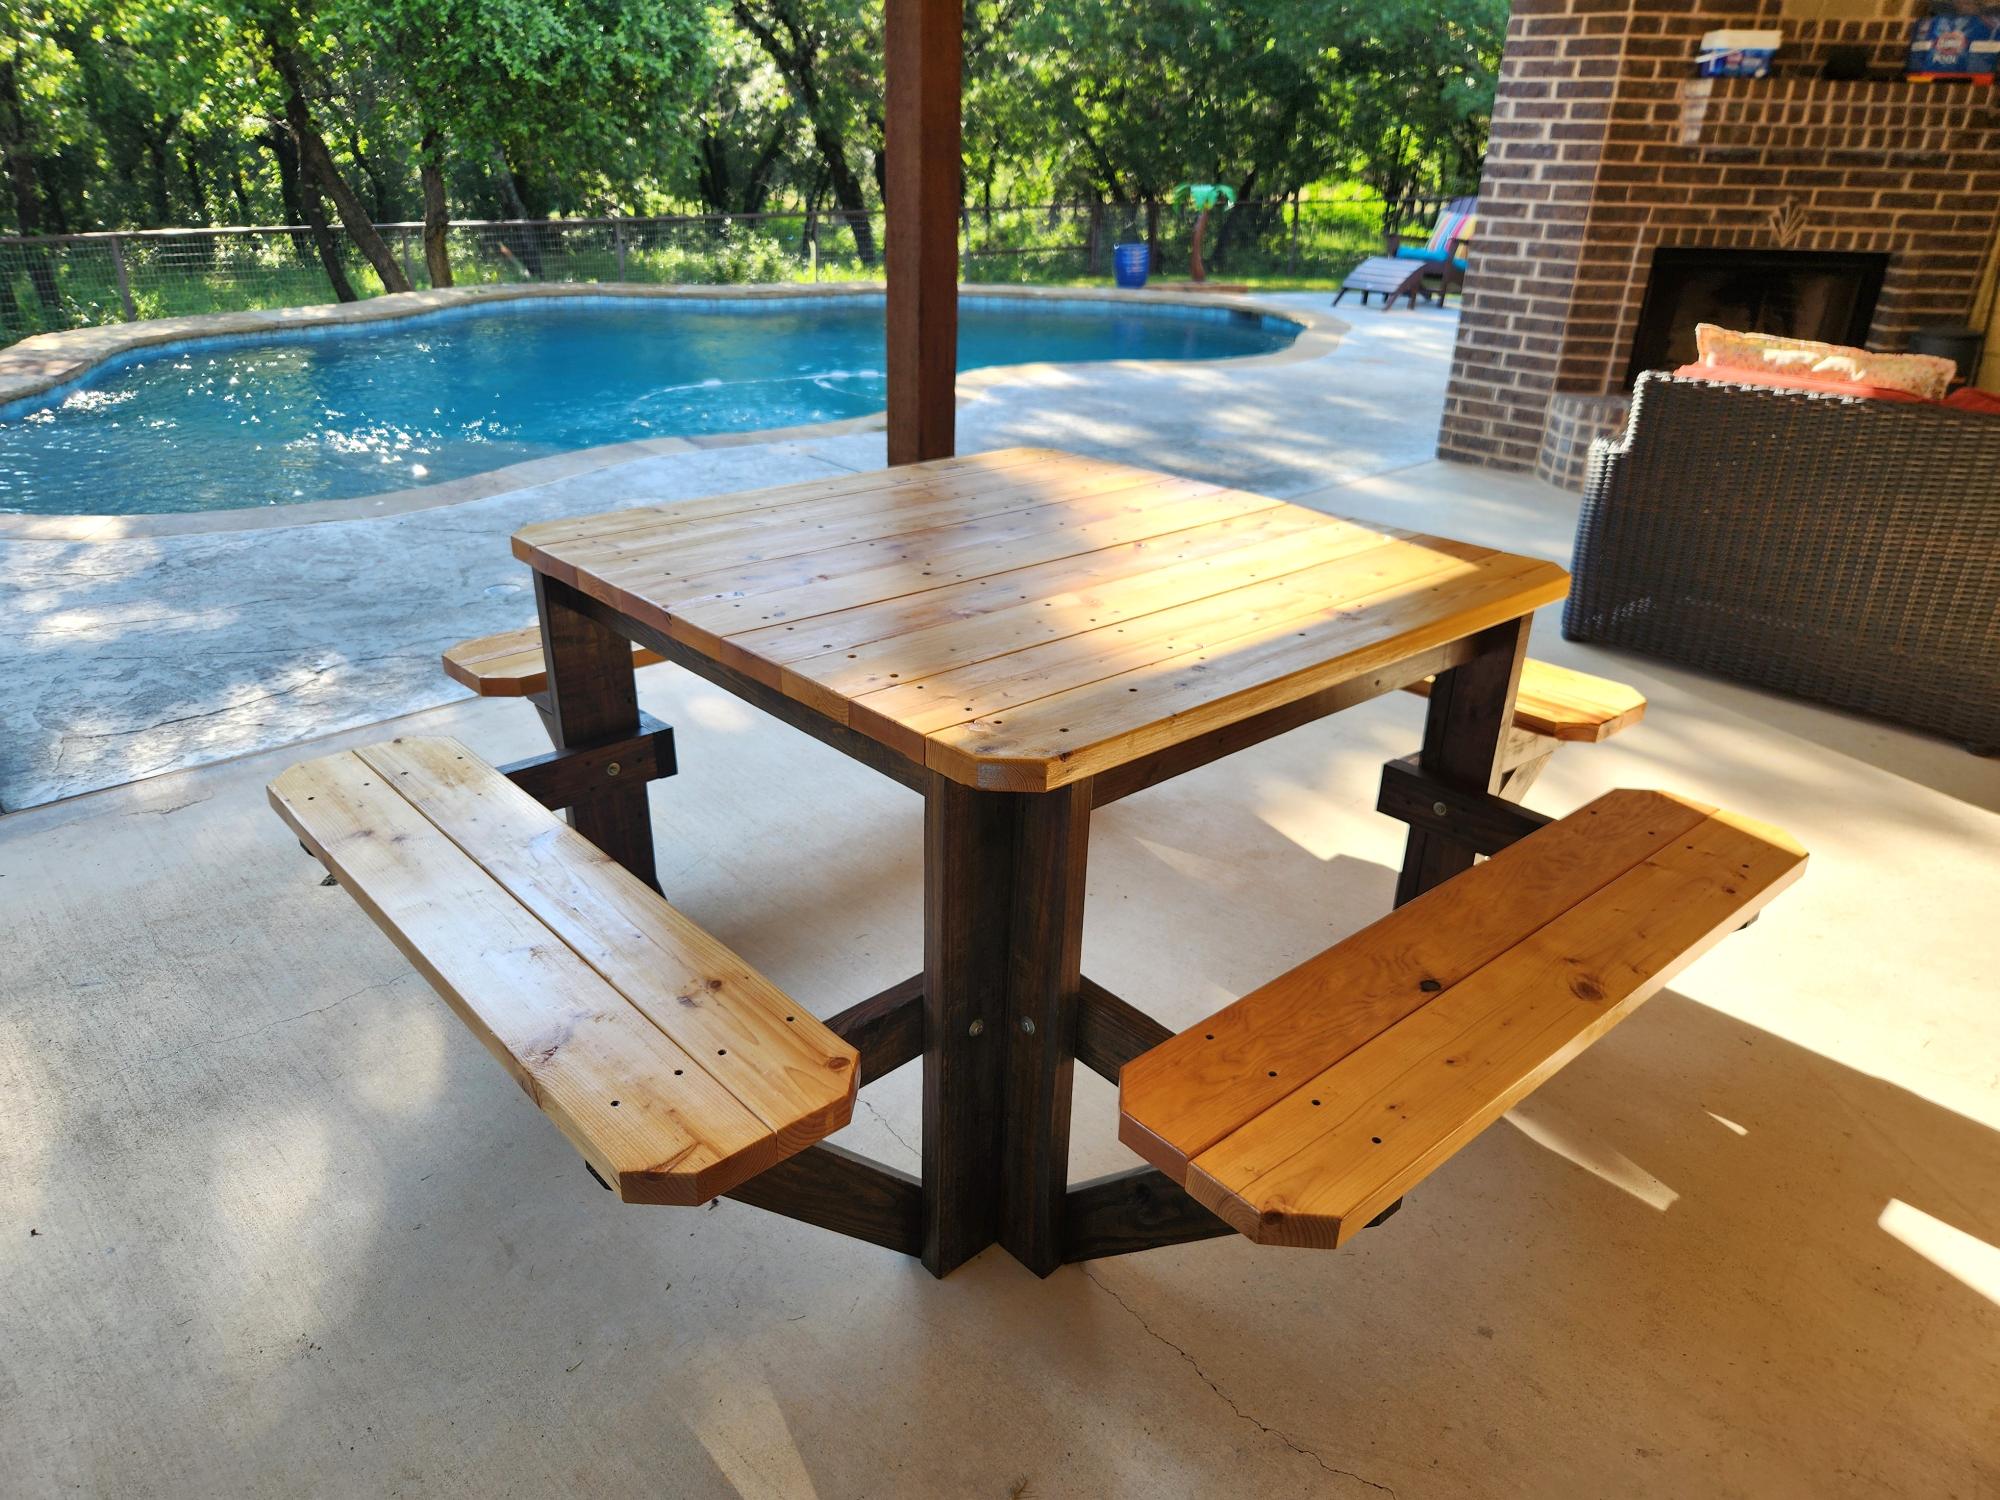
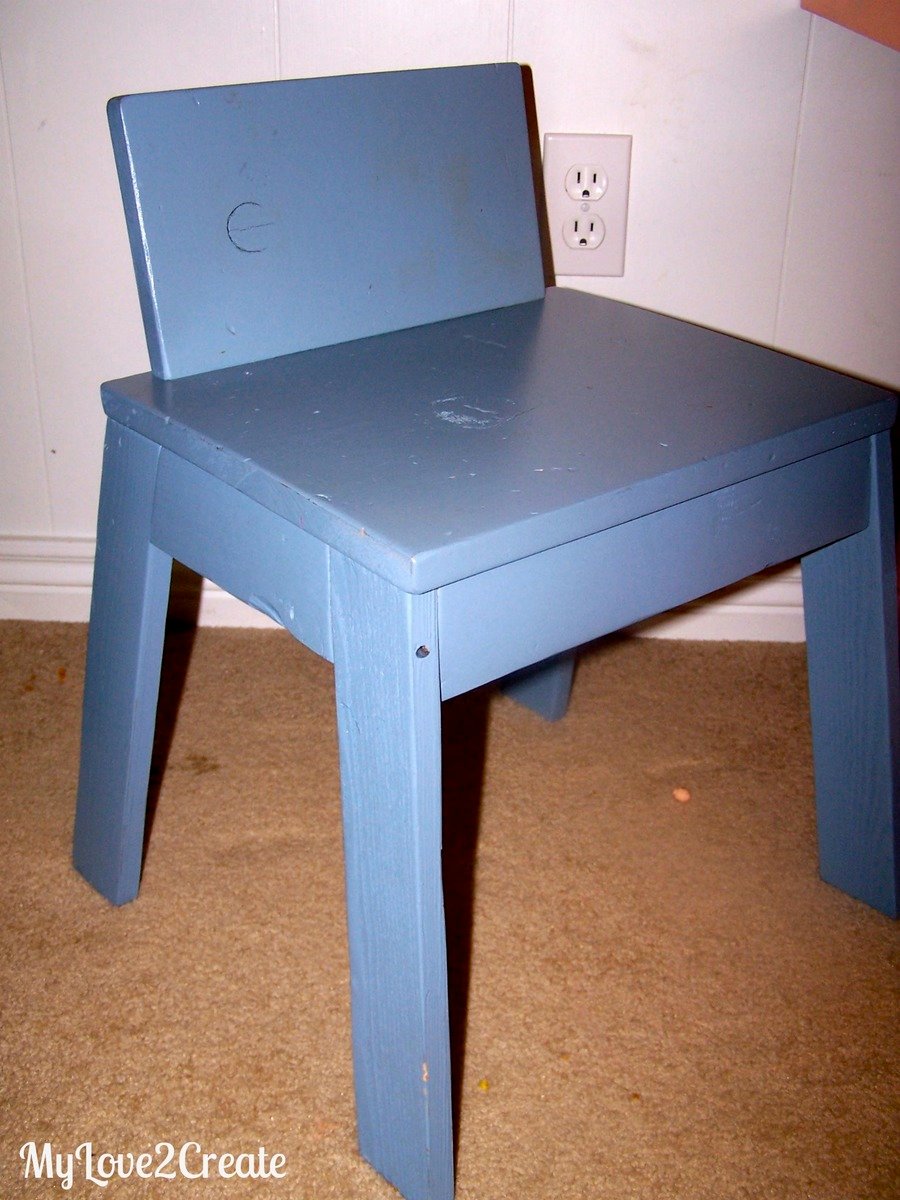
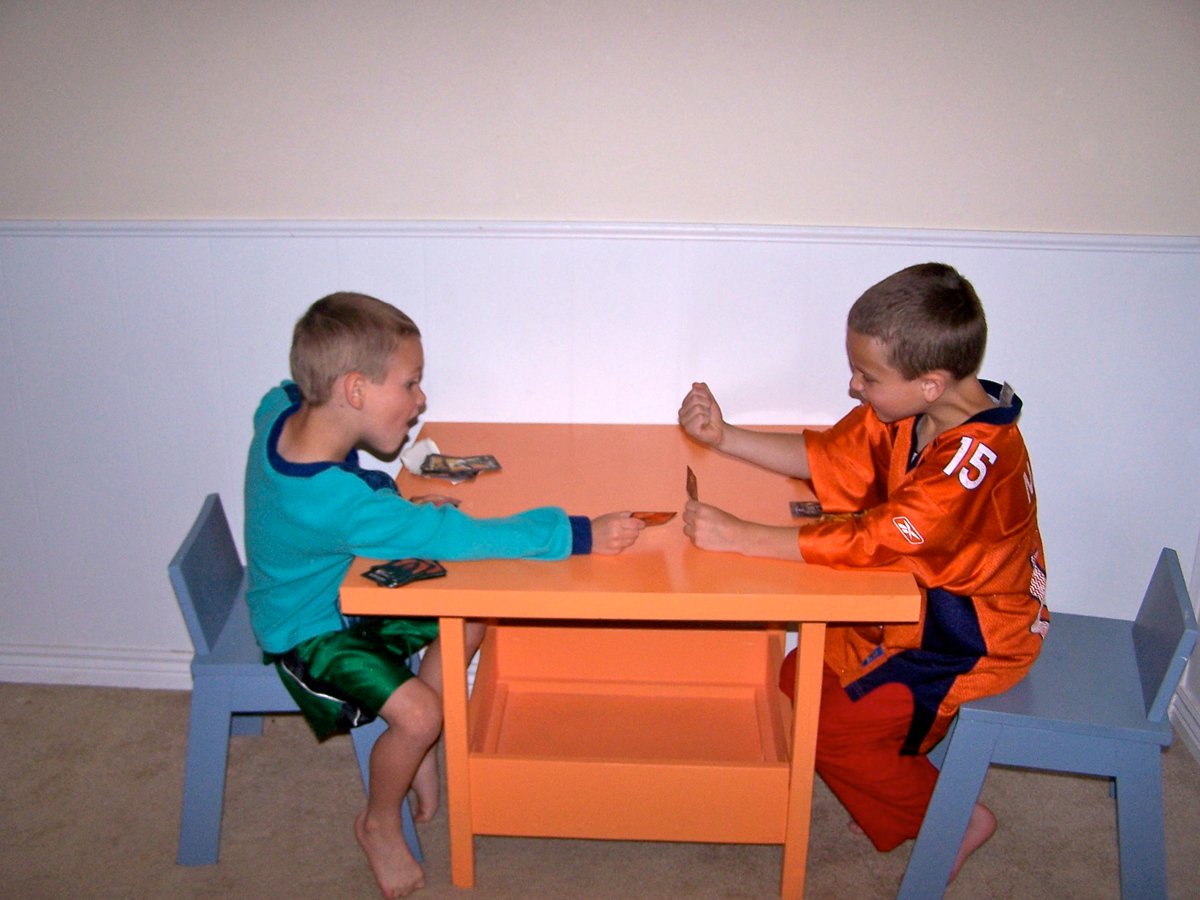
I made this for my boys and they LOVE it! I opted for a square top, since the flower would not have gone over well...Plus I found a square top for $1 at the Restore and who can pass that up, and the legs were free. The rest of the wood was from the Home Depot Cull bin or furring strips. The chairs didn't get rounded (no jig saw) and I didn't add a hole (not a big enough drill bit). But my boys love them and use them all the time!
Thanks Ana for such great plans!
Check out more at http://mylove2create.blogspot.com/2012/10/diy-kids-table-and-chairs.html
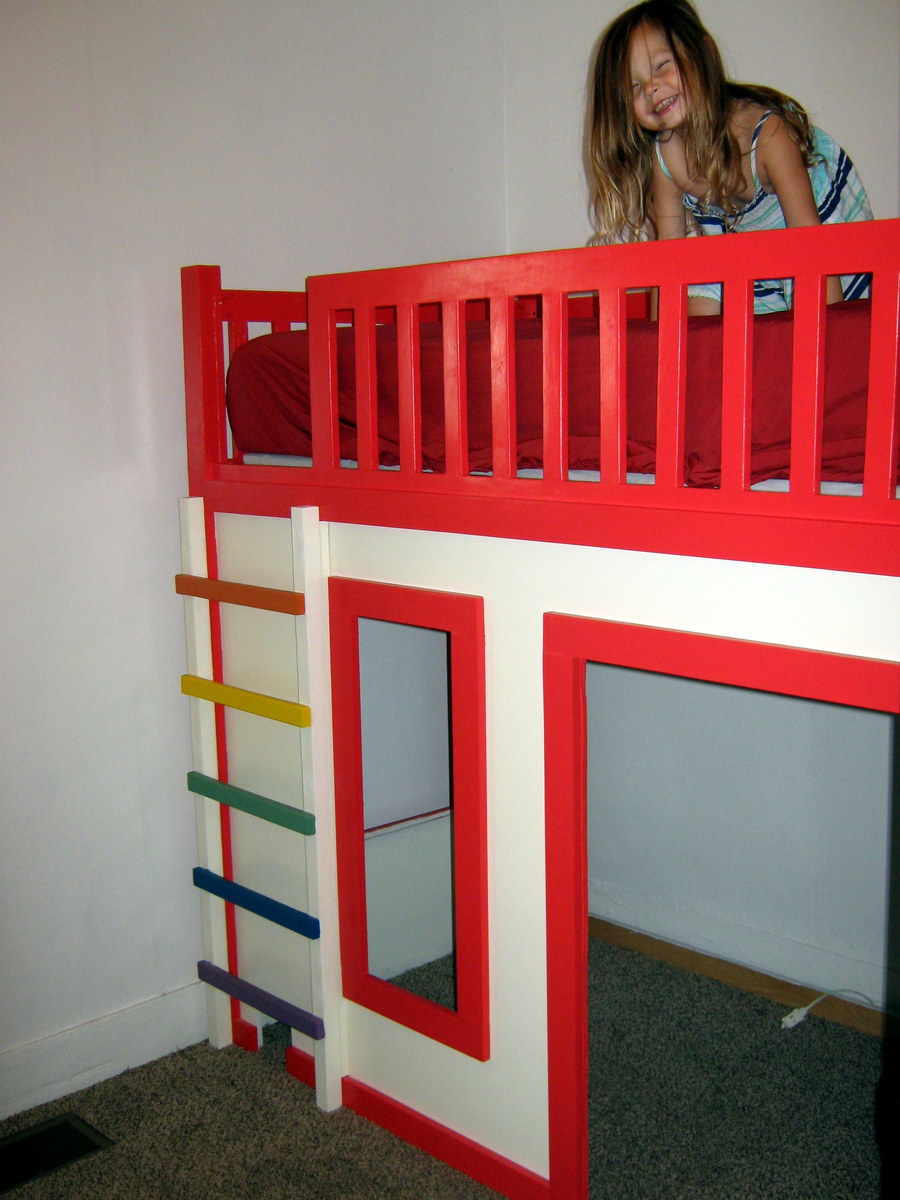
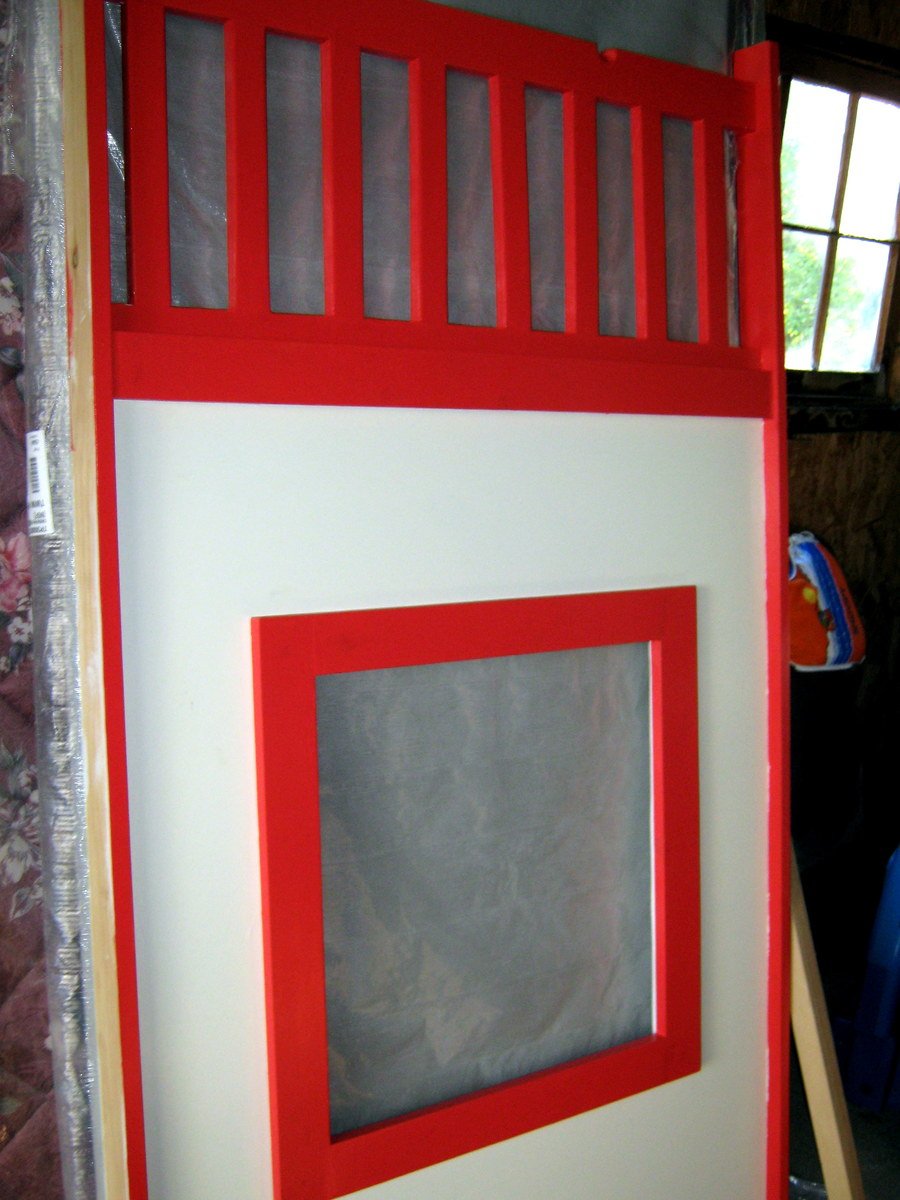
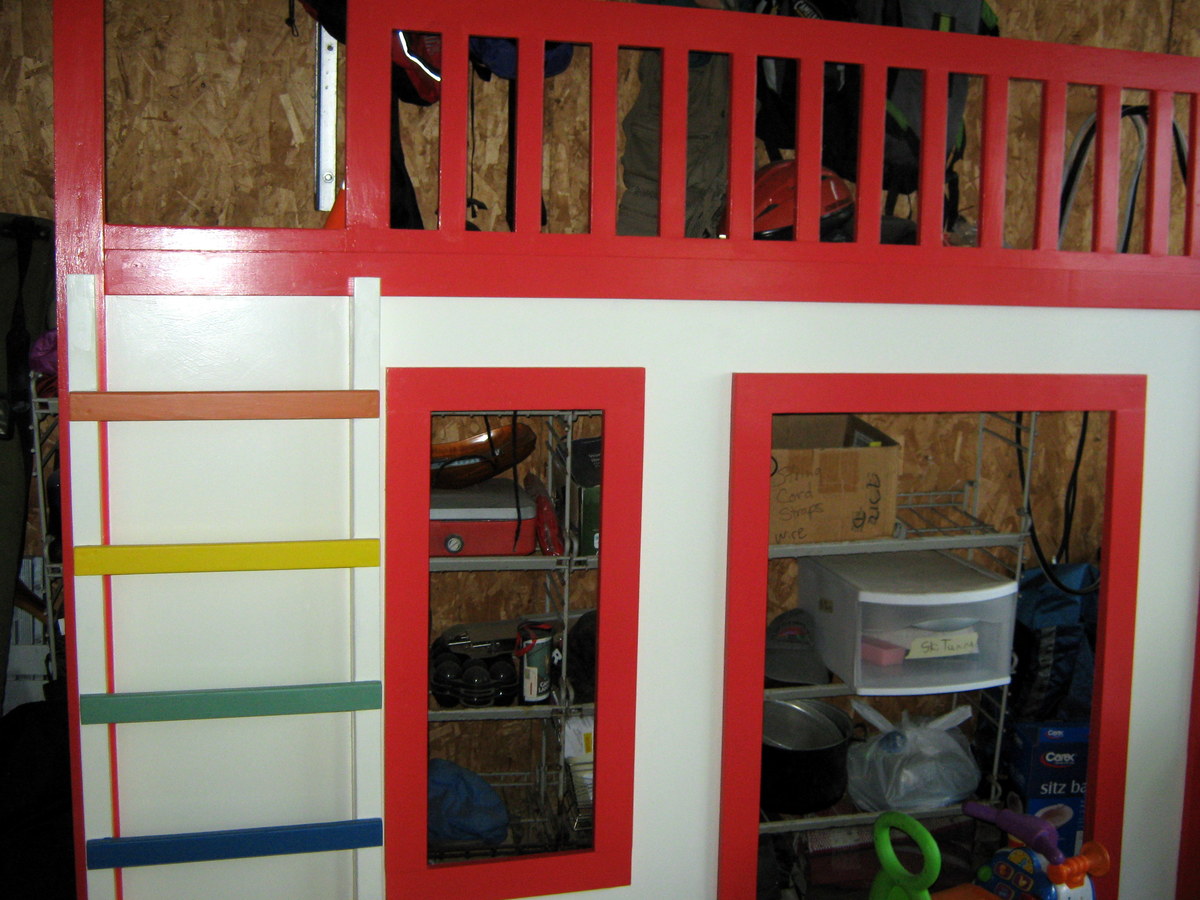
I had a good time with this project, and I learned a ton!
It took me a very long time (months!) because I had to work on it during nap time, and I had a baby before it was finished. There were times when I thought it would look terrible, but my husband assured me that after sanding and painting it would be fine - and he was right!
I had to modify the plans slightly (ladder in front) so the bed would fit in my daughter's tiny, tiny room. I also made the door and front window a bit larger. If I were to build it again, I'd make the railings higher as well - the mattress we bought is pretty tall, and there's only about 5" of railing above the mattress.
My daughter LOVES the bed! :)

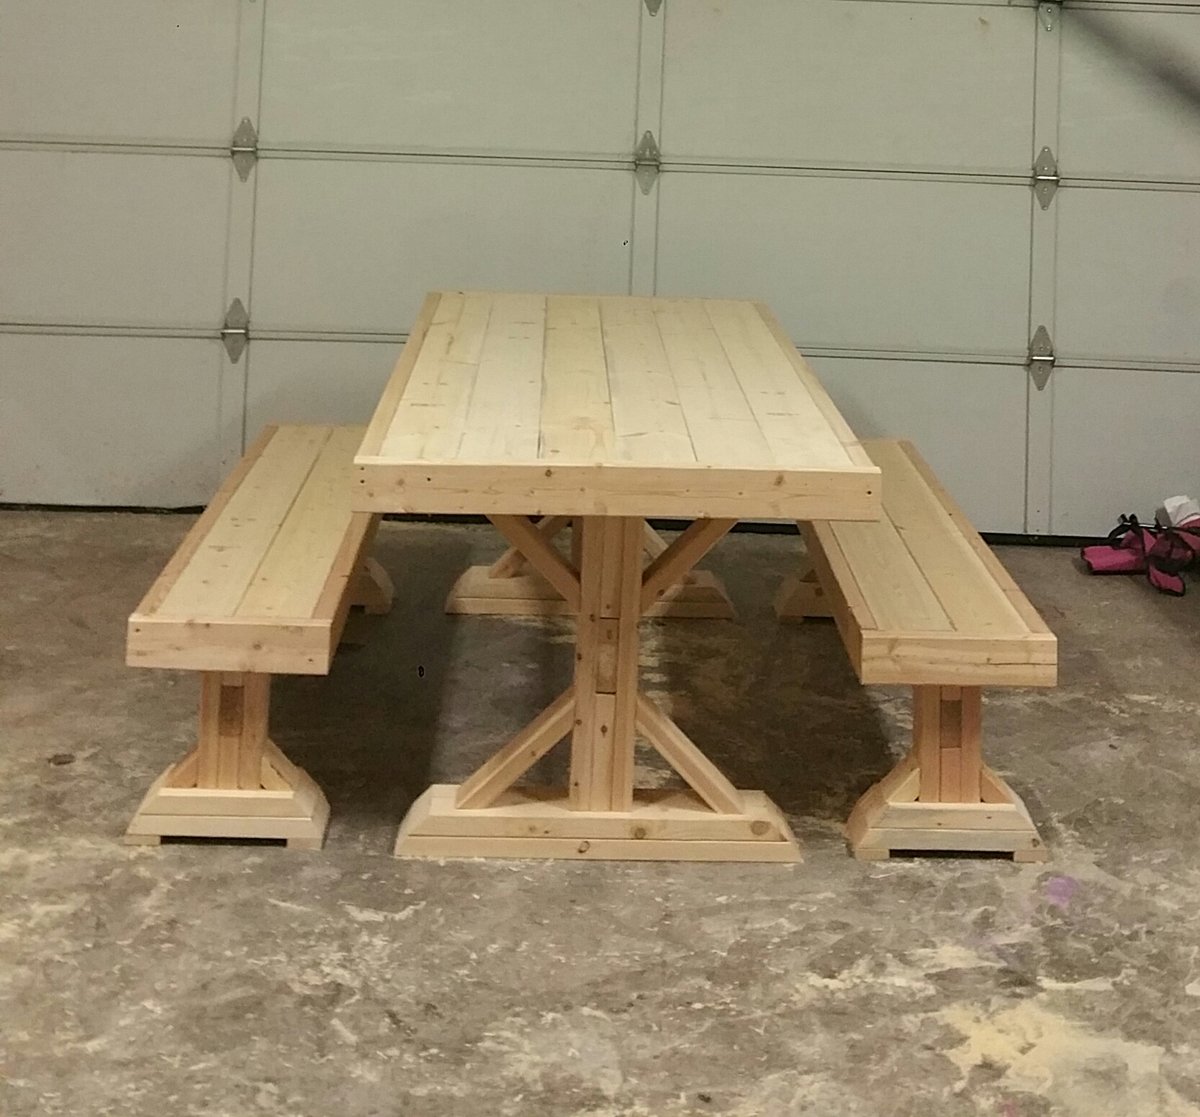
We have been eyeing this table for years now...finally the military has brought us to the east coast where we have room to do some wood work hobbying! This table is sturdy and beautiful. Love that we can break it down into so many pieces for our moves. Thank you Ana White!!
Wed, 05/08/2019 - 14:49
Can you please link the original design plans for this table? I really like it!
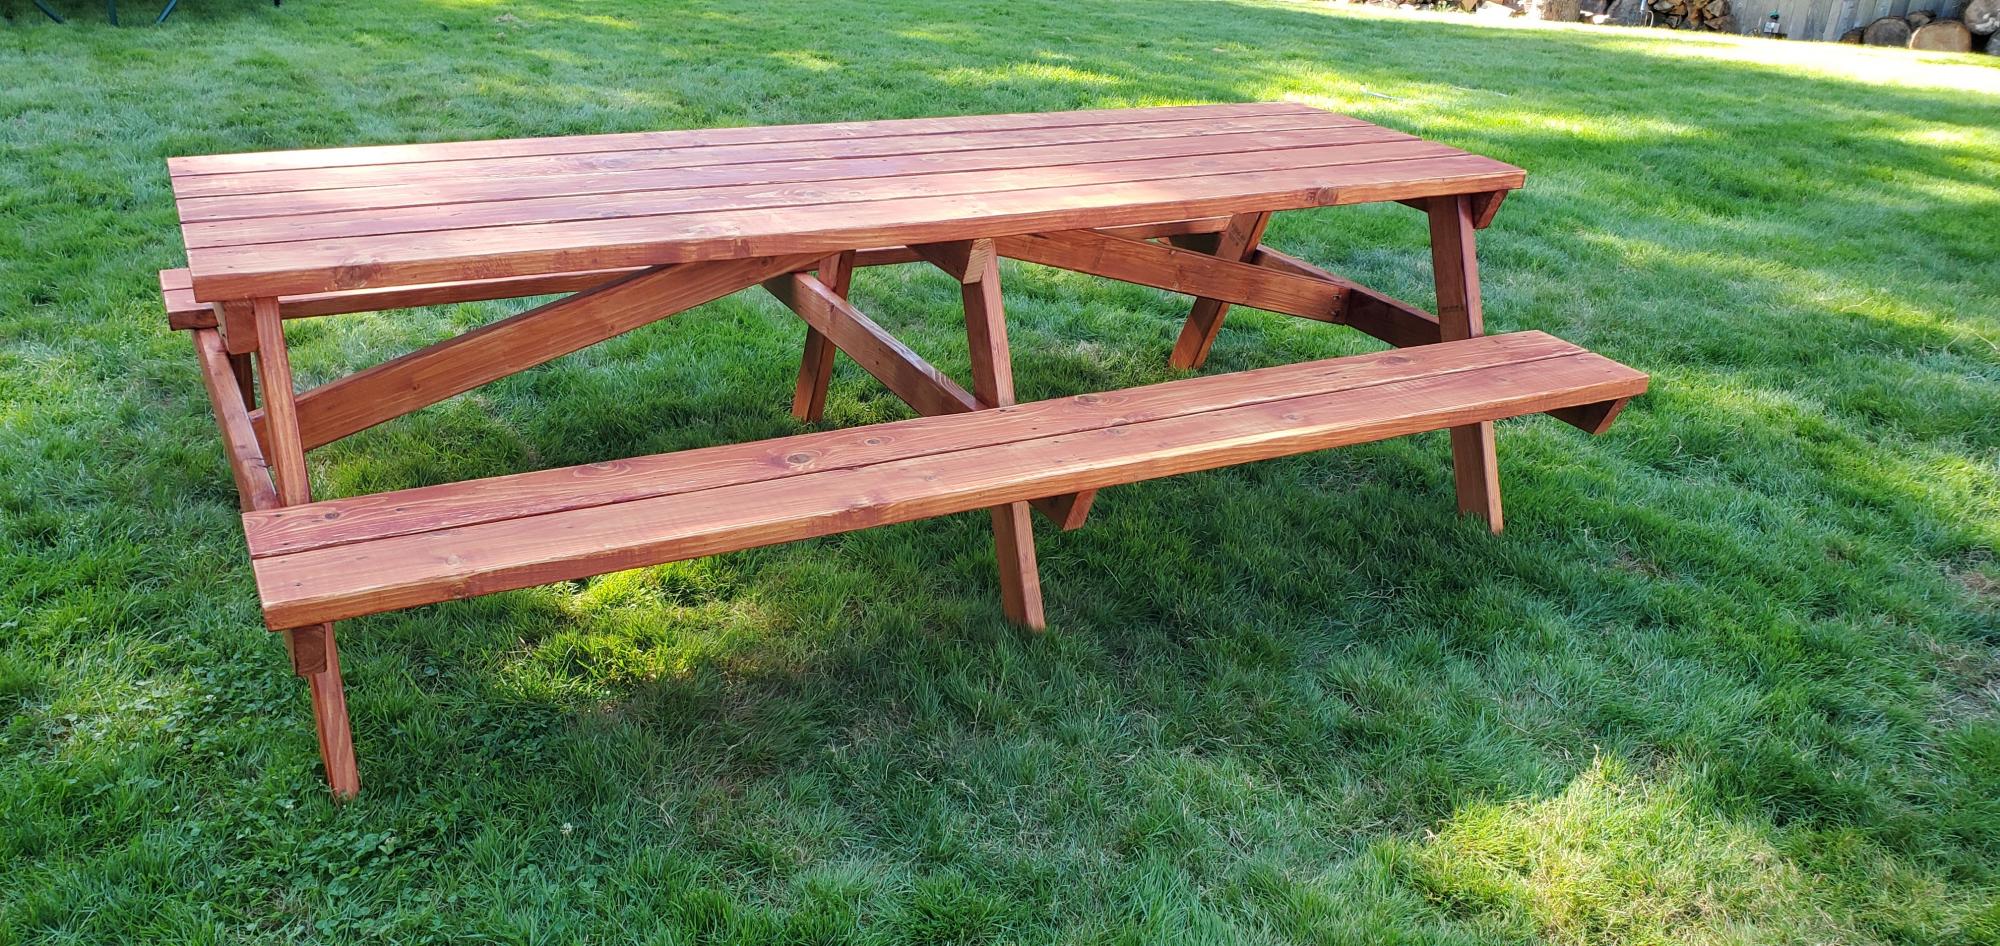
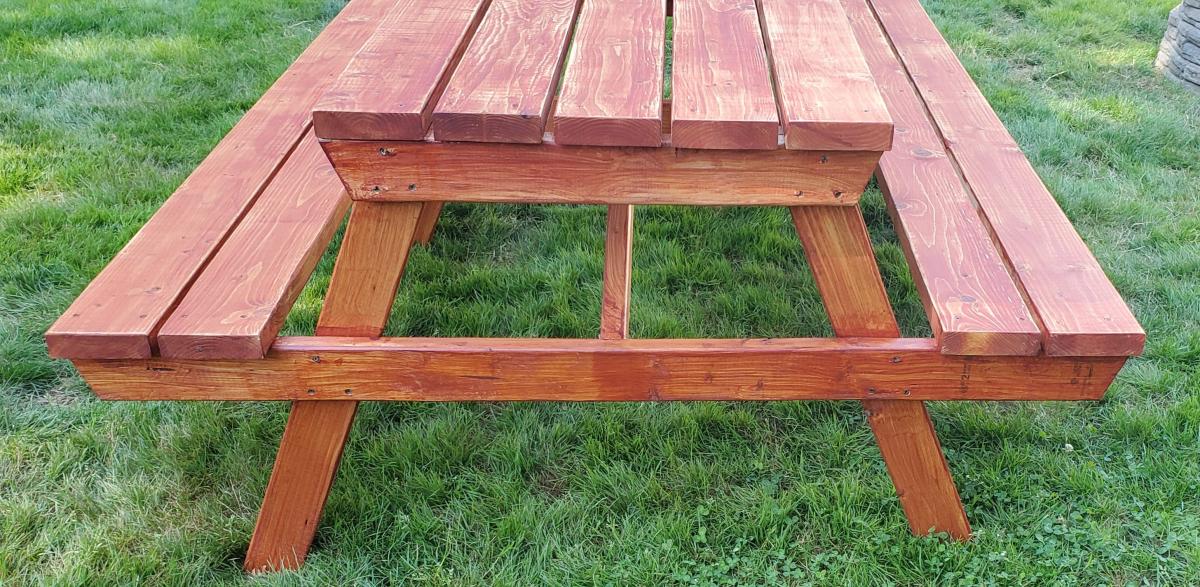
I built the 8 Foot Picnic table off of Ana's plans but didn't do the greatest job following the full directions. I was going a little too fast. The area I most regret moving too quickly on was the legs. I neglected to look at the sketch of the table legs with dimensions close enough to see that the spread for the bottom of the legs should be 47-1/4" and that the top 2x4 should extend beyond the top of the leg by 3". I only looked at the note "meets at corner" and built the legs off that. The legs were thus, not uniform. The next error I made was not measuring my 2x6 boards to make sure they were equal. All were longer than 8' and none were the same length. When I started attaching the unmeasured, uncut boards to the table legs, I attempted to attach them per plan but ended up with a table slightly out of square. Overall though, I am generally happy with the table and will be donating it to my church. If I build more in the future, I will make sure to space my legs correctly.
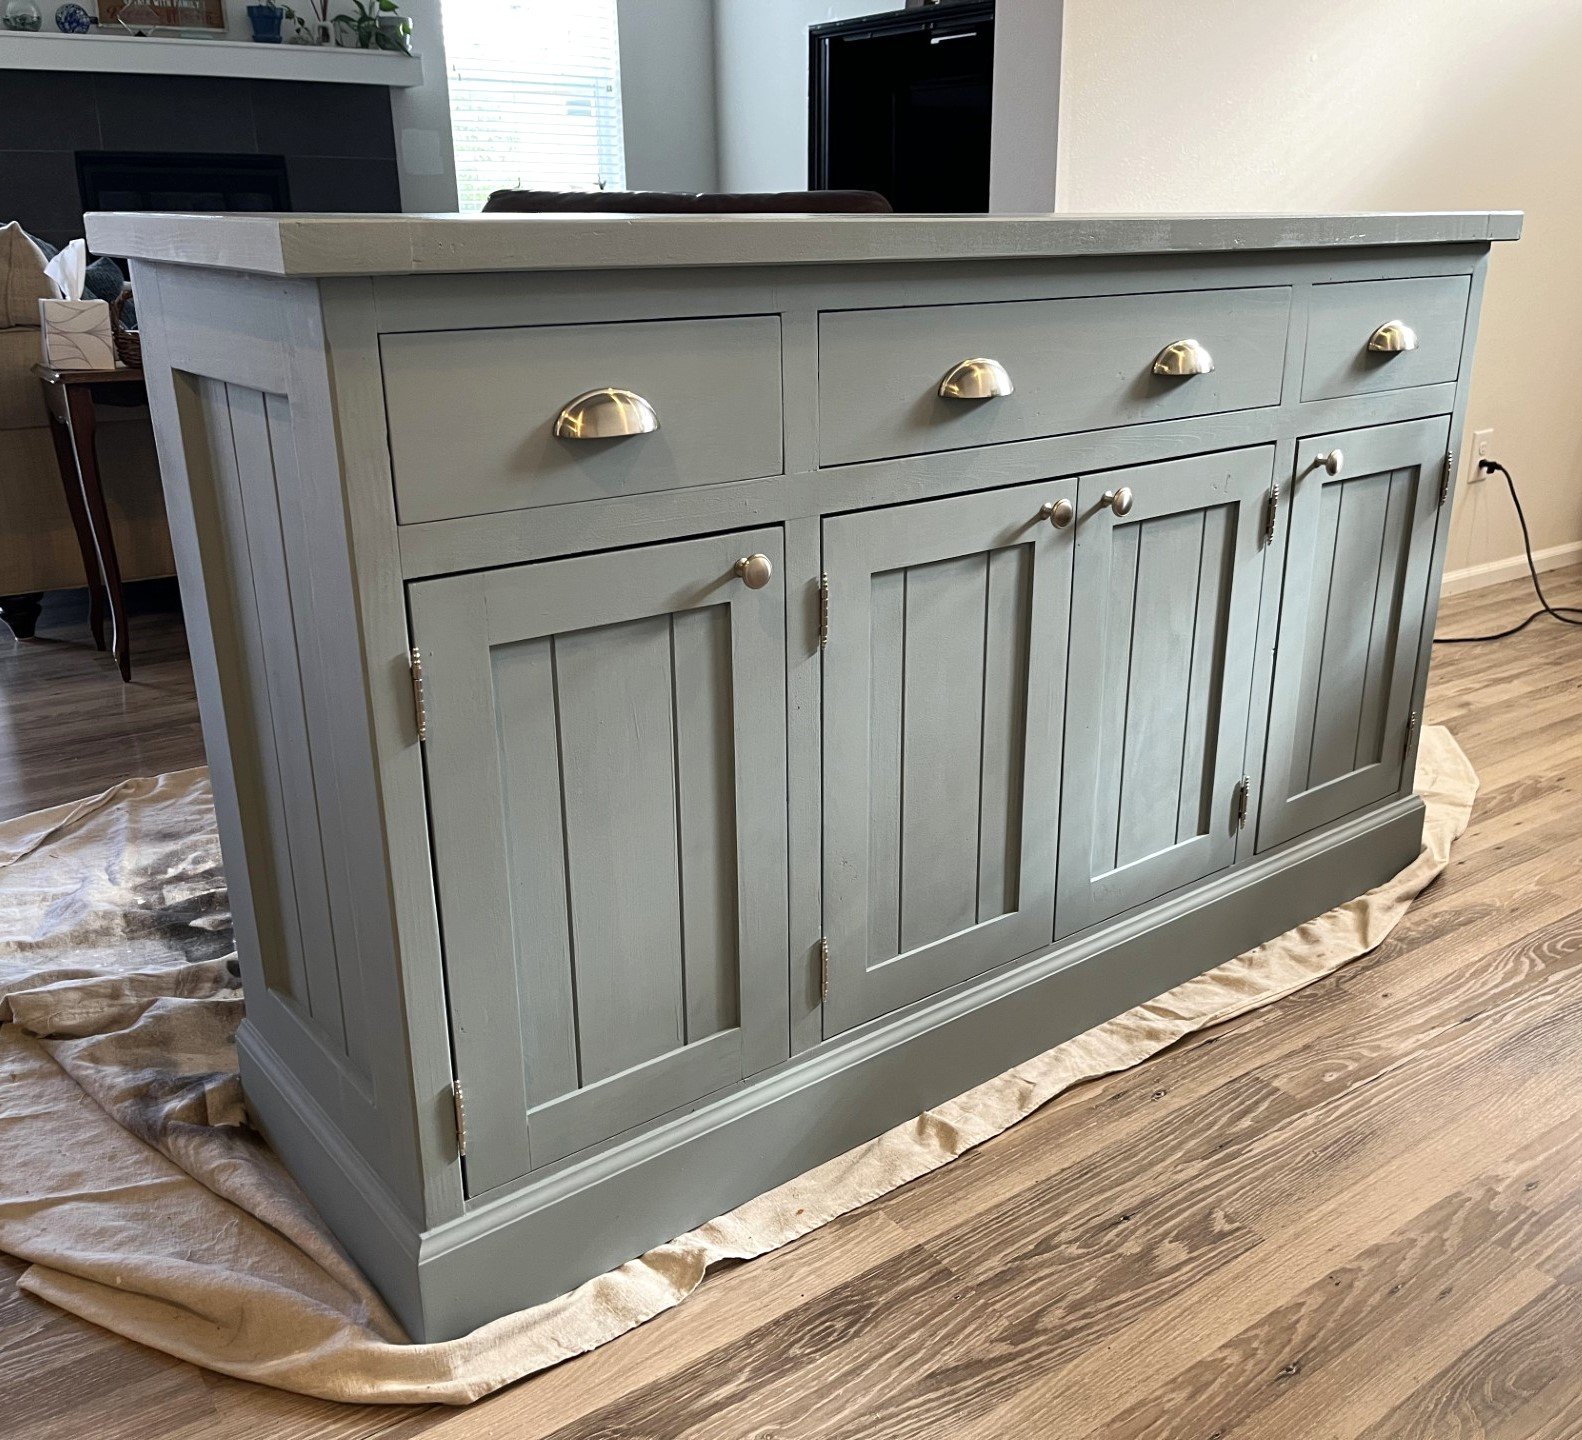
60 inch version. Sir Duke chalk Paint color from the blue box store.
Rich