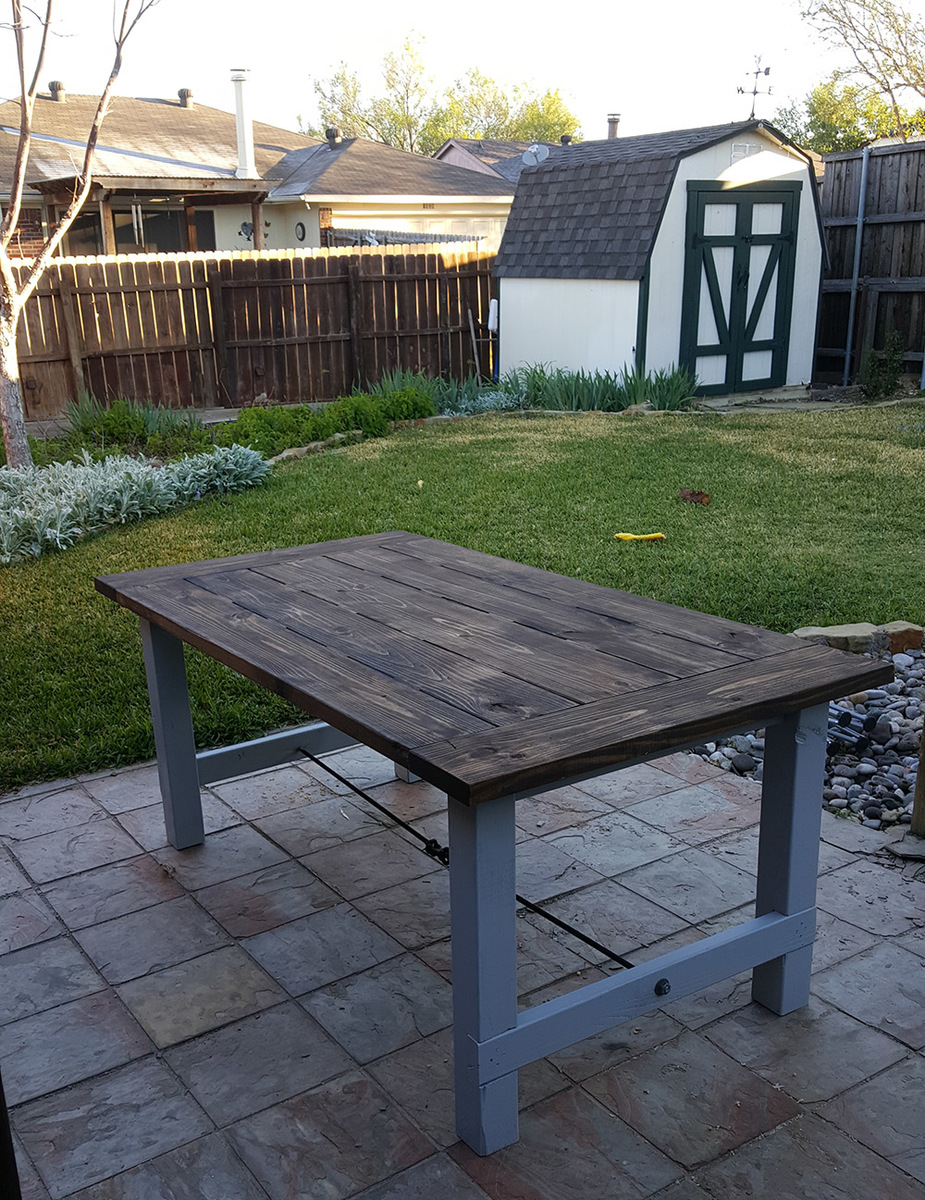
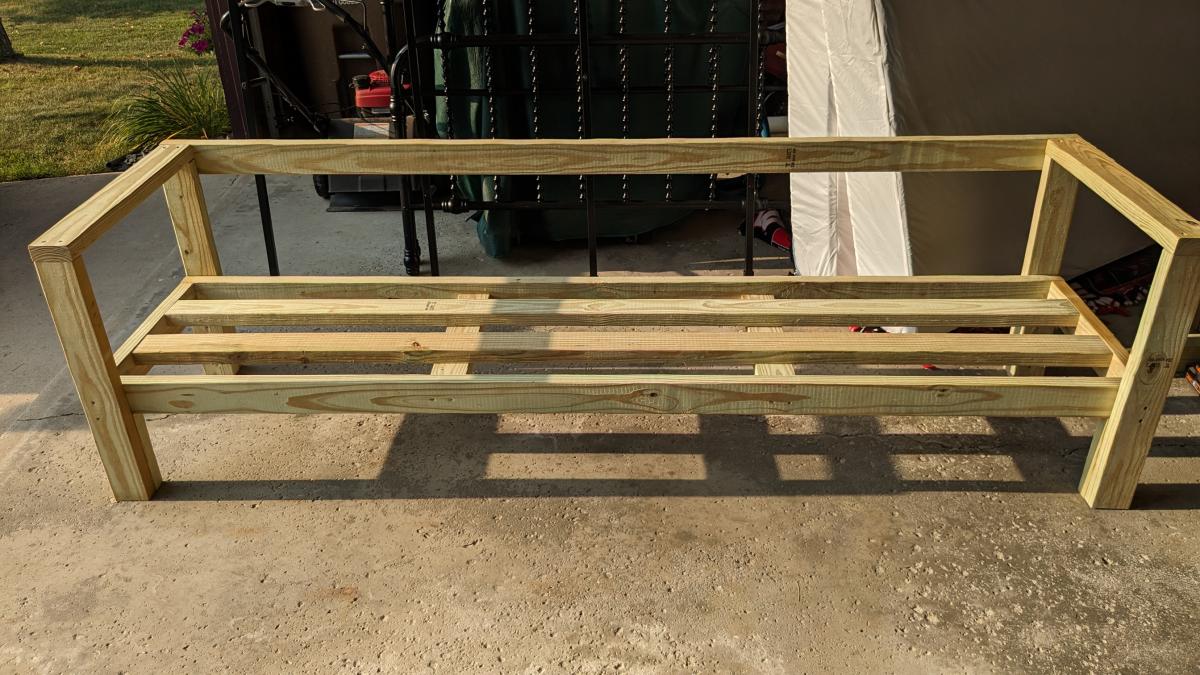
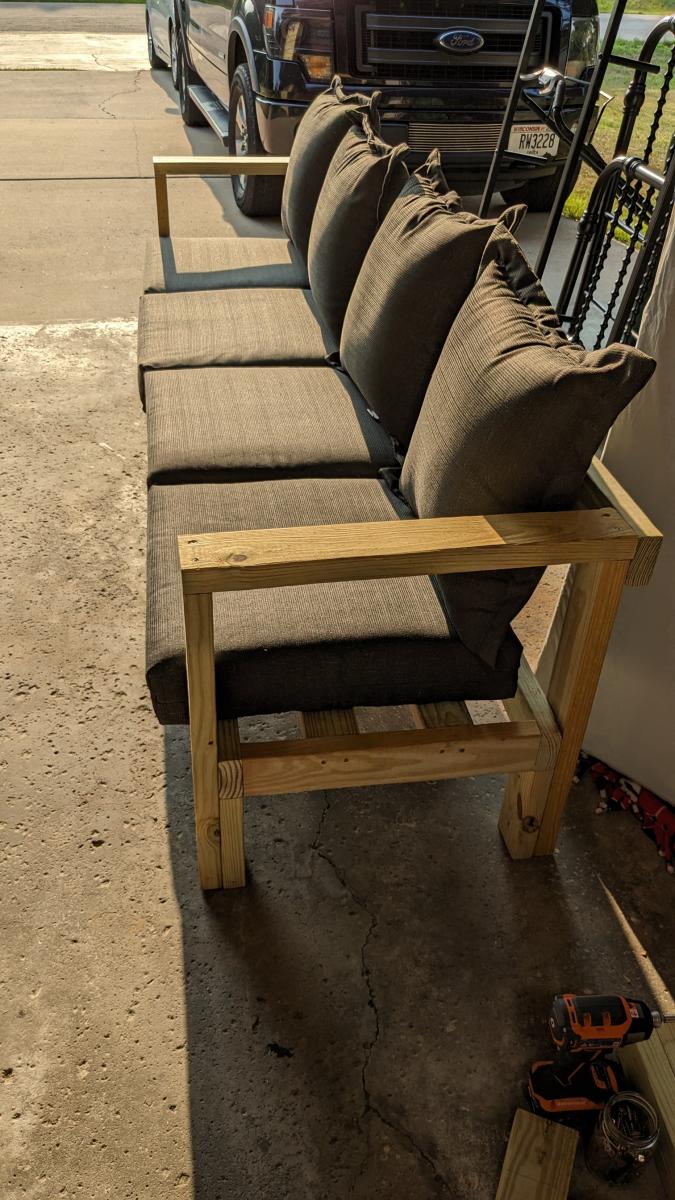
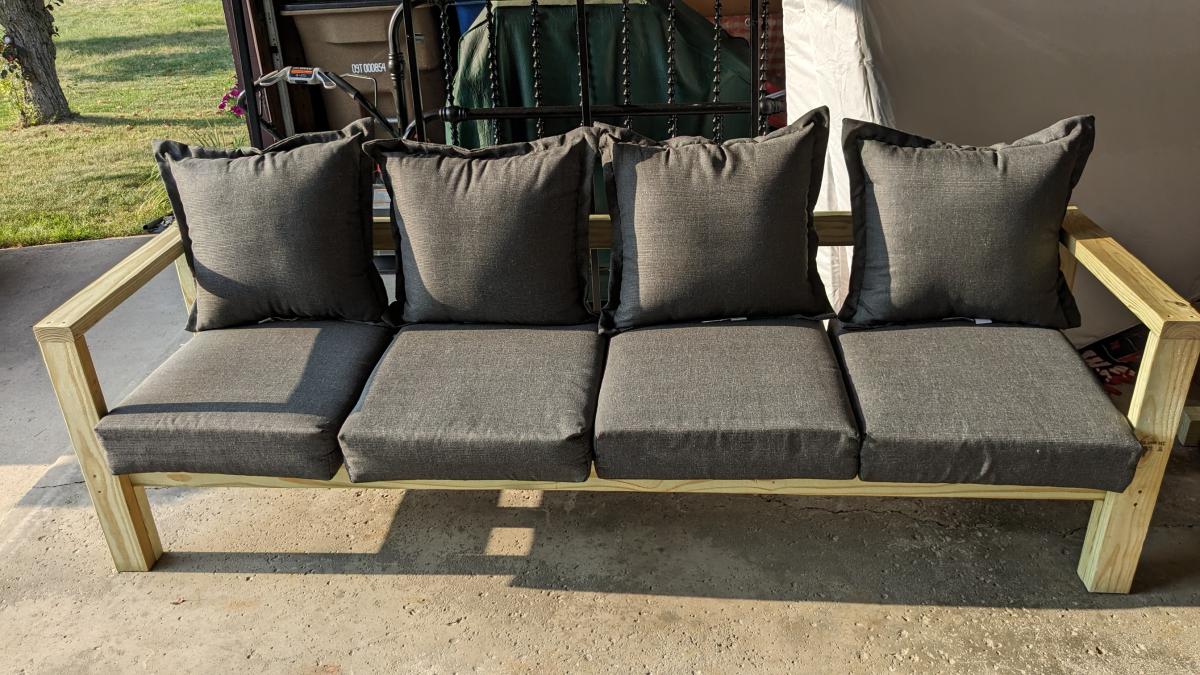
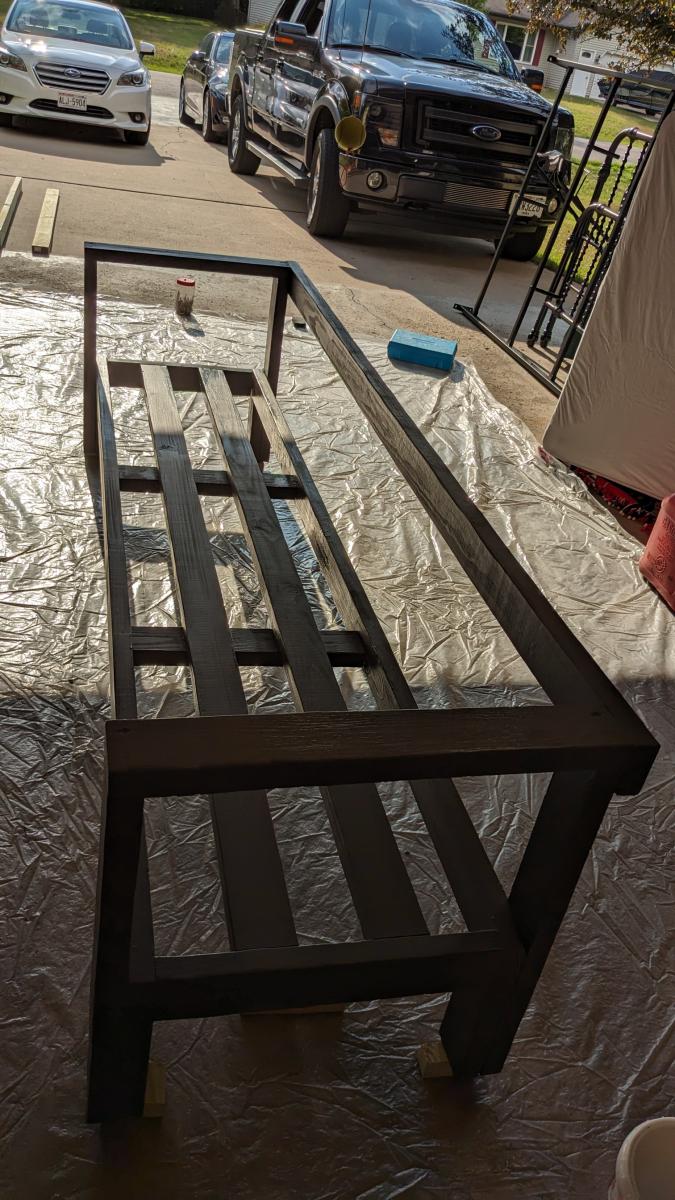
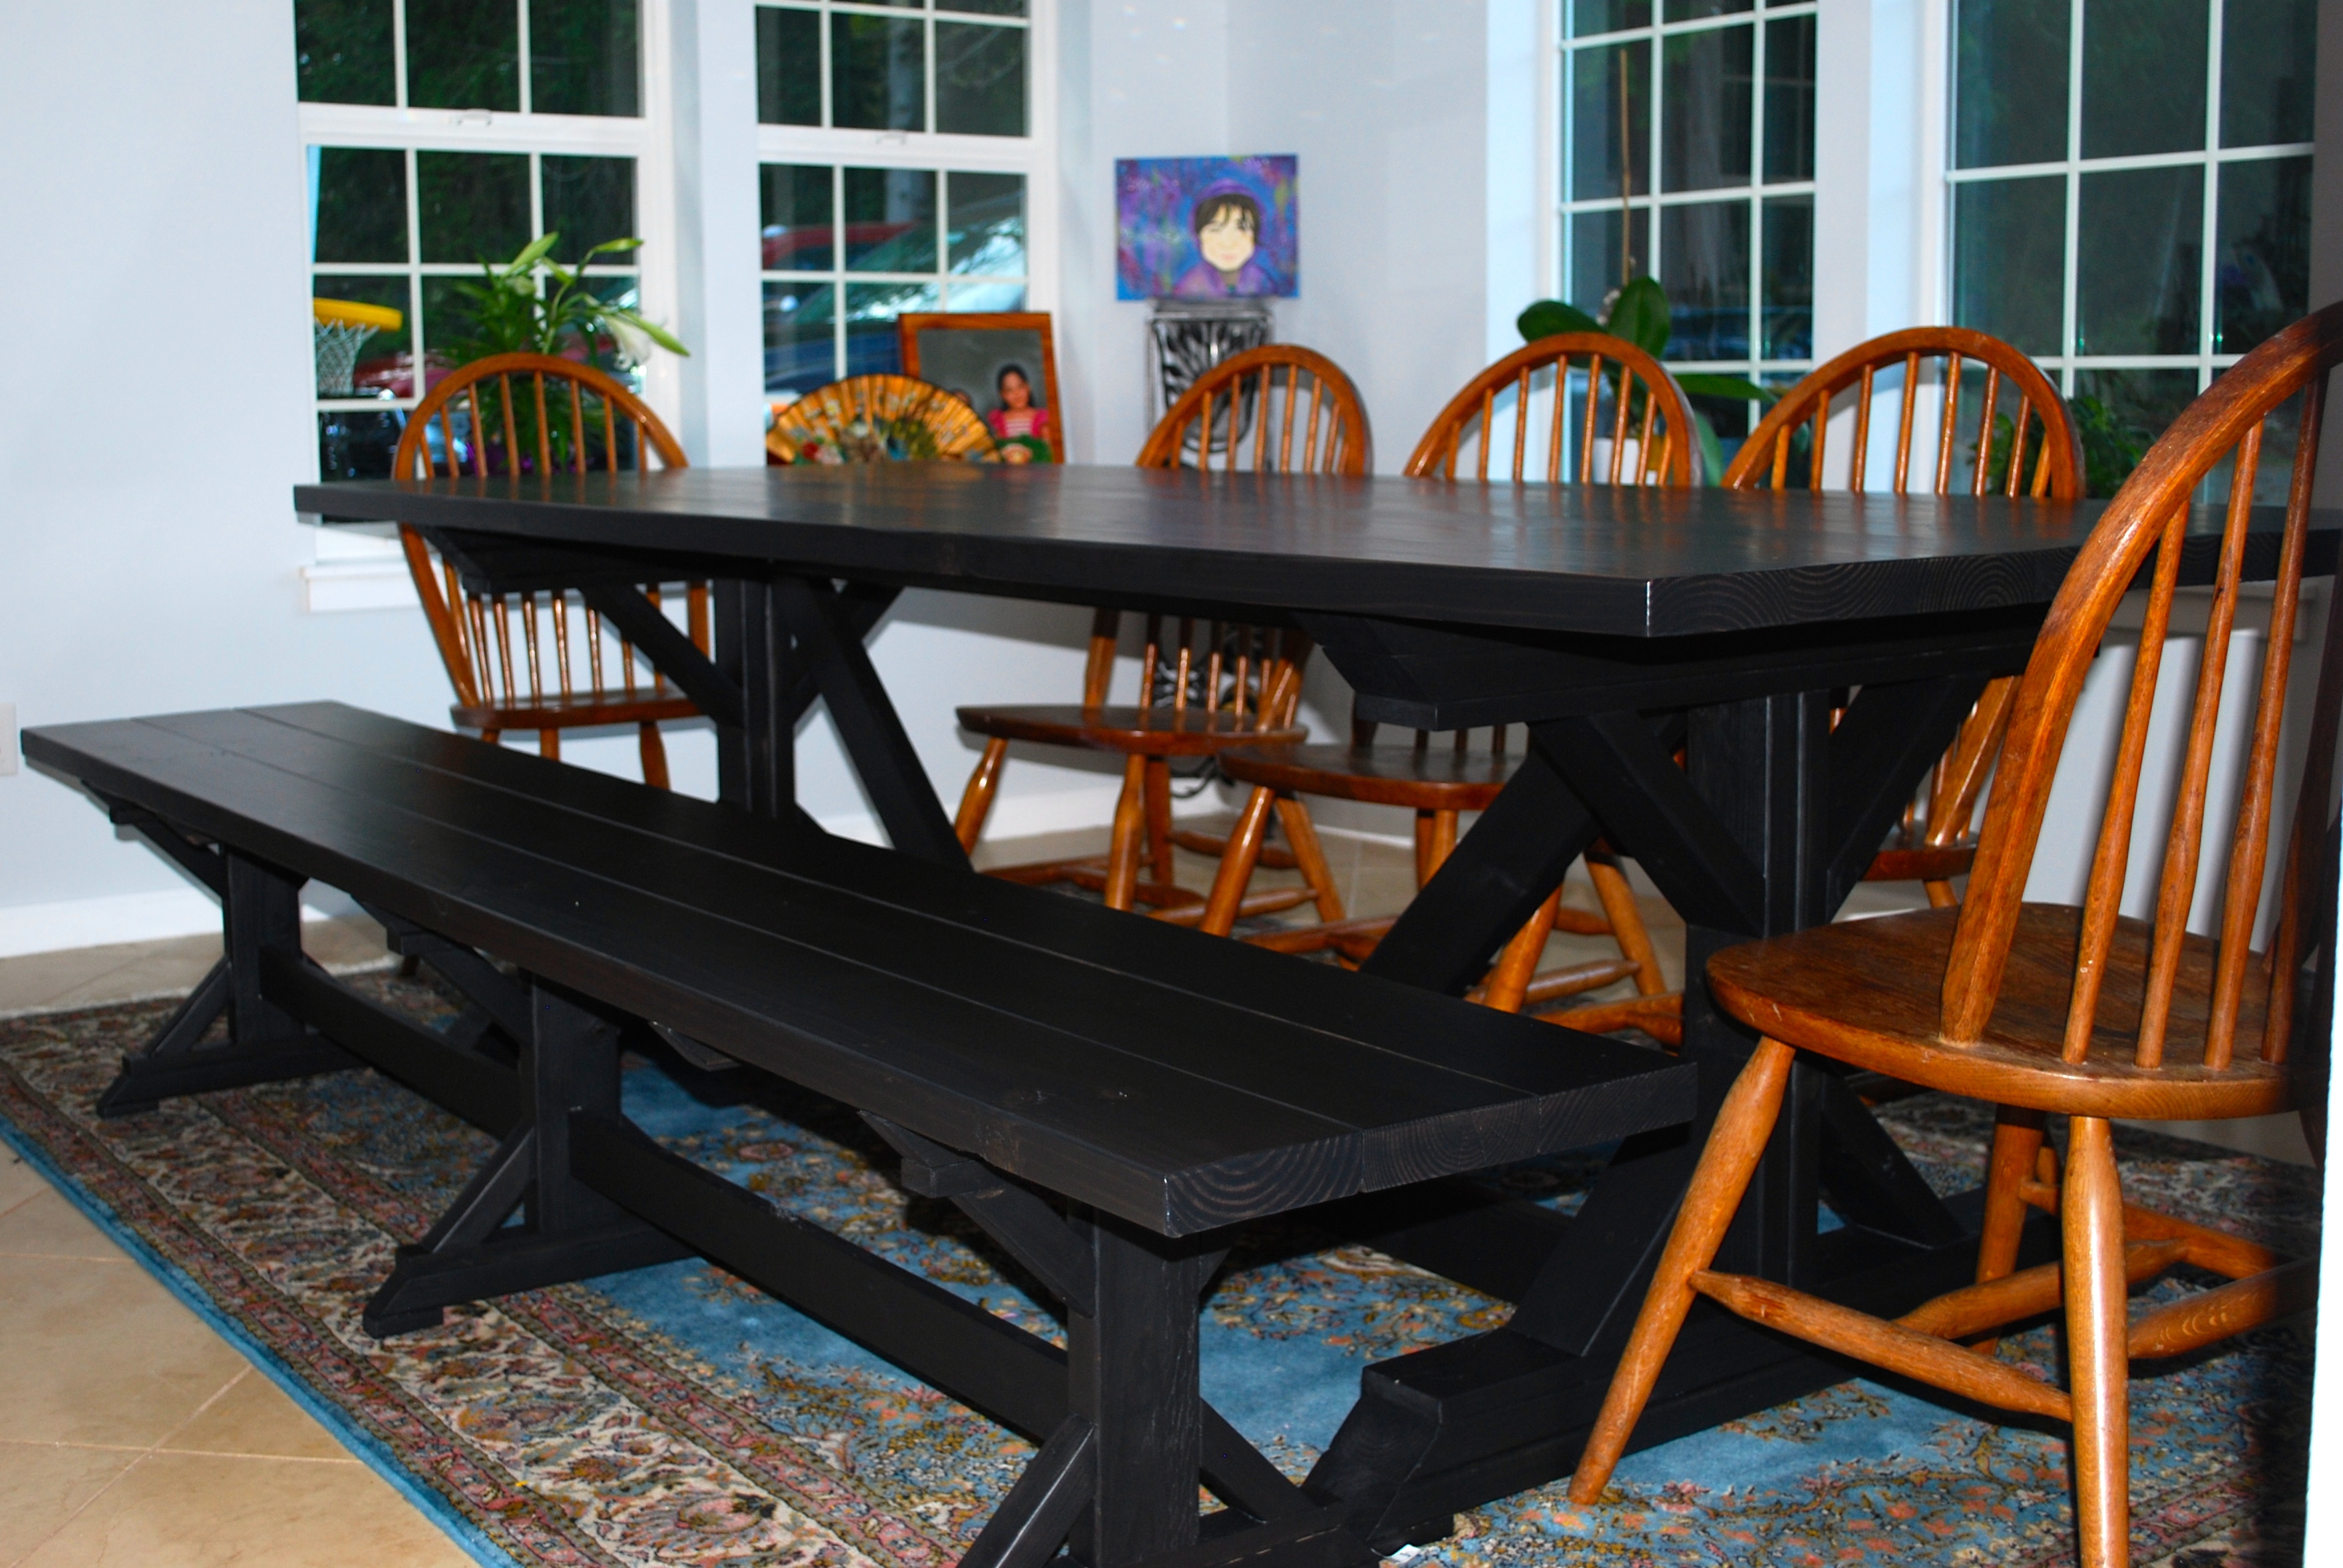
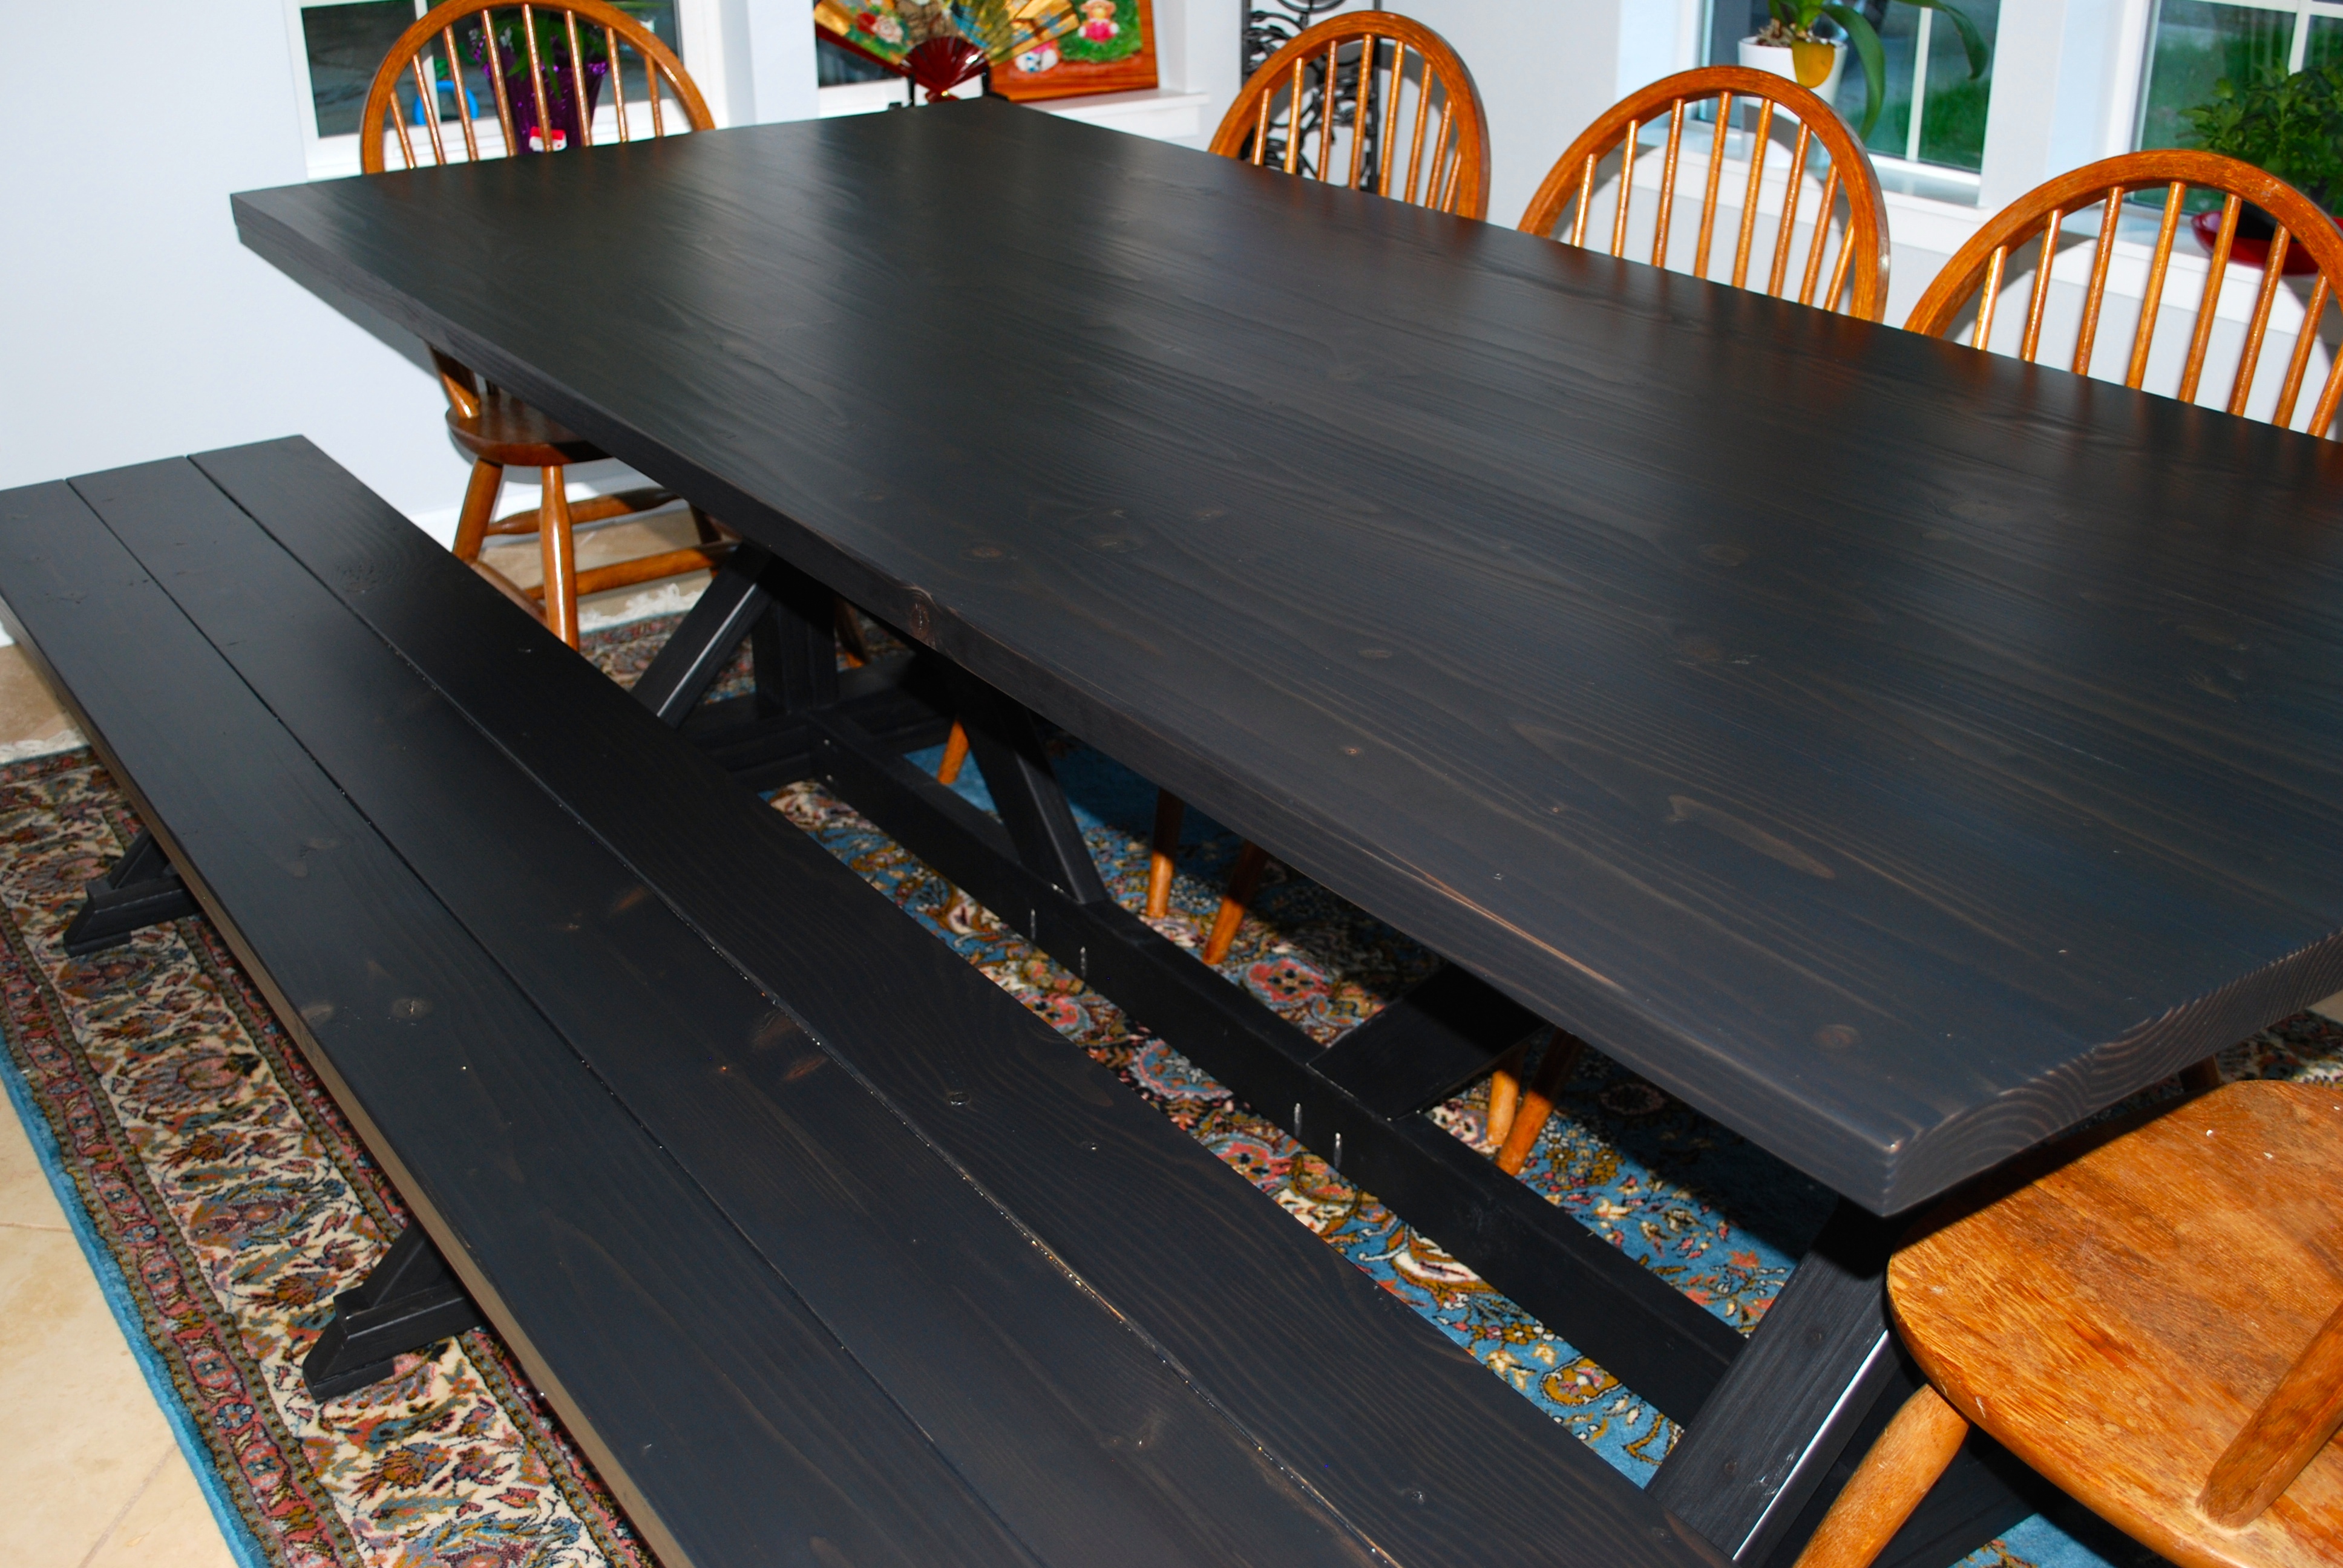
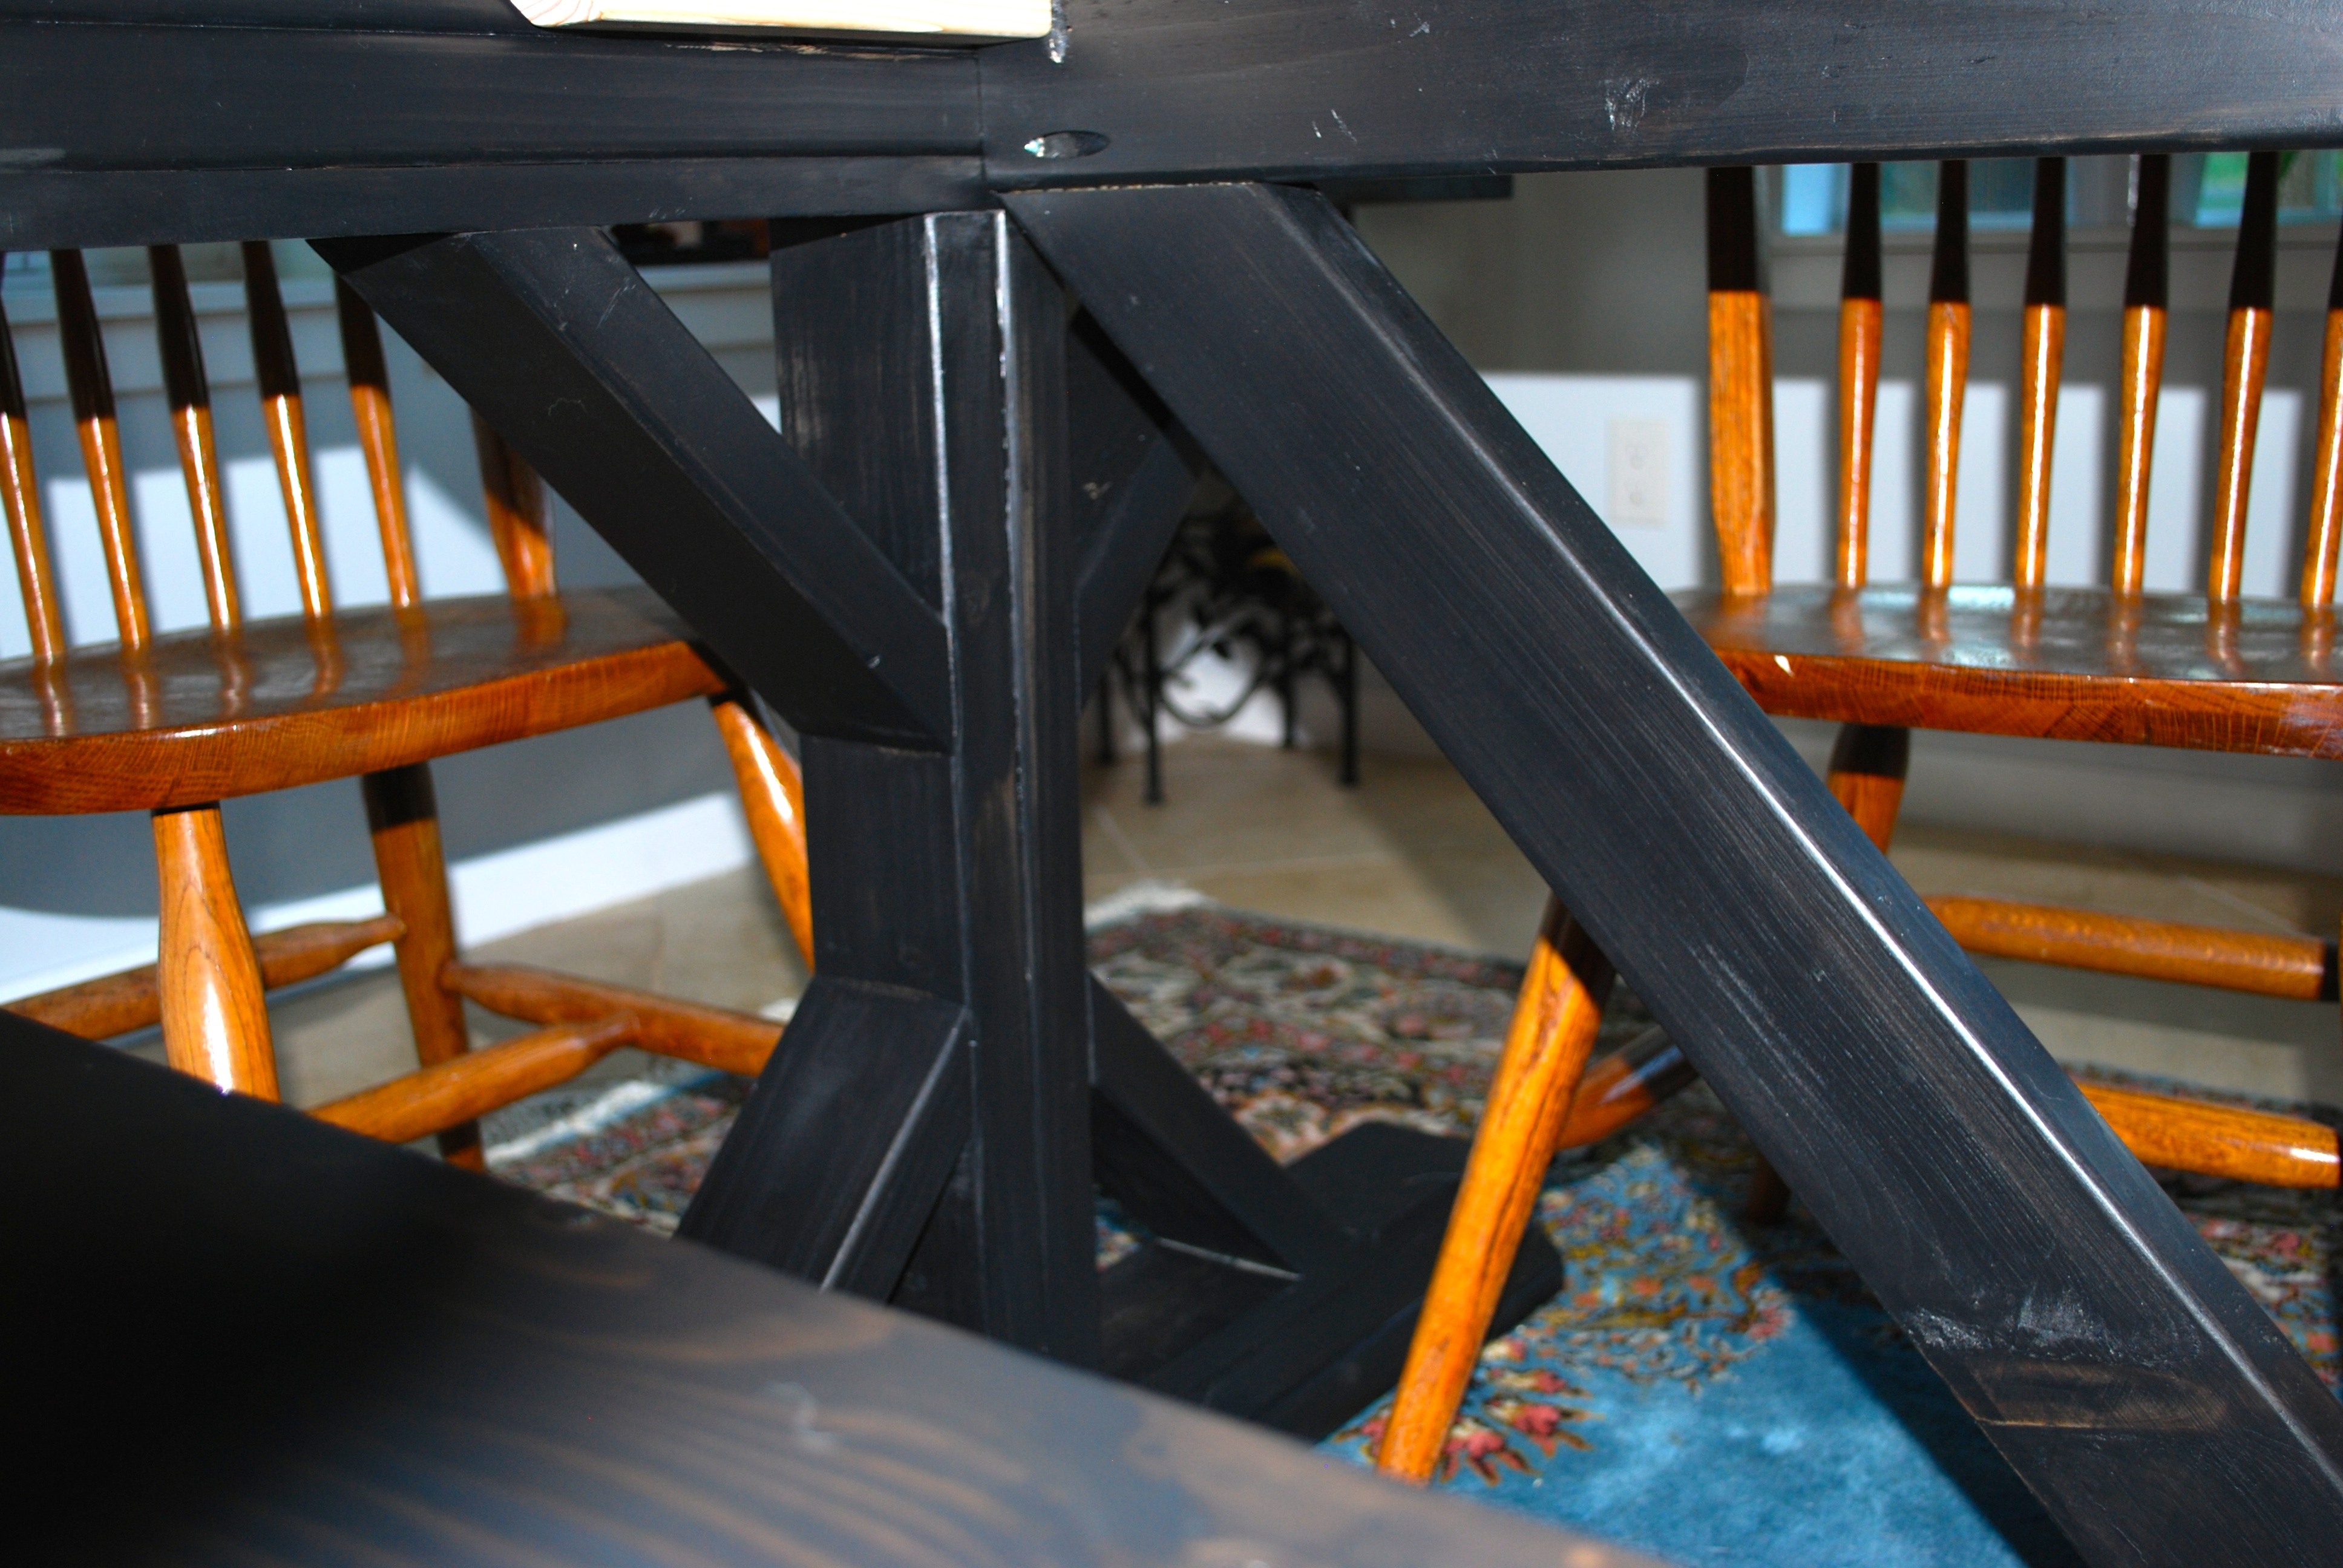
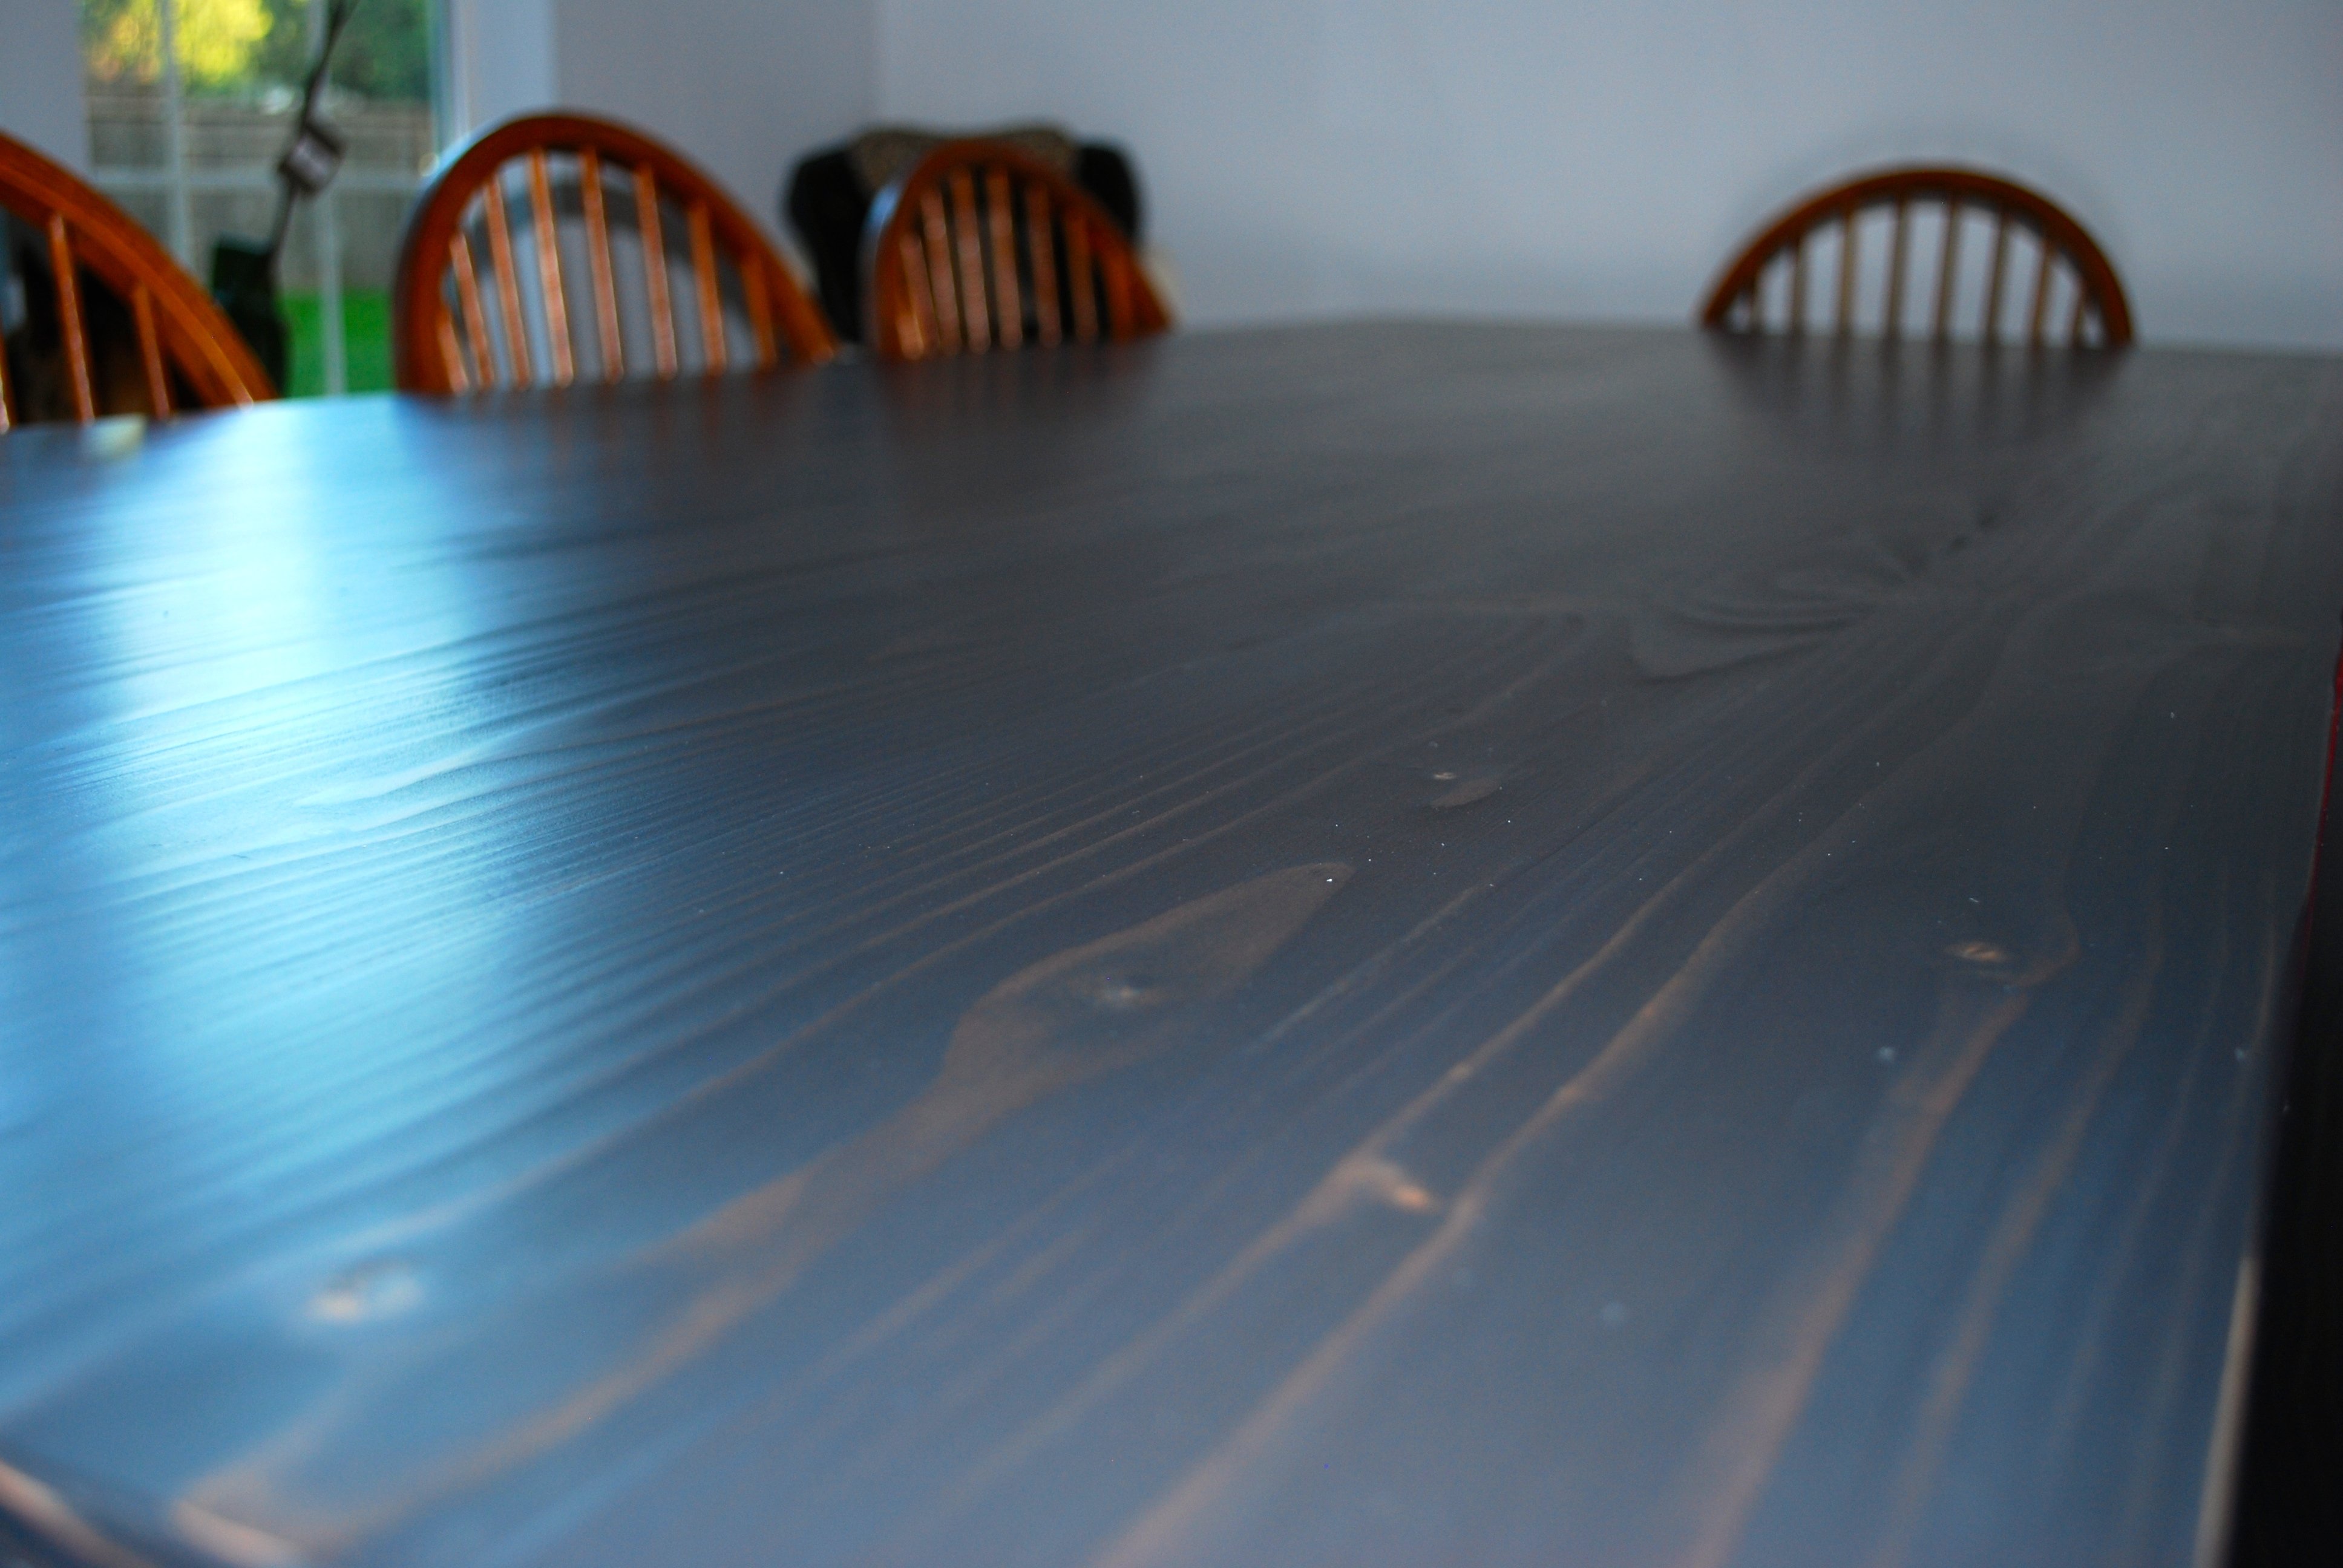
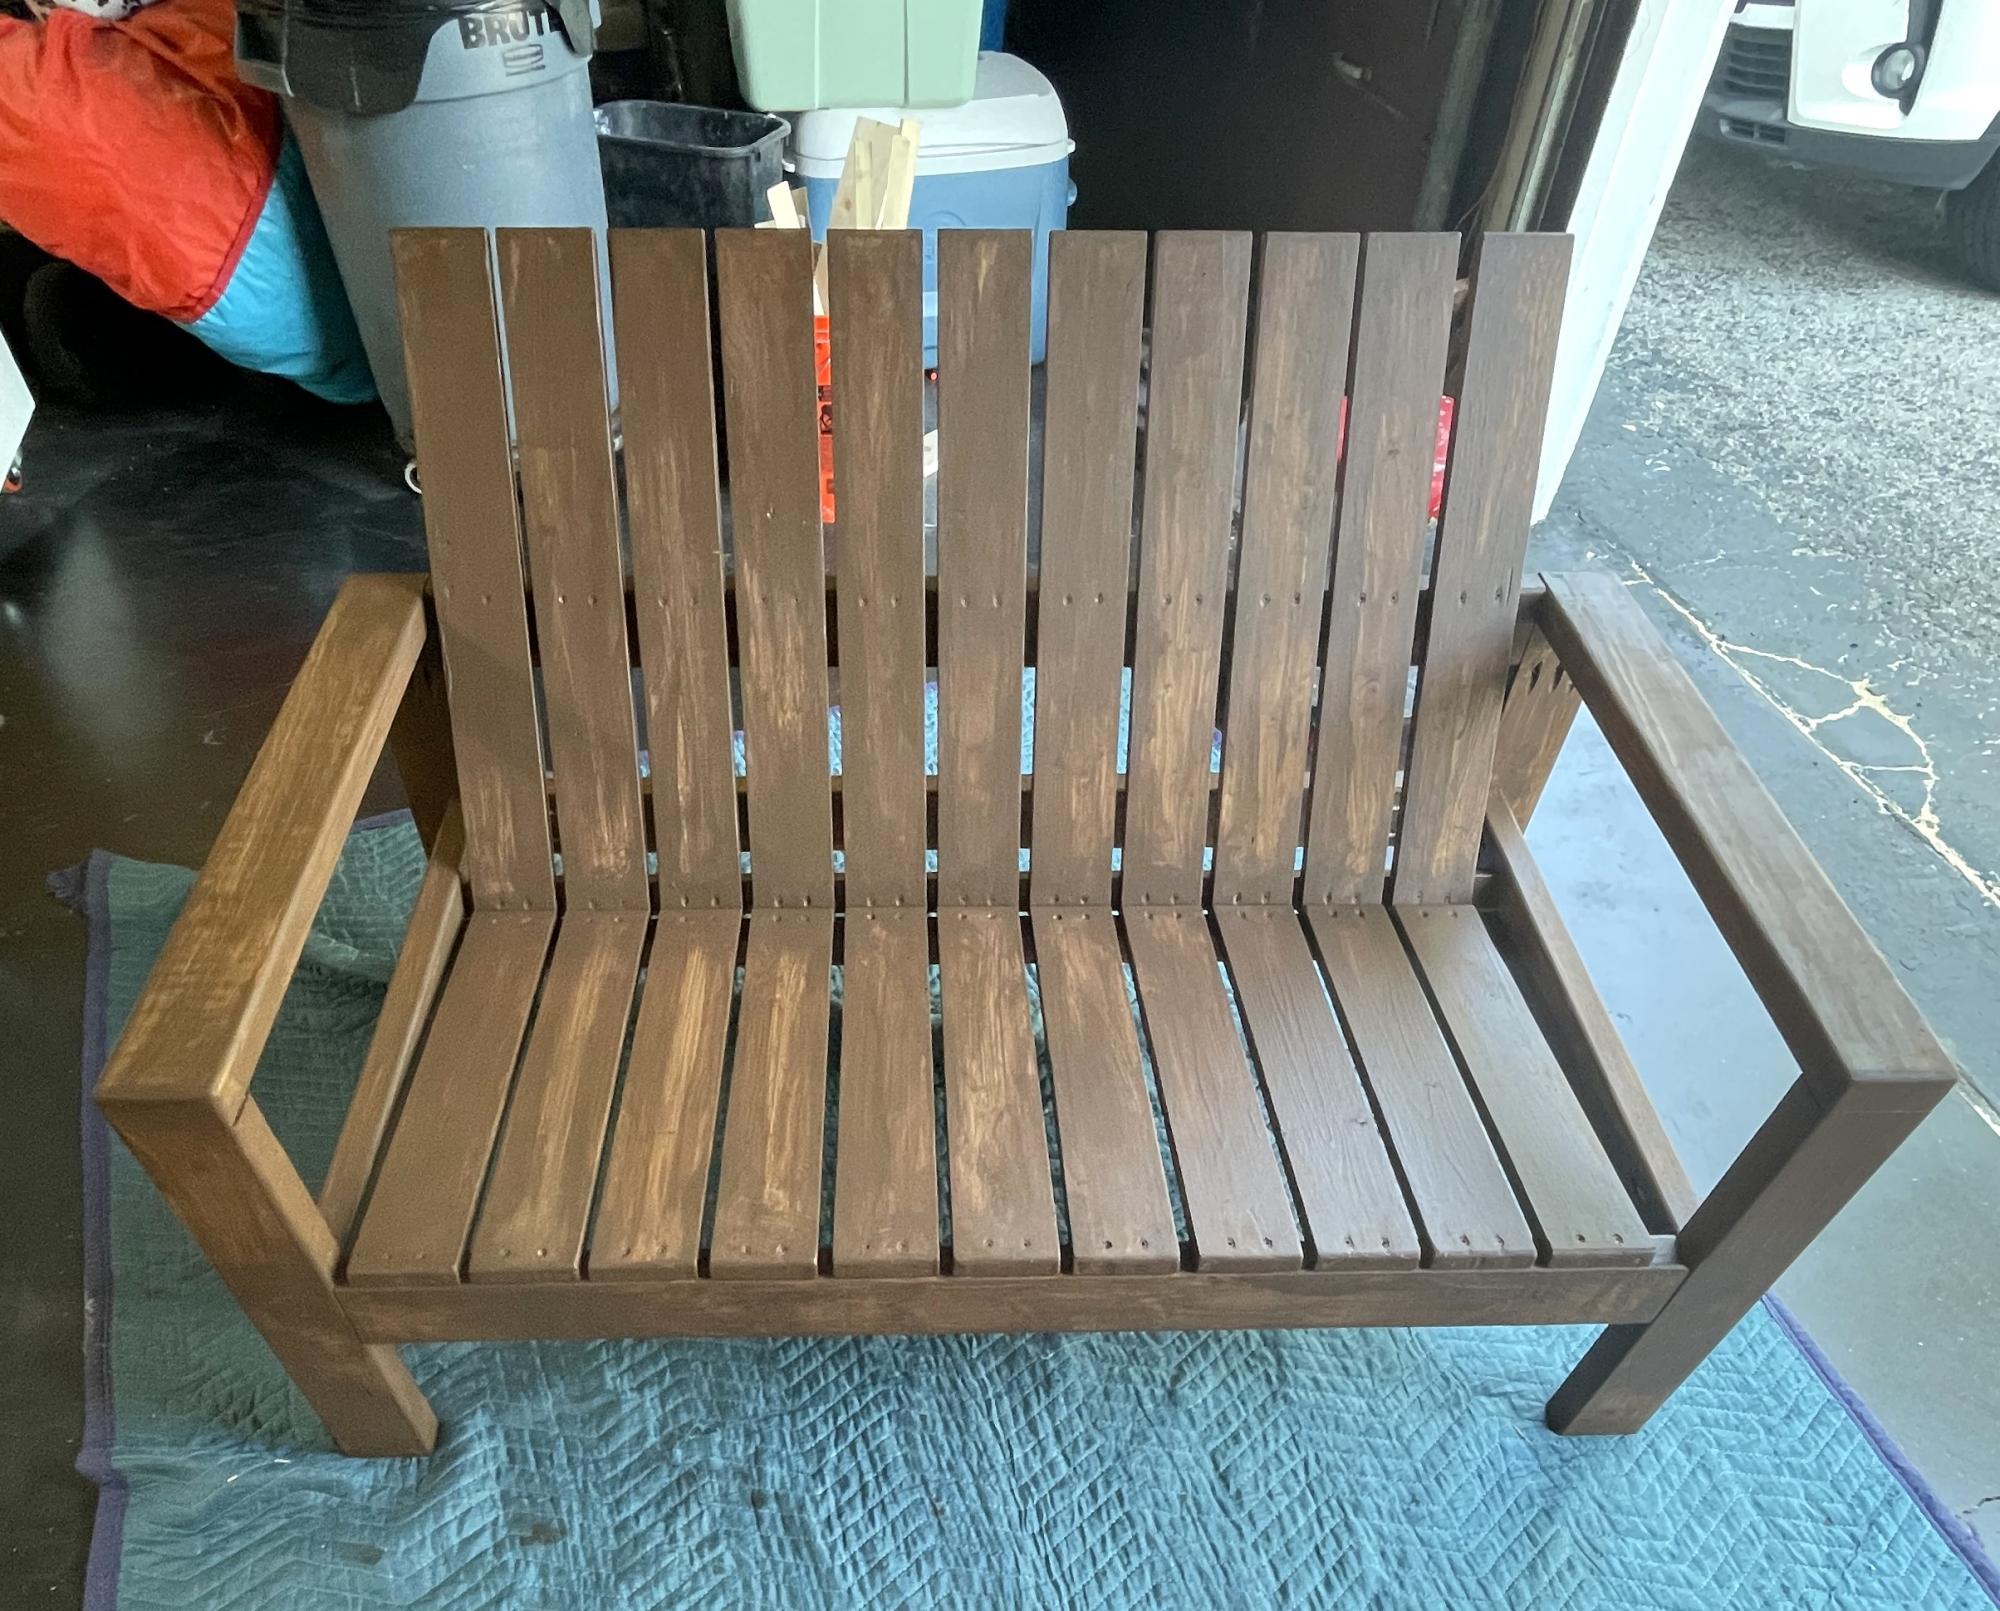
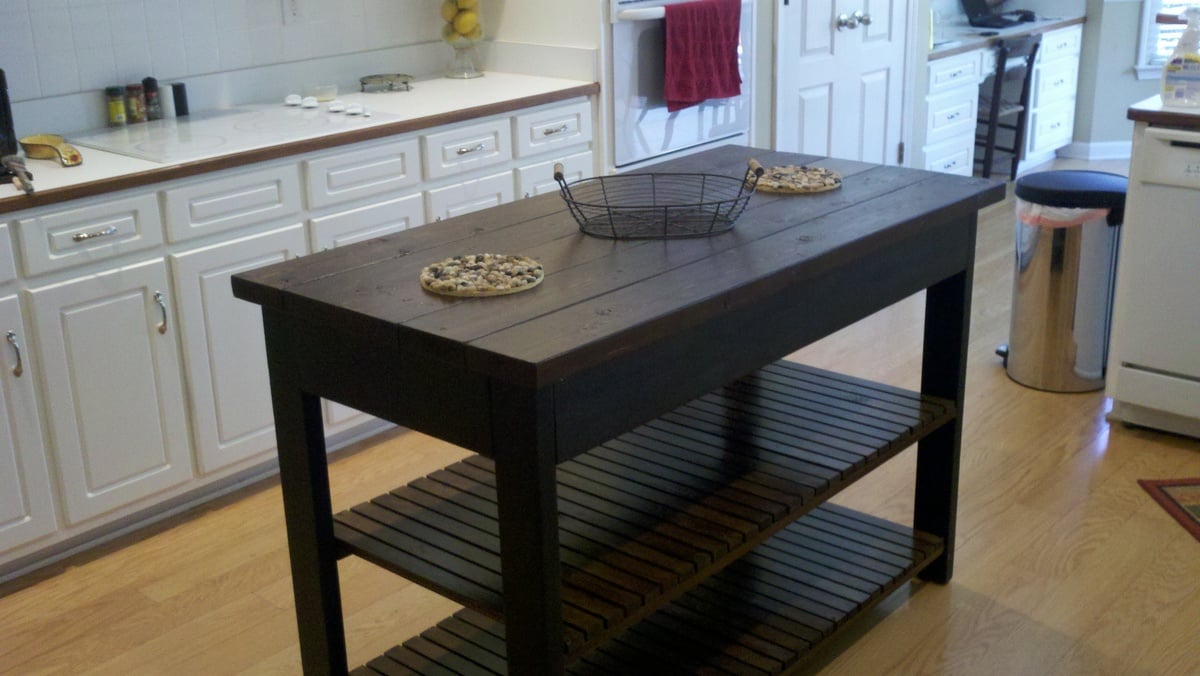
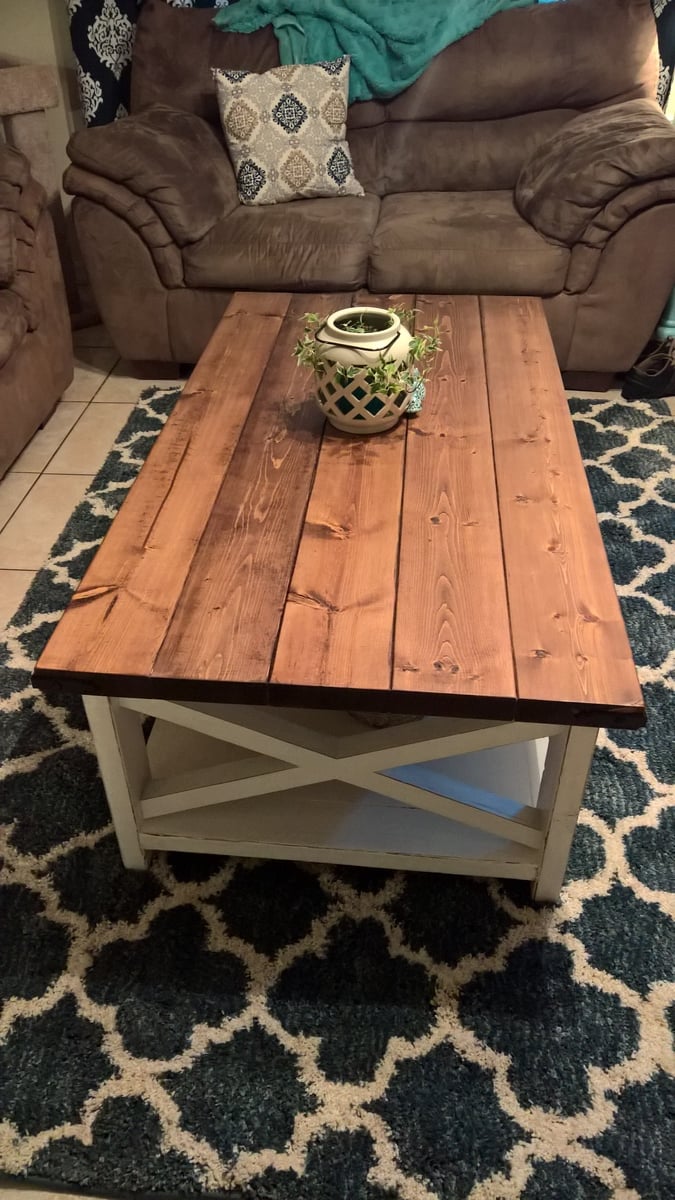
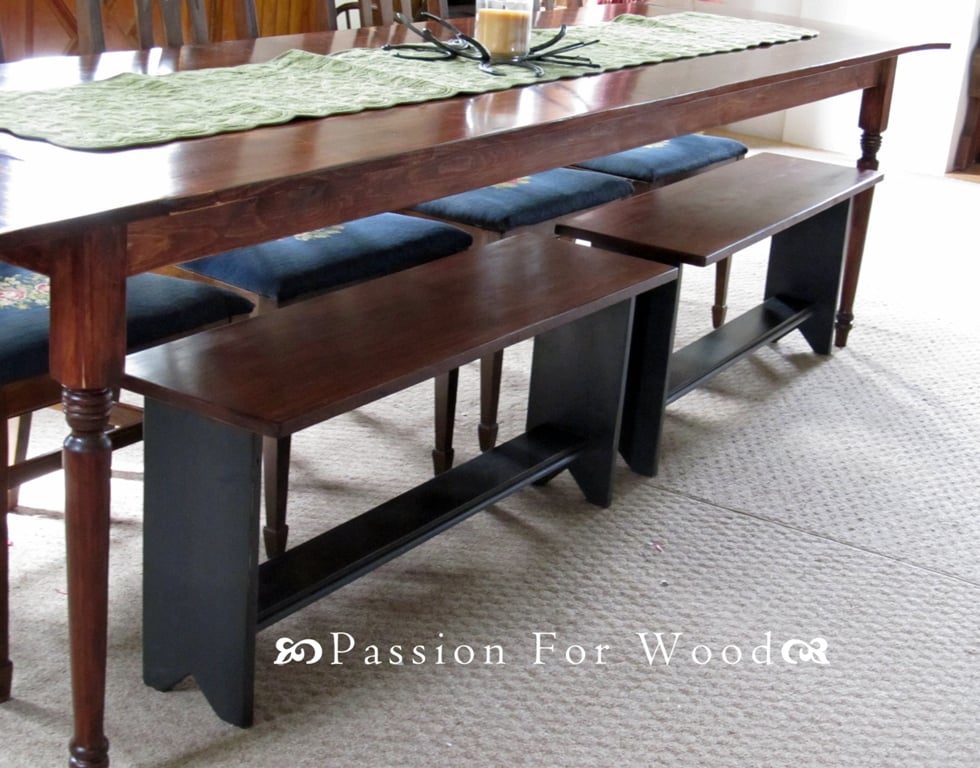
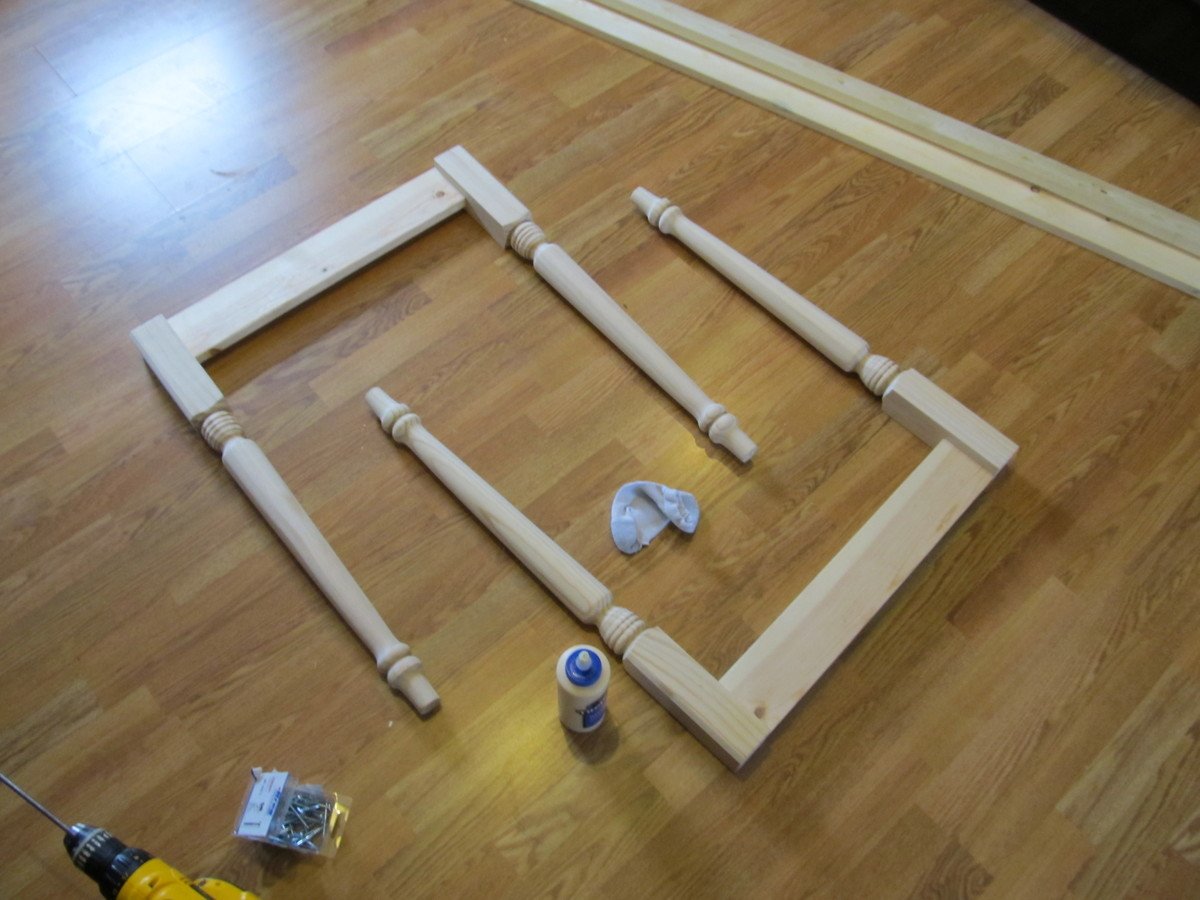
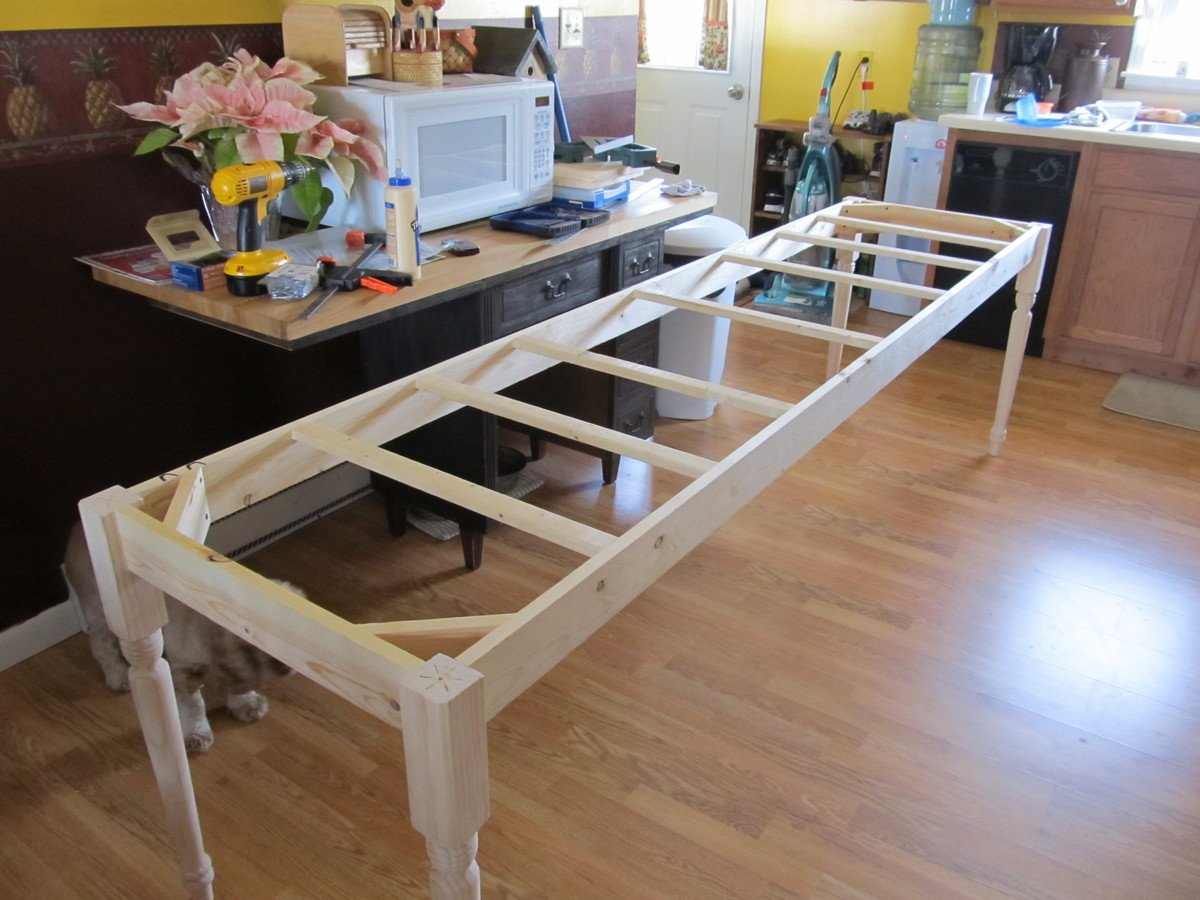
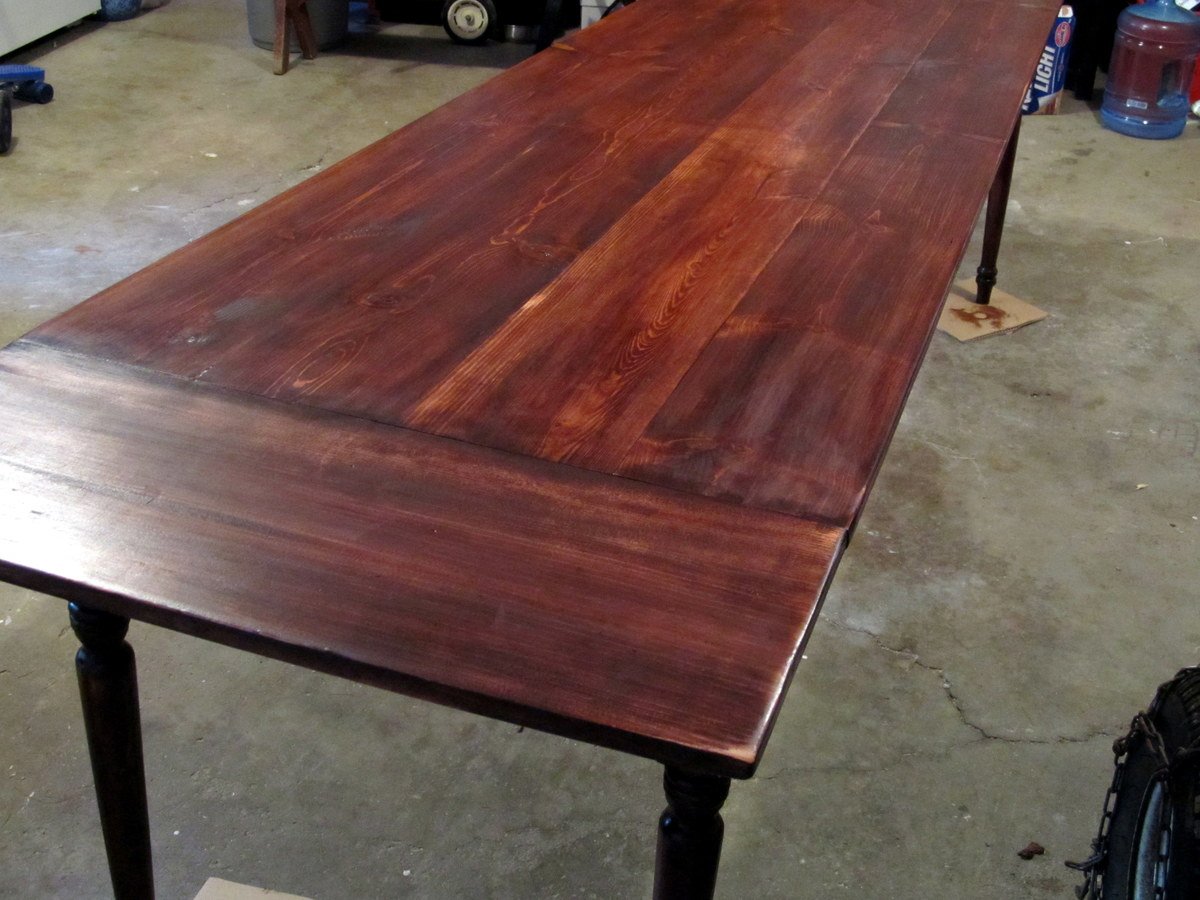
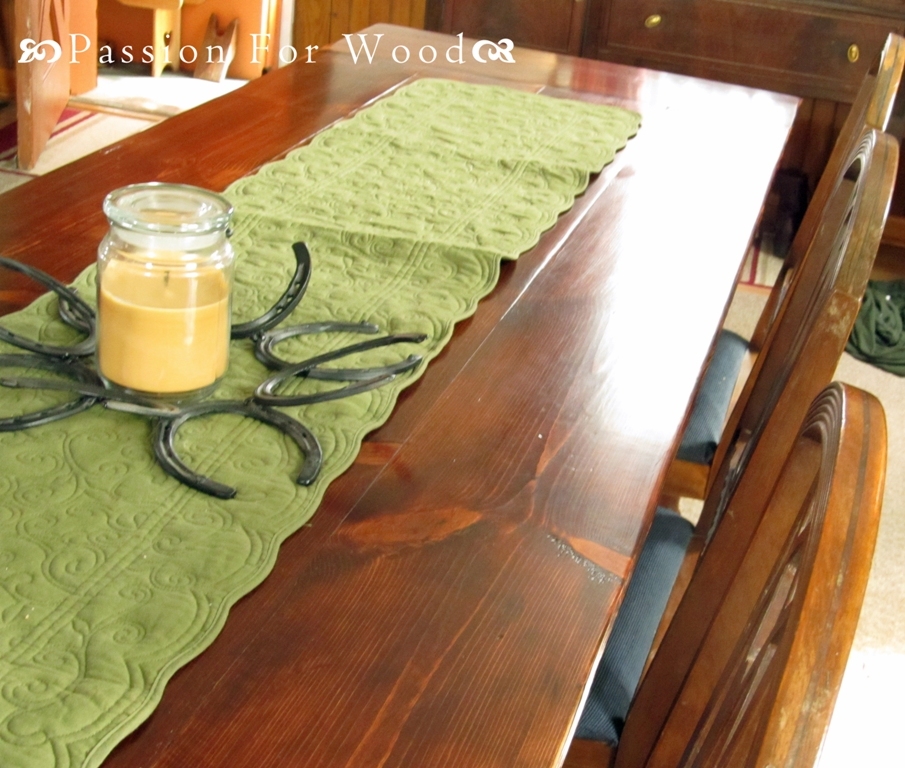
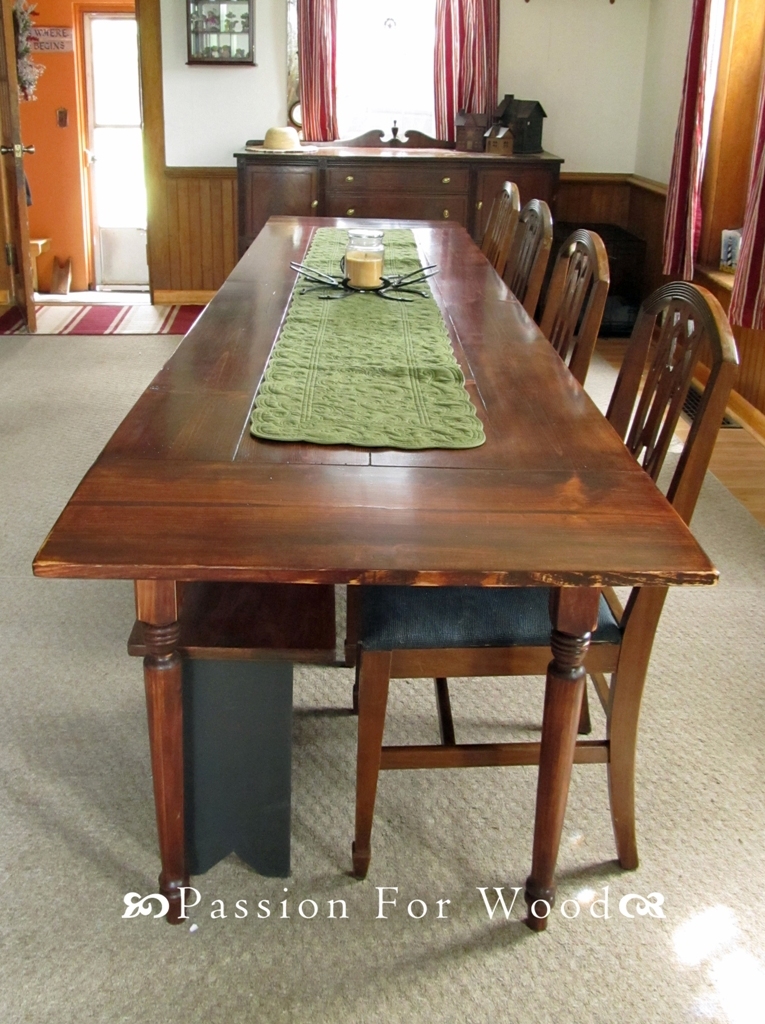
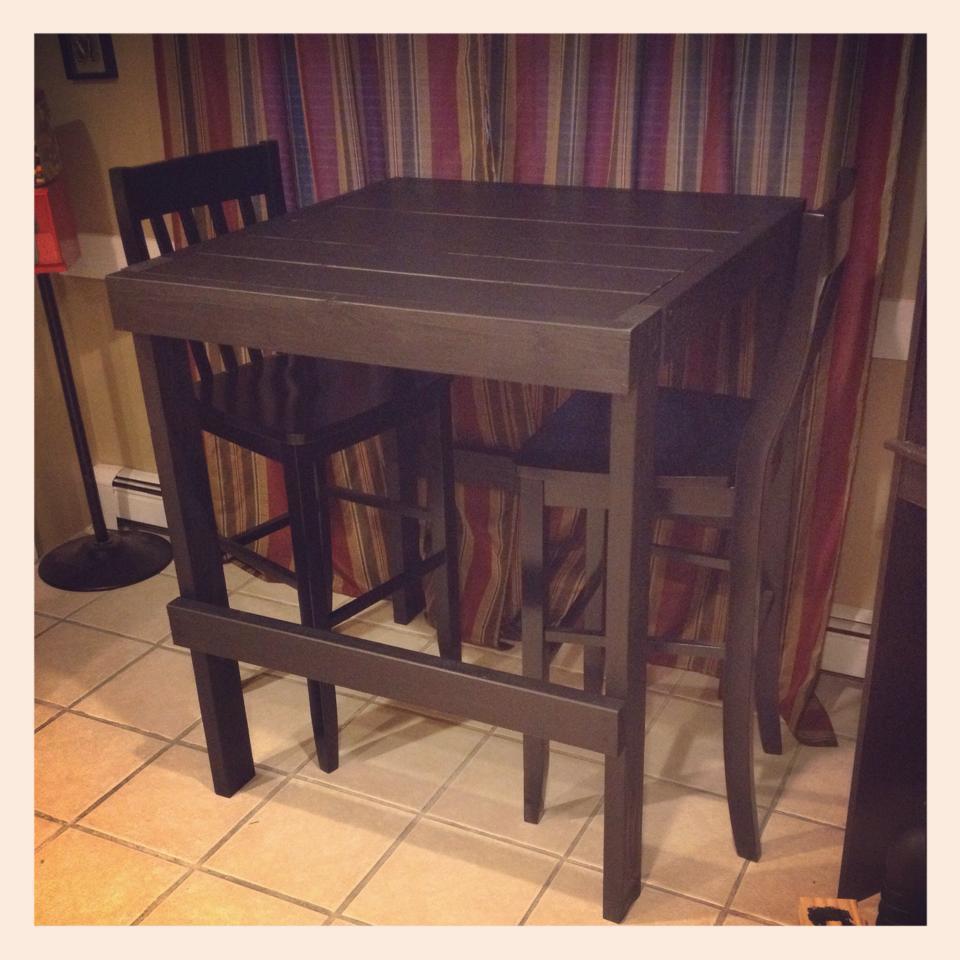
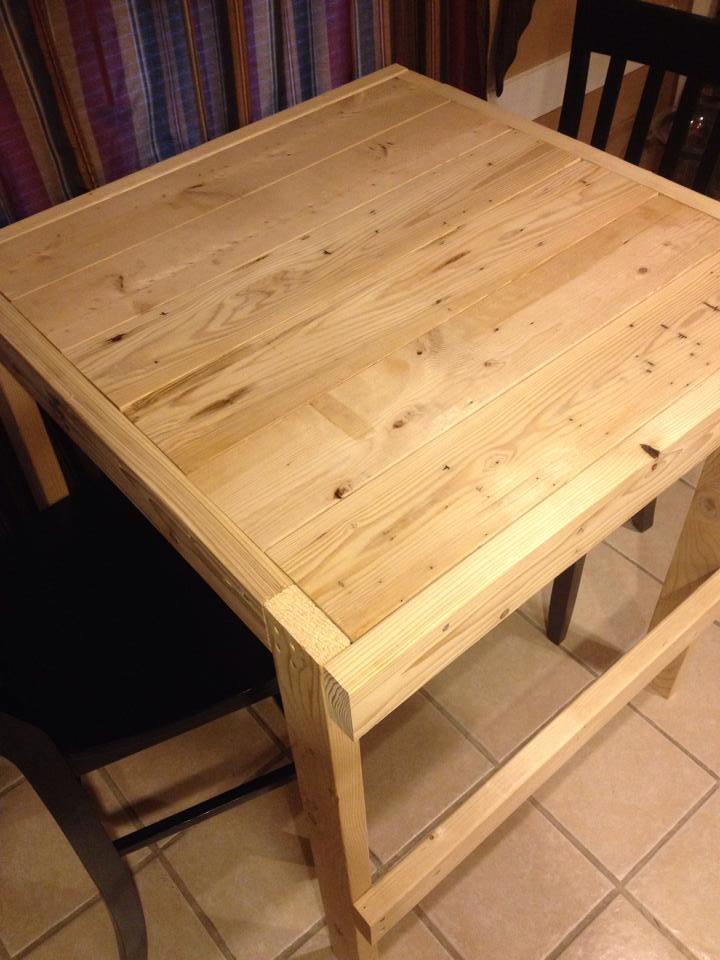
Finally having a house meant that we could finally have family over for holidays, parties, etc. The problem was that we didn't have a table large enough to accommodate more than 4 people comfortably. When I saw the plans on here, I knew it would be the perfect fit for our home which is turning out to be a little bit rustic, a little industrial and very eclectic. While my dad has done some woodworking projects, they have mostly been easy shelves or home construction, nothing like this project. We built the table and built the matching 8ft bench out of approx. $95 of construction pine lumber. We changed the table lumbar from 4-2x10s to 8-2x6s (cut down to 5" width for cleaner edges). My dad did most the construction and I completed the finish. I sanded to 220 grit. We used SamaN Water-based stain in Black (I love that stuff, so easy to use and re-wets so I didn't have any lap marks, although it did wipe off some when I applied the poly) and ZAR Ultra Max waterborne oil-modified polyurethane. The grain raised even more after I laid on the poly. I love how the pine created a reverse grain and has such great texture. We made some modifications, one being that we did not attach the table top to the base. Instead, we added some wood to the bottom of the table to brace against the brace and legs. The table top is so heavy that is never moves and will make it easy to move since together, the table and brace are too heavy for 2 people to lift. Some of the things we learned: always double check the measurements (the base braces were about 1.5" to tall), if at all possible, create a jig to keep the leg pieces square, be careful assembling the base (we cracked one of the braces), and let poly cure for at least 24 hrs even if none of the literature mentions it. If we had the equipment, we would have loved to use a planer and a joiner, but even so, I think it came out awesome. It only took 40 years, but I think that our first father-daughter woodworking project has been a great success. Can't wait to work on our next project!! Thanks Ana-White & Shanty 2 Chic for some great plans!
Estimated Cost
$95 for lumber + $55 for materials (screws, stain, poly, etc) = $150
Estimated Time Investment
Week Long Project (20 Hours or More)
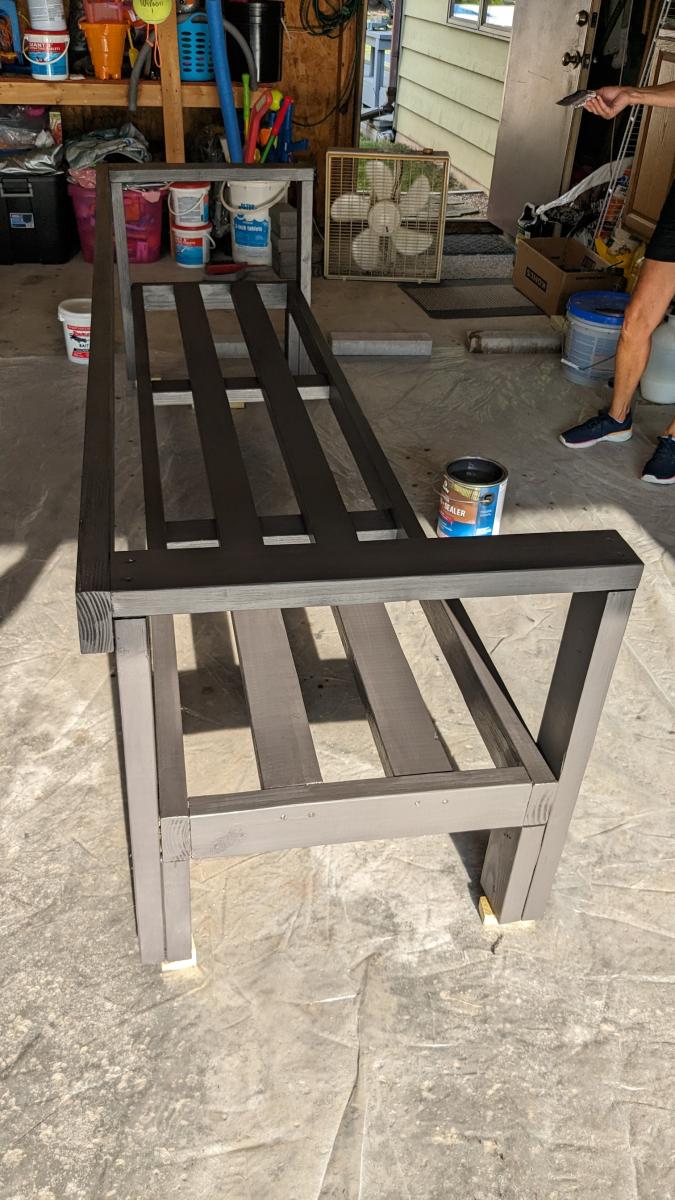
Finish Used
Sand with 220 grit (for table and bench tops, I raised the grain before knocking it down with the 220 grit), stained with SamaN water-based stain in Black (my lumber came from 2 different stores, the 2x6s came from a local lumber yard which took the stain better than the other lumber picked up from Home Depot, so the Home Depot lumbar all got 2 coats of stain. Poly'd with ZAR Ultra Max Waterbourne oil-modified polyurethane with 2 coats (although I will probably add more coats in the future). I sanded with 400 grit between coats although I don't think I needed to. I used the brush-on instead of wipe-on and so it was not the easiest to use, but I've heard it could have been a lot worse. Definitely let the poly cure for 24 hrs at least even when your literature does not indicate anything.
Recommended Skill Level
Intermediate