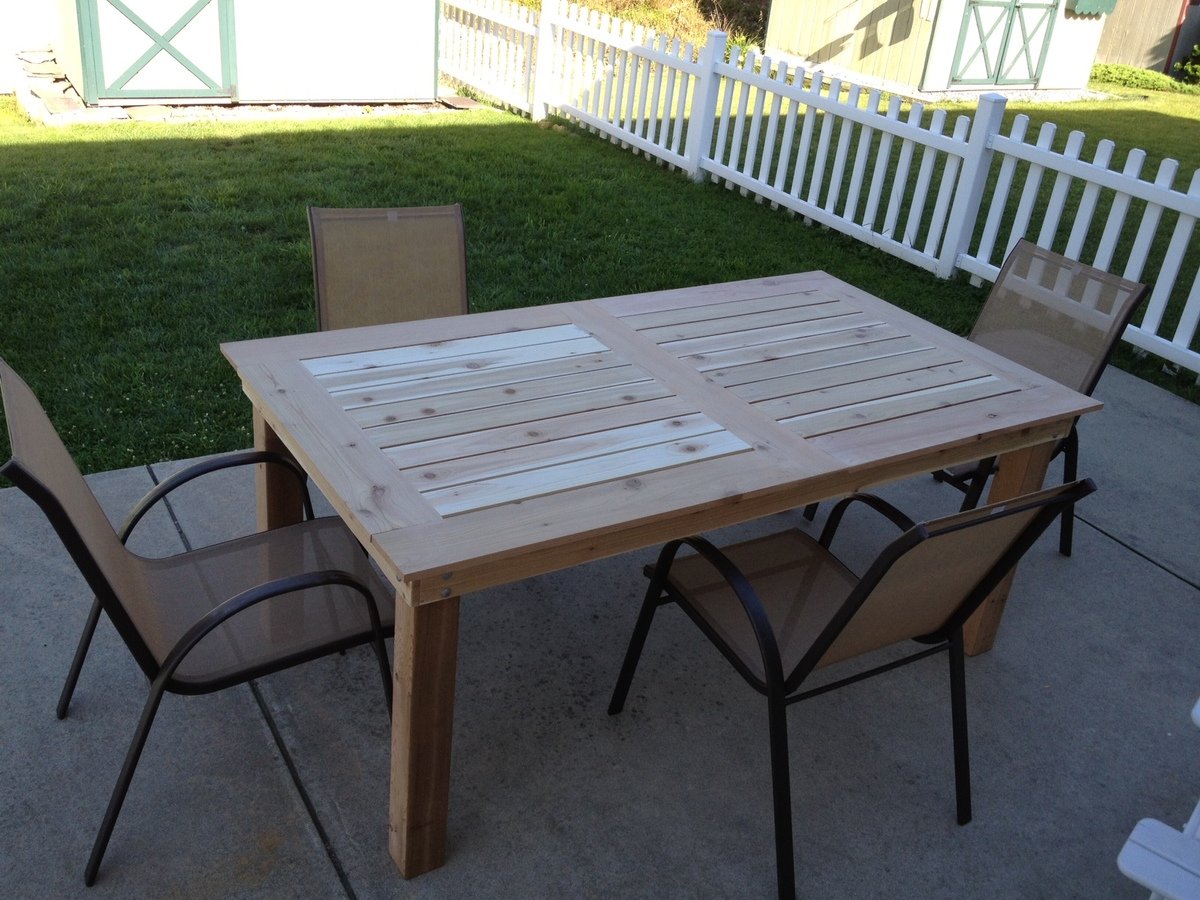
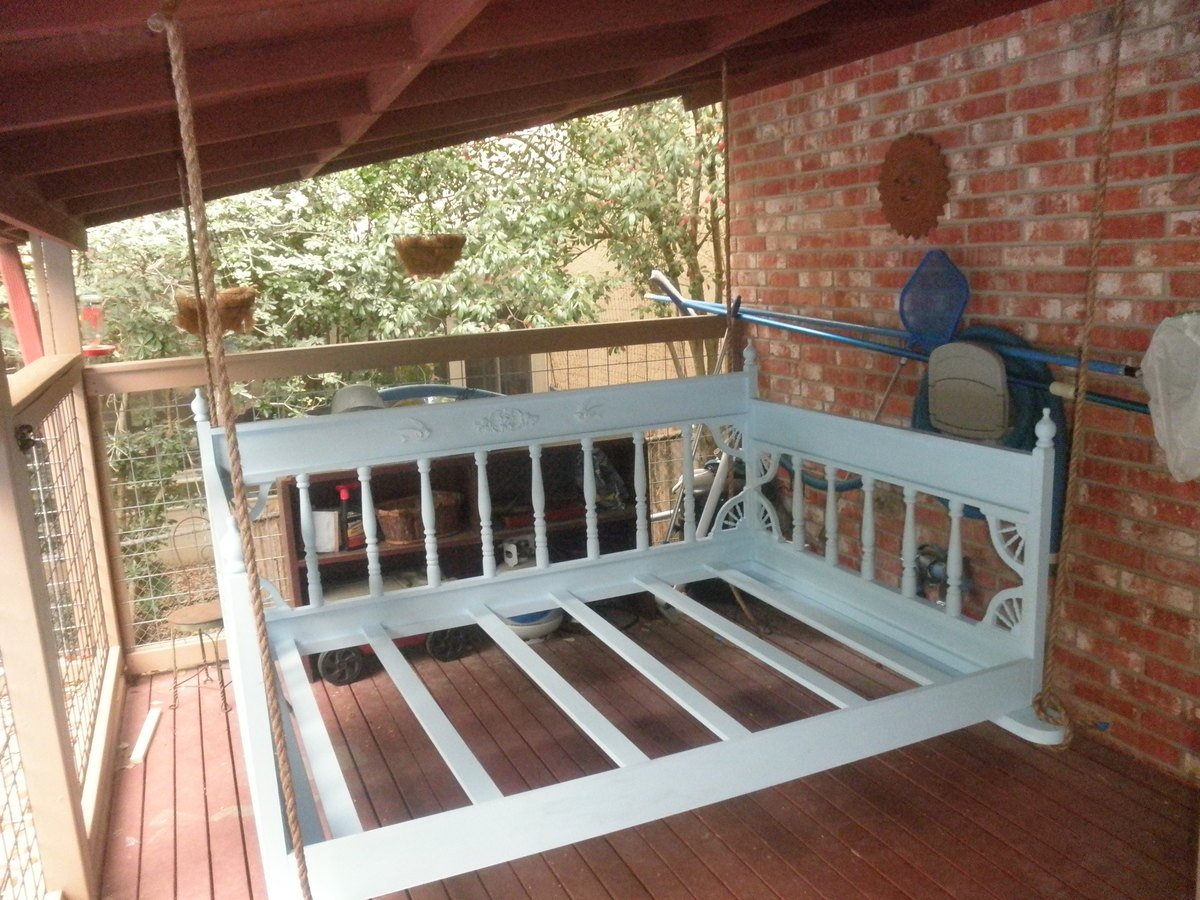
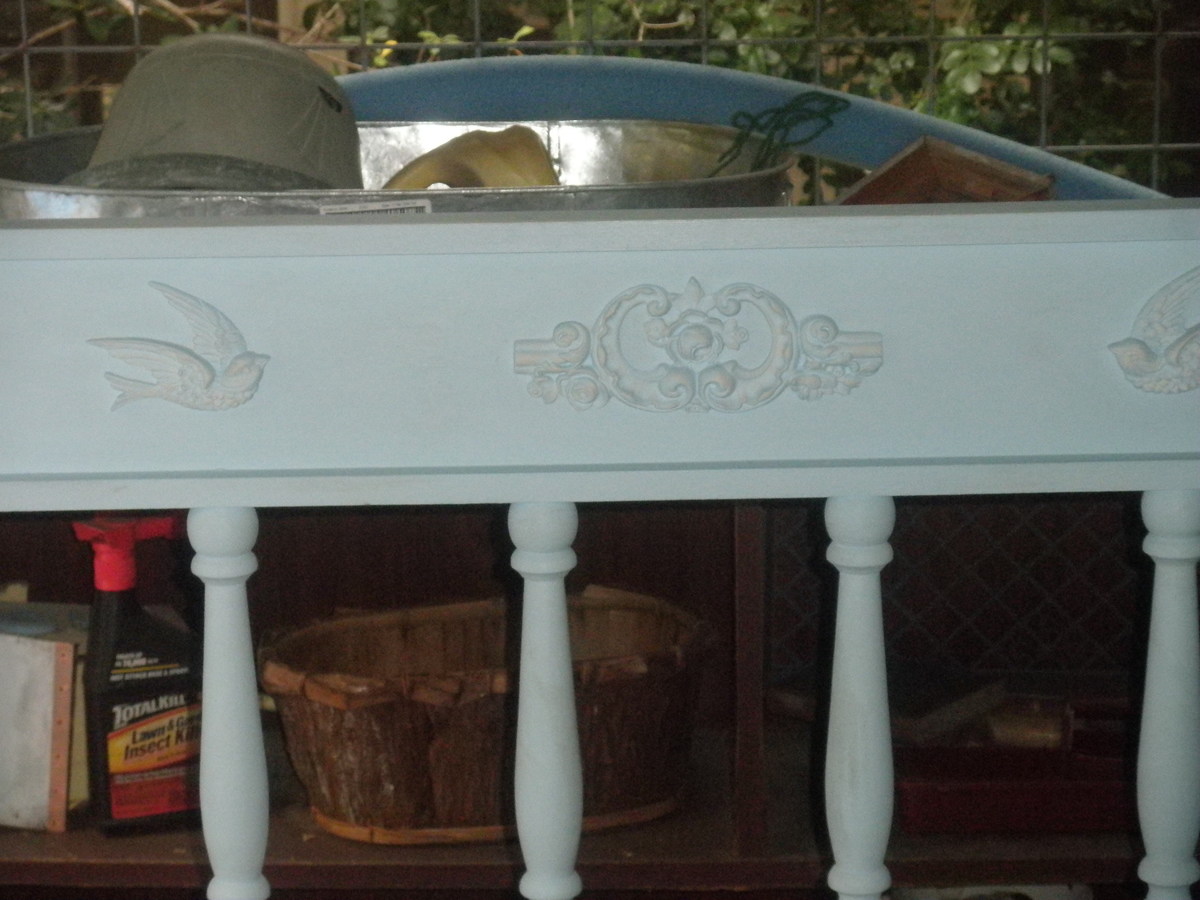
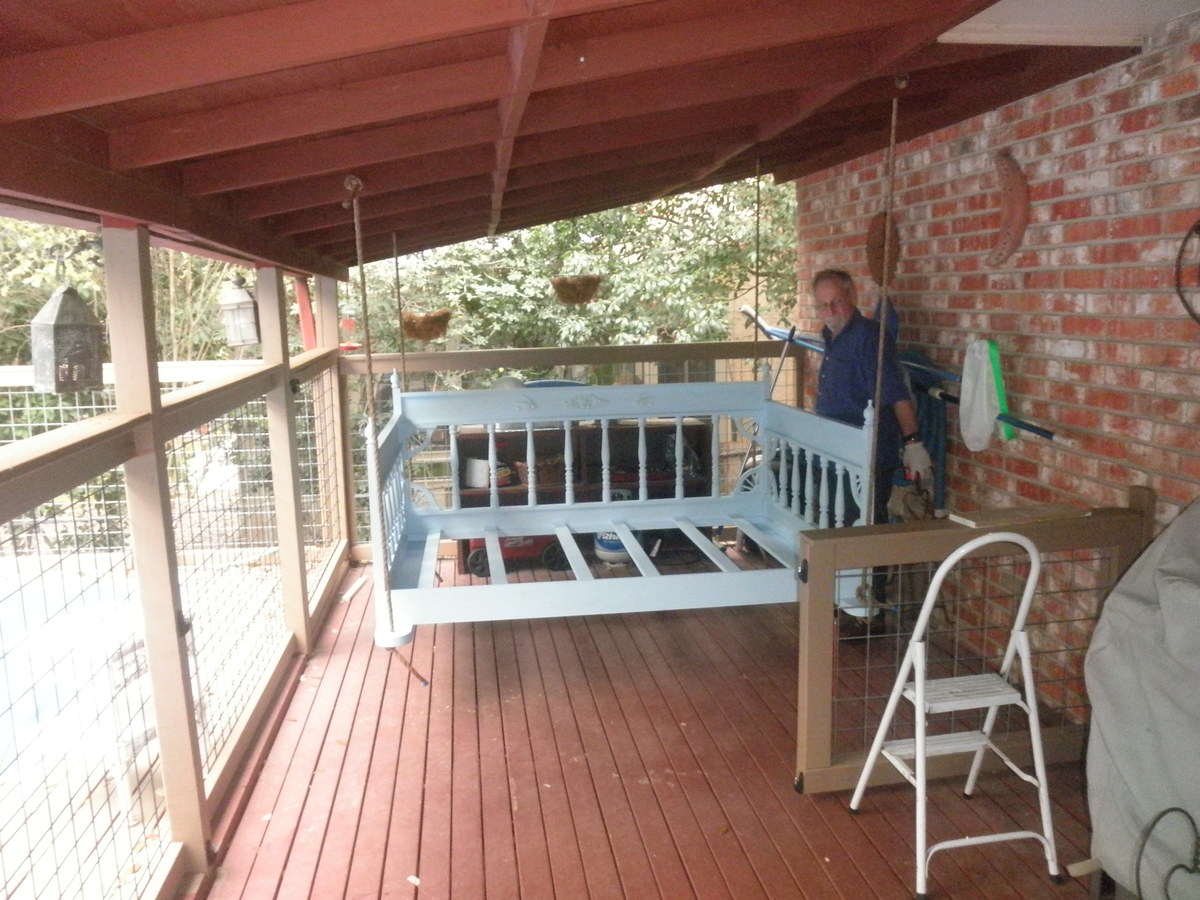
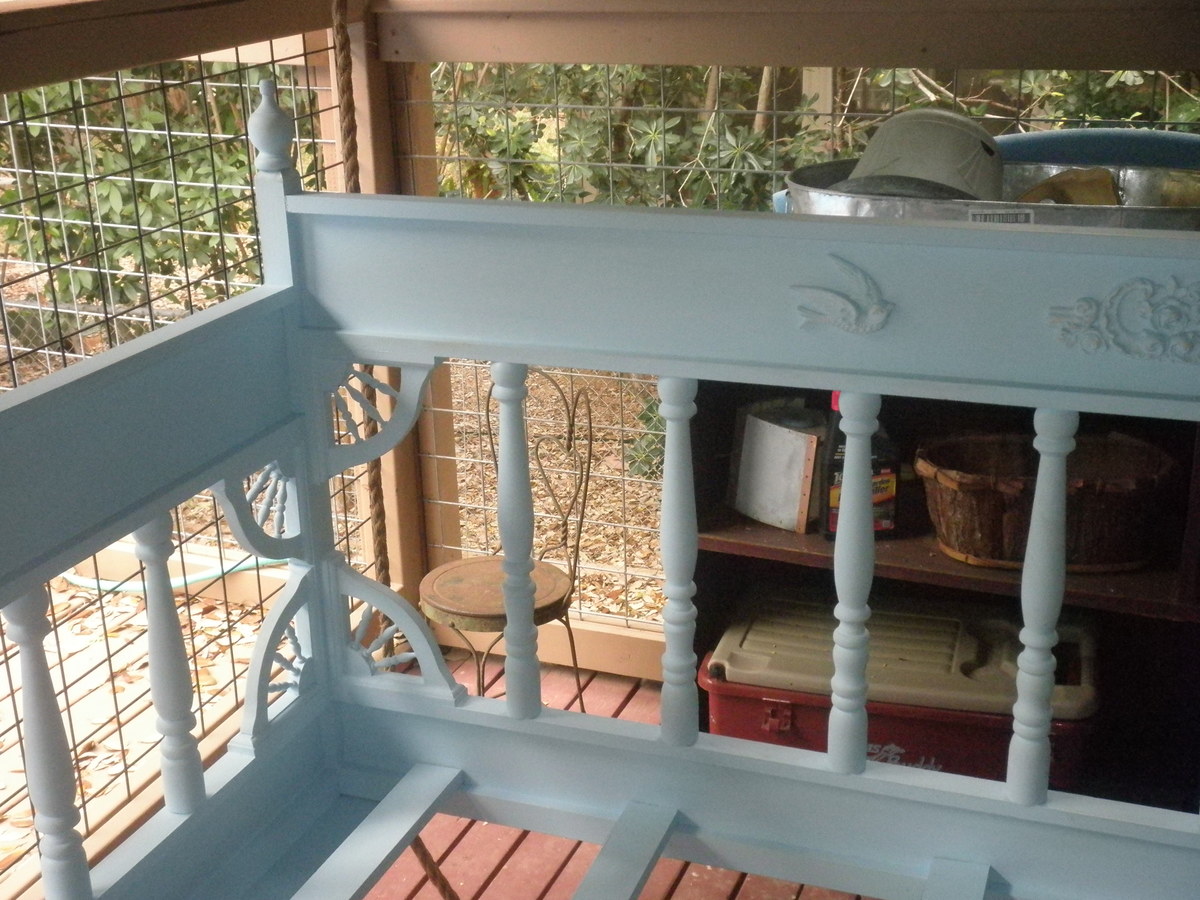
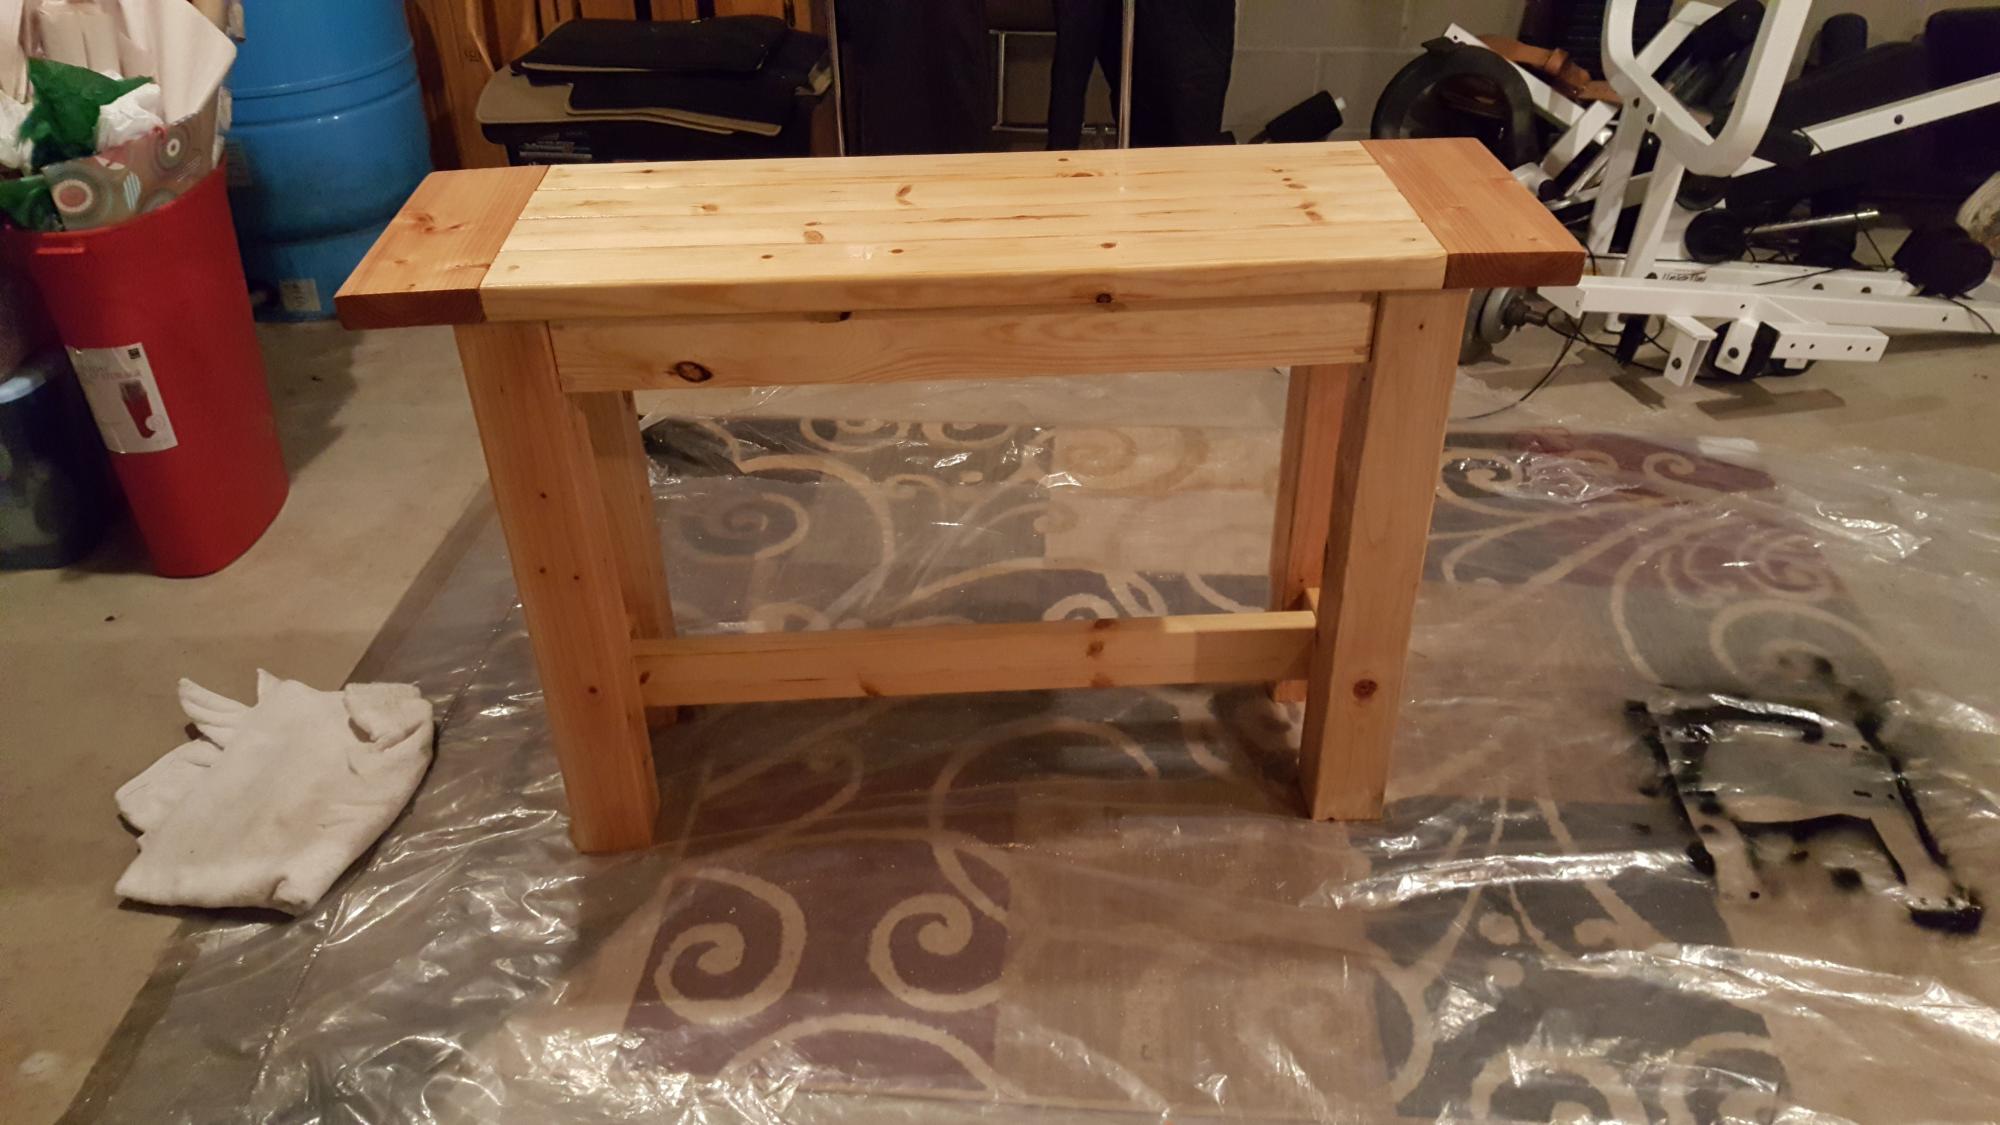
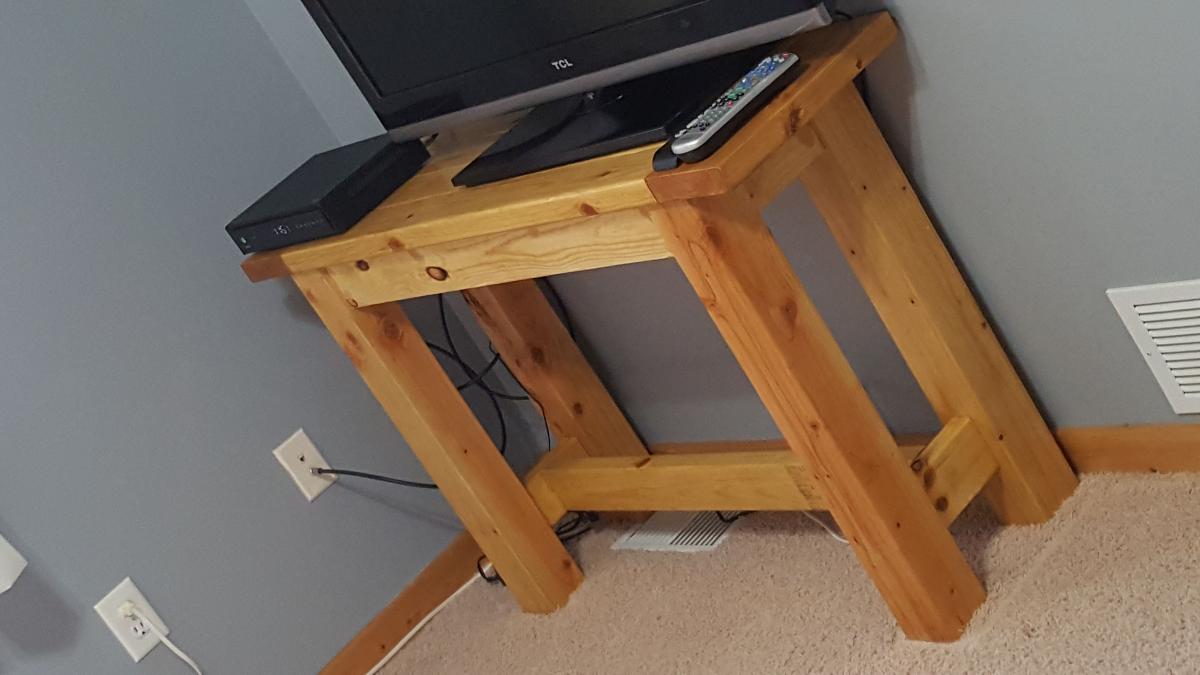
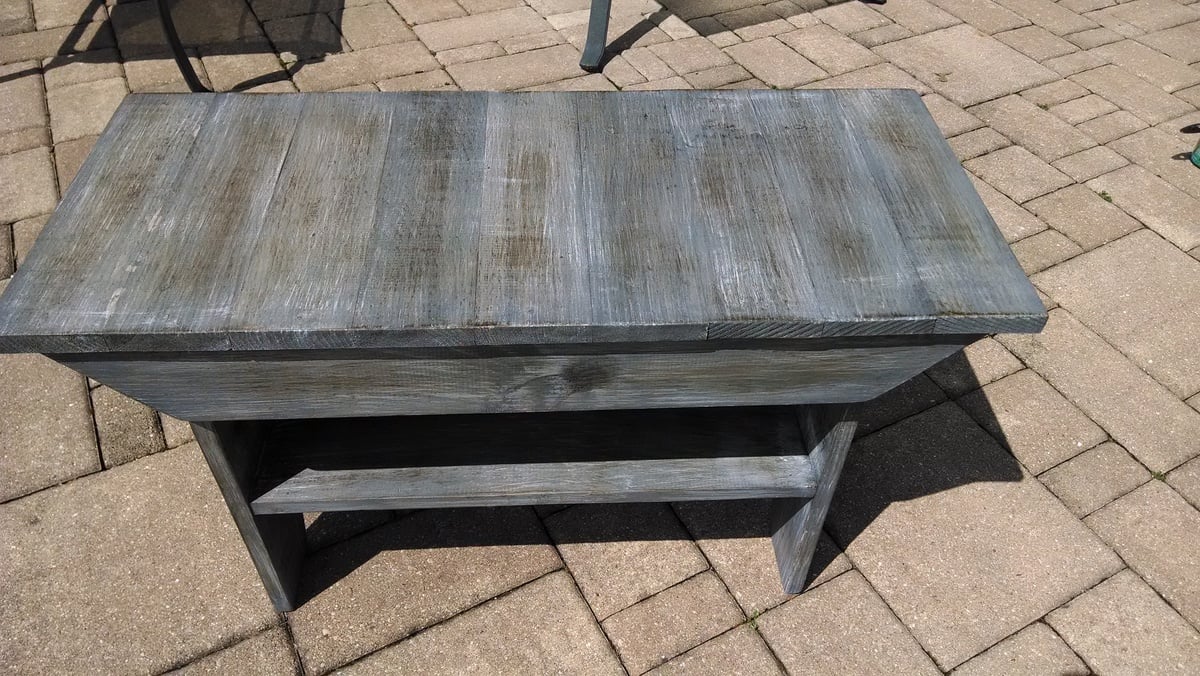
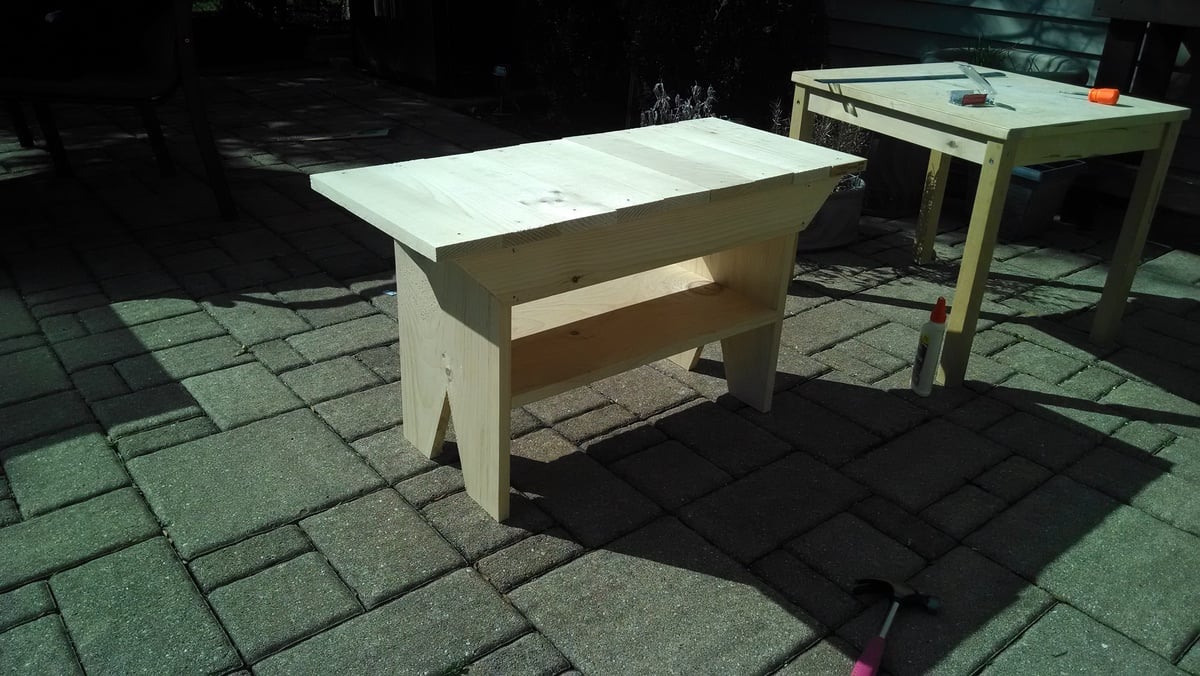
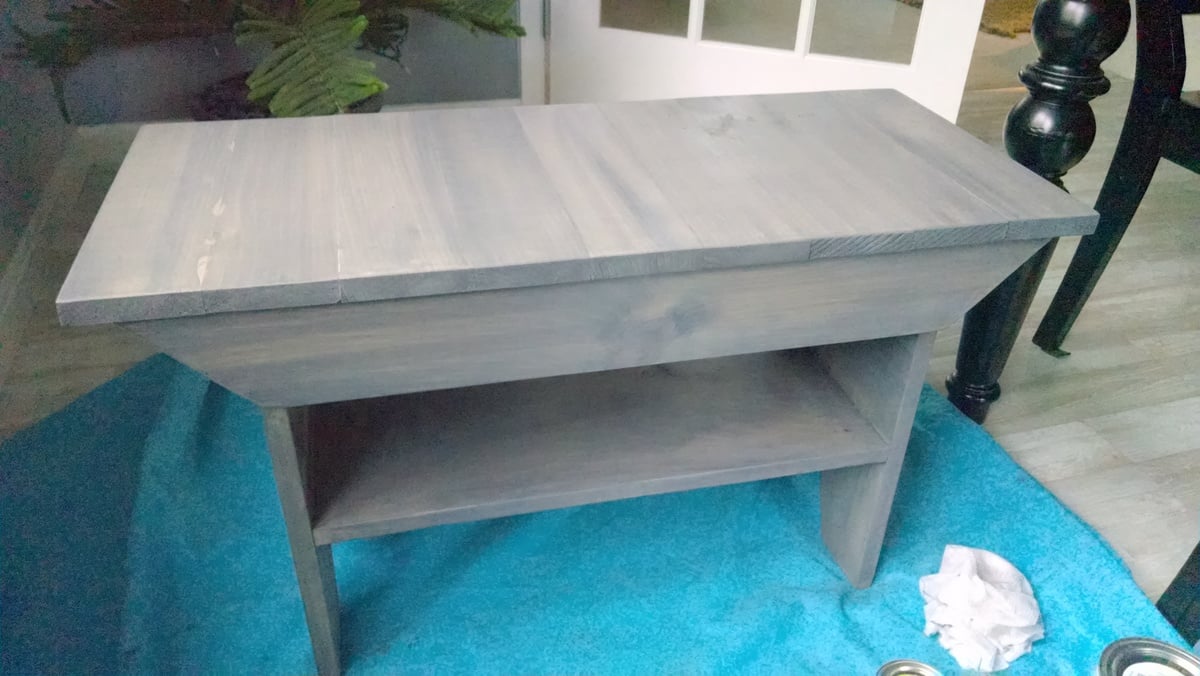
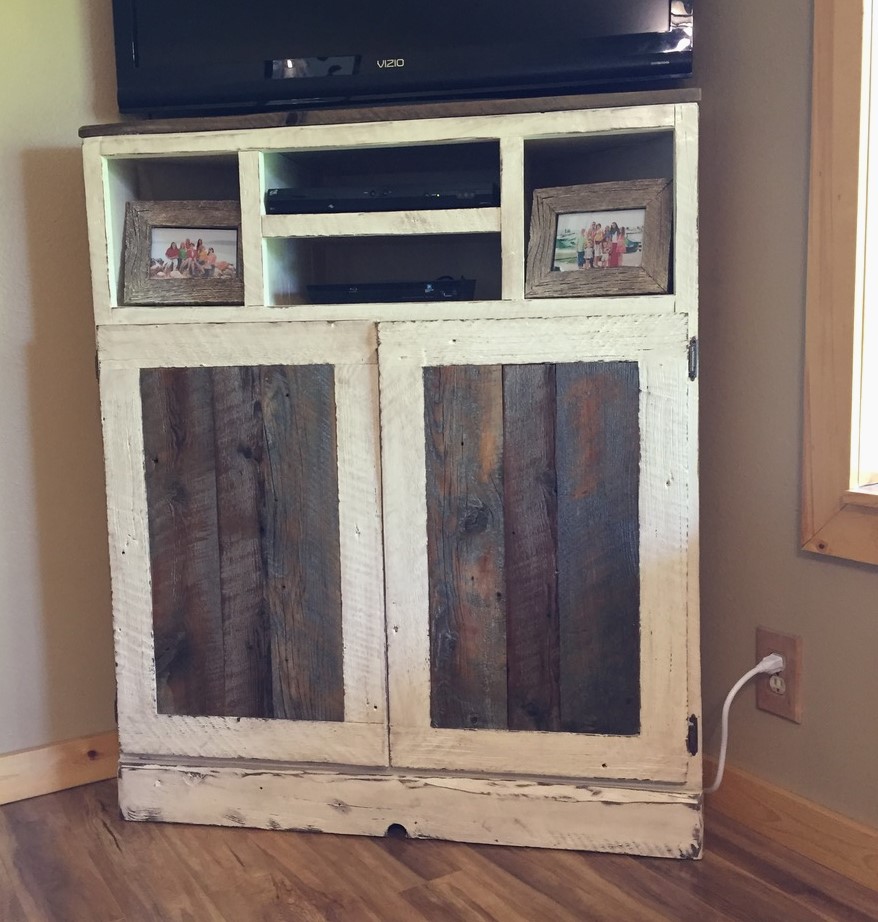
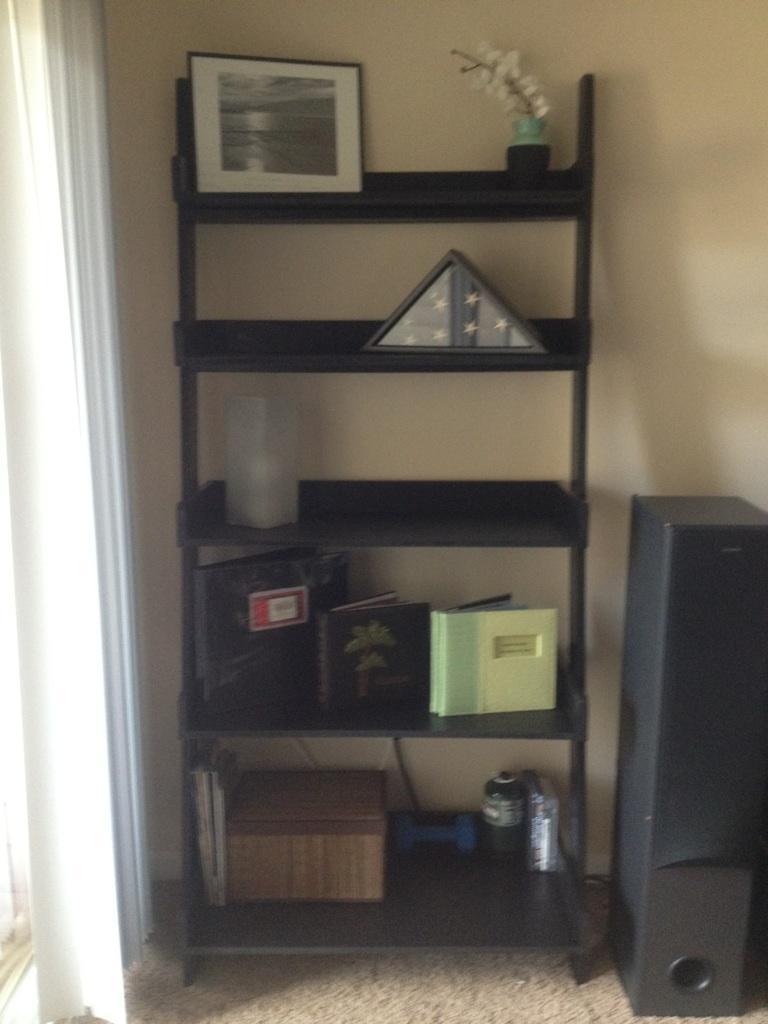
Simplest Console (first furniture project)
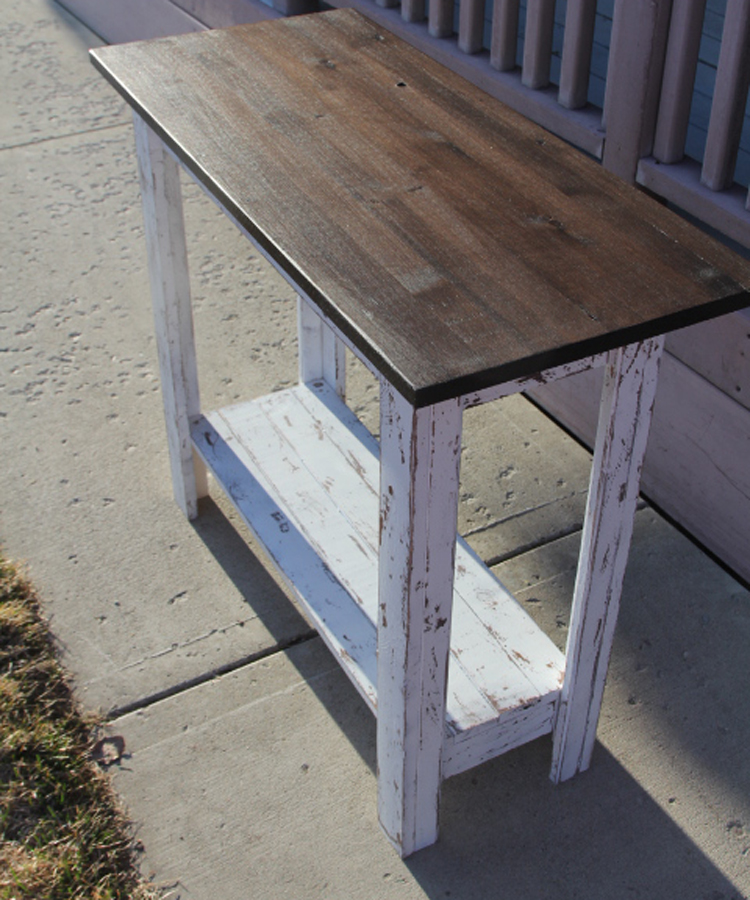
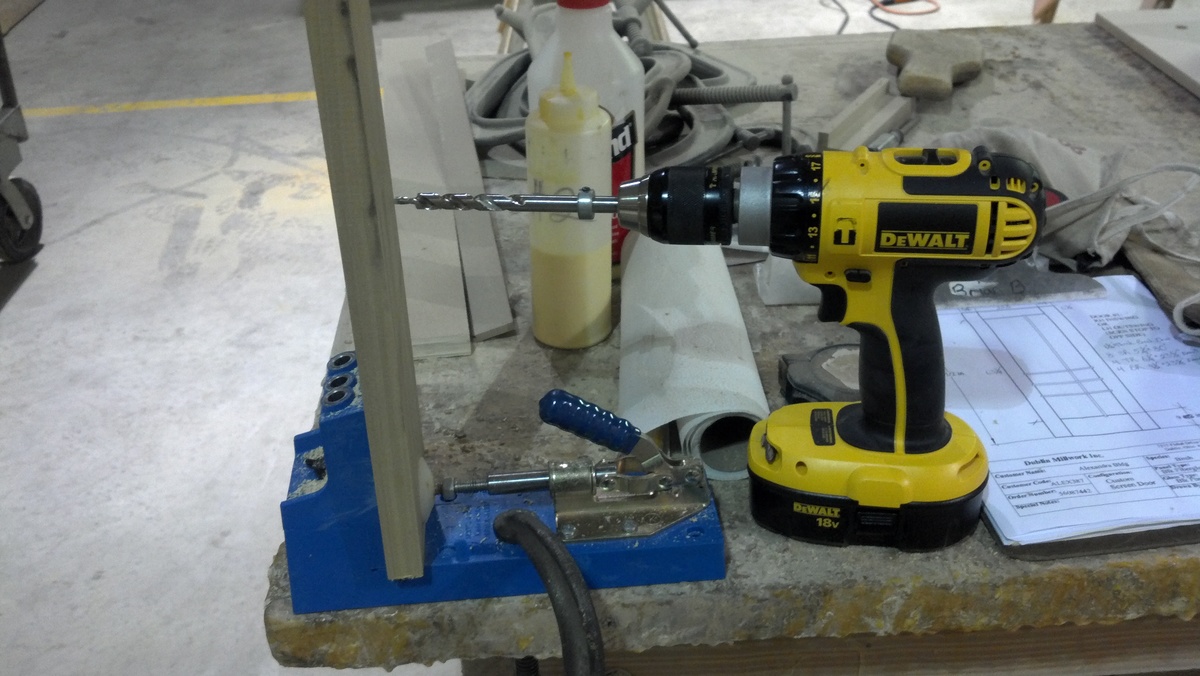
First furniture project with my Kreg Jig. Went smoothly. Loved the plans and how descriptive they were. This is a great beginner project. It only took me about 2 hours to complete.
Slight modification to the original plans. Used all 2x6's across the top and added capped ends. Used 2x3s instead of 1x3s. Cuts and assembly were not time consuming, sanding was!!
I've wanted a place to hang our hammocks for a few years now. We have some really nice hammocks from a local artisan. This past weekend, we built the framing with intentions of making it a pergola at a later time. With encouragement of my son & boyfriend, we decided to add the pergola on Sunday. I liked this plan because it wasn't as complicated or expensive as a lot of other plans out there that use 2x6s instead of 2x4s. Adding the angle brackets really solidified the whole structure. I'm so thrilled with this project! Unfortunately, today (Monday), it's raining, so I can't go hang out there.
DIY Floating Shelf
Project took a lot more time and patience than the last few little ones that I have done. I like the simple outdoor table but wanted a little bit more. I used the basic concept and mixed it with a patio table from PB that I really enjoyed but didnt want to pay $800 for. The table looks fantastic and am still debating on what type of finish, if any, to use. Hoping to make the matching bench soon for one of the sides of the table.
Wed, 06/13/2012 - 19:43
Your table looks beautiful! Have you consider Teak Oil?
I have wanted a swing bed for ages and got hubby on board with this. We built a full size bed (plenty of room for me and all 3 grandkids!) using poplar. I had the turned dowels from a major score at my Habitat Store several years ago. $2 per dowel! I wanted an old fashioned look and so added the corner brackets to all sides and the resin appliques on the back.
I primed with cream colored ceiling paint, an "Oops" paint from my neighborhood home improvement store. The baby blue was another "Oops" paint - another score- only $5 for a gallon of Valspar eggshell. After a very light distressing, I finished it with a paste wax.
I make the design and drawing and Hubby makes all the cuts. I joined all with biscuit joinery for a strong and solid piece.
We hung it from the ceiling joists with 1" manila ropes, added lots of pillows and plants and it is my happy place. A night blooming jasmine adds a heady fragrance that puts me right at peace ... A great refuge from a crazy work day!!!
I threw some plans together for this. Going to make another one and tweak it a little but overall I'm happy with the way it turned out. I used dark walnut stain and 4 coats of poly.
Fri, 12/25/2020 - 07:20
looks amazing i would love to see some plans for that
This was my first build. I've learned a lot since then!
We had to build a king-size headboard in our 2nd floor bedroom, because the stairway clearance was too small to fit a headboard up the stairs. We added a couple vertical stabilizer boards.
airbnb.com/h/cozycornercottage-millersburg
I made this table out of a free pallet. The legs are cut off of an older scraped table and then I used poly with no stain. I used 1x2 furring strips in between slats to make tabletop solid.
This was my first attempt to use real power tools and make furniture. After being inspired by Ana, I purchased my Kreg Jig and got to work! I needed a coffee table so I tweaked this one to fit my needs. I ended up staining it with Minwax Gray, but it wasn't rich enough for me. So I took white, black and brown pain and dry brushed it to give it that old barn wood look.....OMG I LOVE IT! It came out perfect. So much better than in the photos even! Thank you for the inspiration Ana.....What will I make next???? Hmm......
I absolutely loved this project! My first advanced' leveled project! I was afraid it would be to big for my room so I went 10" smaller in the width only. It surprisingly turned out well proportioned! Thanks Ana! I feel like a women with power!!
Love love love this sofa!
My wife had the idea for us to give our girls a babydoll bed each this year from Santa. She wanted me to make them so it could be something that they could take with them and hopefully hand down to their girls one day. These were simple and fun to build. I used 3/8” dowels instead of 1/4” just because I felt it would be more durable in the long run. Overall this was a fun little project and the girls absolutely loved the beds that Santa brought them.
Kevin
I wanted to contribute a plan but unfortunately I'm still learning how to use Google Sketchup. However, here's a brag post in the mean time! My husband were asked to replicate a display table from Hollister Co. and this is what we came up with. :)
Modified the plans for a full size mattress, also used 2x6 lumber for the main frame. Installed LED strip lighting around the perimeter for a night light. Also built my own headboard, modified for the full size. I used laminate flooring for the center inlay.
Fun project, about 6 hours to build, total cost around $200 with the lighting.
Wife wanted bookcases for all our books and a desk/work area for her calendar. I decided to modify the Channing Bookcase to suit our needs. We built 5 of them to fit the wall. We did not attach the back trim piece on the shelves to give them a recessed look. Convinced the wife to let me buy the Kreg K4 system, which saved my sanity for the over 500 pocket holes we had to drill in this project. Thanks for the plans!
Tue, 05/26/2020 - 14:10
Lovely! This gives me hope that I may be able to create the piece I want for my living room space. We own so many books.
When the Covid quarantine hit we decided to build a greenhouse - it's been on our To Do list for 9 years. The DIY Greenhouse was the first design I found via Google search and it looked so easy and has all the materials listed so we just had the materials delivered and dived right in! It took us 5 days, about 4 hours per day. The smartest thing we did was borrow a mitre chop-saw. There's a lot of 22 degree angles to cut. Other than that it was easy peasy as long as you follow directions. Also got a skill saw blade that cut both the plastic and the tin. It cost us about a grand Canadian, but the closest kit I found online was smaller and was $1500 US. I'm already growing stuff in it and the temperature here in Northern BC gets below freezing at night (around -1C) but everything is ok. The current temp outside is 15, but it's 30 in the greenhouse. We cut a few vents in the back wall panel to allow for airflow and I'm going to purchase a solar muffin fan to move the air a bit. Highly recommend this unit!
I made this walnut round dining room table for my daughter. This was the first large project I have done. I took your plans on how to cut the round table out. challenging but excited how it turned out.
Michael Immeker
Easy project, I really enjoyed making this and it looks great! I used MDF for the shelves and finger jointed poplar for the rails. I work in a lumber yard so the materials and tools were readily available. I recommend for all levels and again really enjoyed making it! Hope you enjoy my first post!
This was one of my first woodworking projects I completed with limited help from my handy husband. And the first time I used a jigsaw (to cut out the handles). I used mostly scrap MDF we had leftover from other projects - only purchasing one additional sheet of MDF for around $12. The MDF worked ok, but I did have some trouble with splitting when screwing it all together and screwing the castors on. Used our Kreg Jig where it made sense.
As a beginner, this project took me somewhere in the neighborhood of 16 hours over the span of a couple weeks. Cost was approximately $50 - including the MDF (but I used mostly scrap we had on hand), spray primer and paint, castors, and "Library" decal.
Comments
JoanneS
Sun, 04/06/2014 - 06:33
Great job!
Congrats on your first furniture project, great job! Your distressed finish and stained top are awesome. Love the Kona stain color, and I think it is the perfect amount of distressing on the paint. Beautiful!