Community Brag Posts

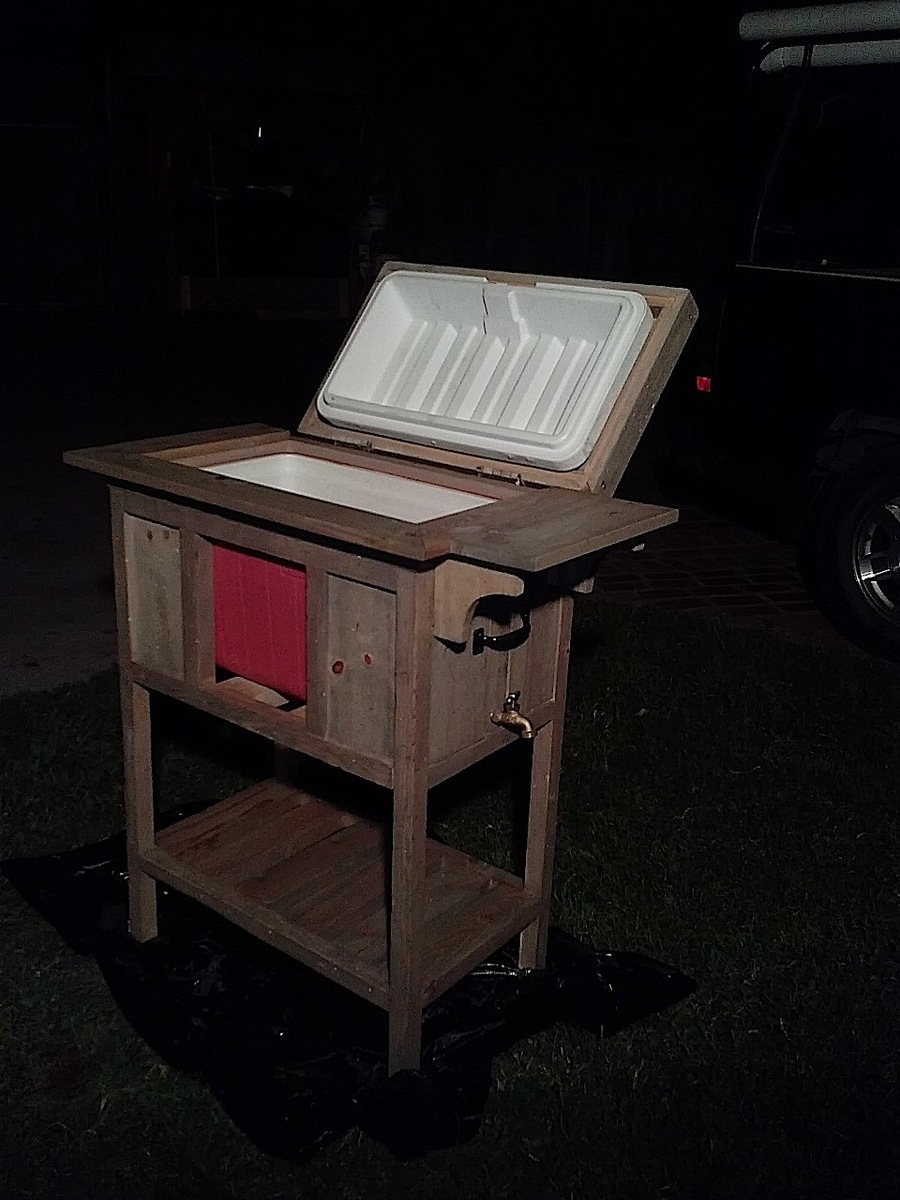
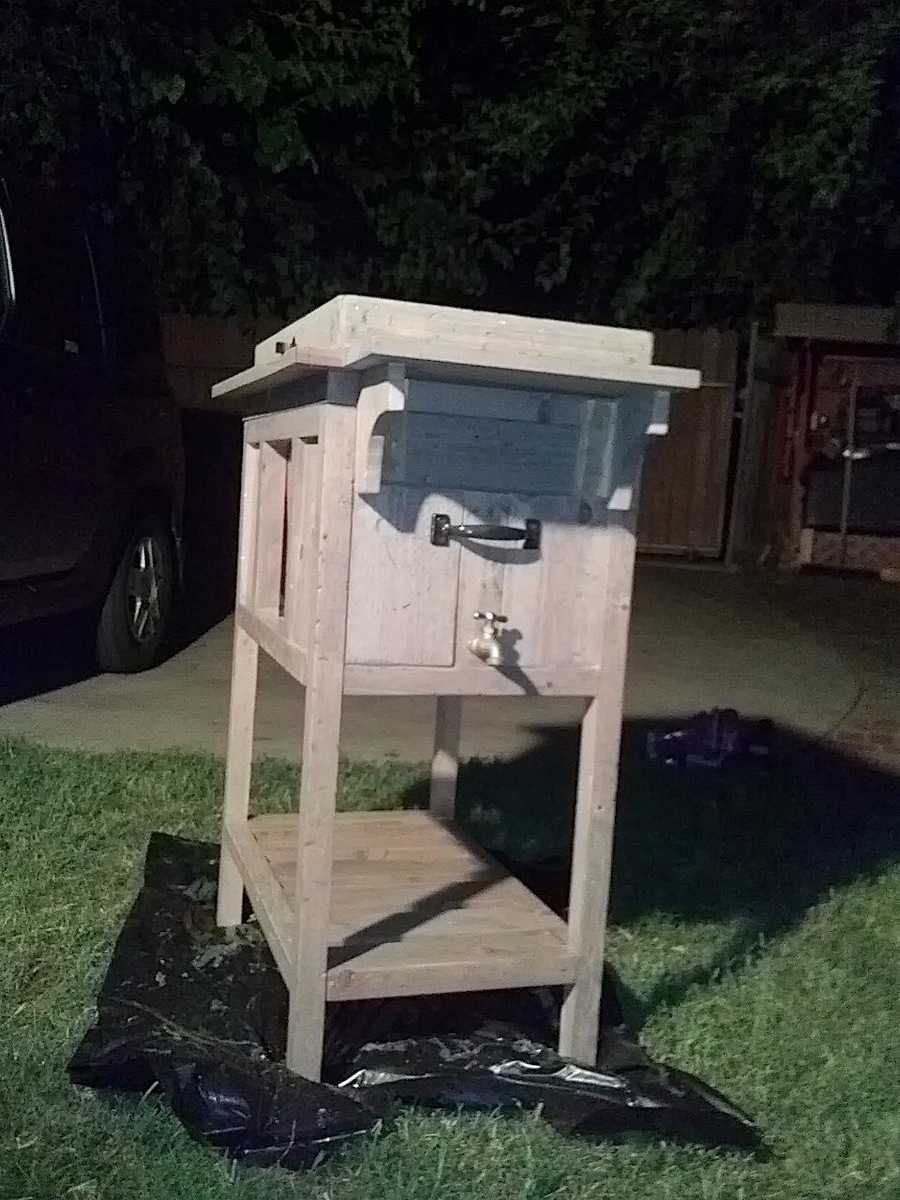
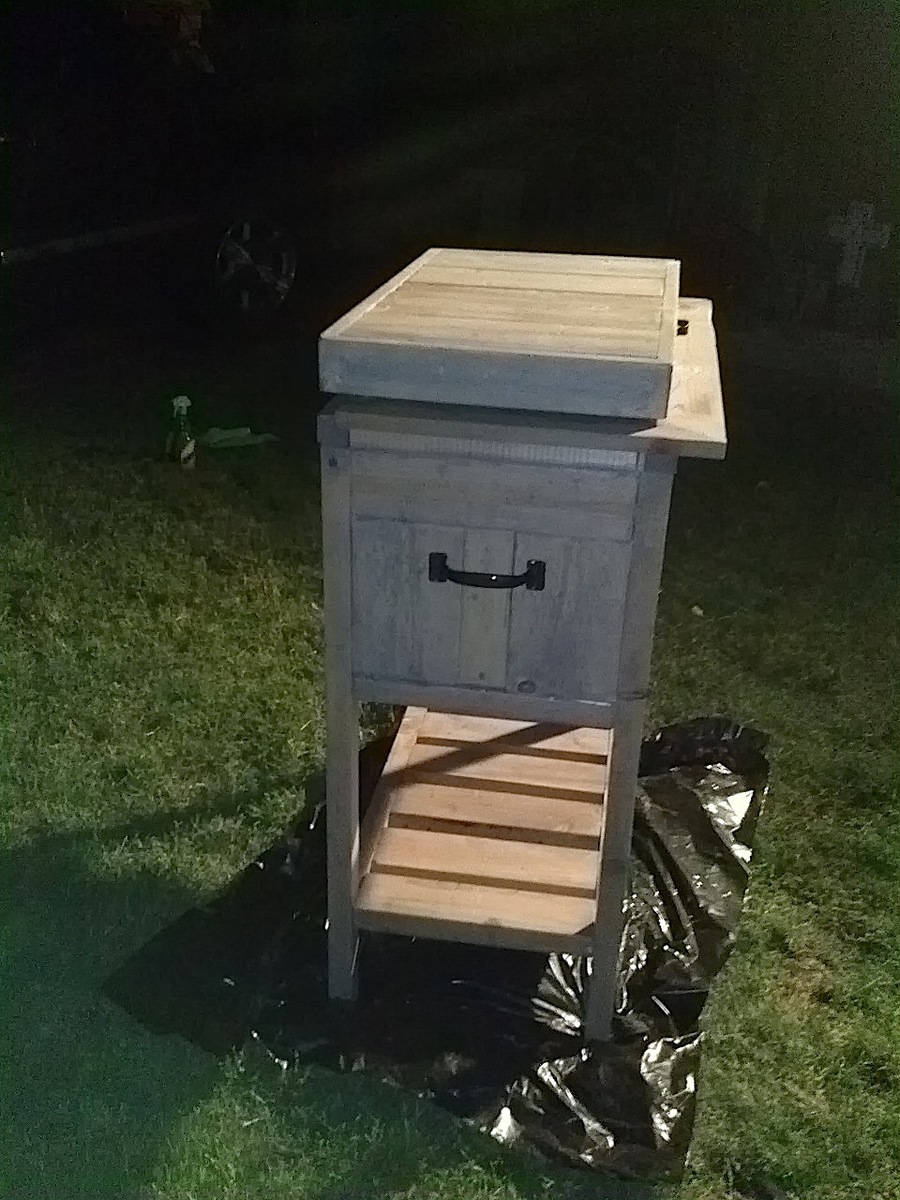
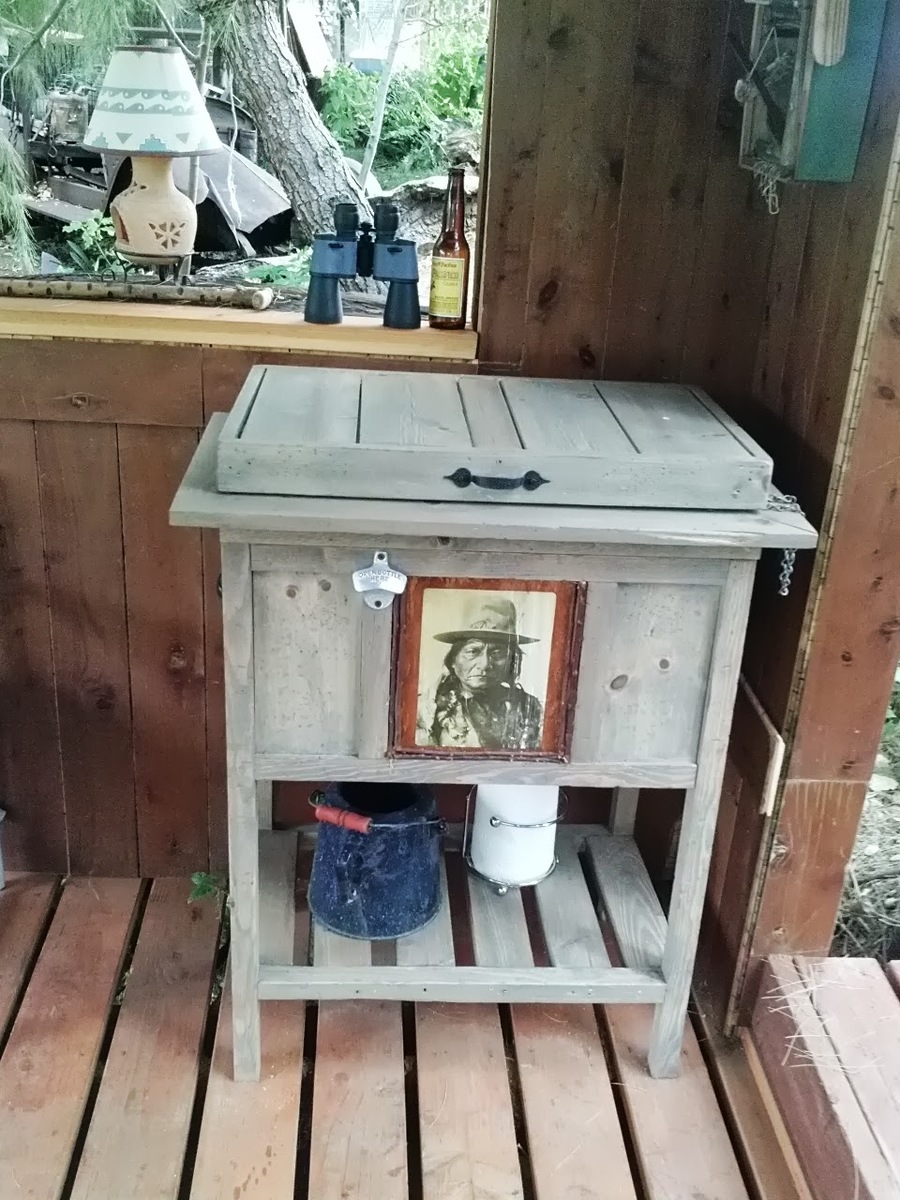
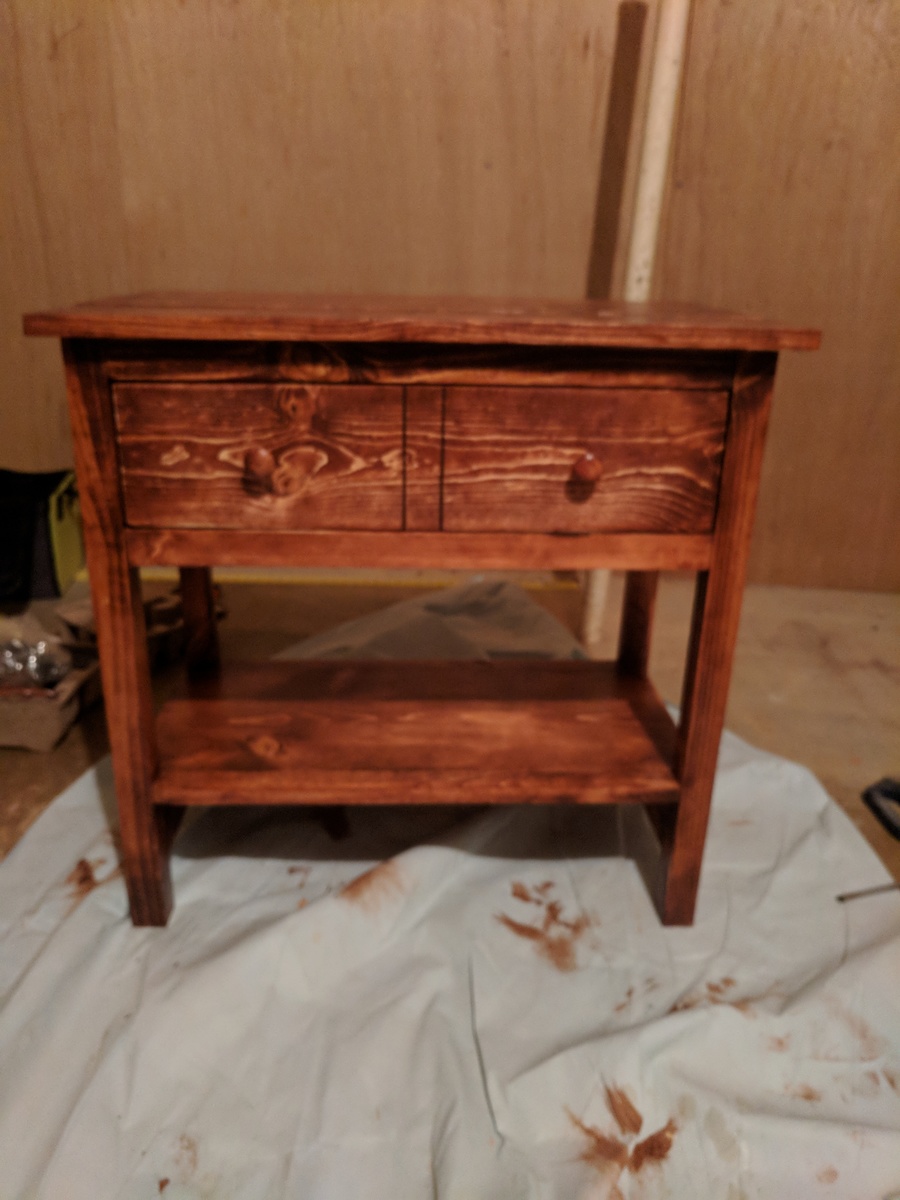
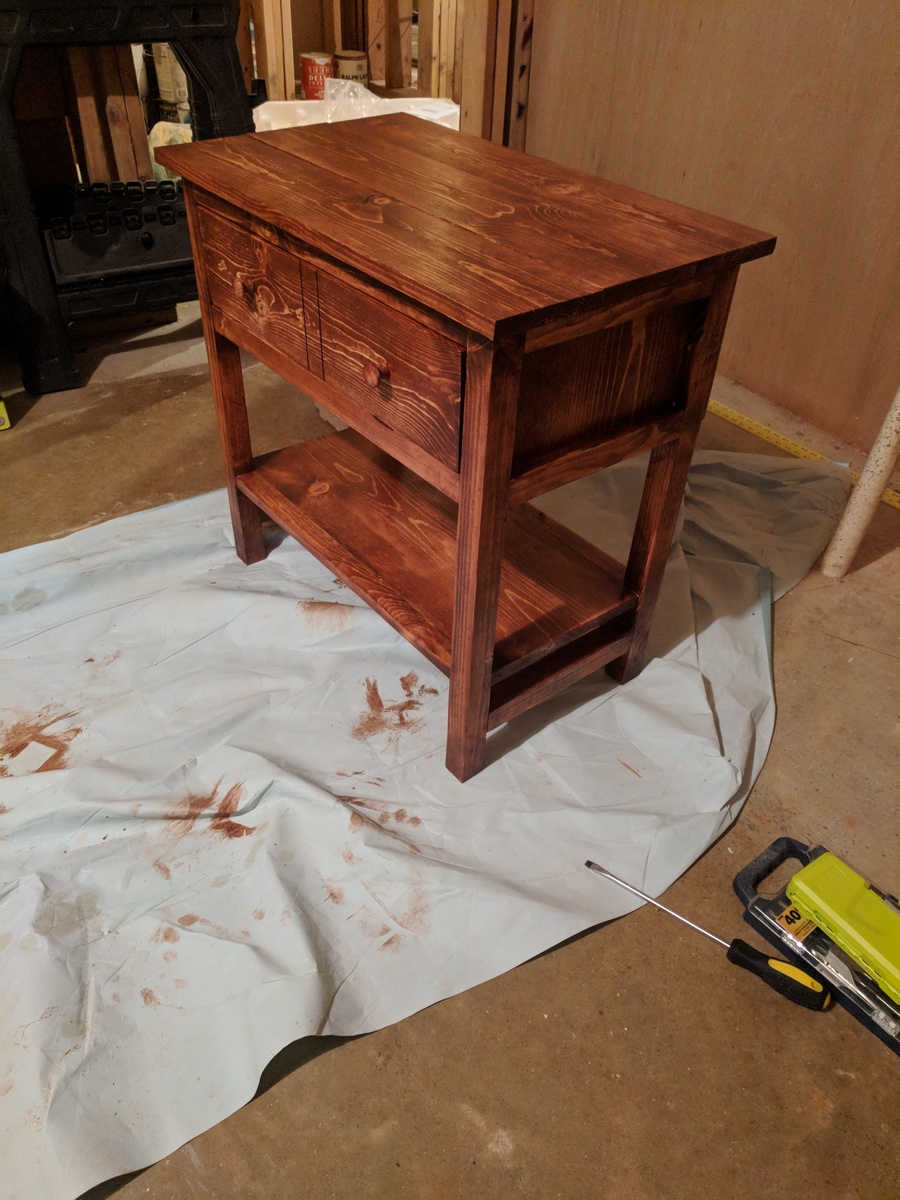
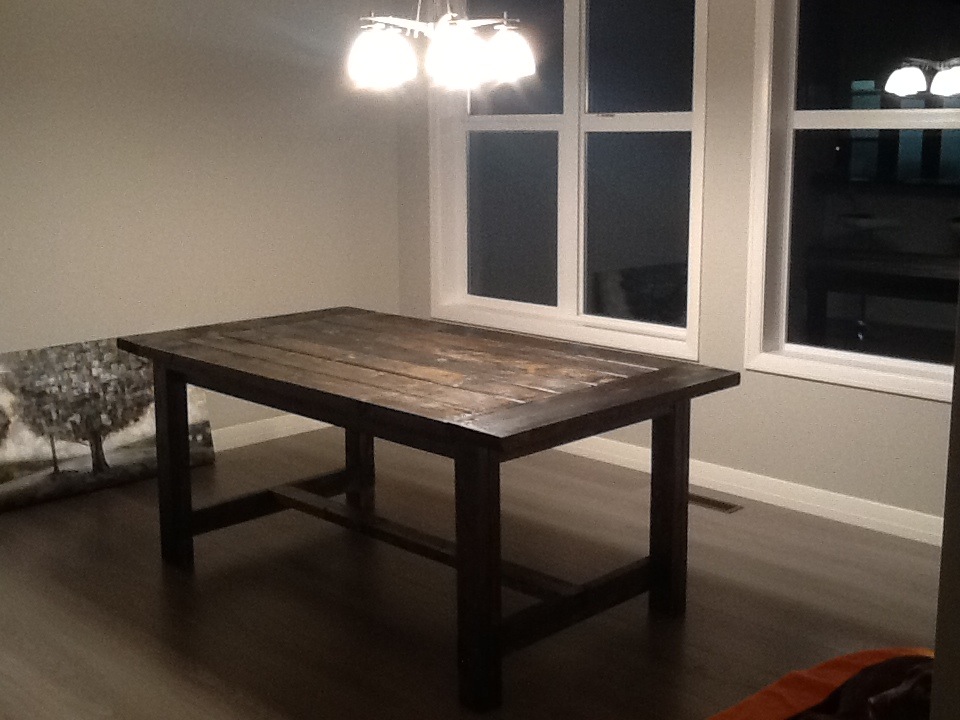
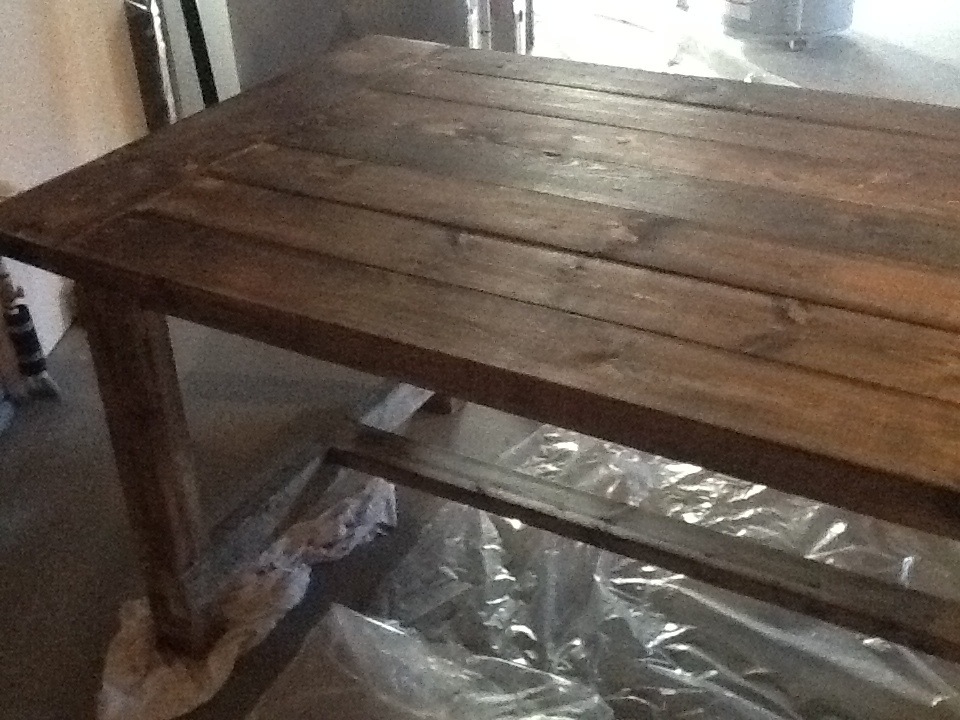
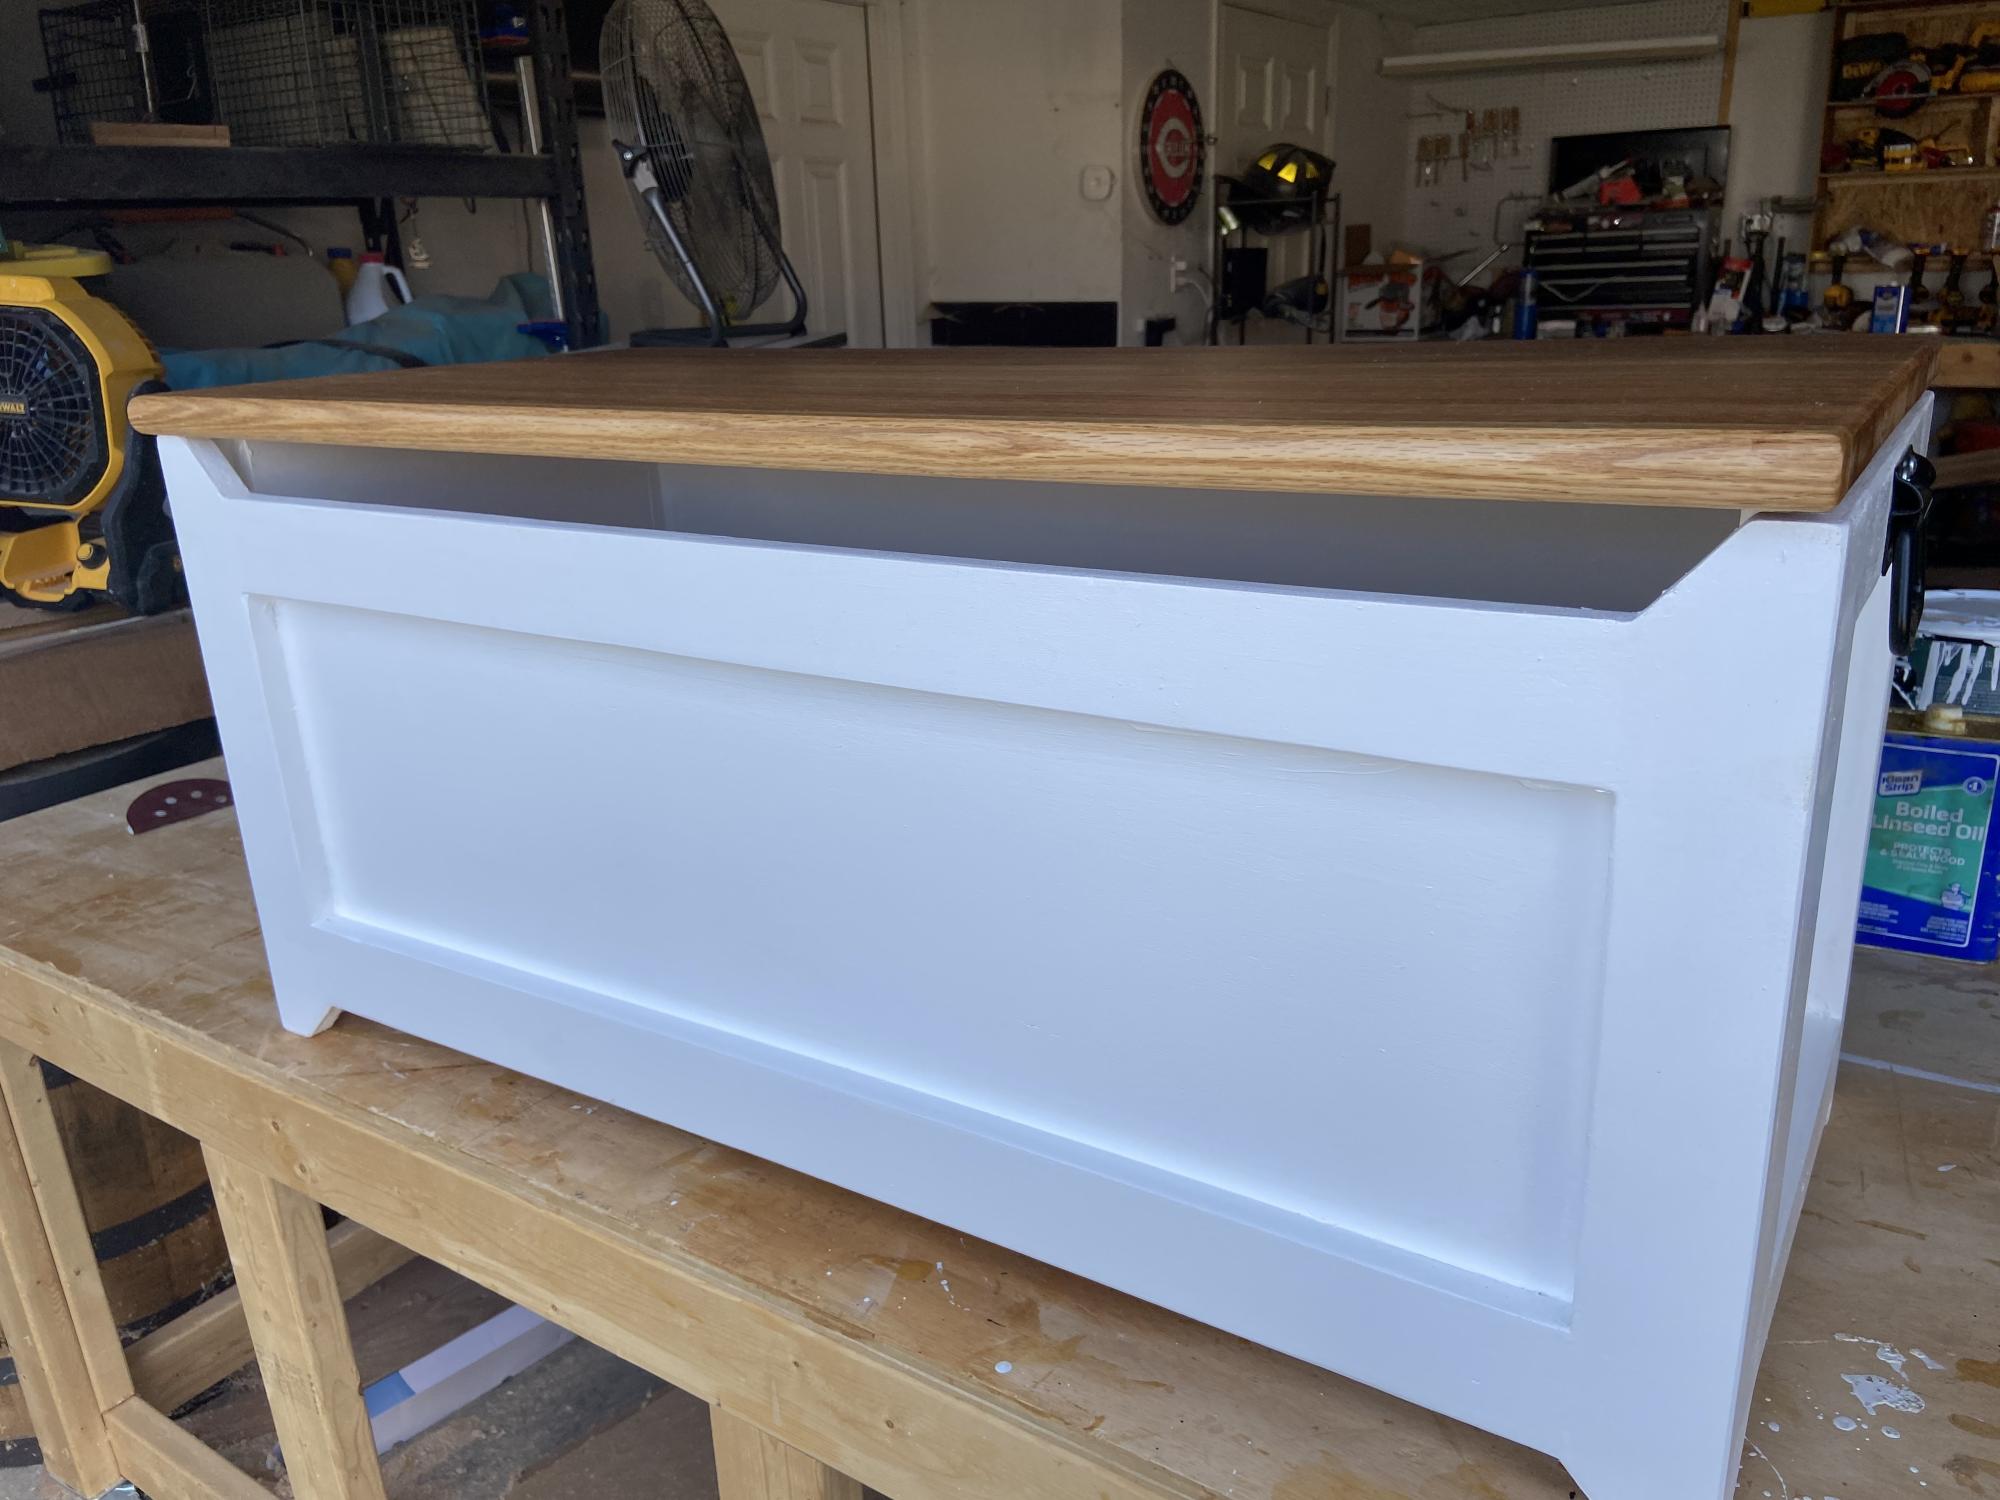
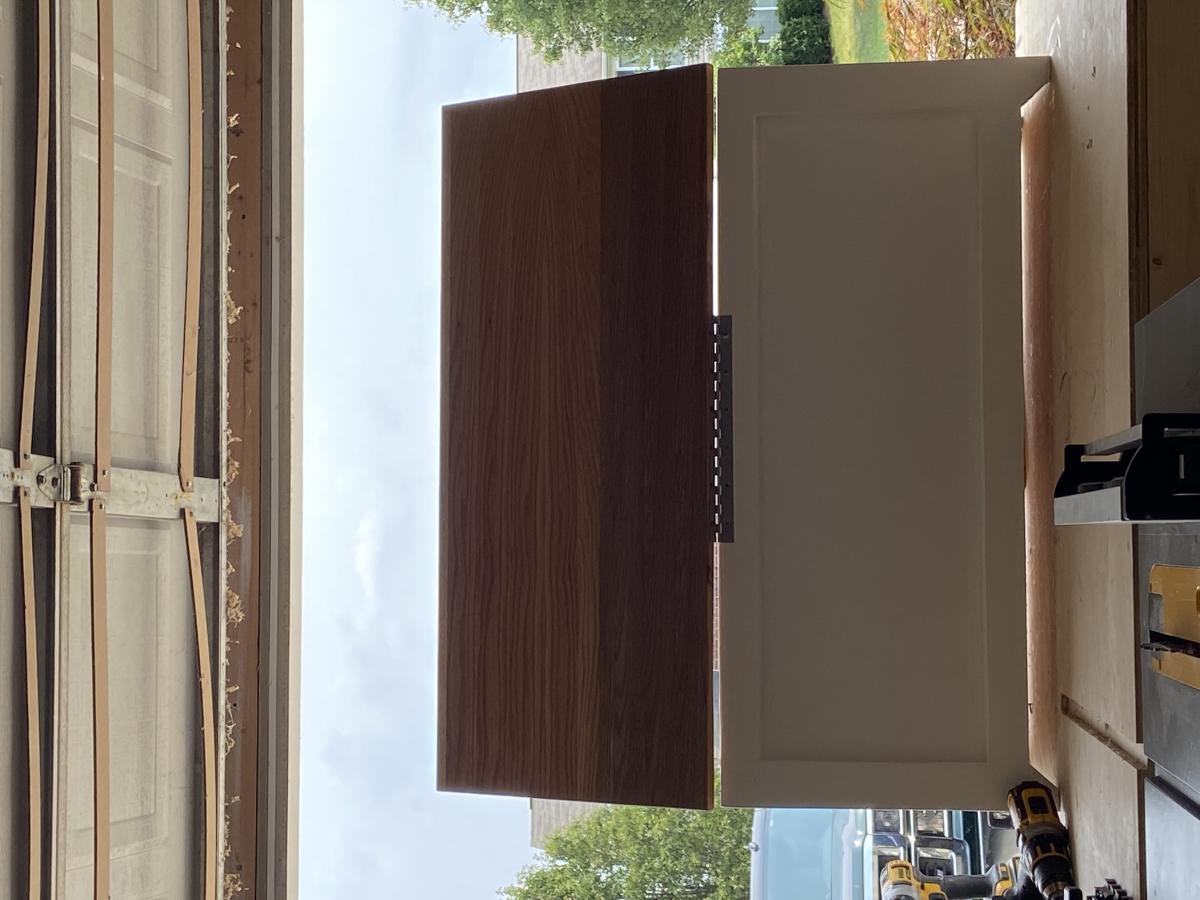
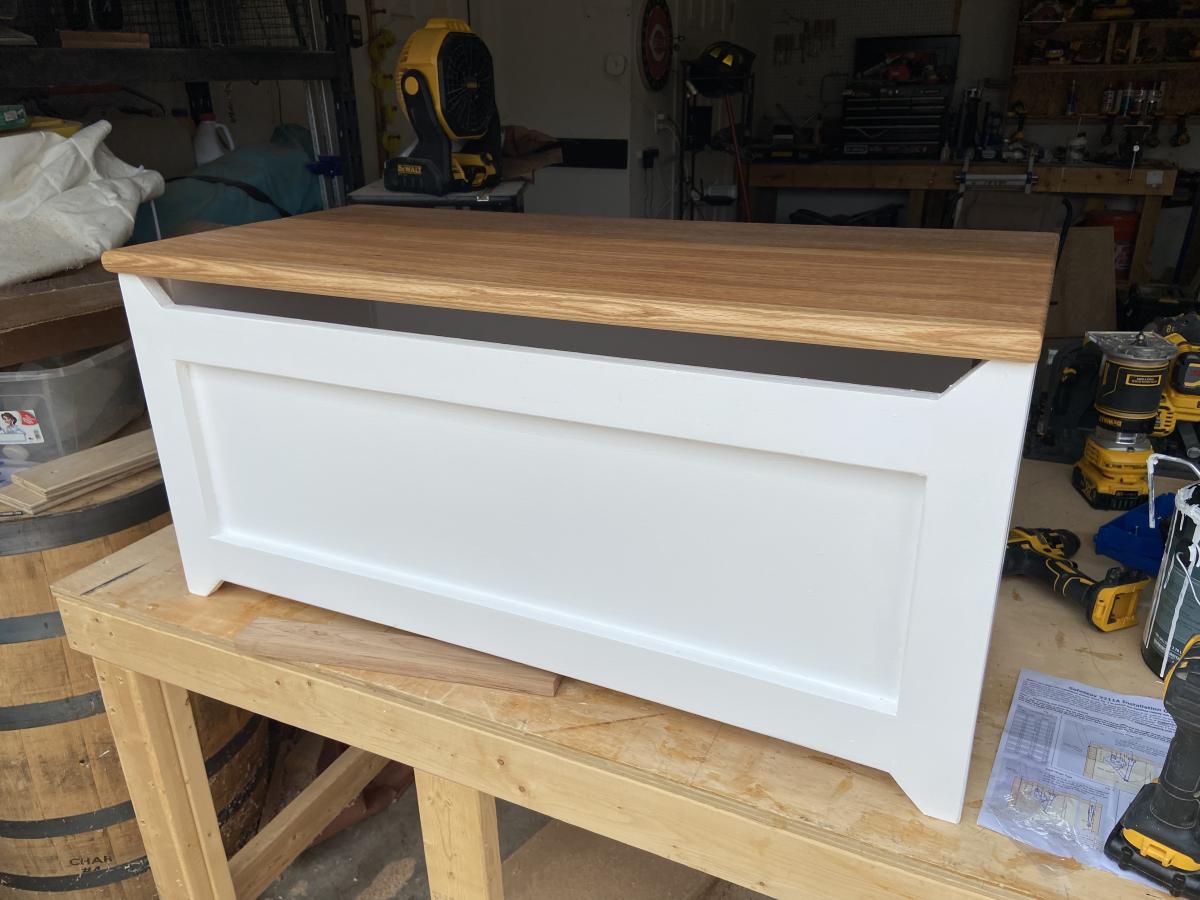
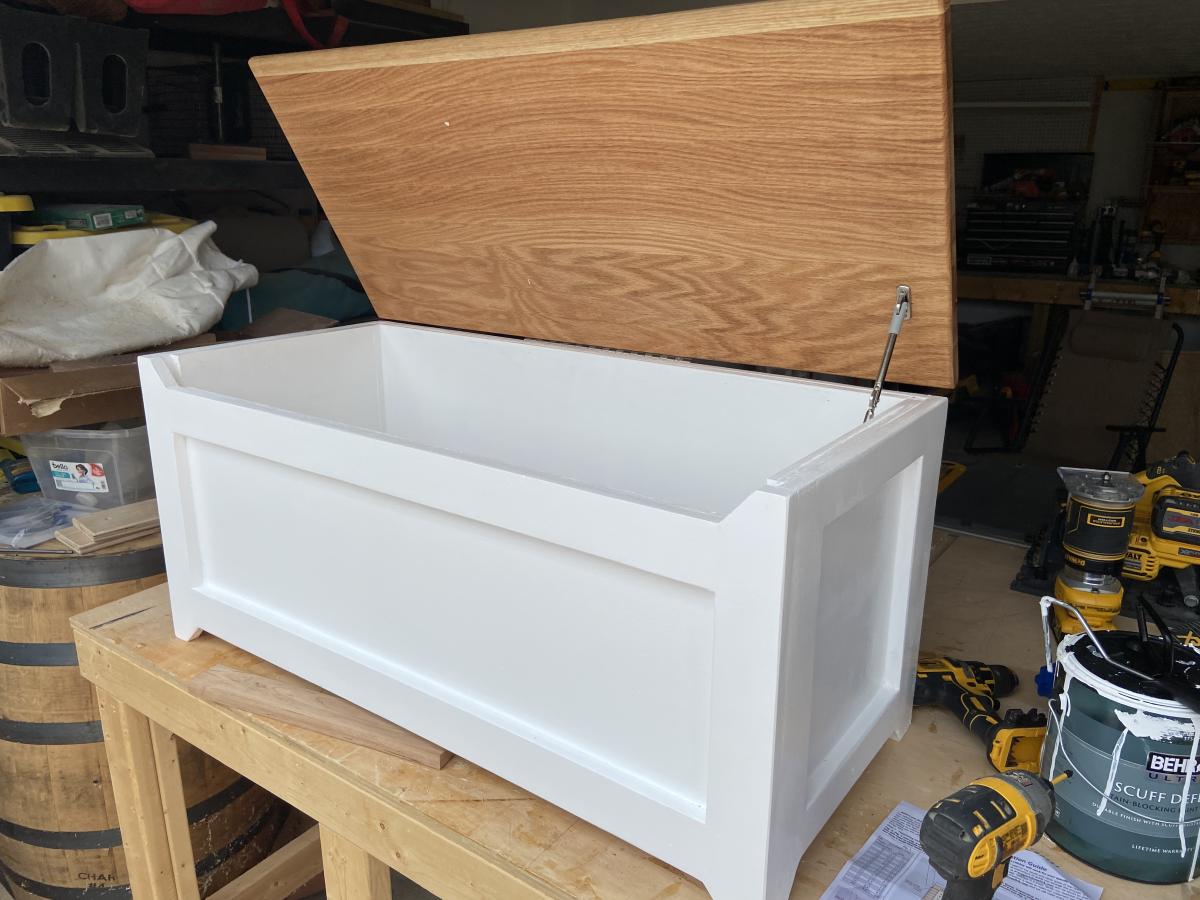
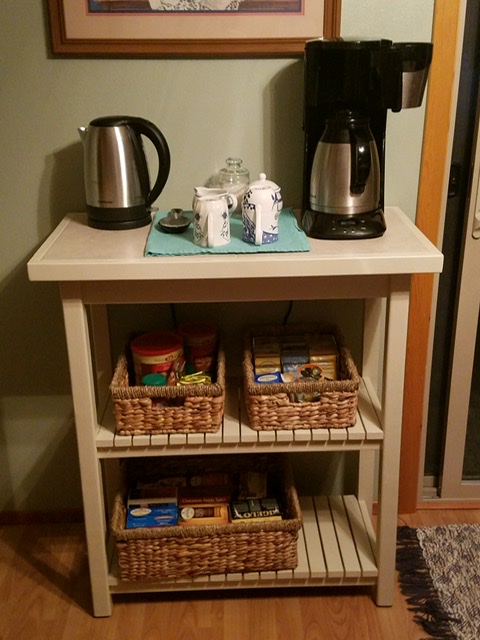
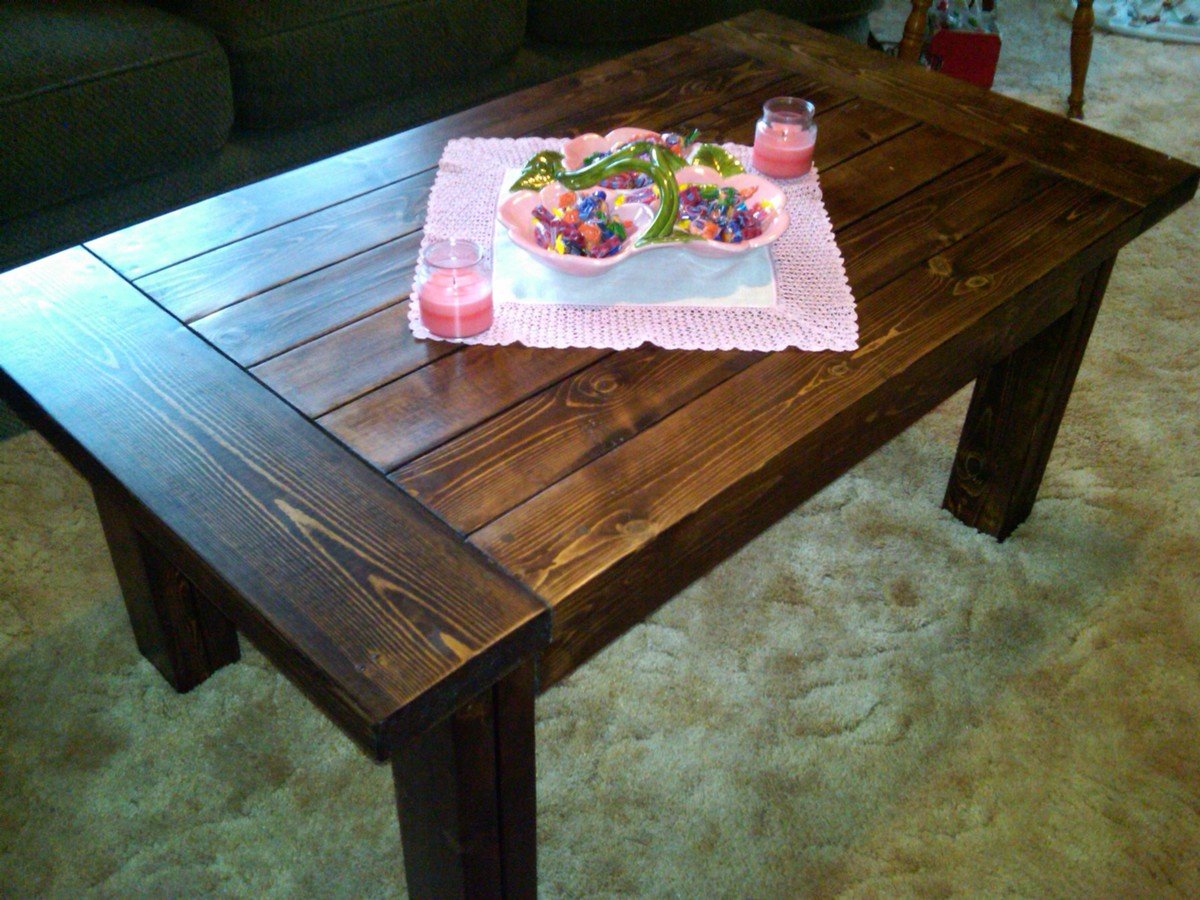
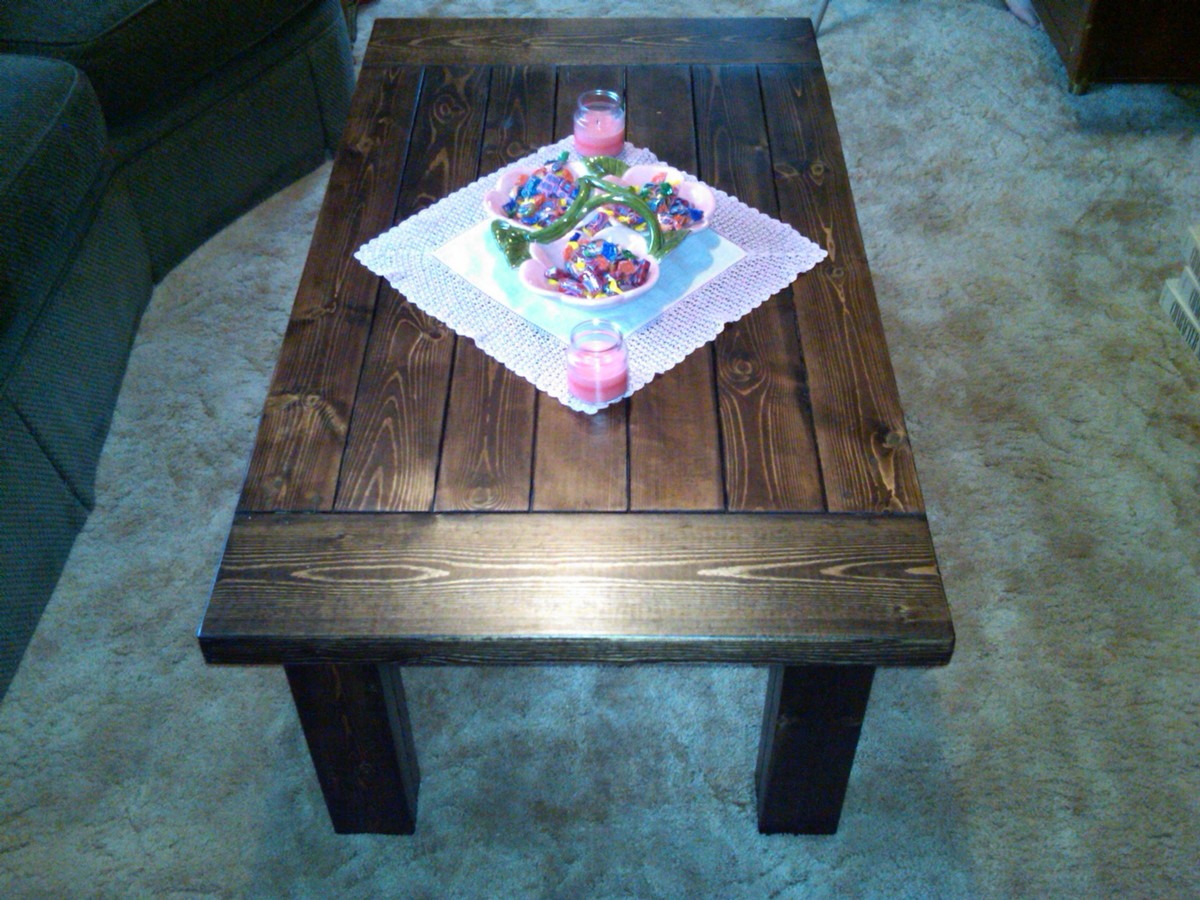
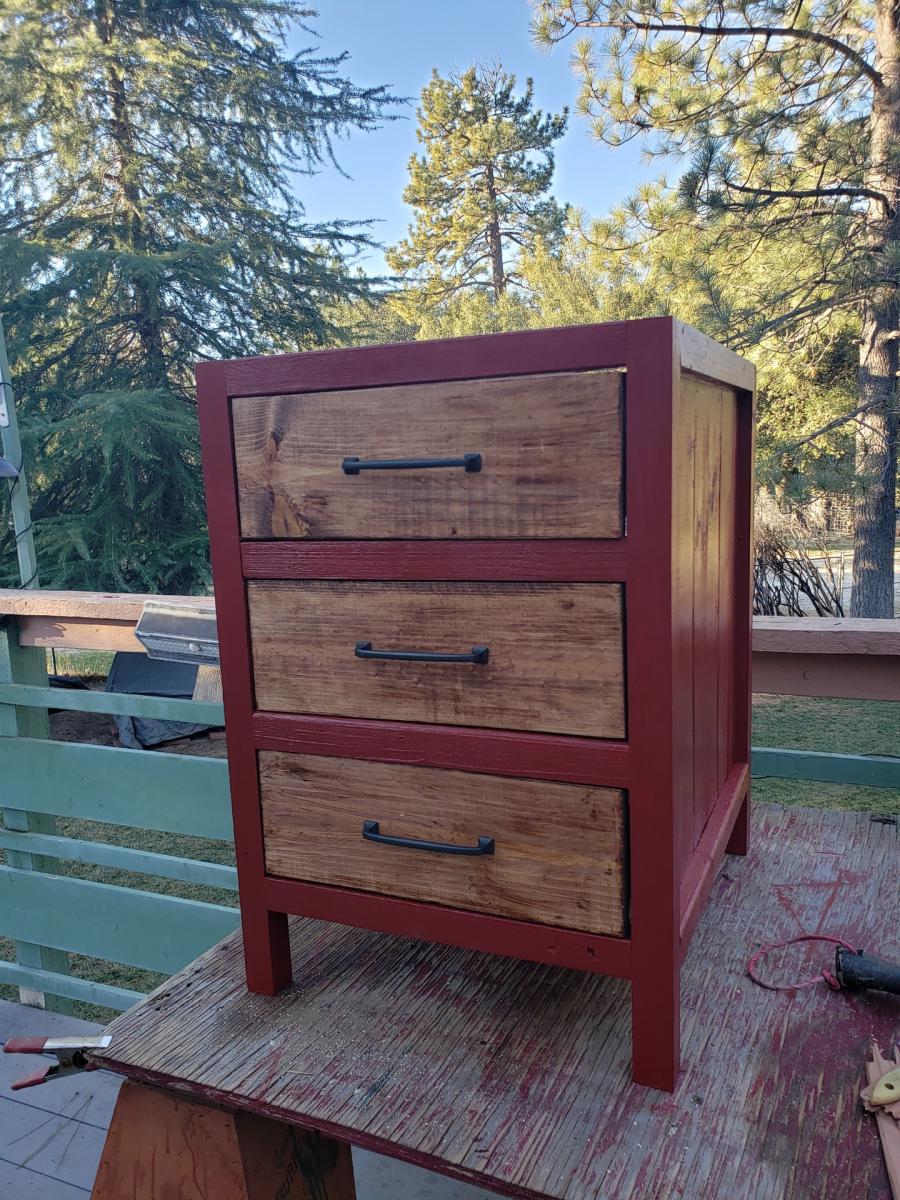
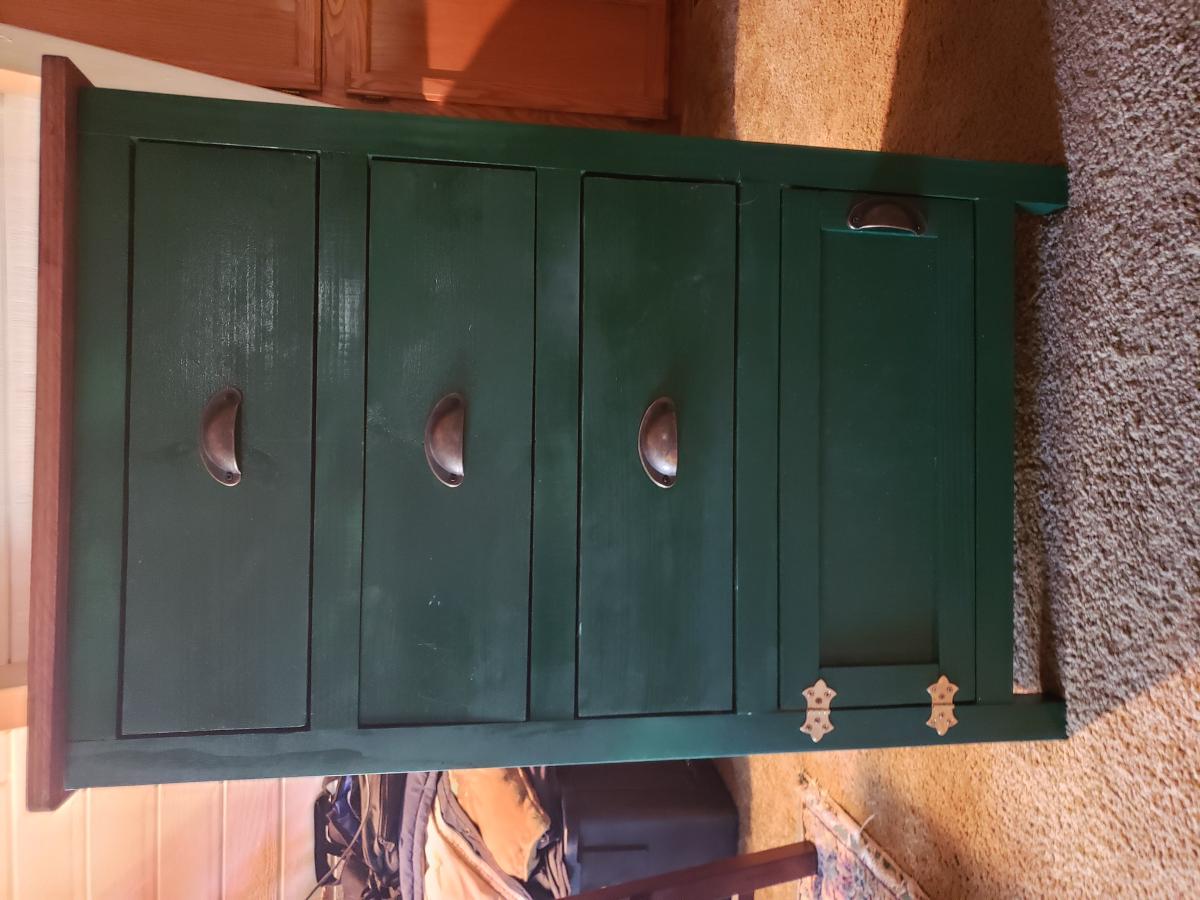
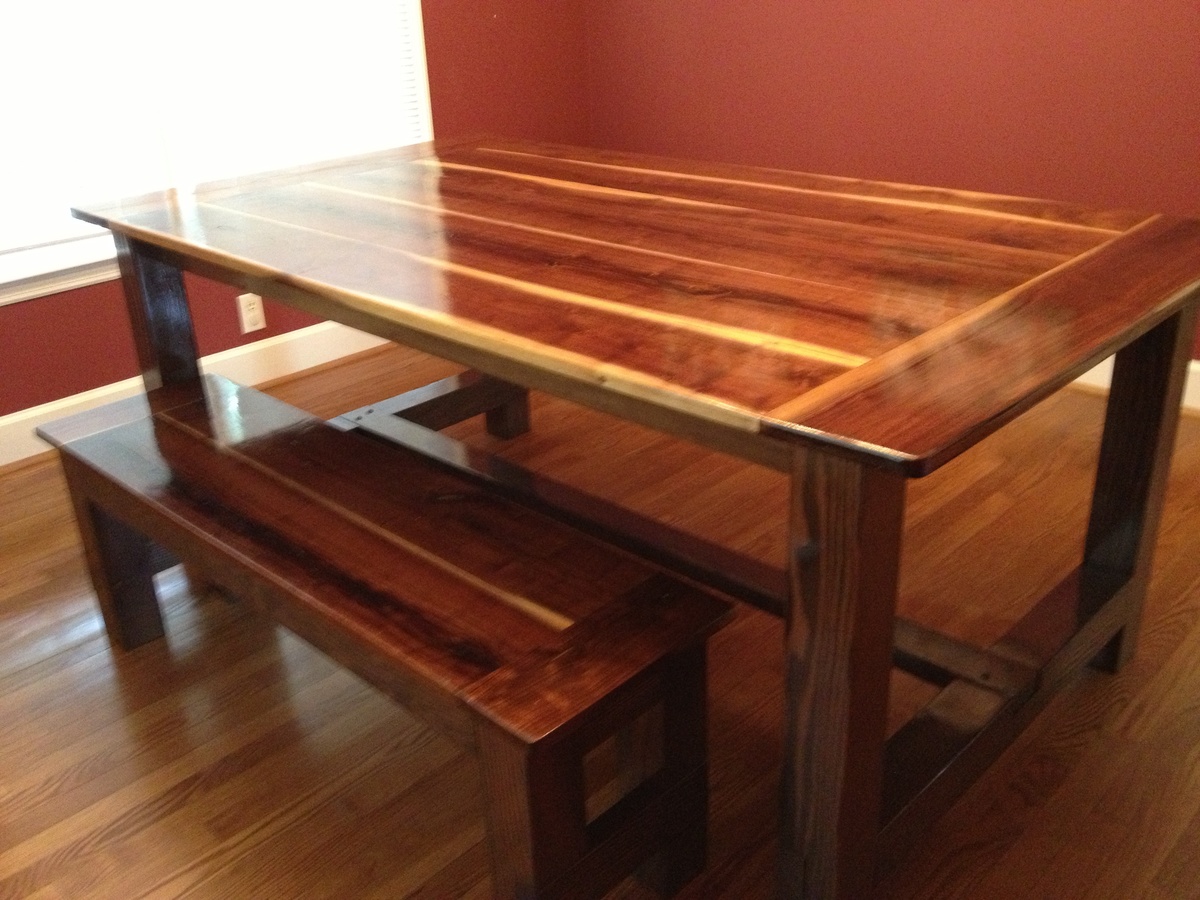
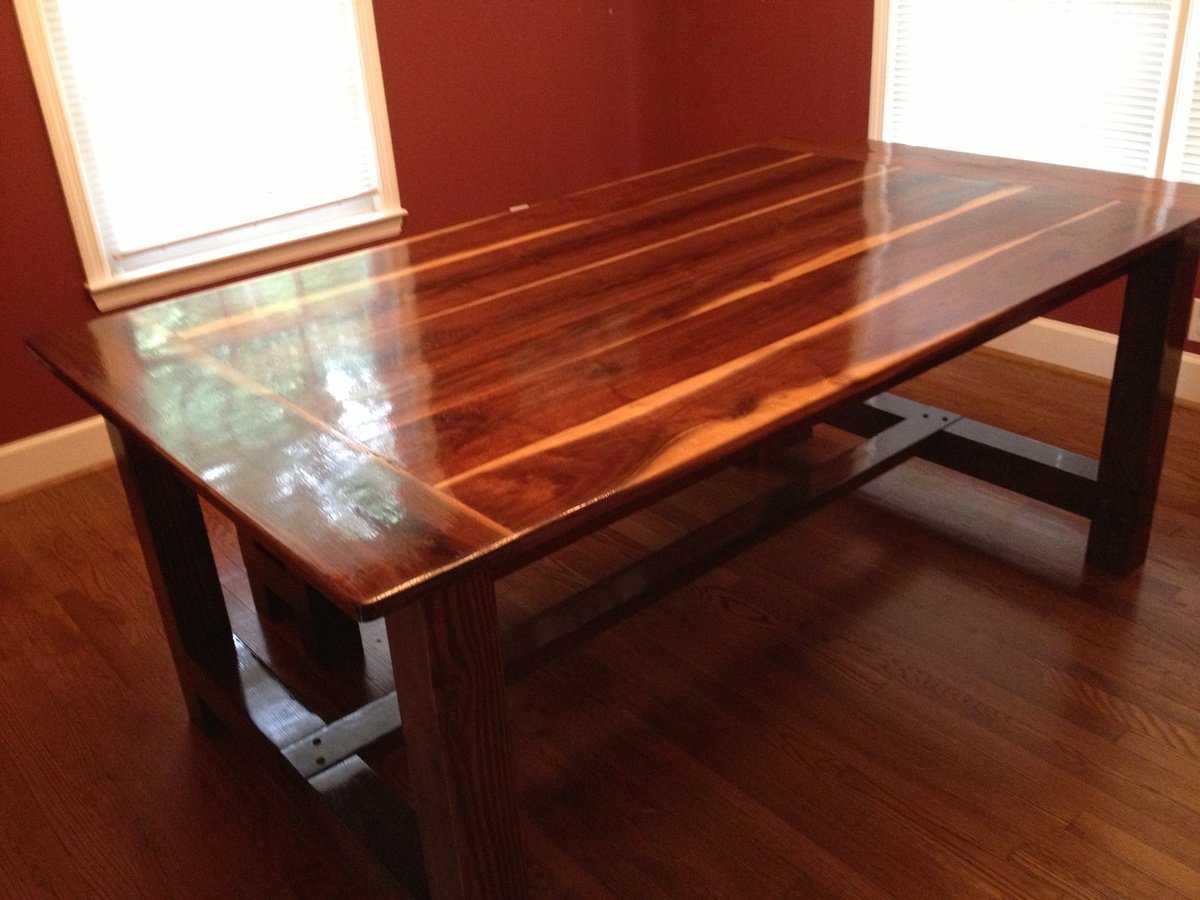
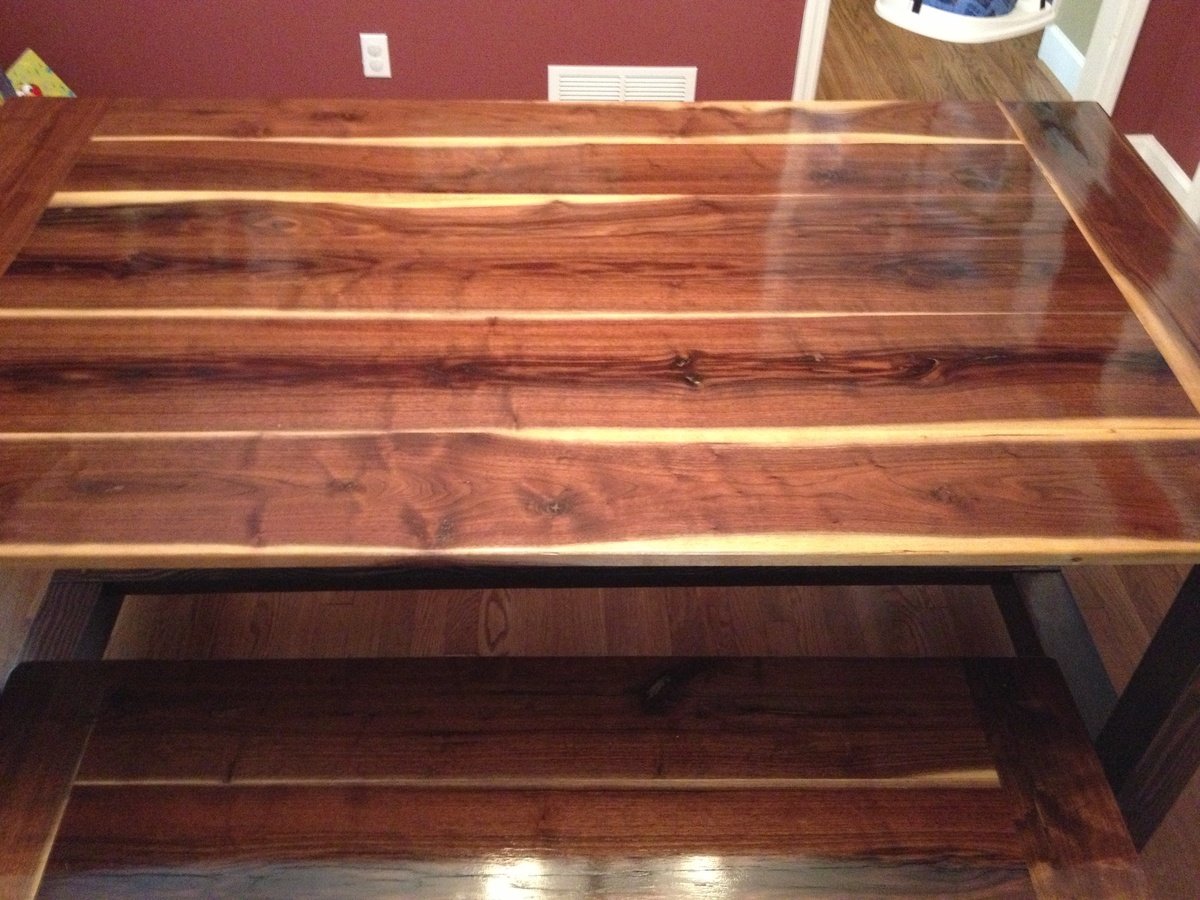
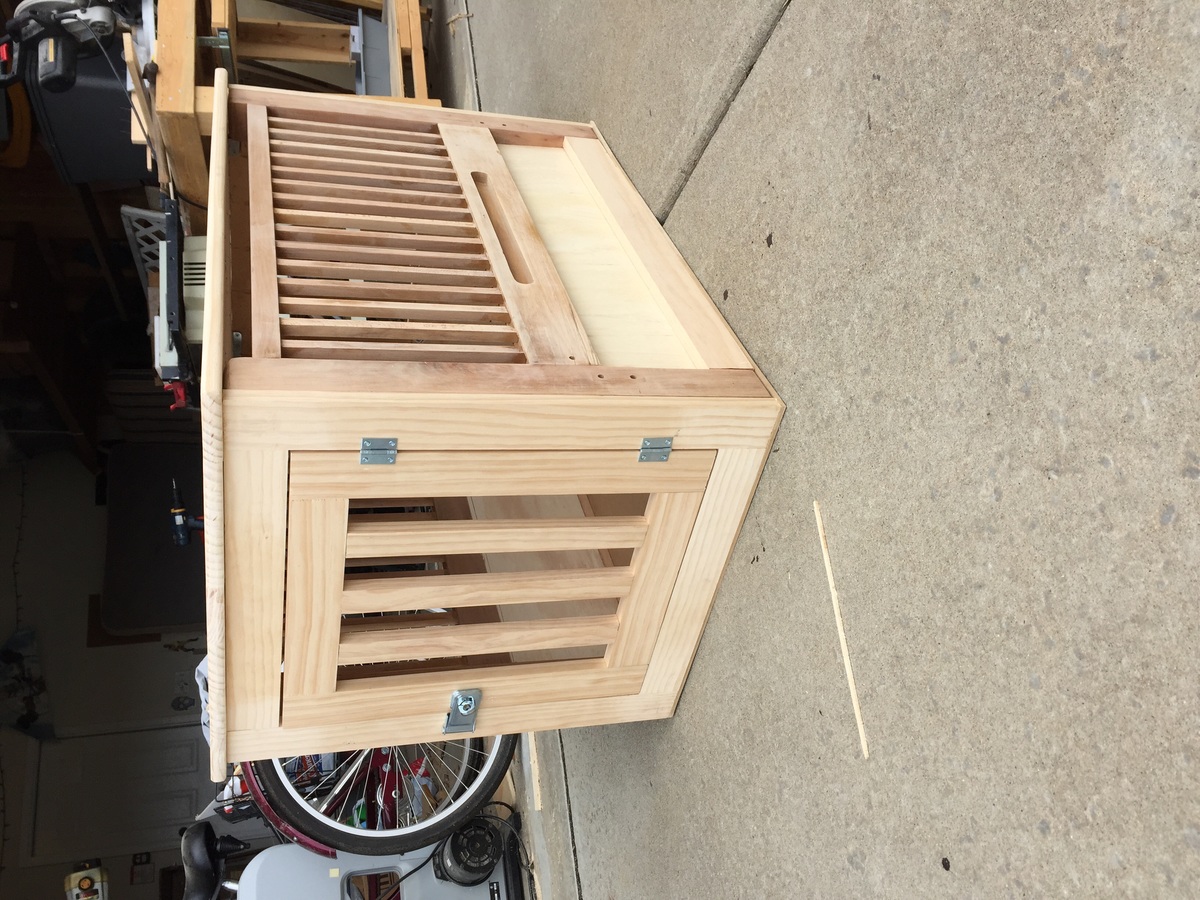
Cooler, Natural Rustic look 4 my Pops

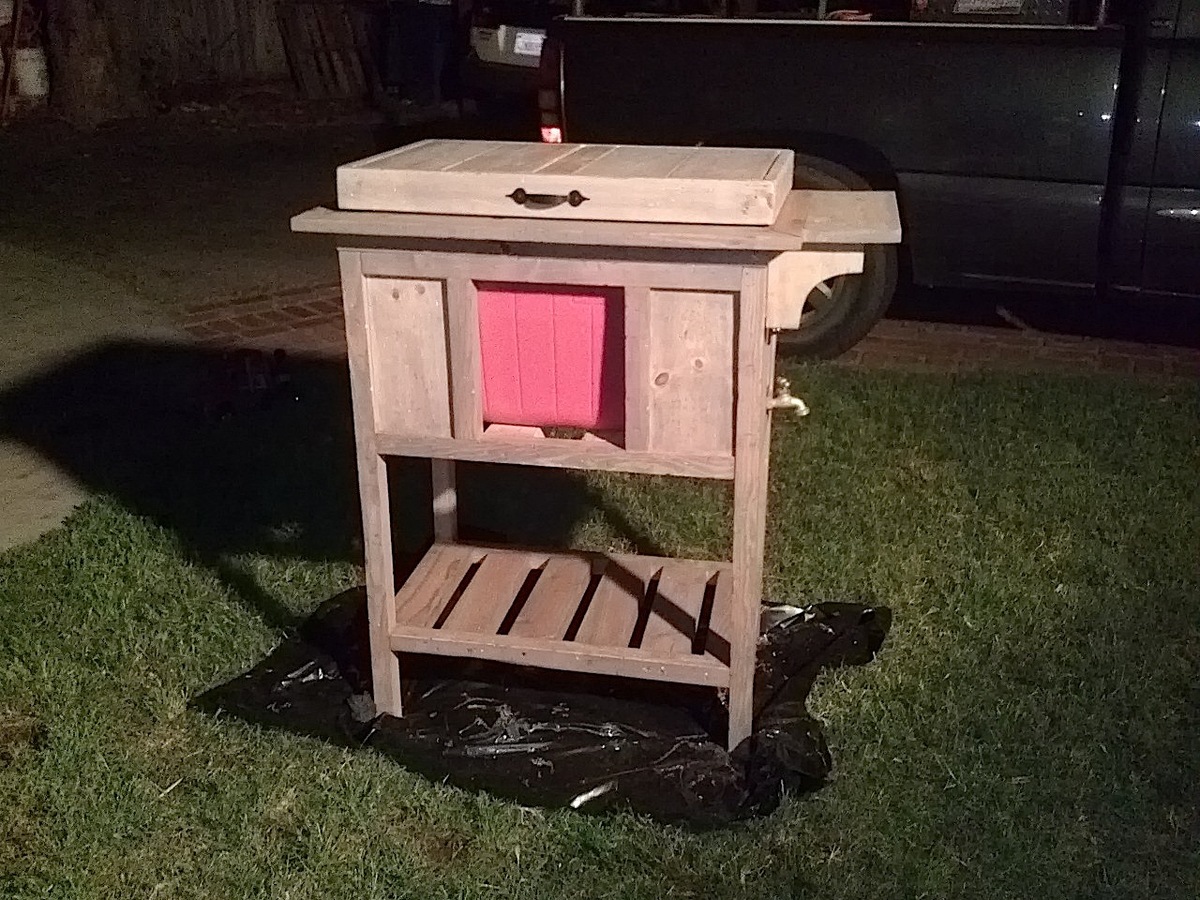
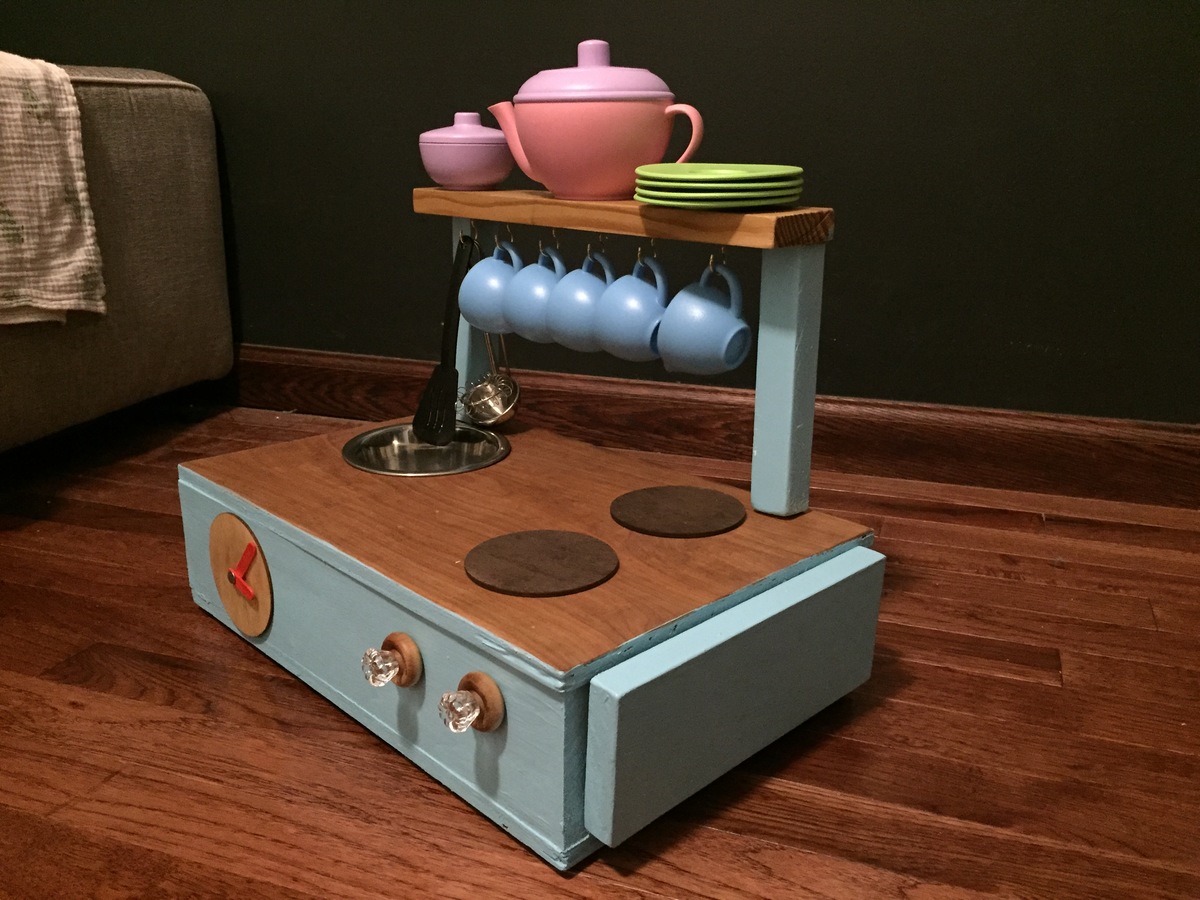
1st I want to say, the part thats uncovered on the middle will be covered but Im letting pops customize that spot with a picture or whatever he chooses.

My dad made most everything I have ever had in life including the house I live in. So I wanted to make him something this dad's day that he could really use and enjoy. He just built a hang out place in his back yard that I call "his fort" Since he's in his 60's now and a little more mellow, he has a lot of little parties with friends, family, basically anyone who wants to come hang out in his back yard. lol. (He claims to have made the fort a covered stage for my 12 year old and his band. But I know the truth. hehe. it's his fort :) ) So I thought this cooler stand would come in handy. He saw me working on it a few days before fathers day and told me he was afraid I was gonna make his something girly. hehe. He's such a man's man. I love my pops and am soooo happy he likes my gift. Its already in use in the fort. hehe

Built from Plan(s)
Estimated Cost
$50 bucks or so but I had the cooler and hinges
Estimated Time Investment
Day Project (6-9 Hours)
Finish Used
I used Minwax Weathered Oak. You can't really tell in the pictures because at that time it had only 1 coat and the pine needed 2 coats to really even tell its there. But it turned out really nice, my dad's a mountain man so he loves rustic-y things. After stain I sprayed it with Minwax Poly (I can't remember the full name sorry) its the one in a spray can. Satin finish so you cant see any gloss
Recommended Skill Level
Intermediate

Comments

Lasso the Moon

Fri, 06/28/2013 - 10:51

I love this! What a great gift for your dad's fort.
He sounds like a cool guy. Thanks for sharing!
Anna

SoCaliforniaMel

Sun, 07/07/2013 - 00:27

Thank you, I'm just returning some of his hand made hard work. Thank you for the best father day idea ever. I'm sure I would have made him some girly thing if I hadn't come across your cooler plans. hehe. He is so happy with it and its held up, even with regular use and his heavy hand. :P it's the only thing keeping things cool in his fort and he brags to all of his friends about how his daughter made it for him.
Thanks again!
~Melody

Mini Adirondack Chair

Submitted by MrCoffee on Fri, 05/29/2015 - 03:53

This was a fun little project that I built for a friend, whose son was turning one year old. I used 5/4 cedar deck boards and ripped them down to size. For a finish I used Watco's teak oil. I love the way it brings out the cedar's natural tones. You can see in one of my pictures the before/after when applying the teak oil.

Built from Plan(s)
Estimated Cost
$30
Estimated Time Investment
Weekend Project (10-20 Hours)
Finish Used
I used Watco Teak oil for a finish and applied as directed by the can.
Recommended Skill Level
Intermediate

Farmhouse Bedside Table

Submitted by GoDawgs on Sat, 12/23/2017 - 12:12

Building a pair with this one first for my wife. First time using the table saw to rip the 2x2s and 1x2s and I'll never use.anything without a square edge again! Arm-R-Seal from General Finishes is the best!

Built from Plan(s)
Estimated Cost
$50
Estimated Time Investment
Day Project (6-9 Hours)
Finish Used
Varathane American Walnut and General Finishes Arm r Seal in satin
Recommended Skill Level
Beginner

Farmhouse Doll Bed

Submitted by jkjackson on Thu, 12/23/2021 - 19:39

Created from scraps using Ana’s plans for the bed and the mattress.

Comments

jkjackson

Fri, 12/24/2021 - 14:33

Thanks for the great plans and making the mattress so simple (for those of us who feel like just threading a sewing machine is like playing the game Mouse Trap while under the influence! 😄)

Farmhouse Table

Submitted by CLieLee on Sat, 06/22/2013 - 14:11

This was our first project. A bunch of "nfl widows" decided to make these tables together. While building with friends is fun, doing all the cuts and prep work for three tables at once will take forever!

If I did it again:
1) Let your wood fully dry out before laying the top boards - it will warp and lift a bit
2) Stain the top and all sides of the 2x6s - if they do warp you don't want to see unstained wood
3) Be extremely careful with your glue - stain will not stick to glue
4) Wood filler does not stain the same as the wood and you will be able to see it
5) Attach your end boards to the 2x6s first. Otherwise they will tend to sag and tilt down.

Estimated Cost
90
Estimated Time Investment
Weekend Project (10-20 Hours)
Finish Used
Ebony Stain - Minwax with two coats of semi gloss sealant
Recommended Skill Level
Beginner

Bunk bed

Submitted by tomzig on Mon, 06/01/2015 - 18:15

Bunk bed system. My daughter picked the colors. She loves it

Estimated Time Investment
Week Long Project (20 Hours or More)
Recommended Skill Level
Intermediate

Comments

Farmhouse King

We built this to the dimensions on the Farmhouse King plan we used Hardware from our old bed to attach the headboard and footboard to the siderails The finish was a coat of white paint sanded and then a coat of weathered grey stain and then additional sanding to weather it a bit

Estimated Time Investment
Weekend Project (10-20 Hours)
Finish Used
White paint Satin
Weathered grey stain
Sanding after both applications
Recommended Skill Level
Beginner

You chest

Submitted by Anonymous (not verified) on Sun, 12/26/2021 - 12:56

Ana White’s plans are the best I’ve seen. Some are easy and some are challenging builds. She’s so very encouraging in her videos. She makes me feel like I can keep on building. I’m very happy to say I started my business from her inspirations.

Built from Plan(s)

Comments

Simple kids chairs

Submitted by ralarid on Thu, 04/21/2011 - 19:04

I built two of the $4 kids chairs for my two kiddos. After building the first one (the white one) I changed the plan a little to use pocket hole screws as much as possible to avoid the visible screw heads on the seat slats. I really love how the red one turned out.

Estimated Cost
$5
Estimated Time Investment
Afternoon Project (3-6 Hours)
Finish Used
One the white one I used spray primer and white spray paint. On the red one I used Minwax wipe on stain. It was really easy to use.
Recommended Skill Level
Starter Project

Buffet

Submitted by fortasha on Fri, 06/05/2015 - 22:57

I'm a novice- but these plans were so great that it came out beautifully! Definitely won't be my last project using plans from this site. Rogue Engineer rocks!

Built from Plan(s)
Estimated Cost
$130
Estimated Time Investment
Weekend Project (10-20 Hours)
Finish Used
Mix of Annie Sloan Chalk Paint in Old White and Pure White for the cabinet. Made my own stain from steel wool disolved in vinegar mixed with black tea for the drawer fronts. Sealed with Rustoleum Ripple Effect Poly which is supposed to give it a rustic textured finish, which it did, but it also yellowed my white paint. So I will be stripping that off and resealing with General Finishes Poly
Recommended Skill Level
Intermediate

Comments

les5010

Sat, 08/15/2015 - 09:37

This project turned our beautifully!!! I love the hardware that you used on this piece!  Where did you get it?

Easy and fun farmhouse style buffet

Submitted by leex1681 on Fri, 12/29/2017 - 23:55

I made some modifications and cut this down to a 7ft long table. I also used thick plywood boards on the side but covered it up with a thin smooth looking plywood board for a nicer clean crisp look. 

Estimated Cost
$250.99
Estimated Time Investment
Week Long Project (20 Hours or More)
Finish Used
Satin paint
Recommended Skill Level
Beginner

Comments

deck13

Thu, 04/23/2020 - 04:29

I am looking to make a larger version of this to serve two purposes. First, to store/hide 4 large bow cases (my family shoots on a competitive archery team). Second, to tie in with the rest of the furniture and use as a TV console or sideboard.

If you could provide the plans, I would be so appreciative!
Kelly

Coffee cart

Submitted by Anonymous (not verified) on Sun, 12/26/2021 - 14:47

My husband built this a few years ago to free up counter space in our tiny kitchen and we just love it.

Comments

Tryde Coffee Table

Submitted by kylihoot on Mon, 04/25/2011 - 19:36

This was a build for My Mother-In-Law, she loves it!
I did not use 4x4s, I used two 2x4s because I was concerned the treated lumber would not stain properly.
Thanks Ana!

Built from Plan(s)
Estimated Cost
40$
Estimated Time Investment
Weekend Project (10-20 Hours)
Finish Used
Minwax Dark Walnut Stain,and Minwax water based clear satin polyurathane. I used an old sock to apply the stain, with the grain!
Recommended Skill Level
Beginner

Full size headboard

This was so easy and relatively quick. I think it took us an hour and a half. We had all wood precut at Home Depot at the time of purchase. There were a couple boards that weren't cut accurately, but I just went with it because I don't mind imperfection. And some boards were a bit curved. I think it just adds to the rustic, "reclaimed" look. I ended up using mostly pressure treated wood as it was cheaper. They also didn't have the lengths in the instructions so I had to buy more pieces which made the cost about $80. I only used nails to build this, not the screws mentioned in the supply list. I finished it with a quick slap job of white paint, leaving some wood exposed. Sanded some off before adding a steel wool/vinegar stain. I ordered a metal frame to attach to the headboard thinking they were all a standard size and would work with these plans. Beware, this is not the case. The frame is narrower than legs and could not be bolted to them. I ended up slipping a 1 x 4 x 10 piece of wood into the grooves at the bottom, screwing it into place. Then I bolted the frame to that.

Estimated Cost
$80
Estimated Time Investment
An Hour or Two (0-2 Hours)
Finish Used
Paint and Steel Wool/Vinegar Stain
Recommended Skill Level
Starter Project

Tabletop play kitchen

Submitted by Ericagrace on Mon, 01/01/2018 - 14:29

Modified mini kitchen. Side door has a magnetic closure. When hutch is inside, it fits under the couch!

Built from Plan(s)
Estimated Time Investment
Afternoon Project (3-6 Hours)
Finish Used
Stain is danish oil
Recommended Skill Level
Beginner

Nightstand 3 different ways

Submitted by Anonymous (not verified) on Sun, 12/26/2021 - 15:38

We took this plan and modified it a bit. The first photo is as a nightstand. We resized the red cabinet, made it deeper and a little wider, gave it a contrasting finish of chestnut stain on the drawer fronts and barn red on the body to make my sewing storage/desk (2 cabinets with a hollow core door on top). The green cabinet is higher and wider, with a cabinet at the bottom. This is used in our stained glass shop at a Renaissance Festival in a remote area, which is powered by hidden solar. The drawers house my paperwork and sales tools and a solar inverter in the open back cabinet at the bottom.

Built from Plan(s)

Comments

Black Walnut Farmhouse Table

I saw the farmhouse table plans on the site and forwarded them to my father, who was quite interested in what I wanted to build. We decided the specs for the 72" tabletop in order to fit my dining room. What I didn't know was that my father, Charlie, had already located some pristine black walnut to construct the table and had already begun planing the wood for the table. My loving aunt and uncle "donated" the wood to me and my Aunt Mitch & dad planed all the wood themselves. As you will see, the planks that run along the top of the table are not the same size however the overall size if the tabletop is the same. Charlie fit everything together and made it work. He cut all the pieces and did all the work! Therefore, we have a beautiful, unique and absolutely STUNNING new table for our family!
Thanks to Ana White for this site, to my aunt & uncle for their resources and
time, to my husband who meticulously and gingerly applied the poly and finishing touches - and thanks especially to my loving father, Charlie, for all of his hard work, talent & generosity. We will now have a beautiful table to share years of memories & meals with one another!!

Estimated Time Investment
Week Long Project (20 Hours or More)
Finish Used
Eating!!
Recommended Skill Level
Advanced

Comments

Repurposed bed frame dog kennel

Used the inspiration of Ana-White dog kennel and made ours with an old bed frame that wasn't being used anymore. I'm very happy with how it turned out. I just need to paint and stain it. You can see the side is from the bed headboard and footboard.

Estimated Cost
$75
Estimated Time Investment
Weekend Project (10-20 Hours)
Recommended Skill Level
Beginner

Barn yard table

Submitted by Anonymous (not verified) on Sun, 12/26/2021 - 19:01

Built this for my daughter as a wedding present the top is mahogany, benches and base are oak stained pine.

Comments

Farmhouse Table~squared.

Submitted by Dinabu on Wed, 05/04/2011 - 09:24

I really really wanted a farmhouse table...but...we had a space that needed a square table AND I needed to fit 8-12 people (or more!) so we modified Ana's farmhouse table plans to not only be square, but really big as well. This table is 6 ft on each side. Since the table itself was so big, we reversed the breadboard ends and used a 2x4 on 2 ends just to even out the size a bit since is not rectangular...and the area is quite small but needed a big table. I didnt want it to be completely out of proportion. We did not use a stretcher because of the square factor, but each leg is a 4x4 post and reinforced underneath. It's HEAVY. It won't be moved anytime soon! I'm loving it:)

Estimated Cost
$250
Estimated Time Investment
Weekend Project (10-20 Hours)
Finish Used
Black semi-gloss with 2 coats of clear gloss poly for legs and table skirting, dark walnut for top with 5 coats clear gloss poly.
Recommended Skill Level
Beginner

Comments

Tilt Trash Can

We used Ana's tilt trash can plans and antique/distressed finishing tips. It came out great! We love it!! Thanks Ana!!!

Estimated Cost
$50
Estimated Time Investment
Afternoon Project (3-6 Hours)
Finish Used
Distressed finish using dark walnut stain and antique white.
Recommended Skill Level
Beginner

Comments

JoanneS

Mon, 07/01/2013 - 16:11

Love it! Your finish is awesome. This looks just like an antique - you've got an instant heirloom! :)