Community Brag Posts
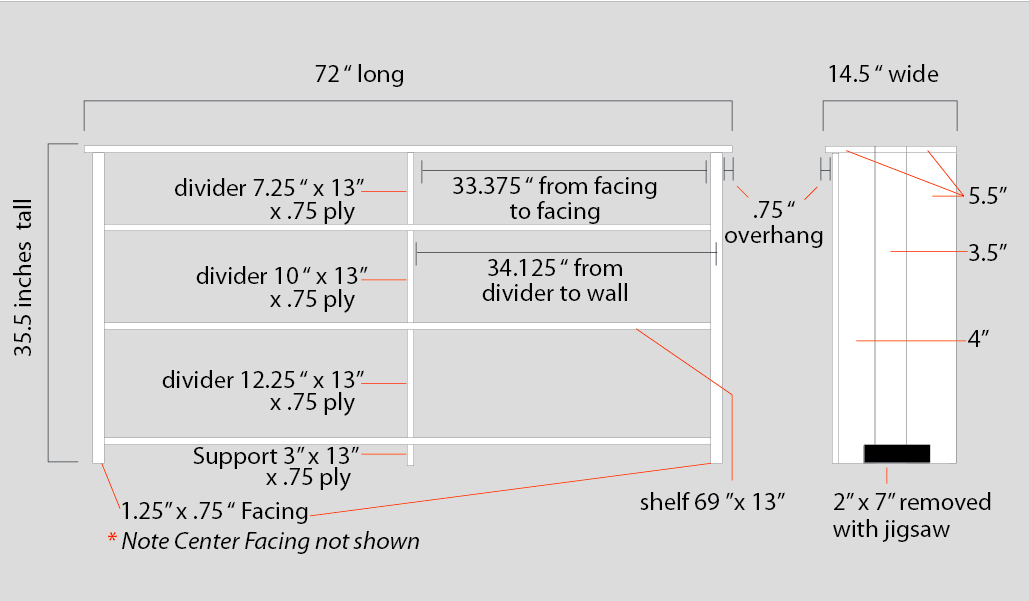
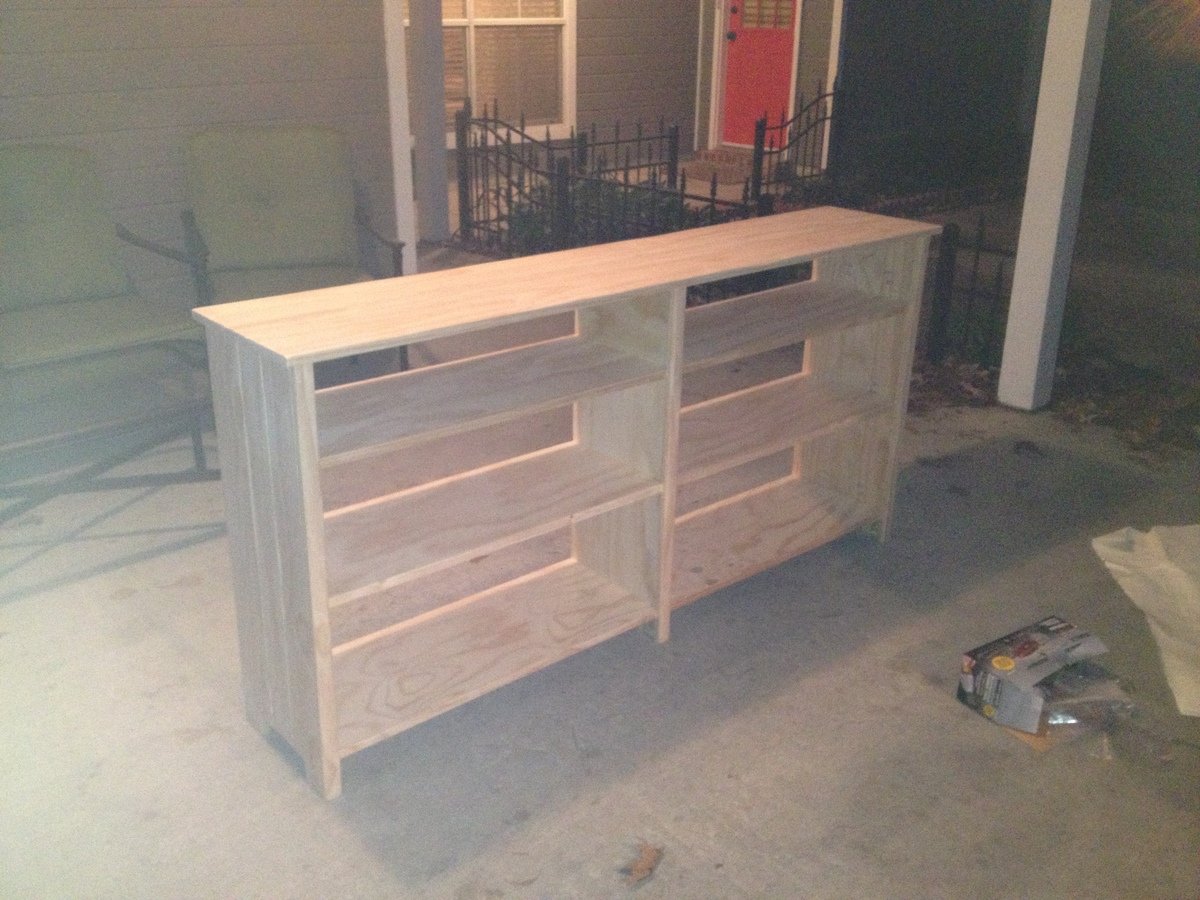
Long Bookshelf
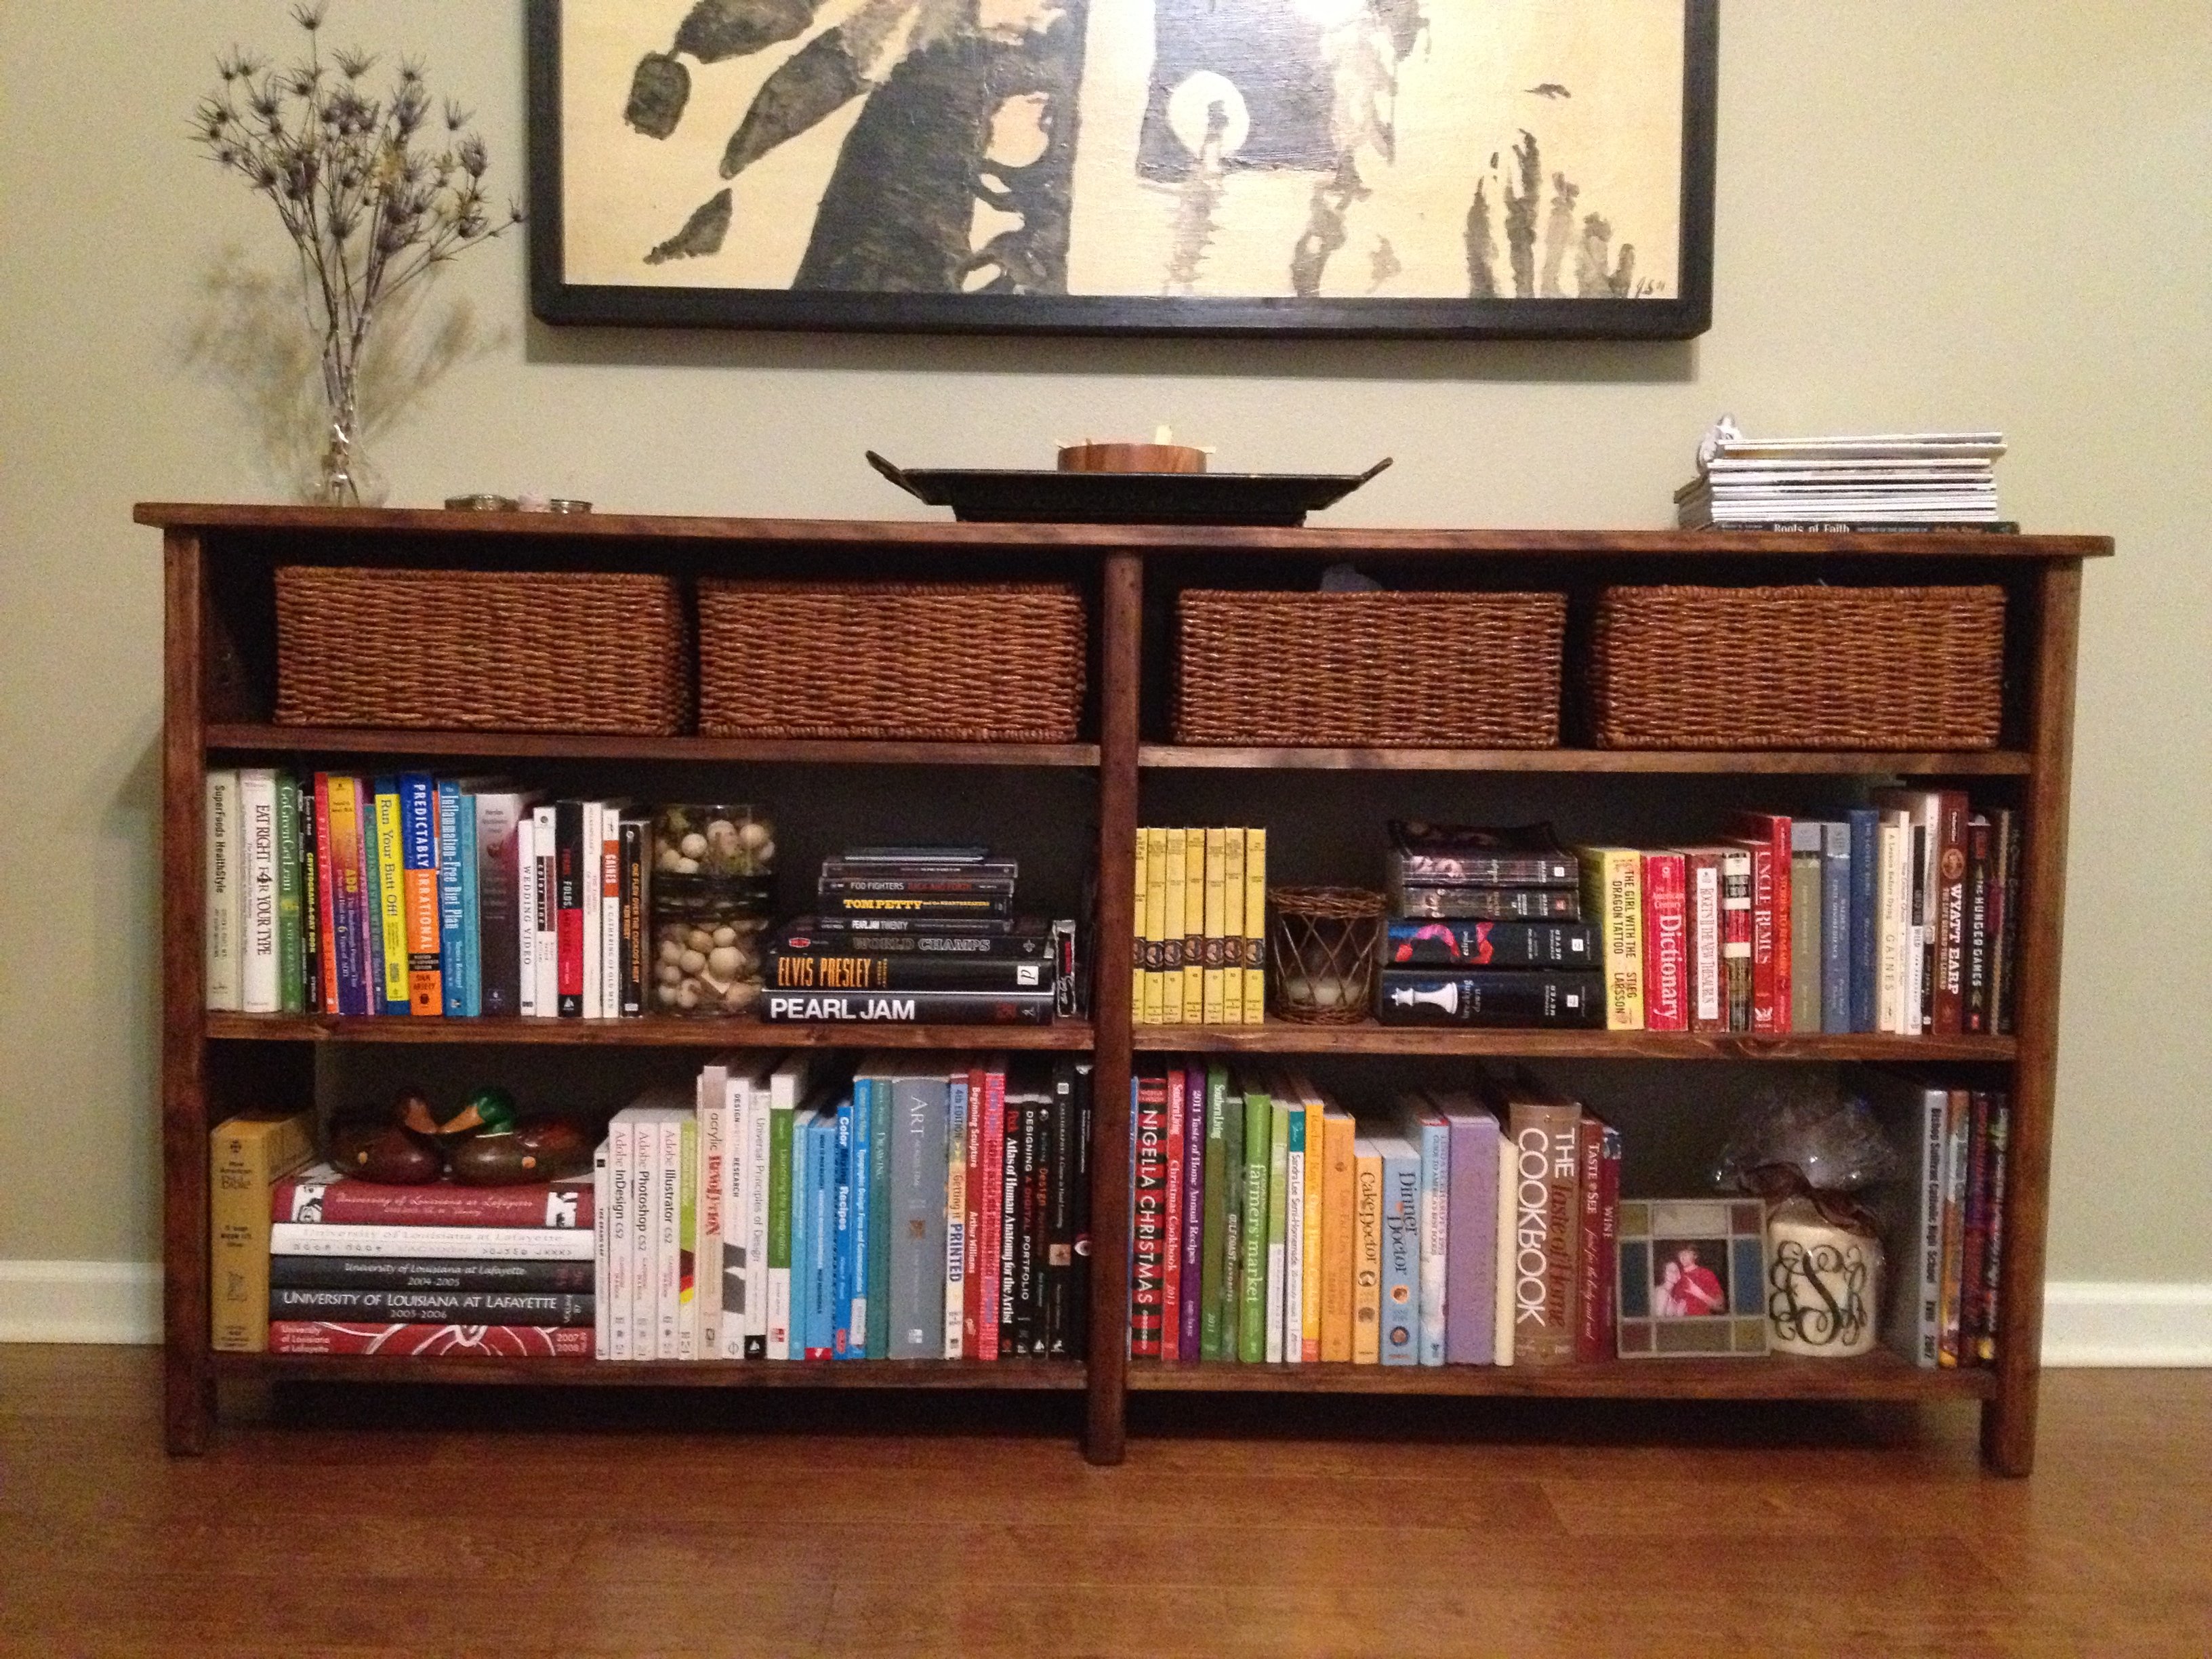
This is my first Ana White project and was a great learning experience. This project is a modified version of the 6 cube bookshelf plan.
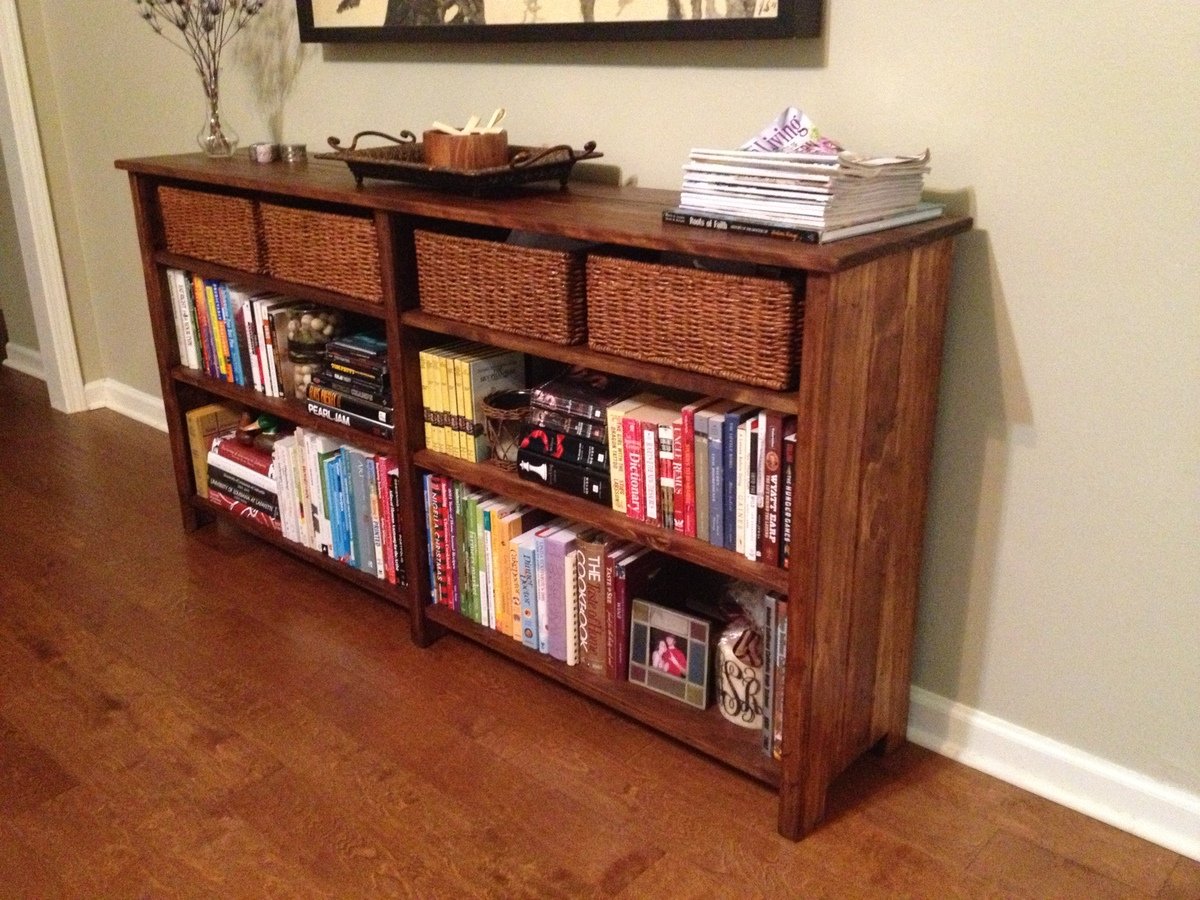
Rips of Pine were used for the top, sides, and facing. 3/4" Plywood was used for the shelf planks and the shelf dividers. The sides were also modified so they worked as the legs. Overall dimensions for this piece is 72"x14.5"x35.5".
Built from Plan(s)
Estimated Cost
$150ish
Estimated Time Investment
Week Long Project (20 Hours or More)
Finish Used
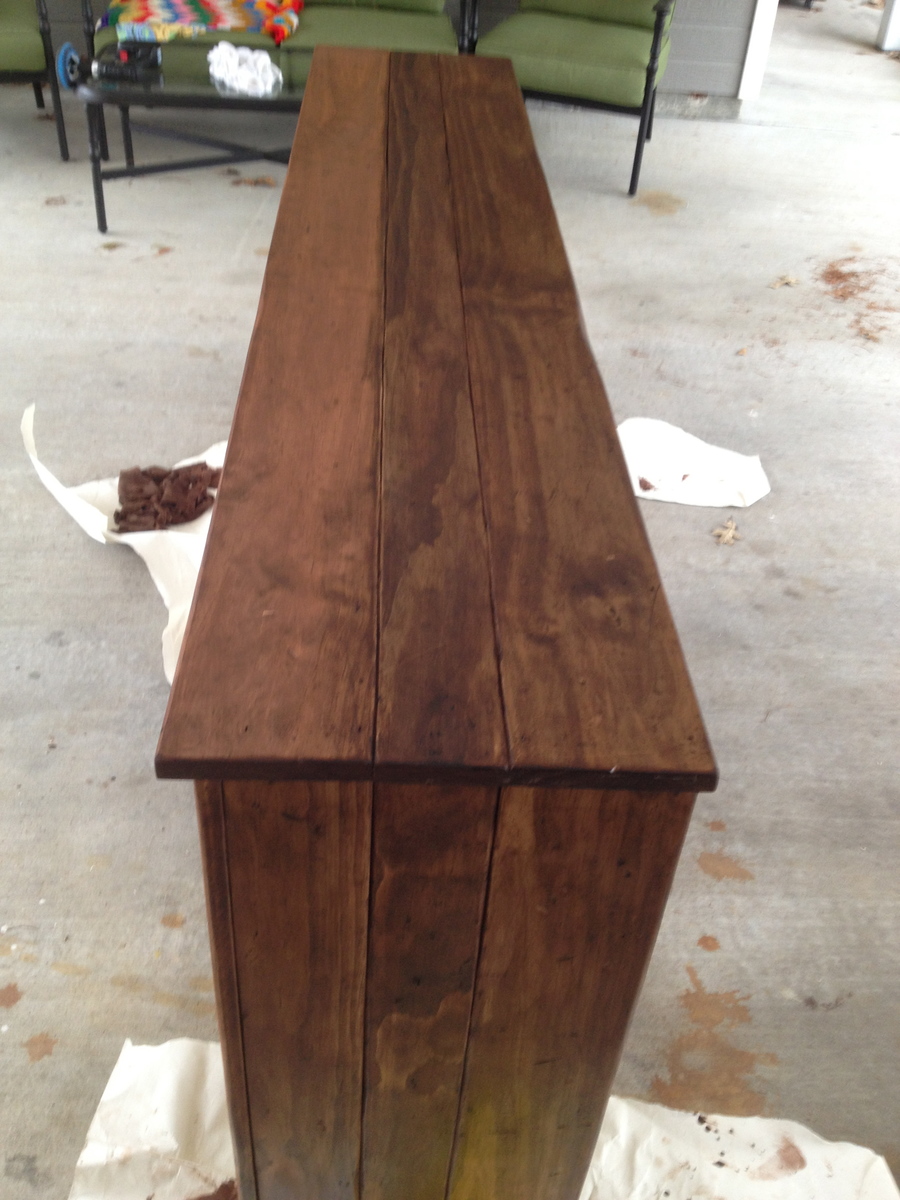
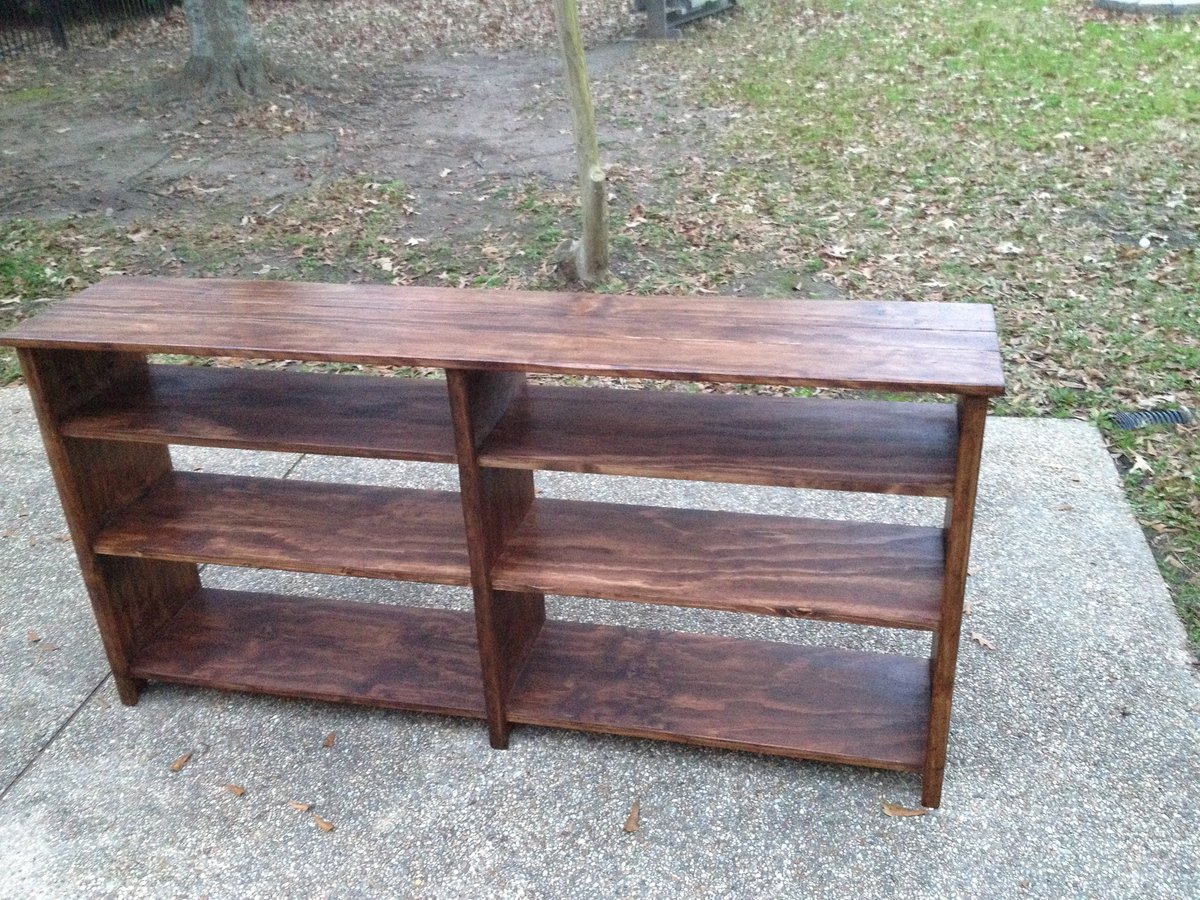
First I applied Minwax Red Chestnut Wood Finish Interior Wood Stain then Dark Walnut Briwax.
Recommended Skill Level
Intermediate
Corner shelves
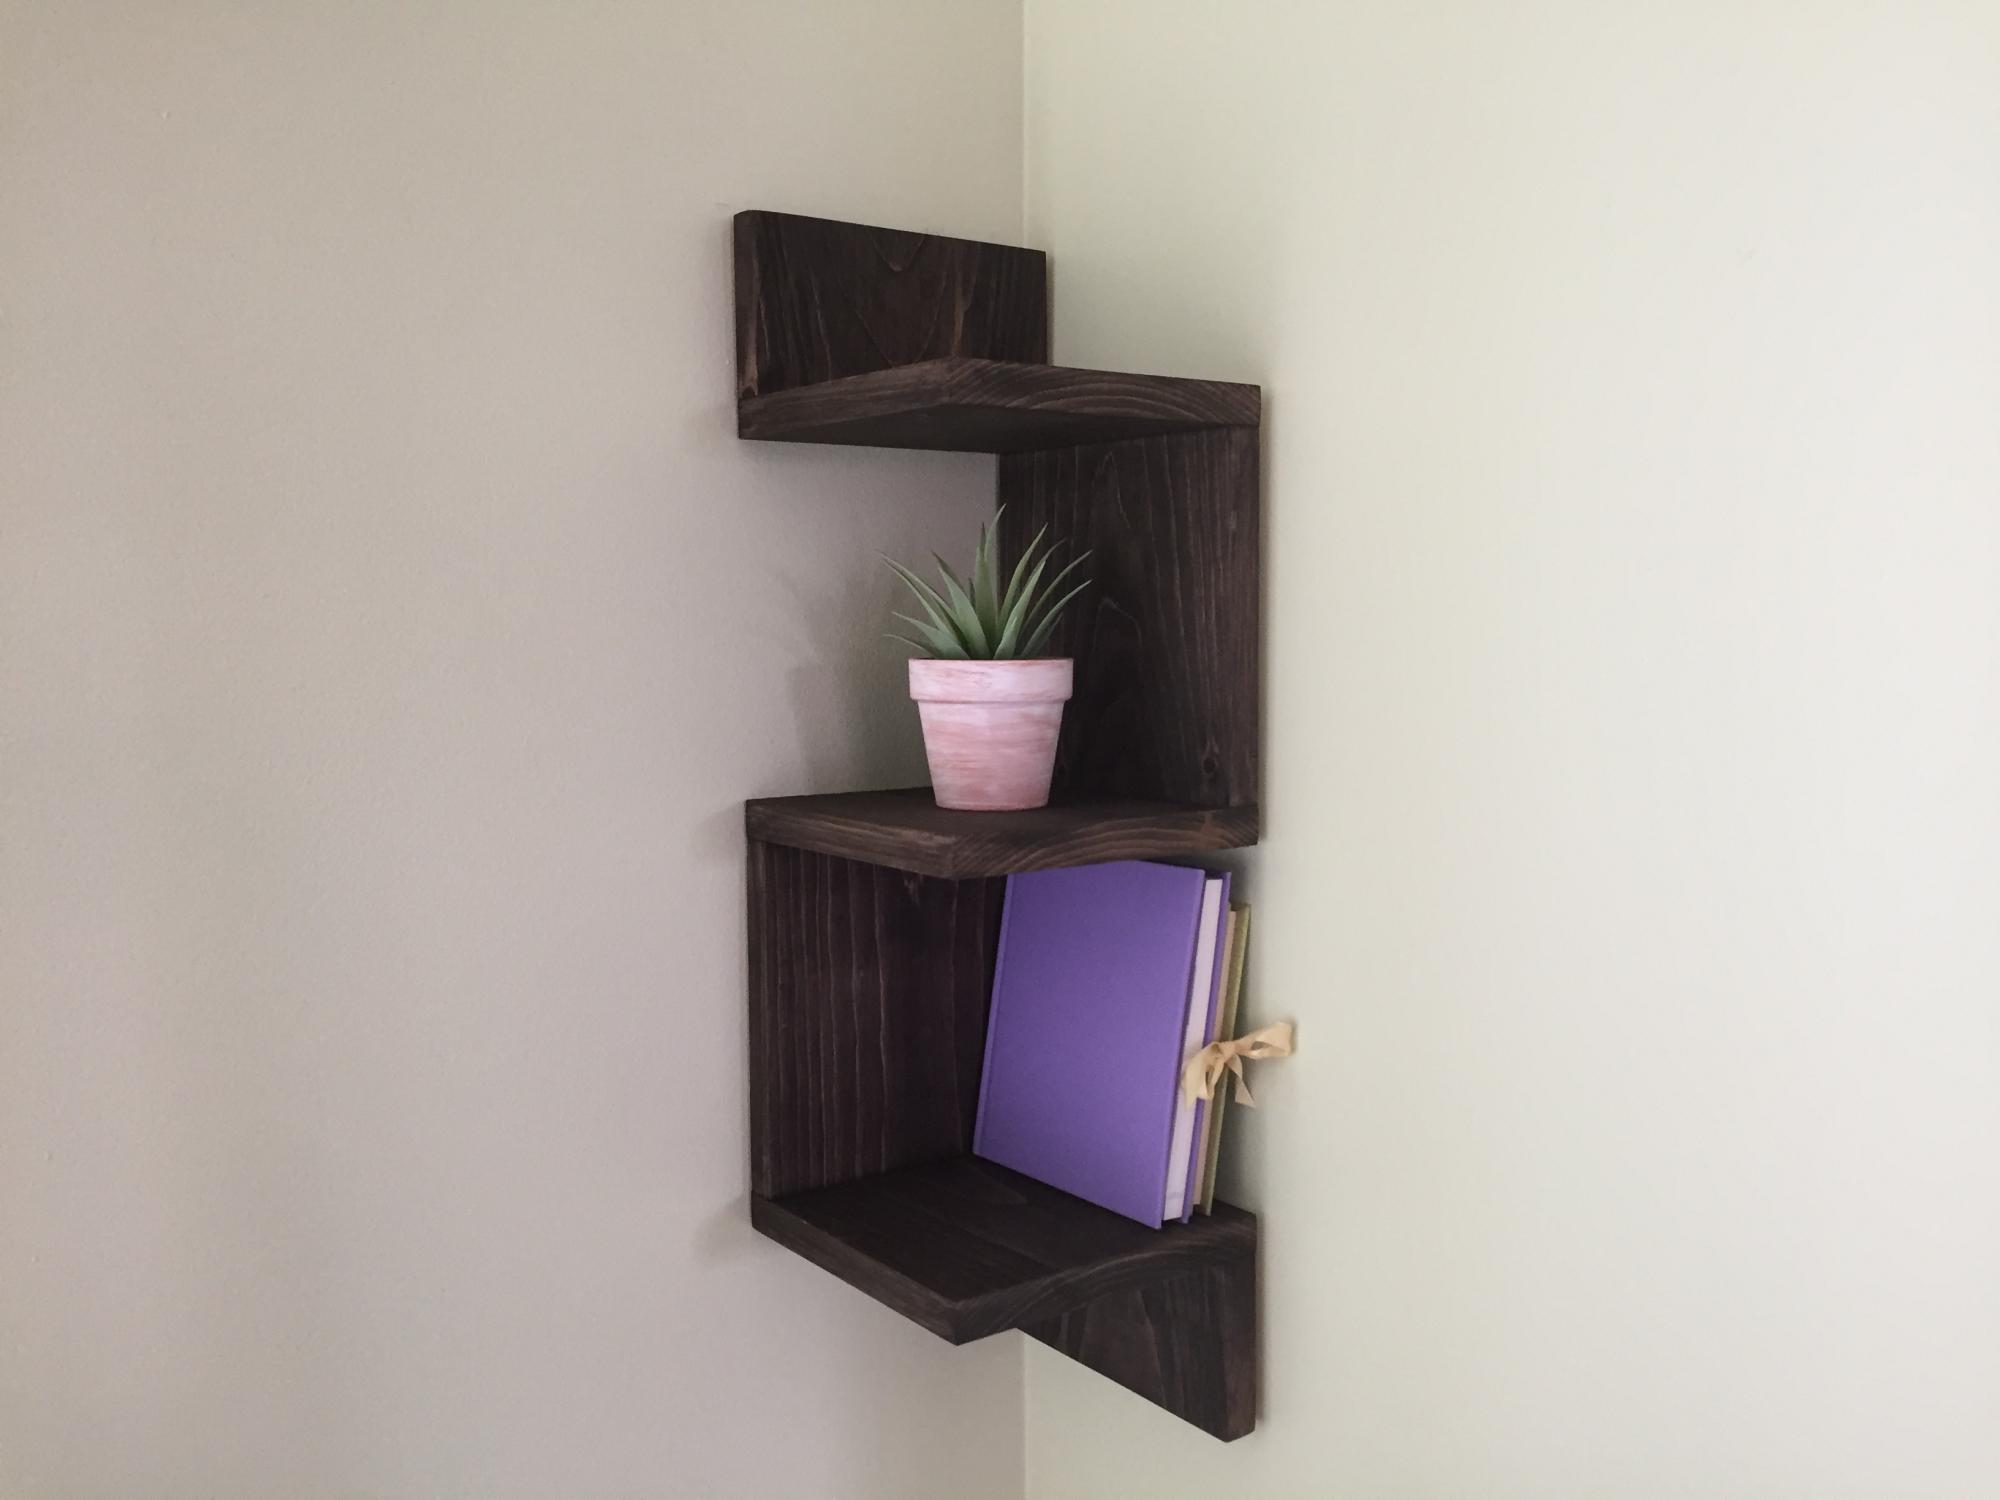
I built these beautiful corner shelves for a friend. It is a great beginner project. I used a 1x8 board but you could also use a 1x10 board. You could also build 5 shelves instead of 3. I used pocket hole joinery.
Estimated Time Investment
Afternoon Project (3-6 Hours)
Finish Used
Oil I find at my local mill.
Recommended Skill Level
Starter Project
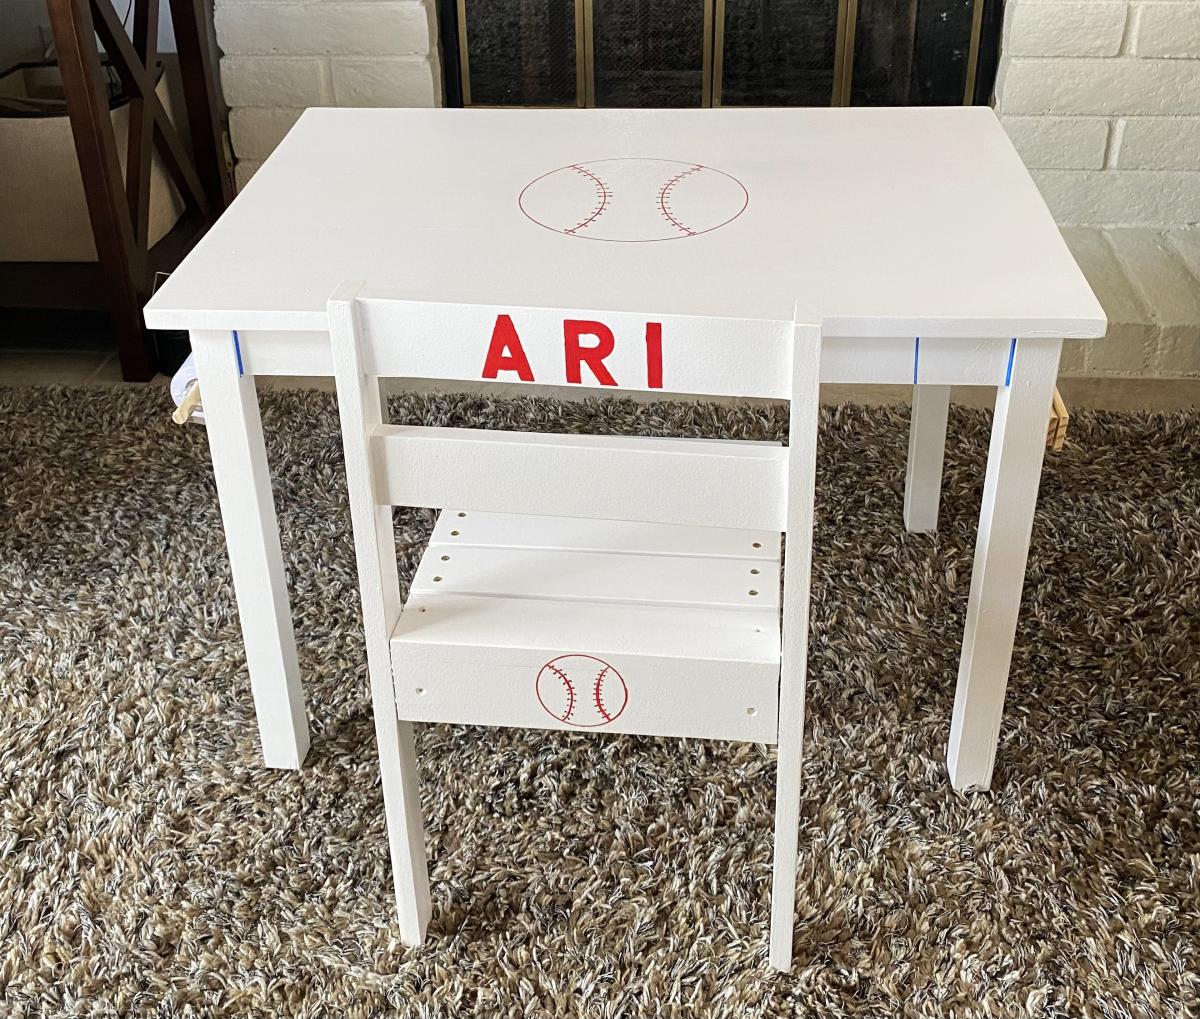
Kids Custom Table and Chairs
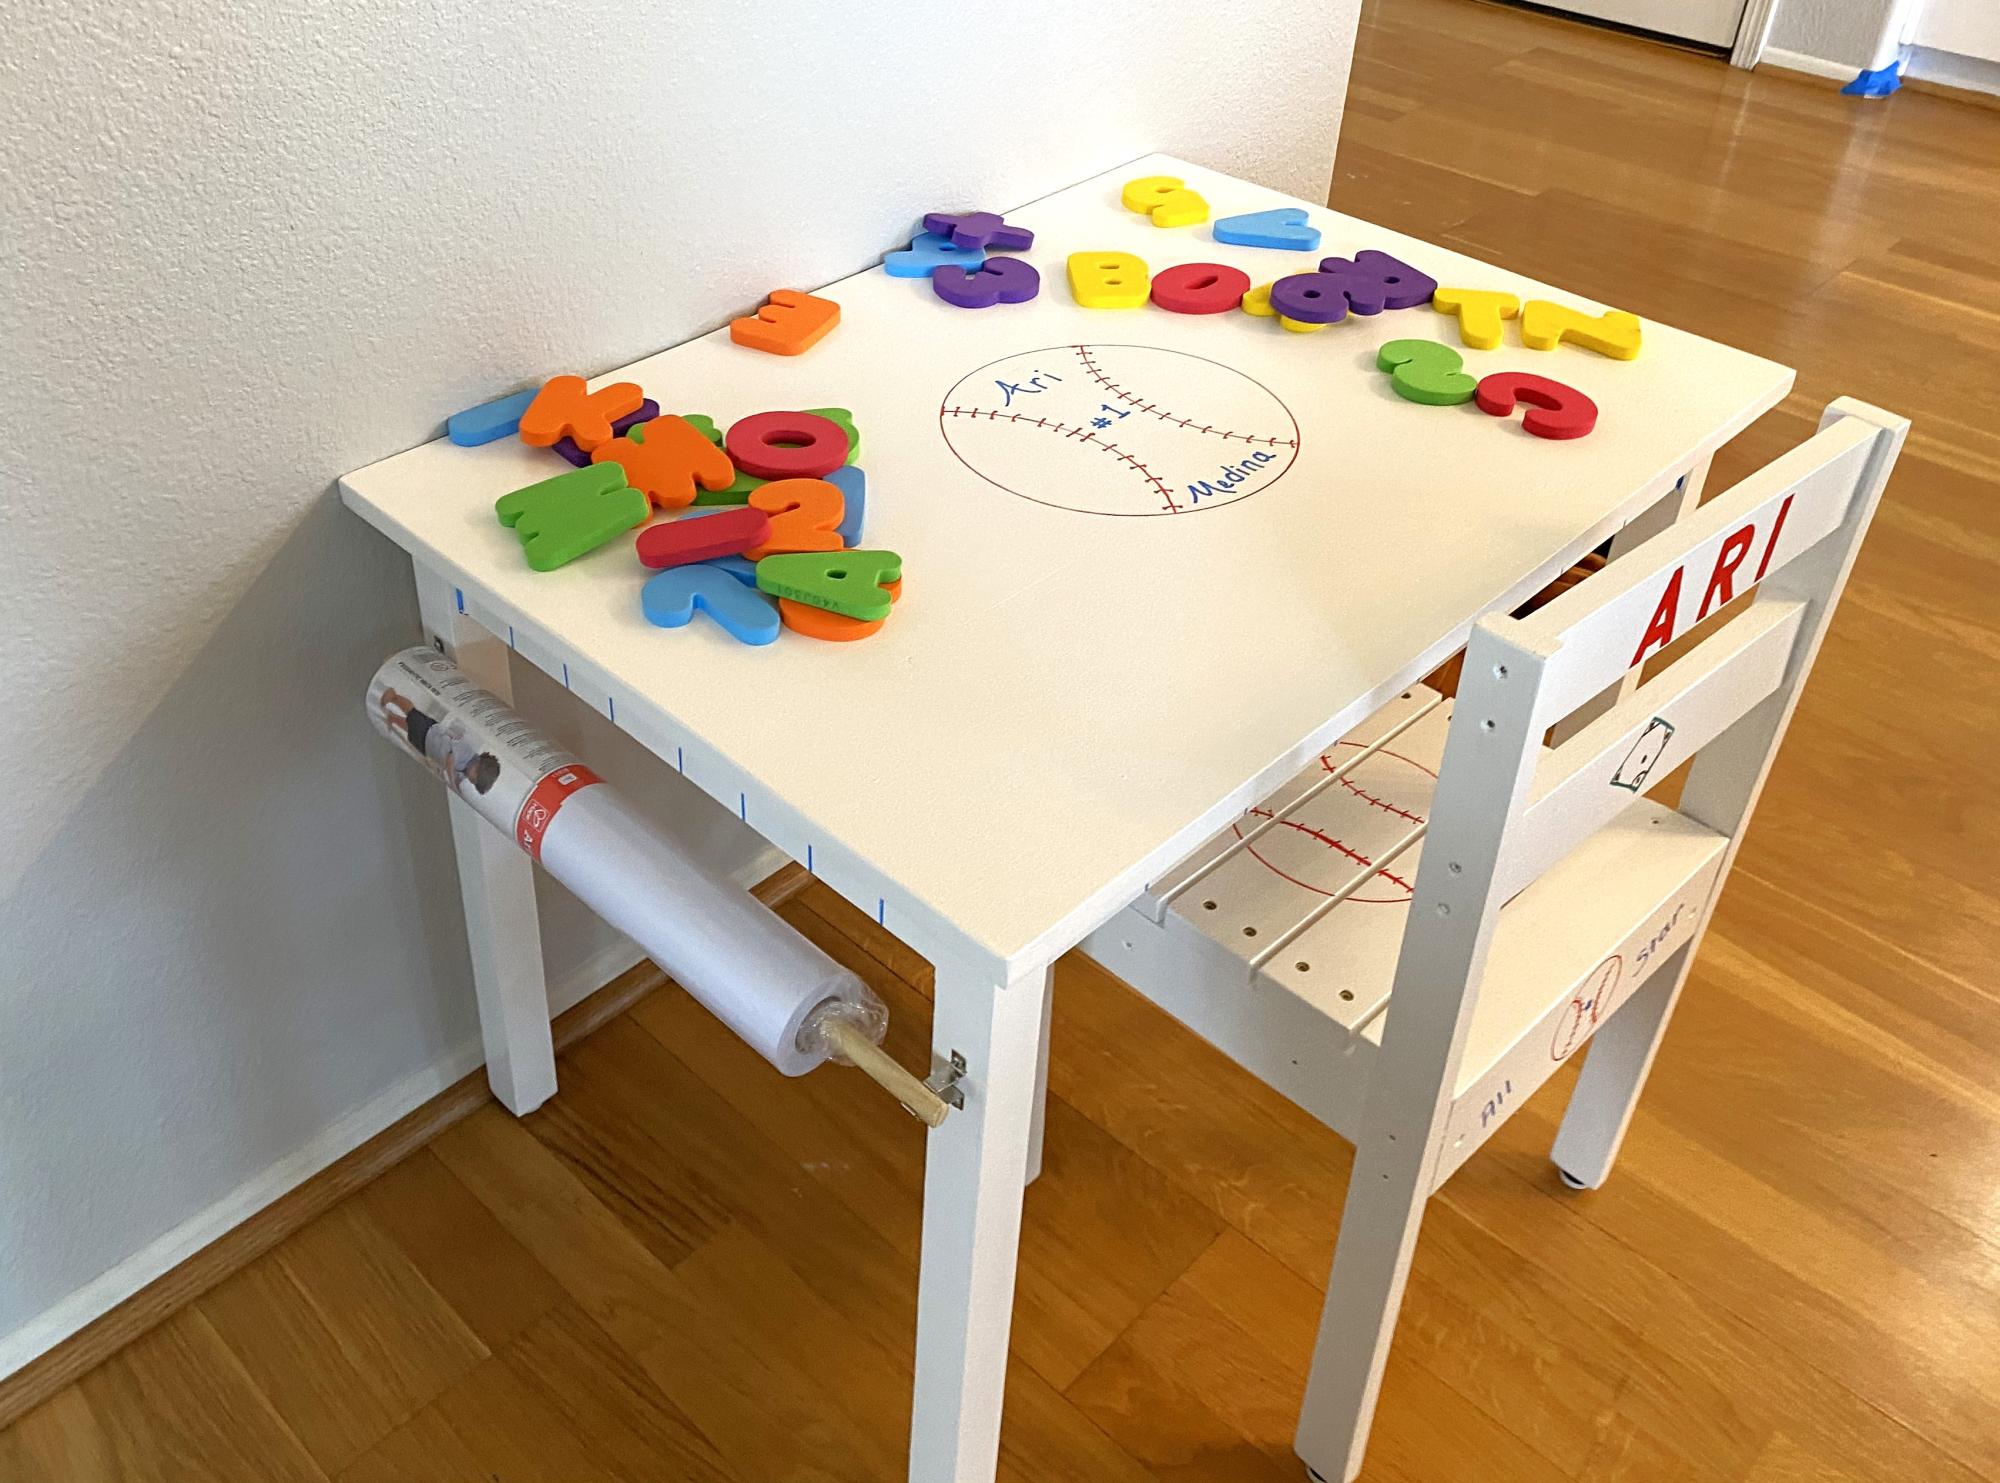
This was a blast to build, but more fun the watch my grandson enjoy it.
Thank you for the best plans.
Charlene
Built from Plan(s)
Mudroom Cubbies
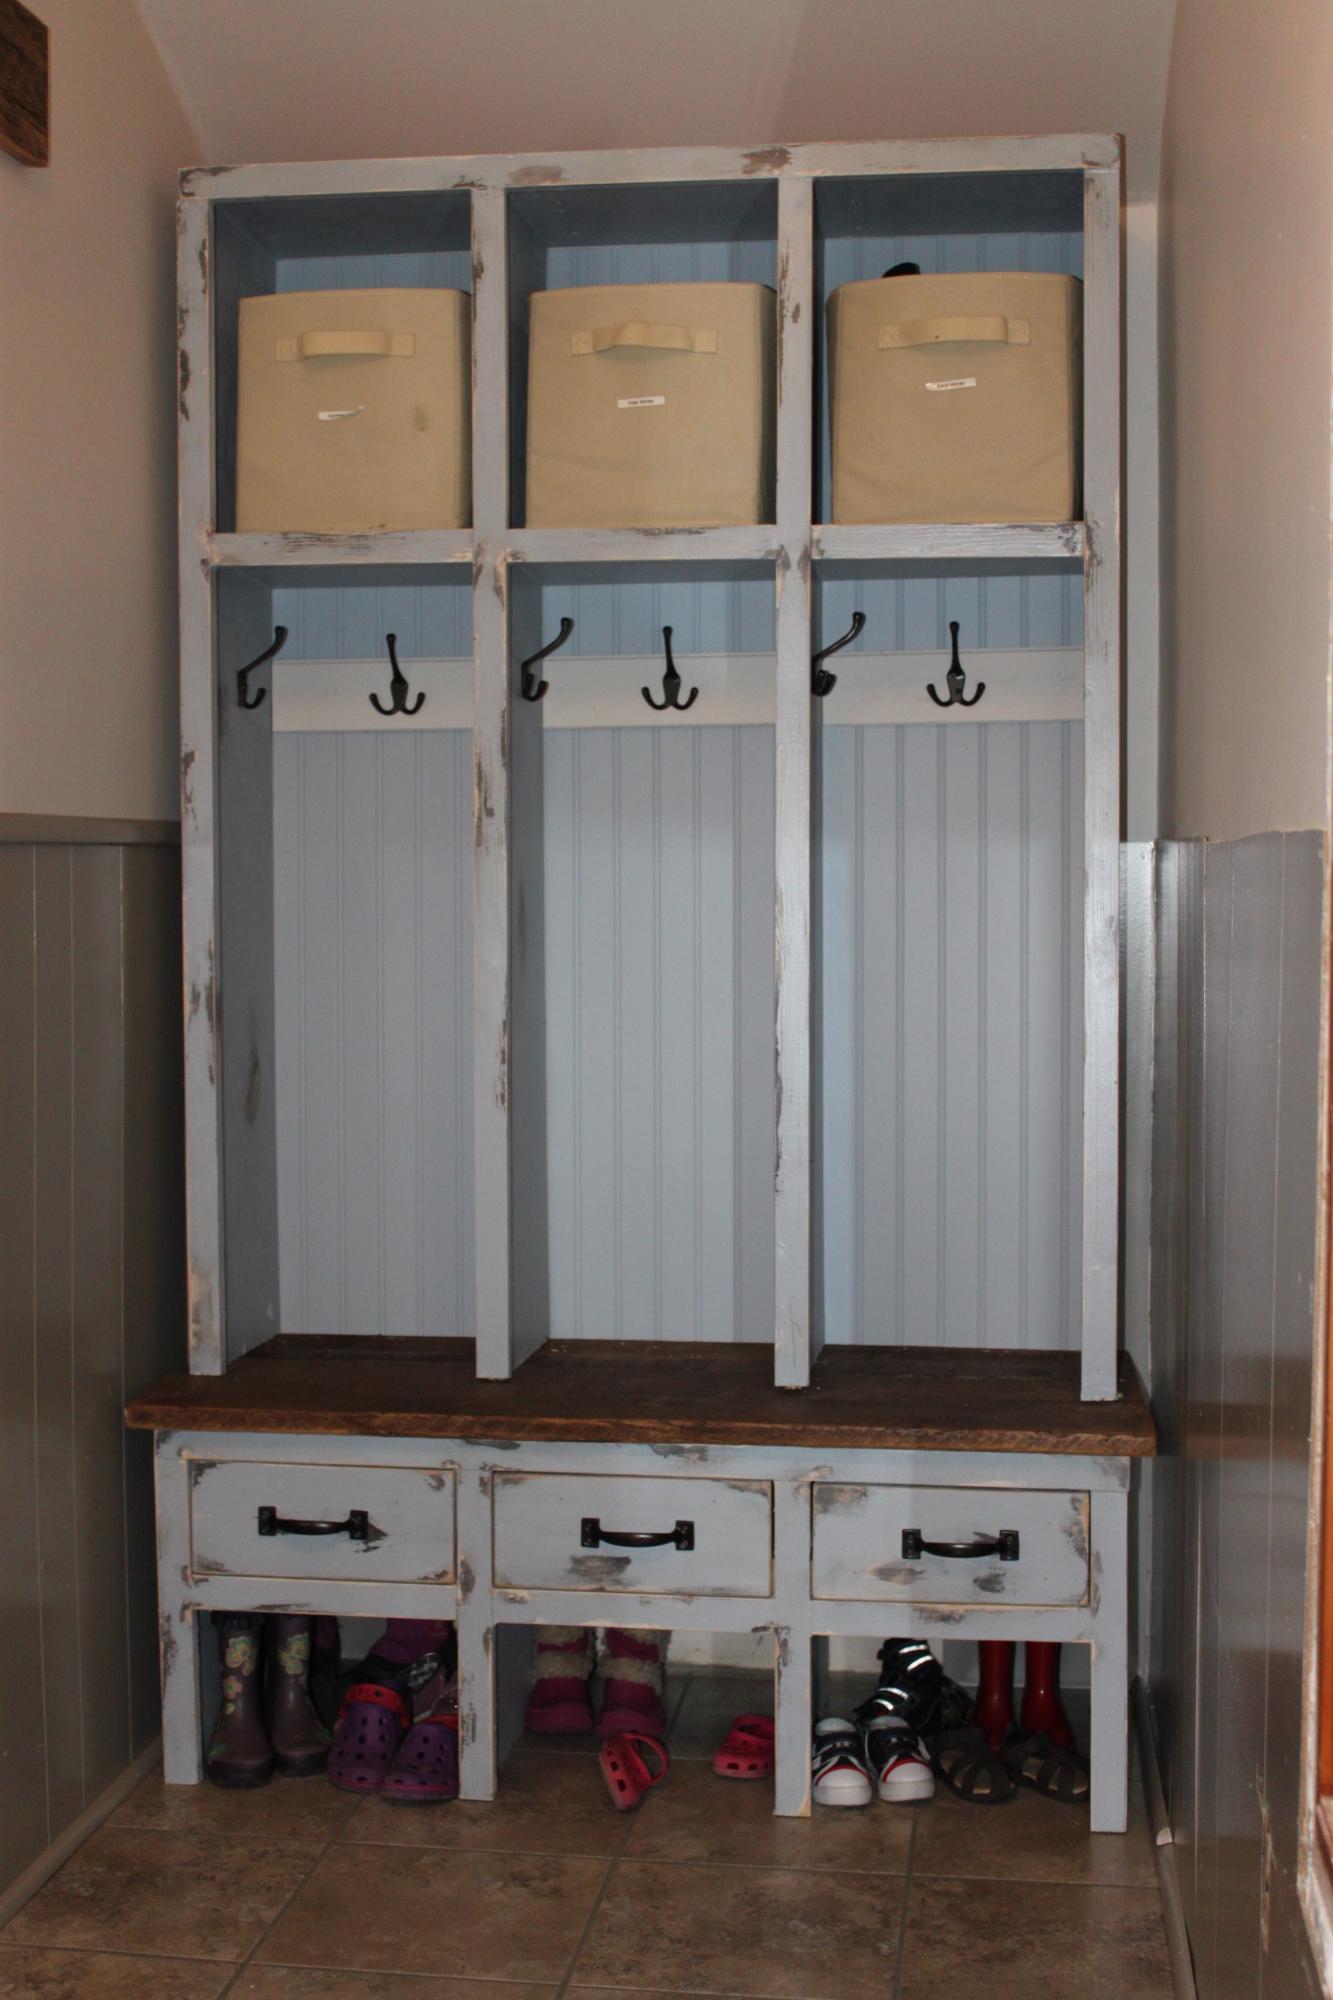
We removed the tiny closet in our mudroom (because kids and husbands seem to be unable to open a closet door to put their coats away). I found some pictures of cubbies that I liked, and then used some of Ana's plans to hybrid together what I had envisioned. They came together really easy and quick - the most time consuming part was the finishing. This was my first attempt at drawers and using glides, so that took a bit of tweaking. I bough a square AFTER building this, and I should have done that first! This was also the first time I used my new Kregjig.
Built from Plan(s)
Estimated Time Investment
Day Project (6-9 Hours)
Finish Used
I primed the whole piece then painted a bunch of spots with dark brown paint I had left over. I then smeared vasoline around the edges and in a few spots that I thought would have gotten more wear. I then painted the whole thing blue and sanded with 220 grit. I applied 2 coats of poly and sanded in between.
For the seat, I used barn board we had, just sanded and coated with poly twice.
For the seat, I used barn board we had, just sanded and coated with poly twice.
Recommended Skill Level
Beginner


Den Console
Cool project! My wife liked it without the doors!
Built from Plan(s)
Estimated Cost
$55.00
Estimated Time Investment
Afternoon Project (3-6 Hours)
Recommended Skill Level
Starter Project
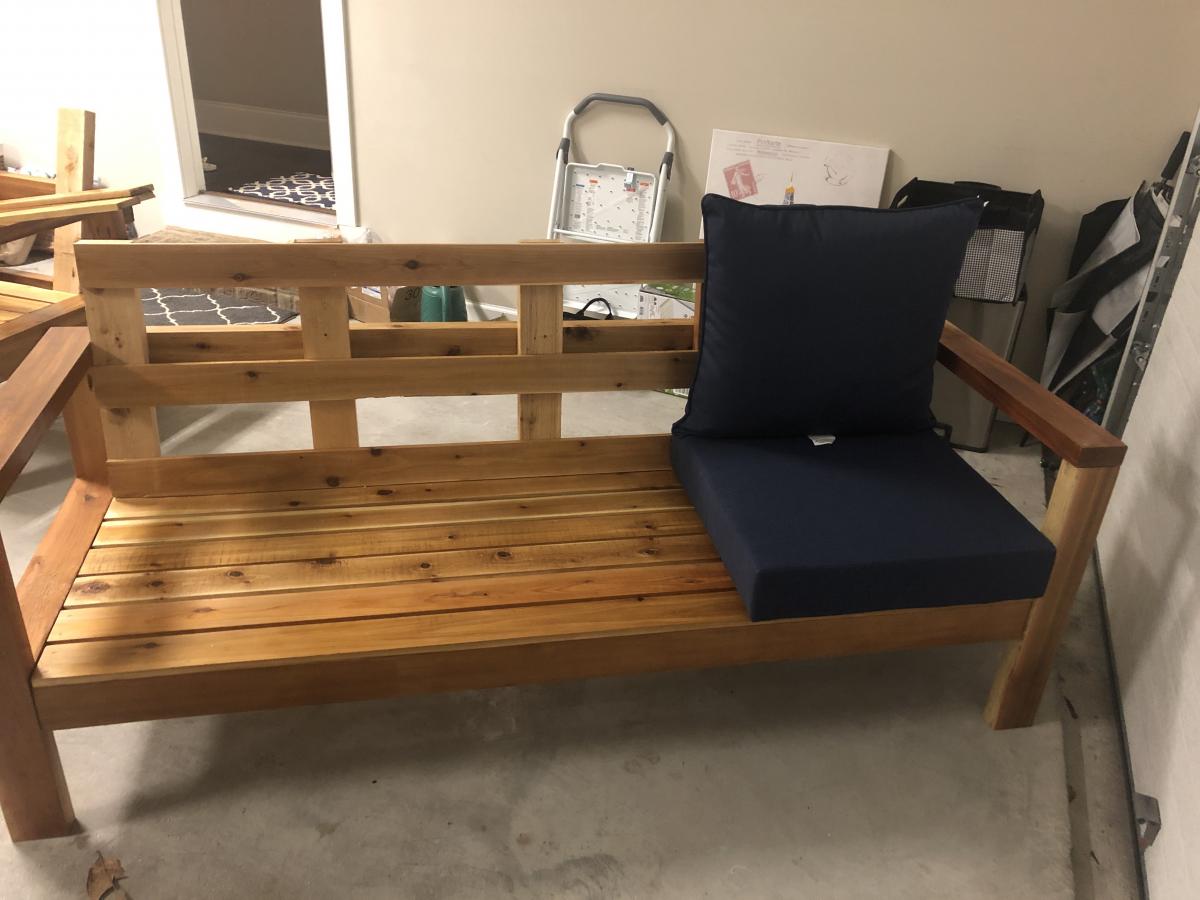
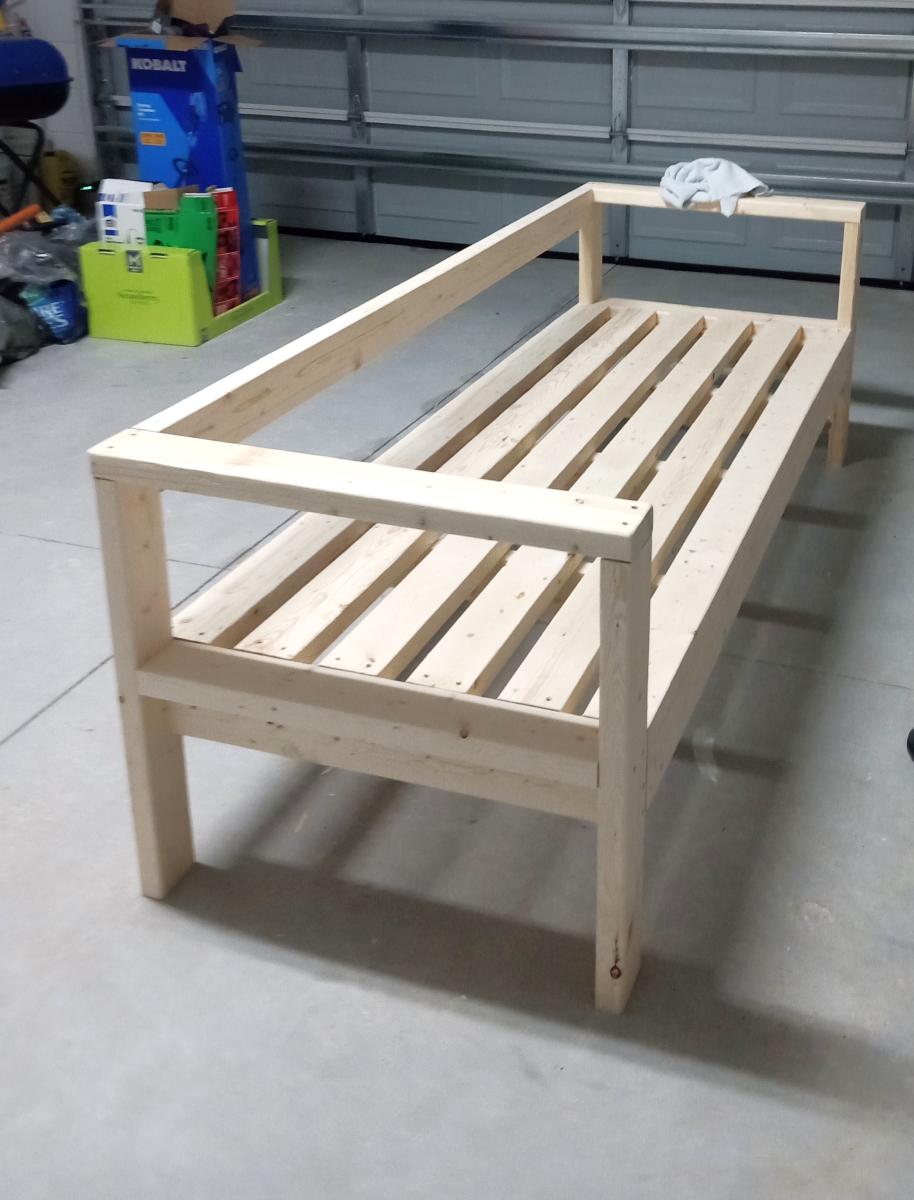
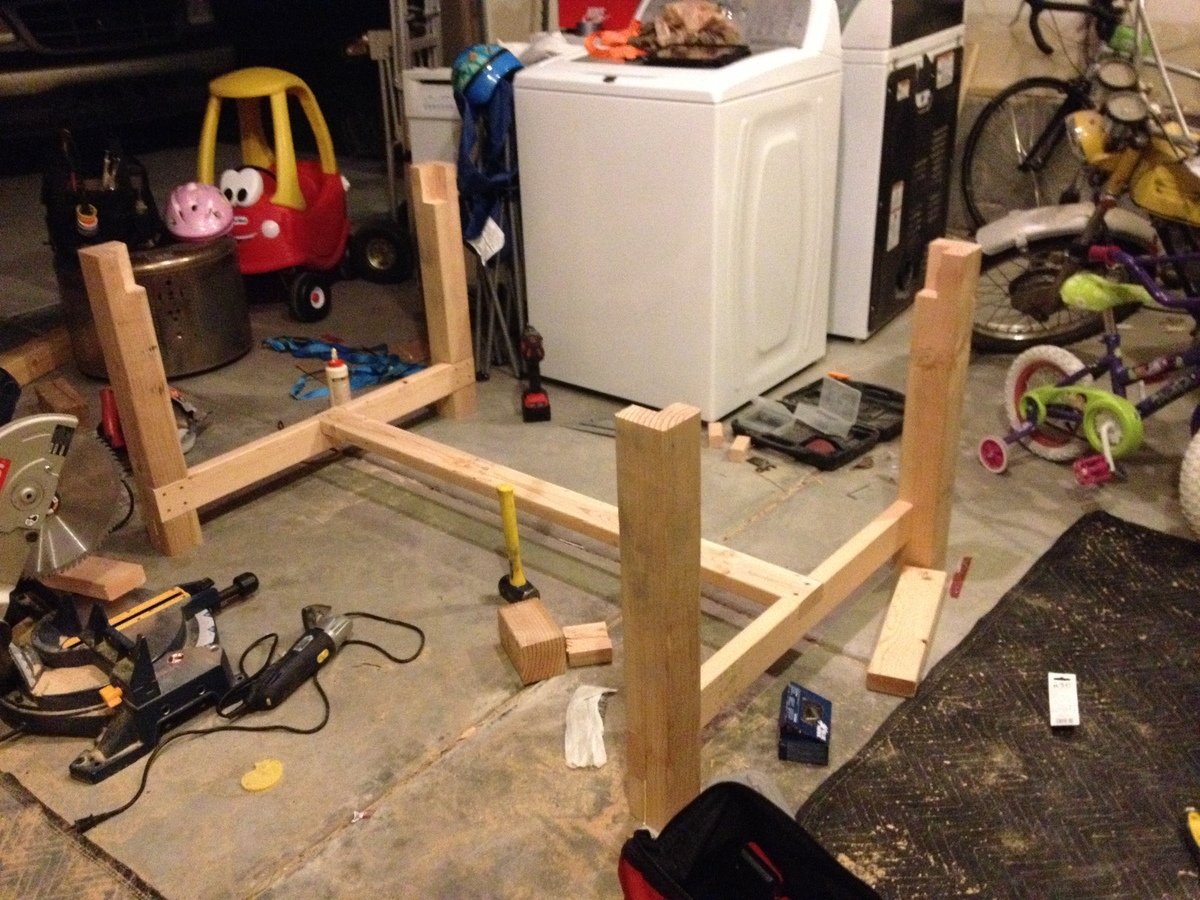
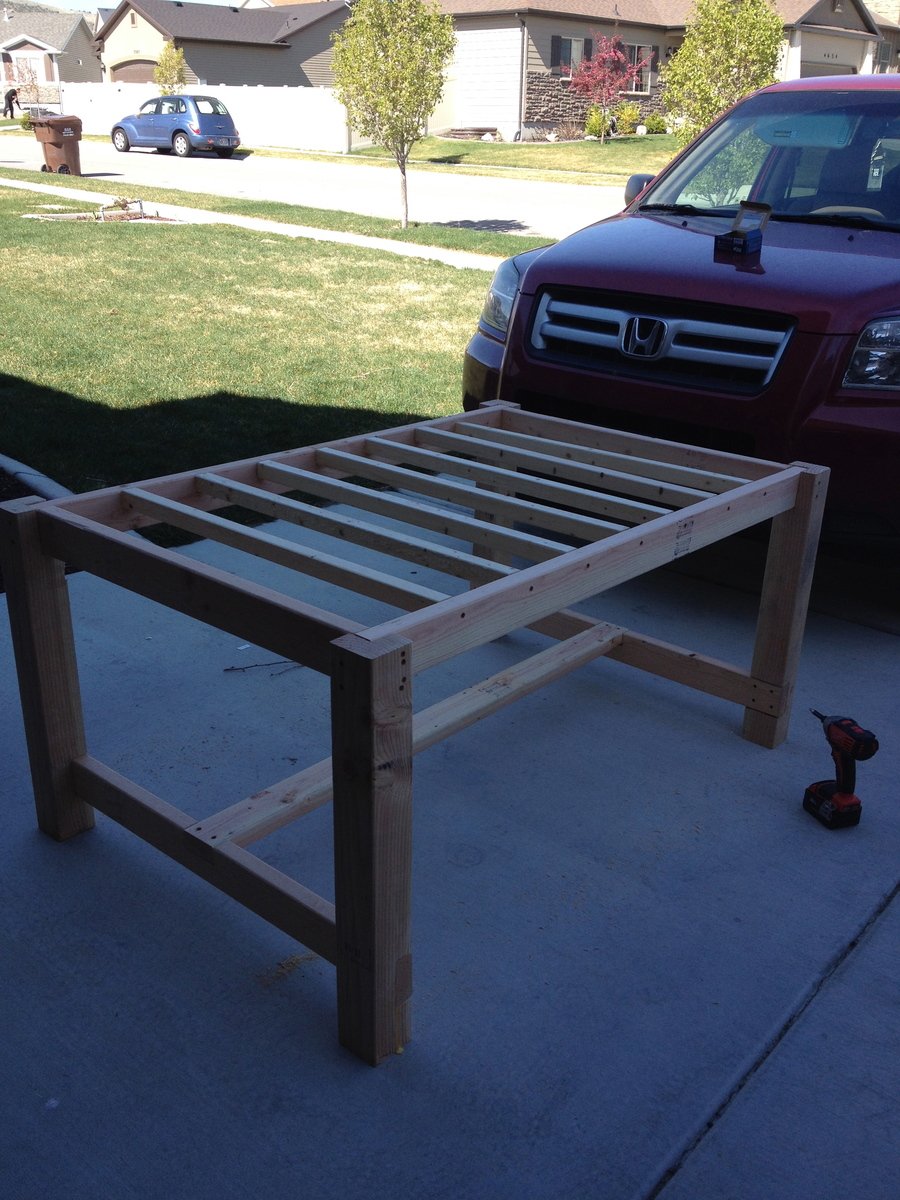
Cedar sectional
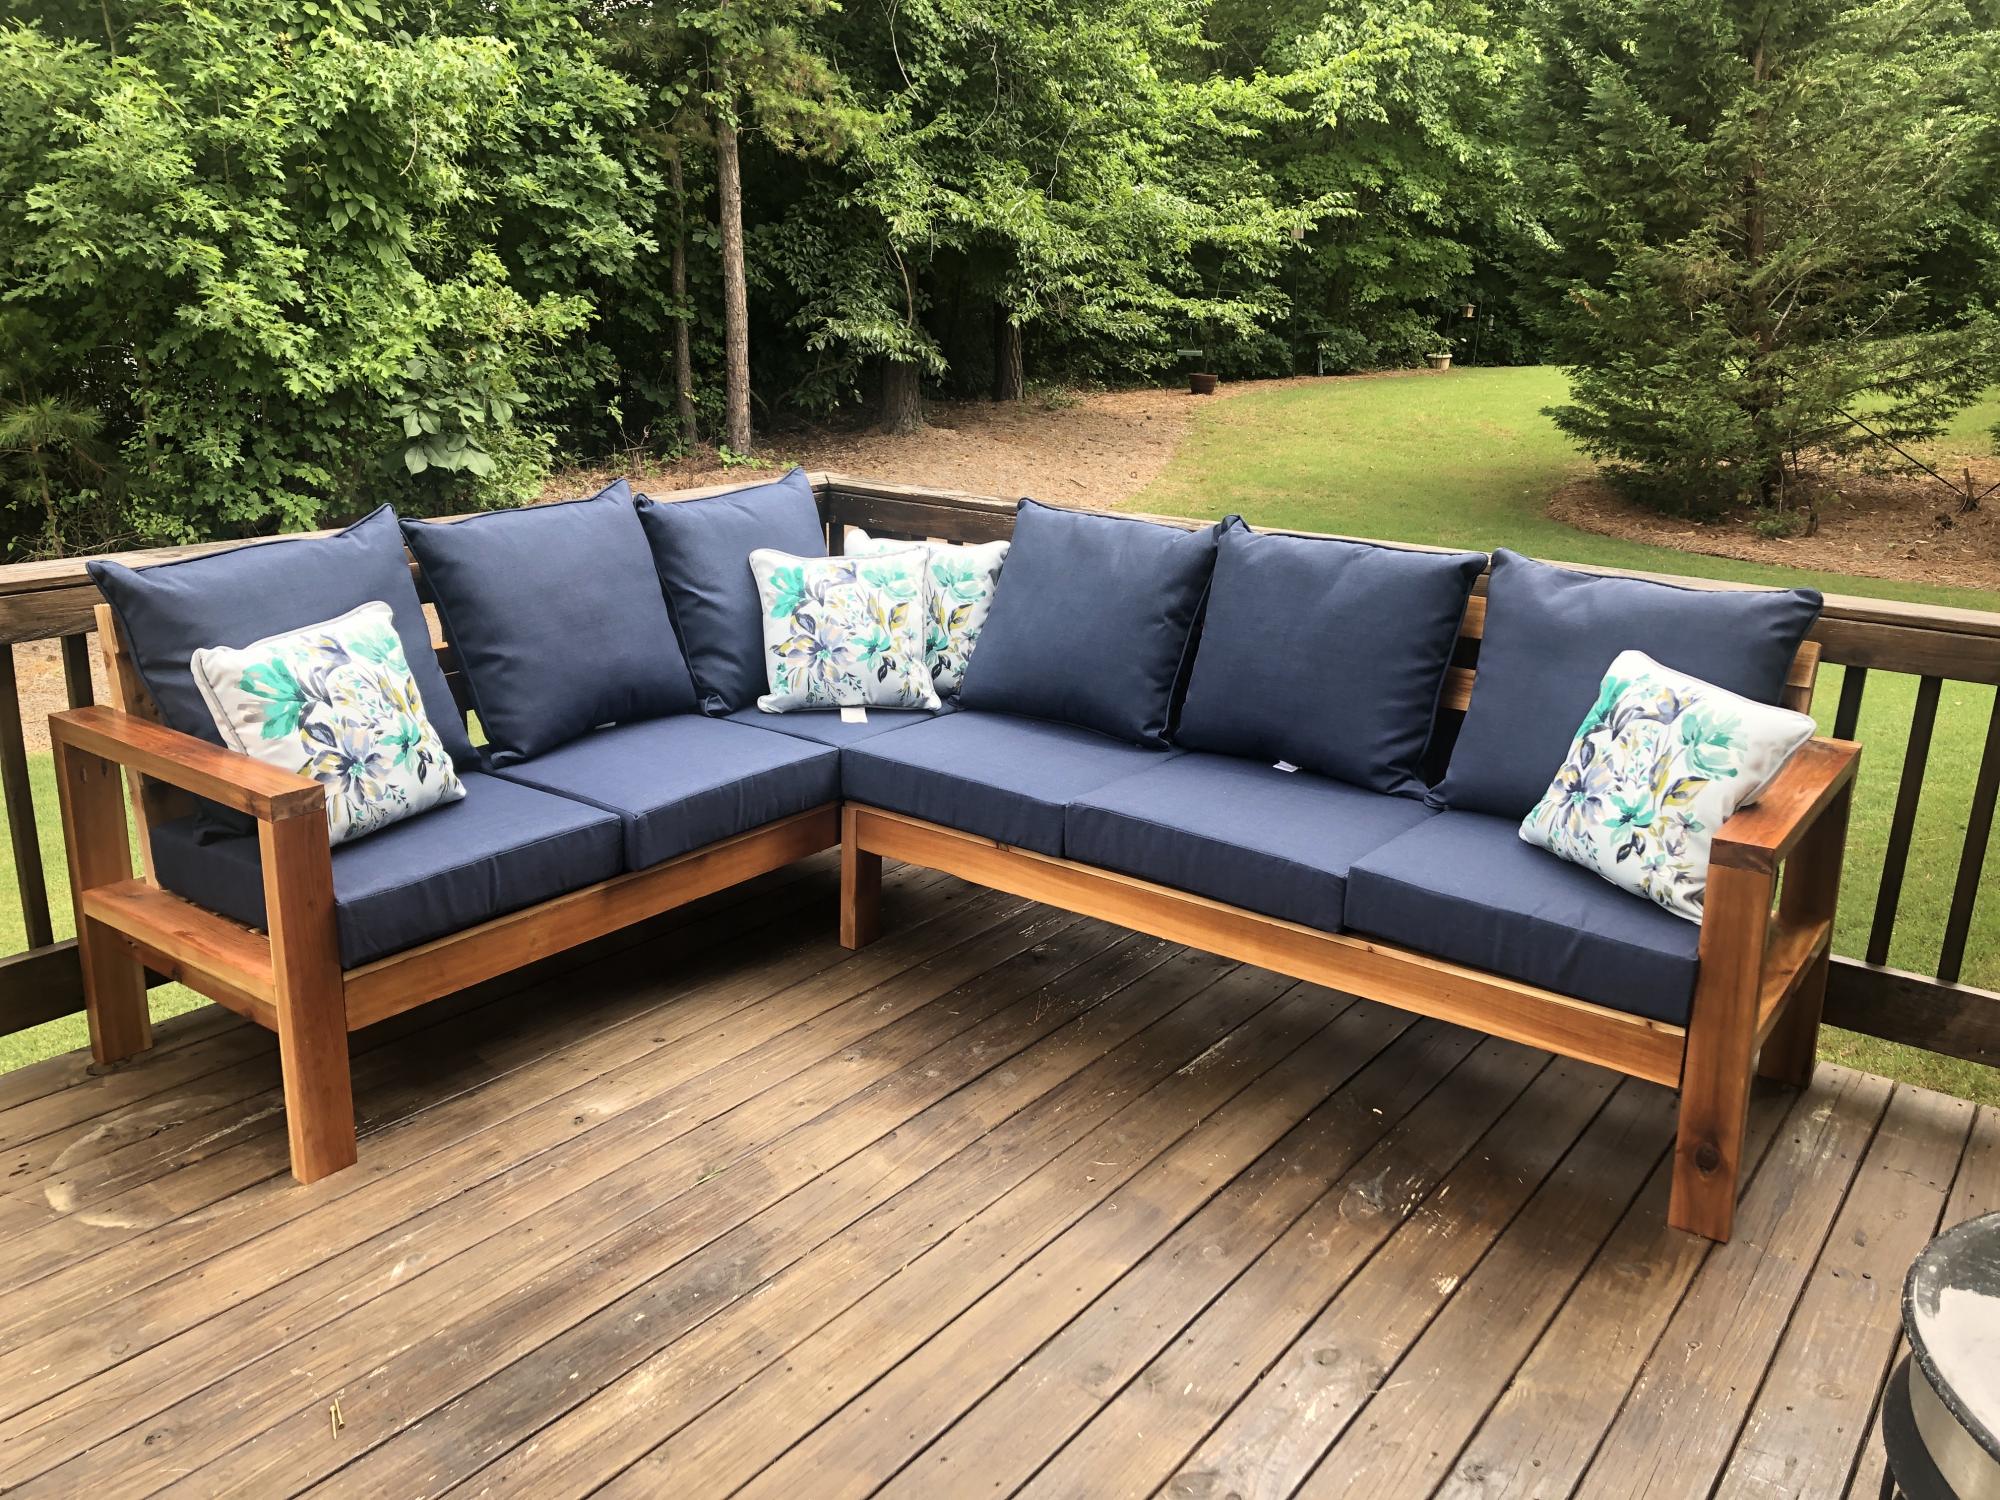
My sister needed new outdoor furniture for her deck and liked the look of the sectional. I used cedar with a clear varnish to creat this piece for her that was perfectly sized for her deck. The challenge to this one was getting it to her house about 3 hours from mine. Fully assembled it would have been tight getting it in my truck. I ended up cutting all of the boards and drilling all of the pocket holes in my shop and then assembling at her house. I have added backs to some of the pieces I have made fro others that want the extr support. I add a 1x4 laying flat across the back of the seat. The slats going up and down then have a slight angle to them which adds comfort and support. I attached the pieces to the 1x4 and the upper back rest piece in the plans.
Built from Plan(s)
Estimated Cost
$340 including lumber and hardware
Estimated Time Investment
Weekend Project (10-20 Hours)
Recommended Skill Level
Intermediate
Custom Potting Bench

Potting bench with a few modifications to fit our space.
Bill N
Built from Plan(s)
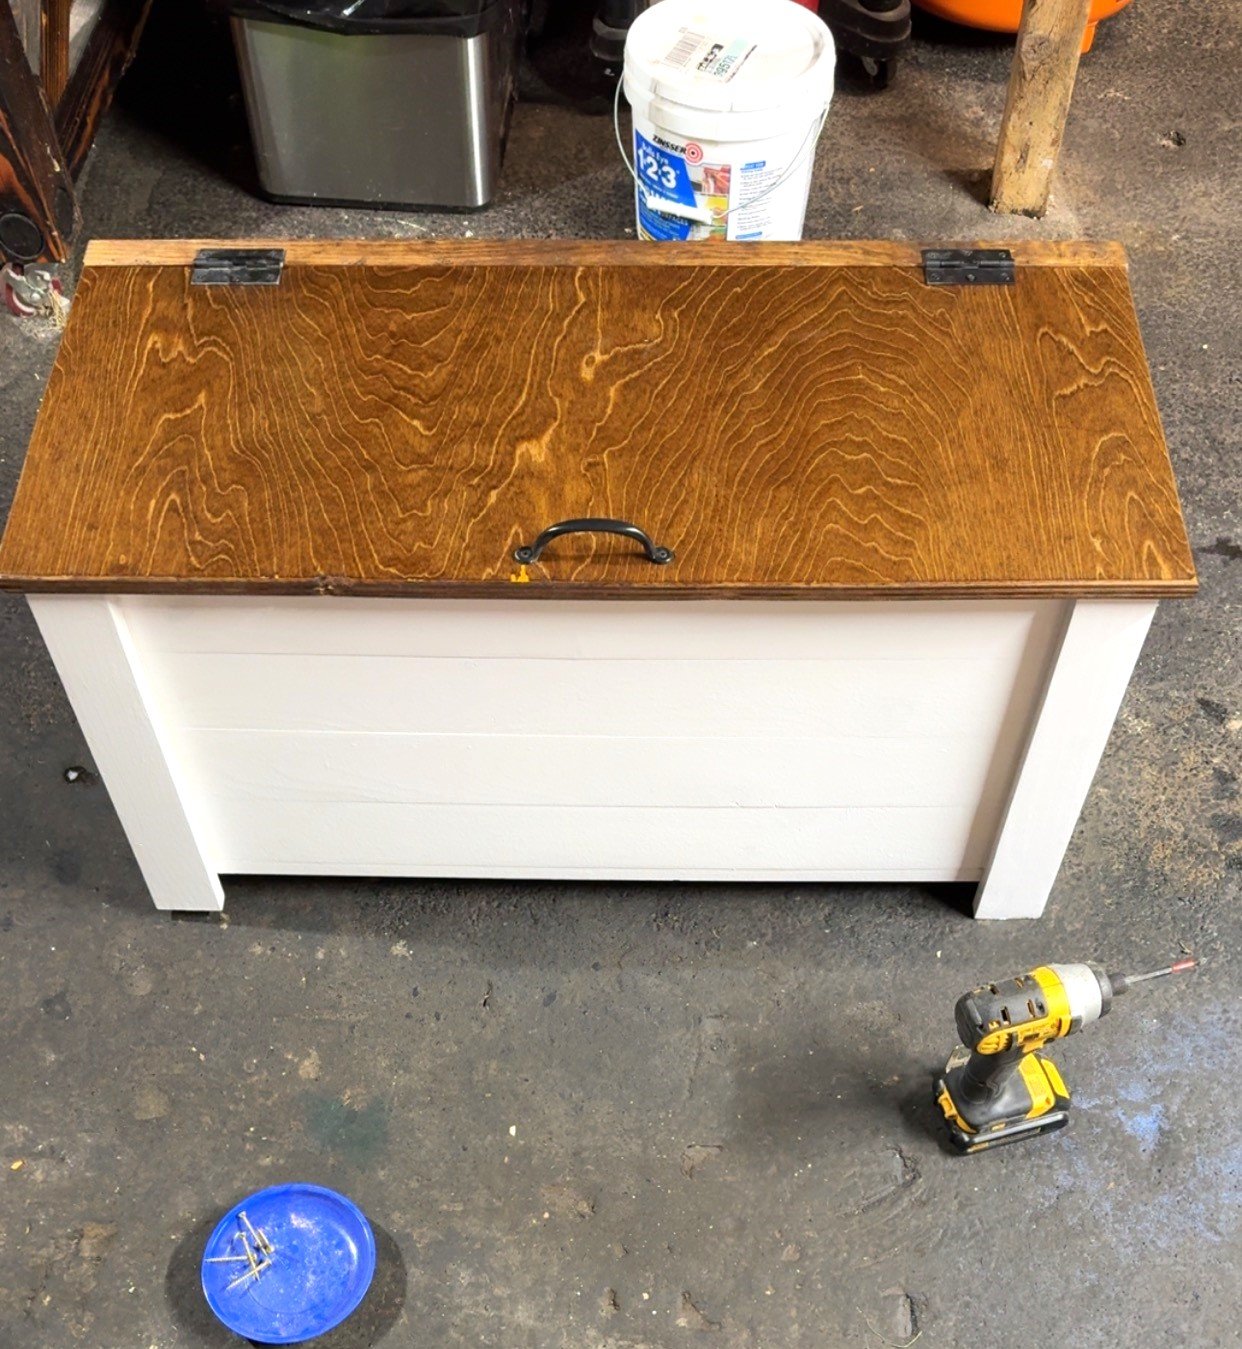
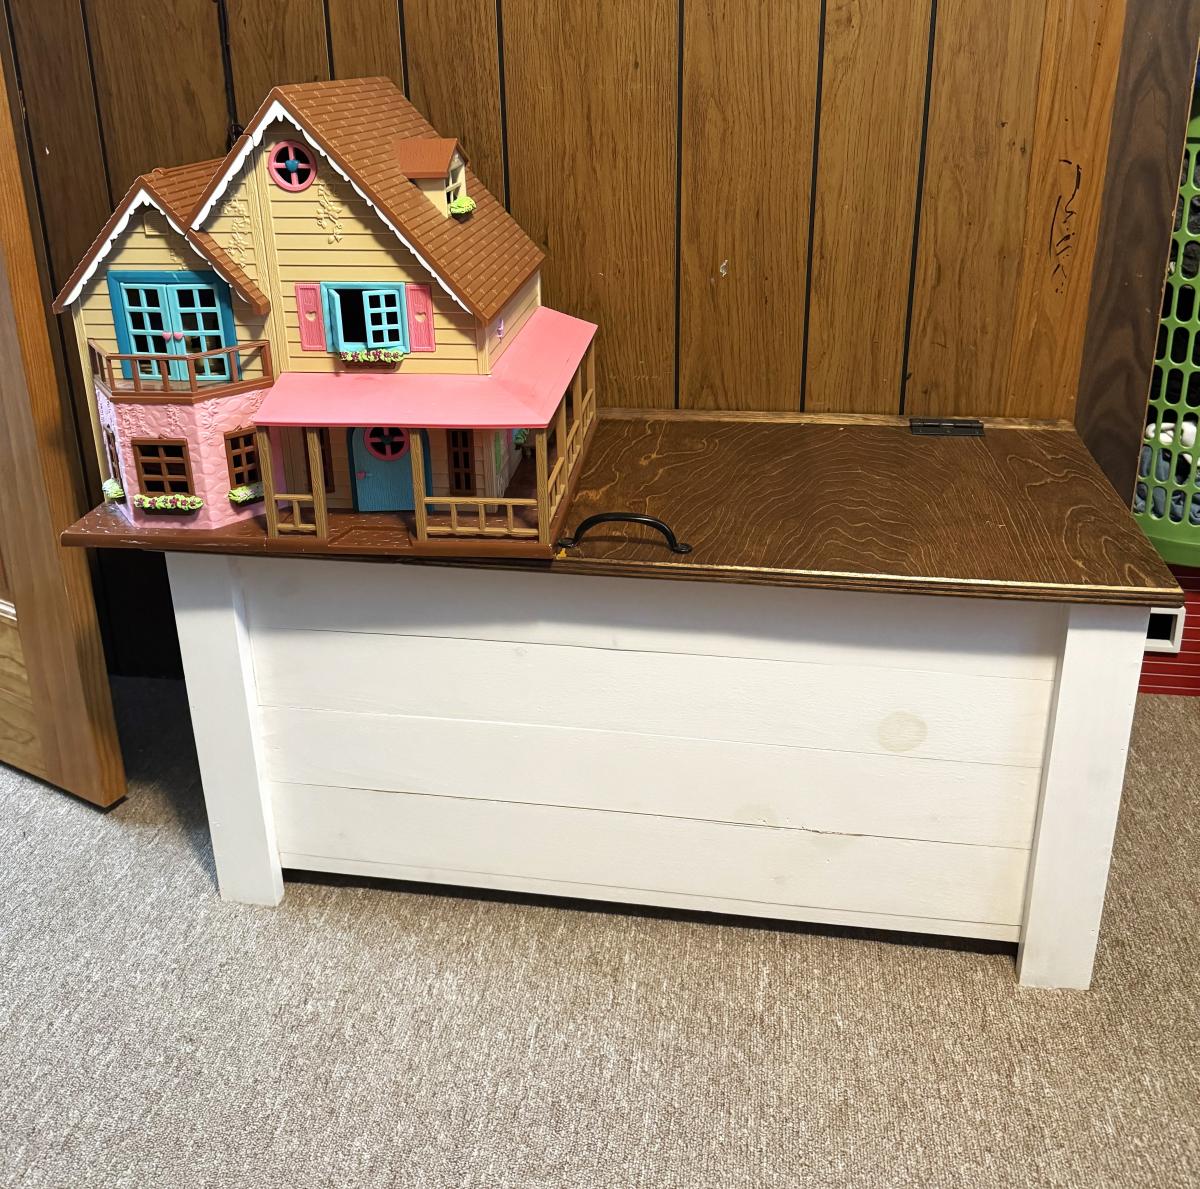
bench with drawers

I saw hilarylouise do this and really loved it. It was taken from the cubby storage collection and it 3 bases with drawers put together. I also copied her painting the inside of the drawers different colors. I love that! It is super easy toy storage so not every room in my house looks like a playroom. I could use some practice sewing cushion covers though.

Built from Plan(s)
Estimated Time Investment
Day Project (6-9 Hours)
Finish Used
white semi gloss paint. don't make the mistake I made and put a coat of polyurethane on at the end. It's now a less than lovely shade of yellow.
Recommended Skill Level
Beginner
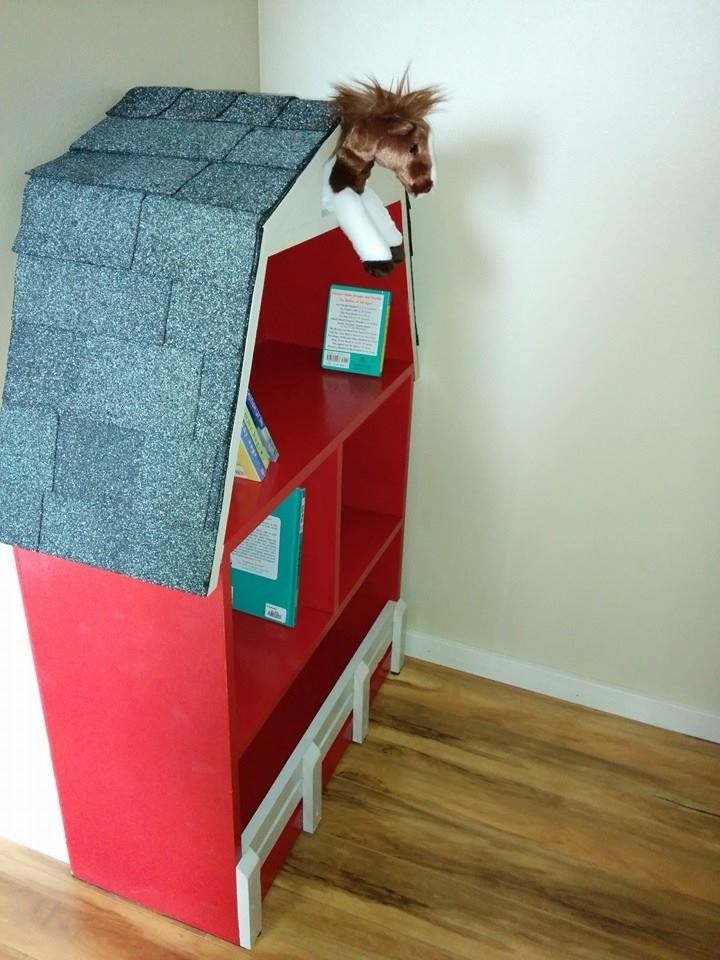
Baby Teyla's barn bookshelf

For our baby girl's cowgirl nursery, my husband and I wanted to build all the furniture. Only the crib and night stand to go.
We built the barn bookshelf for the fact that it was a perfect addition to any cowgirl room. It was a relatively simple build with the finishing taking the longest amount of time.

Built from Plan(s)
Estimated Cost
$50
Estimated Time Investment
Day Project (6-9 Hours)
Finish Used
Standard shingles and Olympic paint
Recommended Skill Level
Beginner
Comments
Sun, 06/29/2014 - 20:53
So creative and an amazing job!
What a beautiful bookshelf! I'm a couple weeks away from completing my 1 & 3 year olds' John Deere themed bedroom and have been looking for a shelf for their tractors. This is the perfect! Thank you for your awesome idea and good luck with the the rest of your nursery builds!
In reply to So creative and an amazing job! by Veronica P
Tue, 07/01/2014 - 17:42
Thanks
Thanks for the encouragement! We have enjoyed building but sometimes feel like we bit off more than we can chew with all the nursery and the closing deadline. :-) hearing positive feedback is encouraging.
Tue, 07/01/2014 - 19:06
I can relate!
I'm due in August with baby boy #3 and promised his big brothers a John Deere themed room including a tractor bunk bed, toy storage, closet and stepstool before the little guy arrives. What was I thinking? But I'm just a week or so away from completion. I'm sure you'll make it in time as well and if your finished pieces are any indication of what her nursery will be like, Teyla will be a lucky little girl!
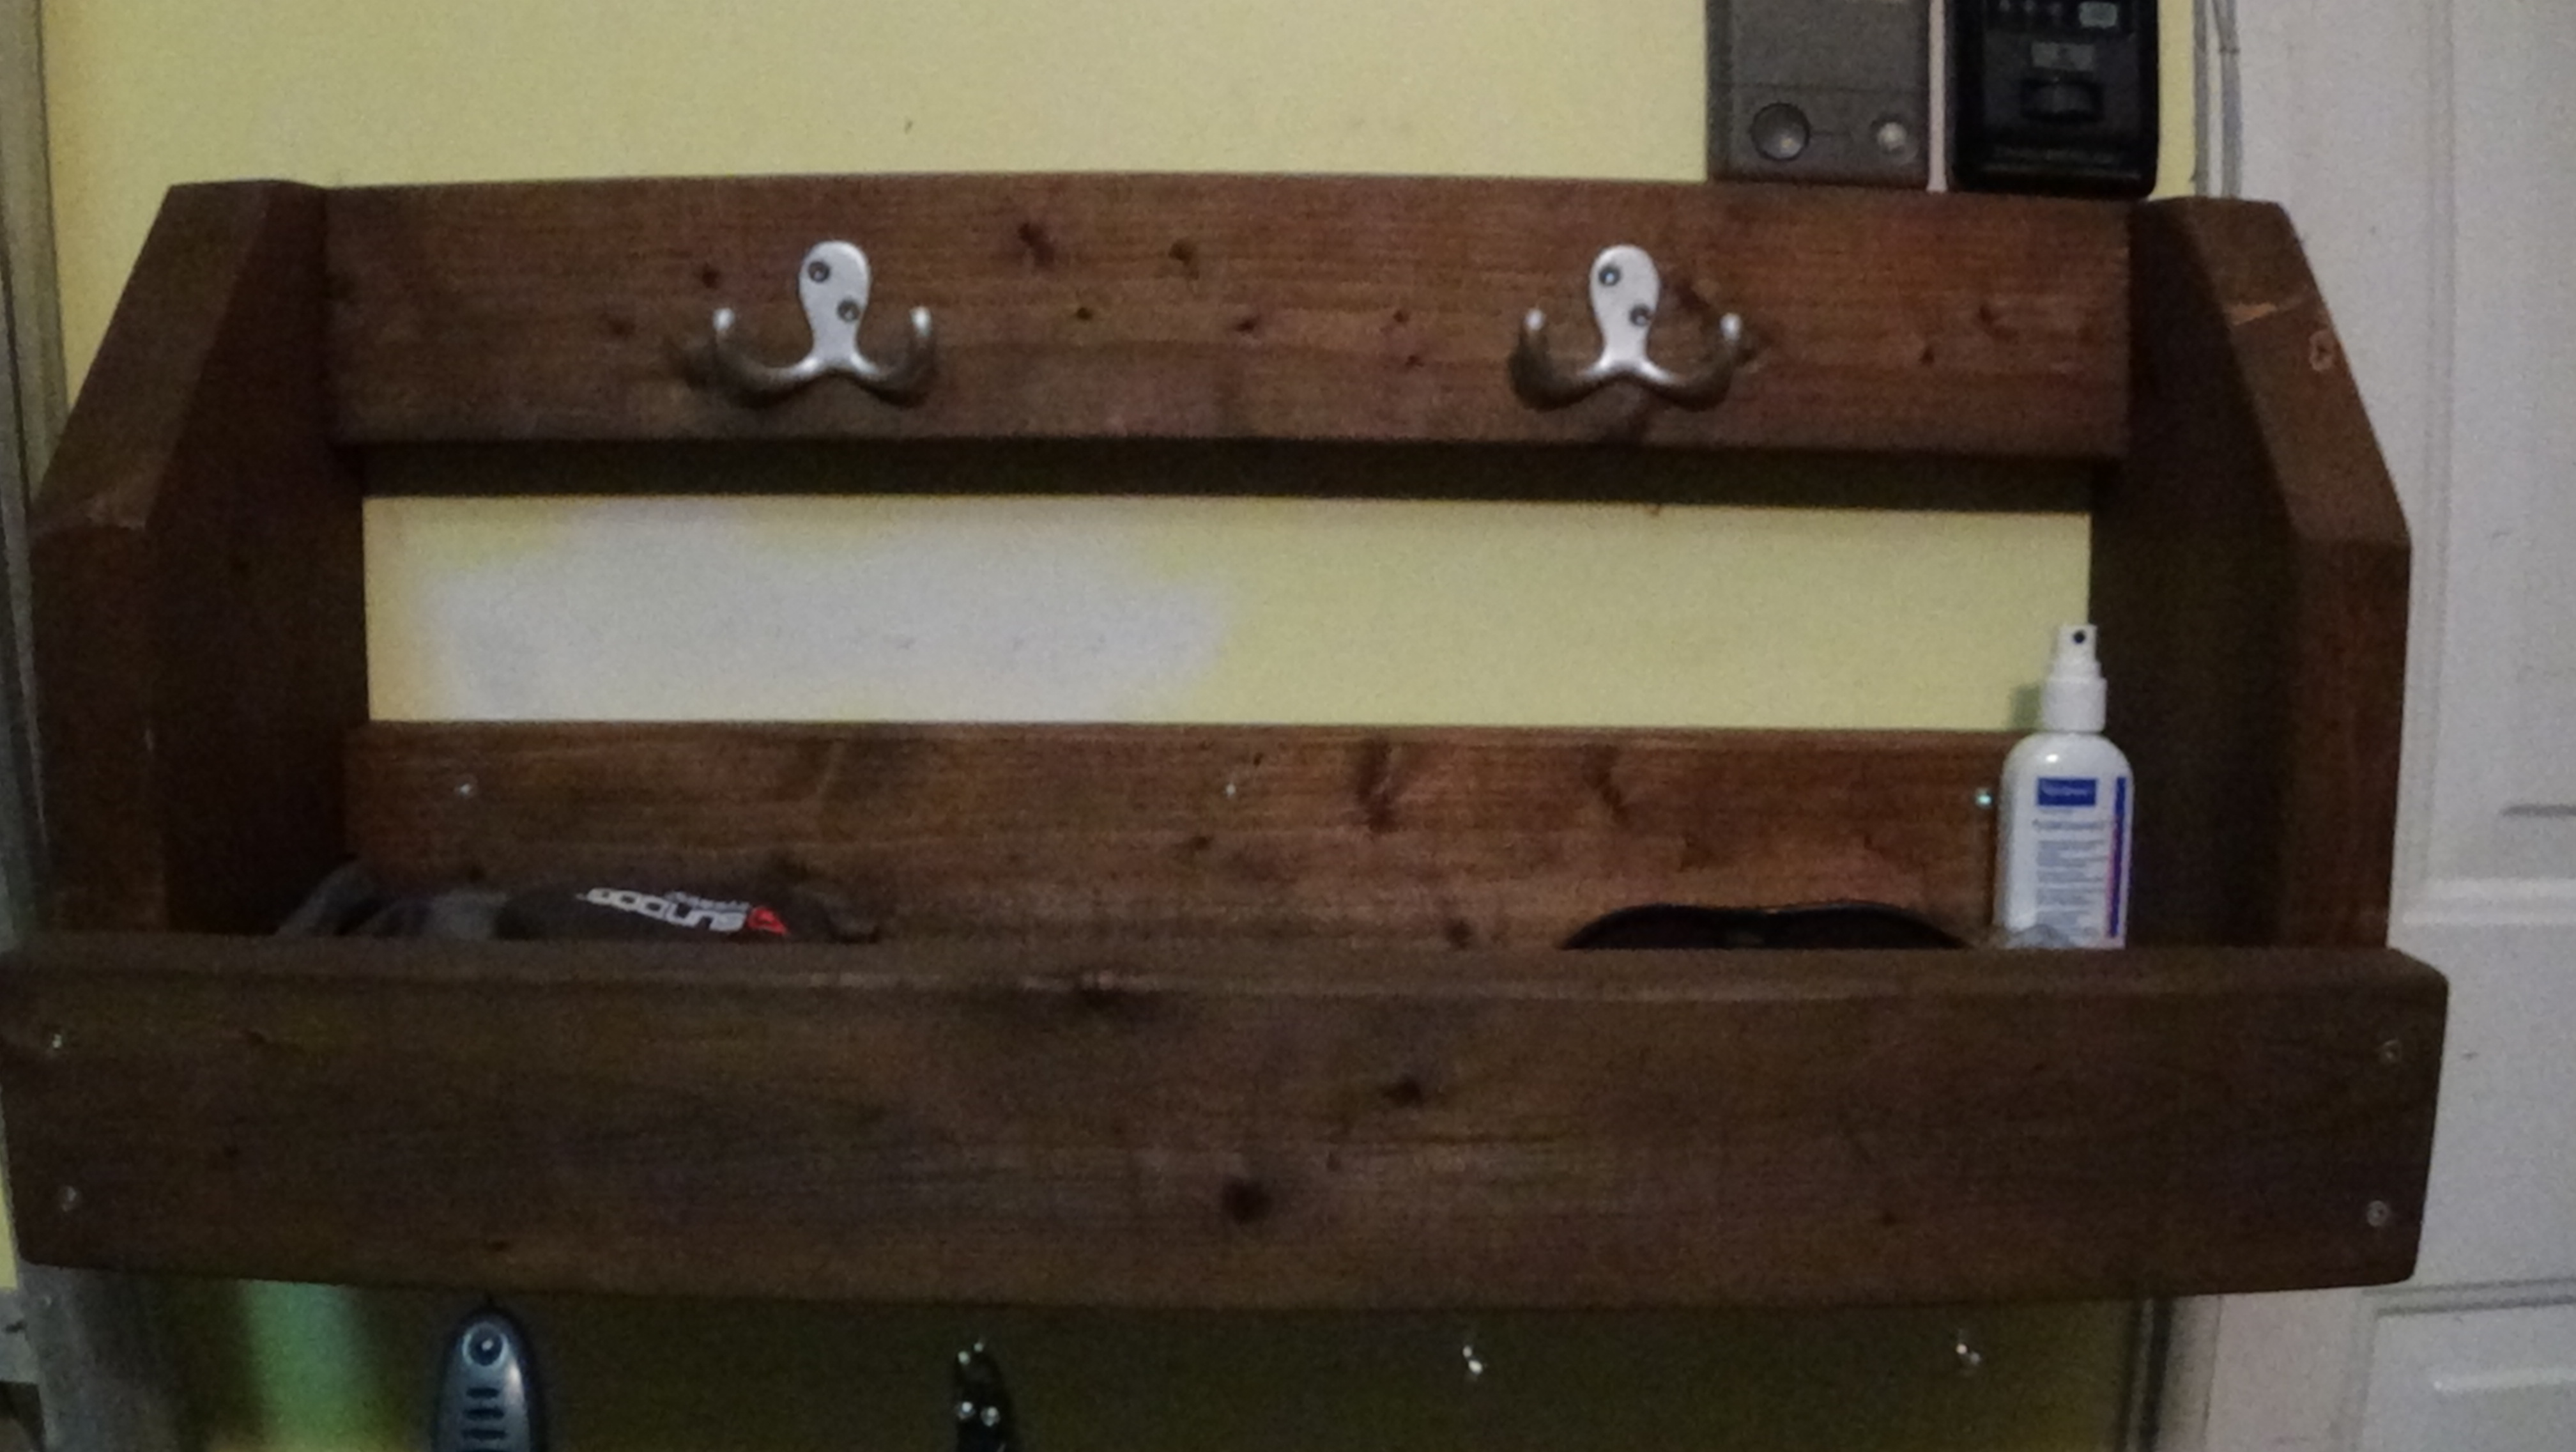
Organizer
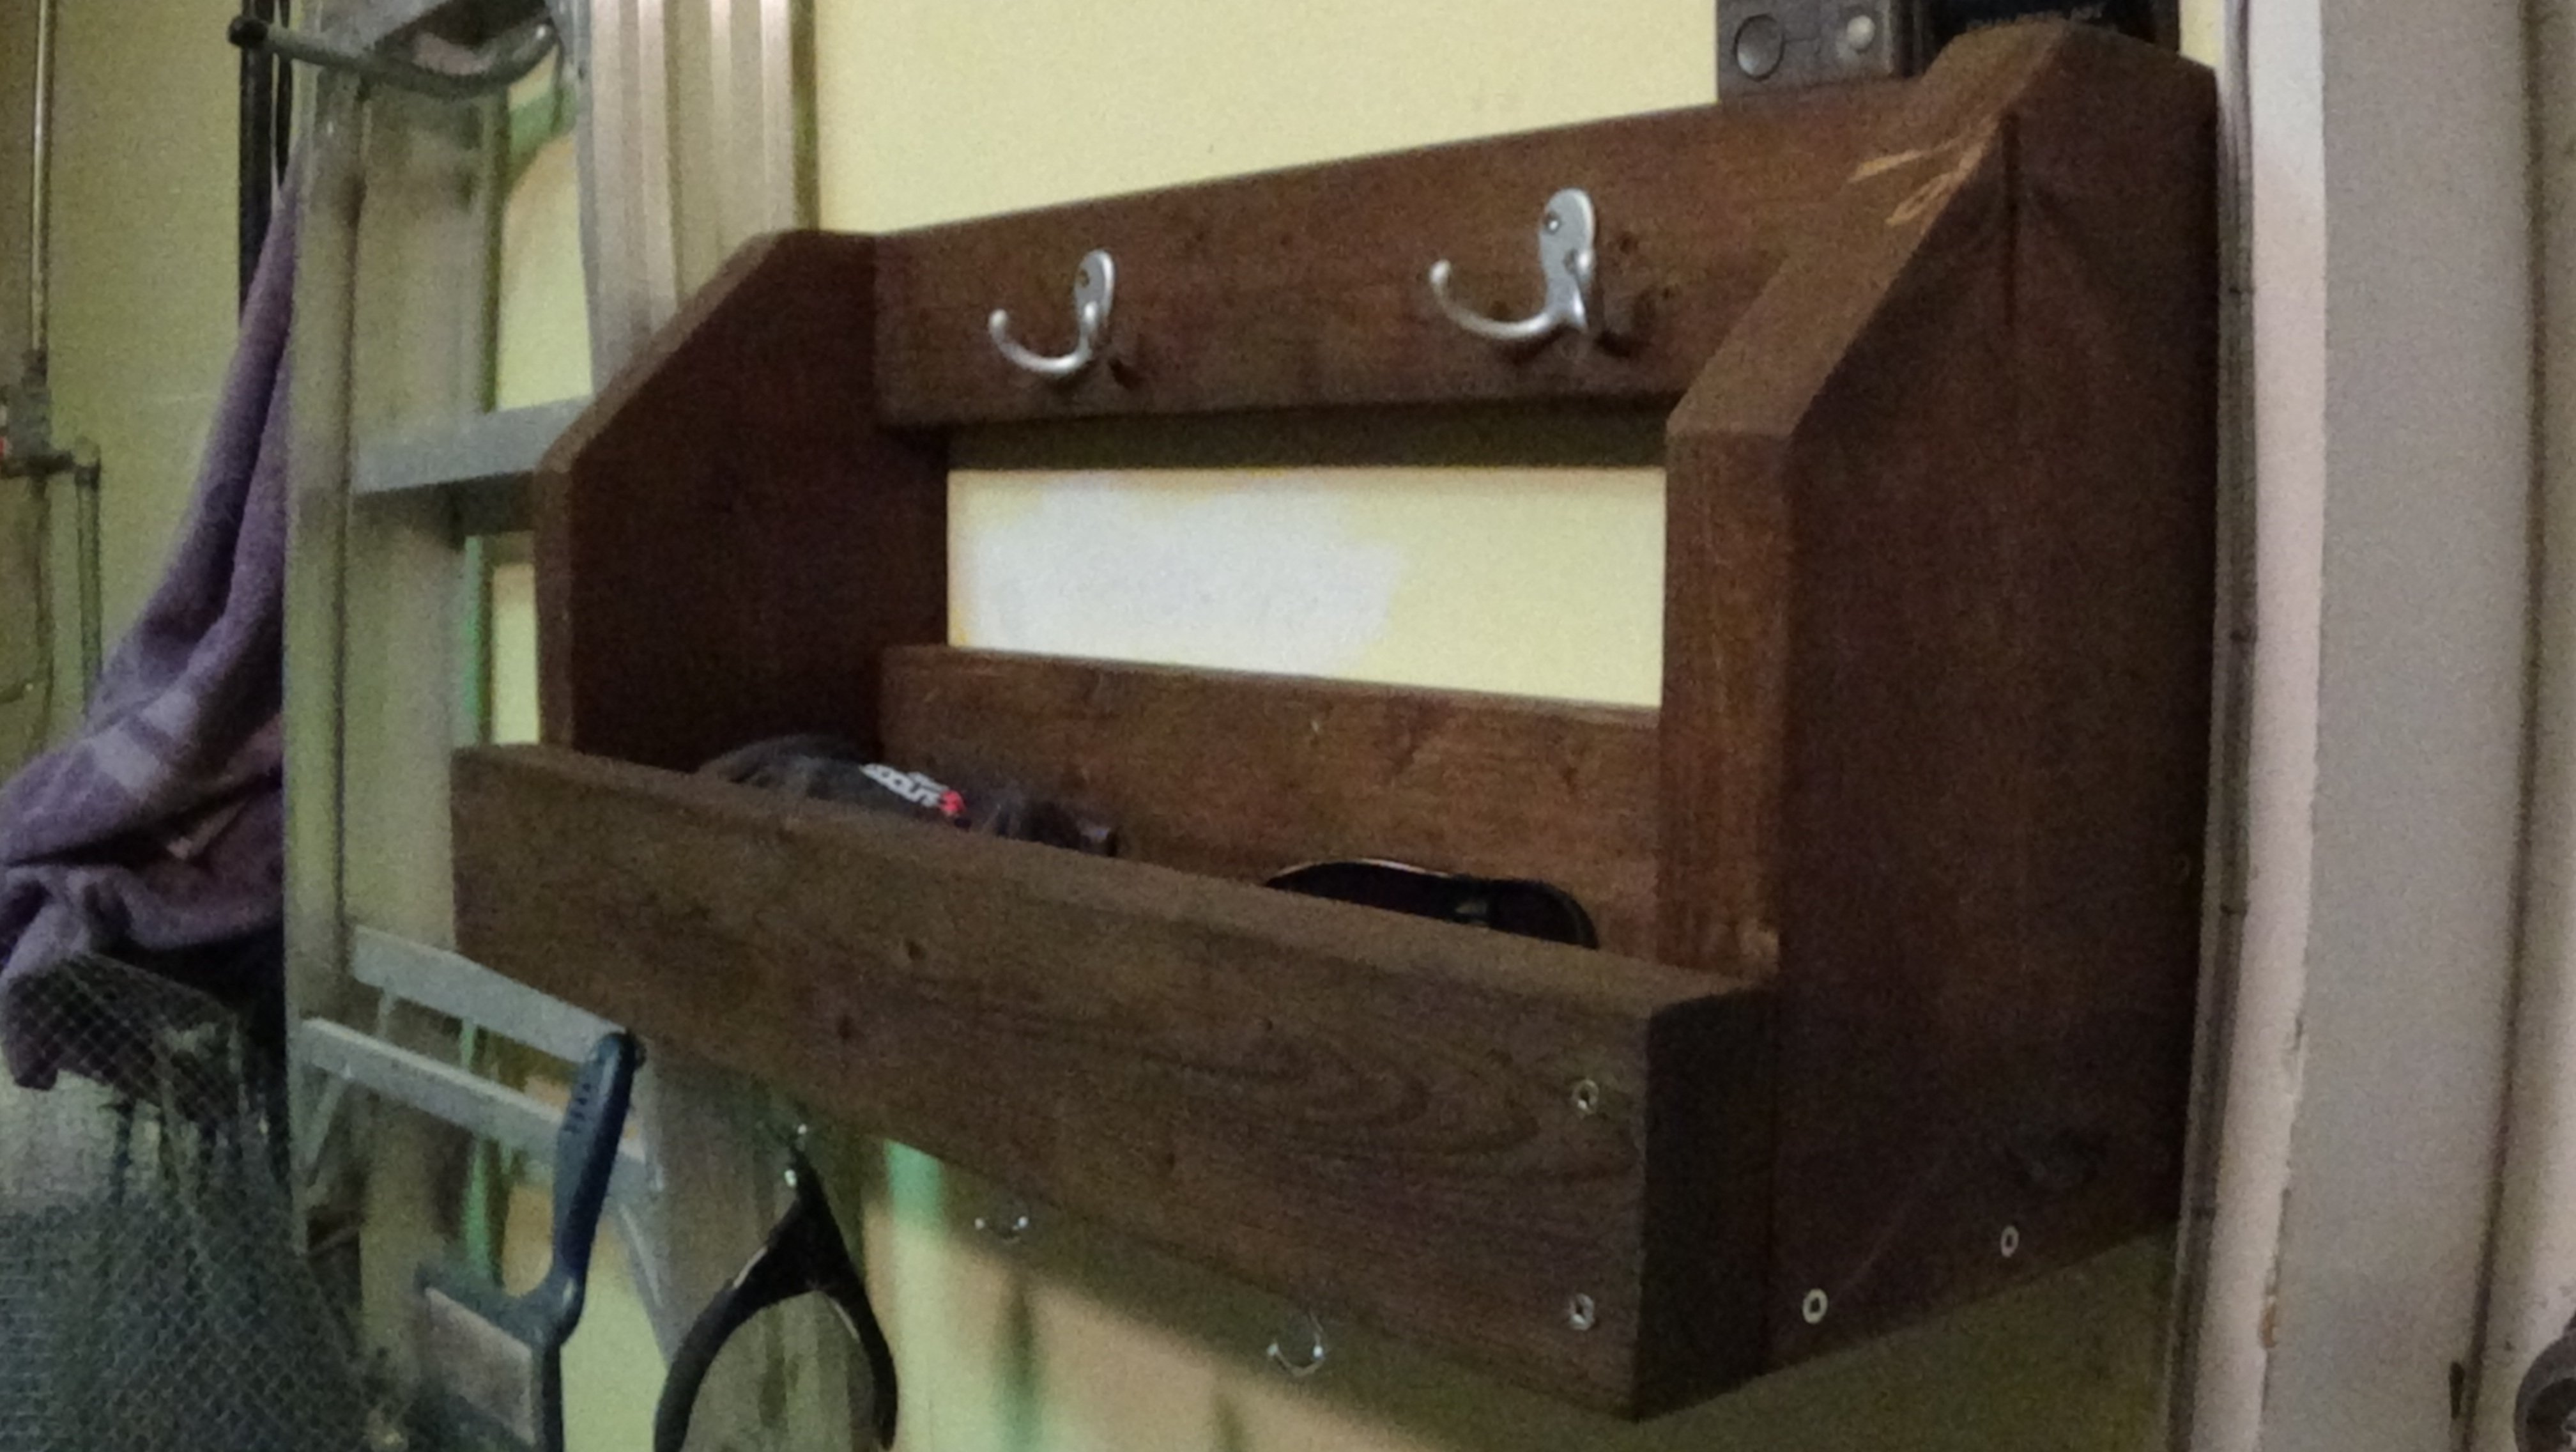
It's a little twist on Ana's Coat organizer. Turned out really useful and did not cost me anything since I ussed scrap wood. I wish I would build have built one for coats as well.
Built from Plan(s)
Estimated Cost
0
Estimated Time Investment
An Hour or Two (0-2 Hours)
Finish Used
Walnut stain plus clear coat
Recommended Skill Level
Beginner
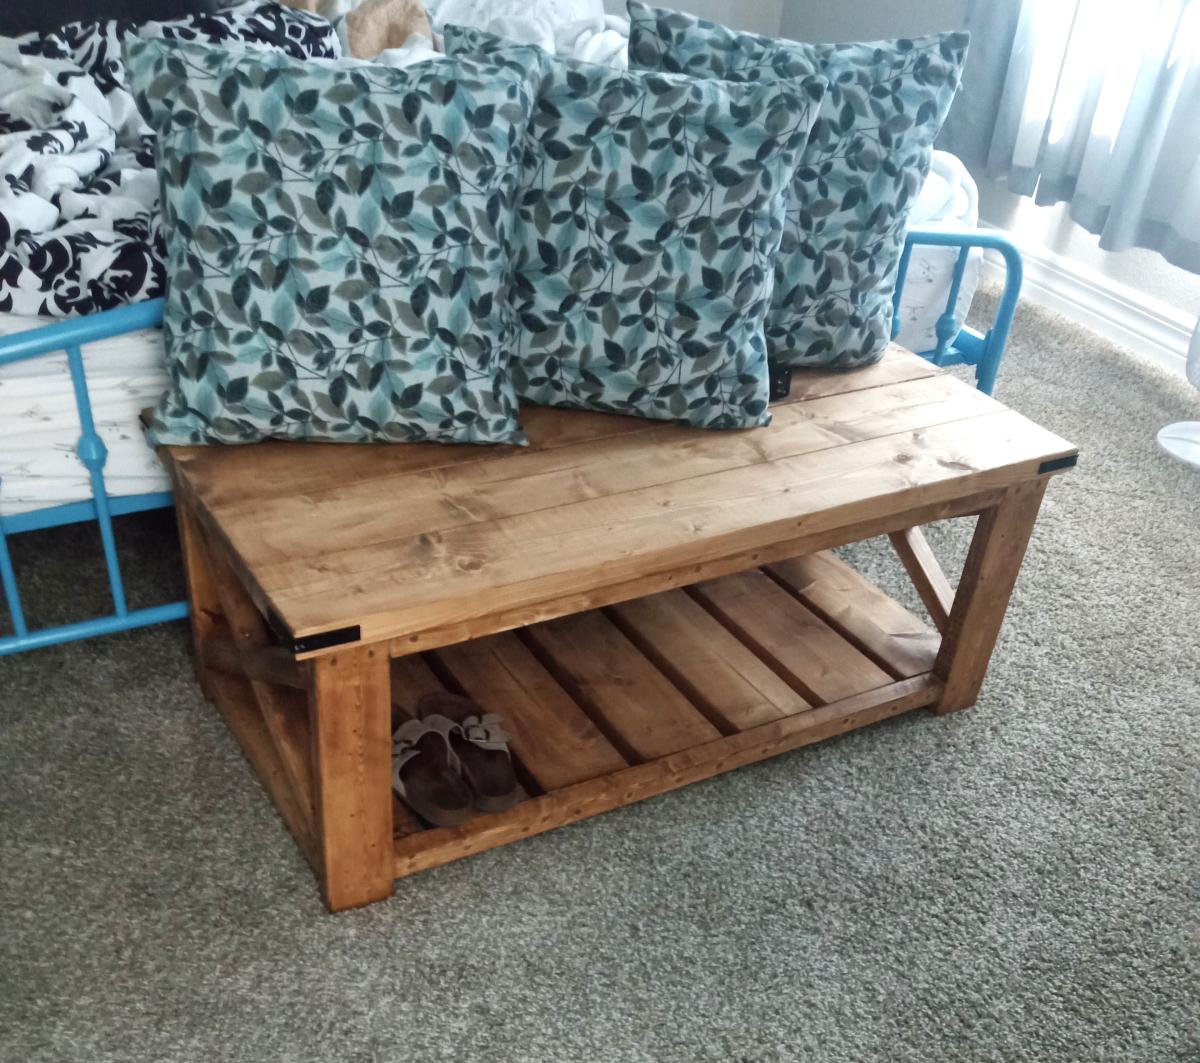
2x4 Truss Style Bench

Just modified the length of the 2x4 Truss Bench, to fit in the space.


Built from Plan(s)
Estimated Time Investment
An Hour or Two (0-2 Hours)
Finish Used
Minwax Wood Effects - Weathered Gray with a satin poly seal.
Recommended Skill Level
Beginner
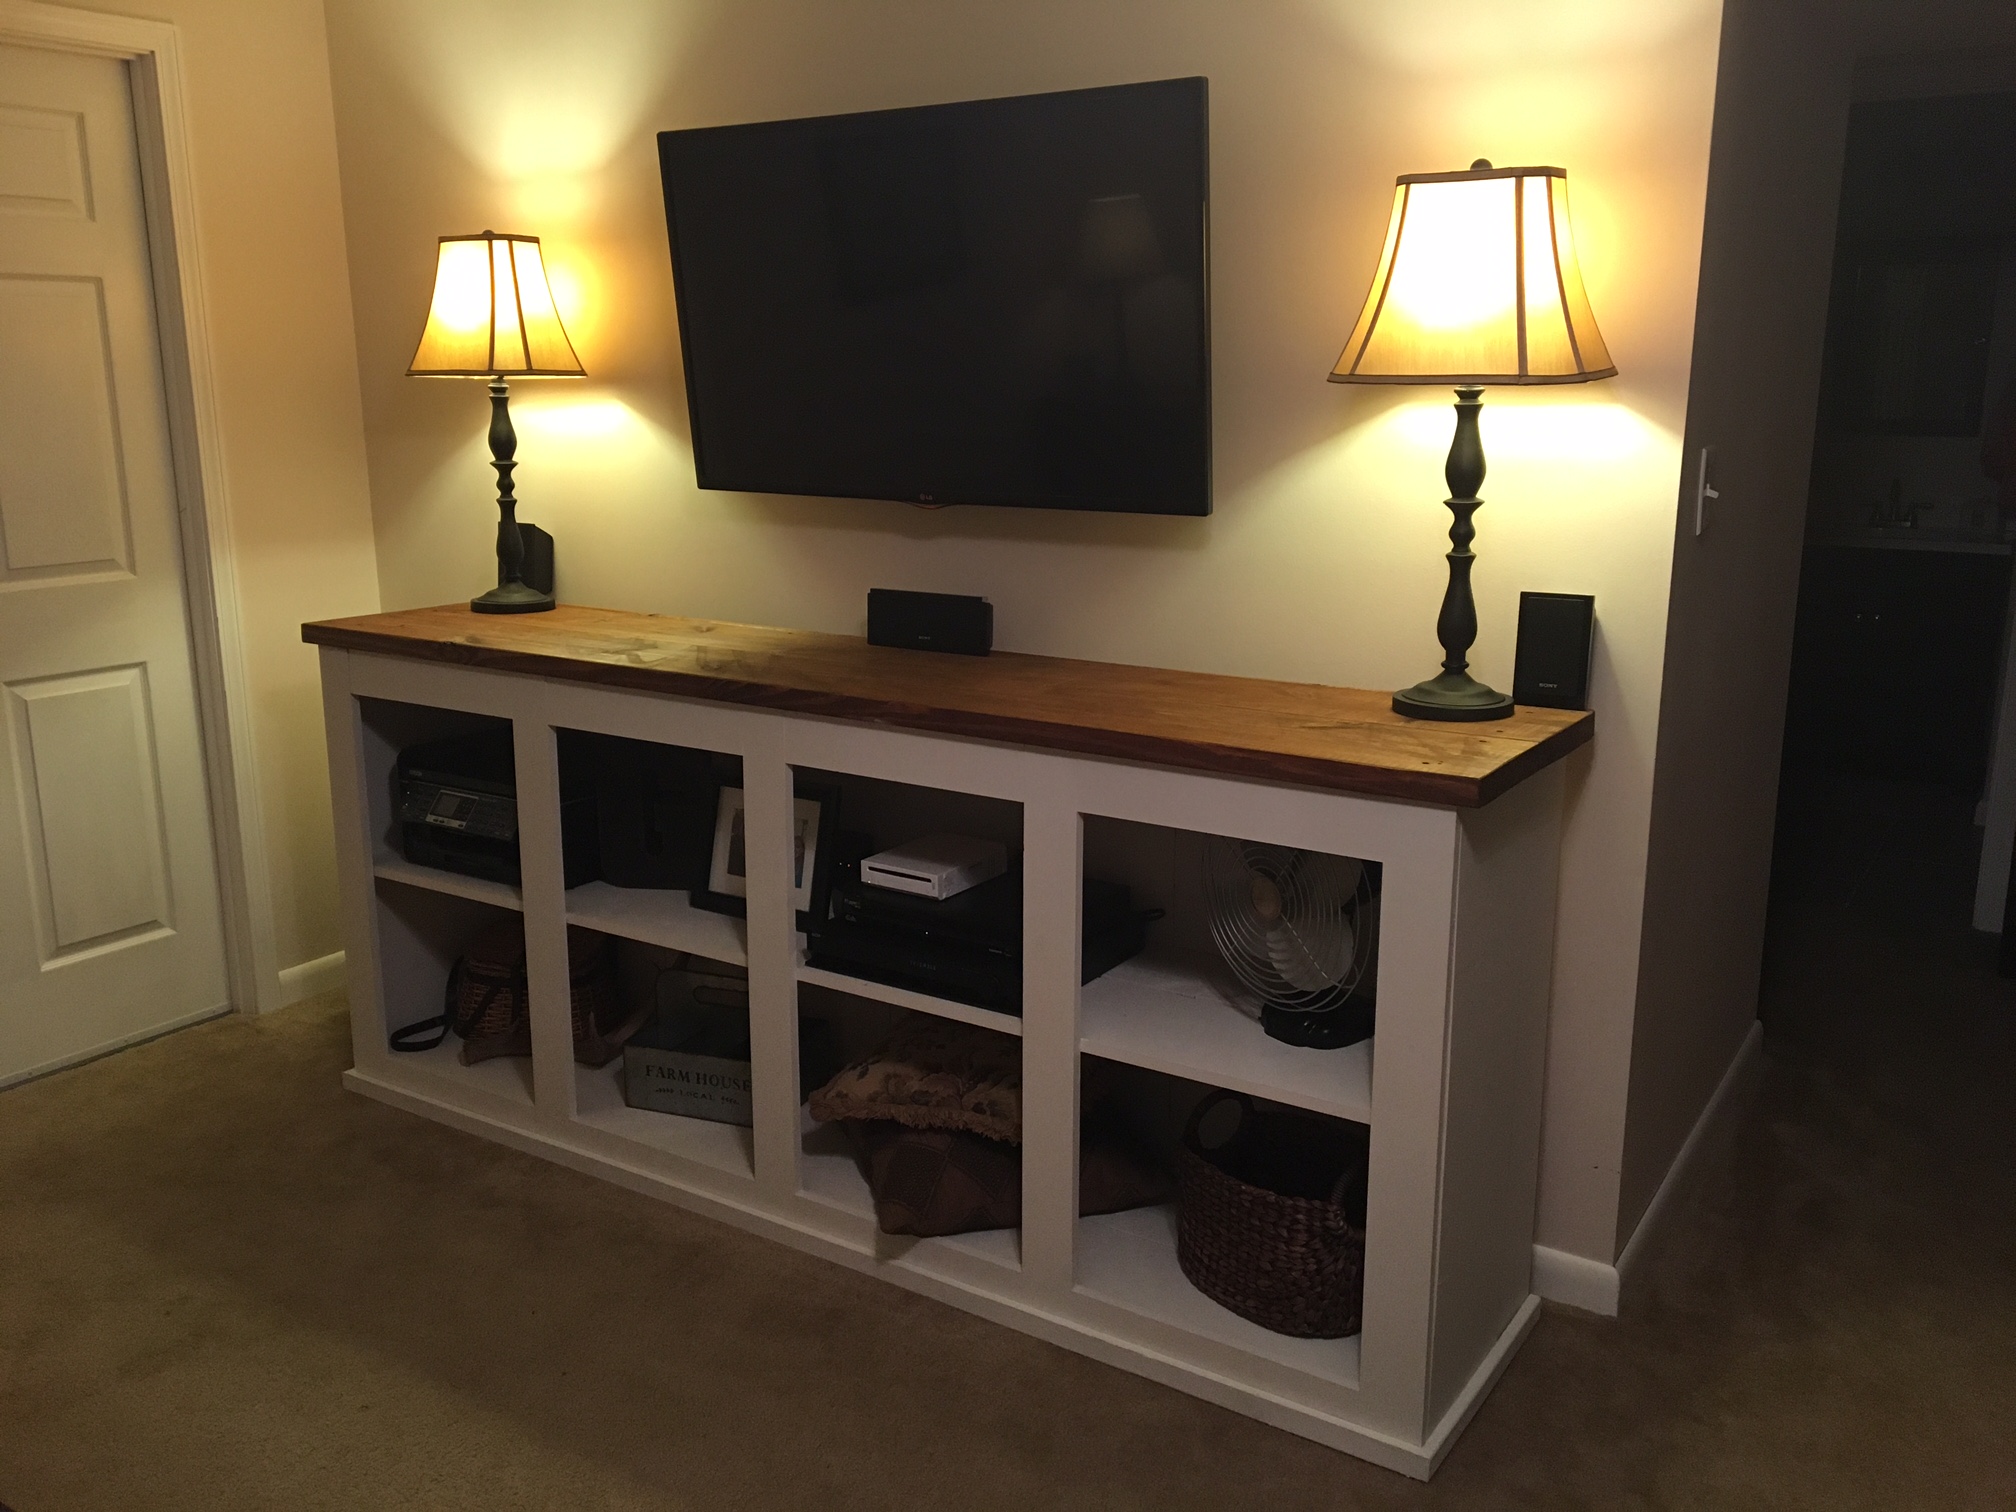
Media Niche

I love our living room in our new house, but this media niche that was created for the 90's tube TVs has been an eyesore. Next we hope to finish out this niche with a fun finished background and floating shelves.
I built the cabinet on the left in a cabinet-making class at a my local woodworking shop. I altered the Classic Storage Wall dimensions to fill in the rest.
Things I would do again: I left a couple inches of the backboard open for easy plug hiding. My build was made much faster with the Kreg jig and a borrowed nail gun. I added a kick plate to match my original cabinet and give it more of a built-in feel.
Things I would change for next time: Instead of spray base and finish, I would use regular paint for better consistency. I'm not sure how much I saved using MDF, but I'd prefer a sturdier material for this heavy of a piece. I need to adjust my cabinet doors still. I still plan on adding shelves inside of the cabinet door sections.
Built from Plan(s)
Estimated Cost
$150
Estimated Time Investment
Weekend Project (10-20 Hours)
Finish Used
White paint
Recommended Skill Level
Intermediate
Mini Farmhouse Table

This was a starter project, it was easy and fun to make. I think I turned out great for a beginner wood worker.


Built from Plan(s)
Estimated Time Investment
Day Project (6-9 Hours)
Recommended Skill Level
Starter Project
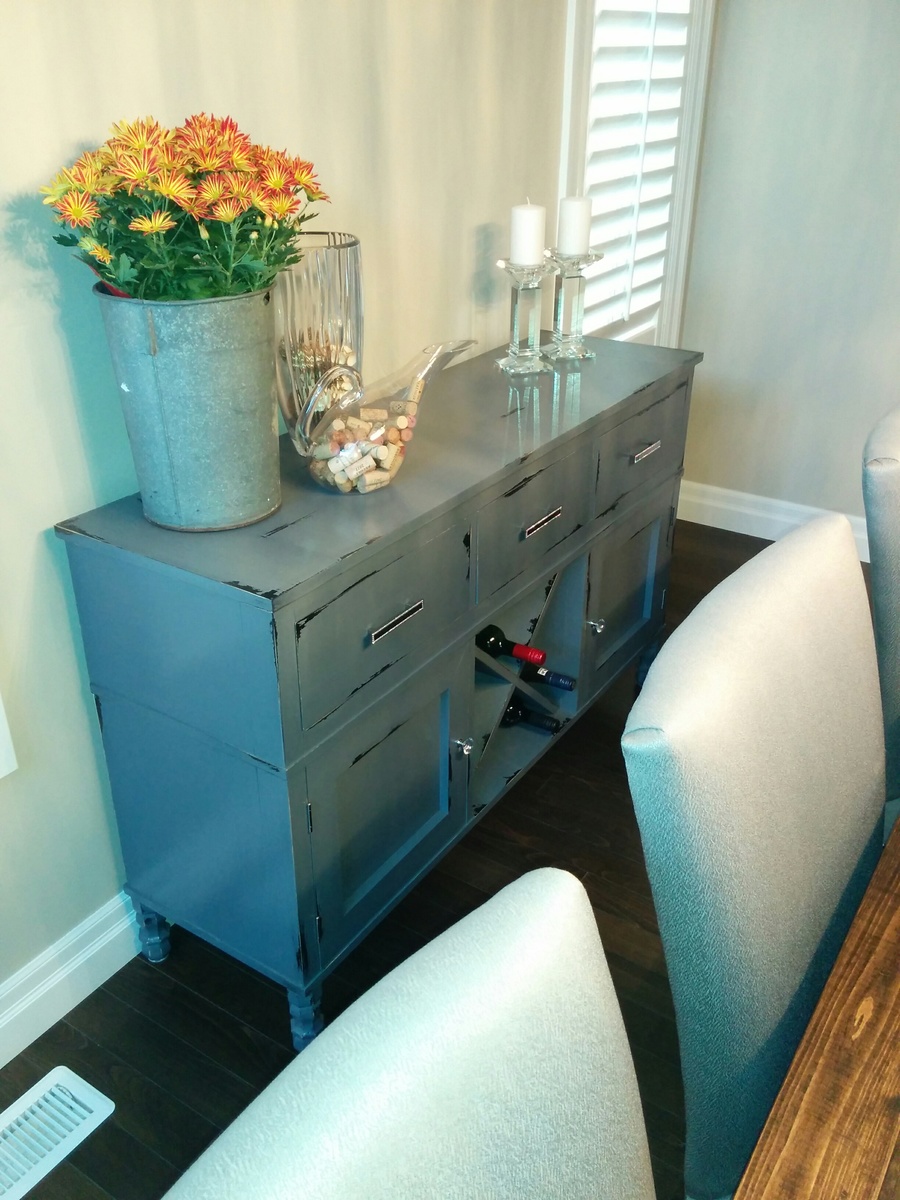
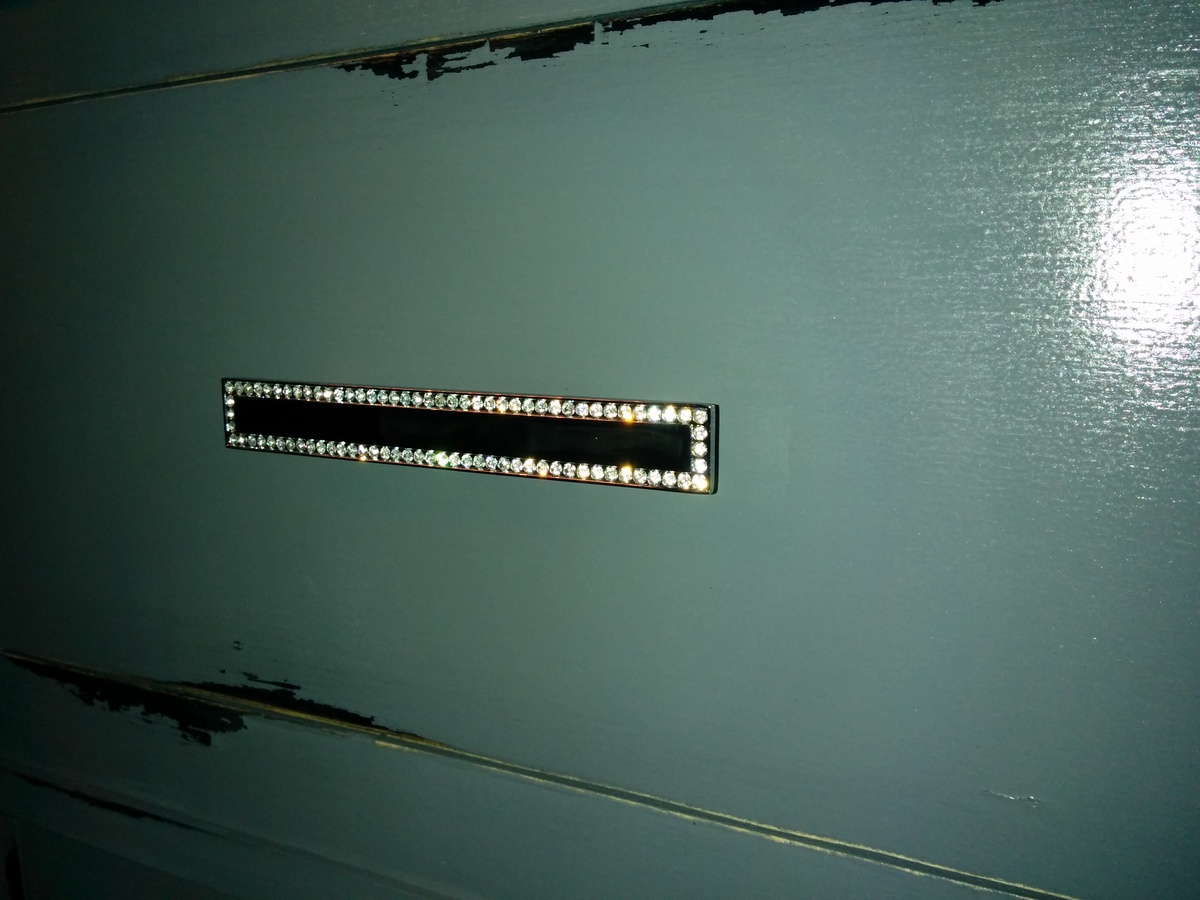
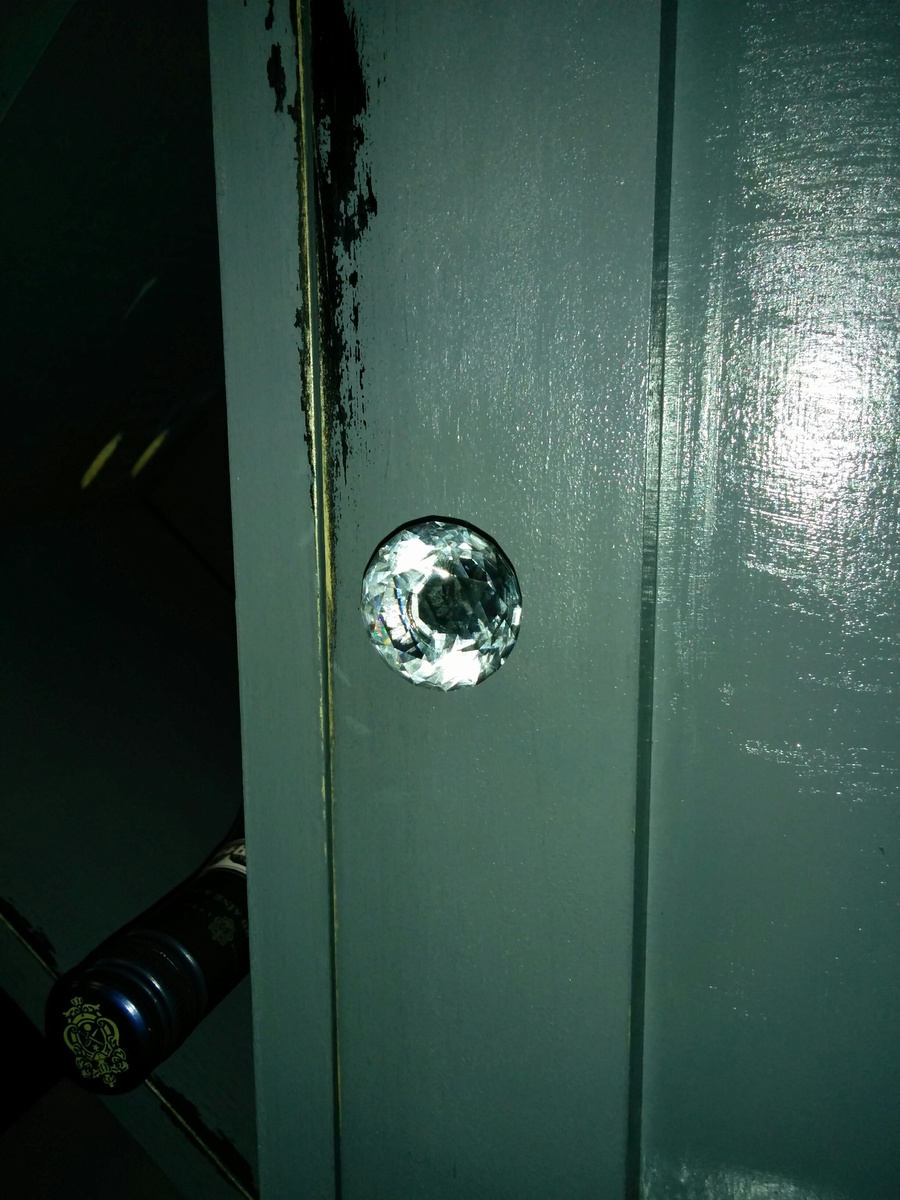
Server with Wine Storage
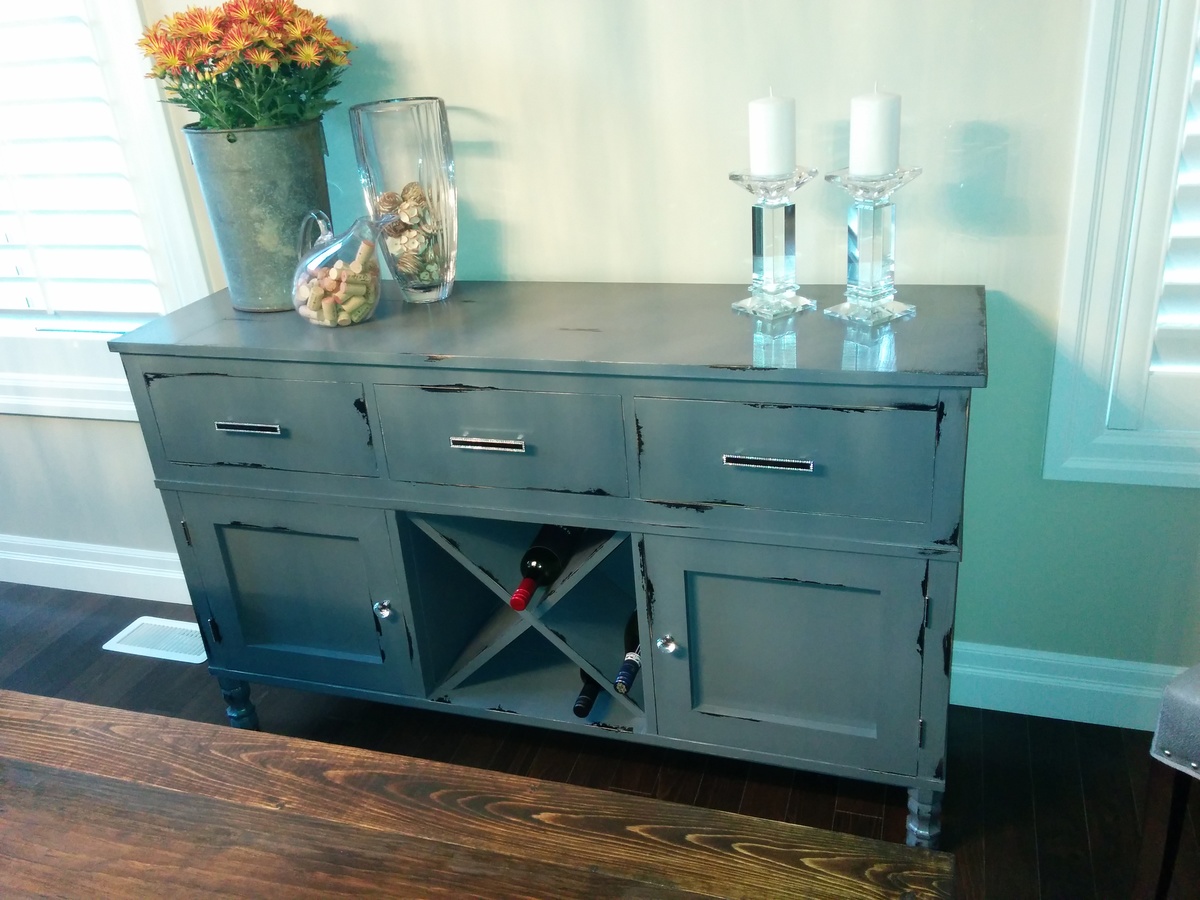
We needed a server that would store our china and also display and store our wine. I looked online for months and finally found the perfect plan. This fits in well with our modern rustic dining room decor.

Built from Plan(s)
Estimated Cost
$200 on lumber
$50 on hardware
$50 on hardware
Estimated Time Investment
Week Long Project (20 Hours or More)
Finish Used
I used two coats of Behr's Antique Tin with a distressing technique, then two coats of Minwax's Polycrylic to make it more durable.
Recommended Skill Level
Intermediate
Home DIY Indoor and Outdoor Projects
I have my husband working hard . 💙💙💙
Valorie Torres Arantz
Wrap around bar - "J" shaped

"J" shaped wrap around bar
To build:
2 x 4s
1/2" plywood
#2 resaw 1 x 6" planks - sold in 16' increments
#2 resaw 1 x 4" planks
1 5/8" screws
2 1/2" screws
3" screws
Jacobian stain
lacquer
finishing nails
Needed:
Tons of time
Miter saw
3/8" driver
wrasp
hand planer
I actually built this in my living room when I lived in an apartment. I had very cool neighbors. It weighed about 300lbs when it was done.


Estimated Cost
$400
Estimated Time Investment
Week Long Project (20 Hours or More)
Finish Used
Jacobian stain and 11 coats of lacquer on top
Recommended Skill Level
Intermediate
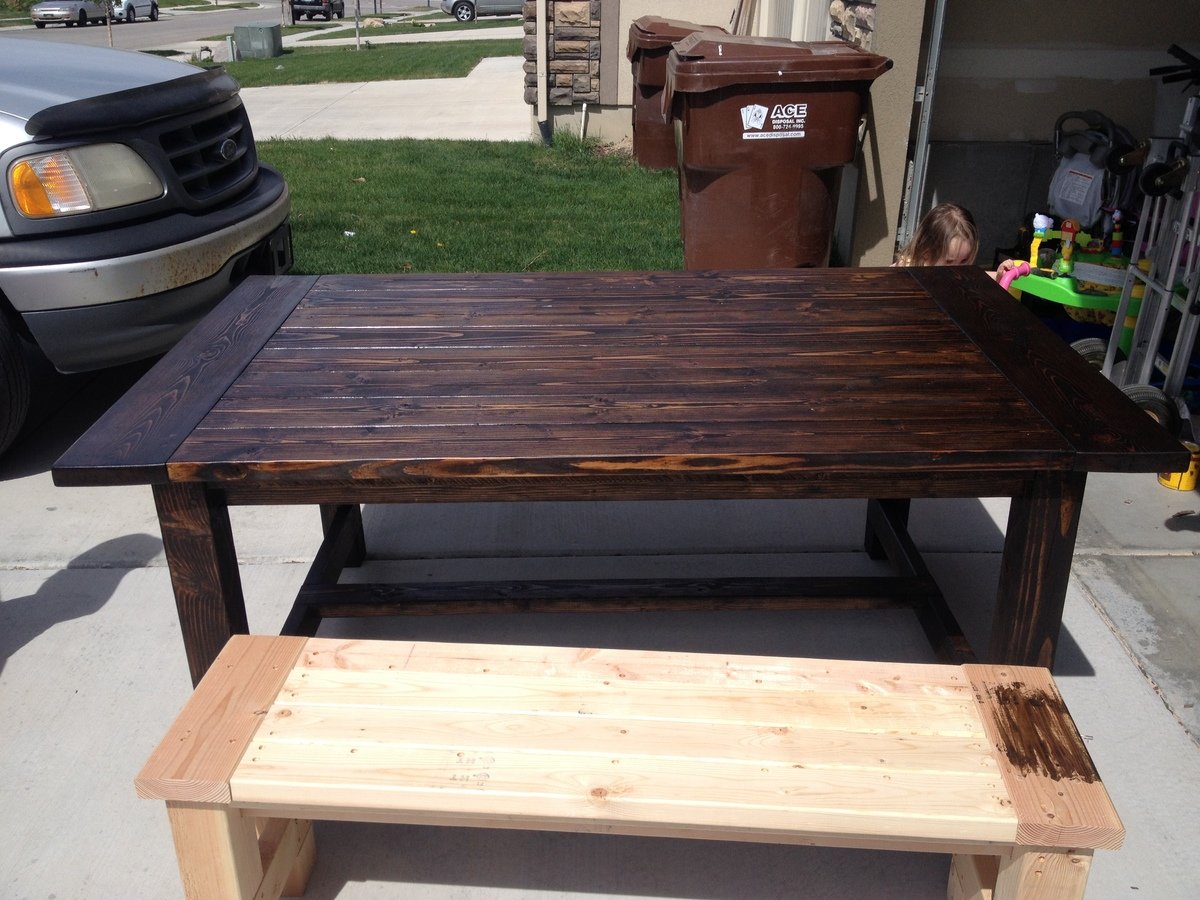
Farmhouse Table and Bench
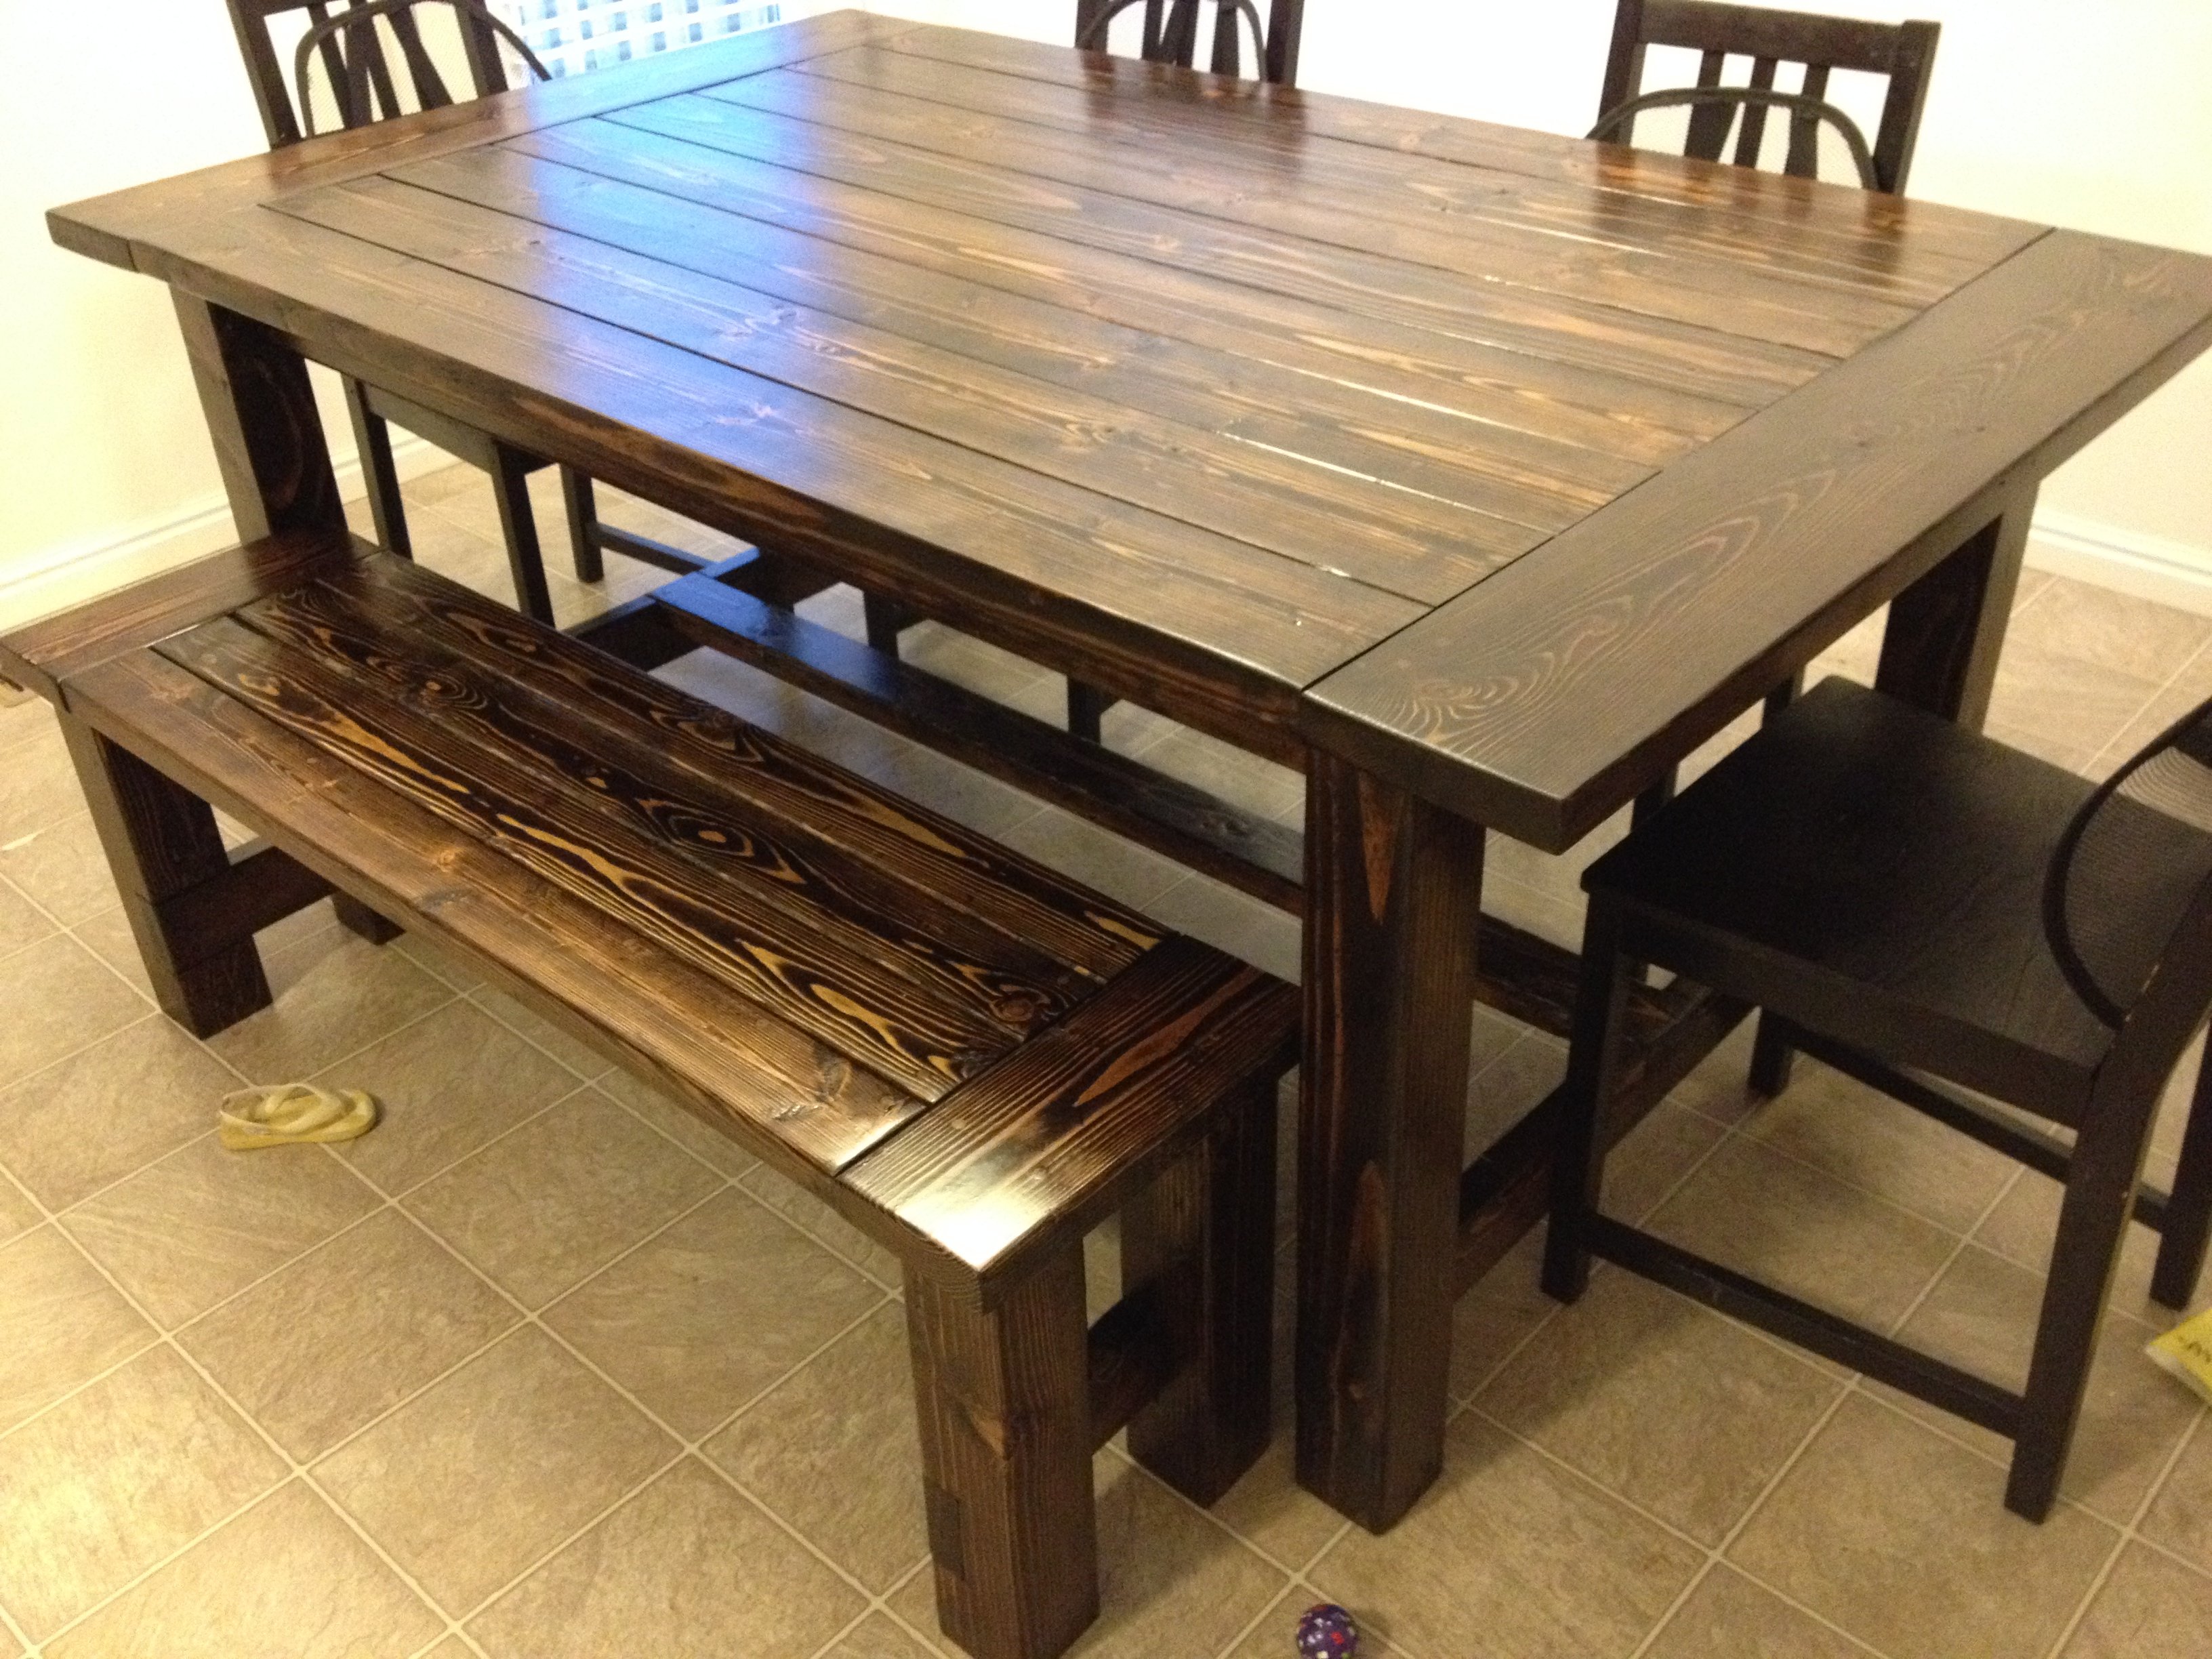
This was our first furniture building project. It took us about 20 hours to complete and we couldn't be more happy with the results. We used 4x4's instead of 2x4's for the legs. We also changed the dimensions of the table so that it was the perfect size for our kitchen. After completing the table we decided to build a bench as well. It is the same plan as the table, just miniaturized. We used Minwax Jacobean stain on the table and then topped with a clear coat. It is a very heavy, sturdy table.

Built from Plan(s)
Estimated Cost
150
Estimated Time Investment
Weekend Project (10-20 Hours)
Finish Used
Minwax Jacobean stain - 1 coat applied with rag, We didn't wipe any of the excess off.
Minwax Fast-Drying Polyurethane in Satin - 3 coats applied with a soft brush, light sanding in-between each coat.
Minwax Fast-Drying Polyurethane in Satin - 3 coats applied with a soft brush, light sanding in-between each coat.
Recommended Skill Level
Starter Project
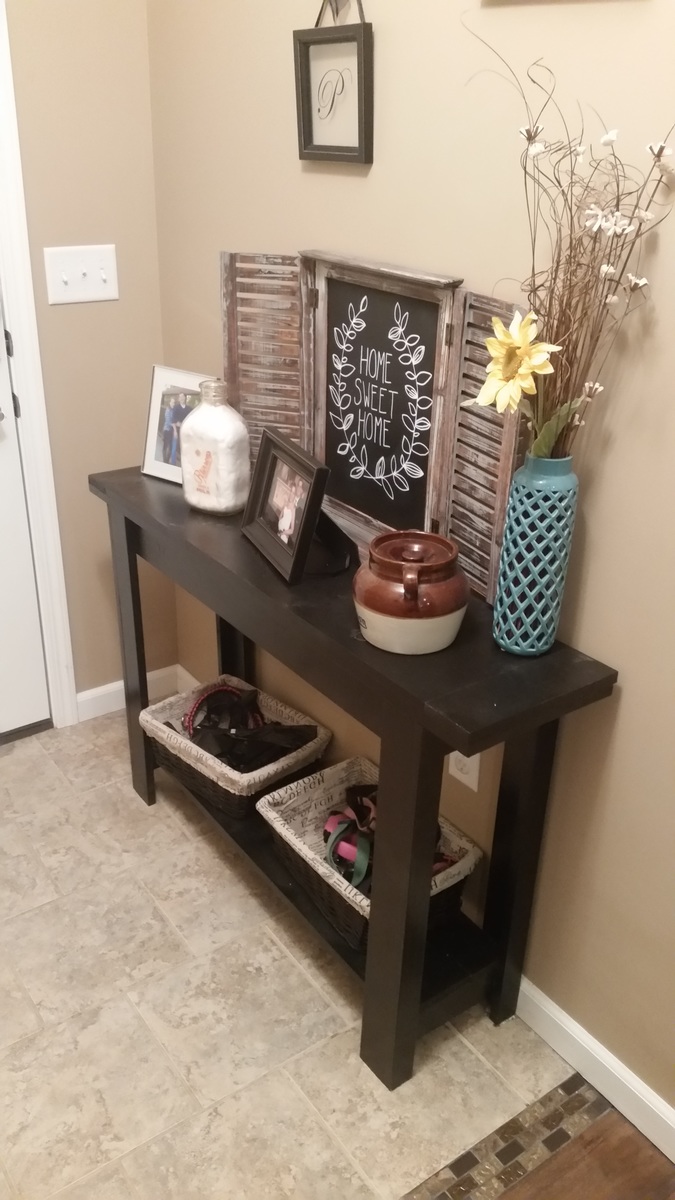
Simple, Cheap and Easy Console Table With Bottom Shelf
Shopping List:
3 - 1x3 boards, 6' length
3 - 1x2 boards, 6' length
1 - 1x10 board, 6' length
1 - 1x12 board, 8' length
1 1/4" finish nails
Tools:


Dimensions:

31" Tall x 48" Wide x 11 1/4" Deep
Cut List:
A) 4 - 1x3 @ 29 1/2" (Fronts and Backs of the Legs)
B) 4 - 1x2 @ 29 1/2" (Sides of the Legs)
C) 2 - 1x3 @ 9 1/4" (Top Side Support)
D) 2 - 1x2 @ 9 1/4" (Bottom Side Support)
E) 2 - 1x3 @ 35 1/2" (Top Front and Back Apron)
F) 2 - 1x2 @ 35 1/2" (Bottom Front and Back Apron)
G) 2 - 1x10 @ 37" (Bottom Shelf)
H) 1 - 1x12 @ 48" (Base for the top)
I) 2 - 1x6 @ 11 1/4" (Bread Board Ends ) (Cut from the 1x10" (cut to 5 1/2" Wide))
J) 1 - 1x12 @ 37"

Step 1:
Construct your legs by nailing through the 1x3 legs into the edge of the 1x2 legs with 1 1/4" finish nails and glue. The legs will be positioned with the 1x3s to the front, 1x2s to the side, as shown in the diagram.

Step 2 Instructions:
Start by marking each of the legs 5" from the bottom of the board. This will be the bottom of the side support, D. Nail D to the legs, using 1 1/4" nails and glue, from the inside.

Step 3 Instructions:
Now attach the bottom front and back aprons, F, alligning with the bottom side support D, Use glue and 1 1/4" nails, nailing through the apron F, into the legs.

Step 4 Instructions:
Attach Bottom shelf G to the bottom side supports D and bottom front and back aprons F. Use Glue and 1 1/4" nails, nailing through the shelf into the supports and aprons.

Step 5 Instructions:
Now use the 1 1/4" nails to nail through the Top side supports C into the legs. Use glue. Keep top edges perfectly flush.

Step 6 Instructions:
Do the same for the Top front and back apron pieces, E, as shown above. Nail through E into the legs using 1 1/4" nails and glue. Keep top edges flush. Take a minute to check for square

Step 7 Instructions:
Now add the base top, piece H. You should have a 1/4" overhang on the front and back edges, and 4 3/4" overhang on either side. Nail into the legs and the apron using 1 1/4" nails and glue.

Step 8 Instructions:
For the Bread Board ends cut a piece two pieces from the 1x10" board to 11 1/4" long. You then need to rip those pieces down to 5 1/2" wide. If you prefer you can purchase a short piece of 1x6" board instead but this reduces waste. Use glue and 1 1/4" nails from the underside to attach the breadboard ends to the base top. Keep all outside edges flush.

Step 9 Instructions:
I recommend not cutting the final piece, J, unitl you have taken an exact measurement. Add the final piece, using glue and 1 1/4" nails from the underside.
Preparation Instructions:
Fill holes with putty and sand and finish as desired.
Built from Plan(s)
Estimated Cost
$50
Estimated Time Investment
An Hour or Two (0-2 Hours)
Finish Used
Rust-Oleum Black Gloss Protective Enamel Paint
Recommended Skill Level
Beginner
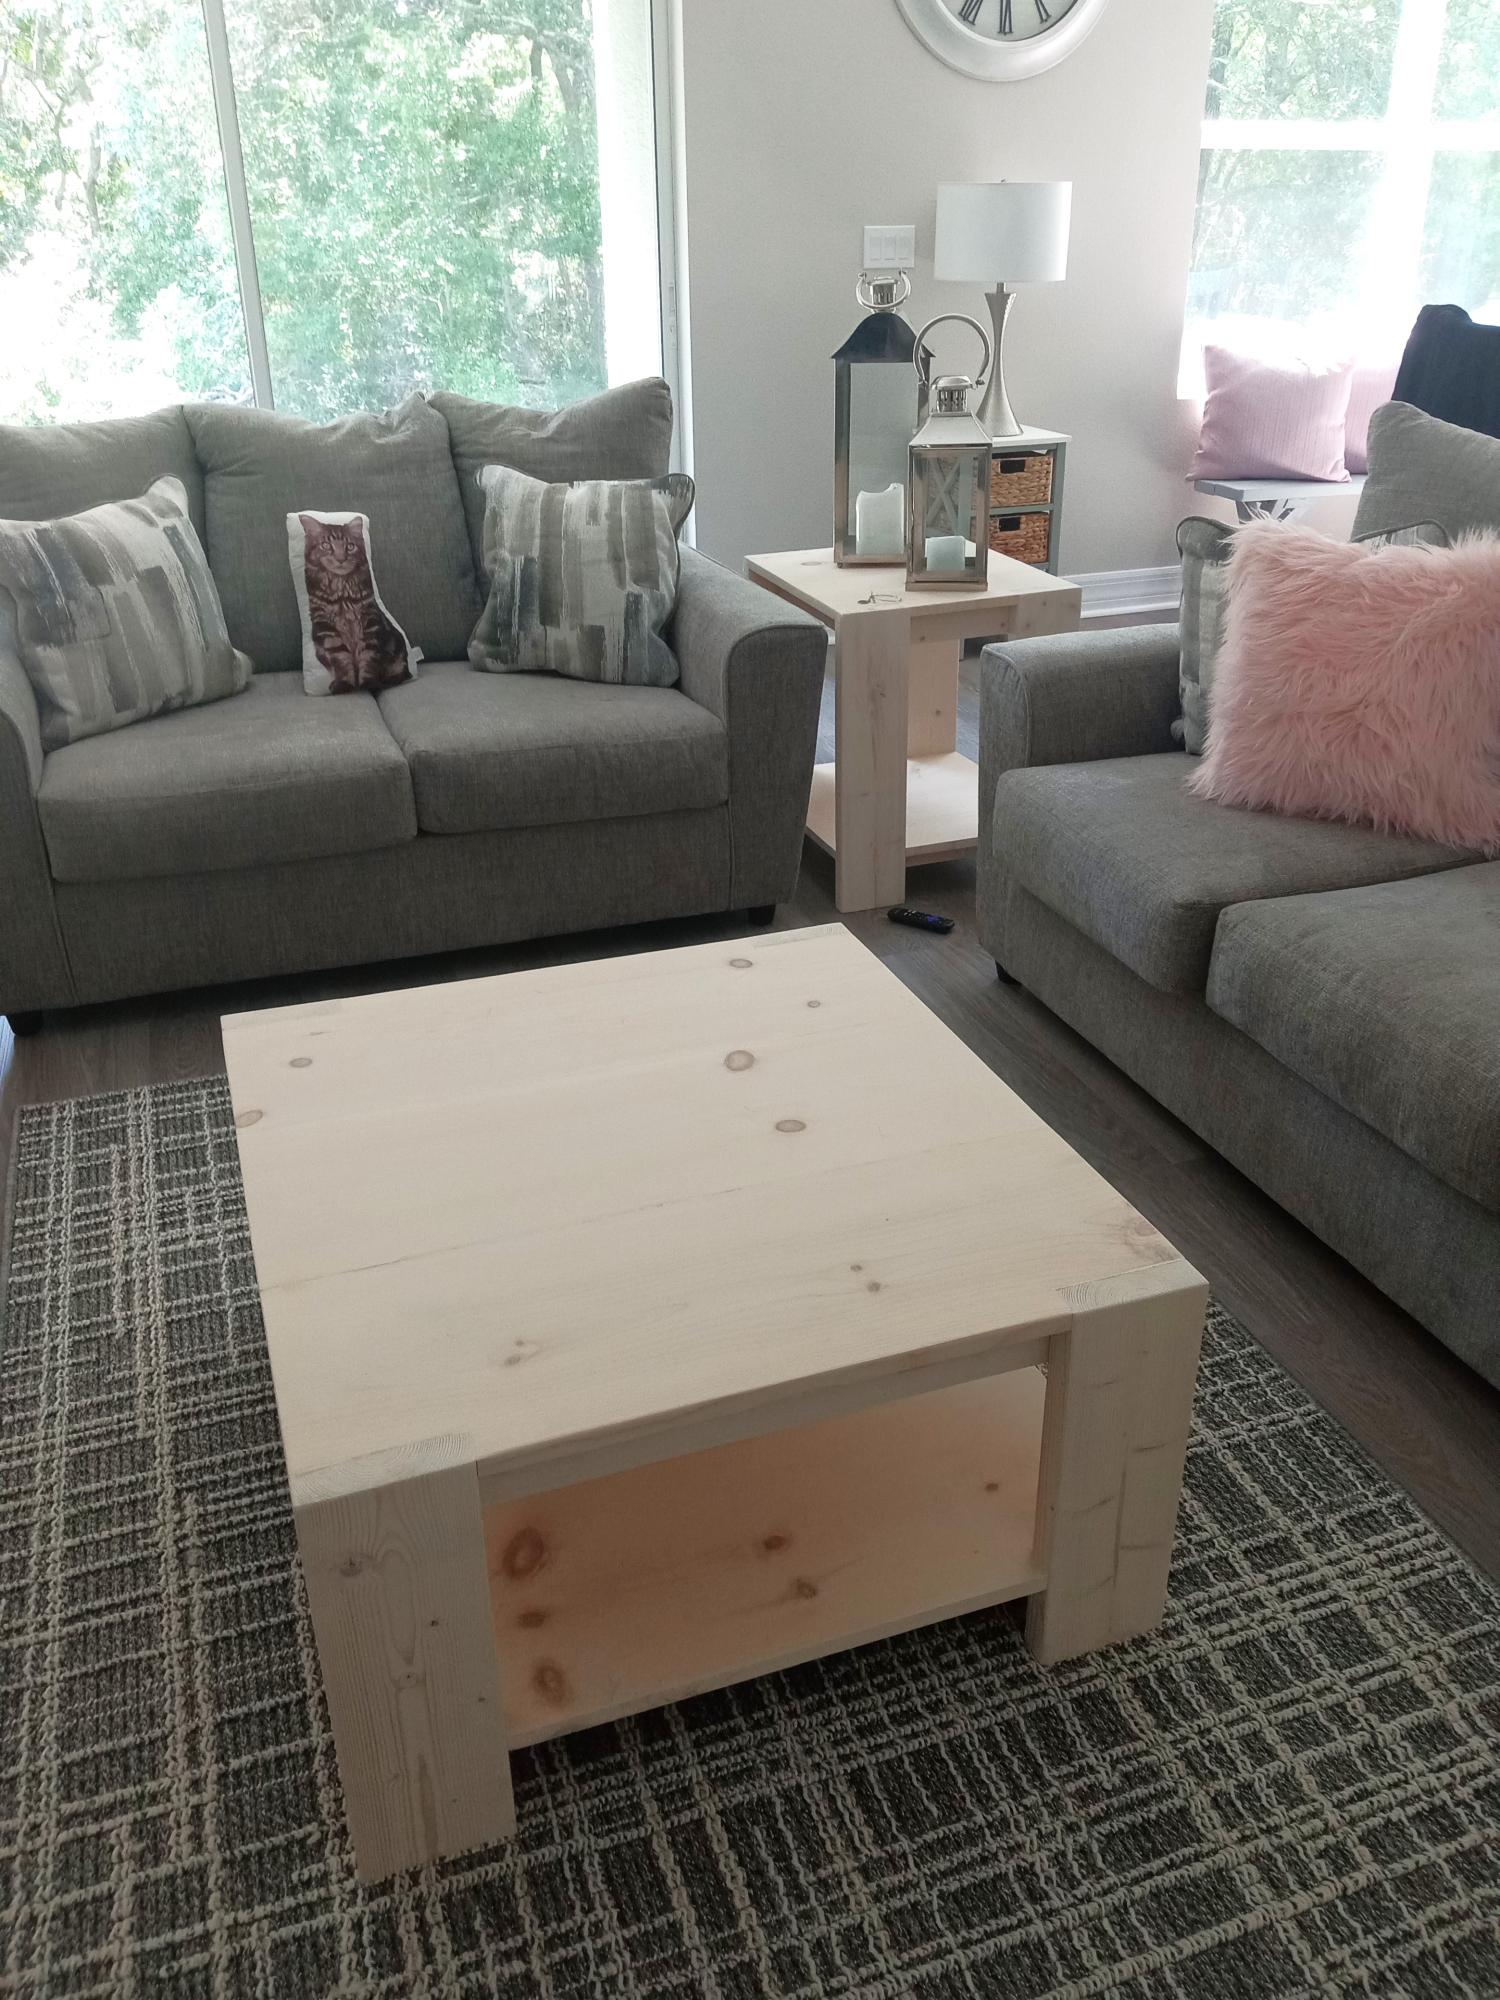
Farmhouse Side Tables
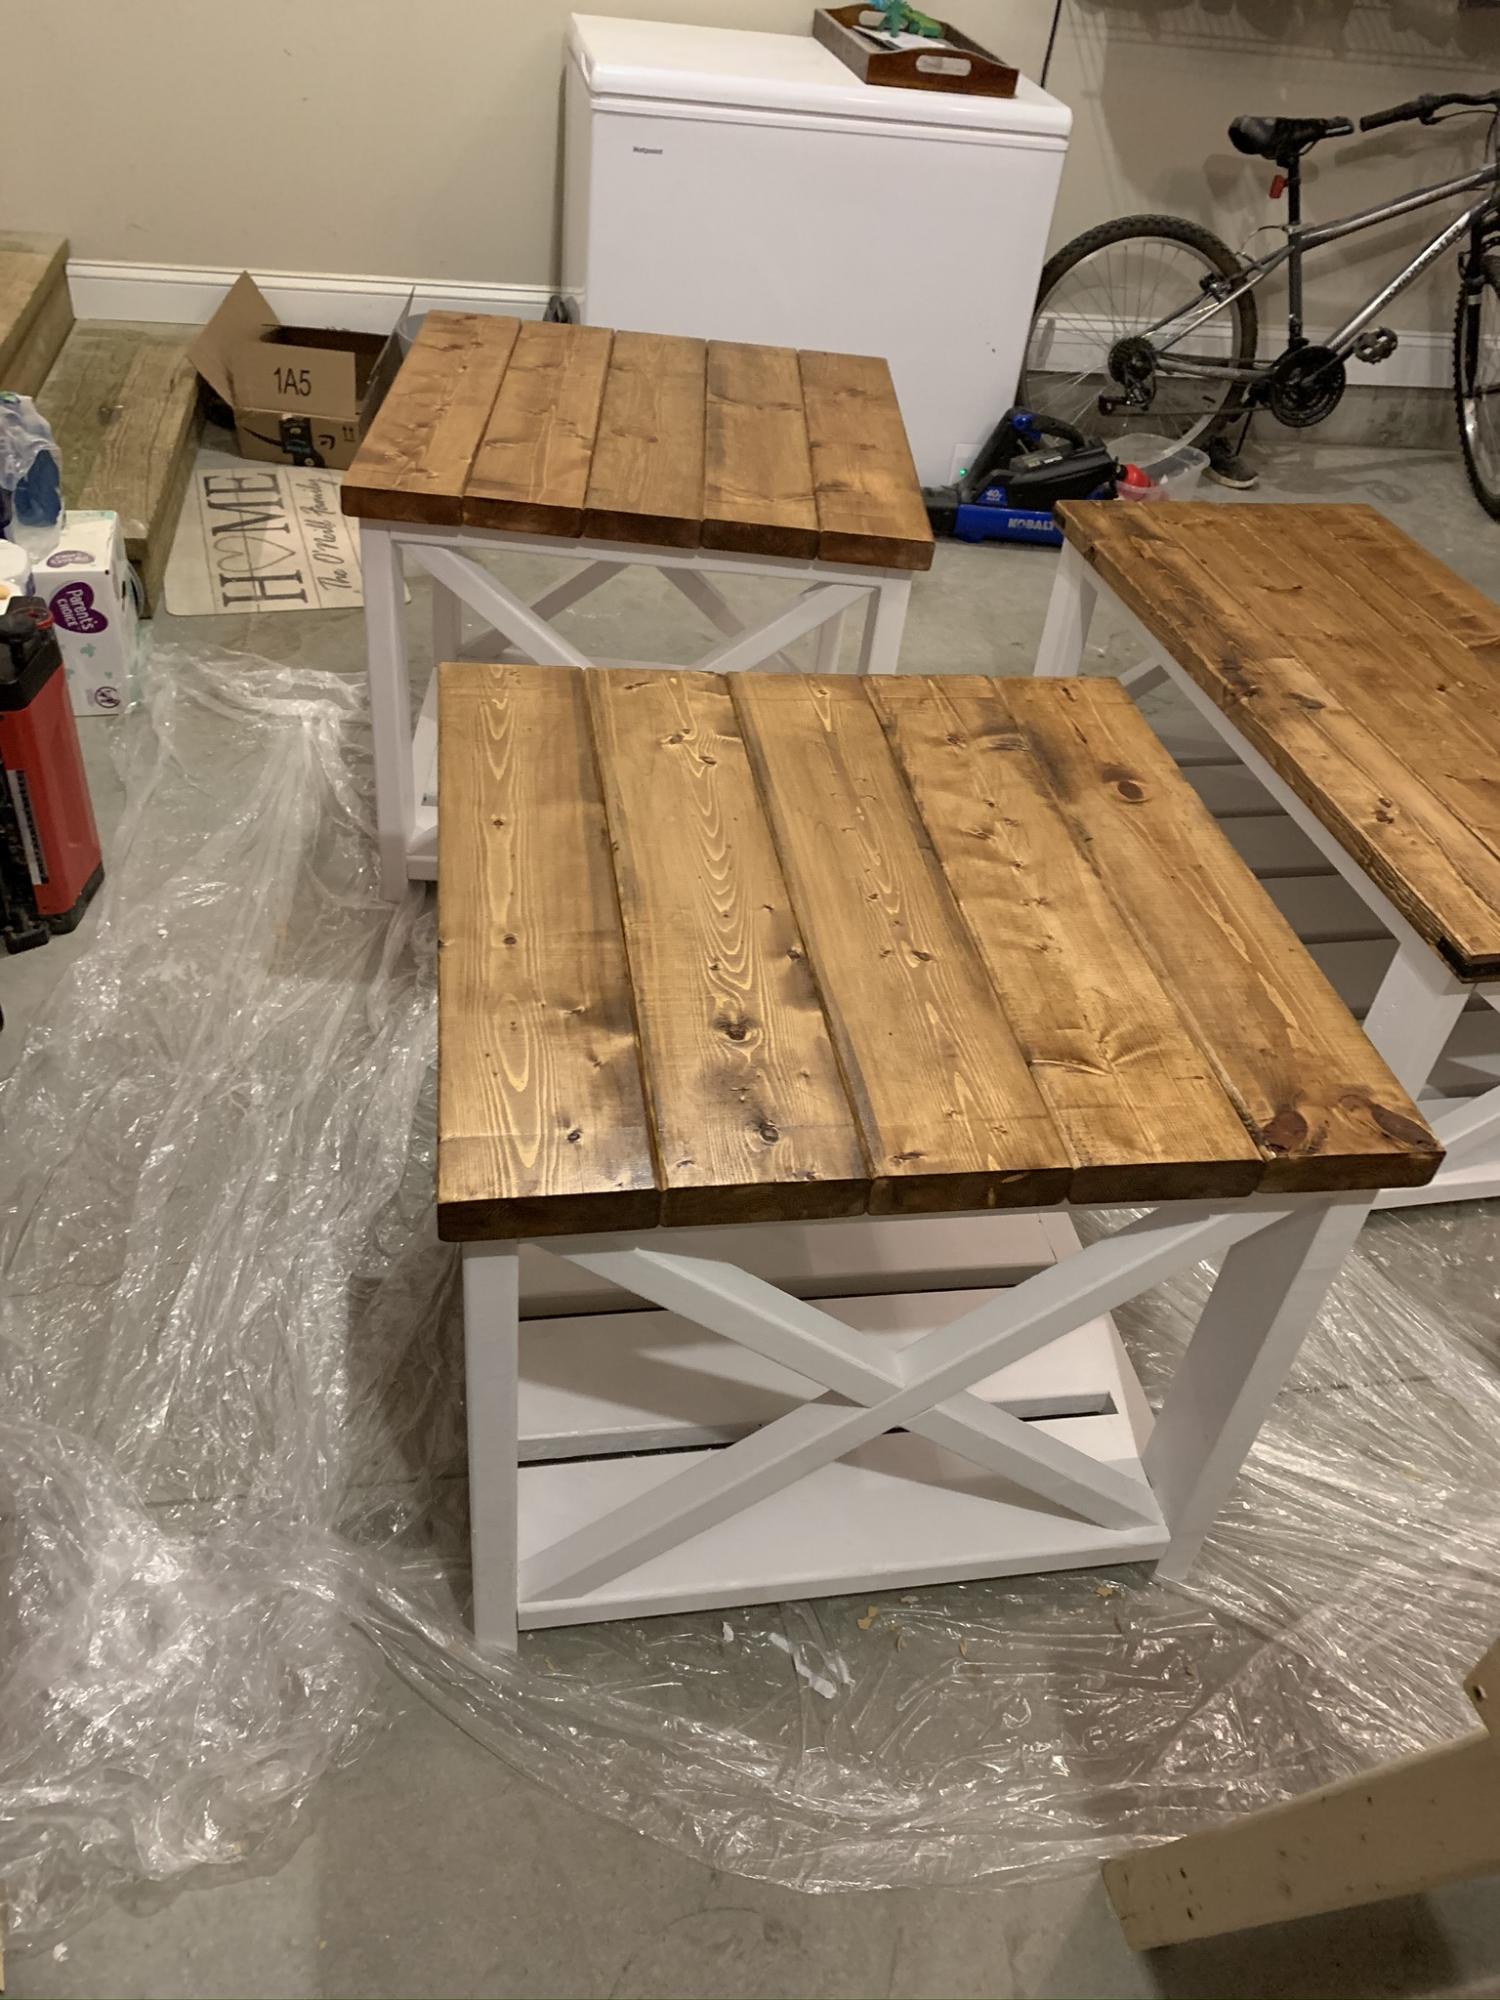
Great looking tables . This is the Large size . If your using in your living room I’d recommend going with the “small” size which is more like a normal standard size. The large size is way to big for a normal average size living room.
About $70 to build a set .
Built from Plan(s)
Estimated Cost
$70
Estimated Time Investment
Day Project (6-9 Hours)
Finish Used
Minwax early American , Minwax quick dry satin poly , satin white frame
Recommended Skill Level
Intermediate