Fireplace Mantle
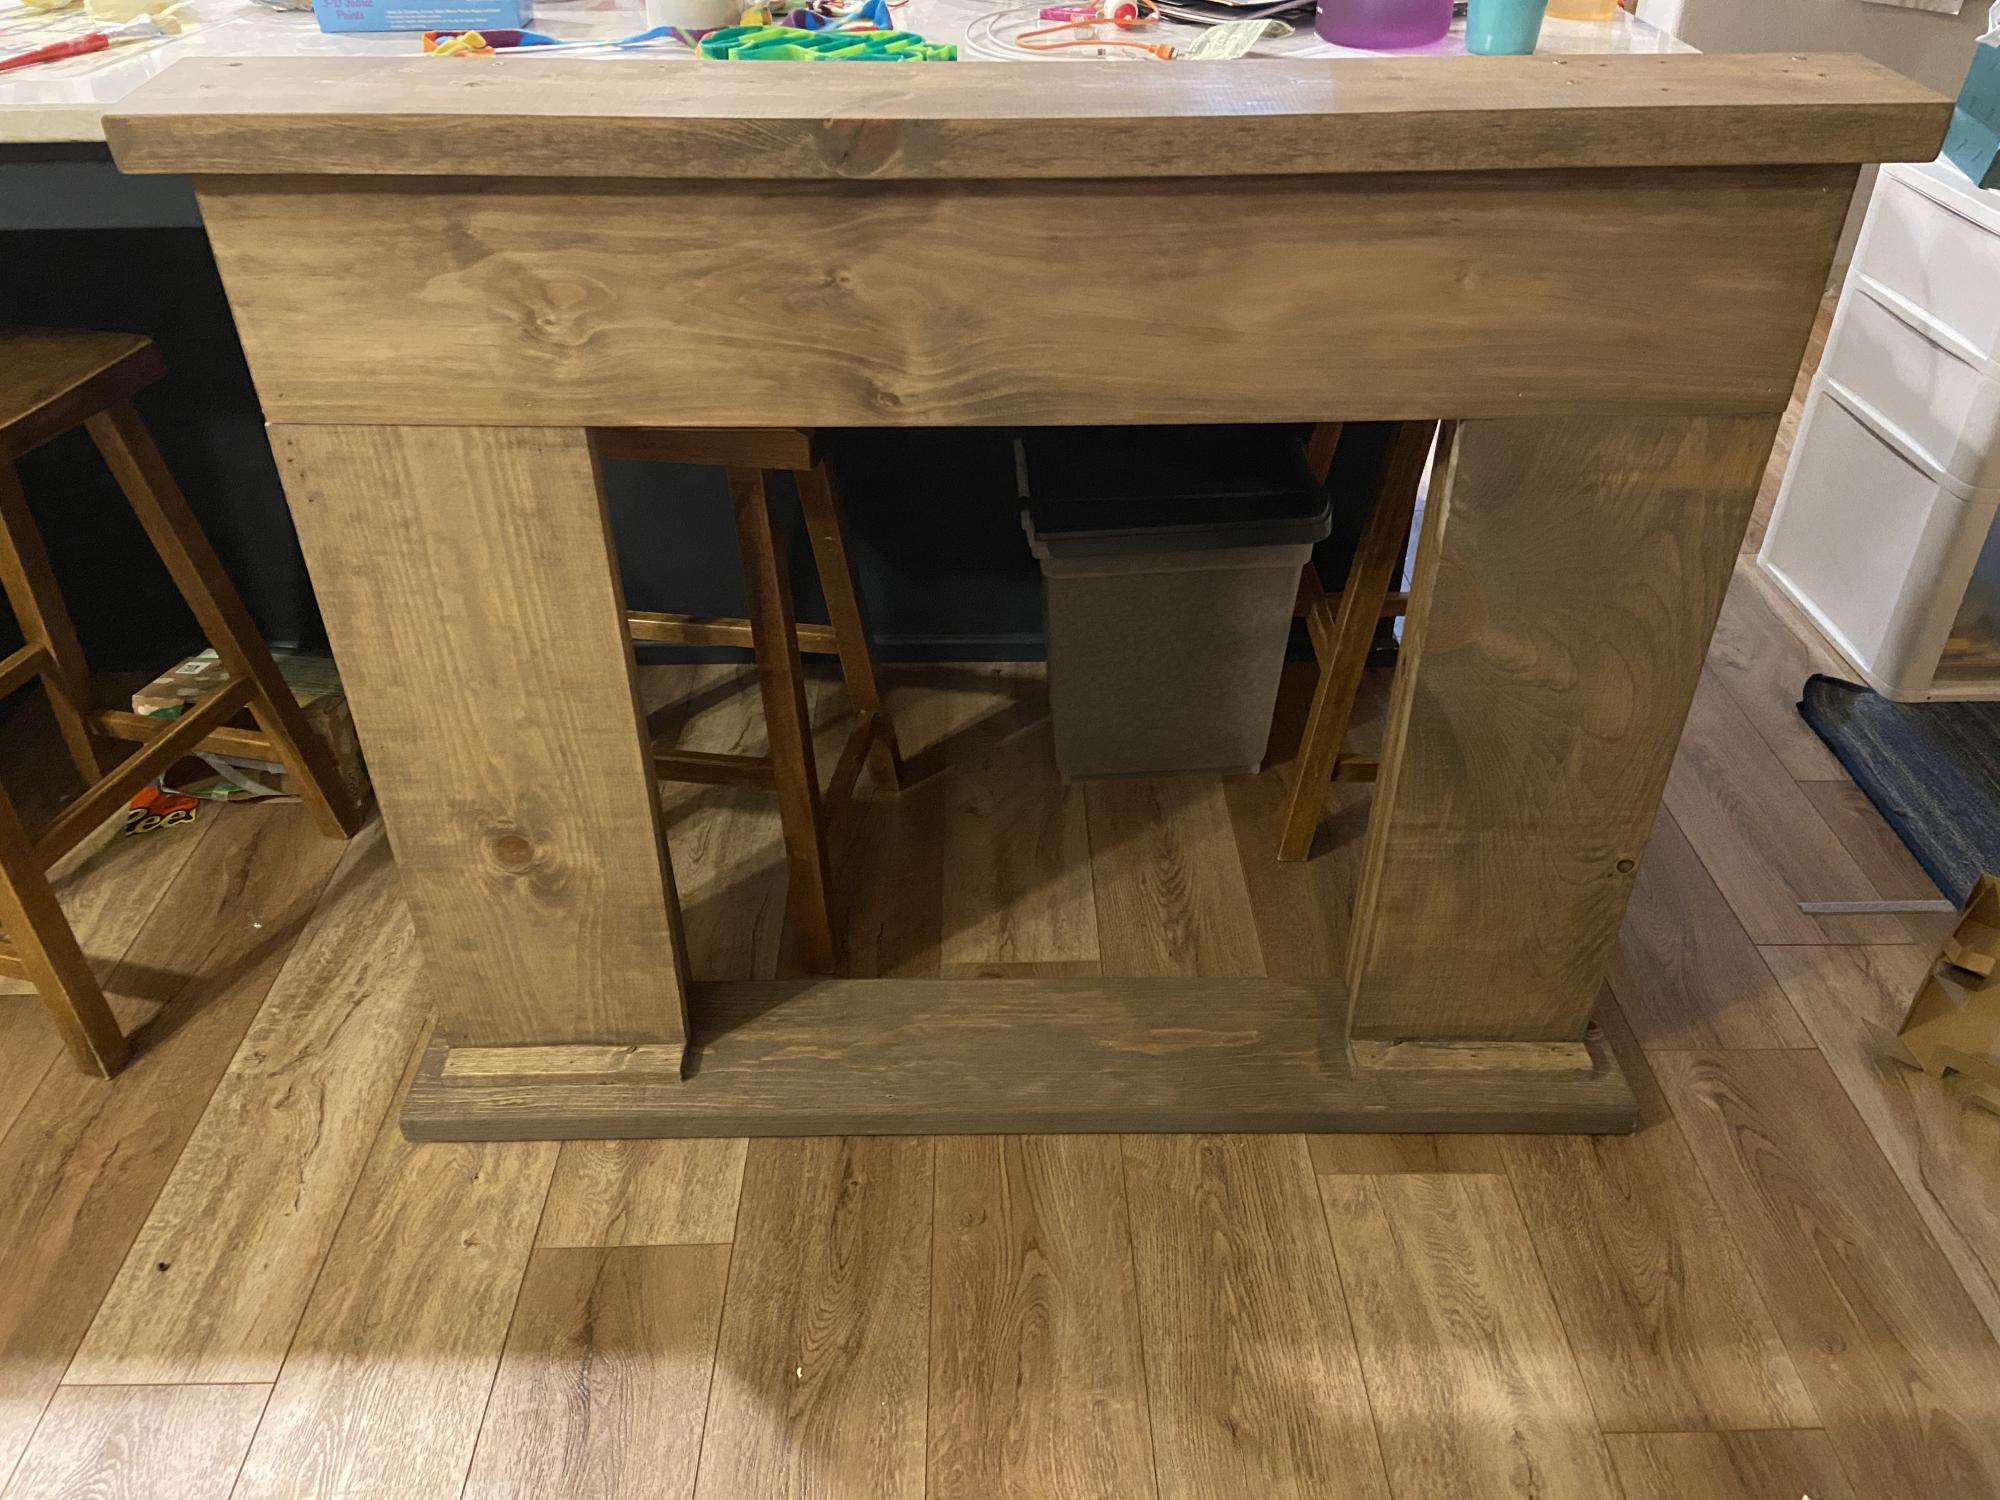
A gift for my husband! Now I’m hoping he will get me the fireplace! Ha ha!
Built from Plan(s)
A gift for my husband! Now I’m hoping he will get me the fireplace! Ha ha!

This project was super quick, cheap, and easy to make. I created it using an old recycled pallet, vintage sterling silverware, and leftover stain from another project. I simply sanded and stained it.


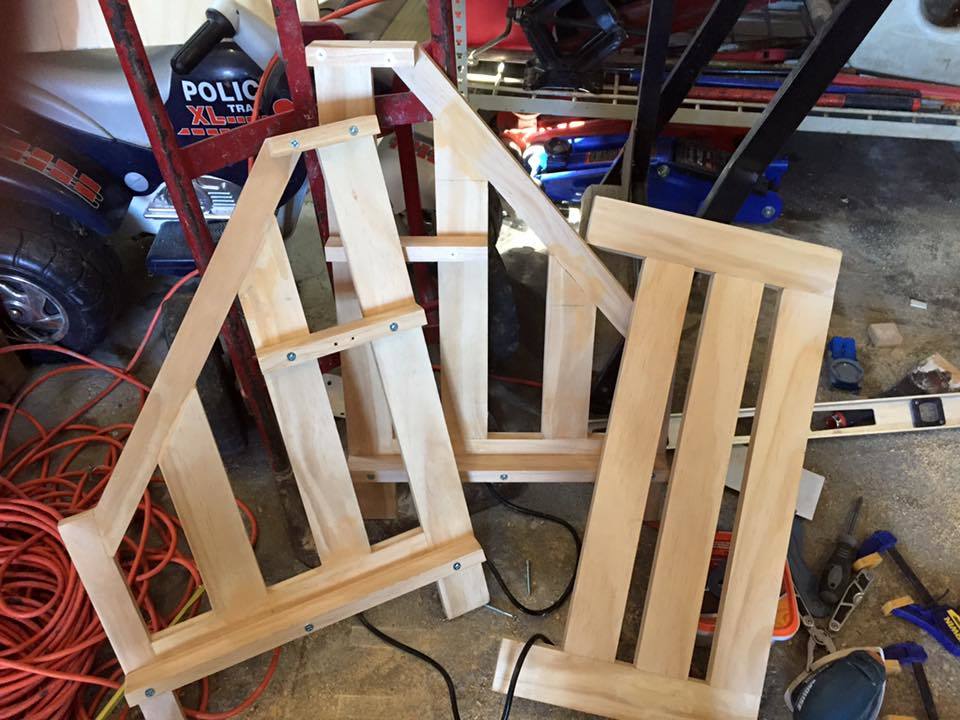
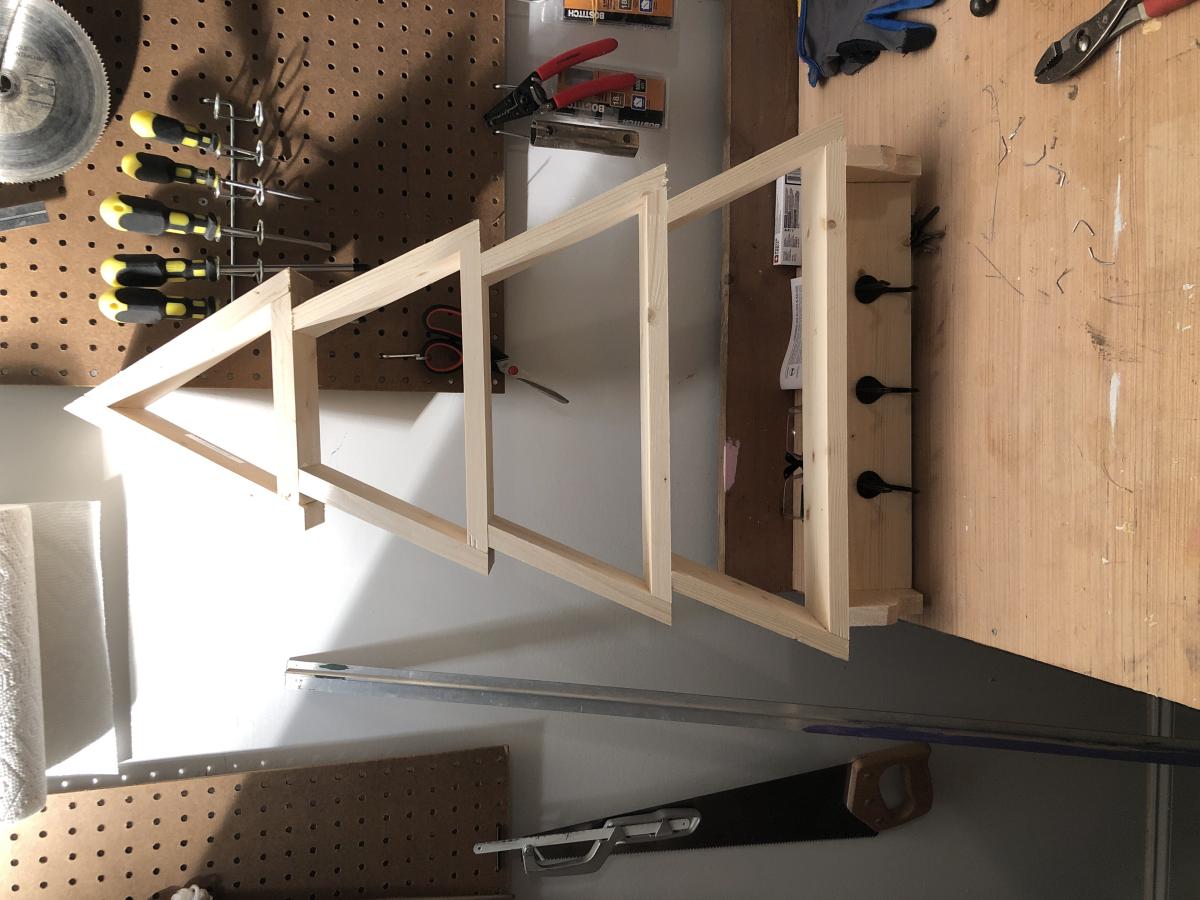
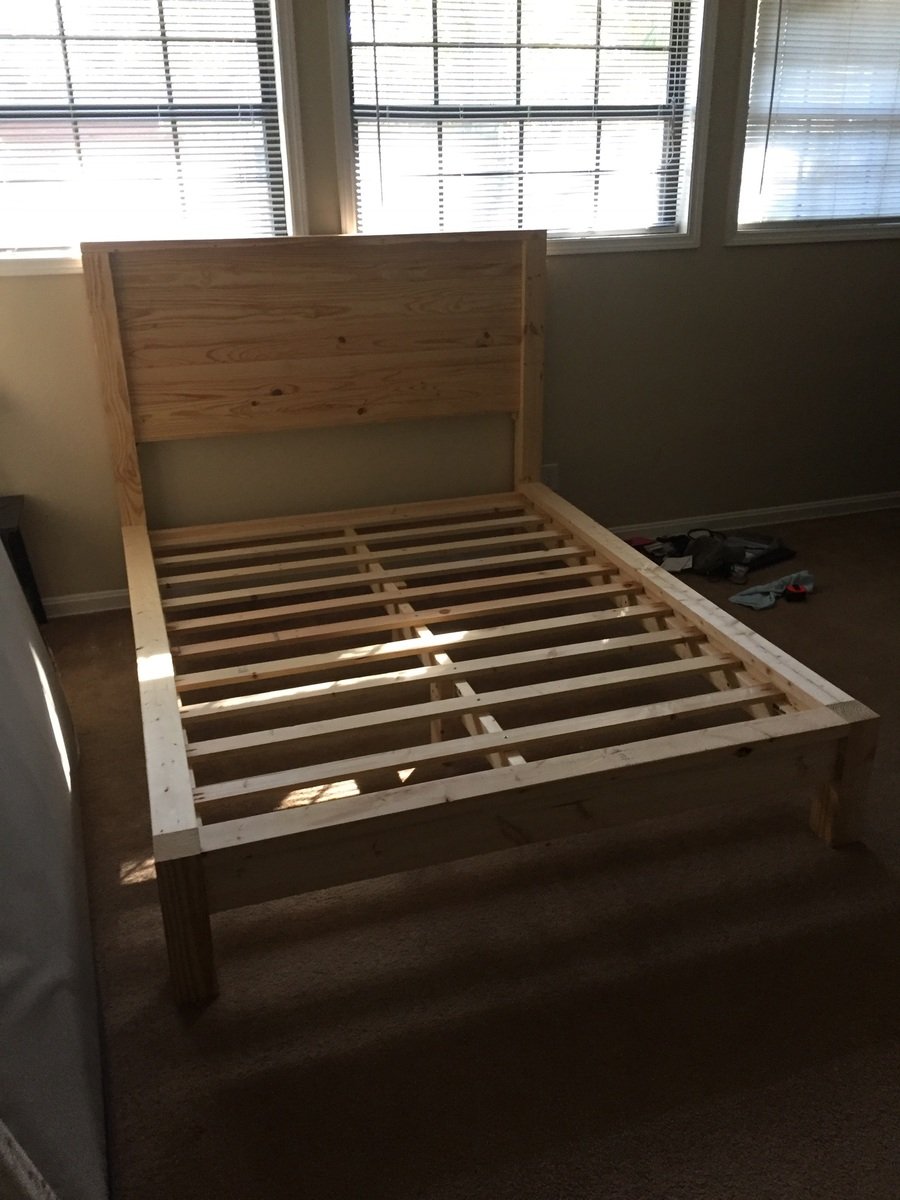
Great first project I made for my 2 year old son. He loves his "big boy bed" and I thoroughly enjoyed making it. I made the headboard first, then waited a day to do the footboard. I was able to think the process through better during that period and the footboard came out much better than the headboard, although maybe I'm just aware of these differences because I'm the one that made it. All in all it was a great learning experience and a wonderful way to dive into wood working. Thanks for all your plans, Ana!
Mon, 01/23/2017 - 20:53
Look really good. Can you send me the plans and cut measures. Material list. Please.
This is the 2nd thing I've ever built in my life. I had a ton of trouble with the angle cuts because of an old miter saw and my lack of skills with a protractor but it turned out okay.


Recent projects:
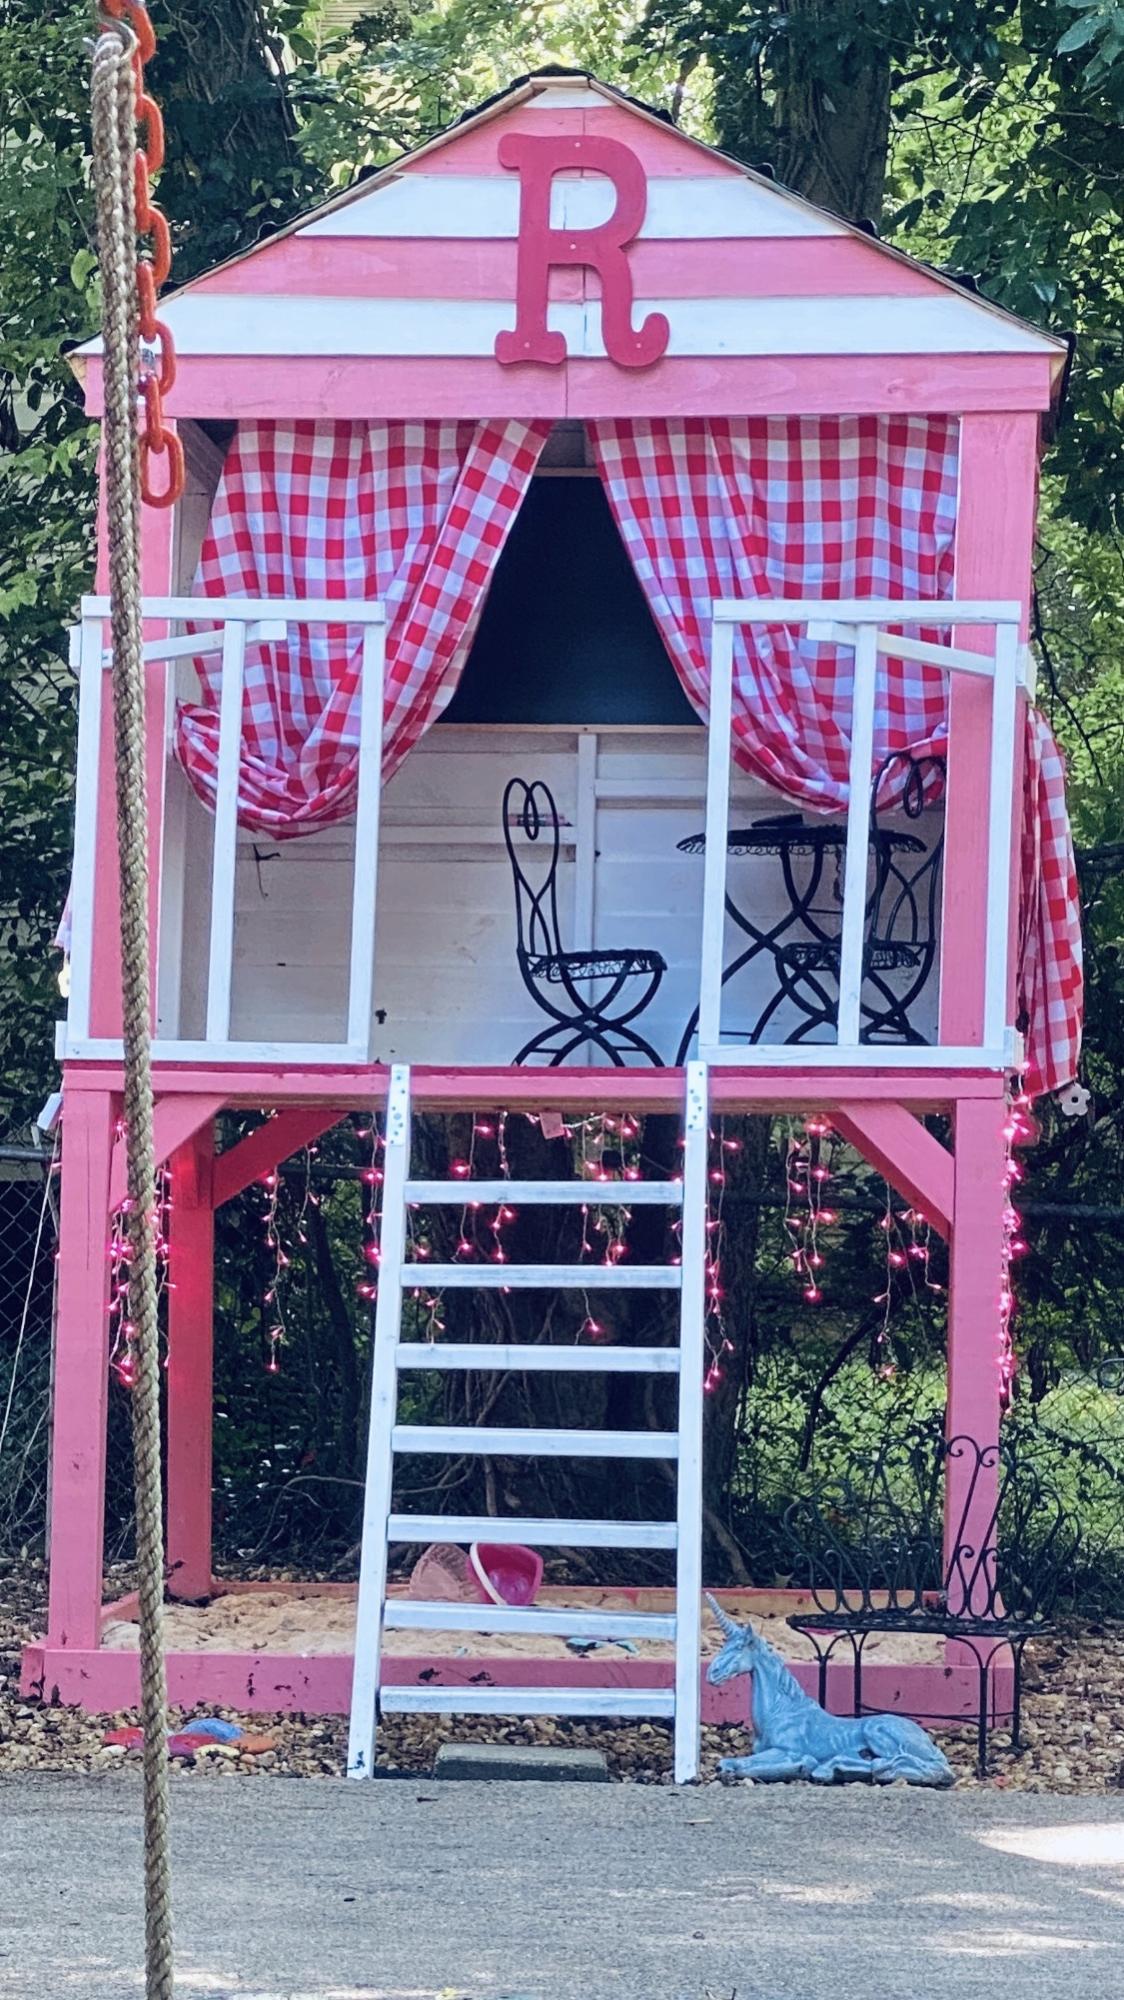
Treehouse for my 6-year old granddaughter
Desk for my 6-year old granddaughter
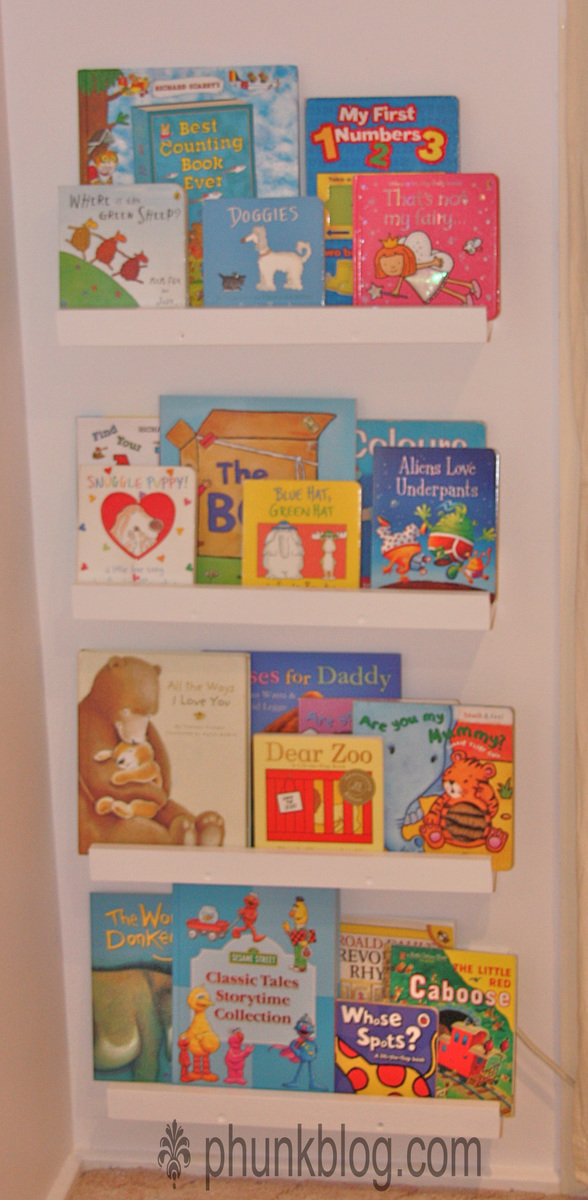
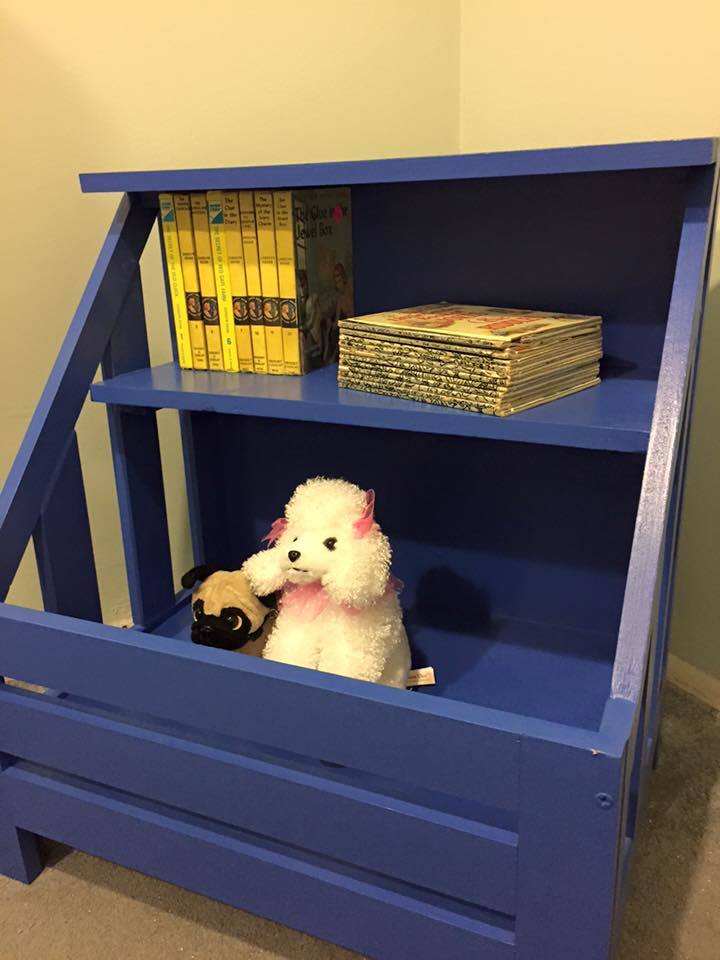
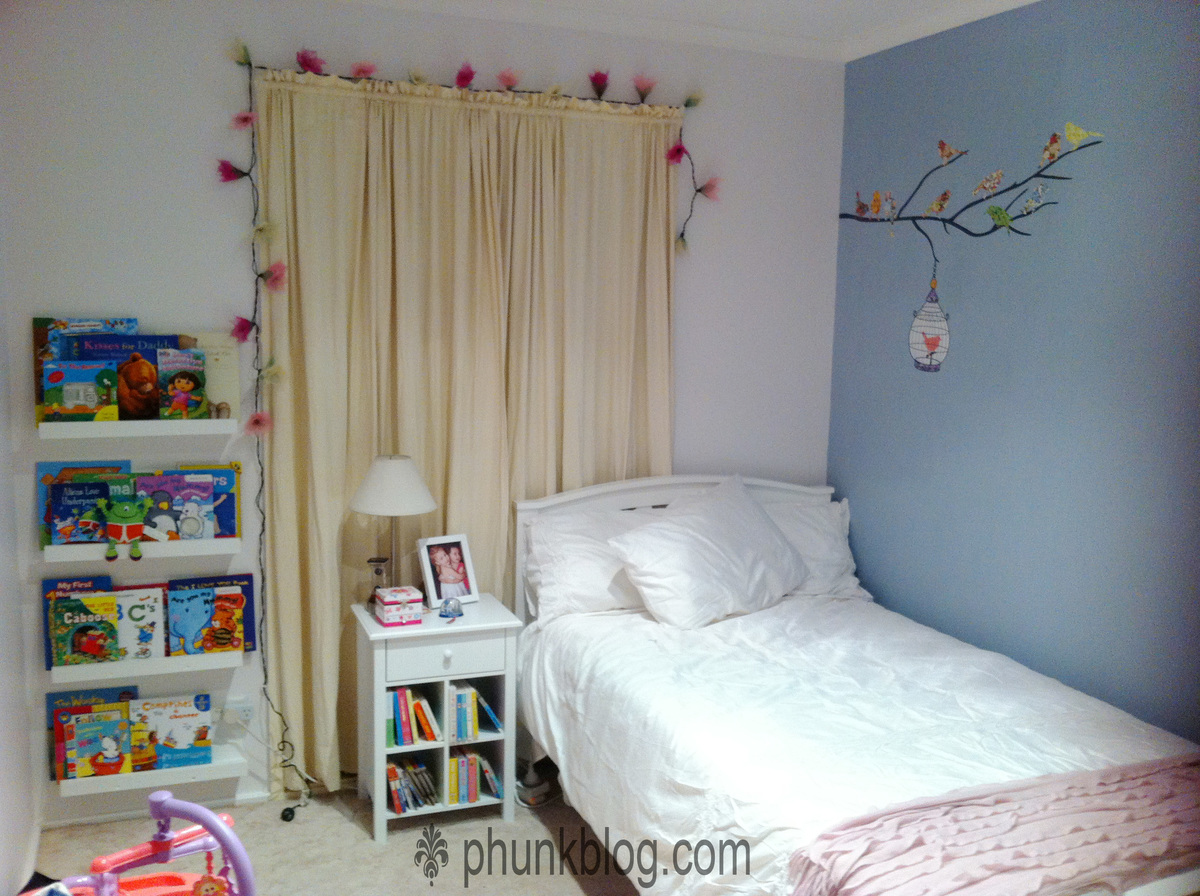
I knew I wanted some of these shelves in my daughter's room but it seems bedroom sizes in Australia are quite a bit smaller than the US! I couldn't spare a long wall to fill with books so chose this narrow space to the side of the window.
The length of time I took for this project was for several reasons:
* I was a total beginner!
* I had to cut all of the lengths of wood with a hand saw & sand with sandpaper wrapped around a block of wood.
* It took about 5 coats of paint to cover the wood properly.
I adjusted the measurements from Ana's plans to fit the smaller space & while daunted at first at the prospect of attaching things to walls, I was so thrilled with how they turn out. I'm looking forward to challenging myself with something a little more complex next (perhaps with some power tools this time to assist!).


Sun, 07/07/2013 - 07:15
Nice work! Your shelves look good, just right for that little space!
This was a pretty good and at times challenging project but it was fun and totally worth it when I saw the look on my daughter's face
Enjoyed making this queen sized bed frame. Thanks Ana, for the great plans! I am adding some lights to it in the next few weeks, that I'll wire through the 4x4's, to add individual reading lamps. I plan on complimenting the bed frame with your farmhouse style nightstands, that I am going to modify with a hidden power supply and some rollers for the drawers. Once done, I'll submit the brag post! Again, thanks Ana, for your great and inspired plans!
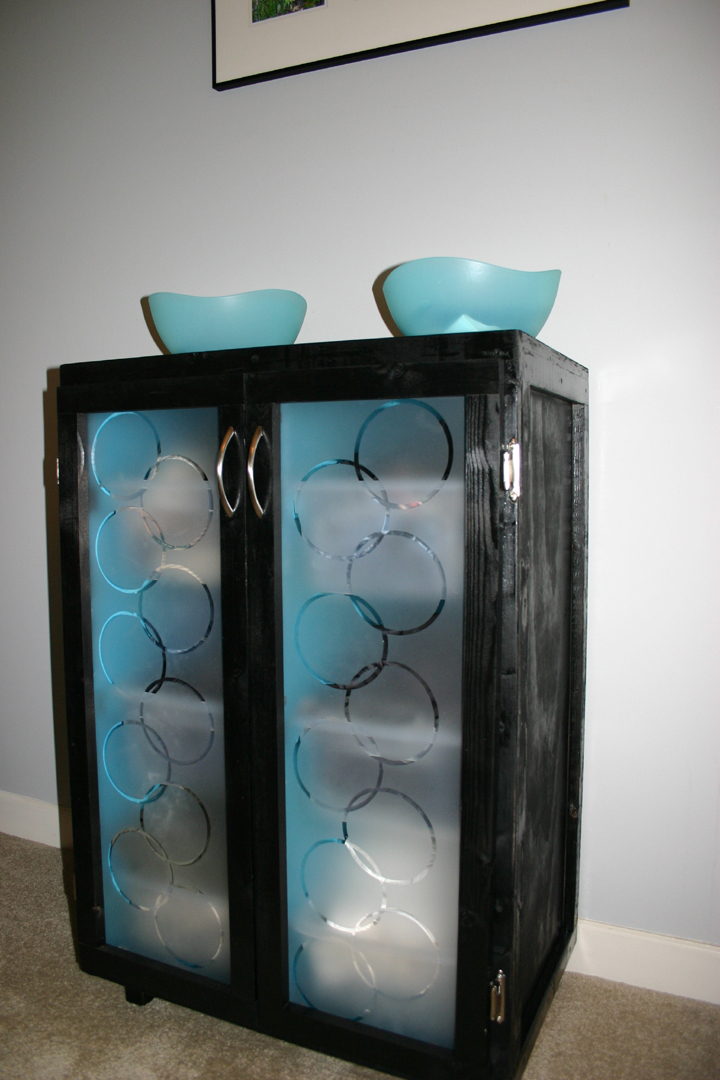
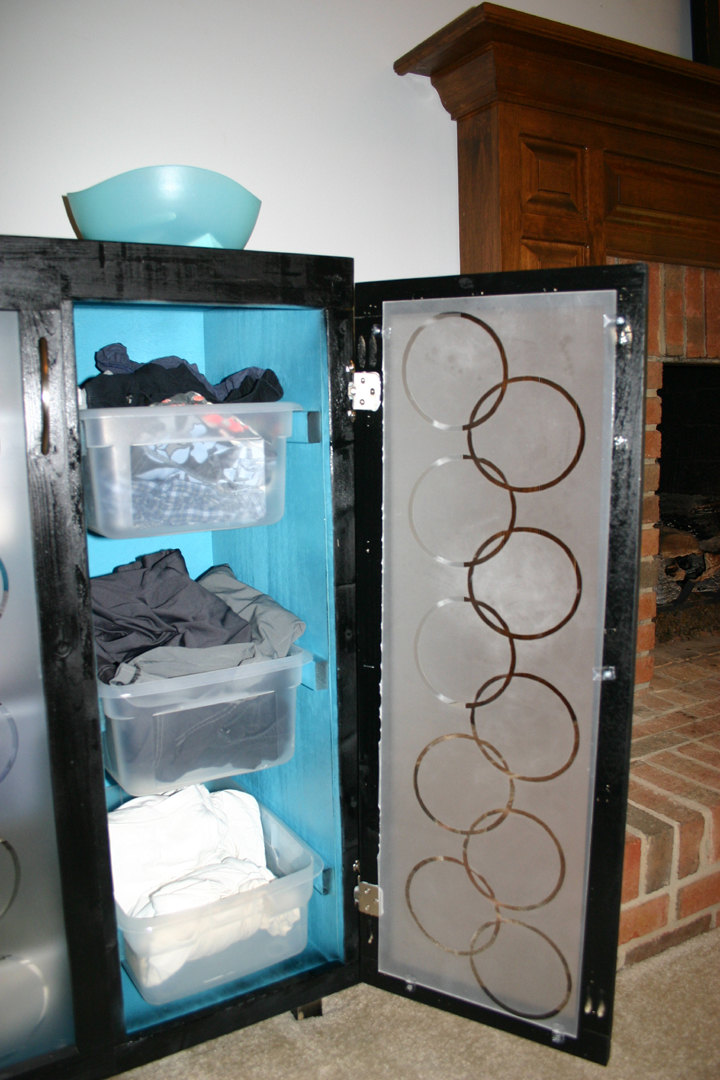
This has been on my to-do list for a long time. We have not had a dresser for years, and have used our closets for our clothes. In our old house, I had built a storage unit for our closet, and we used clear plastic storage bins for our smaller, non-hanging items. Then we moved to our current house. Which had nice closets, but the bins didn't work so well. But we made do, fully intending to change it when we had time. Six years later...I found the time. LOL.
When Ana posted the laundry basket dresser, I knew it would work for our current bins! But I wanted them out of the closet, and I didn't really want to look at them. So I thought about doors. Finally worked it out, and here are the changes that I made.
I made it to fit my bins. Added some legs. Added 1x2 trim all around to help hide the plywood and beef it up to help the doors. Added the doors(gotta love that kreg-jig!). I used Ana's plan for the basic glass doors for those, same as the ones I did for my kitchen.
When it came to the inserts, I knew what I wanted, but it just took a bit of time to get everything together.
The inserts are plastic-plexiglass. I LOATHE cutting that stuff, and we won't go into the detail and language that was involved with that part. Finally got two workable pieces. Used my xyron to make circular stickers, and laid them out in my desired pattern. Then sprayed with frosted glass spray paint(awesome stuff!). It gave it that modern edge that I wanted, and disguised the stuff inside.


Thanks for the work bench plans! Mine measures 3 feet by 6 feet. We have a single car garage so I put locking casters on mine to enable me to move it. Easier to clean, easier to access all sides then put it back in the corner. The frame is 2x4, the top is leftover ash flooring. The lower shelf is leftover 2 by (4s, 6s). I may add another layer of ash to the top but it's functional as is. Stands 36 inches tall.

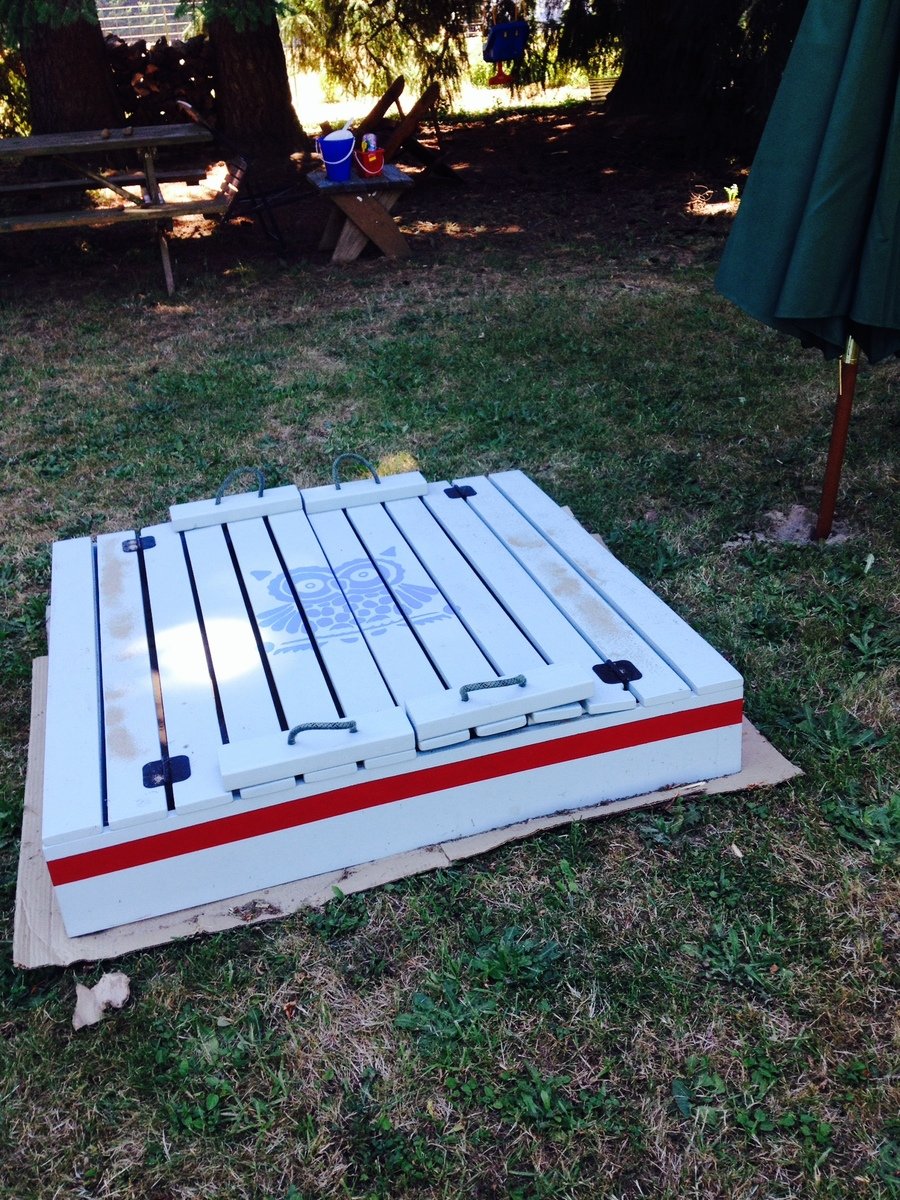
I built this as a birthday present for my sister and niece, she loves owls so I figured out a way to enlarge and image and stenciled an owl onto the top of the cover. Super happy with the way that it turned out. I used some retired climbing rope for the handles and screwed them in on the underside. I am going to put some rock around the outside so there is a buffer for the weed whacker.

My son used your plans to build this bench for his Eagle Scout project. It now resides at the University City, MO Head Start, along with over 90 books that people donated for the children. He couldn't have done it without this site! Thank you so much!

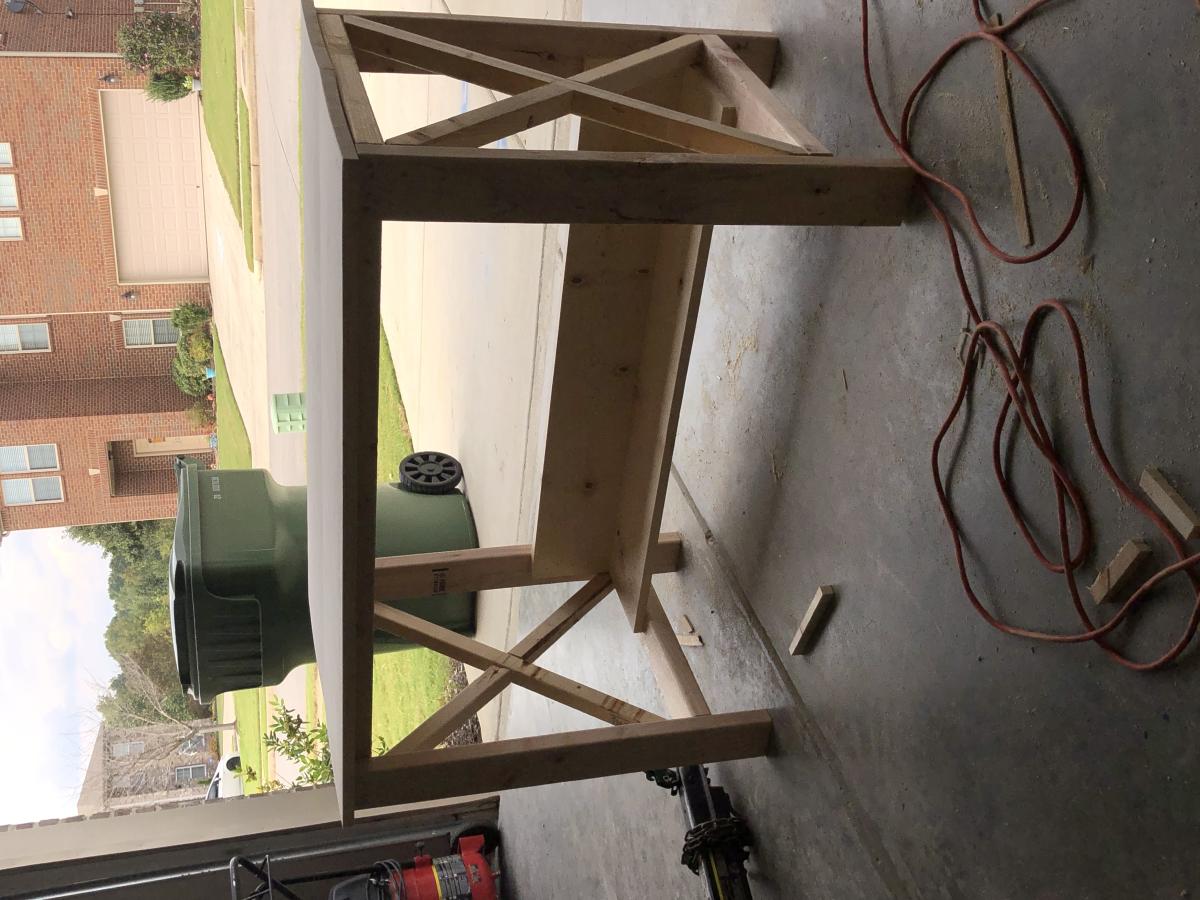
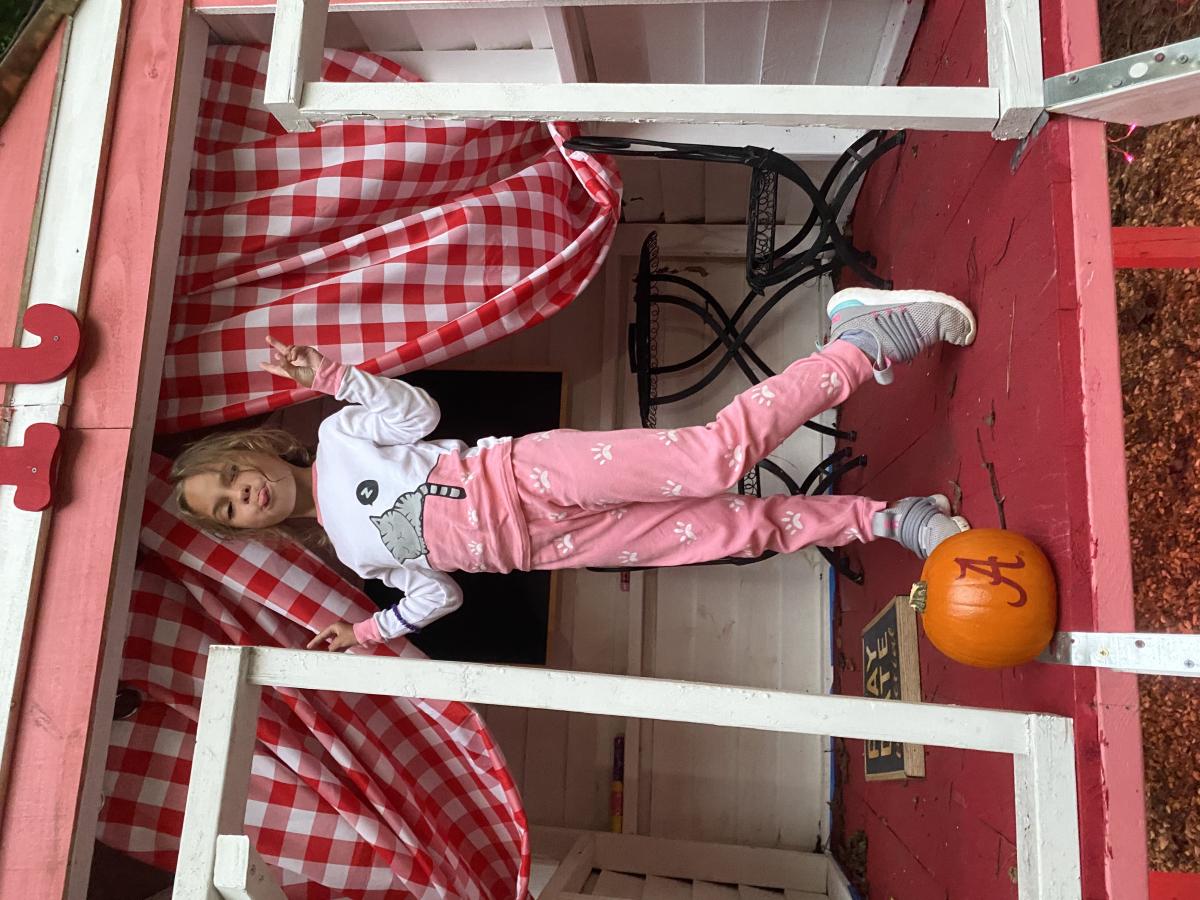
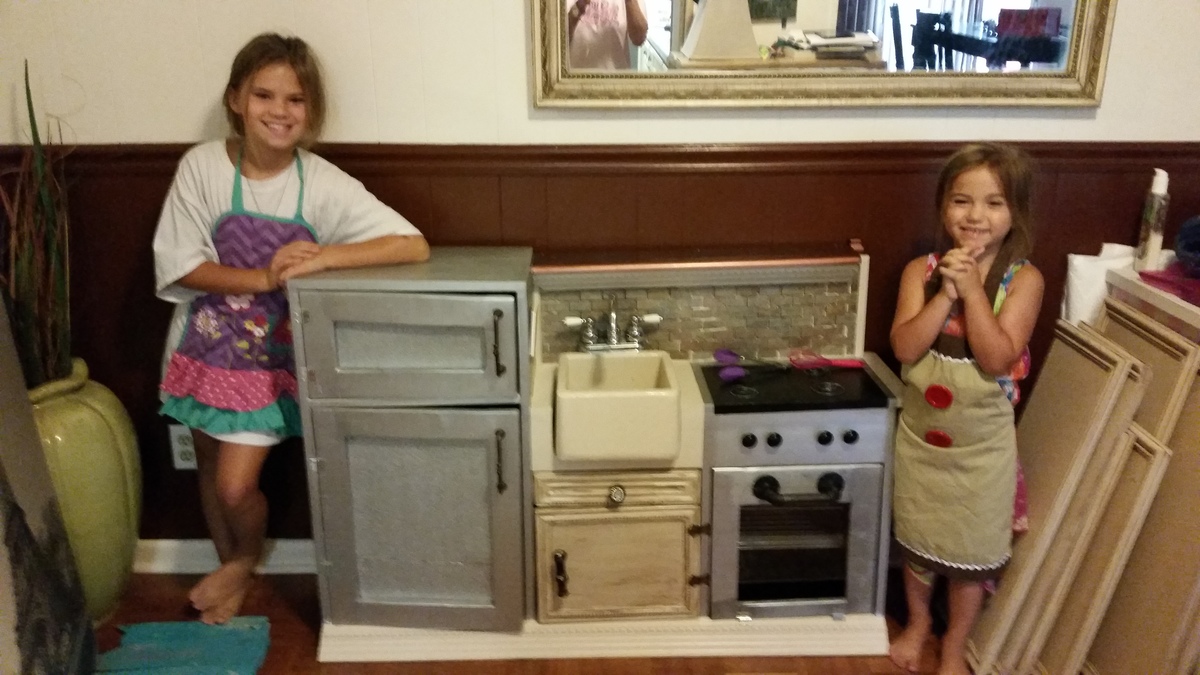
Roof to be added later. Modified Dream Dollhouse to 1/2 size -- perfect for 2 yo!


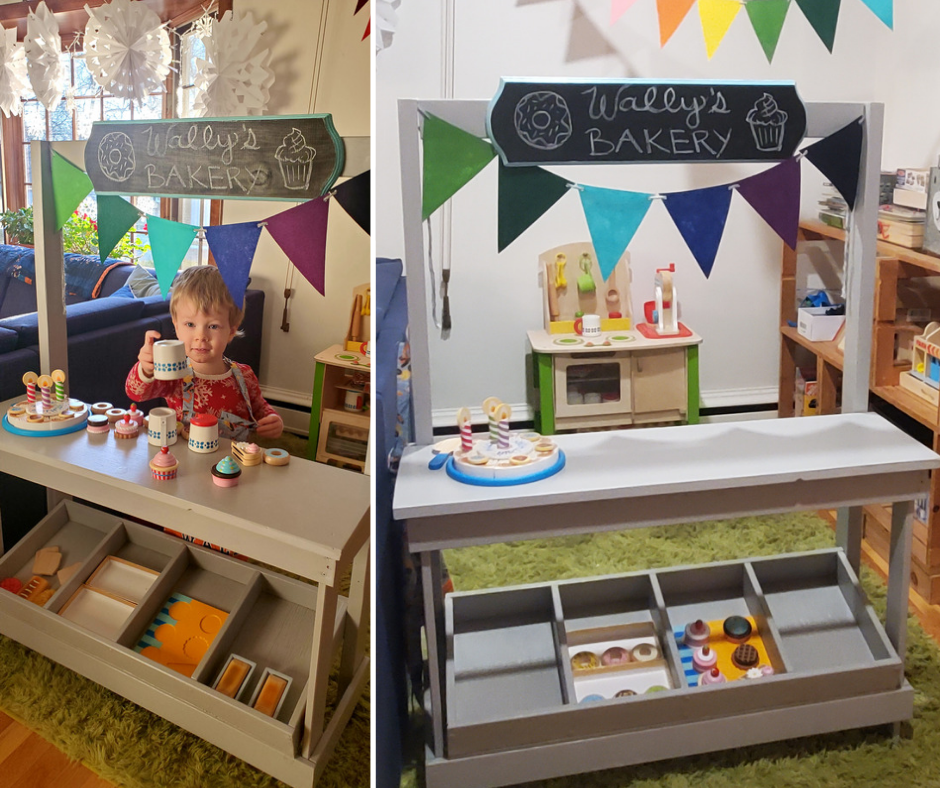
Plans were easy to follow and we were able to build it using scrap and salvaged wood, and leftover paint. Only had to buy screws and the chalkboard sign materials, so very affordable to make. Birthday boy LOVES it! We set it up with some bakery toys, but the dramatic play options are virtually endless. This is one of those type of toys that will be part of all kinds of play with kids of all ages. The size is great for him at 3 years old but I expect it will be usable for many years before he outgrows it. Well worth making.
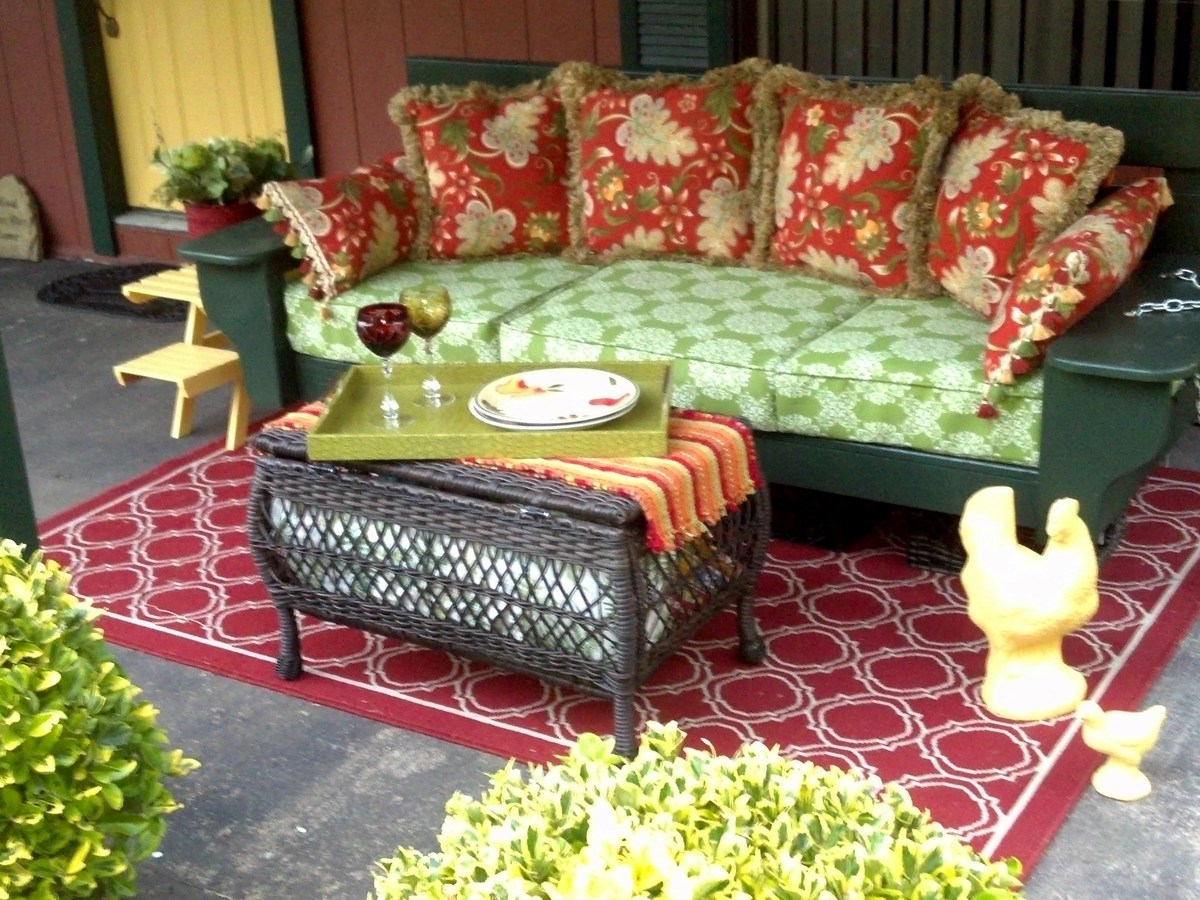
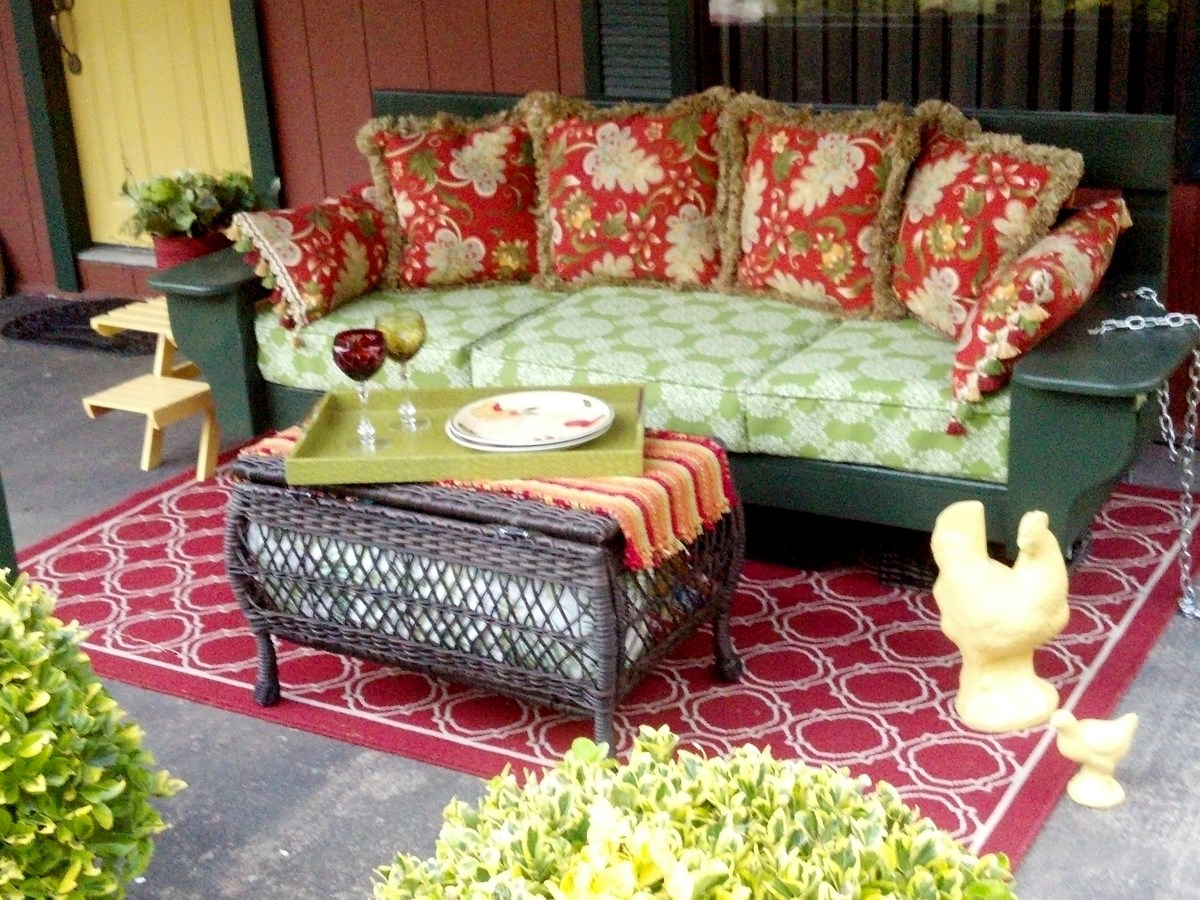
Still unhung - but just had to share this wonderful swing we picked up today from our handyman. Thank you, Ana! The modifications to the plan we requested were a higher back and the front side table detail. We had it built for $350 - not including cushions.
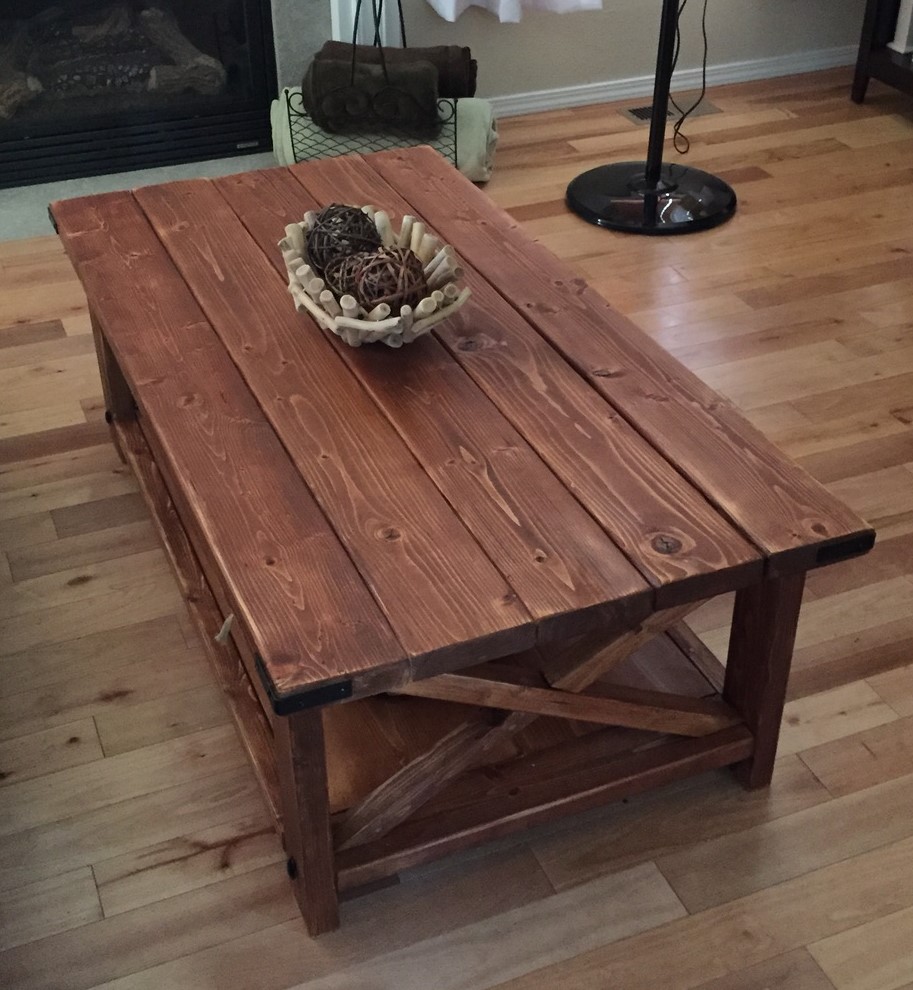
I built the rustic coffee table. Love it!!
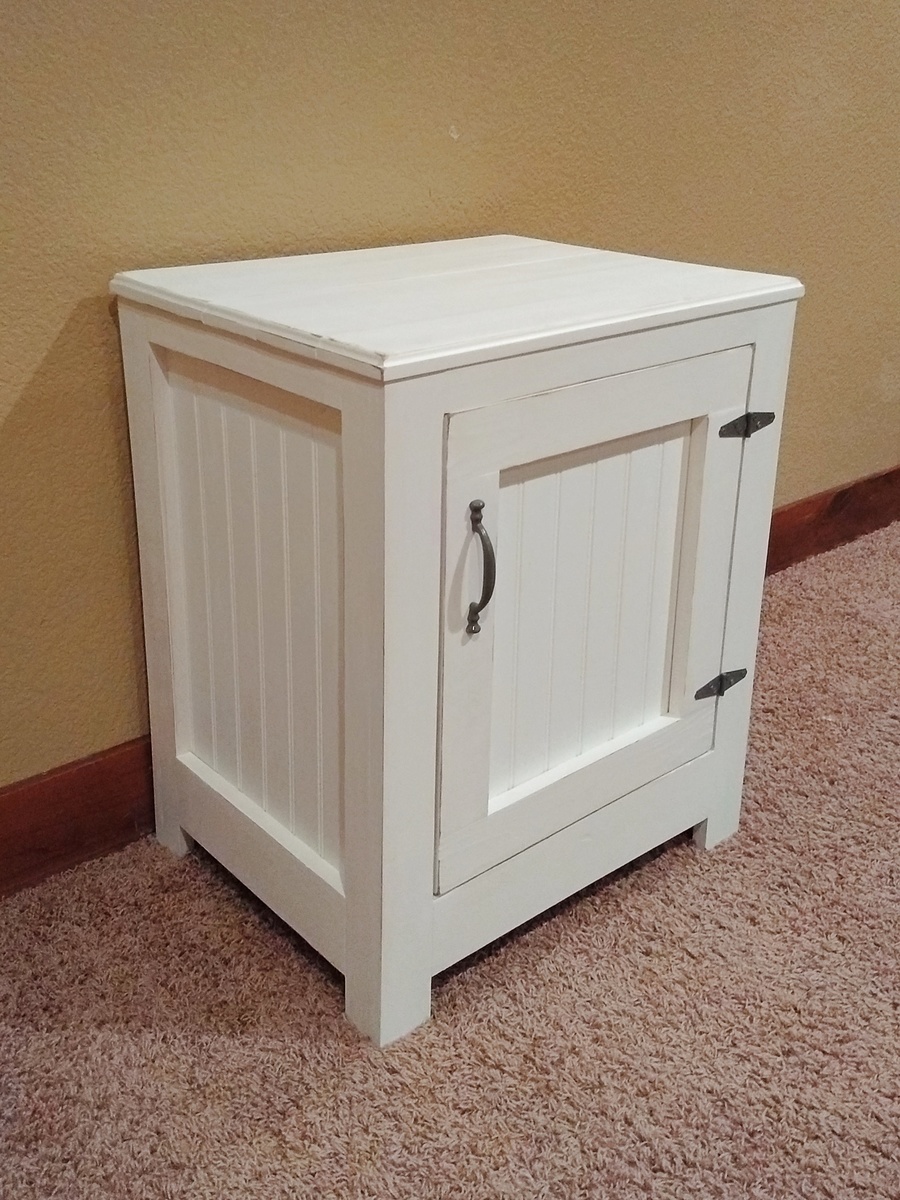
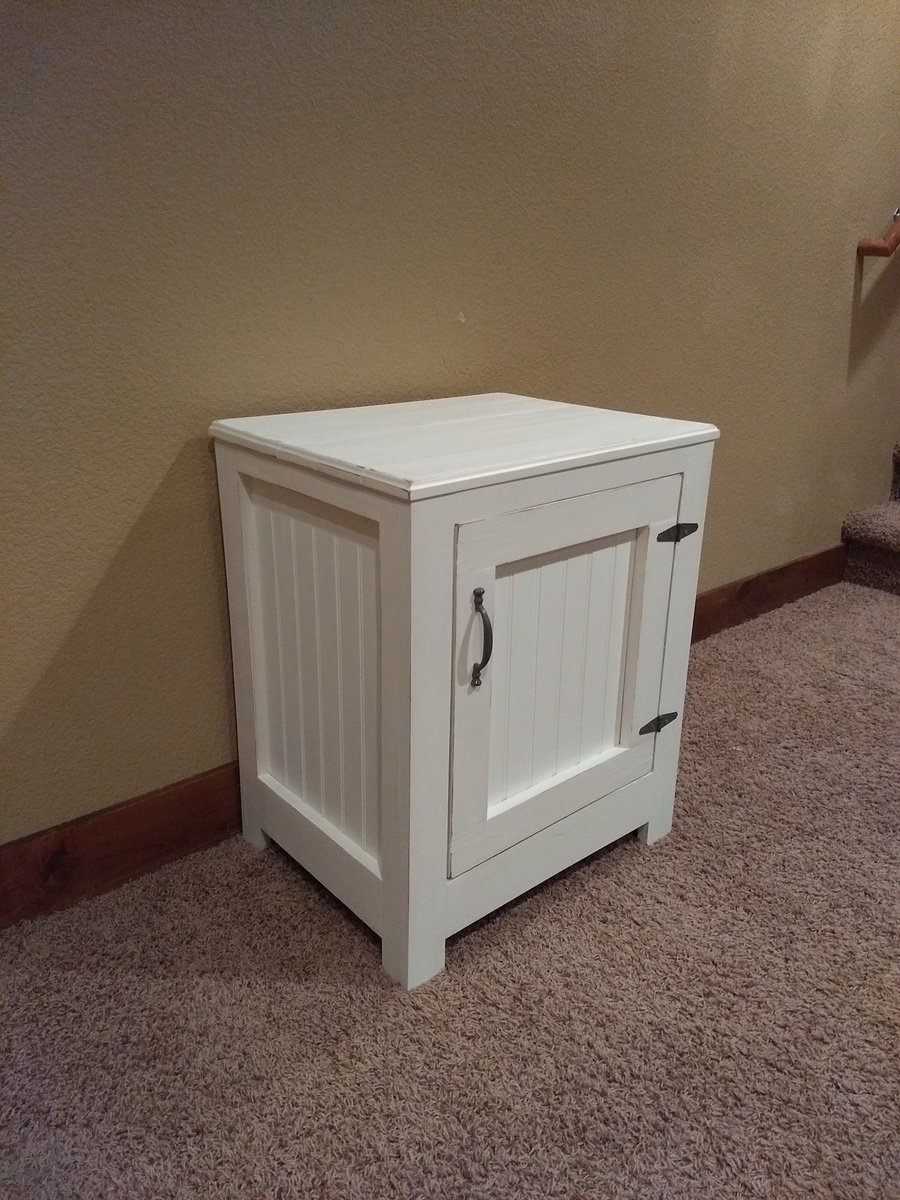
These were so fun to make, it was my second build ever and not too hard. I was worried about doing a door for my first time but making sure everything was square as I went made it fit right in perfectly. The kreg jig is a must!
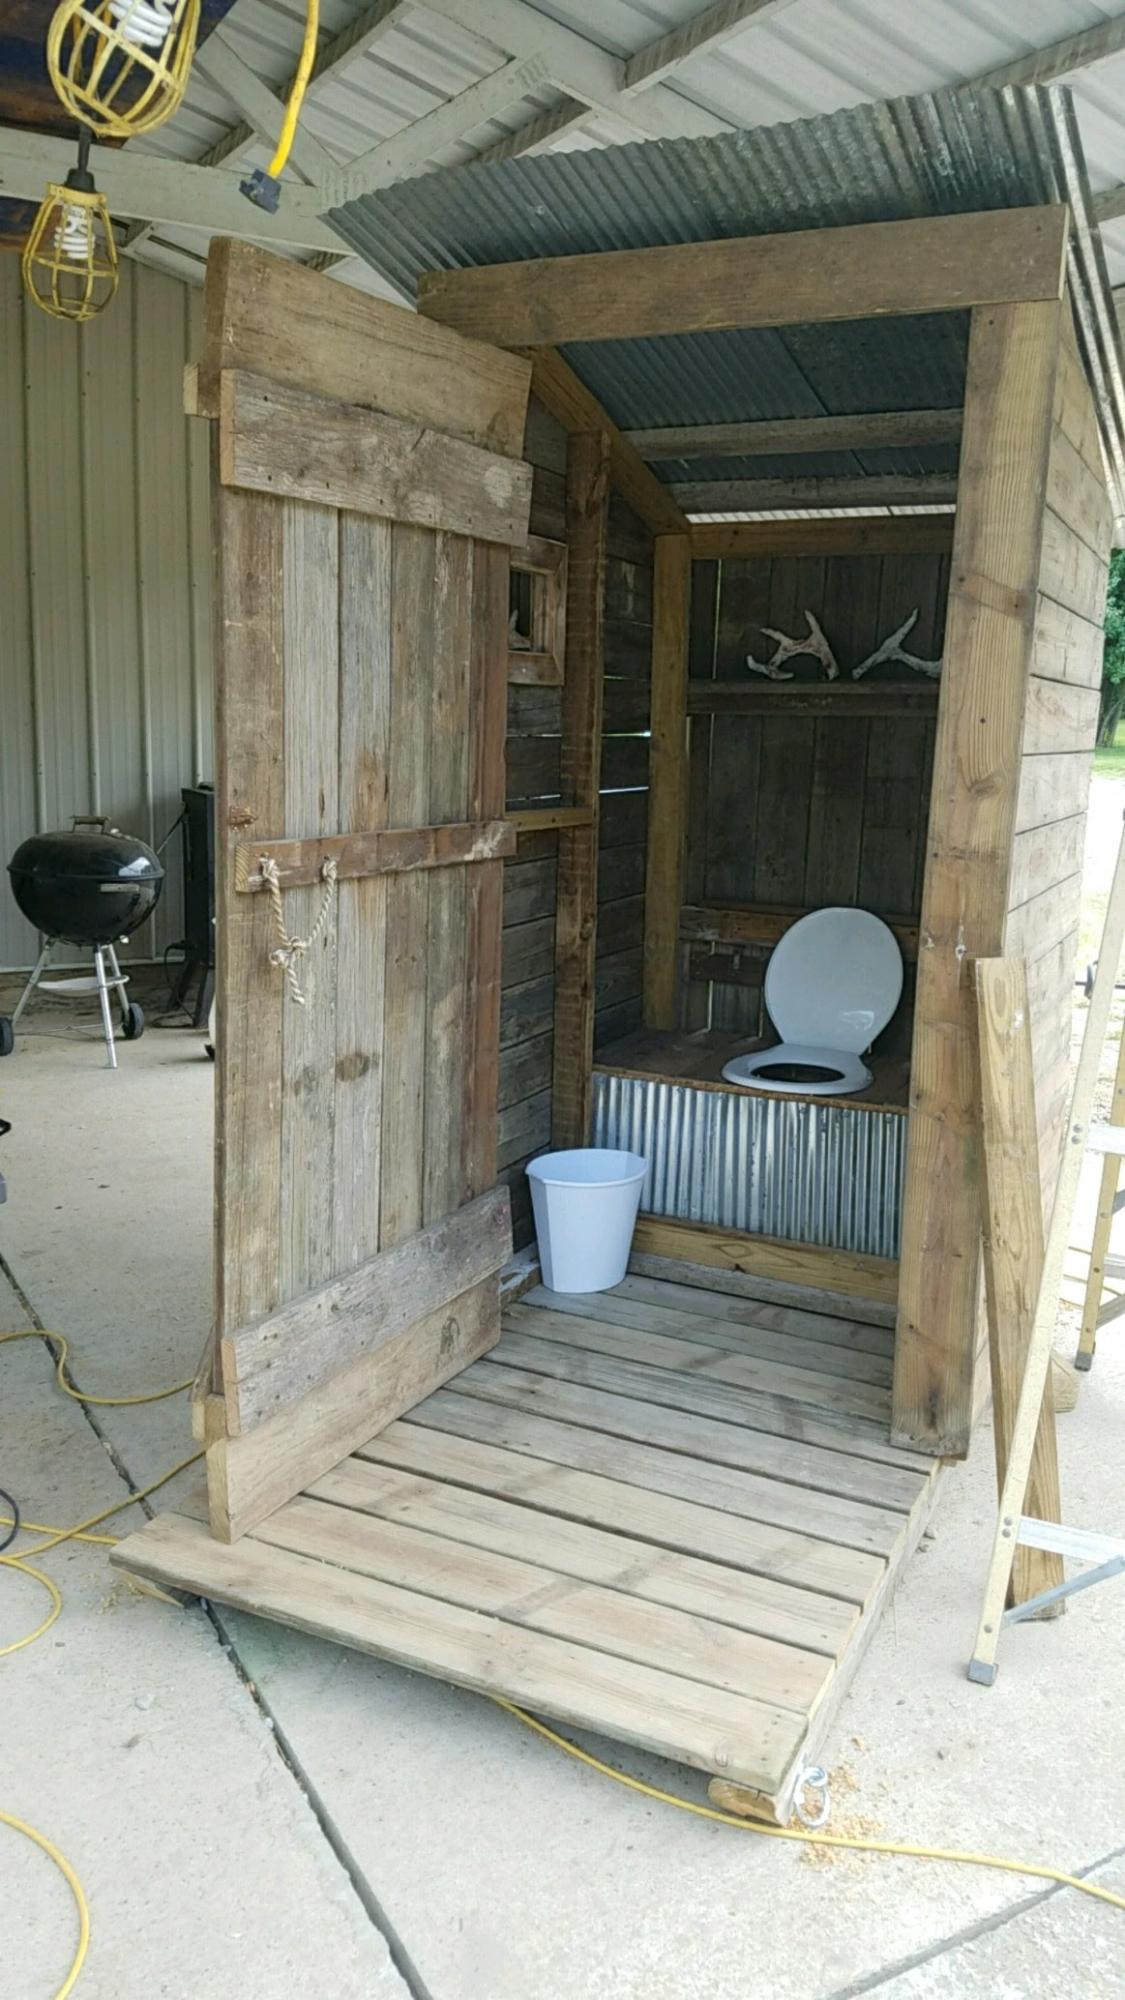
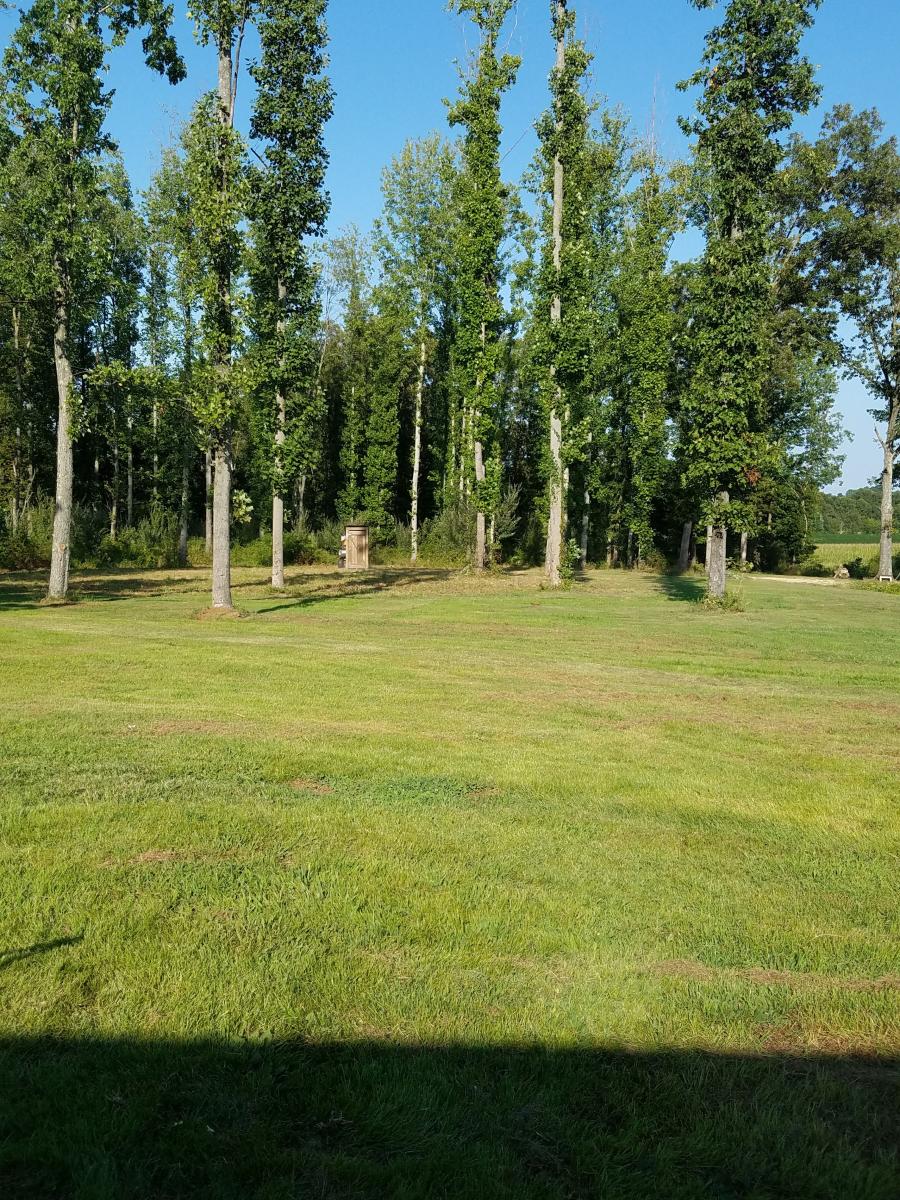
This is the 1st Ana White project I ever built. I now have several items of hers under my belt. I built this the summer of 2017 for the solar eclipse. We live directly in the path with longest viewing times. I placed an ad and got responses from all over the country of people wanting to stay on our property. This outhouse like all of Ana's other plans were easy to adapt to fit my needs. I extended the roof to include the covered porch and only used tin. I also added a couple of shelves a 2 mirrors. Almost everything I used to build this were things we already had. It's mainly built used our old swimming pool deck that we had torn down. The versatility and the clarity of Ana's project plans make this my go to building site!!
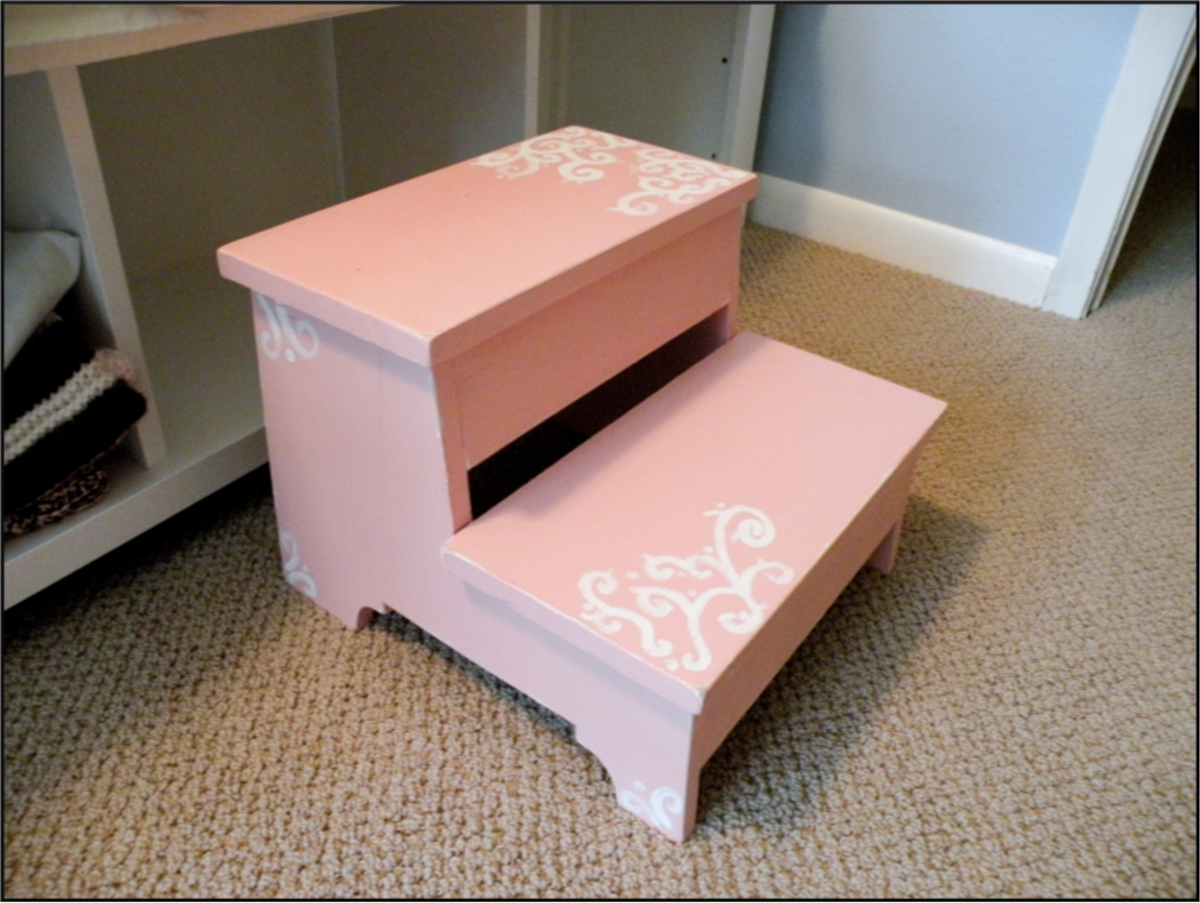
My take on the vintage step stool. I just used scrap wood for the supports. I painted it pink and then added some detail with white paint. Then I sanded over everything to make it more vintage-y. I was pleased with the result. The sanding really distressed the white detail.
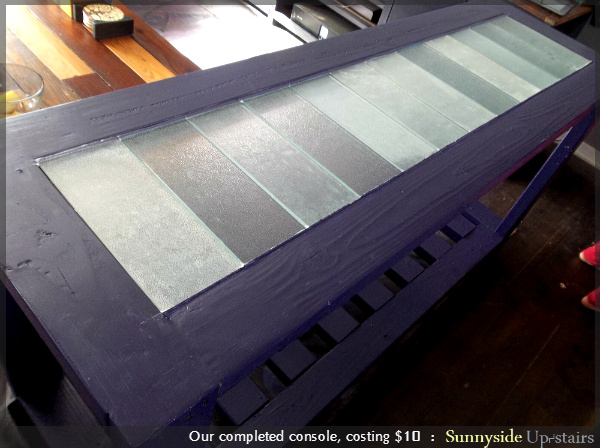
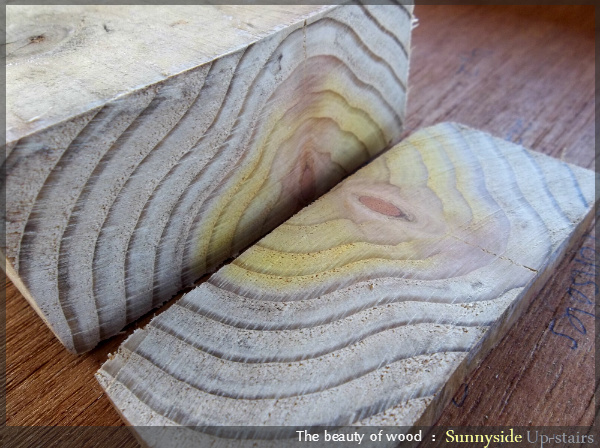
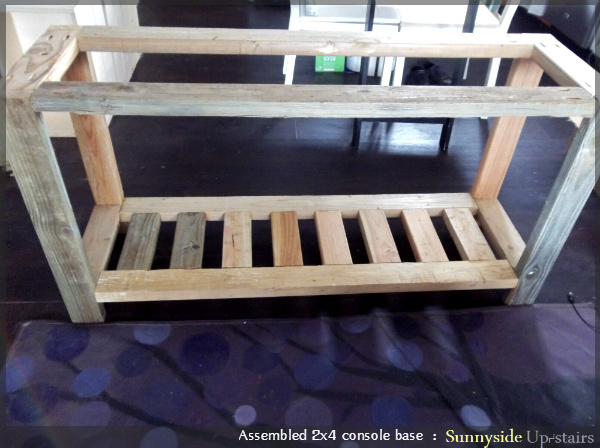
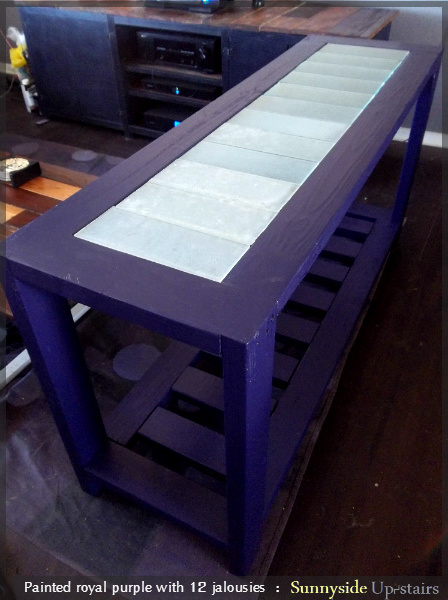
Using reclaimed 2x4s stored in our garage, old tempered privacy glass jalousies, and deep purple paint, I built a rear console to place behind our sofa in our home theater living room. :)
I consider this an Intermediate project, only because of the care needed to cut and install the glass. The items on the rear console top are fairly lightweight and the glass is short enough to hold firm on its supports.


Wed, 08/14/2013 - 14:41
This is beautiful! I'm inspired to try building something with glass! I have an old display cabinet that I was thinking of giving away, but after seeing this I decided to disassemble and save the parts and make something out of it. :)
Tue, 09/24/2013 - 09:24
Thank you, Joanne! =D I'm always impressed with how many projects you are motivated to work on in your home! =D


Comments
Ana White Admin
Mon, 12/27/2021 - 11:55
Sweet Mantle!
Looks awesome, love the finish choice!