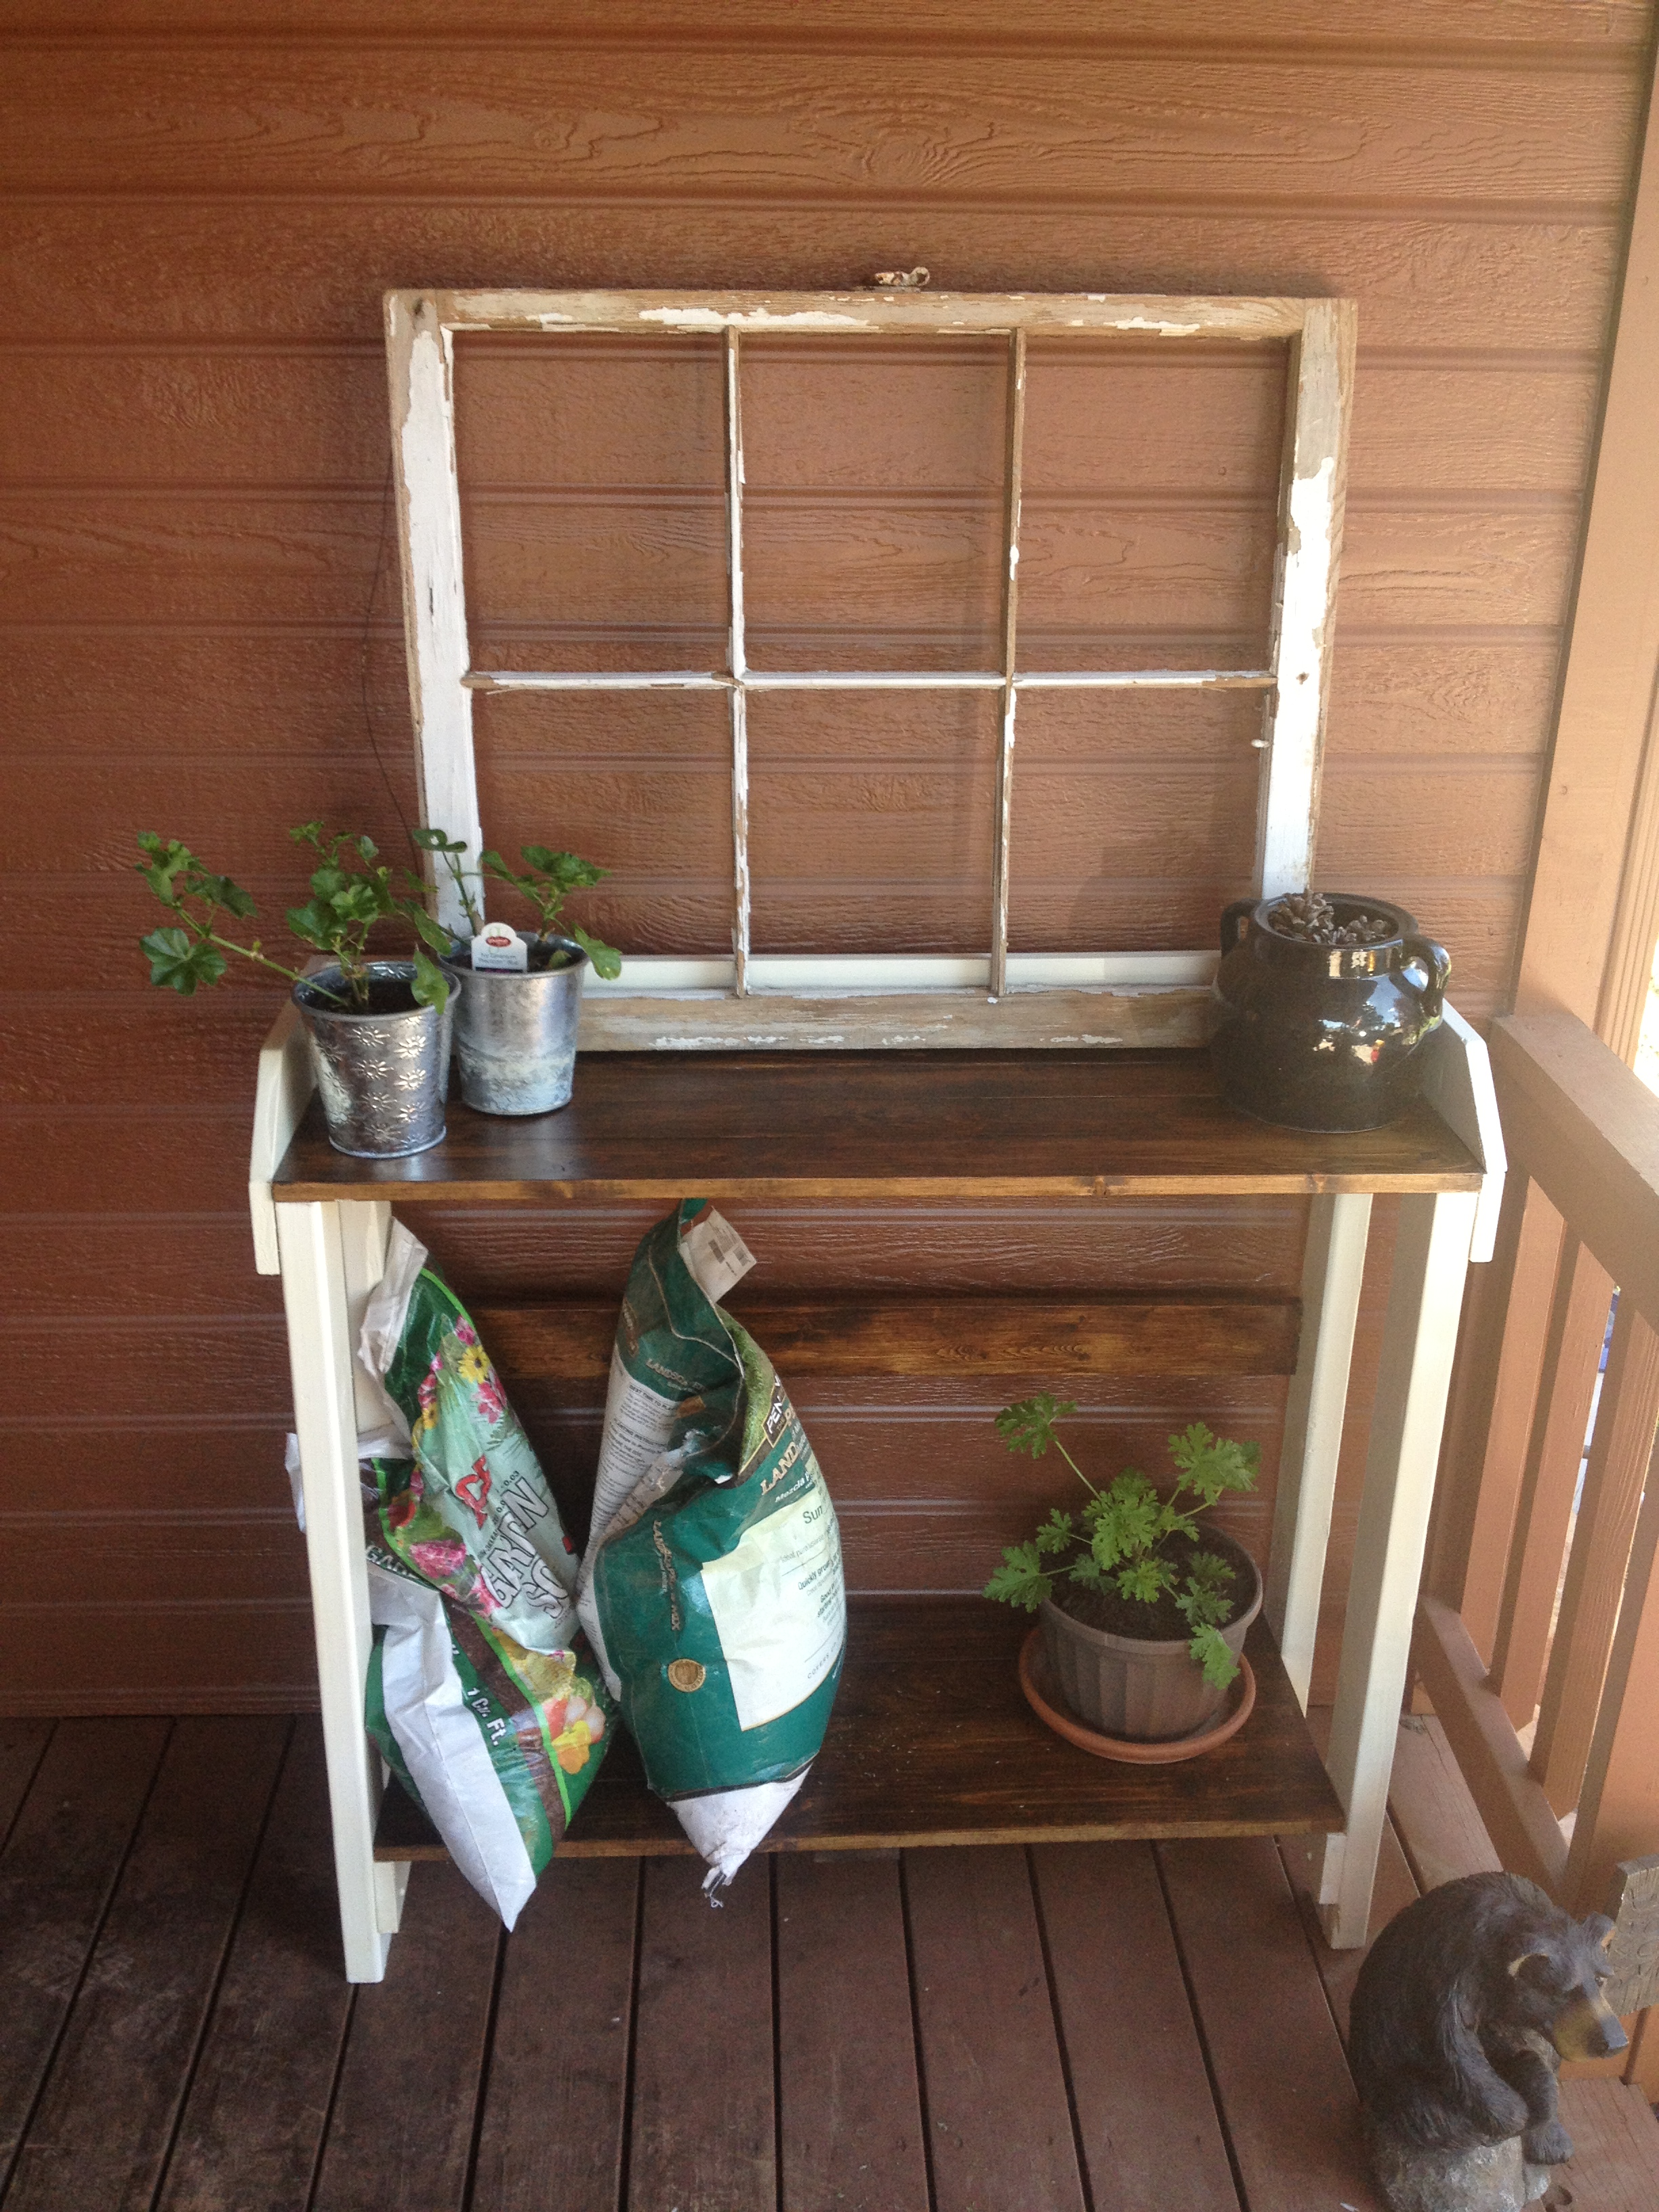
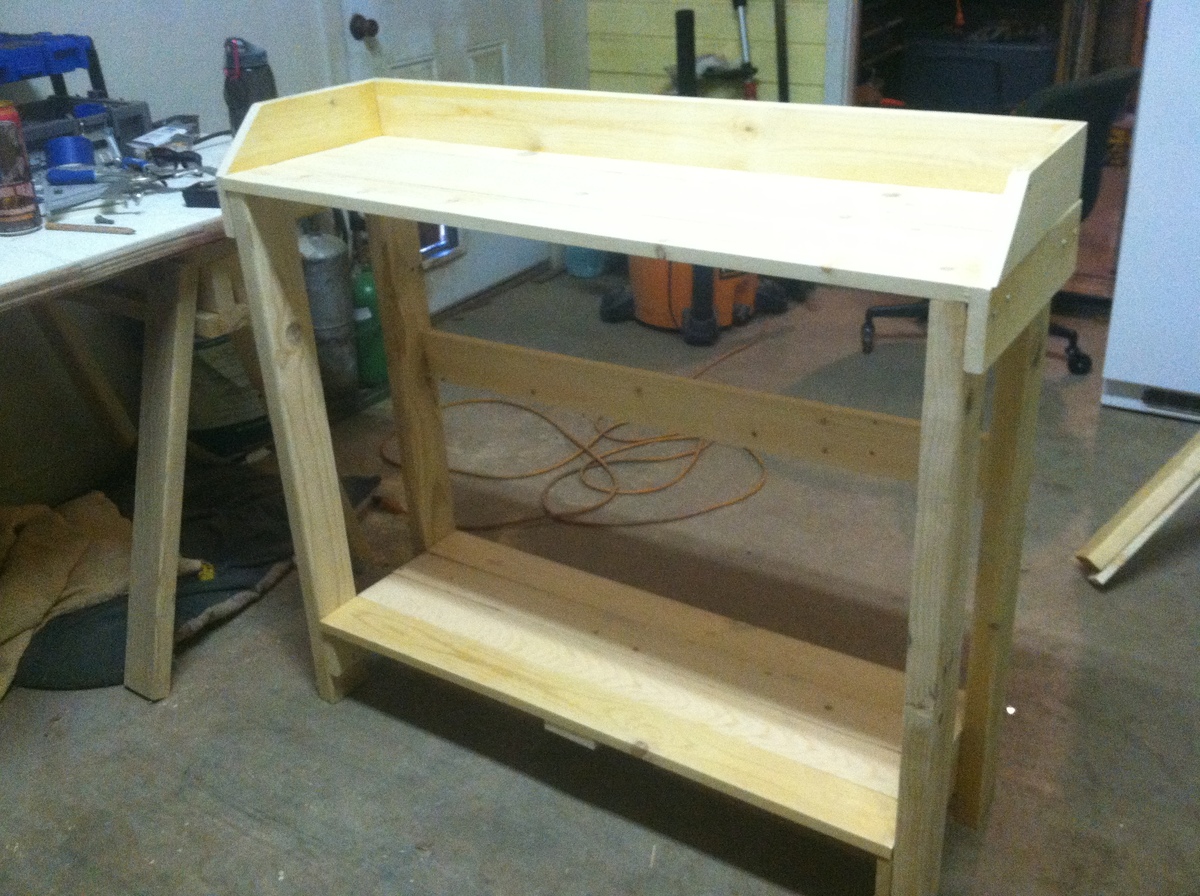
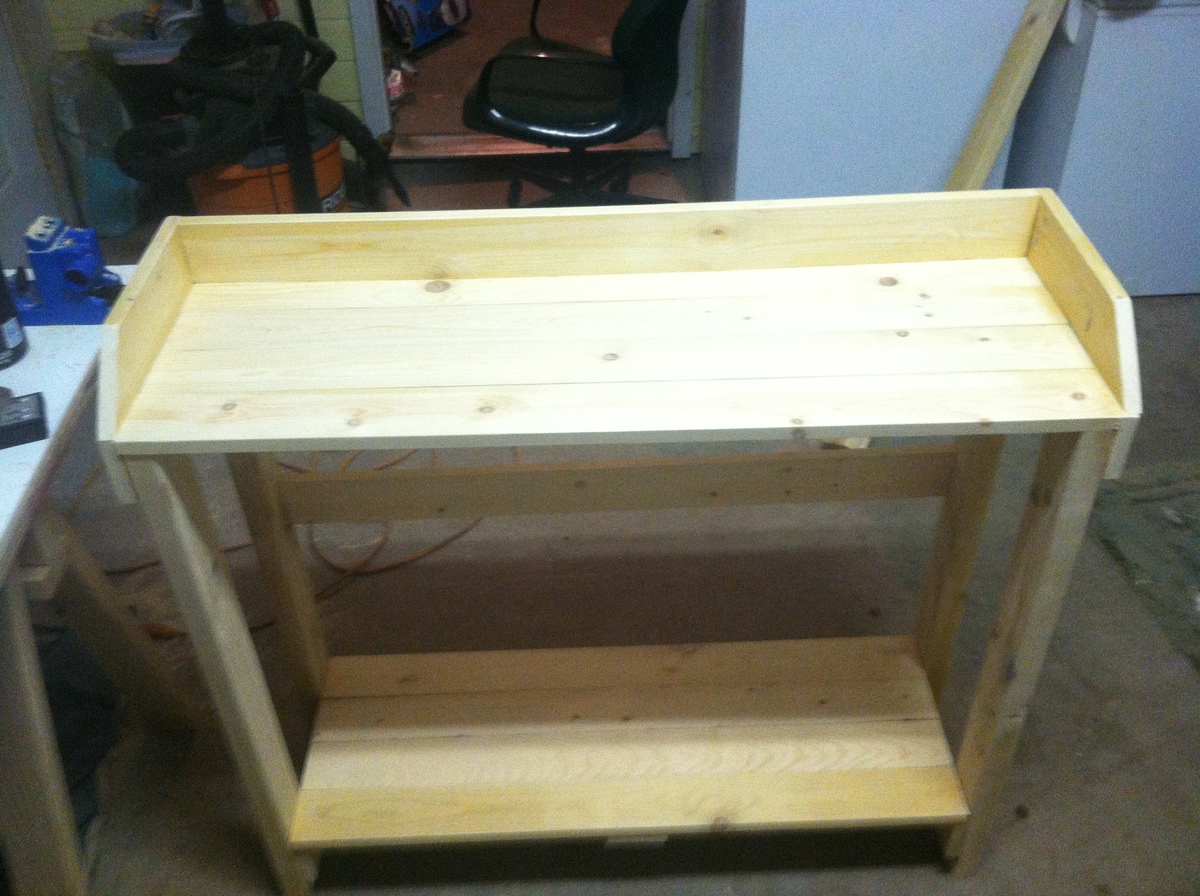
Community Brag Posts

Floating Shelves

Submitted by wmbnbama on Fri, 07/31/2015 - 08:20

Floating shelves for small master bathroom.  1x2" with thin poly on top and bottom.  Ripped a 1x4" to cap the front.  Stained with dark walnut. 

Estimated Time Investment
Afternoon Project (3-6 Hours)
Finish Used
Dark Walnut with top coat of poly.
Recommended Skill Level
Beginner

Concrete Top End Table

I decided to go with with a concrete slab on the top this project was quite simple especially with the well formatted plans  

the slab is 20x20 so I had to make adjustments in my sizes!

Built from Plan(s)
Estimated Time Investment
Weekend Project (10-20 Hours)
Recommended Skill Level
Beginner

Pantry shelves adapated from Garage Shelves

Submitted by Anonymous (not verified) on Sun, 04/17/2022 - 06:07

Thanks for the plans, adapted it to new pine standers but was able to obtain beautiful cherry tree panels from a defunct wood worker in the next village over. Planed those and used those to make a slightly more 'posh' version of your basic model. The supports on the wall you see are from the previous formica shelves. I left them in case the cherry starts rounding down.

Comments

Farmhouse Table Brag!!

I just bought a new house and this table was my first project for it. I'm so happy with how it turned out!!!! Thank you for the plans!

Estimated Cost
106
Estimated Time Investment
Weekend Project (10-20 Hours)
Finish Used
2 coats of Minwax polyshades "stain and polyurethane in 1 step" Bombay Mahogany Satin stain (#380)
Recommended Skill Level
Intermediate

Comments

Ana White

Wed, 06/08/2011 - 14:00

Thank you for the smile! I see we have share some web browsing habits! Congrats on the house and love the table finish! Great first project, really appreciate you sharing! Ana

Fancy Hall Tree

Submitted by Savorder on Thu, 07/25/2013 - 07:06

Fun building, turned out great, thx for the great plans!

Estimated Time Investment
Weekend Project (10-20 Hours)
Finish Used
Red Mahogany
Recommended Skill Level
Beginner

Baby Bed

Submitted by ramonag on Tue, 08/04/2015 - 12:17

I used the plans at Diystinctlymade.com(DIY crib, Ana showed it on her website)to build this crib for friends having their first child this month!  i changed the plans a little, instead of cutting both end boards I cut the center board. I put a decorative trim on the ends and sides.  I stenciled the "love you to the moon"  and "now I lay me down to sleep" on the ends of the crib  I love making it!

Estimated Cost
$200
Estimated Time Investment
Week Long Project (20 Hours or More)
Finish Used
Rust-Oleum Chalk Paint Lined white
Rust-Oleum Chalk Paint Aged Grey
Anne Sloan clear wax
Recommended Skill Level
Beginner

Comments

Art Table

Followed the basic plans but made it longer to fit two kids. Put Chalkboard shelf paper on the end of the shelves. Bought 24"x48" chalkboard, whiteboard and panel board (use it for playing with PlayDoh) boards to swap out on the tabletop. Added some edge molding to hold insert boards in place. Added curtain on the end to cover shelves. Used MDF for tabletop and shelves. One 4'x8' board was enough for all components.

Built from Plan(s)
Estimated Time Investment
Day Project (6-9 Hours)
Recommended Skill Level
Beginner

Inspired by Ana's barn TV stand

Submitted by Anonymous (not verified) on Thu, 04/21/2022 - 13:14

I made this TV stand from a combination of your DIY Farmhouse TV Console and another one I saw online ( Farmhouse Media Cabinet By Shades of Blue Interiors) with a little bit of my creativity. Thank you for everything you do for the community. God bless you and your family.

Comments

Dog kennel

This was my first project with the kreg jig and I love it. Pretty easy once I got the hang of it. I used beadboard in place of 1/4 ply to dress it up a little but more. The hardest part was attaching the sides to eachother, I used 'L' brackets so it could be taken apart.
My dogs love this kennel! It is large enough for my weimaraner and my lab/pitbull mix to stay in it together. Most mornings they are laying in there waiting on us to lock the door.
I purchased a vinyl covered stress mat from 'Blue', it fits really well inside and just pulls out to be wiped down. I haven't needed to but it can be hosed down also.

Built from Plan(s)
Estimated Time Investment
Day Project (6-9 Hours)
Finish Used
Walnut stain then lacquered.
Recommended Skill Level
Intermediate

Comments

scribble

Wed, 05/02/2012 - 06:57

I am wondering what type of latch's those are and were you got them. I am also wondering were you purchased this mat from. I tried searching blue but could not find anything?

Custom Closet Organizer based on One-Piece Plywood plans

Submitted by shan3d on Sat, 07/27/2013 - 12:39

I used two of the closet organizers to help provide storage and separation in our 131" closet. I had to custom cut the shelving from slightly more than an additional piece of plywood.

Estimated Time Investment
Weekend Project (10-20 Hours)
Finish Used
Redwood stain.
Recommended Skill Level
Intermediate

My first woodworking project - 5 Board Bench

Submitted by krisque on Sun, 08/09/2015 - 17:53

This was my first project so I picked one from the starter section.  My fiance helped me to get familiar with the tools and learn to make the cuts.  I am hooked.  My goal is to learn well enough to get to the point where I can build built ins to make the most out of the small space in our home and maximize it. Since we started late in the day and it's Sunday, I will putty, sand and paint it next weekend.  Gives me an excuse to go to Home Depot for materials for my next project wink We made some modifications though, we subbed 2x12 for 1x12 and 1x6 for 1x4.  I wanted a thicker seat, and the local Home Depot was out of 1X4's.  We had 1x8's but instead of ripping them in half we just made the jigsaw cuts a little deeper.  We also used the 2x12 for the legs so those were a little thicker and sturdier.  We'll likely make another and an outdoor table eventually.  Thank you for a wonderful site!

Estimated Cost
I can't remember, we bought the materials some time ago and I have been wanting to do this for so long but kept procrastinating.
Estimated Time Investment
An Hour or Two (0-2 Hours)
Finish Used
Recommended Skill Level
Starter Project

Comments

Smokeydog

Mon, 08/10/2015 - 05:45

Congrats on your first project.  Good job!  Wood working can become a little addicting.  I really didn't get into it until I discovered Ana's site and now I  am hooked.  Have fun!

Love these Shelves!

While my husband was deployed for a year I decided I wanted to redo the kids playroom. I wanted them to have a space that was organized. Somewhere easy so that what they were taught about putting their toys and books in a specific spot at school could be followed at home too! Well this is the plan that I had found Ana's site with. I loved these shelves on PBKids.com but hated the price. It was an amazing day in the Clark house hold finding Ana's blog! I had to build them right away! and well I did! they are Amazing and the kids love them! (keep in mind this was my first time building anything lol)(sorry for not posting this sooner)

Estimated Cost
$5 ea.
Estimated Time Investment
An Hour or Two (0-2 Hours)
Finish Used
Semi Gloss Valspar blue. I would defiantly sand them down more if I make them again. Love the way they turned out even though I messed up on the first one but anyone who has ever seen them hasn't noticed lol.
Recommended Skill Level
Beginner

Comments

Guest (not verified)

Mon, 06/27/2011 - 13:00

Hi - We've got ours all finished but not sure how we are going to install them. We know they'll go into a stud but I'm curious how you did it.

In reply to by Guest (not verified)

mandylynn523

Mon, 06/27/2011 - 15:39

well the way i did it was get two screws found where the studs were and right above the top bar i rested my drill on it and I put each of them into the back of the shelf because I knew a book would cover the screws... now you can always add the same color paint over the screws to help them blend better when there isn't a book in there. Hope this helps. It made them really secure for when the little ones would get the books down. I know some suggested picture hooks.. but to me it just didn't seem sturdy enough.

Cedar Planter

Submitted by webb_golf on Tue, 07/30/2013 - 09:40

This is a cedar planter created using the plans from this website. I modified the legs some and also put a 1x2 across the top to finish it out. It is stained using Cabot Australian Timber Oil Stain in Mohagony Flame. I think it turned out great...and so does my wife!

Built from Plan(s)
Estimated Time Investment
Afternoon Project (3-6 Hours)
Finish Used
Cabot Australian Timber Oil Stain in Mohagony Flame
Recommended Skill Level
Beginner

Little Helper

This was the first project I made from this website...my wife wanted to make it for our 2 year old (at the time).

Built from Plan(s)
Estimated Time Investment
Weekend Project (10-20 Hours)
Recommended Skill Level
Beginner

Farmhouse Table and Benches

This was the first project my husband and I built and it is for our new home!


We excluded the bottom part of the farmhouse table. 


After building we conditioned the wood,  used a stain poly mix, and then waxed it. 


Estimated Cost
Since this was our first project we did have to buy some big tools, but excluding the power tools, we spent about $200-250 on wood, screws, and finishing product and materials.
Estimated Time Investment
Weekend Project (10-20 Hours)
Finish Used
Coat of Pre-stain conditioner
Two coats of Minwax Antique Walnut w/poly
Waxed and buffed
Recommended Skill Level
Beginner

Big kids picnic table

Submitted by chrimicha on Tue, 06/21/2011 - 19:03

My kids needed a picnic table and I was less than impressed with what the stores in the area had to offer... I ended up with some leftover wood from the builders in our developing neighborhood and voila! A picnic table. It took 2 or 3 hours to construct, and a few more for sanding and painting.

Built from Plan(s)
Estimated Cost
5$ for paint
Estimated Time Investment
Afternoon Project (3-6 Hours)
Finish Used
1 pint (sample size) of Lime Rickey from Sherman Williams. I also used water based spar urethane by miniwax.
Recommended Skill Level
Starter Project

Comments

Potting Table

Submitted by cassiet717 on Fri, 08/02/2013 - 20:46

One afternoon and $0 spent!
I had wanted a potting table for my front porch, and finally got it done one afternoon while my son was napping! I wanted a table that was functional but pretty enough to be front and center.
My table is a combination of Ana's and the one I found on 2 Crafty 4 My Skirt (http://2crafty4myskirt.blogspot.com/2012/04/mothers-day-potting-table.h…). I combined and modified the plans so that I could use scraps (could easily be built with pallet wood, too), so my dimension are a little weird, I know. My table is 39 1/2" from bottom to top (the top shelf sits at 36") x 44" wide. It's on the tall side, but it works well for our space.
Tools Used:
Compound miter saw
Kreg Jig system
Ryobi driver
Kreg screws

Built from Plan(s)
Estimated Cost
scraps
Estimated Time Investment
Afternoon Project (3-6 Hours)
Finish Used
On frame: Zinsser Bulls Eye 1-2-3 Primer, Olympic Paint (can't remember the color!)
On Shelves: Minwax Prestain Wood Conditioner, Minwax Stain in Walnut
Recommended Skill Level
Beginner

Comments