Community Brag Posts

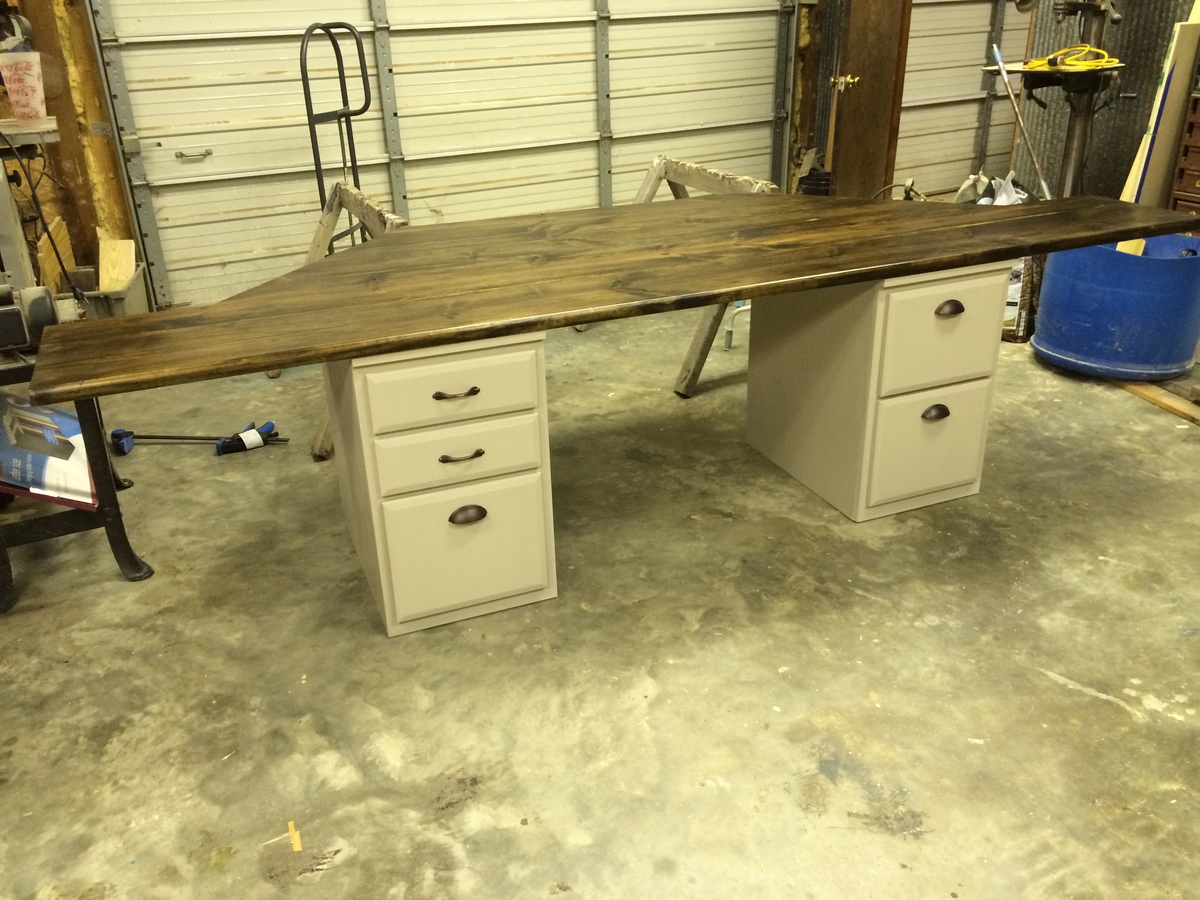
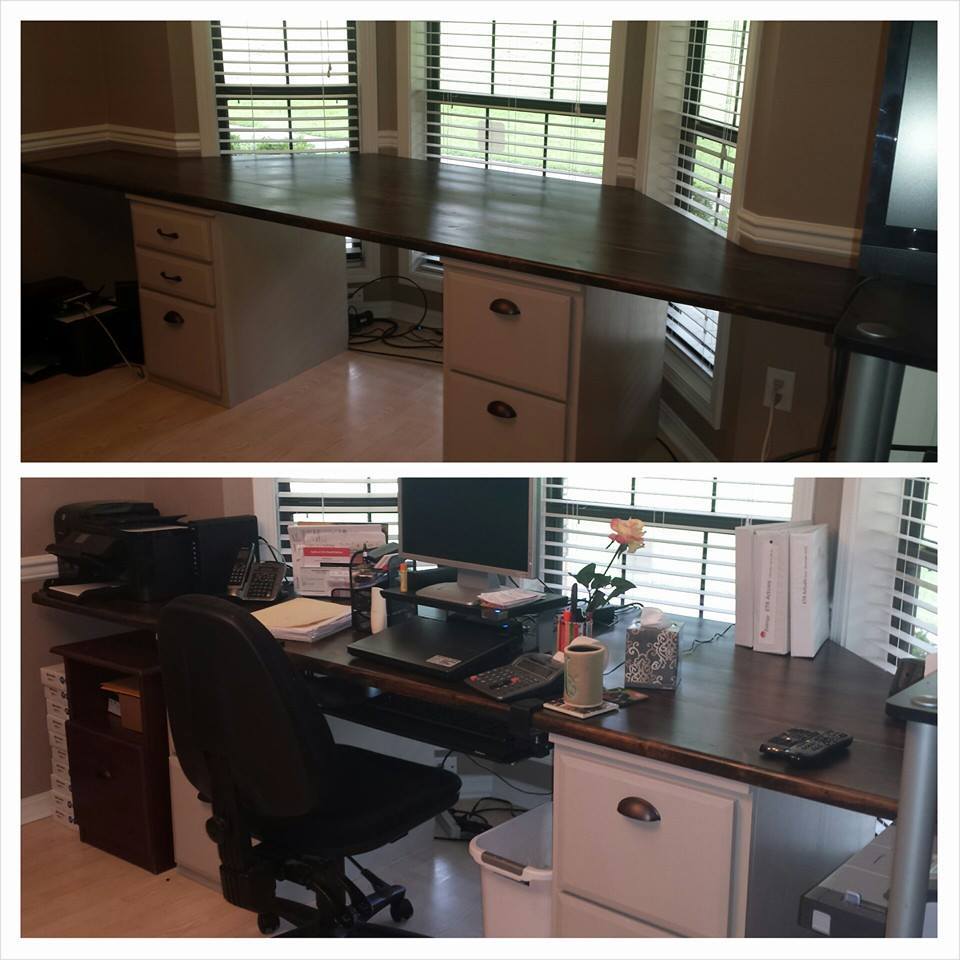
Bay Window Standalone Desk

Submitted by jonnymac on Sat, 07/19/2014 - 16:16

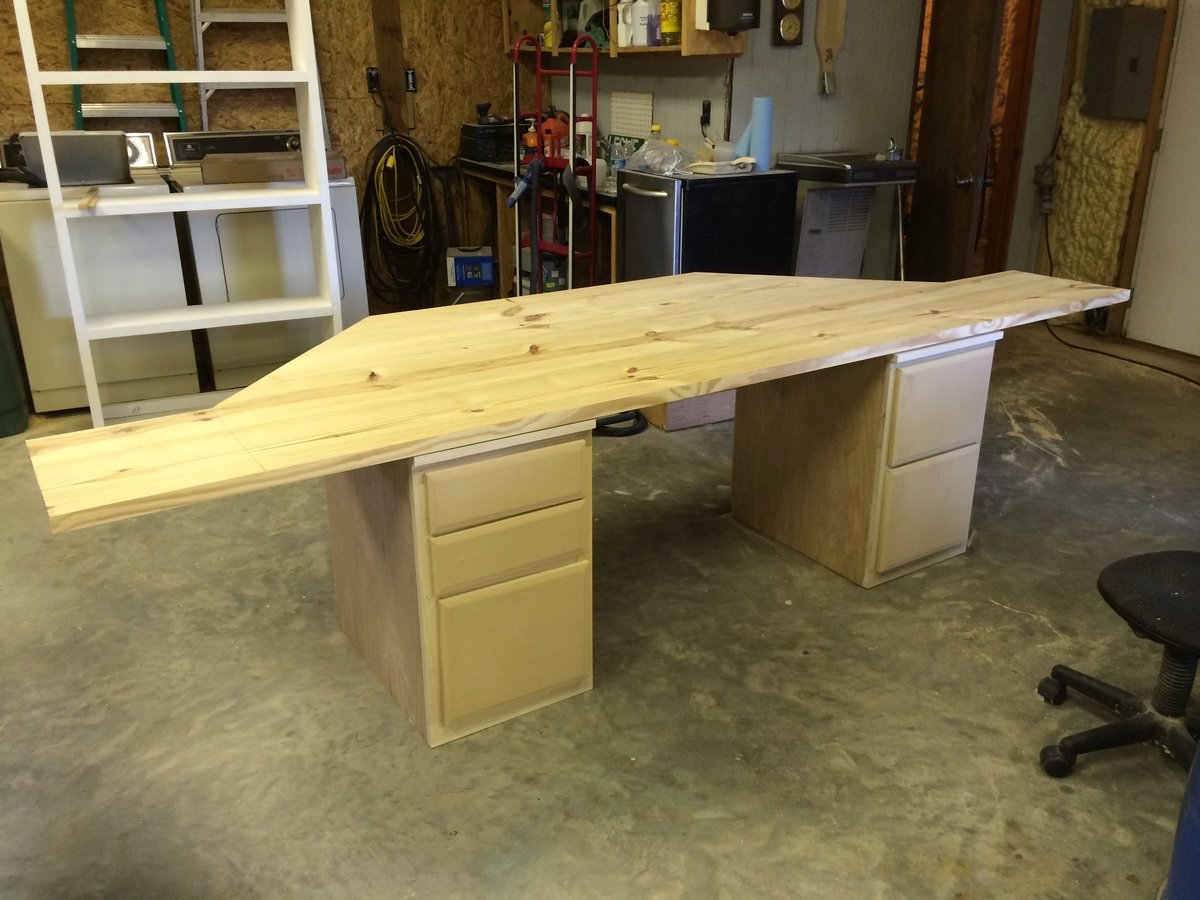
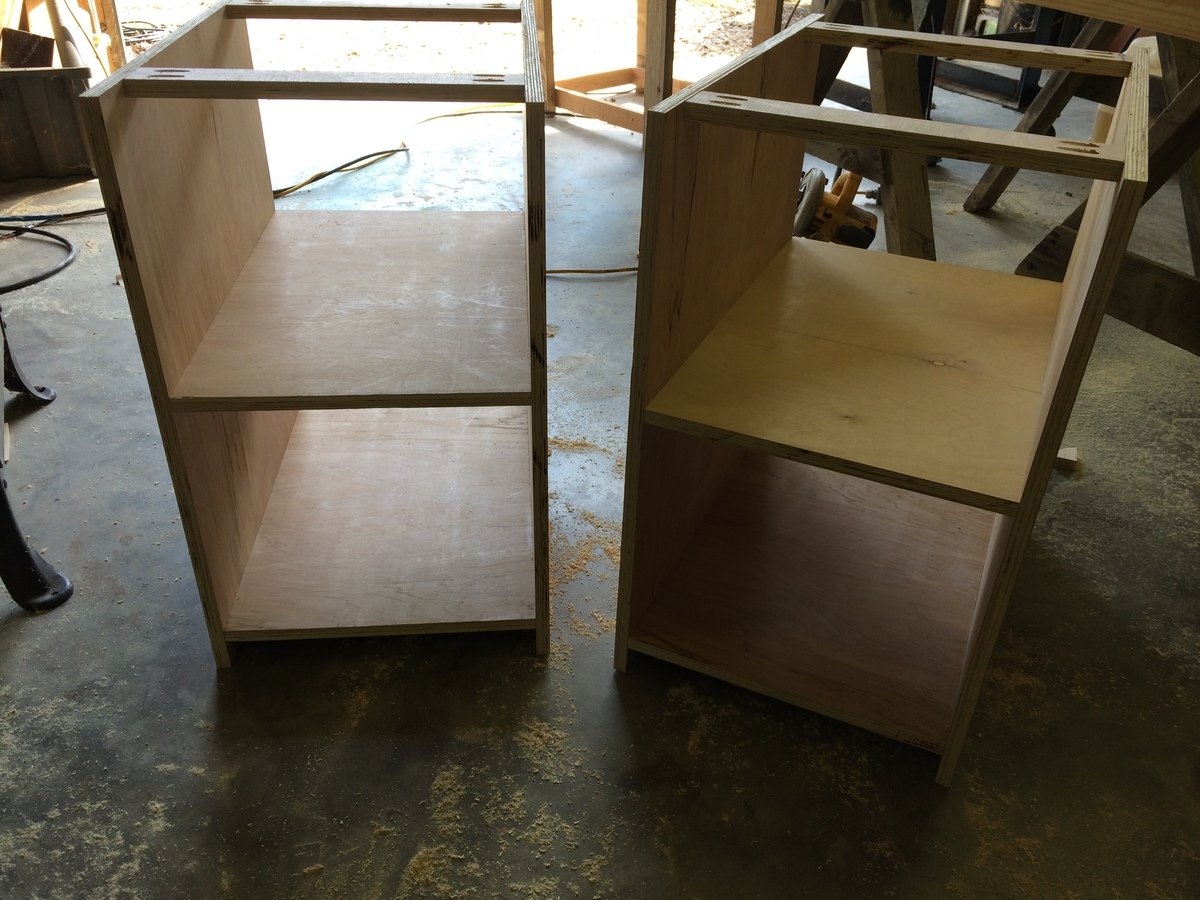
This is a bay window standalone desk. The desk has an enormous top and fits snugly into the bay window. It did not have to be attached to the wall. There are four pieces in total: the top, 2 base units and a support that spaces the desks at 36" and further secures the top.

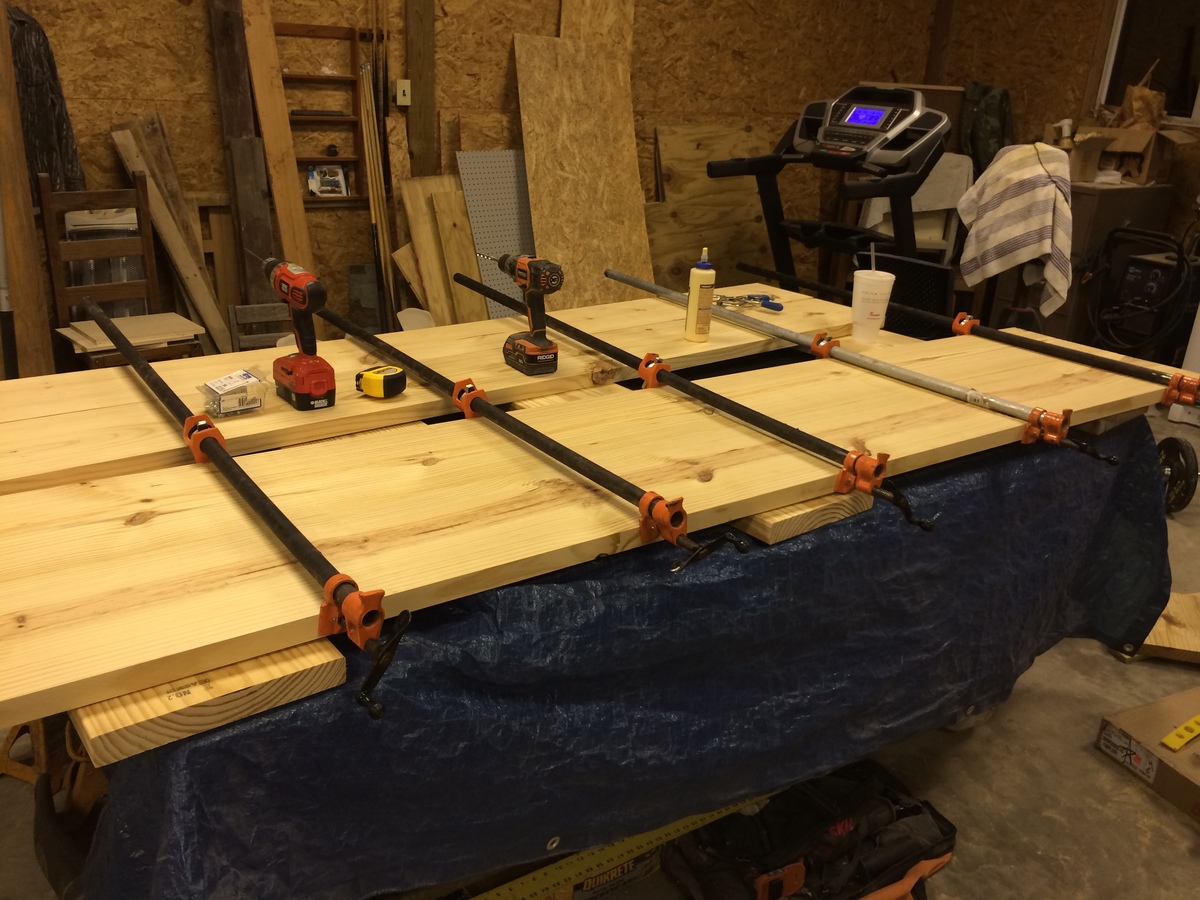
The base unites are built from the File Base Classic Wall Storage System and the top is glued up 2x12s that were planed down and straight edged.

Estimated Cost
$175.00
Estimated Time Investment
Weekend Project (10-20 Hours)
Finish Used
The bottom was painted with Chalk paint from Lowes and the top is stained with one coat of Jacobean. Both top and bottom were sealed with a Minwax Protective top coat.

This was my first desk to build and learned a great deal. Looking forward to my next project!
Recommended Skill Level
Intermediate

Pergola Swing

Submitted by grarob1956 on Thu, 04/23/2020 - 17:59

I saw this project on YouTube under Arbor Pergola Swing. It did not mention any specific detailed plans or cut list but it was enough to get me started. I began with (2) 10' 6" x 6" post. buried each 24" and cemented. I cut the post tops at 83" from ground line. The rafter consist of (2) 10' 2"x 6". I used the leftovers of the 6" x 6" post tops in the middle of my rafters to hang the swing from with 1/2 " eye bolt. Then I used (9) 2" x 2 " x 8' and cut each at 36" to finish off the top and (2) 2x6x8 for the 4 rafter supports. I drew out the designs of the rafters and top ends free hand and at made a template for the cuts with s jigsaw.

The entire cost including hardware minus the swing was $170. My wife had purchased the swing last Fall at a clearance for $40 brand new.

Built from Plan(s)
Estimated Cost
$170.00
Estimated Time Investment
Weekend Project (10-20 Hours)
Finish Used
Valspar Duramax Special Walnut
Recommended Skill Level
Intermediate

Beginner Farm House Table w/ pocket holes

Submitted by Anonymous (not verified) on Wed, 09/02/2020 - 19:28

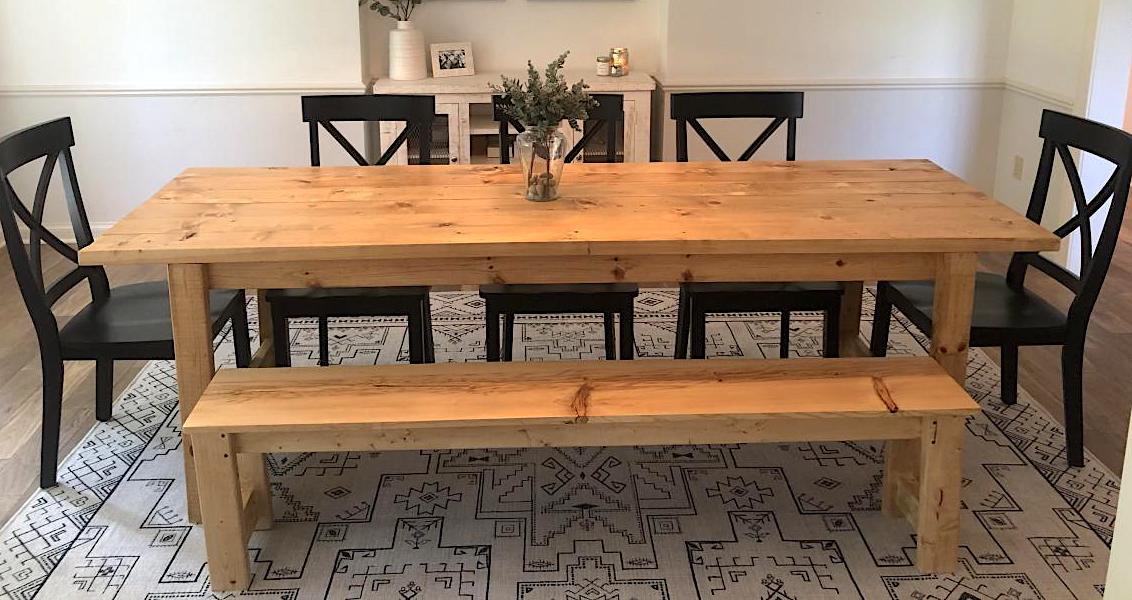
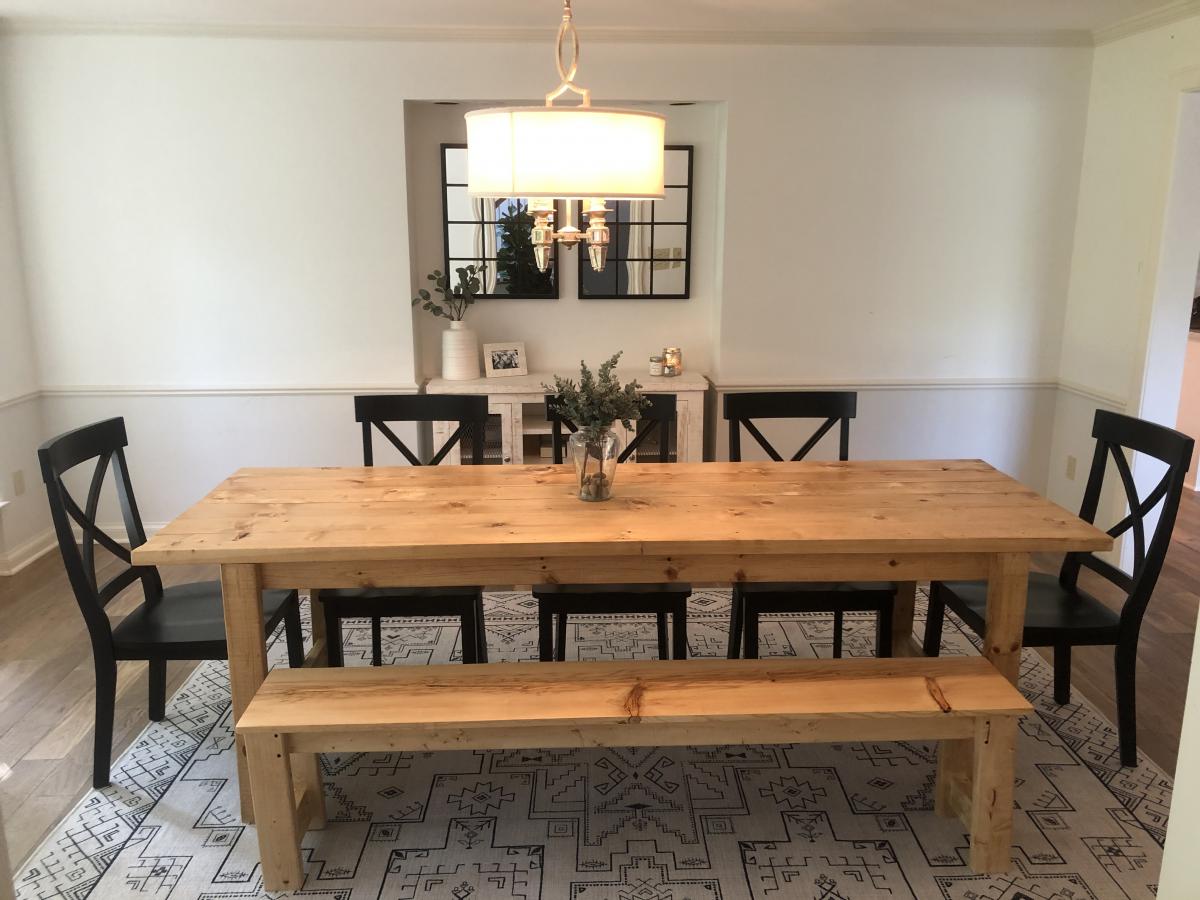
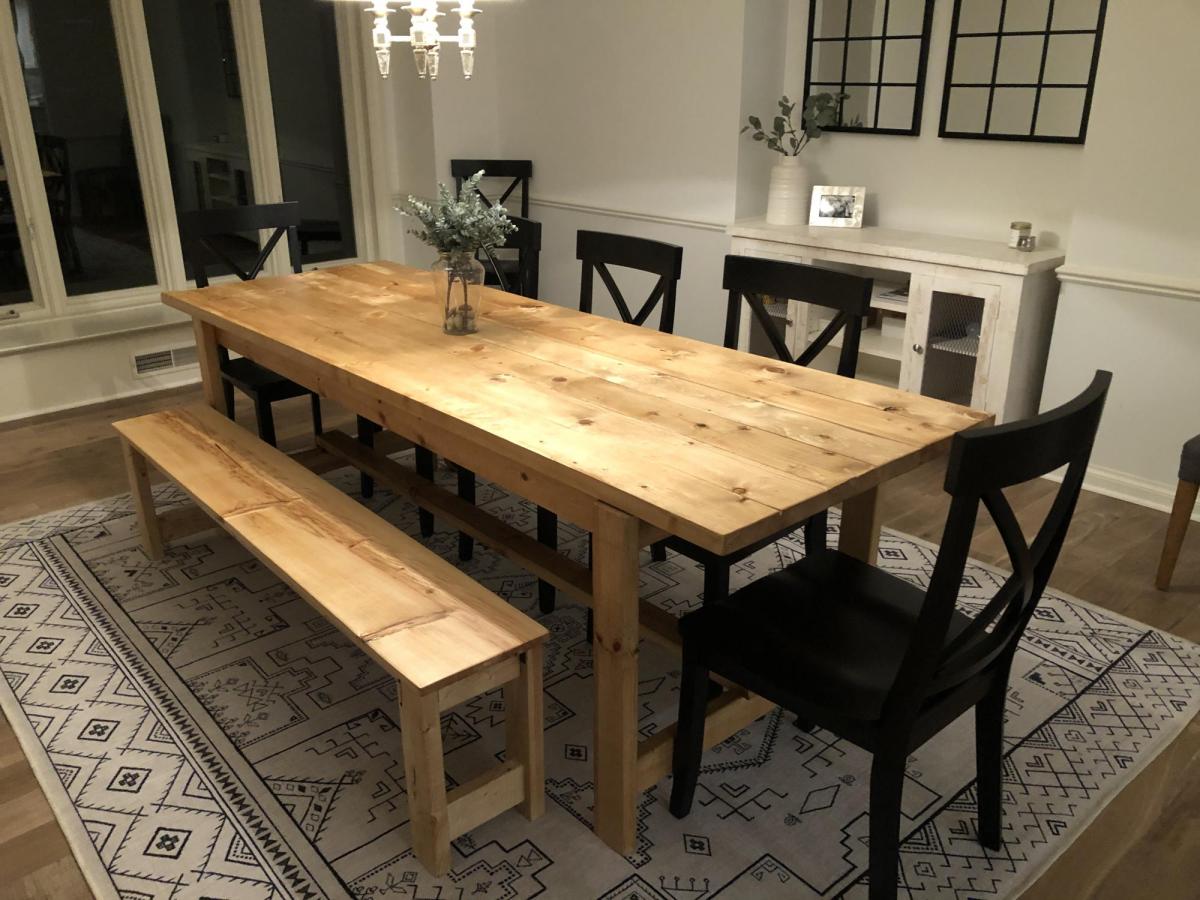
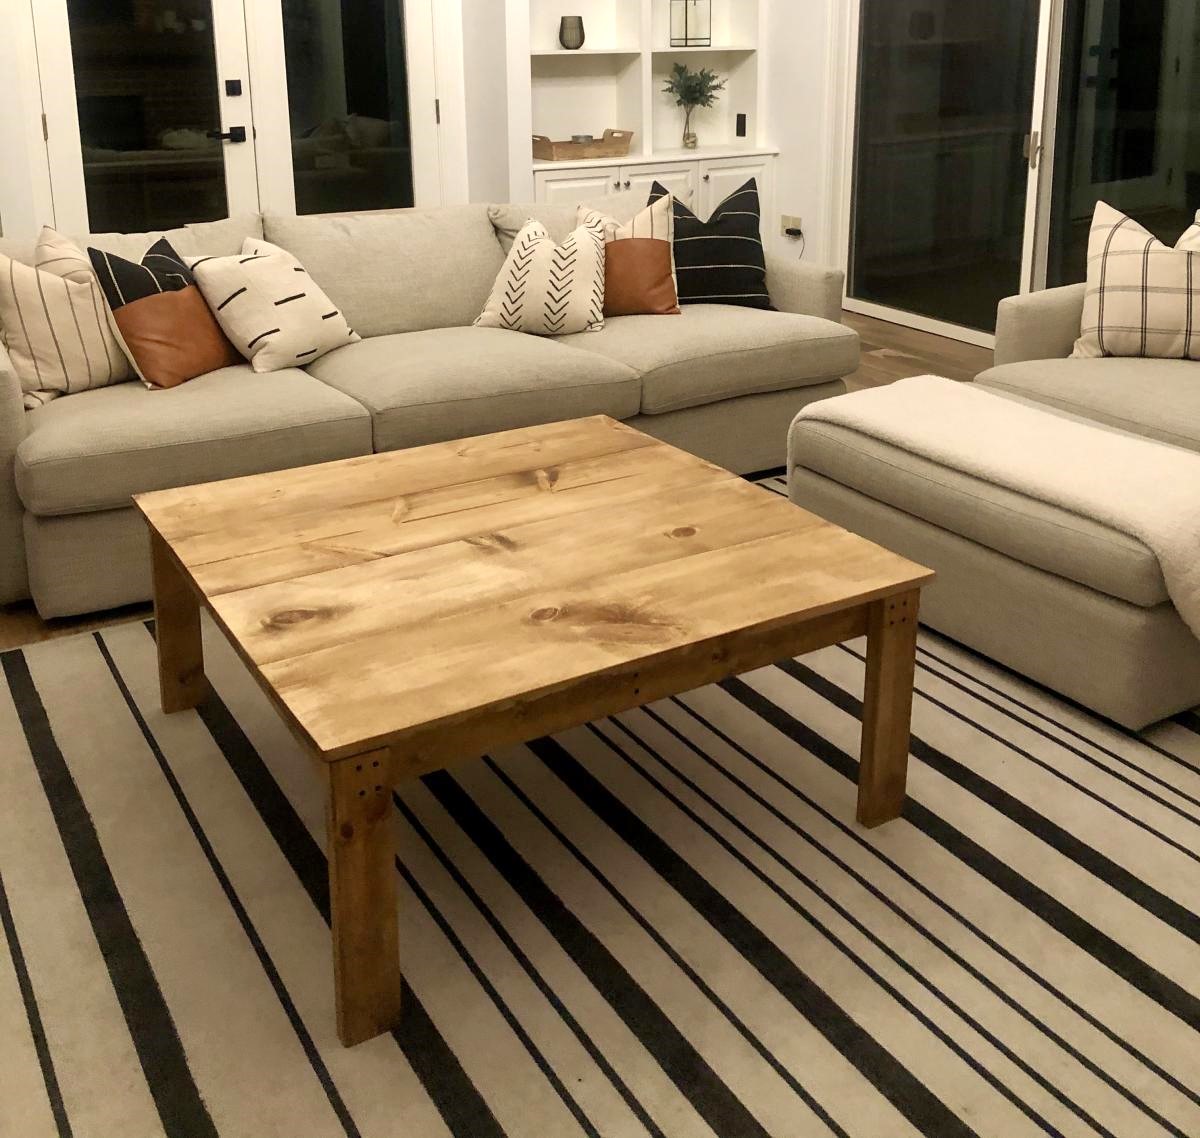
Love this! The farm house table and bench (1st photo) were my first 2 wood project ever. They came out great so I decided to make a coffee table using modified dimensions (2nd photo) and used poplar for the table top instead of pine. Poplar took to the stain I used really well. The farm table is Danish Oil, Light Walnut and the coffee table is in Danish Oil Dark walnut. I used wipe on Poly to finish both tables and I used matte black wood screws for an accent on the base of the coffee table. Everything else was assembled with a compact circular saw and pocket holes w/ a Kreg Jig. Thanks for the plans!

Estimated Cost
$200
Estimated Time Investment
Weekend Project (10-20 Hours)
Finish Used
-Danish Oil Light Walnut - 2 coats (dining table)
-Danish Oil Dark Walnut - 1 coat (coffee table)
-Wipe on Poly, Gloss - 2 coats (both)
-Sanded all wood w/ orbital sander prior to assembling (I find it easier to get all the splinters, scratches, and stamp marks out if I do it before assembling)
Recommended Skill Level
Beginner

Comments

Robins egg blue console table

Submitted by lrsummers on Wed, 09/17/2014 - 13:51

Made this beautiful TV stand from the "Rustic X Console table plans". I shortened it to 2 ft high to fit the space for a TV. Love how it turned out!!

Built from Plan(s)
Estimated Time Investment
Weekend Project (10-20 Hours)
Recommended Skill Level
Beginner

Comments

AlexO

Mon, 01/19/2015 - 15:11

To you have any trouble with sagging without the 2x4 in the middle? Looks great like this!

Farmhouse Table~squared.

Submitted by Dinabu on Wed, 05/04/2011 - 09:24

I really really wanted a farmhouse table...but...we had a space that needed a square table AND I needed to fit 8-12 people (or more!) so we modified Ana's farmhouse table plans to not only be square, but really big as well. This table is 6 ft on each side. Since the table itself was so big, we reversed the breadboard ends and used a 2x4 on 2 ends just to even out the size a bit since is not rectangular...and the area is quite small but needed a big table. I didnt want it to be completely out of proportion. We did not use a stretcher because of the square factor, but each leg is a 4x4 post and reinforced underneath. It's HEAVY. It won't be moved anytime soon! I'm loving it:)

Estimated Cost
$250
Estimated Time Investment
Weekend Project (10-20 Hours)
Finish Used
Black semi-gloss with 2 coats of clear gloss poly for legs and table skirting, dark walnut for top with 5 coats clear gloss poly.
Recommended Skill Level
Beginner

Comments

BIGGER Rustic X Coffee Table

Submitted by Anonymous (not verified) on Fri, 02/12/2016 - 11:52

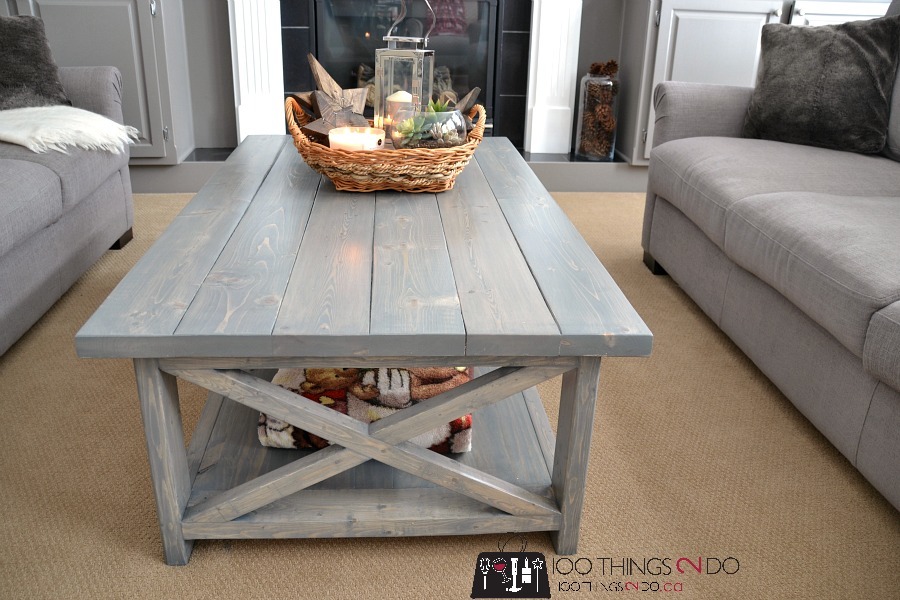
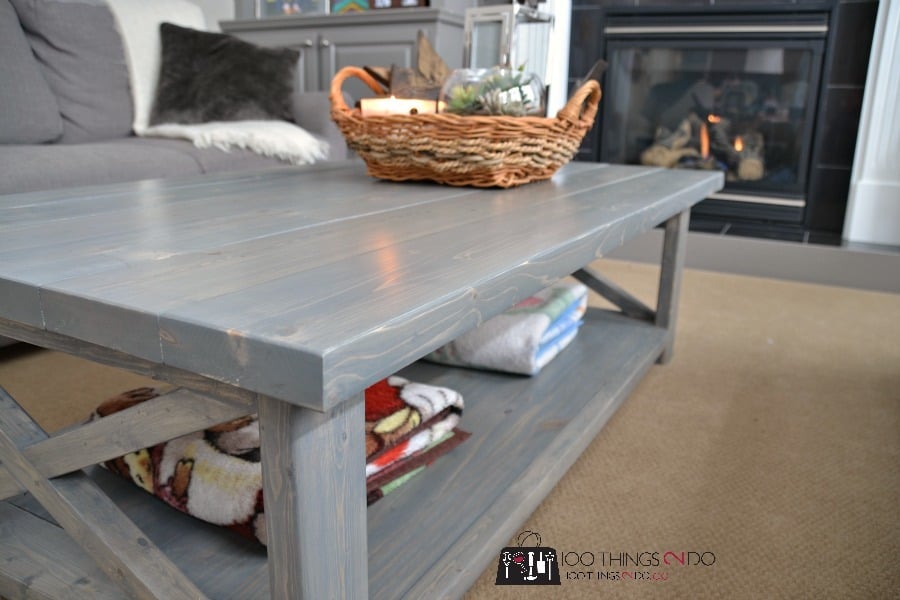
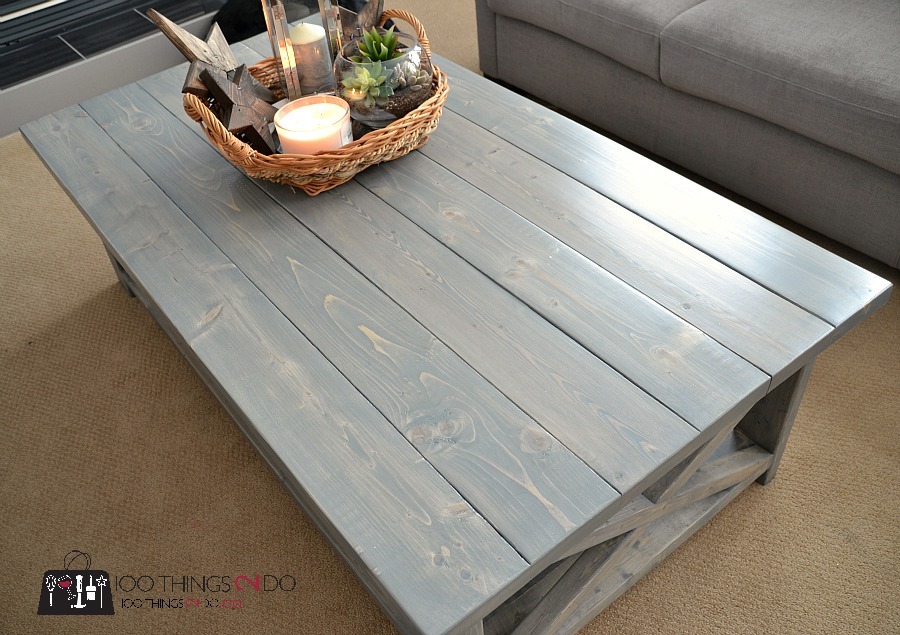
Using Ana's Rustic X Coffee Table plans, I created a larger version at 60" by 33" - just as easy and perfect for my space! Thanks Ana!

Built from Plan(s)
Estimated Cost
$80 Canadian
Estimated Time Investment
Afternoon Project (3-6 Hours)
Finish Used
Varathane gel stain in Weathered Grey (single coat) and Varathane Triple Thick Varnish (two coats).
Recommended Skill Level
Beginner

Folding Workbench

Submitted by MrsCordz on Fri, 10/11/2019 - 07:47

We chose this project because we have a small garage and space is at a premium.  The dimensions of this build fit well in our limited space and allowed us to organize items such as paint, stain, screws and nails into one central location. I chose 2x4's on the sides to give it a more stable feel. Our garage and parking lot are all sloped and with the 2x4's this prevented the twisting. It feels solid and the wheels are smooth. We picked everything up at Home Depot. The screws that came with the hinges are to long and my husband used the Dremel to grind them down. You could just buy shorter screws.  This is one of my firsts builds and I've definitely learned a lot of lessons along the way. Measure, measure, then measure again before you cut a piece and use a level surface to make level pieces. Overall, everyone in my family played a part in helping me build this piece and so I love it and will cherish this piece and the memories always. Thanks Ana for all your fun videos, sharing your life with your family, and providing resources like this plan to us for free. I'm thankful for my son who bought me a compound miter saw for Mother's Day and other family for buying me a Ryobi circular saw. I'm truly blessed and loved. Thanks

Built from Plan(s)
Estimated Cost
120
Estimated Time Investment
Weekend Project (10-20 Hours)
Finish Used
I'm leaving it in the raw due to the nature of the piece. I may put a clear coat on it later.
Recommended Skill Level
Beginner

Comments

DIY Bike Shed

Submitted by Anonymous (not verified) on Mon, 07/22/2024 - 12:45

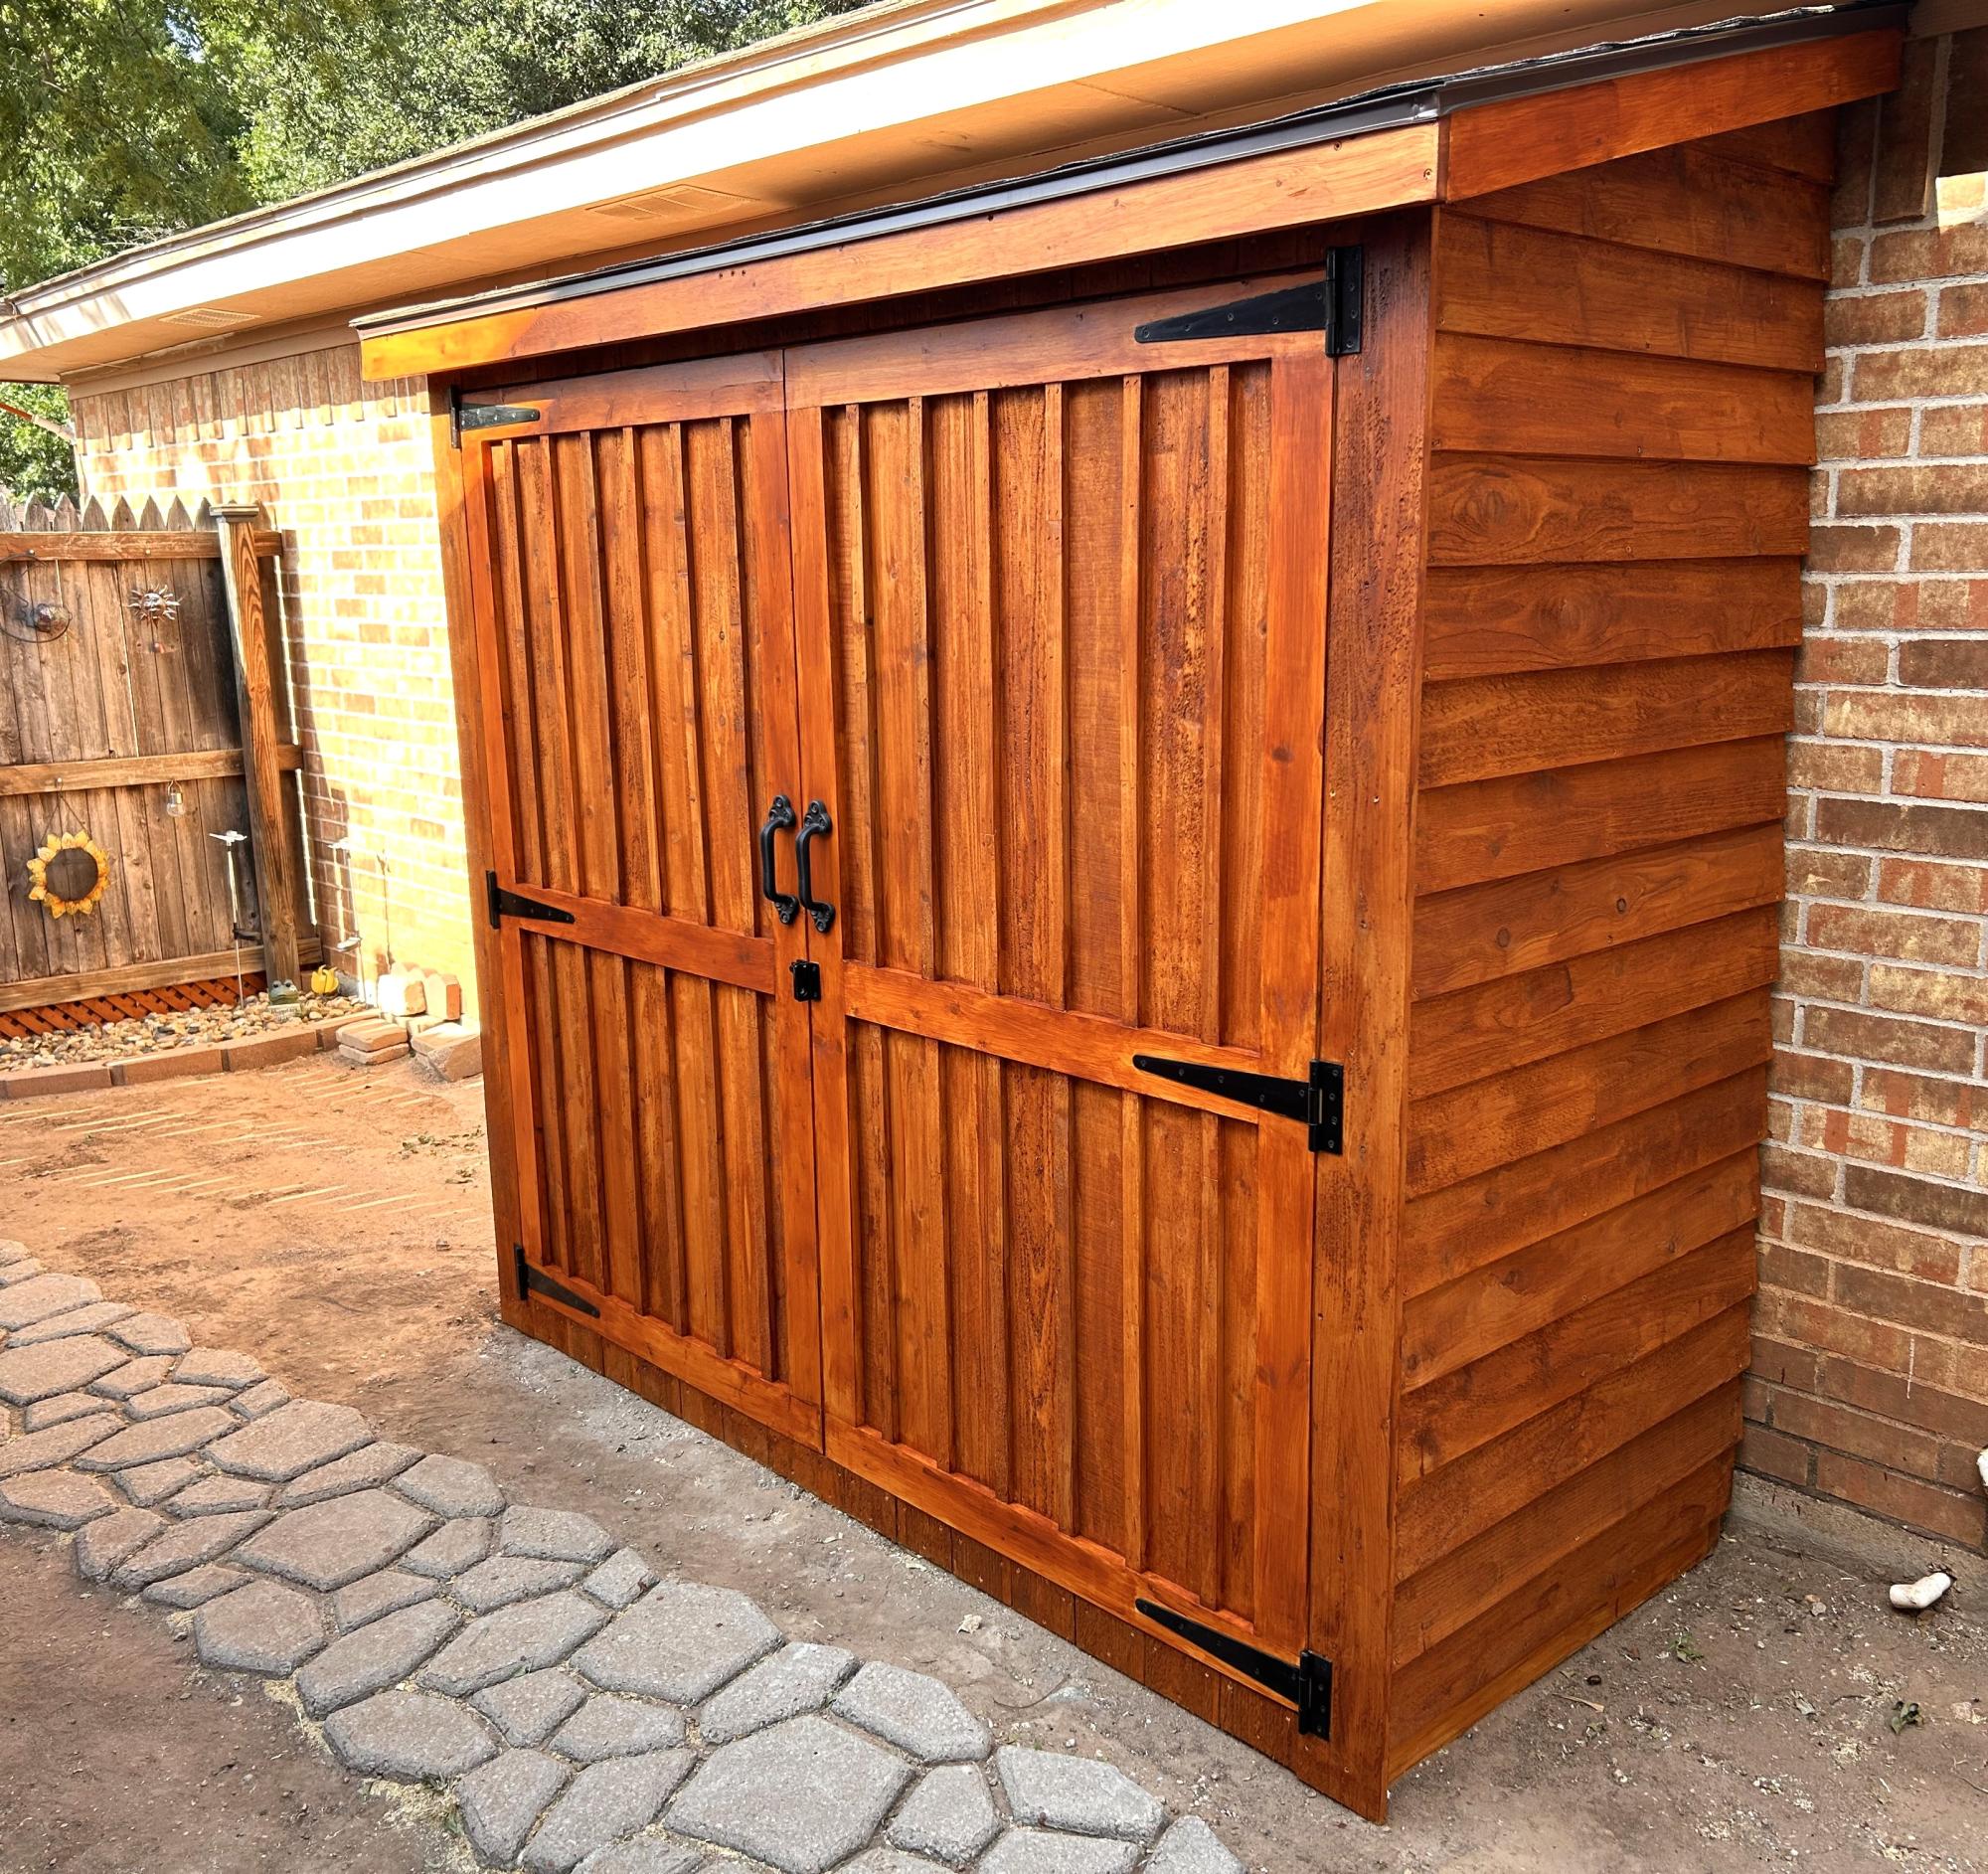
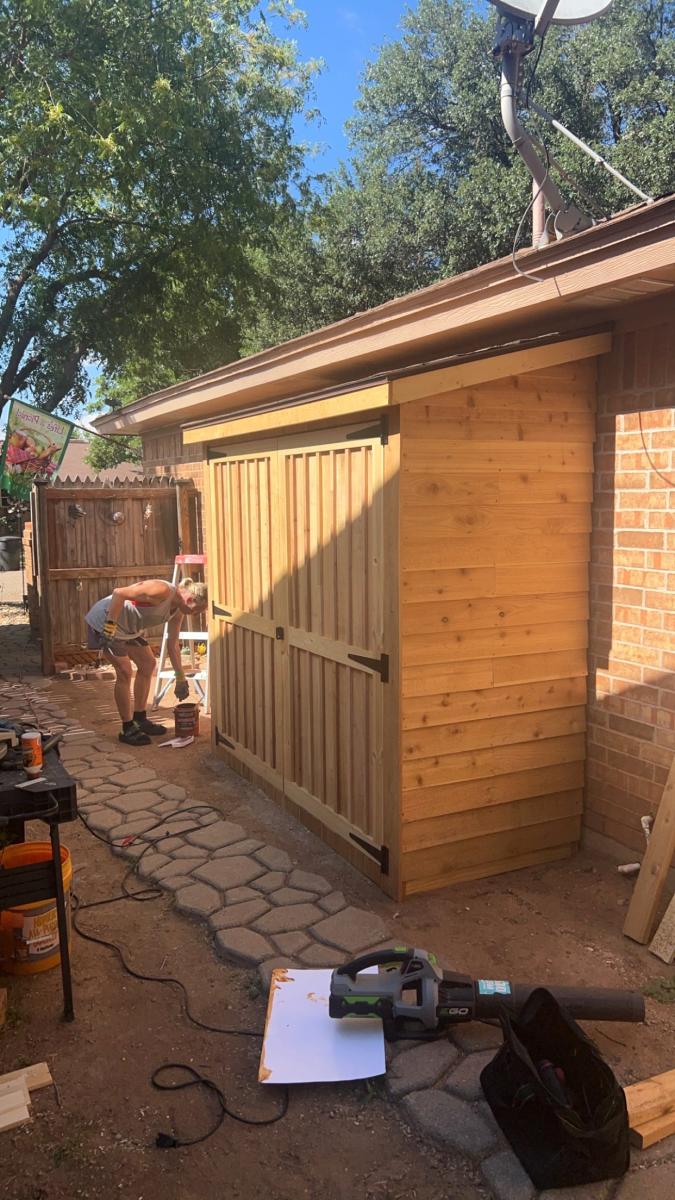
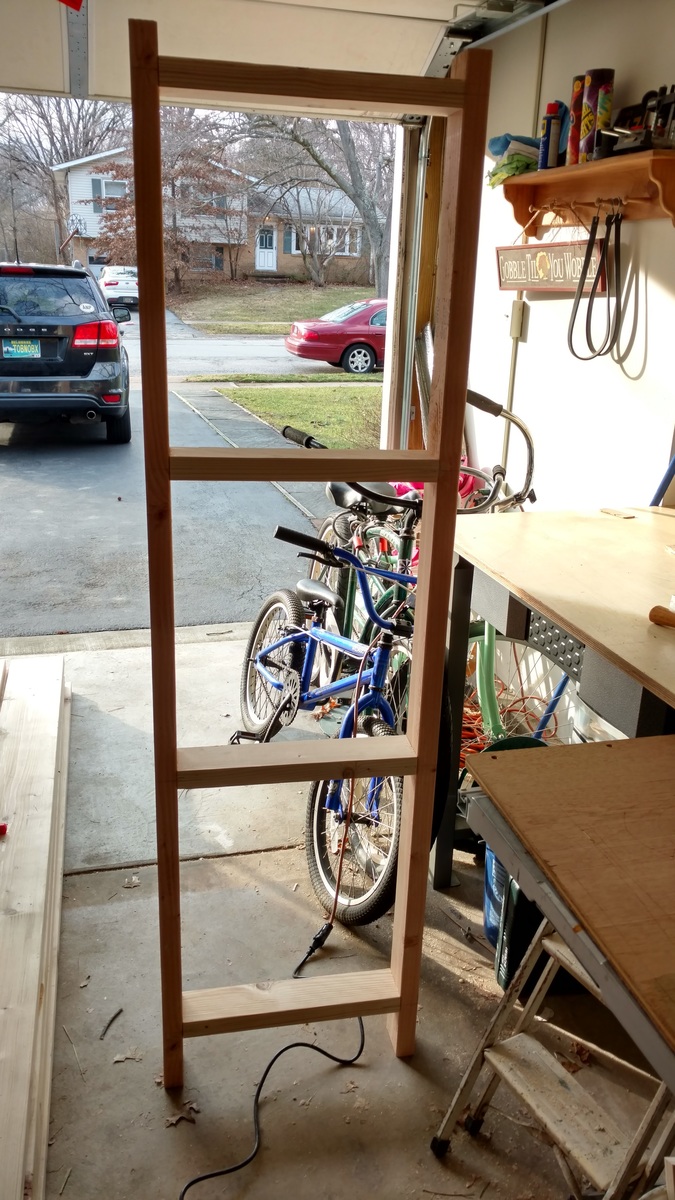
Now storing 5 bikes in the shed instead of hanging from the ceiling in the garage.

Len Verhulst

Built from Plan(s)

Grillin' and Chillin' - Outdoor Grill Food Prep Station

Needed a table for food prep with my grill and found your plans! I used treated lumber for the base and nice cedar planks for the top. The treated lumber had a whiter than usual color which made the base really pop out. I put a nice pecan stain on top and a few coats of poly so the BBQ sauce wouldn't stain it! This was so easy, literally took 2-3 hours to build, stain and poly was done over the next few days. Ready for my next ana-white project. Thanks for posting these plans.

Built from Plan(s)
Estimated Time Investment
Afternoon Project (3-6 Hours)
Finish Used
Simple pecan stain and minwax poly. Brushed on the stain and kept brushing until I got the darkness I wanted
Recommended Skill Level
Starter Project

Comments

tr7dul

Wed, 07/09/2014 - 16:24

I was looking on Pinterest and found this table. It was exactly what I was looking for. You inspired me to go out and buy a miter saw and some wood and make the table. It turned out wonderful. It now has a permanent place on my patio and gets used when I grill mostly. I was hoping to be able to upload a photo but don't see the option to do so. Anyway, I want to say thanks for the great plans/instructions.

Outdoor Sectional

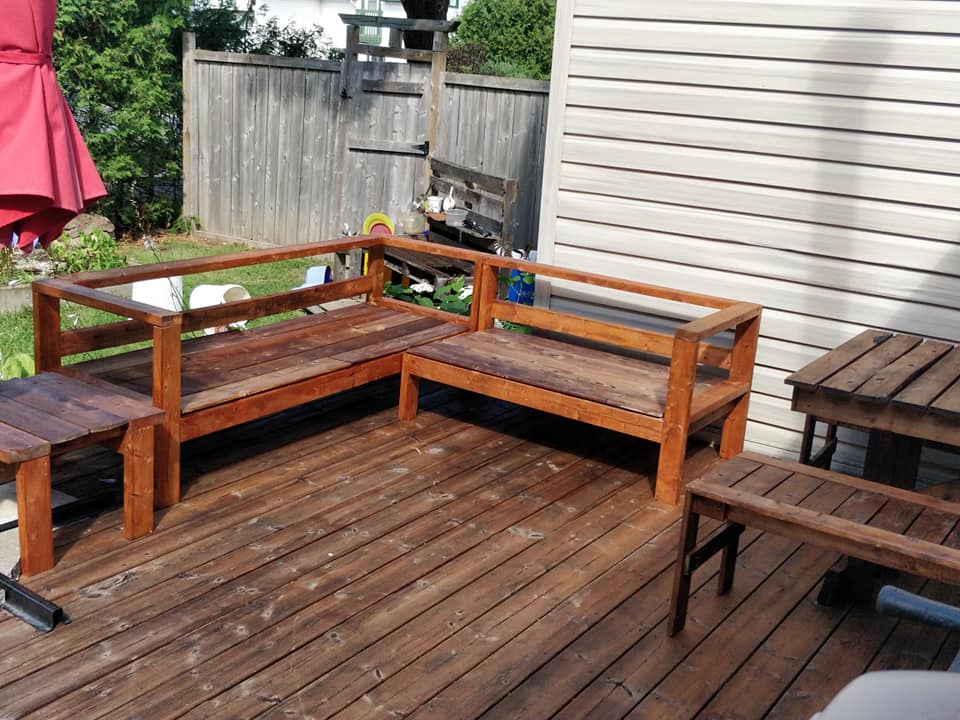
I scaled back the length of the sofa by a few inches and I made the sectional only one seat to fit my space on the deck. This was my first woodworking project that I did by myself. I got the cushions for more than 1/2 off at Ikea so the whole project cost about $150 ($80 for the cushions). It took me about a week to complete but the total time was less than 10 hours to build and stain. I'm pretty happy with how it turned out.

Estimated Cost
$150
Estimated Time Investment
Weekend Project (10-20 Hours)
Finish Used
Pittsburgh Paints Stain & Sealant in One for Decks, Fences, & Siding in Walnut. I brushed on the exterior stain just like a paint. I did the top part of the sofa first, then flipped it over and stained the bottom. Read instructions on the label.
Recommended Skill Level
Beginner

Comments

Bedside End Tables

Submitted by Grace734 on Mon, 02/05/2018 - 07:38

These are made from the three drawer plans but modified the size to meet our needs and used planks for shelves instead of drawers. Painted white and black gel stain. 


UPDATE FROM ANA - We have received MANY requests for this plan and have created a plan inspired by this post here.

Shopping List (for ONE bedside table) + Tools

  • 1 - 1x2 @ 6 feet long
  • 5 - 1x4 @ 8 feet long
  • 2 - 2x2 @ 8 feet long
  • 1-1/4" and 2-1/2" pocket hole screws
  • 1-1/4" brad nails
  • wood glue
  • Kreg Jig
  • Compound Miter saw
  • Drill
  • Brad Nailer (18 guage)

Cut List (for ONE bedside table)

  • 4 - 1x2 @ 14" - Side panel trim
  • 8 - 1x4 @ 23-1/4" - Side panels
  • 4 - 2x2 @ 27-1/4" - Legs
  • 6 - 2x2 @ 14" - Shelf support
  • 8 - 1x4 @ 17" - Shelves
  • 5 - 1x4 @ 18" - Top

Cut 1x4s and 1x2s with miter saw. Layout side panel 1x4s as shown above.  Measure and cut 1x2 to length.  Nail the 1x2 to the 1x4s, two nails per overlap with glue.  Make sure your side panels are square.  Build two.

Drill 3/4" pocket holes on inside edge of 1x4 ends as shown above.  Cut 2x2s with compound miter saw. Attach to the 2x2 legs with 1-1/4" pocket hole screws.

Set Kreg Jig to 1-1/2" setting.  Drill 1-1/2" pocket holes on end of each 2x2, one per end.  Attach to 2x2s with wood glue as shown above.

Cut 1x4 shelf boards with compound miter saw.  Nail and glue to the inside of the project as shown above.

Cut 1x4 top boards with compound miter saw.  Nail and glue to top with 1-1/4" nails and wood glue.

If you wish to add a back, measure and cut from 1/4" plywood and attach with 3/4" brad nails.
Estimated Cost
100.00 for both.
Estimated Time Investment
Weekend Project (10-20 Hours)
Finish Used
One coat of eggshell white PPG
Two coats of ebony gel stain
Recommended Skill Level
Beginner

Comments

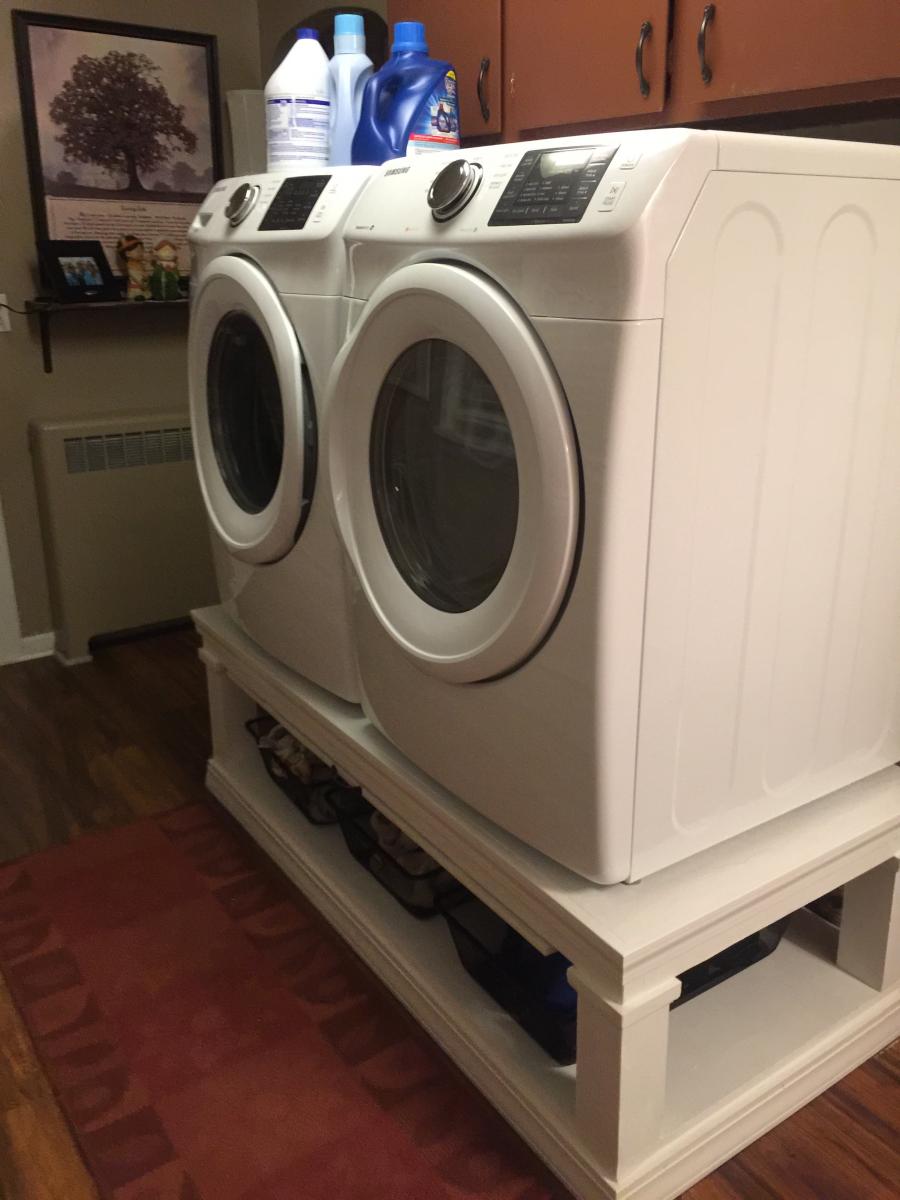
Washer & Dryer Pedestal

Submitted by T.R. on Fri, 11/18/2016 - 07:51

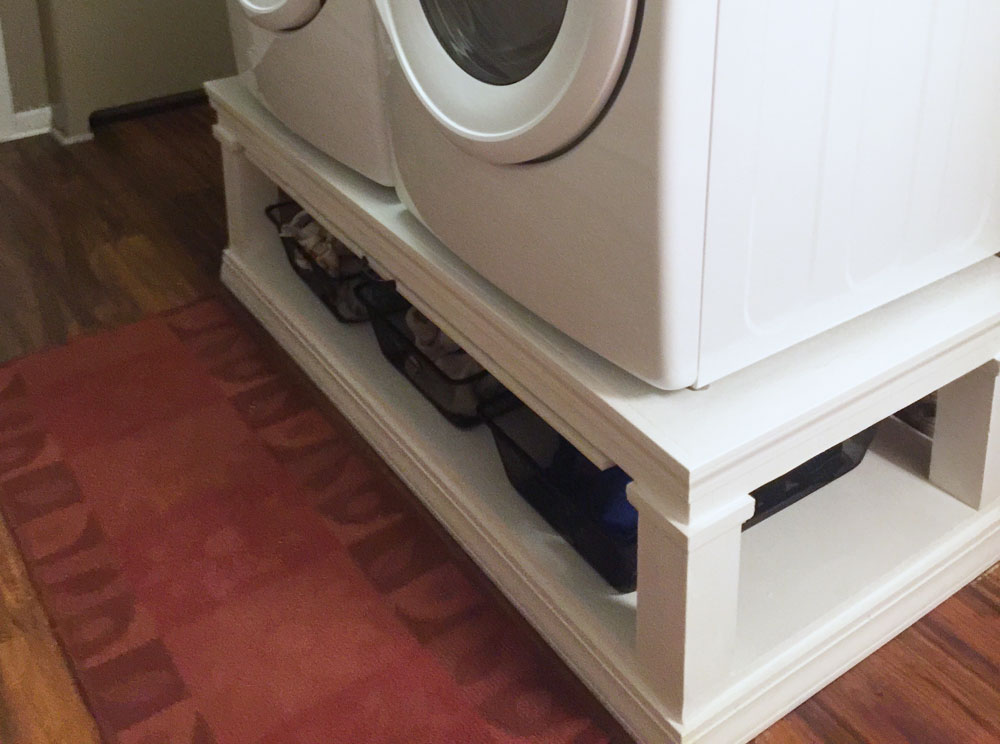
Good, sturdy pedestal is a nice addition to the laundry room.

I used the plans from Sausha’s Washer/Dryer Pedestals and added a pull out to place the laundry basket on.

Estimated Cost
About $100
Estimated Time Investment
Afternoon Project (3-6 Hours)
Finish Used
White paint
Recommended Skill Level
Beginner

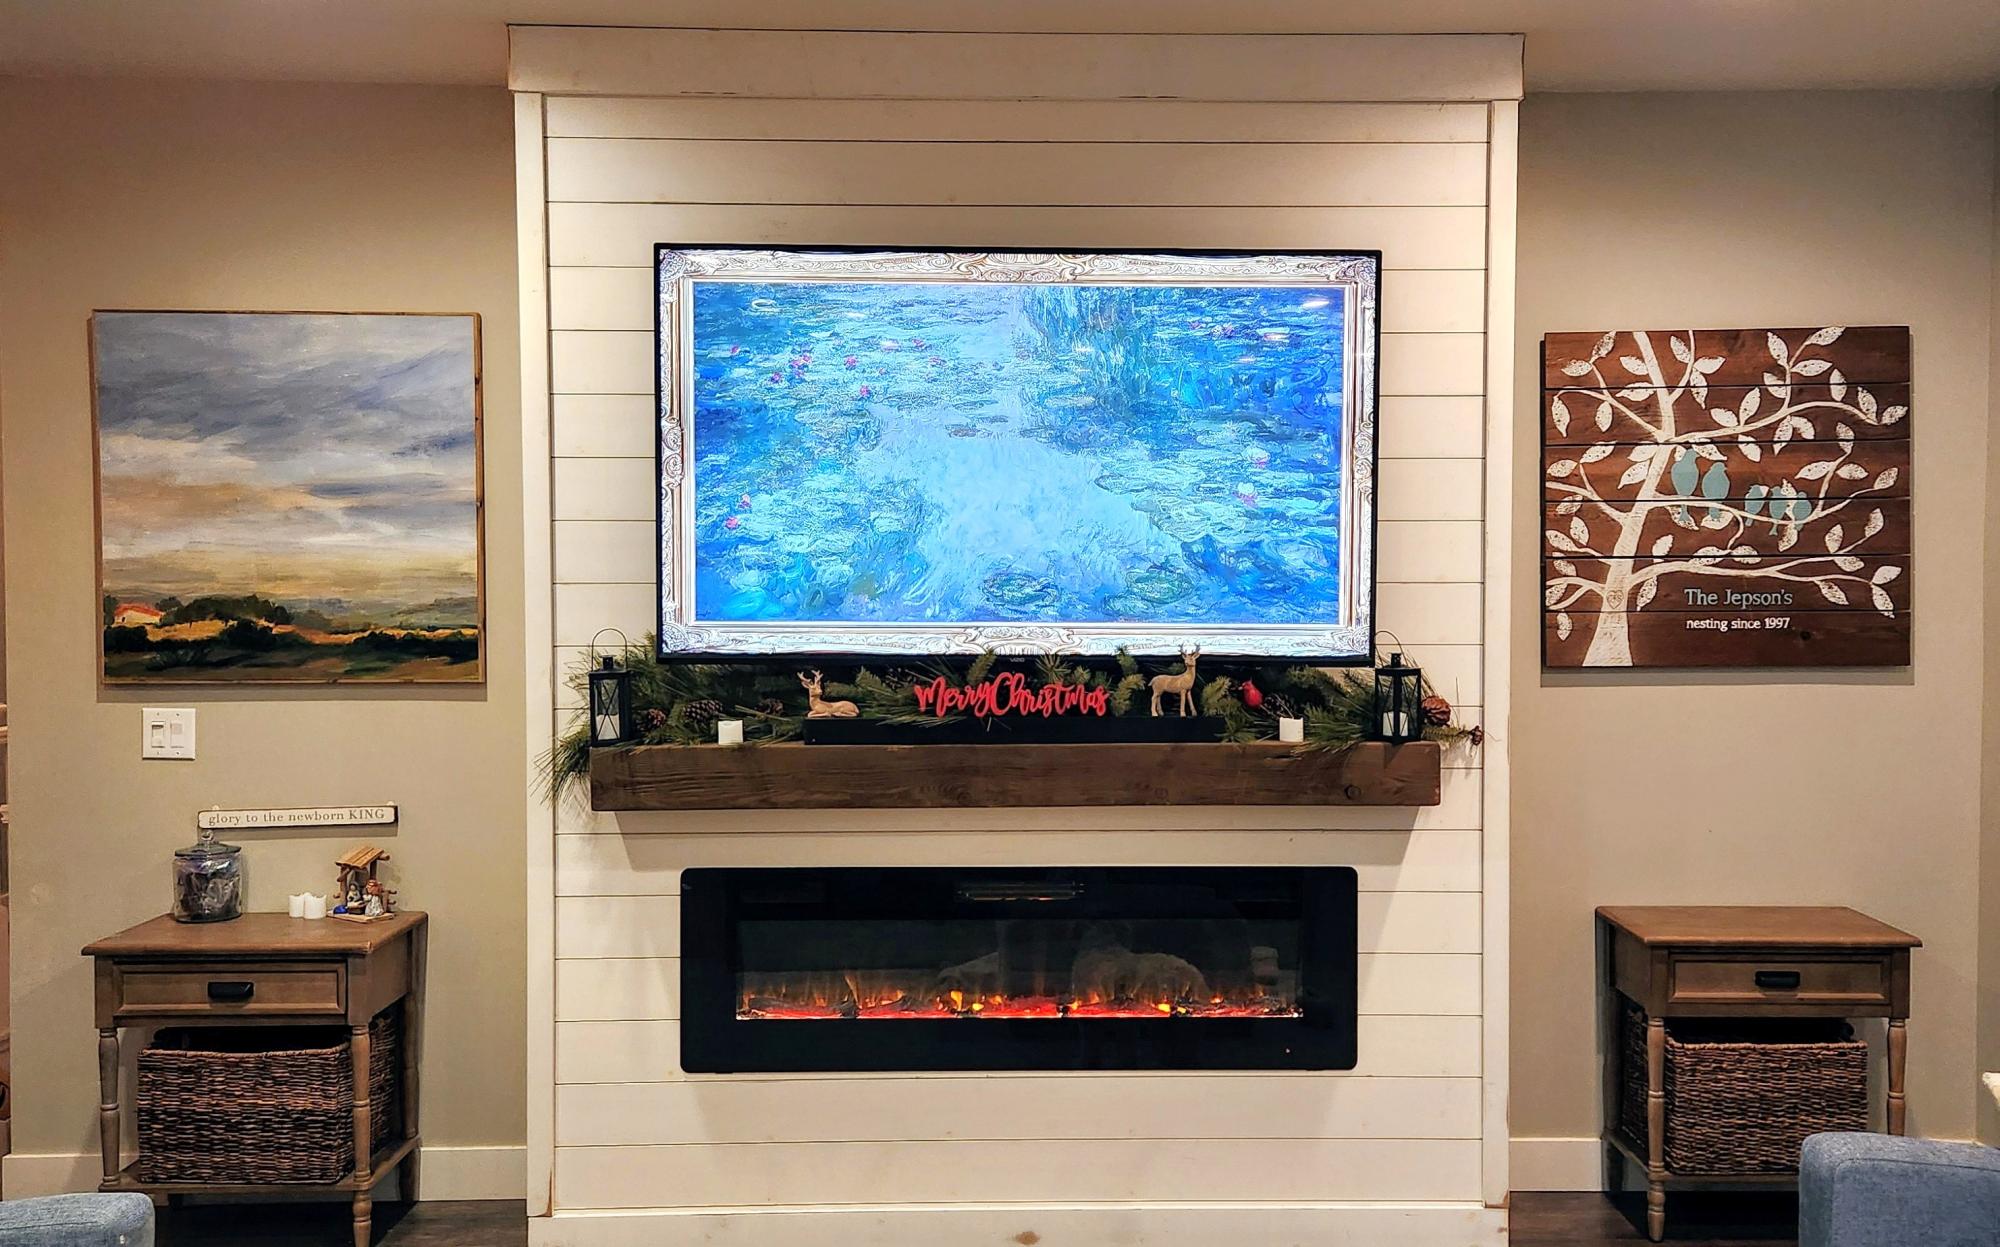
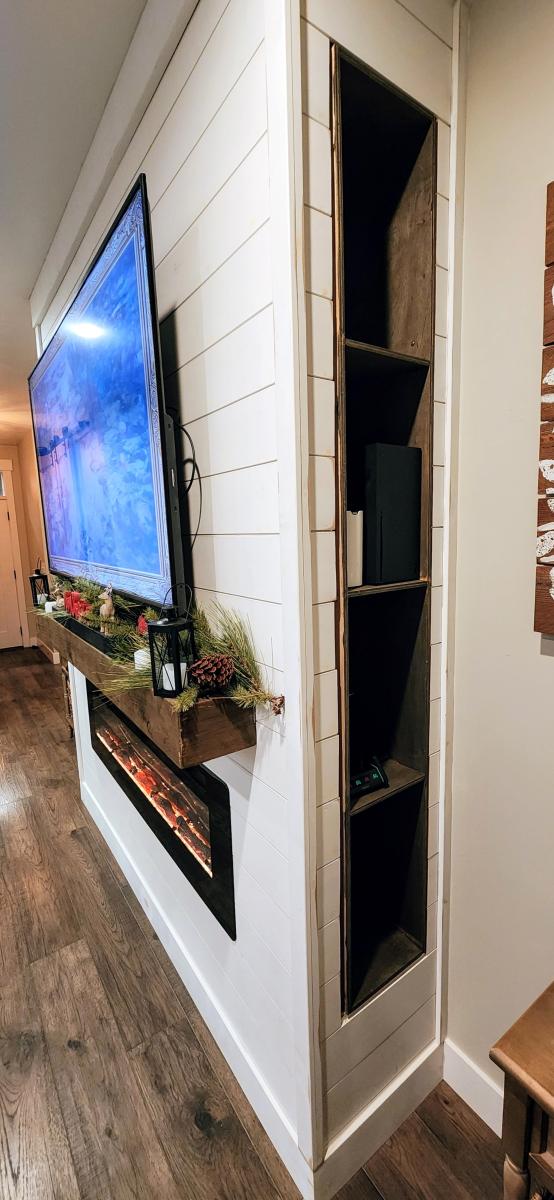
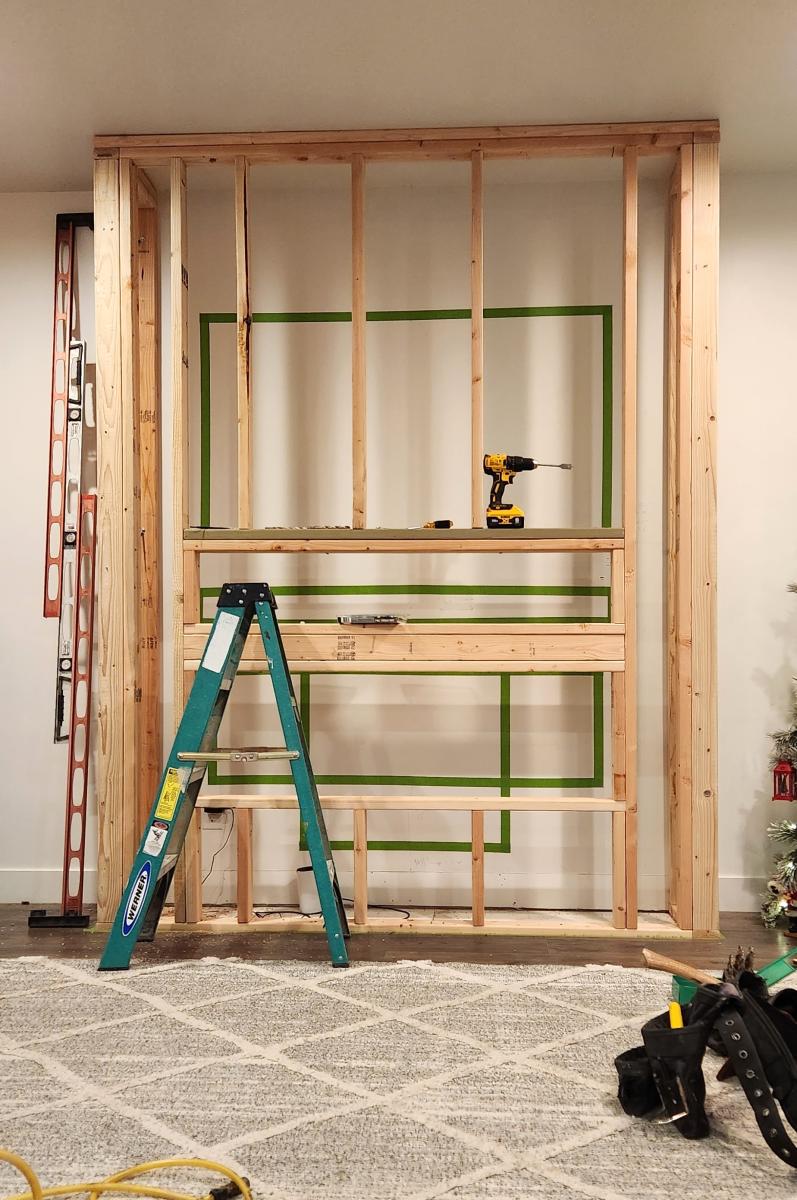
Holiday Fireplace with Storage

Submitted by Anonymous (not verified) on Mon, 11/18/2024 - 10:10

We wanted a electric fireplace with mantle and TV home above but needed storage shelves on the side for all of our electronics and blankets. Came up with this plan. Need to add trim around the shells still and can't decide what color to paint the fireplace. Other than that we are in love with it.

Seasonal And Holiday

Basement Shelving....

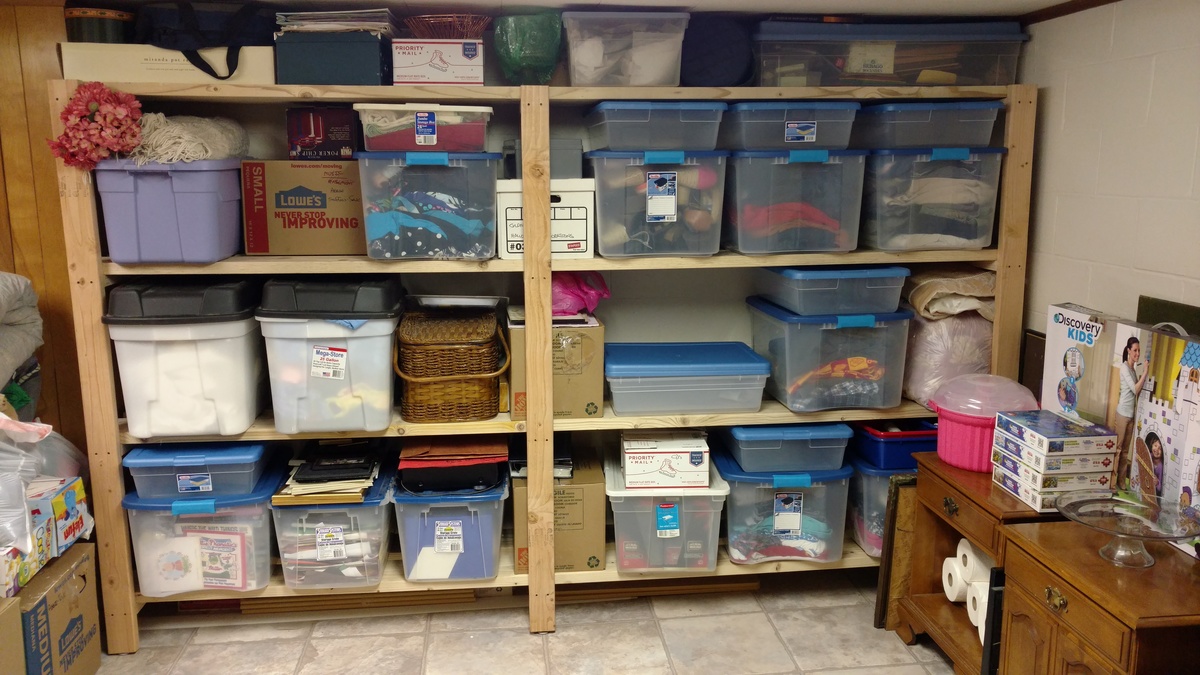
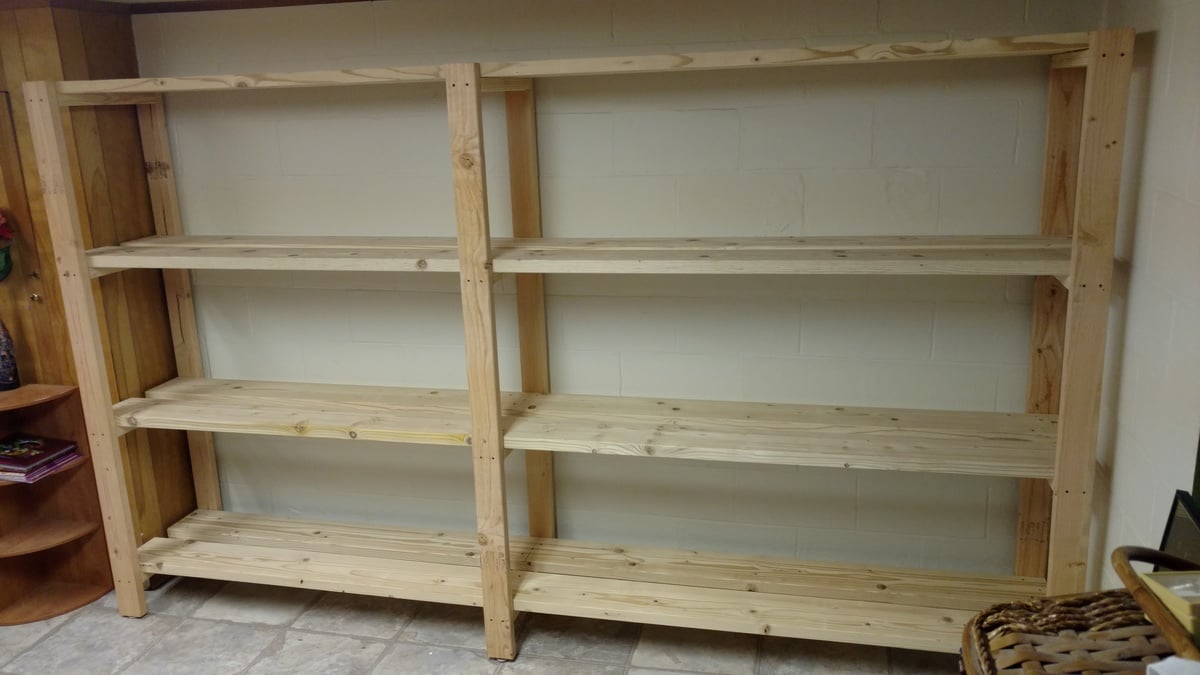
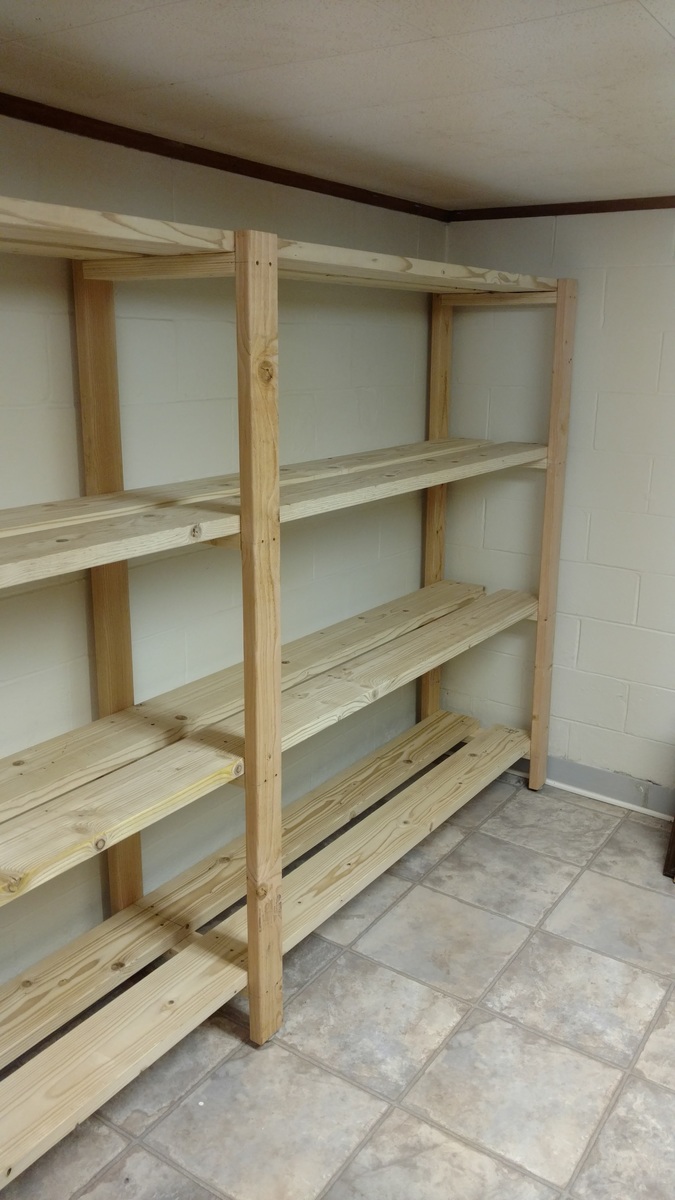
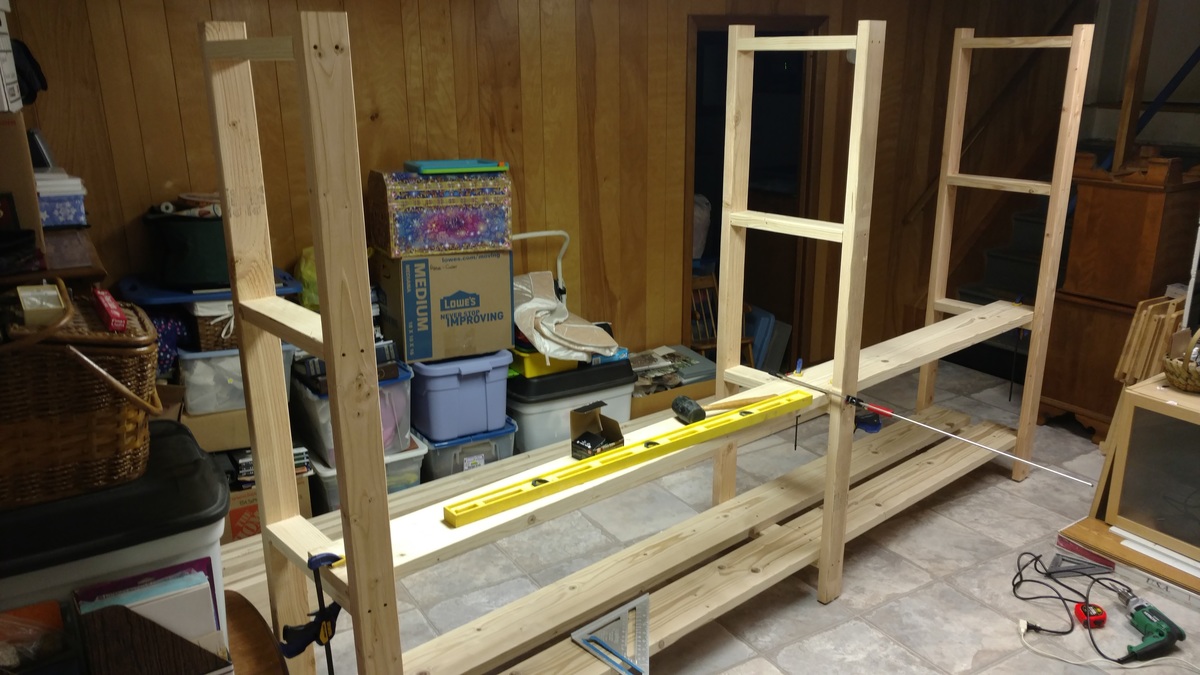
Time to get organized in 2017....and what better way than with some custom shelving. This was not too bad of a project to complete. It only took about 6-8 hours to cut, frame, and assemble everything together (thanks to an interruption or two). 'Twas nice to have a project for once that I didn't have to care about finishing the project with wood filler, sanding, painting. I am sure my wife thanks me more as I would have been another week getting things just right​​​​​! 

A few changes that I made from the original plans:

- used 2x8 for the shelving runs as I only was dealing with a 10ft run and was a few bucks cheaper to buy 8 boards vs 16 boards. Plus less cuts!!! 

-installed adjustable furniture feet in the supports to deal with sloping basement floor. Unexpected side effect was it was easier to slide the unit around in the basement as I assembled it. 

Outside of those changes I remained faithful to the original design. I didn't bother filling the screw holes as we will be hiding the shelving unit with a curtain once  we turn the room into a TV/Office area. 

Also as it wasn't 100% clear from the original plans, but the height measurements for the shelf supports are to center... not sure why it didn't register with me right away... but just in case anyone else didn't realize that as well. 

Estimated Cost
$150 for wood, screws, wood glue, and adjustable furniture feet
Estimated Time Investment
Day Project (6-9 Hours)
Finish Used
None
Recommended Skill Level
Beginner

Farmhouse Storage Bed With Hidden Drawer

Submitted by Beekeeper on Wed, 12/10/2014 - 17:35

Ana, thanks for these plans! They inspired me to make my first bed build. I also want to thank all of you that added brag posts! They gave me ideas for some of the modifications that I made. I did this build by mixing your Queen Farmhouse and Queen Farmhouse Storage bed plans. I also added a number of modifications to suit my own preferences. The drawer boxes I changed by building a faceplate (I didn't want the plywood ends exposed), and by increasing in depth to maximize some additional storage. Since I increased the drawer sizes, I went with the euro roller bearing slides. I increased the foot-board height to be slightly higher than the mattress. I also designed the footboard to have a removable inner section with hidden latches on the inside. I did this because I wanted to make use of the "dead space" between the drawer boxes. I then used this space to house a hidden drawer, that is approx six feet deep (I couldn't help myself-I love hidden drawers wink). Because I added the hidden drawer, I changed the opptional center support to 4X4 blockes that were pocket screwed under the center of the boxes. I ended up using birch plywood and fir for this build. For my first bed build I'm fairly happy with how it came out. Thanks again!

Estimated Cost
I didn't keep exact track of the cost of this bed, but I think it was about $800.
Estimated Time Investment
Week Long Project (20 Hours or More)
Finish Used
I haven't got there yet, but I am planning on putting a mahogany stain and then a polyurethane. All
Recommended Skill Level
Intermediate

Comments

spiceylg

Thu, 12/11/2014 - 07:41

This is your first build and you did all of those awesome modifications?! Really impressive and it looks perfect! Congrats and welcome to the community!

In reply to by spiceylg

Beekeeper

Sun, 12/14/2014 - 06:03

Thanks for the compliments! It was a fun learning experience. Making all the modifications definitely slowed down the build, but also made it more rewarding!

beckbg

Fri, 12/12/2014 - 13:18

I just started my bed (mostly out of Baltic Birch) and am wondering where you were able to find such nice 4x4s. Your bed is gorgeous! No luck here. I bought redwood, but really wanted fir for the sharper edges. It's my first project, too. I also bought same drawer slides, but the soft close. Didn't want the slam. I figure building it will be the easy part compared to procuring nice 4x4s! Hope you can help!

In reply to by beckbg

Beekeeper

Sun, 12/14/2014 - 06:01

Thanks! The 4x4s I found at a place called Better Living Building Supply. They had a pretty nice assortment of fir, including the 4x4s, so that is why I chose it for the build. Finding the 4x4s slowed down my start on the build. Our local Lowes only had them in treated pine.

athingvall

Sat, 09/05/2015 - 20:47

Thank you for the pictures, the bed turned out Awesome.  I was wondering about the latching system for the foot of the bed.  Do you think a piano hinge on the lower would work too?  Also on the center drawer did you use rollers or is it just friction?  Can't wait to start the build.

Thanks

Codding58

Mon, 02/15/2016 - 14:11

This is excellent!!!   I really like this, so much in fact that the wife is going to have to get used to it too. lol   But really, GREAT work!    Any chance you could post a pic and or comment about how you attached that removeable end?    i think this is the best part!    Cheers!

Kmaynard19

Tue, 12/10/2019 - 08:42

Beekeeper,  Awesome build!!!  Have you posted your altered plans anywhere?  I'm very interested in your build, I was wondering about some aspects of it and how you approached it.  Plans would clear it up instead of bothering you with all my questions.

NinjaPinky

Sat, 06/20/2020 - 09:06

I, like many others, have been wondering if you'd share your plans for this modification. It just looks so great!

tammis50401

Mon, 11/16/2020 - 15:42

Bed turned out awesome. I was wondering if you have the plans for the bed with a list of supplies it took to make this bed. I so want this bed it's just what we are needing

Great job

Laundry Pedestal

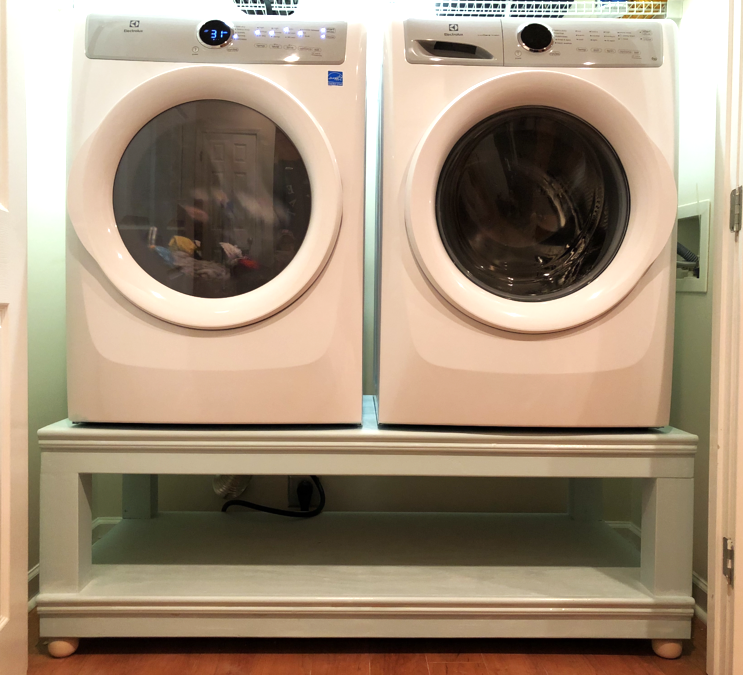
I took this plan from www.Ana-White.com Home Depot cut my wood and I was off and running. I added a few ball feet on the bottom to give it a little pizzaz. I felt so accomplished after my first project... especially after the install guys told me it wouldn’t fit and it DID and it was level. I’m getting ready to make a coffee table now. Thanks for the inspiration, confidence and help!!

Estimated Cost
$150
Estimated Time Investment
Afternoon Project (3-6 Hours)
Finish Used
Satin Furniture paint
Recommended Skill Level
Beginner

Outdoor hangout using 2x4 and fence boards

Submitted by sylvialh on Sun, 06/16/2019 - 18:13

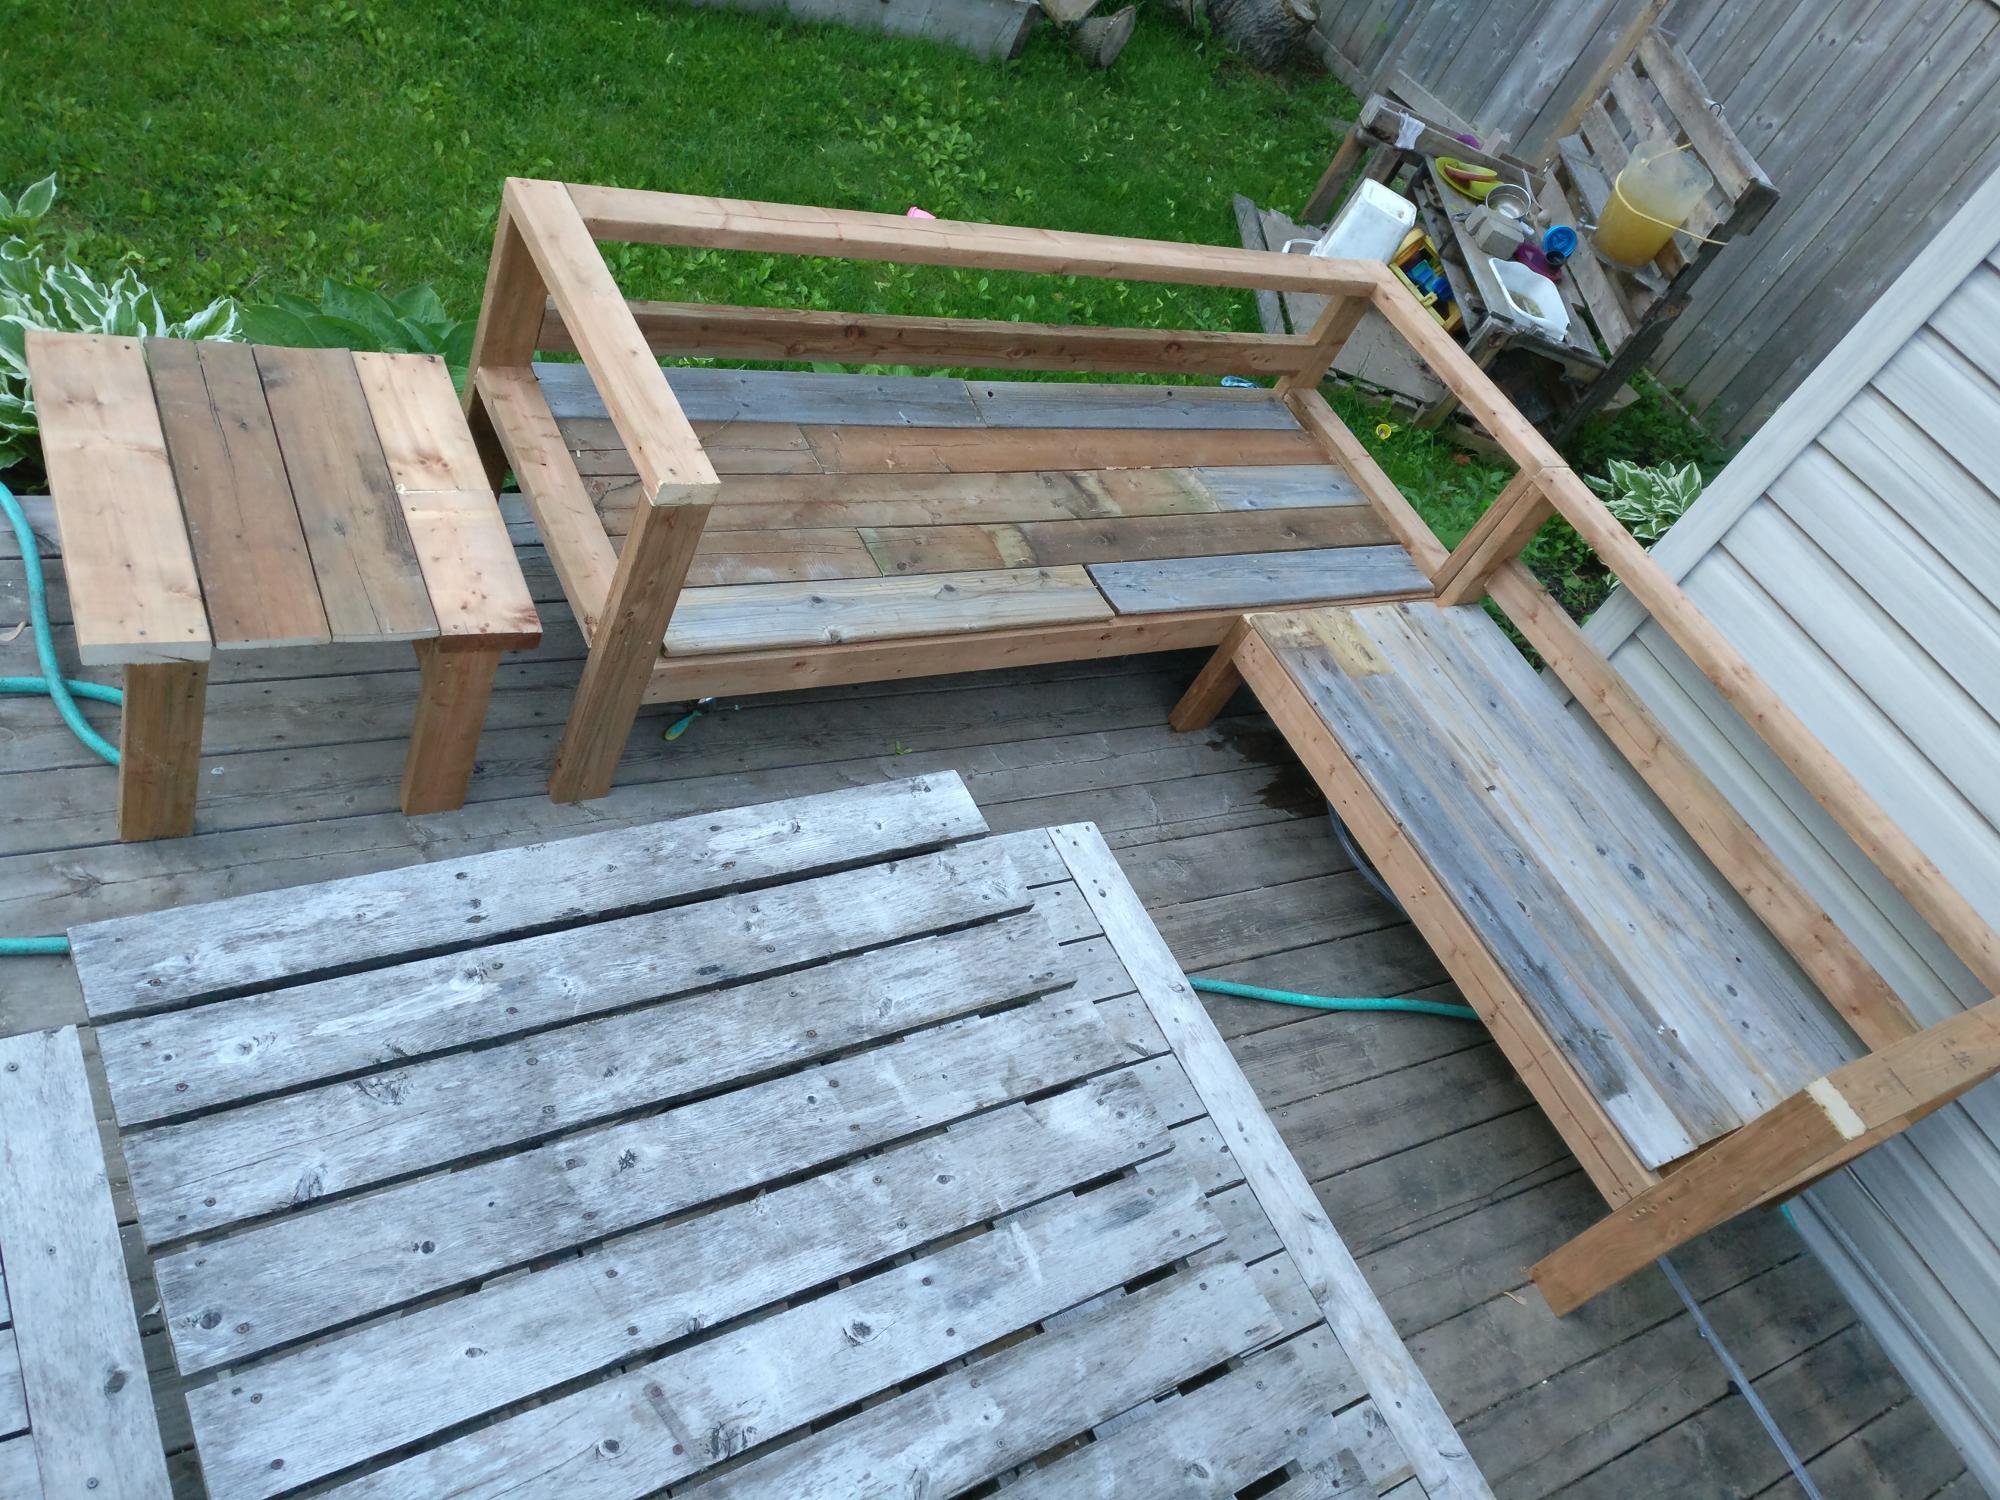
Bought enough lumber for one sofa but ended up using old fence boards for the  decking so had enough lumber to make the sectional and a shortened coffee table. 

Great way to save some cash even if u have to buy the fence posts. 

Added a reinforcing piece to the one armed sofa between the legs using a kreg jig to stabilize the legs a bit more. 

Waiting on my foam from Amazon to finish off this project!

Used inspiration from the beer/wine cooler patio table and made the middle of the table removable to add a buck underneath later. 

Note the 5 year old patio set, also an ana white project from back in the day!

Super quick build!

I did find that the measurements for customizing it for your cushion size seemed about 1.5 inches too big for all the depth pieces so I sized down but I haven't received my foam yet so maybe I'm wrong but Smth to think about. I didn't want my cushions to slide around so I took that into consideration when building. 

Estimated Cost
60$ CAD for the high density foam for each sofa (3x24x72) plus throw cushions for the back.

11 2x4x10 - cost varies depending on cedar or PT
Fence boards were reused

Outdoor Fabric to cover the foam
Estimated Time Investment
Afternoon Project (3-6 Hours)
Finish Used
None yet
Recommended Skill Level
Beginner

King Sized Hailey Bed - Customized

Submitted by dsgdesigns on Fri, 01/03/2014 - 07:26

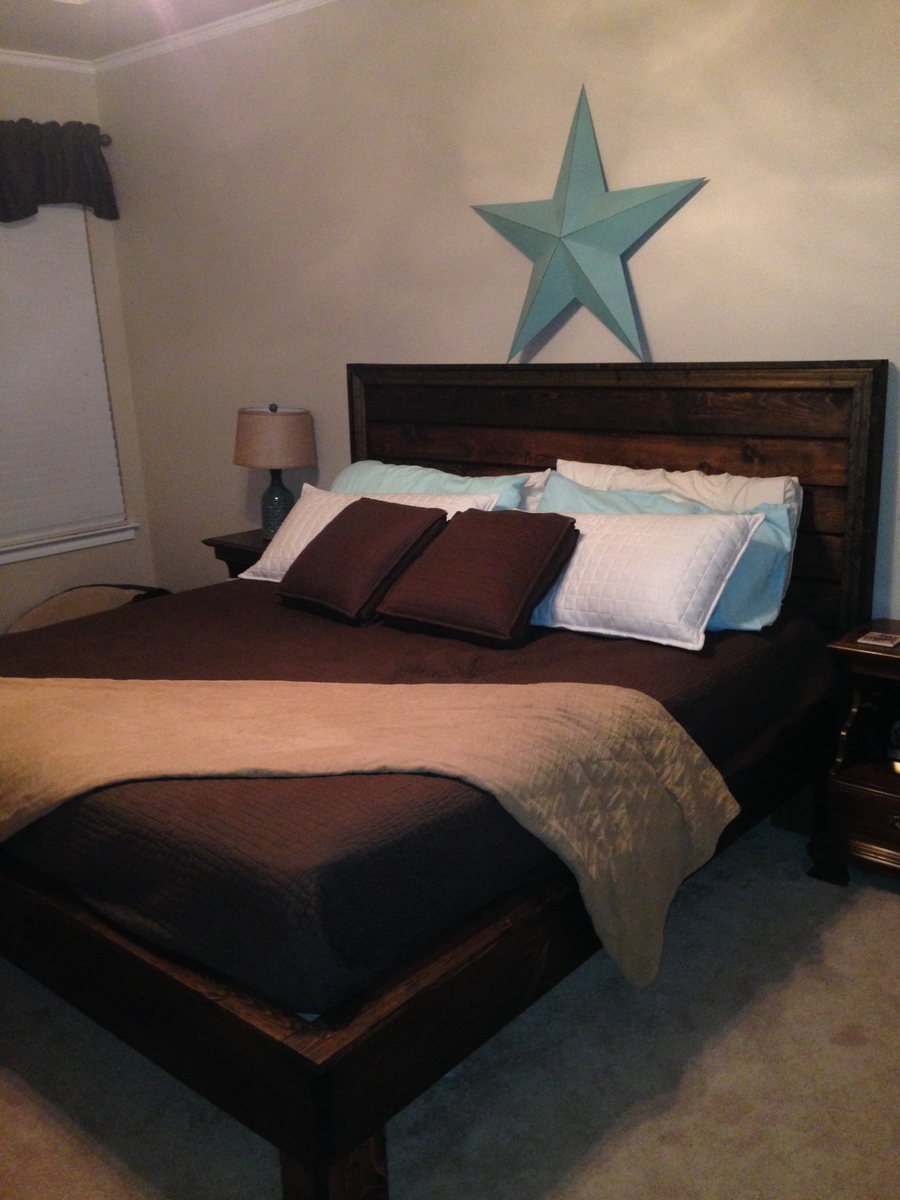
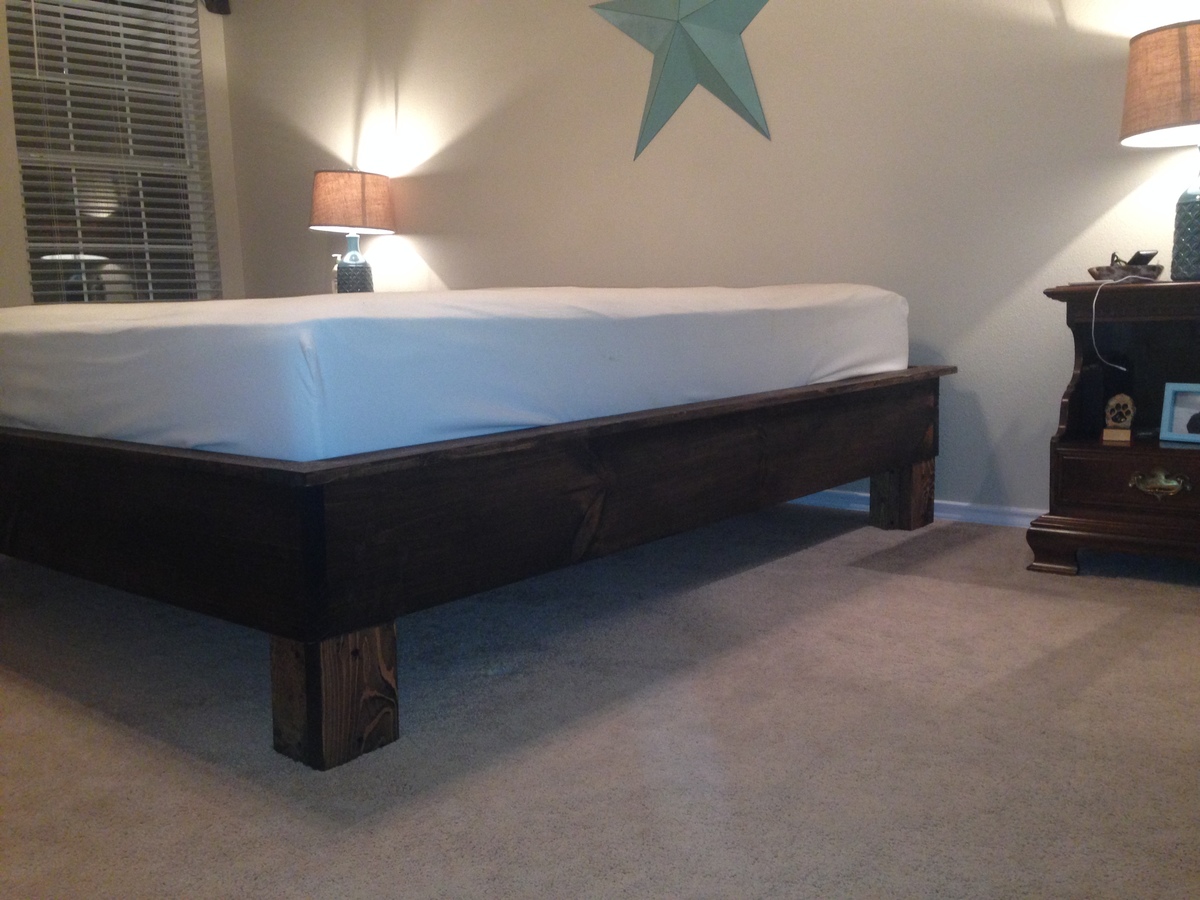
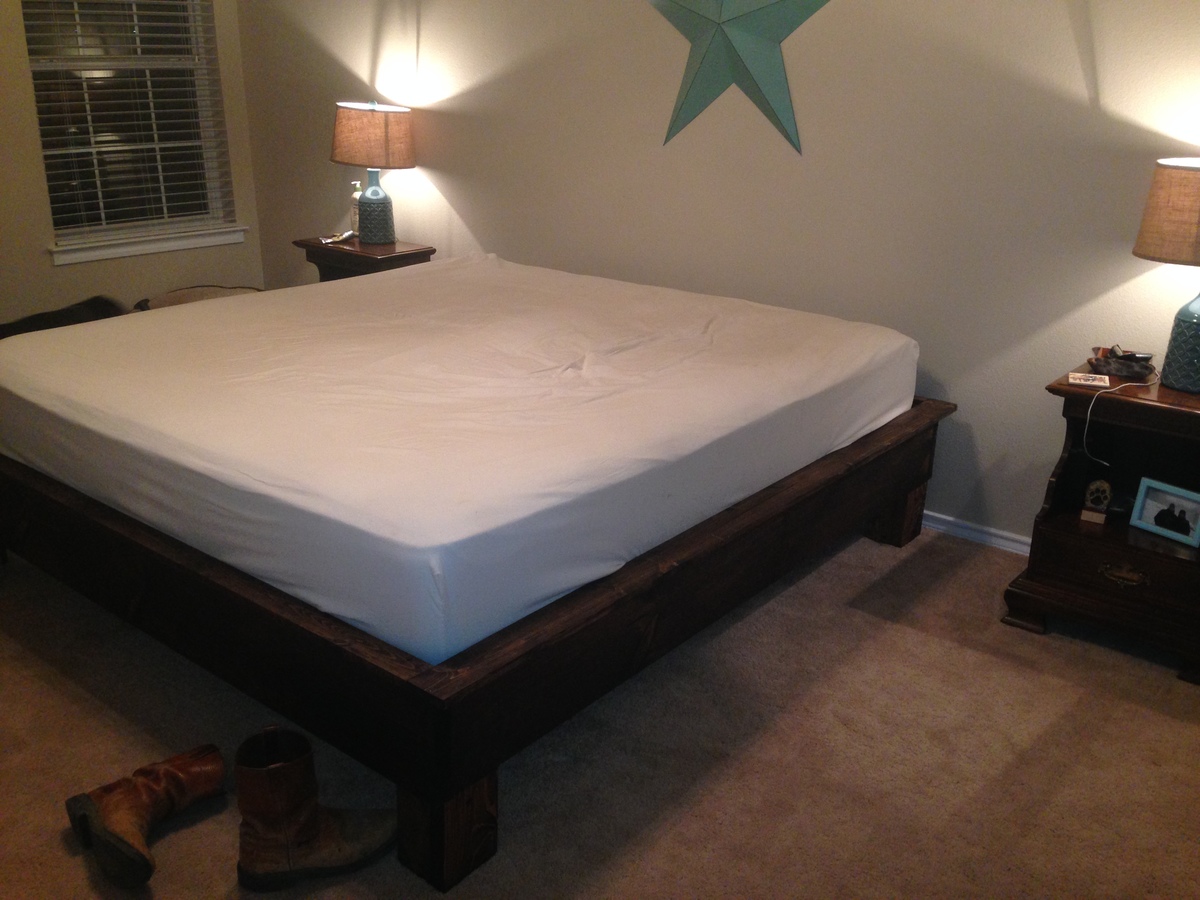
I took these plans (http://ana-white.com/2012/01/plans/hailey-platform-bed) and adjusted the size for a king size bed. I beefed up the sides with 2x10's instead of 2x6's and extended the trim to 1x4's instead of 1x3's.

Built from Plan(s)
Estimated Time Investment
Day Project (6-9 Hours)
Finish Used
two coats of MinWax Dark Walnut
Recommended Skill Level
Intermediate

Ryobi Nation workshop and shelves

Submitted by Anonymous (not verified) on Tue, 06/30/2020 - 15:48

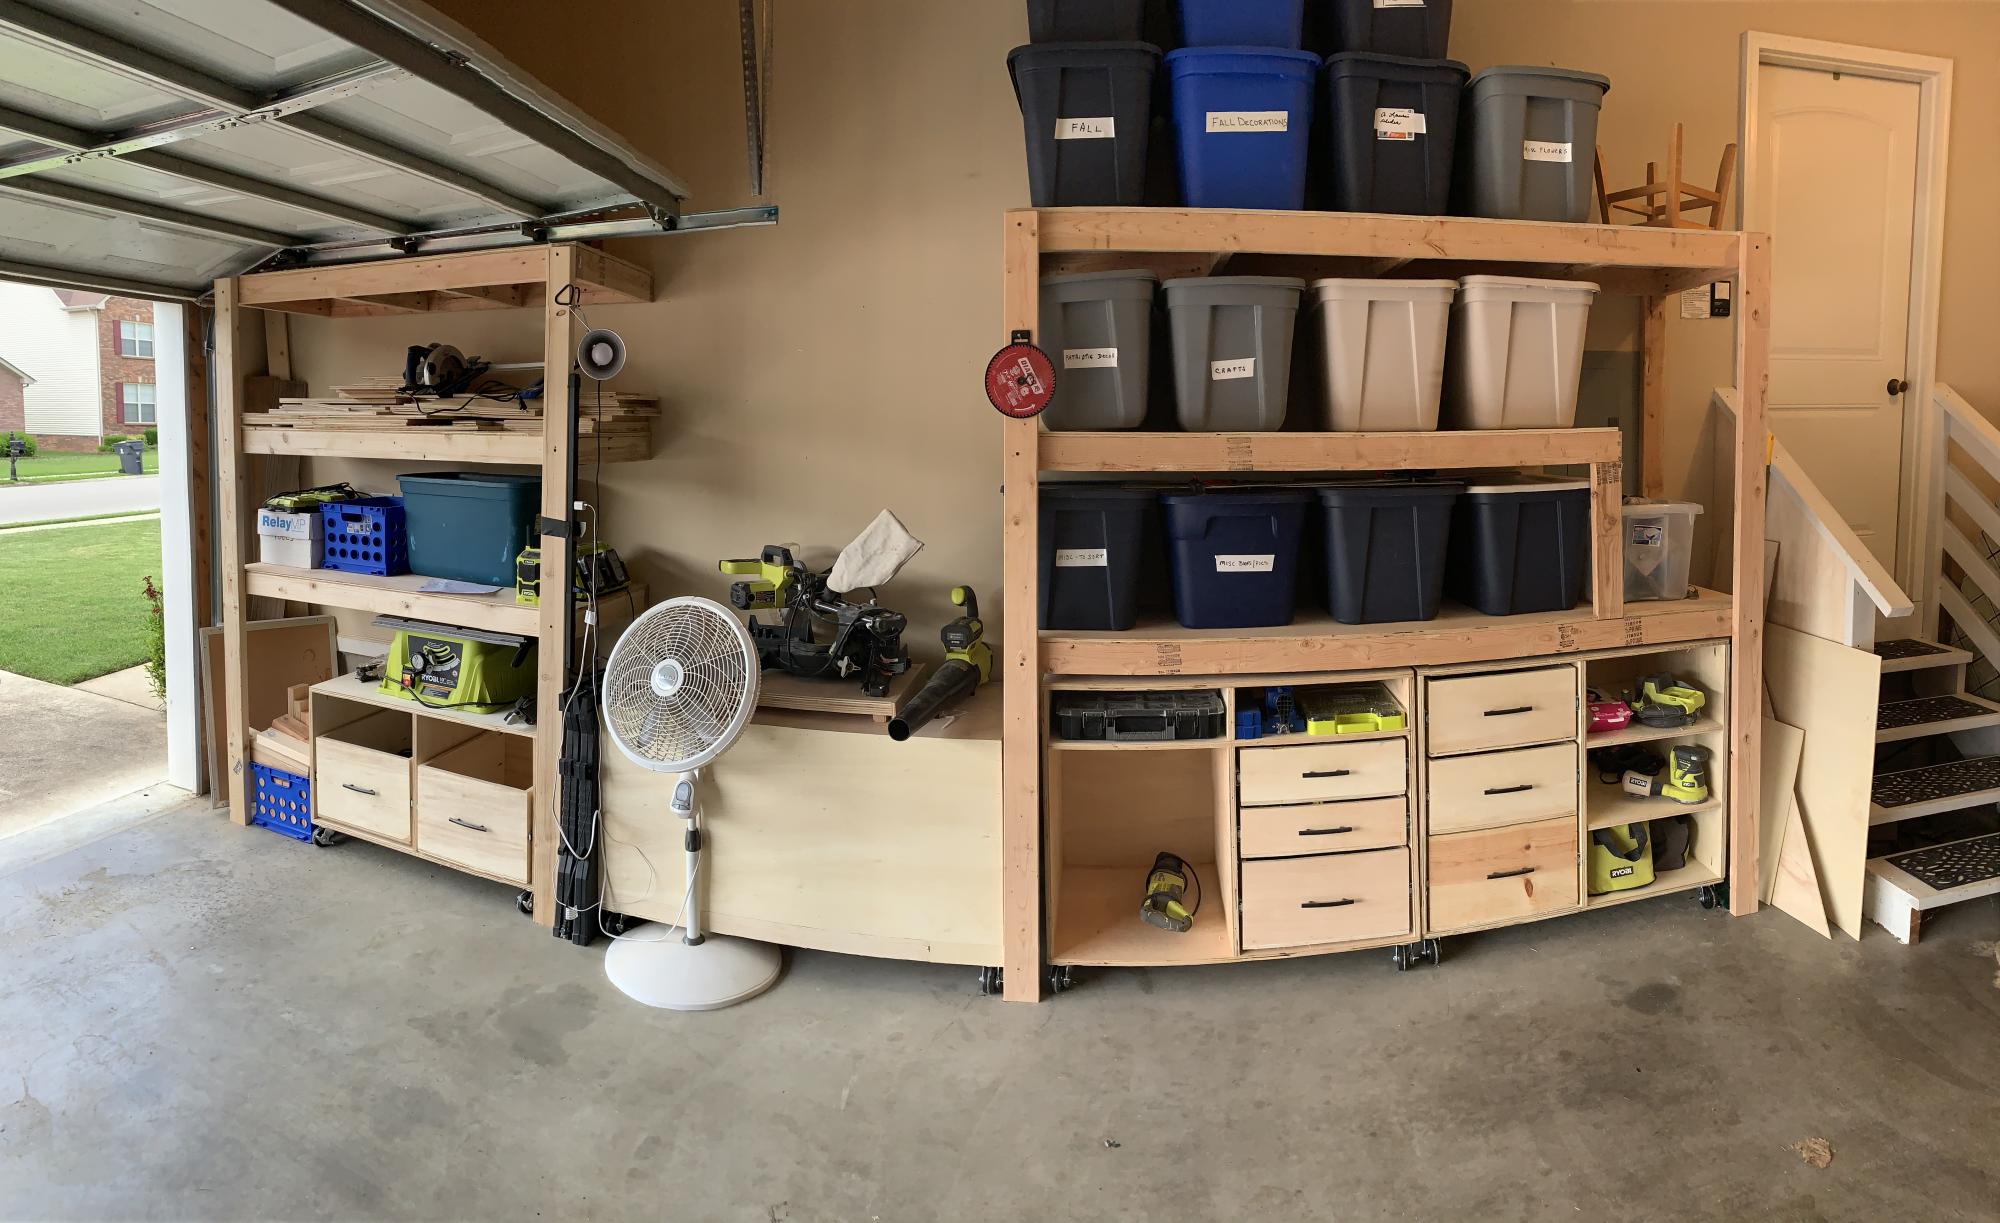
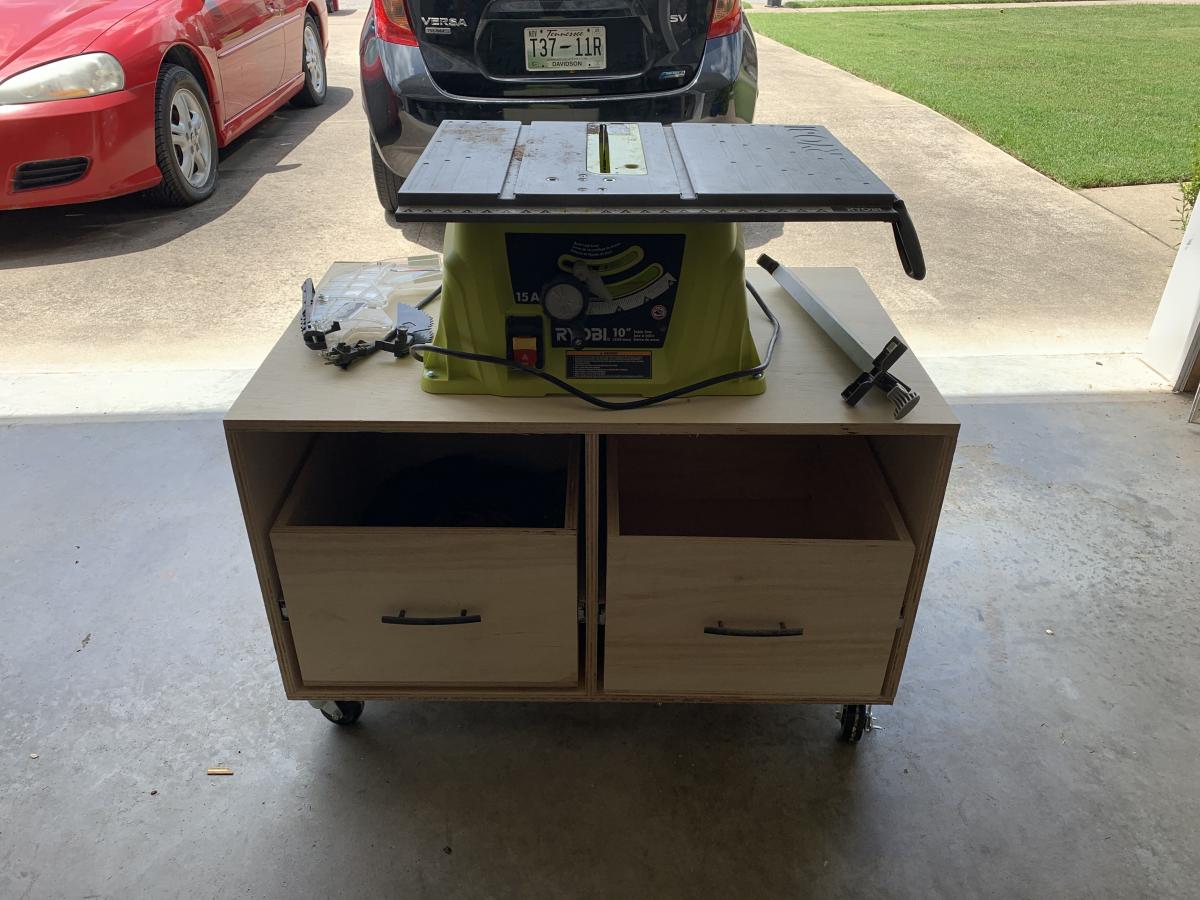
I bought a whole workshop full of Ryobi tools second hand from my brother over a year ago. I started researching workshop plans and came across Anna White’s Ryobi Nation Dream Workshop. I downloaded the plans and spent about 2-3 months working on it in my spare time. I made a lot of mistakes along the way but I’m pretty happy with it overall!

Estimated Time Investment
Weekend Project (10-20 Hours)
Finish Used
None
Recommended Skill Level
Intermediate

Comments

rcjones4

Fri, 08/11/2023 - 11:50

Do you still have these plans for the project? can't seem to find them anymore

Back