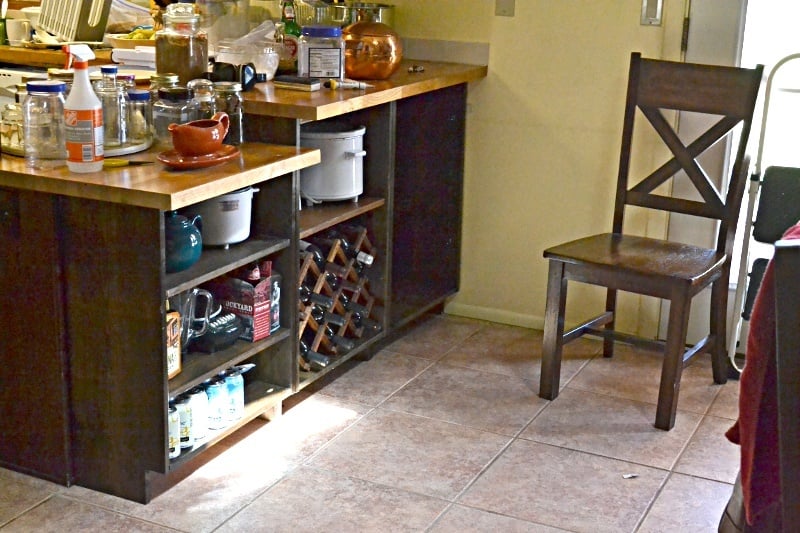
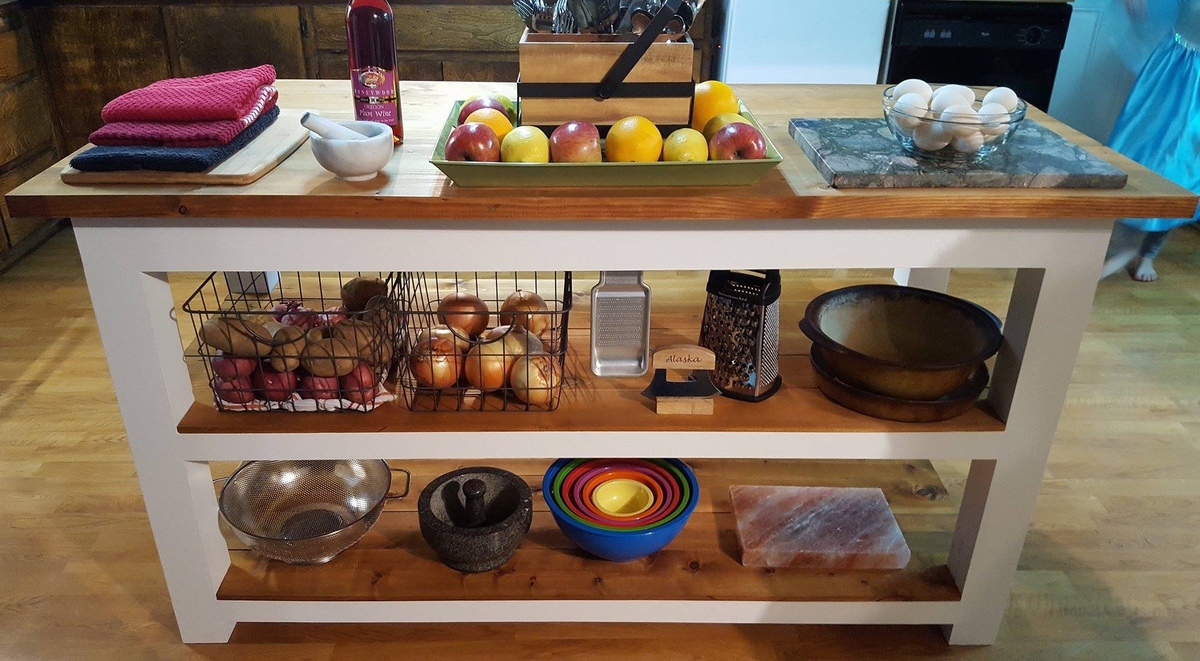
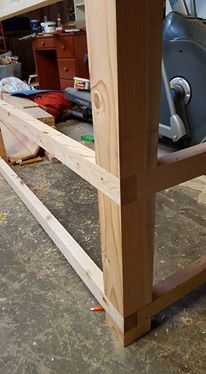
Added kitchen and dining room storage by building bookcases / shelf units to fit under the peninsula breakfast bar overhang. It's the simplest possible "box with a toe-kick", loosely based on Ana's plans for a bookshelf and the closet master system.
Much of the "working time" was stain and finishing time. Actual cutting and assembly time was under 3 hours.
No dimensions: every breakfast bar is different.
1 - The boards were cut to fit under the overhang, with 1/8 or less clearance. Top and bottom of unit is between the upright pieces.
2 - Width of units was also cut to fit. One unit is the width of the lower section of countertop (appx 23 in), the taller section was divided into 2 equal units (appx 21 in)
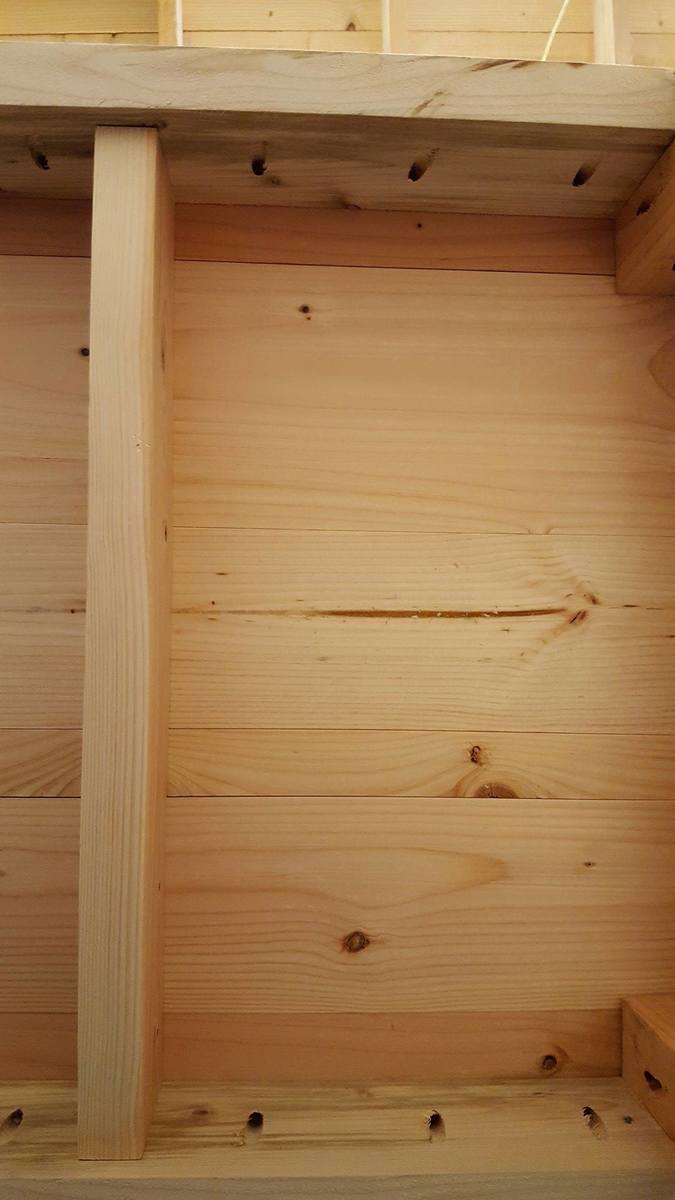
Shelves were cut about 1/4" narrower than the insiude dimension of the unit, to allow for insertion and the shelf pegs.
3 - Toekick space cut to match the cabinet on the far side of the peninsula. Used a circular saw and then a hand saw to finish the corners.
4 - Drilled pocketholes in the top and bottom boards.
5 - Used Rockler's jig for drilling shelf pin holes in the 6 uprights. Oops! I should have drilled every possible hole. I drilled every other hole and don't have the shelf flexibility I really need.
6 - Stained and topcoated everything, let it dry.
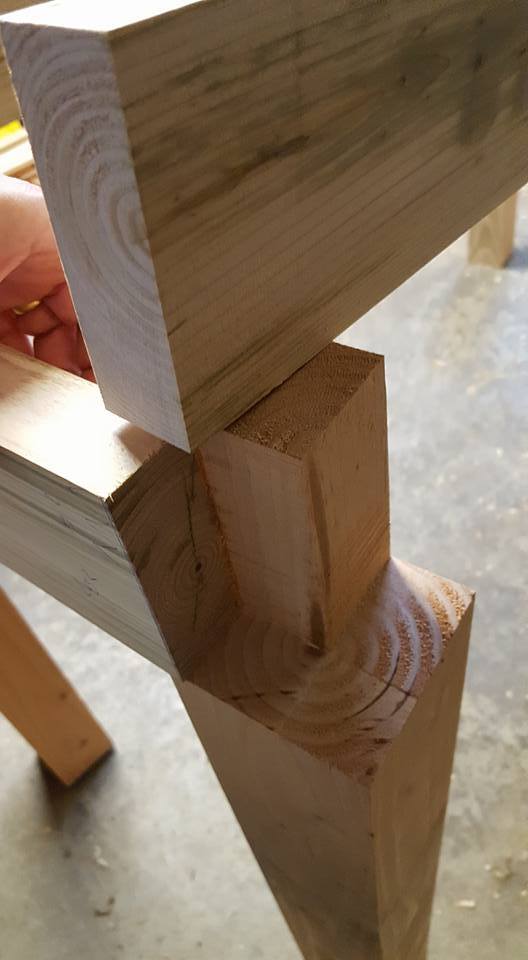
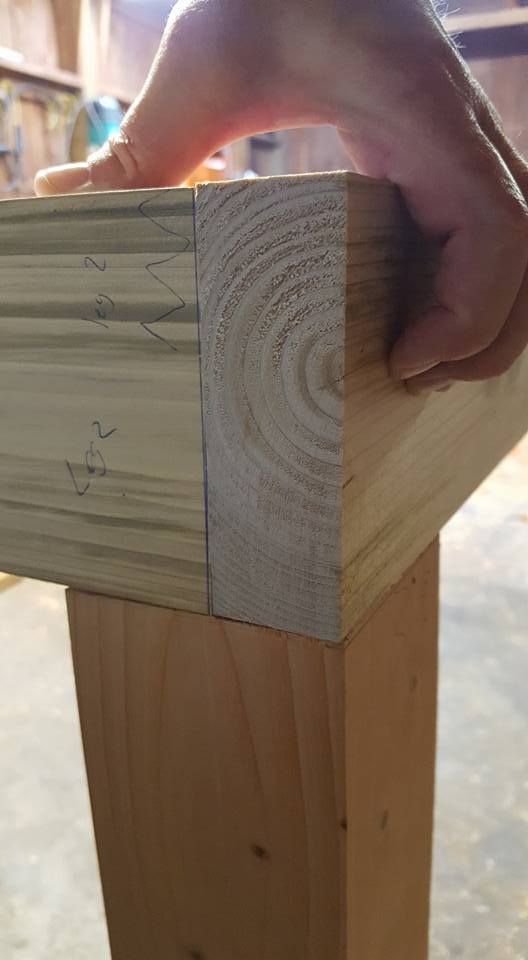
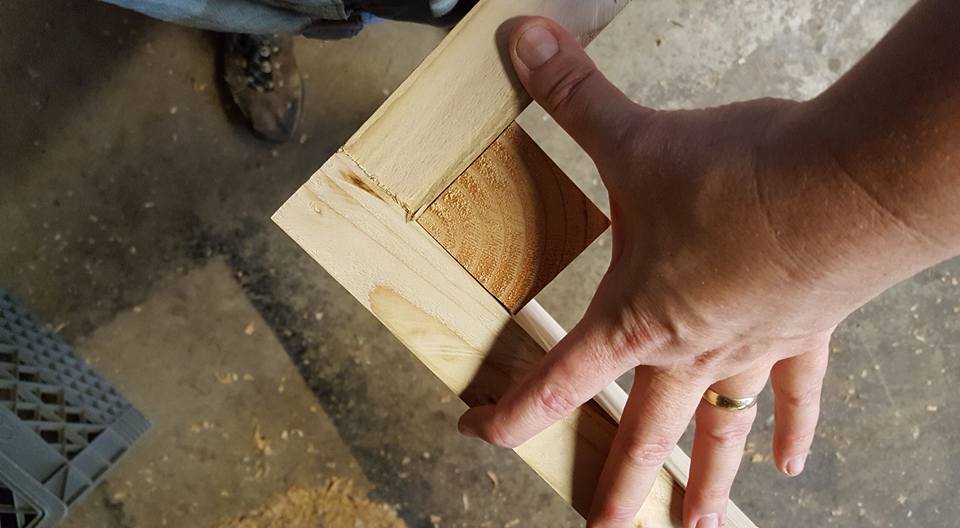
7 - Assembled each shelf unit, using corner clamps and a carpenter's square to make sure it was square. The bottom shelf is screwed at the same level as the toe-kick.
8 - Slid units under the overhang, shimmed them firmly under the countertop.
9 - Added shelf pegs and shelves
DONE!
Doors could be added, using the hinges for inset doors on frameless cabinets.
==========
NOTES:
The units are backless. I considered nailing a 1/8 hardboard back onto them, but because the finished back of the peninsula is visible behind them, and they are shimmed into place to prevent slouching it was not needed.
Cost is low because we had some 1x12 boards in the attic. Already had the tools and stain from earlier projects. 3 1x12 x 6ft boards were new, the rest were salvage.







Comments
Ji
Tue, 07/31/2012 - 08:49
Looks Awesome!
I am surprised at how good white cusions look on white wood. Where did you get the cusions and how did you build the feet?
ojessiesgirlo
Thu, 08/02/2012 - 17:03
We got the cushion covers
We got the cushion covers from Pottery Barn during their summer sale and used a 20% off coupon, then filled them with inserts from Cushion Source (DIY section)
The feet were just feet from Lowe's - we just screwed them on!
MelTheHandyWife
Thu, 04/11/2013 - 13:07
What a Great Project!
I'm gearing up to build my own sectional and I'm wondering if you changed any other dimensions besides the ones for the X's. I think it looks amazing and I'd like to know what size lumber you used for yours. Thanks!
Marieb52
Wed, 03/12/2014 - 16:03
Beautiful
I would REALLY like to get these new measurements from you. I like the way this looks better with the 1x3's and I don't trust myself to be able to figure out those new angles. Could you please give me the measurements you used to make these X's out of 1x3's? Also, it looks like you used 3x3's for the posts? And maybe 2x3's for the sides and bottoms of the x's. I'm not sure and I'm dying to know because this is beautiful. I'd like to make it soon. I really appreciate your help. Thanks!