Community Brag Posts
Large Tic Tac Toe Board
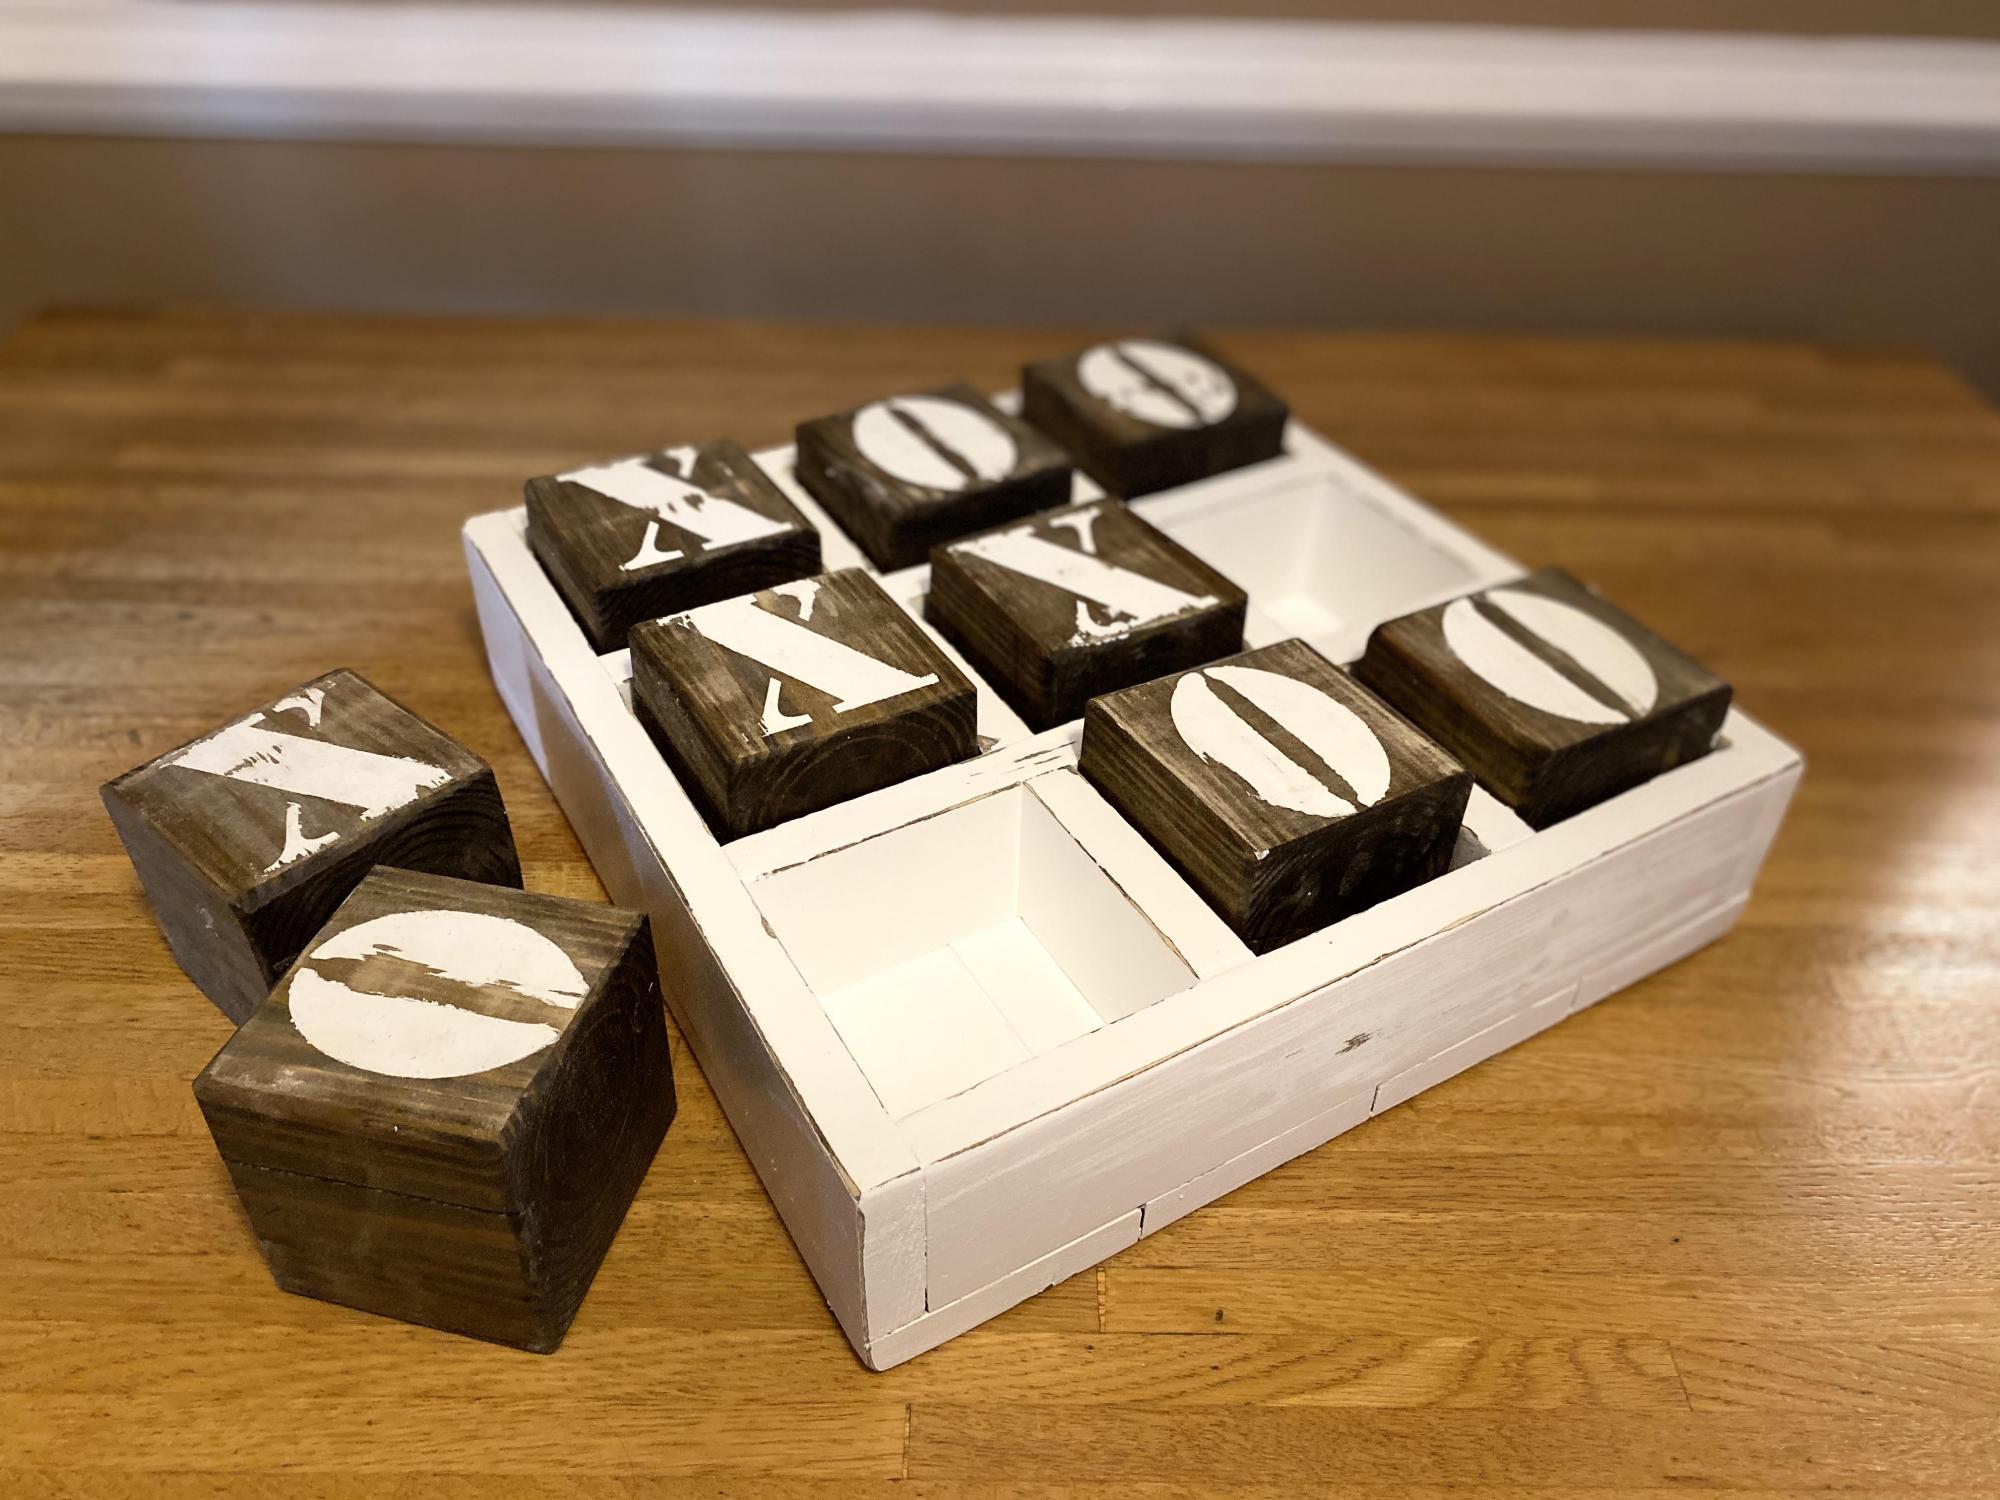
Took some liberties with this one and combined with another plan. My first stencil project.
Built from Plan(s)
Estimated Time Investment
Day Project (6-9 Hours)
Comments
Wed, 05/27/2020 - 08:28
Great Job!
I love this. Functional but also decorative. Would you mind sharing the plan for your version?
Twin Farmhouse Storage Bed with Drawers
I love these plans, and my son loves his new bed!
Adam
Built from Plan(s)
Kentwood Nightstands
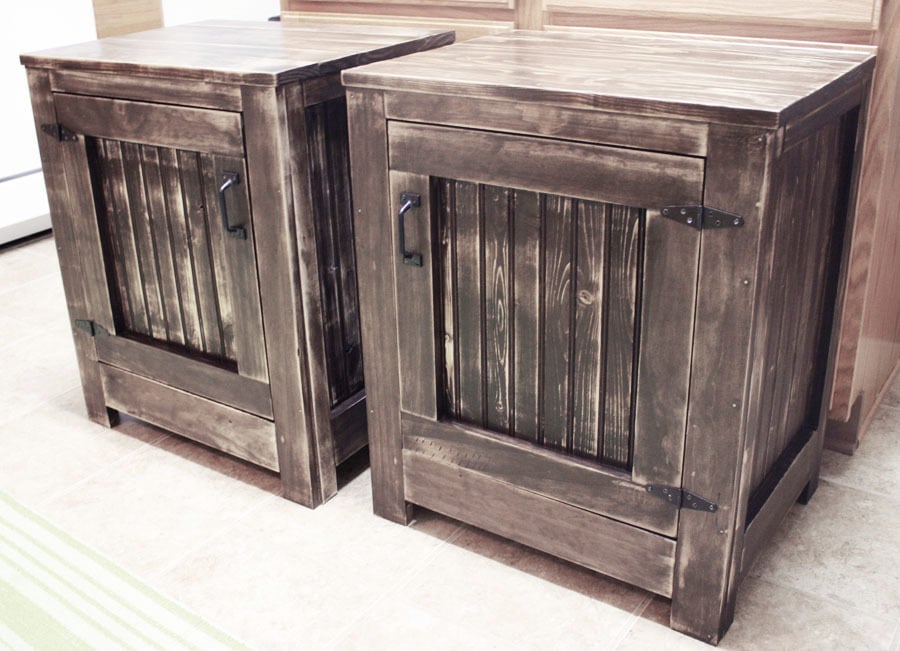
I really enjoyed making these nightstands (I made a pair). They were pretty easy to make, and I'm 7 months pregnant! I highly recommend the Kreg Jig - they made building these nightstands super easy and efficient. They're really sturdy too! If I can build them, anyone can! I'm still unsure about the finish; I may sand them down again and re-stain them a different color in the future.
Check out my blog link for the full play-by-play!
Built from Plan(s)
Estimated Cost
$70 per table
Estimated Time Investment
Weekend Project (10-20 Hours)
Finish Used
Rustoleum Ultimate Wood Stain in Dark Walnut, sanded down with 60 grit sandpaper and distressed, followed with 3 coats of Rustoleum Satin Polyurethane.
Recommended Skill Level
Beginner
Comments
Tue, 05/20/2014 - 13:33
Really Nice.
The finish is awesome, have been searchin around for some inspiration for the next project and just found it! great job and thanks!
-Justin

Modern Adirondack chairs and a modified bench
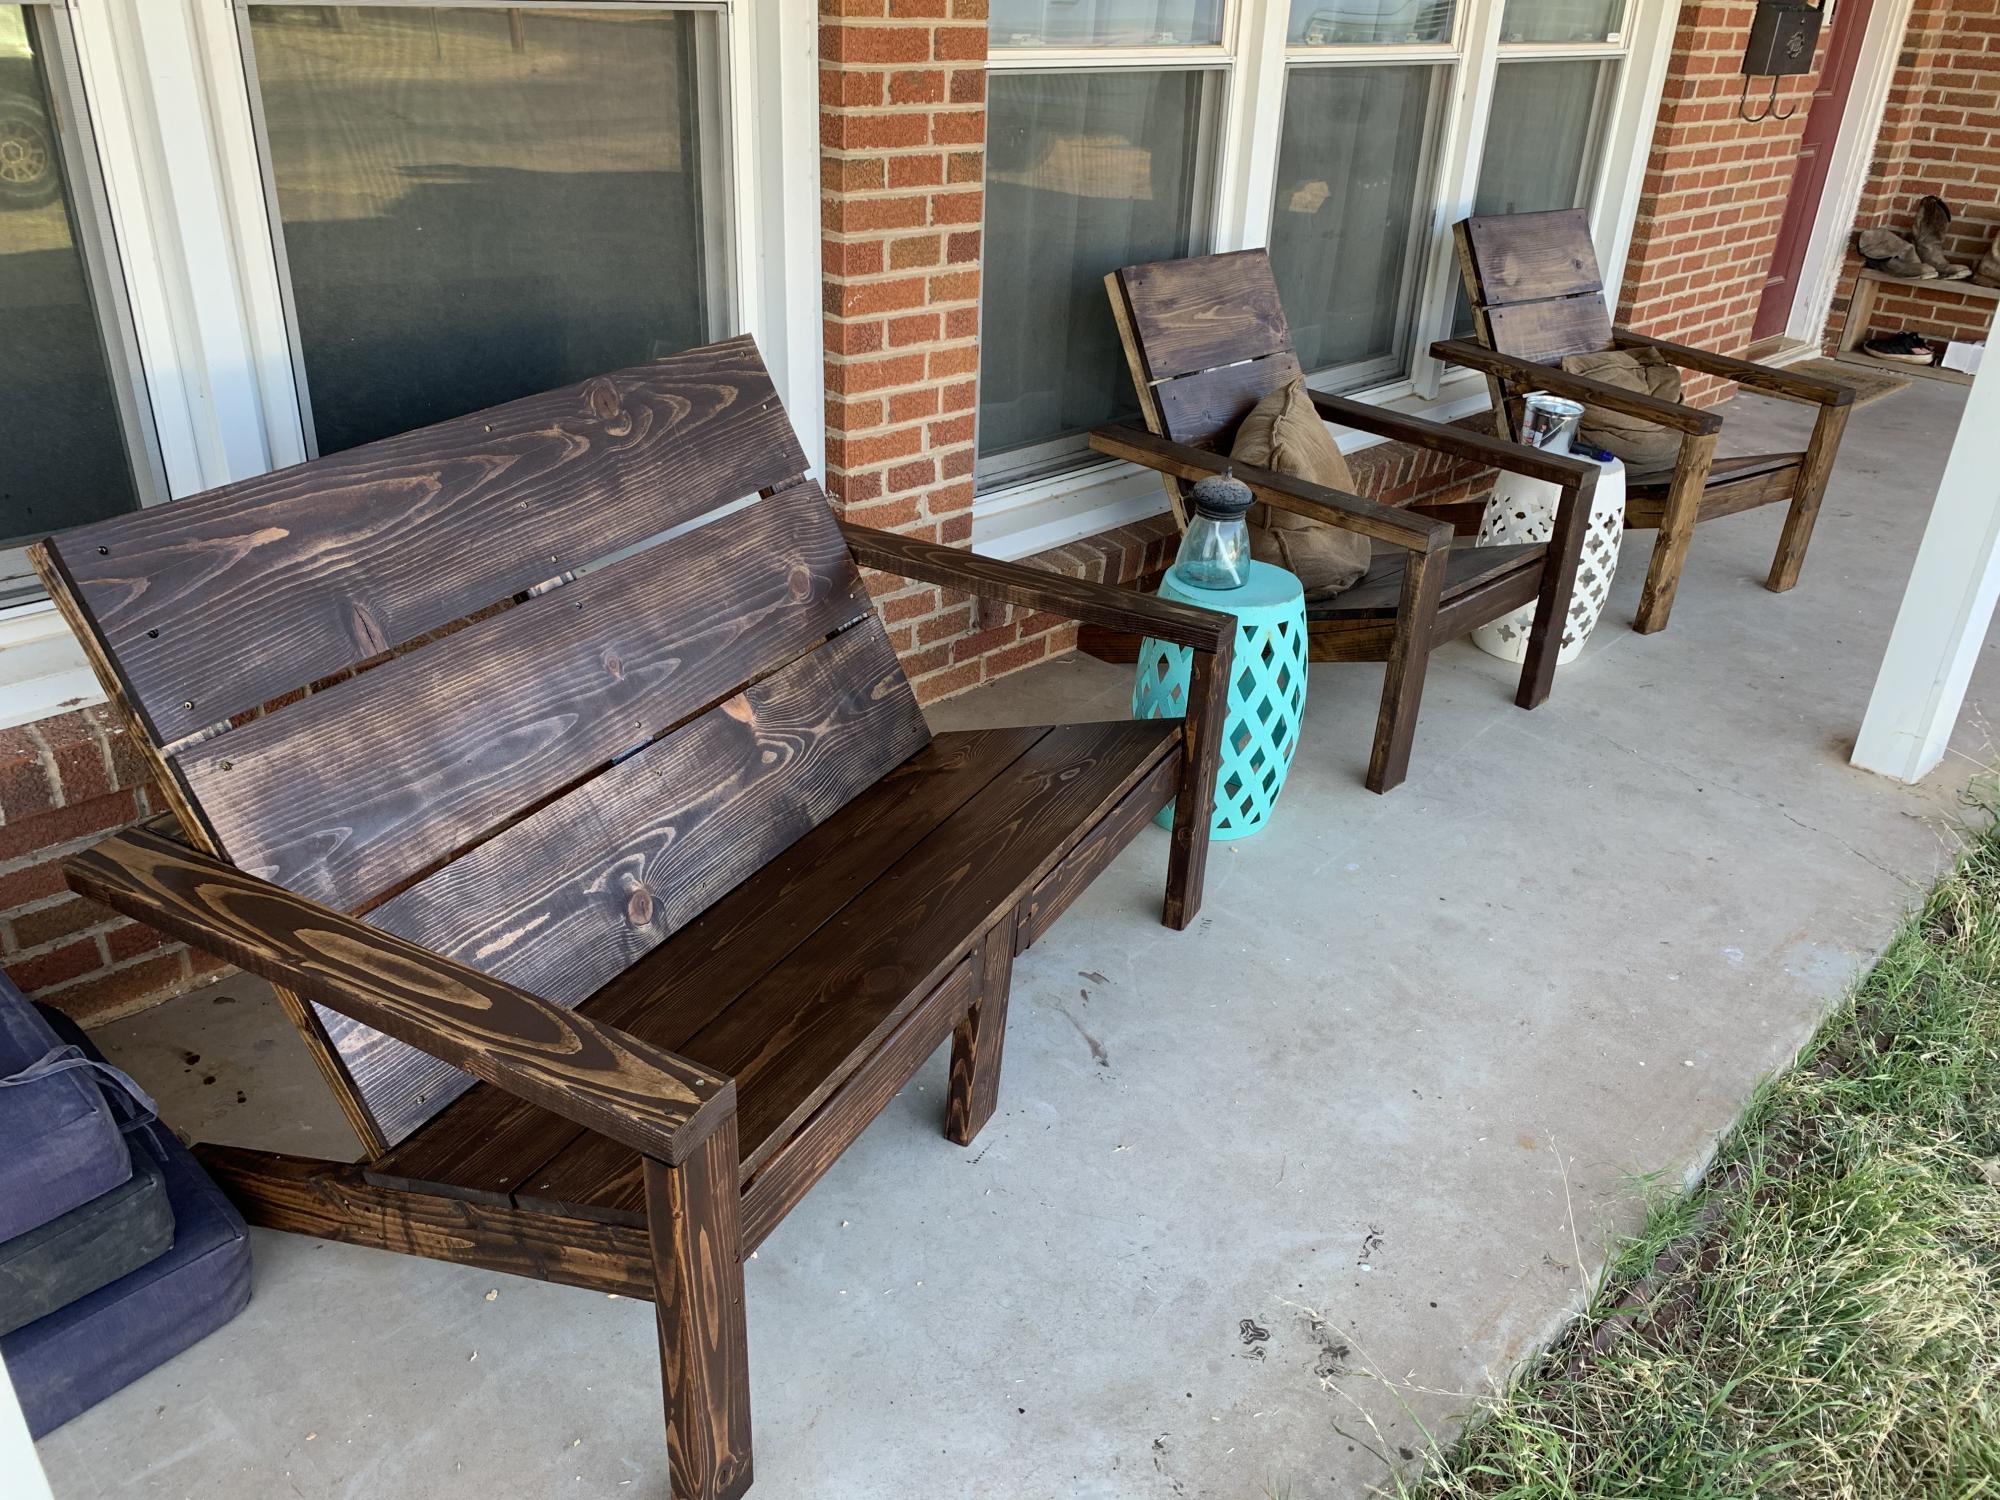
With a little modification, we turned these plans into a bench! We love it!!
Built from Plan(s)
Estimated Cost
$160 for all 3
Estimated Time Investment
Afternoon Project (3-6 Hours)
Finish Used
Dark walnut
Recommended Skill Level
Intermediate
Easy to Build Outdoor Wood Furniture
Really easy to follow instructions. Thank you!
Built from Plan(s)
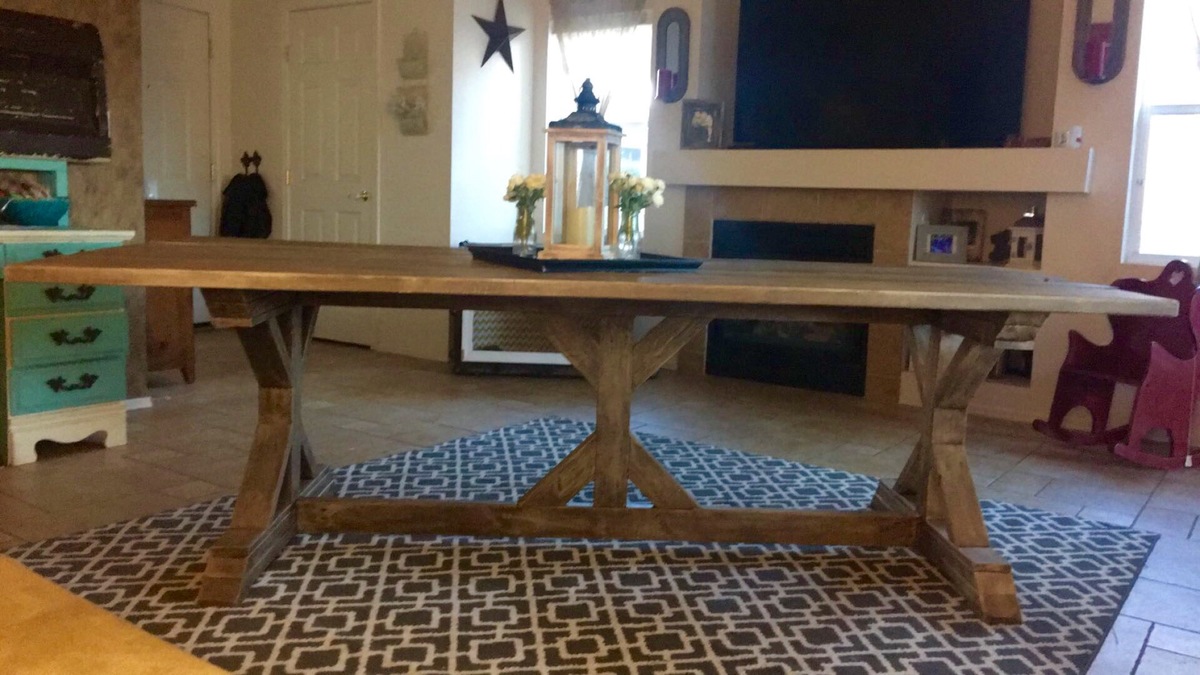
Fancy X Farmhouse table

This is all cedar with 6 coats of Urethane. Very nice project to undertake..
Estimated Time Investment
Day Project (6-9 Hours)
Finish Used
6 coats of Uurethane sanded between each coat.
Recommended Skill Level
Intermediate
Comments

Fri, 09/05/2014 - 16:06
Thank you!
Thank you Reshhia! I apprectiate your comments! Thank you for visiting our site and happy building!!
3-Stall Horse Stable
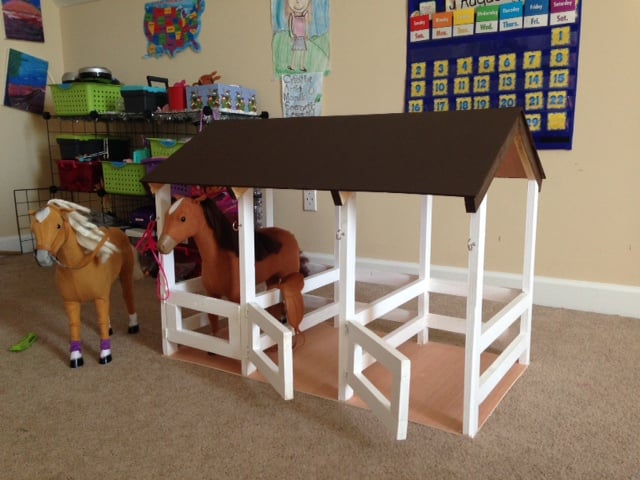
This was a Christmas gift for our three girls. They each have an American Girl-like horse. I saw all the stables in the brag section with double stalls. But I decided to make it into a triple stall instead. It didn't add much to the cost of the project and only took a little longer to complete.
I added some hooks on the outside of the stalls so they could hang the bridle. Our girls love it.
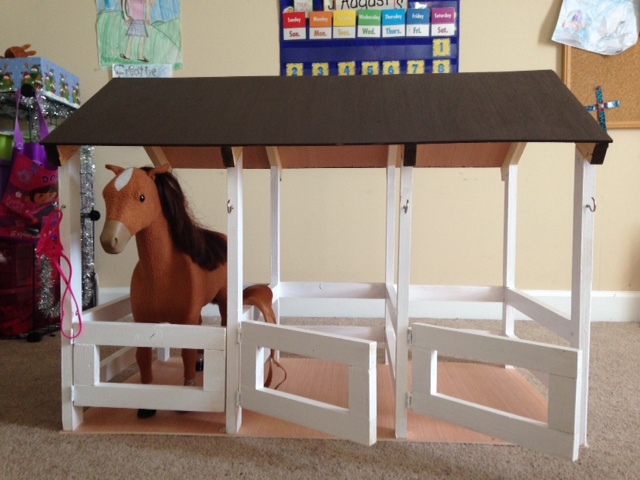
Estimated Cost
$80
Estimated Time Investment
Day Project (6-9 Hours)
Finish Used
I used a dark wood stain and white paint to finish the color.
Recommended Skill Level
Beginner
I did it!
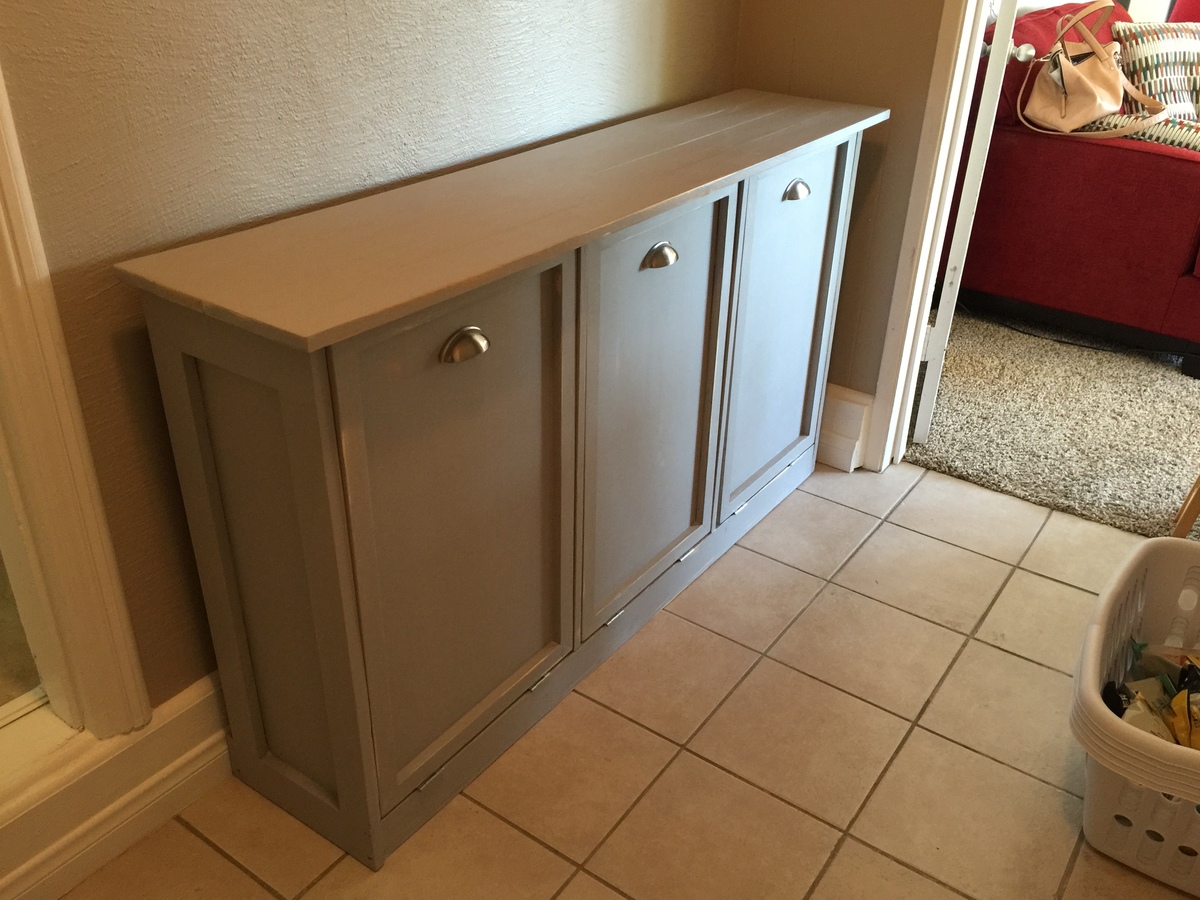
Thank you for all the wonderful plans!
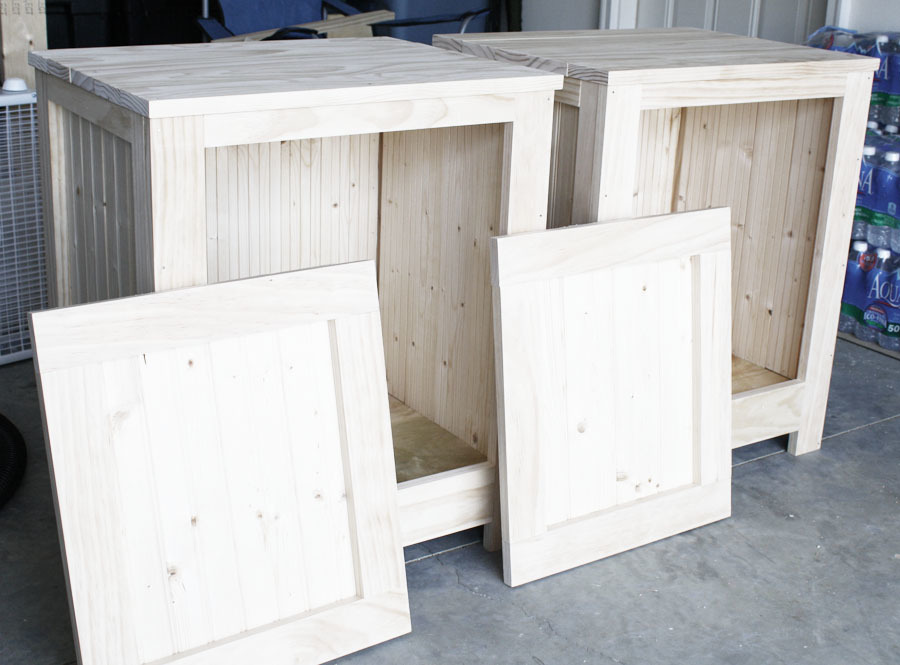
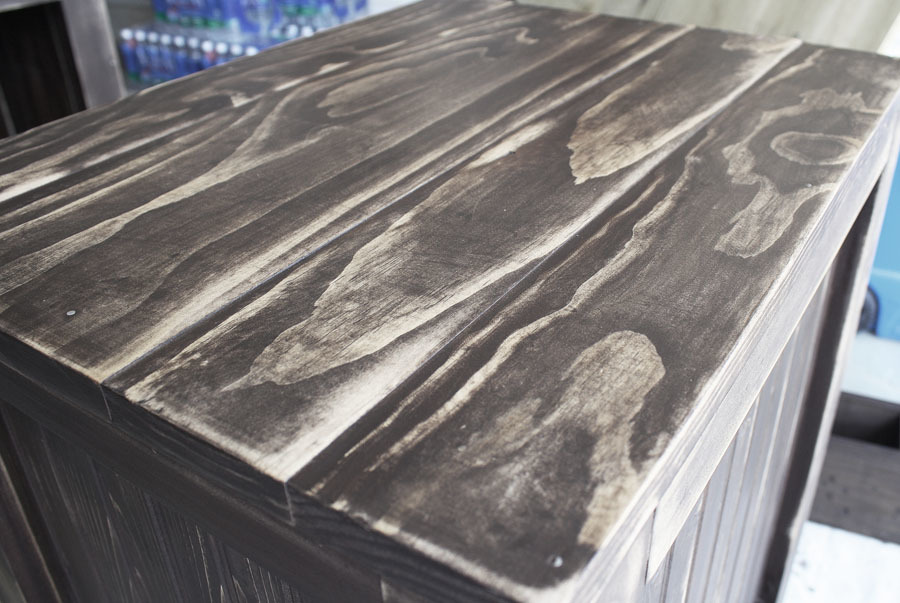
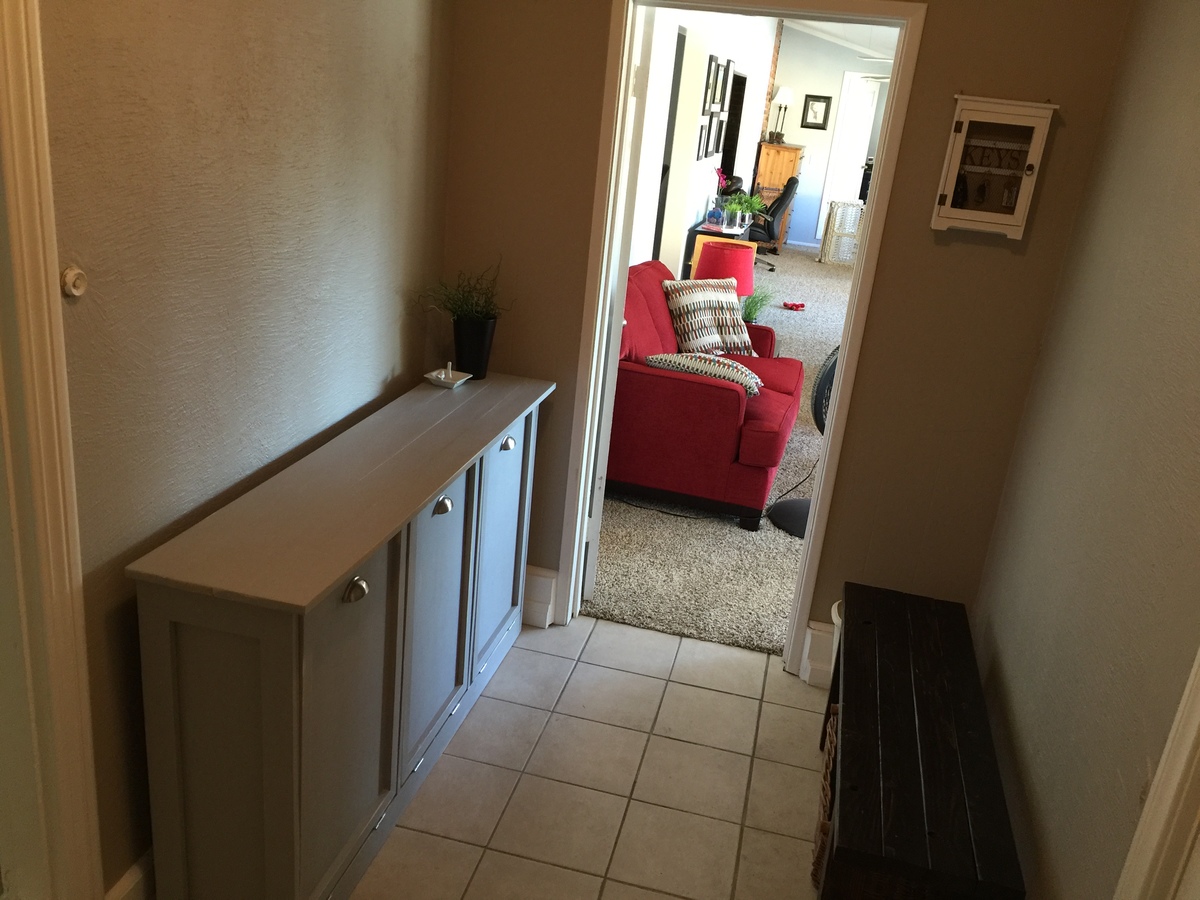
i used the modified plan of the tilt out waste bin that Shanty2chic put out as a three bin laundry sorter. It turned out great!
It is finished with chalk paint, lightly distressed.
Built from Plan(s)
Estimated Cost
$40 or so
Estimated Time Investment
Weekend Project (10-20 Hours)
Finish Used
Rustoleum's Chalk paint in old gray. Lightly distressed with the ryobi corner cat.
Recommended Skill Level
Beginner
Comments
Fri, 10/30/2020 - 10:44
Looking for plans for three bin tilt out cabinet.
Hi, you mentioned that you used the modified plan of the tilt out waste bin that Shanty2chic put out as a three bin laundry sorter. Can you share that please? Thanks!!
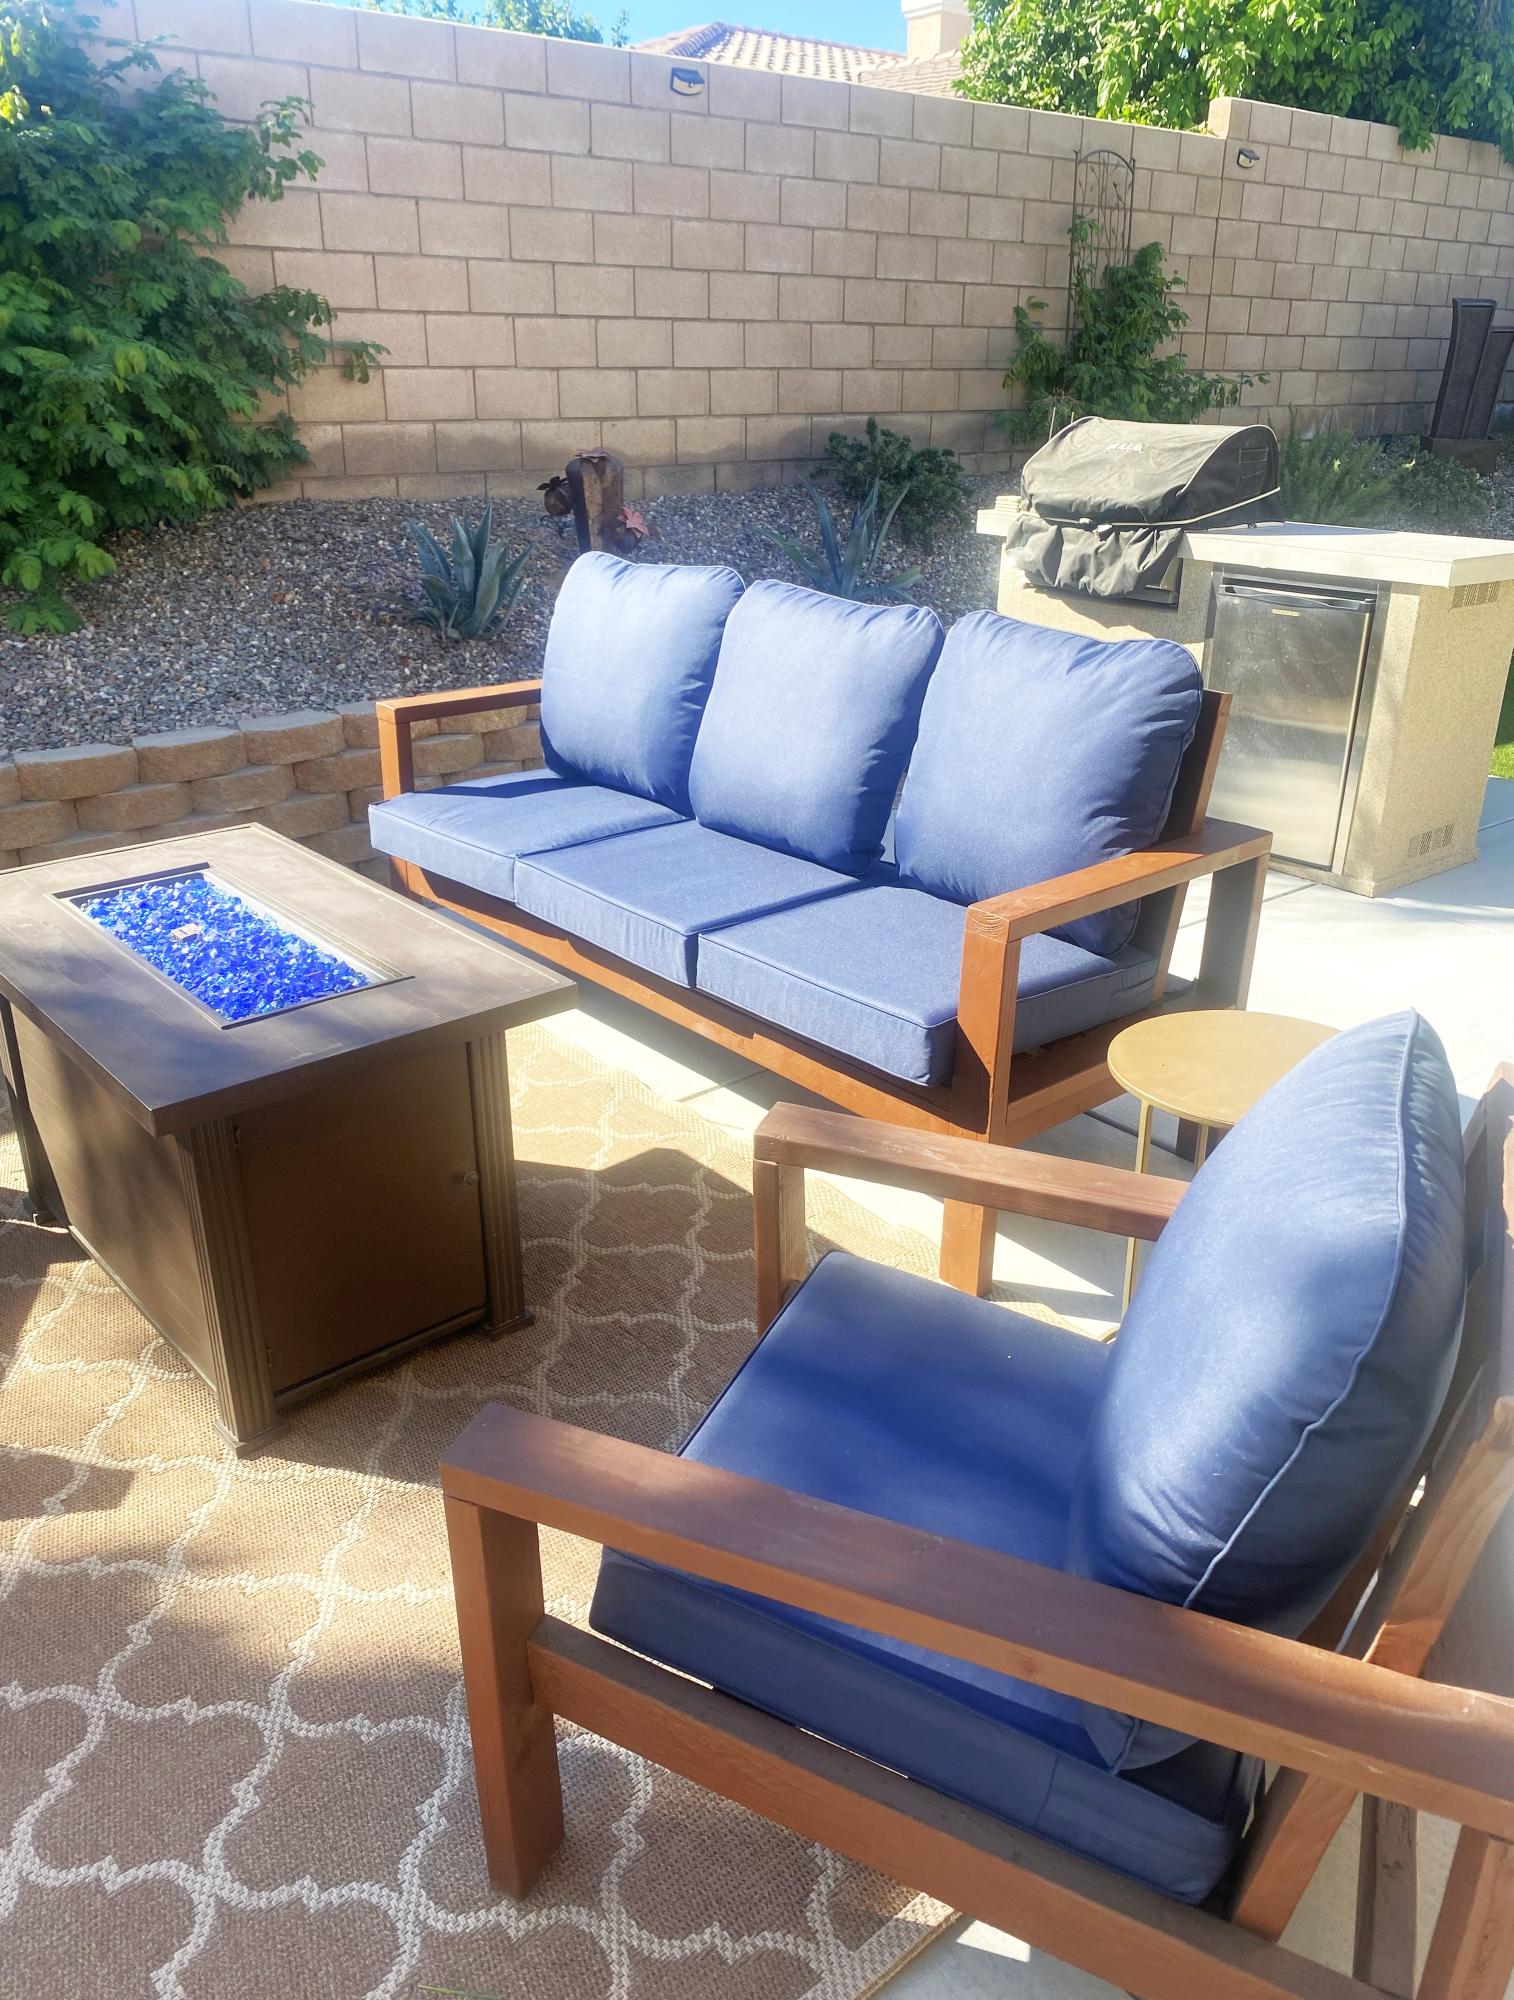
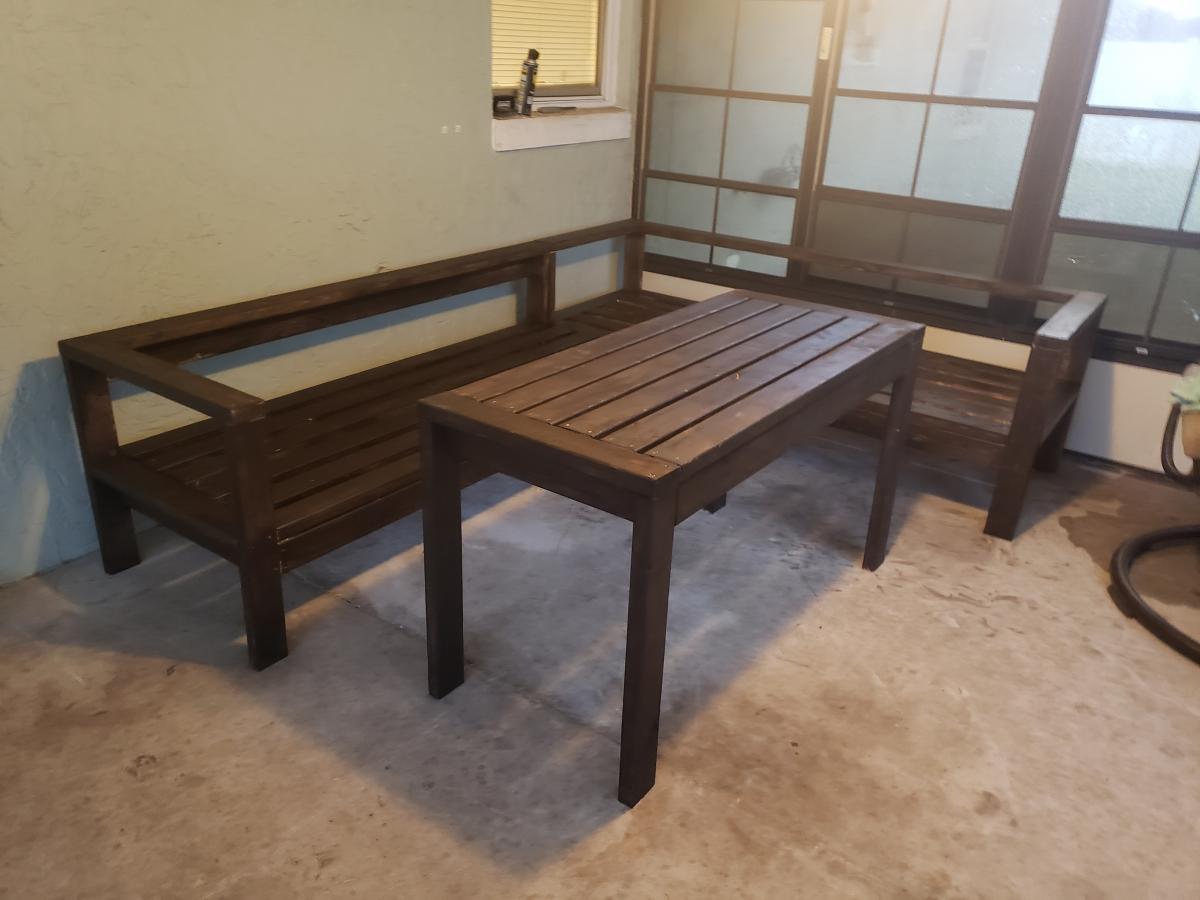
2x4 Outdoor sectional
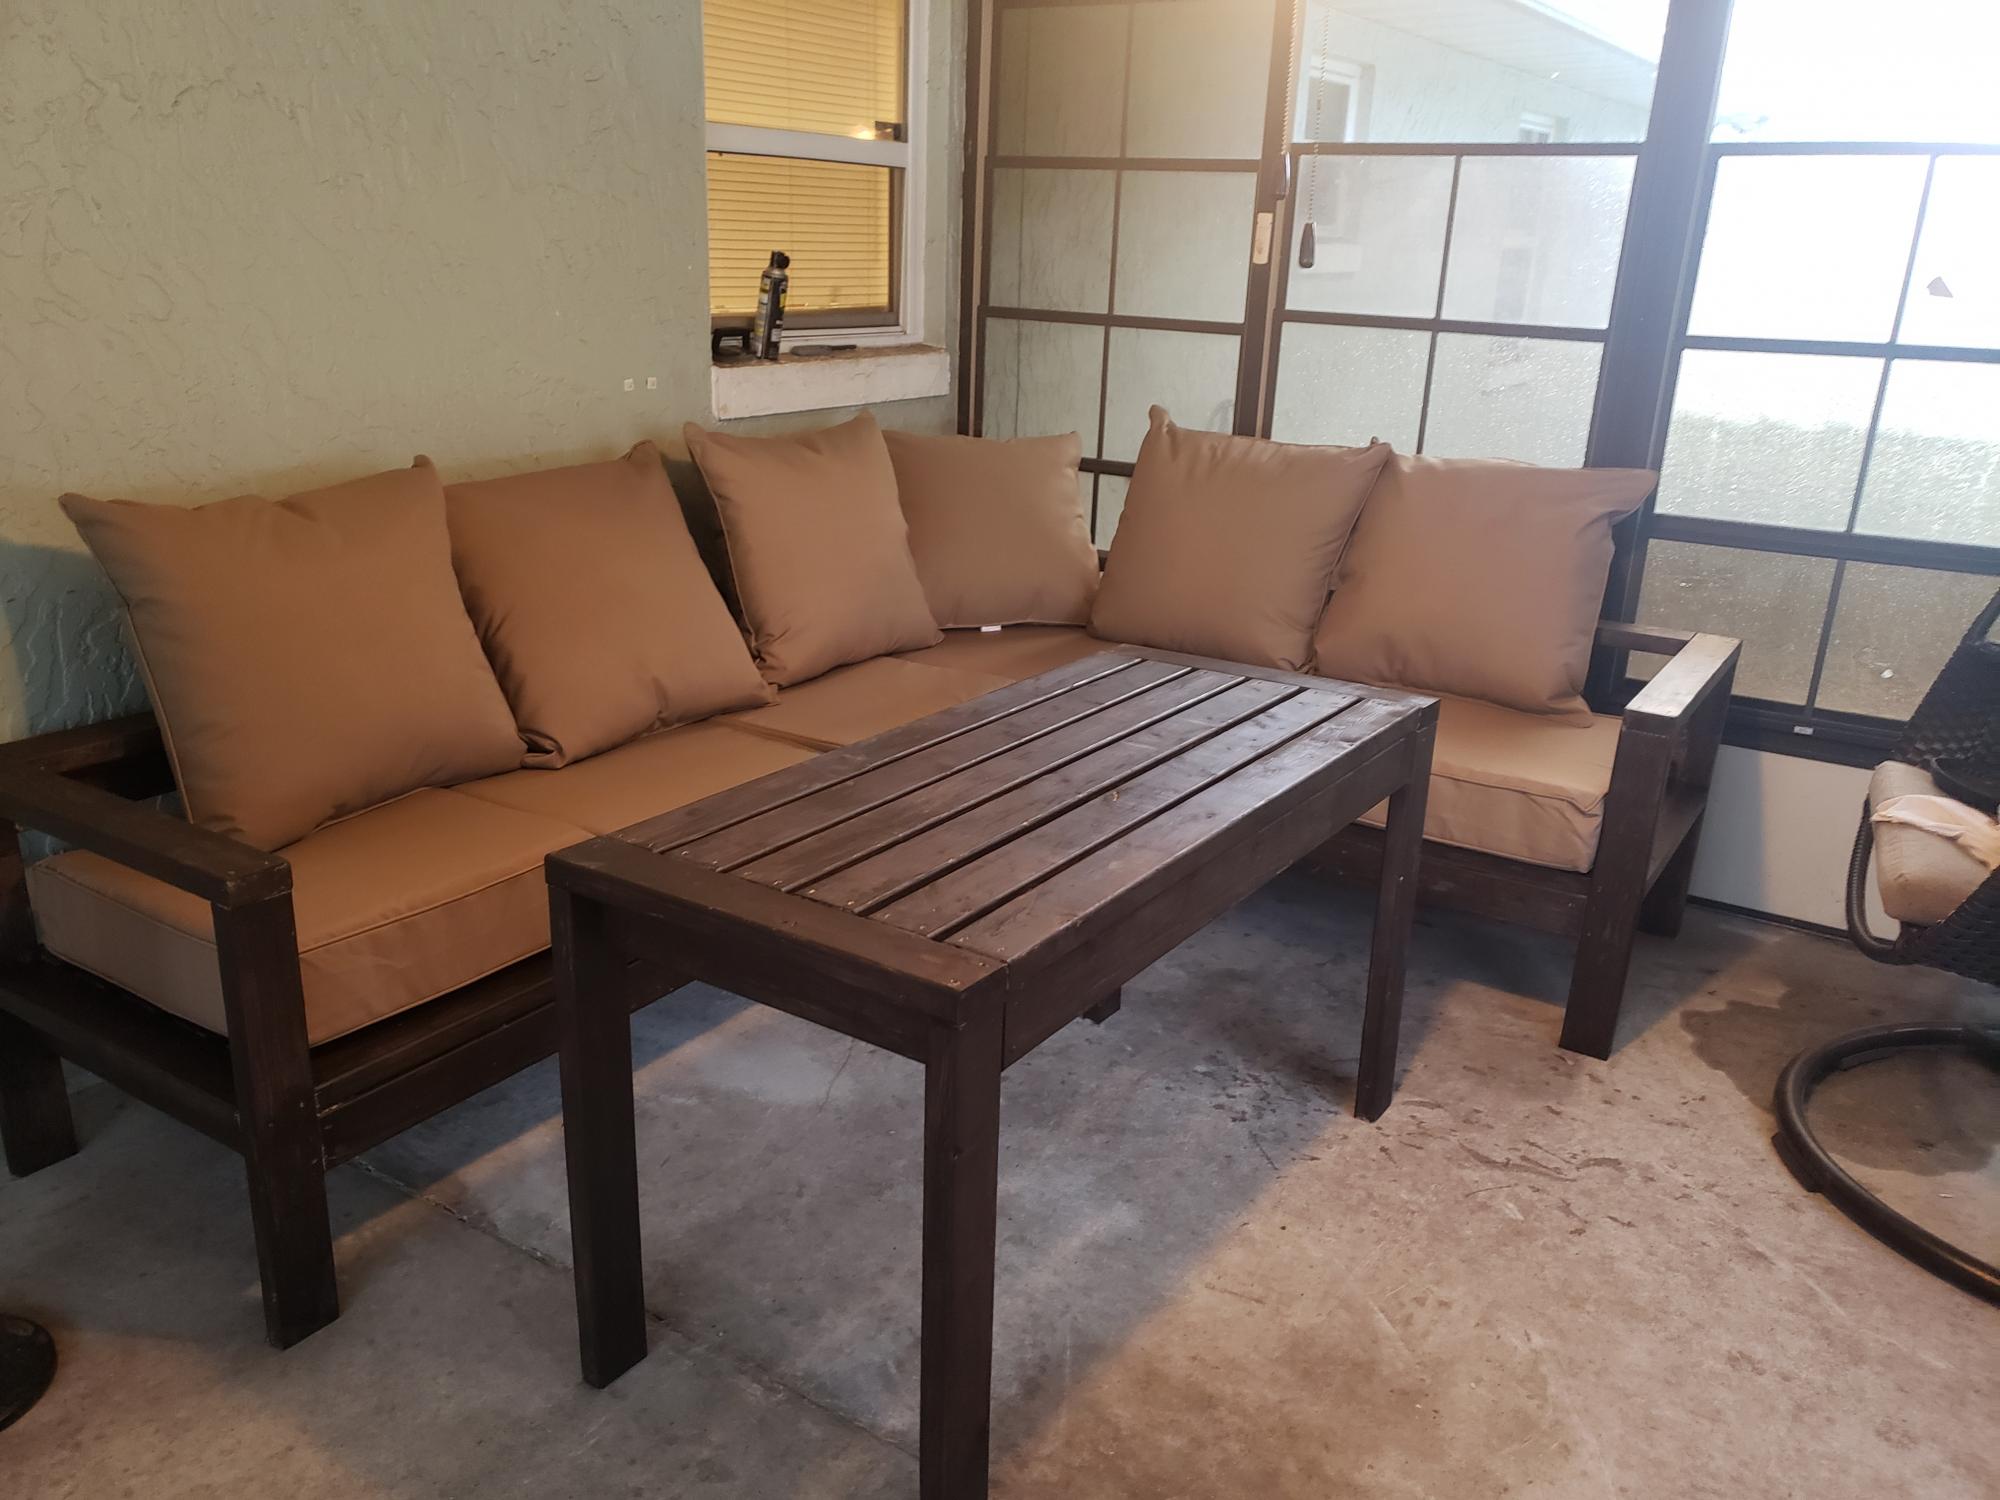
I stumbled upon this page and instantly fell in love. I made the 2x4 outdoor sectional this week with a few tweeks to make it work for us. My husband does a lot of computer work on our patio so we did the tall table to make it work. I plan to add a shelf at the bottom and touch up on my staining but for my first project I'm impressed. With the instructions and lists given this was a breeze of a project!
Built from Plan(s)
Estimated Cost
160$ before cushions
Estimated Time Investment
Weekend Project (10-20 Hours)
Finish Used
Semi transparent stain
Recommended Skill Level
Beginner
Adjustable Farmhouse Bed
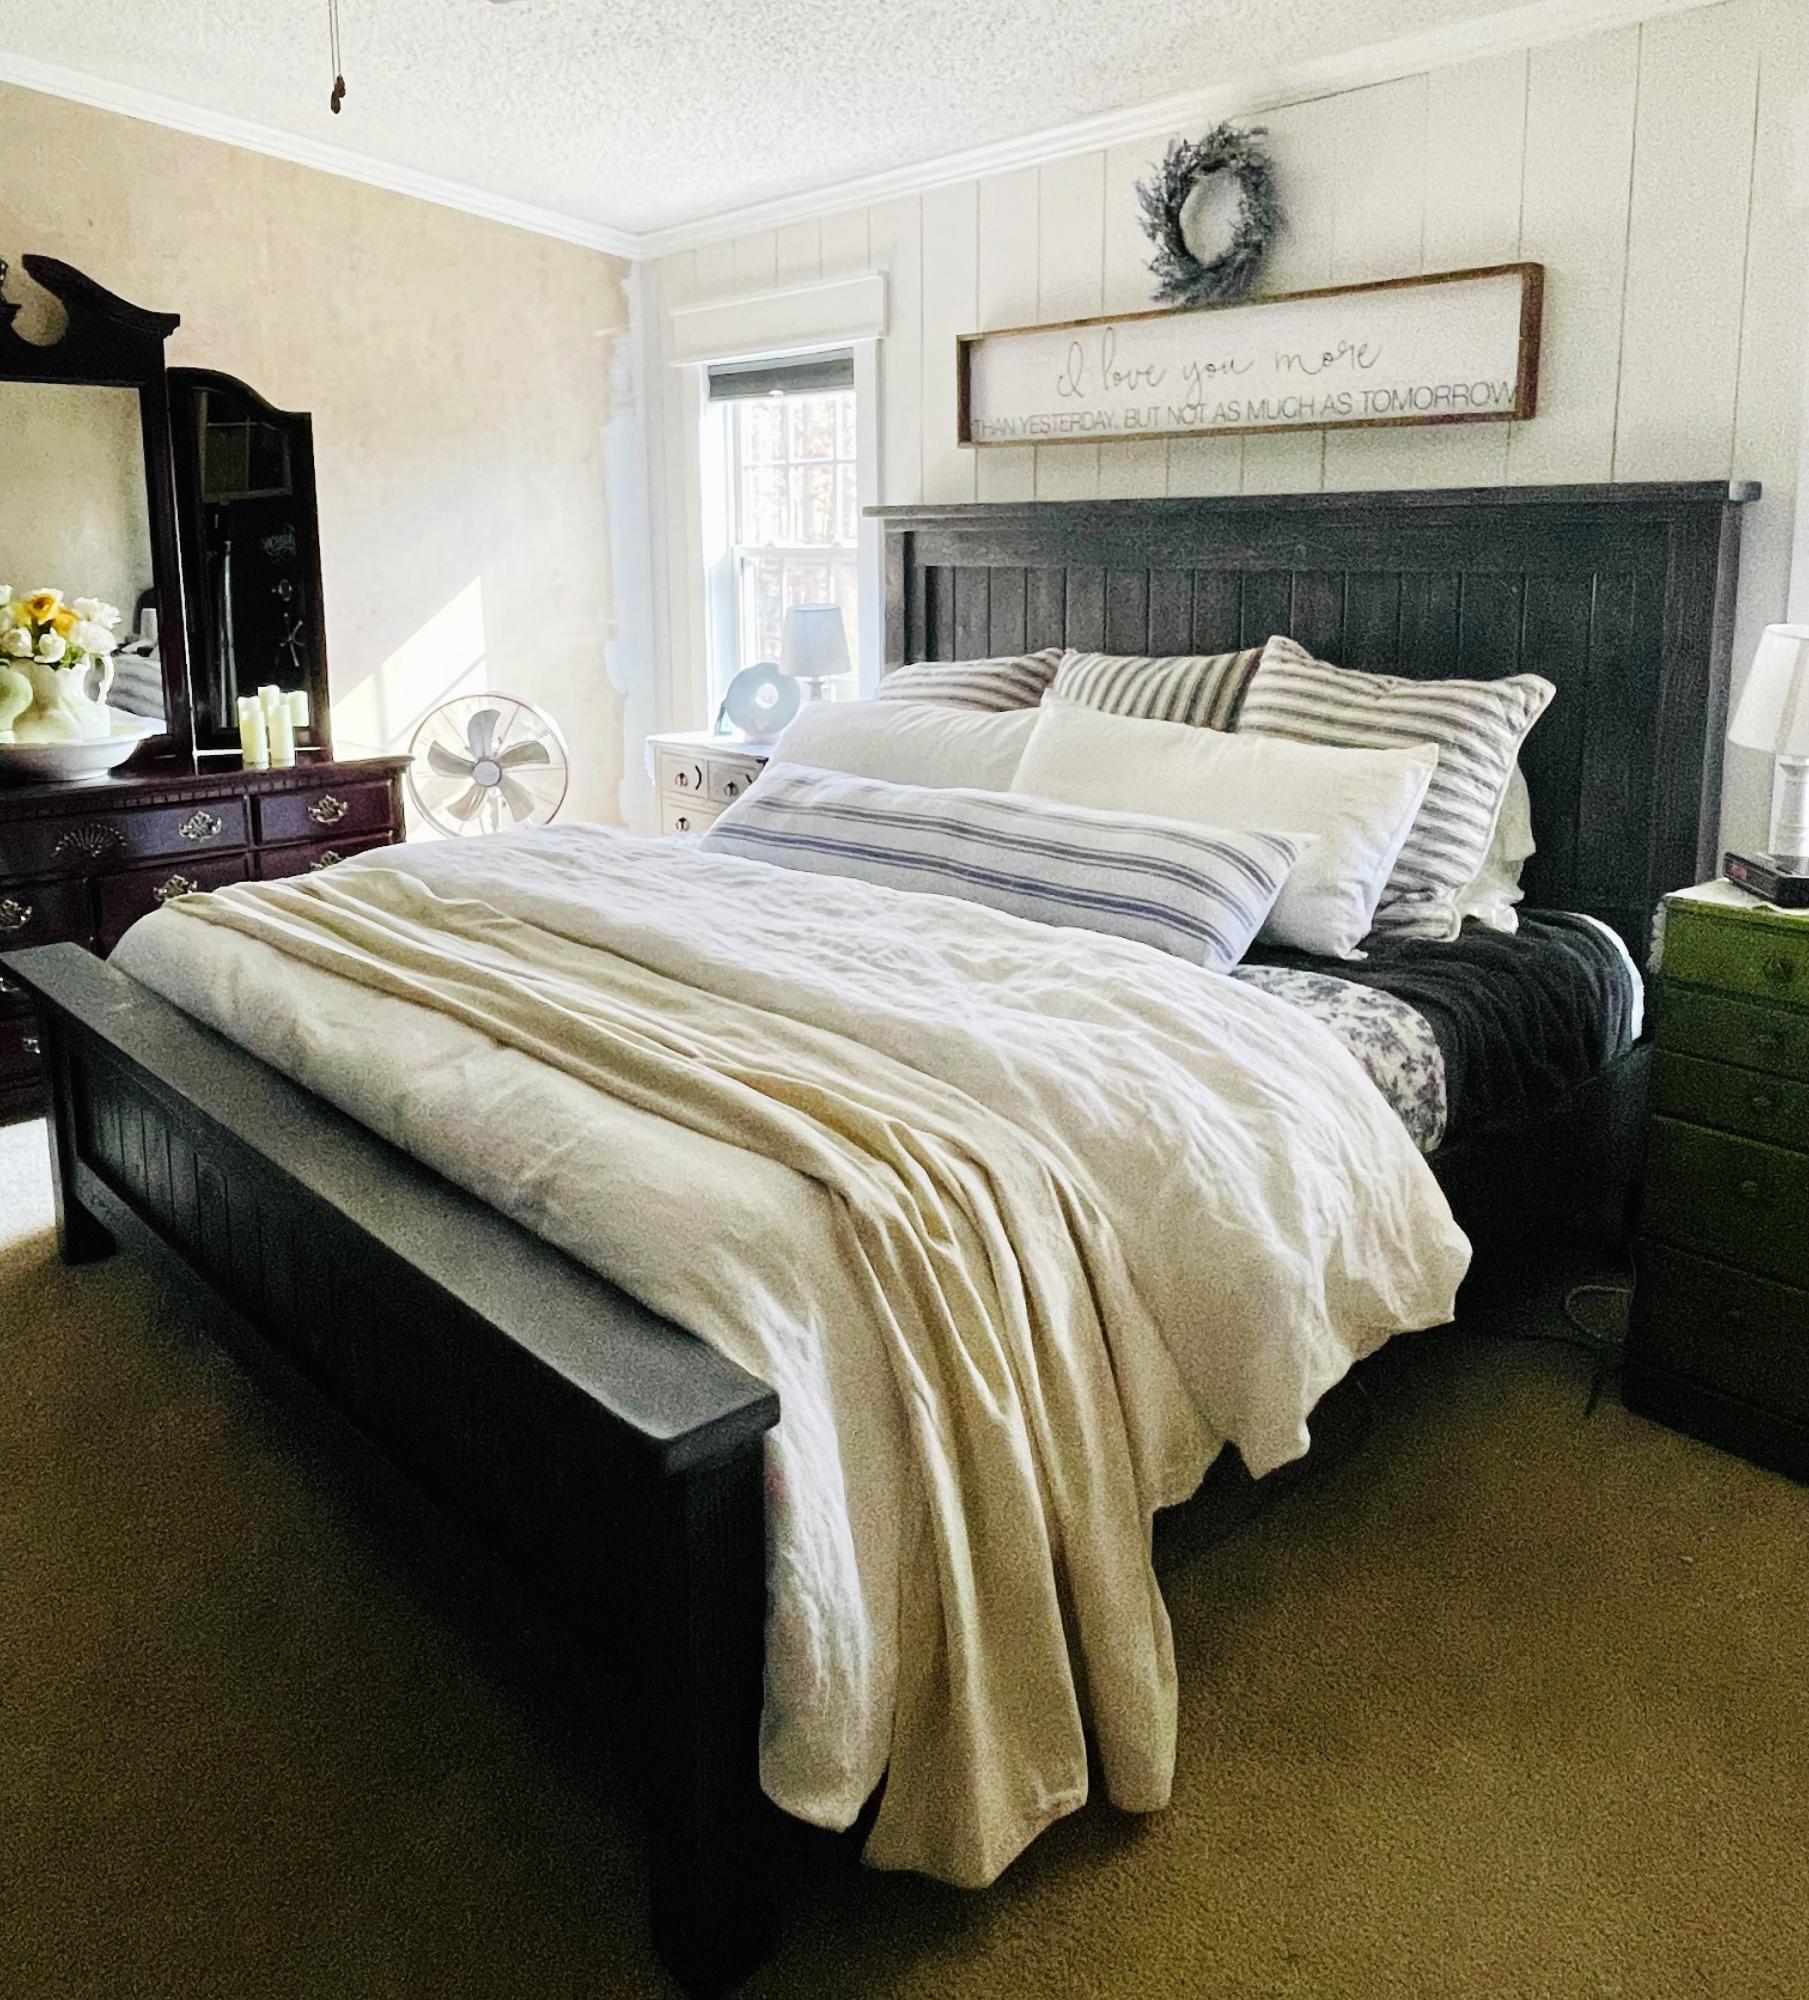
I modified the plan a little to accommodate an adjustable bed frame. I am absolutely in love with the finished product. Thank you Ana!
Kim
Built from Plan(s)
Wine Bottle Lamp
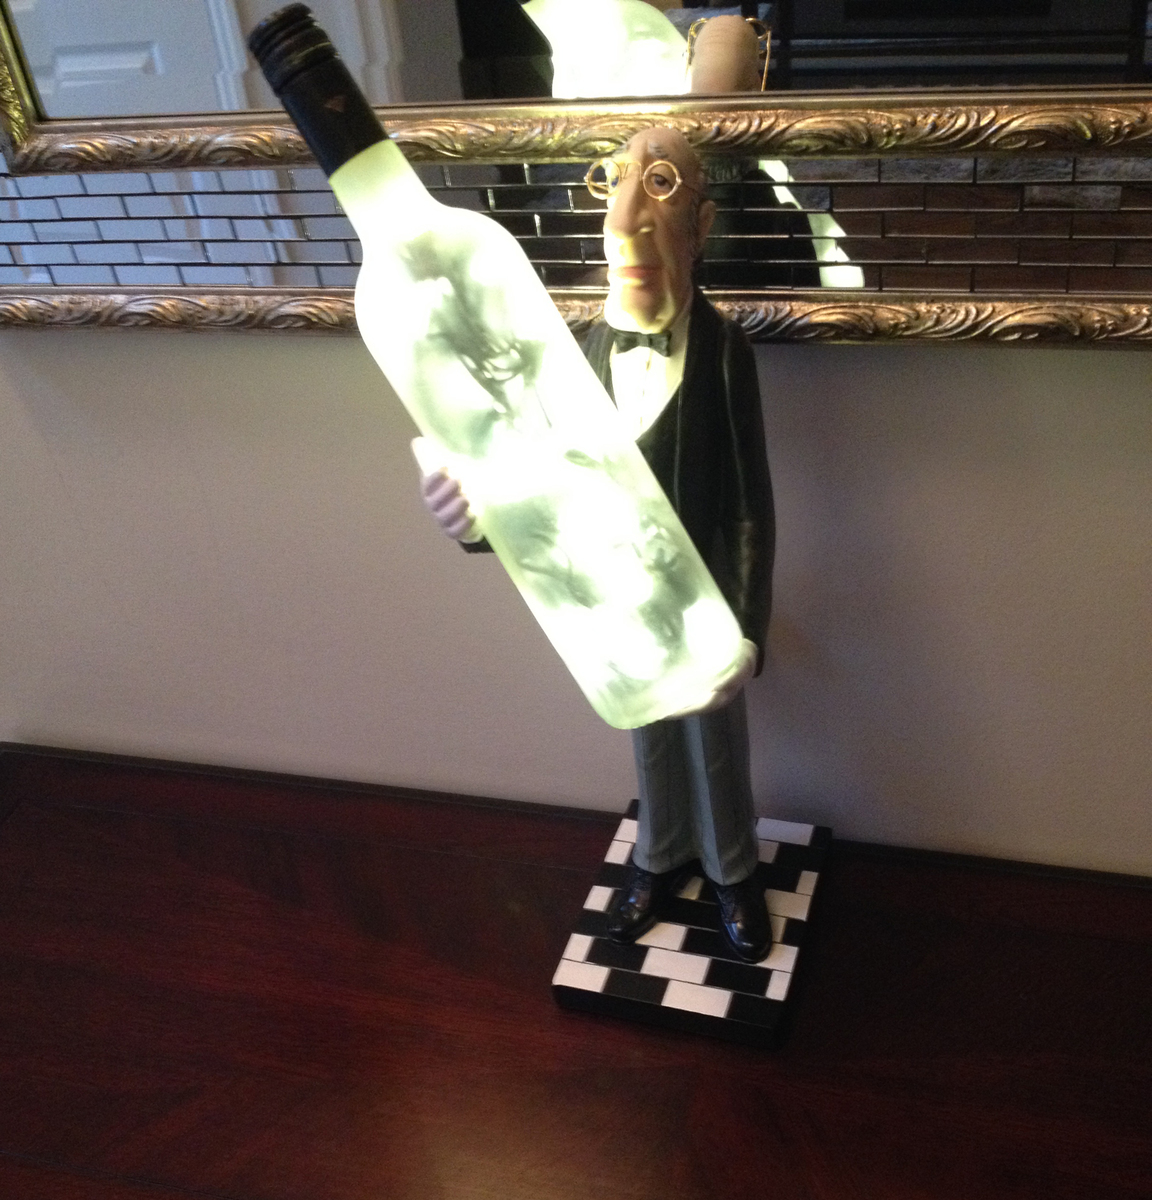
Learn how to take an old wine bottle and convert it into an accent light figure. Use it in your kitchen, bedroom, bar and more. With just a few tools you can be on your way to creating something cool.
The tools you will need to get started are:
Power Drill
3/8 diamond drill bit (ask your home improvement store for bits made for glass)
If you find the lights are too hard to push through, then you can drill a 1/2 inch or 5/8 drill bit.
String light (25-50 LED lights)
Rustolem Glaze finish
Wet Sponge or access to a water hose
Here are some quick steps to use.
1) The first thing you will need to do is dampen the area where the hole will be drilled. When you cut through glass, it heats up really quick so you have to cool it down with a wet sponge or run cool water over it in between drilling.
2) Start off by slowly drilling an indent into the bottle. The drill bit will wobble around but once you get the groove in there, it will anchor itself and go through smooth.
3) Drill in increments, then wipe down to cool bottle and continue drilling again. The entire process to drill the hole through the bottle took me 5-7 min. Once the hole has been drilled, wipe it down with a sponge to get any loose glass chips off the bottle.
4) Take you LED lights and push in one bulb at a time into the hole drilled in bottle. You can use a coat hanger from the top (neck) of the bottle to pull the wires up.
5) Once all the wires are in the bottle, then tape up the remaining wires on the outside and the neck. Grab your glaze and spray it on. Be sure to do this in a well ventilated area and wear a mask.
6) Once done, grab a 2 sided male extension cord from your home improvement store and plug it in and wash it glow.
Note: Although LED lights emit low heat, you may want to create some kind of ventilation for your bottle. I drilled another small 1/4 hole near the middle to allow for any built up heat to escape. You can also take a sharp tack and pierce the lid of the bottle.
To view the video tutorial please go to https://www.youtube.com/watch?v=5yvgzacdJMQ or visit http://respaceit.com and go to the "how to" section.
Let us know what you think!
Built from Plan(s)
Estimated Cost
$20
Estimated Time Investment
Afternoon Project (3-6 Hours)
Finish Used
Rustolem Glaze Finish
Recommended Skill Level
Starter Project
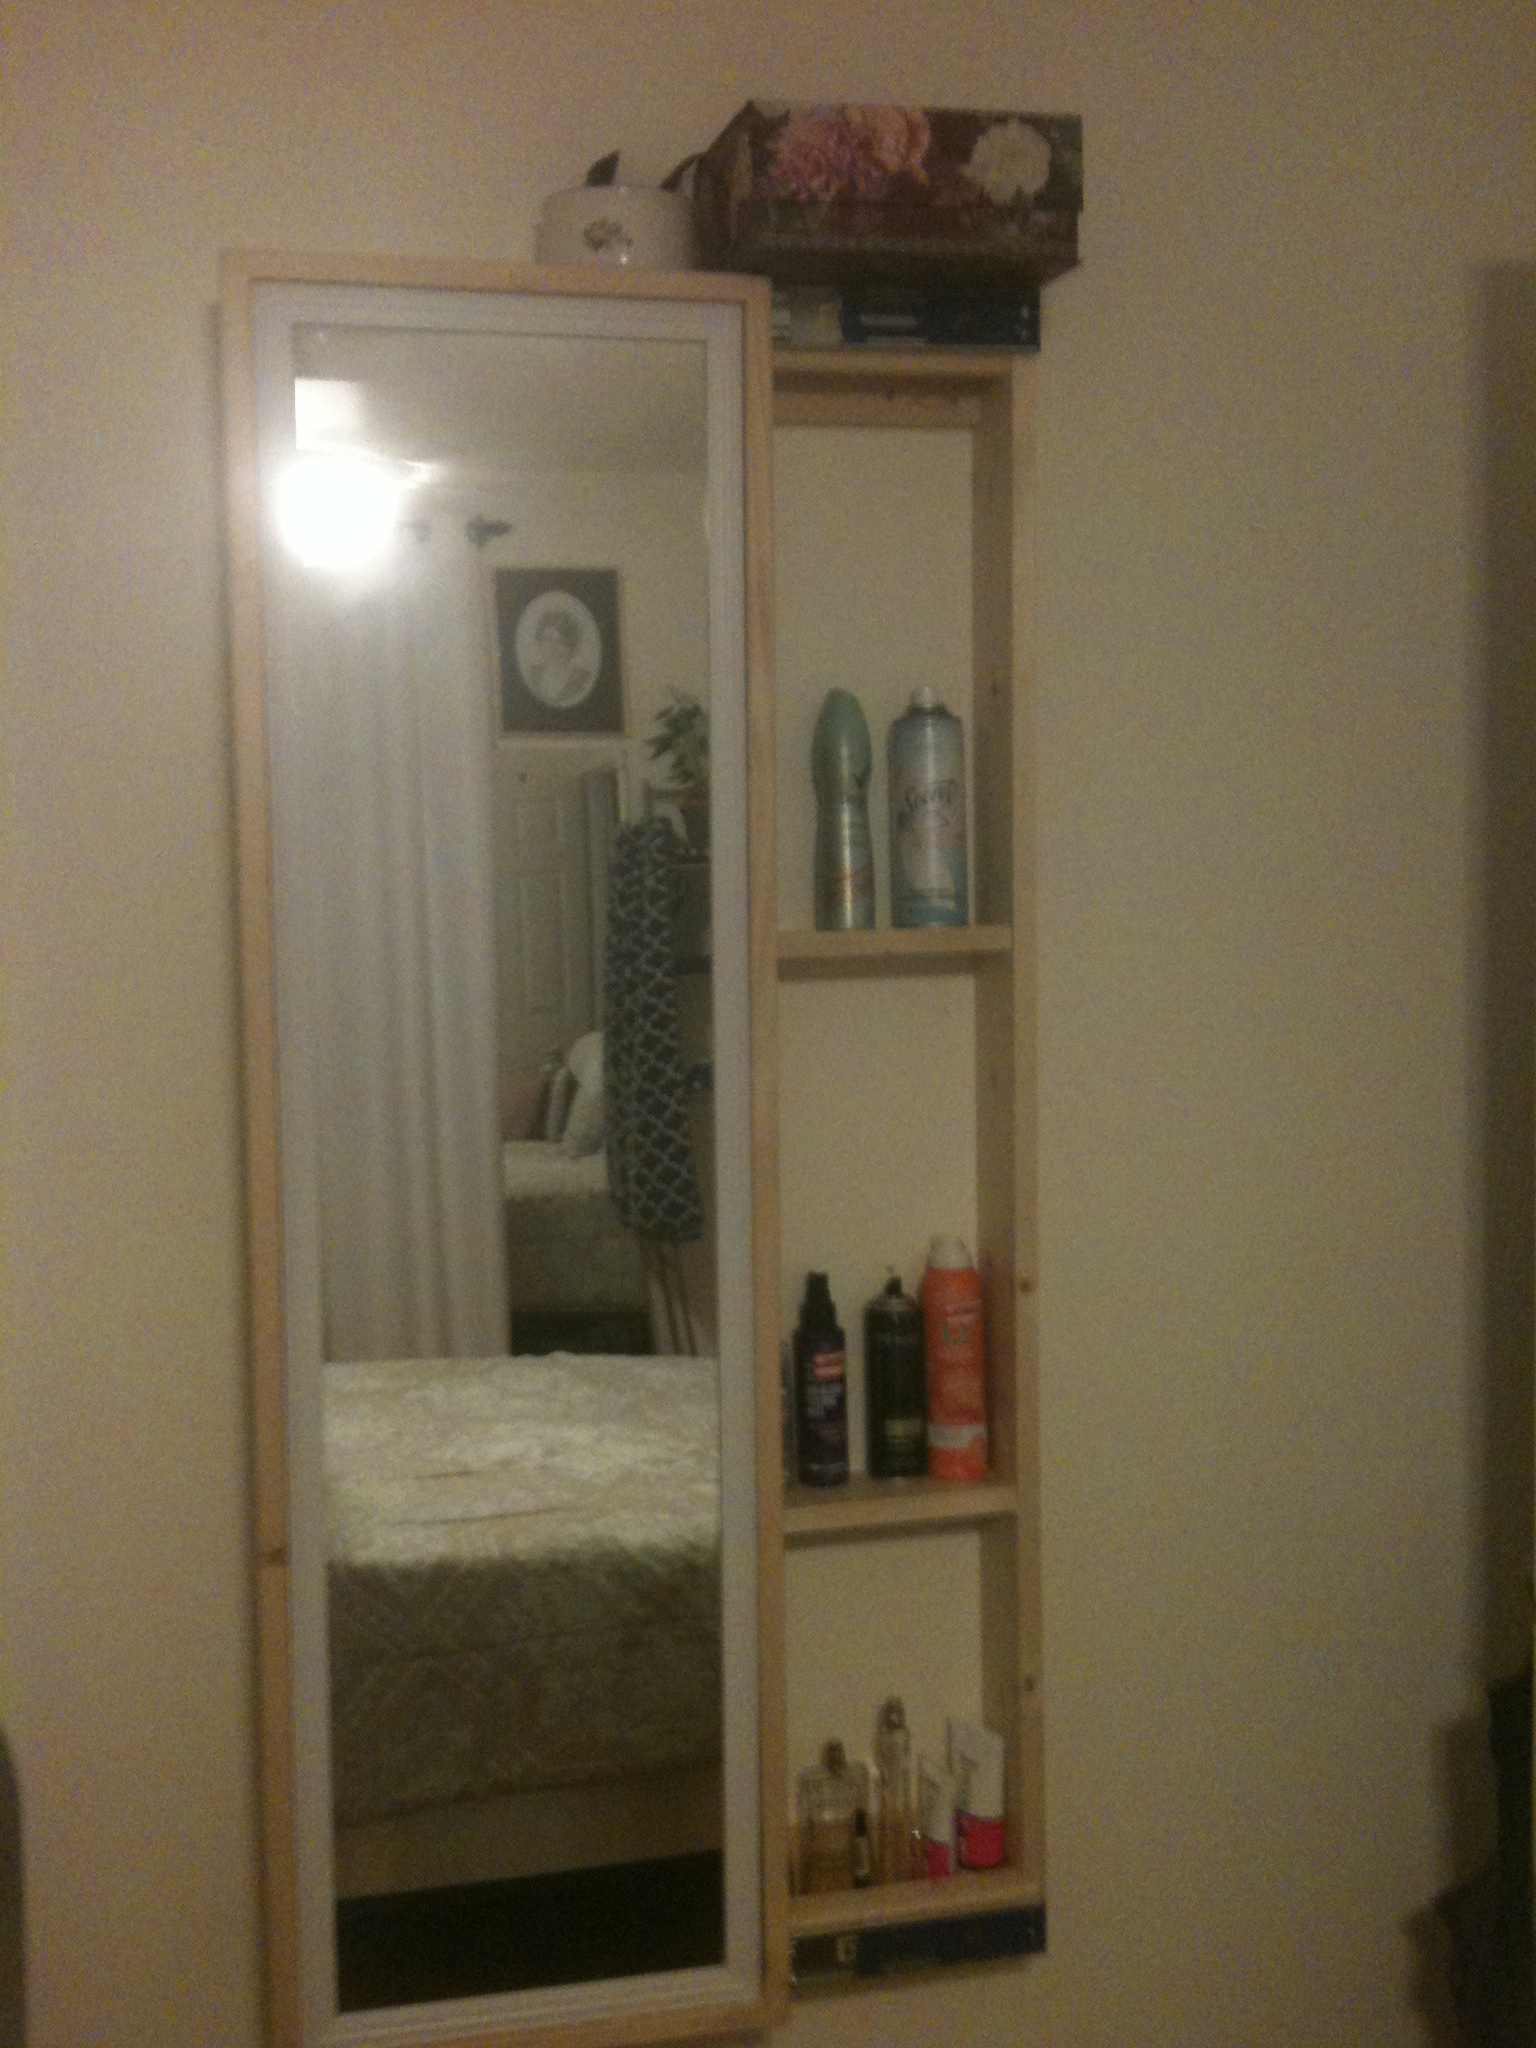
Master Closet Remodel

Here are some photos of my closet. I used these plans as a starting place. If you look, you will see I essentially built three units, one for each wall, and attached them using "bridges". I added drawers with soft glide closing slides for the rich feel. On the main hanging rods, the ones they sell in your local hardware box store and quite expensive (about $30 for an 8' length), so I bought chainlink fence bars, which cost $10 for a 10' length, and took some 0000 steel wool to them, and then polished them. They look like chrome. For the corners, I could not find anywhere what I wanted, which was a rod that would mimic the shelf above it, which is two 45 degree turns. So, I bought a 10' length of 1" electric conduit, and cut it in half and then put two 45 degree bends in each piece. I did this right in the store with their conduit bender and it took all of like 10 minutes. Then, when I got them home, I simply cut off the ends to the exact size needed in each corner. I used a "U" socket on each end, and a hanging loop in the middle. Both corners cost me less than $20. The drawer glides were on Amazon, and were $120 for 15 pairs of soft-close glides with the brackets (Get the bracets, as they are not that expensive, and will make installing these glides much much easier.
Another money saving thing I did was the double doors. The store does not stock double doors, and they must be special ordered, at a cost of almost $275, and would take 4-6 weeks to get. So instead, i bought two 24" single pre-hing interior doors, and removed the frame on each one where the door would latch. I removed both headers as well, and used one of the side for the top. I used a spring loaded ball socket for the less used door, and installed the indent plate for the ball socket where the latch would have gone if used as a side frame for the doorknob (I hope that made sense). Basically, I put two 24" pre-hung doors together to make one double door. It cost me $130 and a couple hours labor, to make a very nice double door.
I used sanded birch plywood, all connected with Kreg-Jig screws and wood glue, stained with Minwax Jacobean, and used a satin clear on the main portion and semi-gloss on the drawer fronts for that "rich" look. The entire closet cost me between $800 - $1,000, with everything, including the plywood, 1x2's, screws, stain, clear, drawer glides, handles, and misc.
I would not have known where to begin without the help on this site, and once I got going, I was able to modify and improvise along the way to fit my needs. Thanks.


Estimated Cost
$800 - $1,000
Estimated Time Investment
Week Long Project (20 Hours or More)
Finish Used
Minwax Jacobean with satin and semi-gloss clear
Recommended Skill Level
Intermediate
Leaning Ladder Dropzone
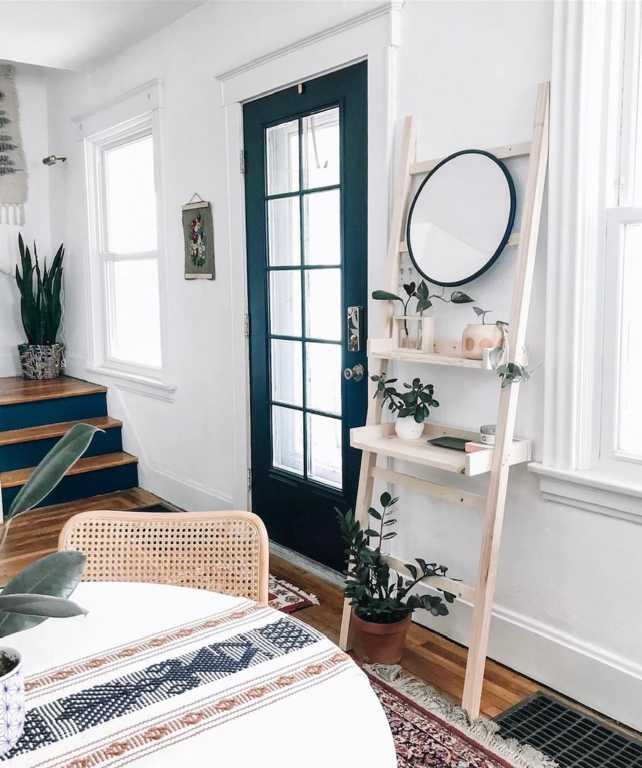
PErfect for smaller spaces or homes without mudrooms. Love the minimalist style!
Built from Plan(s)
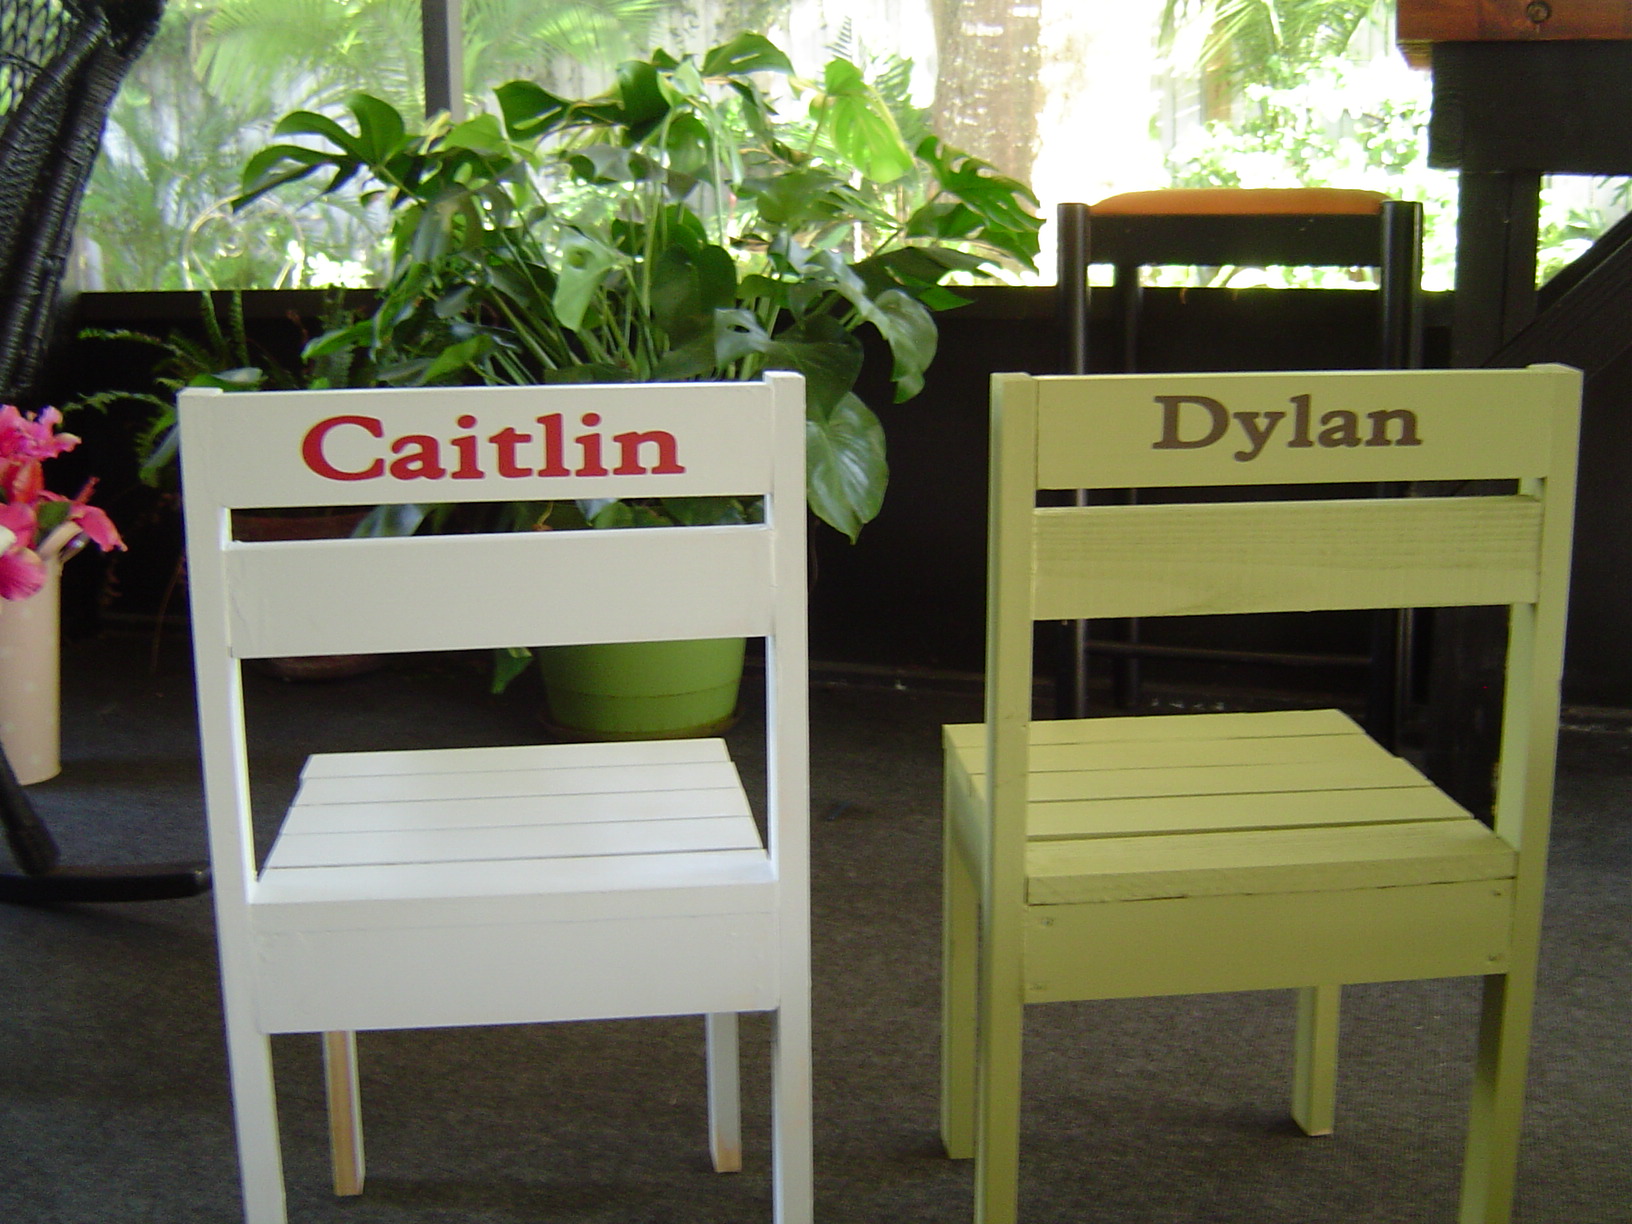
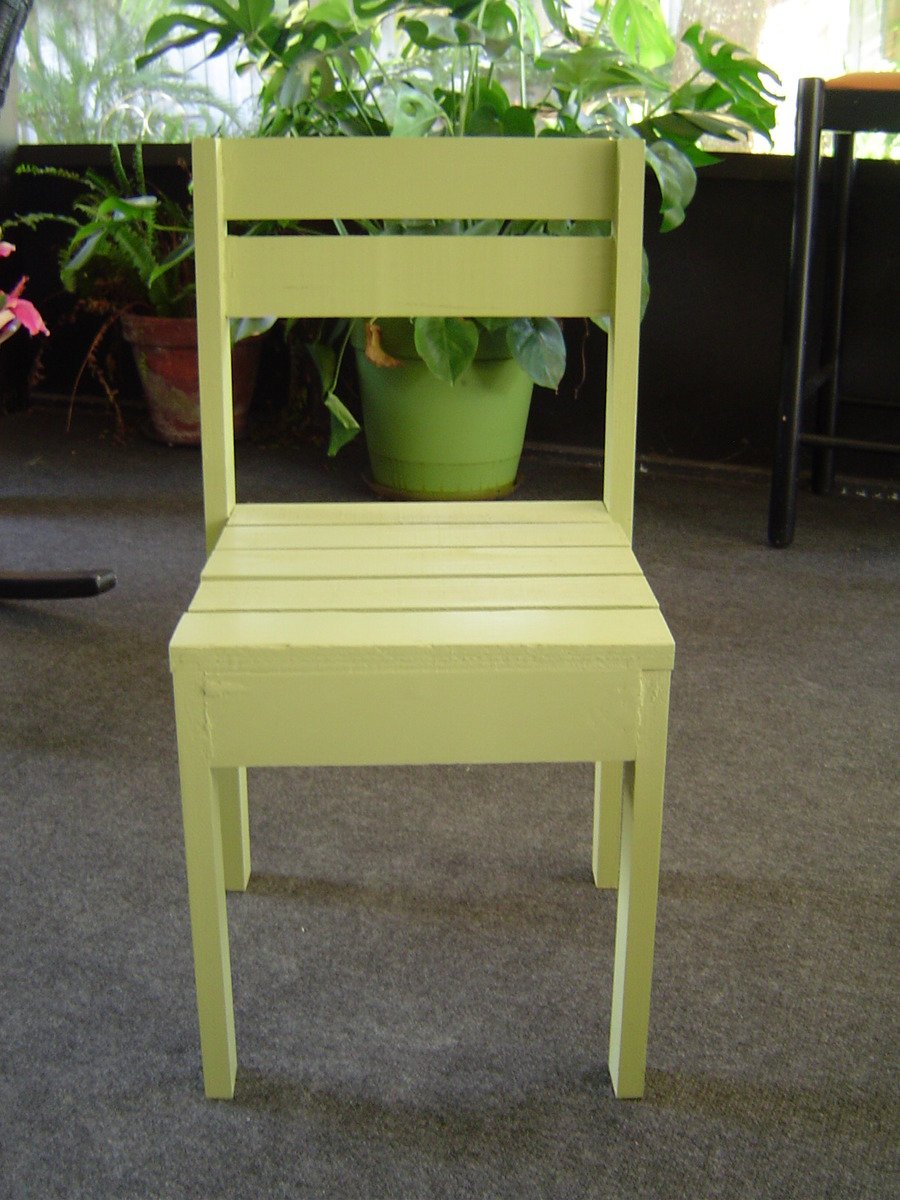
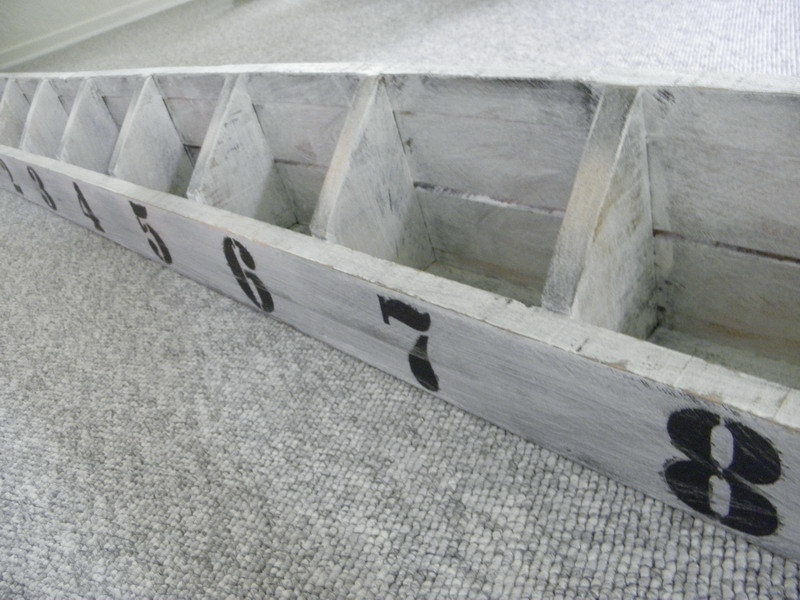
Numbered-cubbies-wall
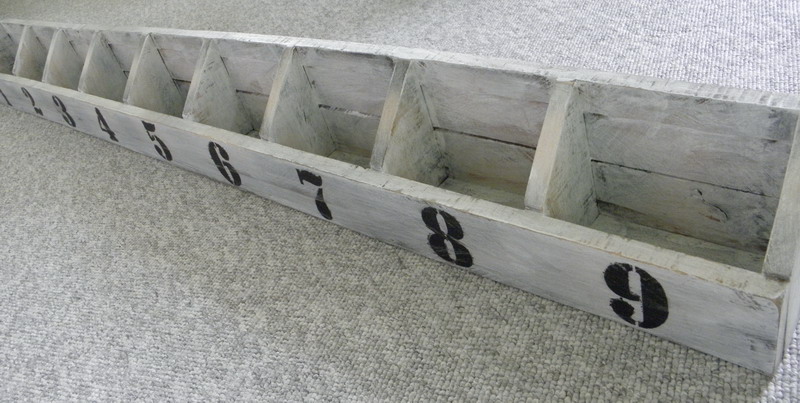
My first build from this fantastic site, but not last.
Built from Plan(s)
Estimated Cost
<10$
Estimated Time Investment
Afternoon Project (3-6 Hours)
Finish Used
Black spray paint at selected places, then a thin layer of white paint. Sandpaper # 120 and steelbrush.
Recommended Skill Level
Starter Project
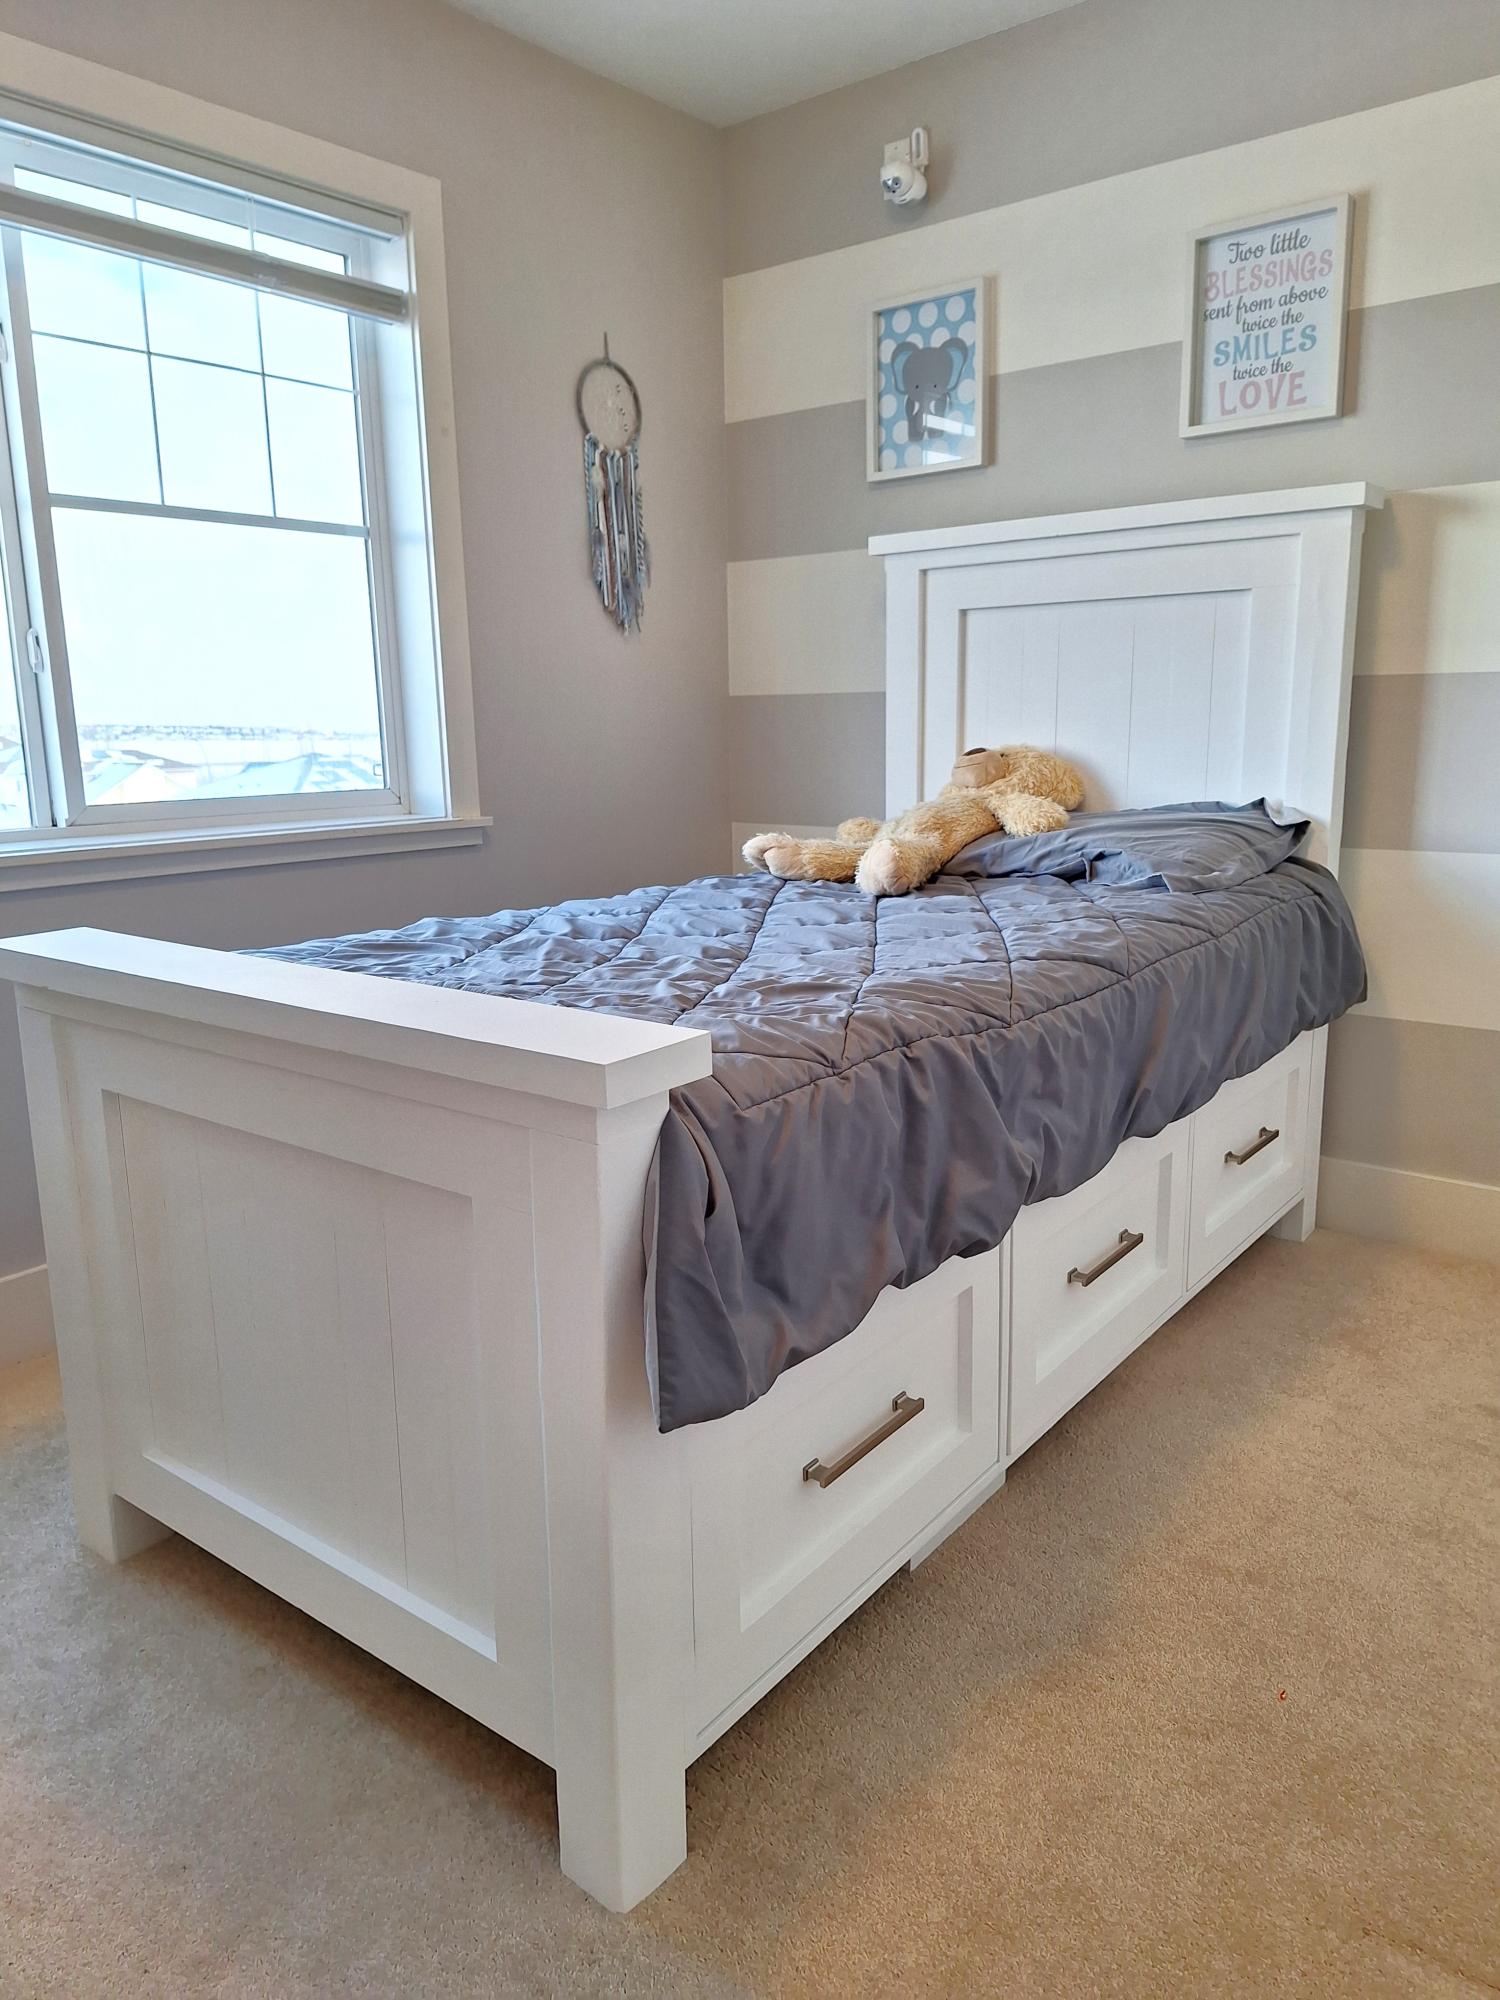
Twin storage captain bed
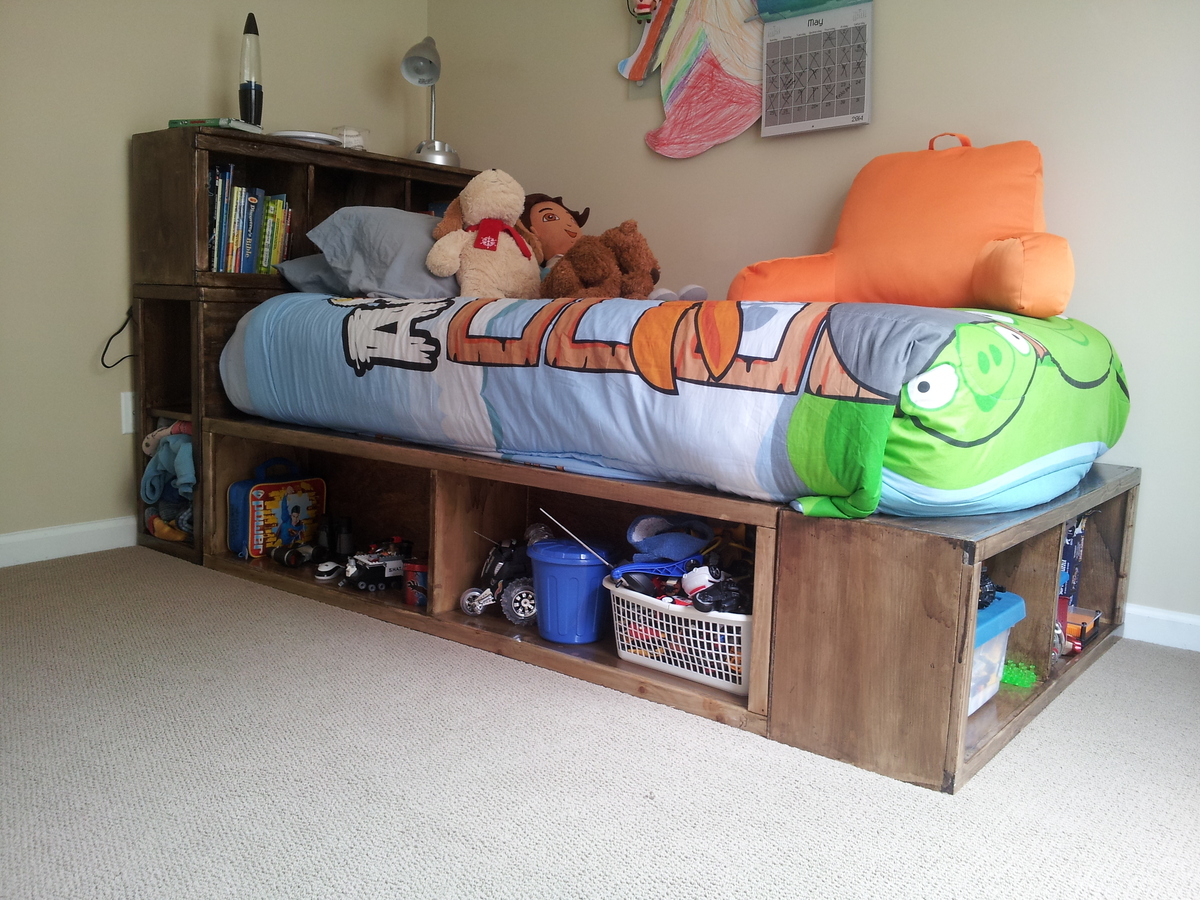
Son's bed (age 9) first build and he loves it! I'm pretty psyched too!
Built from Plan(s)
Estimated Cost
200
Estimated Time Investment
Week Long Project (20 Hours or More)
Finish Used
Polystain in tudor
Recommended Skill Level
Starter Project
Fancy X Pet Feeder Stand
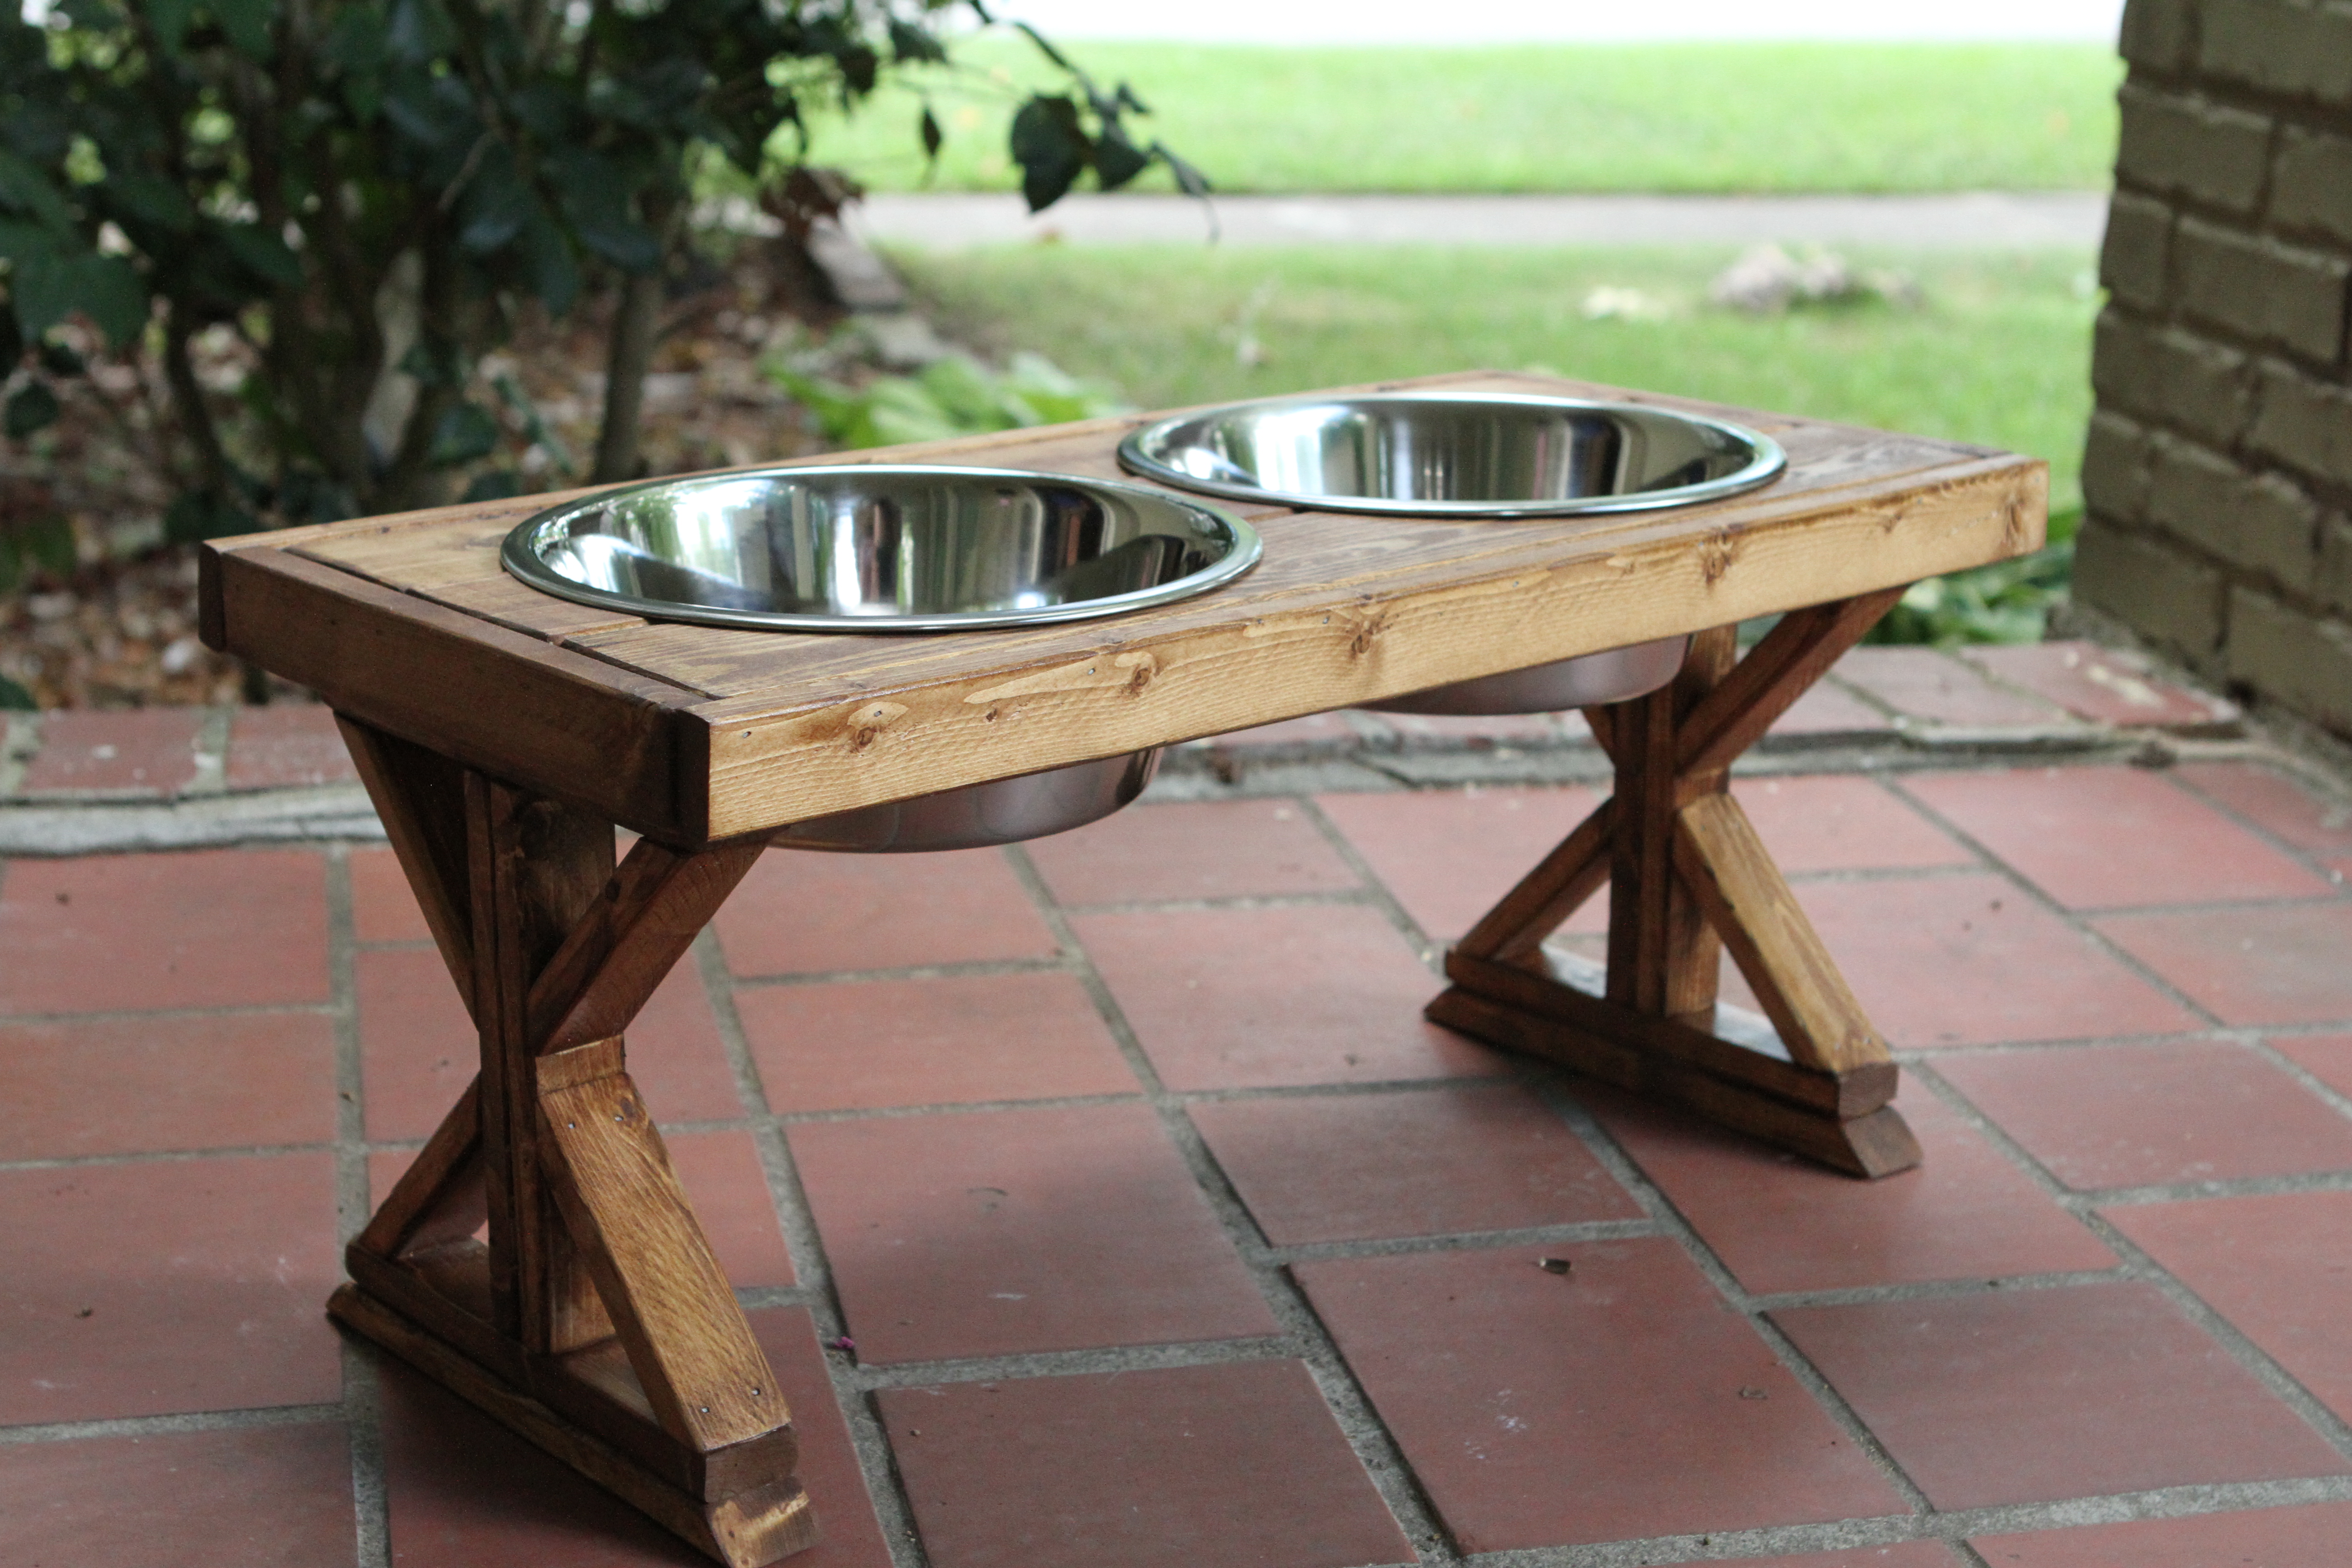
Our version of your Fancy X Farmhouse Table for you best friend.
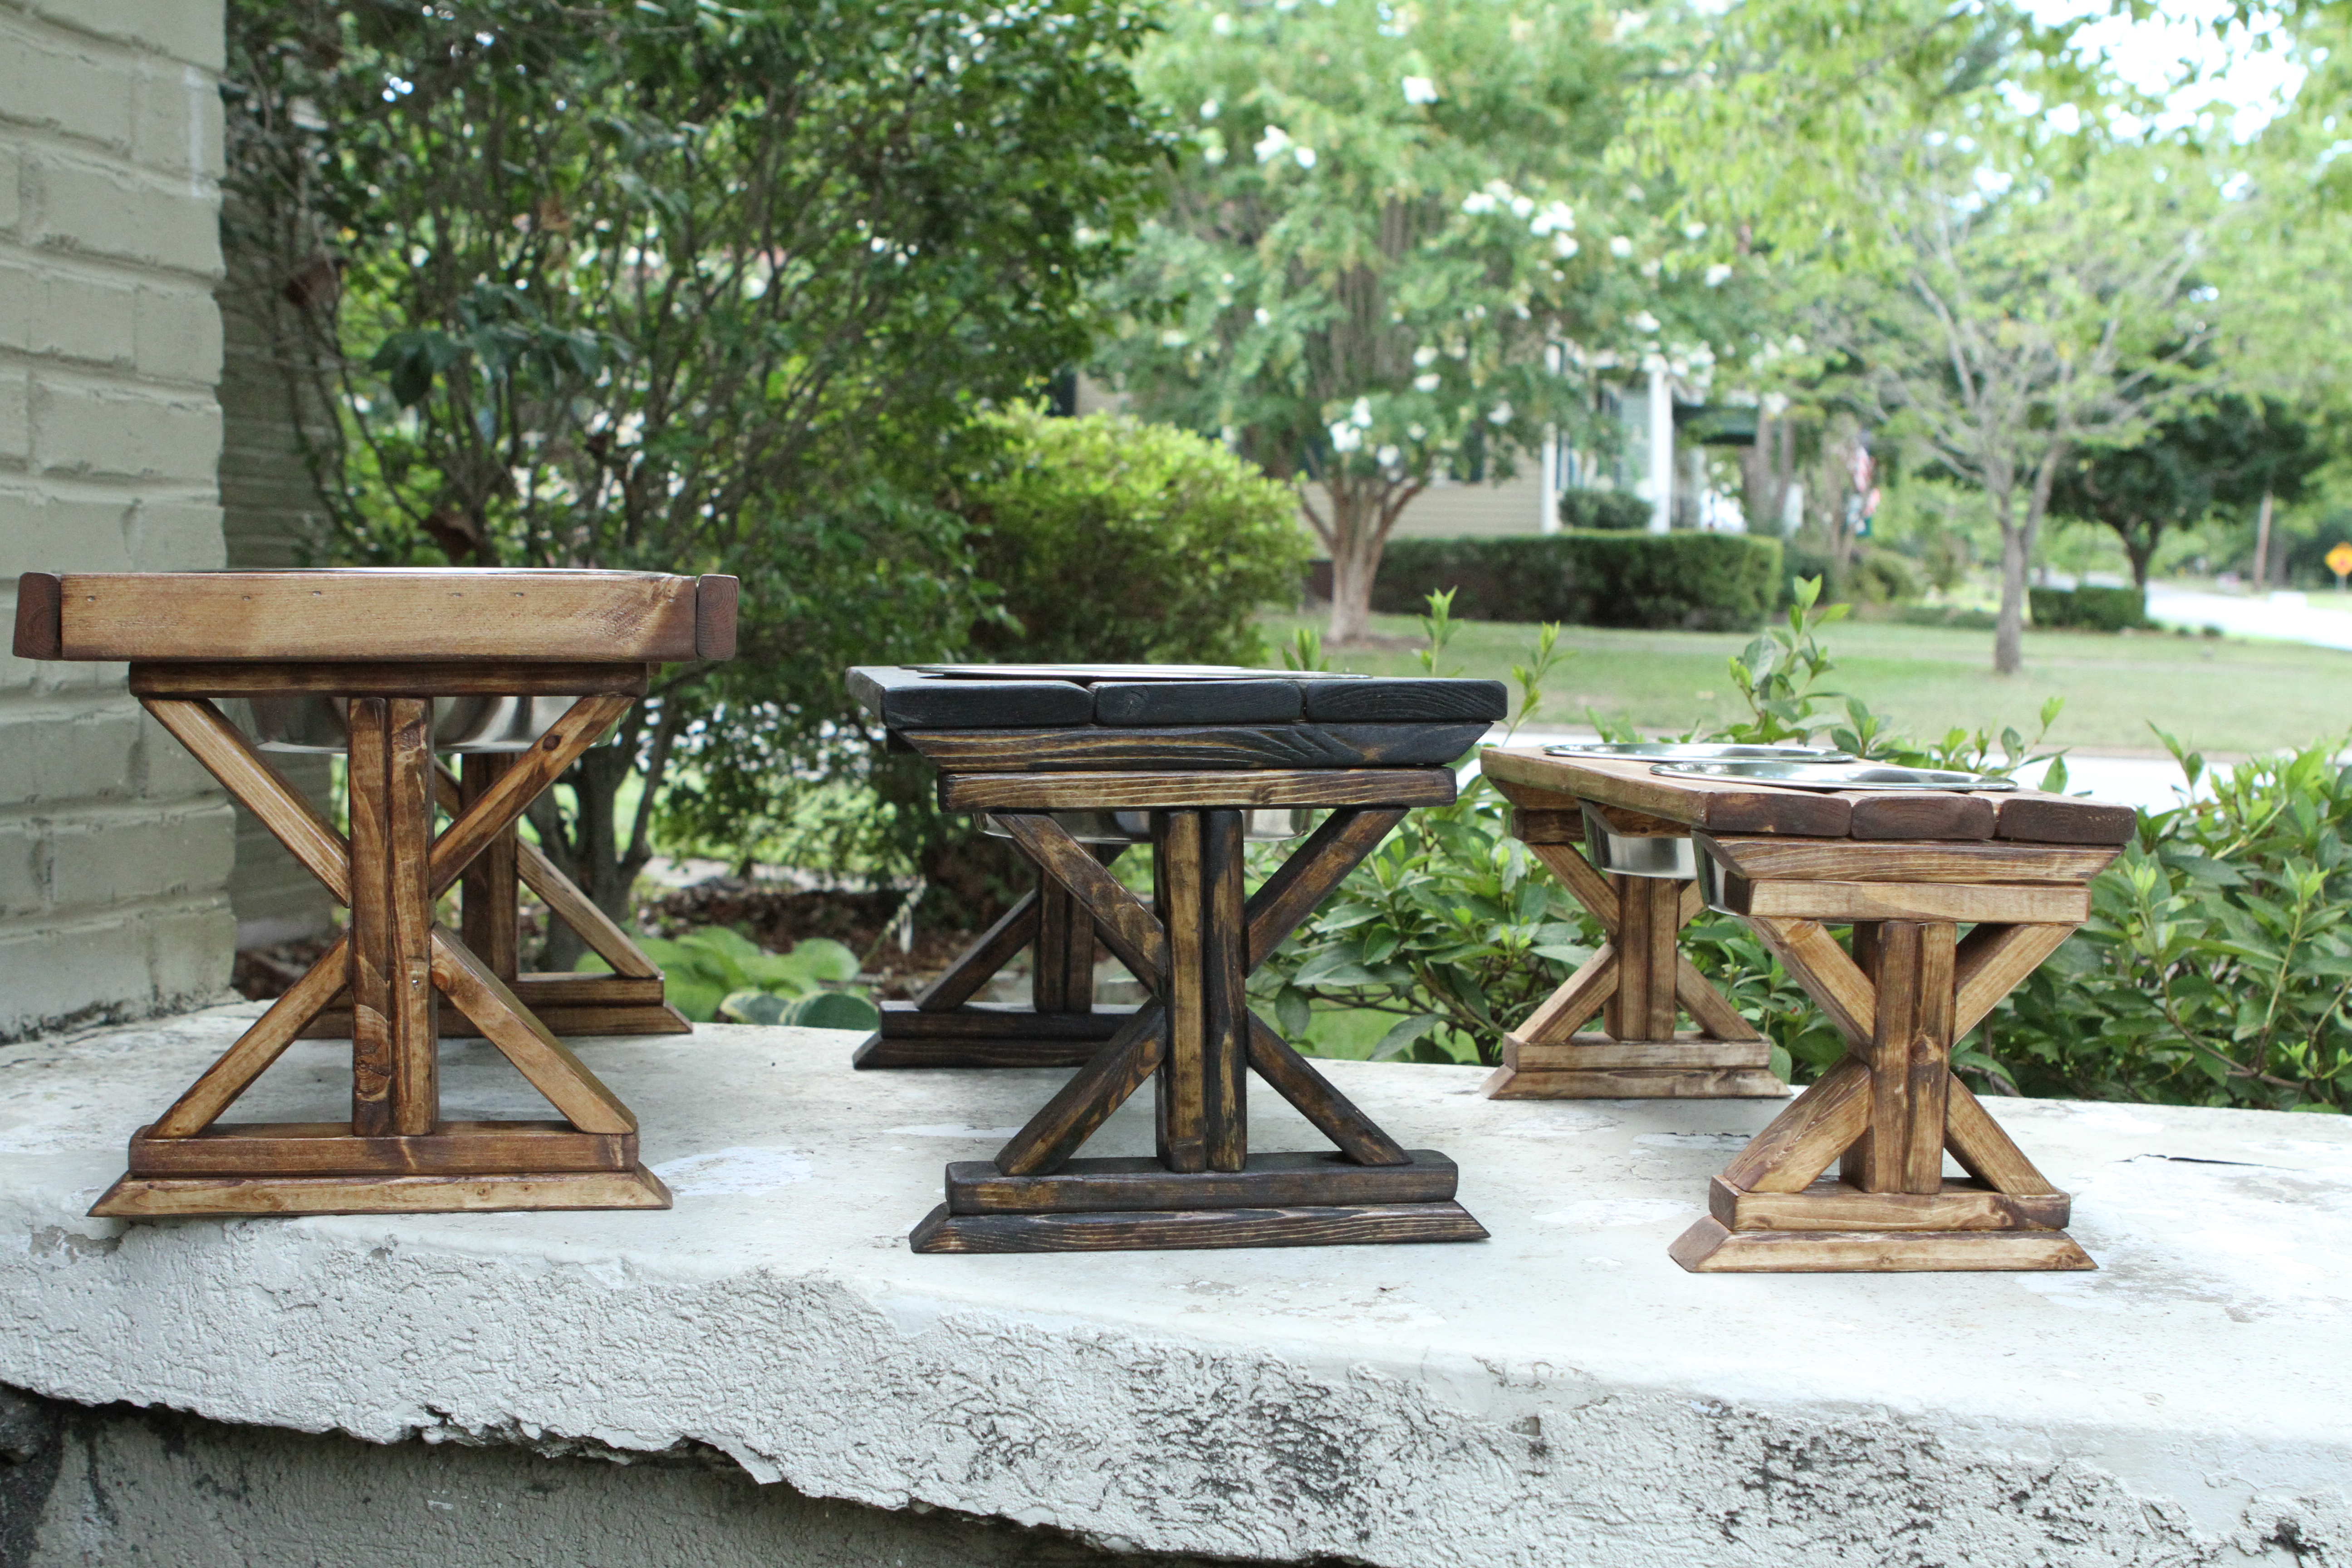
Built from Plan(s)
Finish Used
Minwax stain and Poly
Recommended Skill Level
Beginner
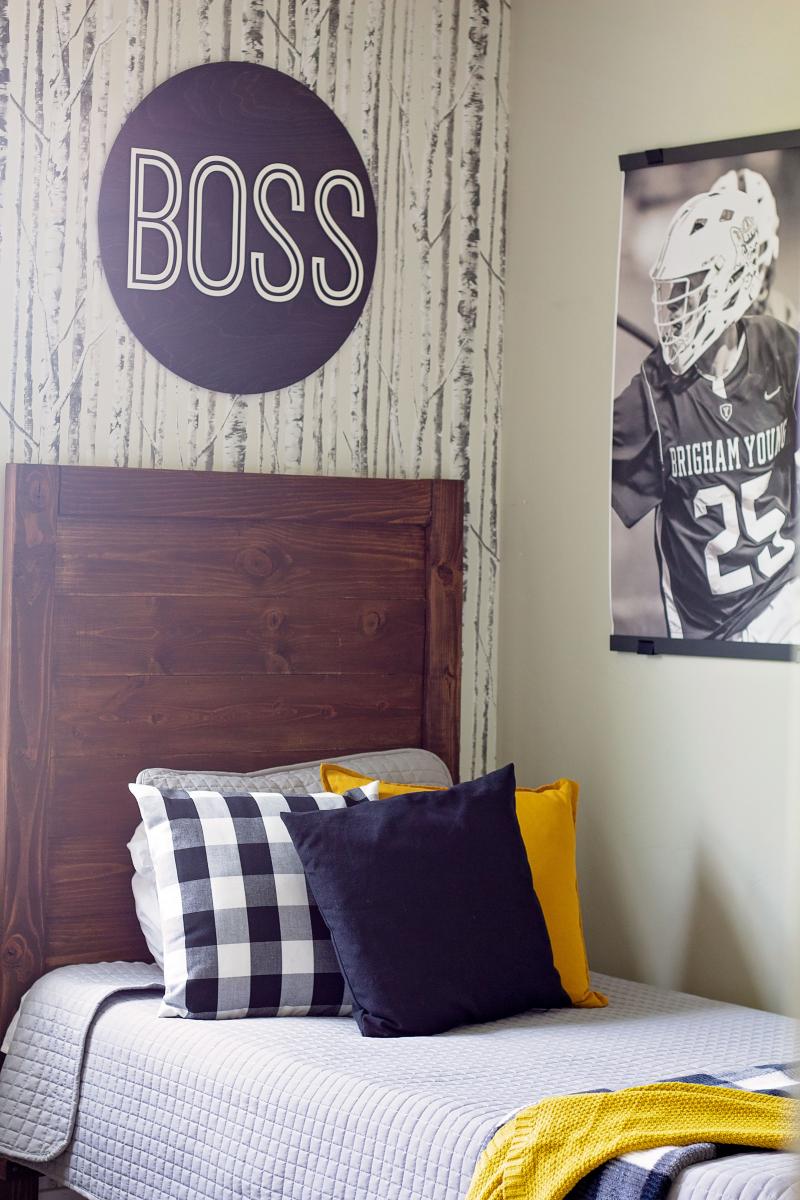
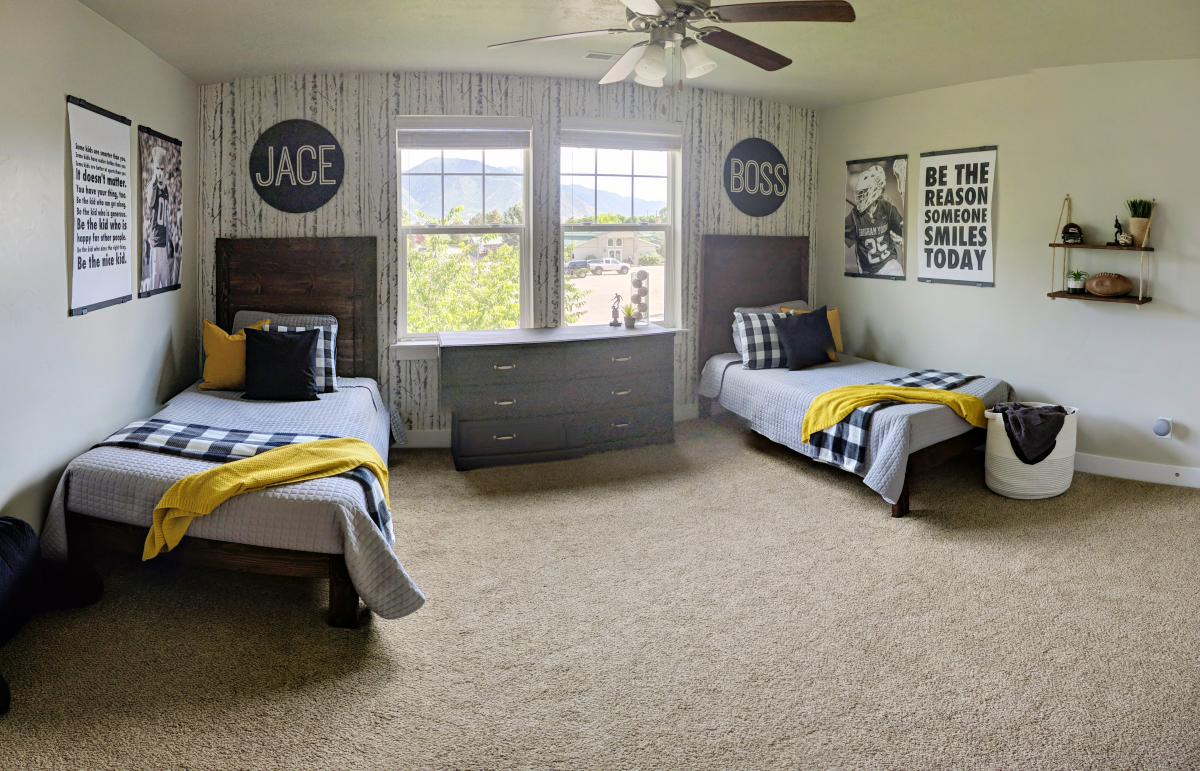
Twin Farmhouse Headboard
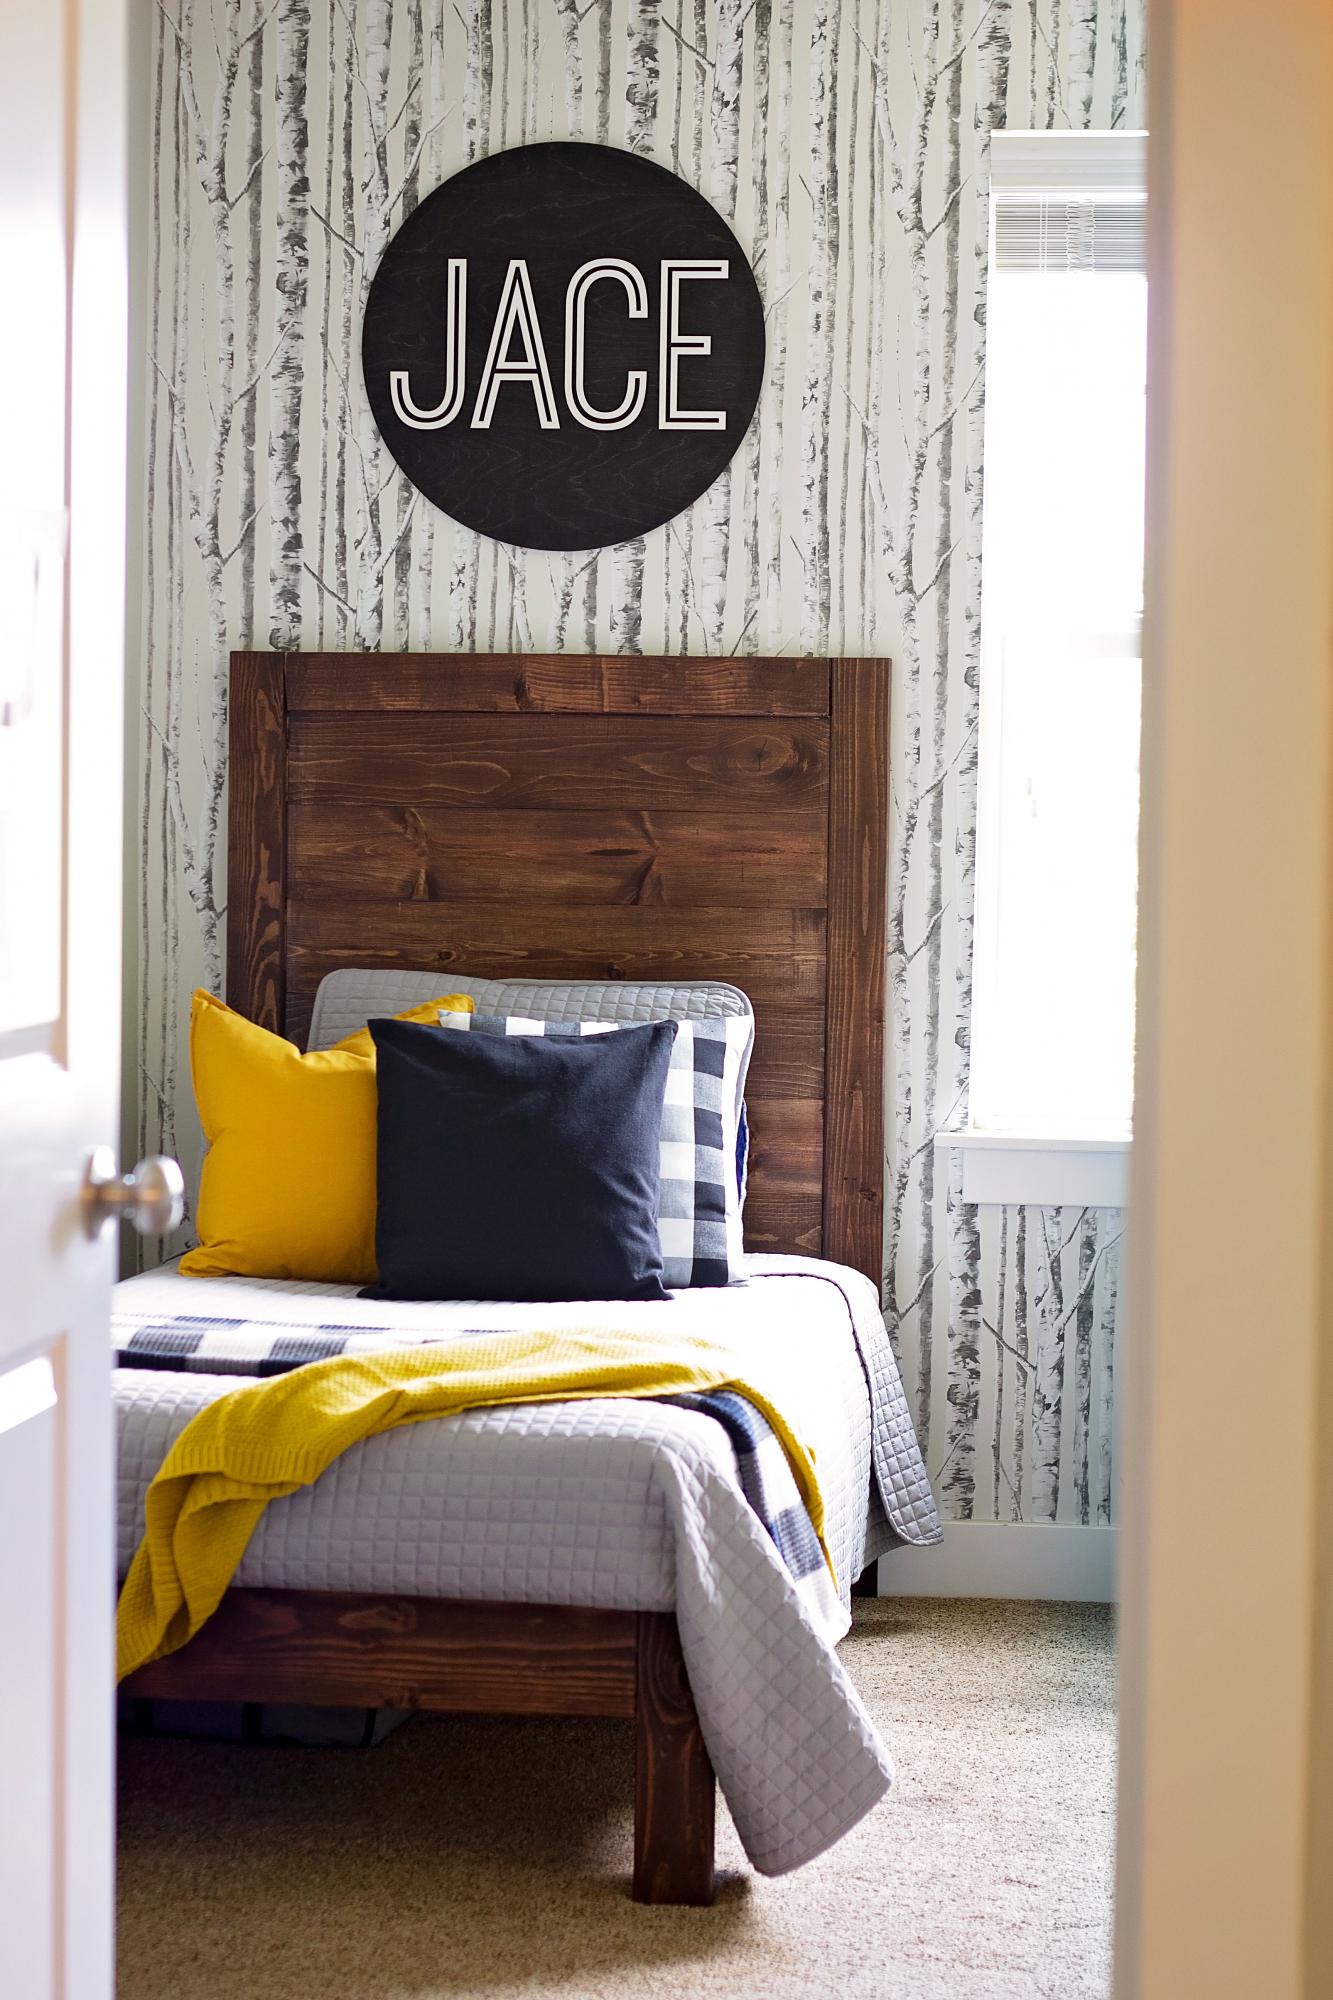
My boys share a bedroom and we were looking for some headboards to fit into our small budget. So we decided to build them matching headboards! It cost us around $40 for each headboard and I am SO happy with how it turned out! Check out more details on my blog post: https://practicalperfectionut.com/boys-bedroom-ideas/
Built from Plan(s)
Estimated Cost
40
Estimated Time Investment
Weekend Project (10-20 Hours)
Recommended Skill Level
Beginner
Seasonal And Holiday