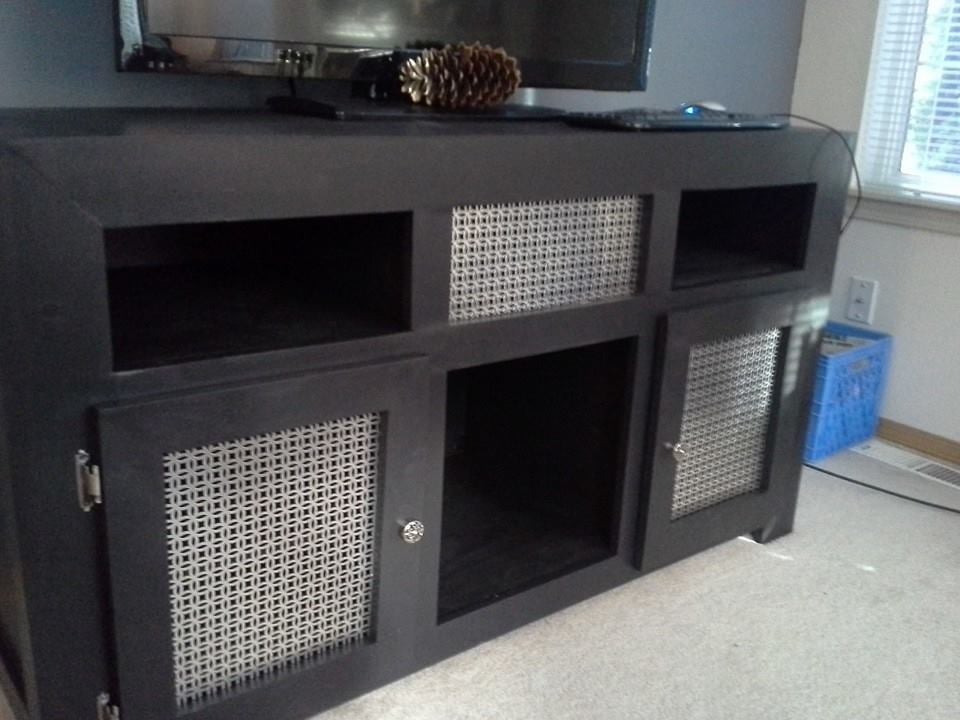
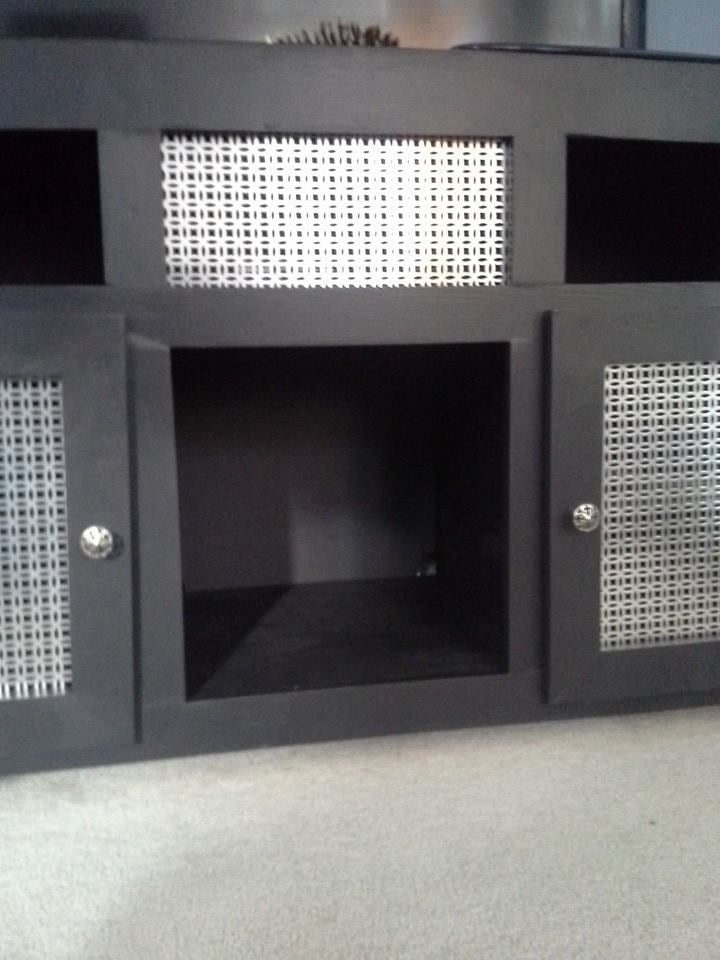
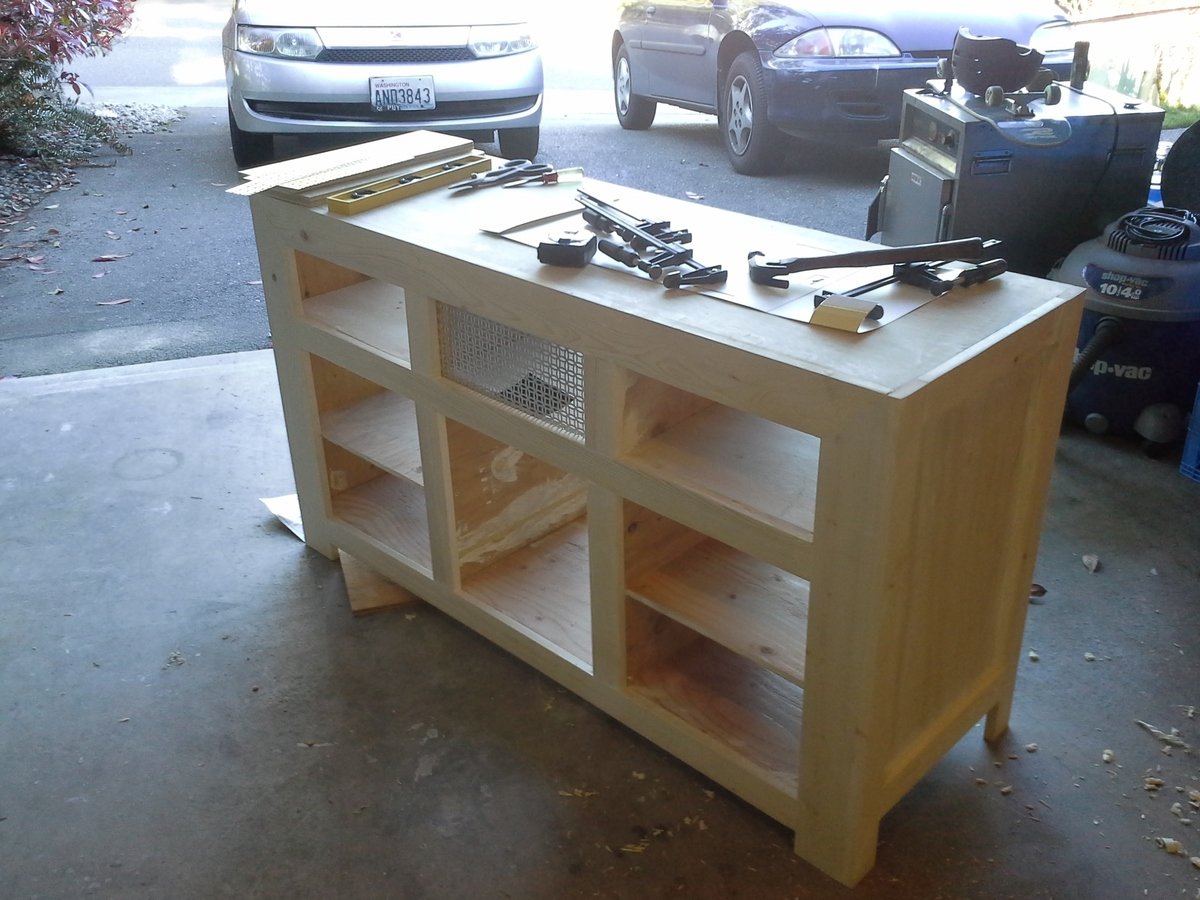
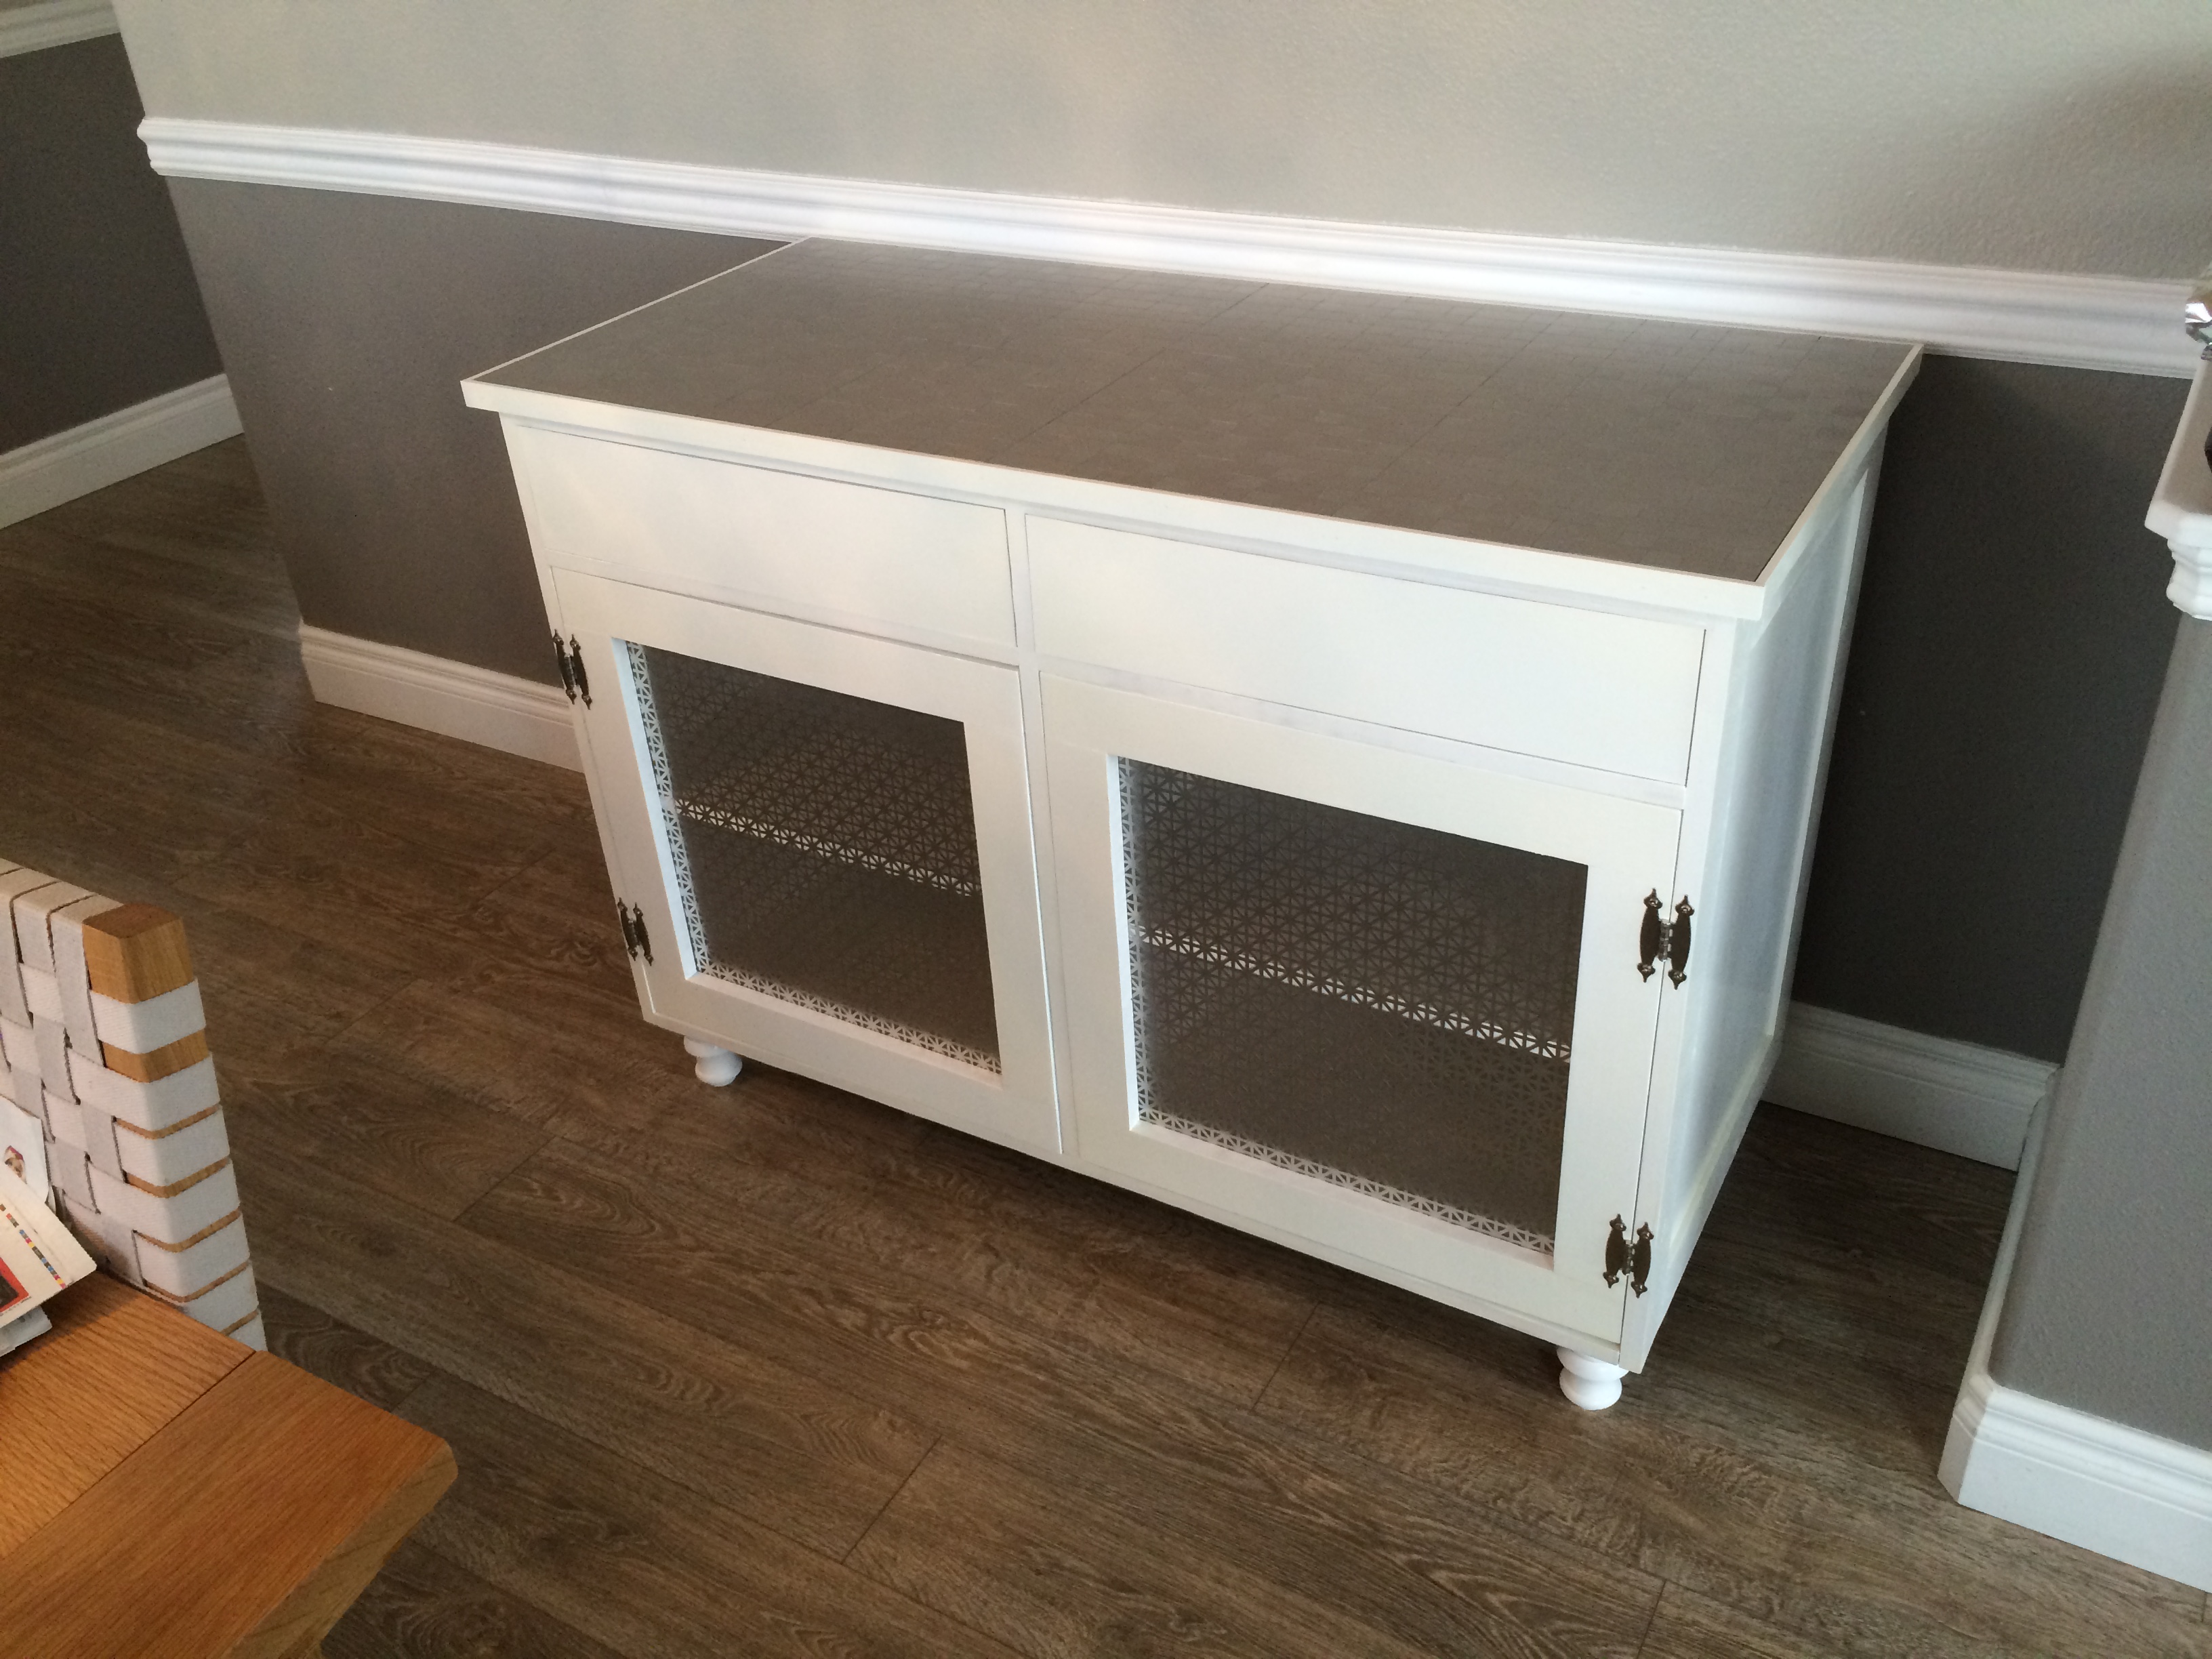
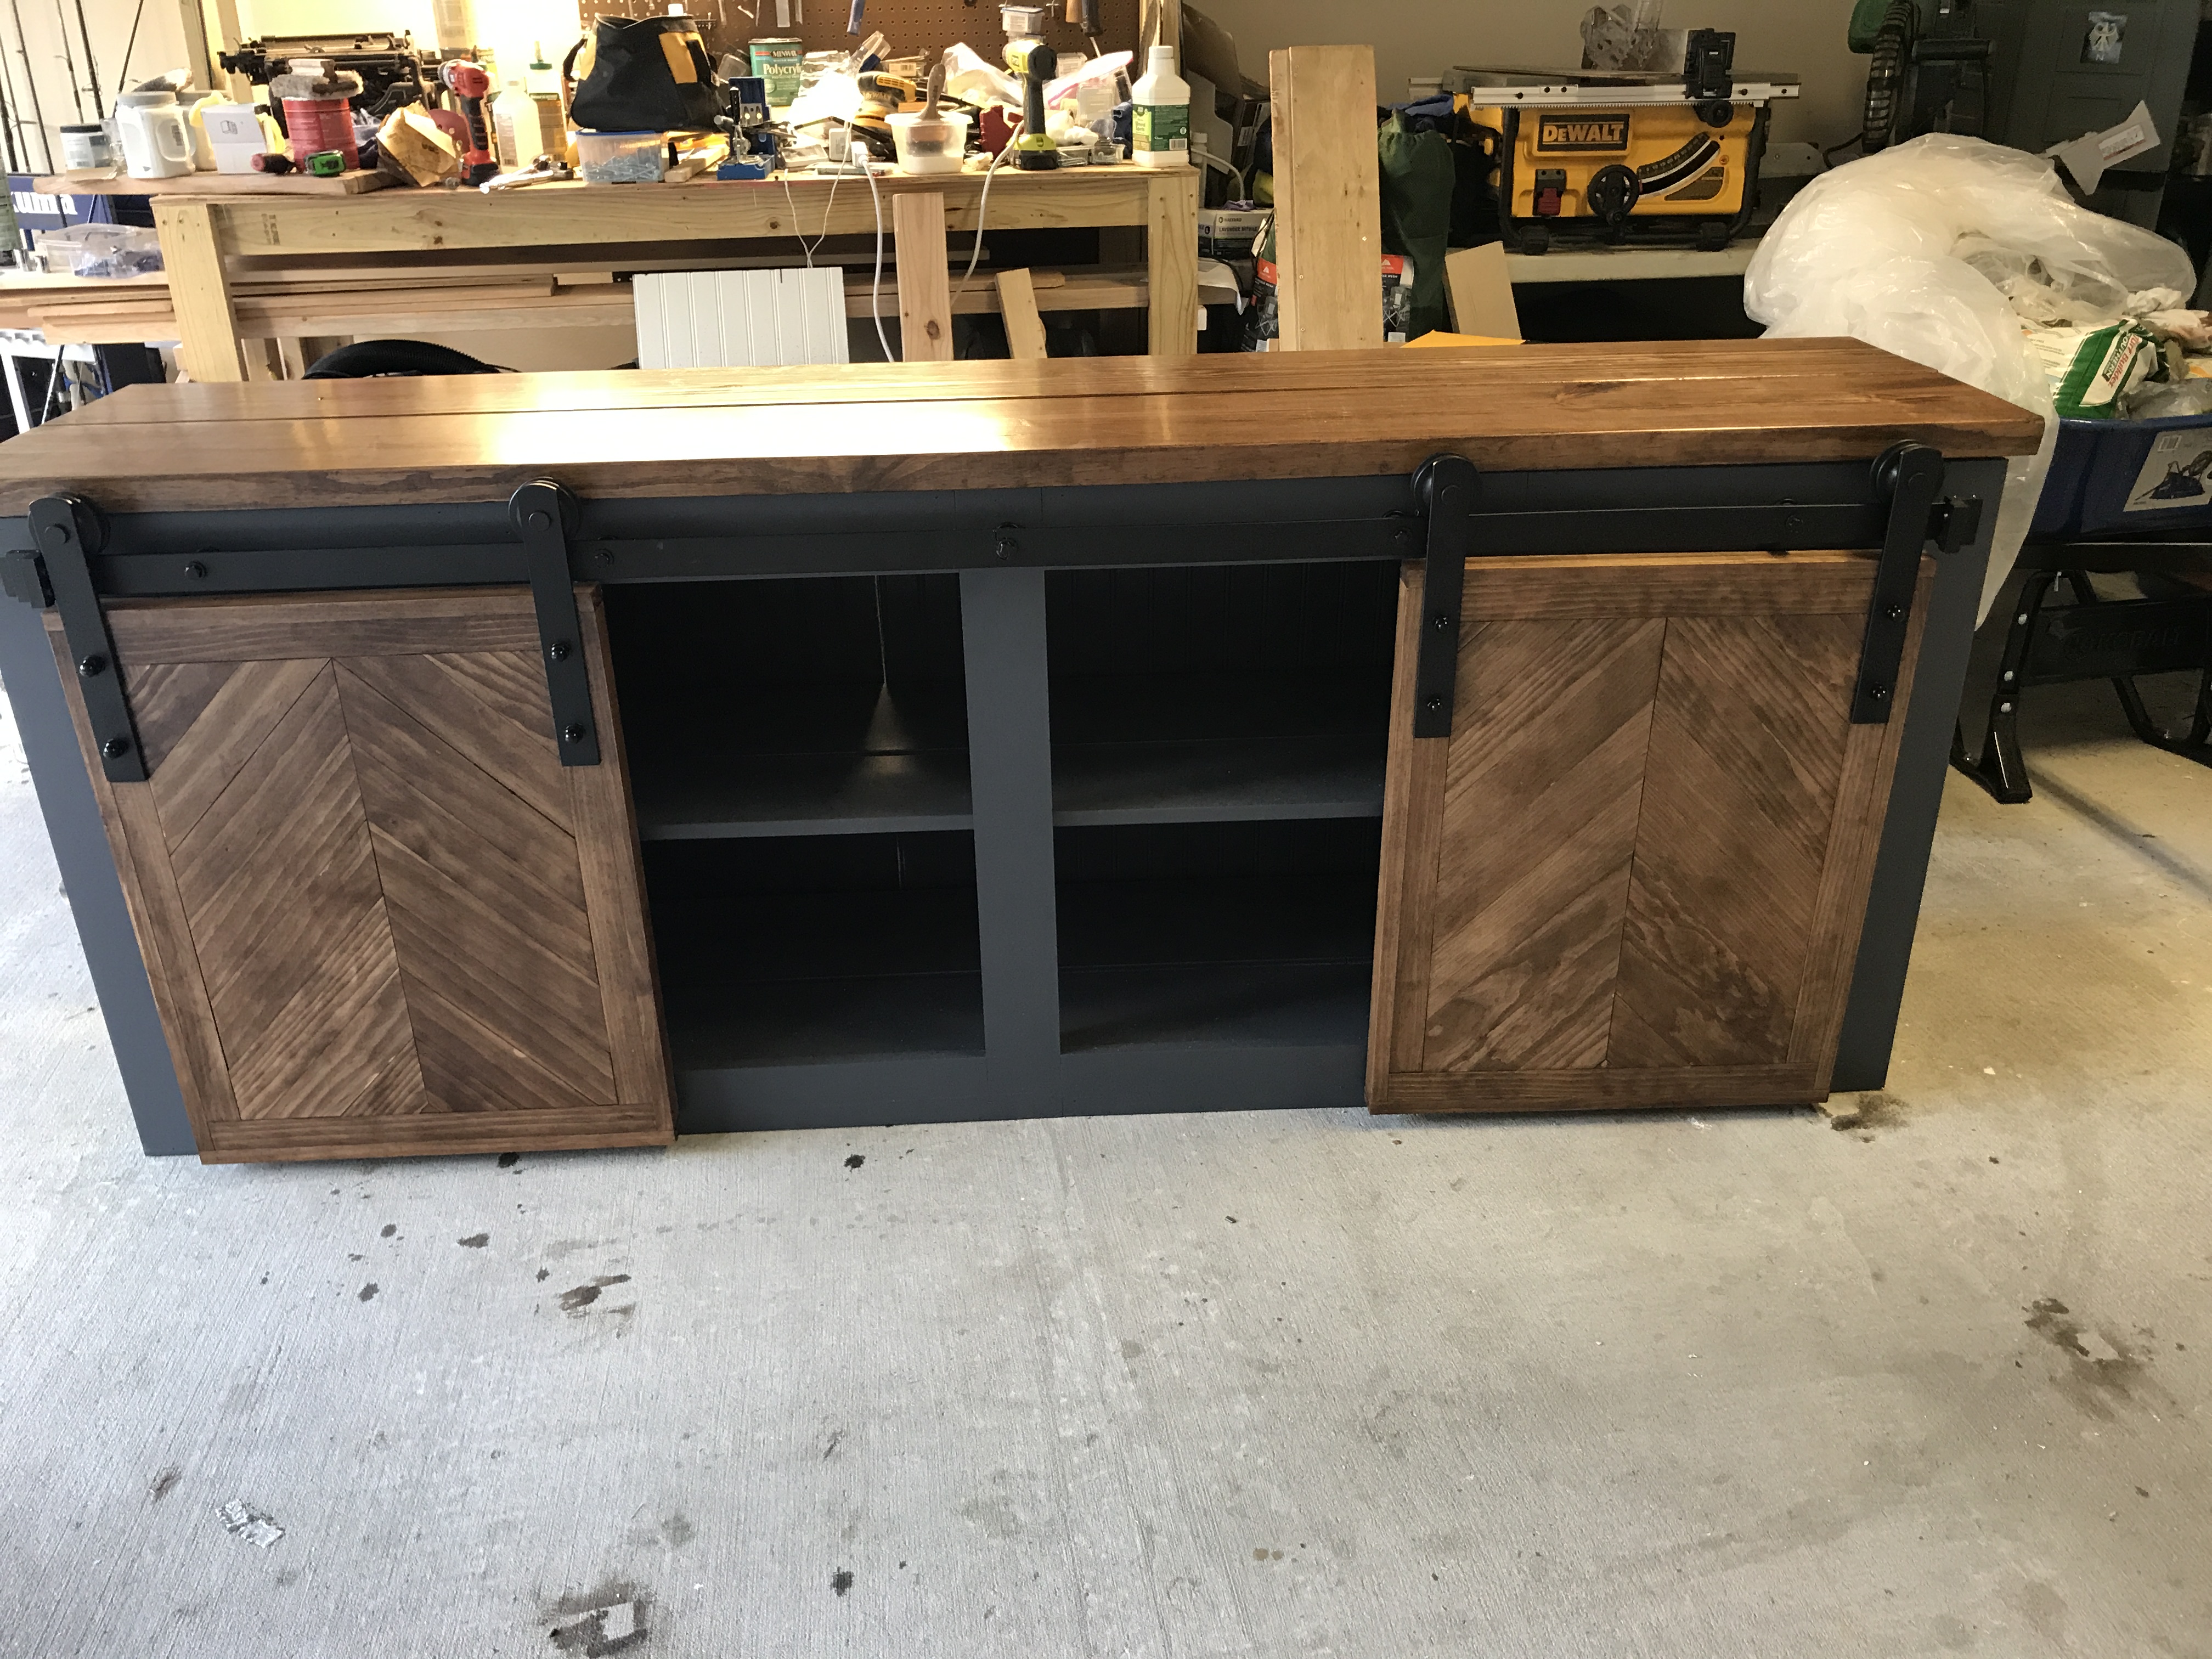
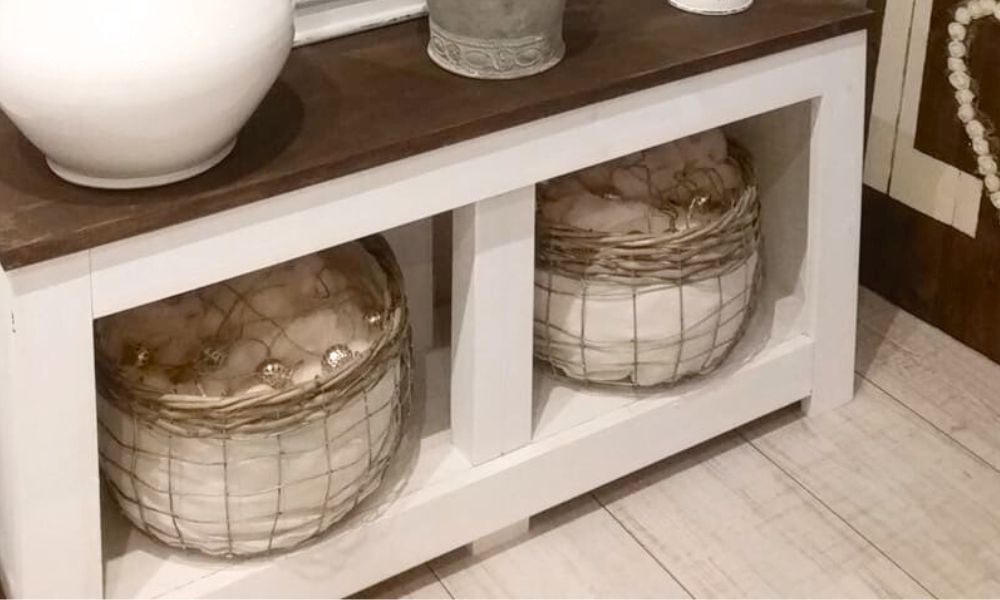
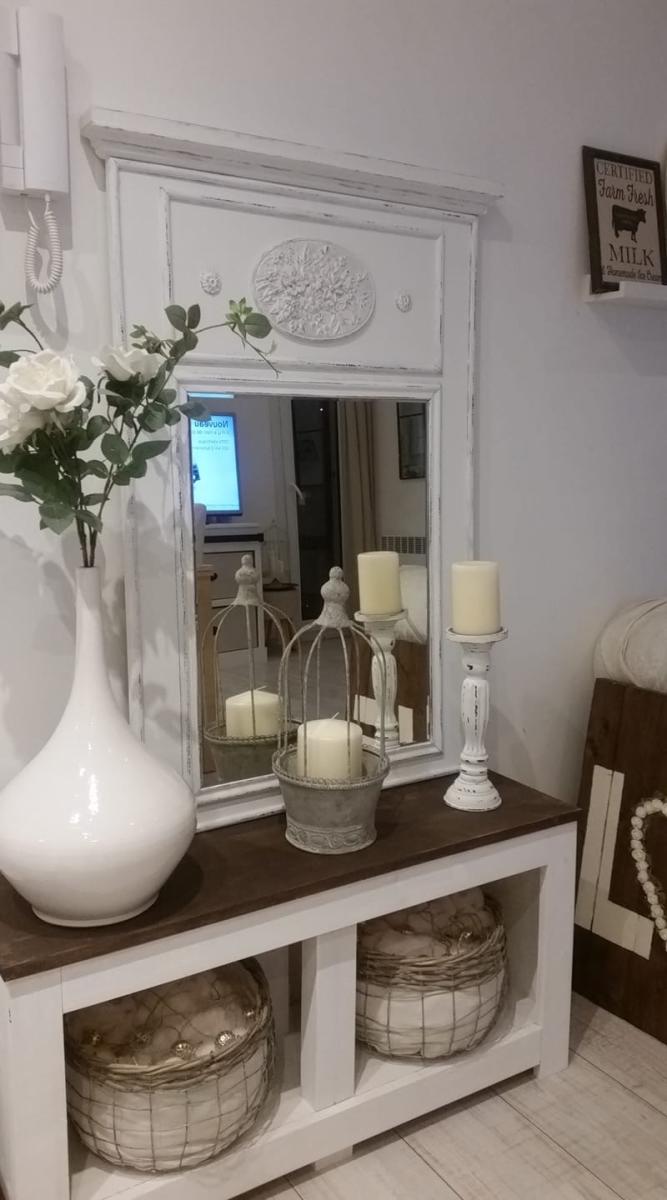
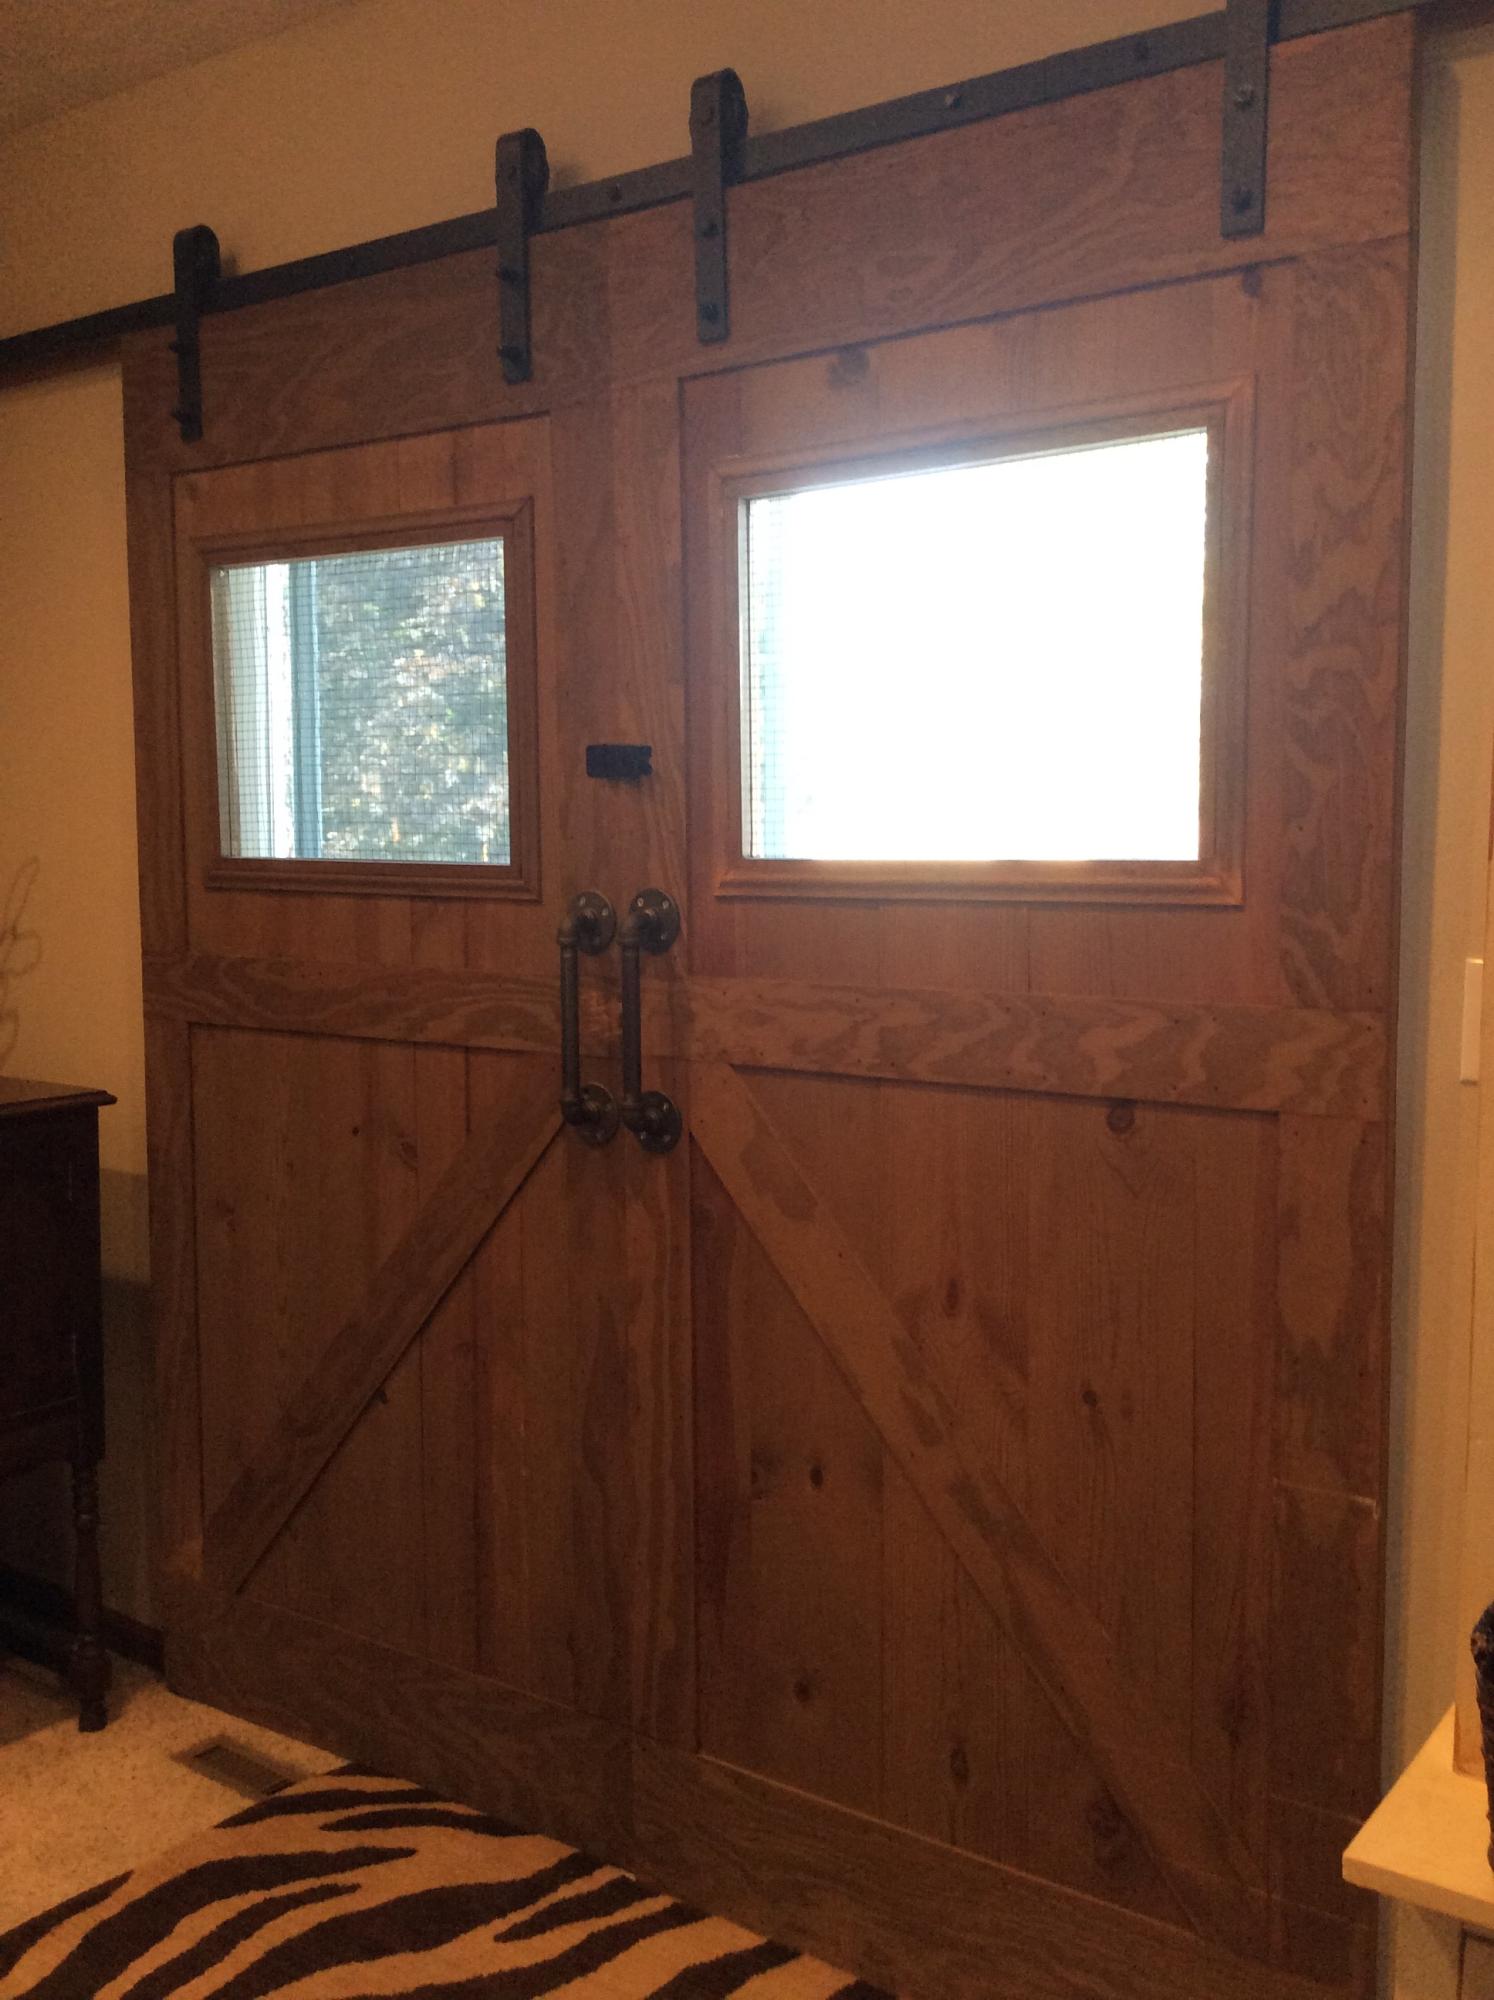
Sliding Door Console
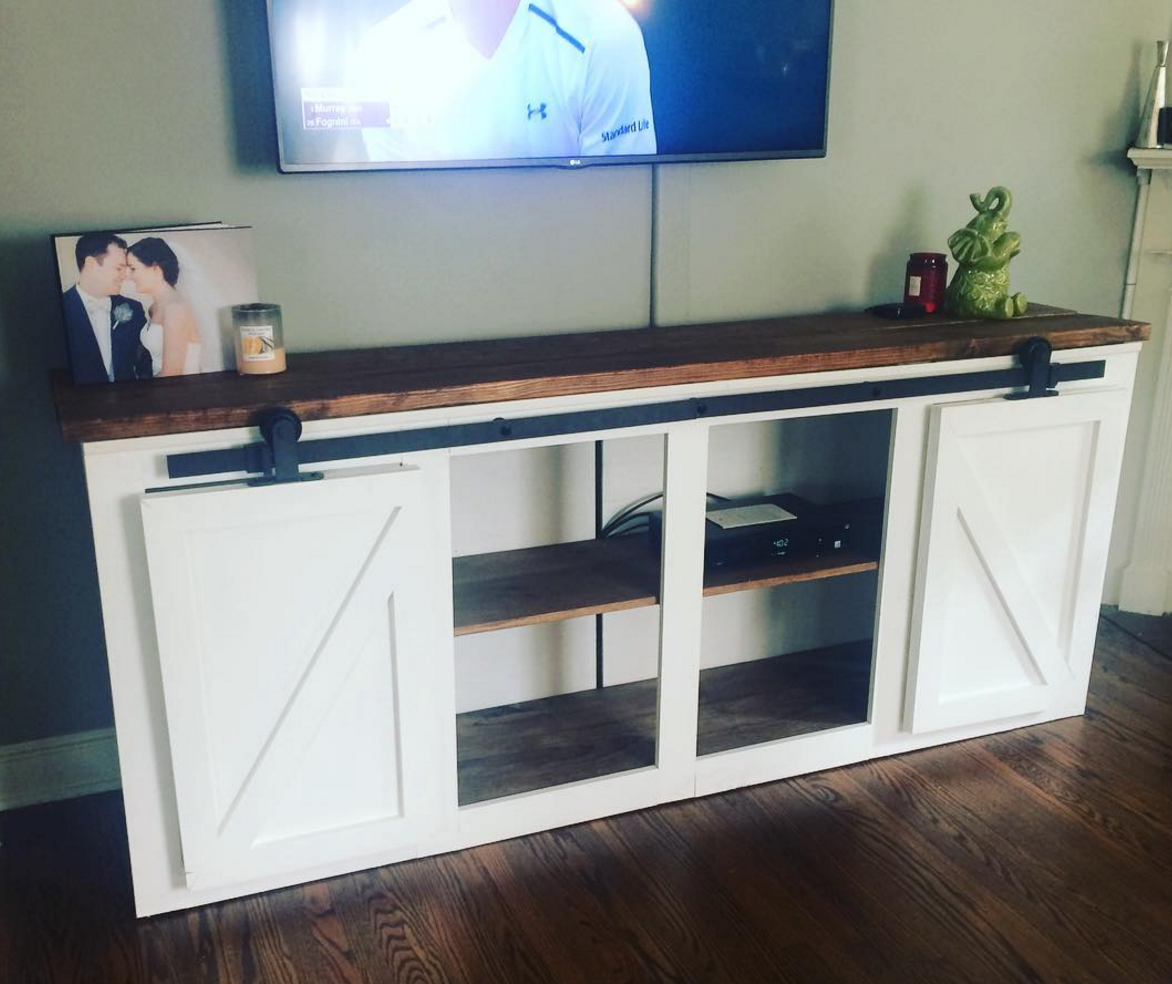
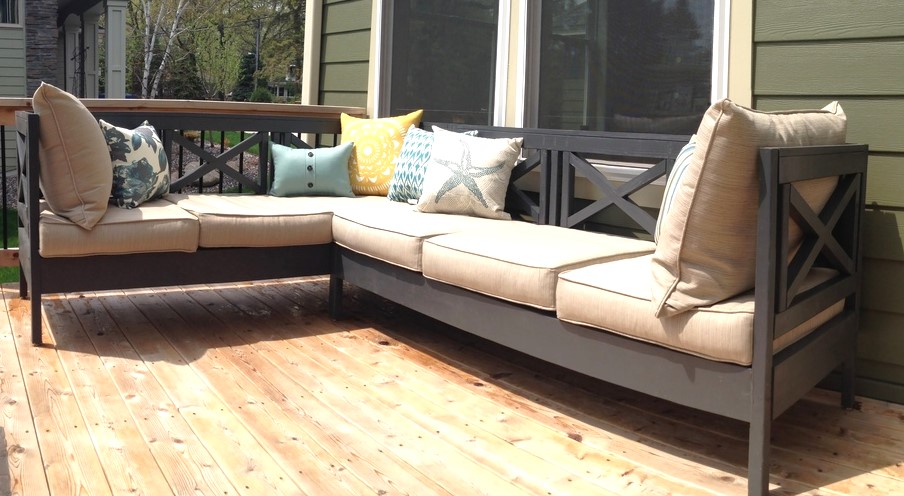
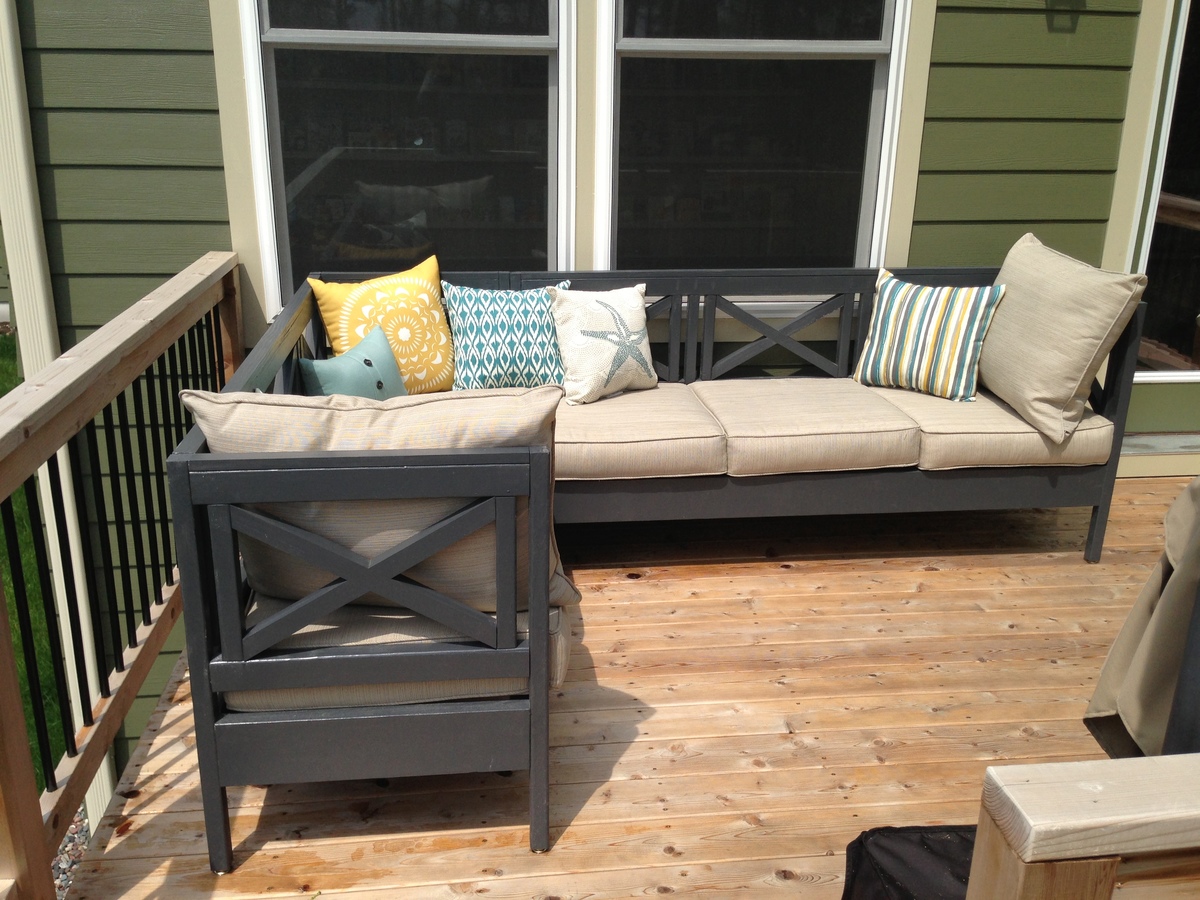
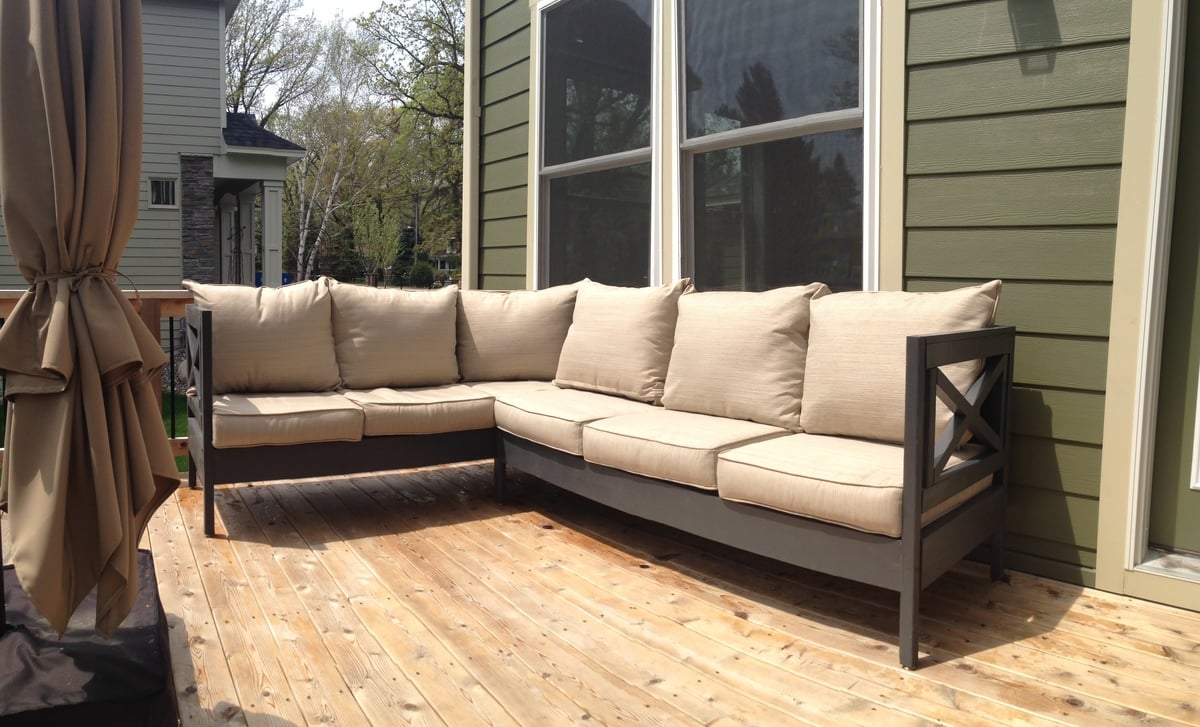
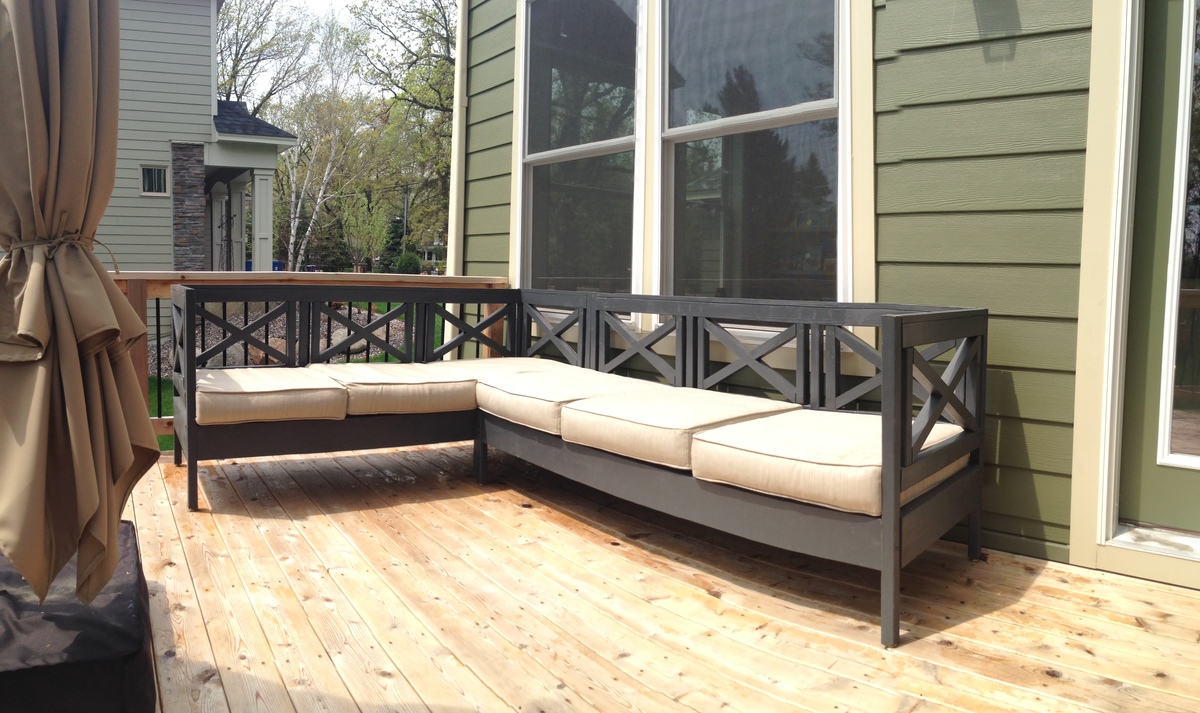
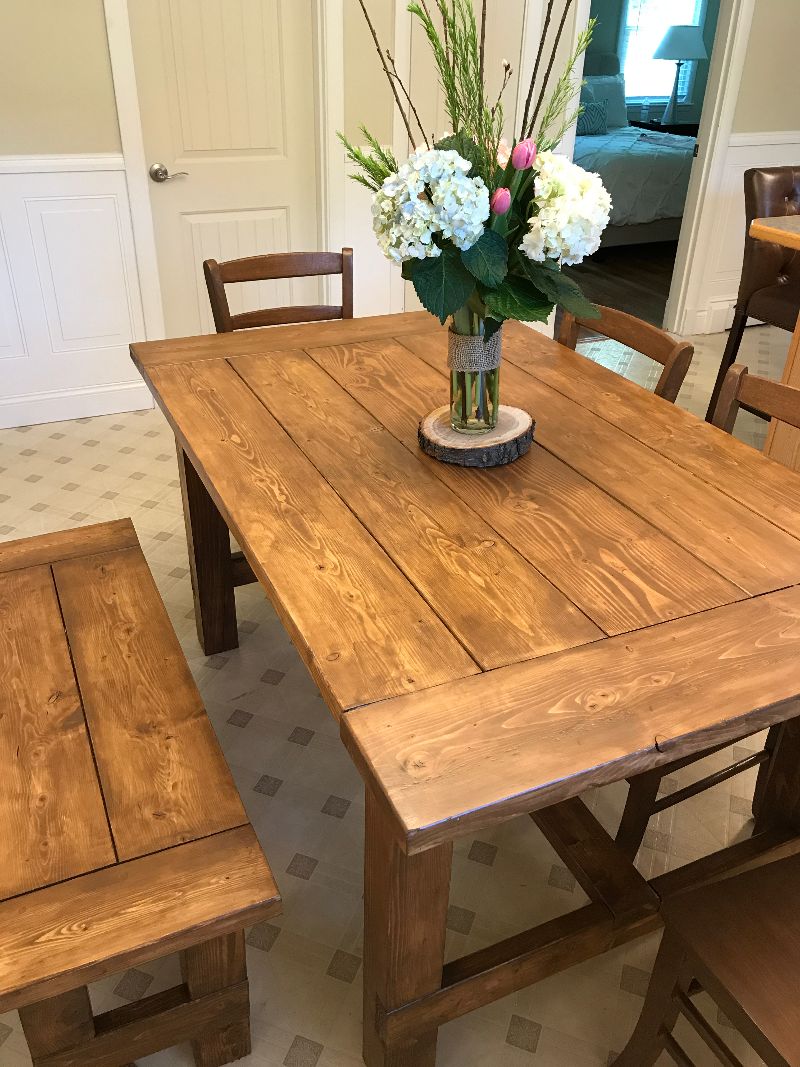
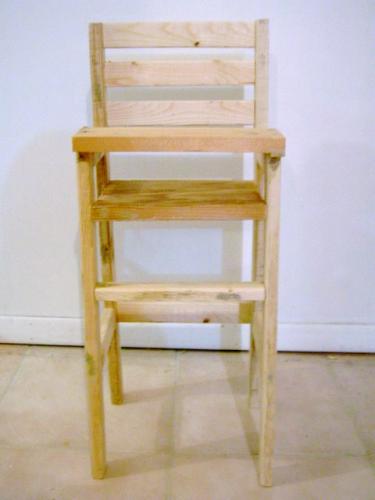
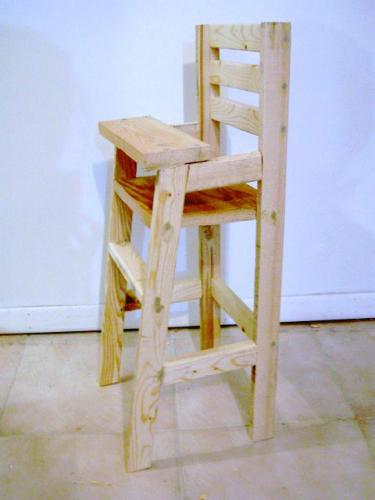
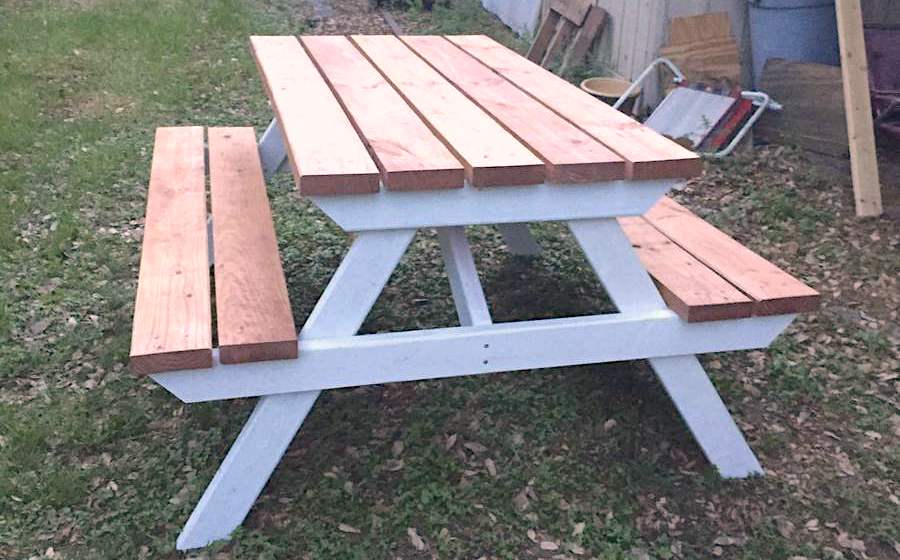
Built this one based on a few of the other brag posts. We are happy with how it turned out!
Built from Plan(s)
Estimated Cost
$300
Estimated Time Investment
Week Long Project (20 Hours or More)
Finish Used
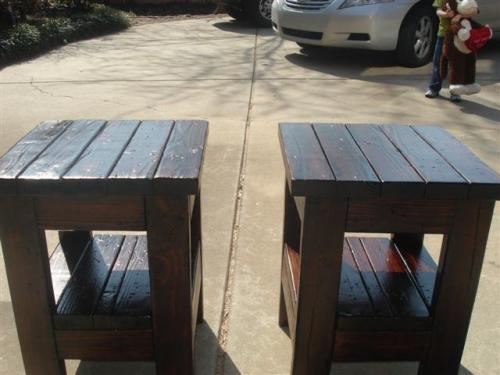
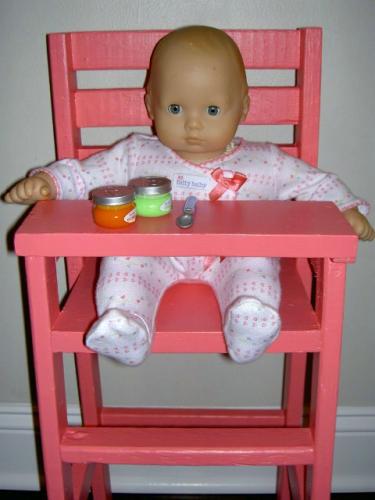
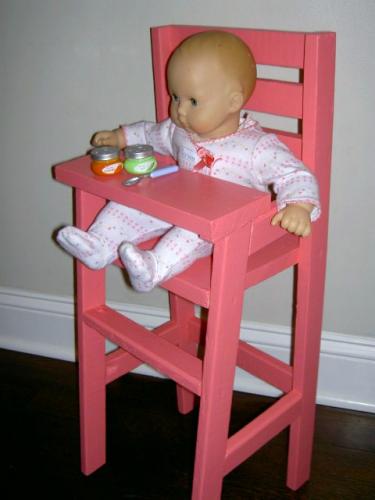
paint: swiss coffee; Stain: english chestnut
Recommended Skill Level
Intermediate