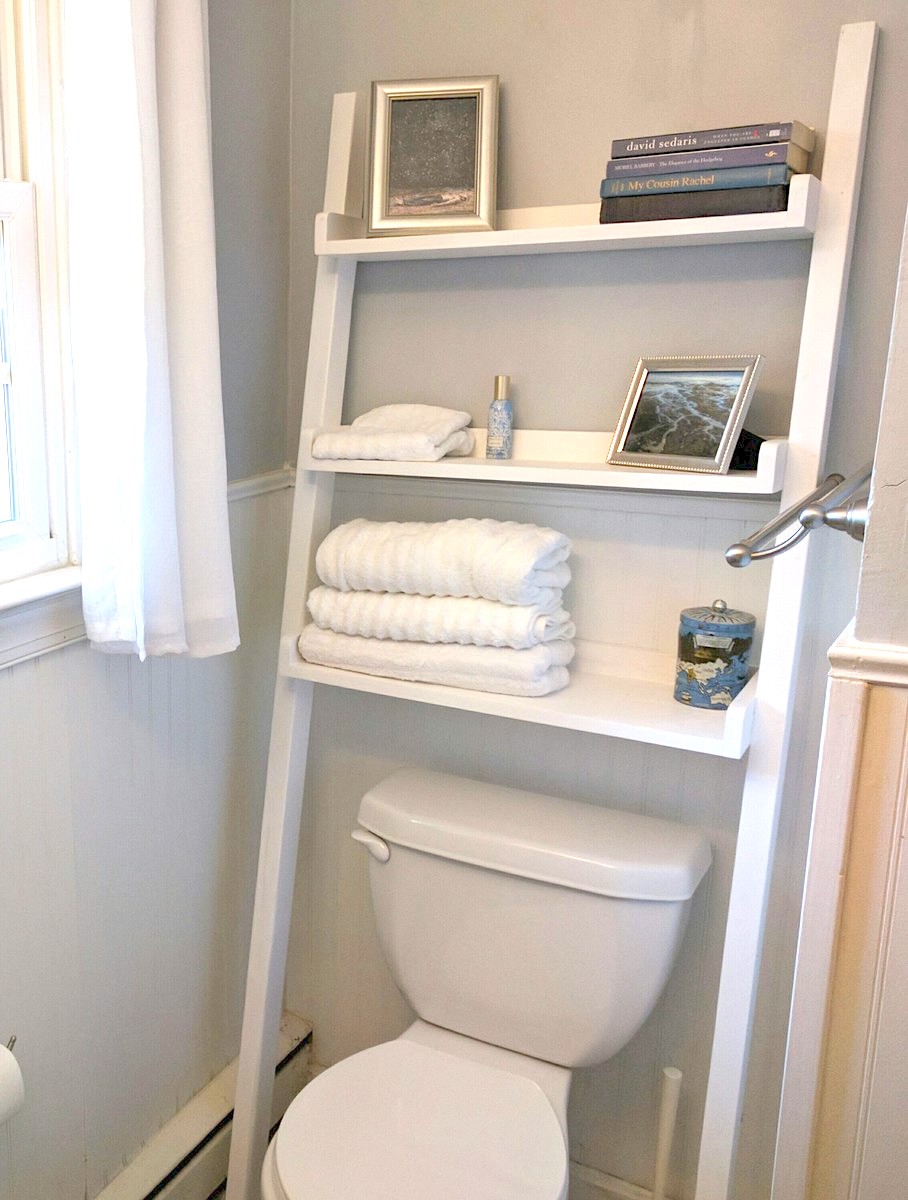
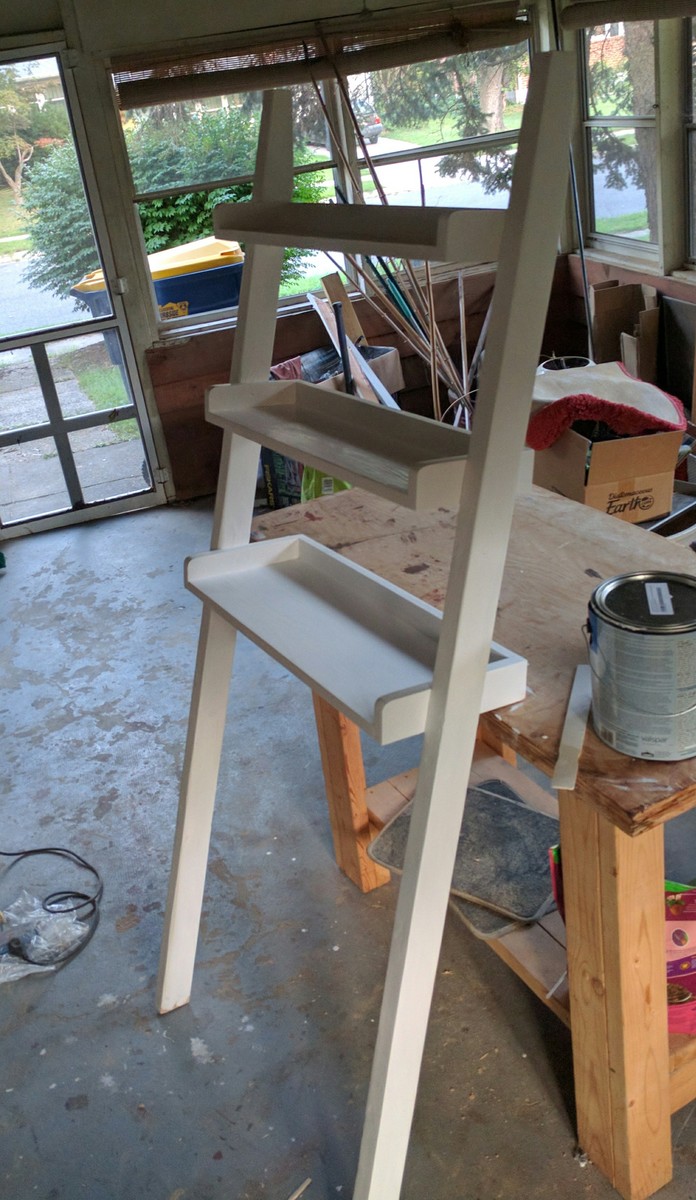
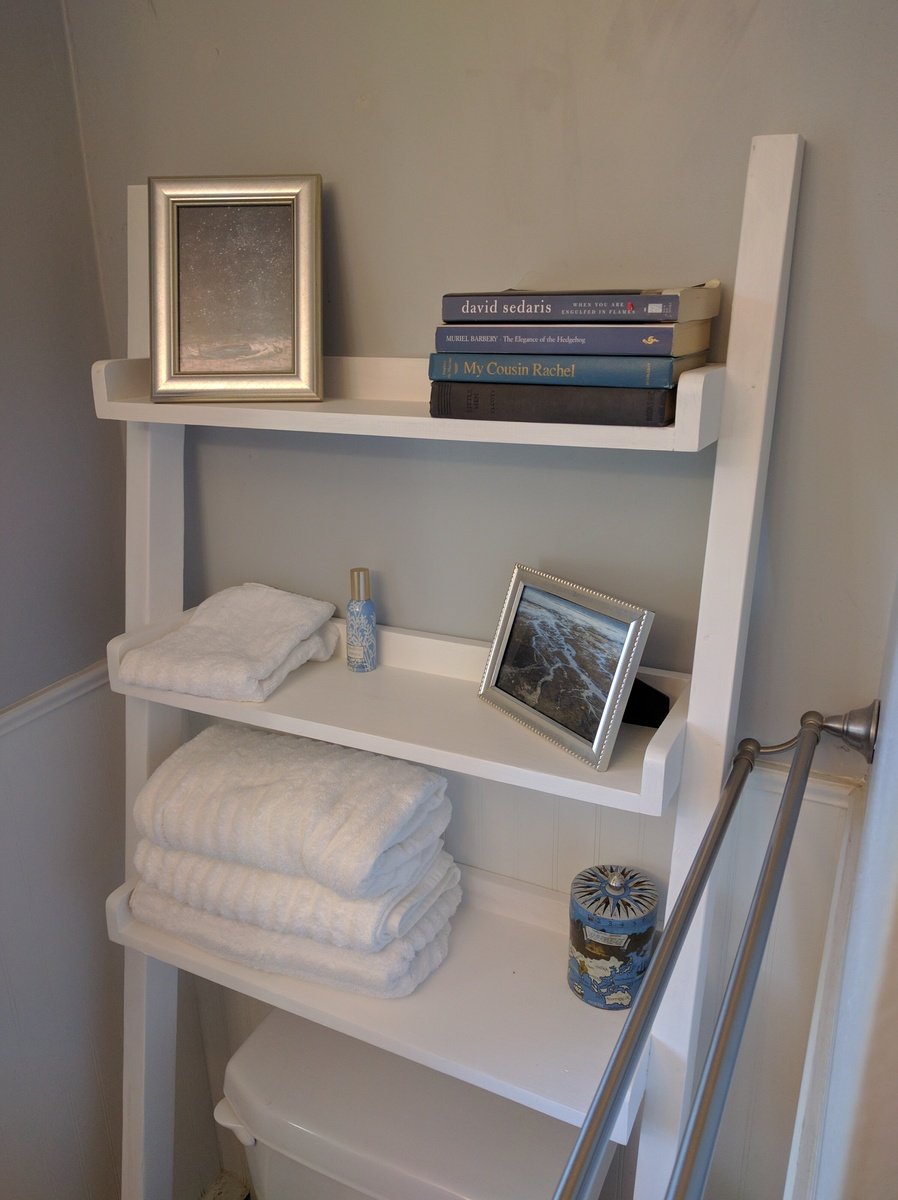
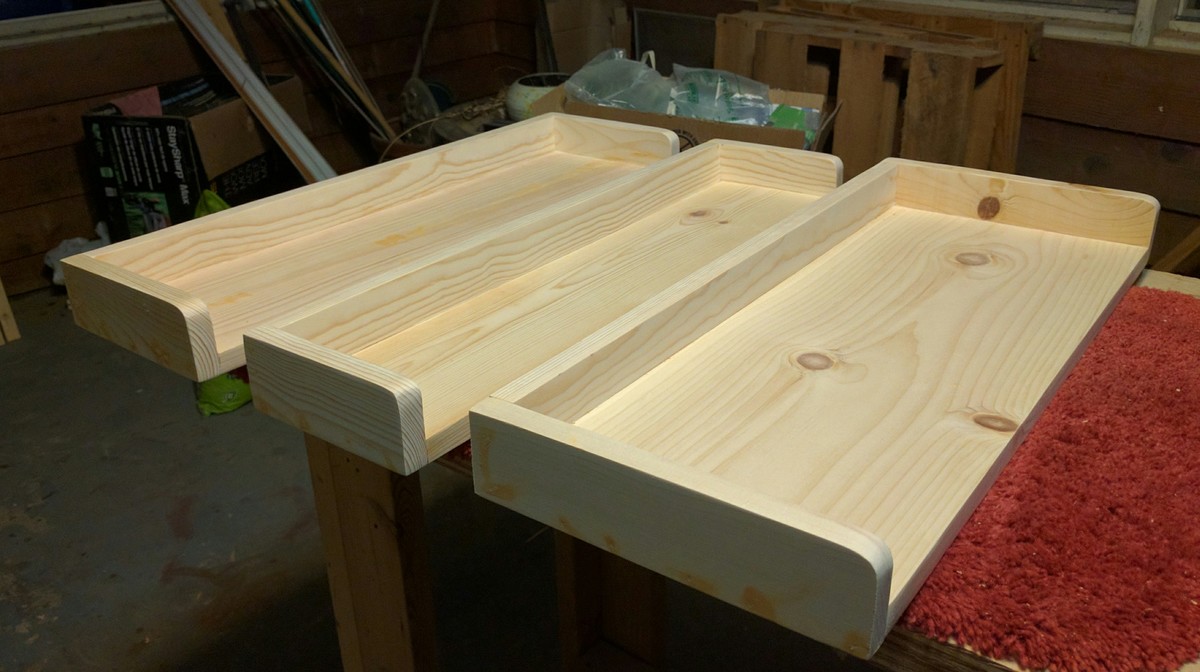
Adirondack Chairs
These chairs are fairly easy to make. The side boards were the hardest part.
Sand very well. Any base primer will work and use any color of paint that you choose.
These chairs are fairly easy to make. The side boards were the hardest part.
This was a perfect Labor Day weekend project and solved a storage problem in my cramped bathroom. I plan on getting some wicker baskets or bins to store toiletries on the shelves. It's also a great spot to store fresh towels so guests have easy access. The shelf feels very stable when leaning against the wall. I curved/rounded the front, top corners of the shells using 40 grit sandpaper.
Radiator Cover! My son was starting to crawl and be interested in the giant radiator in his room, so it was time to cover it. I'm so happy with how it turned out and since we left 4-5 inches of space from the top, we can use it as a space to keep his air filter & light. I left 2-3 inches around the sides as well and put a board across the back for support and to keep the cover in place.
Margaret Cember
This is a Christmas gift for my granddaughters, and it was a huge hit! It is white pine 1x4's with 4 coats of polyurethane for a smooth finish.
Built using the plans as a starting point and built it bigger than the plans called for.. The deck is 10x10 and the playhouse is 6x10. I used pressure treated lumber for everything but the playhouse. I still need to paint the house and stain the deck, then put the roof on.. if it would stop raining.. Once i'm done staining the deck I can put the slide back on also. ''
Swings, monkey bars, and rings / trapeze was ordered from Amazon.
Project costed more than expected but only because I had to buy the Kreg and a new hand sander. Other than that probably close to $120. Great proejct and great addition to our home!
This was super easy to do. Thank you for the inspiration and sharing the plan.
Absolutely love this bed! Thank you Ana!
Brianne Sing
This is the first piece that I have built from your website. The plans were easy to follow. I had to change the dimensions to fit the console where we wanted so it made the parts list a little more time consuming to figure out with a few mishaps in the original plans. After that it was smooth sailing.
I tried to save money where I could so I created my own slides for the drawers rather than spending $100 for the slides. They turned out great. I also made the chalk paint with plaster of Paris since the cost of chalk paint is pretty high.
My wife and i were very pleased with the outcome. Thank you Ana for the great plans. With a little basic wood working knowledge and the proper tools, just about anyone could make this piece.
During the COVID-19 pandemic, I needed a new work from home station. So, I built this desk using the Rustic X Desk plan and just modified the shelf down to half size to make it a little less bulky for the room it sits in now.
Sat, 08/22/2020 - 00:13
Looks great! Absolutely love the top, I’m building one as well right now, and I’ll be using a similar color scheme. Happy building man!
i started this project during the pandemic, and it was amazing I did make even for my neighbors
This was my first BIG project. I was inspired by a console table from a blog Take the Side Street and the Ikea Hemnes Sofa table. I didn't use any plans, so just winged the whole project. I was a bit afraid taking on this project, so I used 89 cent utility boards (roughly 1'x4') that I found at Menard's. So I wouldn't feel bad if it turned out like crap or fell apart. Little did I know how wonderful it would look. I added parson legs to the bottom that I bought from the Home Depot and finished it off with a coat of Minwax Ployshades in Mission Oak.
I'm really excited about how it turned out and have less than $20 invested in the whole project by using the utility wood. This console table holds it all.
The table measurements are 48"x32 1/2"x11 1/2"
Saw the Outdoor sectional on your website and I just had to build it! Made some variations to the original plans, one being making it higher off the ground and the other was a necessity because Home Depot didn't have the right size wood and I wasn't about to go running around from store to store, so I used scraps to make a corner piece that fits perfectly. The most timely aspect was the sanding and removing all the rough edges. Also used Bondo to fill in all the holes that were on the outside to give it an all around smooth finish. The end result is just about the same though and the family and friends are in love with it! Thank you so much for the plans! Really could not even come close to justifying what it would cost to buy a sectional like this. Cushions were a huge concern and rightfully so. After building, I started searching and was mostly getting prices in the plus $800 range. It was breaking my heart knowing I was going to have to pay more than double what the entire sectional cost me. In the end though, was able to land some 25 x 25 x 6 cushions at Lowes for 50% off ($50 a piece).
Tue, 06/17/2014 - 14:11
You sure have outdone yourself, love the space! Thanks for sharing!
Mon, 03/16/2015 - 09:06
I love this modification. Did you use 2x8s or 2x10s for your base? It looks like you angles the back. How did you go about doing that? Thank you for posting this?! Great work!
Mon, 06/29/2015 - 18:00
nice build, when you get some time can you put up your modifications please:) would love to build this! Love the colours you used and how it looks!Me too..you cook like me, i make it my style...thats how i do my salsa ..my way i like it...
Mon, 06/29/2015 - 18:00
nice build, when you get some time can you put up your modifications please:) would love to build this! Love the colours you used and how it looks!Me too..you cook like me, i make it my style...thats how i do my salsa ..my way i like it...
Mon, 06/29/2015 - 21:50
sorry about the end of my comment, must of pasted a message in their somehow? My bad.
I love this table!! Simple build using recycled wood from dumpsters.
Our take on the modern outdoor chair! Fun and easy to build. Will be making the 2 seater loveseat to match.
Best looking greenhouse and great size!
Mary McLachlan
A bunkie board needs to be added to the shopping list. I used one from a bunk bed that I used to have as well as some metal slats that I used to support the bunkie board. I would imagine you could use boards as well. Also, I would add that 2" screws would be helpful. There were times when 2 1/2 were too long and 1 1/2 were not long enough. It's a very sturdy bed. Definitely recommend using lots of wood glue for reinforcements. I also added L-shaped brackets under the 2x6's to add support.
We didn't want a platform bed but liked the looks of this bed. We used a 2x10 for the vertical frame. The 'rail' around the top of that is a 1x4. We sunk the supports slightly to hide most of the box spring. I also wrapped the box spring so that it matches our bedroom and isn't so apparent. The legs we did were two 2x4s as we couldn't find a 4x4 in pine. We did two twin beds to support the twin box springs and did a 'footboard' that brings them together. They wouldn't have fit through doorways otherwise. It turned out very well. The headboard is somewhat our own creation.
Decided to use your plans and build an entertainment center for the house. I did however change a couple of things, like it is a little smaller and I used weathered wood for the sides and front, along with deciding on not using the doors. After building this project ...I Loved it ! In fact loved it so much , I built a matching end table. Thank you so much for the plans and ideas.
Wed, 09/21/2016 - 15:32
The weathered wood is beautiful! I love your take without the doors. Thanks so much for sharing!