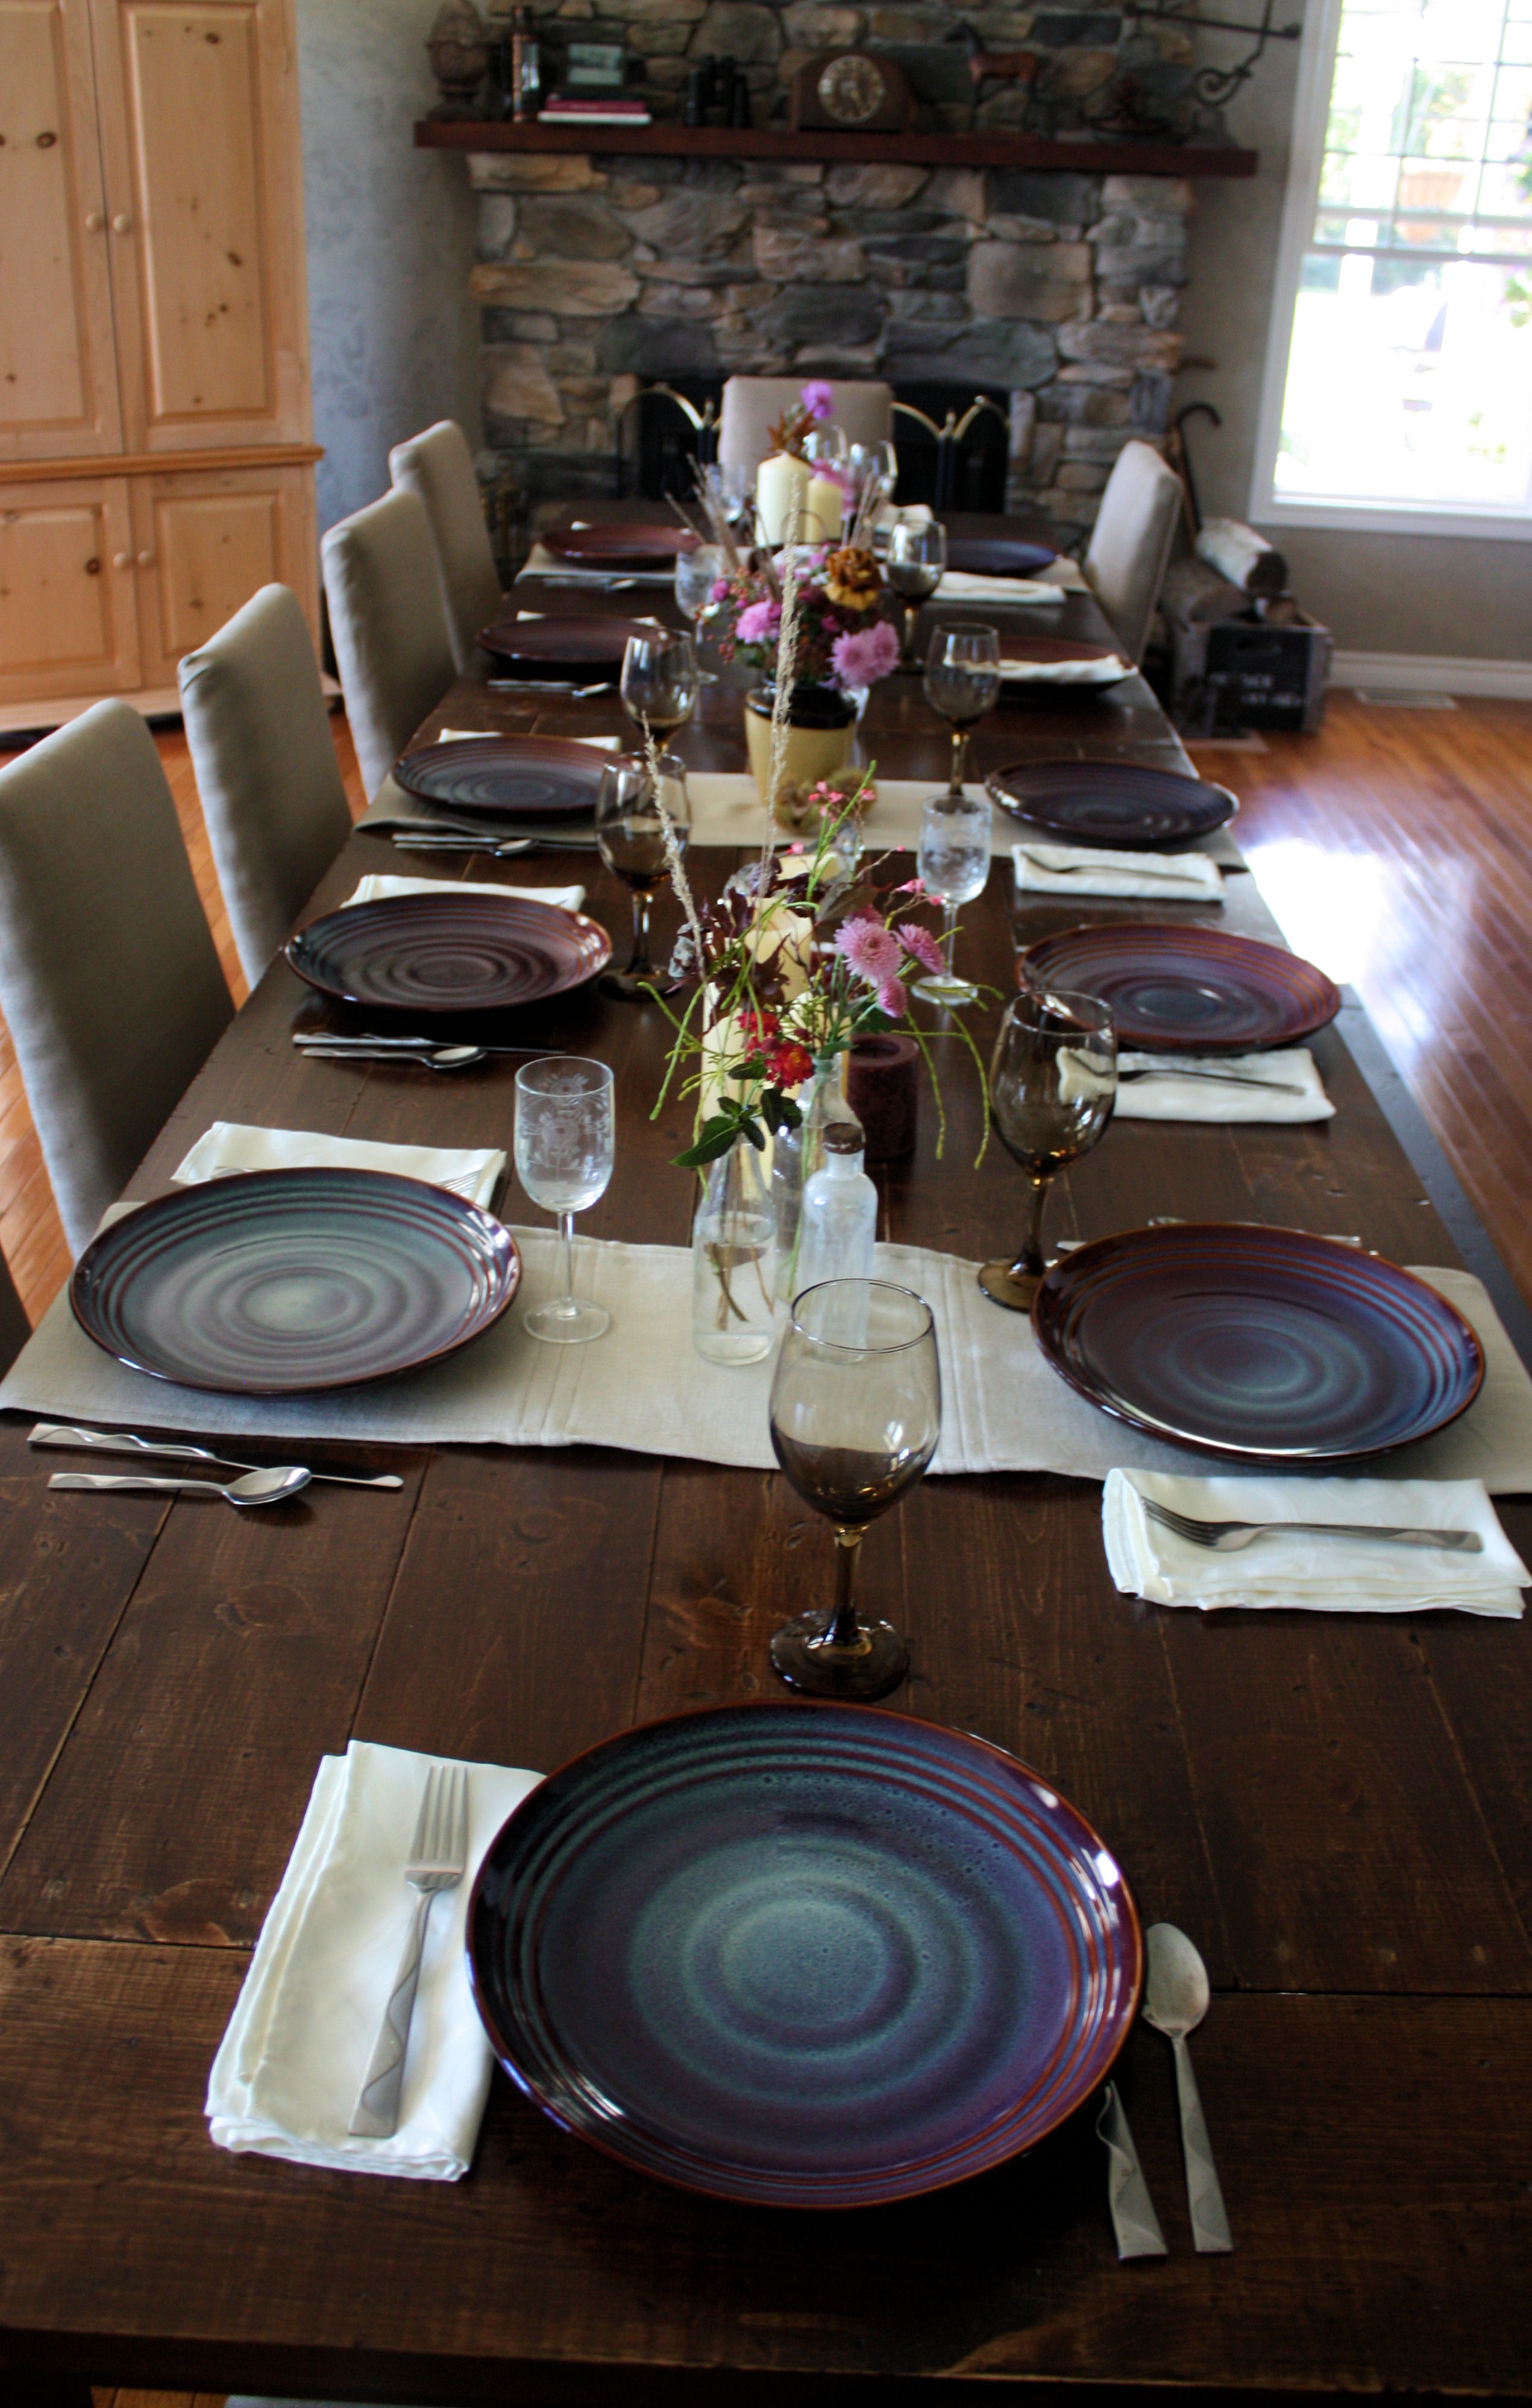
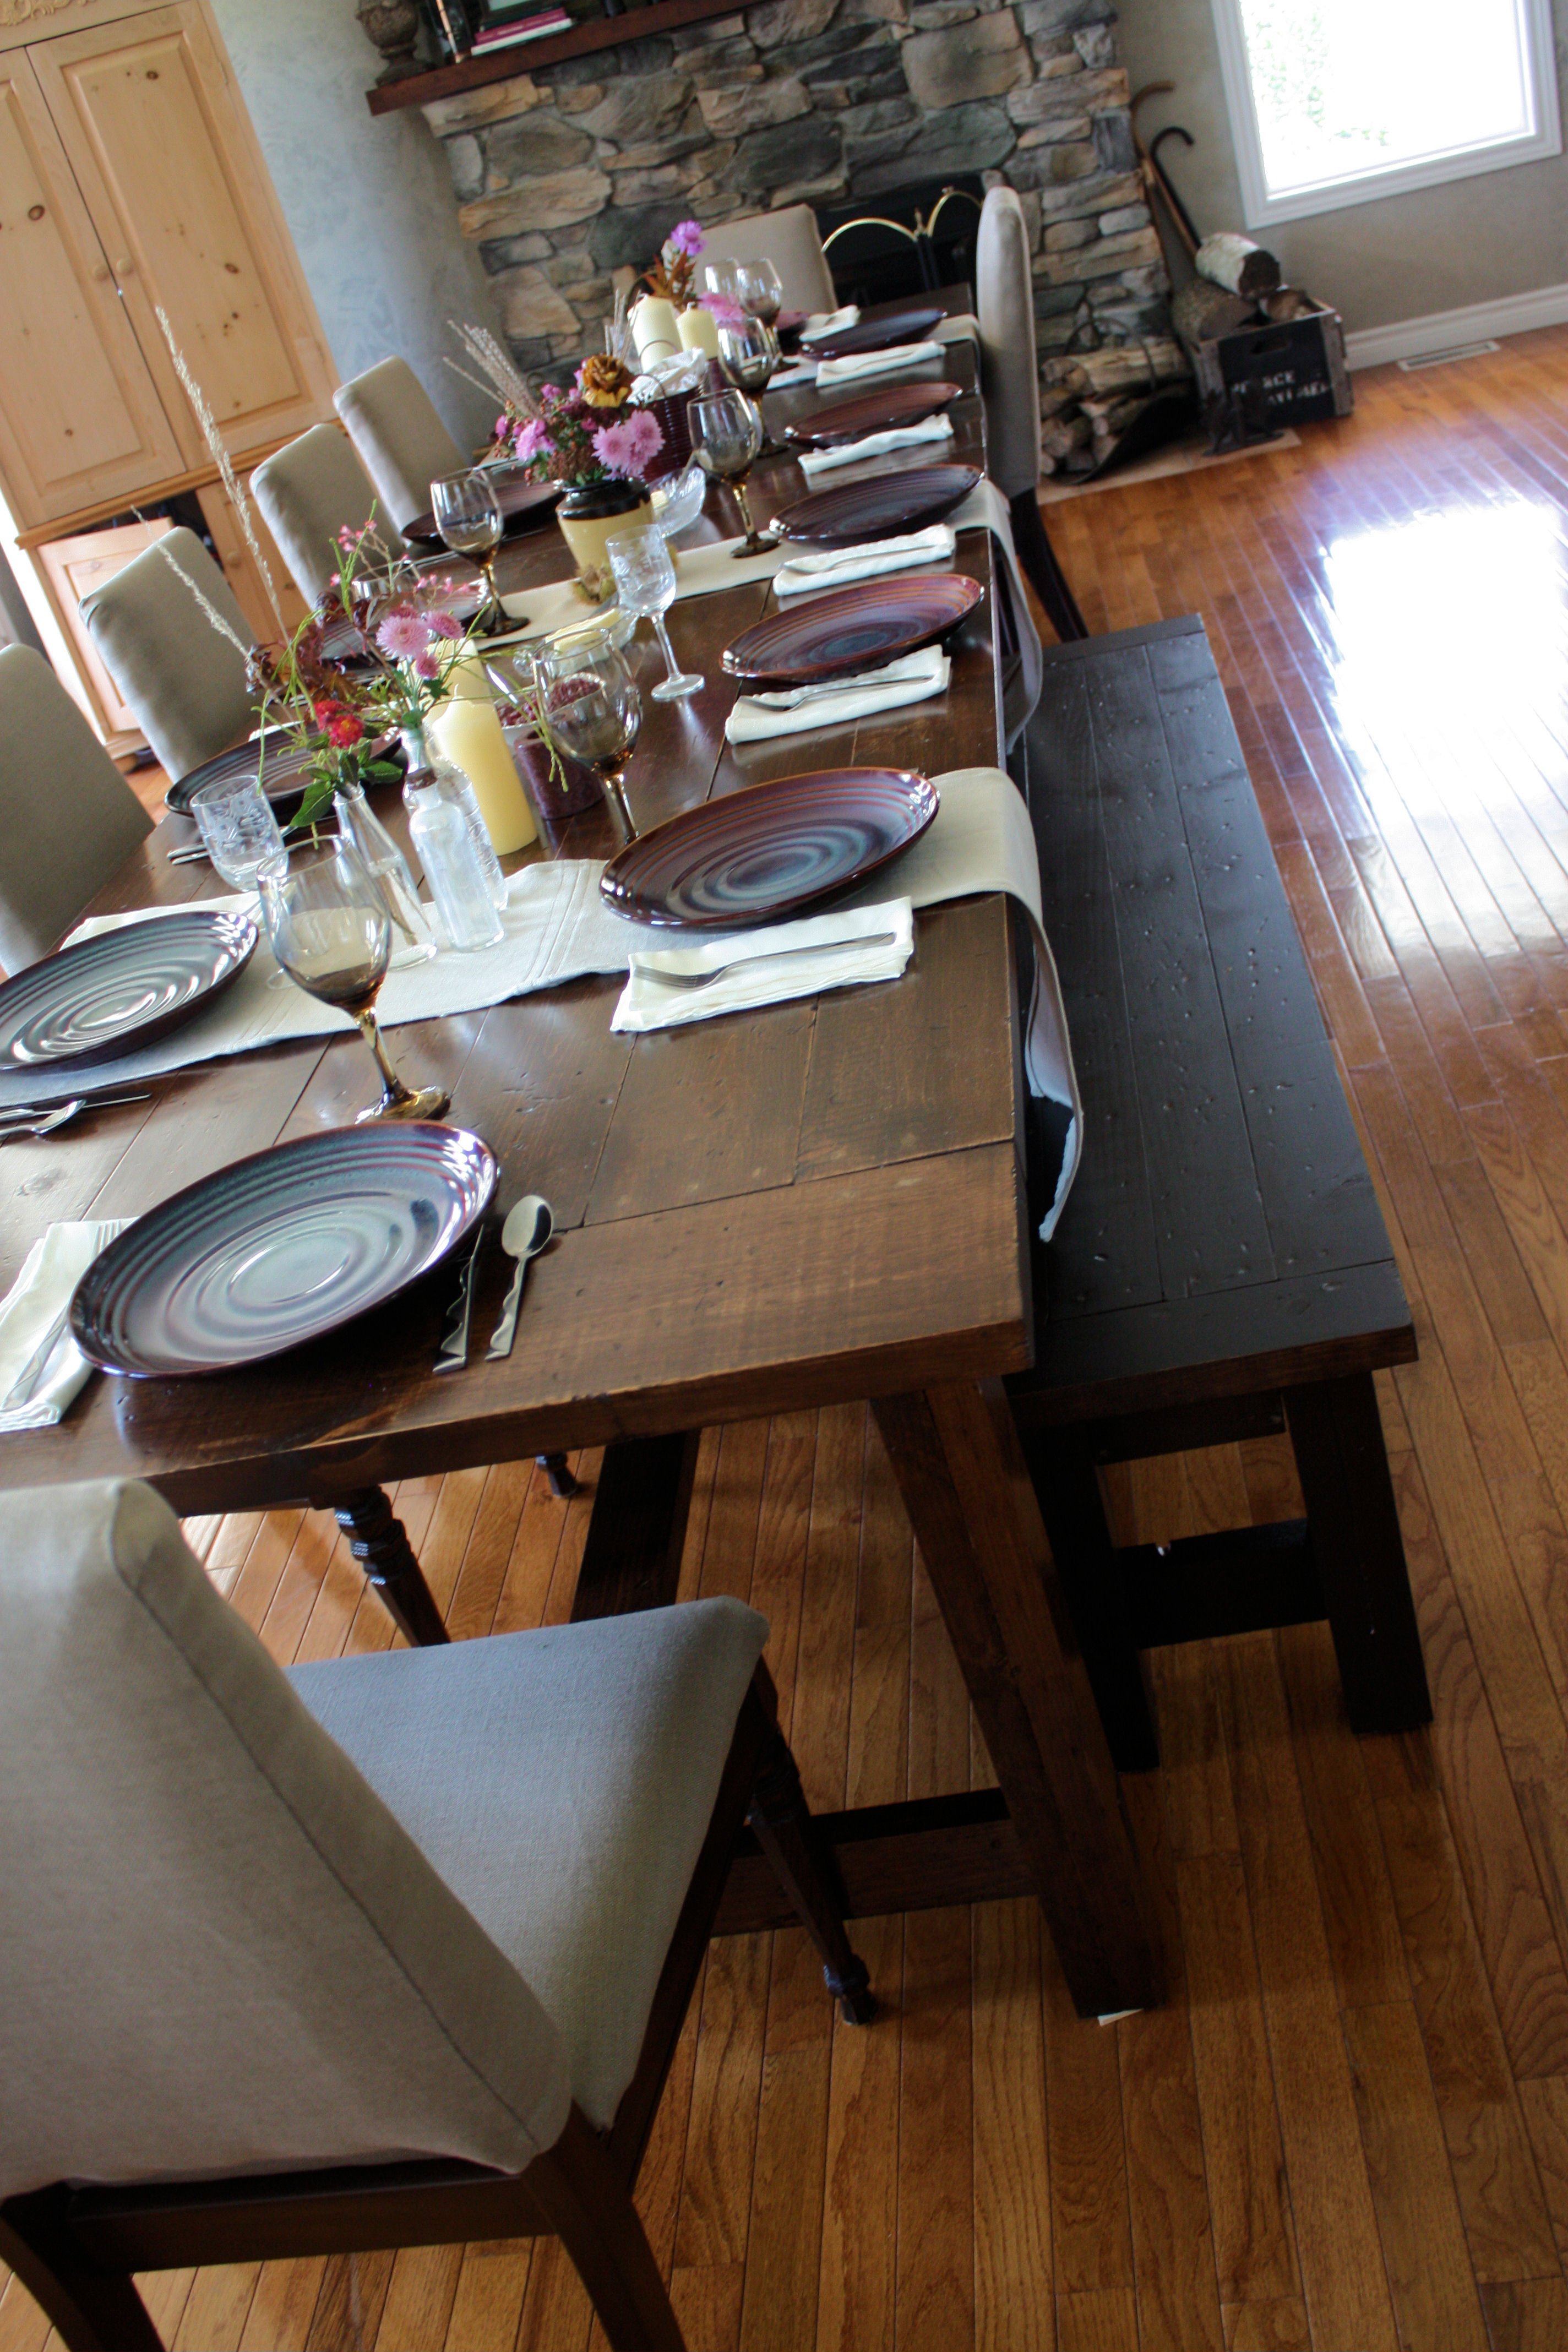
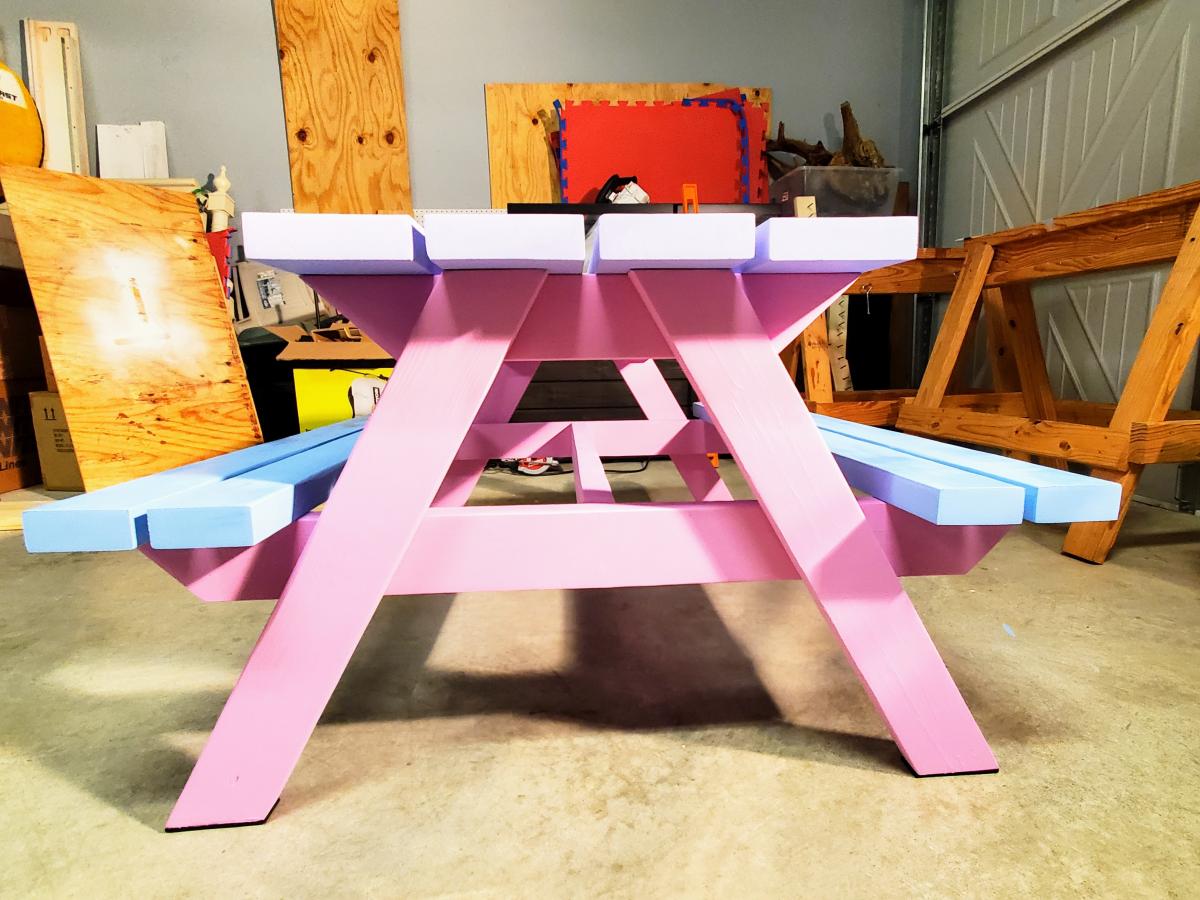
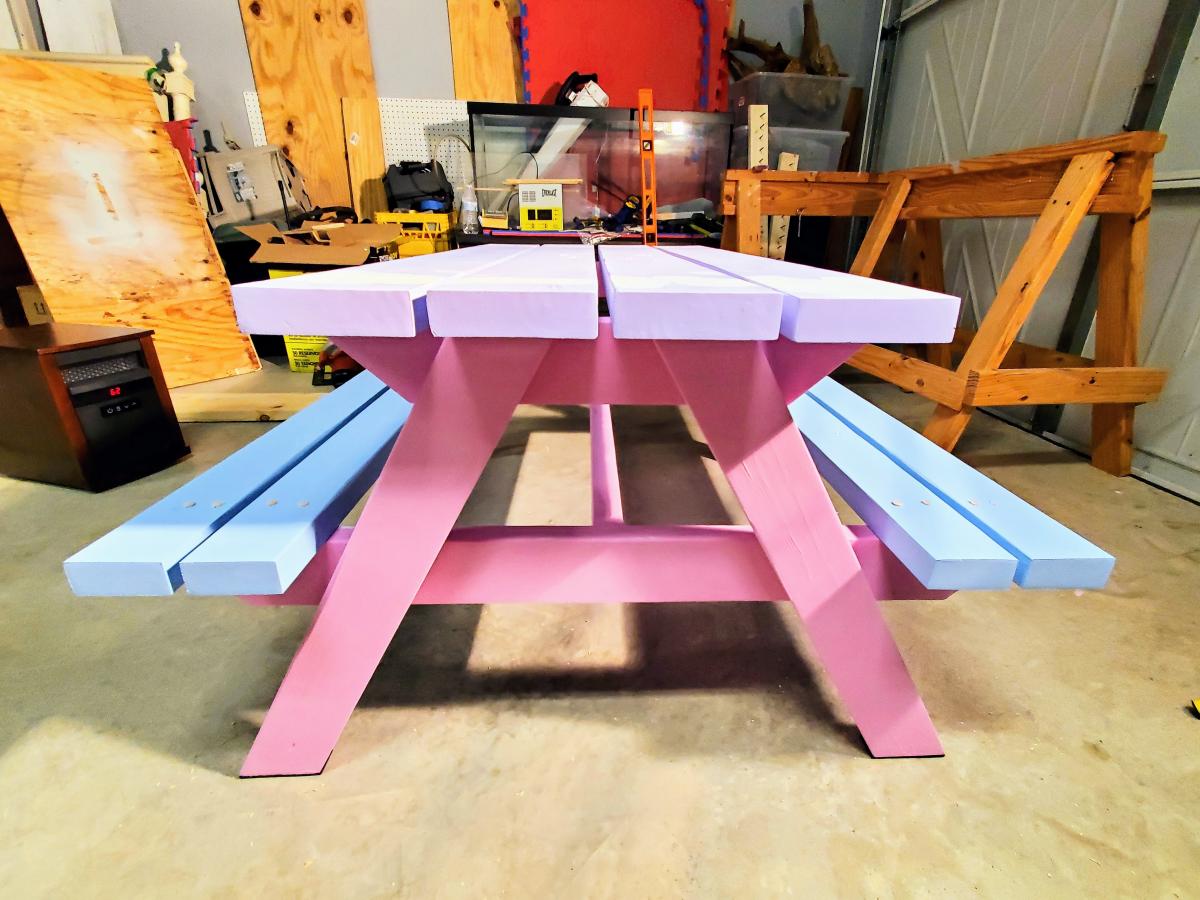
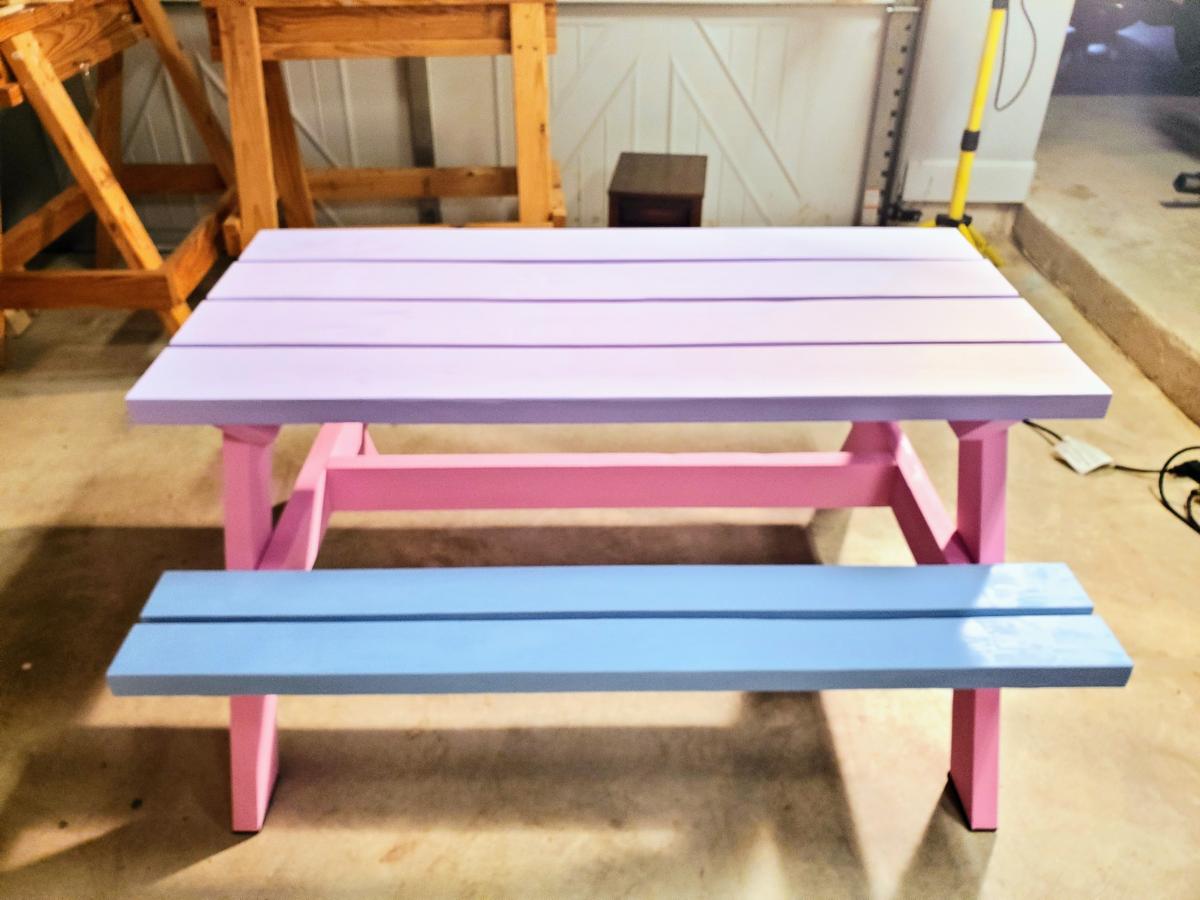
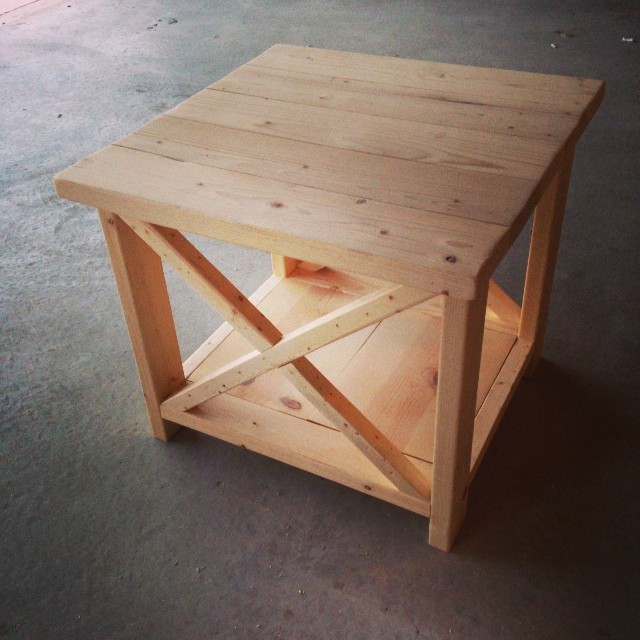
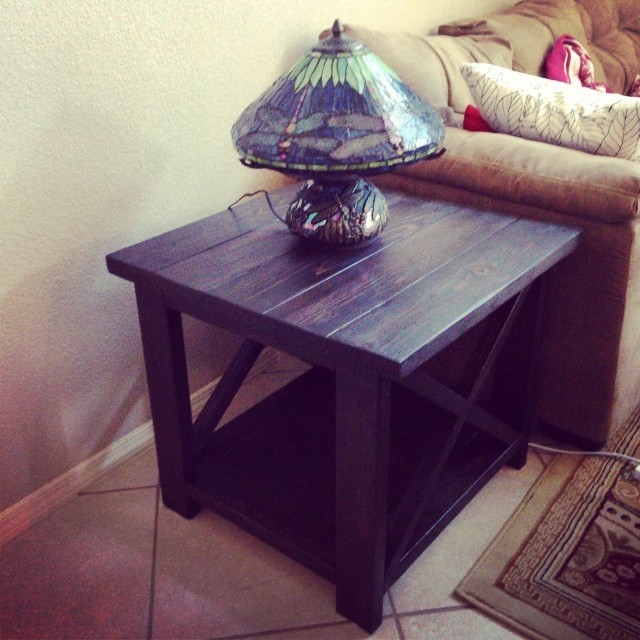
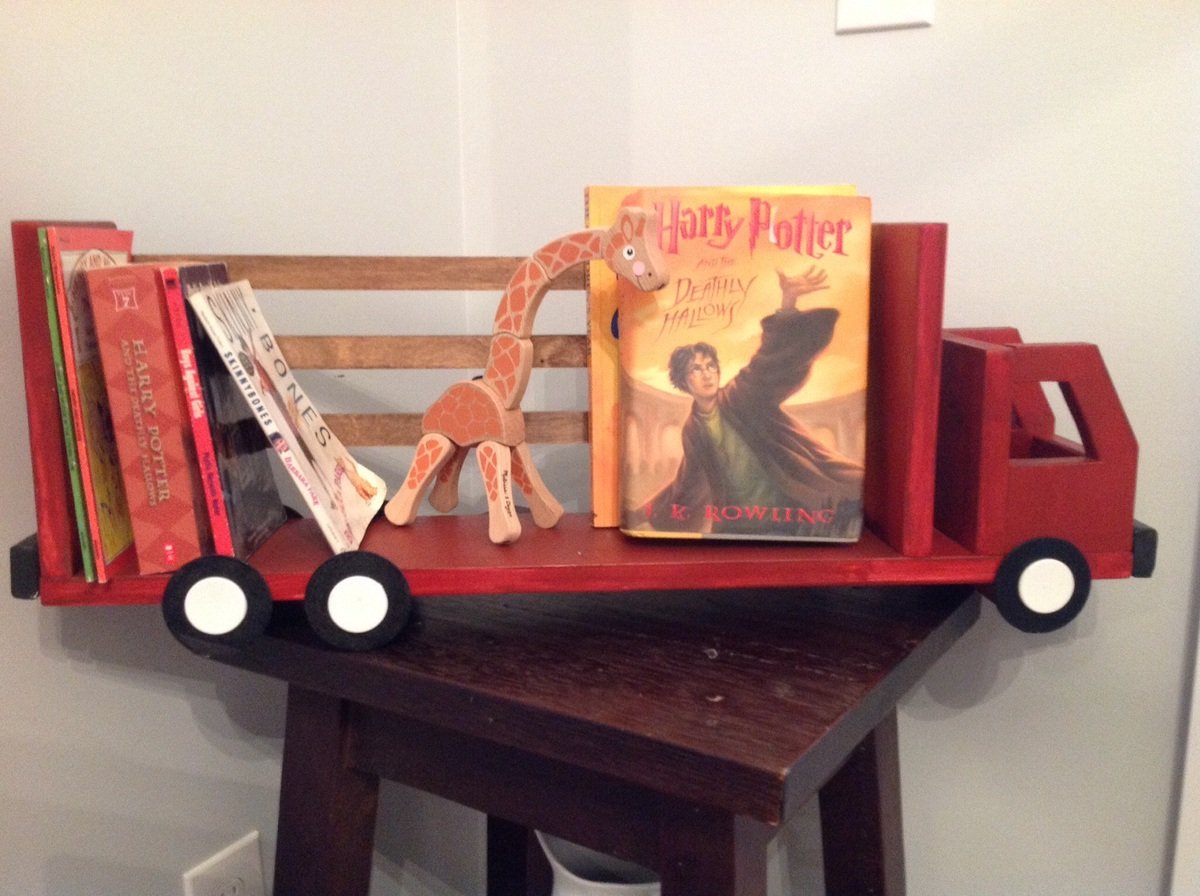
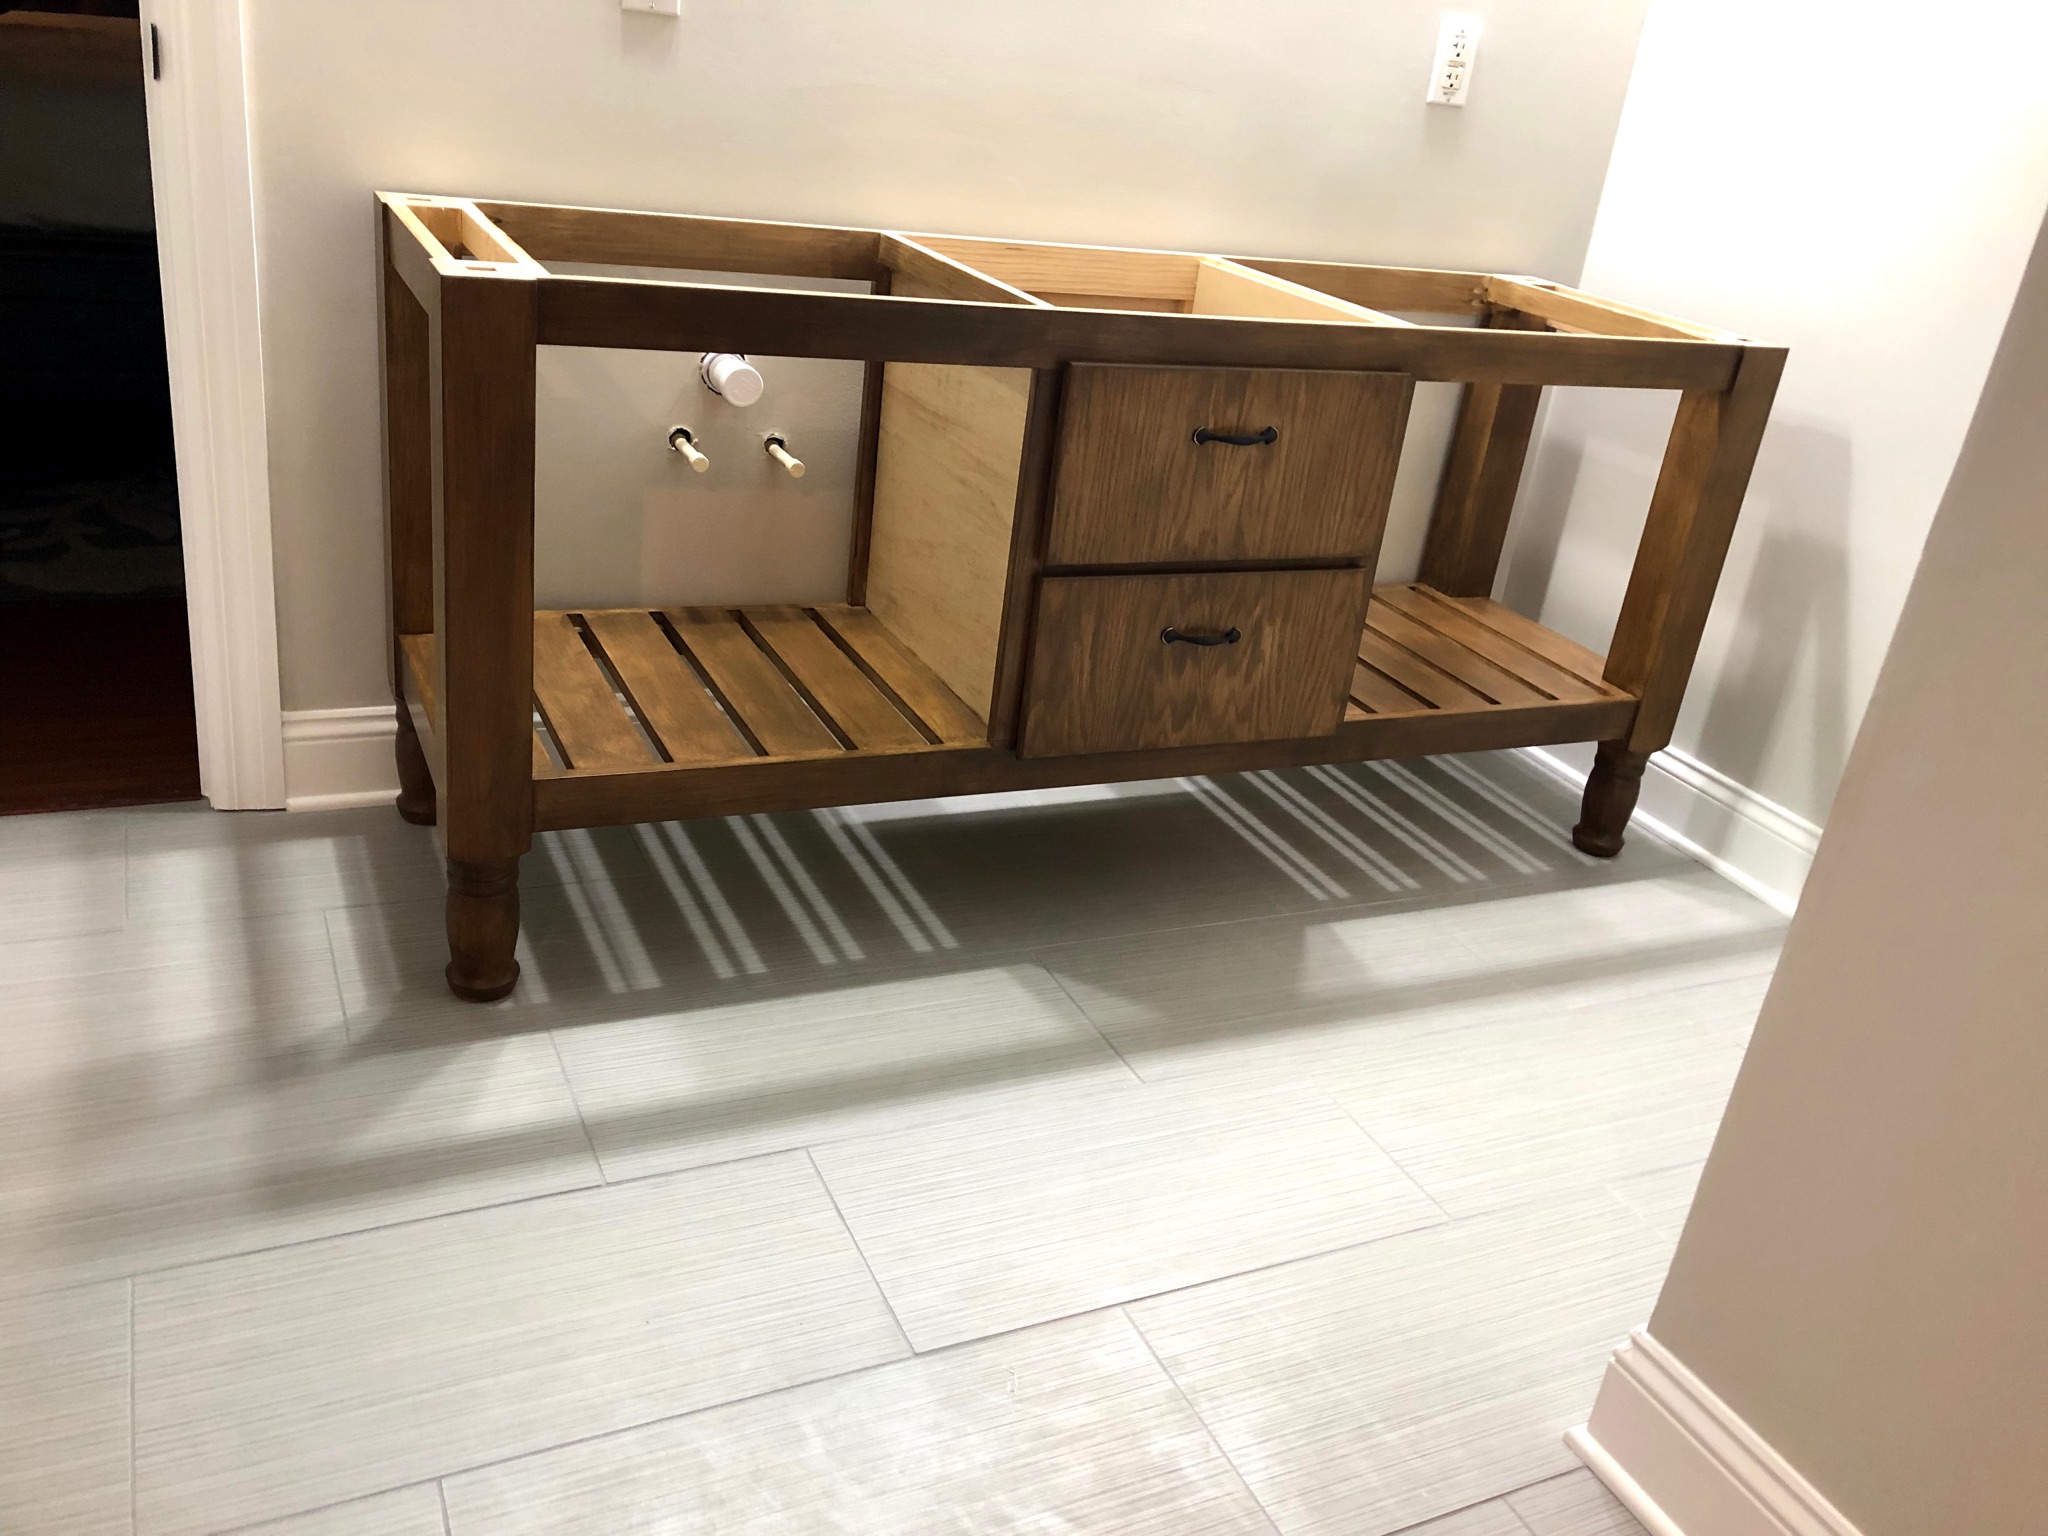
Santa's Workshop
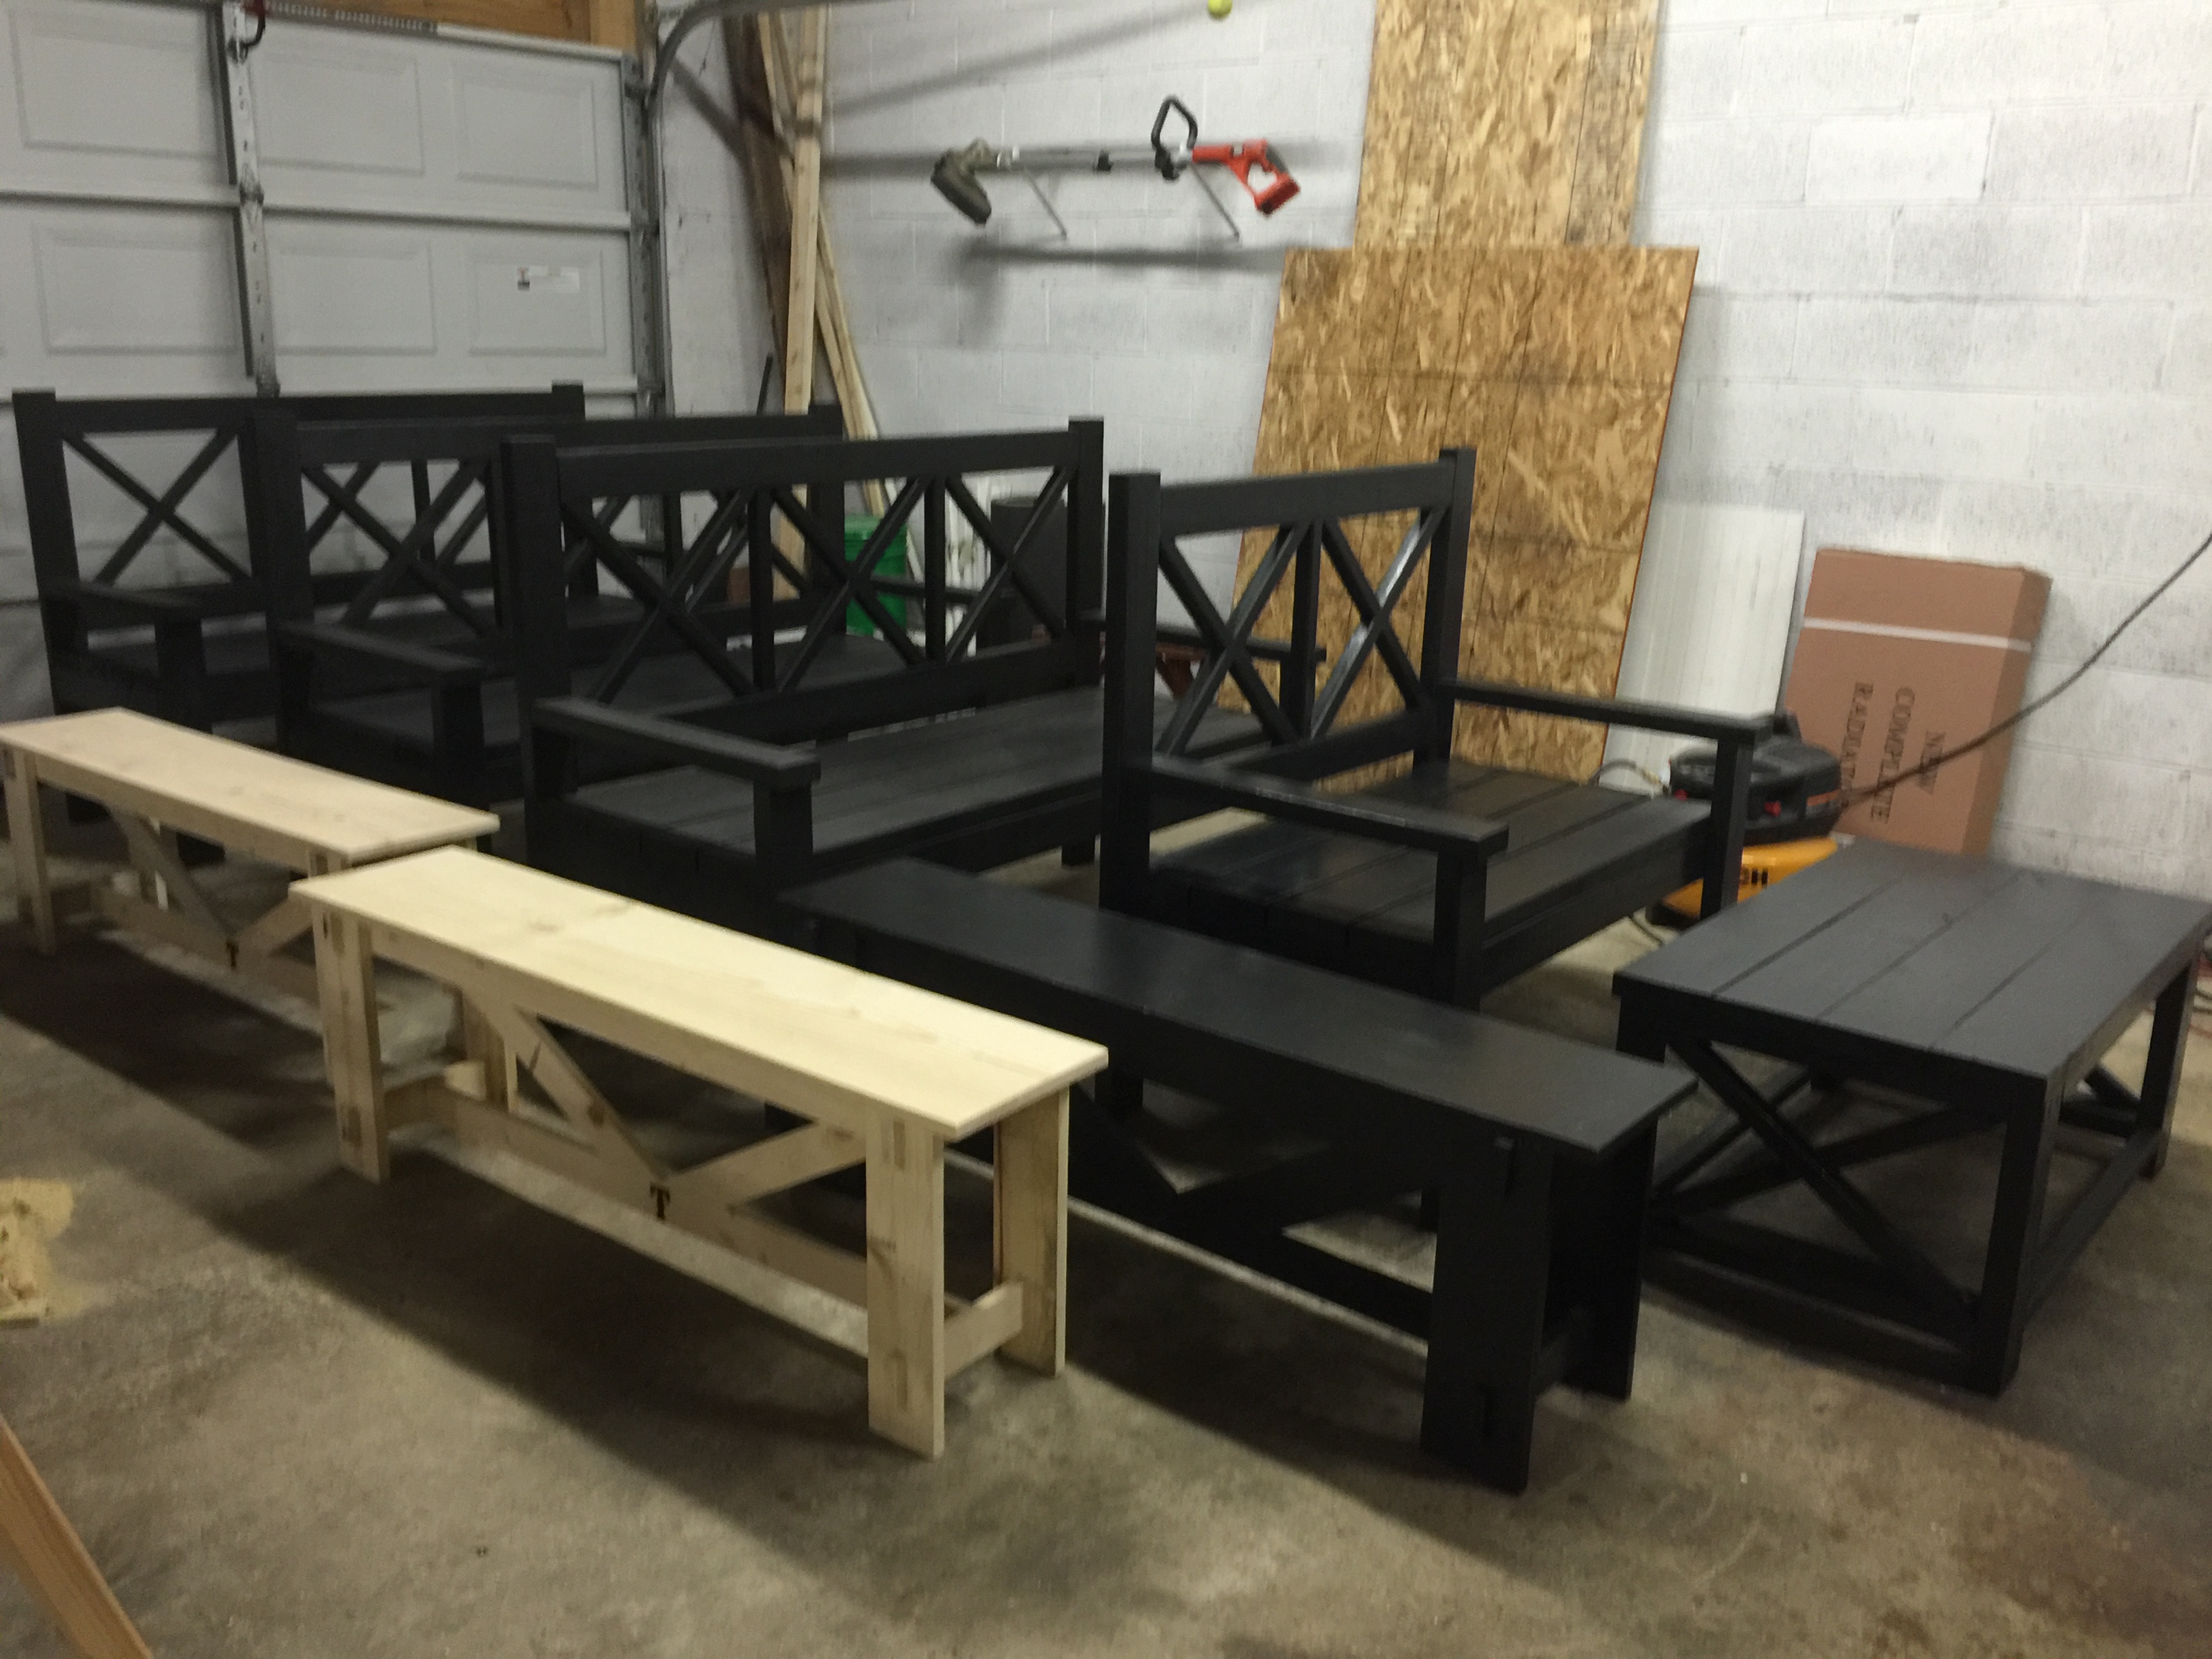
Everyone gets projects from Ana-White plans for Christmas this year.
I can't wait to give them away.
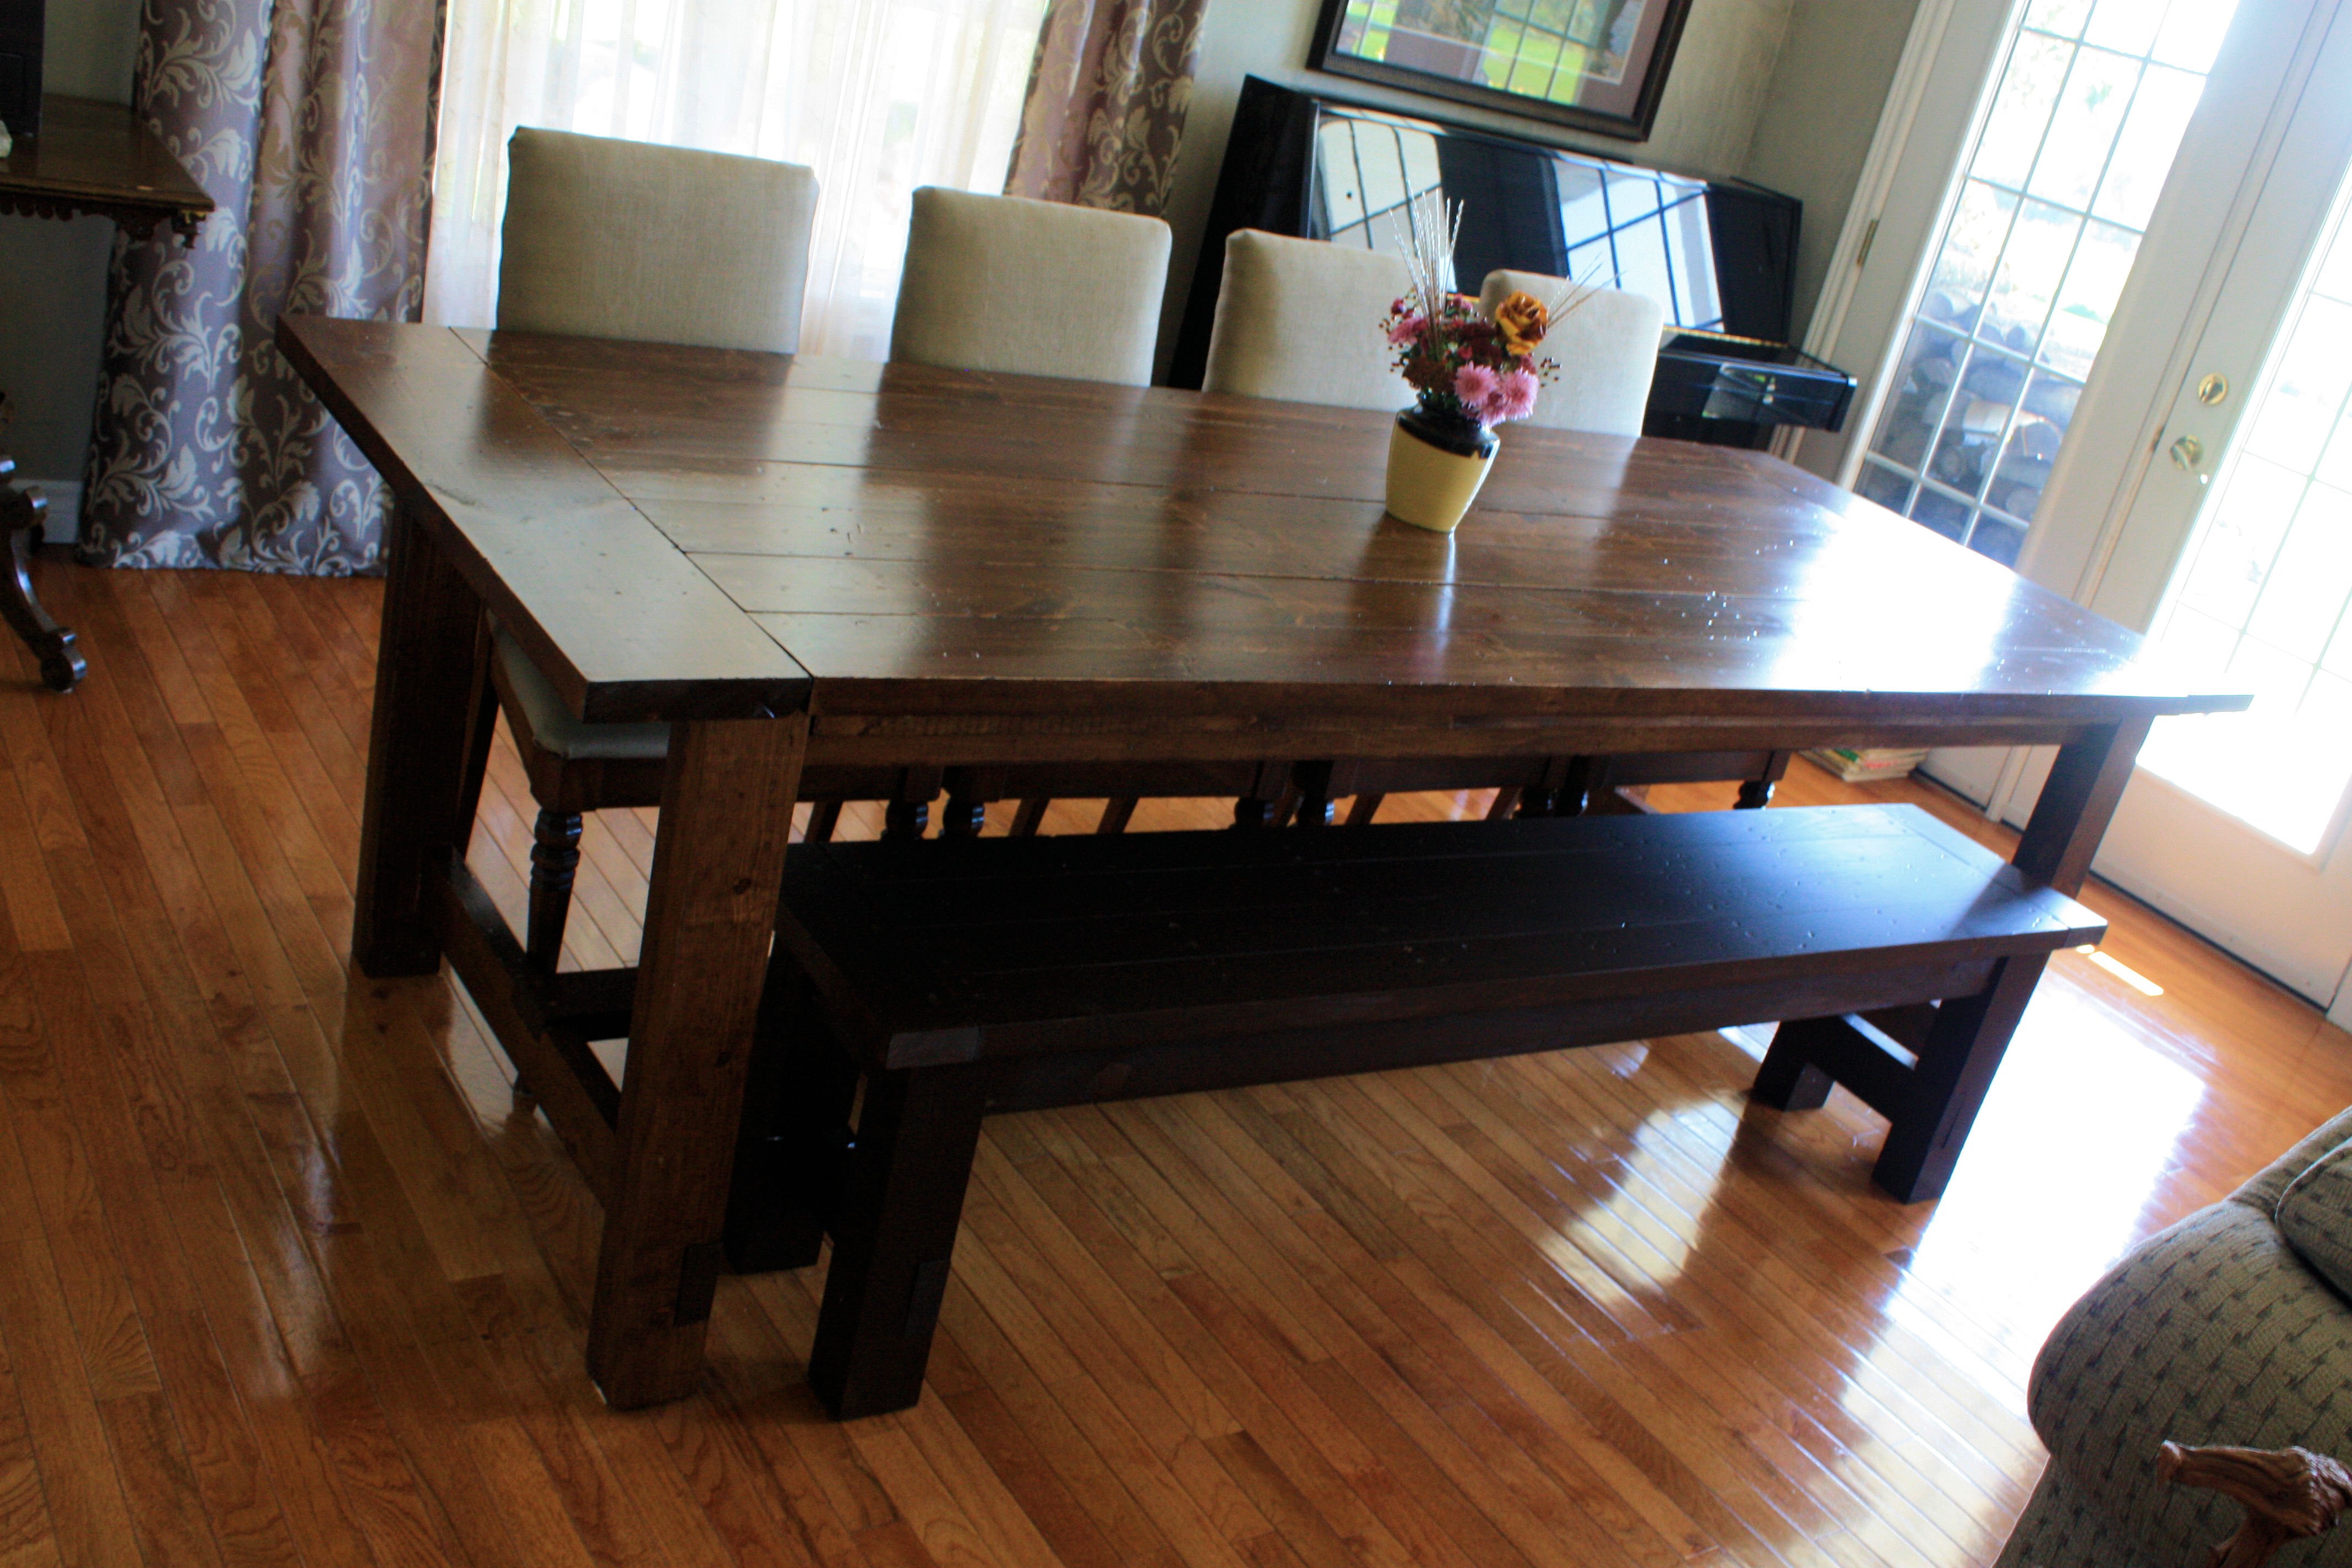
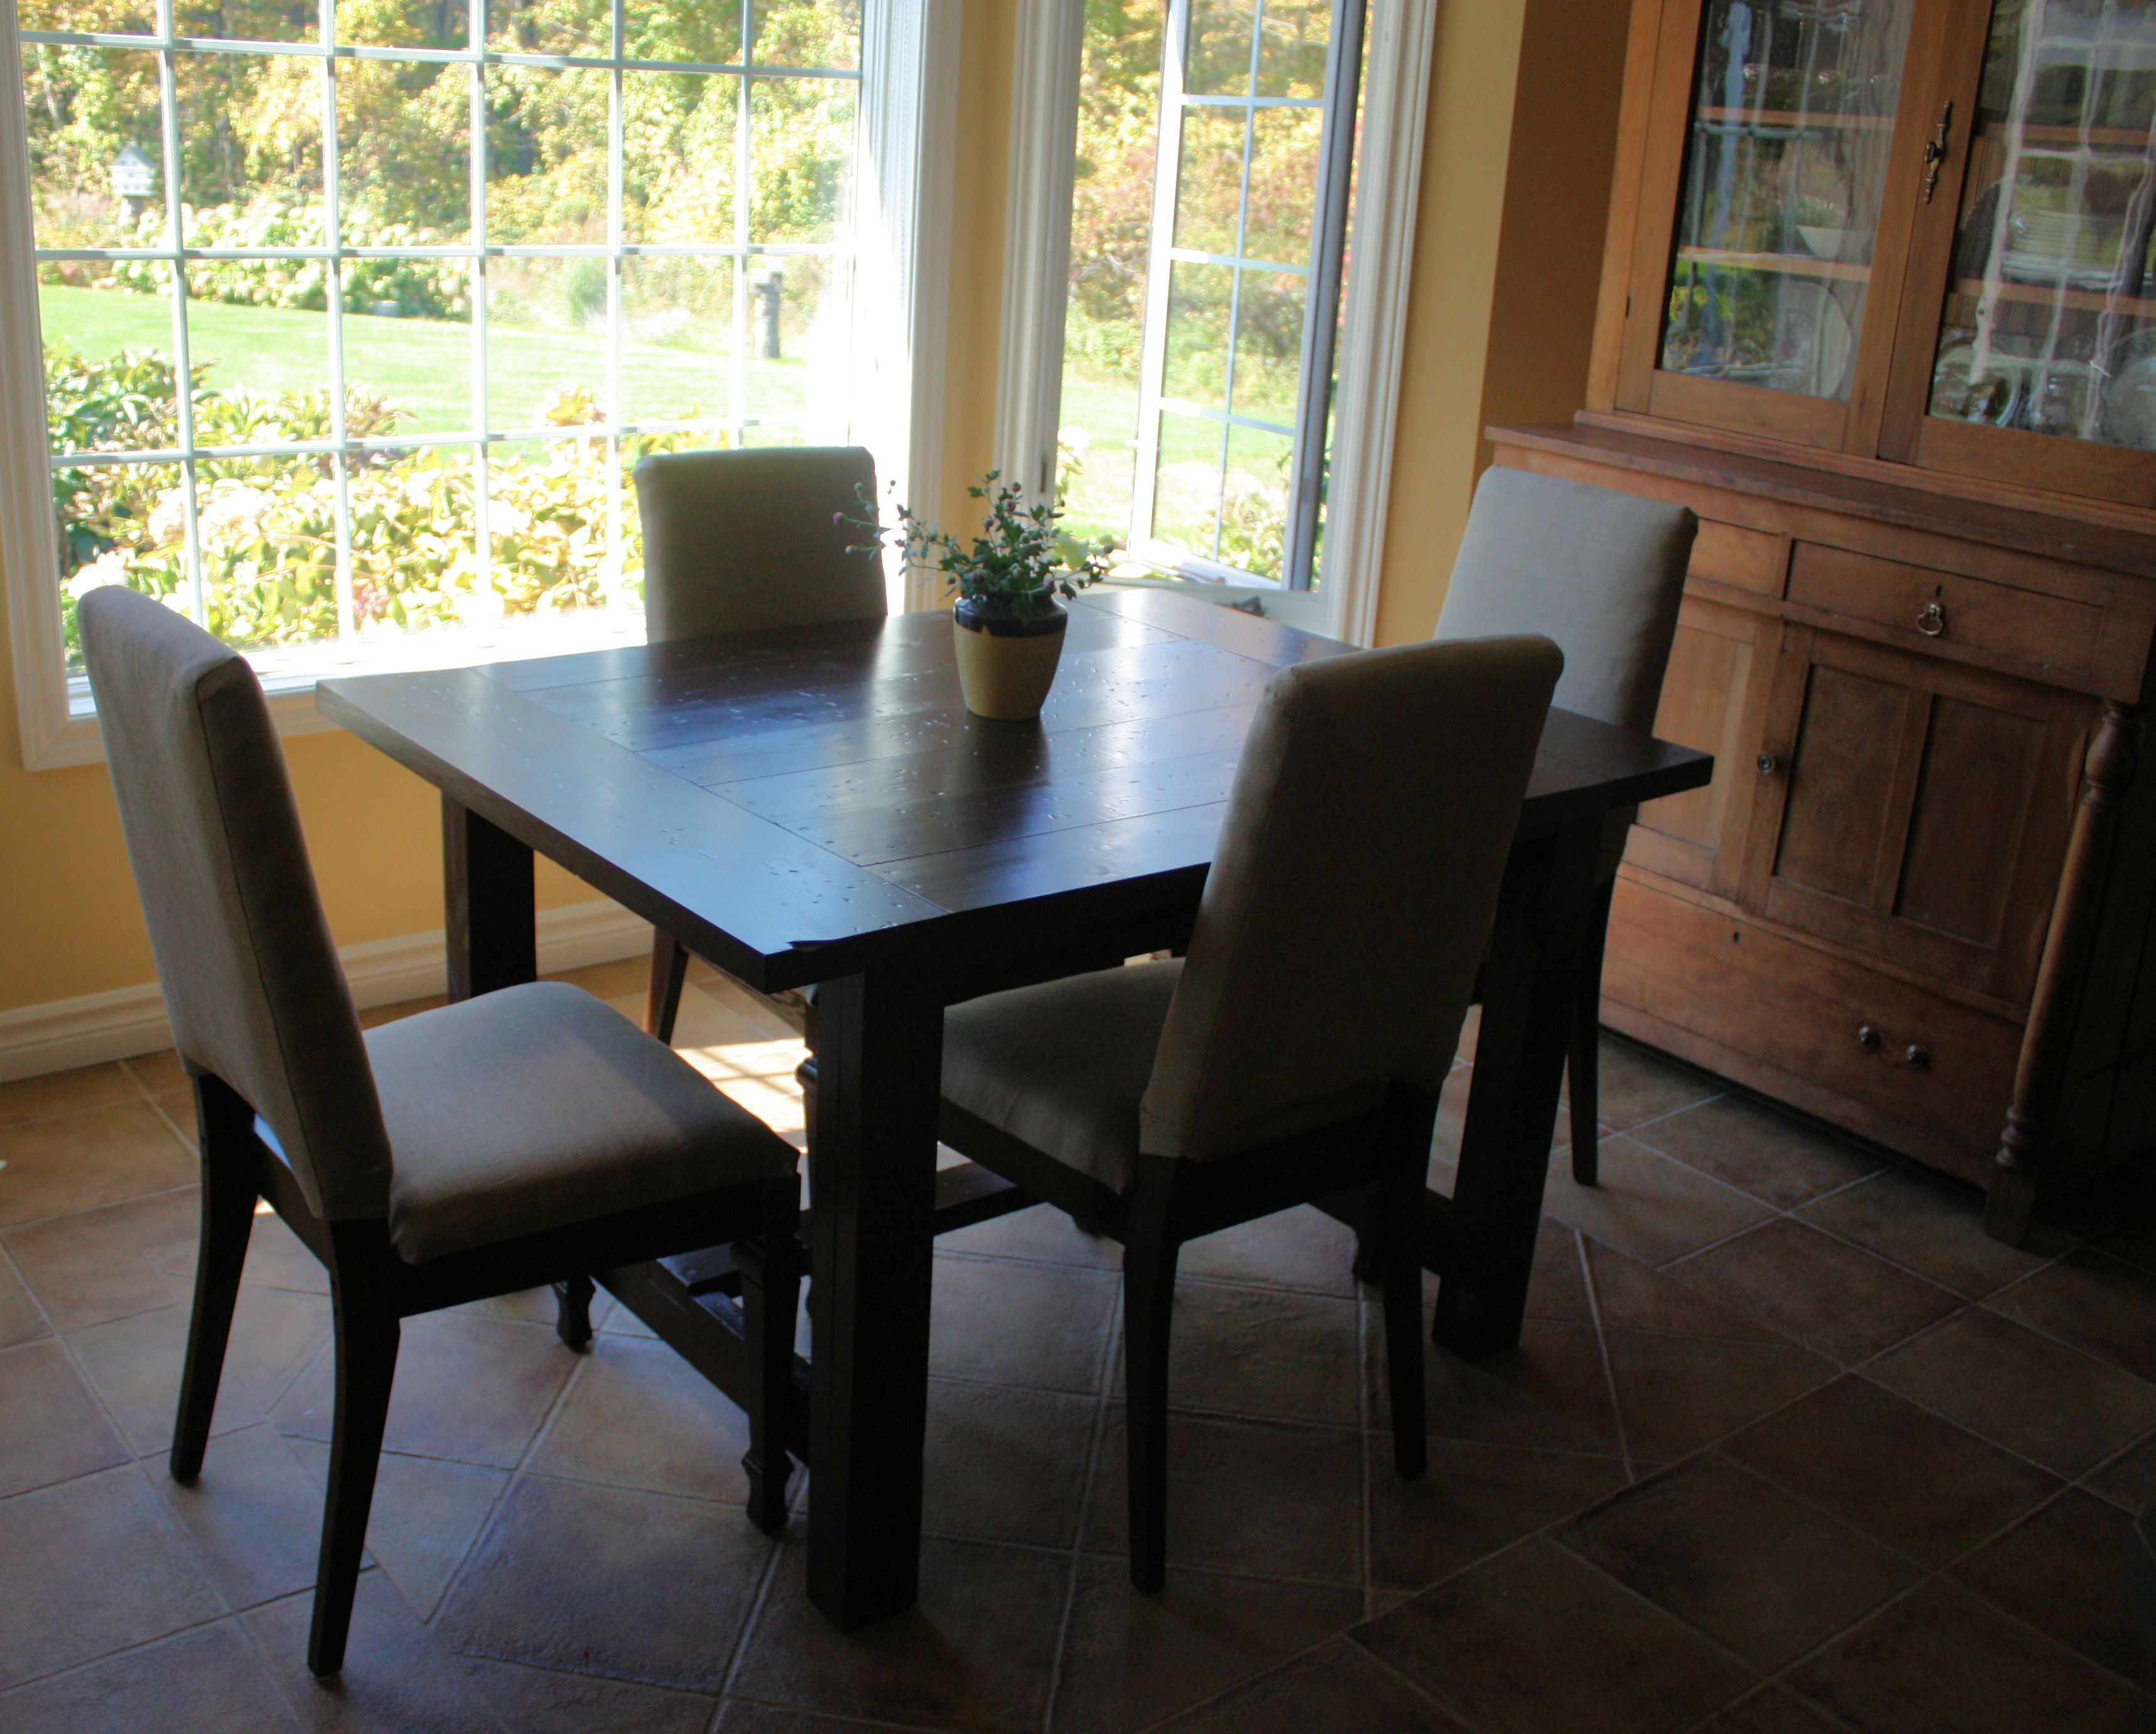
Built from Plan(s)
Estimated Cost
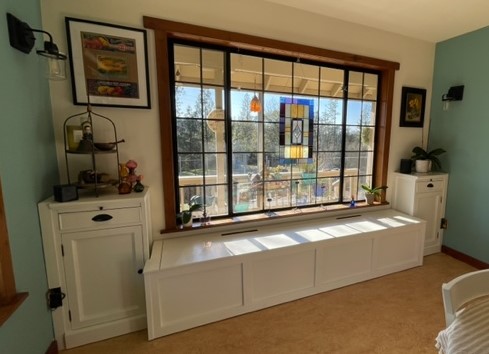
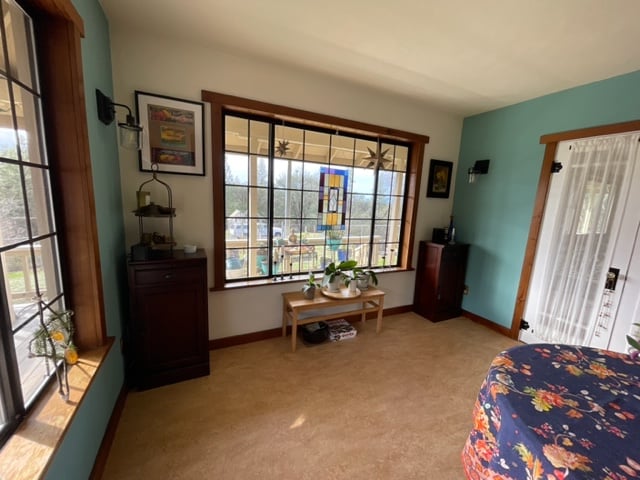
Porch benches were $60-$70
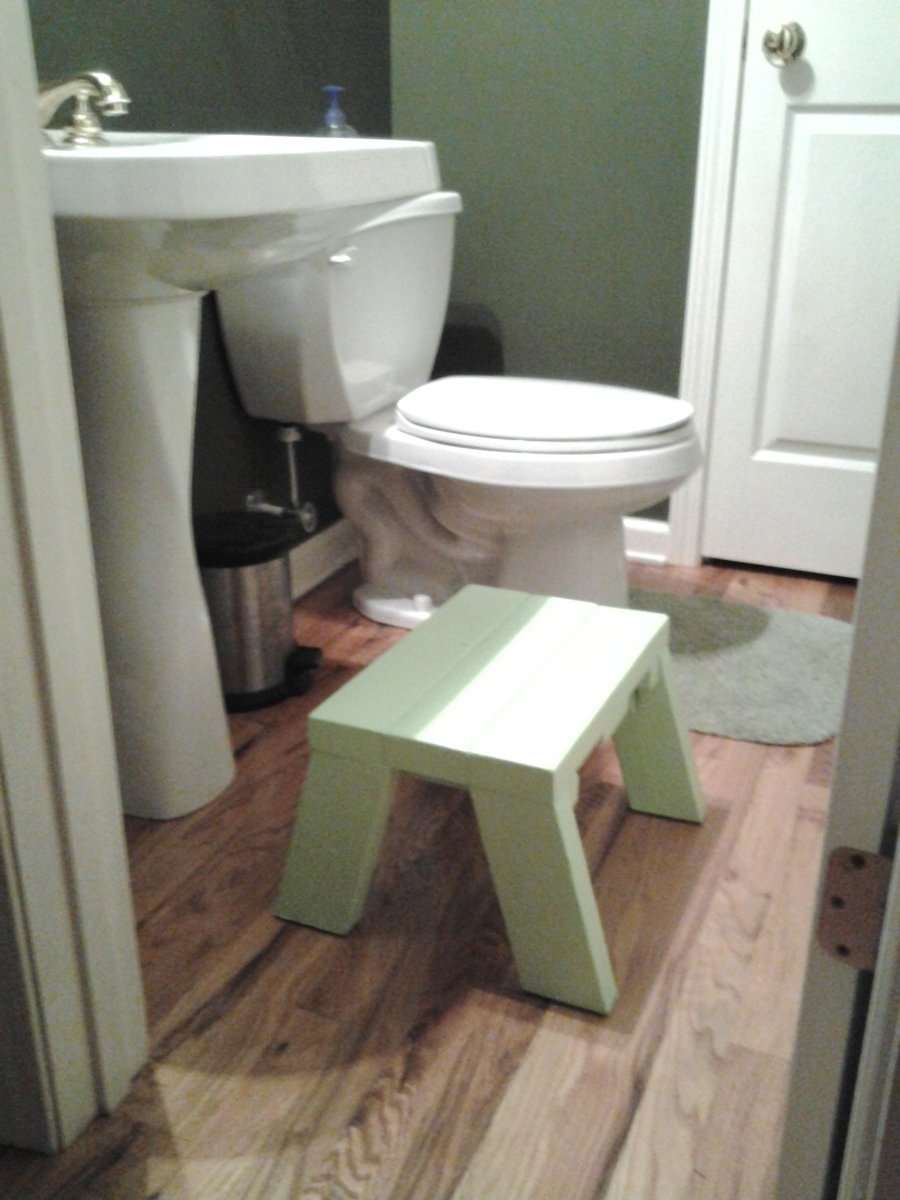
Rustic Benches $25-$35
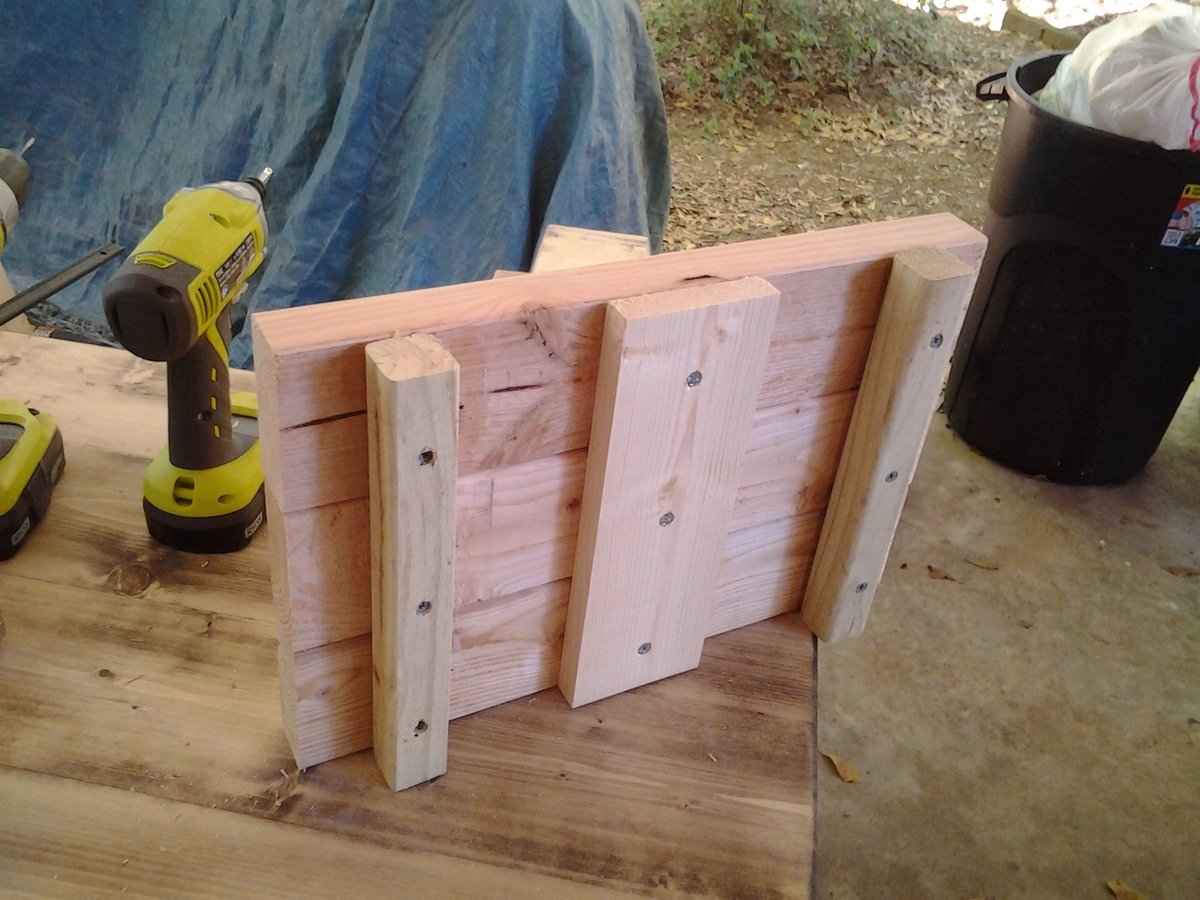
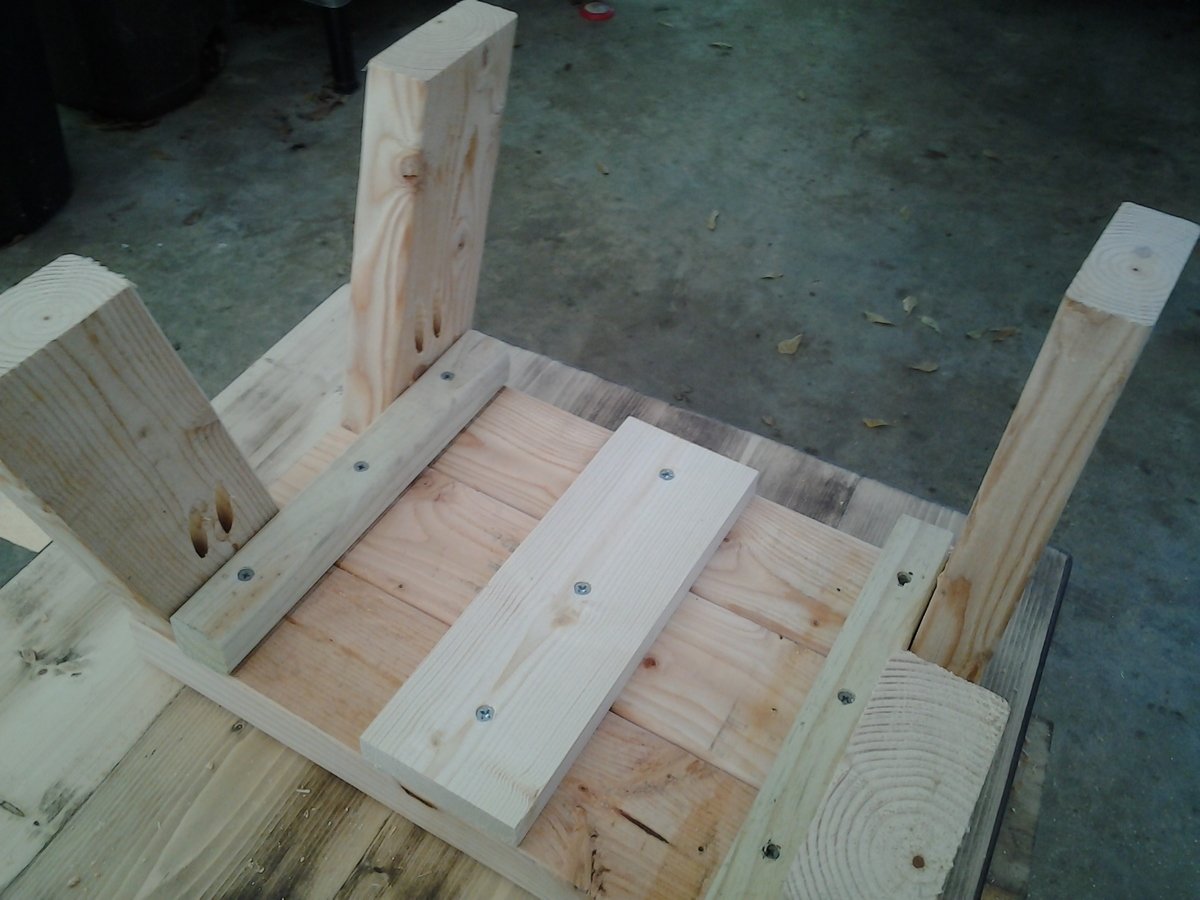
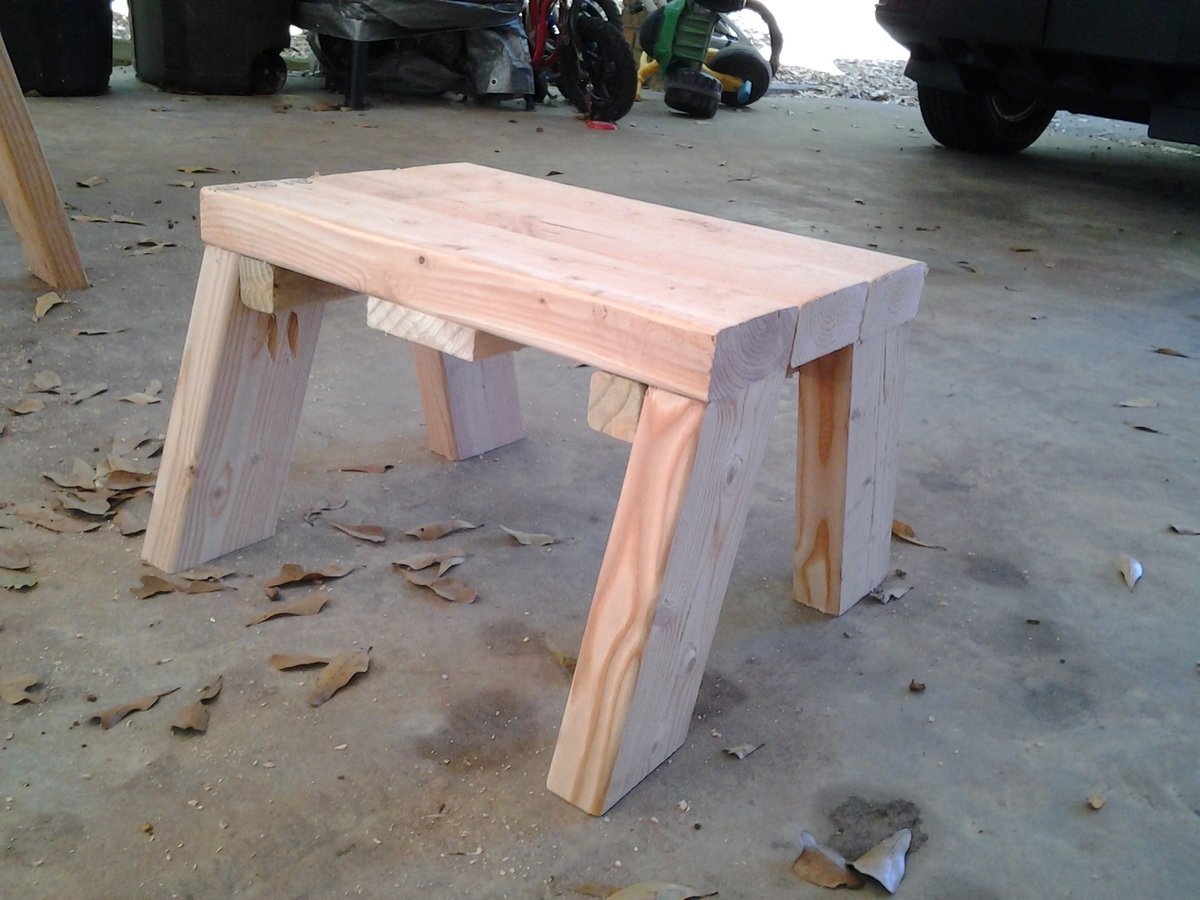
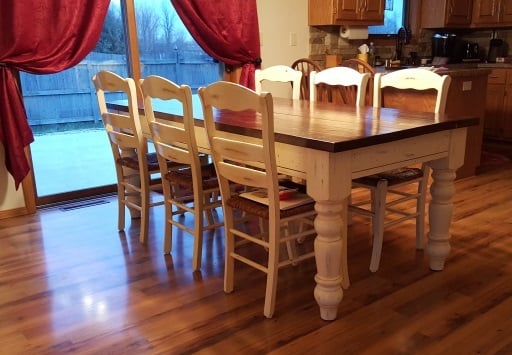
Rustic Coffee Table $25-$35
Rustic Benches $25-$35
Rustic Coffee Table $25-$35
Estimated Time Investment
Weekend Project (10-20 Hours)
Finish Used
Satin Exterior Paint
Recommended Skill Level
Beginner