Small Chicken Coop with Planter
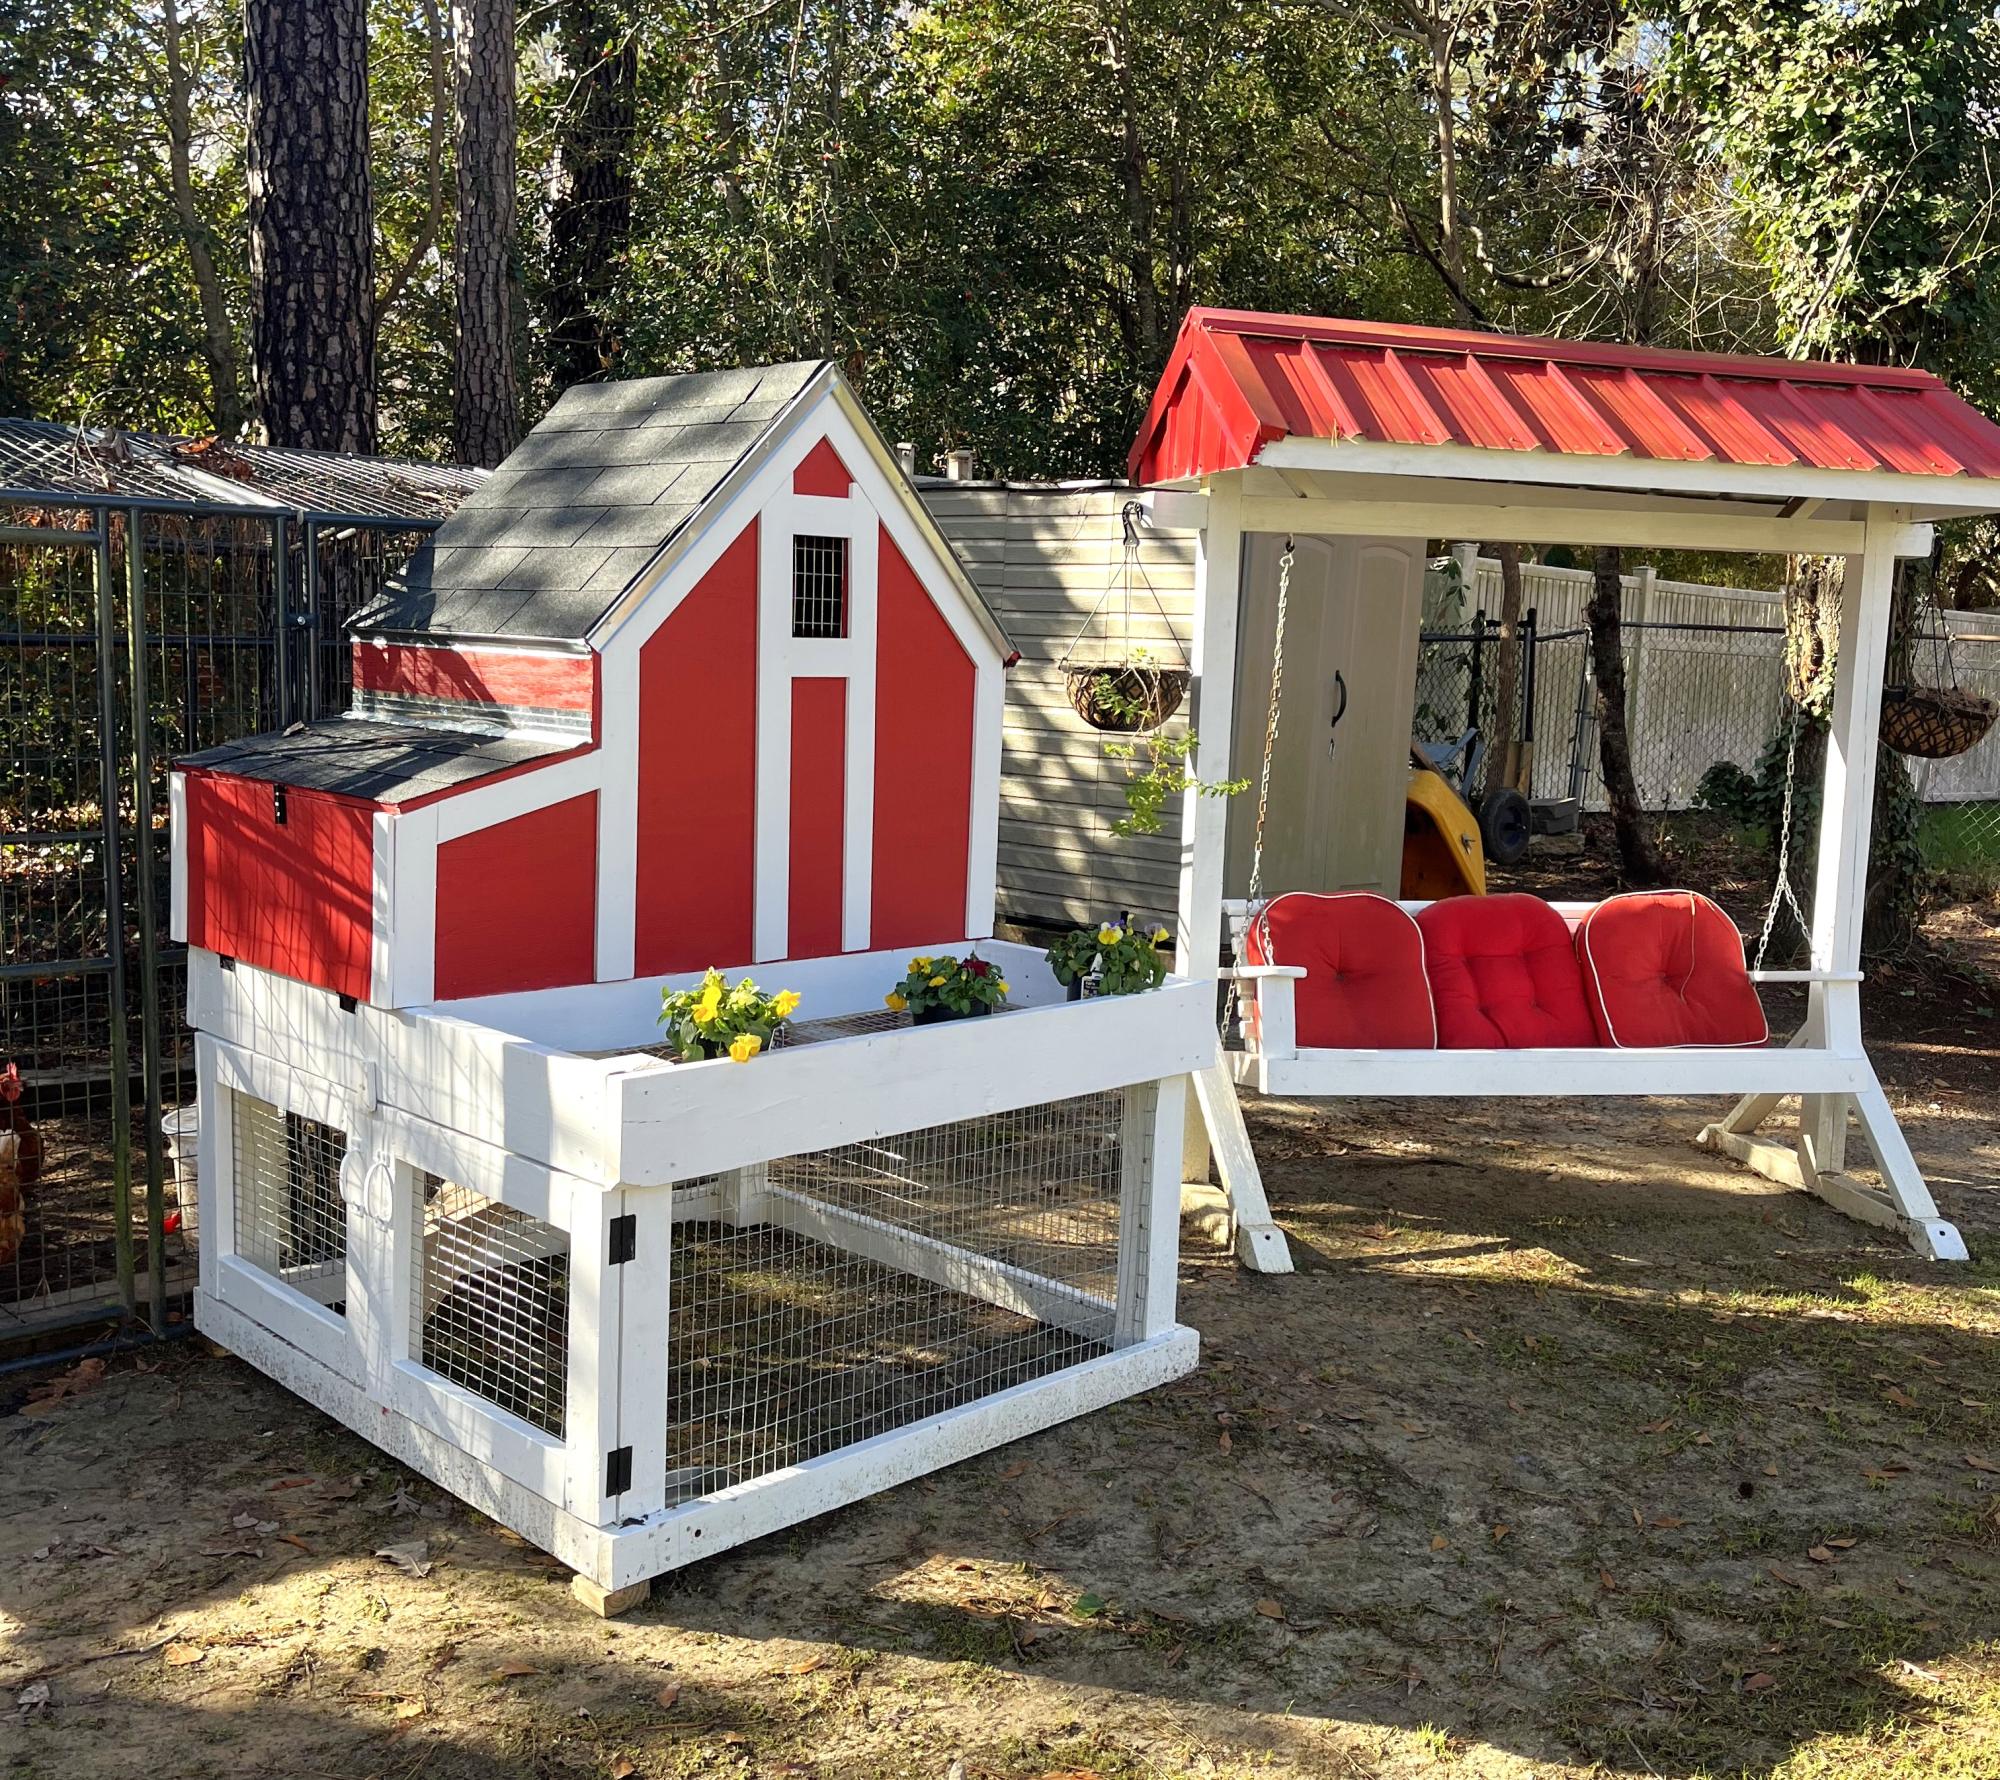
I moved into a new house and needed a new chicken coop. I am retired and not a woodworker but these plans were easy to build. Thanks Ana.
Doug Lamm
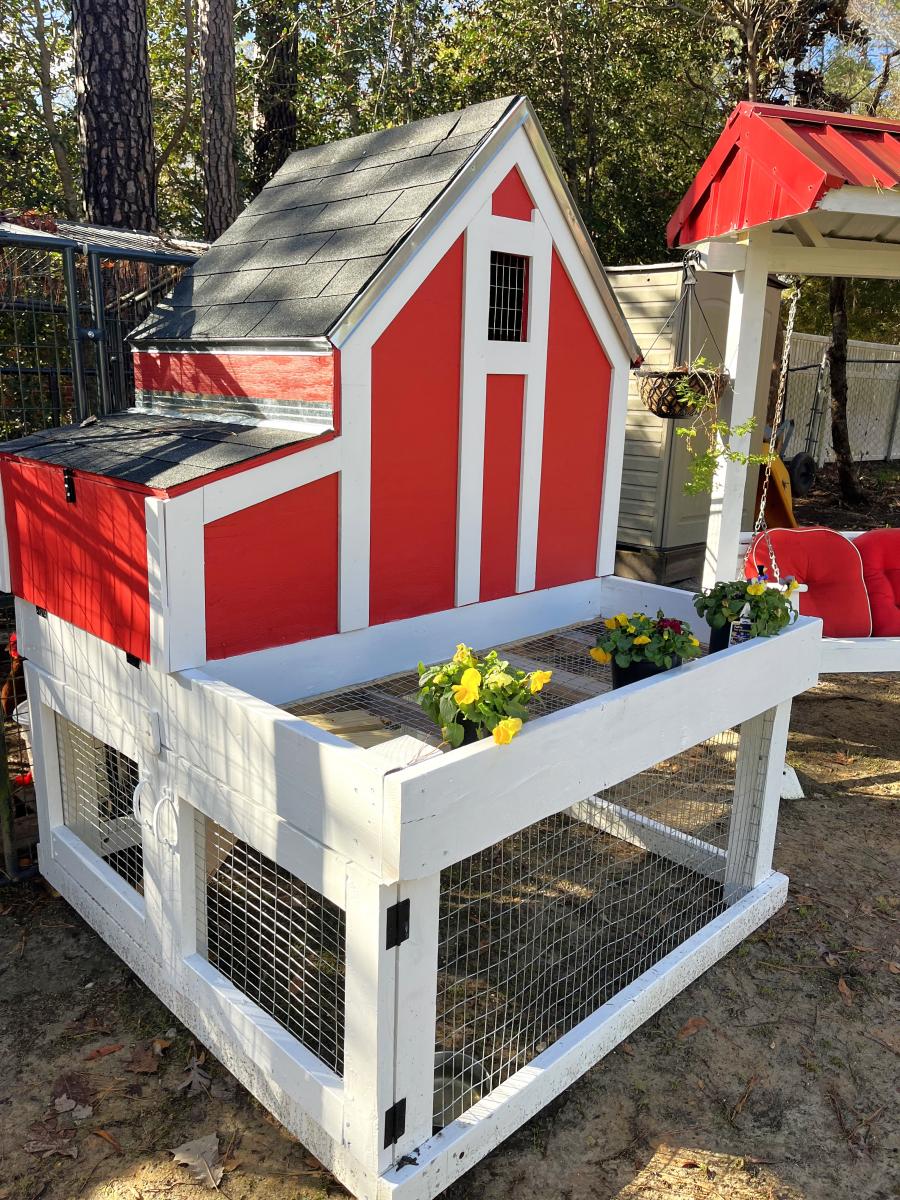

I moved into a new house and needed a new chicken coop. I am retired and not a woodworker but these plans were easy to build. Thanks Ana.
Doug Lamm

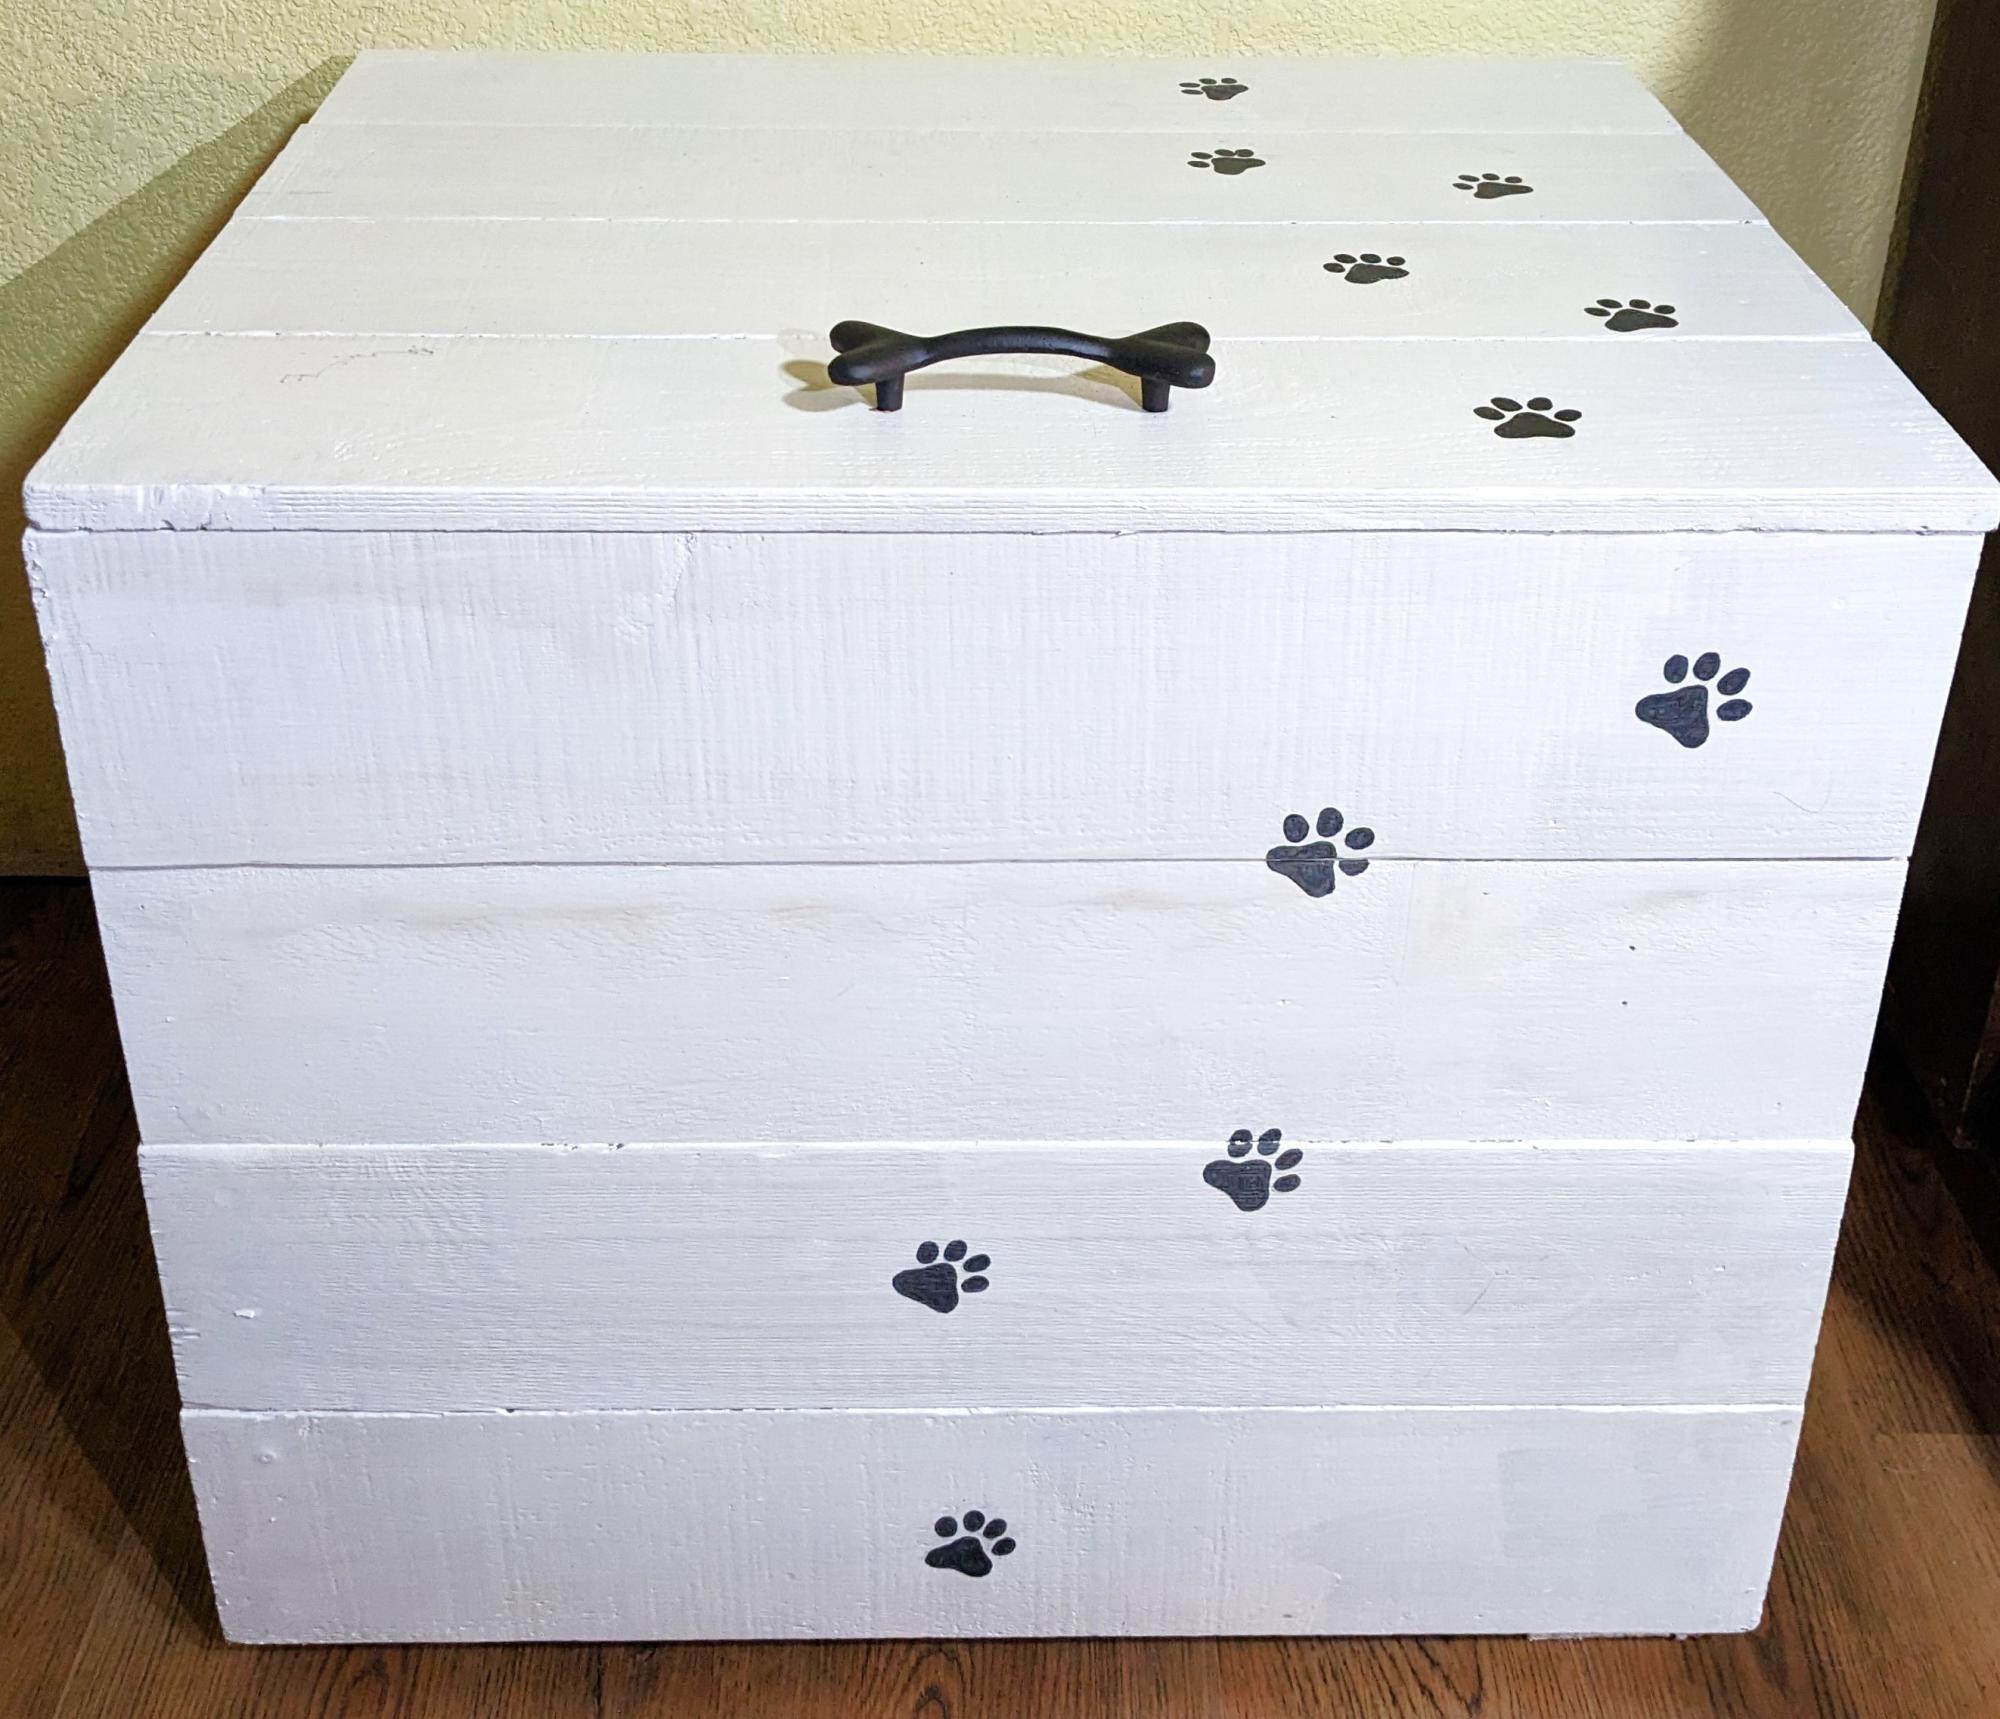
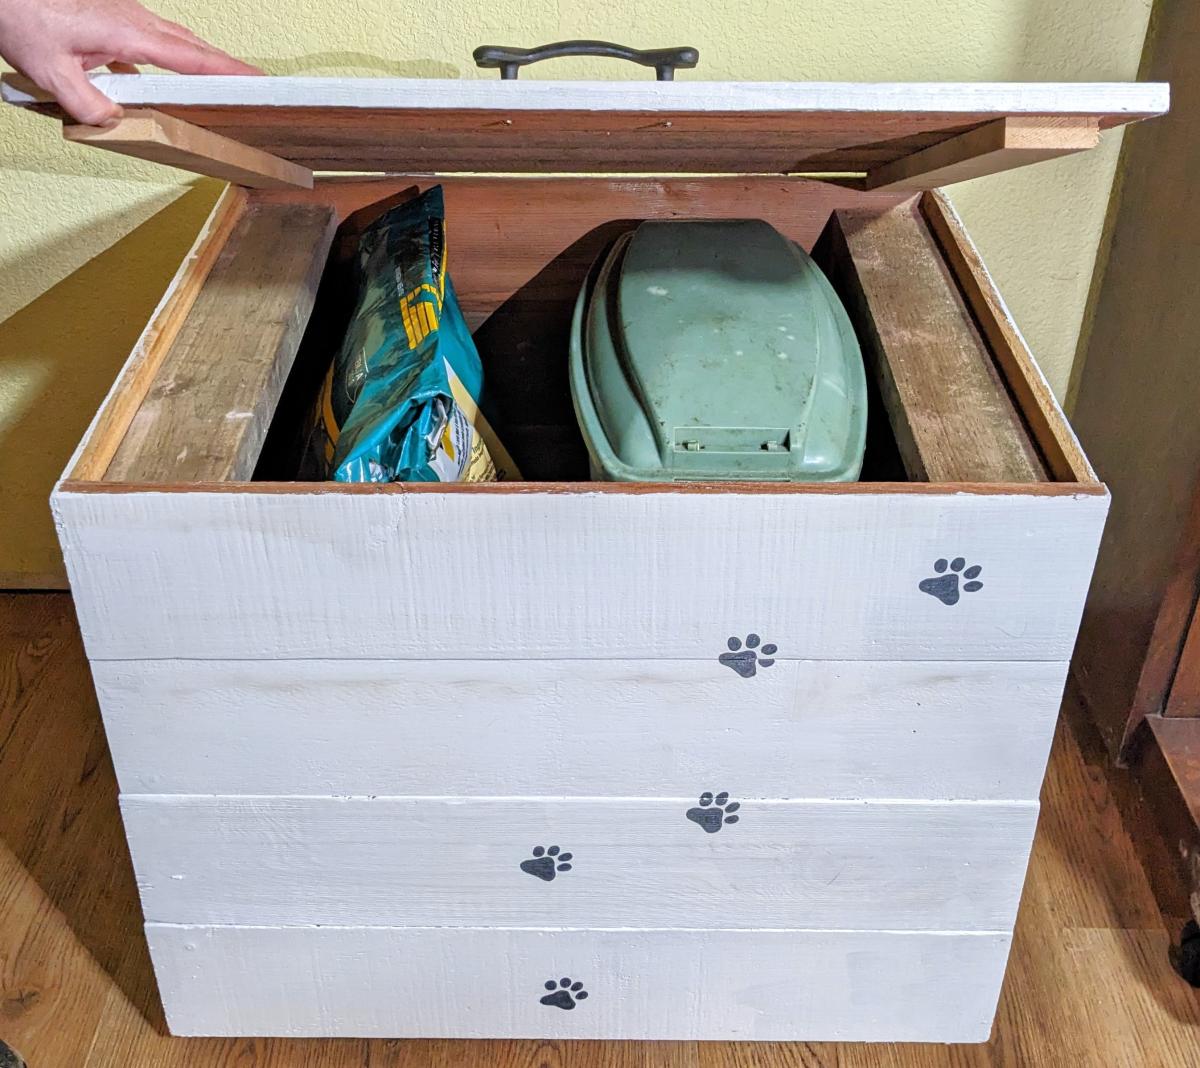
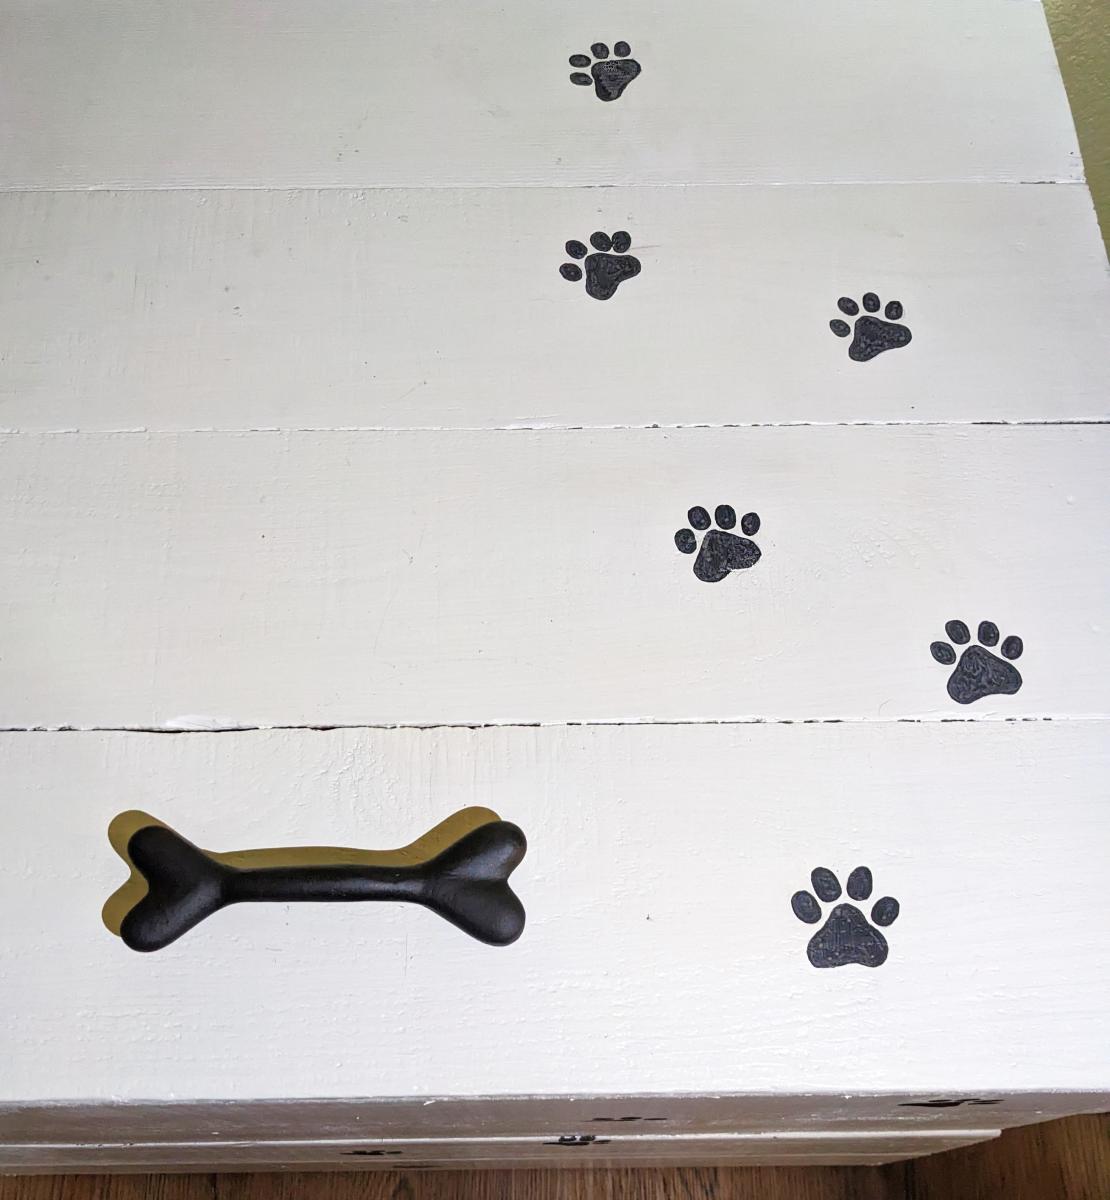
I've been searching for a pet food bin for a while now, and started looking for something cuter than an ugly plastic bin. I found a few things on Etsy but none were big enough and also cost a lot of $$$. I took the Modern Cedar Outdoor Storage Bench plans, and modified the size to fit large bags of dog and cat food from Costco, or pet food bins. I'm 55 years old and have fixed things around the house, but this was my first time building something.
I am so happy with how this turned out! I found the dog bone handle online and my daughter painted the paw prints. Way cuter than what I found online and I built it using reclaimed wood I had laying around - my only cost was the handle. Thanks Ana!
Heather Durand https://www.facebook.com/pinkprincesshc
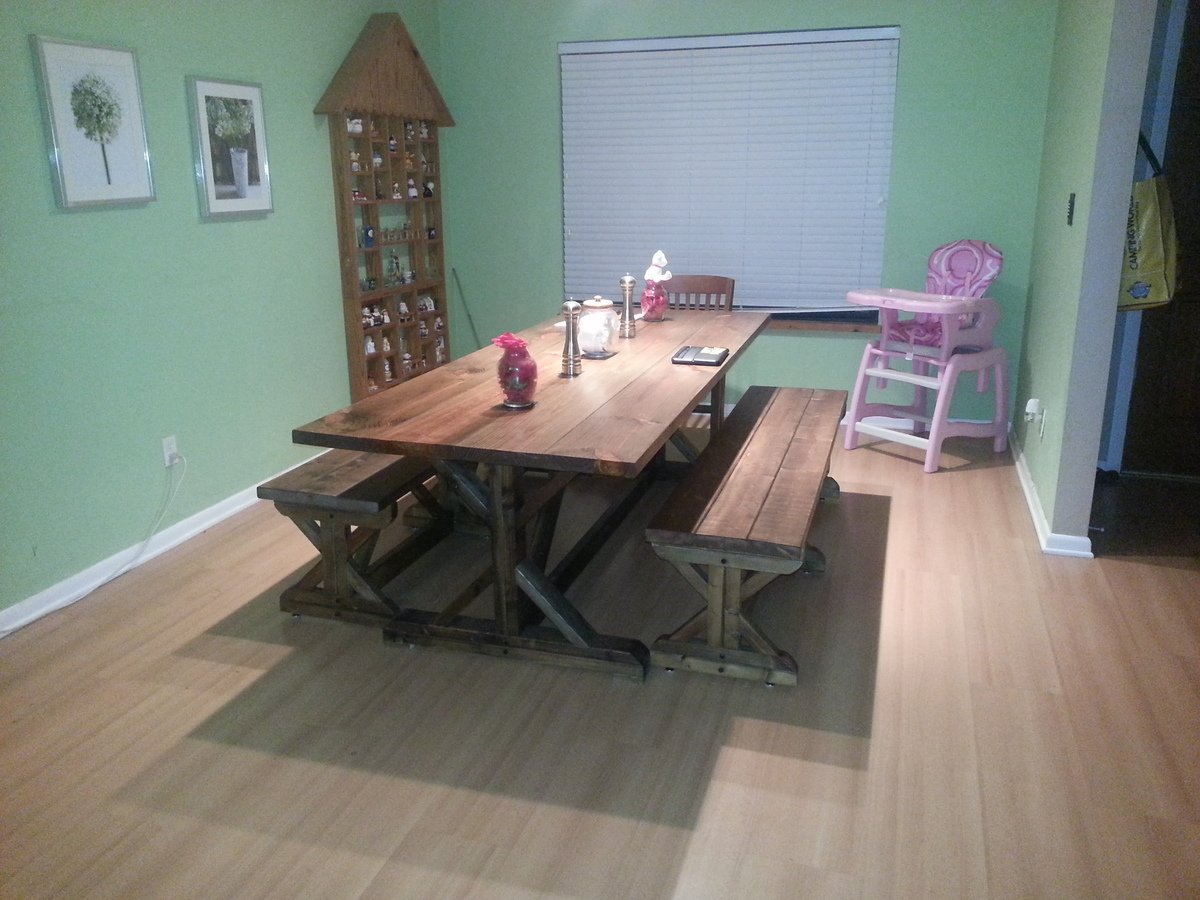
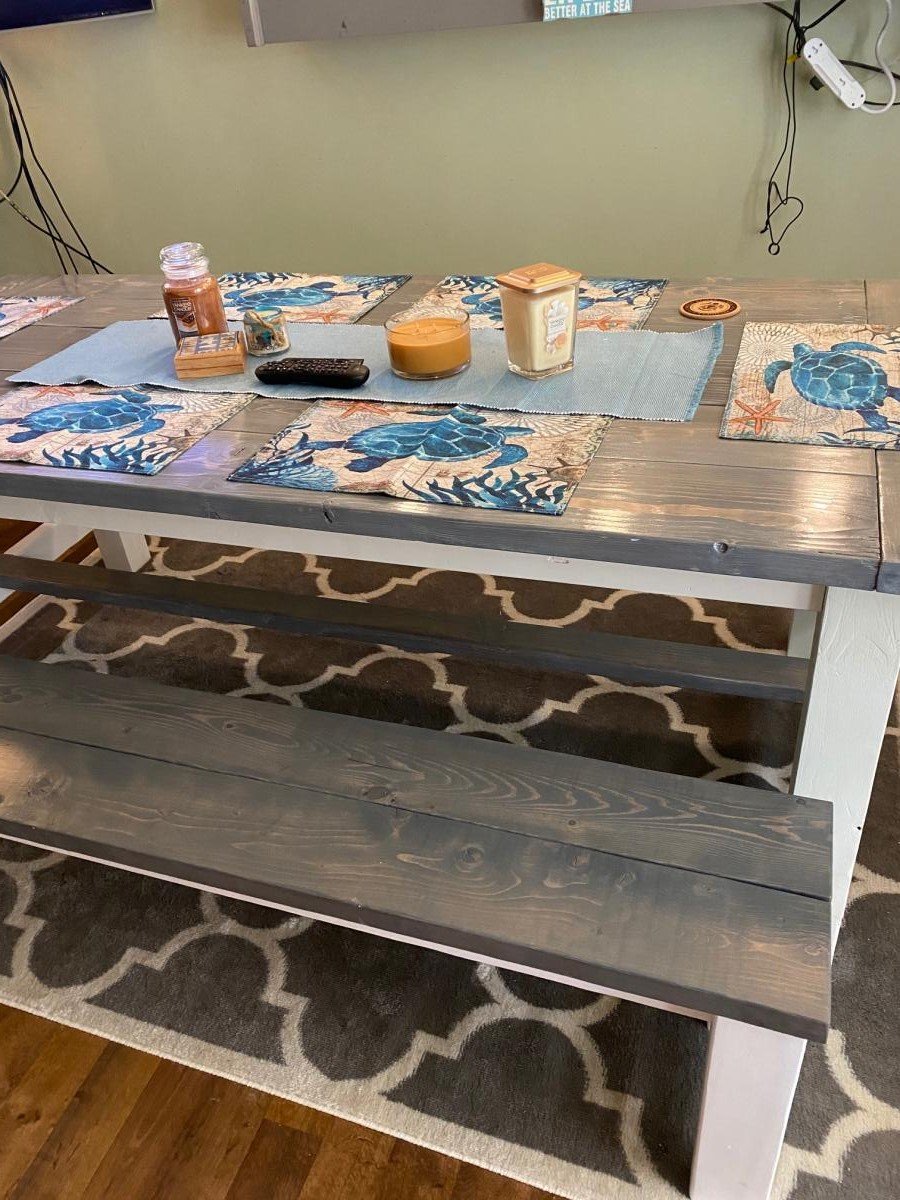
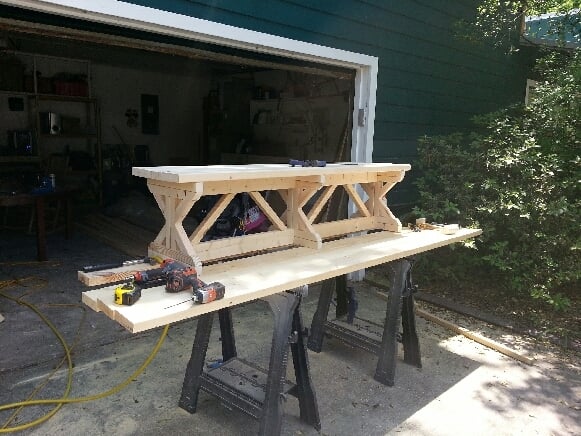
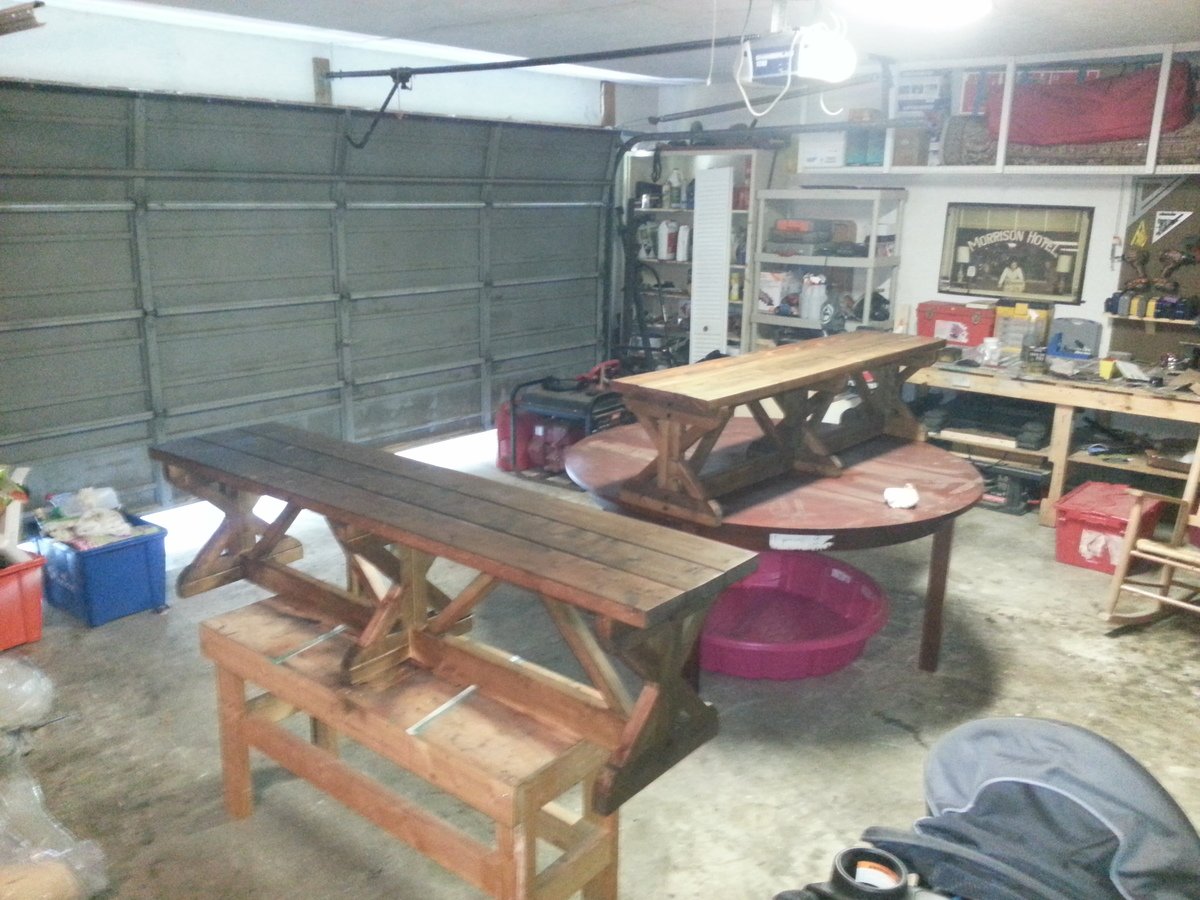
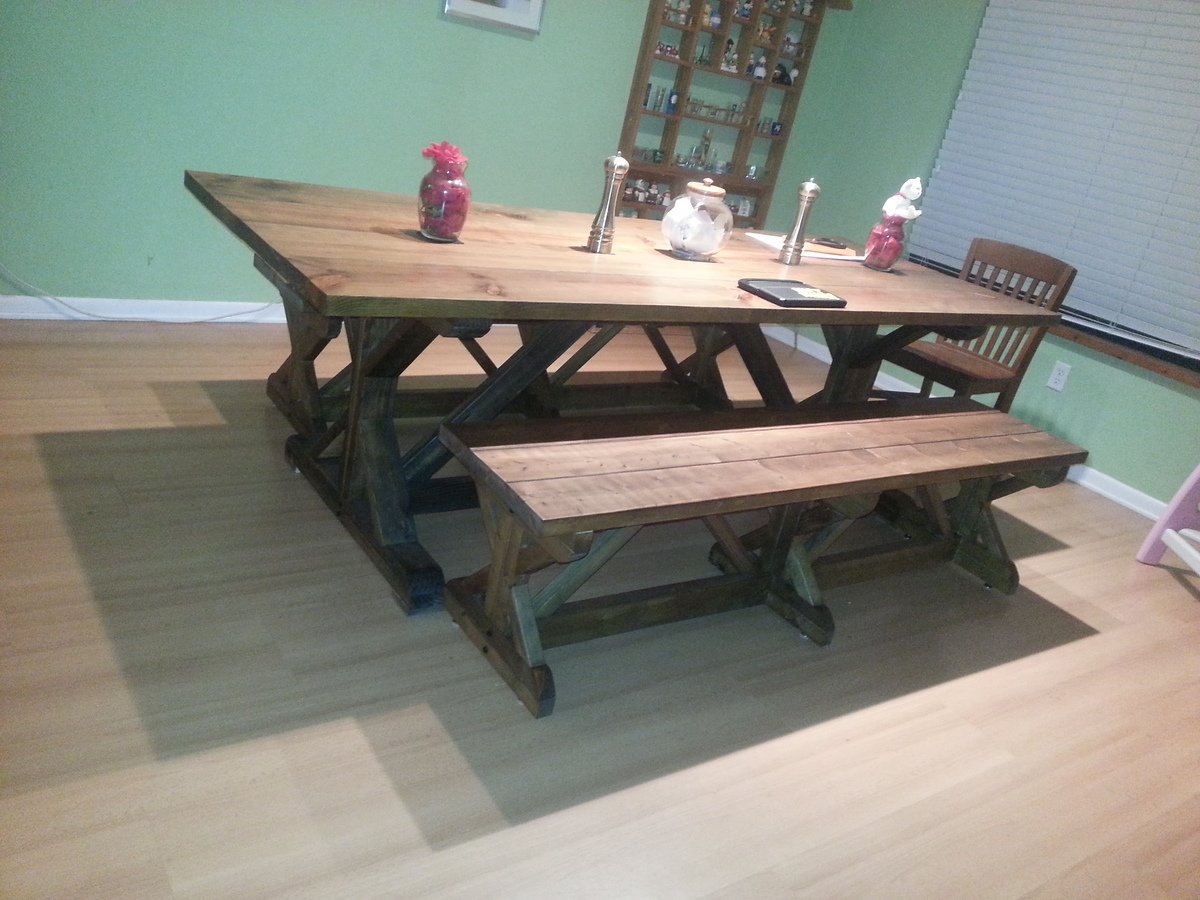
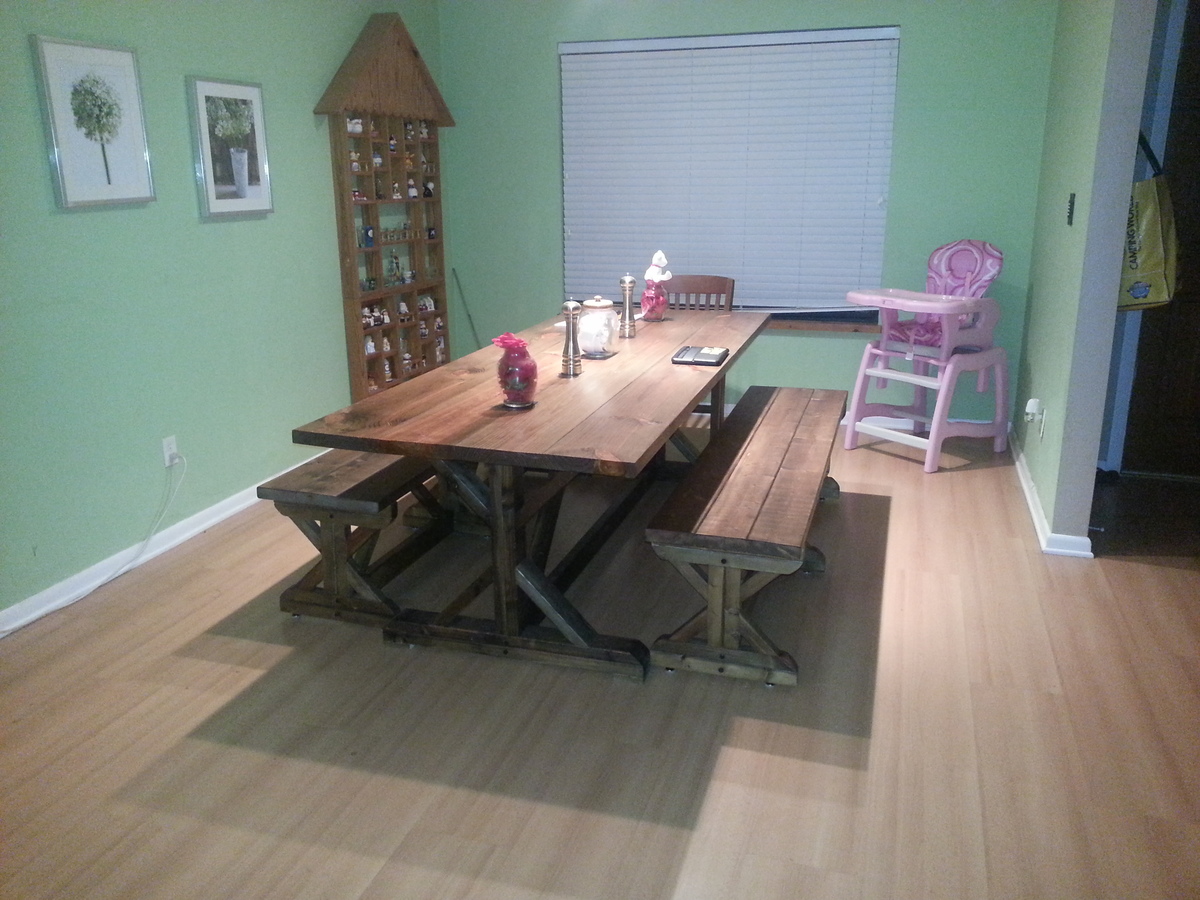
I built the table some months ago and my wife loved it so we decided to build a set of benches to go with it. I gotta say though i will never build these suckers again. Man there were so many cuts!!! The stain was steel wool, vinegar and tea bags and i used a rub on polly. The funny thing is I built both of these benches for a total of 30 bucks! I found all the wood laying around. I hope you all enjoy. Sorry about the horrible pictures I guess if I am going to be uploading pictures on here a better camera other than my smartphone is in order.

We modified the Weatherly Sofa plans to fit the 29" cushion covers we found on sale at Pottery Barn, and we filled the cushions with the DIY inserts from Cushion Source. Instead of using 1x2's for the X's, we used 1x3's and my husband spent the better part of an afternoon trying to figure out the angles!
The wood and paint came to about $100, and the cushions were $500 for the inserts and covers (6 cushions and 14 pillows) when all was said and done. A bit expensive, but we love it!


Tue, 07/31/2012 - 08:49
I am surprised at how good white cusions look on white wood. Where did you get the cusions and how did you build the feet?
Thu, 08/02/2012 - 17:03
We got the cushion covers from Pottery Barn during their summer sale and used a 20% off coupon, then filled them with inserts from Cushion Source (DIY section)
The feet were just feet from Lowe's - we just screwed them on!
Thu, 04/11/2013 - 13:07
I'm gearing up to build my own sectional and I'm wondering if you changed any other dimensions besides the ones for the X's. I think it looks amazing and I'd like to know what size lumber you used for yours. Thanks!
Wed, 03/12/2014 - 16:03
I would REALLY like to get these new measurements from you. I like the way this looks better with the 1x3's and I don't trust myself to be able to figure out those new angles. Could you please give me the measurements you used to make these X's out of 1x3's? Also, it looks like you used 3x3's for the posts? And maybe 2x3's for the sides and bottoms of the x's. I'm not sure and I'm dying to know because this is beautiful. I'd like to make it soon. I really appreciate your help. Thanks!
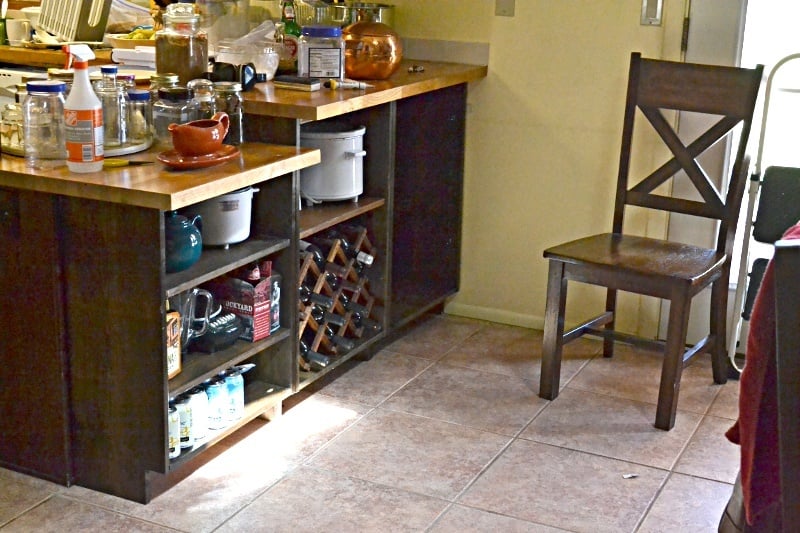
Added kitchen and dining room storage by building bookcases / shelf units to fit under the peninsula breakfast bar overhang. It's the simplest possible "box with a toe-kick", loosely based on Ana's plans for a bookshelf and the closet master system.
Much of the "working time" was stain and finishing time. Actual cutting and assembly time was under 3 hours.
No dimensions: every breakfast bar is different.
1 - The boards were cut to fit under the overhang, with 1/8 or less clearance. Top and bottom of unit is between the upright pieces.
2 - Width of units was also cut to fit. One unit is the width of the lower section of countertop (appx 23 in), the taller section was divided into 2 equal units (appx 21 in)
Shelves were cut about 1/4" narrower than the insiude dimension of the unit, to allow for insertion and the shelf pegs.
3 - Toekick space cut to match the cabinet on the far side of the peninsula. Used a circular saw and then a hand saw to finish the corners.
4 - Drilled pocketholes in the top and bottom boards.
5 - Used Rockler's jig for drilling shelf pin holes in the 6 uprights. Oops! I should have drilled every possible hole. I drilled every other hole and don't have the shelf flexibility I really need.
6 - Stained and topcoated everything, let it dry.
7 - Assembled each shelf unit, using corner clamps and a carpenter's square to make sure it was square. The bottom shelf is screwed at the same level as the toe-kick.
8 - Slid units under the overhang, shimmed them firmly under the countertop.
9 - Added shelf pegs and shelves
DONE!
Doors could be added, using the hinges for inset doors on frameless cabinets.
==========
NOTES:
The units are backless. I considered nailing a 1/8 hardboard back onto them, but because the finished back of the peninsula is visible behind them, and they are shimmed into place to prevent slouching it was not needed.
Cost is low because we had some 1x12 boards in the attic. Already had the tools and stain from earlier projects. 3 1x12 x 6ft boards were new, the rest were salvage.
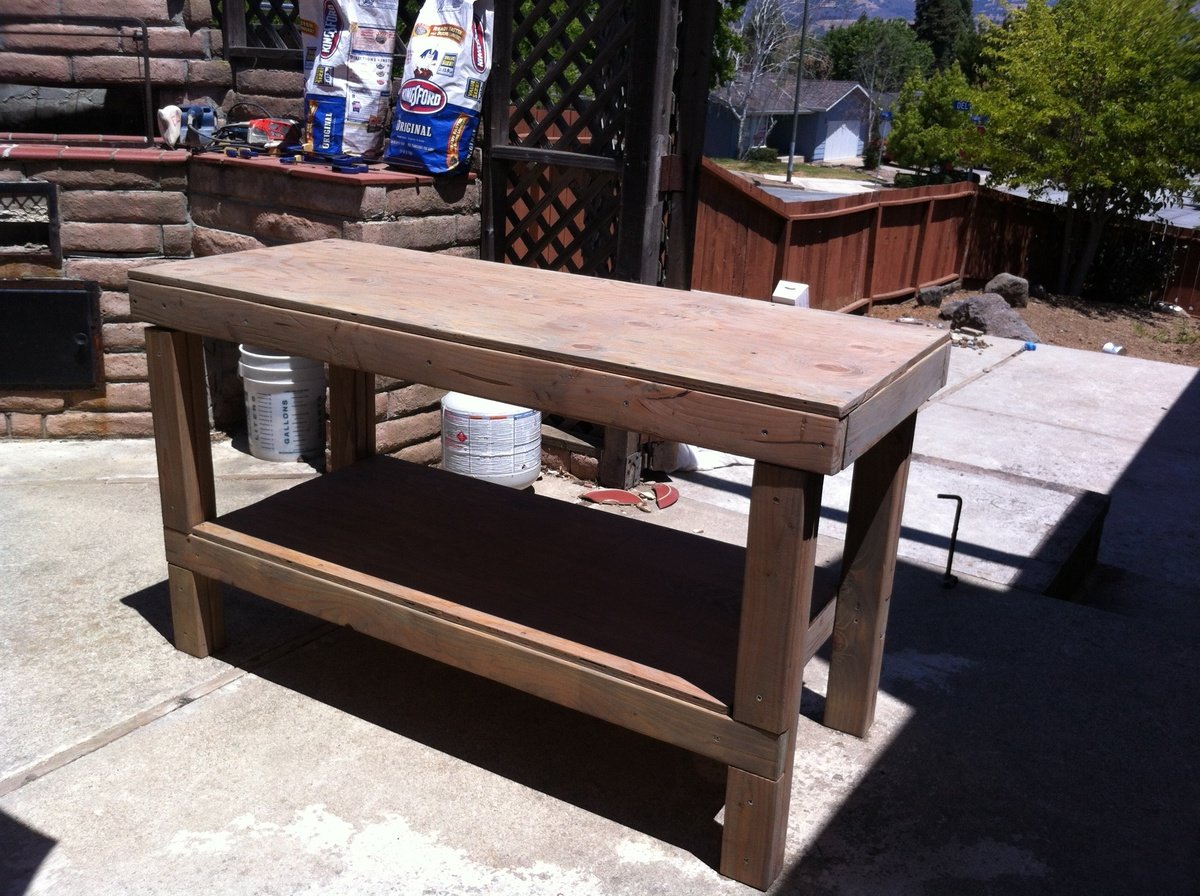
* I have tred EVERYTHING to get this picture right side up!!! So sorry it is upside down! This was my first every woodworking project and I am very pleased with the result. I have used it many time since for other projects now too. The plans were easy to follow and although it took me some time it was easy to make. Very sturdy and a great size to work on. I made it out of wood from orange and stained it with weathered oak stain.
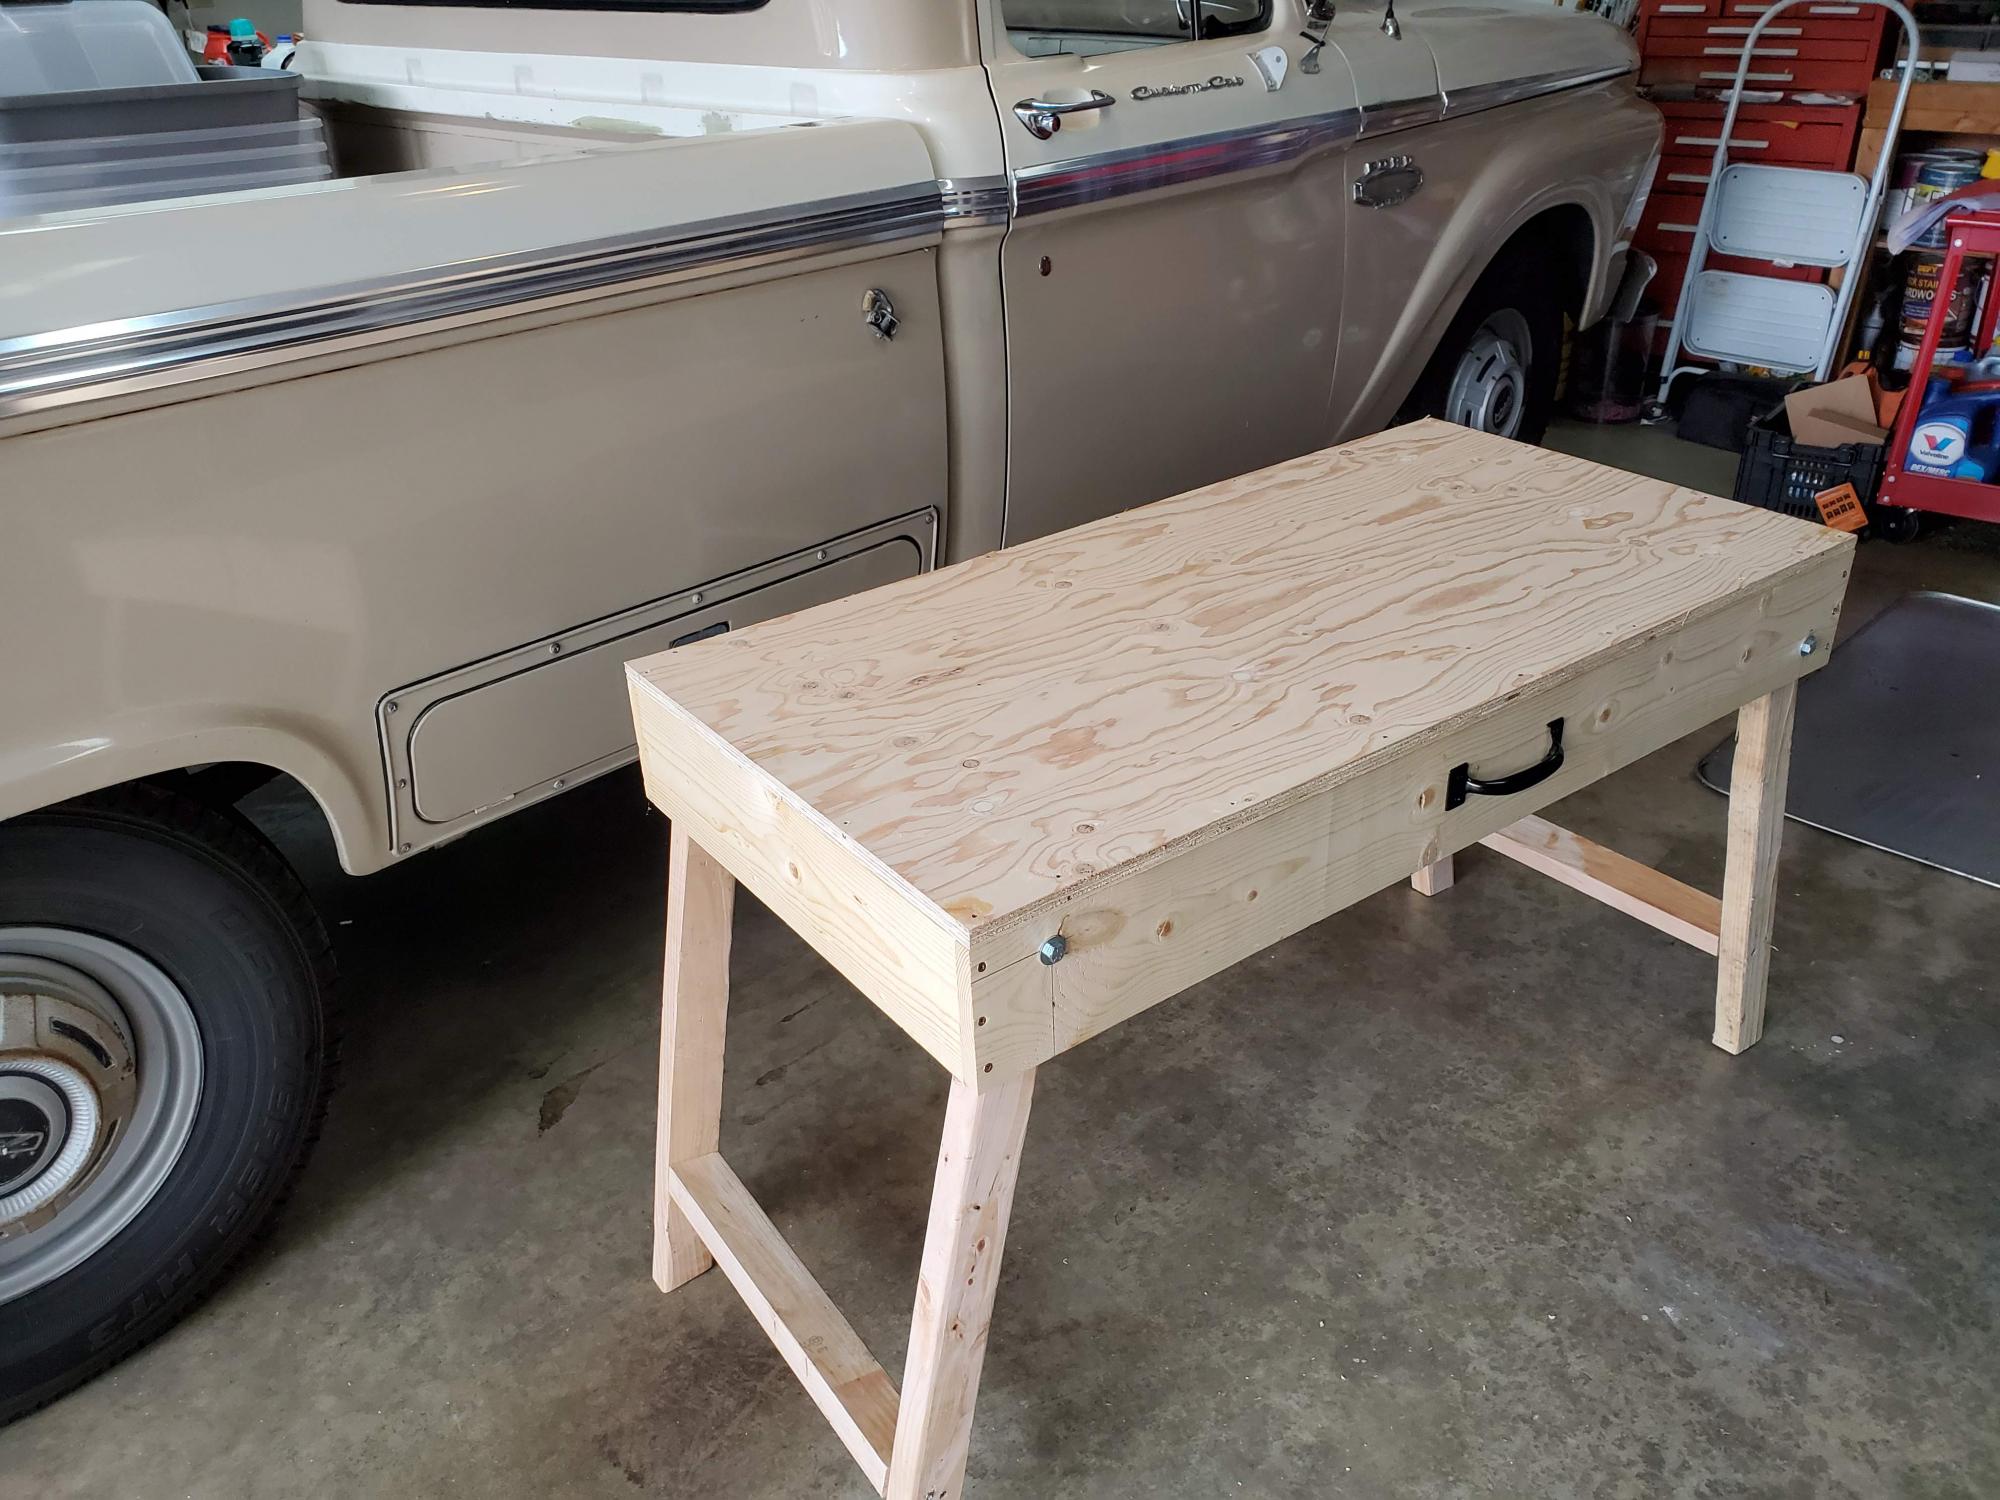
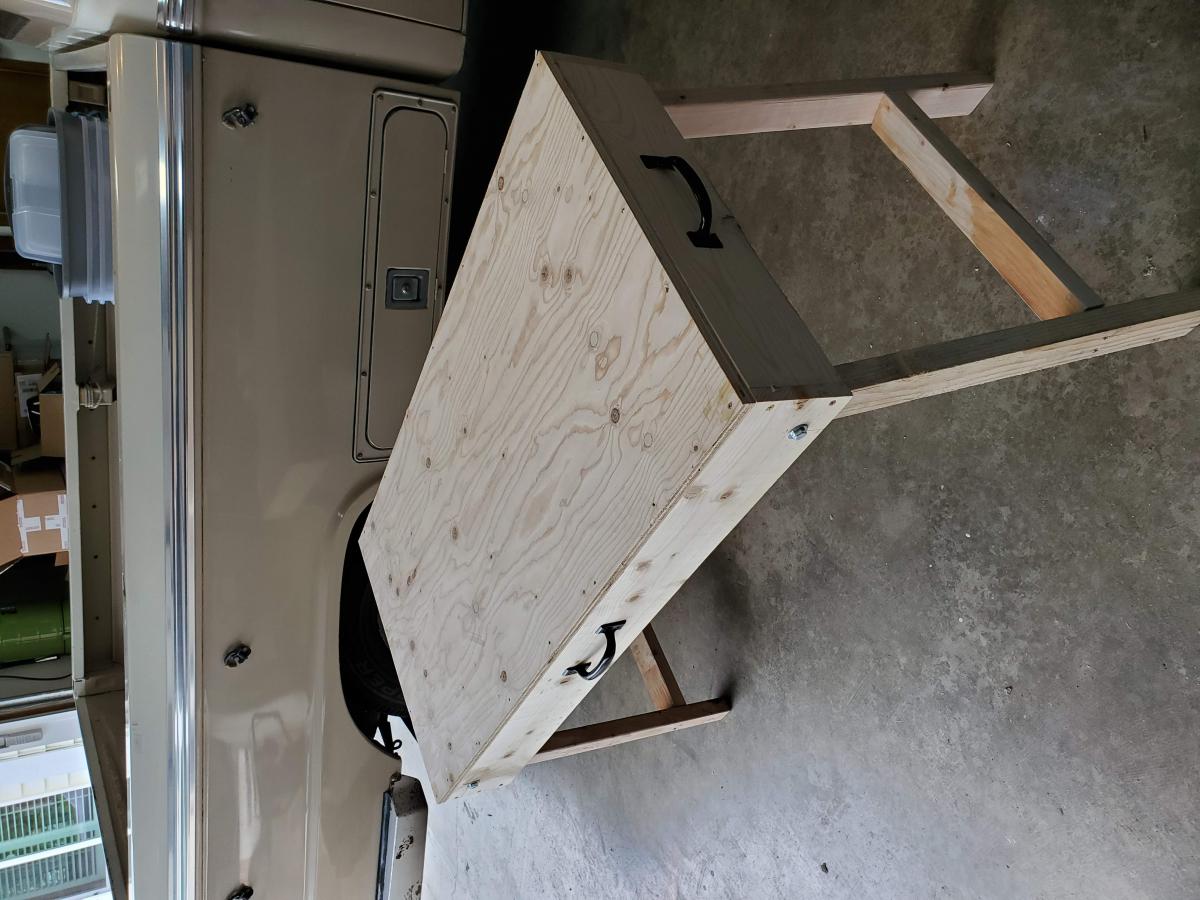
This is my first build. I thought making a work table would be the ideal first project. I'm very happy I came across Ana's Youtube channel and website. I made some rookie mistakes with the cut list. I t was my fault but a good learning experience. In the past I have dreaded any kind of woodworking project. I became very frustrated using the garage floor or some makeshift work table. This sores nicely in the garage and is very functional. I did add a handle on the side of the work table to carry it to the work site. I'm looking forward to many new projects.
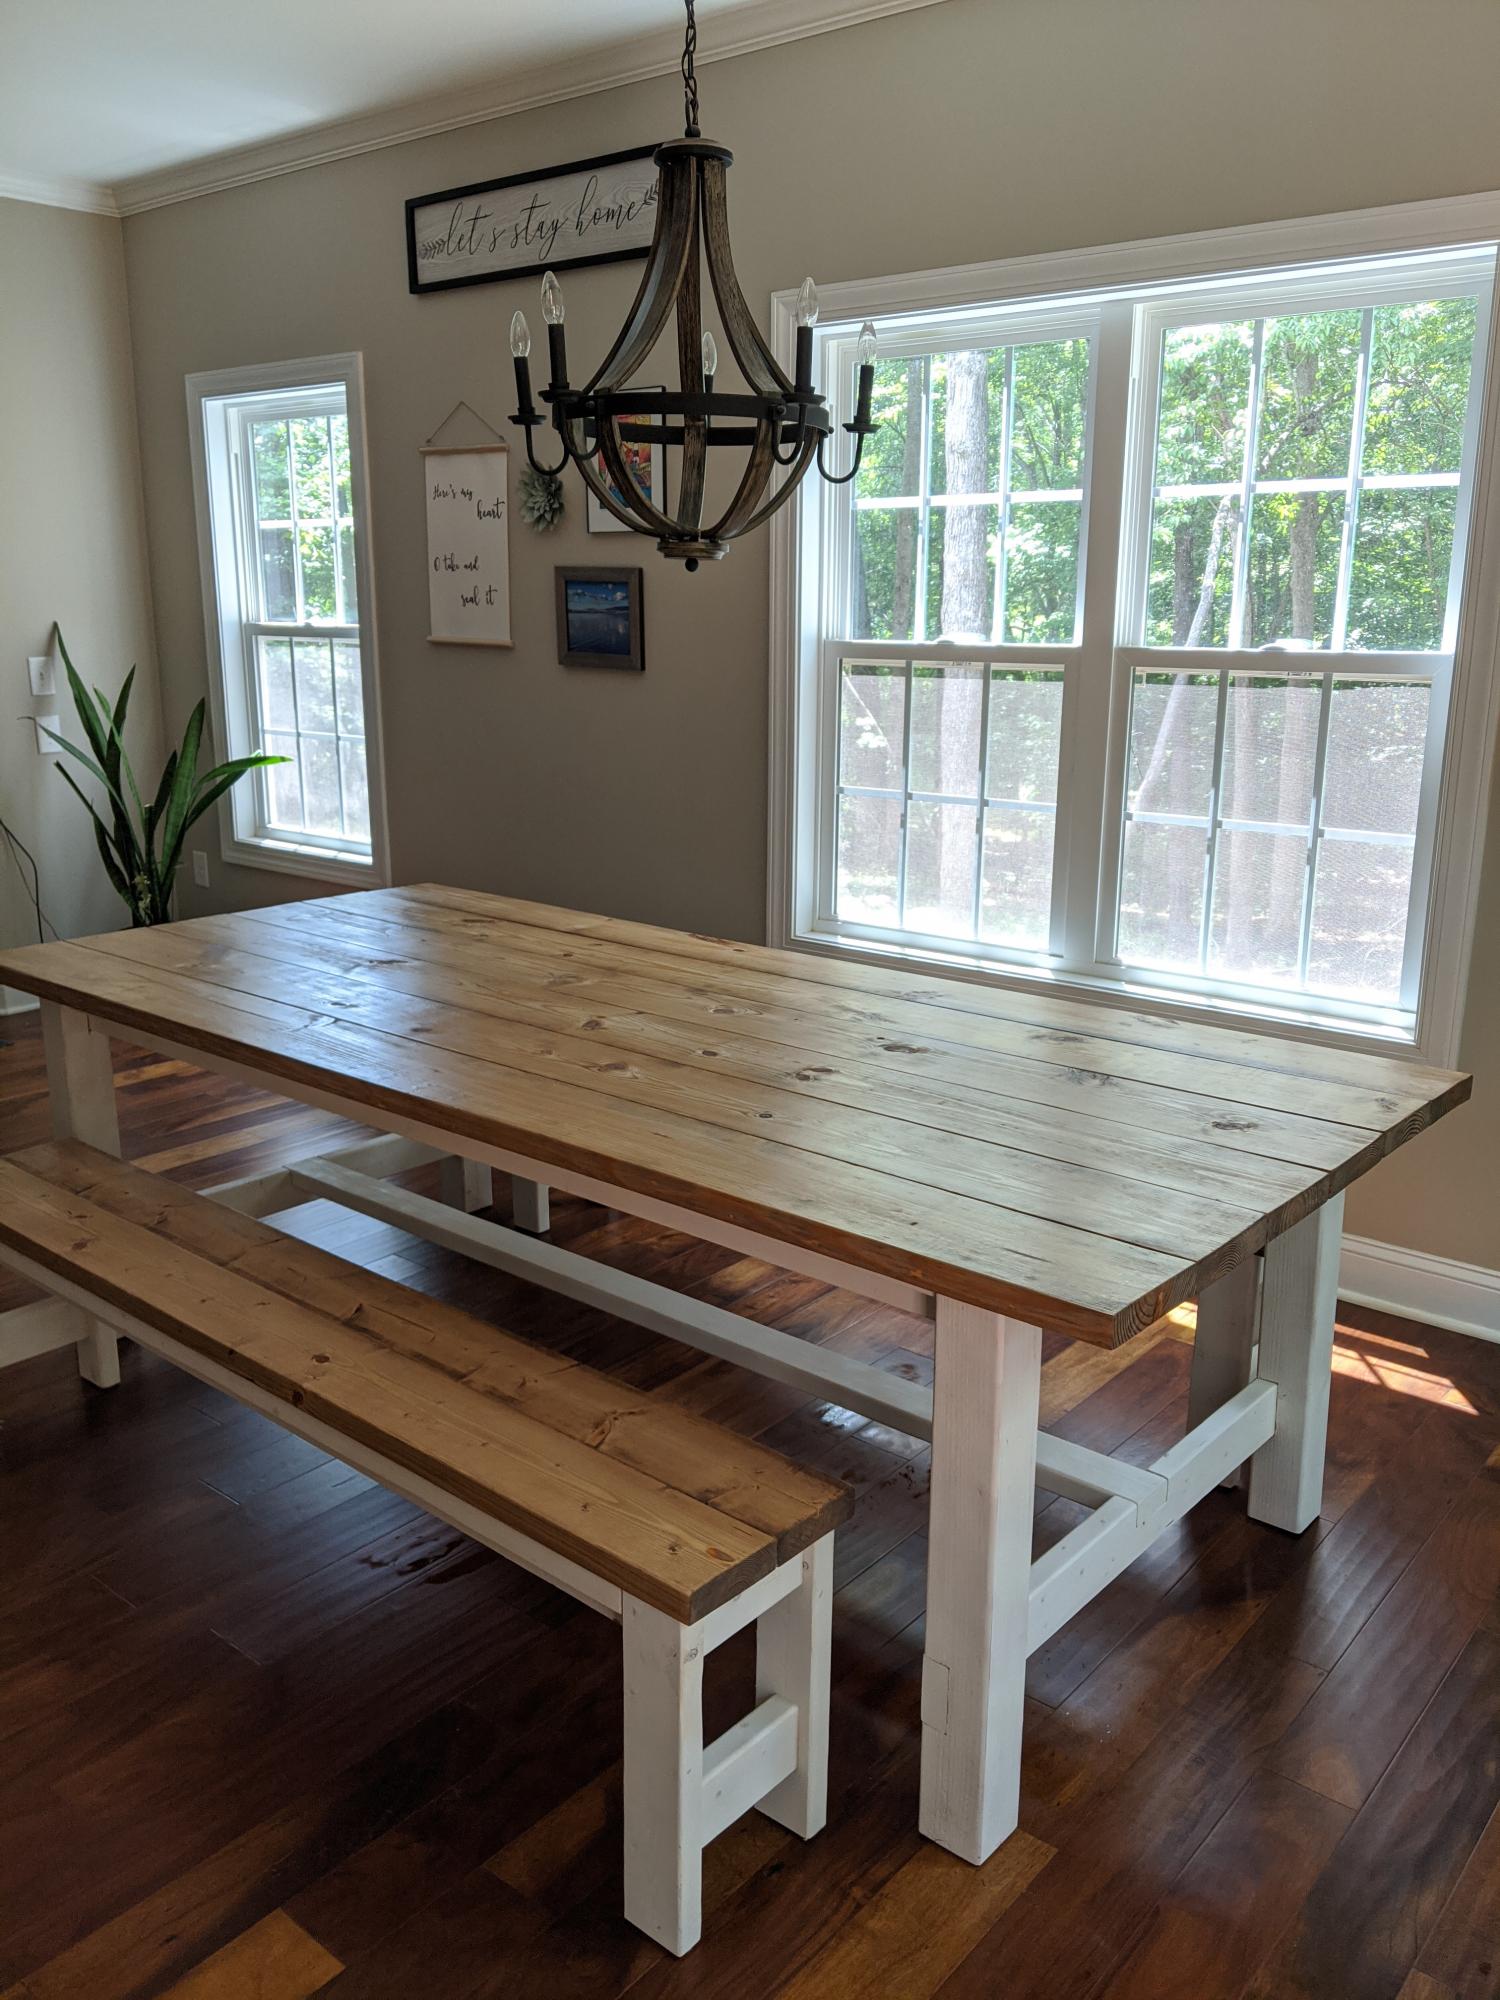
First table build! We modified the plans with no breadboard ends since we live with lots of humidity and wanted to allow the wood movement. We also used 4x4s for the legs. White chalk spray paint legs and custom mix of special walnut and weathered oak stains. We LOVE it!!

It took us awhile but we built these white cabinets from scratch. It turned out great and looks better in person. Thank you for your articles!

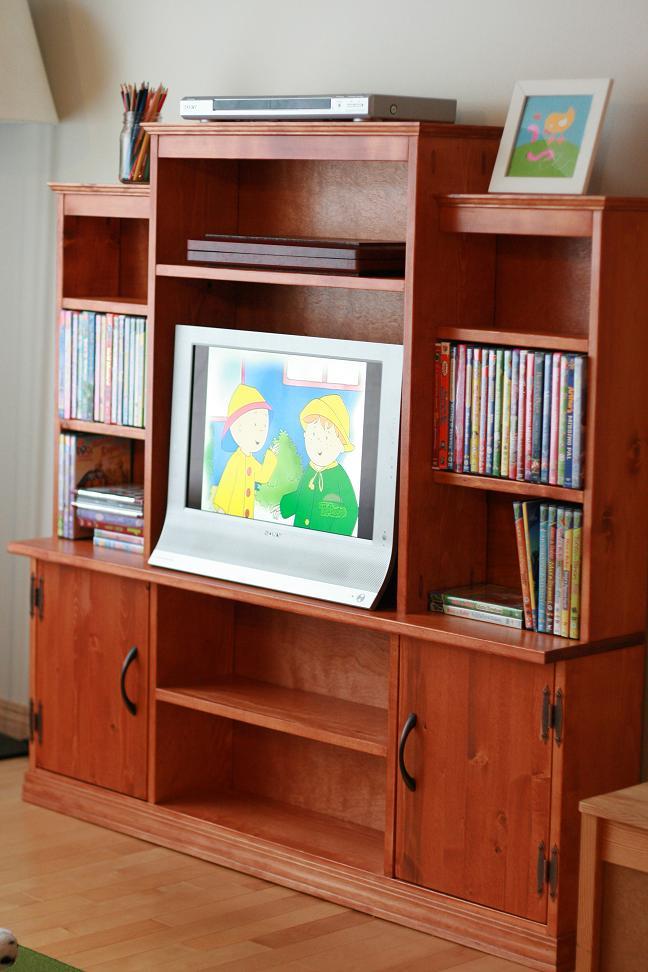
The minute I saw this mini media stand I knew that I would have to make it for our playroom. I tweaked the measurements slightly since my wood sizes were slightly different from Ana. This was a pretty easy build for me and I would consider myself a beginner.
I'm so grateful for these plans! Since we were building in a basement against a concrete wall, we just made each side with the vertical 2x4 supports, then anchored the shelves to the exposed studs on the side walls for safety. This project was so fast and easy -- I put them together one night after the kids went to bed. They're 8' long and 2' deep, very sturdy, and they were highly economical to build. I love that the shelf is smooth and flat, too, as this makes it easy to store small things as well as large totes.
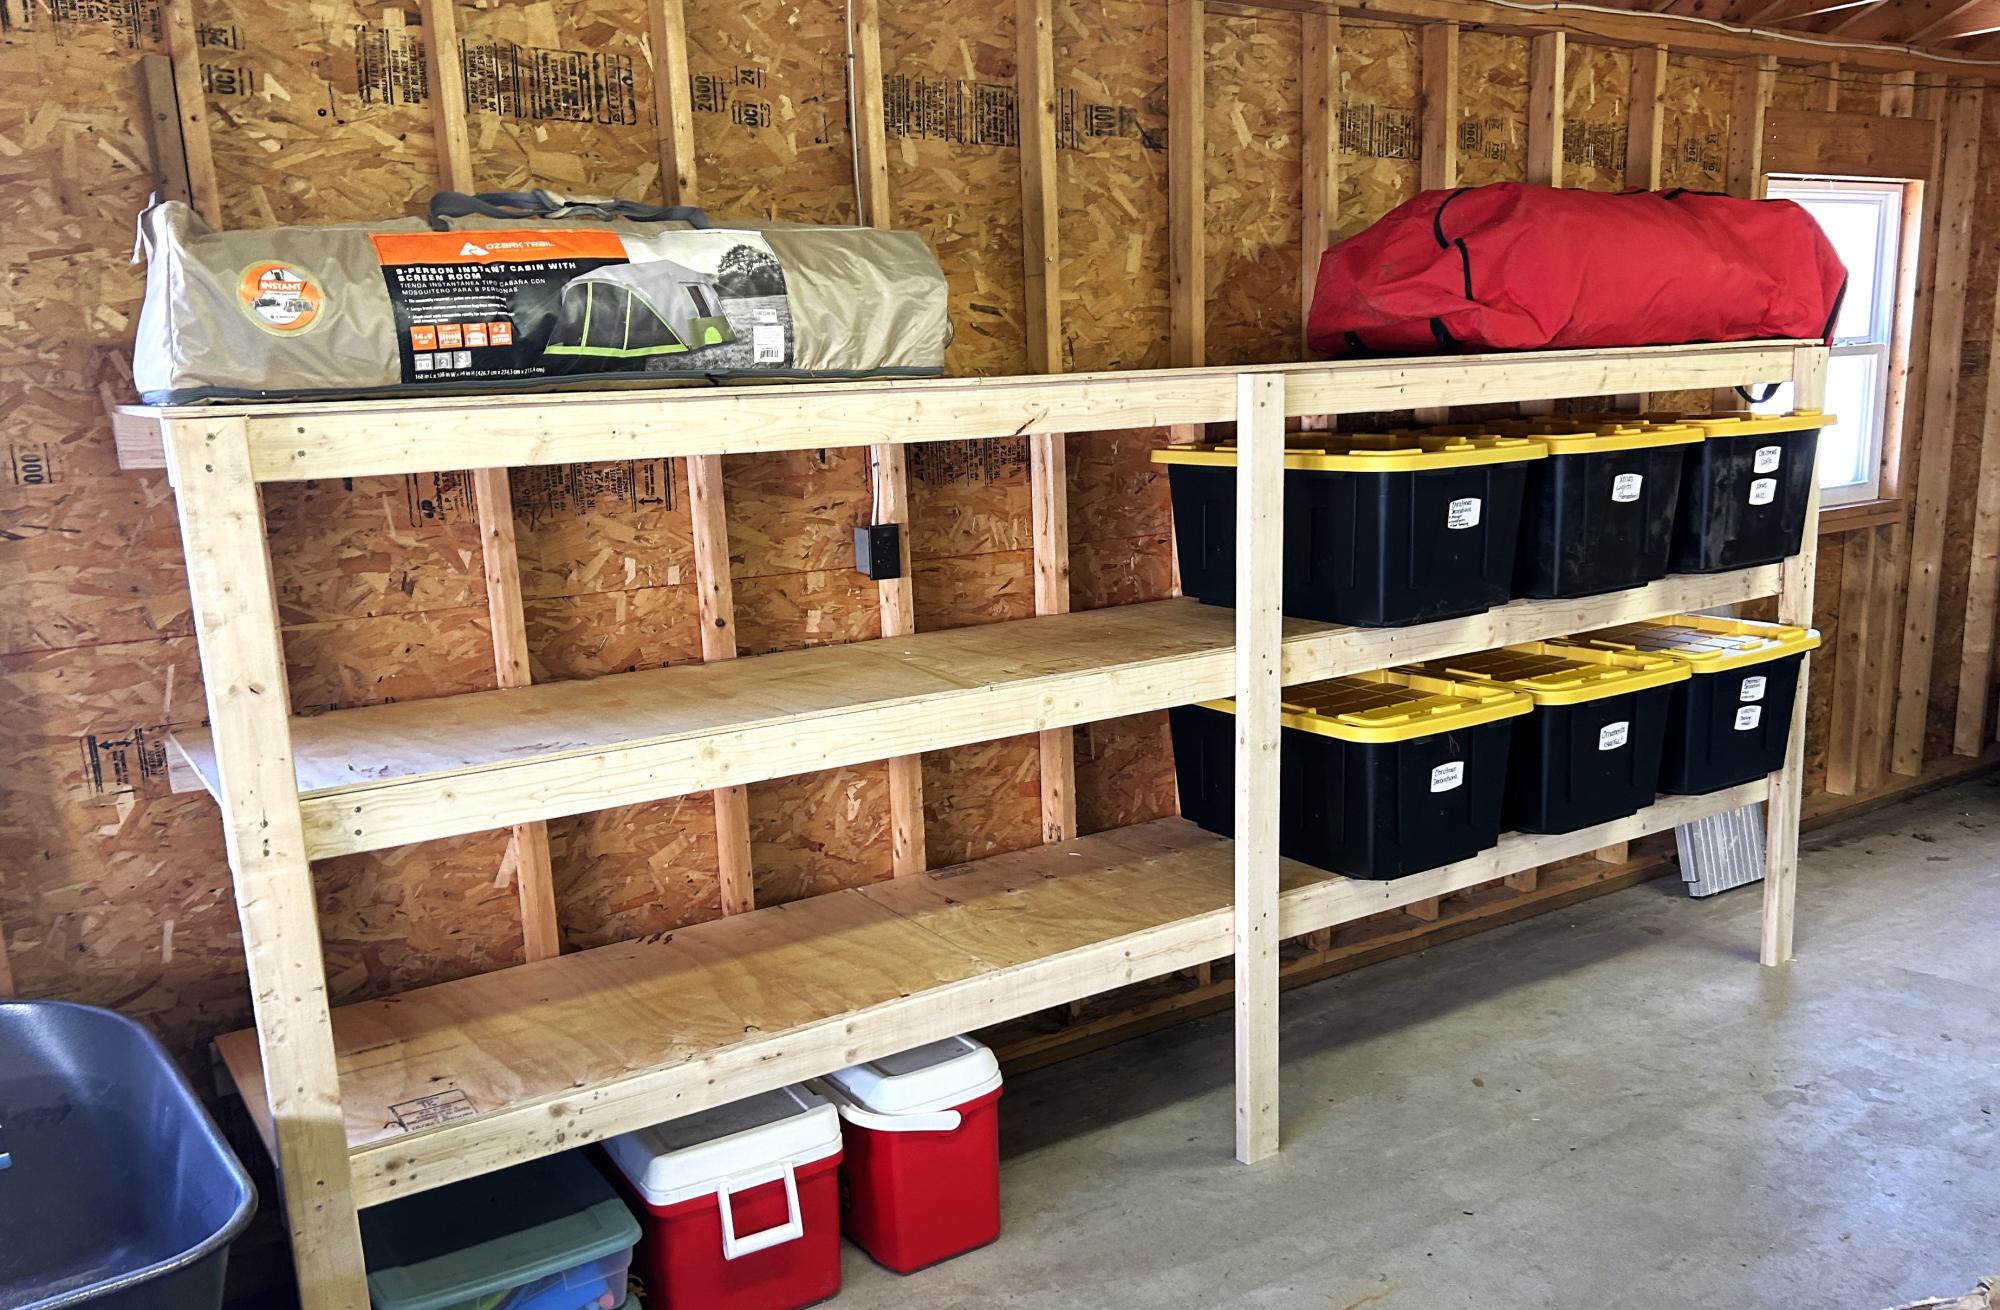
This was my second project (first was a work bench) and it came out great.
W. Knight
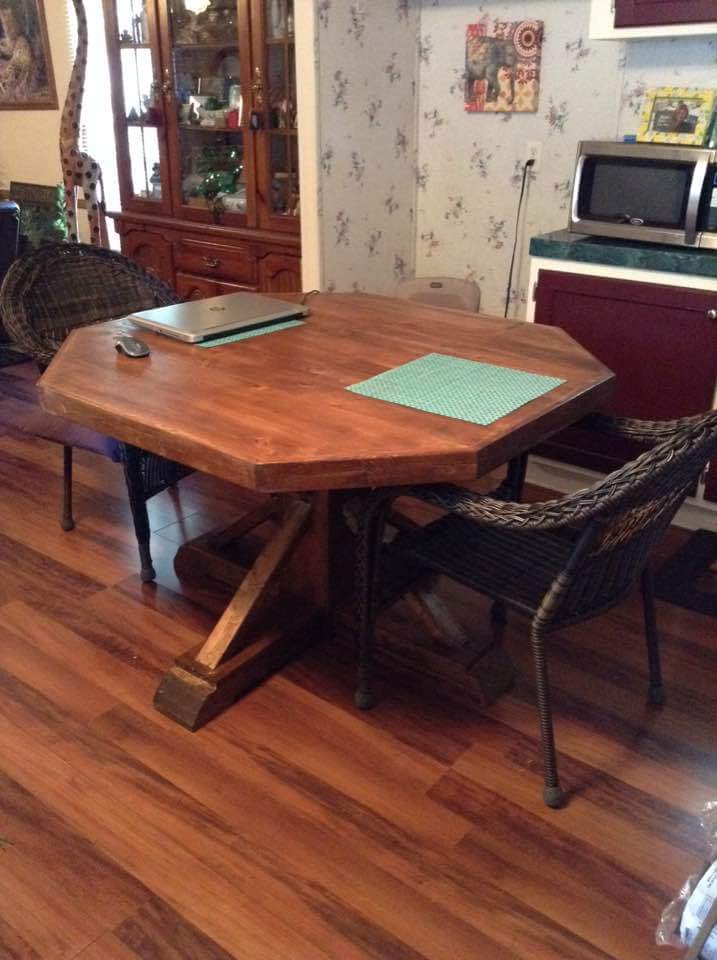
I changed the size a little smaller to fit the area but turned out great
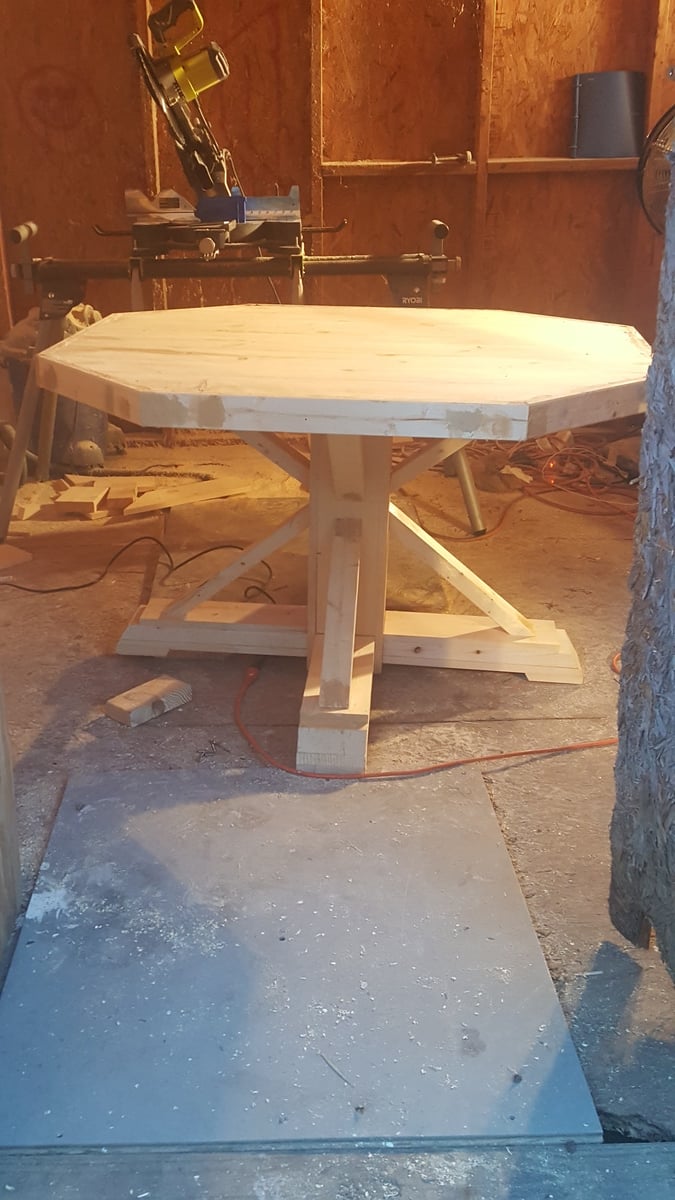
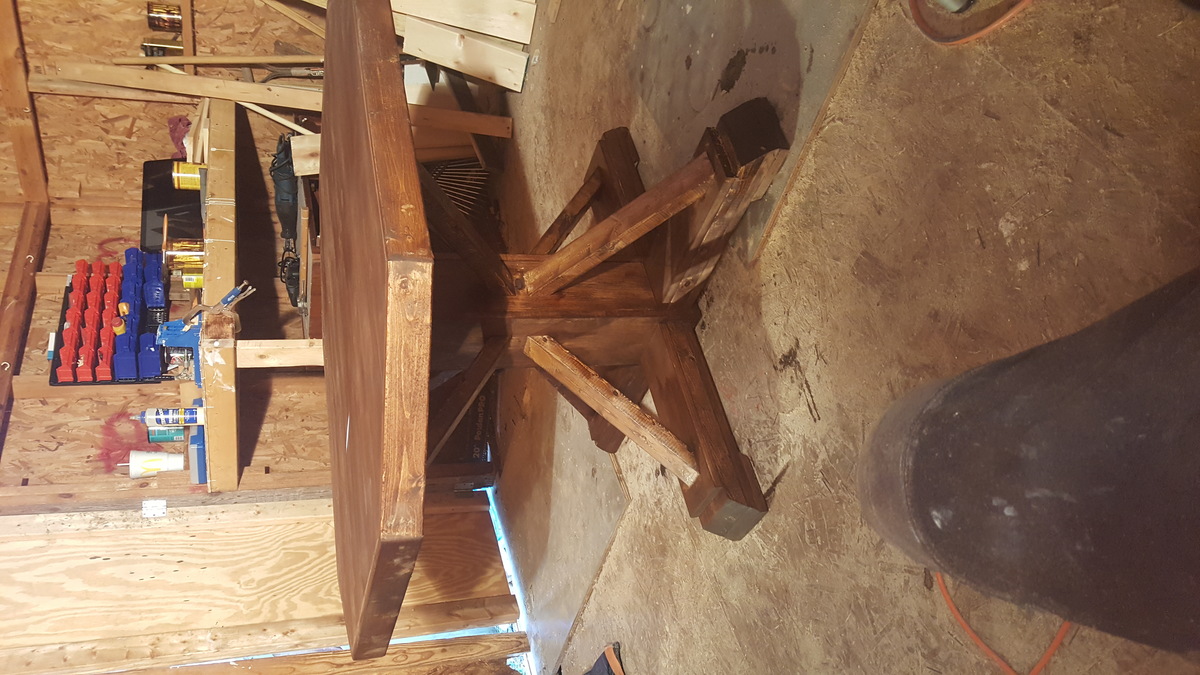
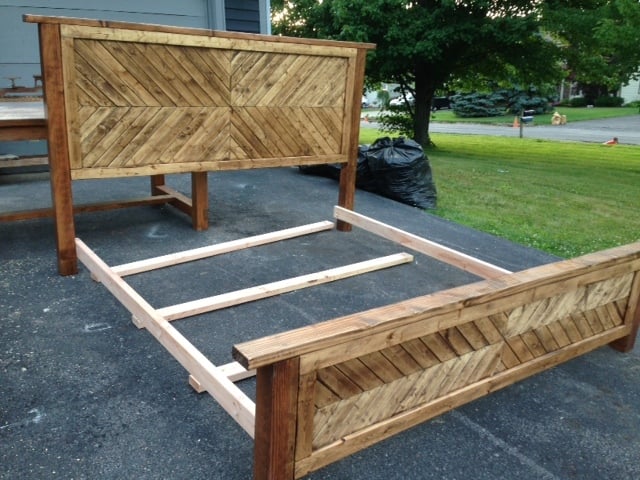
modified all 3 plans to sizes I needed
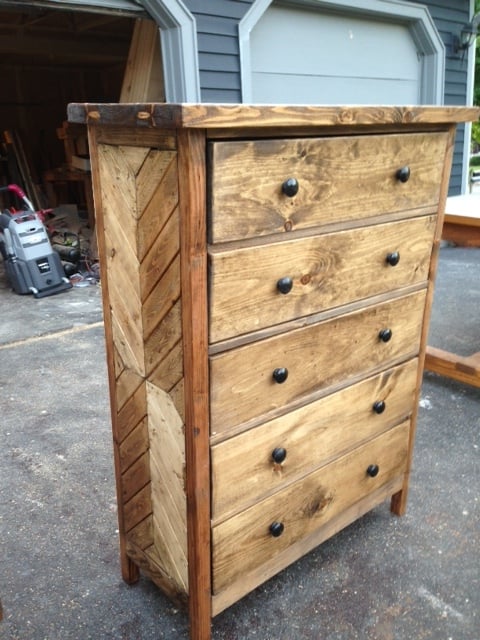
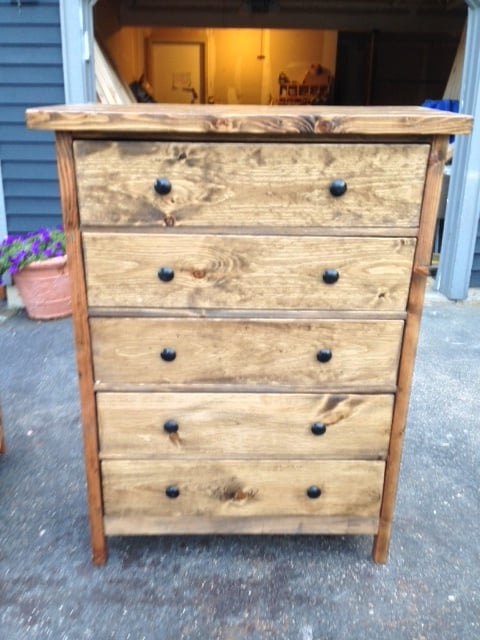
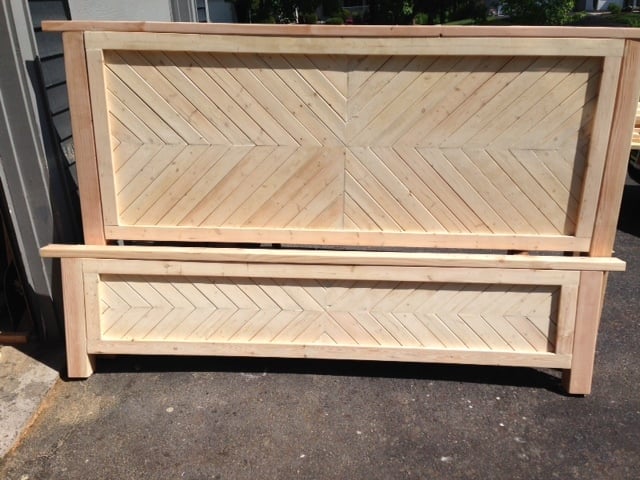
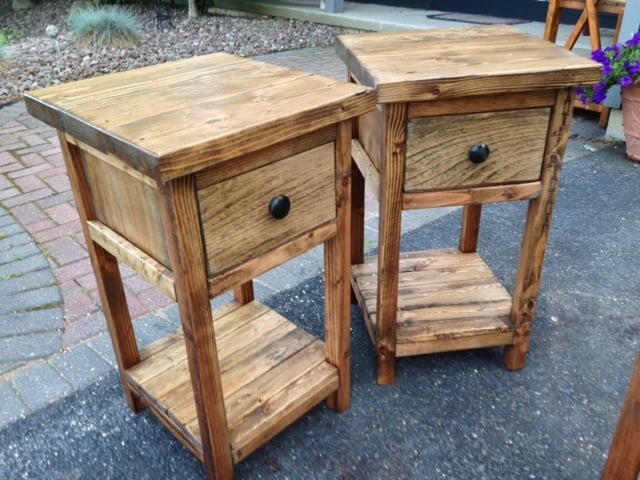
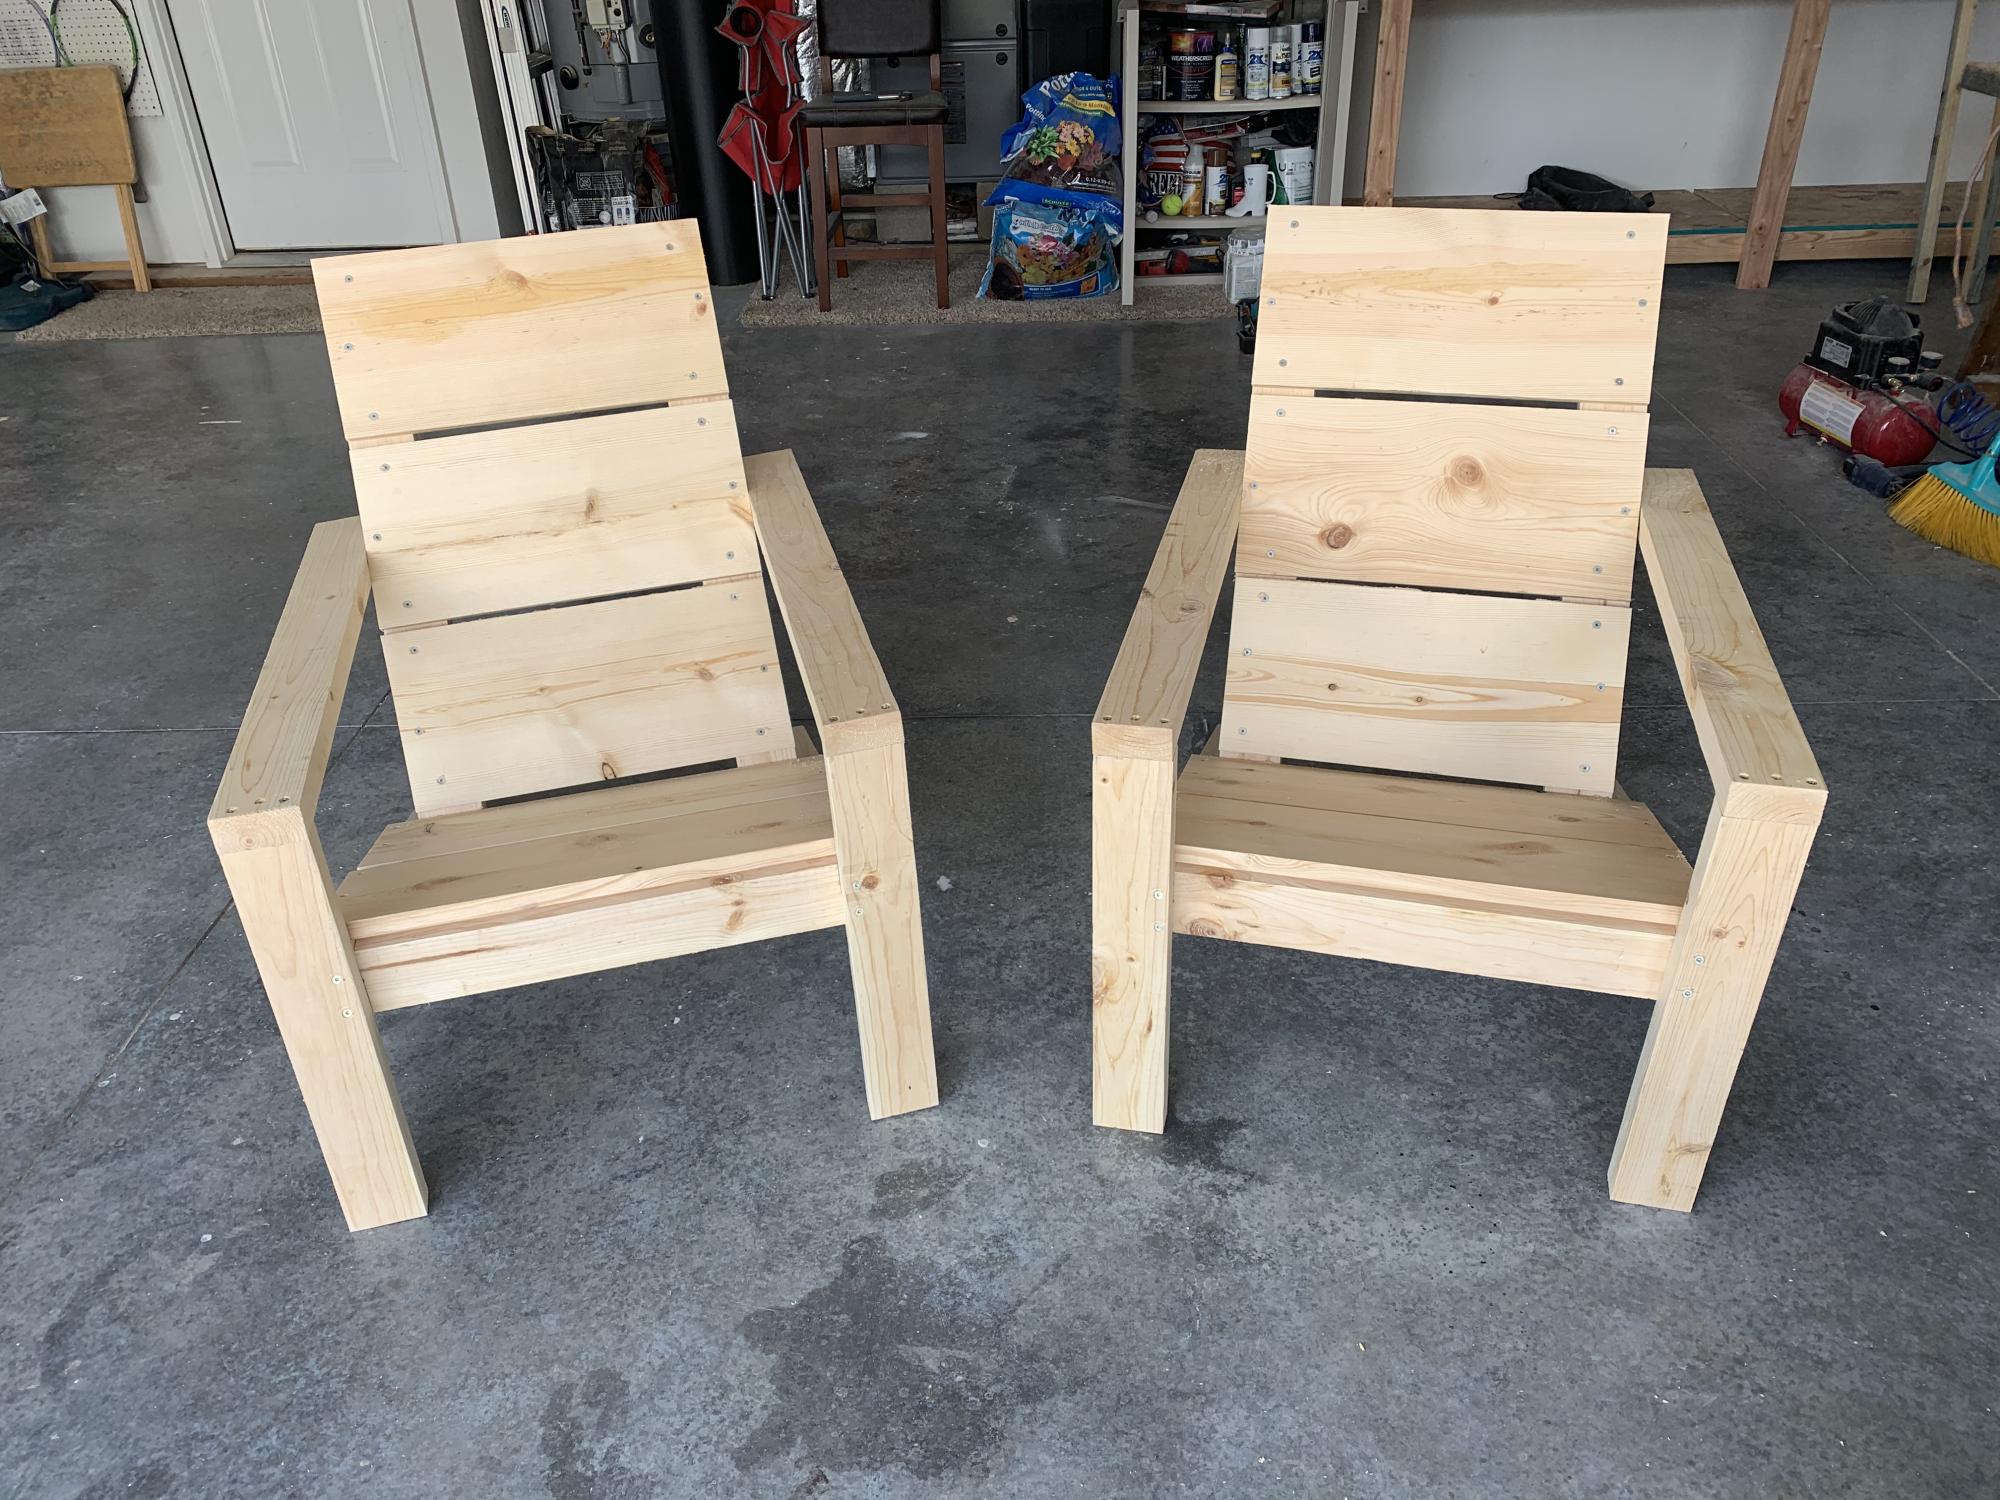
Such easy plans to follow! Thanks, as always!!!
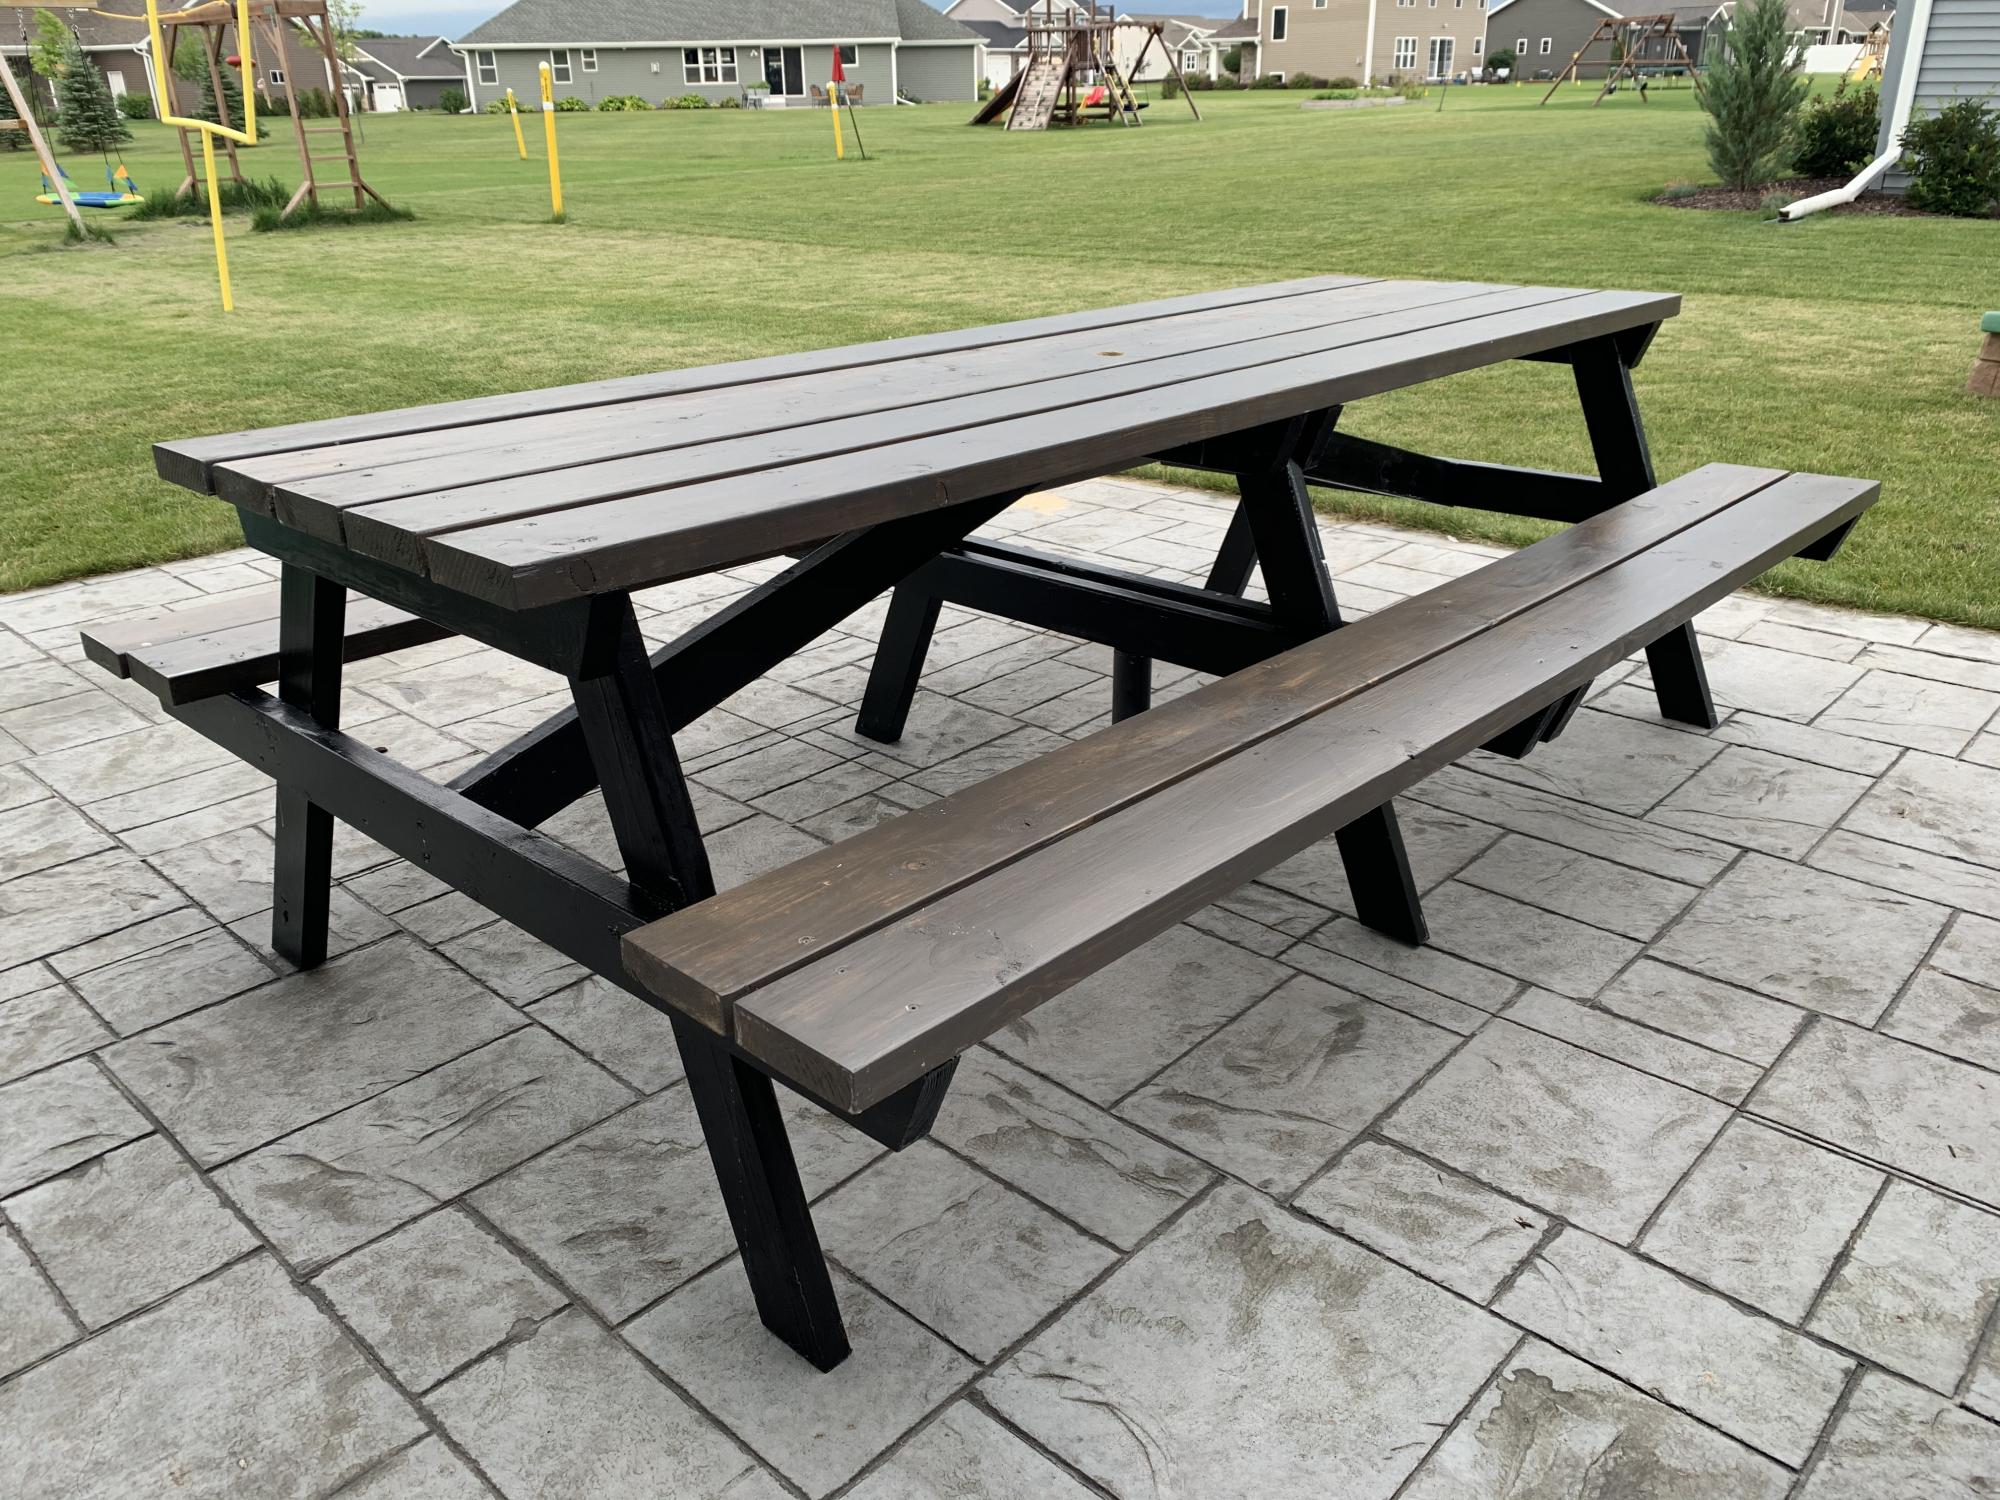
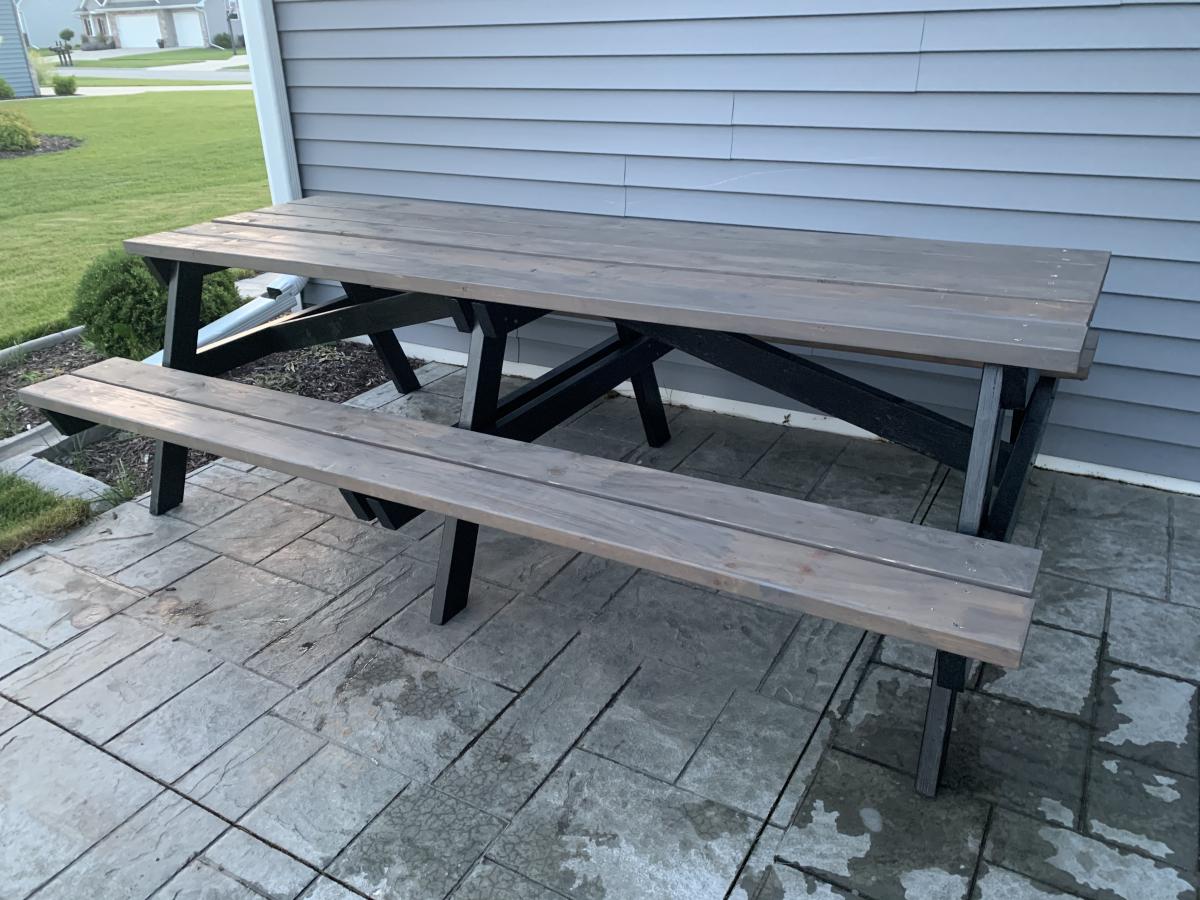
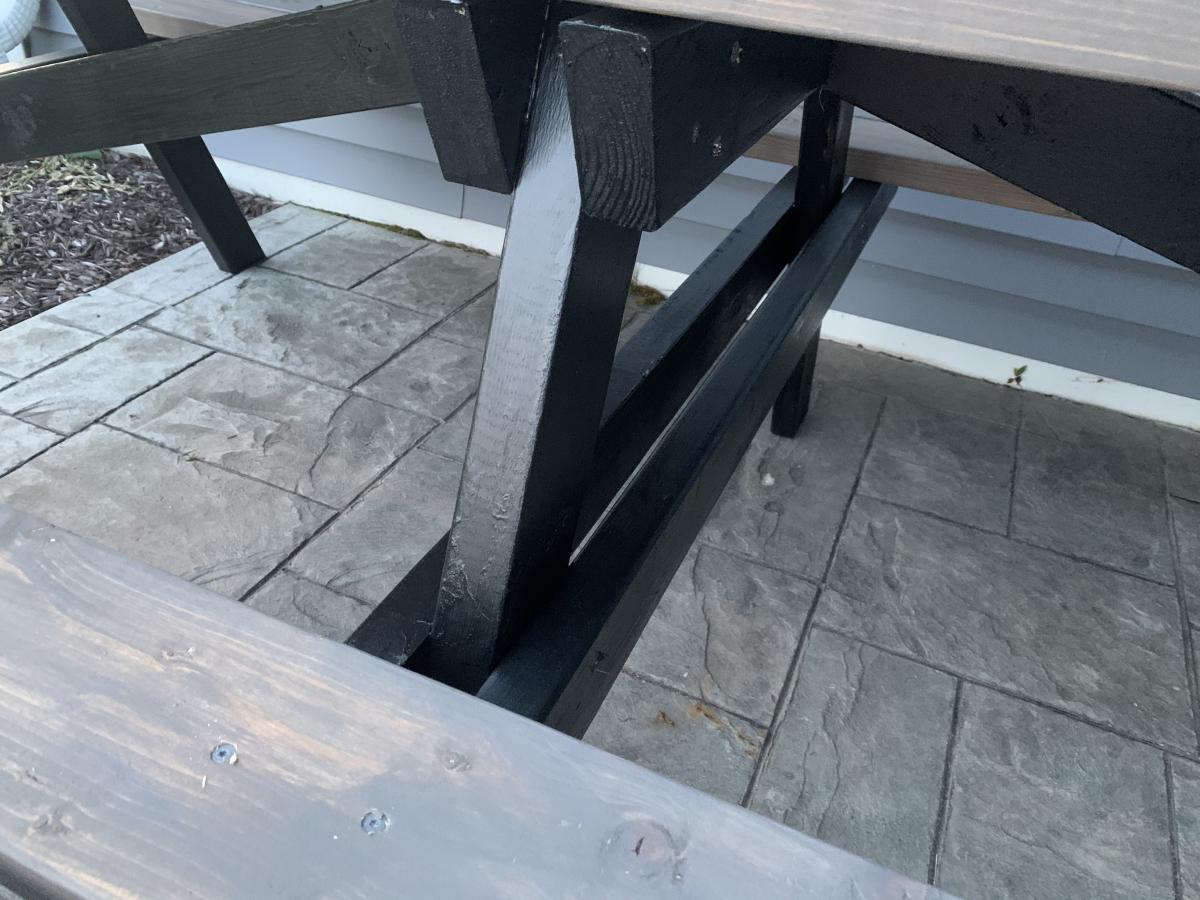
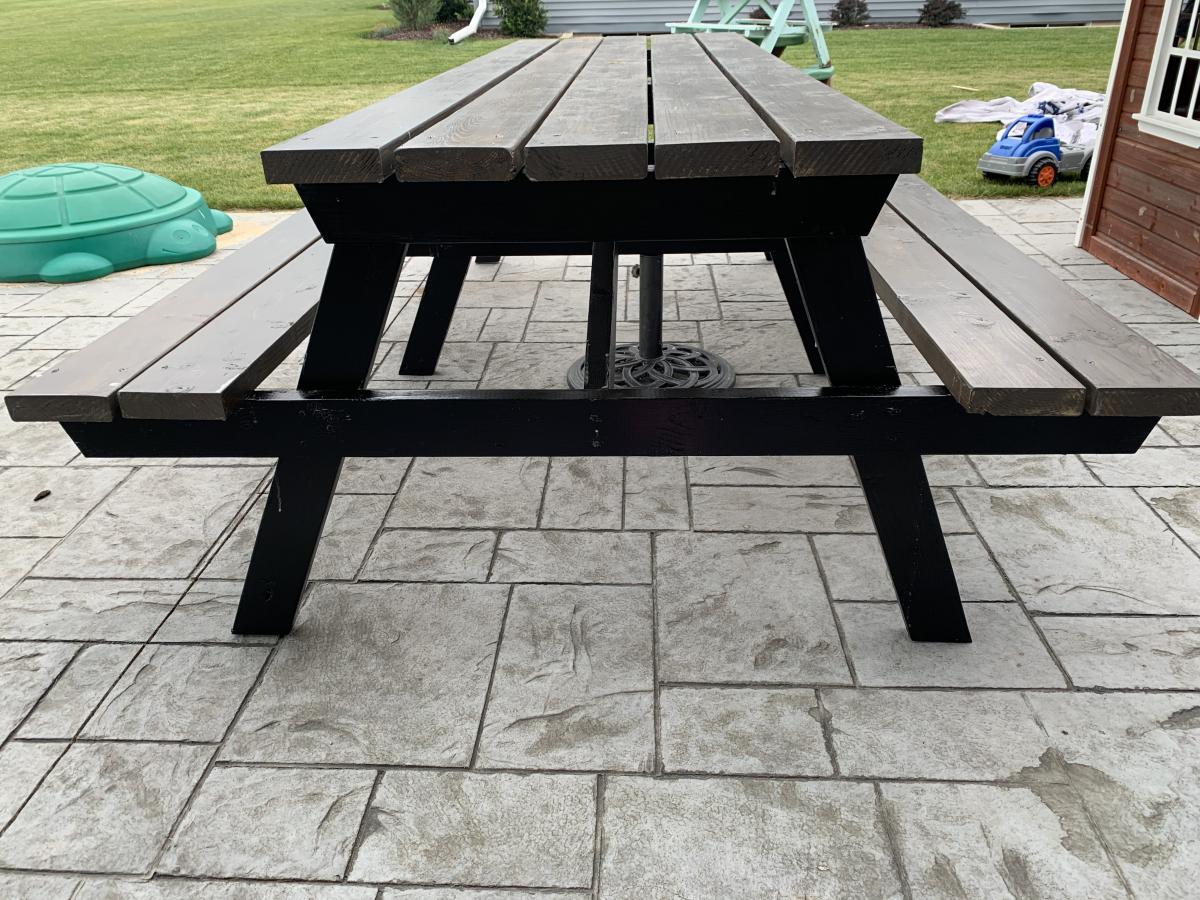
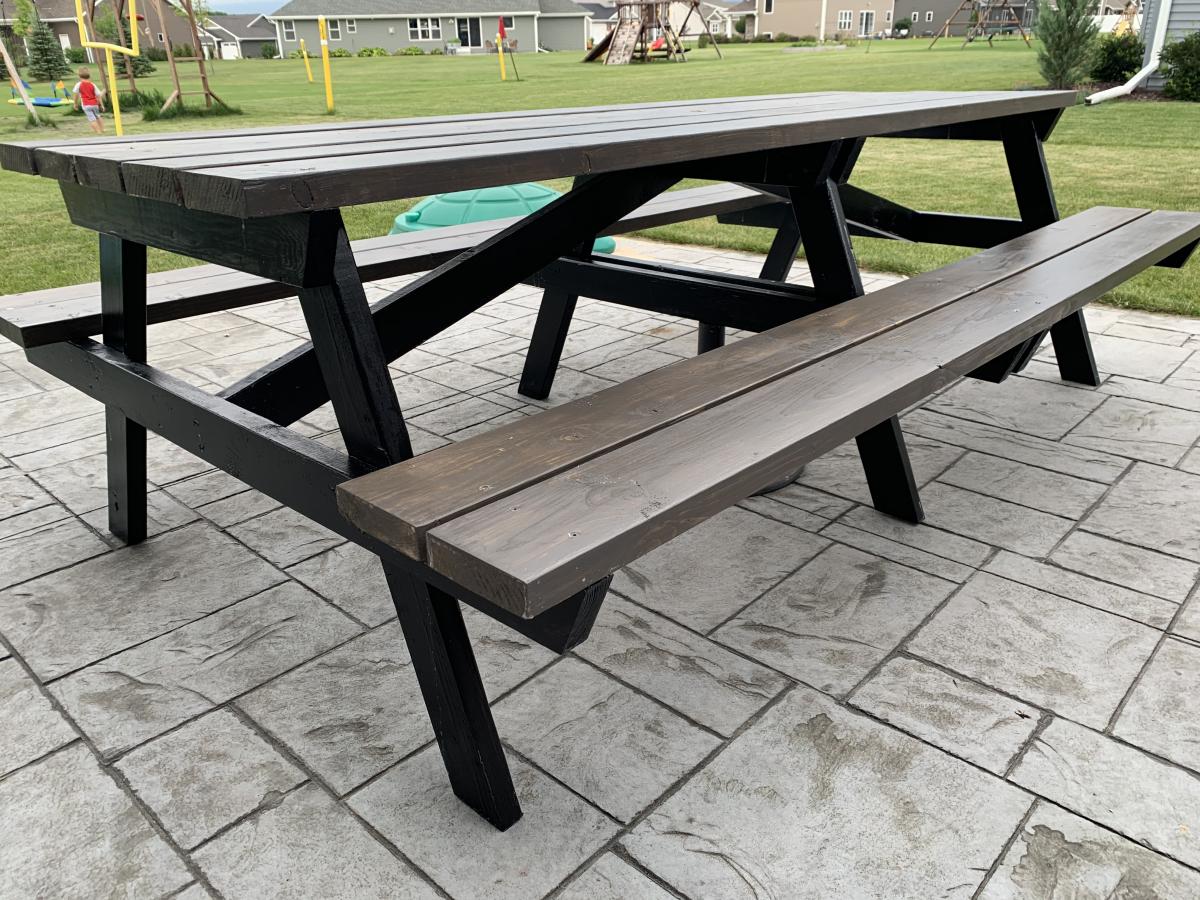
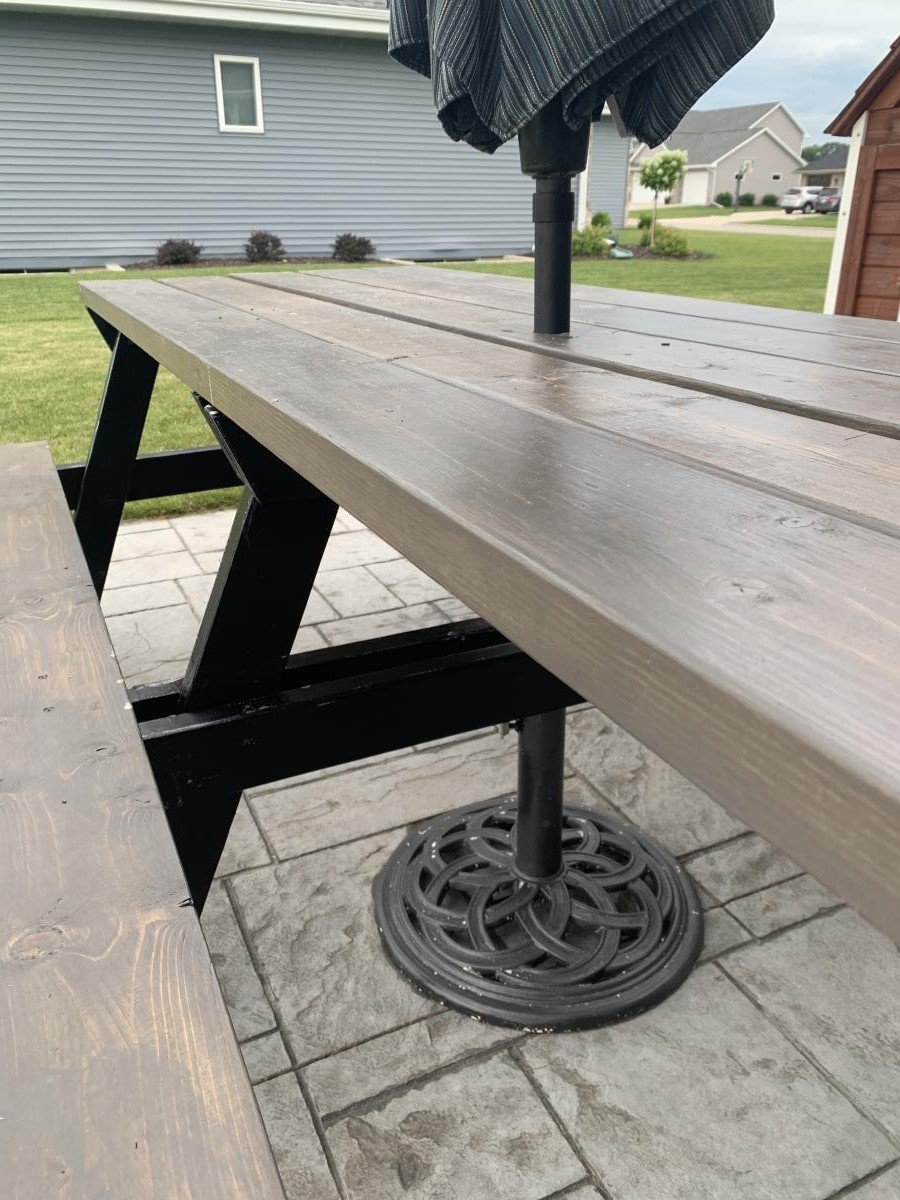
This picnic table was a quick build and turned out amazing. I modified the center base support by adding an extra table top support and seat support board to the opposite side of the center legs to give the table symmetry to accommodate an umbrella hole. I also shortened both cross supports by an inch to make sure the base wouldn’t be longer than the top boards. The space between the center table support boards and seat support boards is the perfect size to fit a standard umbrella. I used a 1 3/4” hole saw to make the umbrella hole. The build and stain/paint took me about 5 hours but additional time is needed to properly seal the table. I used untreated pine. Treated pine may give the table longevity but it would also add a lot of weight to an already heavy table. This was a relatively easy and quick build and is a great size to fit my whole family plus a couple guests! I’m happy with how it turned out and would recommend this build to anyone looking for a budget friendly and simple patio table.
Sat, 07/18/2020 - 13:17
Thank you Abby!!! Your picnic table turned out amazing, I love the added umbrella modification!
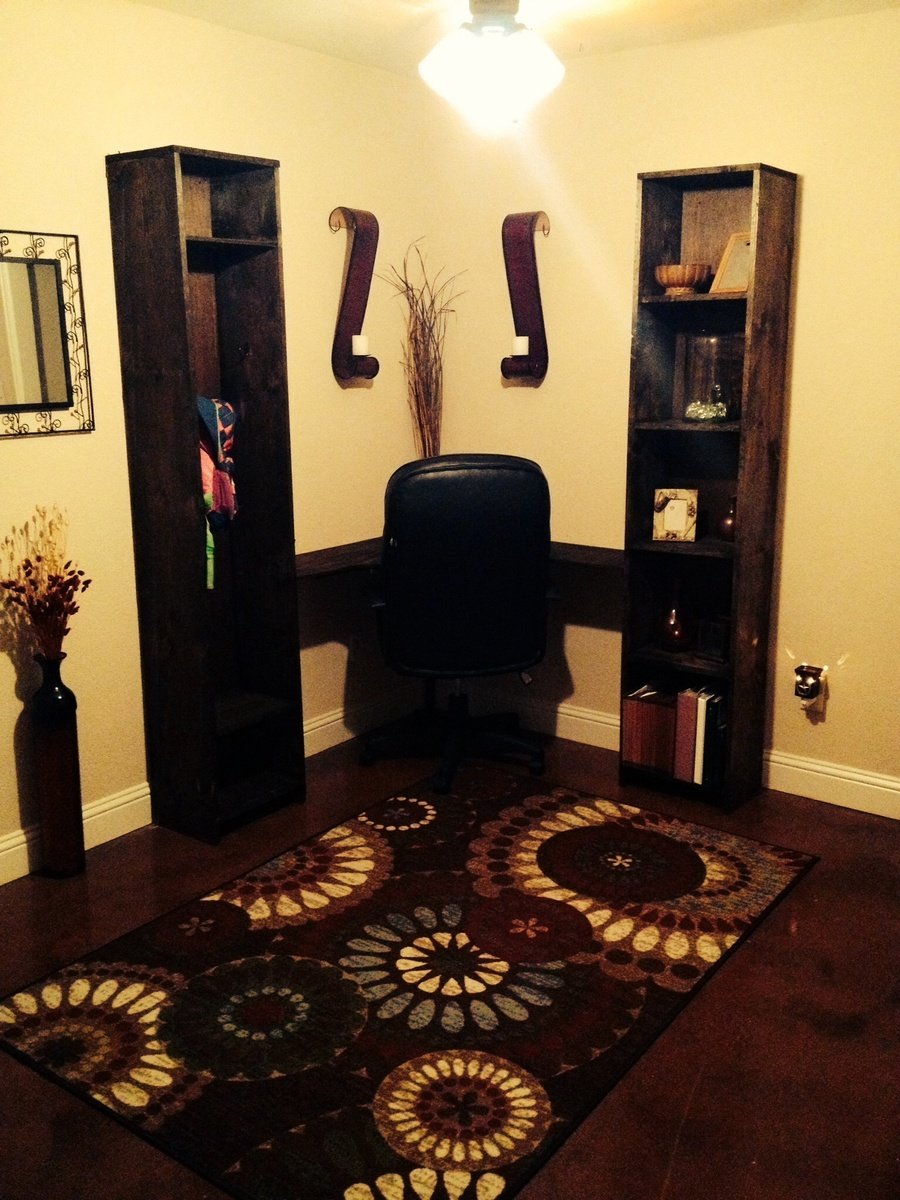
This was my first ever project! I built the skyscraper bookcase and then built a second one, only modifying it to make a locker style cabinet for backpacks!
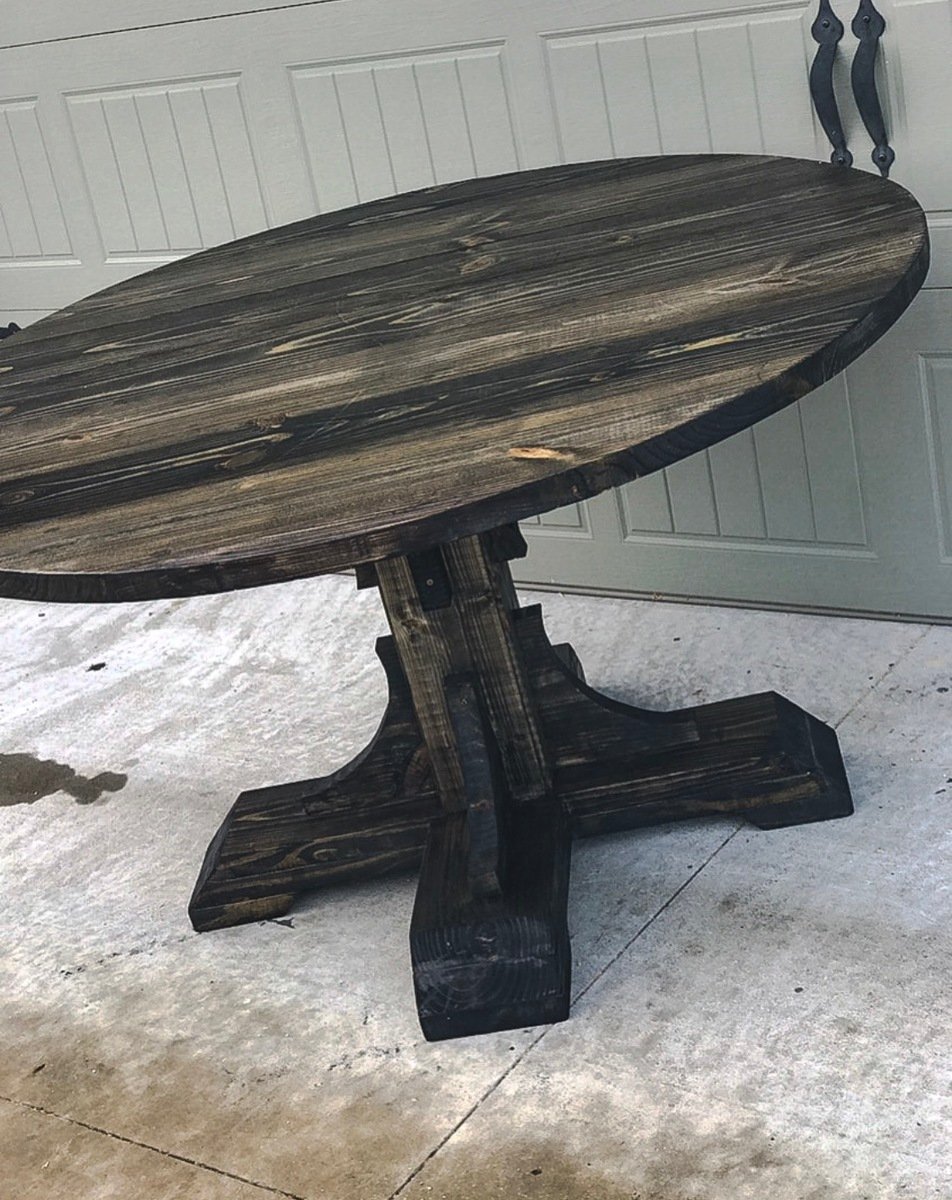
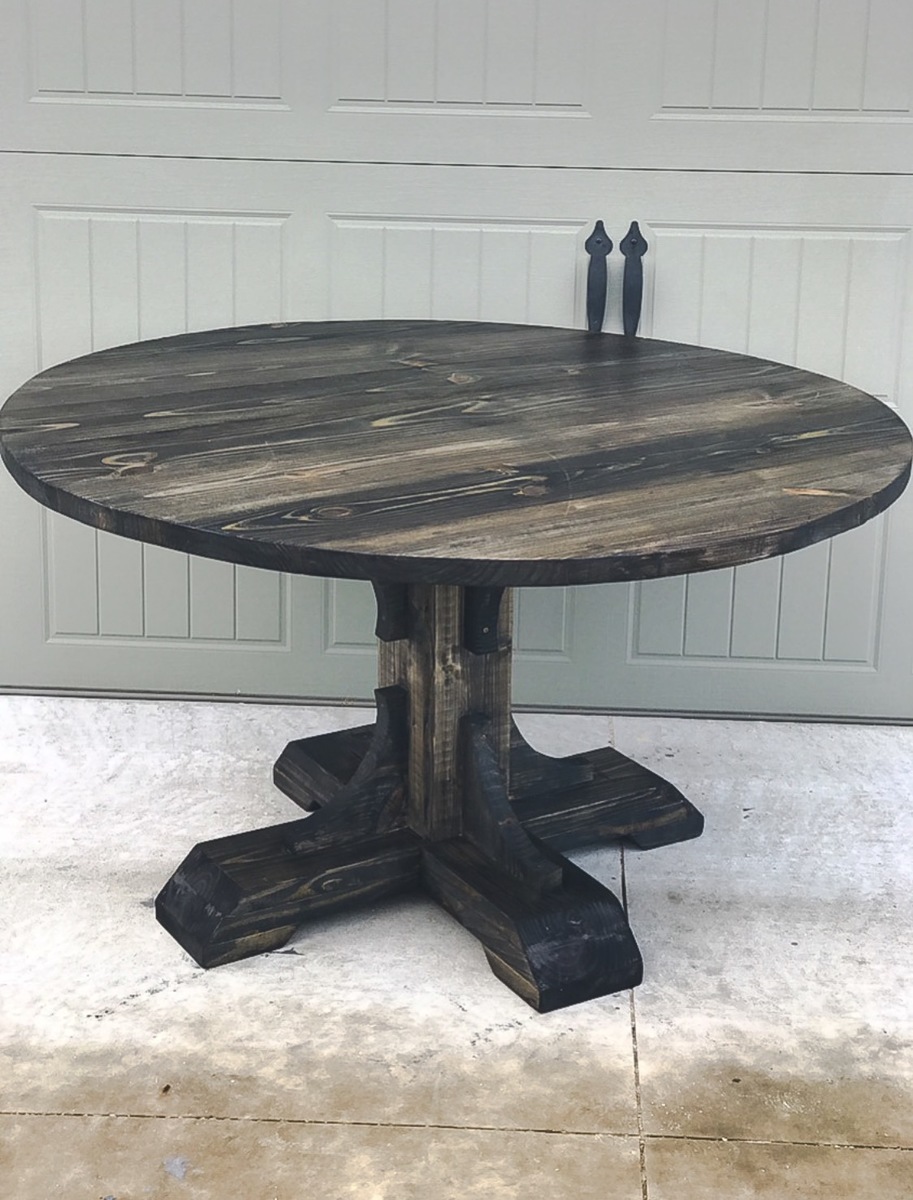
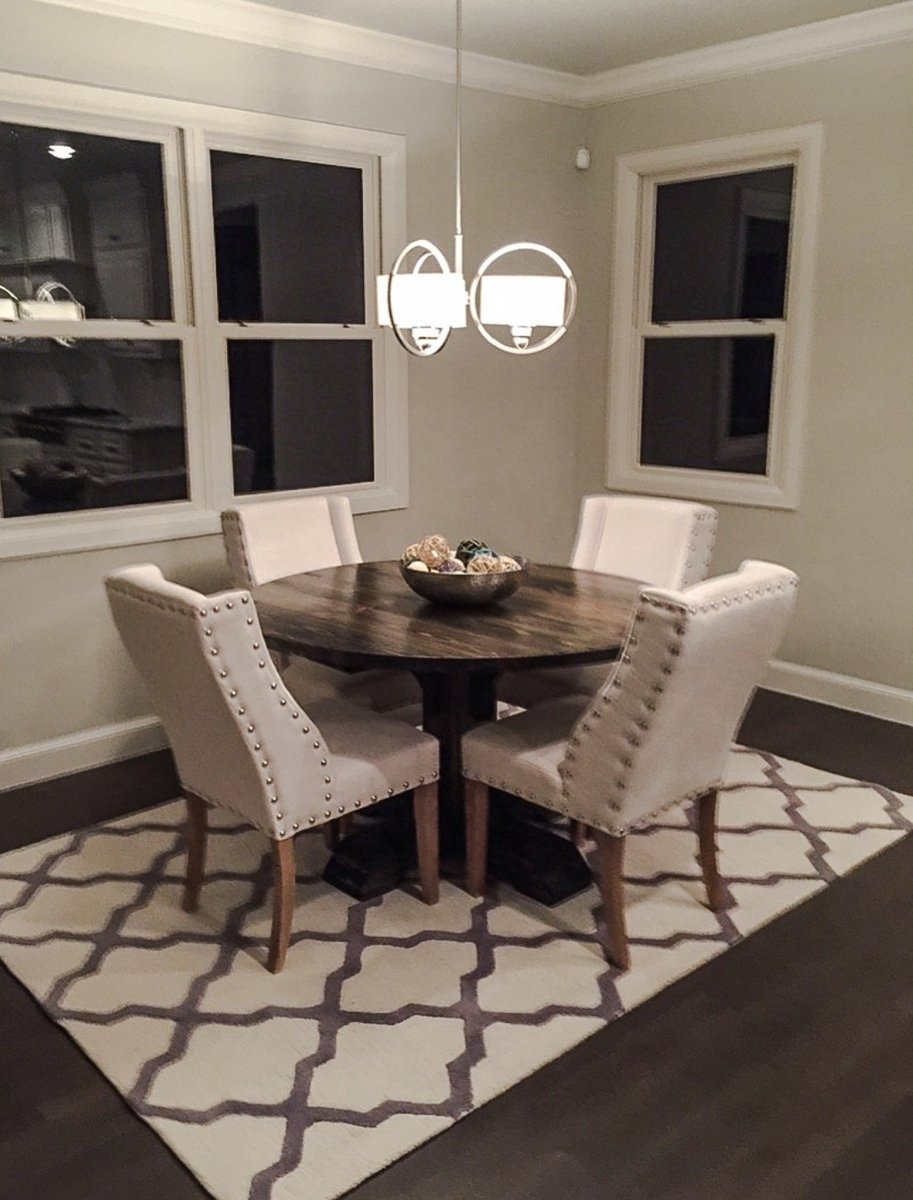
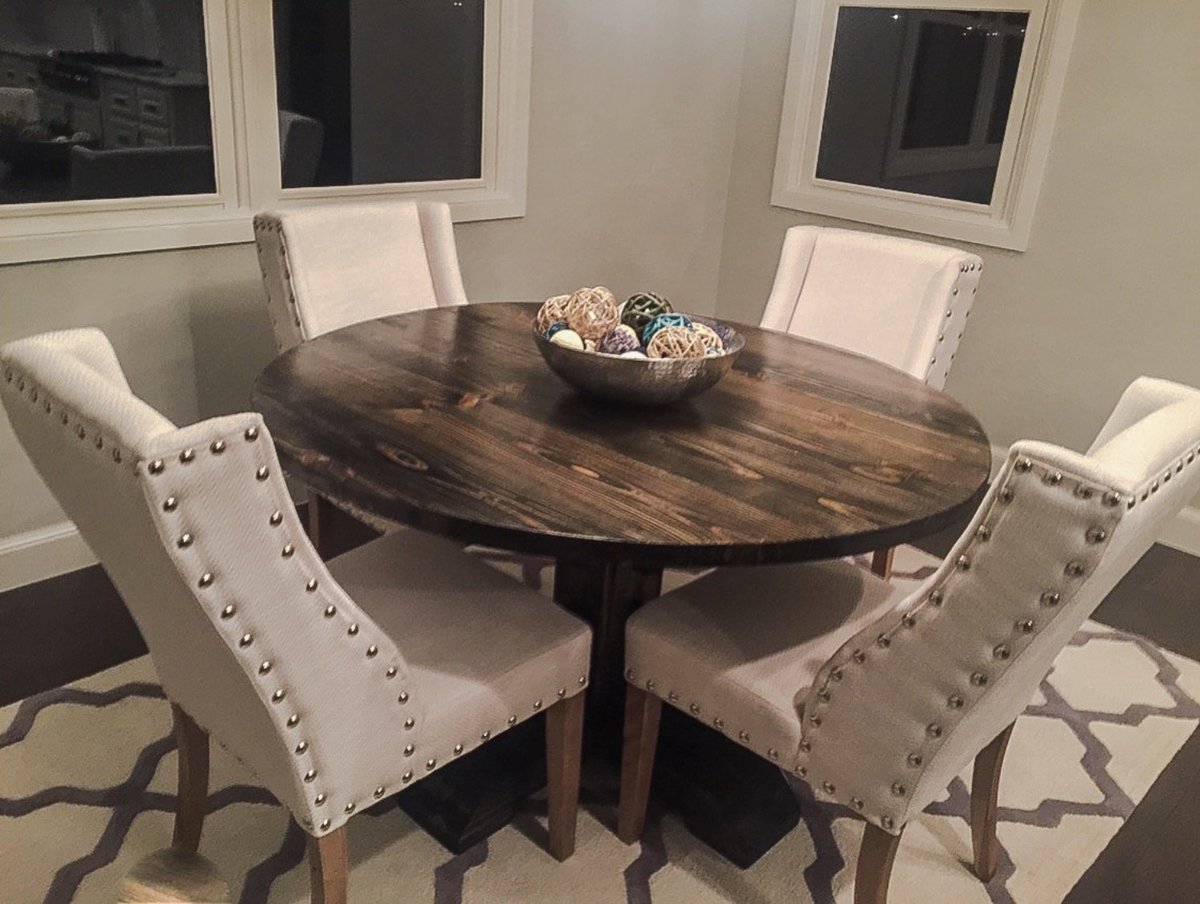
This was such a fun build. Instead of the square table top I opted for a 54" round table top and I also altered the plans for the base. I upped the size for each board used to give it a chunkier look ( Ex: instead of 2x4s, I used 2x6s and so on)
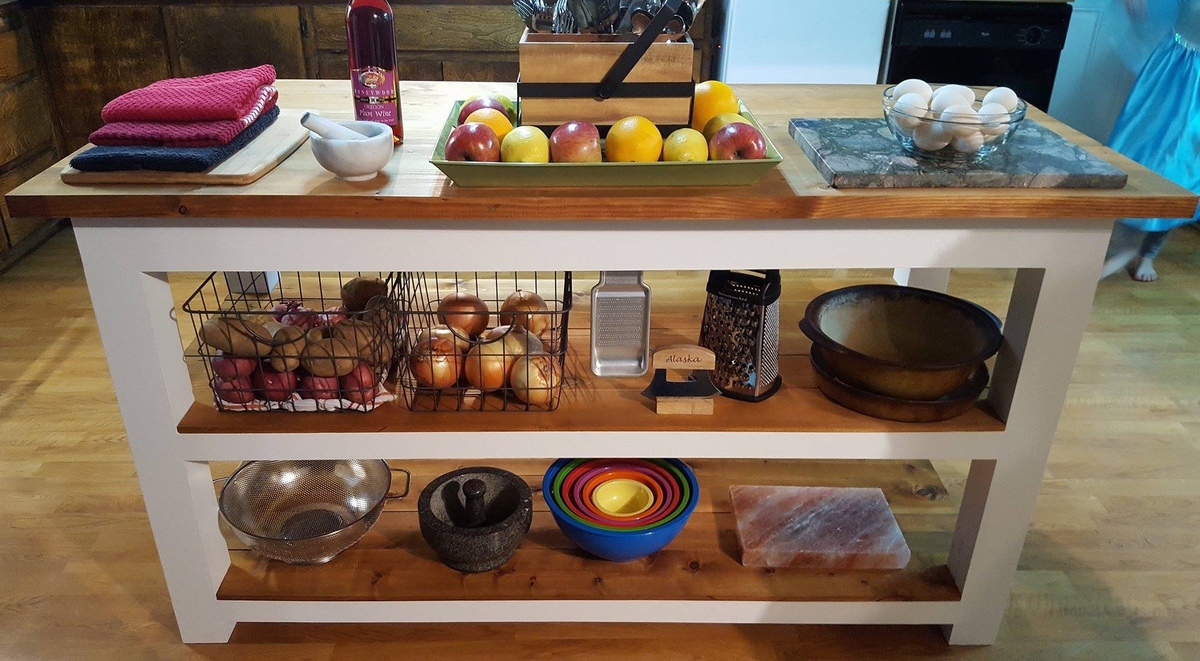
Built from discount 70% off lumber from Home Depot. I planed and cut down to size with a Ridged planer and table saw, then screwed together with kreg pocket screws. Since I will be kneading bread on it, I used a natural coffee stain and then butcher block finish..
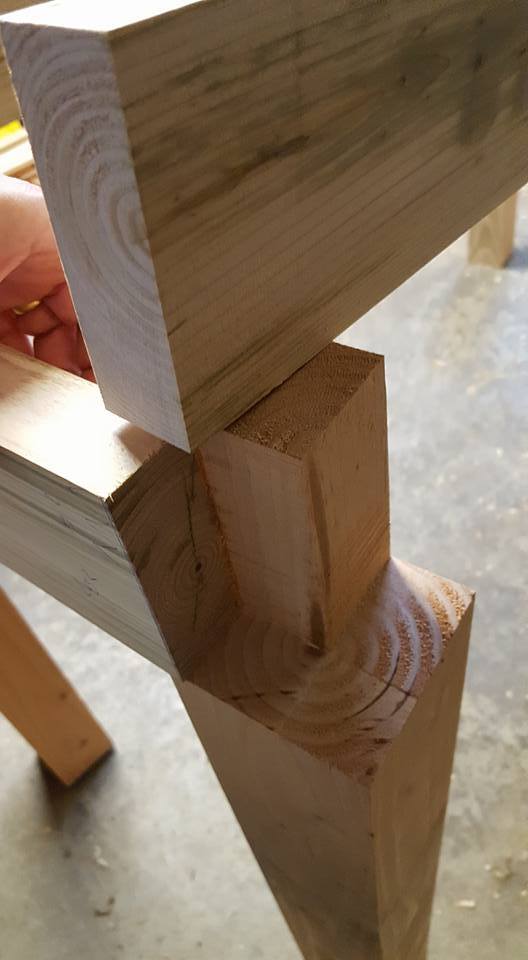
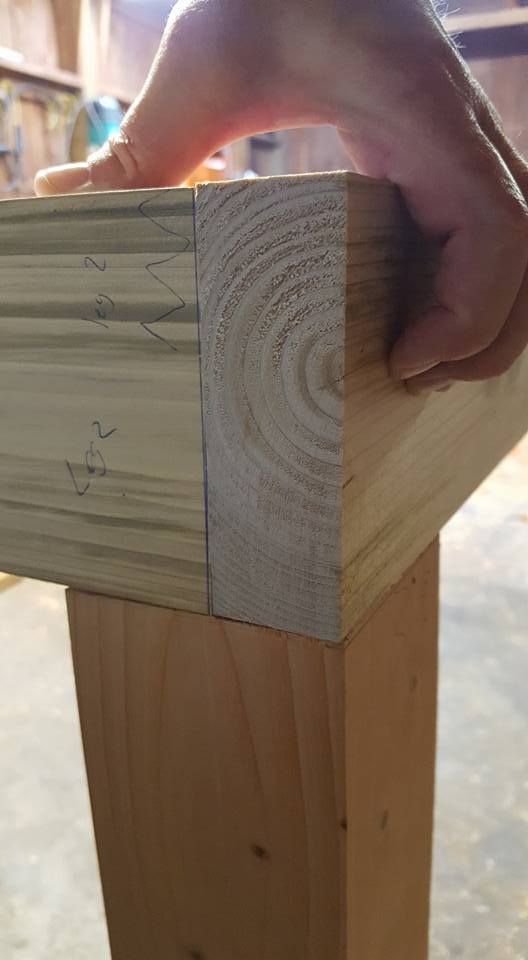
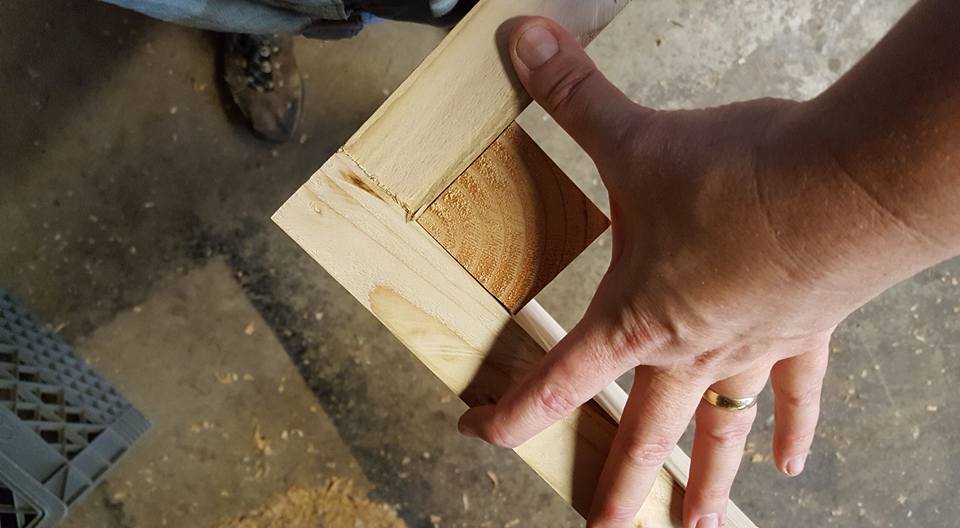
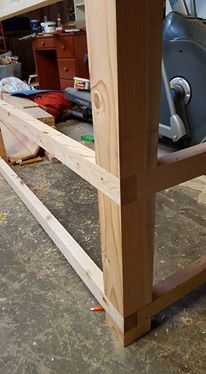
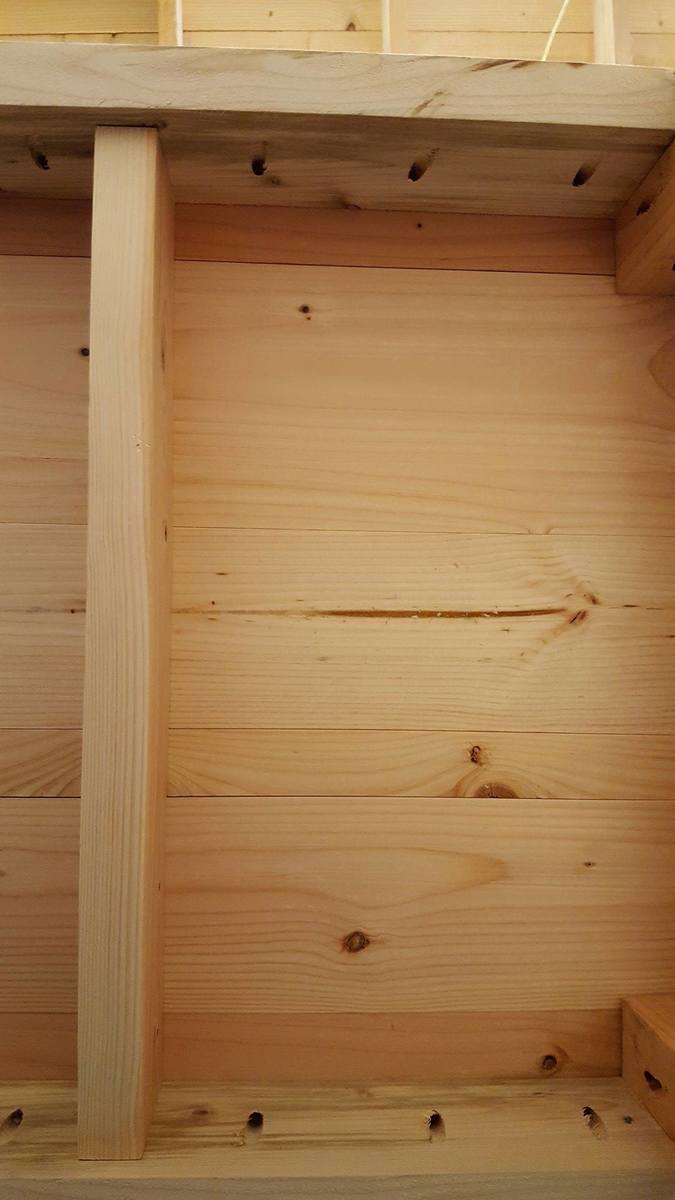
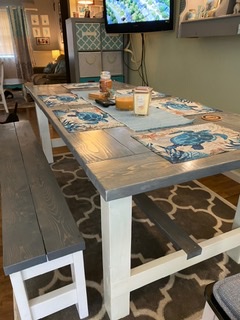
Once I made the farmhouse table, I had to make the bench to go with it! It compliments the table very well. Easy to build only took a couple hours from start to finish. I also used the kreg pocket hole jig on this project as well so no screw holes could been seen. Thank you Ana for the plans!
