Community Brag Posts
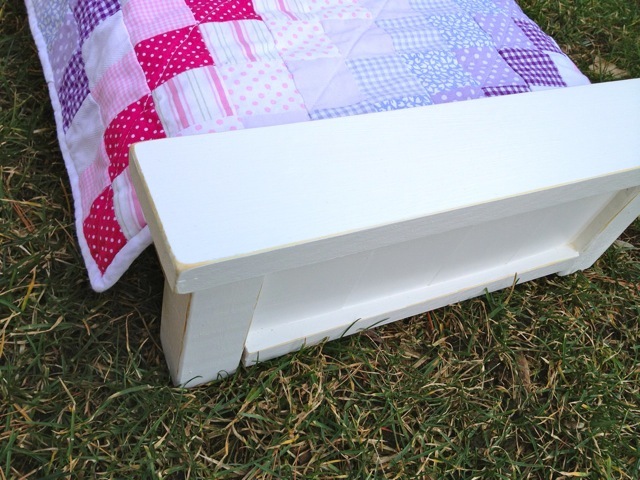
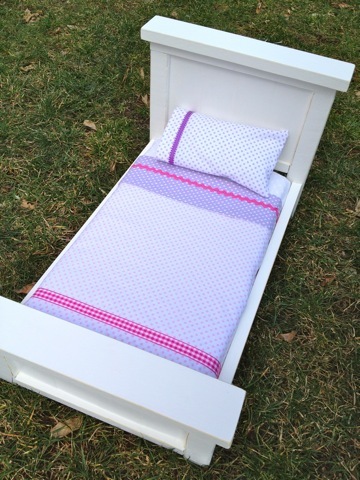
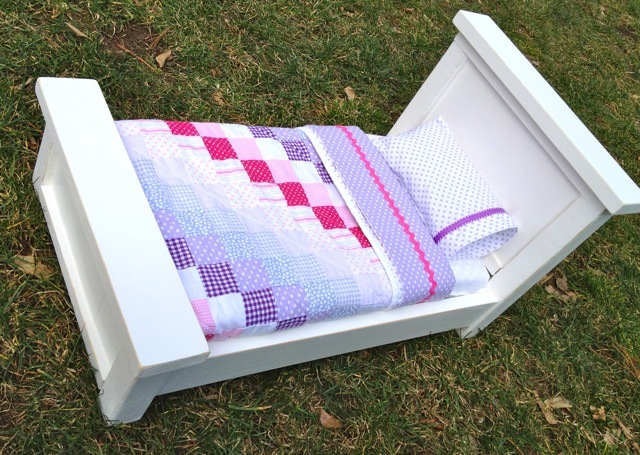
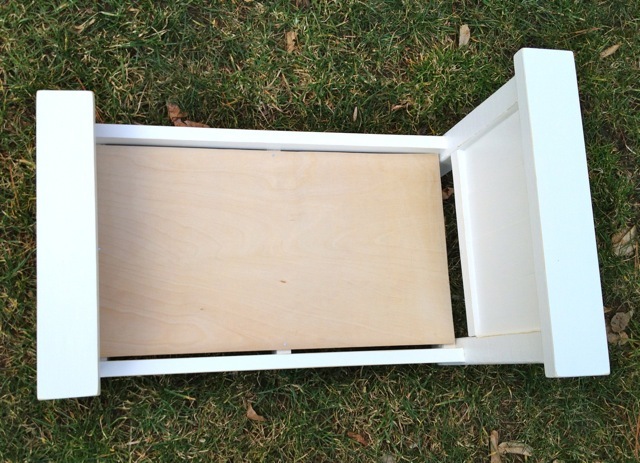
doll bed #10
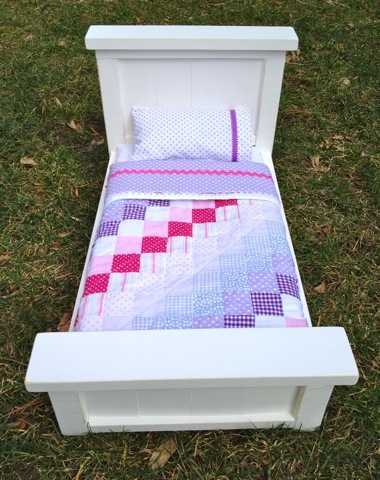
Farmhouse style doll bed, modified width one less slat.

Built from Plan(s)
Estimated Time Investment
An Hour or Two (0-2 Hours)
Finish Used
1. Paint two coats Behr Swiss Coffee
2. Distress
3. Seal with wipe on clear satin poly
2. Distress
3. Seal with wipe on clear satin poly
Recommended Skill Level
Beginner
Comments
Fri, 03/09/2012 - 05:36
What are your finished
What are your finished dimensions on this bed? I was thinking of making it with one less slat also to make it more like a twin bed.
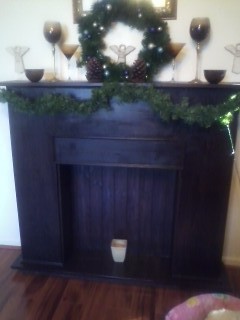
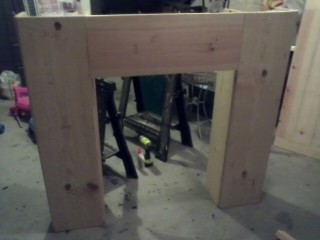
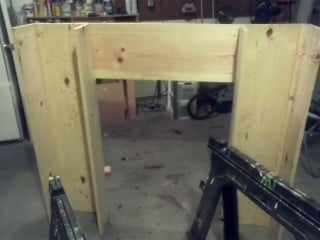
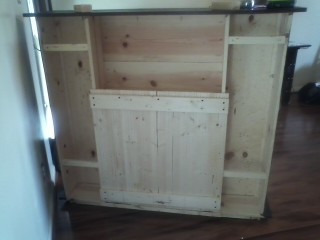
Faux Mantle
1st of all I want to apologize for posting several of my builds at once. I am not trying to steal the show, but I'm just deciding I would like to share my builds.
Ok, now to this build. I didn't get this mantle from this site but still wanted to share. I used the one from "blue roof cabin" site and adjusted it to my desire. I wanted my depth to be bigger so I used 1x8's to bring it out from the wall more. I got the backing idea from "Netties Expressions" by using Whitewood V-Groove Wainscot wall panels.
I plan on building one from Ana's site to do one for my dining room. I check this site daily just to see what you all have built so I can get more ideas. Thanks Ana for sharing your builds.

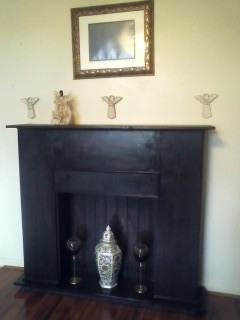
Finish Used
Rustoleum black cherry and dark walnut.
Recommended Skill Level
Beginner
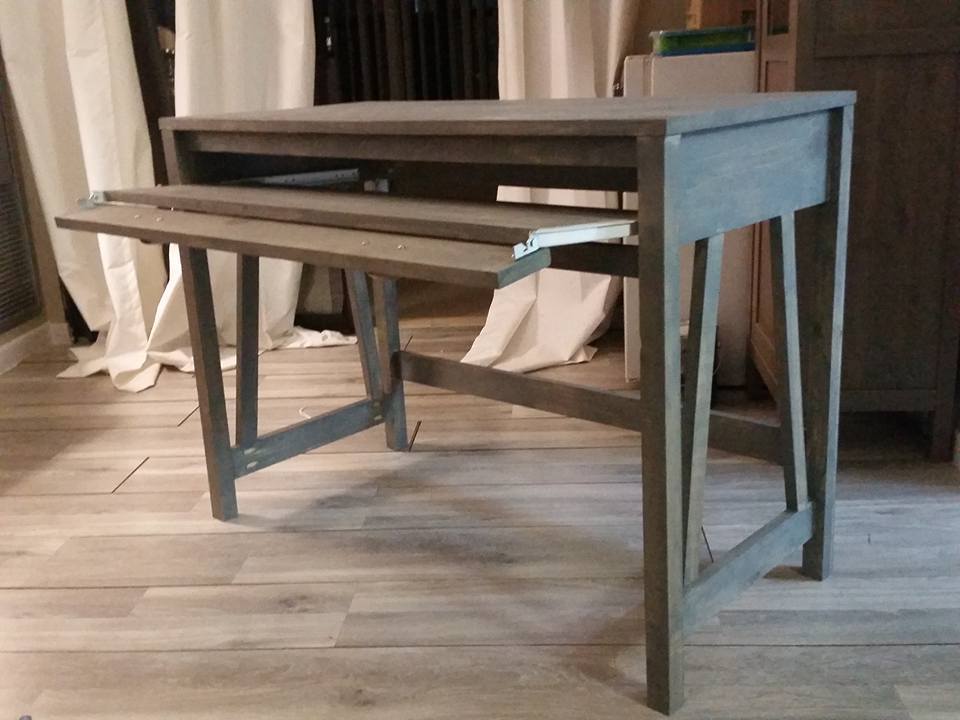
My UpsideDown V Desk
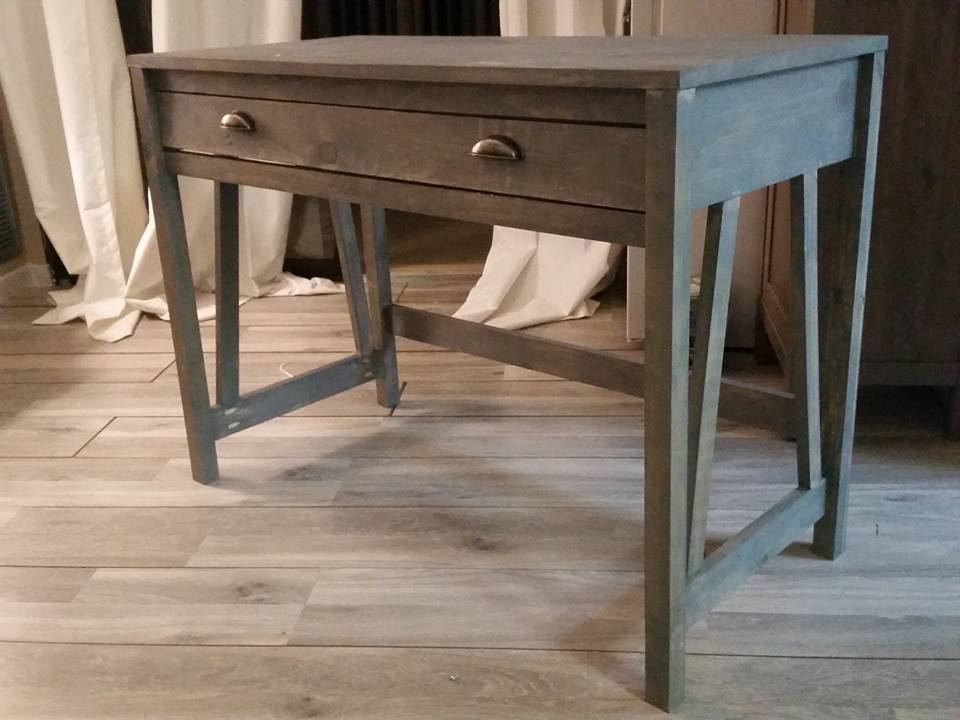
I am a novice builder living in an apartment. I needed a new desk for my den and fell in love with two - the X-frame desk from Ana's Website and the Truss Desk I saw on Shanty 2 Chic. As I have limited tools, I decided to combine features of both to make my custom desk that included a keyboard tray as I needed one to ensure I type more ergonomically. I love my desk and now, on to build another piece!
Built from Plan(s)
Estimated Cost
$100 - As I used pine and had items cut.
Estimated Time Investment
Weekend Project (10-20 Hours)
Finish Used
Weathered Grey Stain - Varathane
Recommended Skill Level
Beginner
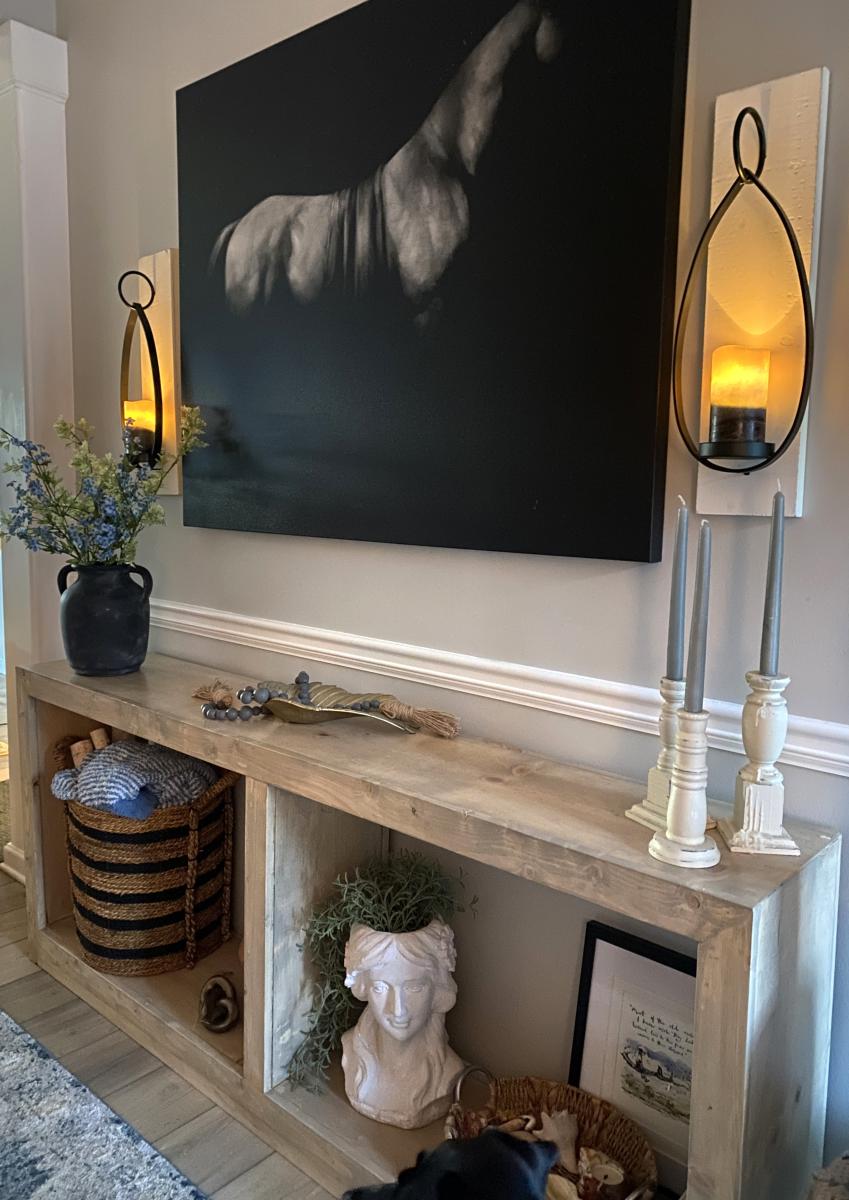
Console Table
Made from the rustic Console Table plans, used a dark oak stain and antique oil finish.
Built from Plan(s)
Estimated Cost
$80.00
Estimated Time Investment
Week Long Project (20 Hours or More)
Finish Used
Minwax antique oil finish
Recommended Skill Level
Intermediate
Grand Waterfall Console Table
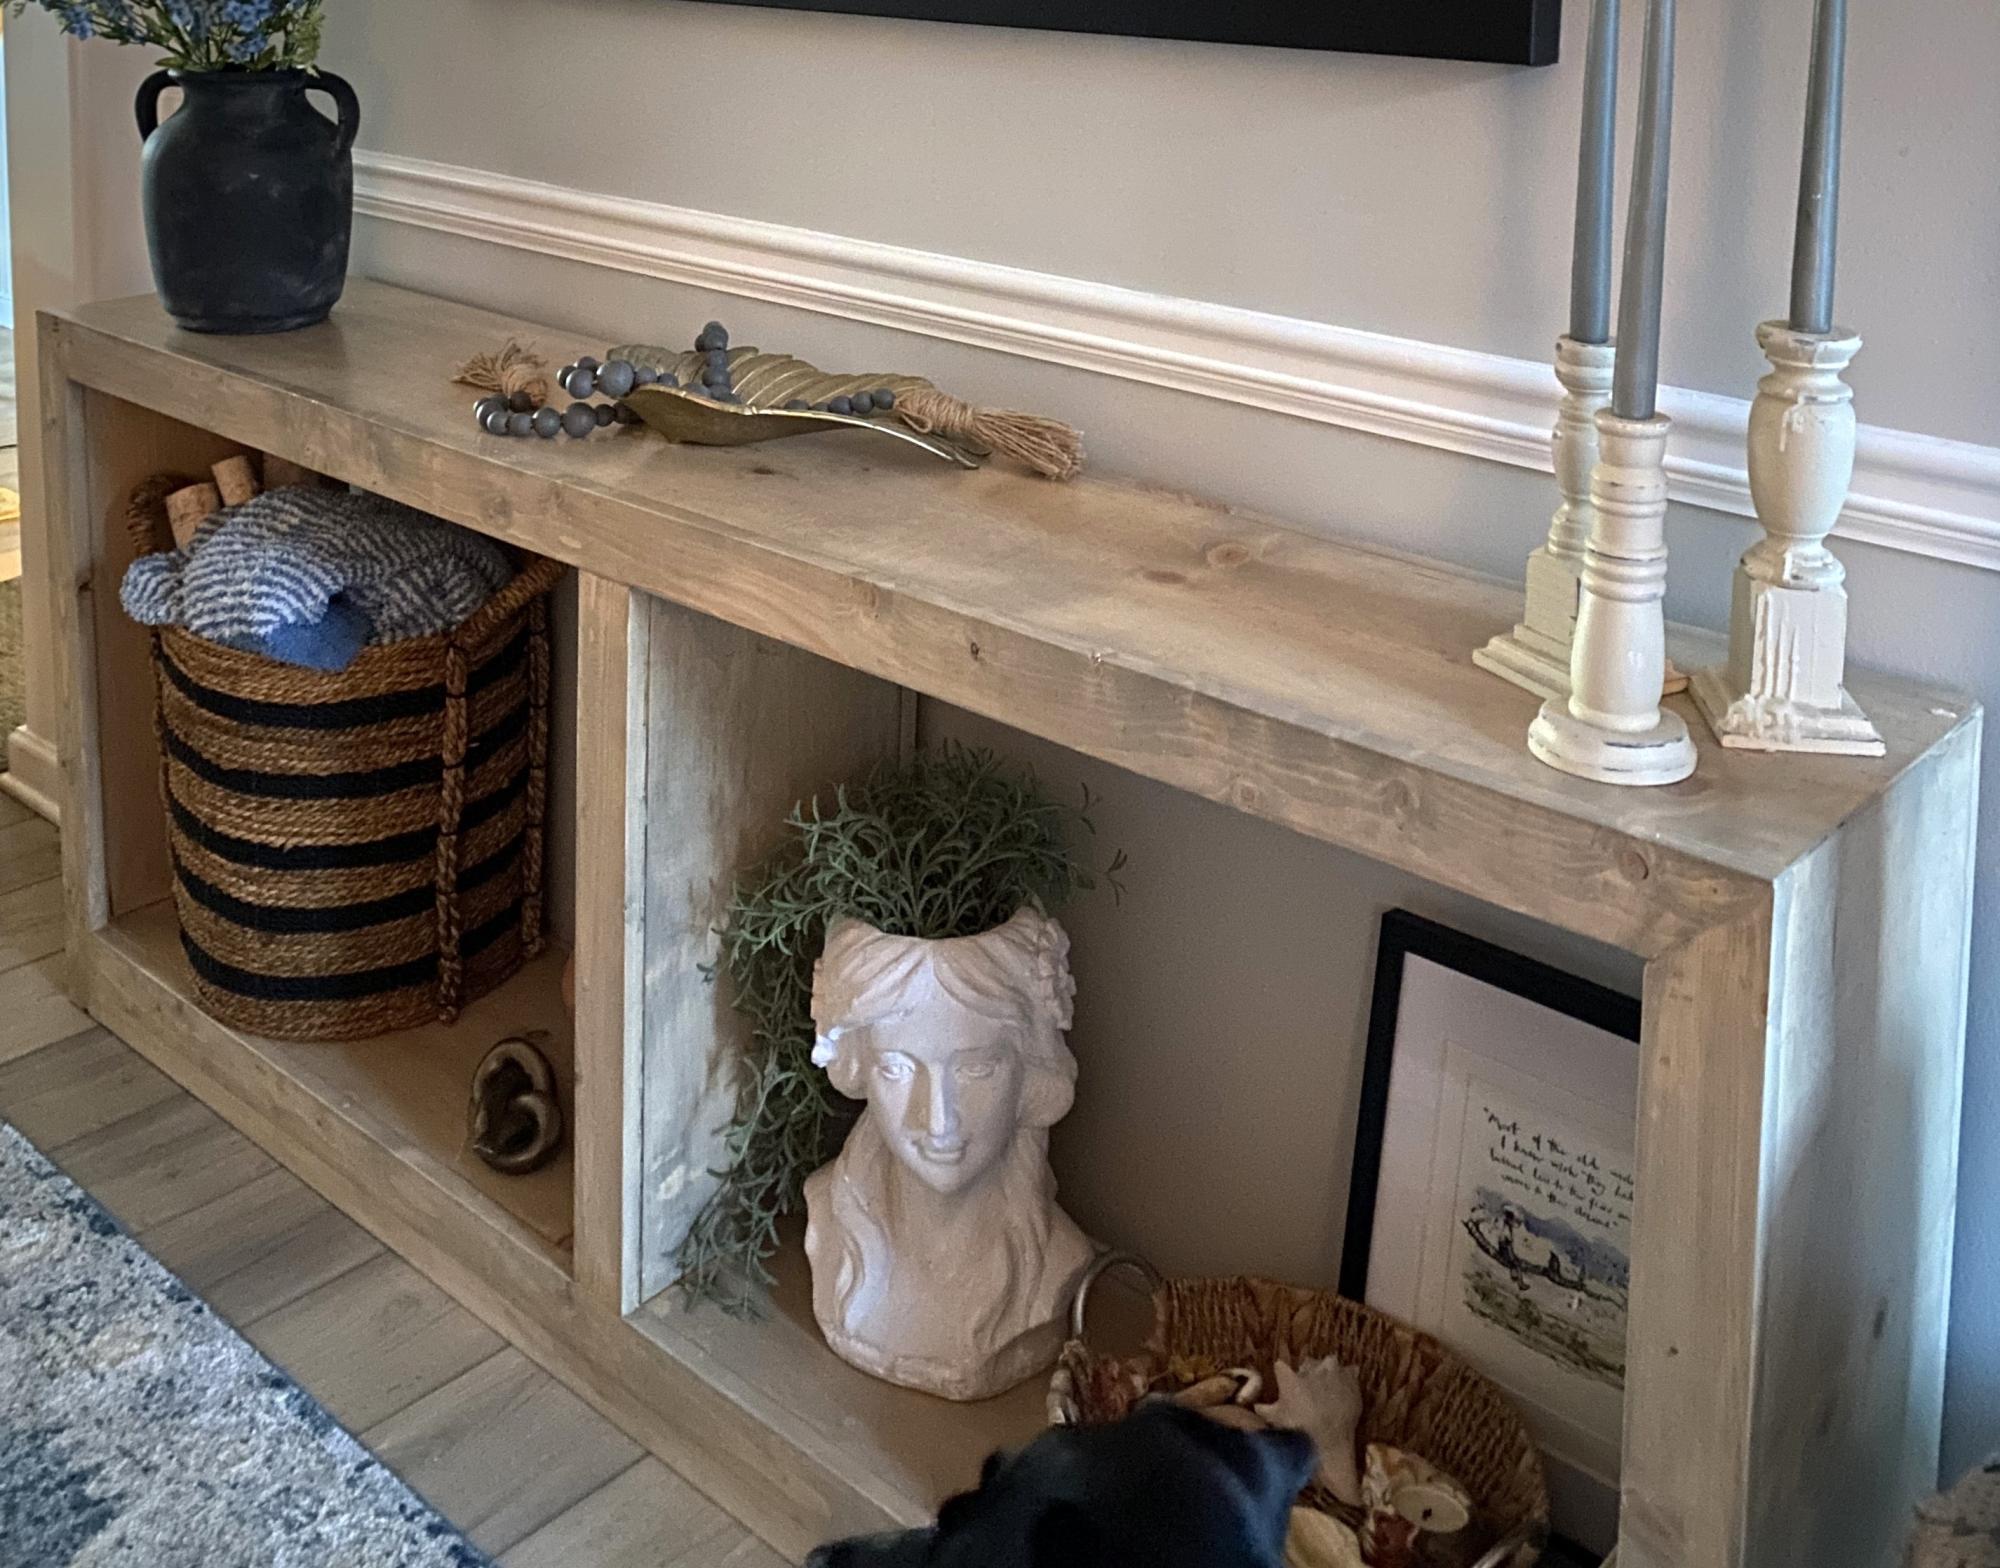
I used the Grand Waterfall Console plans, but modified them to be 72 inches long instead of 84 inches. Overall, I learned a lot during the process, but wood filler, sanding, stain, and finishing with polycrylic made all the difference in the end. The hardest parts for me were the mitered cuts. I think if I did it again, it would look even better!
Deb
Built from Plan(s)
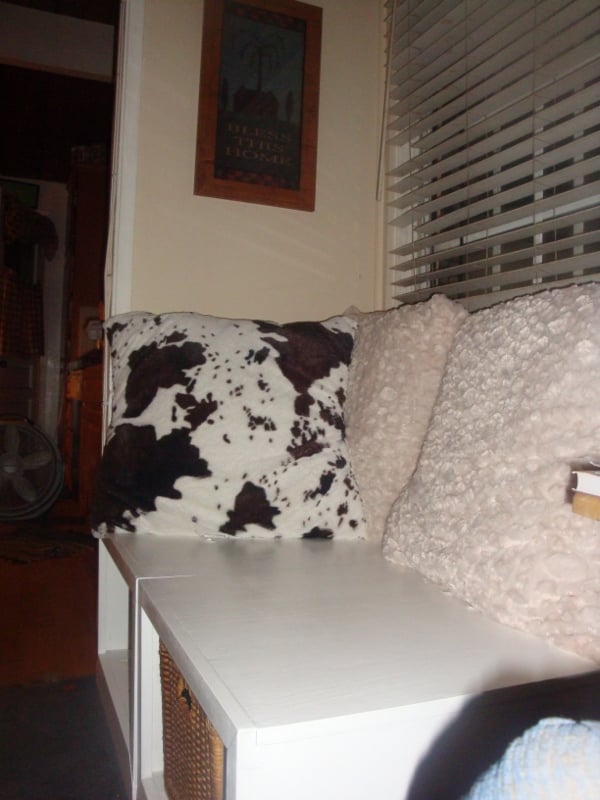
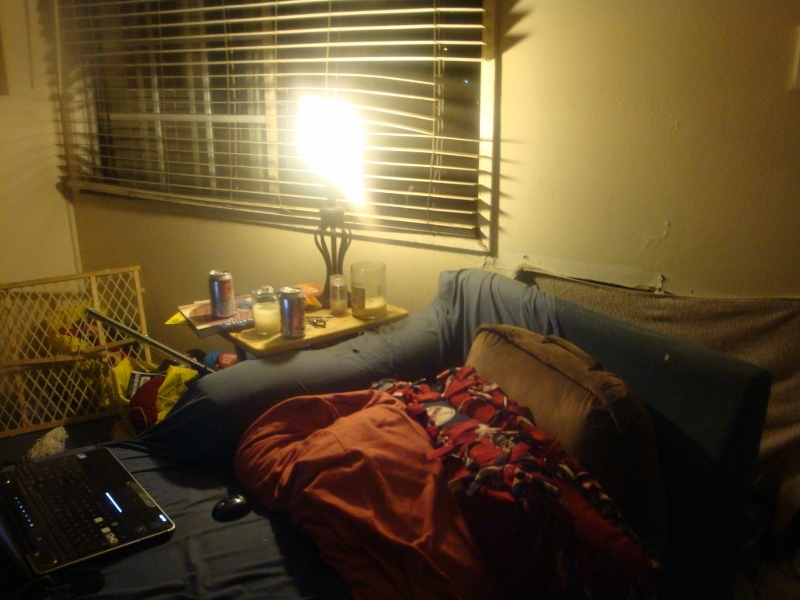
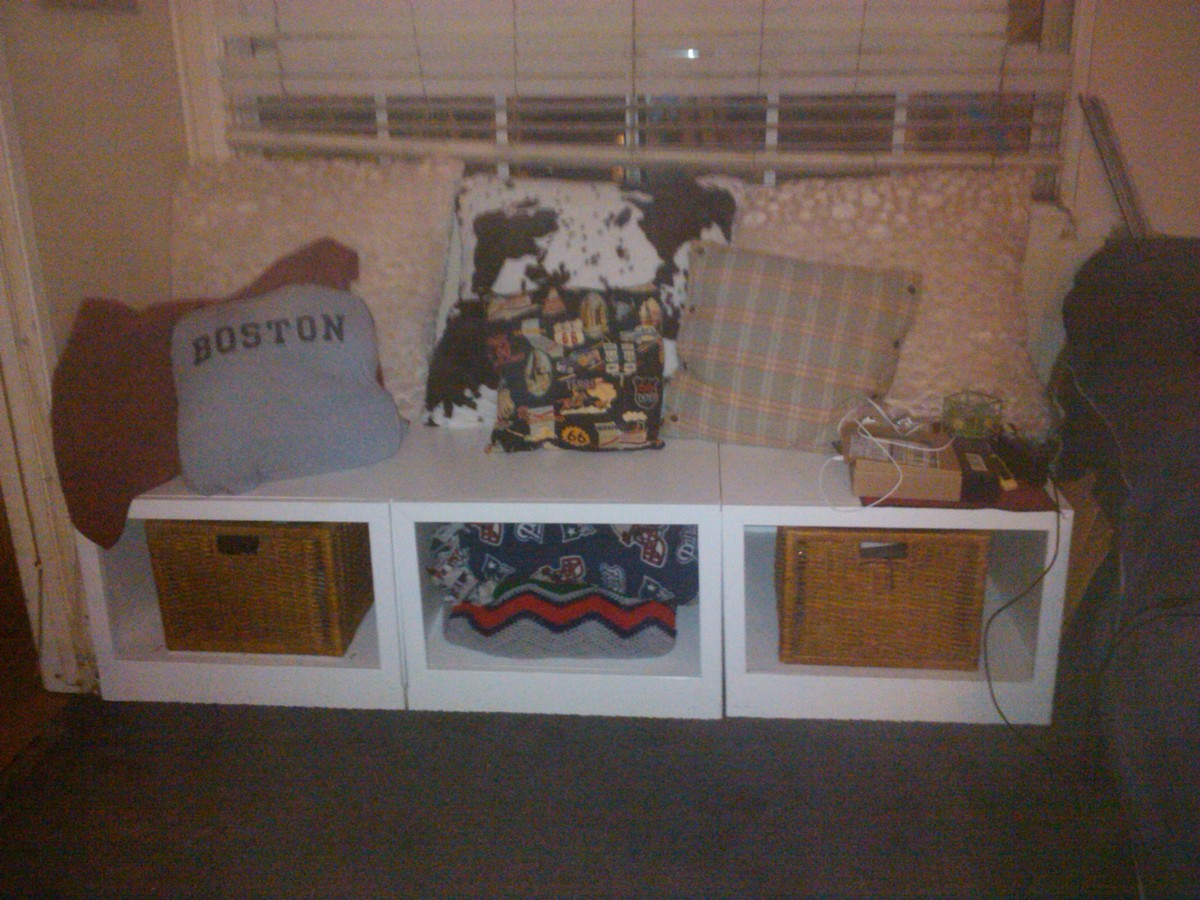
HGTV'd myself
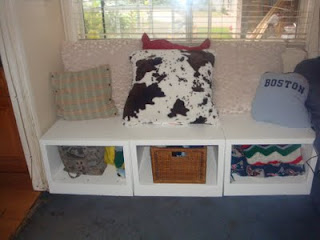
This was one of my first big projects, this site motivates you to get better. No, at first I couldn't build a box, now, I'm building outdoor bars! All of my skills, I learned from this site. The boxes are heavy, sturdy, they've had 5 golden retrievers on it, 4 adults at once, and the storage is incredible. The pics below show what an improvement a piece of furniture can do. This piece went into a dead space corner, a catchall. I'm not proud of the mess, :), but I am proud of the after. Extra room, light, airy, yeah!


Built from Plan(s)
Estimated Cost
80 to 100
Estimated Time Investment
Week Long Project (20 Hours or More)
Finish Used
primered x2 coats, Kilz2, stained n between. Semi gloss Pure White 2 coats
Recommended Skill Level
Beginner
Modified fancy x
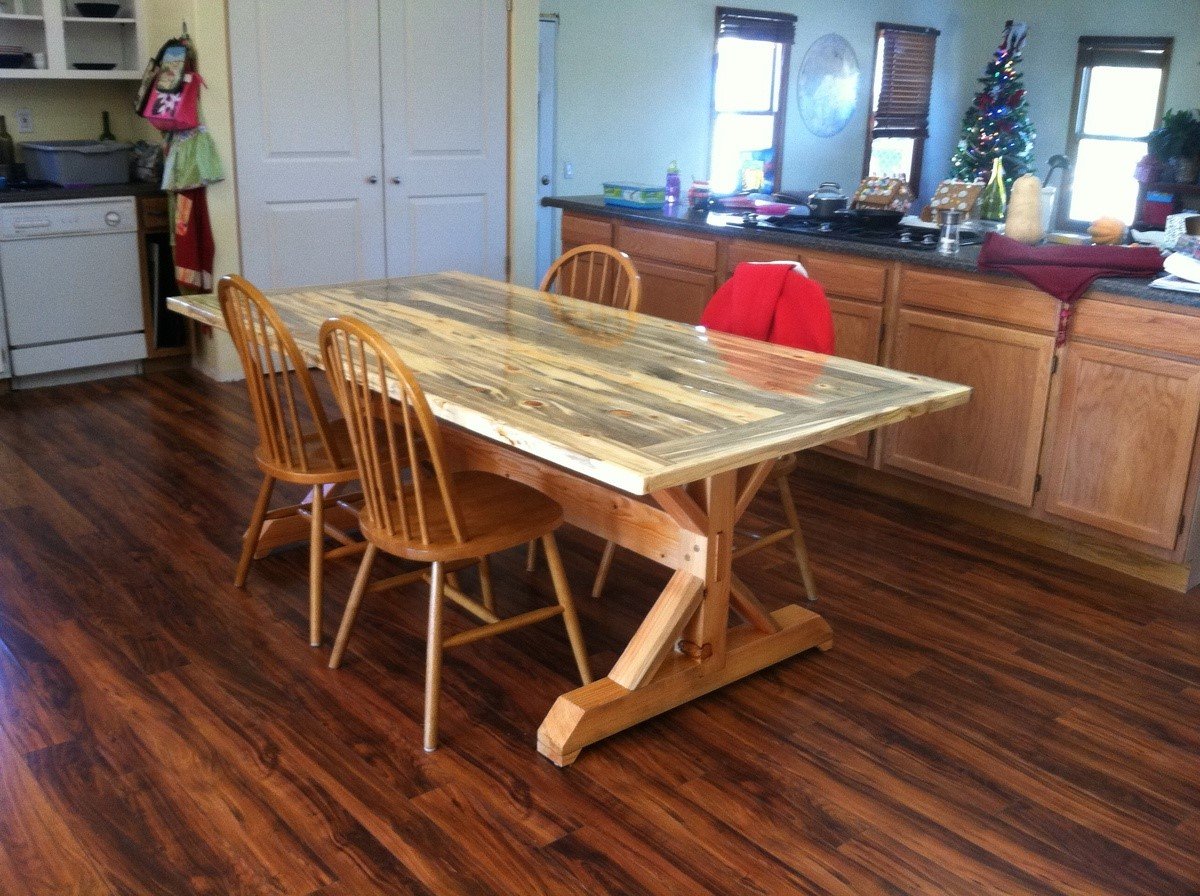
Beetle kill table. I chose to mortise the support and use pegs for effect. As such used 4x4 for leg uprights. Made the top removable because it's heavy!
Built from Plan(s)
Estimated Time Investment
Weekend Project (10-20 Hours)
Finish Used
Oil based gloss plolyurathane
Recommended Skill Level
Intermediate
Comments

Wed, 08/03/2016 - 09:59
looks great !
That table looks awesome ! I am in the process of making one similar i went to a local mill and they had ambrosia maple to make the table topper and i am making the base. I was wondering how you went about making the table top removable did you use threaded inserts ? also how did you get the cross support cut out done? Last question i have is where did you find the 4x4 material i am in eastern north carolina and it seems it doesnt exist around here. thank you for sharing
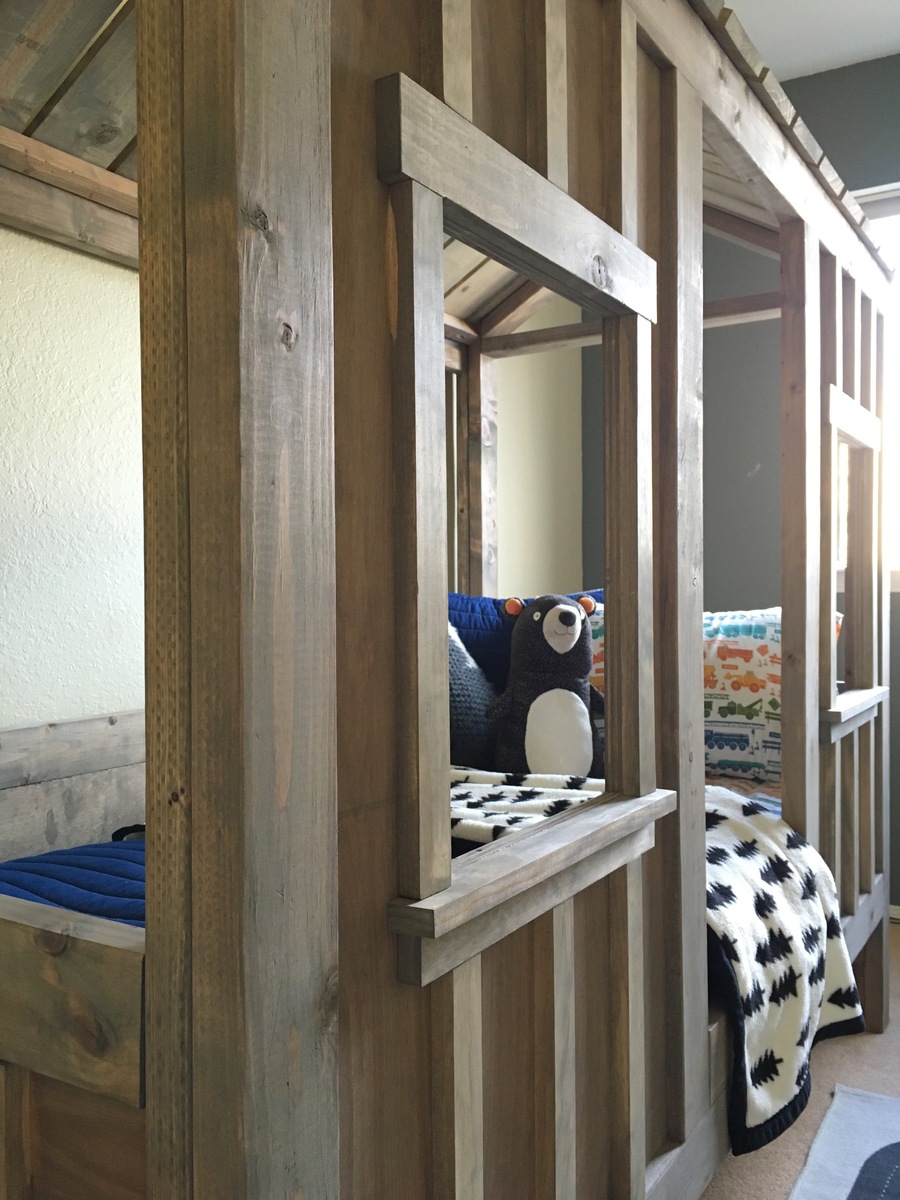
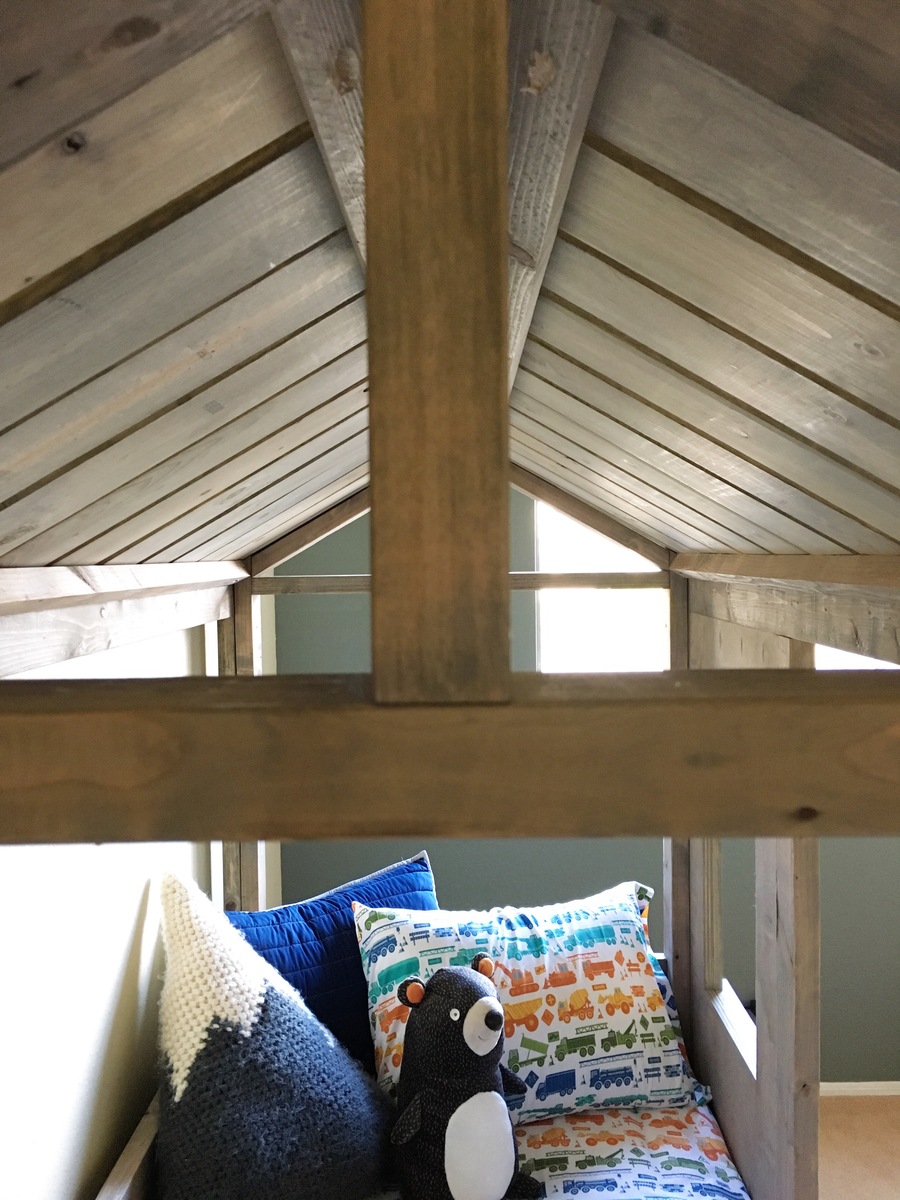
Coen's Cabin Bed
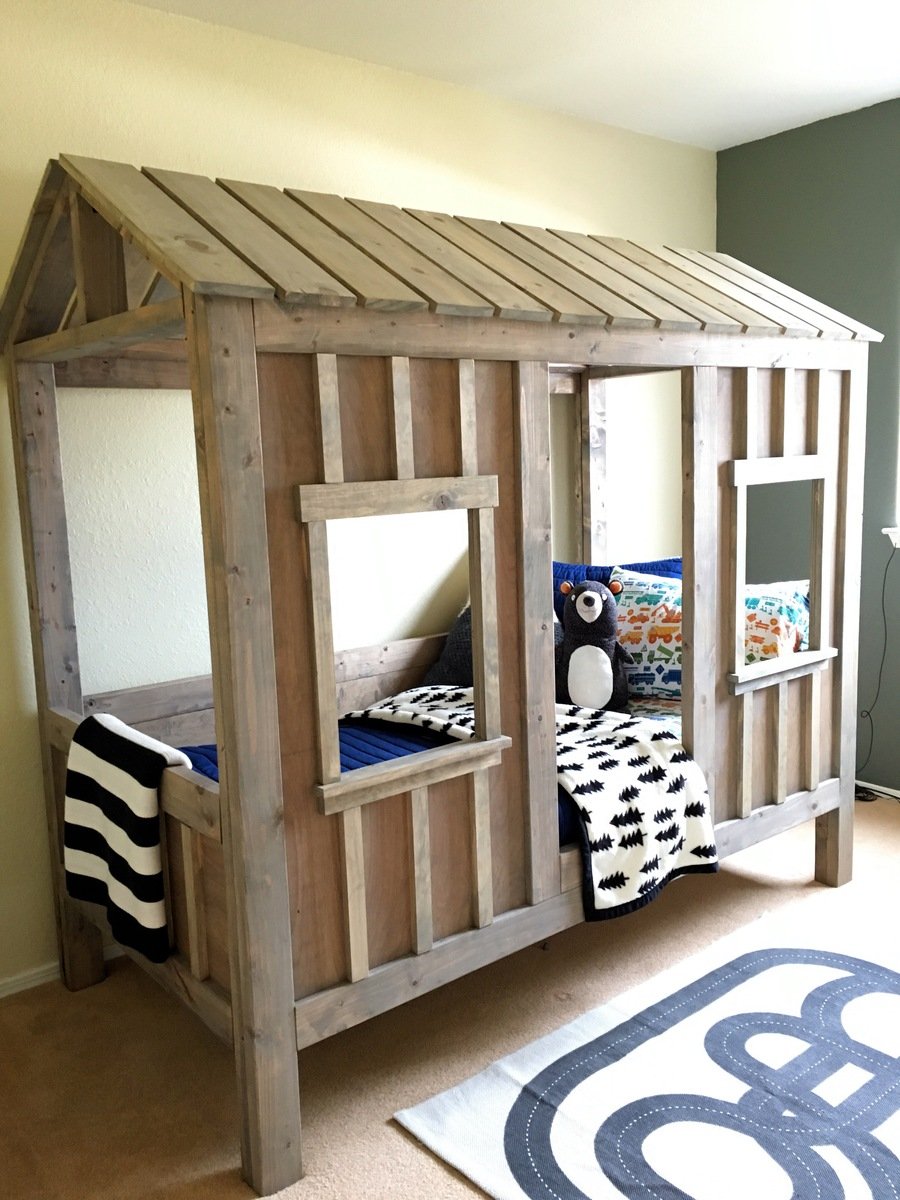
This is a fairly easy build. It did take some time with three little ones running around, but the finished product is well worth it! My three-year-old doesn't want to get out of bed in the morning (win!).

Built from Plan(s)
Estimated Cost
$250-$300
Estimated Time Investment
Week Long Project (20 Hours or More)
Finish Used
Minwax weathered oak stain
Recommended Skill Level
Intermediate
Comments
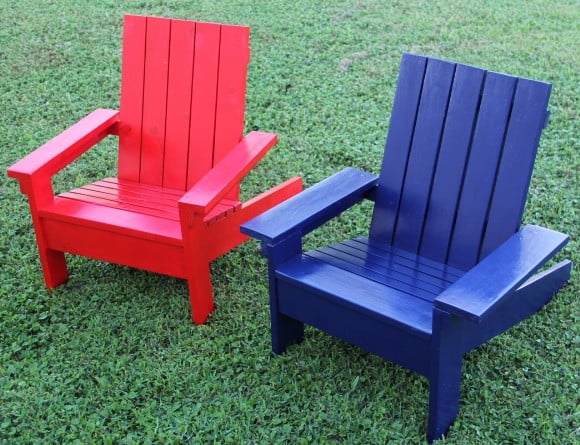
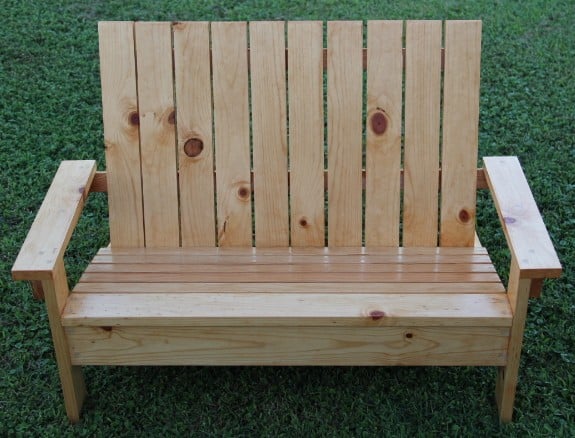
Child adirondack chairs
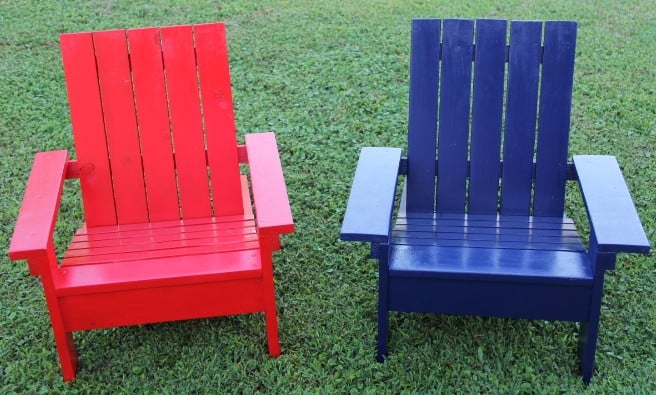
I just had to build these for my two kids. Thanks Ana!
Built from Plan(s)
Estimated Cost
15.00
Estimated Time Investment
Weekend Project (10-20 Hours)
Finish Used
Painte two of them per the kids request and the other I just coated with a light oak with poly stain.
Recommended Skill Level
Starter Project
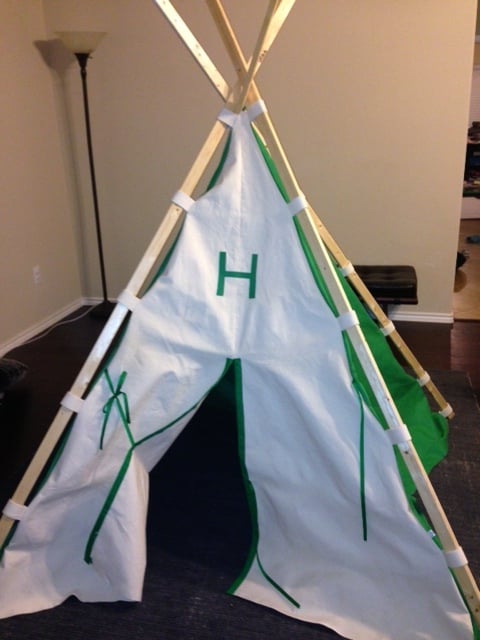
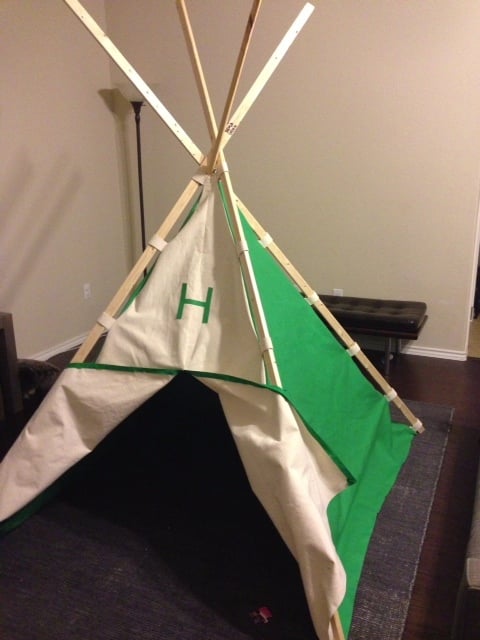
Play Teepee
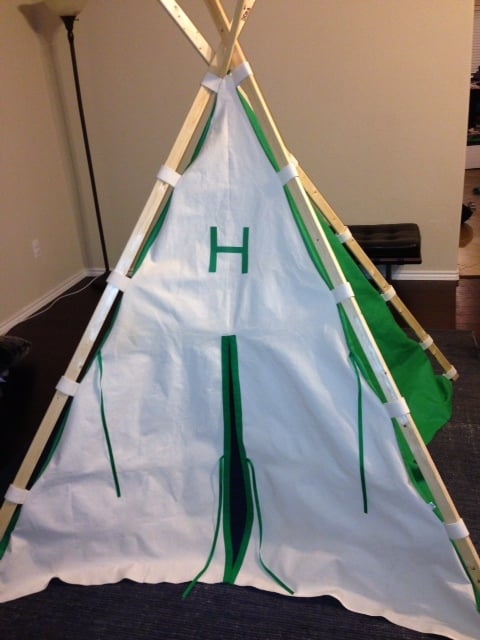
Play Teepee used 4 yds of fabrics, 2.5 yd of webbing, bias tape, ribbon, heat and bond double sided adhesive, and 4 1x2s at 8 ft.
Built from Plan(s)
Estimated Time Investment
Afternoon Project (3-6 Hours)
Recommended Skill Level
Beginner
Outdoor sectional
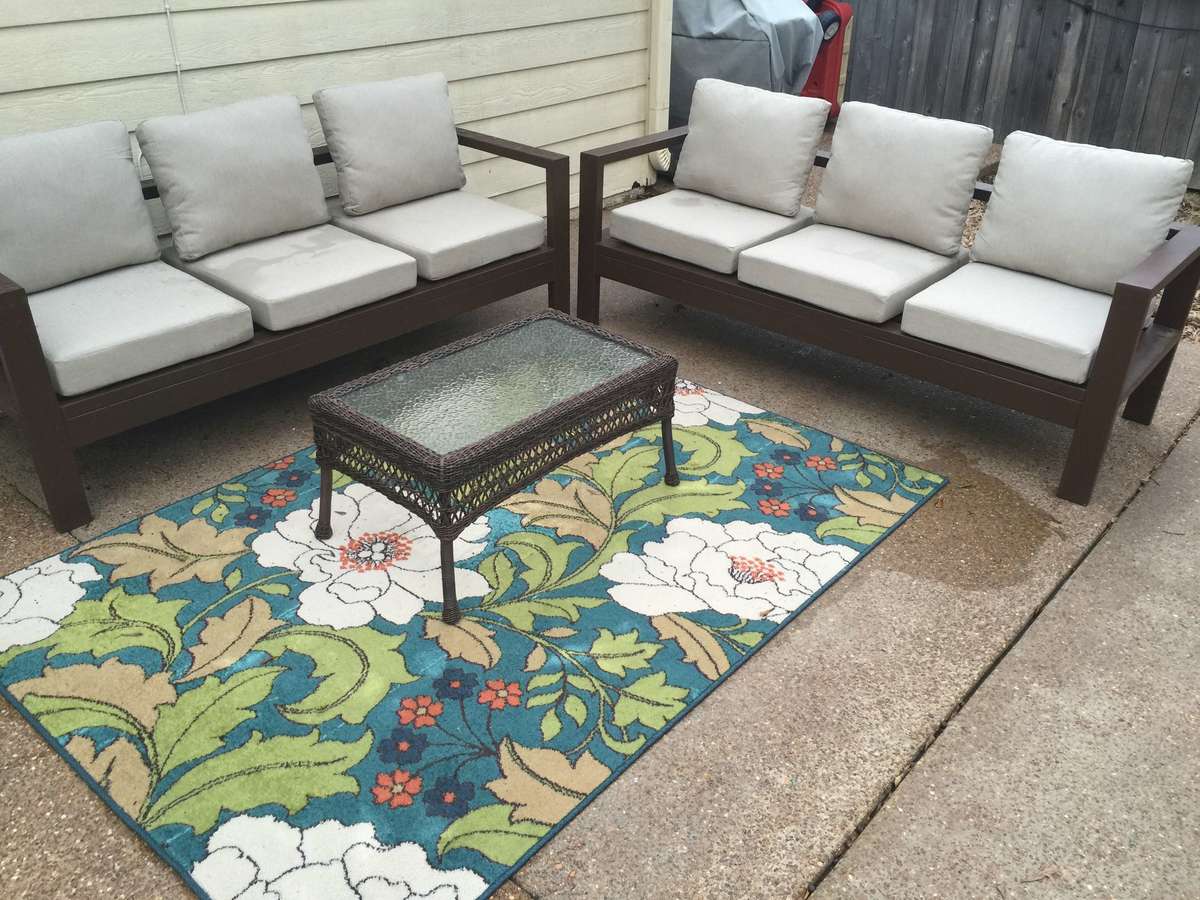
I have been wanting outdoor seating by my pool forever but couldn't afford anything I liked. When I came across Ana White's plans for the outdoor sectional I knew I had to build two. They are just what I was wanting and cost under $200. It took my brother & I one afternoon to buy the supplies and put it all together. Since this furniture is outdoors 24/7, I had to caulk the seams & paint the whole thing. That process took two days. The biggest expense was of course the cushions from Home Depot that Ana White recommends for this sectional. I have to admit, they are well worth every penny. They look amazing! Can't wait to spruce them up with some throw pillows.
Built from Plan(s)
Estimated Cost
$150-$200 for sectional; $550 for cushions
Estimated Time Investment
Afternoon Project (3-6 Hours)
Recommended Skill Level
Beginner
Comments
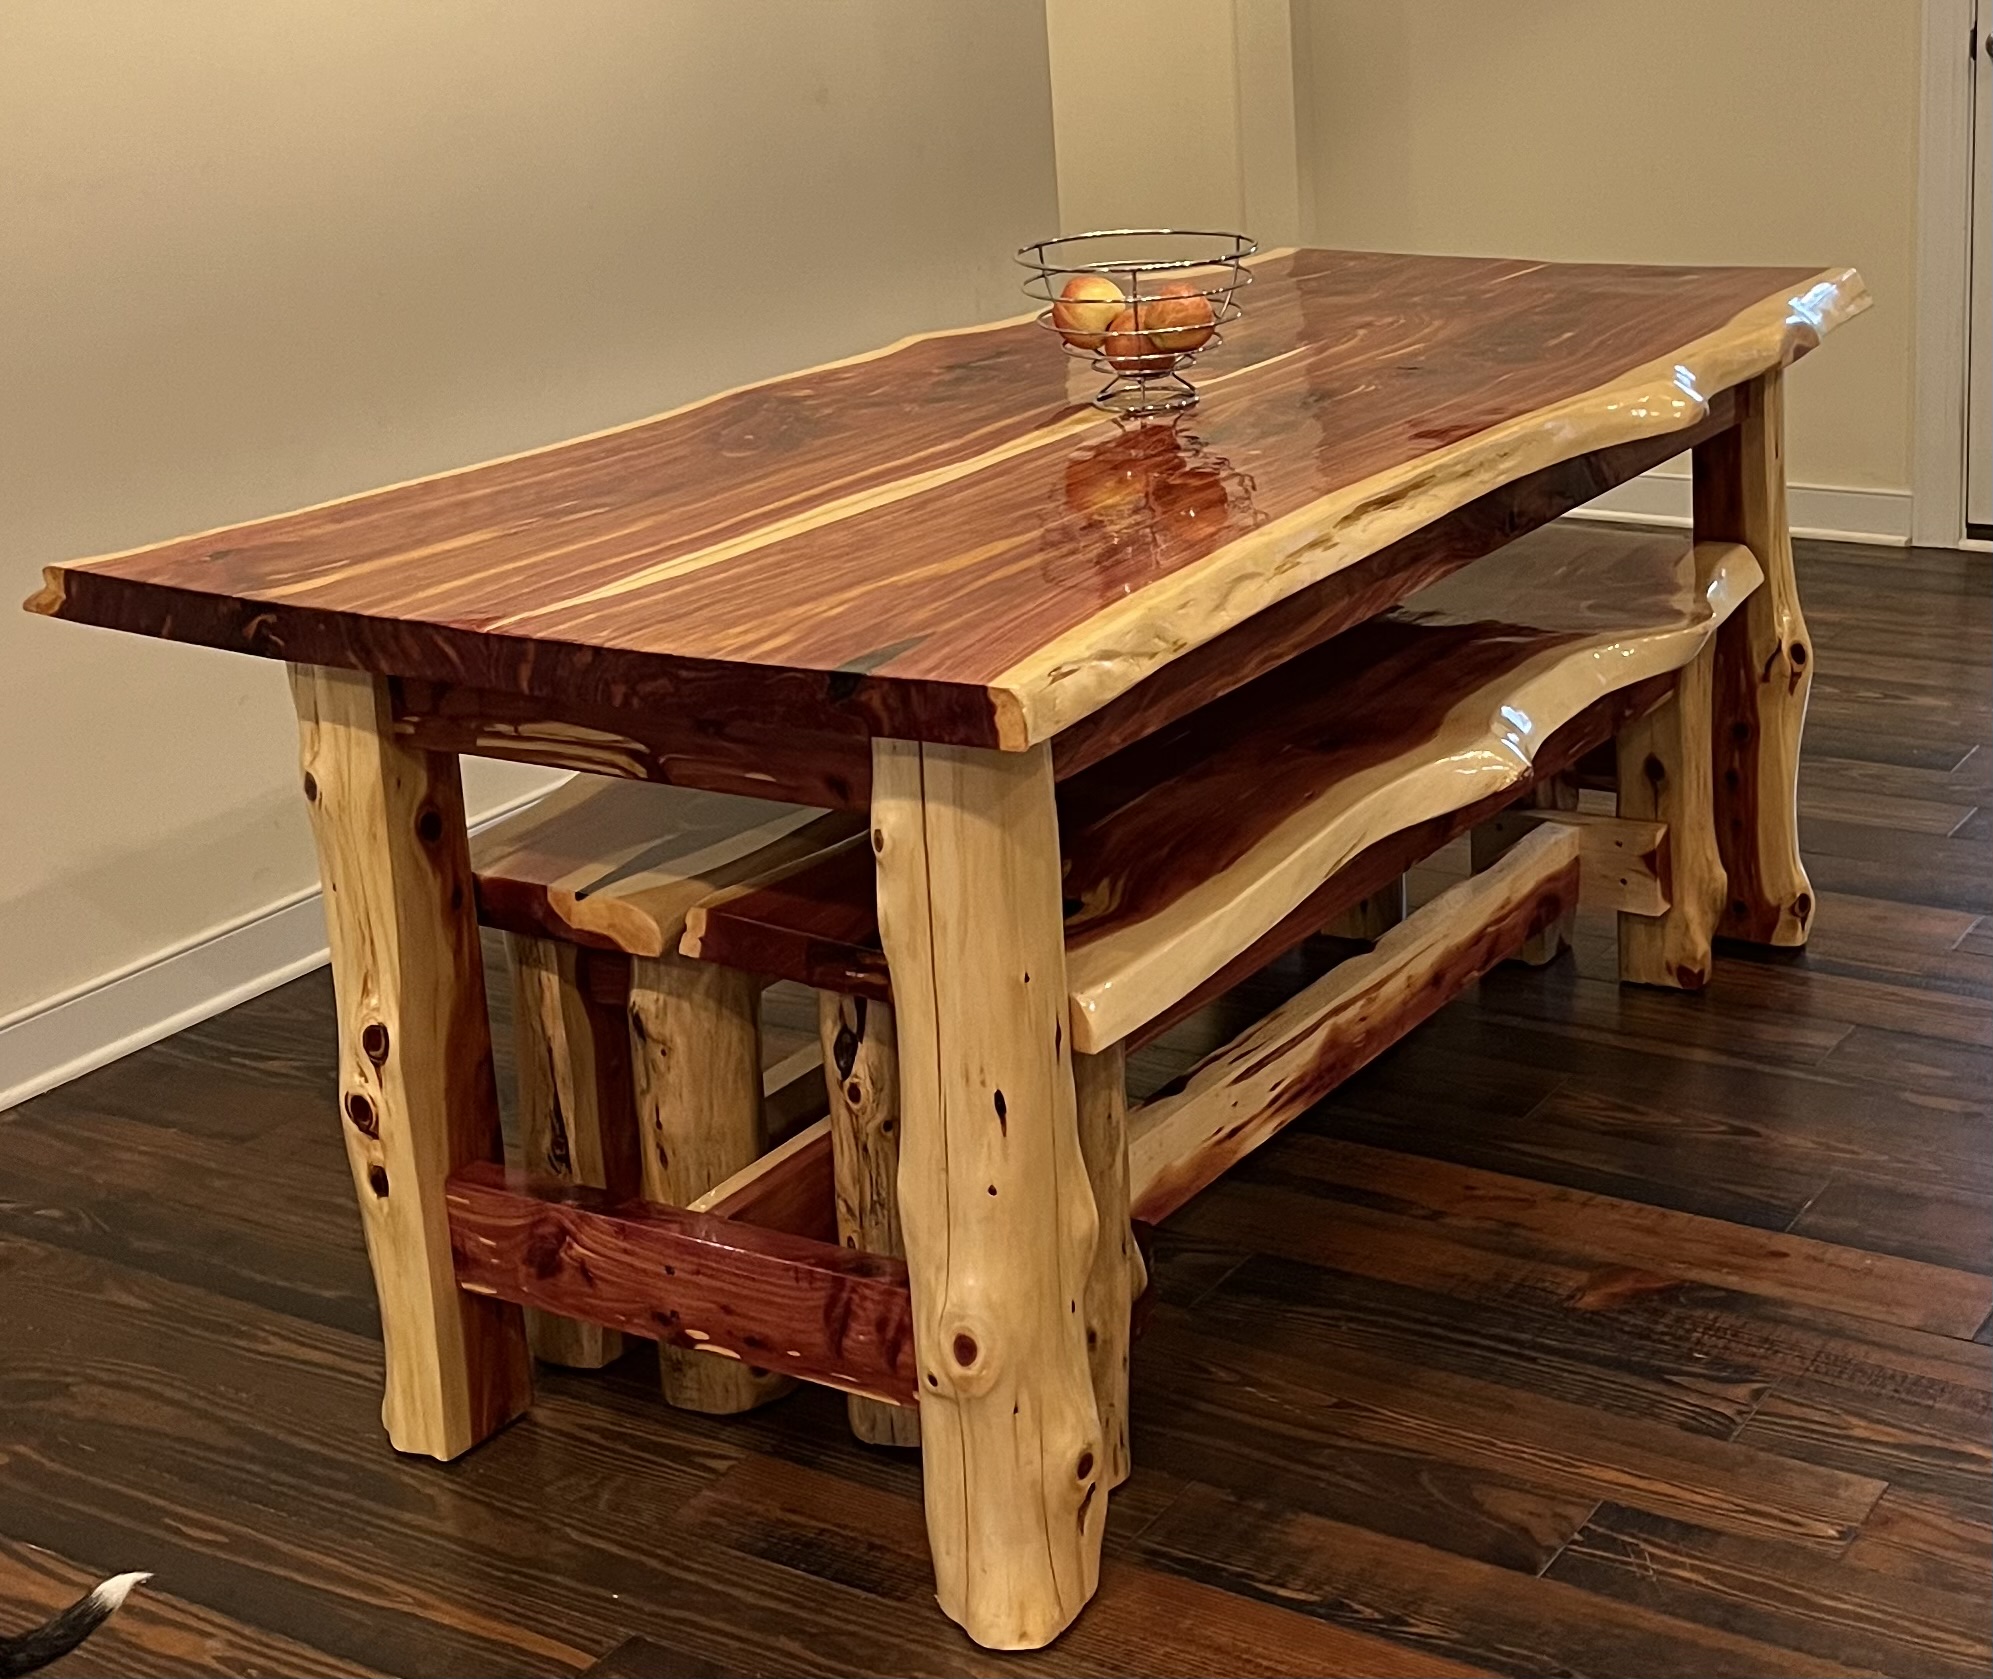
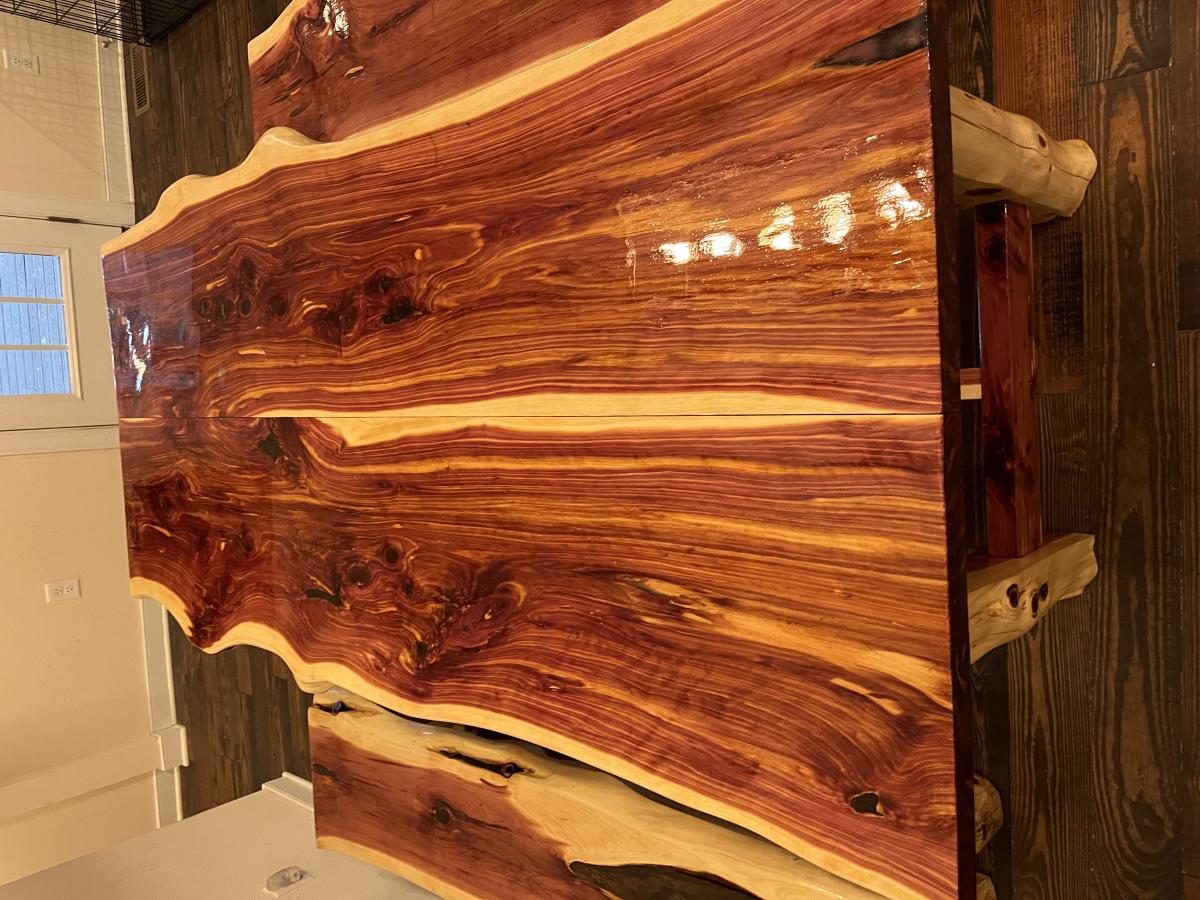
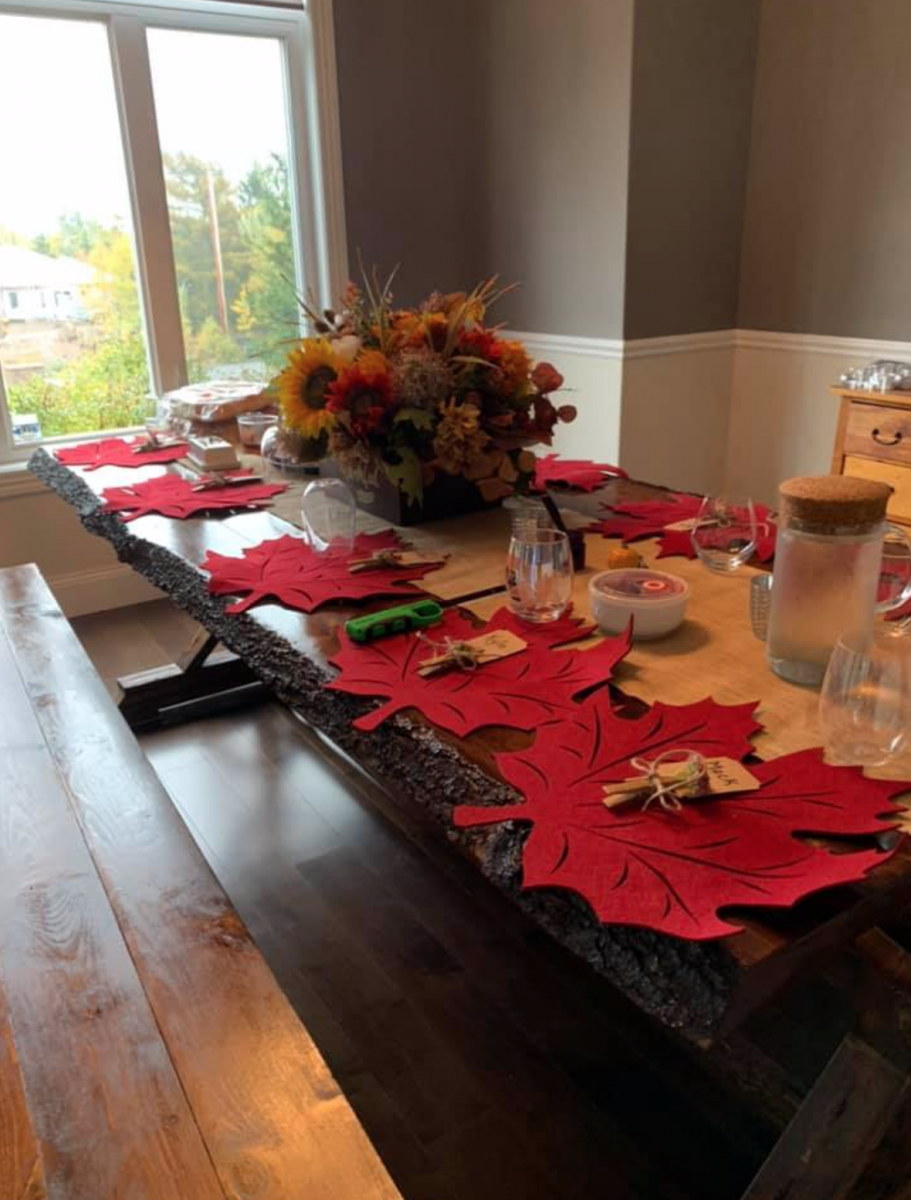
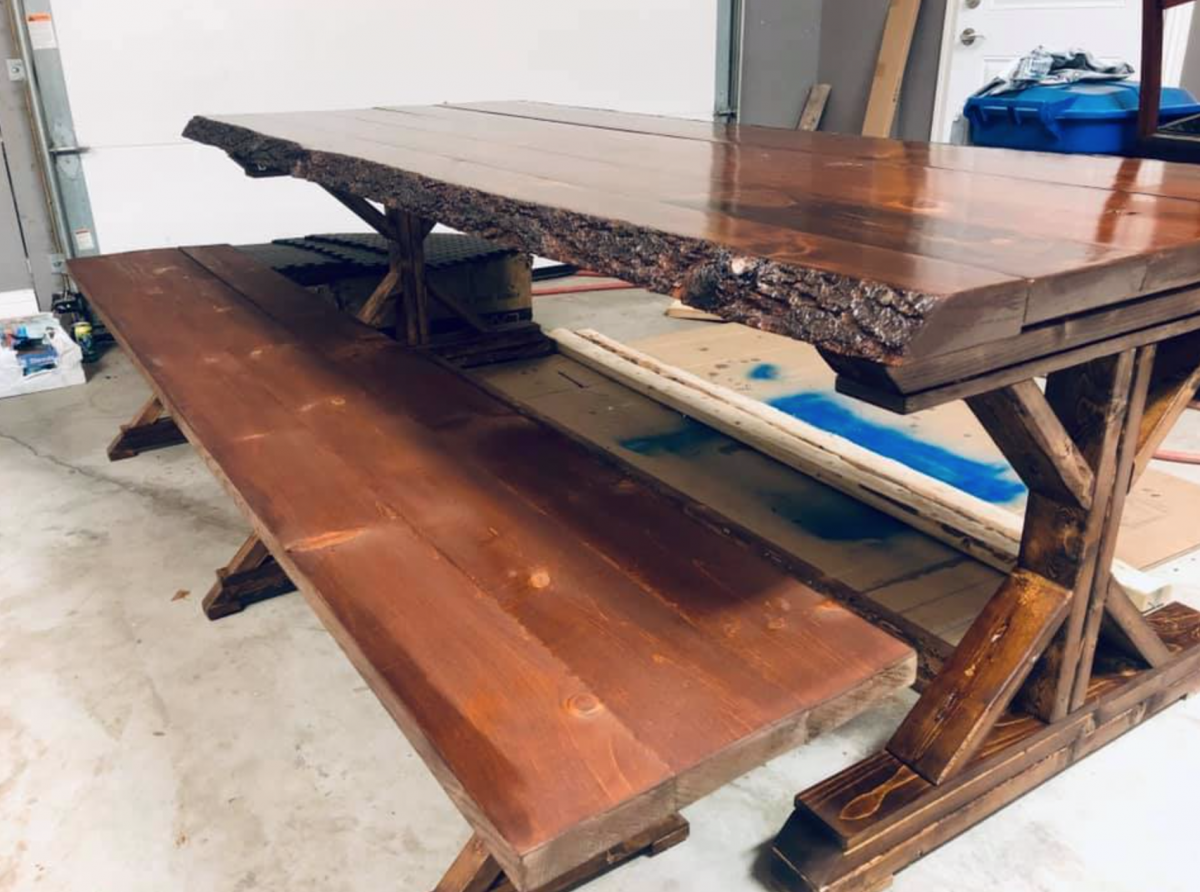
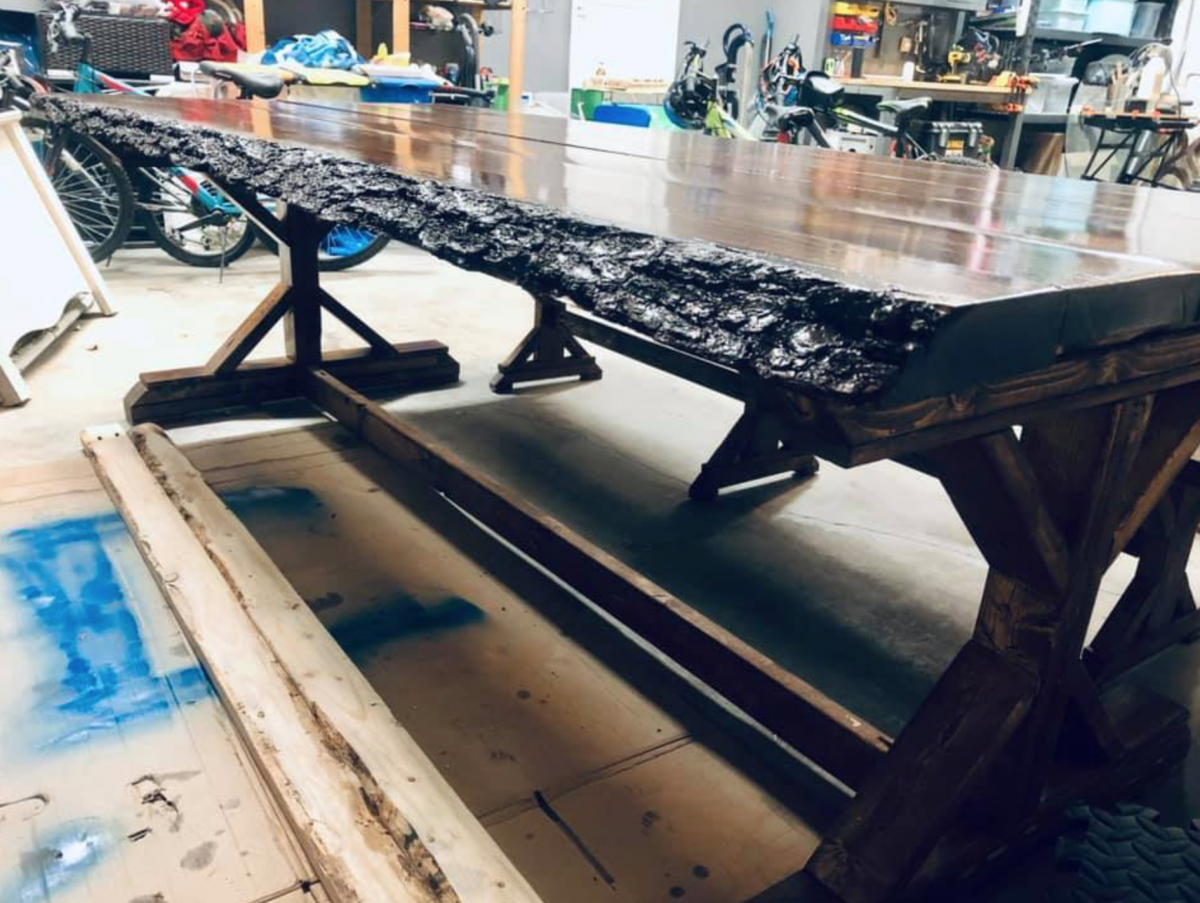
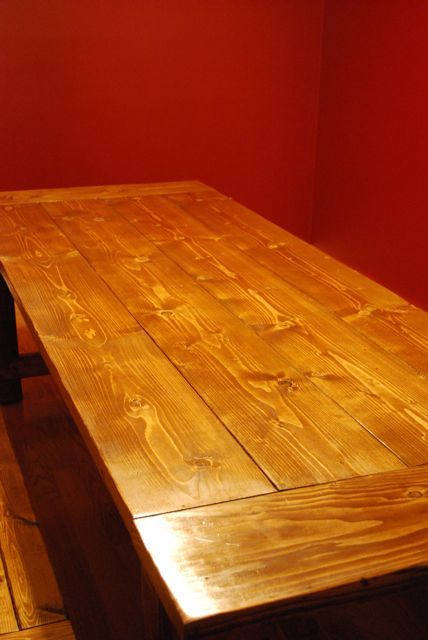
1st Project - Dining Table for (Canadian) Thanksgiving
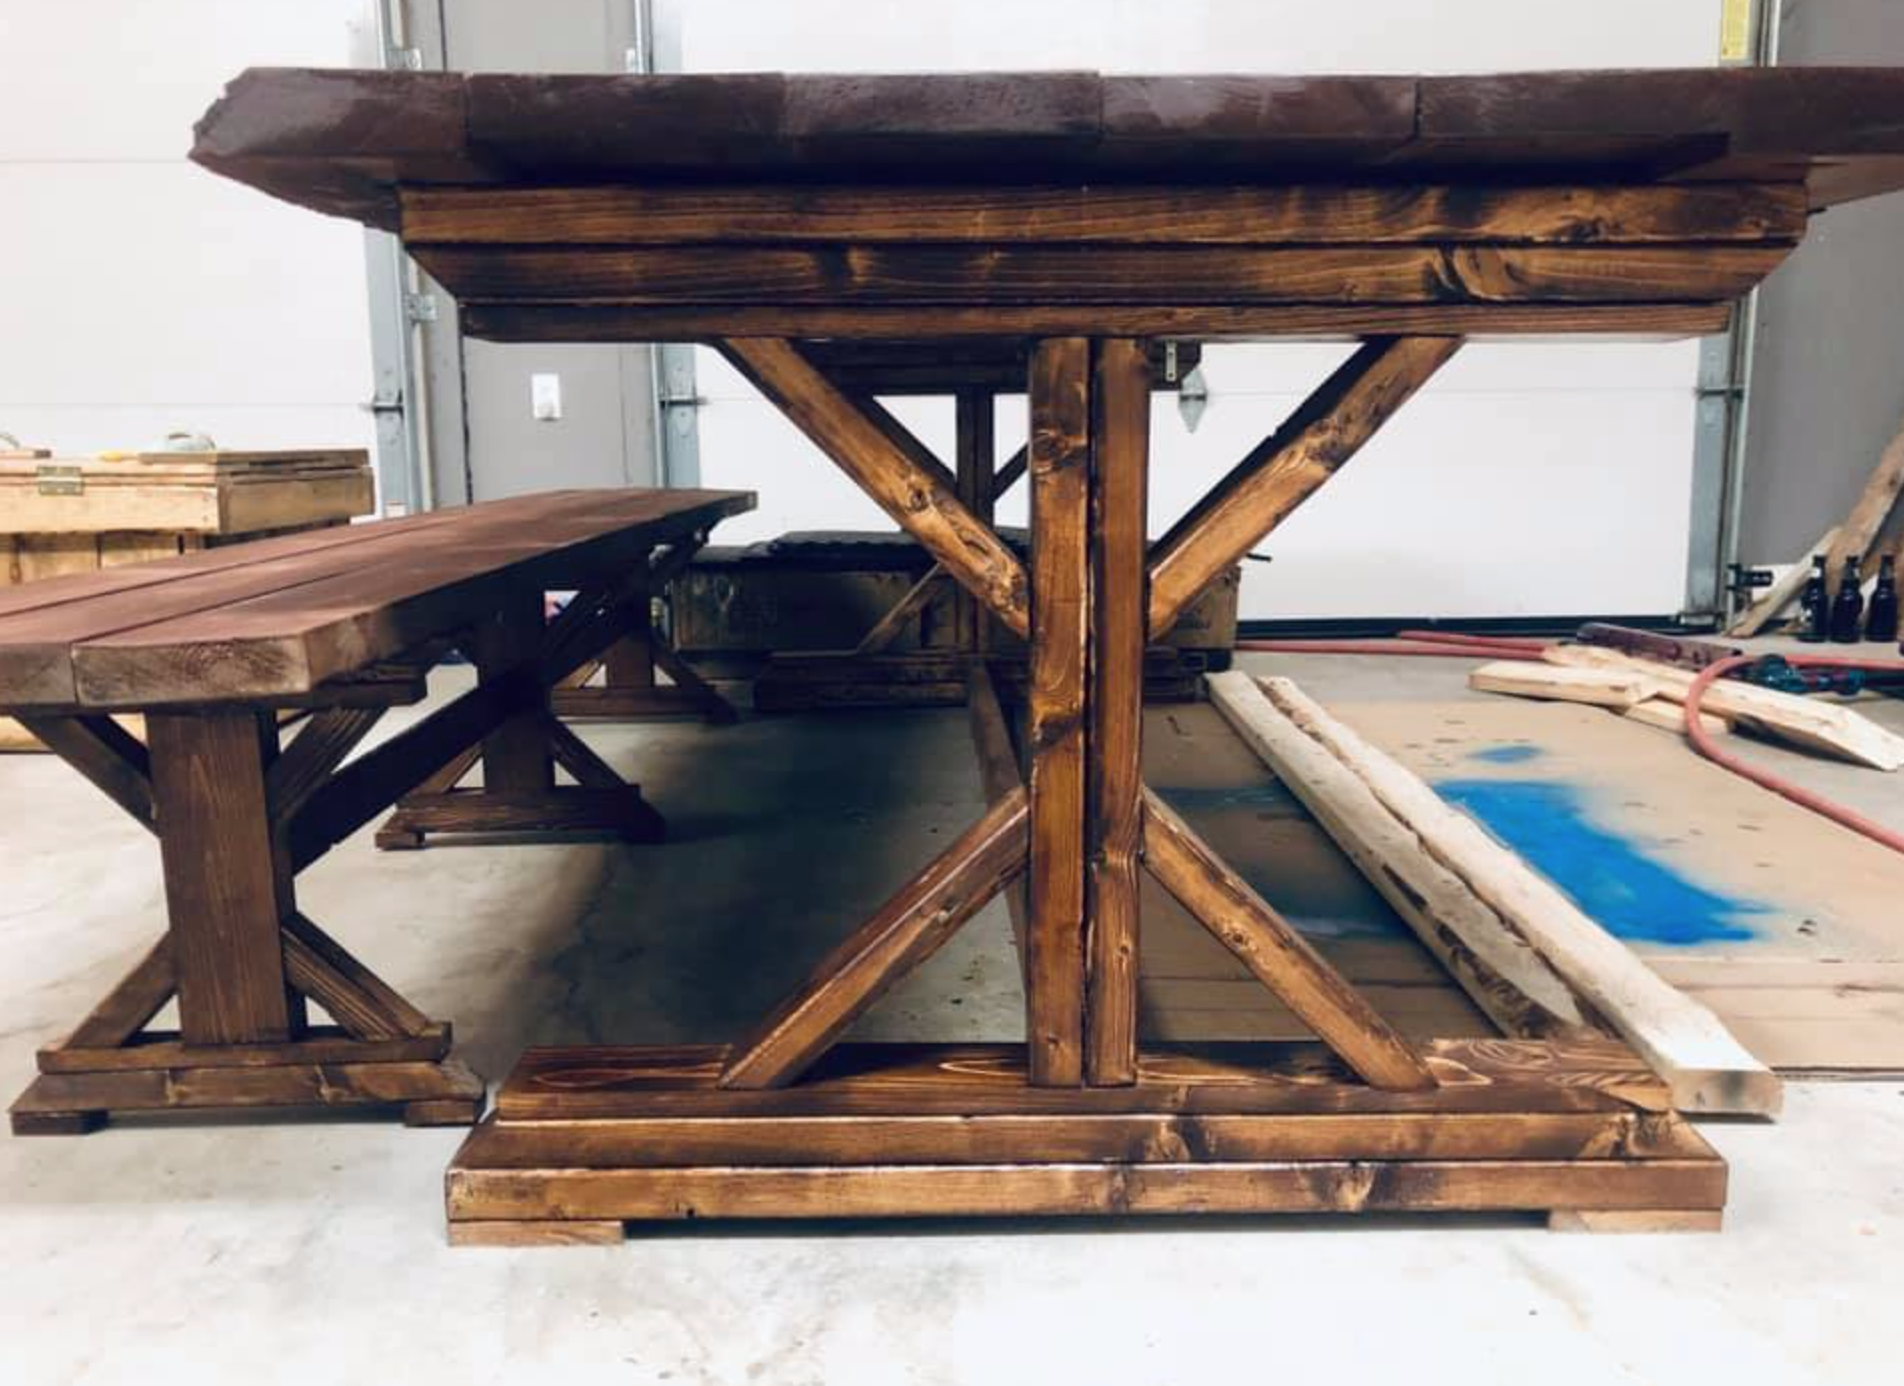
Hi Ana! - I'm so glad that I found your site. Thank-you SO much for your plans and video tutorials.
I was recently in a car accident and found myself away from work for several months. Though I've always been hesitant to build anything (for lack of having been taught), I've found a new passion for woodwork. It's been a wonderful pastime and has created hours of fun with my young daughter.
This is my first project (save for a few small boxes). - I'm very proud of the final product and was thrilled to be able to share it with my family for Canadian Thanksgiving this weekend.
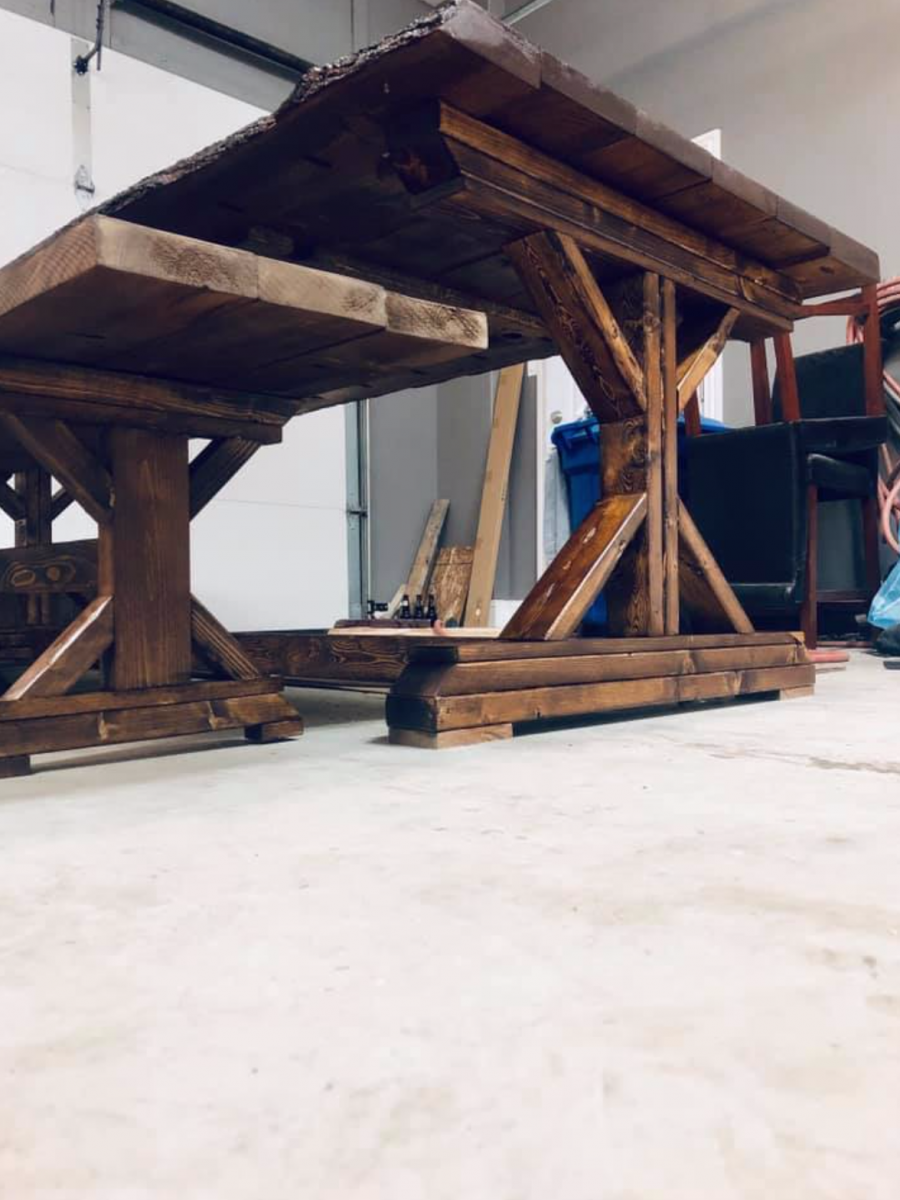
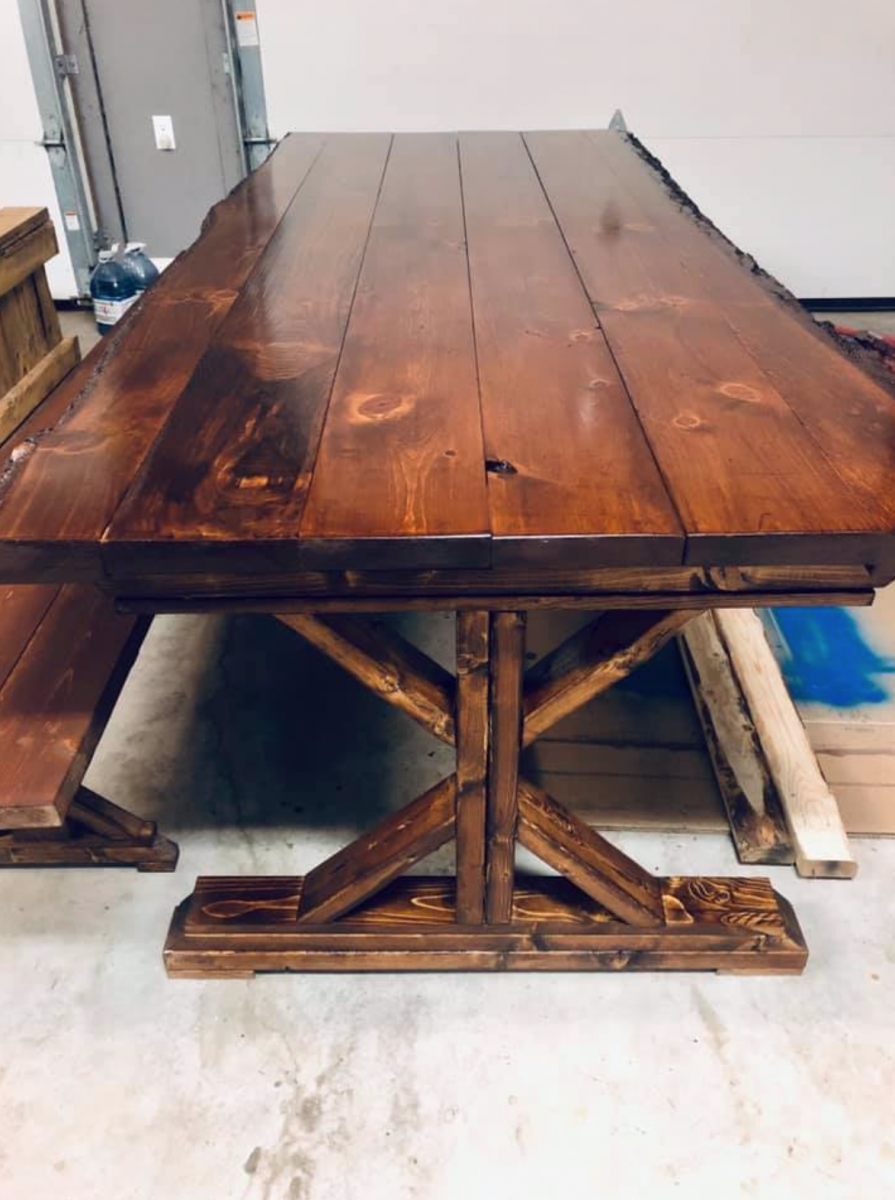
The project was quite pricey, due in large part to the live-edge lumber that I sourced (2 x (2x6) @ 8ft). - The project includes the Fancy Farmhouse Table as well as 2 matching benches.
Thanks again :)))
- Kyle
Built from Plan(s)
Estimated Cost
500.00
Estimated Time Investment
Week Long Project (20 Hours or More)
Finish Used
Miniwax American Colonial (2 coats) + high gloss polyurethane (4 coats to table top).
Recommended Skill Level
Intermediate
DIY Potting Bench
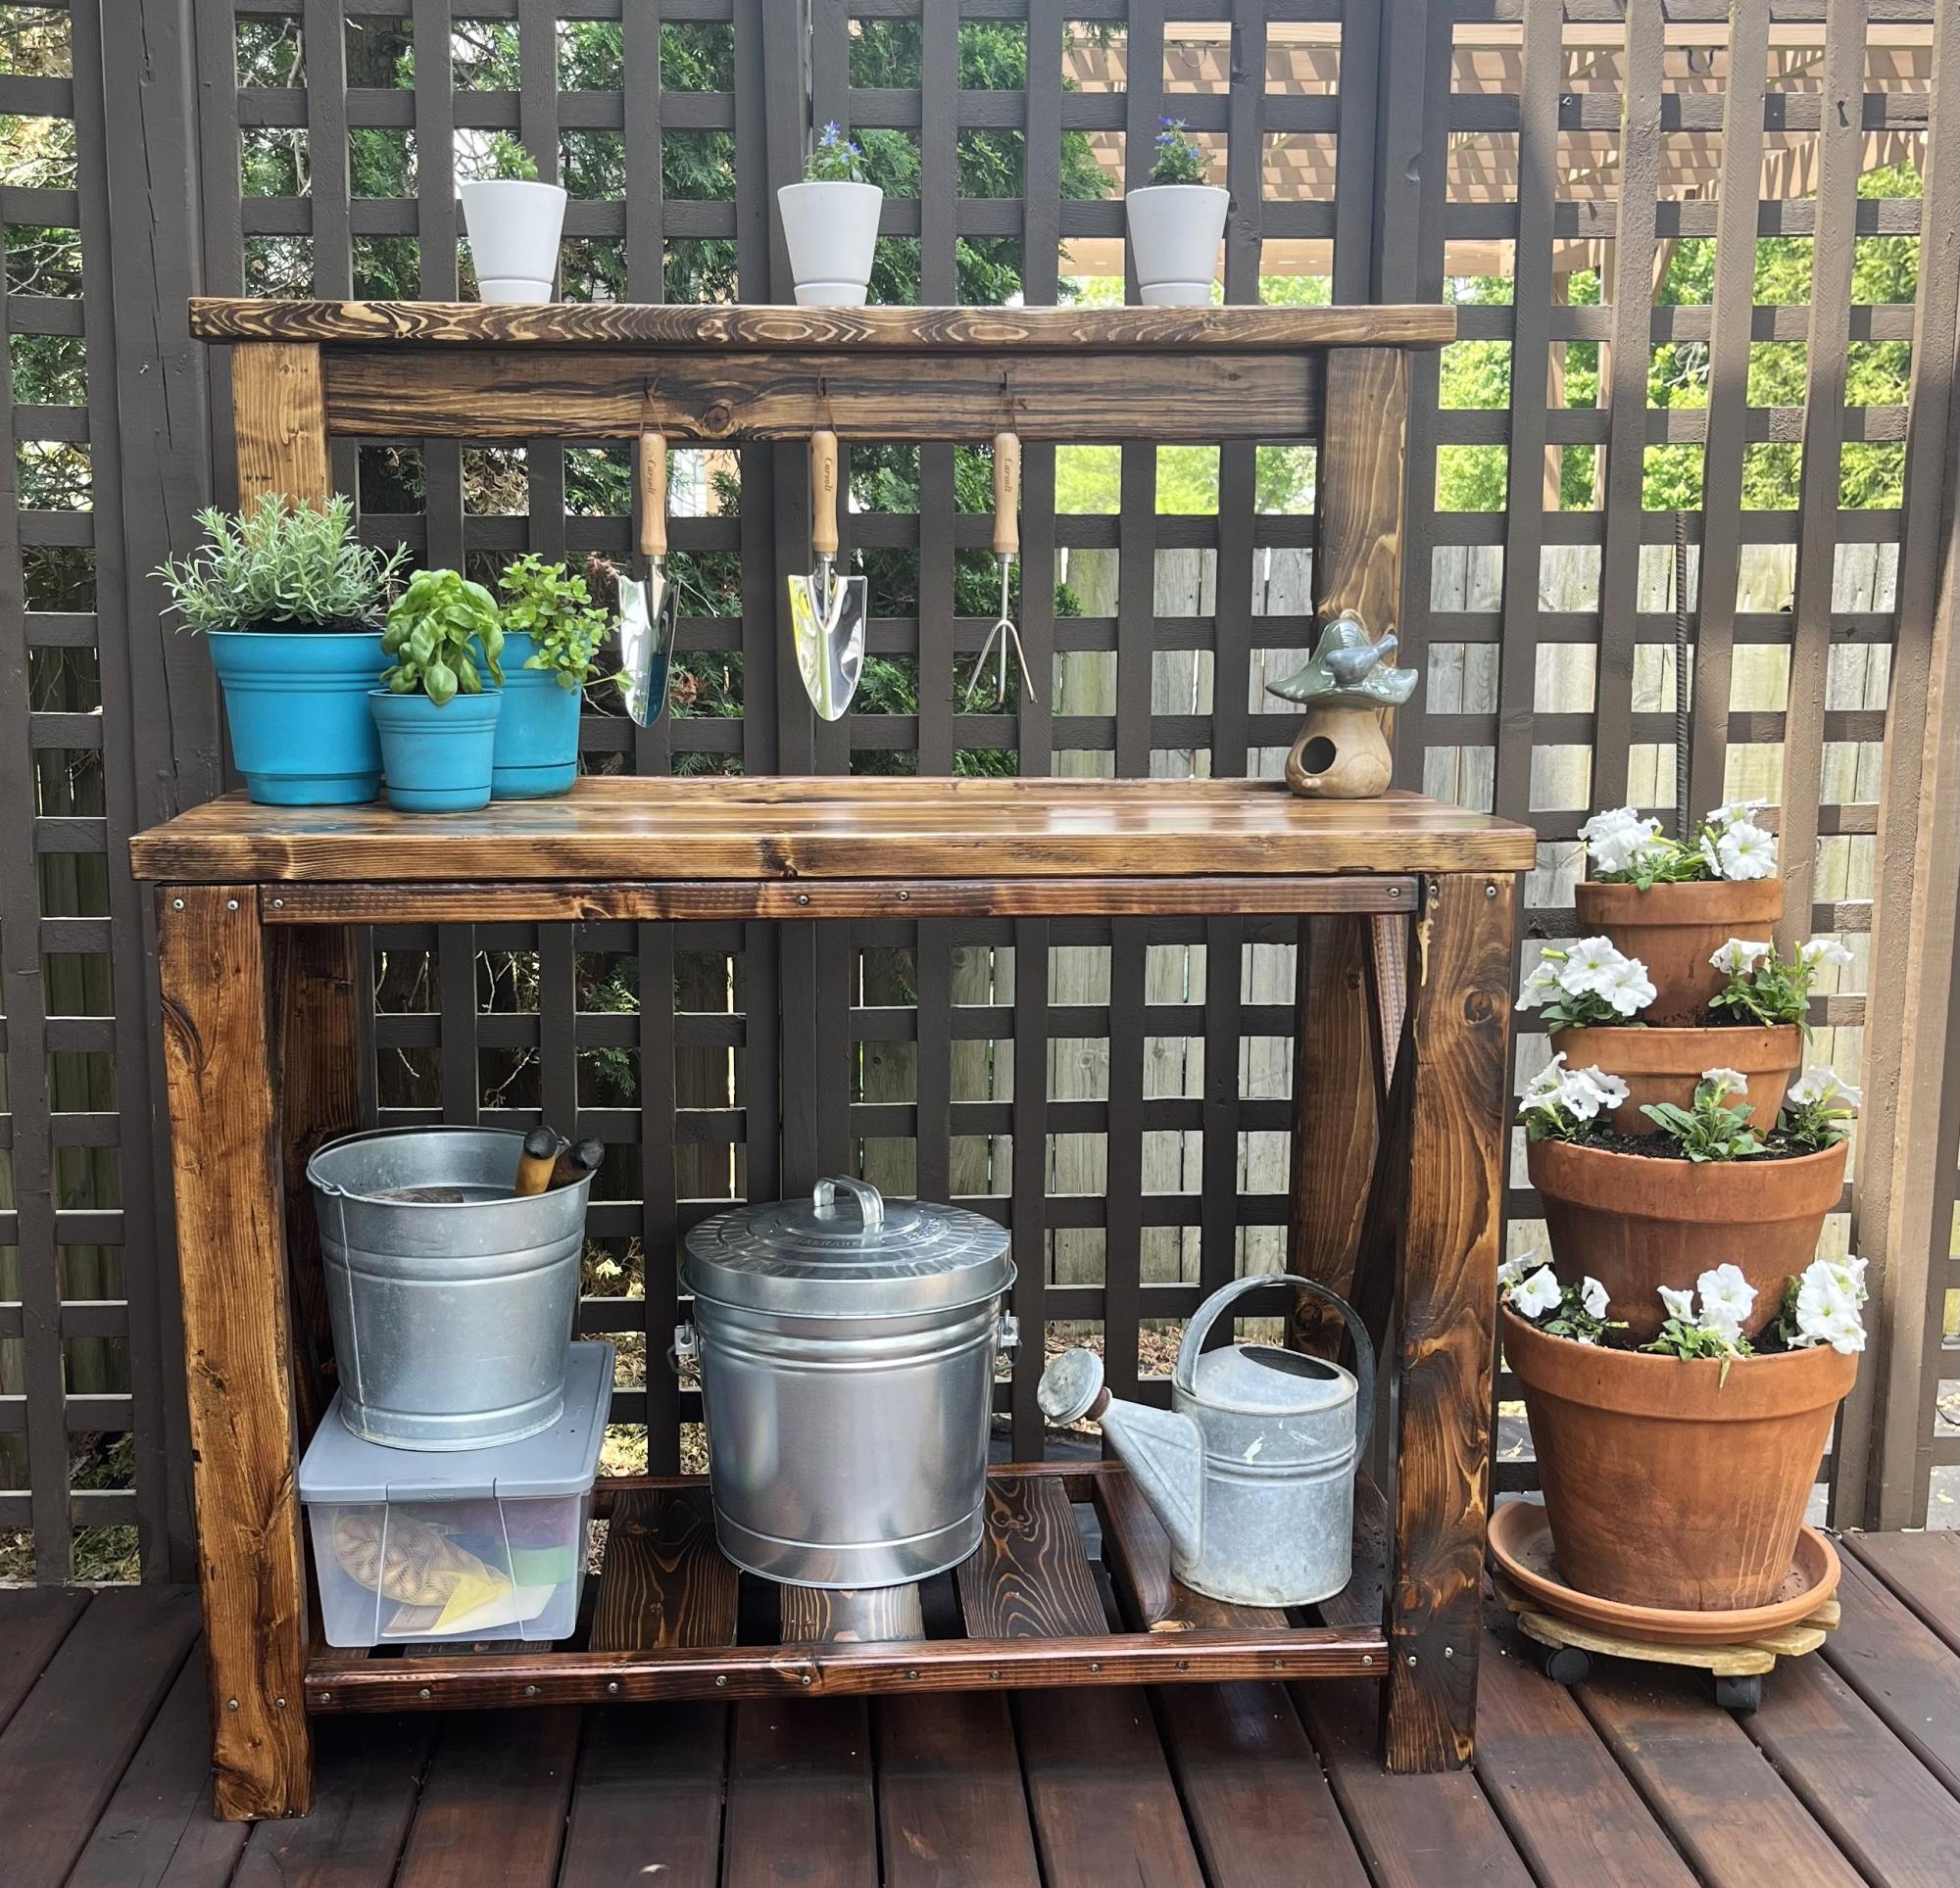
Such an easy build with a little woodworking experience. I am in love with this project and am so excited to have done it myself!
Amy
Built from Plan(s)
Farmhouse table with benches
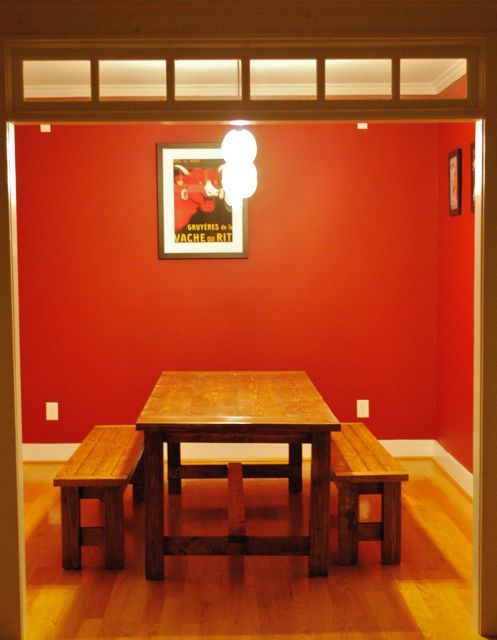
We made this table from the farmhouse table plan but used 4x4s for the legs and slightly wider (2x10) boards for the top.

Built from Plan(s)
Estimated Cost
150
Estimated Time Investment
Weekend Project (10-20 Hours)
Finish Used
Minwax Provincial 211 and 2 coats of poly.
Recommended Skill Level
Beginner
Comments


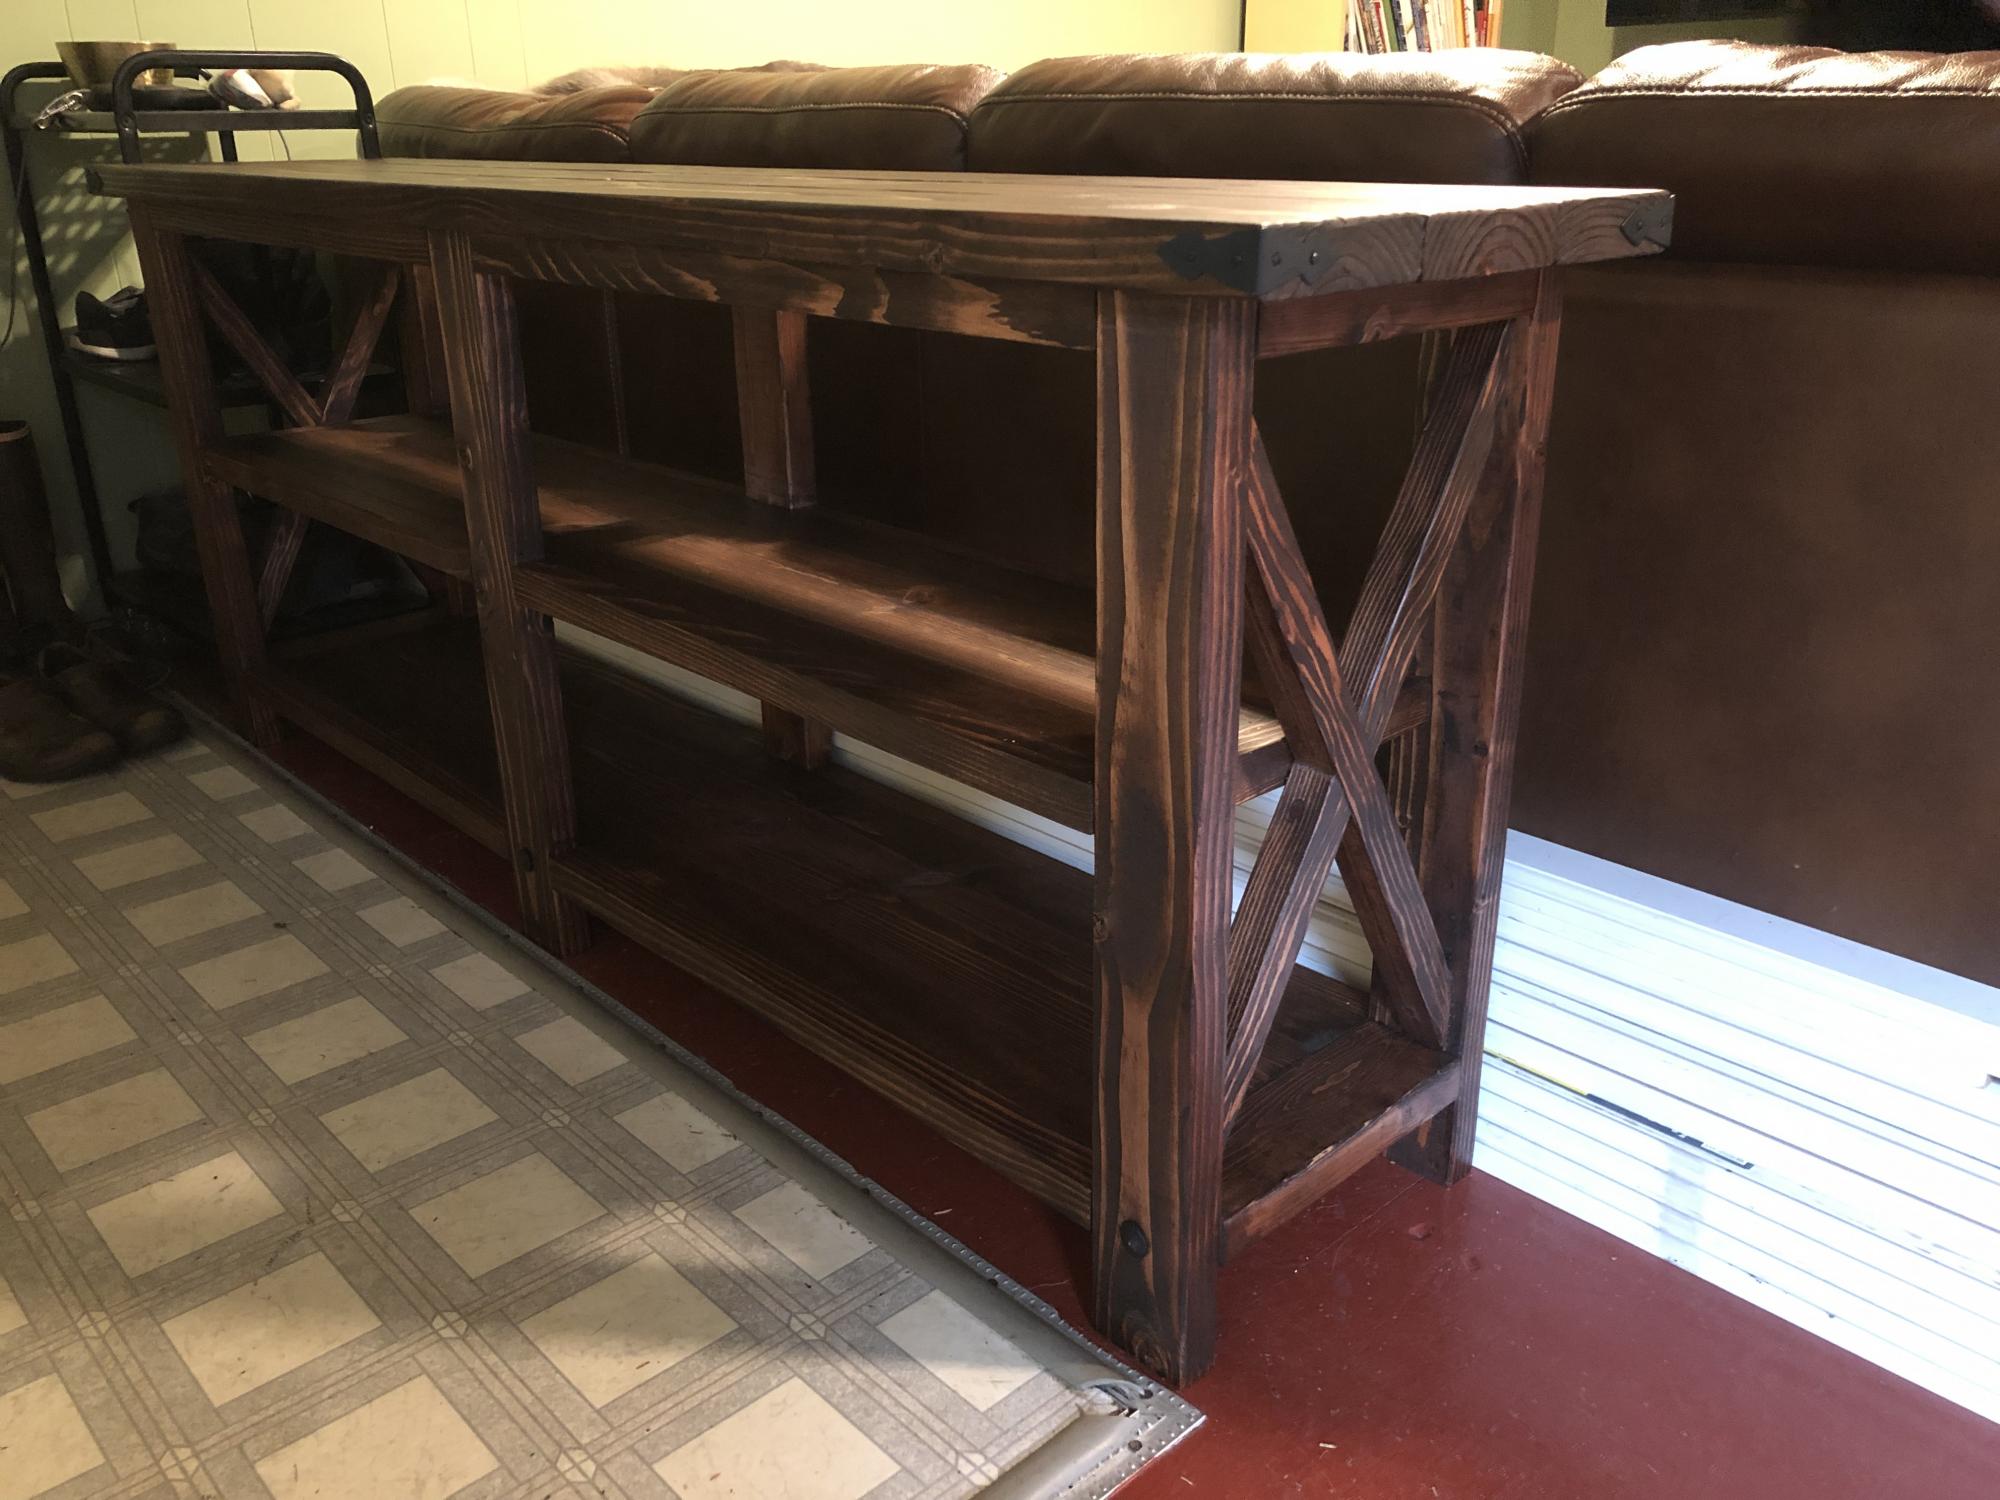
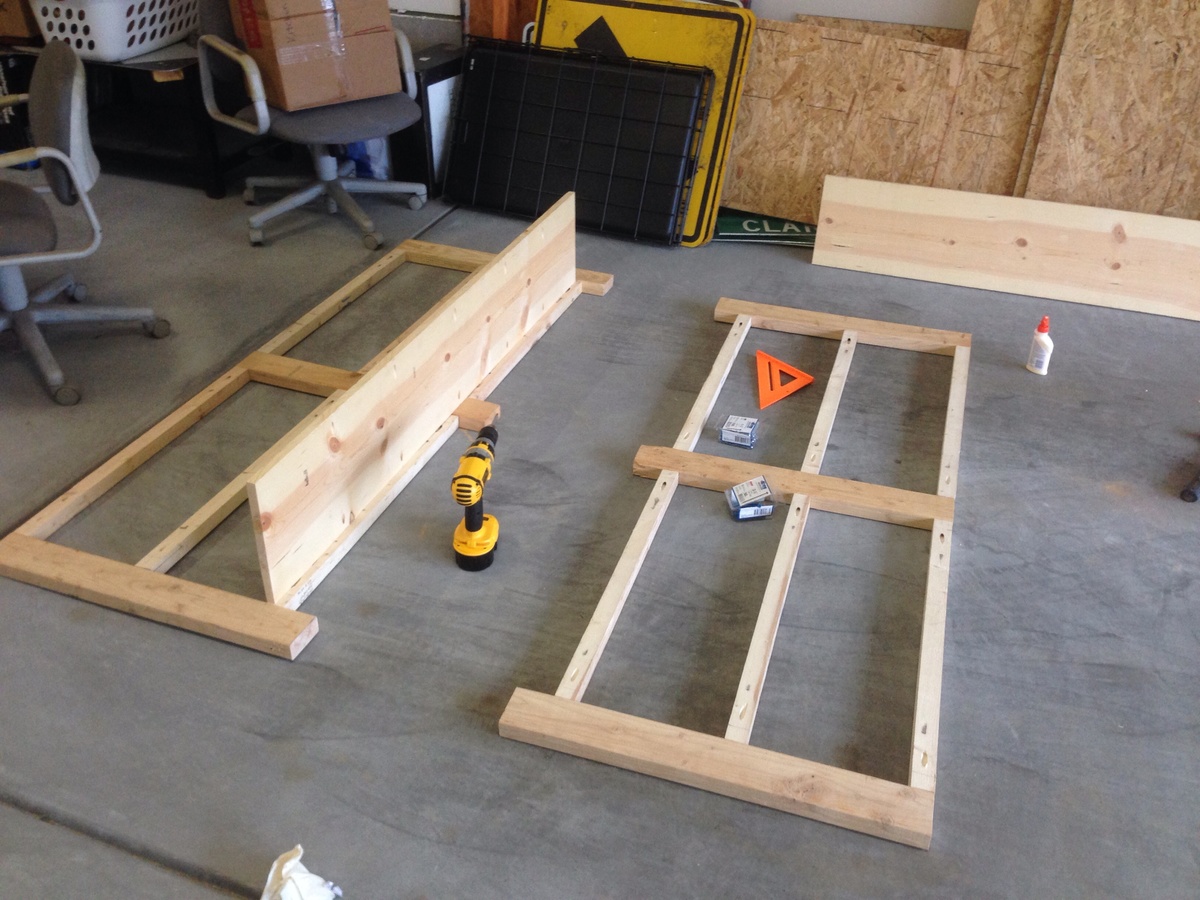
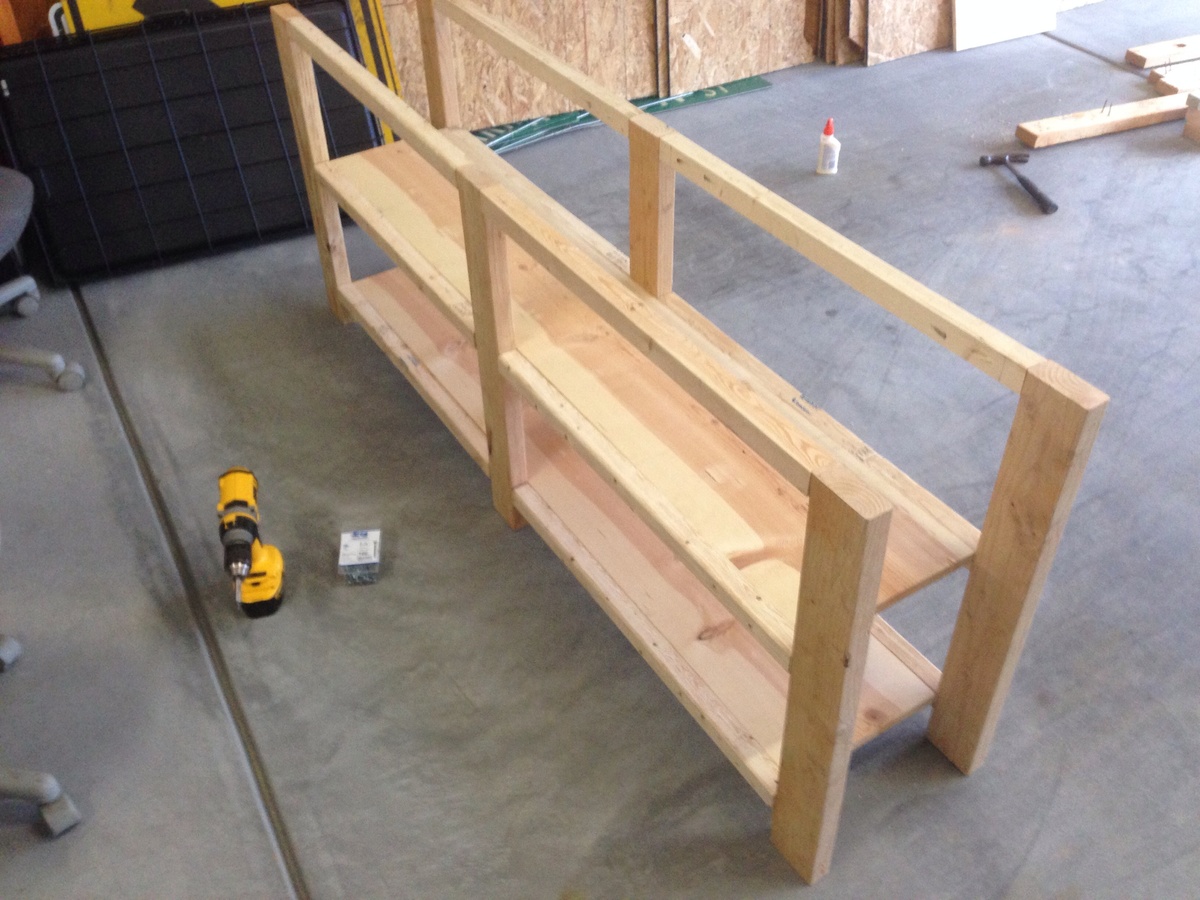
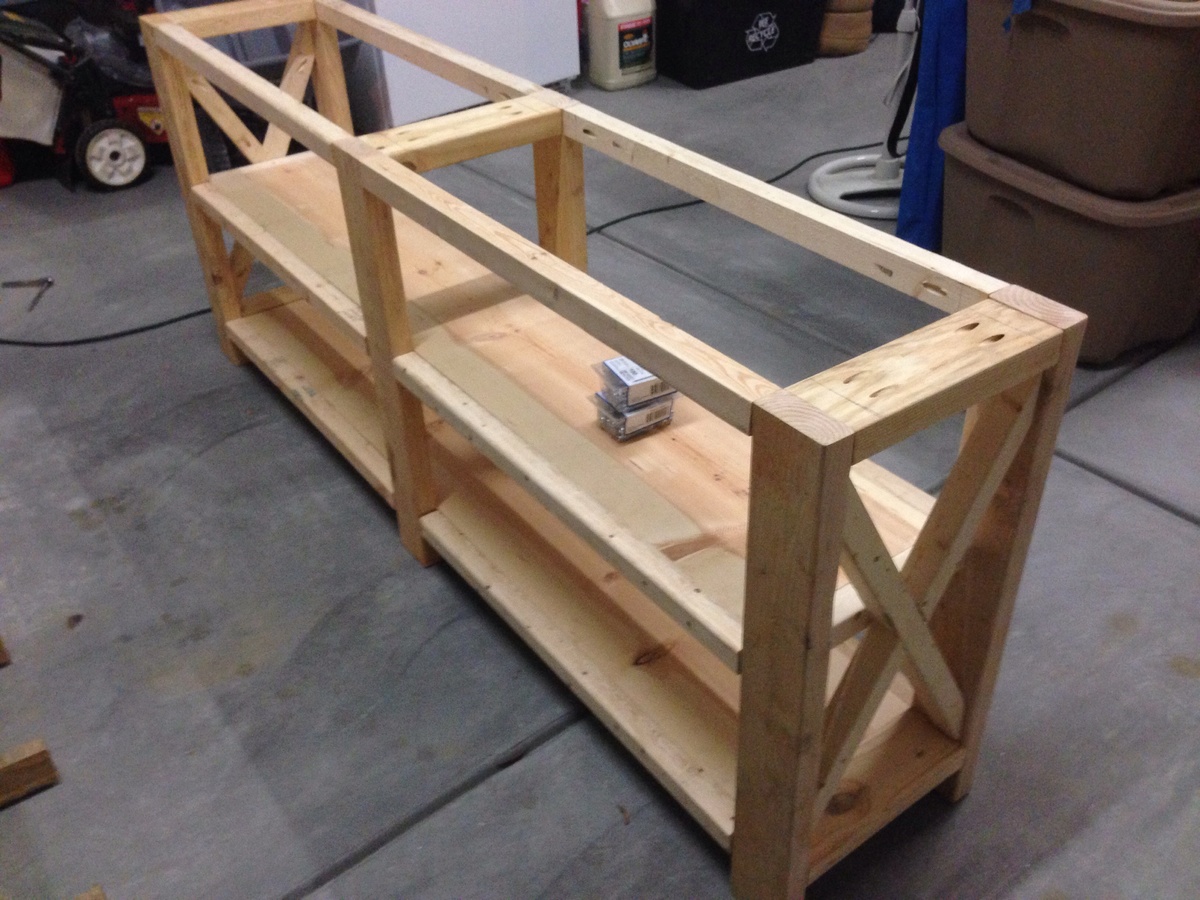
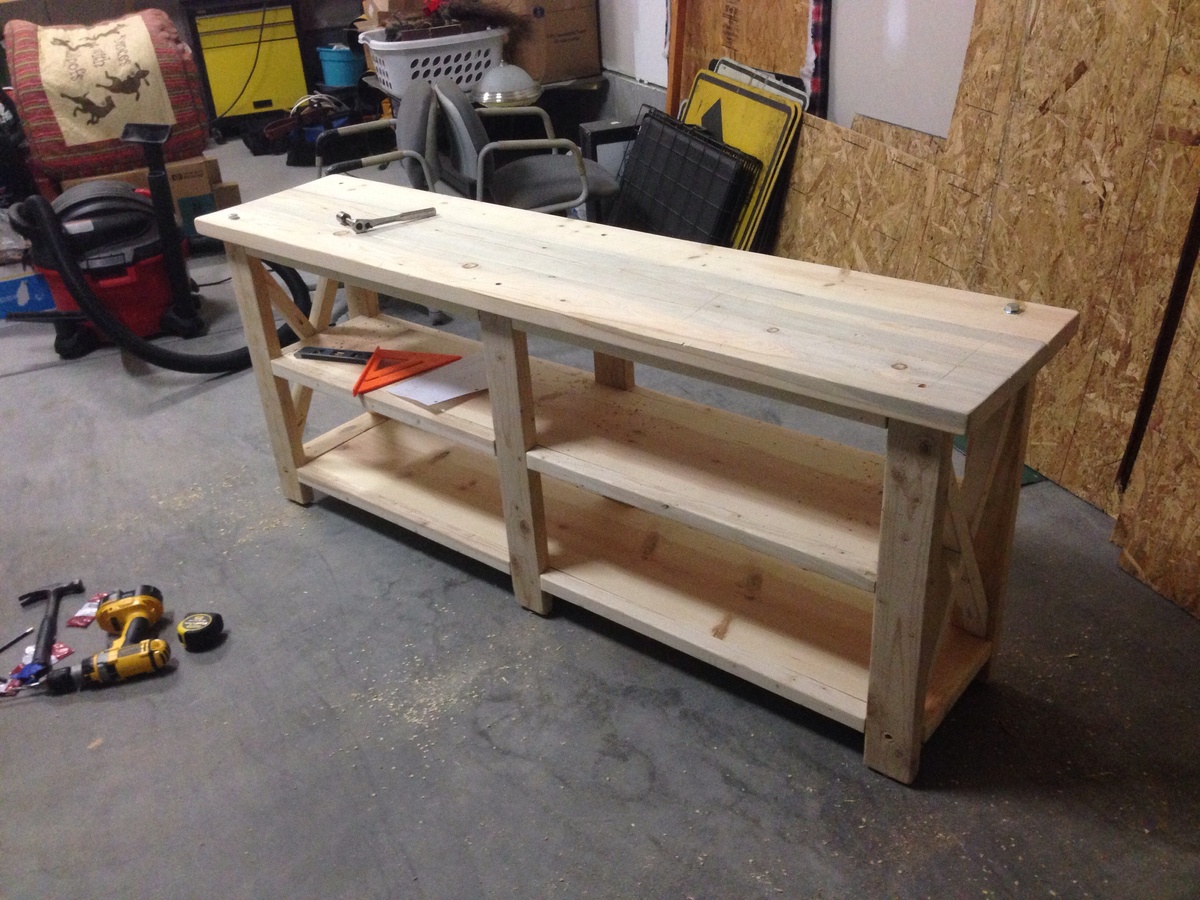
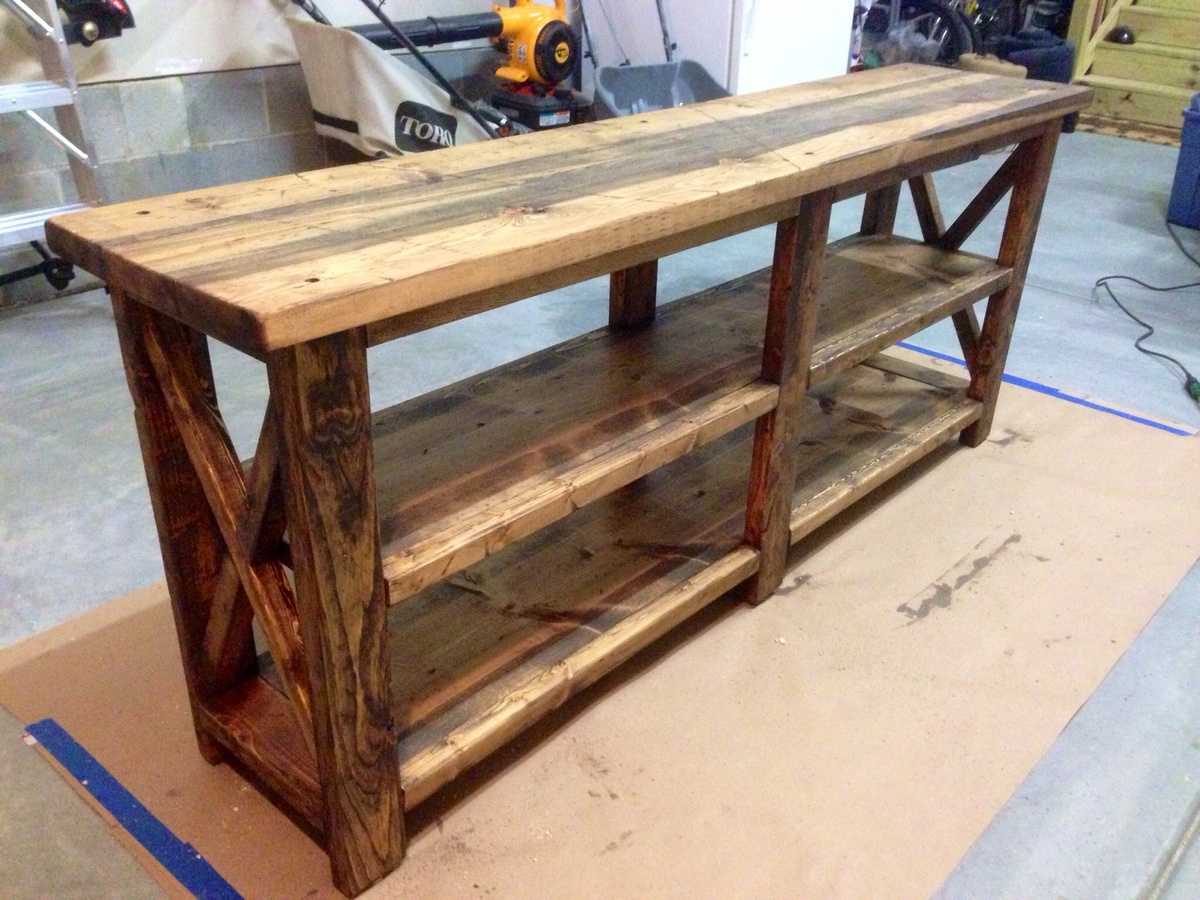
Rustic X Console - Surprise Christmas Present for my Wife
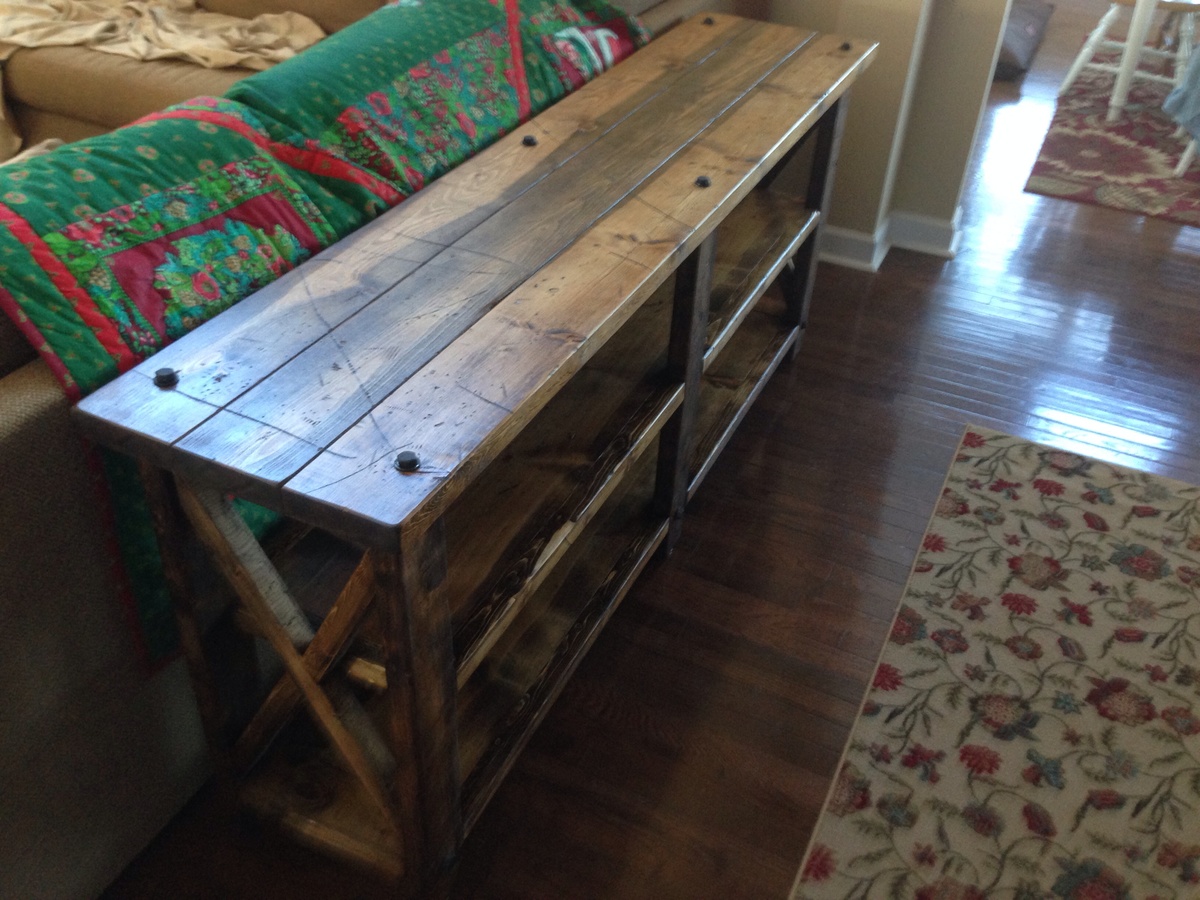
So my wife found this on Pinterest last month and loved it. We have been searching for something to go behind our sectional couch in our den. When she showed it to me I discreetly emailed it to myself as a plan was forming in my head. She was working nights for the month of December so I worked on it in the garage in the evenings and hid it in the crawl space so she wouldn't see it. She woke up Christmas morning to find it in place with a bow (clearly made by a man who is much better at carpentry than bow making) attached and was very surprised and excited.
I distressed the wood using several highly complicated techniques such as hitting it with a hammer, dropping a bag of screws on it, and scratching it with a screwdriver. It was then sanded and stained with Minwax Provincial 211. I applied two coats of satin polyurethane for protection.
I liked the look of the hex head screws so after painting them flat black I actually used them to hold the top on.
Estimated Cost
$150
Estimated Time Investment
Weekend Project (10-20 Hours)
Finish Used
Minwax Provincial 211
Clear Satin polyurethane
Clear Satin polyurethane
Recommended Skill Level
Beginner
Comments
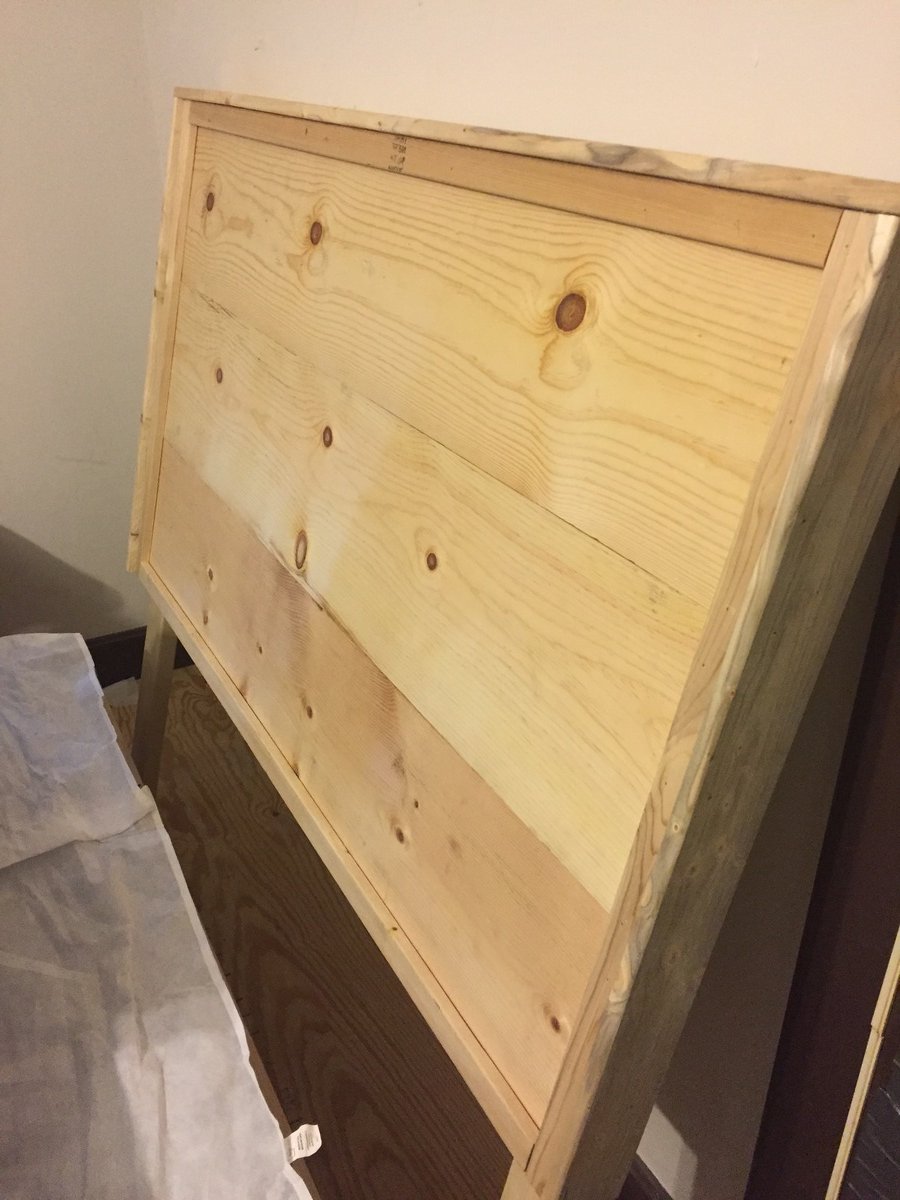
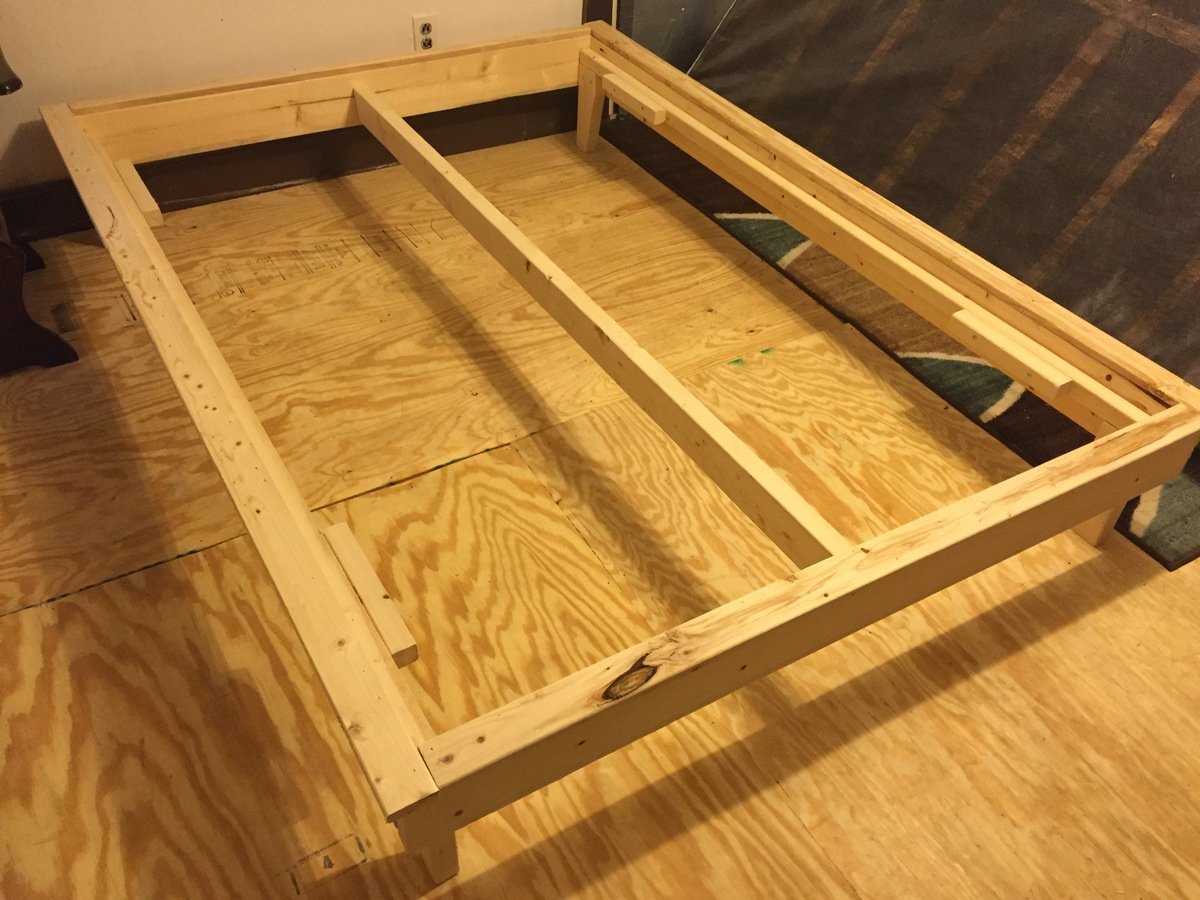
Platform bed
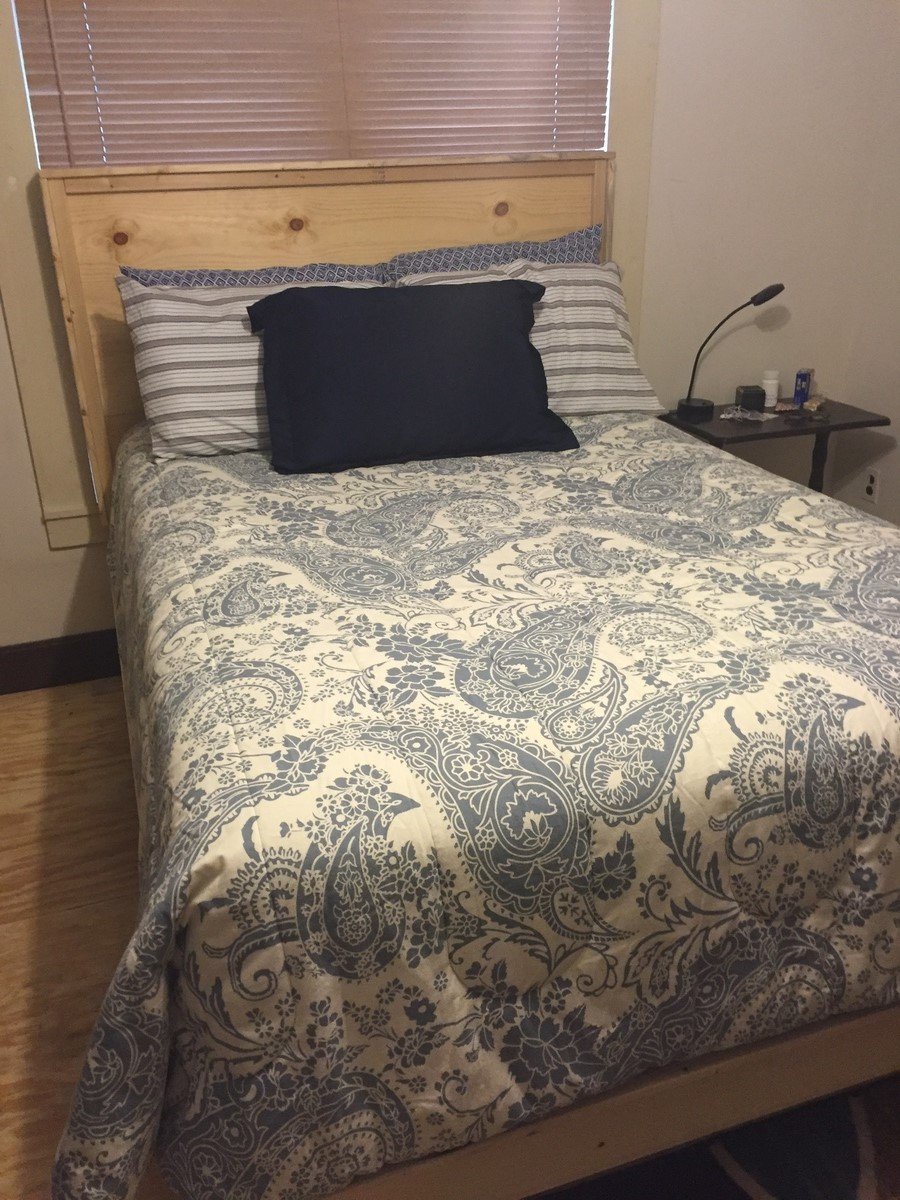
Platform bed and headboard
Built from Plan(s)
Estimated Cost
$100
Estimated Time Investment
An Hour or Two (0-2 Hours)
Finish Used
None yet
Recommended Skill Level
Beginner
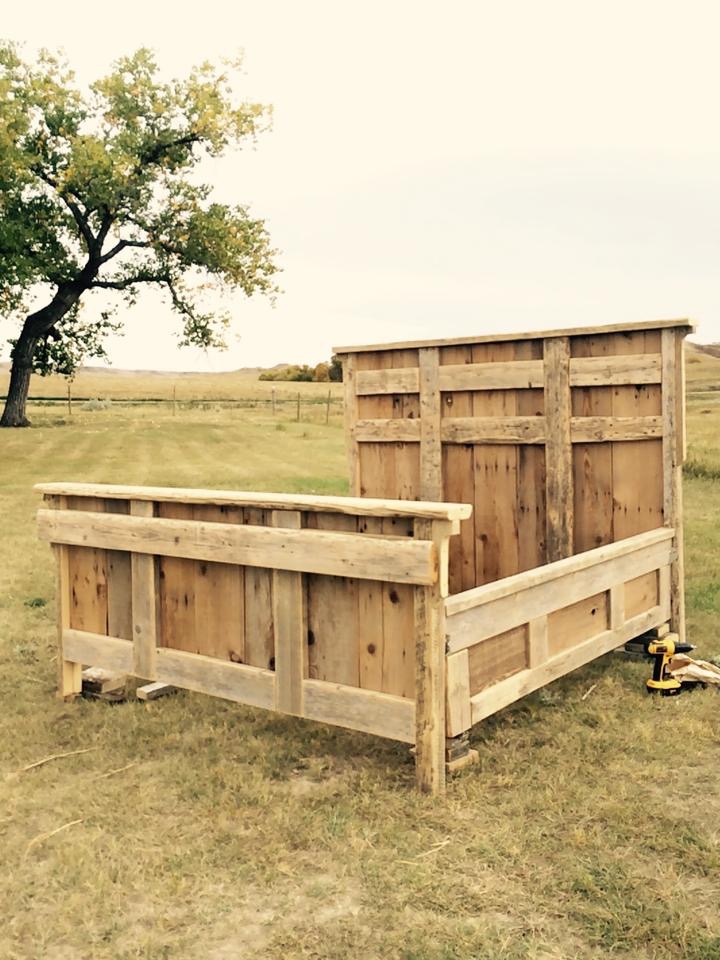
Reclaimed wood king bed
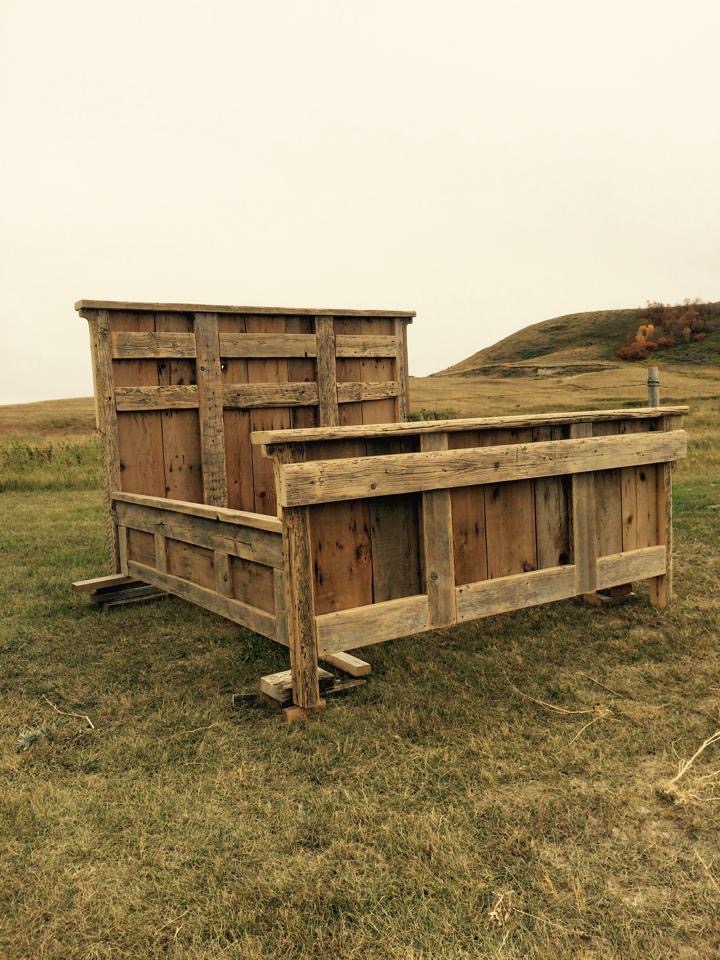
Built for a customer out of reclaimed 2x6 spruce corrral boards. There was a lot of sanding involved in prepping this wood, but I couldn’t be happier with how it turned out!
Built from Plan(s)
Estimated Time Investment
Week Long Project (20 Hours or More)
Recommended Skill Level
Intermediate
DIY Mantle with Hearth
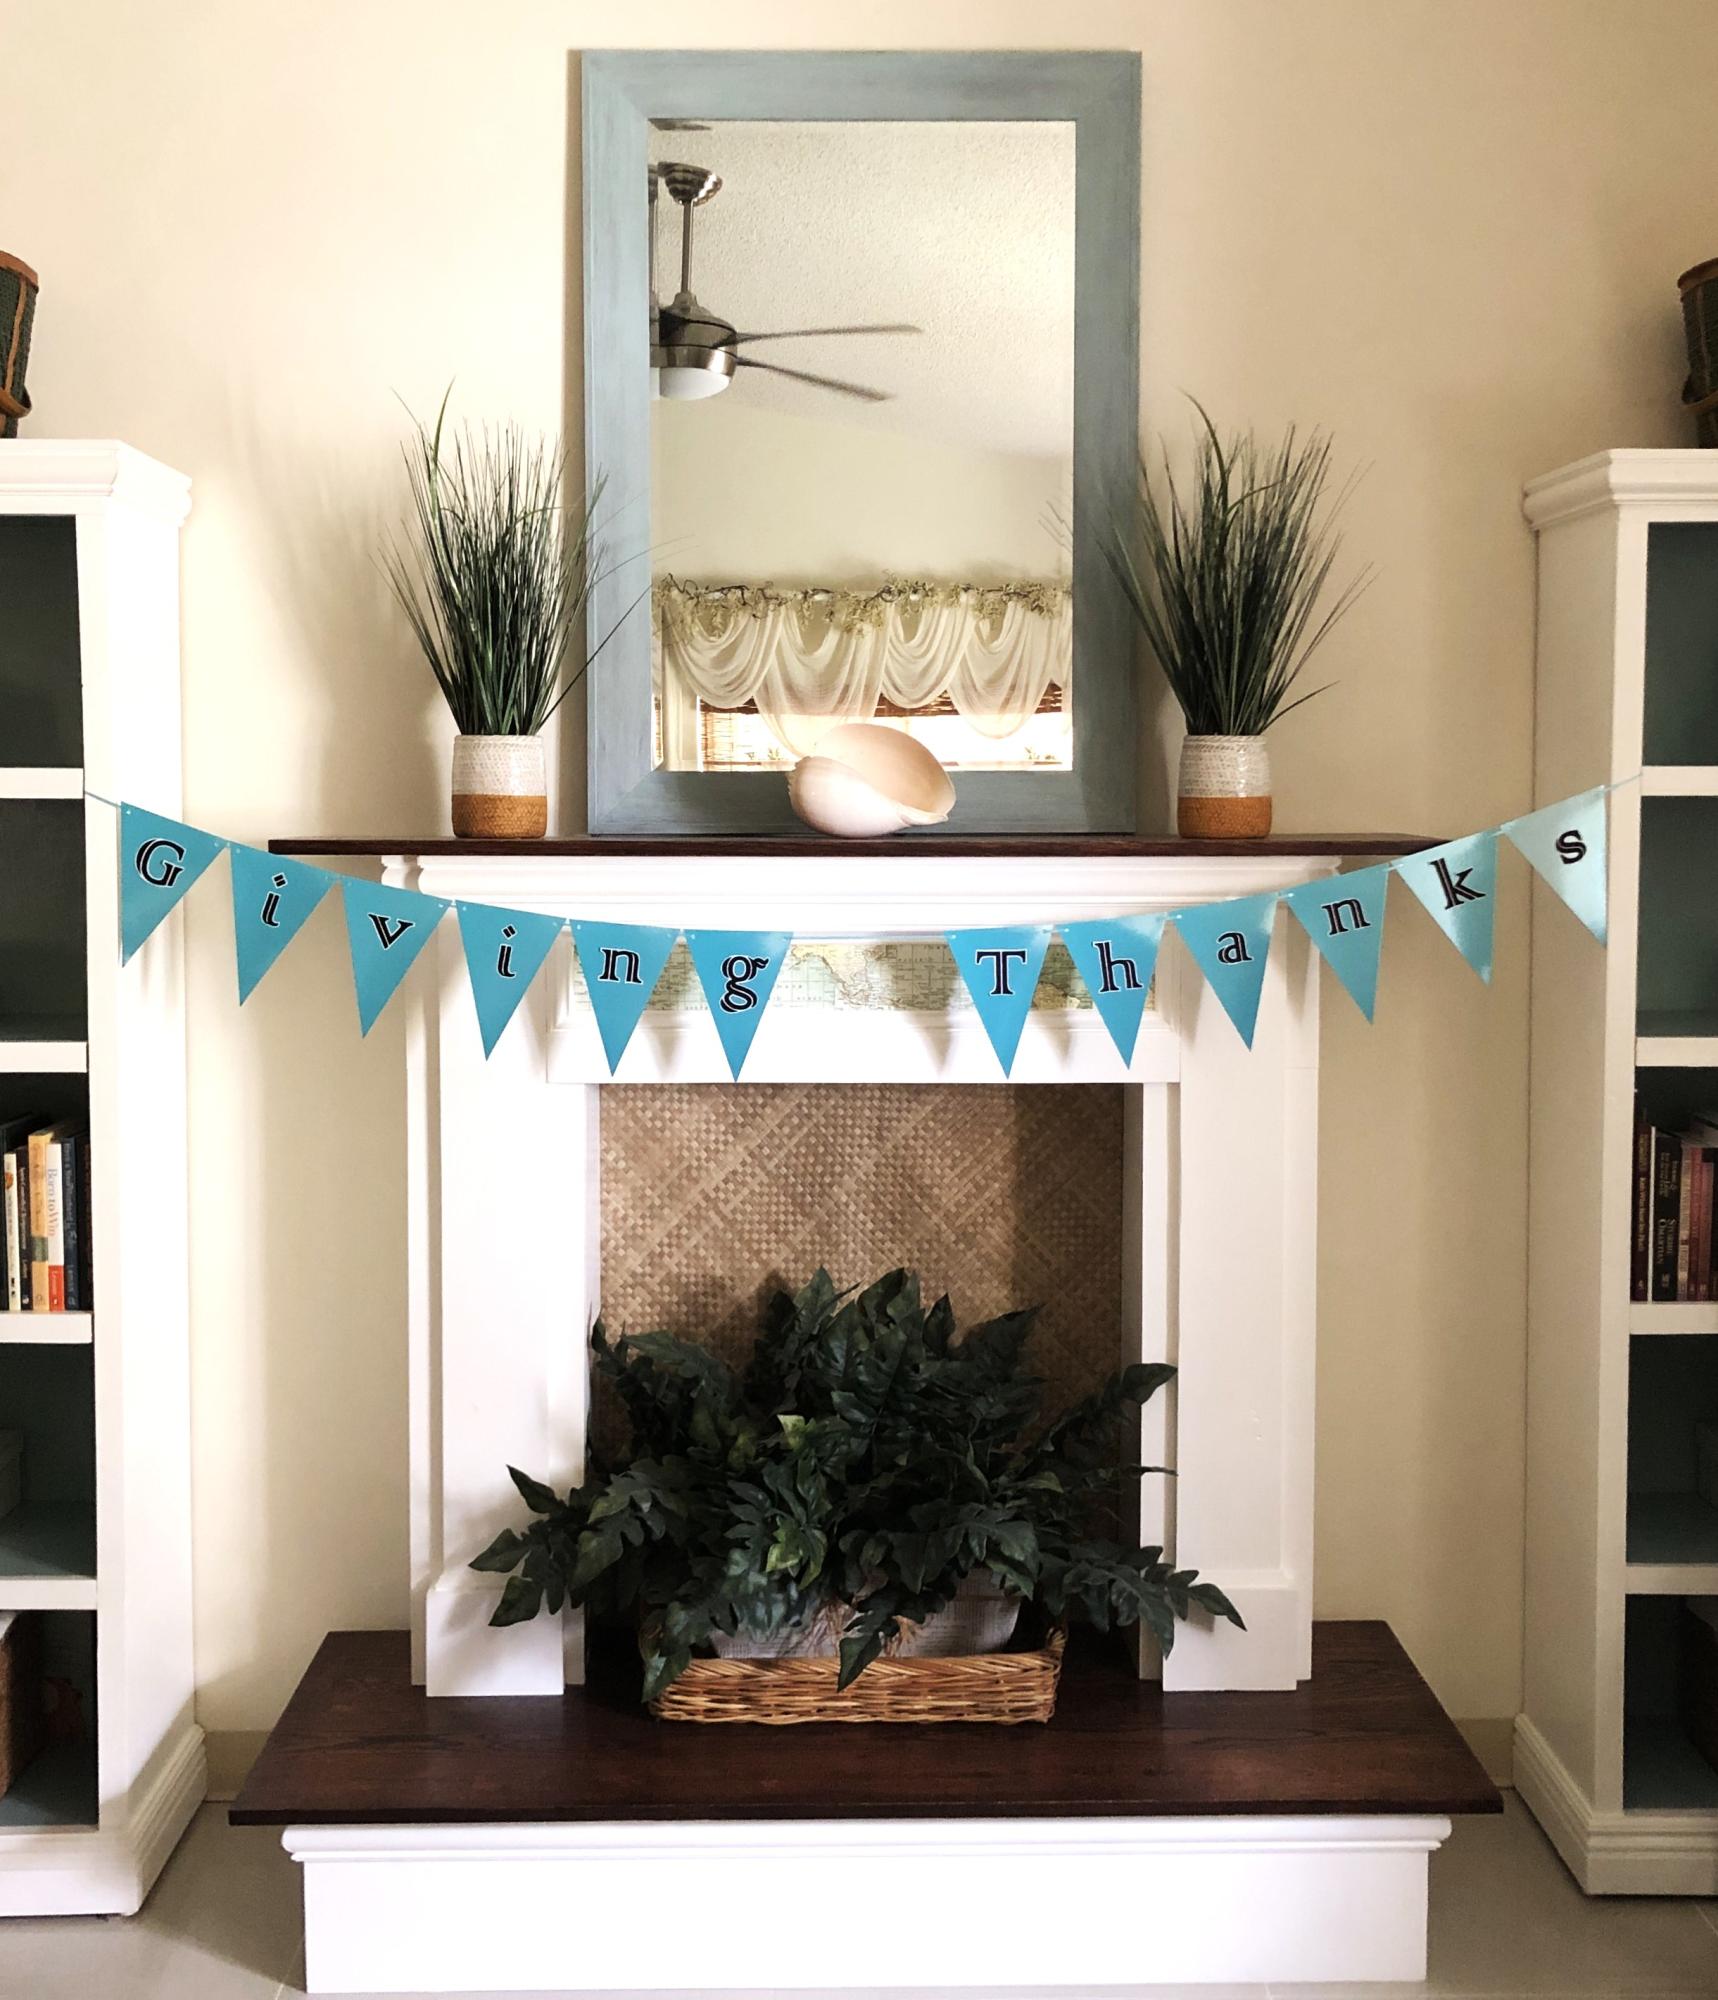
We’ve made three of these: this one’s on a “hearth” in our sala on Guam; my husband put another one in our bedroom here, and the third faux fireplace is in our bedroom in Missouri. Later this year he’s building one requested by our daughter for her living room.
Kelley
Built from Plan(s)
Seasonal And Holiday
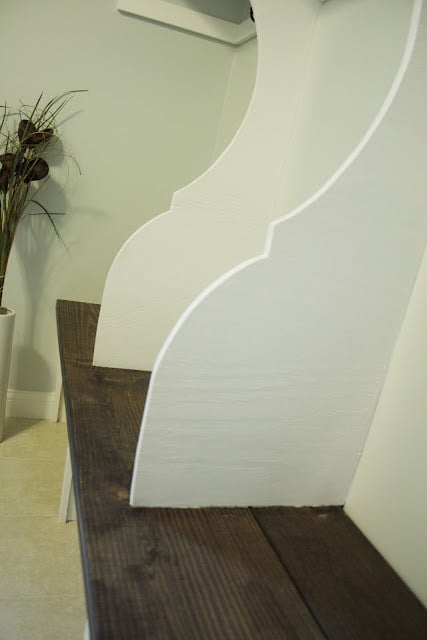
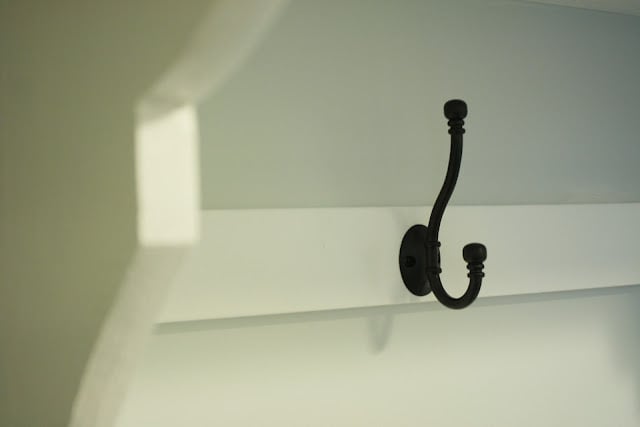
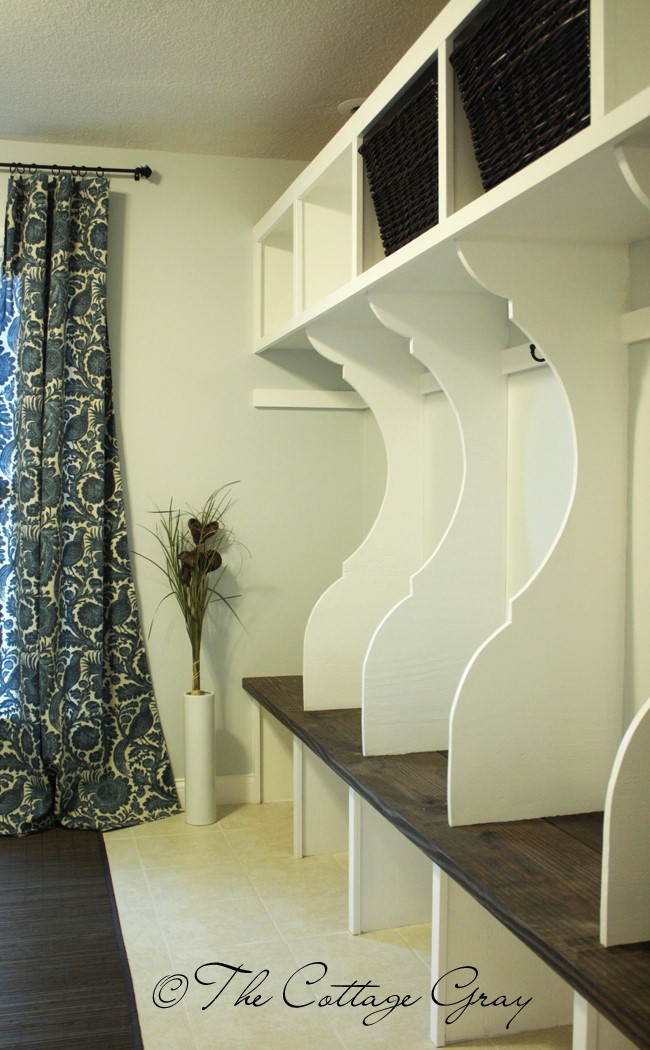
Smiling Mudroom

I fell in love with Ana's Smiling Mudroom plans and knew it was just a matter of time before I built it. I just made one tiny change, I substituted 10' deck boards (stained and sealed) for the seats instead of plywood, because I wanted a thicker surface. Check out my blog to follow along with the rest of the laundry room/mudroom renovation! www.thecottagegray.com
Built from Plan(s)
Estimated Cost
$130
Estimated Time Investment
Weekend Project (10-20 Hours)
Finish Used
Painted white. Stained Dark Walnut and sealed with Waterlox clear coat.
Recommended Skill Level
Beginner
Comments

Thu, 03/01/2012 - 15:02
Nice work!
It looks great! I am hoping to get this made this spring and was going to do the same color combo you used. Like the idea of the thicker board for the seat that will work to stain. Thanks for the idea.
Thu, 03/08/2012 - 15:06
Love this!!!!
I just love this the two toned and I am thinking about doing this what stain color did you use for the bench part?
Fri, 03/30/2012 - 09:27
Beautiful!
Wow! The "smiling mudroom" has been on our to do list for a couple of months. I love the look of the stain with painted wood. We have 5 children so a stained surface will hold up much better than a painted seat.
I'm just trying to decide on color...it's a laundry/mud room and I want the "Sausha's Washer/Dryer Pedestals" to be black. Black might be too dark for the mudroom cubbies and I'm not sure if it would clash to have black on one painted piece and white on another.
Your mudroom is gorgeous, too pretty to be associated with the word mud!
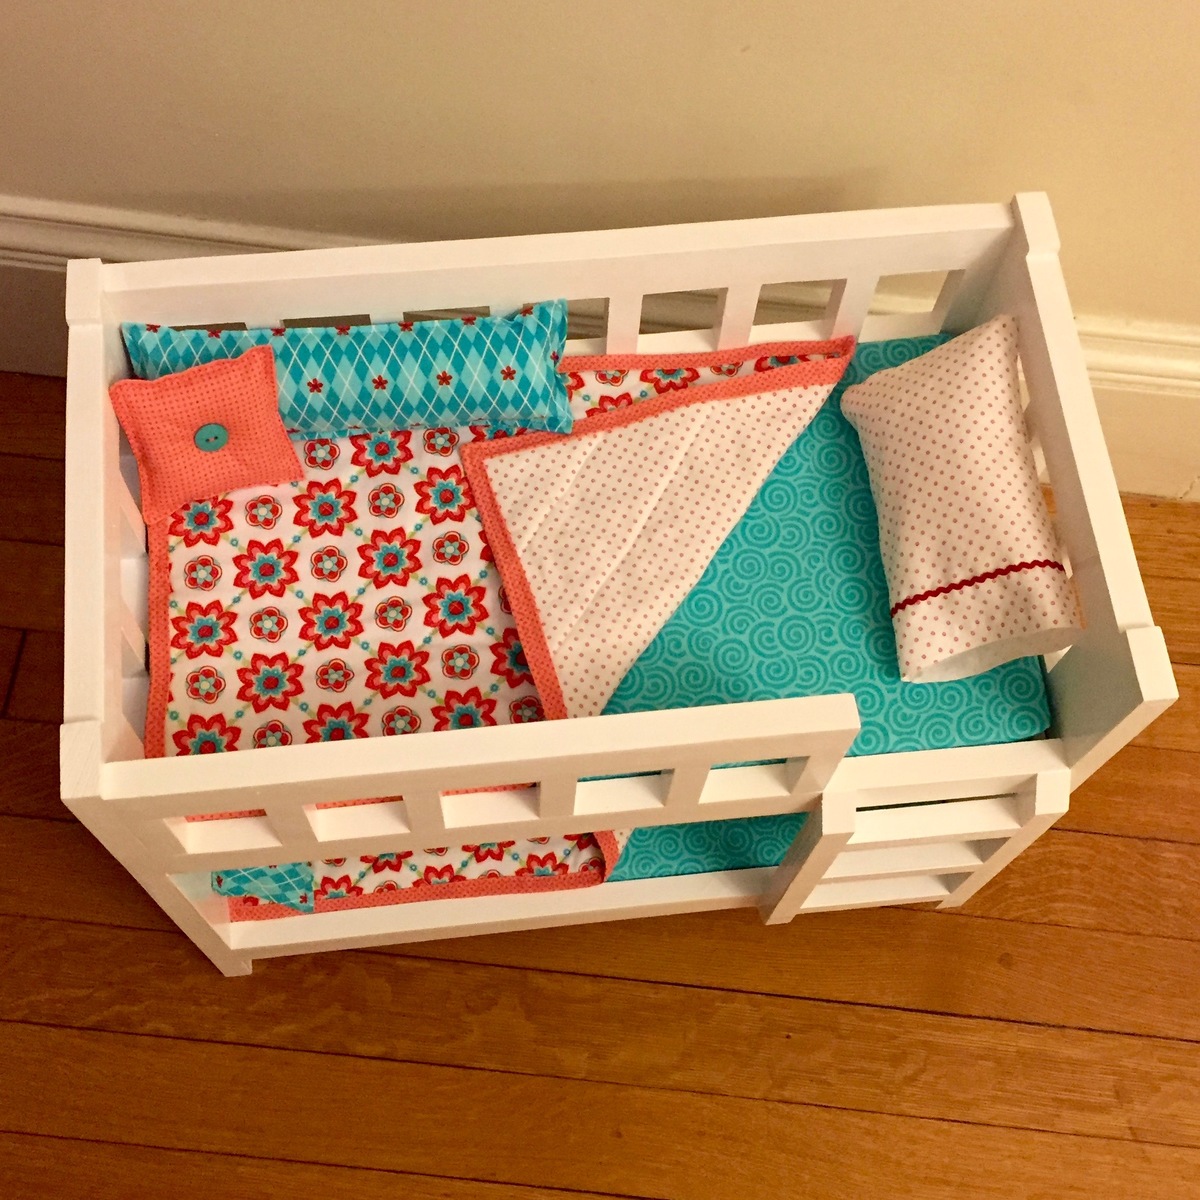
Doll Bunk for Raffle
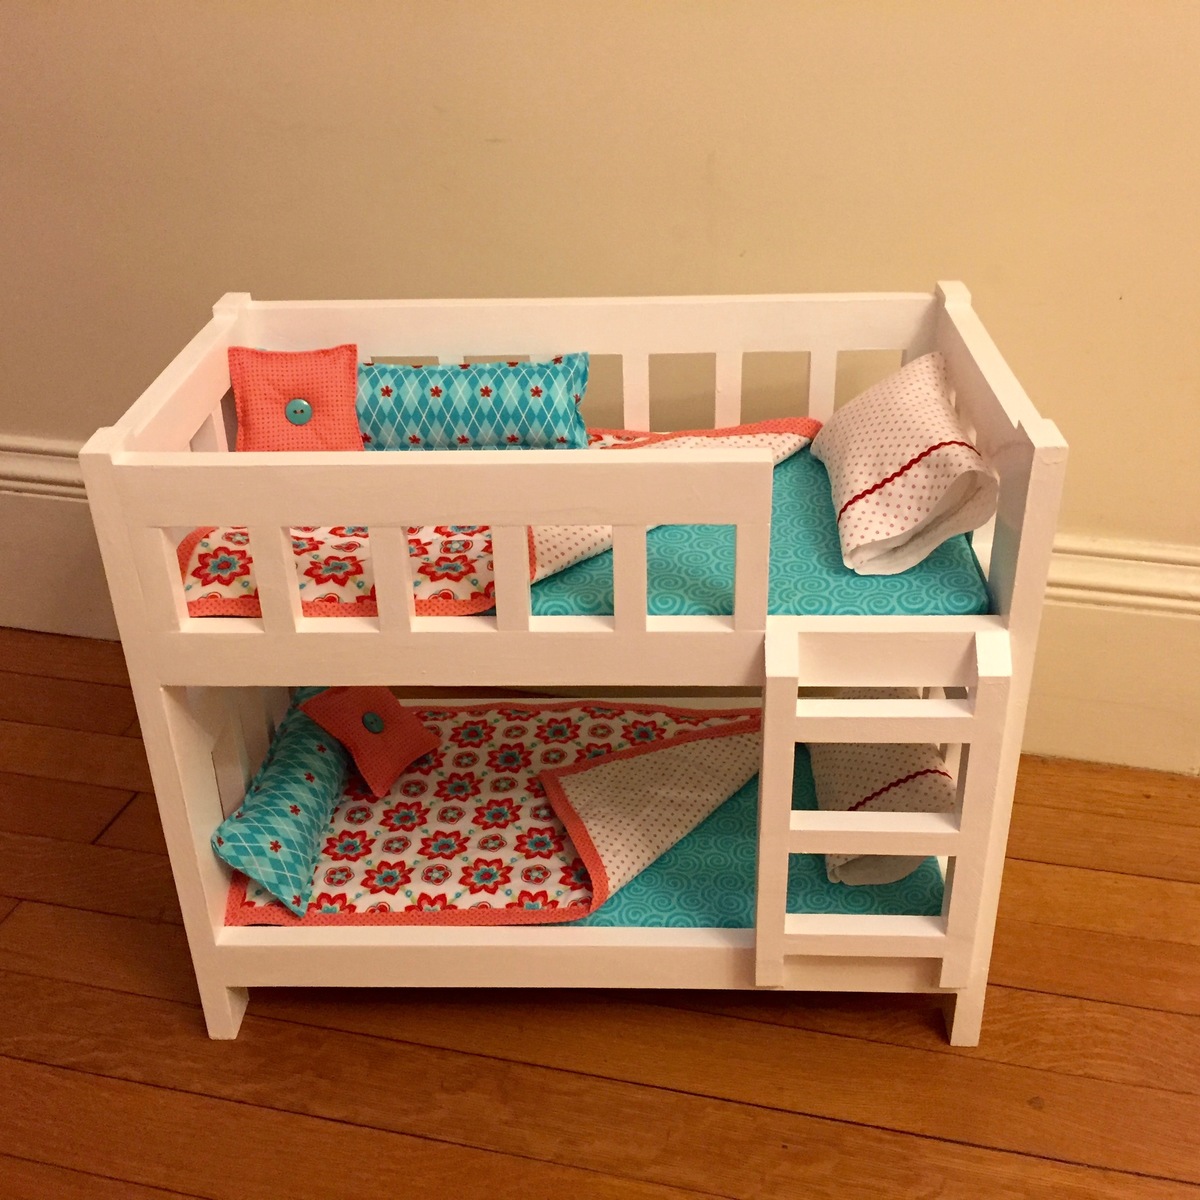
Built this bunk for a school fundraiser raffle. Hope it will be a hit! Followed the plans as written with only one change. I cut the tops and bottoms of the vertical ladder rails at 45 degree angles so they slant in towards the bed.
Built from Plan(s)
Estimated Time Investment
Weekend Project (10-20 Hours)
Recommended Skill Level
Beginner
Comments
Ana White Admin
Tue, 06/20/2023 - 20:25
Masterpiece!
WOW, what a stunning table! Thank you so much for sharing.