Banshee Bedroom
modified all 3 plans to sizes I needed
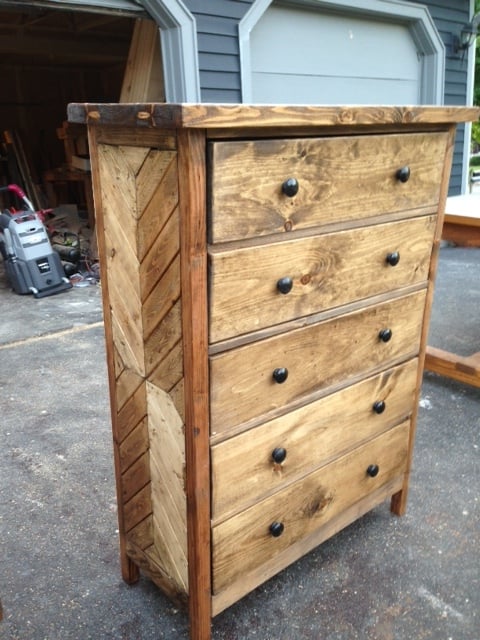
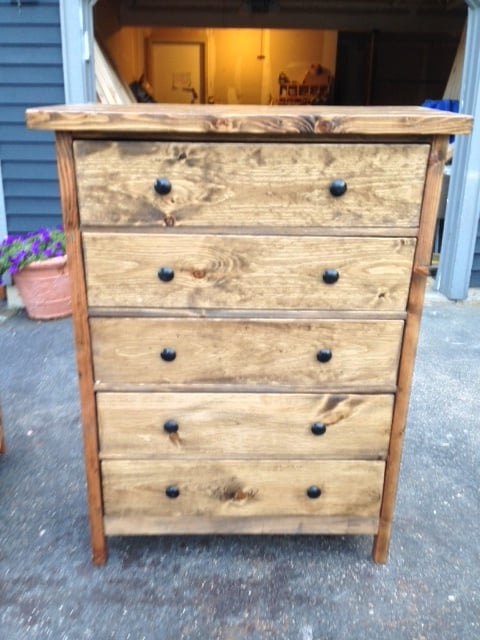
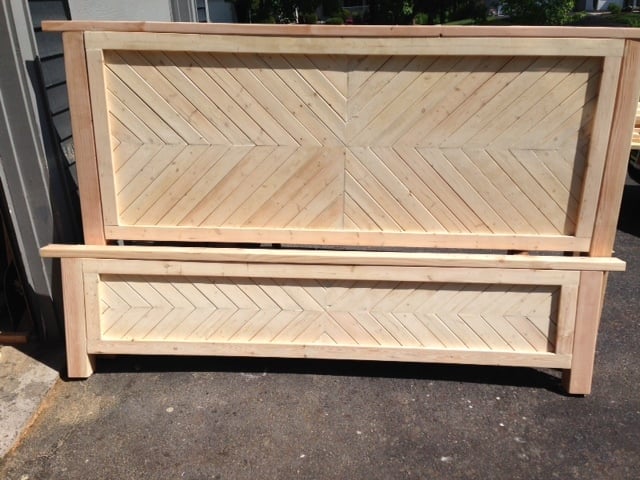
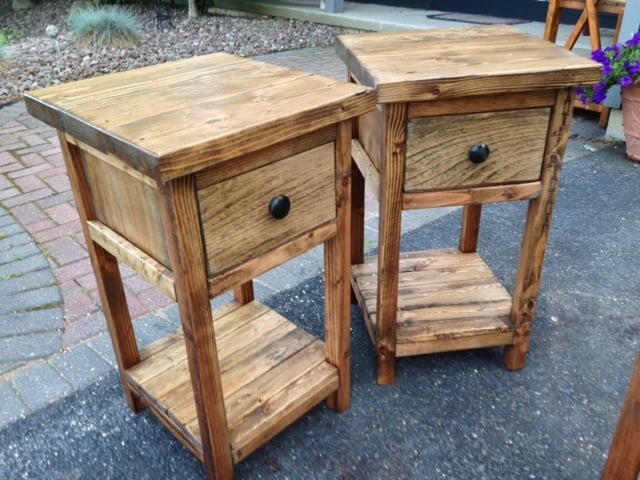

modified all 3 plans to sizes I needed


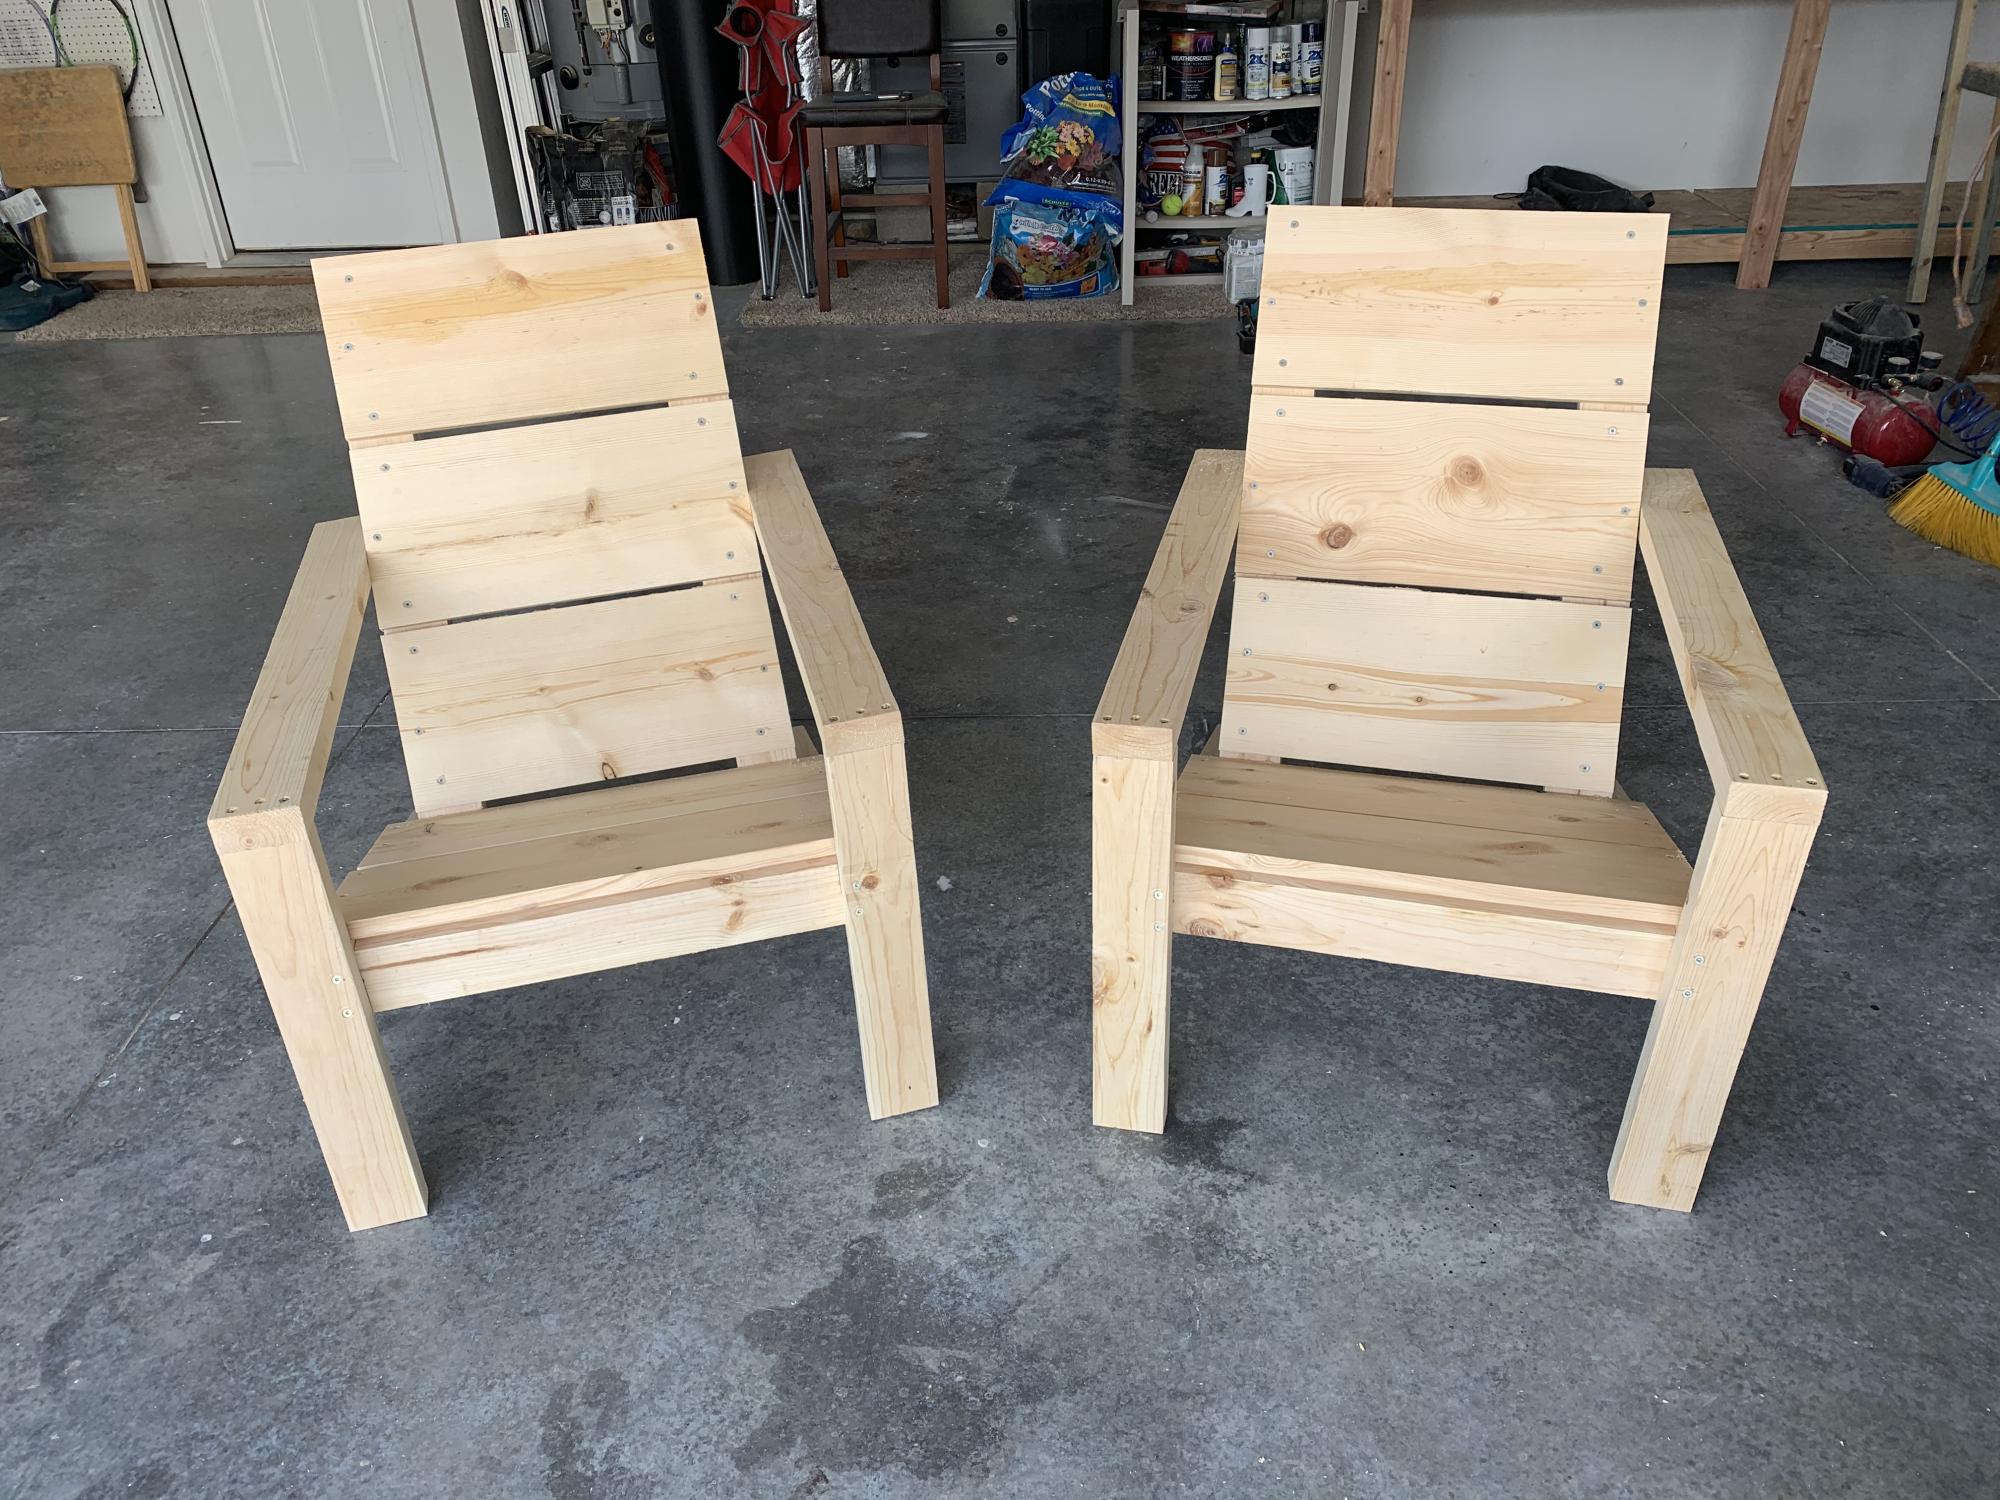
Such easy plans to follow! Thanks, as always!!!
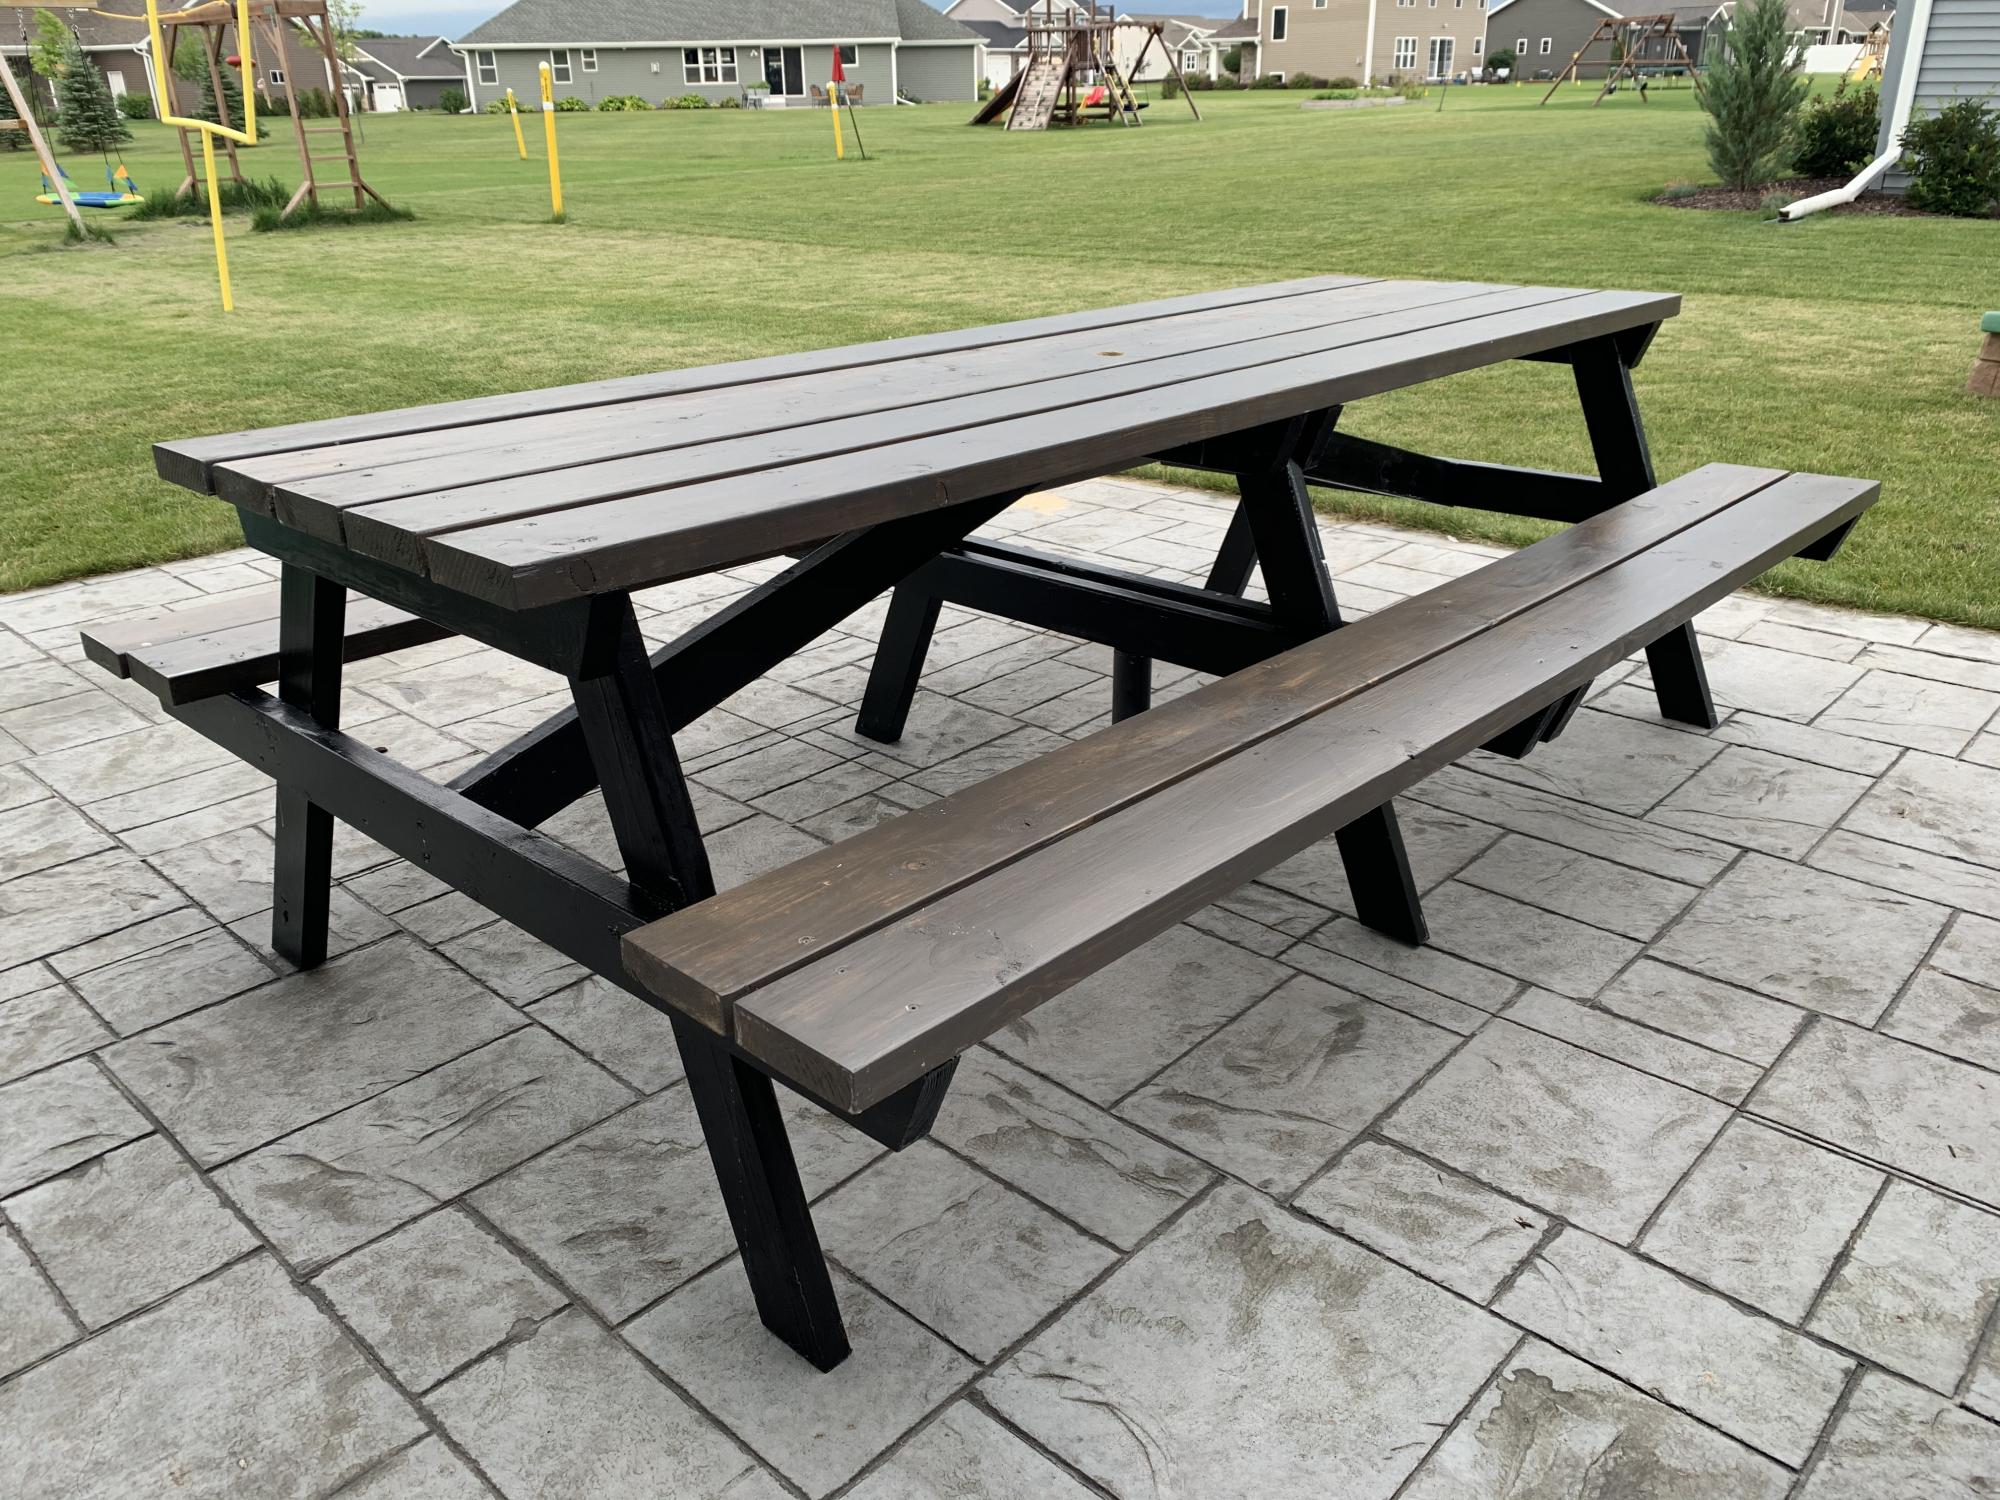
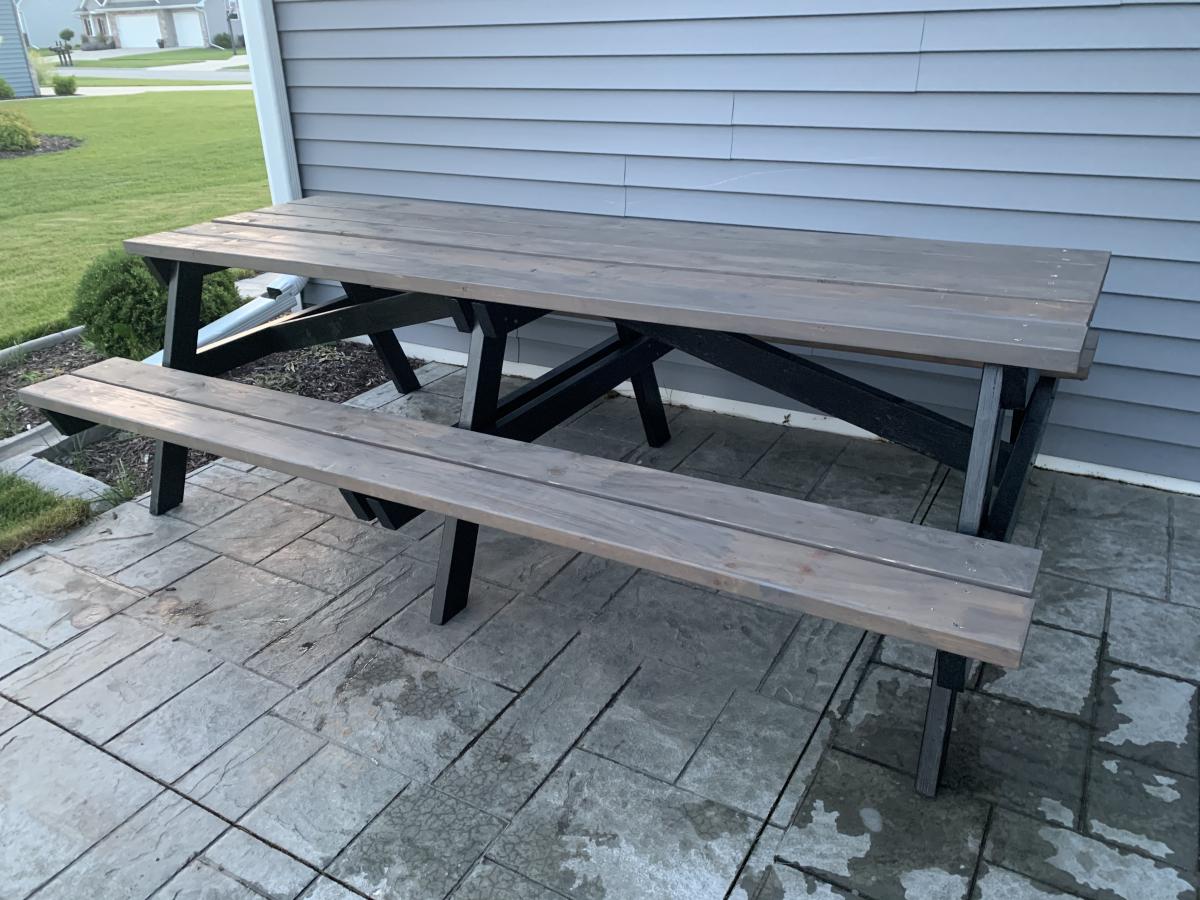
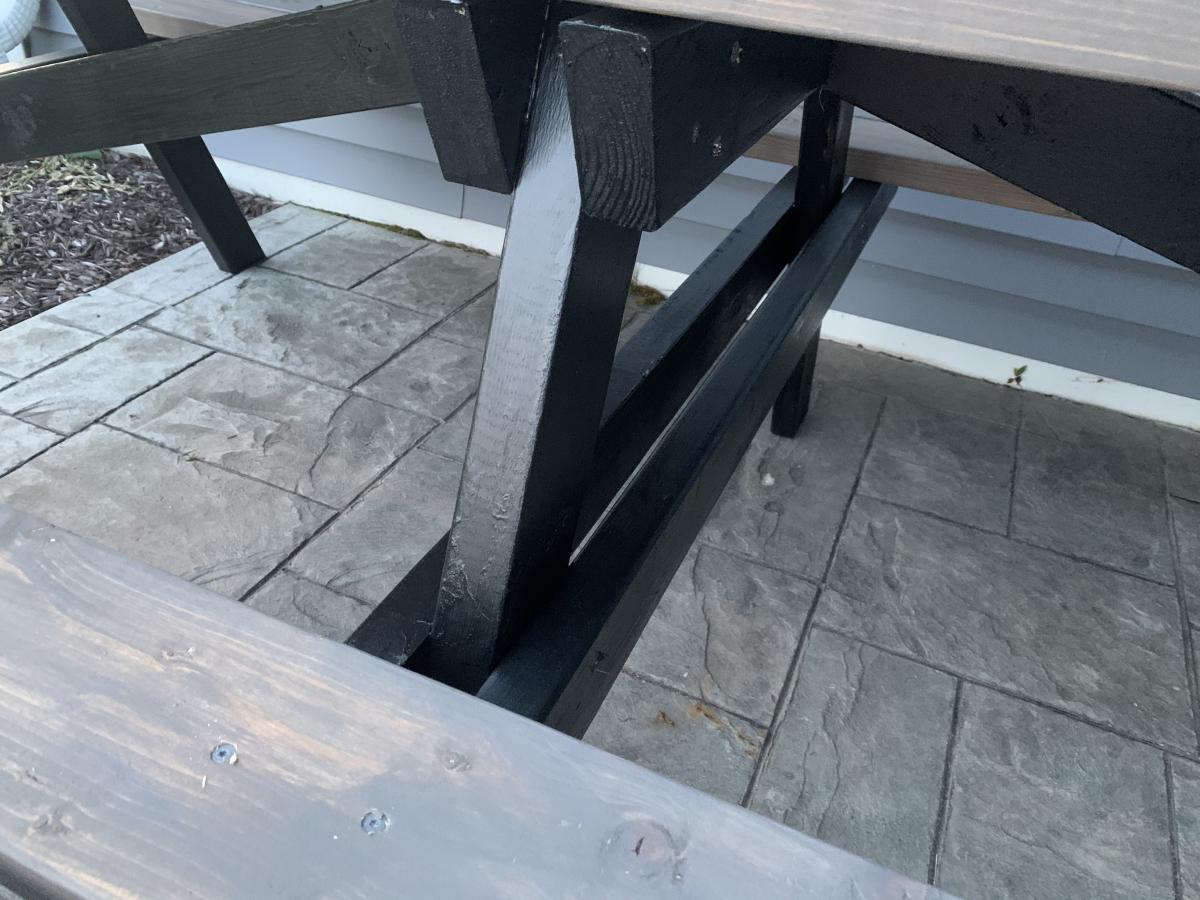
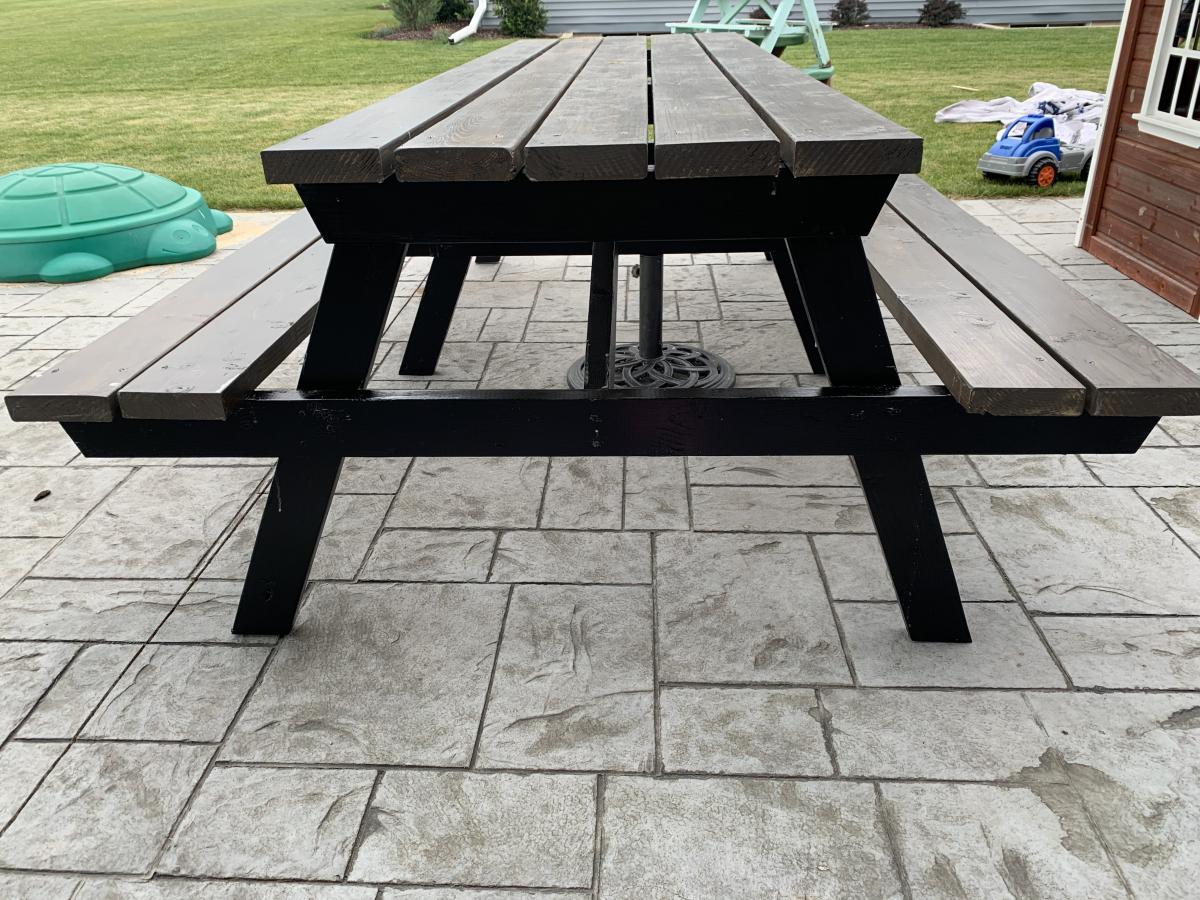
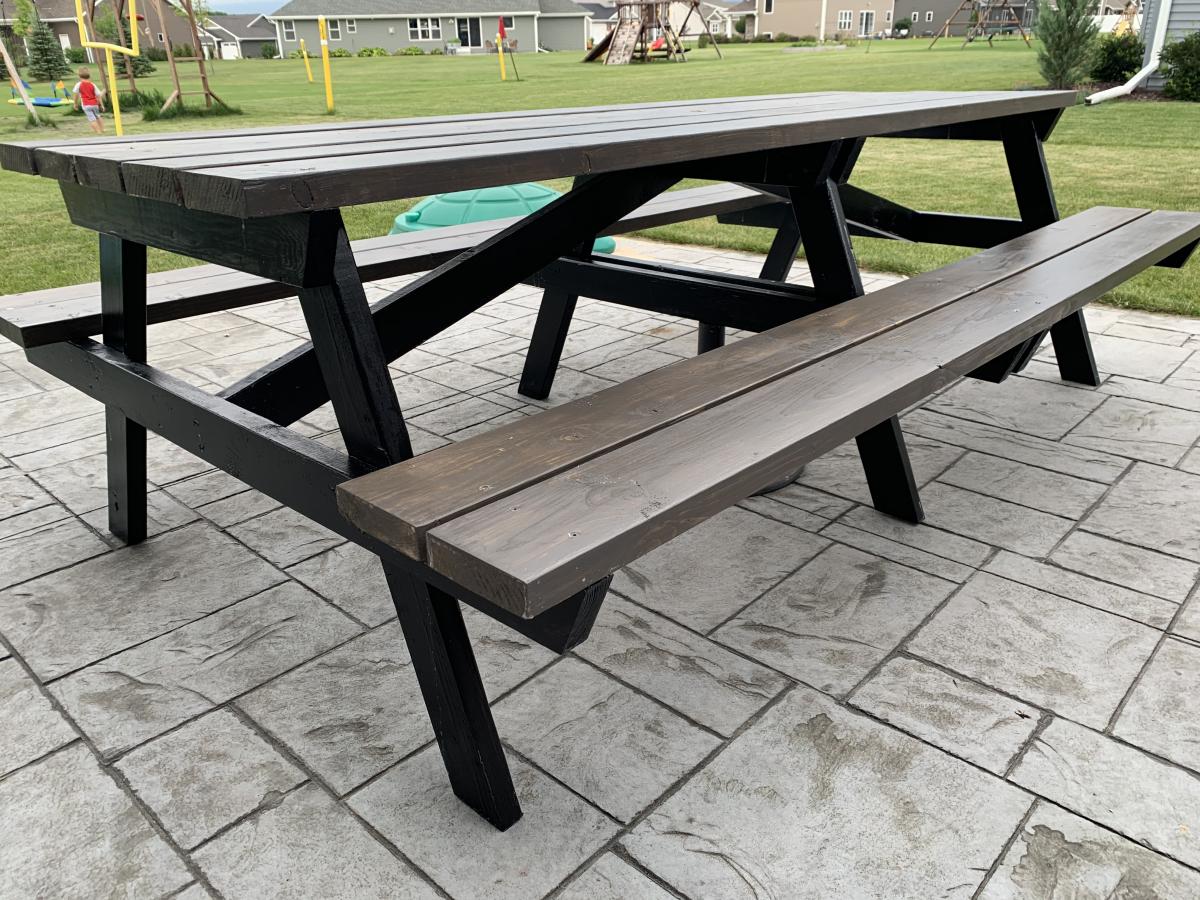
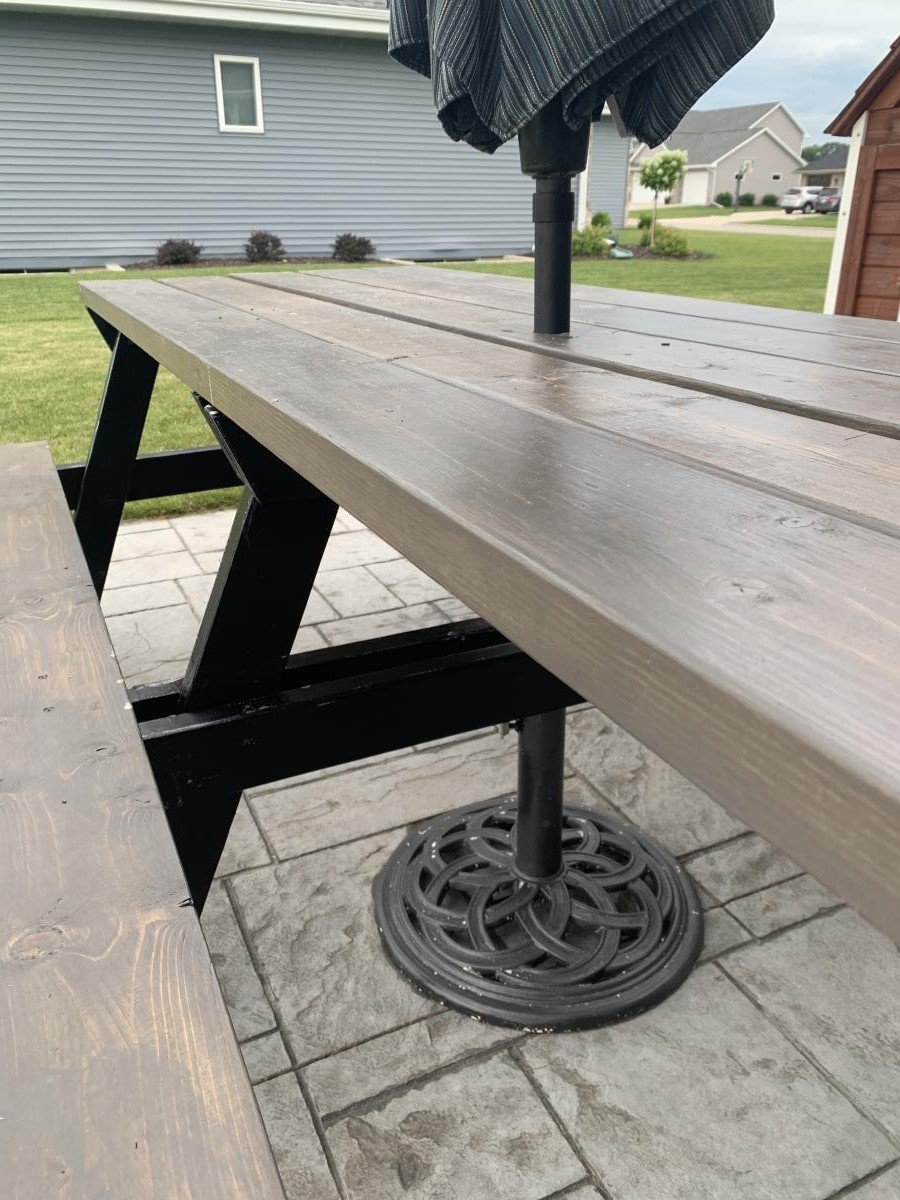
This picnic table was a quick build and turned out amazing. I modified the center base support by adding an extra table top support and seat support board to the opposite side of the center legs to give the table symmetry to accommodate an umbrella hole. I also shortened both cross supports by an inch to make sure the base wouldn’t be longer than the top boards. The space between the center table support boards and seat support boards is the perfect size to fit a standard umbrella. I used a 1 3/4” hole saw to make the umbrella hole. The build and stain/paint took me about 5 hours but additional time is needed to properly seal the table. I used untreated pine. Treated pine may give the table longevity but it would also add a lot of weight to an already heavy table. This was a relatively easy and quick build and is a great size to fit my whole family plus a couple guests! I’m happy with how it turned out and would recommend this build to anyone looking for a budget friendly and simple patio table.
Sat, 07/18/2020 - 13:17
Thank you Abby!!! Your picnic table turned out amazing, I love the added umbrella modification!
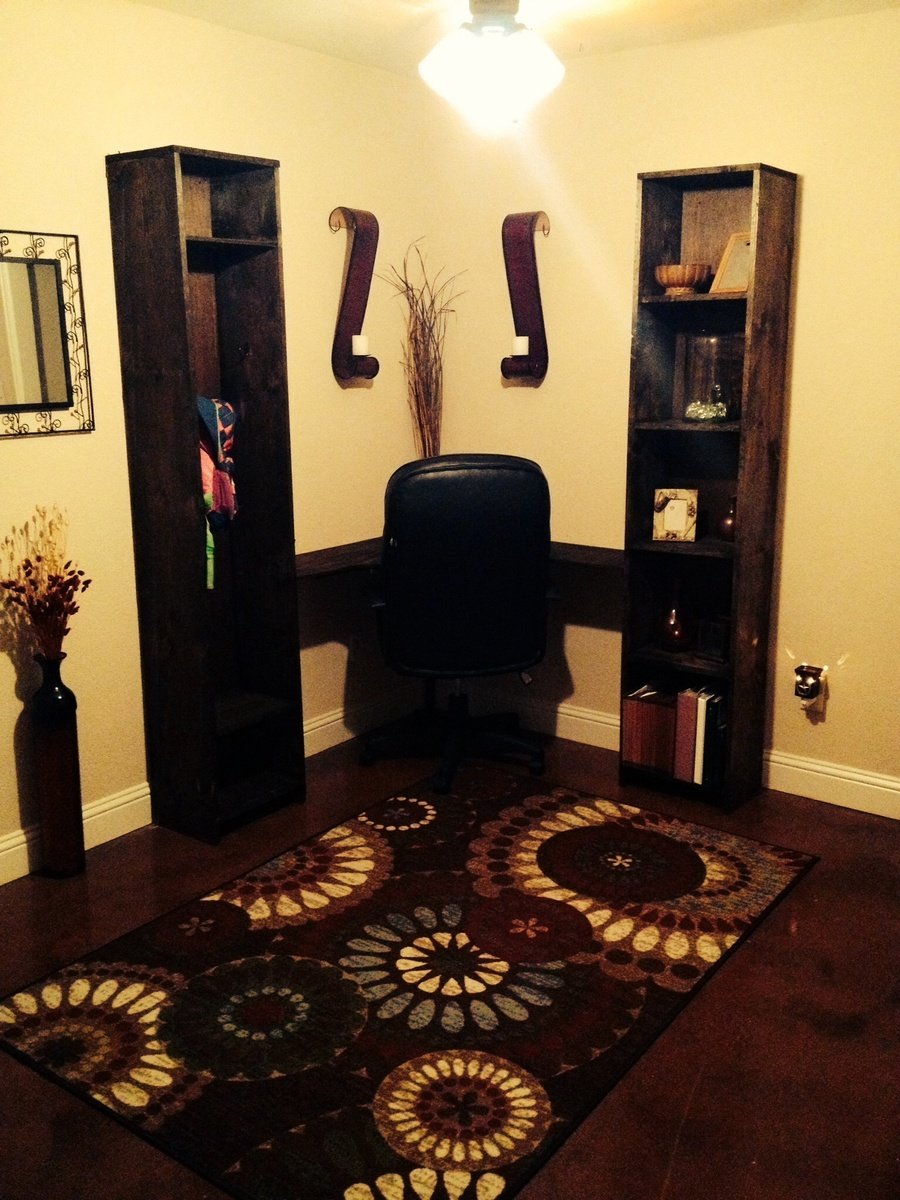
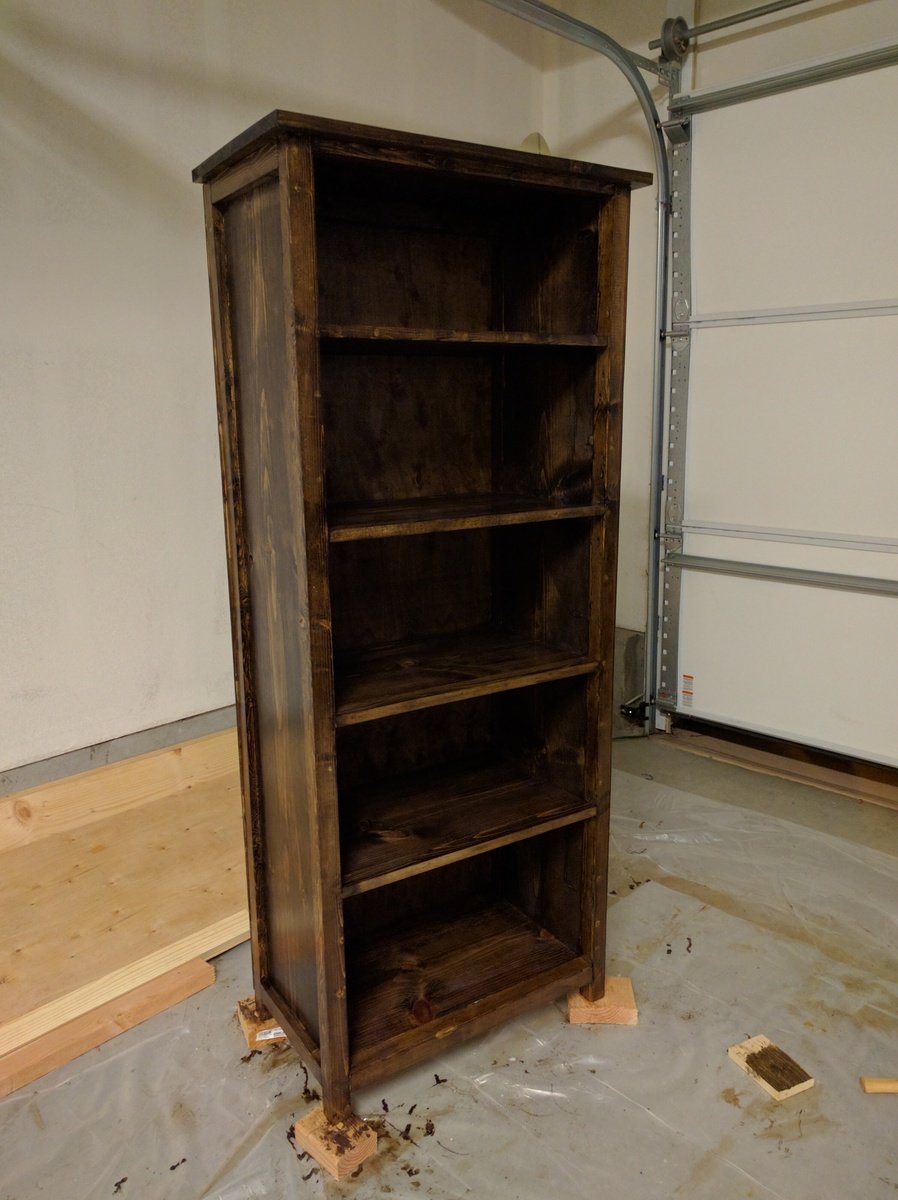
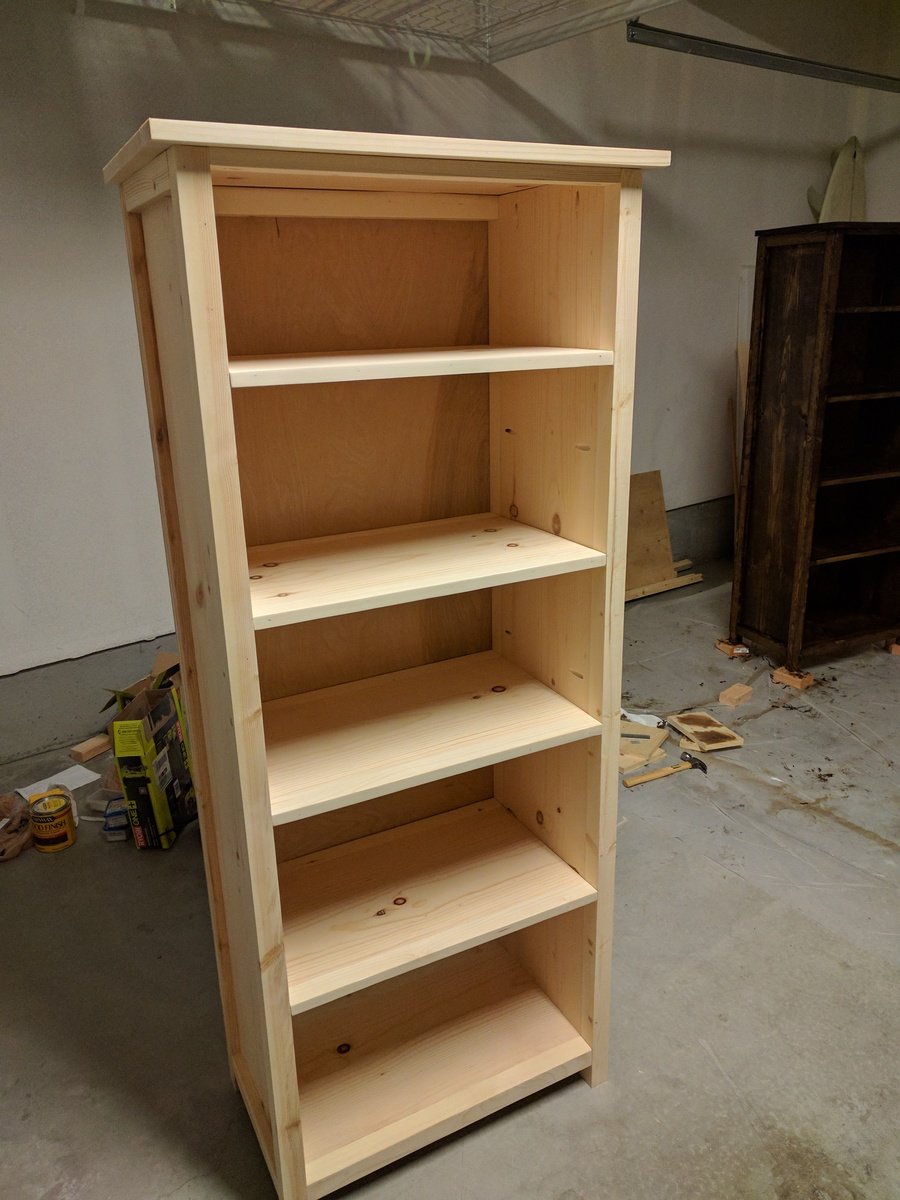
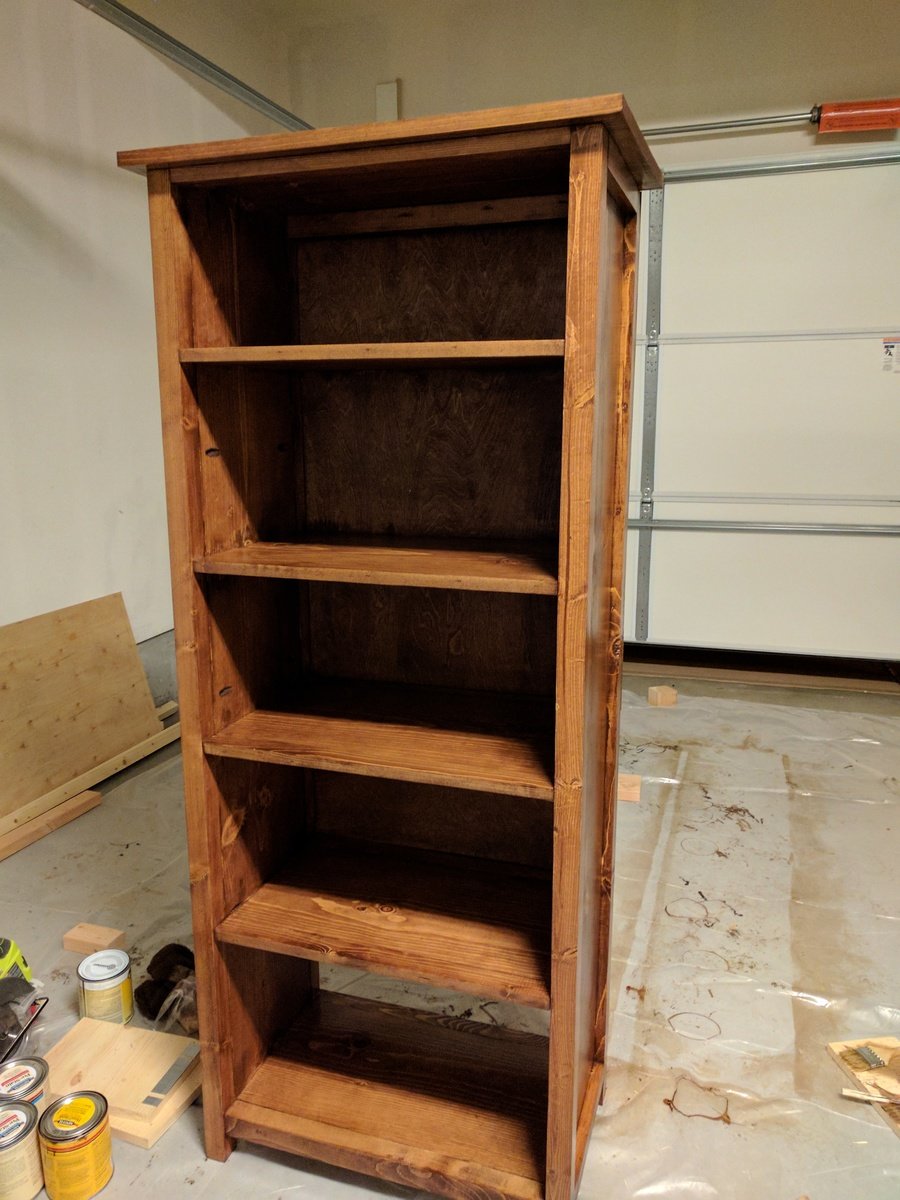
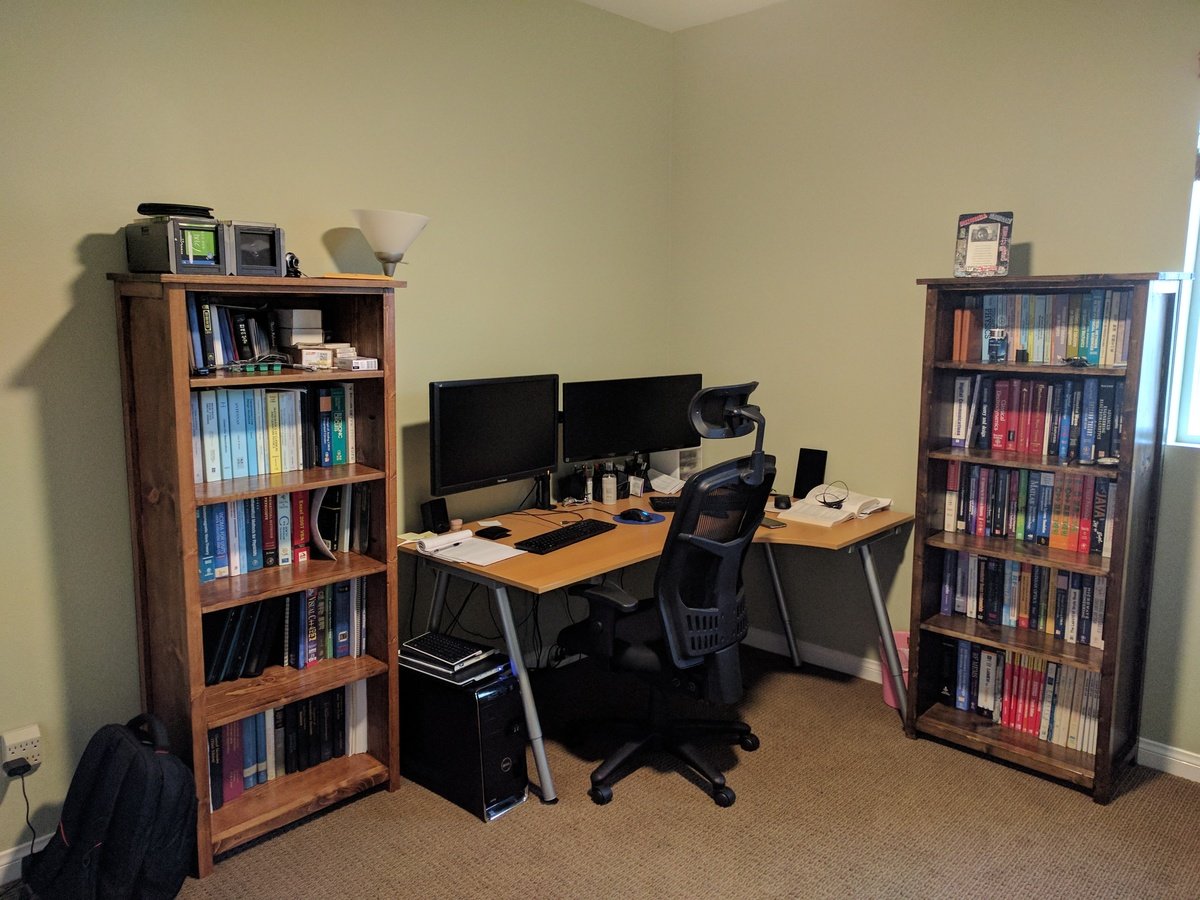
This was my first ever project! I built the skyscraper bookcase and then built a second one, only modifying it to make a locker style cabinet for backpacks!
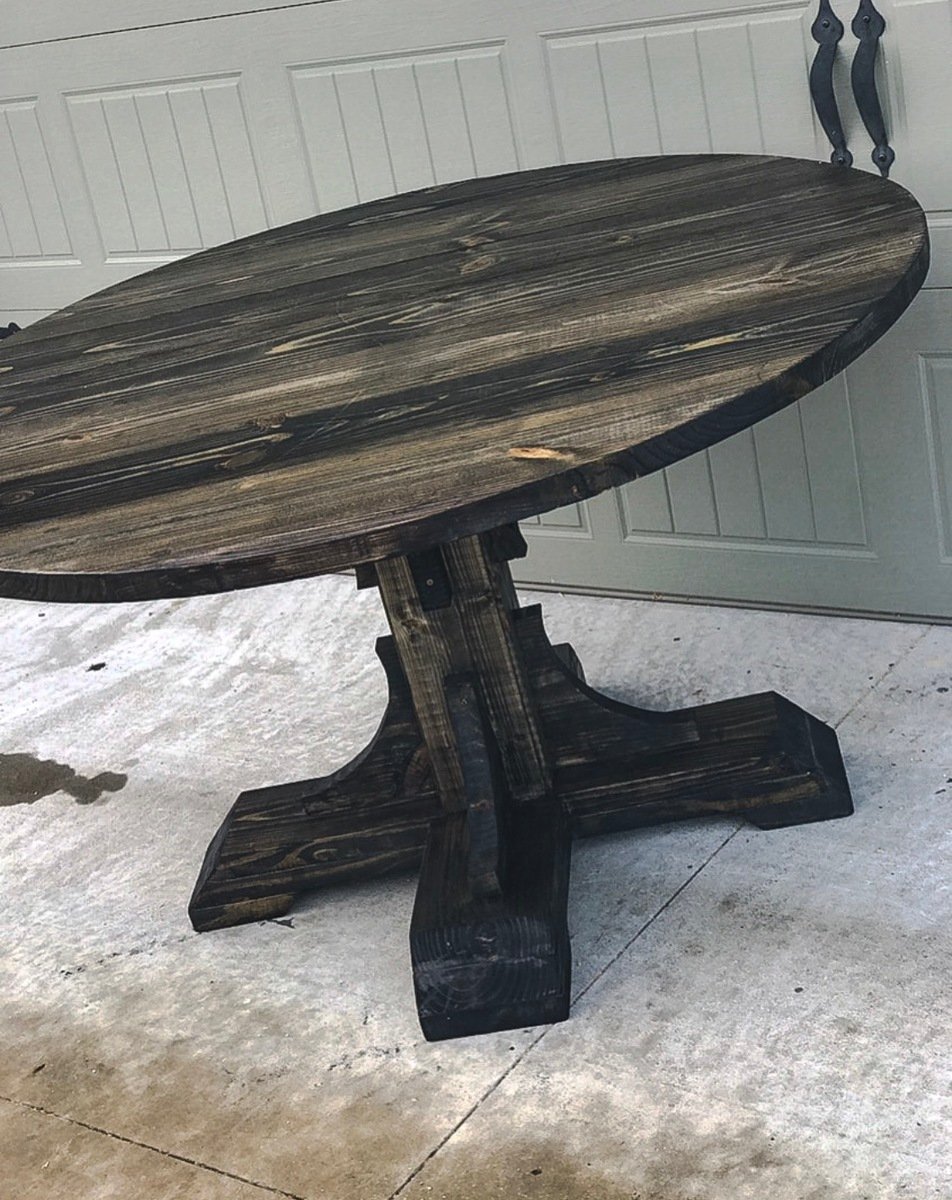
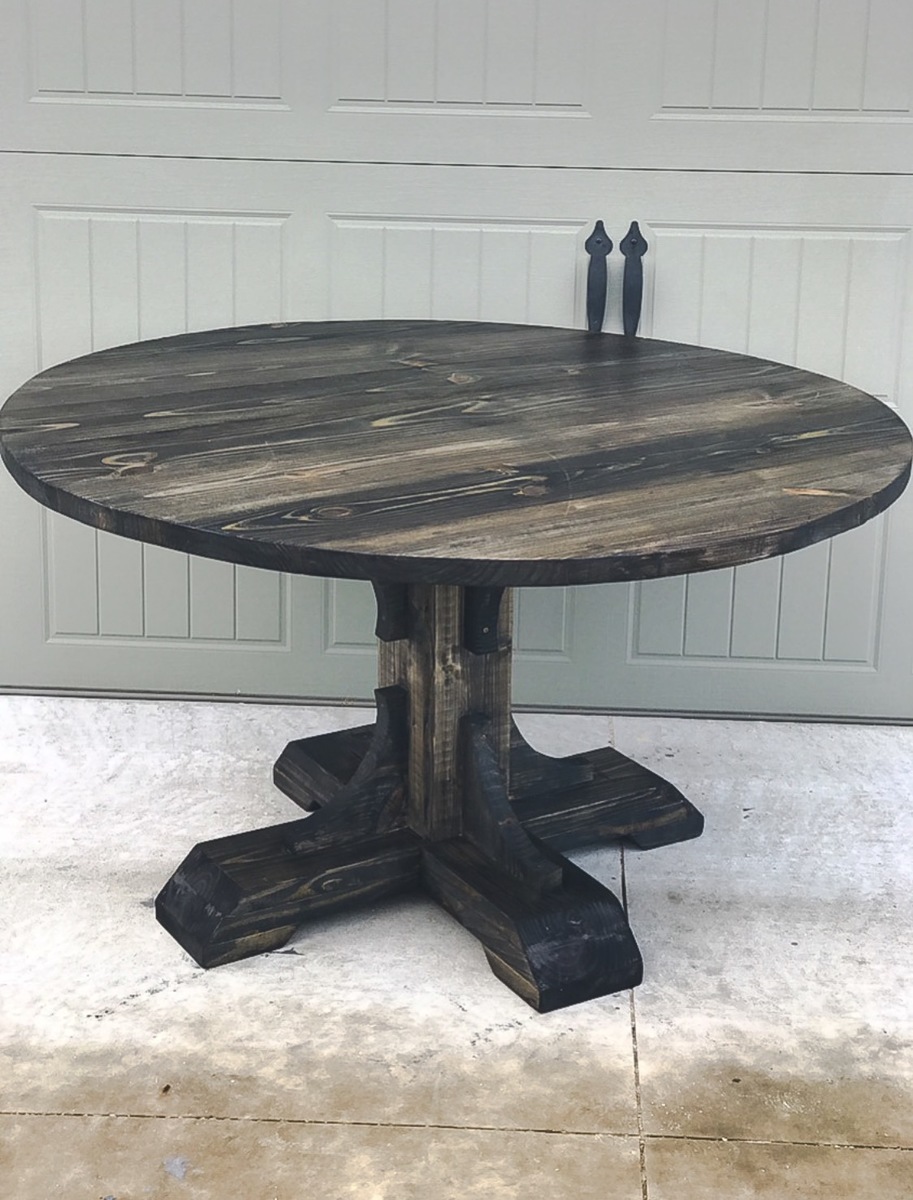
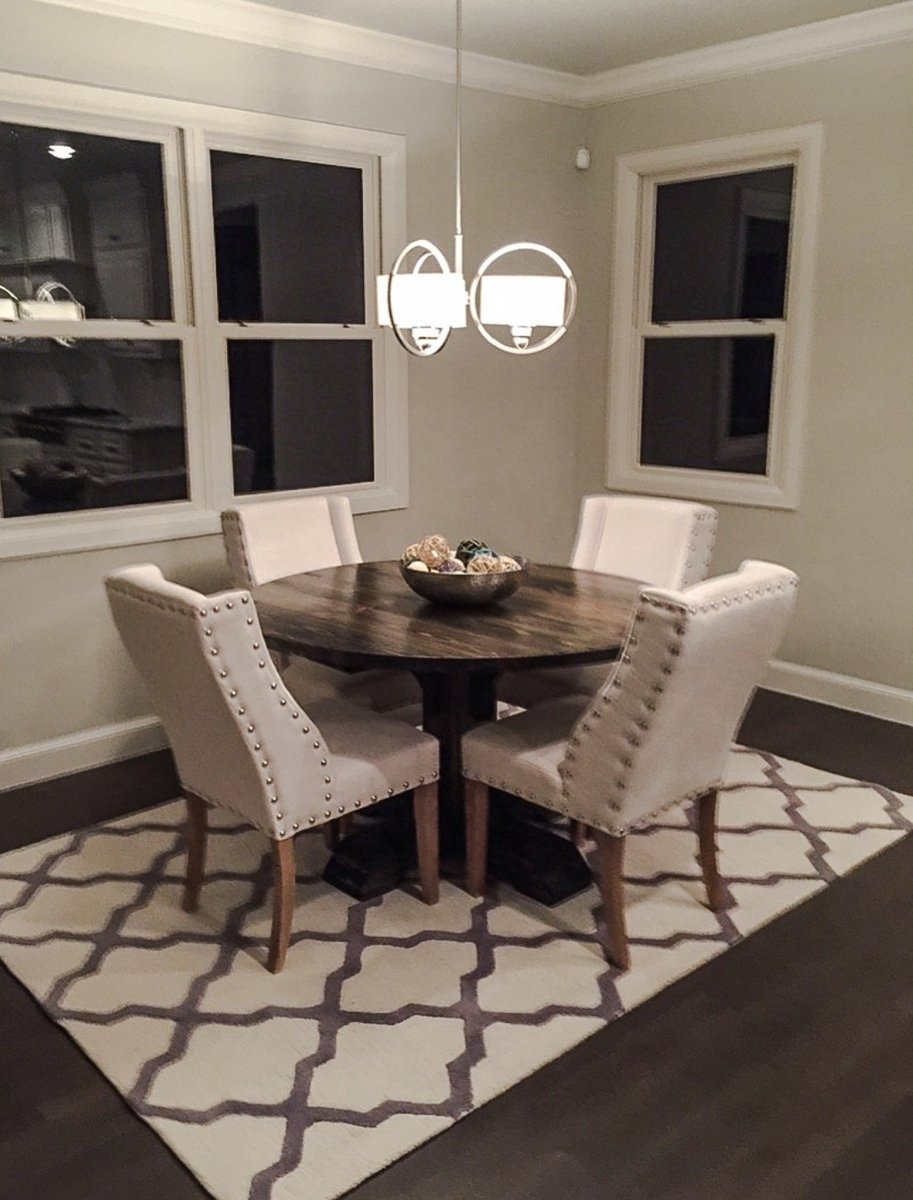
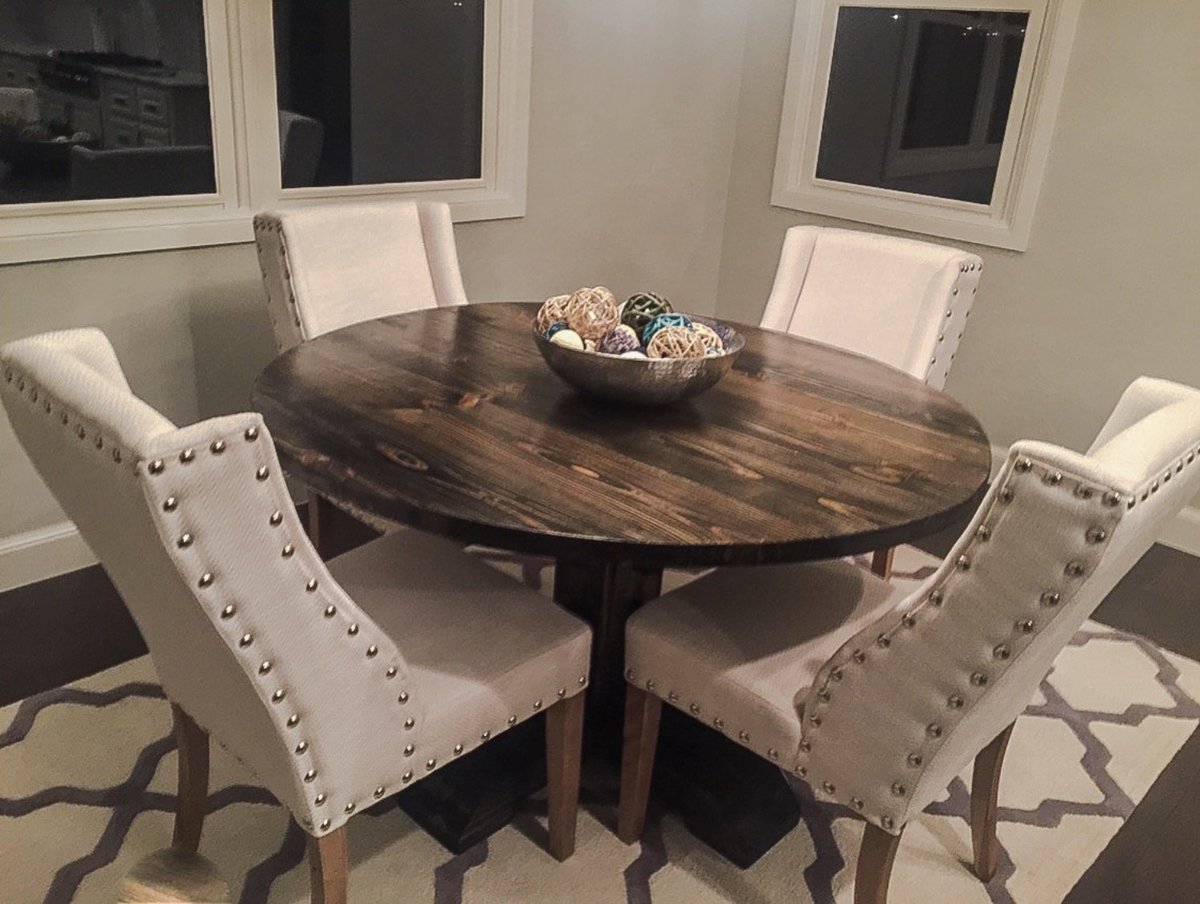
This was such a fun build. Instead of the square table top I opted for a 54" round table top and I also altered the plans for the base. I upped the size for each board used to give it a chunkier look ( Ex: instead of 2x4s, I used 2x6s and so on)
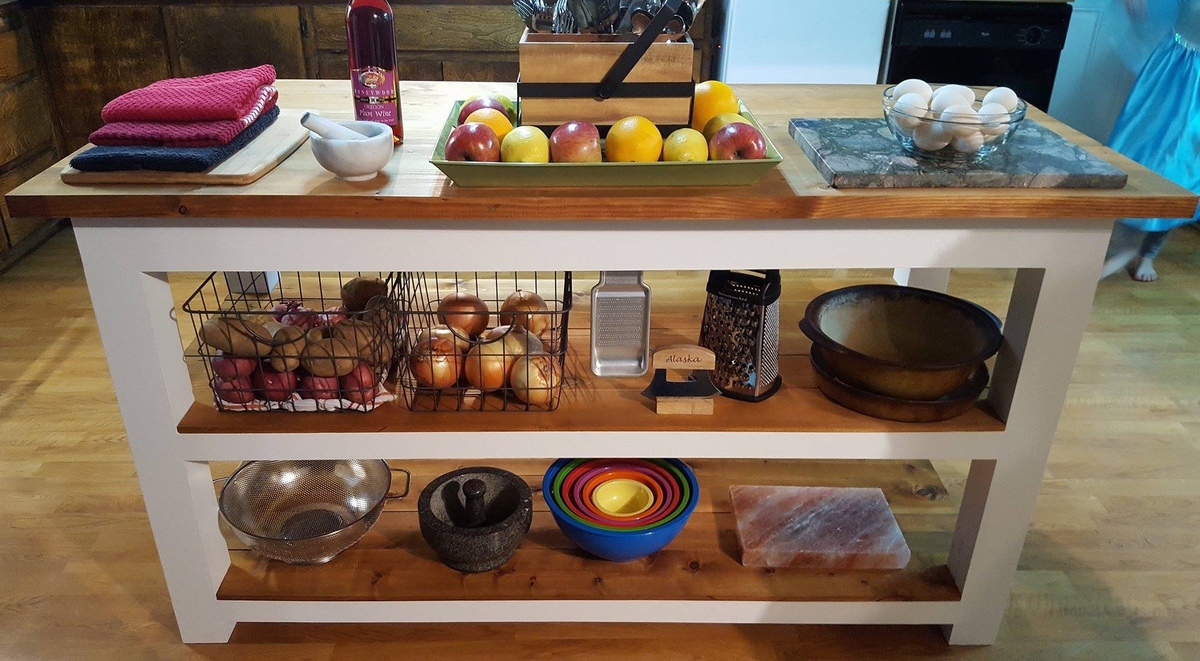
Built from discount 70% off lumber from Home Depot. I planed and cut down to size with a Ridged planer and table saw, then screwed together with kreg pocket screws. Since I will be kneading bread on it, I used a natural coffee stain and then butcher block finish..
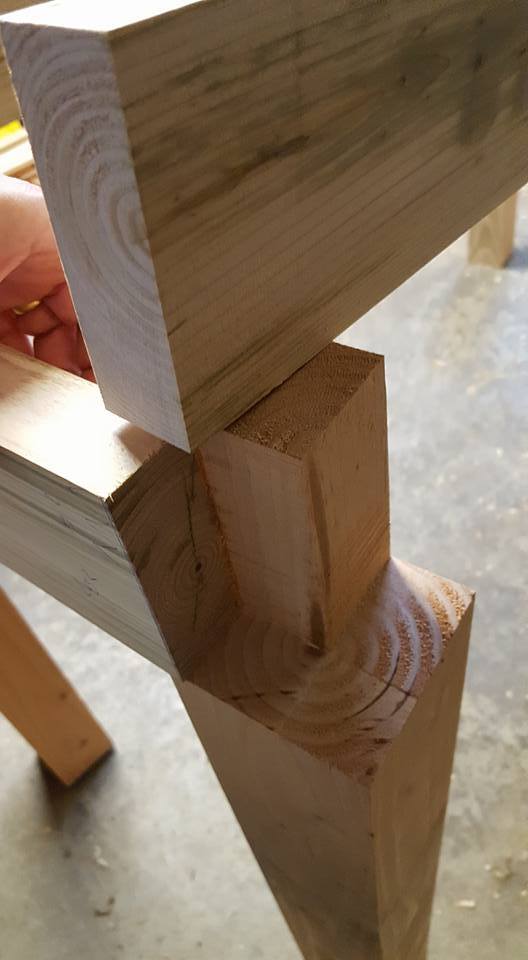
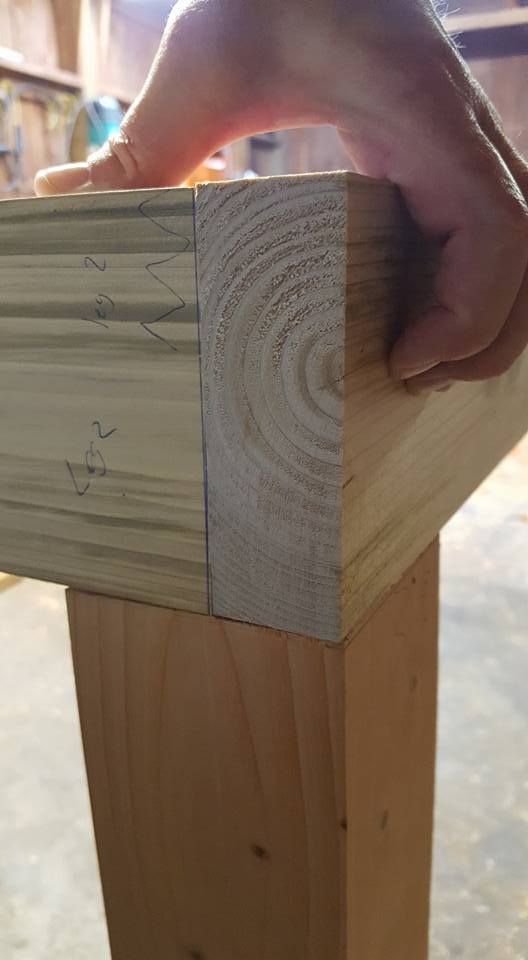
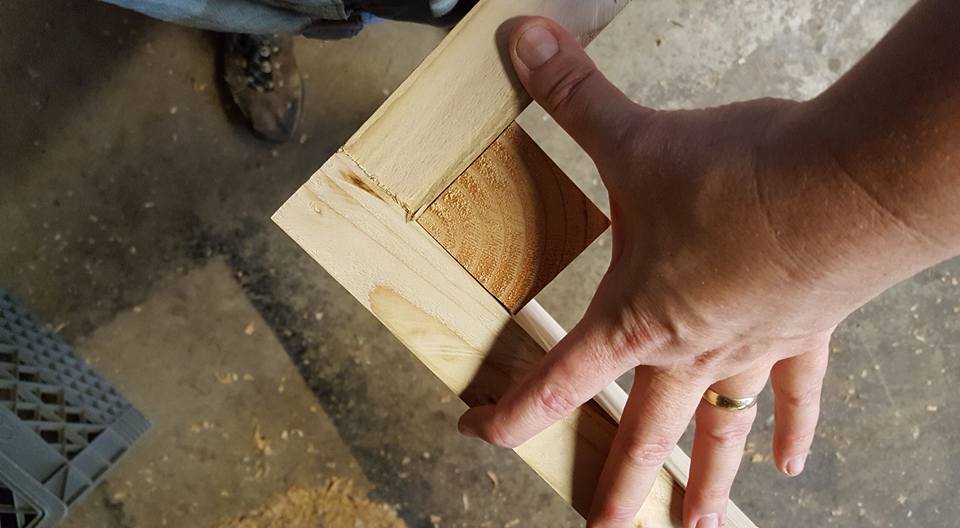
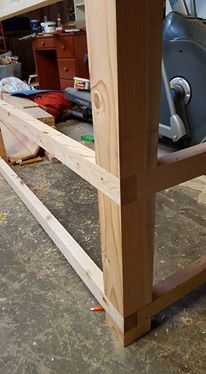
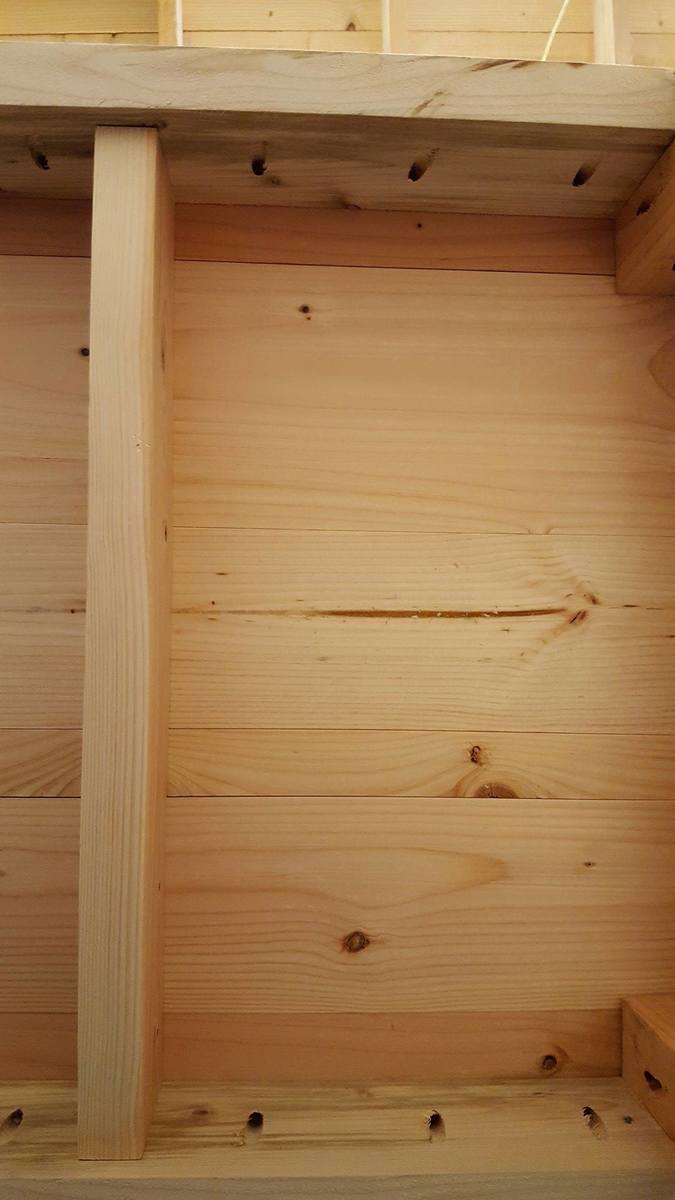
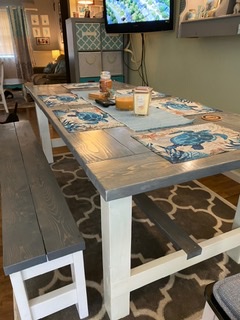
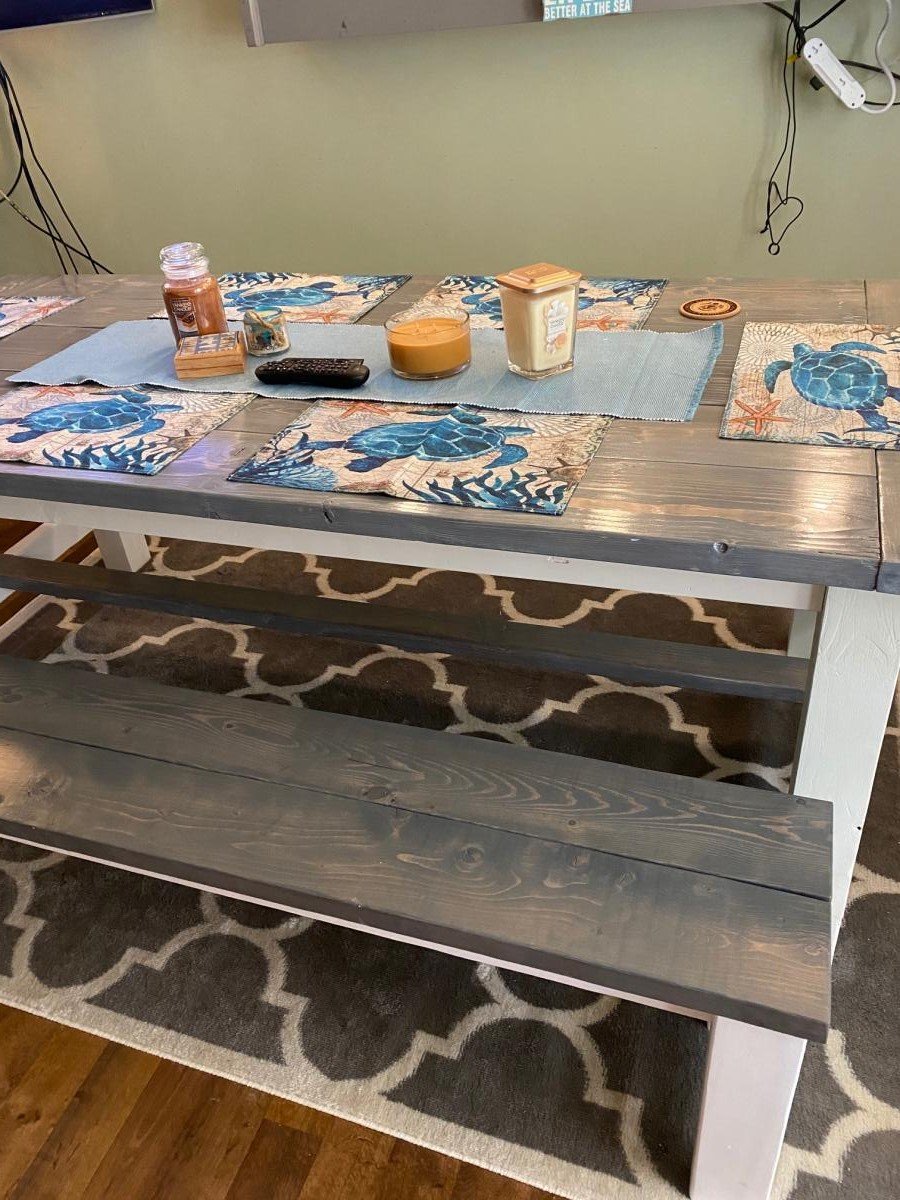
Once I made the farmhouse table, I had to make the bench to go with it! It compliments the table very well. Easy to build only took a couple hours from start to finish. I also used the kreg pocket hole jig on this project as well so no screw holes could been seen. Thank you Ana for the plans!
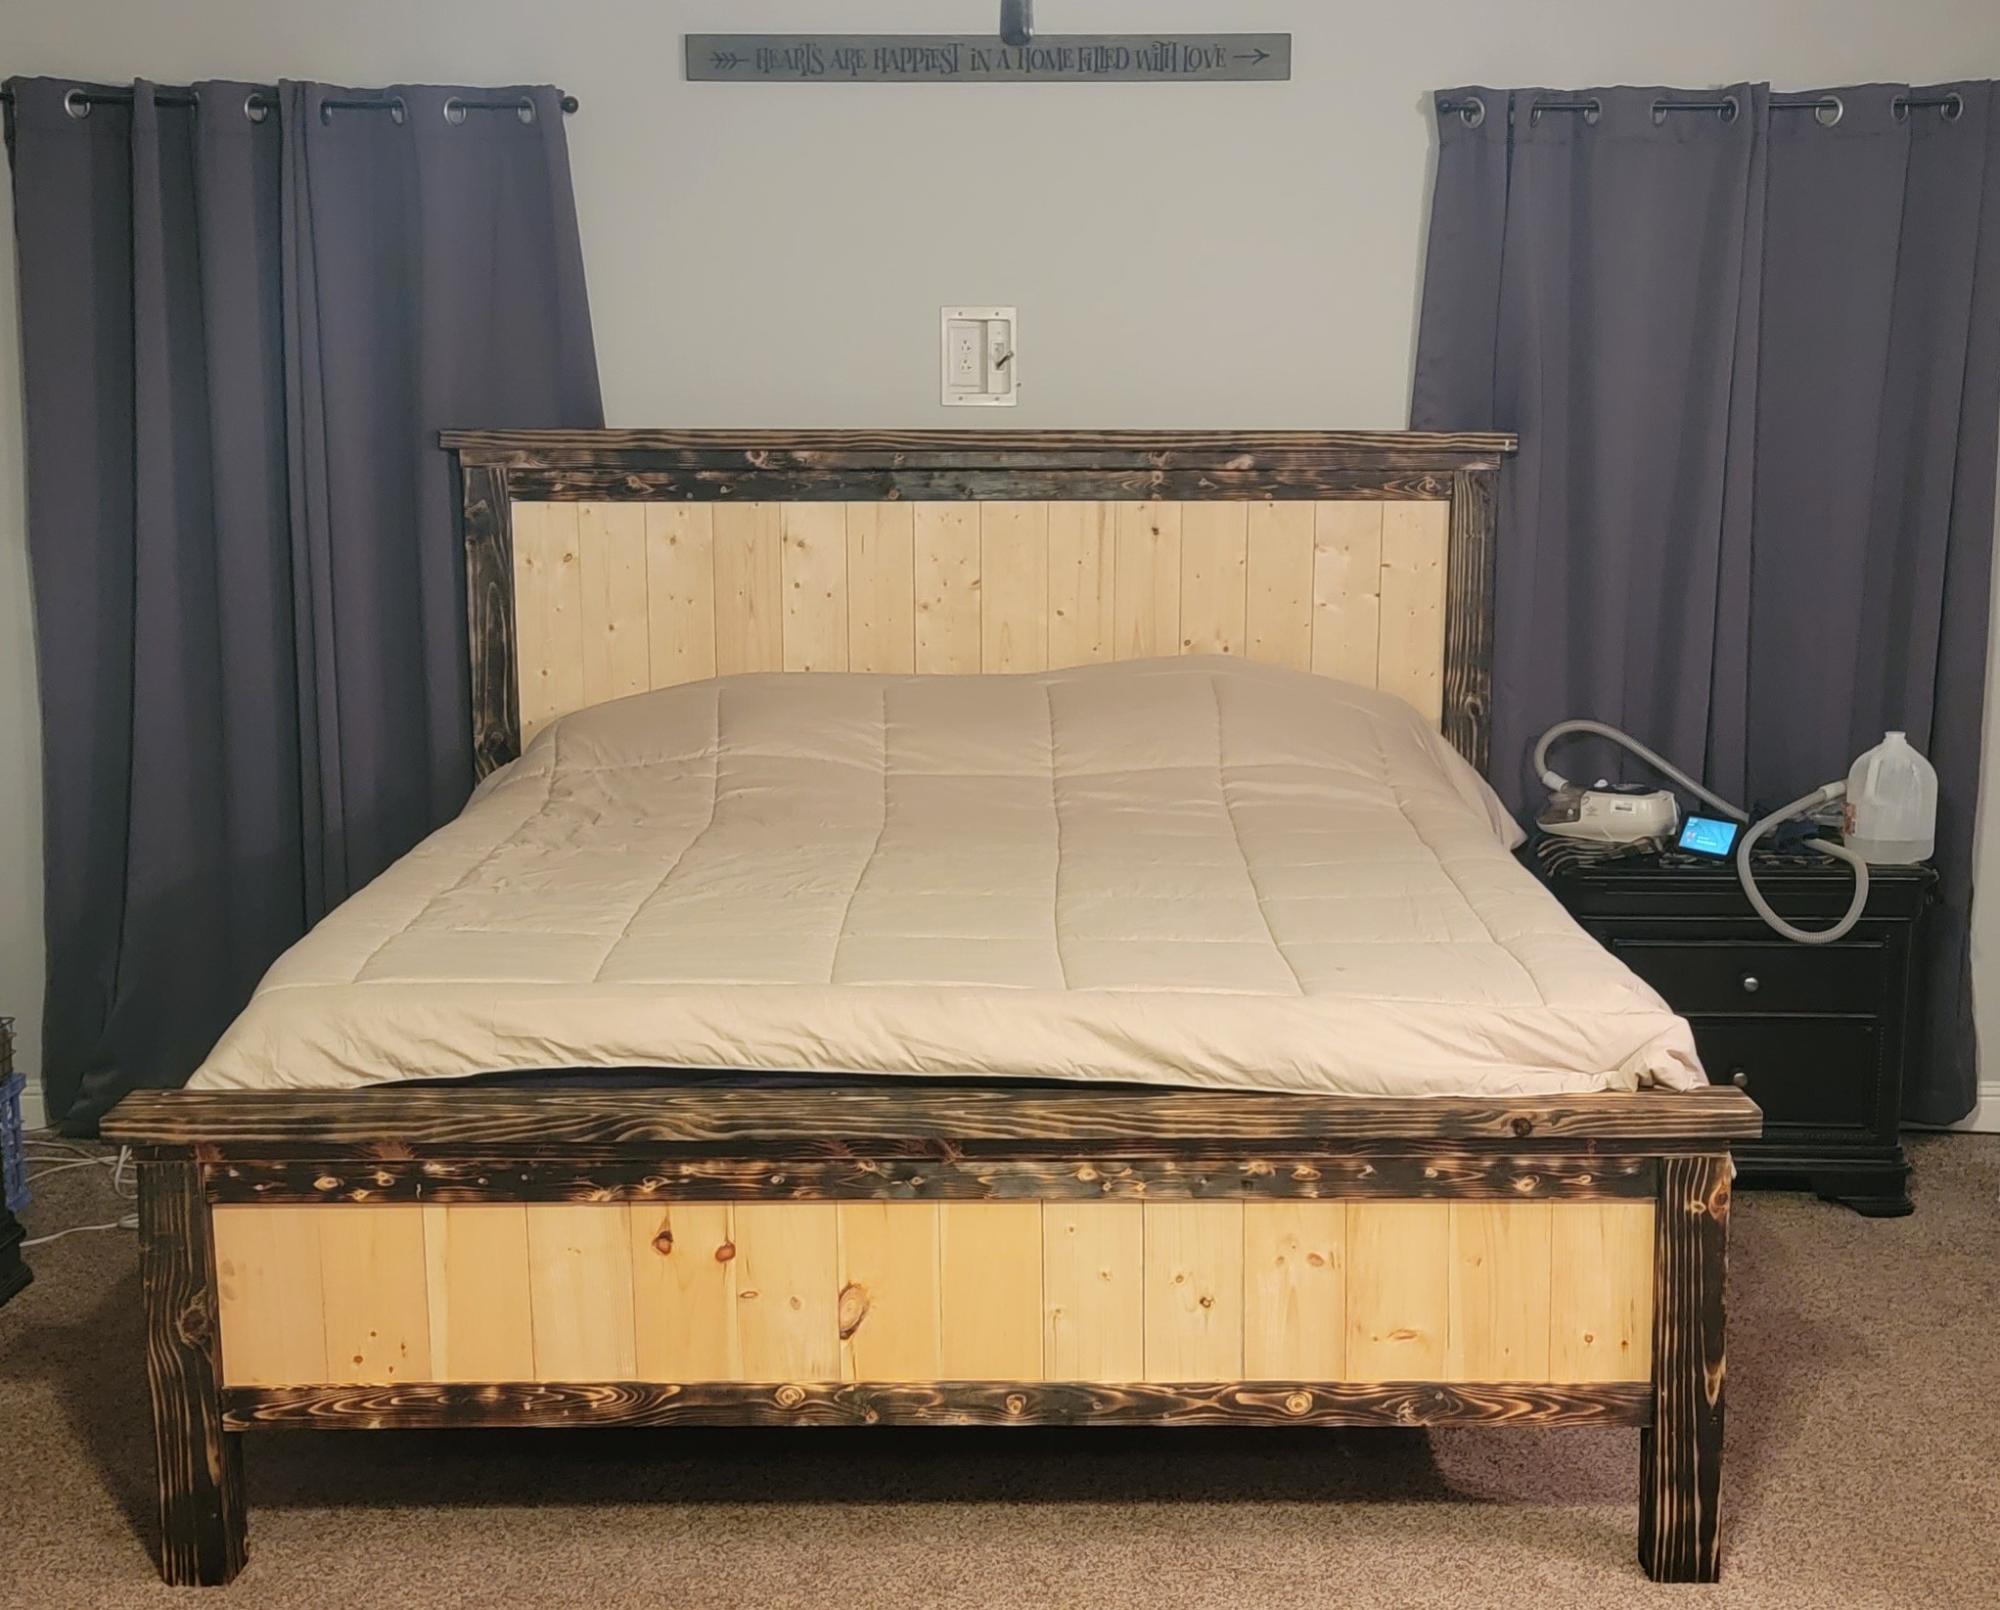
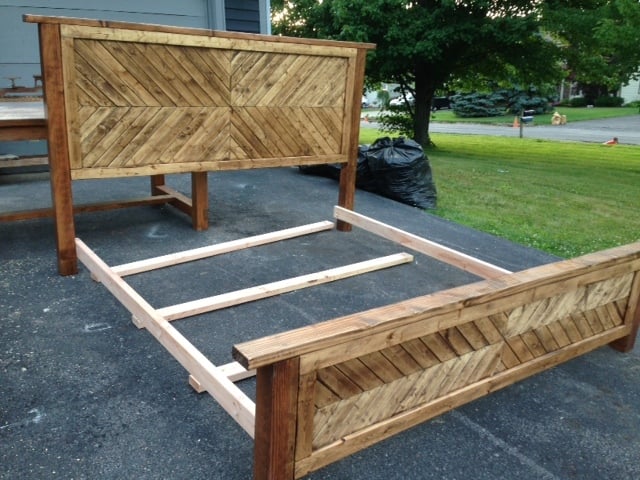
I changed the height of this king size bed and upgraded the boards underneath to 2X3 since I'm a big ole boy and I wanted this to last for years. - Don White
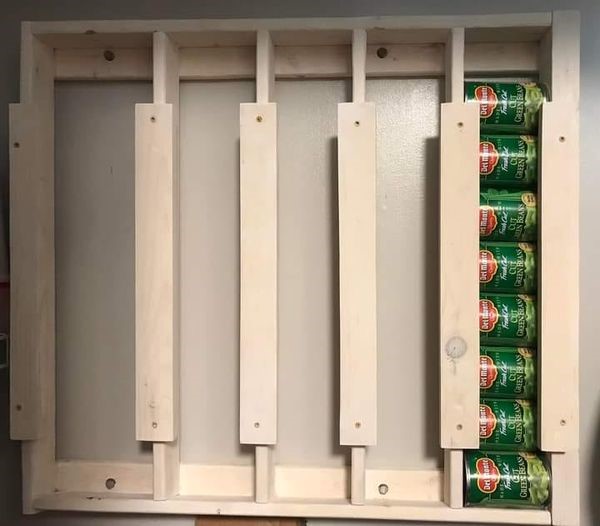
I love all the free plans. I built this one last year based off one of the plans. Edited to add space length and width, with an end for taller cans. by Chasity Abbott on Facebook
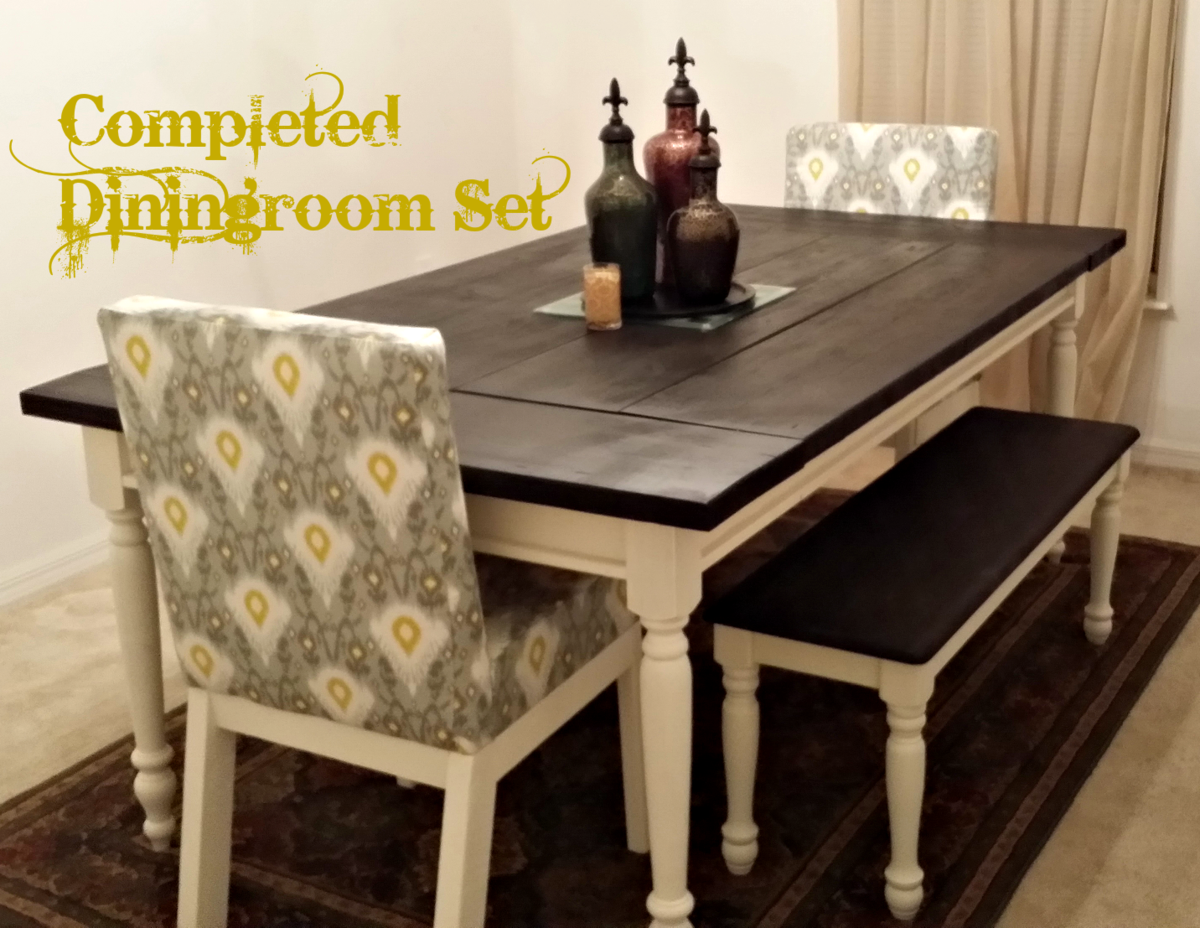
I have lived in my house for over 9 years and have never done anything to it until recently. I have made the commitment to move away from plain white walls and boring "plug-n-play" furniture. I discovered Ana's site a few months ago and have been a daily visitor. I made this dining room set with the confidence Ana's instructions gave me and I am forever grateful.
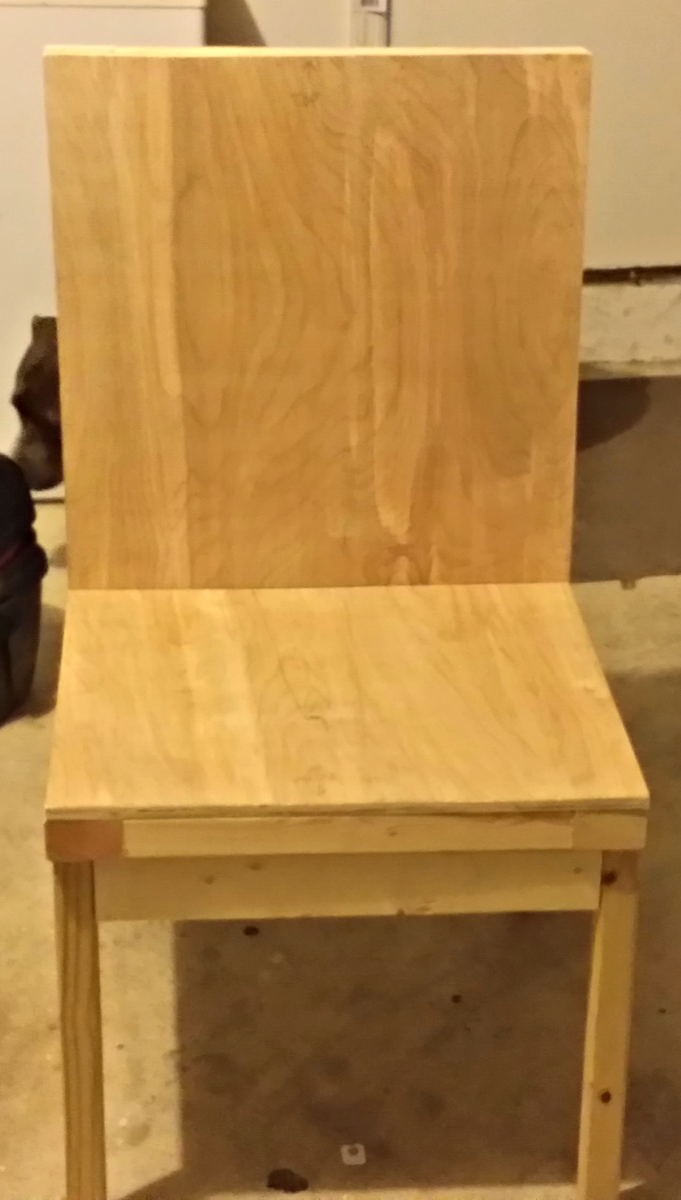
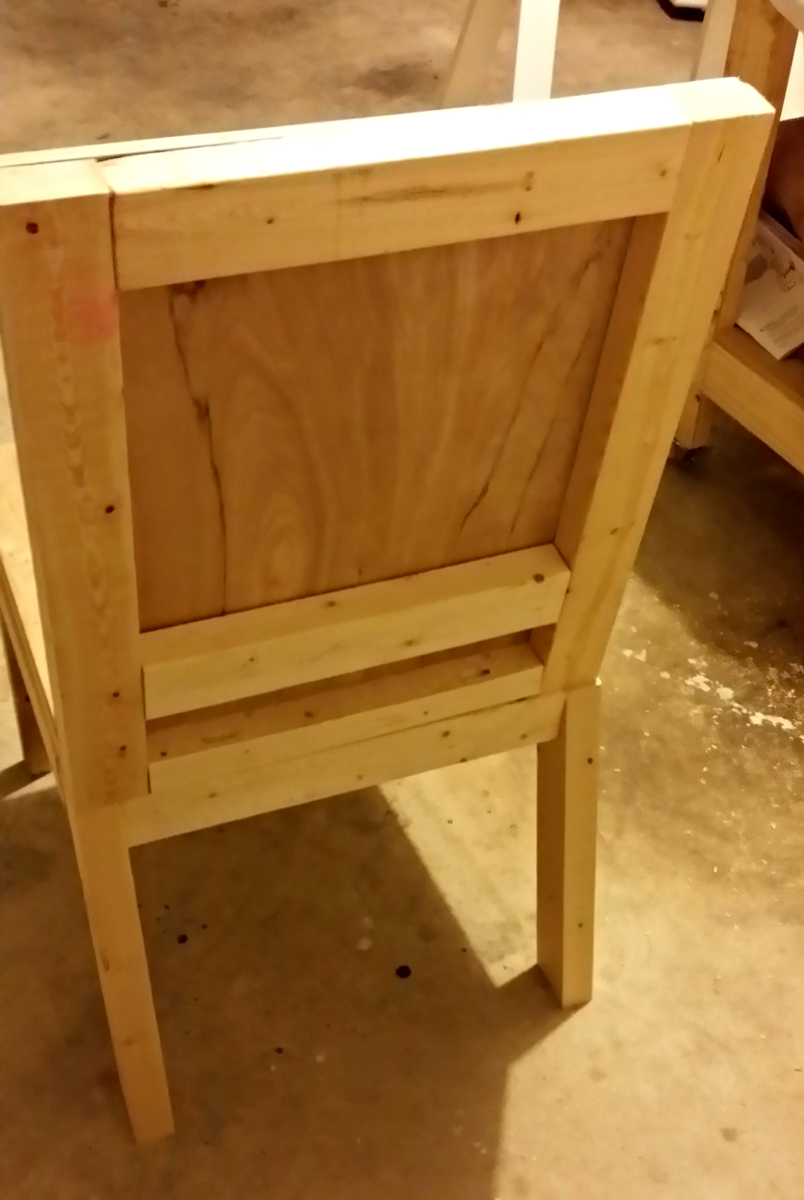
I made a few adjustments to the Parson Chair, making it longer in the back and used 5 degree angle instead of 15 and made the seat wider for our hefty hips and I used all 2x3s for the "chair bones".

Fri, 08/29/2014 - 10:42
You did such a beautiful job on these! The chairs, bench, table, and finish all look spectacular!
Sun, 04/03/2016 - 17:33
I really like the matching bench. I am going to make this table for my daughter and she wants a bench with it. I am wondering where you found matching legs short enough for the bench? I have been looking but what I find are legs for end tables but they are too long. Seems the bench-top height should be a standard 18 inches. Thanks for any help.
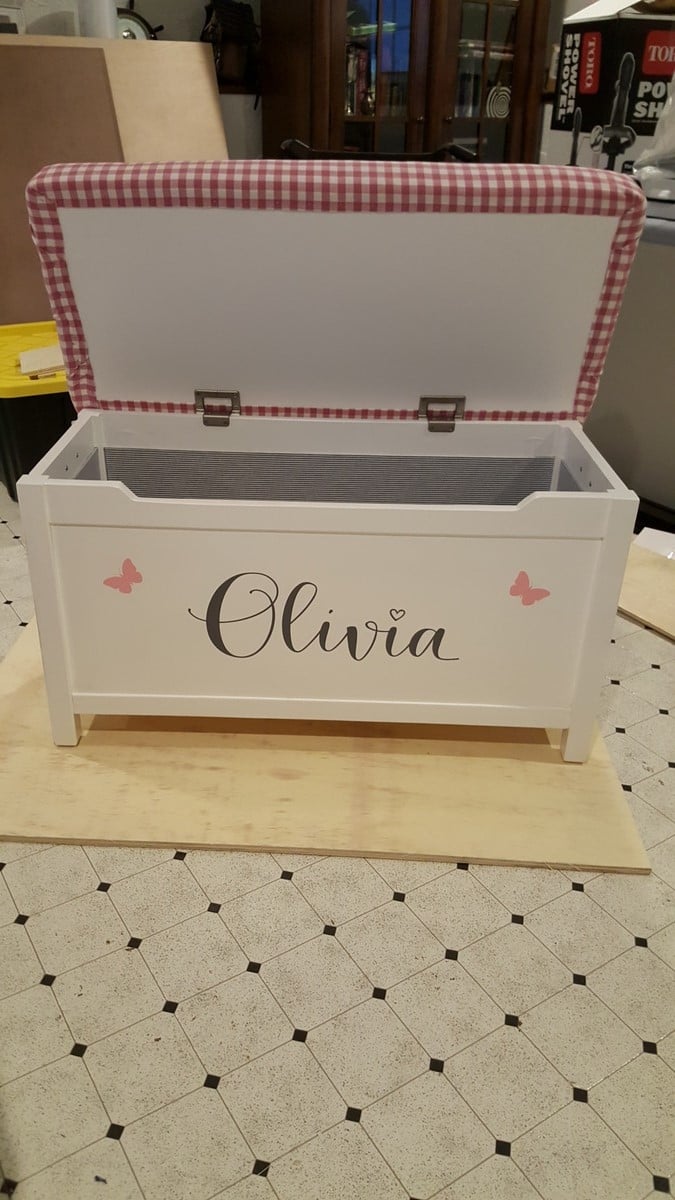
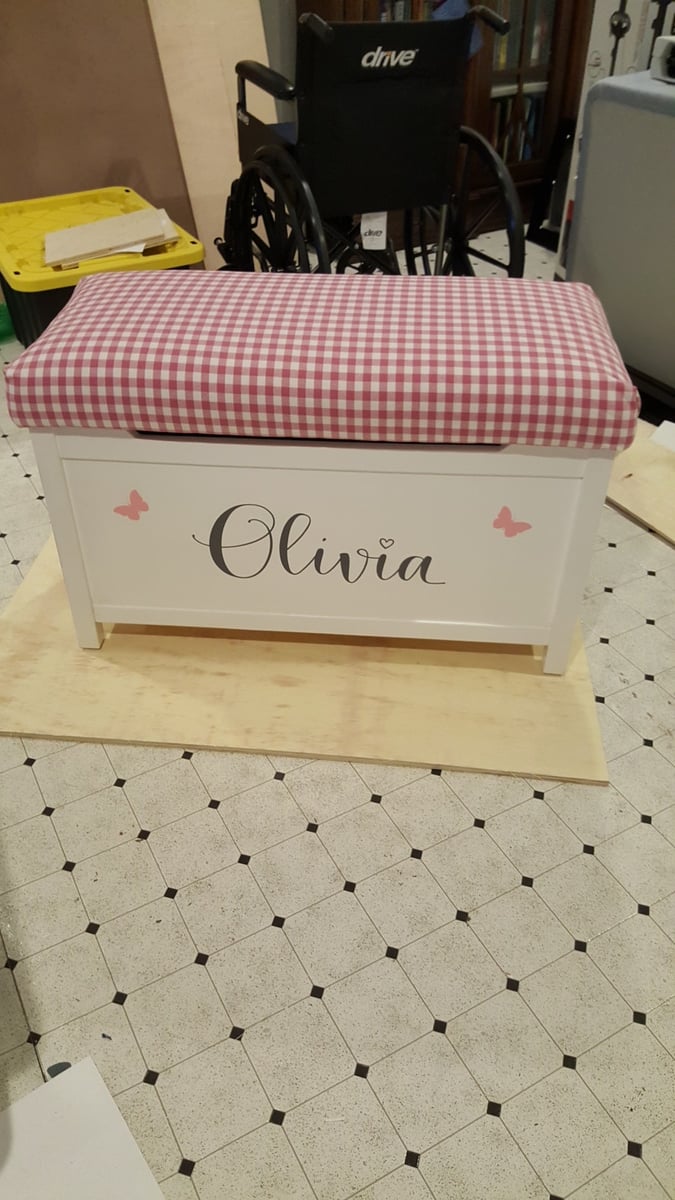
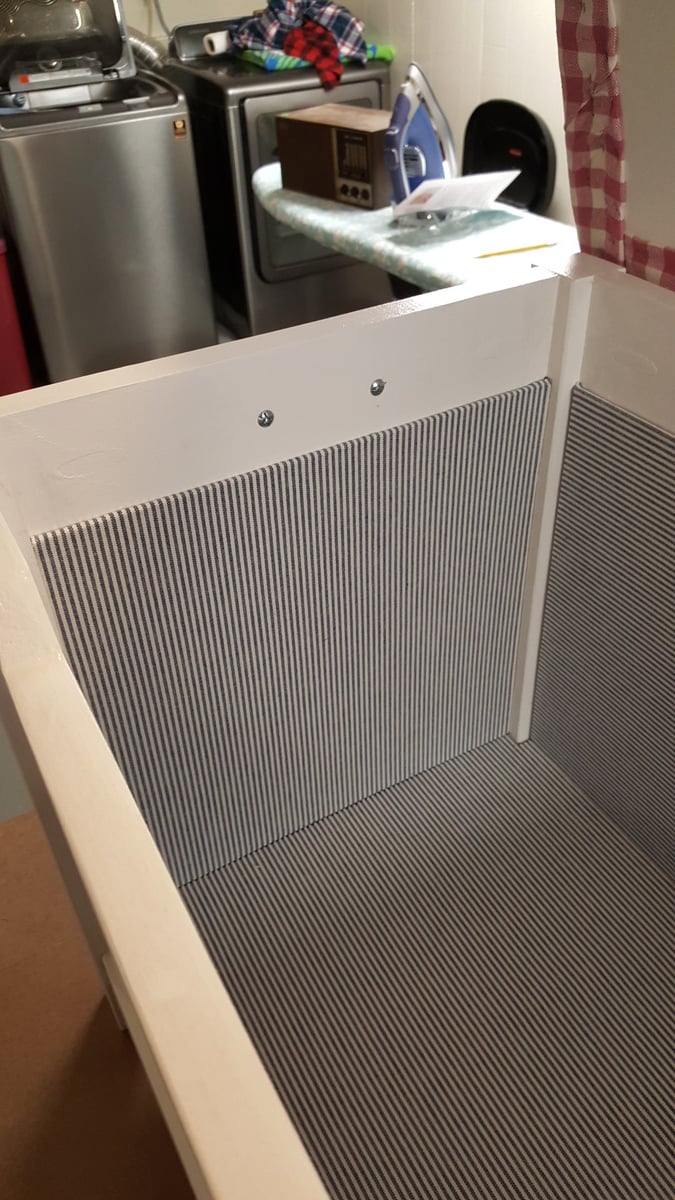
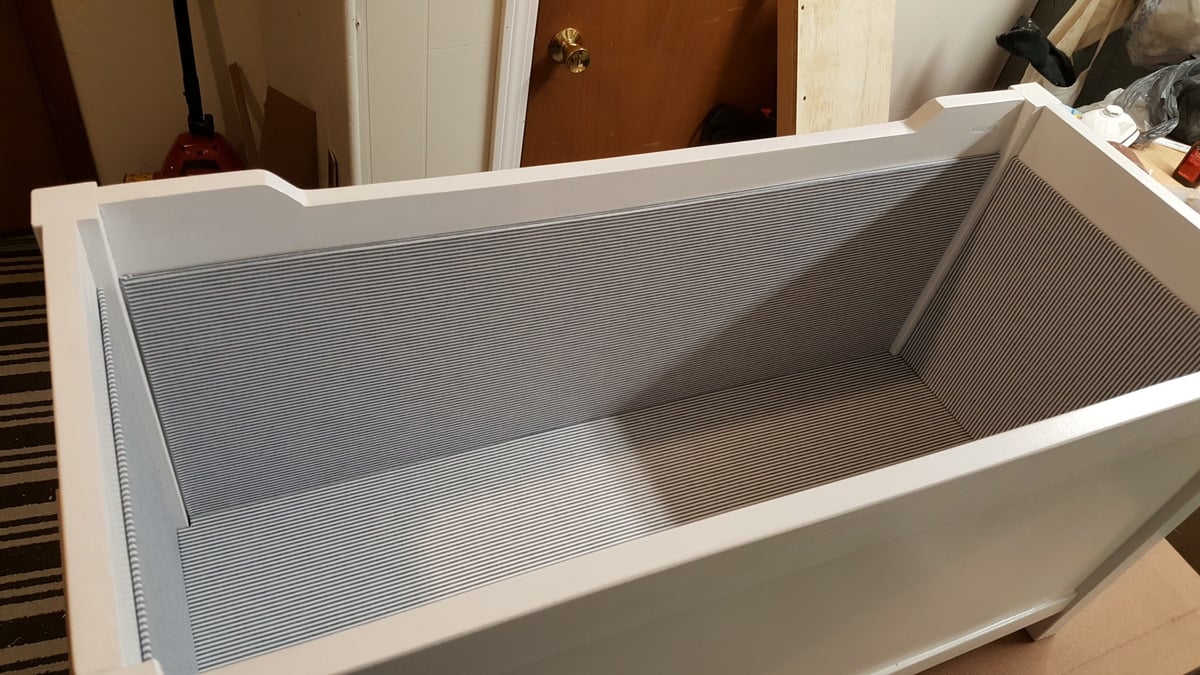
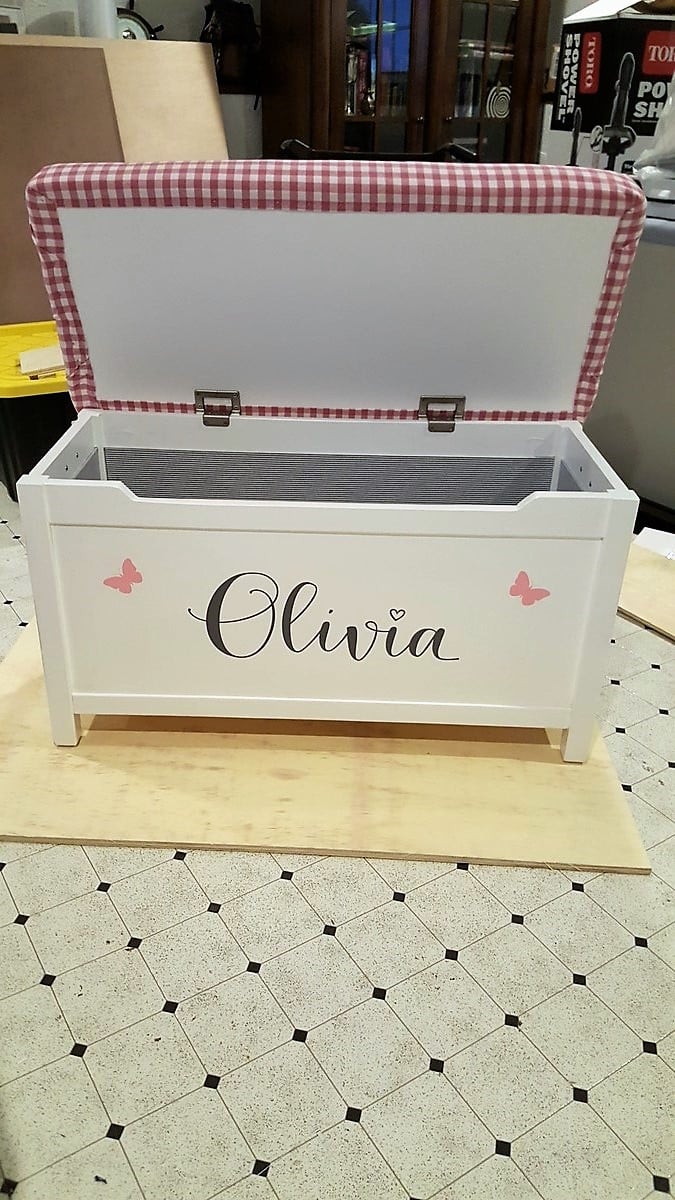
Thanks for the great plans! I built this toy box with my dad for my soon-to-be niece.
We followed the plans closely, but added four additional parts:
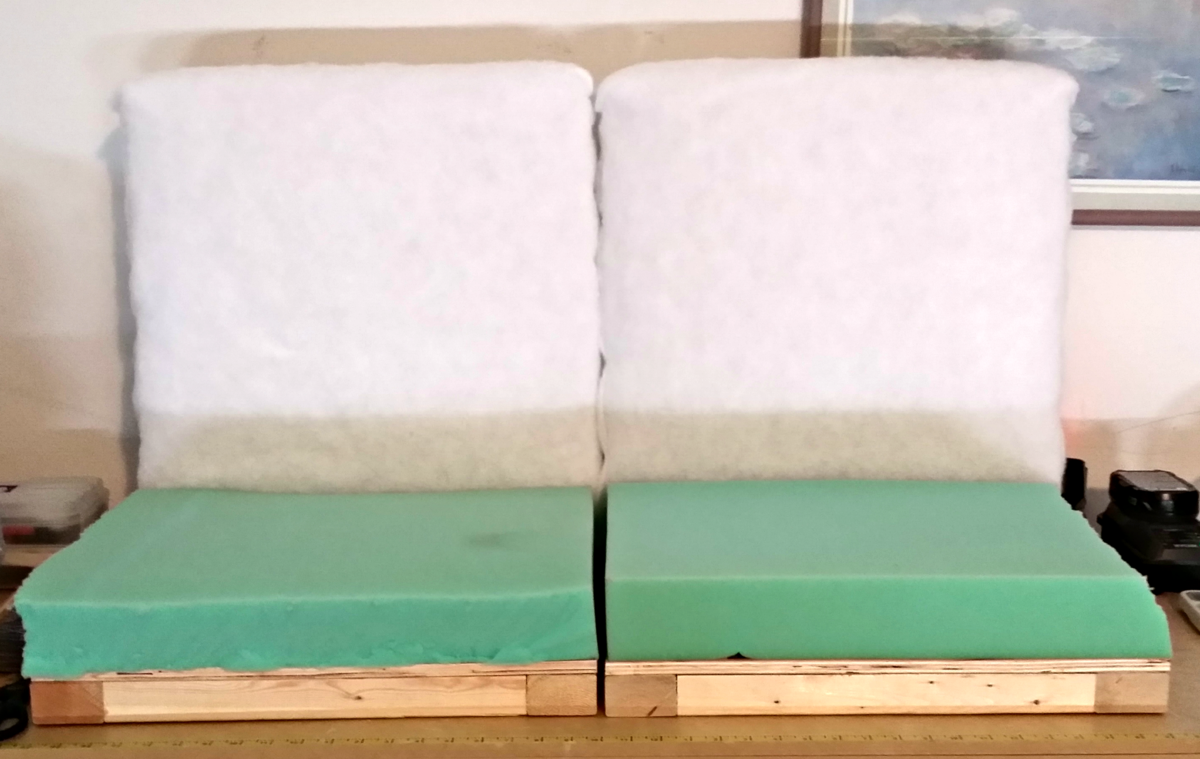
1) Added 3 inch foam, batting, and fabric on the top of the toybox
2) Lined the interior. We used 1/8 inch harboard. We cut the harboard to size, used spray adhesive to attach the fabric to the harboard, and then attached the hardboard to the toy box with loctite adhesive.
3) Added two handles to the side
4) Used a vinyl sticker pruchased from Etsy with my neice's name on the front
We used semi-gloss paint and finished the toy box with sem-glass polycrylic (brushed on, not the spray can).
Enjoy!
Best,
Mike
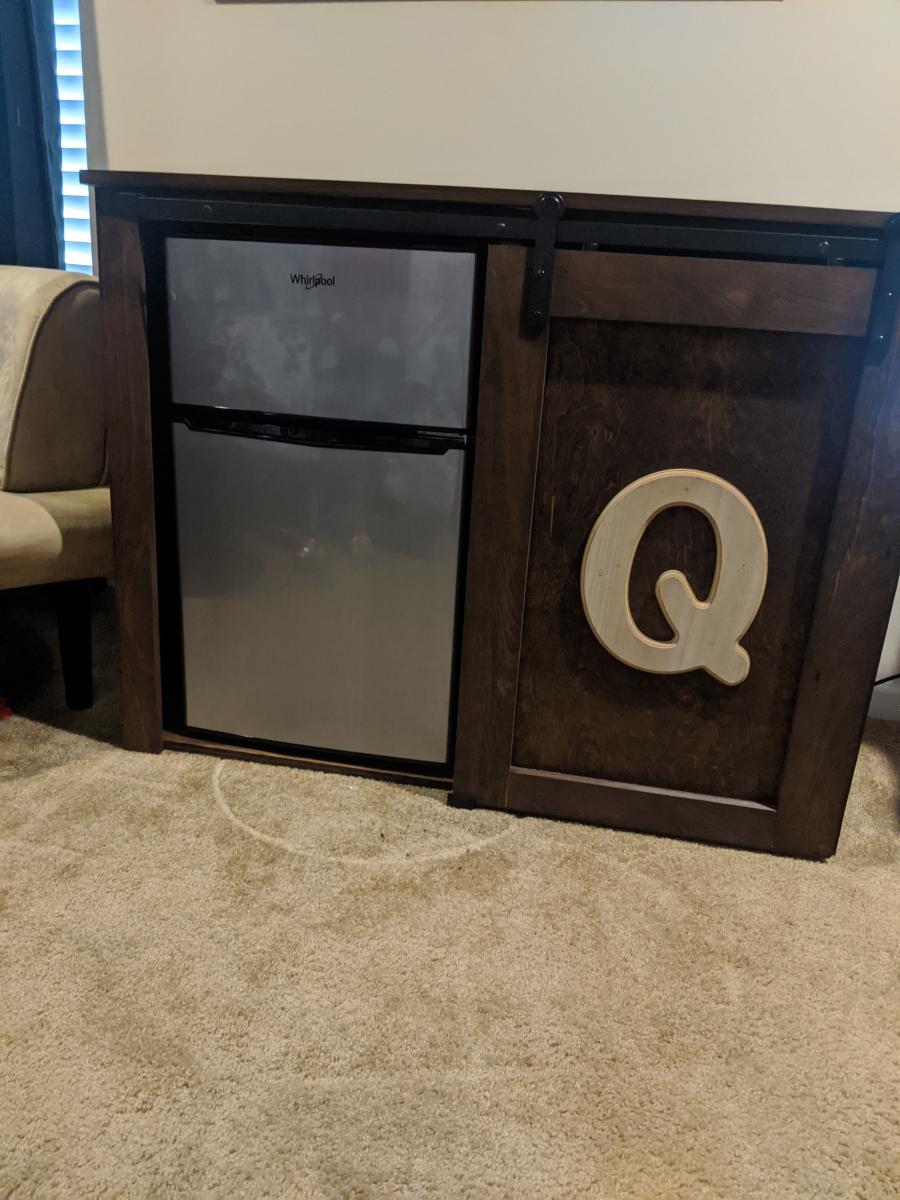
I was able to make this cabinet using your plans and it went absolutely flawless! Thank for all that you do!
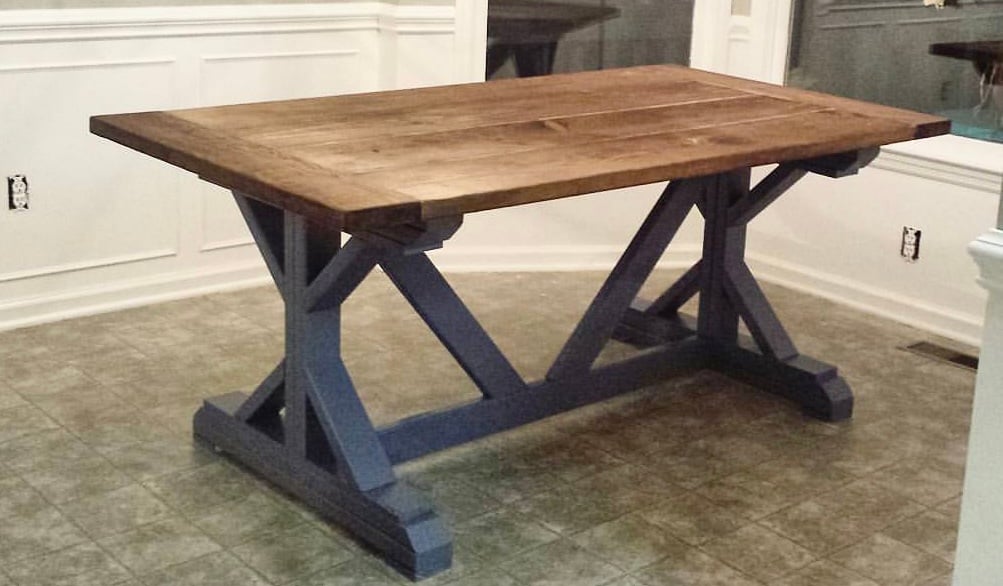
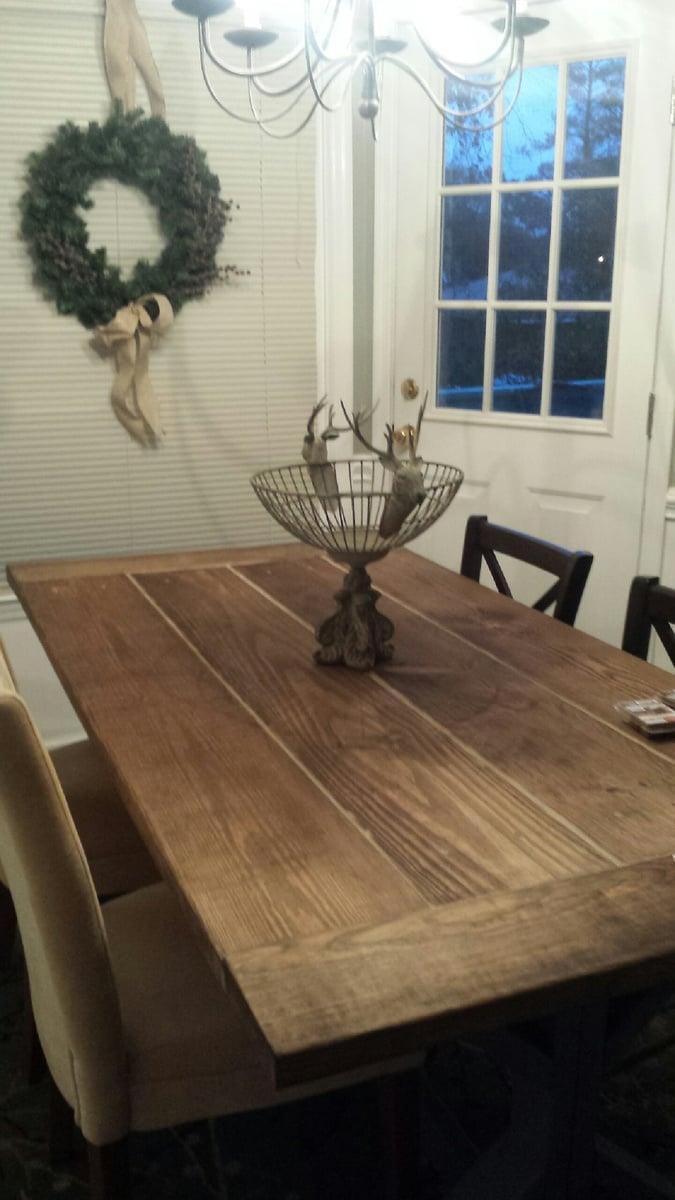
I modified this plan just a little on the ends, and I can not tell you how pleased I am with it! I did run into some issues with lining the boards up properly due to imperfections (and not laying the boards out ahead of time in the store because I was rushing at closing time), but in the end, I decided to add a wood filler in between the boards and everyone just raves over it. I could not imagine it having come out better. I would not do it any other way.
Thank you Ana!!
PS... I have a wonderful idea for a loft bed, but the plans are not provided. I know you would do it justice.. how do I submit the photo????
Tue, 07/30/2019 - 08:01
Jeff,
I do apologize for not having seen your comment! I will work on plans as soon as possible and let you know when they are available. Thank you! :)
Sat, 05/30/2020 - 07:34
I also liked this table but never found the plans for it. I did find a very similar table with plans at:
https://www.shanty-2-chic.com/2012/06/fancy-x-farmhouse-table.html
Looks like just the bottom of the legs are different...
I used the plans for the Fancy X Farmhouse table, but customized the lengths of both the bench and table to fit our room and to the sizes we wanted. Thanks Ana!
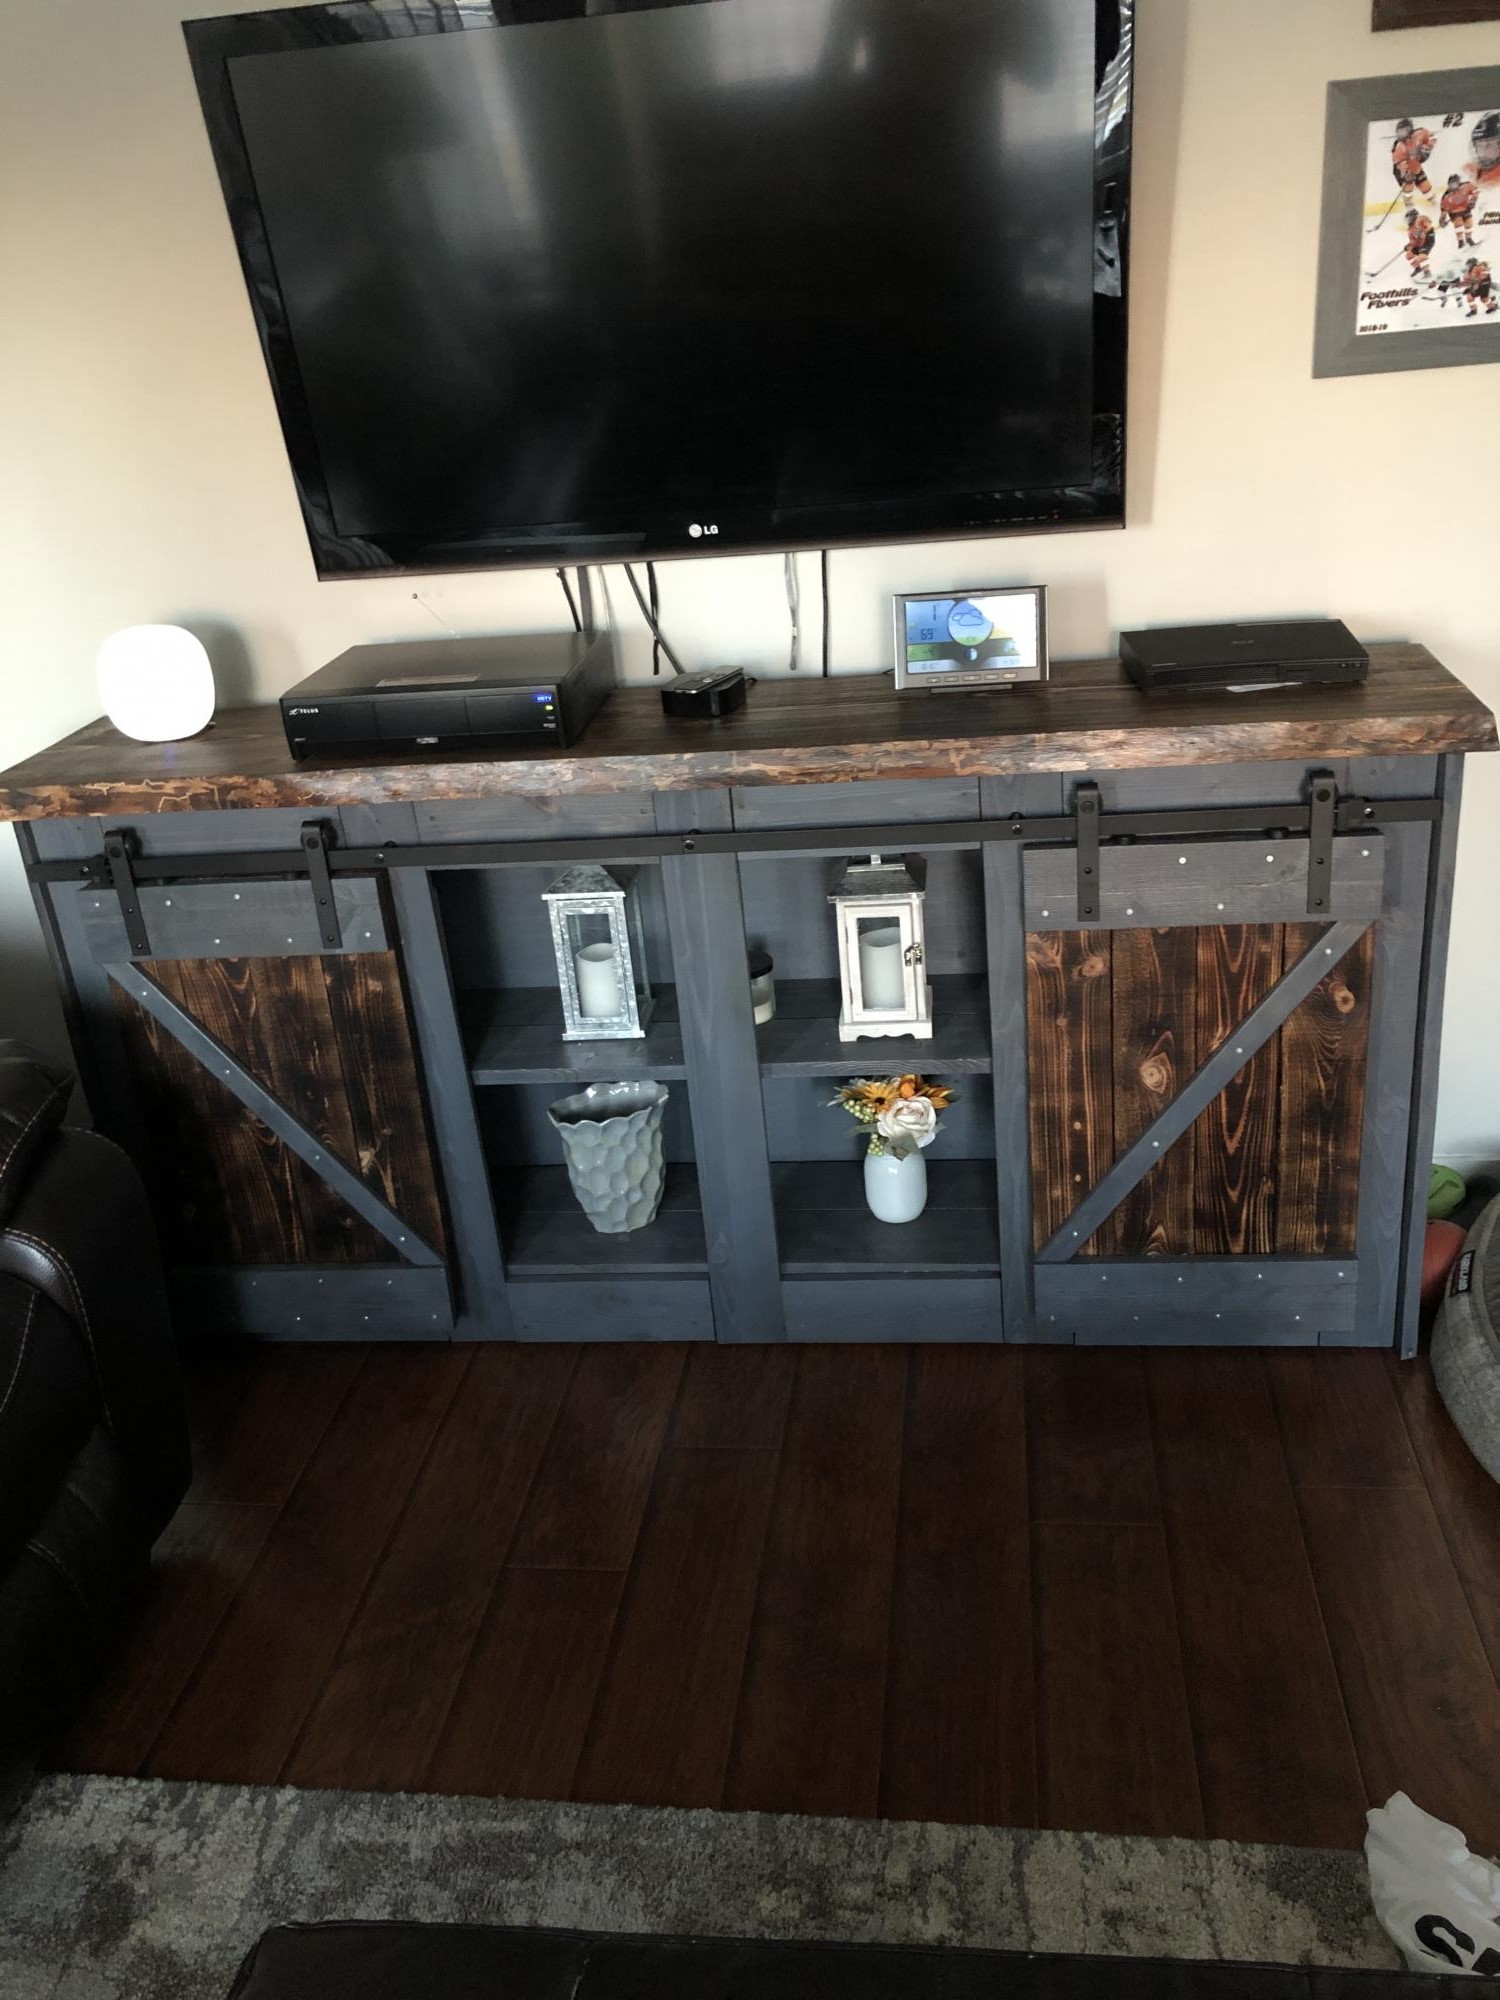
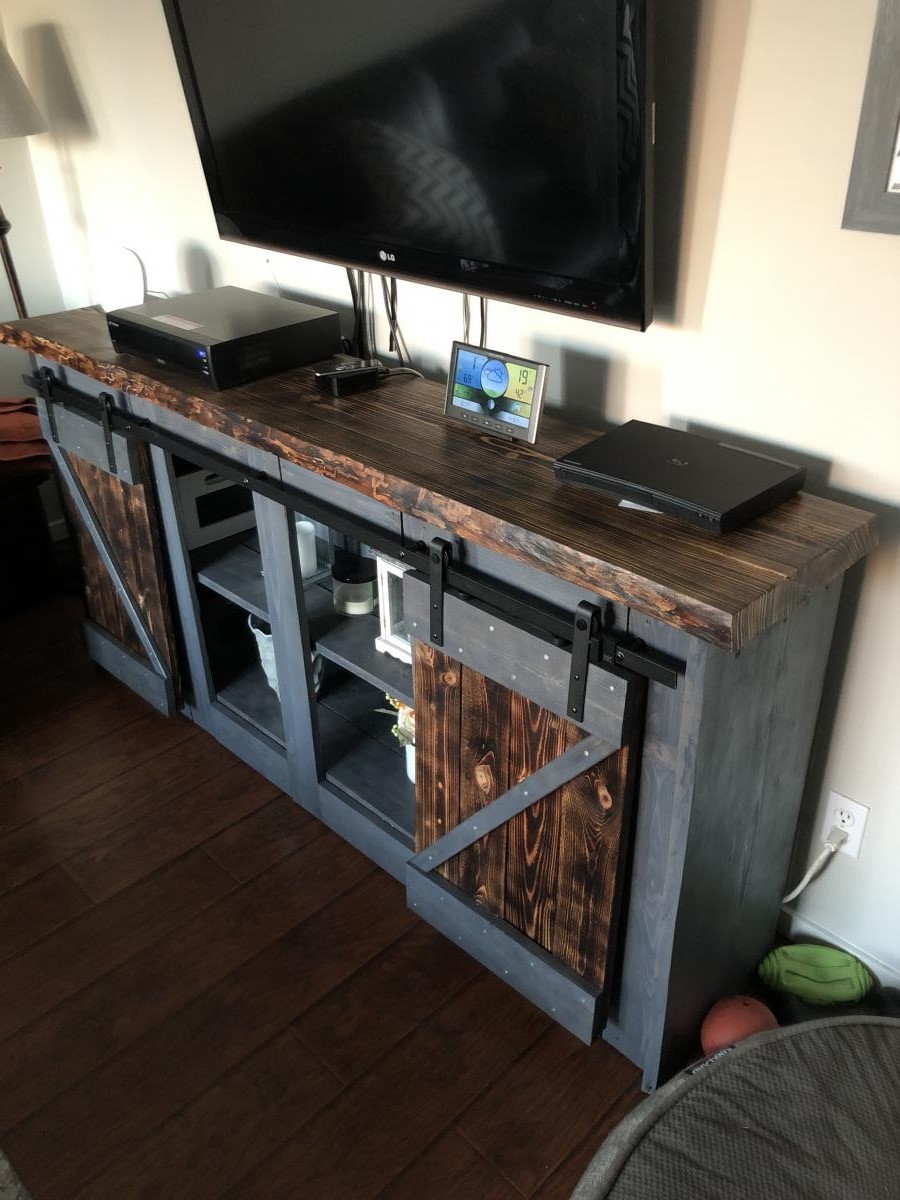
My first project, I built it out of rough cut lumber that I cut on my parents portable sawmill. Took me three weekends to build, turned out pretty good, but I would change how I did a few things.
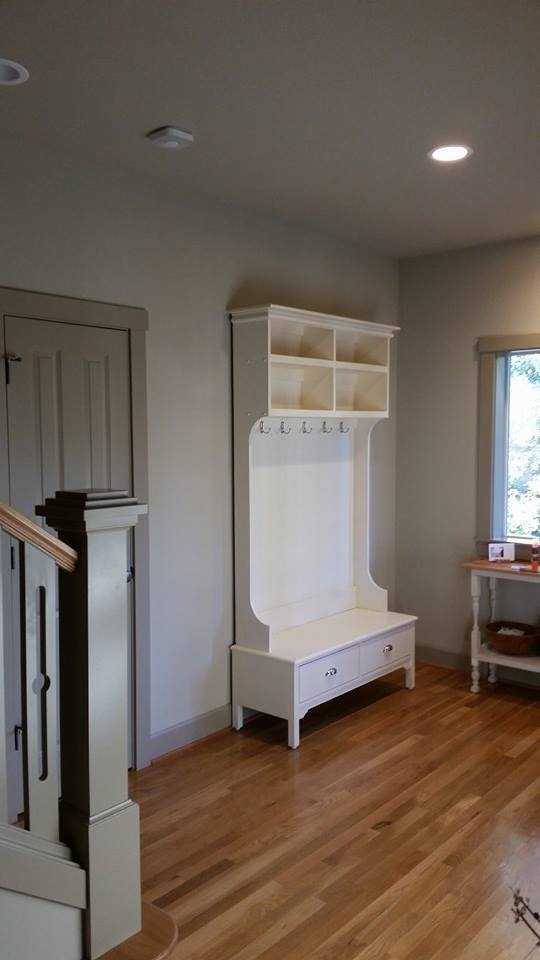
I combined Mimi's Hall Tree with the Alexia Bench for this project. It really turned out great. My son and his wife love it. It also made me feel pretty good that I built something for them that hopefully will be passed down to future generations.
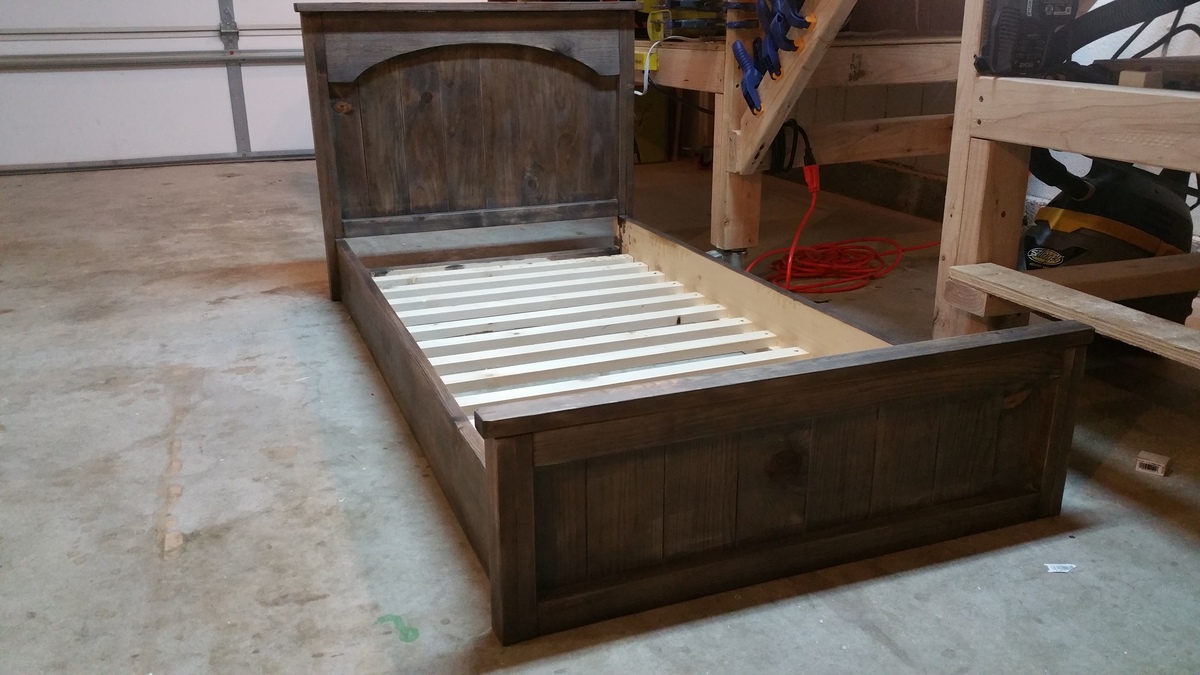
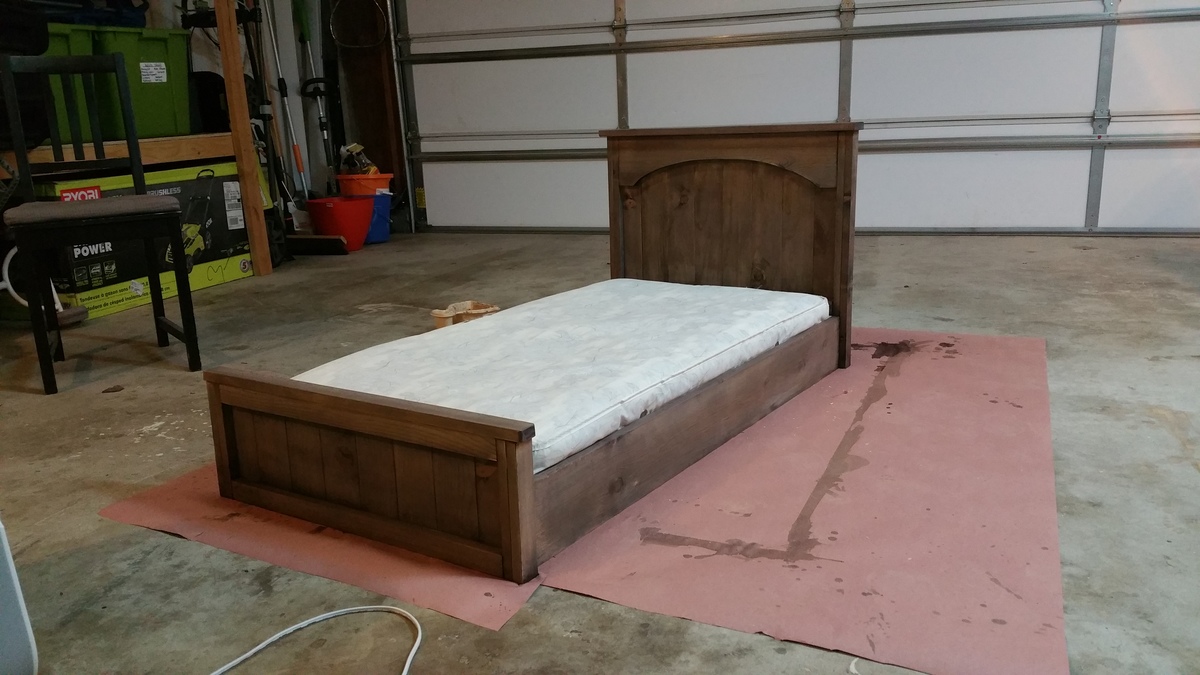
Our 18 month old was constantly climbing out of her crib so we got a cheap toddler bed and tried it out. She liked to go under the bed and almost always got one of her legs stuck between the slats on the under side of the matress.
I decided to build a bed and found Anna White's Toddler Farmhouse bed plans. We modified the plans ever so slightly to make it a platform style to address our original issue.
For the stain, we used 1 coat of steel wool and white vinegar that sat for 24 hours and prepped the wood with 3 bags of black tea steeped in boiling water for 10 minutes. The color was exactly what we were looking for.
This is my first project and there was a good amount of learning involved but it turned out amazing!
Here is something I finished this weekend!
I did change the measurements to 30" across since I only need 2 stockings. - Krystal Sims on Facebook
Tue, 11/12/2024 - 08:45
This is such a thoughtful and insightful post! I really appreciate the way you’ve highlighted the importance of simplifying complex ideas. It's so easy to get lost in overwhelming amounts of information, and that's where services like Nocramming https://nocramming.com/discounts/preply-promo-code can make a huge difference. They help break down content into digestible chunks, making learning or understanding something new much easier and more manageable. Definitely a great approach to keep things clear and focused—thanks for sharing this perspective!
I made those for the christmas present of my hoby.
Followed Ana's plan exeactly same and it worked well for my need.
Thank you, Ana!
