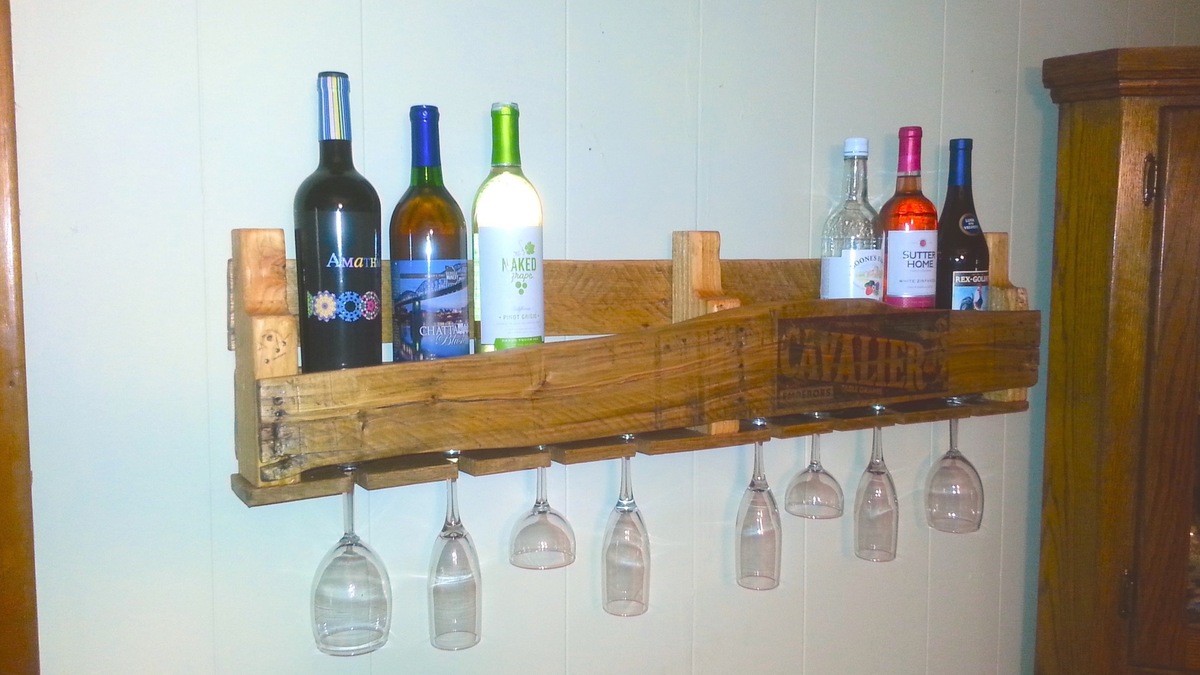
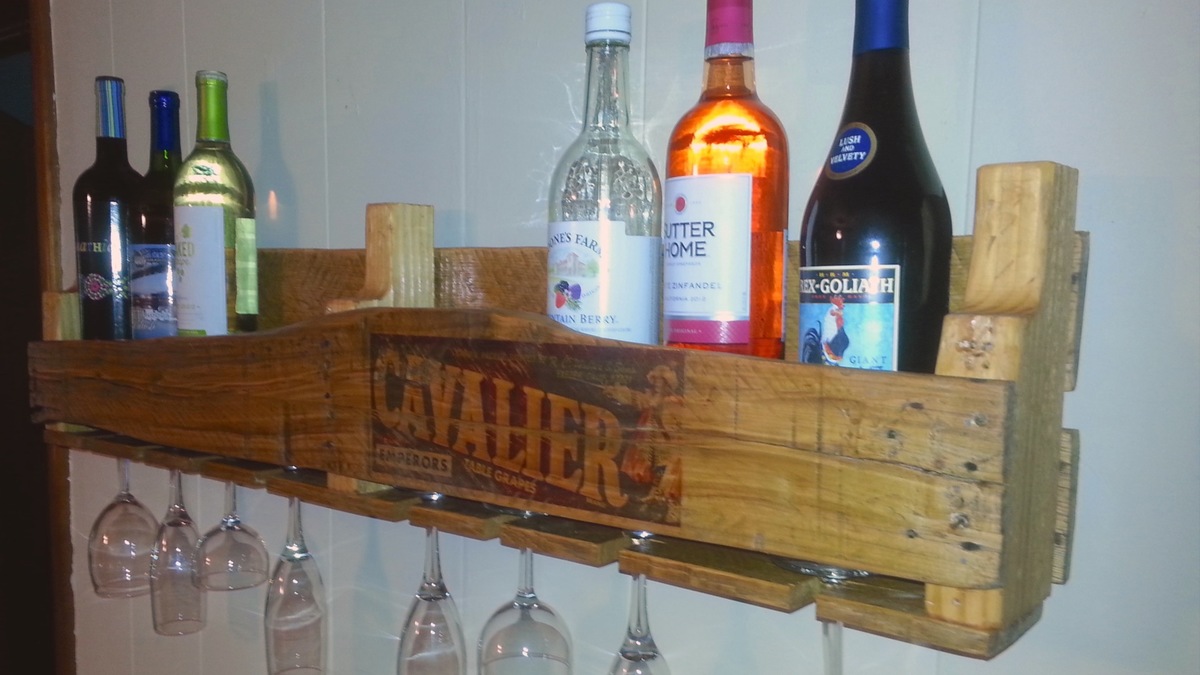
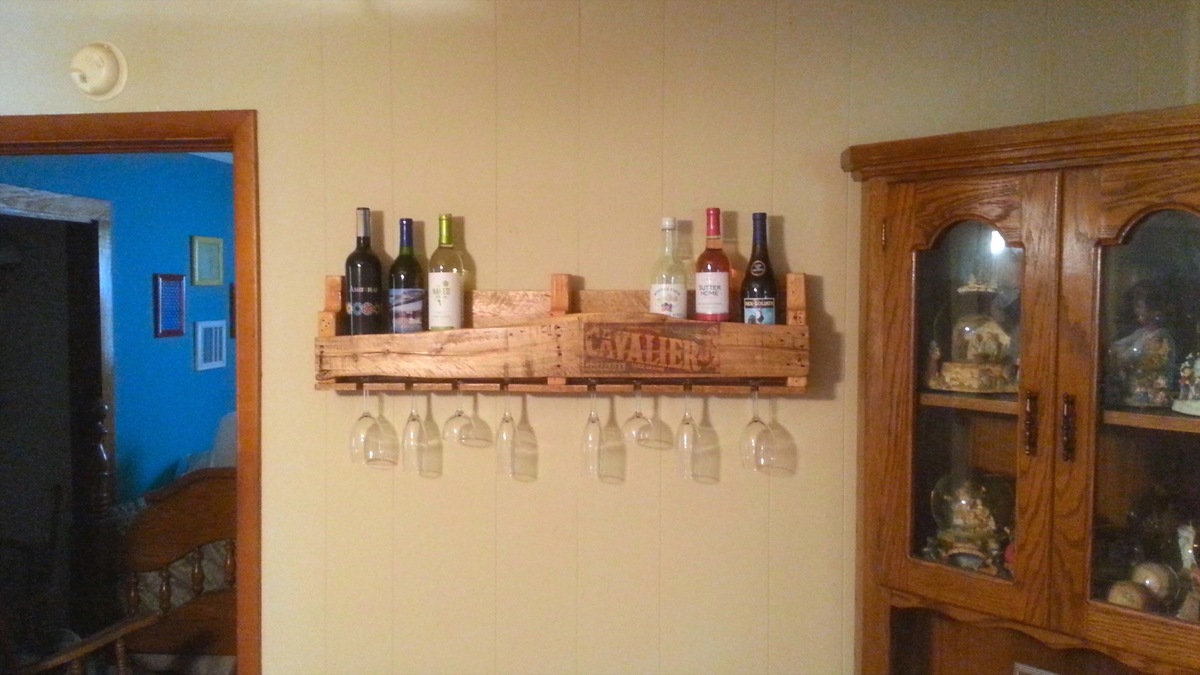
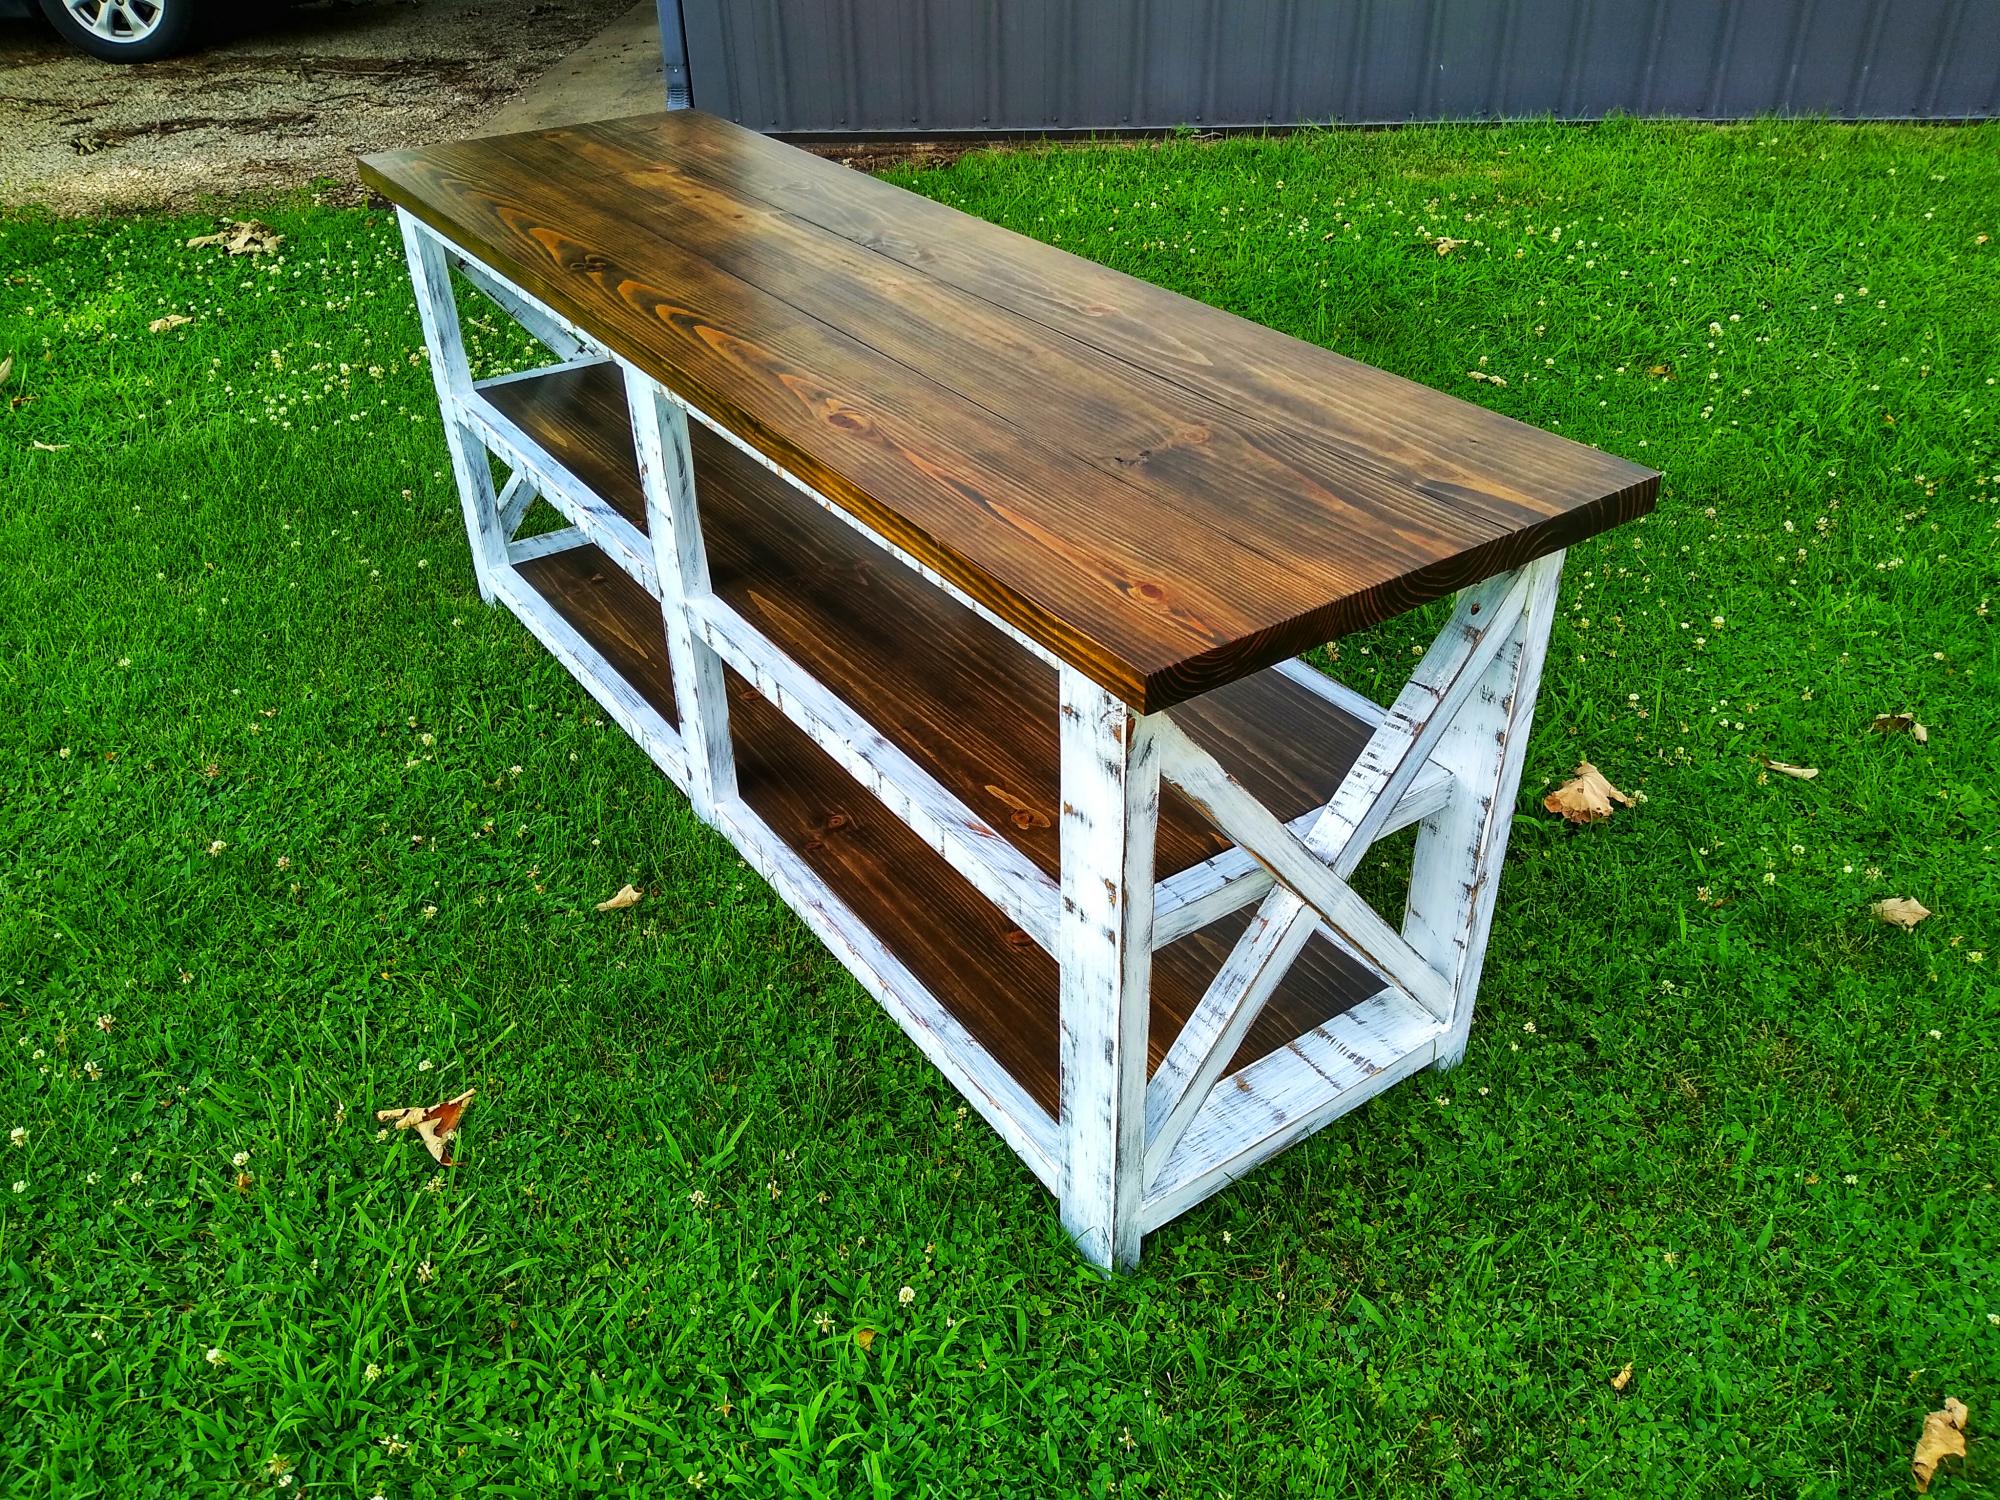
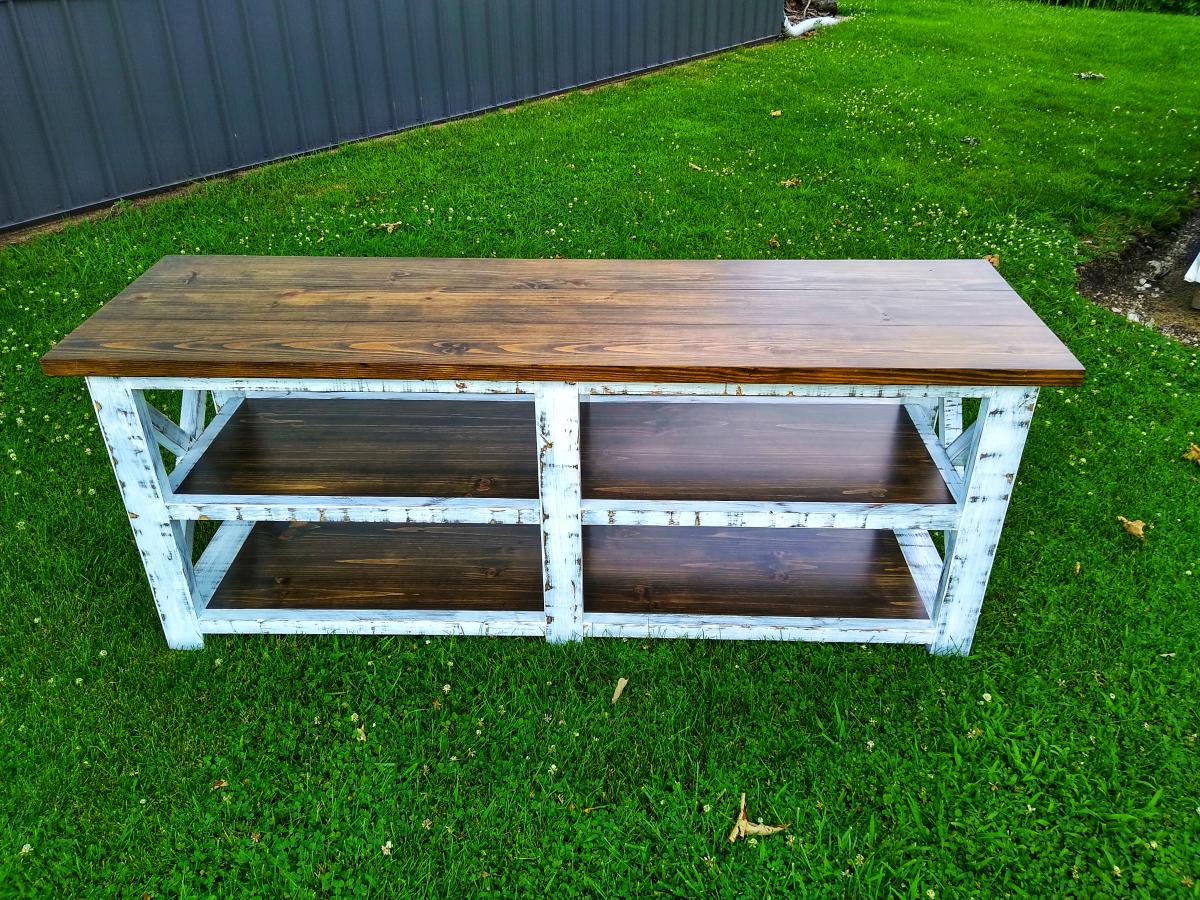
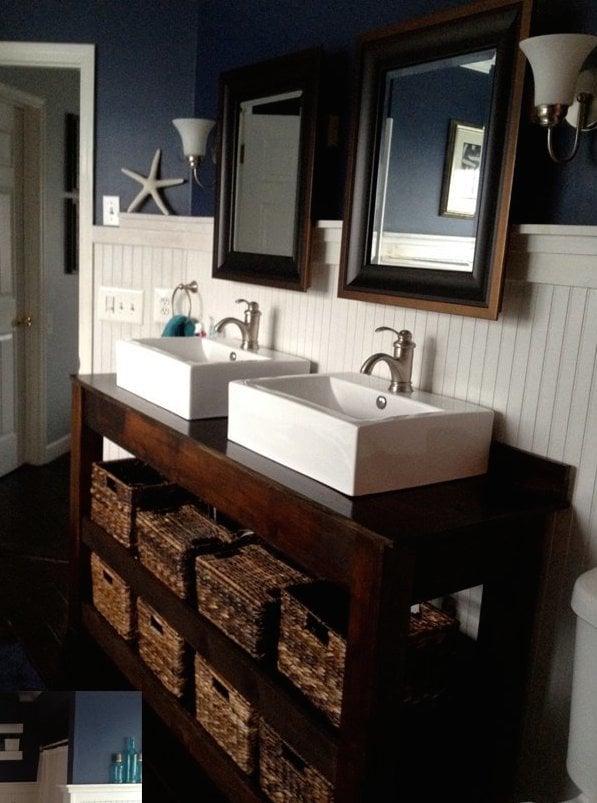
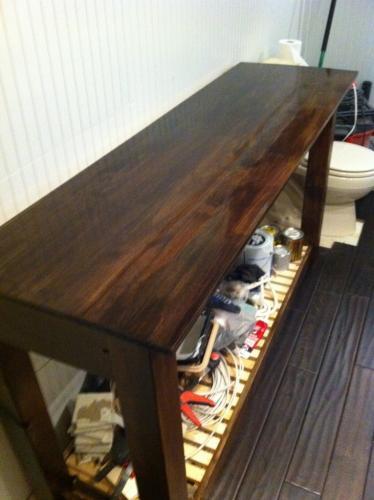
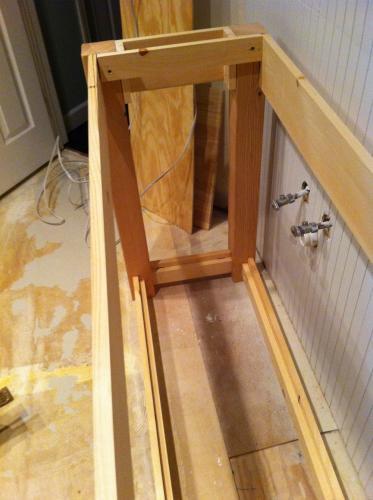
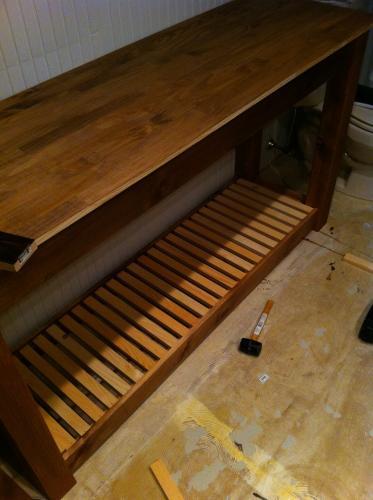
Community Brag Posts

Pallet Shelf!

Submitted by tracysmith on Wed, 03/09/2011 - 16:30

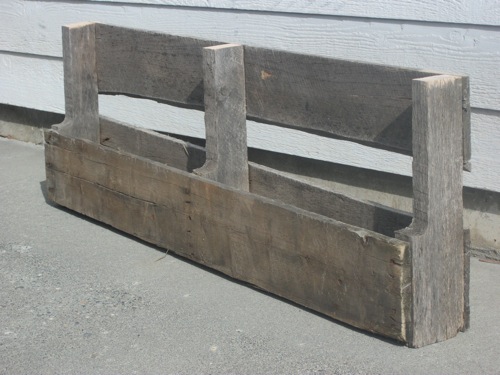
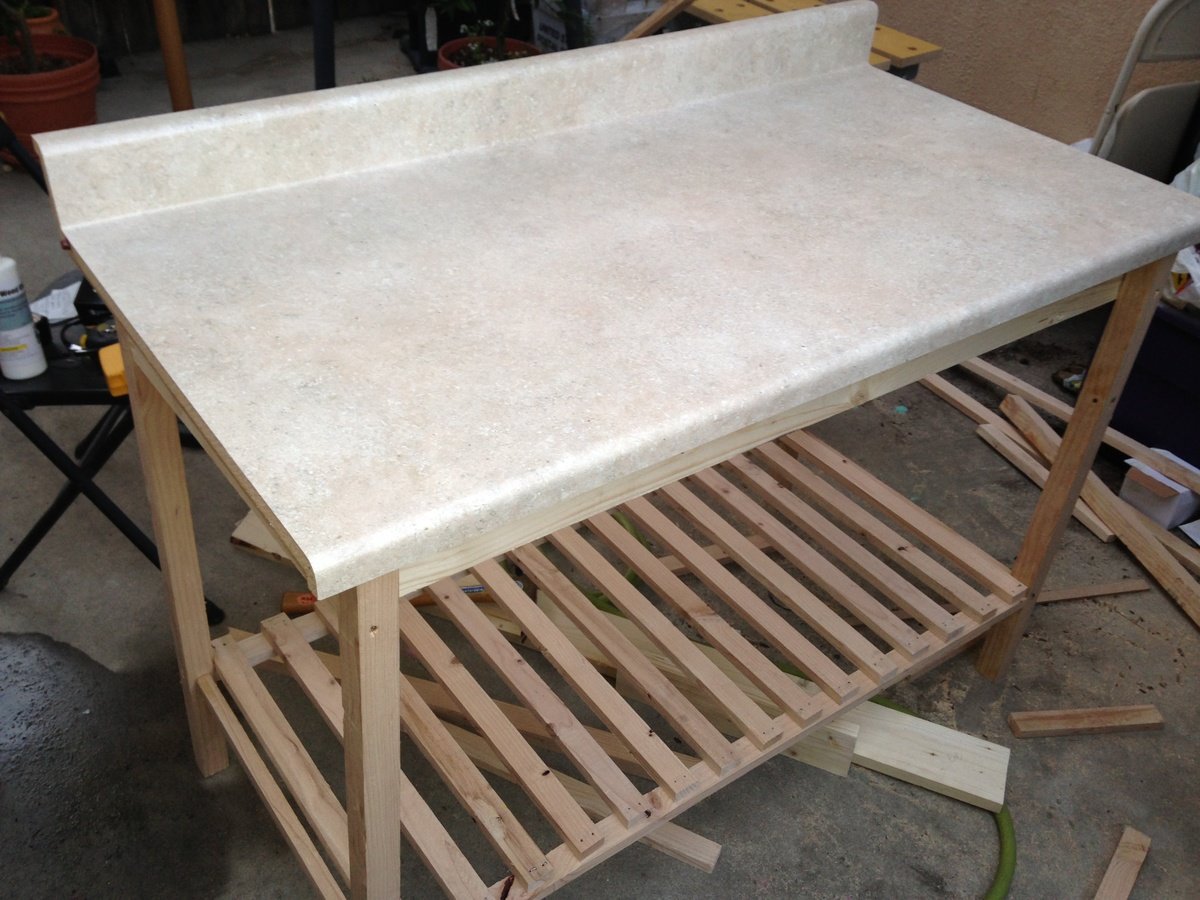
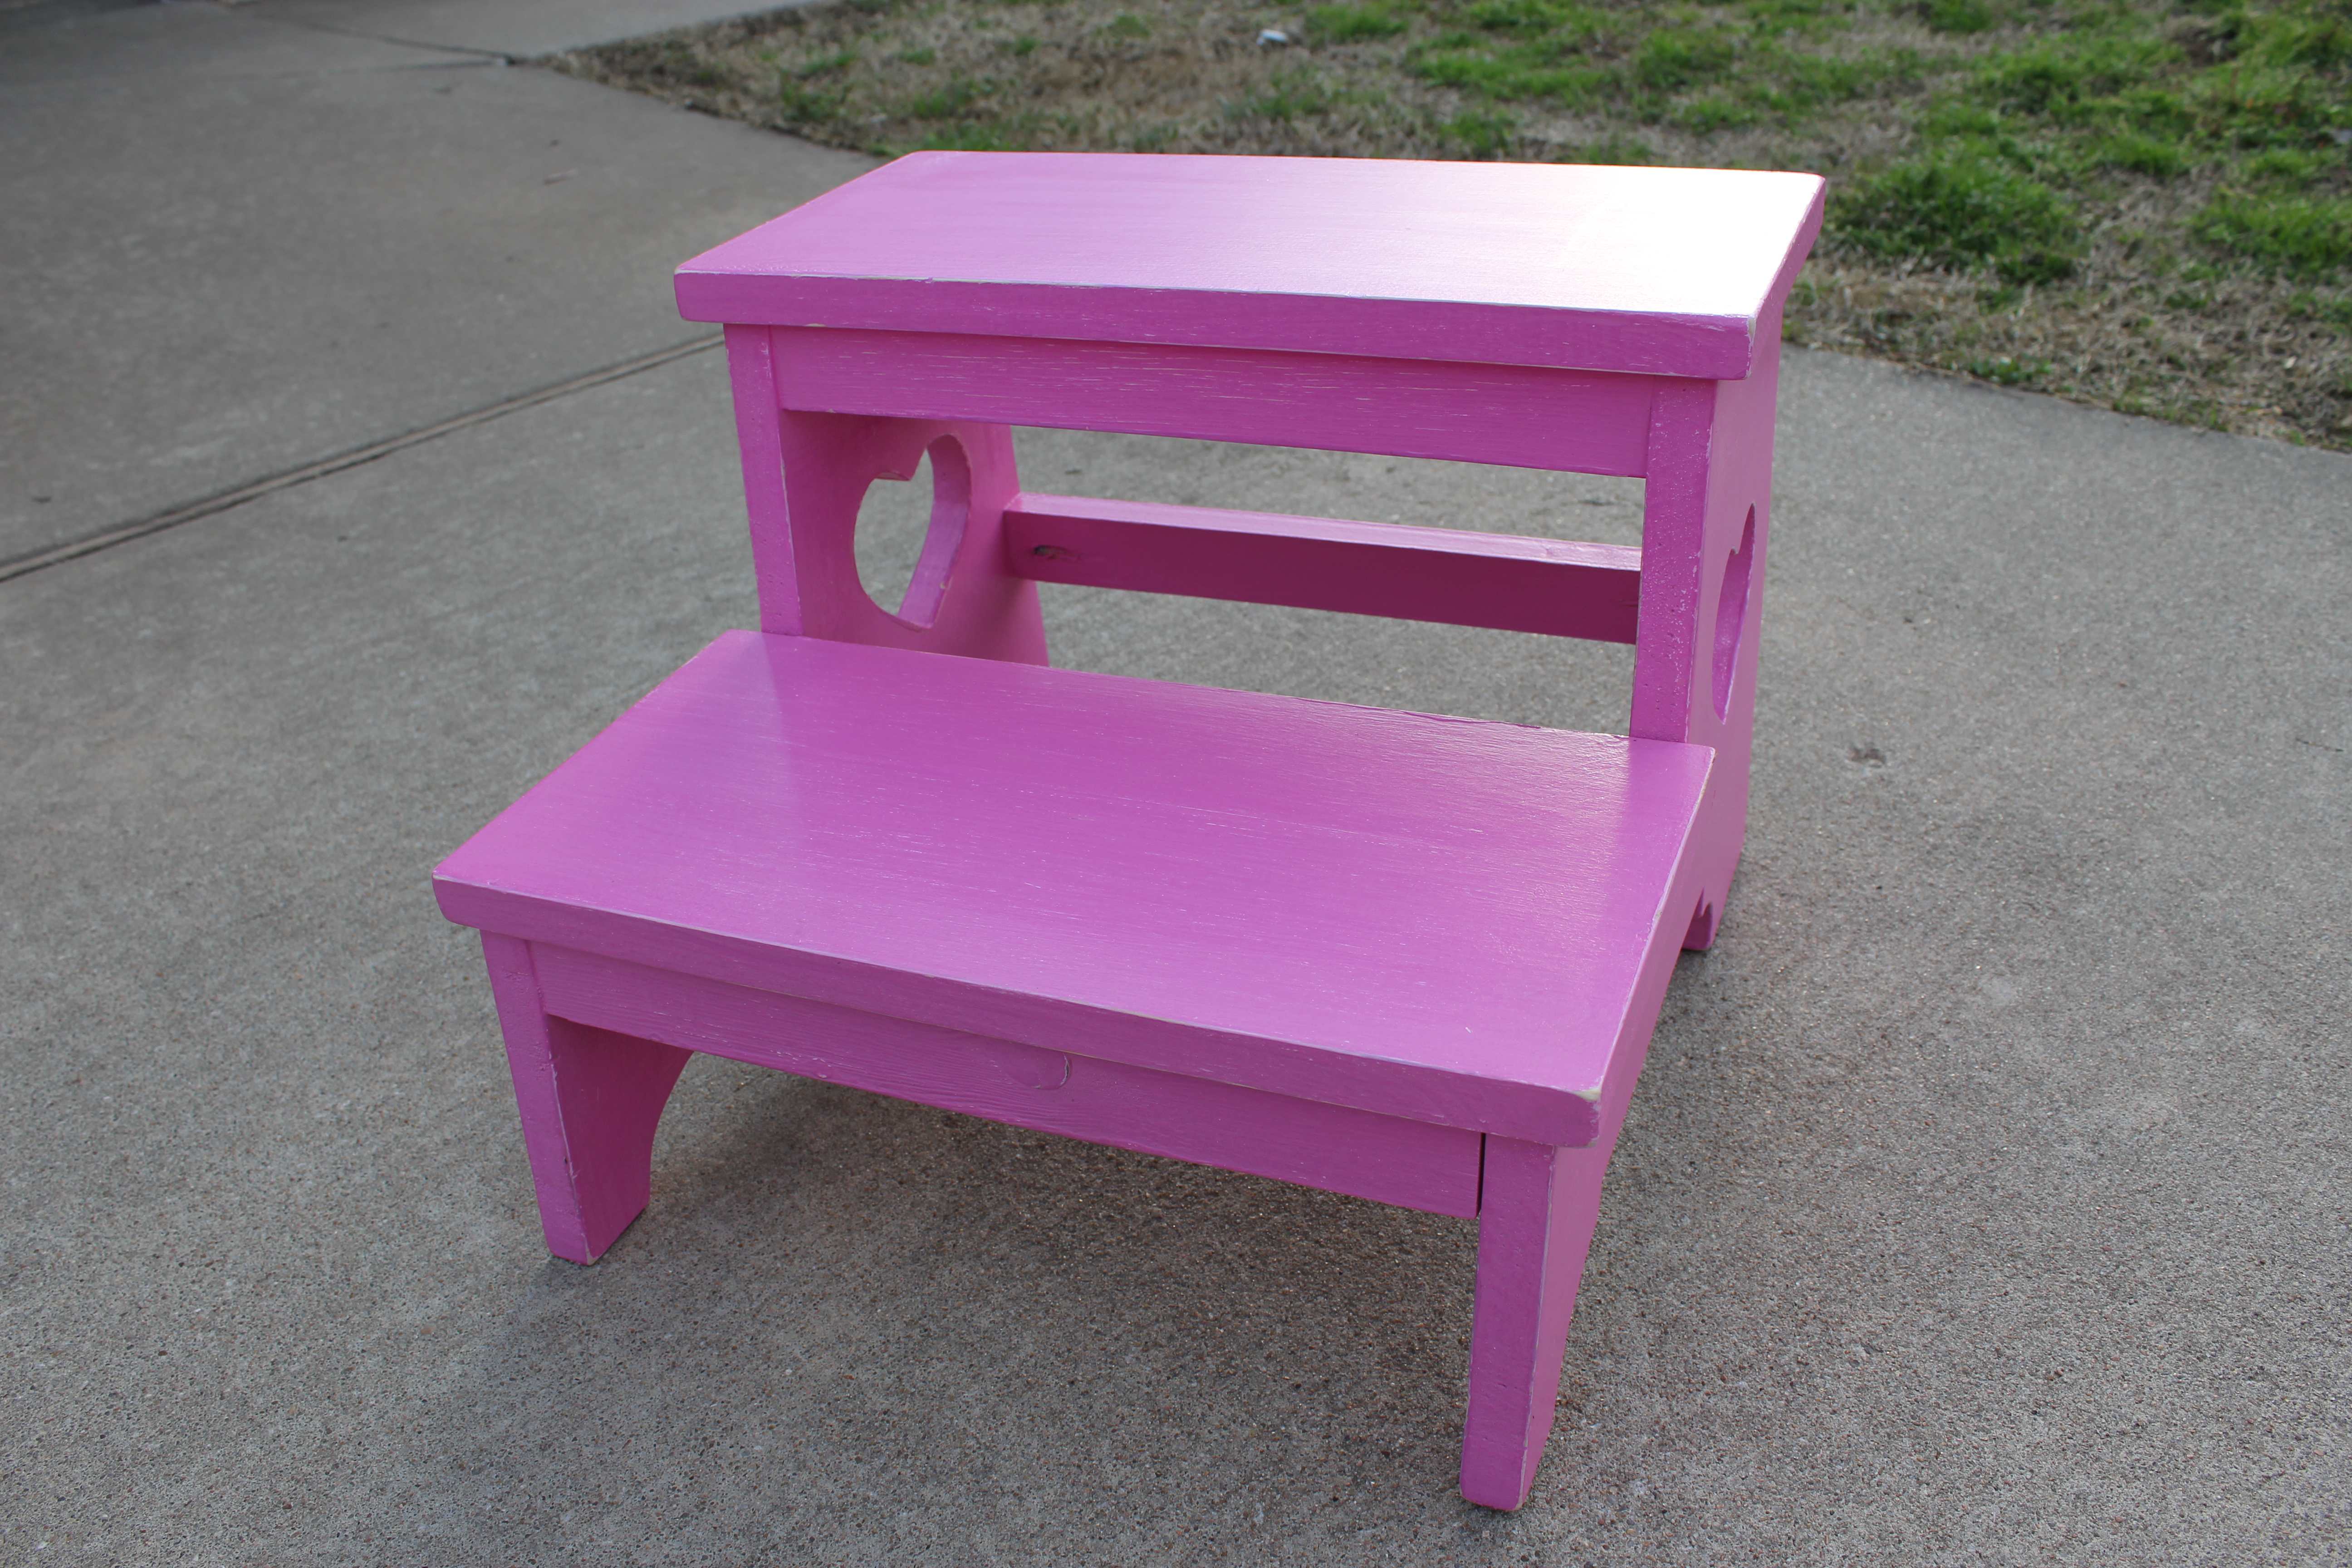
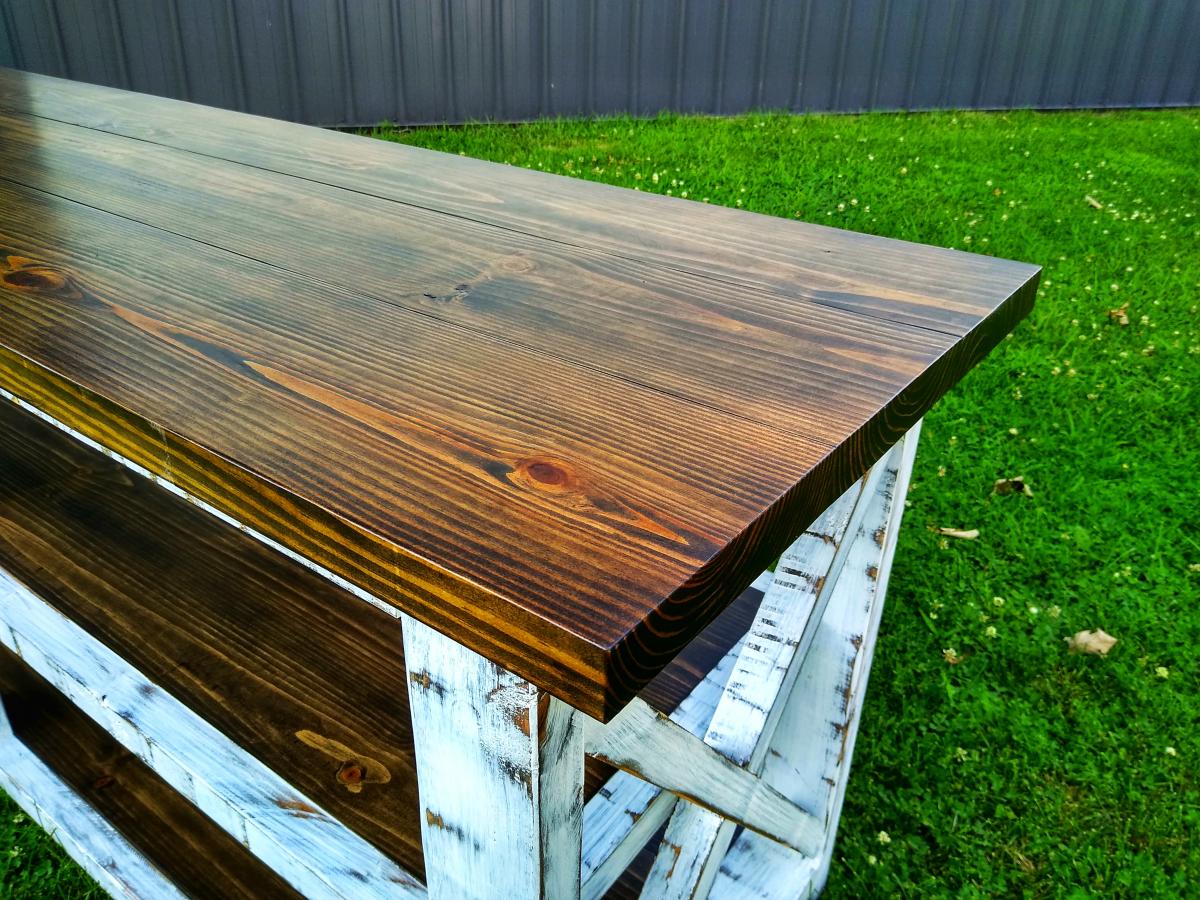
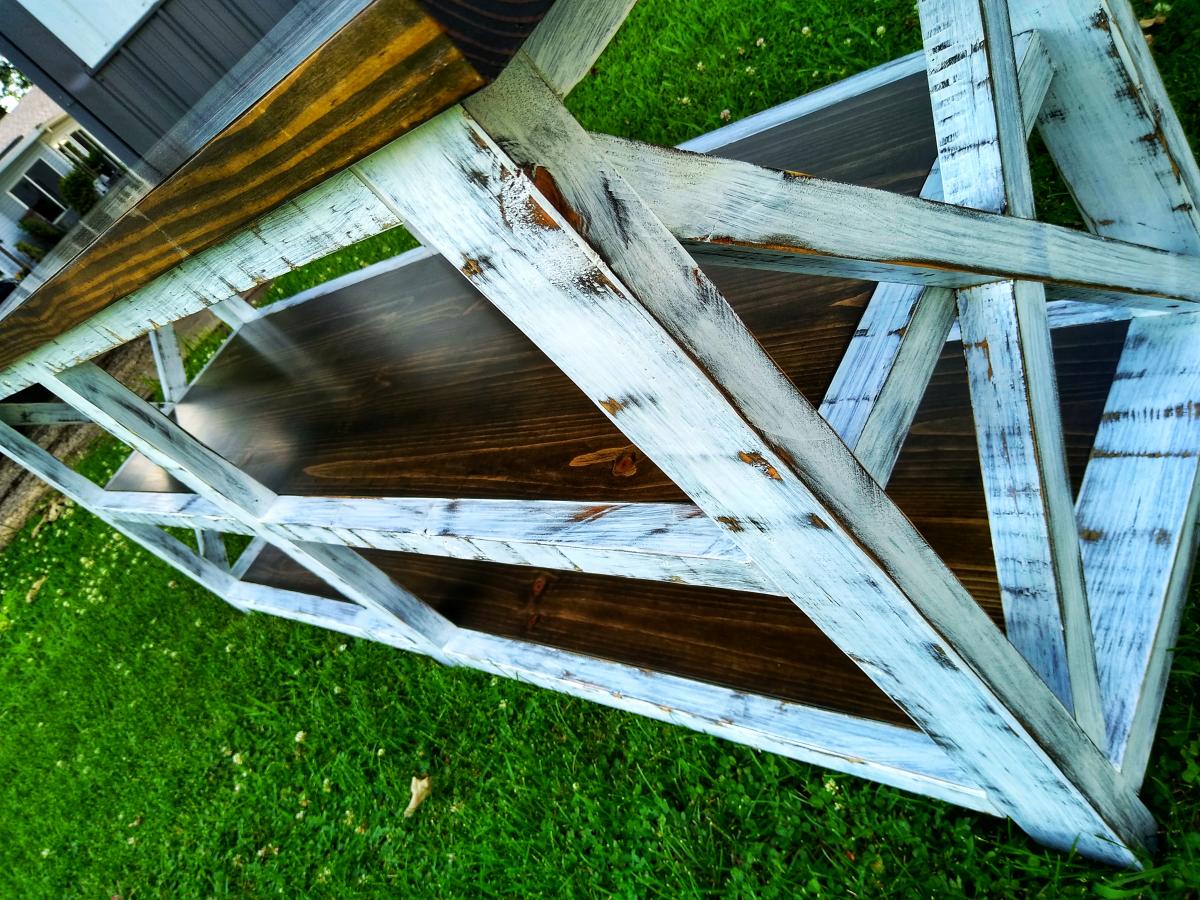
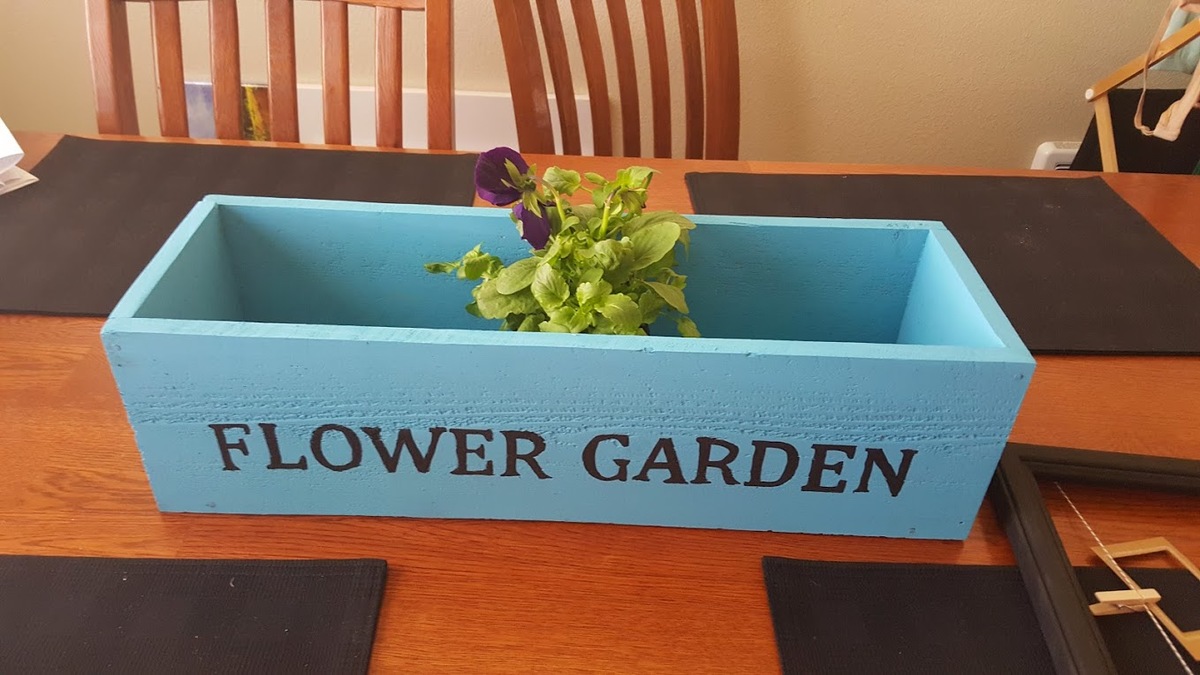
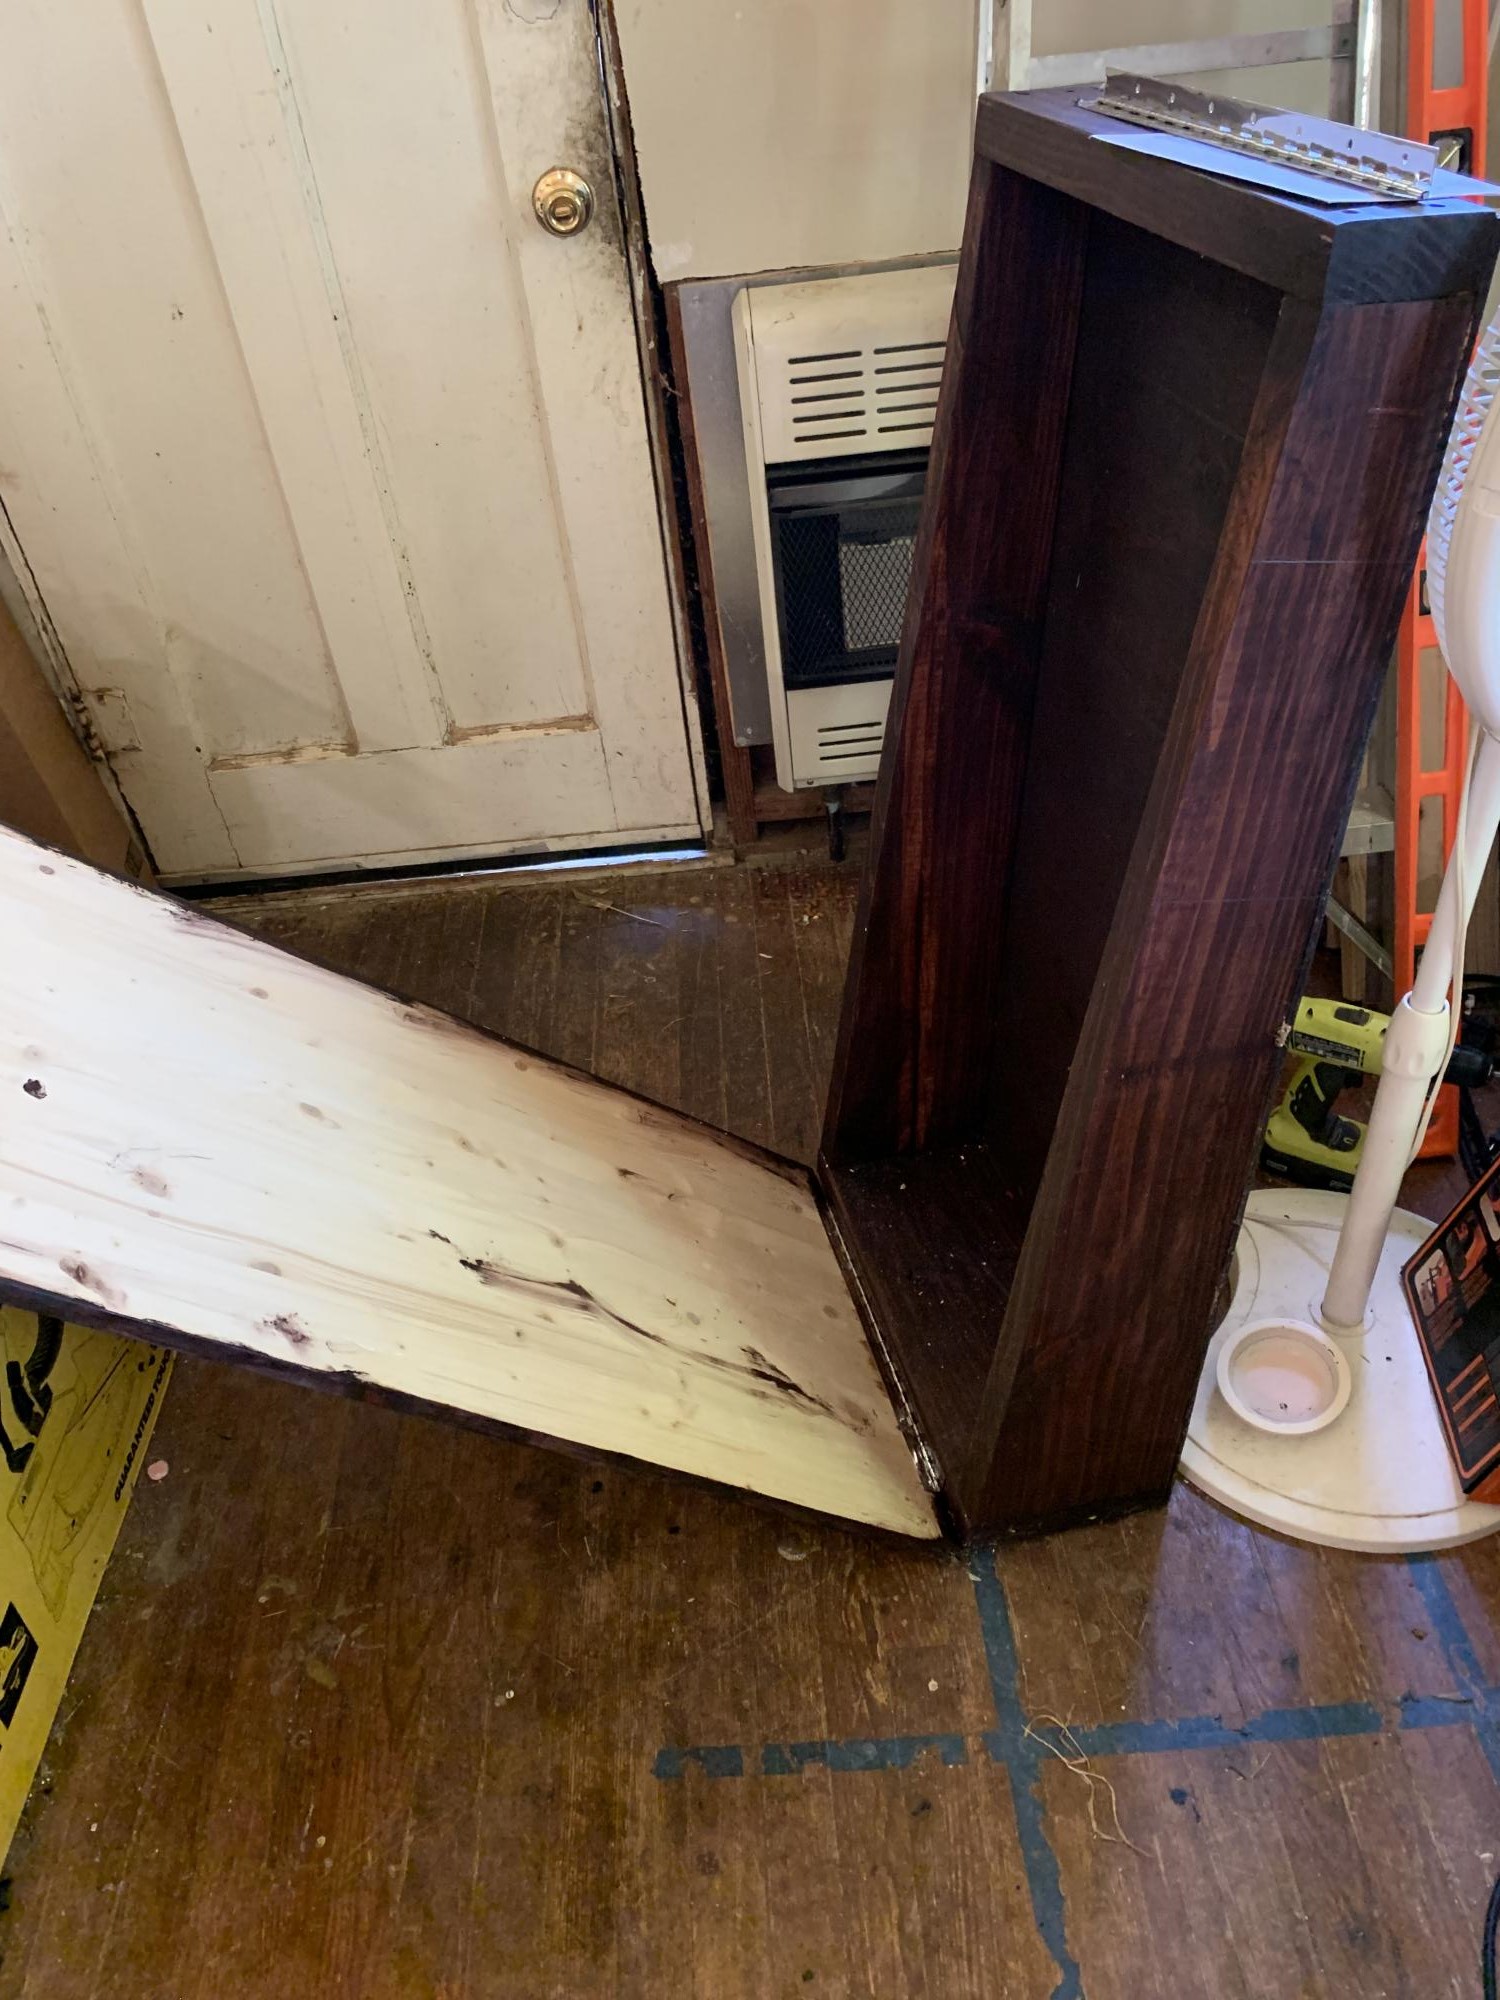
Ok, so no one is going to get really jazzed about this but me, but hey.. I actually had to cut this, which I did on my own with no help from the hubs and nail in the bottom boards. That was a bit tricky cause I used other pallet wood so I didn't have to rob any of the nice stuff from my scrap pile. :-)

Estimated Cost
FREE
Estimated Time Investment
An Hour or Two (0-2 Hours)
Finish Used
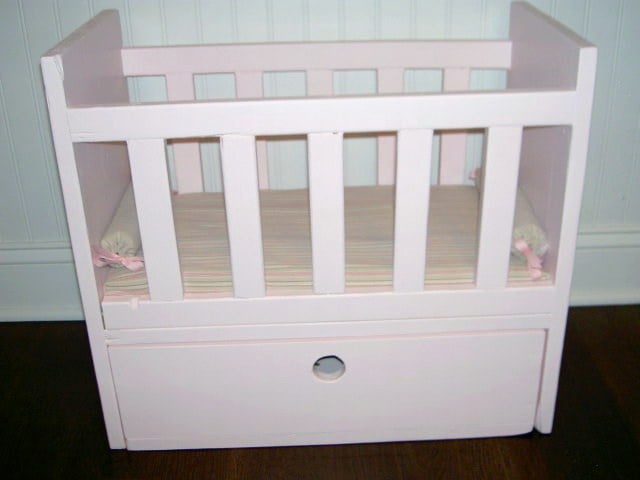
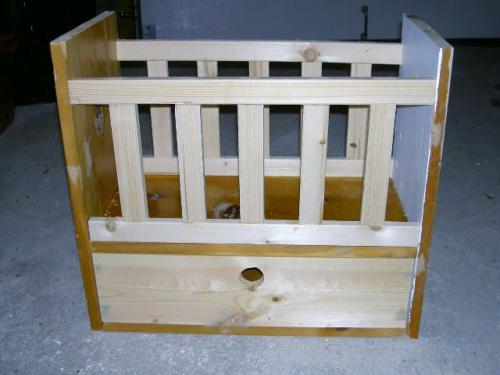
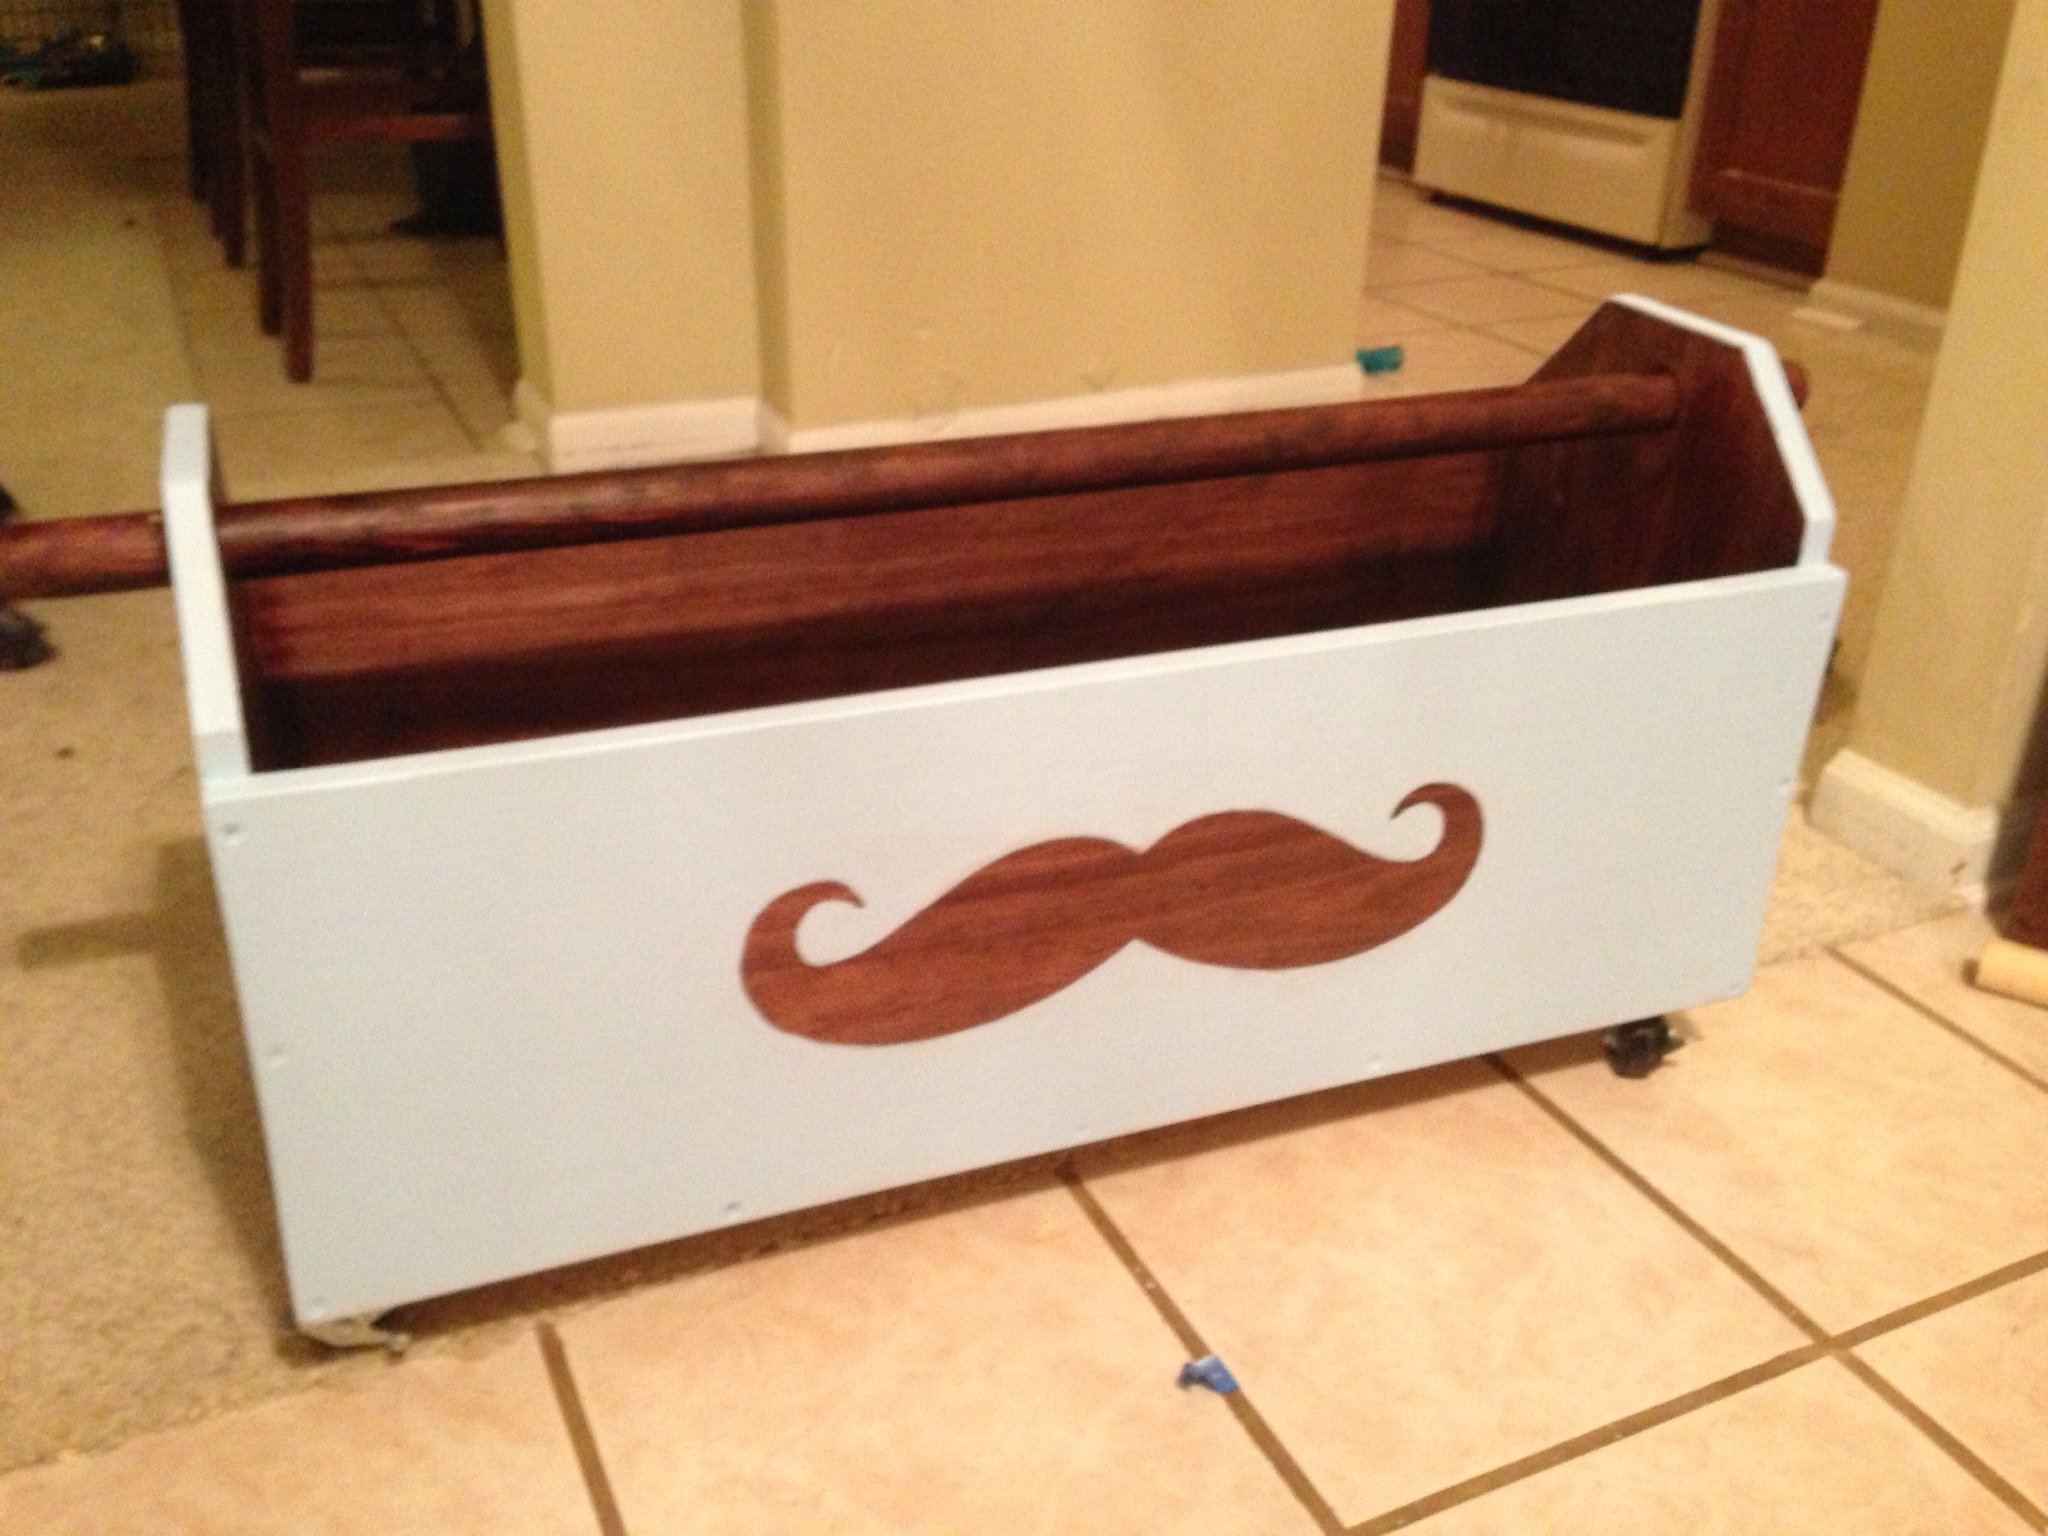
We ended up painting these for my Dad and step-Mom, but for my own that I have, we put nothing on them at all.
Recommended Skill Level
Starter Project

Portable countertop

Submitted by Spacemanta on Mon, 05/20/2013 - 20:53

I made this from the kitchen island plans, but added a countertop. It's really sturdy and cost about $65 in materials. I love it.

Built from Plan(s)
Estimated Cost
$65
Estimated Time Investment
Afternoon Project (3-6 Hours)
Finish Used
Unfinished
Recommended Skill Level
Starter Project

Our finished product

Submitted by gkreations on Thu, 08/03/2017 - 10:14

Accidentally flipped the outsides but like how it came out.

Estimated Cost
45
Estimated Time Investment
Afternoon Project (3-6 Hours)
Recommended Skill Level
Beginner

doll crib

Doll crib with storage bin.

Built from Plan(s)
Estimated Cost
$5.00
Estimated Time Investment
Afternoon Project (3-6 Hours)
Finish Used
1. one coat primer
2. two coats pink eggshell finish
Recommended Skill Level
Beginner

Grillin' and Chillin' - Outdoor Grill Food Prep Station

Needed a table for food prep with my grill and found your plans! I used treated lumber for the base and nice cedar planks for the top. The treated lumber had a whiter than usual color which made the base really pop out. I put a nice pecan stain on top and a few coats of poly so the BBQ sauce wouldn't stain it! This was so easy, literally took 2-3 hours to build, stain and poly was done over the next few days. Ready for my next ana-white project. Thanks for posting these plans.

Built from Plan(s)
Estimated Time Investment
Afternoon Project (3-6 Hours)
Finish Used
Simple pecan stain and minwax poly. Brushed on the stain and kept brushing until I got the darkness I wanted
Recommended Skill Level
Starter Project

Comments

tr7dul

Wed, 07/09/2014 - 16:24

I was looking on Pinterest and found this table. It was exactly what I was looking for. You inspired me to go out and buy a miter saw and some wood and make the table. It turned out wonderful. It now has a permanent place on my patio and gets used when I grill mostly. I was hoping to be able to upload a photo but don't see the option to do so. Anyway, I want to say thanks for the great plans/instructions.

Chicken Run

Submitted by Kdline on Mon, 04/13/2015 - 06:36

We built this coop from an existing playhouse and used Ana's plans to build the run!  So easy and turned out perfectly!

Built from Plan(s)
Estimated Time Investment
Day Project (6-9 Hours)
Recommended Skill Level
Beginner

Comments

Sliding laundry room door

Submitted by Flowerchld on Tue, 08/08/2017 - 16:19

Sliding door to my laundry room with etched, stained glass window

Estimated Cost
$50 plus glass and etching gel, sliding door hardware
Estimated Time Investment
Day Project (6-9 Hours)
Finish Used
Steel wool soaked for a week in vinegar and painted on
Recommended Skill Level
Intermediate

Twin Farmhouse Doll Bed

I love love love these plans! Based on the helpful comments made by other readers, I decided to narrow the bed by leaving one 1x3 out of the head and foot board panels and shortening the other 1x3's and 1x2's as needed. Added mitered trim around the head and foot boards.

The build was super easy and only took a couple of hours. I'm classifying this as a "day project" (6-9 hours) to allow time to paint or stain.

Estimated Cost
$5 for the trim added to the head & fooboards; remainder of material was salvaged from the scrap pile
Estimated Time Investment
Day Project (6-9 Hours)
Finish Used
spray primer, 2 coats Behr semi-gloss in Cally Lilly, 1 coat Minwax Polycrylic...120 and 200 grit sandpaper between coats
Recommended Skill Level
Beginner

Vintage Step Stool

Submitted by chrisiross on Mon, 05/27/2013 - 08:18

I made this awesome step stool for my daughter to be able to reach things a little bit better. It works perfectly. And the heart adds the perfect touch, don't you think?

Built from Plan(s)
Estimated Time Investment
An Hour or Two (0-2 Hours)
Finish Used
paint and poly
Recommended Skill Level
Beginner

4x4 Truss Beam Table

Submitted by ___Ron___ on Mon, 08/21/2017 - 16:06

This is the dining room table I built for my house. It was based on the 4x4 truss beam table plans I found here on Ana's website. I opted against stain, and decided on a clear polyurethane finish to highlight the wood's natural beauty. I've had this table for over a year now, and it has withstood the rigors of young children quite nicely. Thanks Ana!

Sincerely,

Ron Floyd

Portland, OR

Estimated Time Investment
Week Long Project (20 Hours or More)
Finish Used
polyurethane
Recommended Skill Level
Beginner

Rustic X Console Table

Submitted by hnick78 on Tue, 10/05/2021 - 06:25

I was commissioned to build this console table along with a couple “Rustic X” bookshelves. The finish is distressed white and True Browns stain.

Built from Plan(s)

Comments

Spa-Slatted Double Vanity

We redid our master bathroom - we ripped out a soffit, a closet, the old vanity, and we ripped off the HORRID old wallpaper, put up 5' tall beadboard, designed our own trim, designed and built some heavy-duty floating shelves (see pic below) and decided we wanted an open-concept vanity, too. I fell in love with these rectangle porcelain white sinks and with all the white beadboard, and soon-to-be dark walnut stain hardwood floors in there, I thought the vanity should be dark brown stain too.

I used the farmhouse vanity plans to build the frame of the vanity, but i had to design the shelves on my own - I chose to do spa-style slatted shelves - they whole thing keeps the bathroom very open looking and not heavy and closed off. we LOVE it! :)

Estimated Cost
$80
Estimated Time Investment
Day Project (6-9 Hours)
Finish Used
General Finishes water based stain dye in MEDIUM BROWN - 3 coats. then 3 coats of water based polyurethane.
Recommended Skill Level
Intermediate

Our First Project: Console Table

This was our first project. The directions were easy to follow. We used wood screws to put this project together as I do not have a nail gun. My five year old was in charge of the electric screwdriver. I just used 1 peice of wood for the table top and diagonally screwed into it from the bottom. It took us a few days to complete as when you are working with a little one, everything takes quite a bit longer. This was the perfect project for us to work on together! My husband requested a table to put next to the hottub so he could put his drink on it, but I don't want this to move outside! Maybe I'll have to make another one. :)

Estimated Time Investment
Afternoon Project (3-6 Hours)
Finish Used
Rustoleum Ultimate Wood Stain in Kona, Semi Gloss Spar Varnish Spray (bc it will be used outside)
Recommended Skill Level
Beginner

Rope / Ring Puzzle

Submitted by mtairymd on Mon, 09/04/2017 - 07:51

This is a really easy project to make. The goal is to separate the ring from the puzzle. Refer to the solution video if you can't figure it out.

Build Instructions:
https://www.instructables.com/id/Rope-Ring-Puzzle/

Solution: 

https://youtu.be/0juqeATz29I


Estimated Cost
$2
Estimated Time Investment
An Hour or Two (0-2 Hours)
Finish Used
None
Recommended Skill Level
Starter Project

Desk

Submitted by Anonymous (not verified) on Tue, 10/05/2021 - 12:22

This is my desk. It’s working out great. I’m thinking of adding a small drawer for stuff. Thanks for the design.
The other picture is the desk I’m building for my grandson. I’m painting the desk top. Still have to add the legs. I had to modify the size as his space in his bedroom is limited. I get confused putting the piano hinge on. Again thanks for your help. I love all your work.

Comments

Toy Box Gone Wrong

Submitted by vtmelody on Thu, 05/30/2013 - 10:08

We went exactly as planned in the Build a Toybox outline, but bought 12x1 instead of 16x1. This caused a problem when we started putting it together. The two short sides were taller than the long sides. We decided to make lemons from lemonade and turn it into a toolbox/toybox, and in the end really liked the result. We added an additional cut with 1.5" holes on either side and a 1.5" diameter 36" long dowel rod for the handle. We added casters to the bottom and poof! done. Fun project! We made it for our soon to be nephew and filled with gifts for the baby shower.

Built from Plan(s)
Estimated Cost
$50
Estimated Time Investment
Afternoon Project (3-6 Hours)
Finish Used
Wood Stain with blue paint on top and cut out a mustache for the design then painted around it.
Recommended Skill Level
Beginner

PB Connor Table

Connor table

Estimated Time Investment
An Hour or Two (0-2 Hours)
Finish Used
Special Walnut
Recommended Skill Level
Beginner

Camp Loft Bed Full size

Submitted by katjagest on Wed, 10/06/2021 - 05:05

Made this Loft bed for a full size mattress in 2019 and it is still strong. I added a stretcher on the bottom of bed across the length of the the bed added strength.

Comments