Coen's Cabin Bed
![](/sites/default/files/image_294.jpeg)
This is a fairly easy build. It did take some time with three little ones running around, but the finished product is well worth it! My three-year-old doesn't want to get out of bed in the morning (win!).
![](/sites/default/files/image_295.jpeg)
![](/sites/default/files/image_296.jpeg)
![](/sites/default/files/image_297.jpeg)
This is a fairly easy build. It did take some time with three little ones running around, but the finished product is well worth it! My three-year-old doesn't want to get out of bed in the morning (win!).
My master bathroom was my first DIY remodel. I took this room down to the studs and built it back up. I struggled to find the perfect vanity that felt strong and sturdy and could not find one. I needed a wide vanity to accommodate this 3 foot wide vessel sink. I found Ana White and this plan online and fell in love! This was my first build and I’ve become addicted to wood working since. As my first build, this took me most of a day to build and assemble drawers. Sanded and painted with a flat finish! I love it! Thank you Ana!
Some 2x and 4x Wood Projects
Lee Lape
I just had to build these for my two kids. Thanks Ana!
Play Teepee used 4 yds of fabrics, 2.5 yd of webbing, bias tape, ribbon, heat and bond double sided adhesive, and 4 1x2s at 8 ft.
I have been wanting outdoor seating by my pool forever but couldn't afford anything I liked. When I came across Ana White's plans for the outdoor sectional I knew I had to build two. They are just what I was wanting and cost under $200. It took my brother & I one afternoon to buy the supplies and put it all together. Since this furniture is outdoors 24/7, I had to caulk the seams & paint the whole thing. That process took two days. The biggest expense was of course the cushions from Home Depot that Ana White recommends for this sectional. I have to admit, they are well worth every penny. They look amazing! Can't wait to spruce them up with some throw pillows.
Hi Ana! - I'm so glad that I found your site. Thank-you SO much for your plans and video tutorials.
I was recently in a car accident and found myself away from work for several months. Though I've always been hesitant to build anything (for lack of having been taught), I've found a new passion for woodwork. It's been a wonderful pastime and has created hours of fun with my young daughter.
This is my first project (save for a few small boxes). - I'm very proud of the final product and was thrilled to be able to share it with my family for Canadian Thanksgiving this weekend.
The project was quite pricey, due in large part to the live-edge lumber that I sourced (2 x (2x6) @ 8ft). - The project includes the Fancy Farmhouse Table as well as 2 matching benches.
Thanks again :)))
- Kyle
Such an easy build with a little woodworking experience. I am in love with this project and am so excited to have done it myself!
Amy
We made this table from the farmhouse table plan but used 4x4s for the legs and slightly wider (2x10) boards for the top.
So my wife found this on Pinterest last month and loved it. We have been searching for something to go behind our sectional couch in our den. When she showed it to me I discreetly emailed it to myself as a plan was forming in my head. She was working nights for the month of December so I worked on it in the garage in the evenings and hid it in the crawl space so she wouldn't see it. She woke up Christmas morning to find it in place with a bow (clearly made by a man who is much better at carpentry than bow making) attached and was very surprised and excited.
I distressed the wood using several highly complicated techniques such as hitting it with a hammer, dropping a bag of screws on it, and scratching it with a screwdriver. It was then sanded and stained with Minwax Provincial 211. I applied two coats of satin polyurethane for protection.
I liked the look of the hex head screws so after painting them flat black I actually used them to hold the top on.
Platform bed and headboard
Built for a customer out of reclaimed 2x6 spruce corrral boards. There was a lot of sanding involved in prepping this wood, but I couldn’t be happier with how it turned out!
We’ve made three of these: this one’s on a “hearth” in our sala on Guam; my husband put another one in our bedroom here, and the third faux fireplace is in our bedroom in Missouri. Later this year he’s building one requested by our daughter for her living room.
Kelley
I fell in love with Ana's Smiling Mudroom plans and knew it was just a matter of time before I built it. I just made one tiny change, I substituted 10' deck boards (stained and sealed) for the seats instead of plywood, because I wanted a thicker surface. Check out my blog to follow along with the rest of the laundry room/mudroom renovation! www.thecottagegray.com
Thu, 03/01/2012 - 15:02
It looks great! I am hoping to get this made this spring and was going to do the same color combo you used. Like the idea of the thicker board for the seat that will work to stain. Thanks for the idea.
Thu, 03/08/2012 - 15:06
I just love this the two toned and I am thinking about doing this what stain color did you use for the bench part?
Fri, 03/30/2012 - 09:27
Wow! The "smiling mudroom" has been on our to do list for a couple of months. I love the look of the stain with painted wood. We have 5 children so a stained surface will hold up much better than a painted seat.
I'm just trying to decide on color...it's a laundry/mud room and I want the "Sausha's Washer/Dryer Pedestals" to be black. Black might be too dark for the mudroom cubbies and I'm not sure if it would clash to have black on one painted piece and white on another.
Your mudroom is gorgeous, too pretty to be associated with the word mud!
My sister n law and her family were moving and sold a lot of their furniture, so I built these as a Christmas gift. They came out great and I think they really appreciated it!
Built this bunk for a school fundraiser raffle. Hope it will be a hit! Followed the plans as written with only one change. I cut the tops and bottoms of the vertical ladder rails at 45 degree angles so they slant in towards the bed.
I modified the Small Old English Style Farmhouse Dining Table plan to build a writing desk.
I used five 1x6 boards for the top for a width of 27.5 inches. I made my desk 56 inches in length. I put the drawer on the long side like a pencil drawer. I did use the legs that Ana recommended in the plan.
I watched the video Ana posted on how to make the drawers for this table and it was so helpful. I just made it like Ana did in the video but on the long side instead of the short ends.
I love how it turned out. I used Watco dark walnut danish oil and Minwax dark wax for the finish.
It was pretty straight forward with your plans. I've built others from your great posts. I used a dark walnut stain after sanding and dusting real well.
Tom Lucas
This was our first woodworking project. I was not that hard to put together.
I made a couple of changes to the design. I used 4x4 for the legs. I also change up the board that were used ontop. I have a step by step on my blog.
The almost the same as the table. Check out the changes and the cut list here: http://www.domesticated-engineer.com/1/post/2012/05/bench-for-farmhouse…
Tue, 02/28/2012 - 05:13
Can you post a link to your blog with the instructions? Did you make your table a little shorter than the original plans?
Tue, 02/28/2012 - 08:43
Yes, the table is a little shorter. I made mine 7 feet long to fit our space. The blog link is http://www.domesticated-engineer.com/1/post/2012/02/farmhouse-table-par…
Thanks!
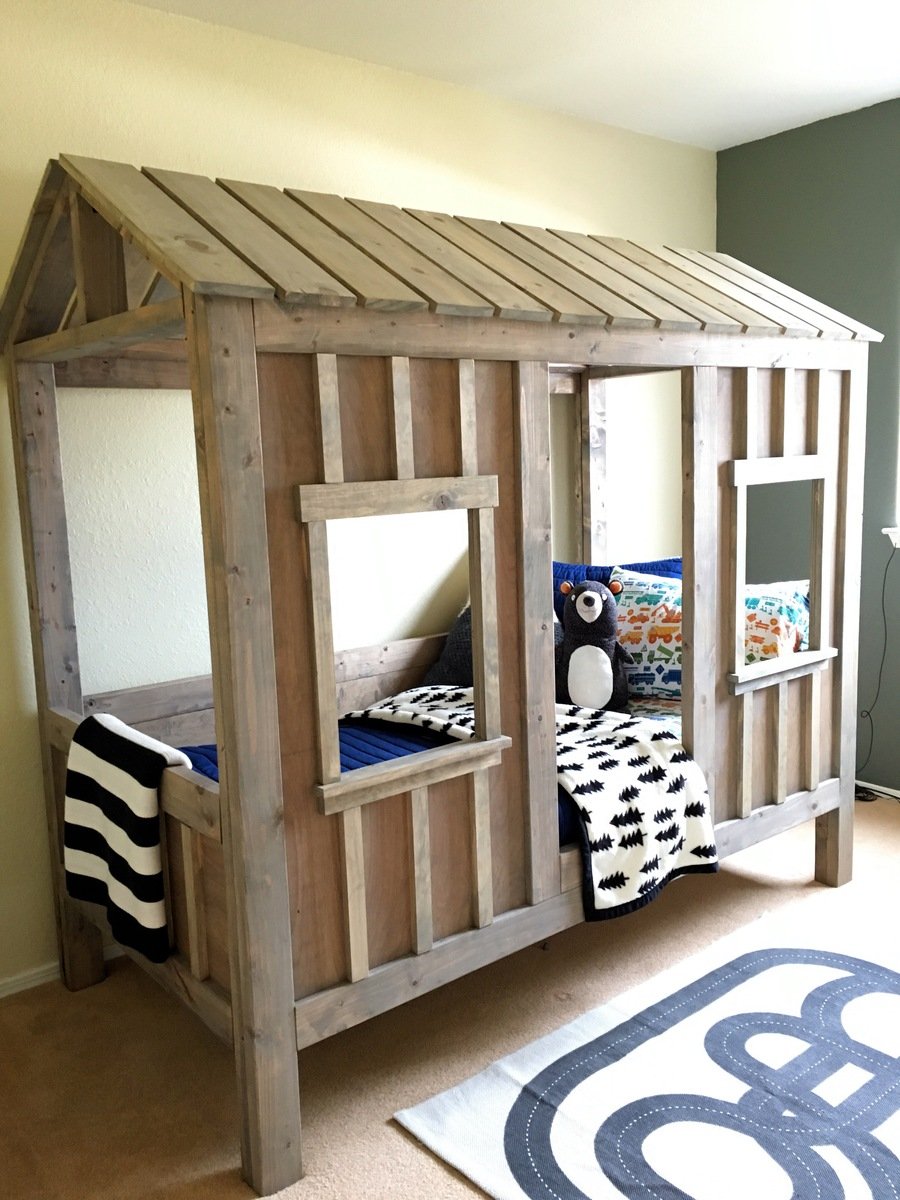
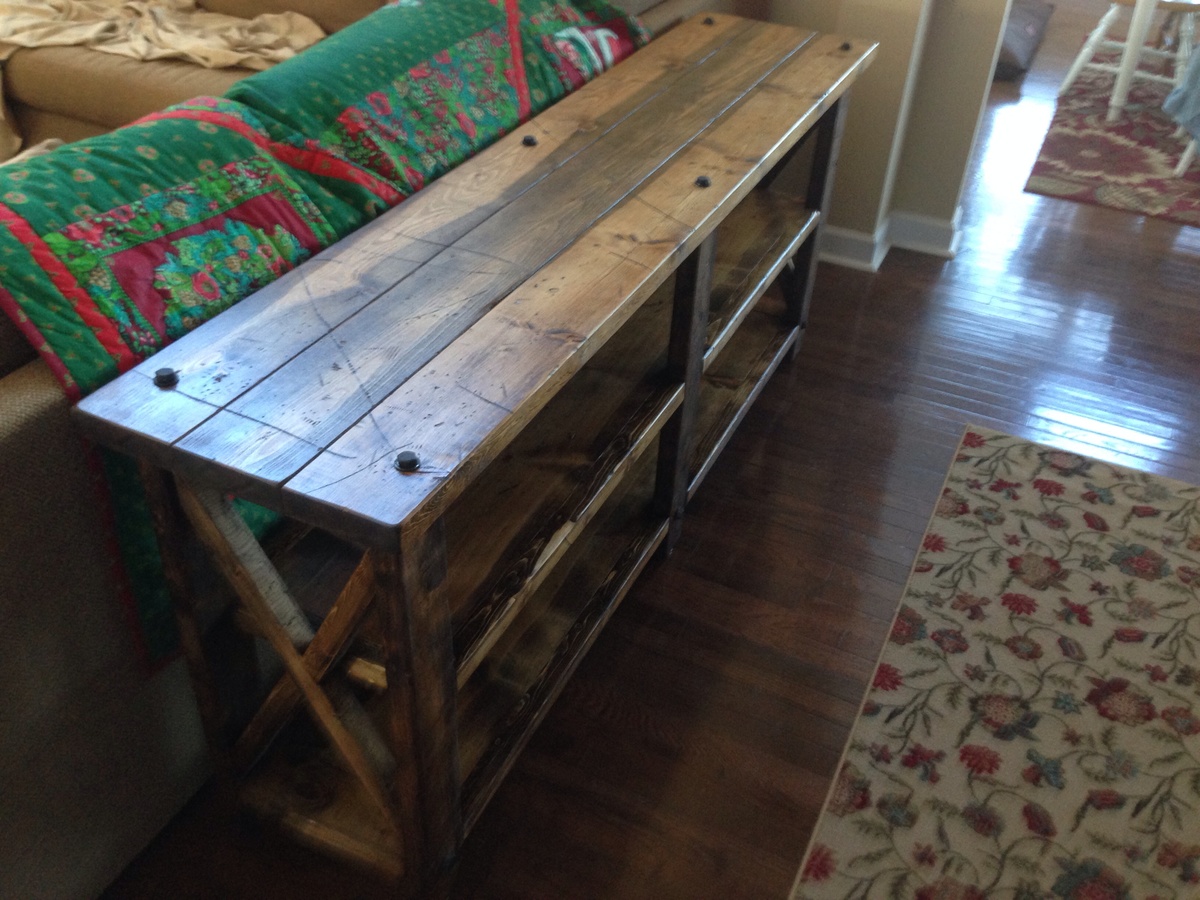
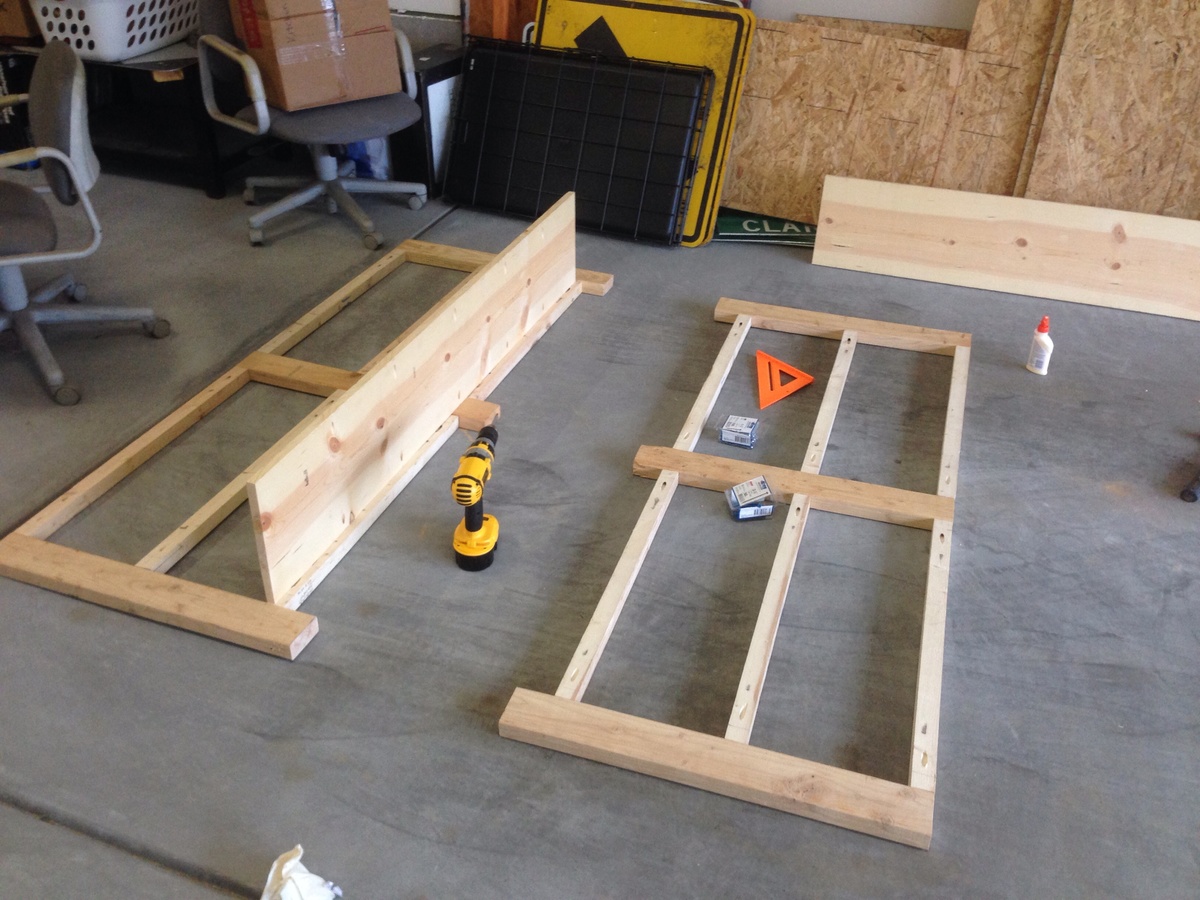
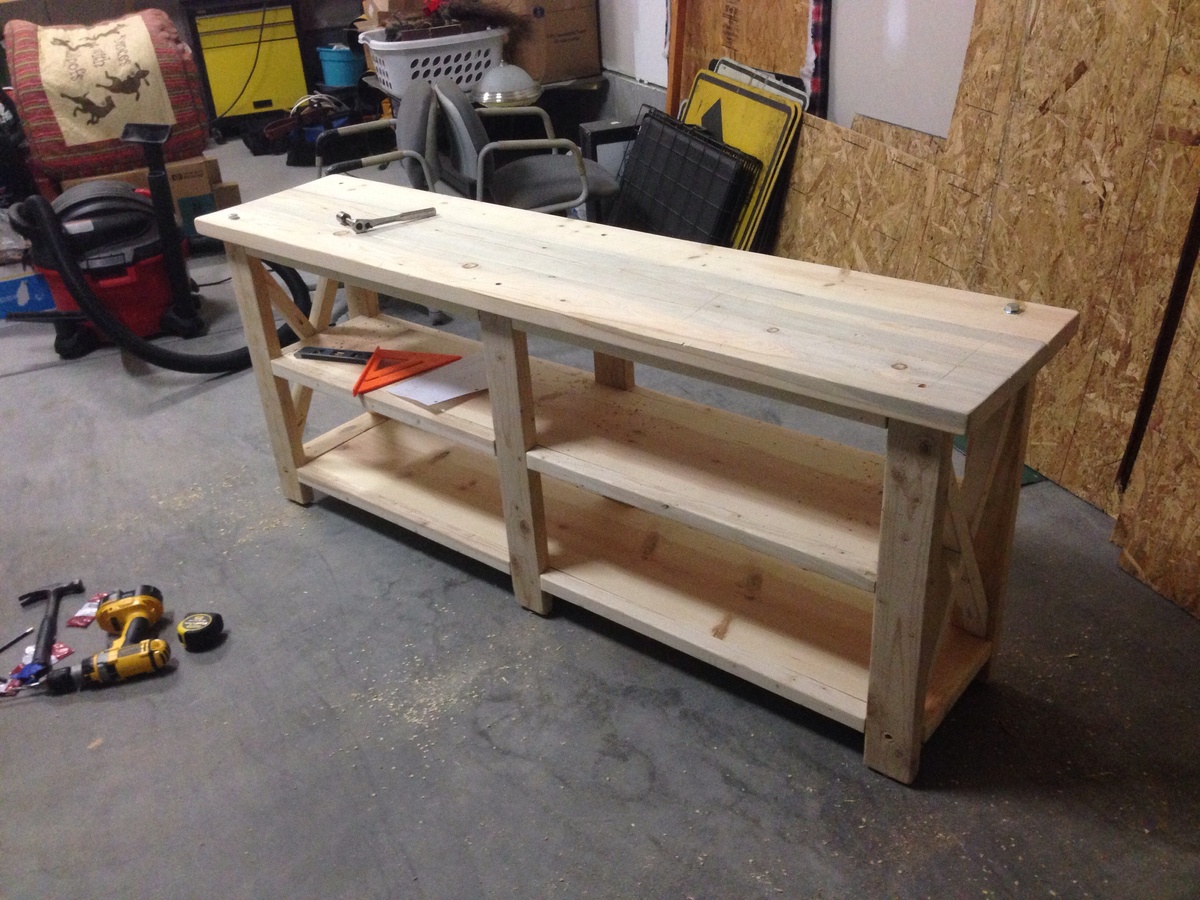
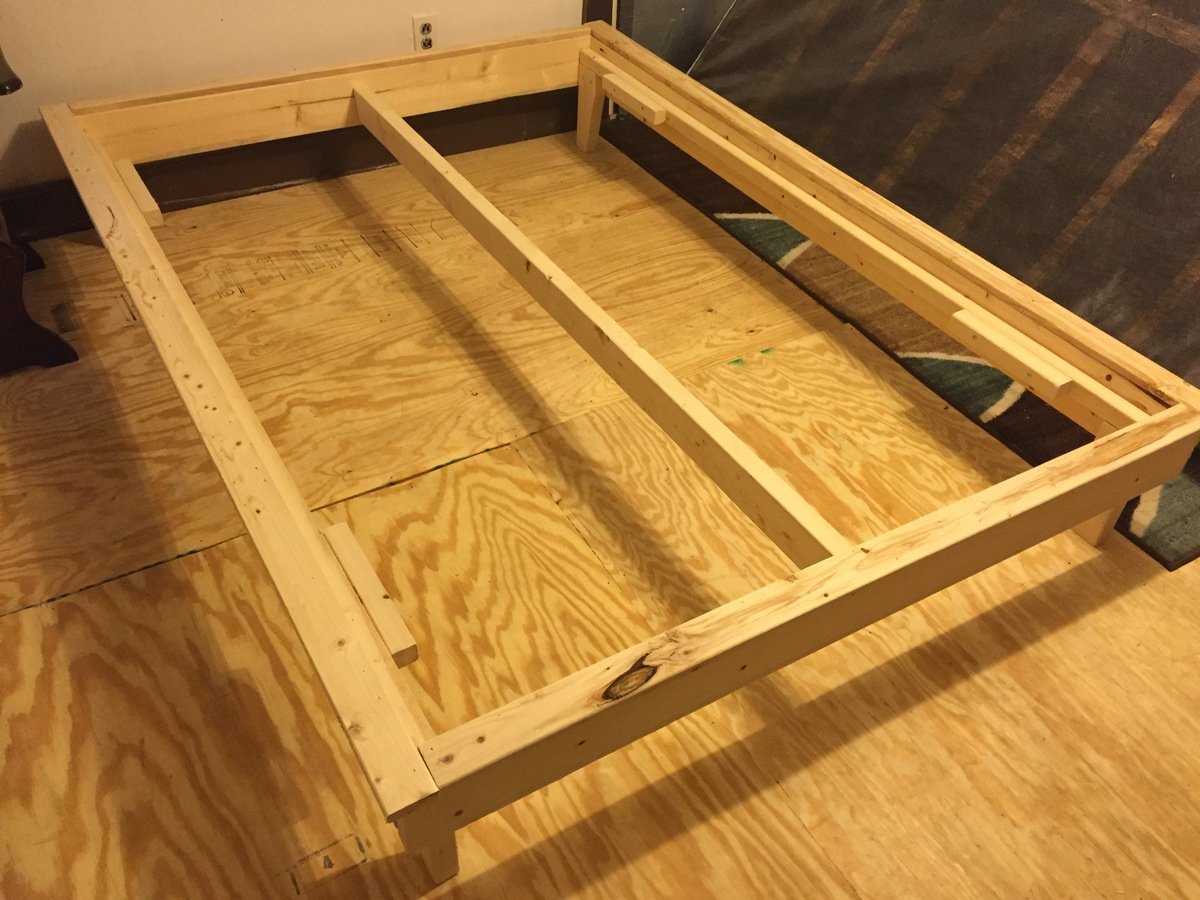
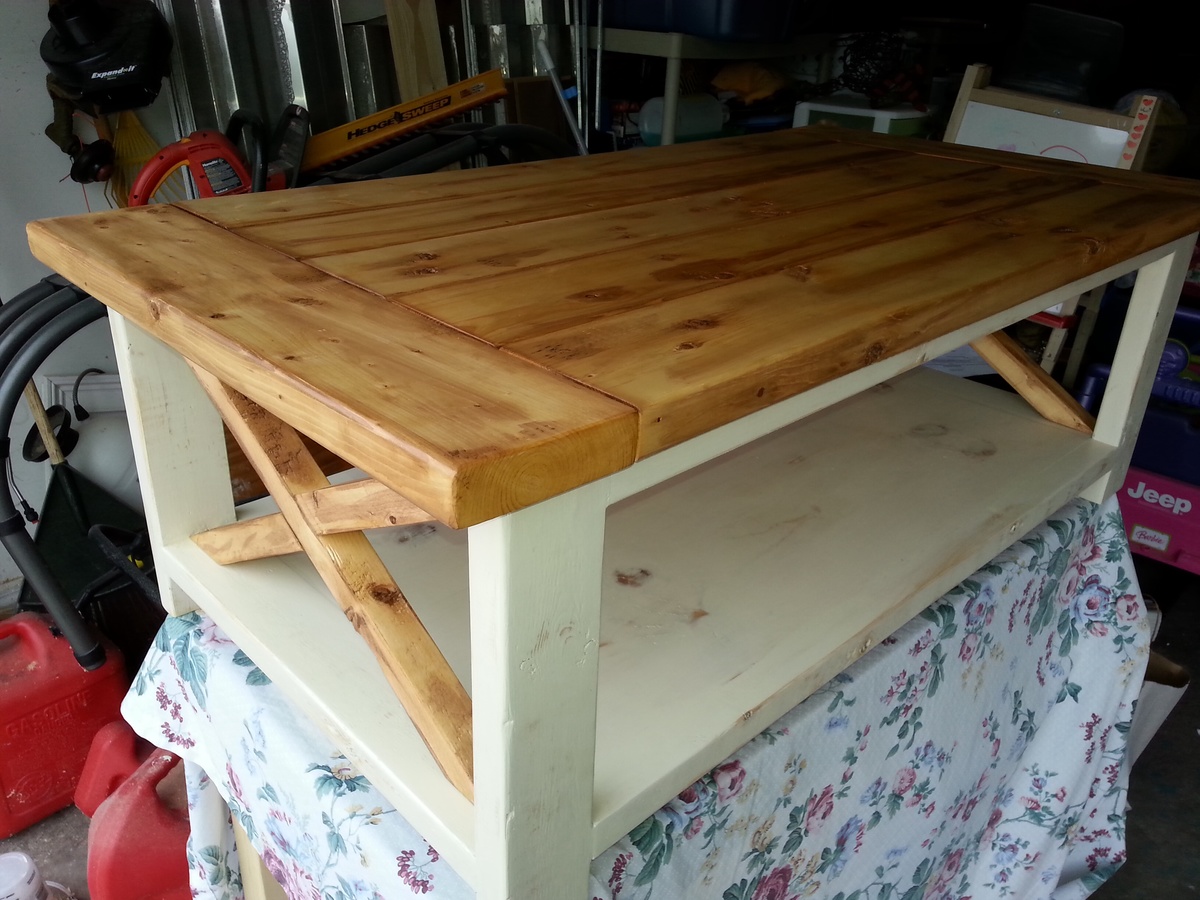
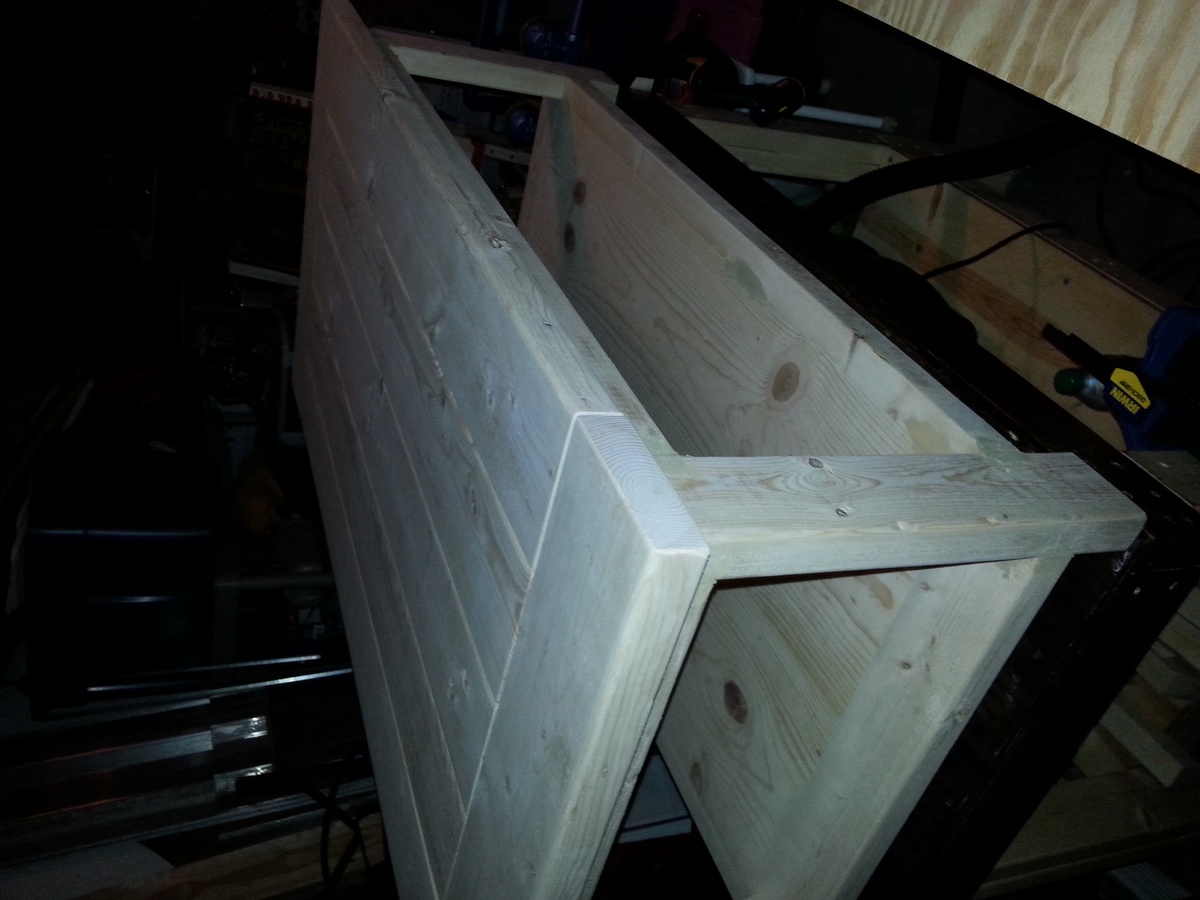
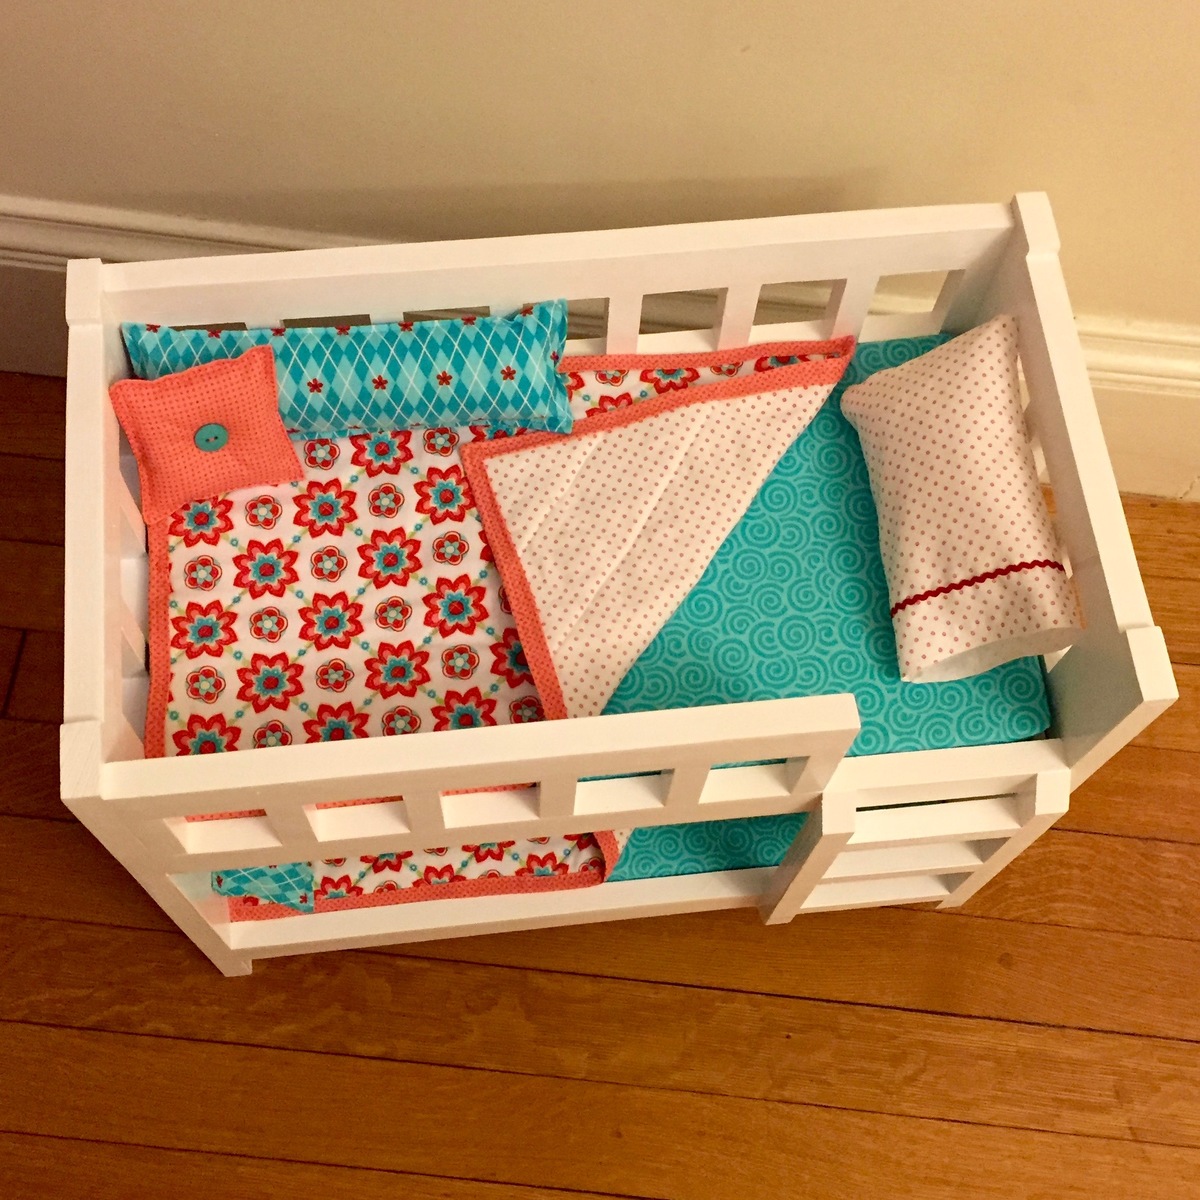
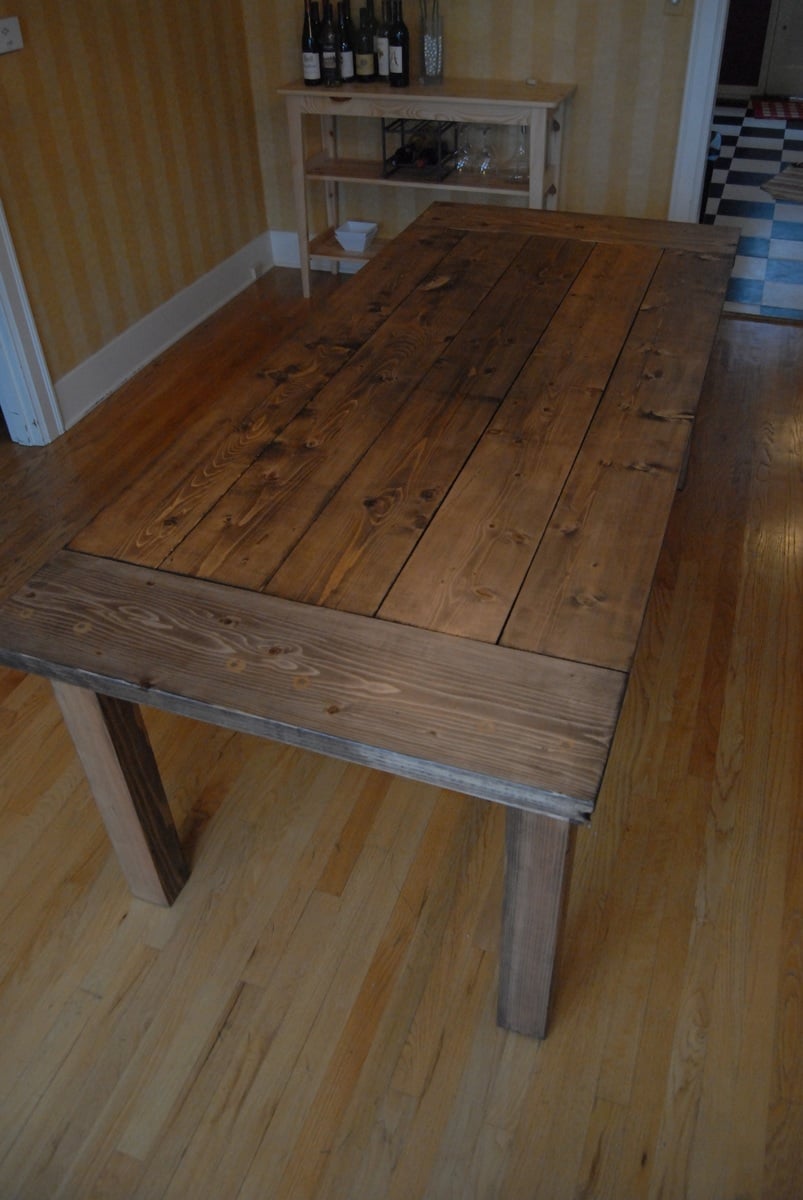
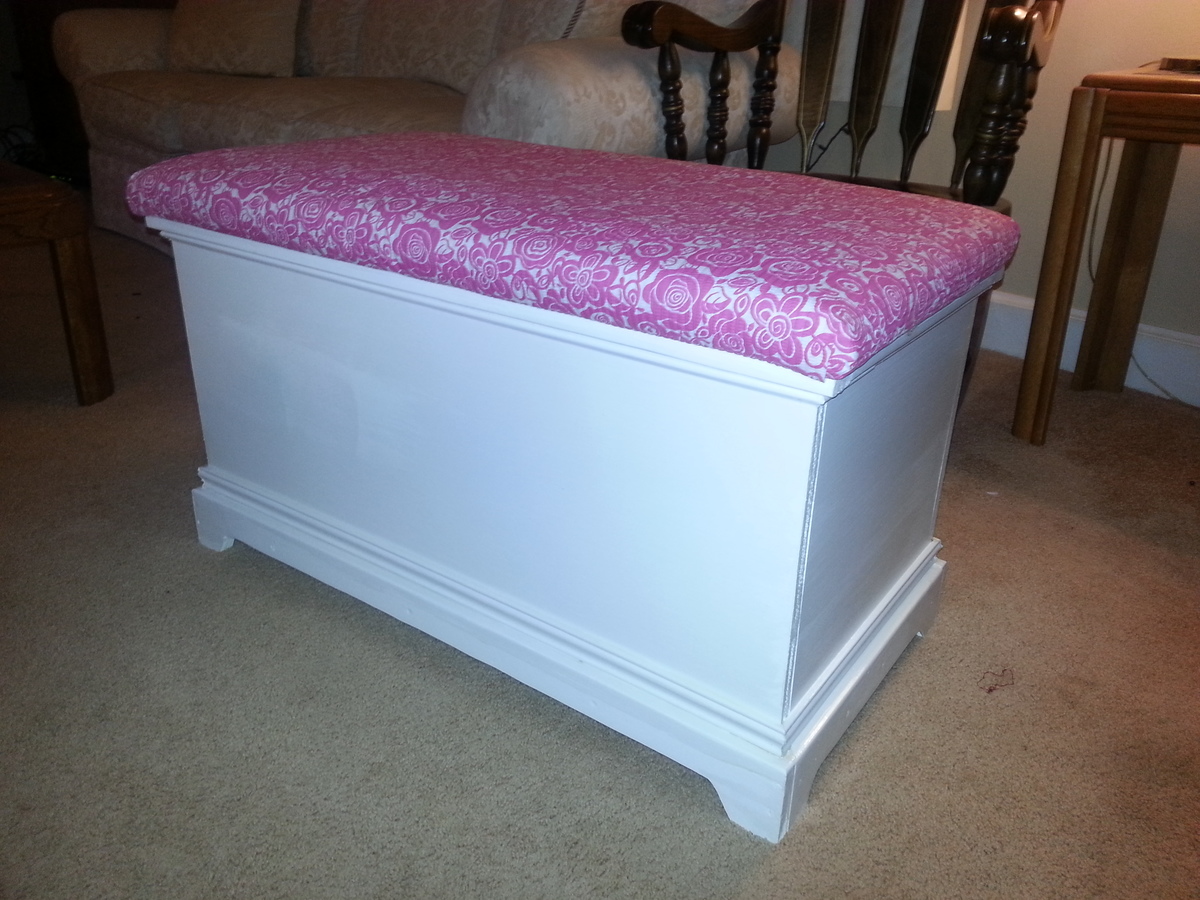
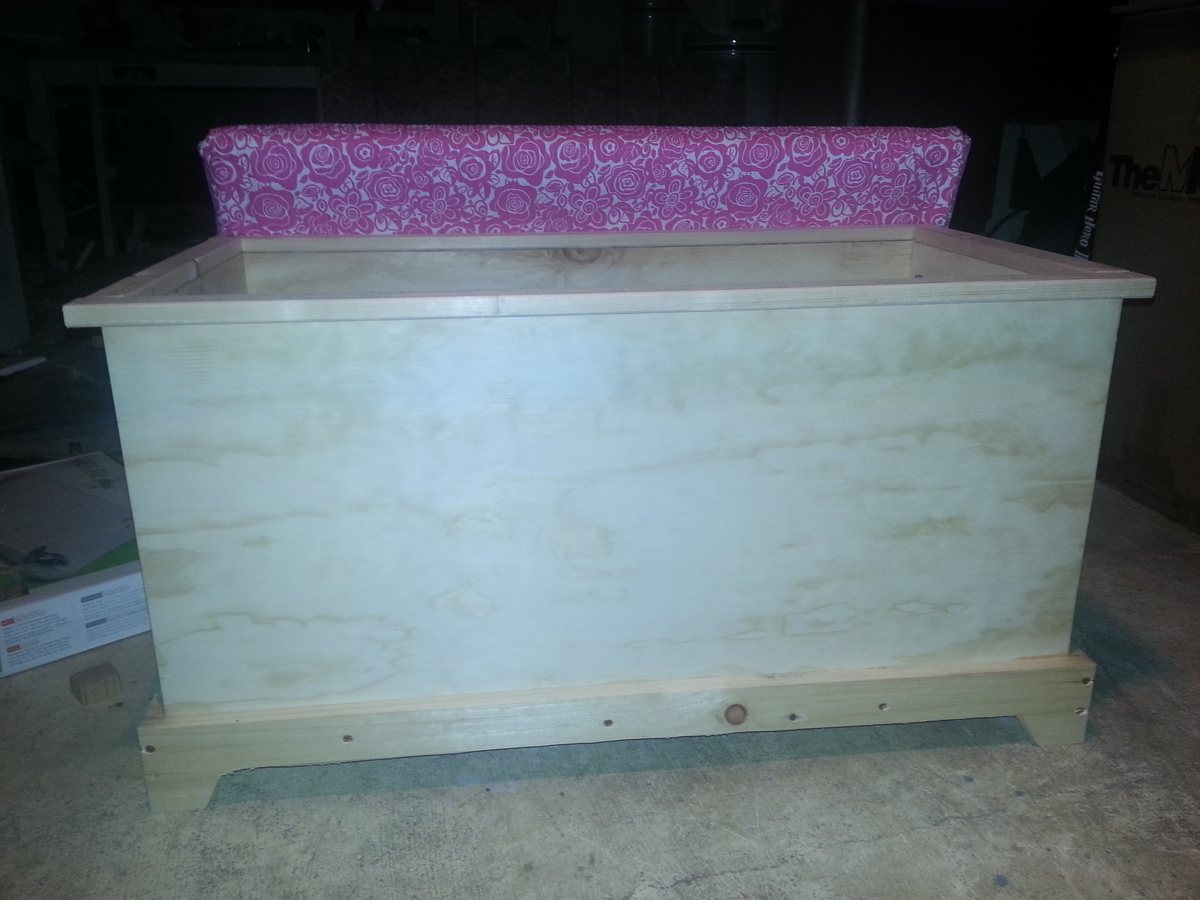
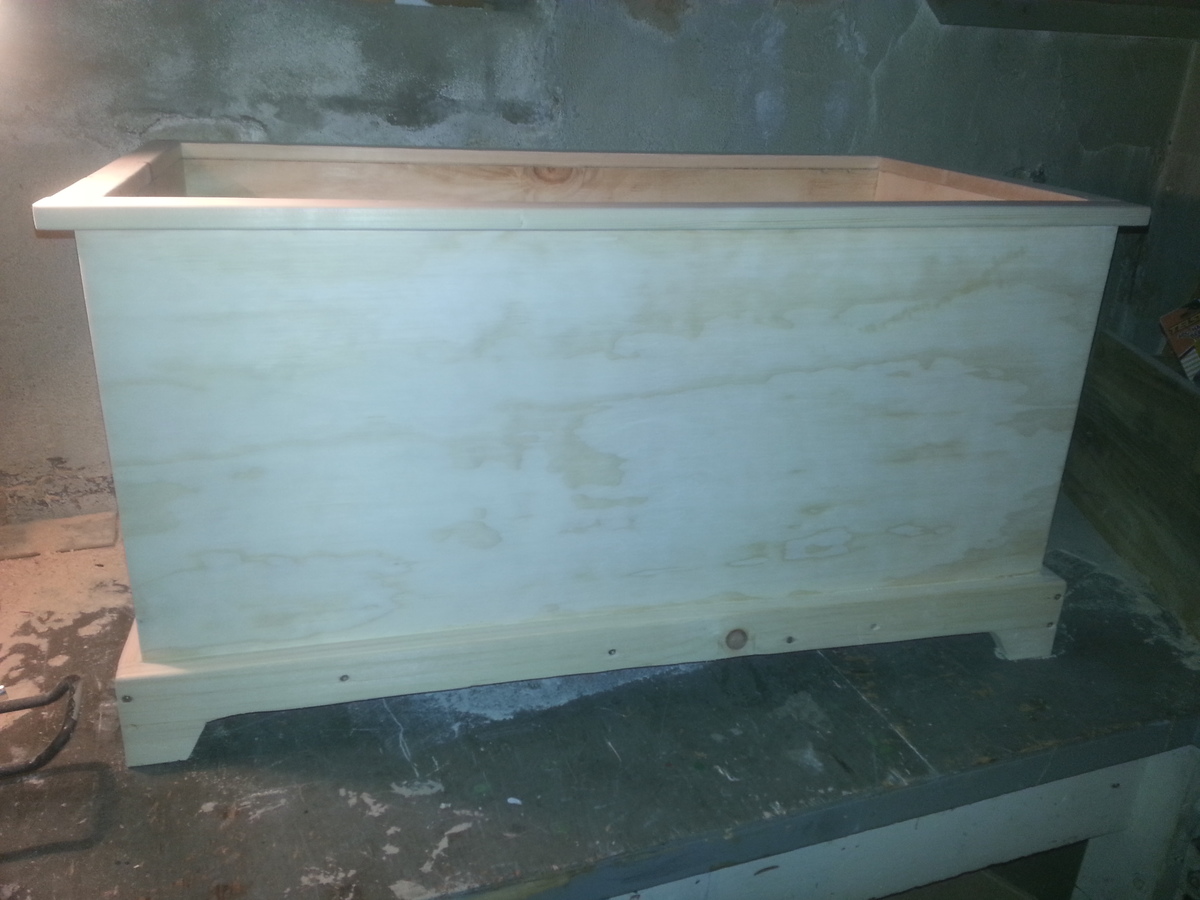
This is my first fully finished build. My very good friend was about to have her first child and I wanted to do something special for her so I embarked on this project. I had HD cut my wood to size. After I came home and started building I found that my wood was not exactly cut to size. One side was one quarter inch too short. I did some improvising and some trimming with my jig saw (only saw I had) and was able to eventually create a rectangle.
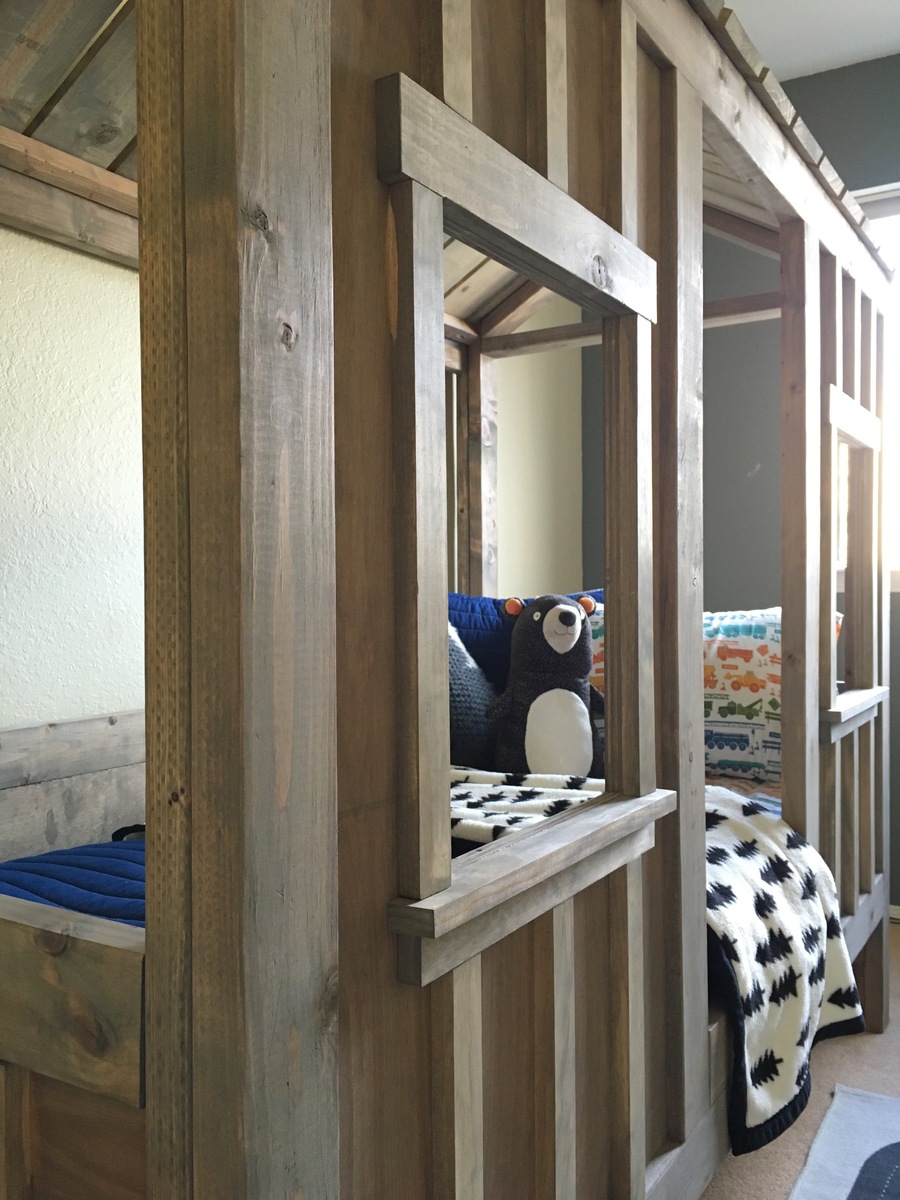
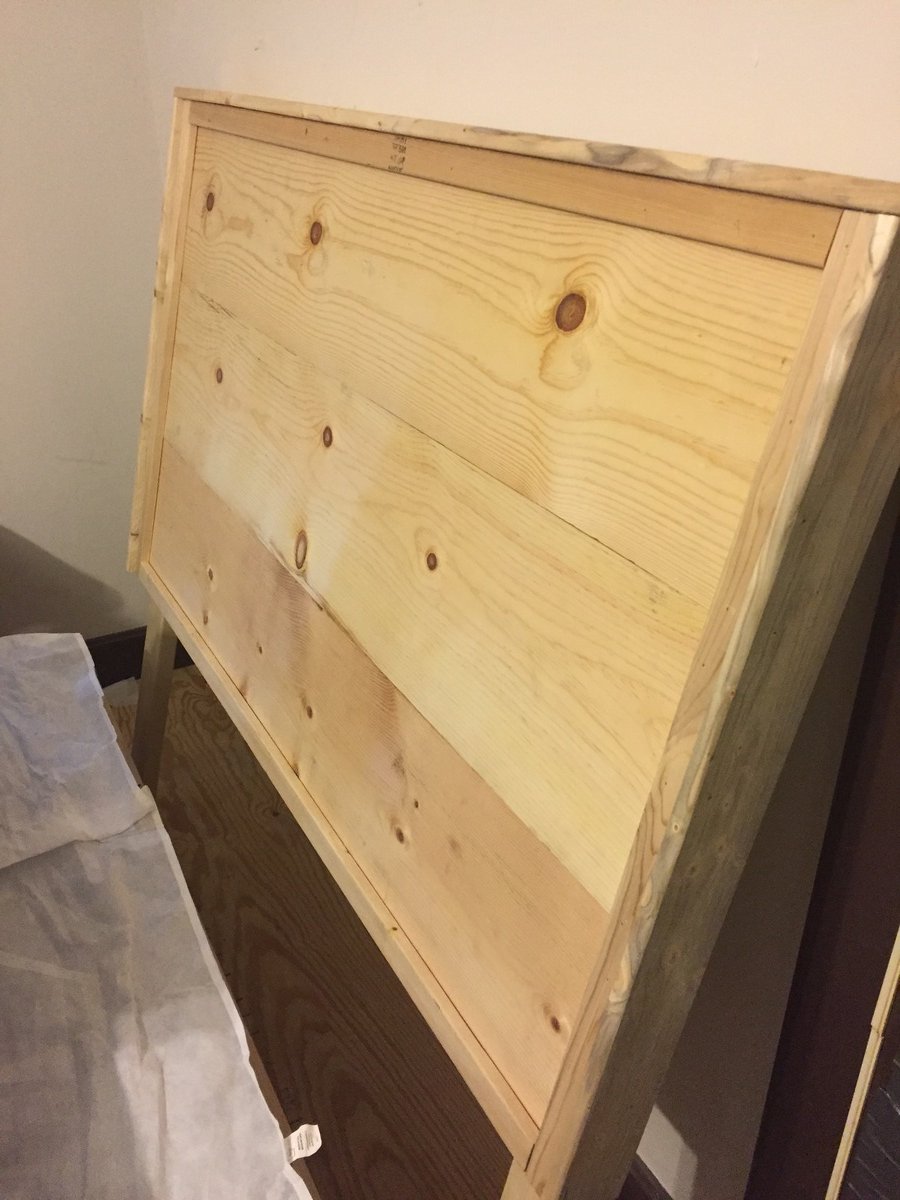
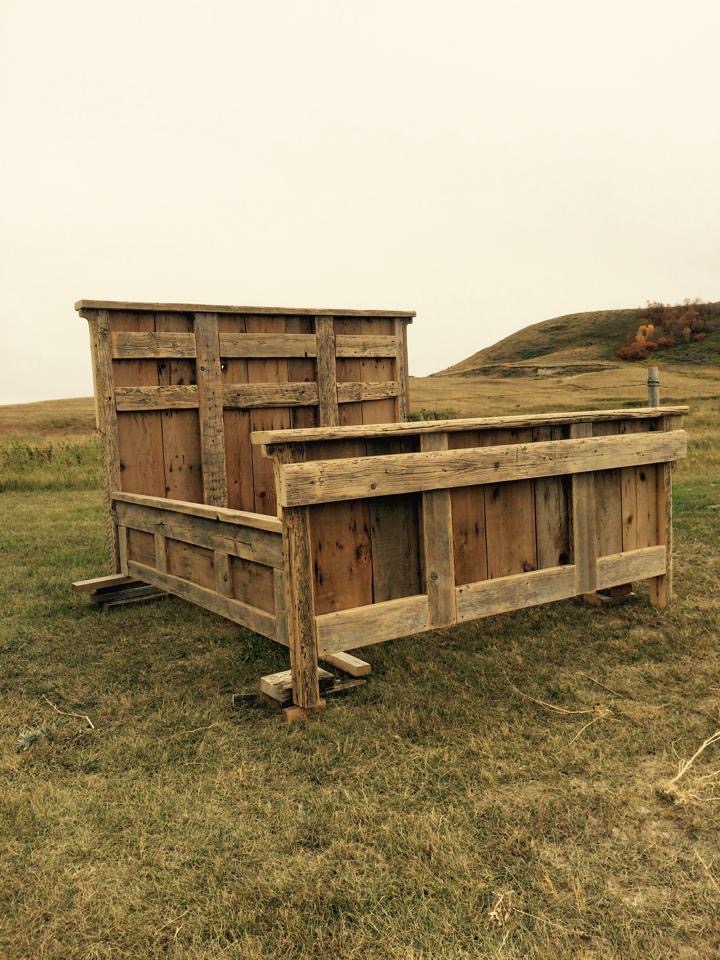
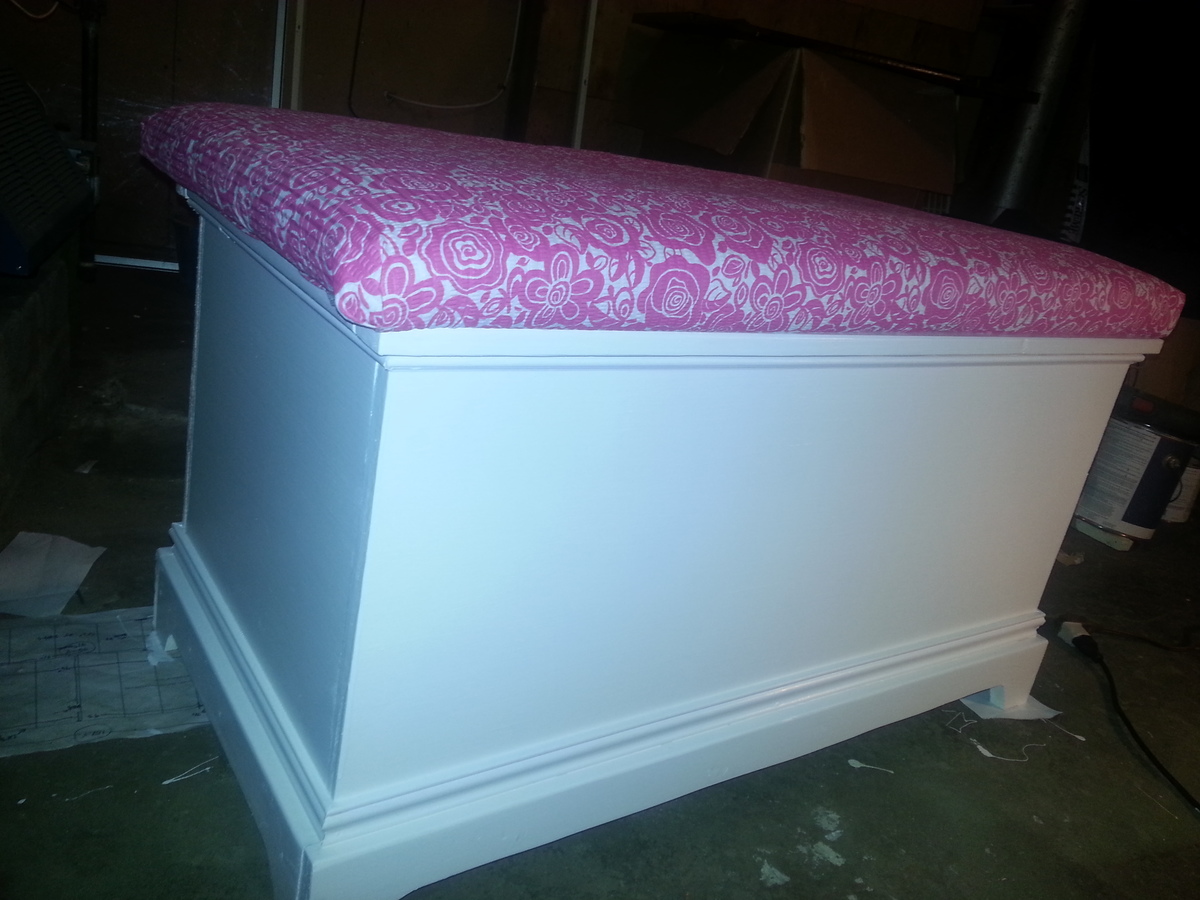
This is also my first mitered trim project. The edges are NOT perfect but what I could I filled in with wood filler. That helped hide where the edges did not quite meet.
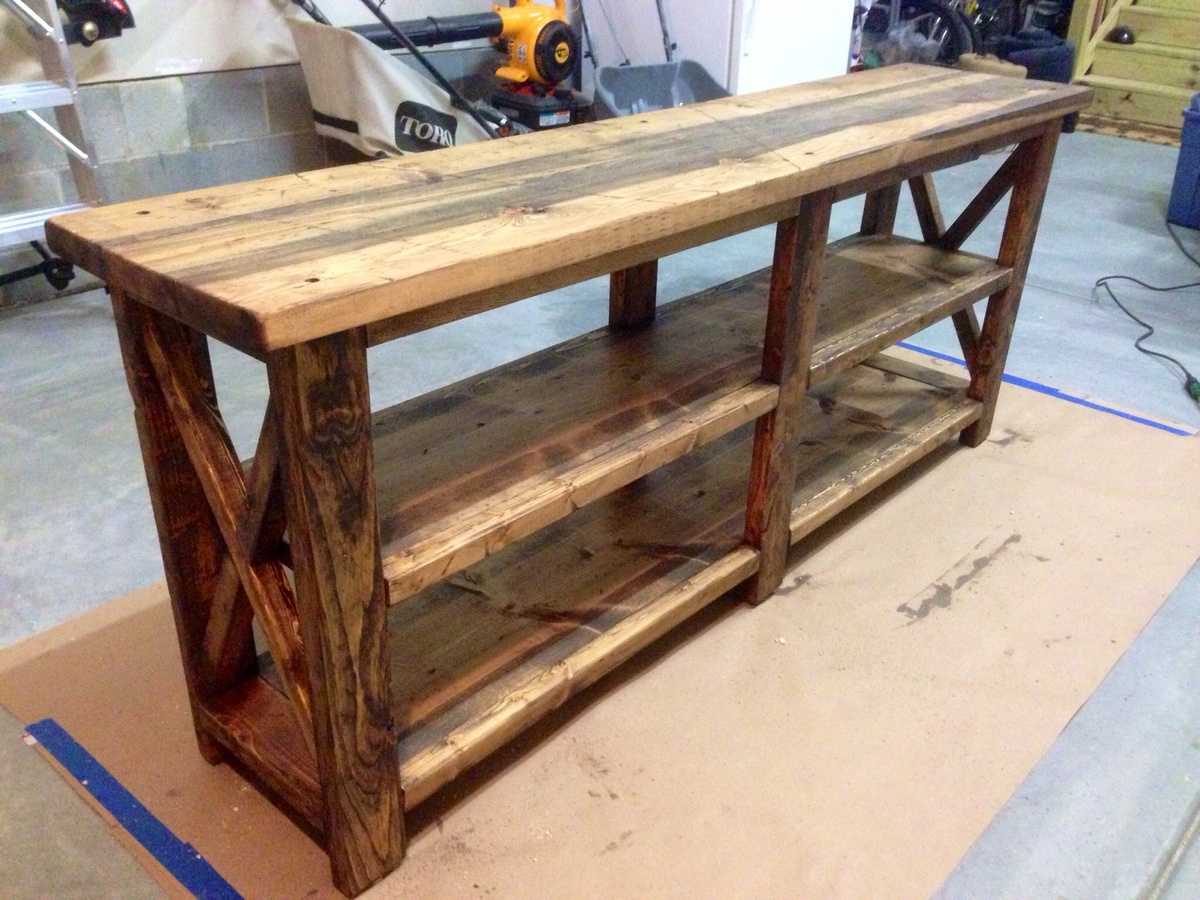
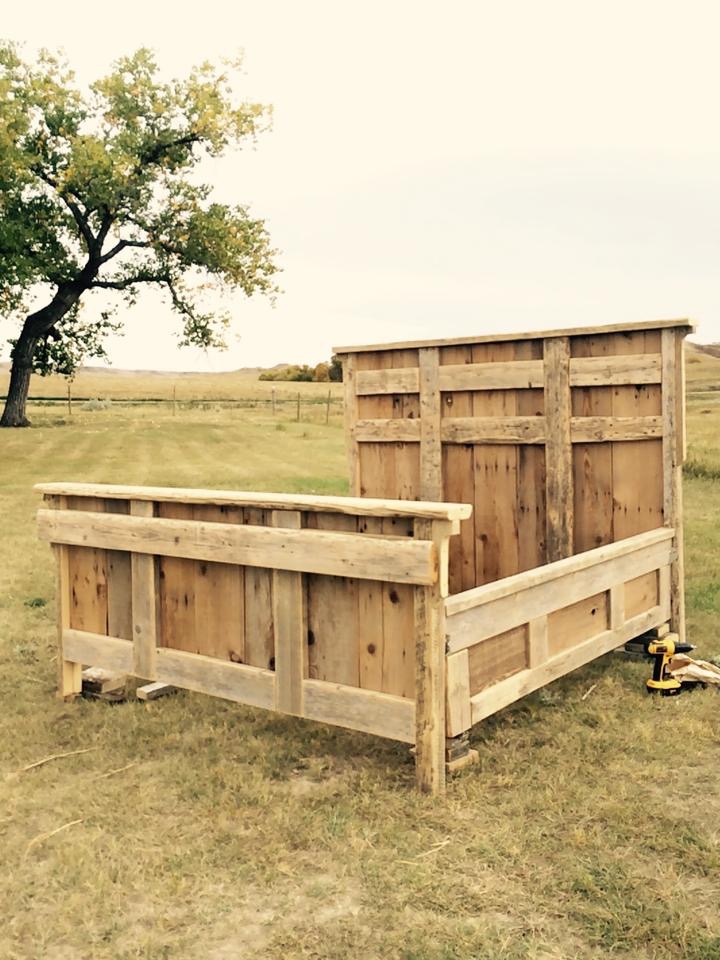
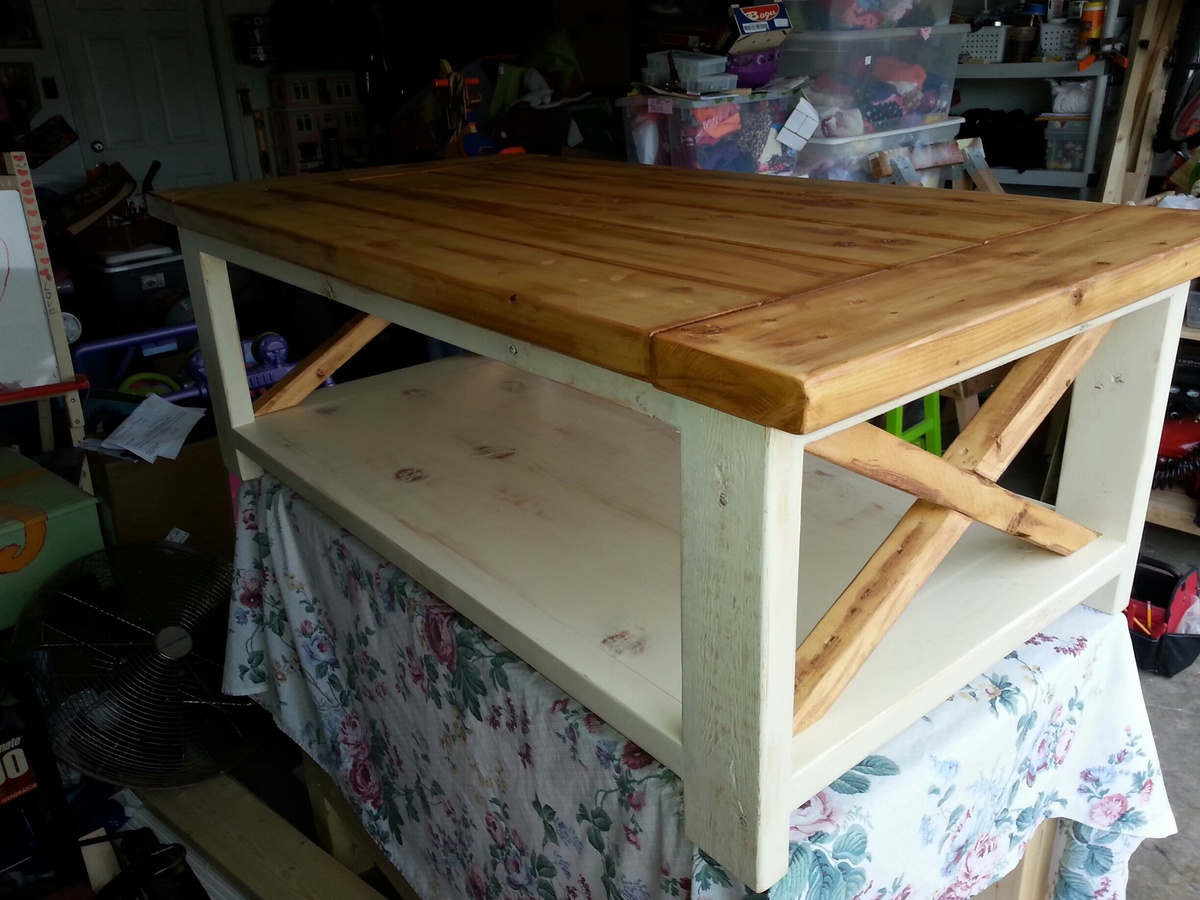
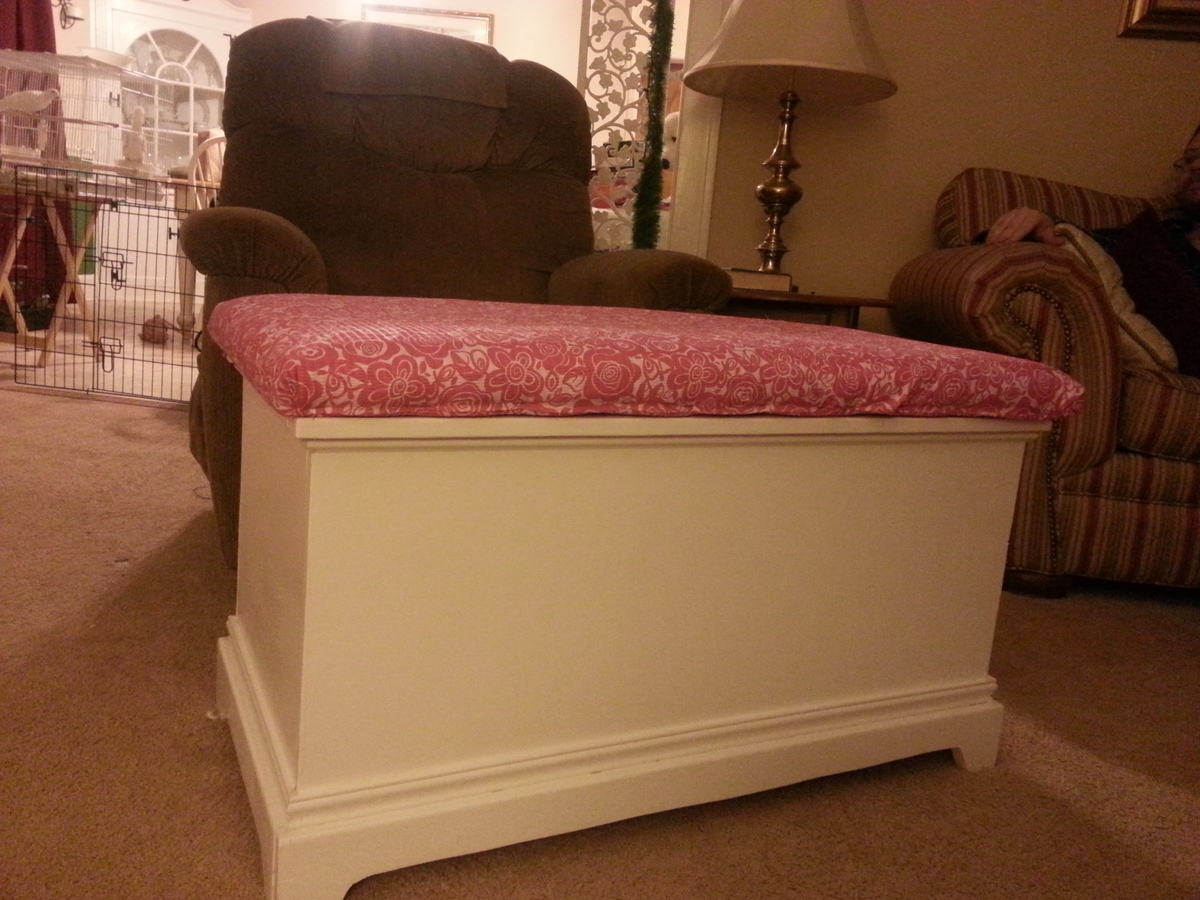
I then sanded and sanded and sanded. Don't want little fingers to come into contact with bad splinters. I finished with a bright white paint.
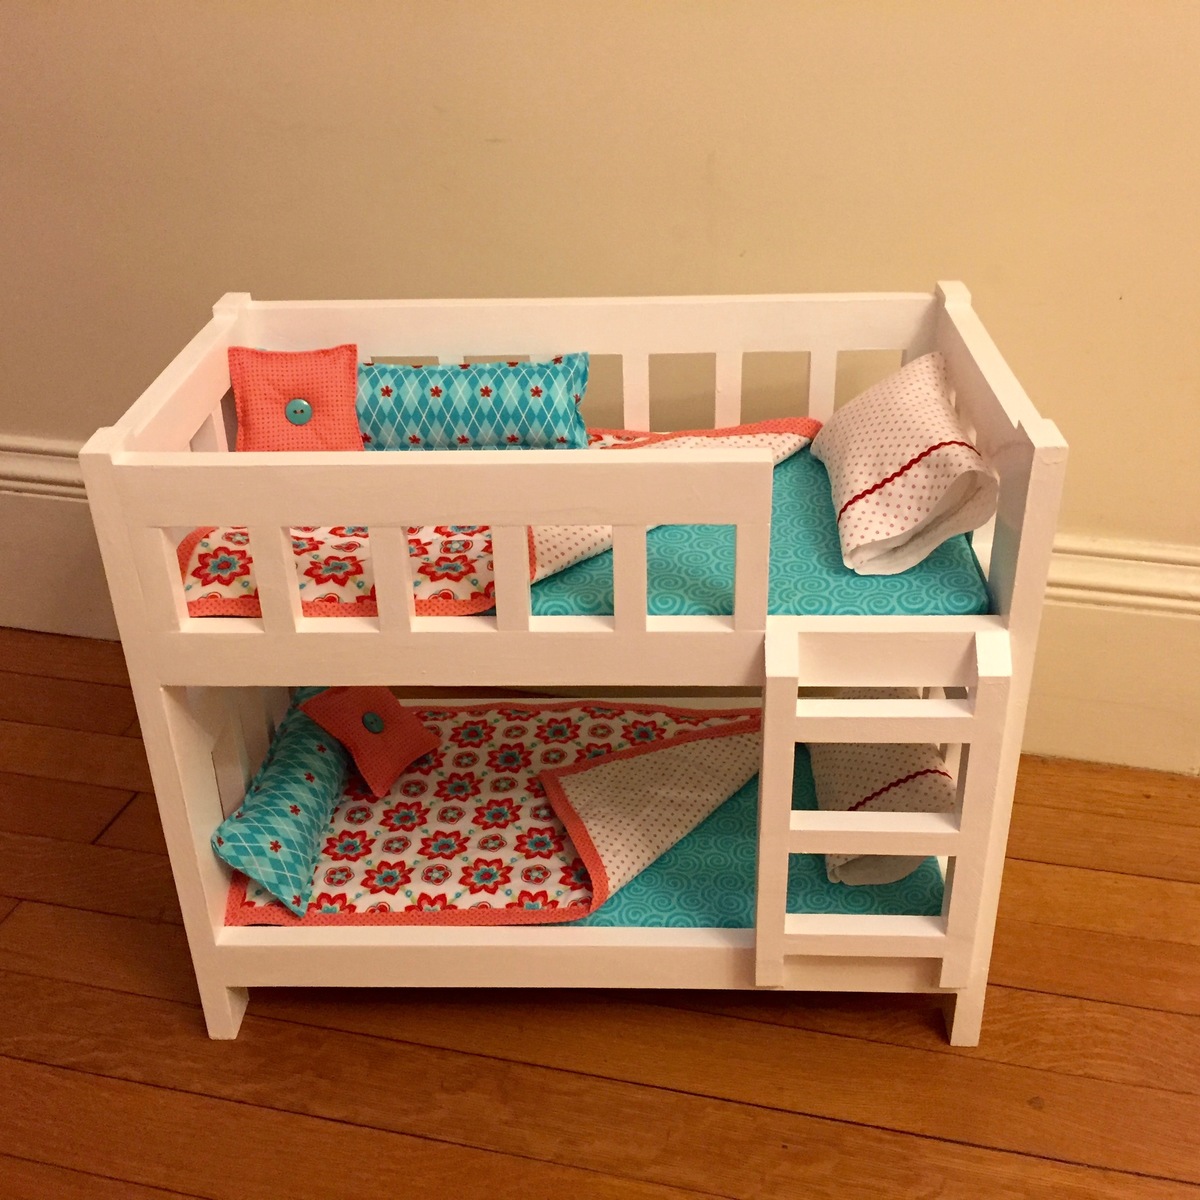
I wanted the toy box to also be a seat so I got some fabric and did just that. I was going to add hinges to it but then thought again and decided not to. Wanted to prevent any accidents.
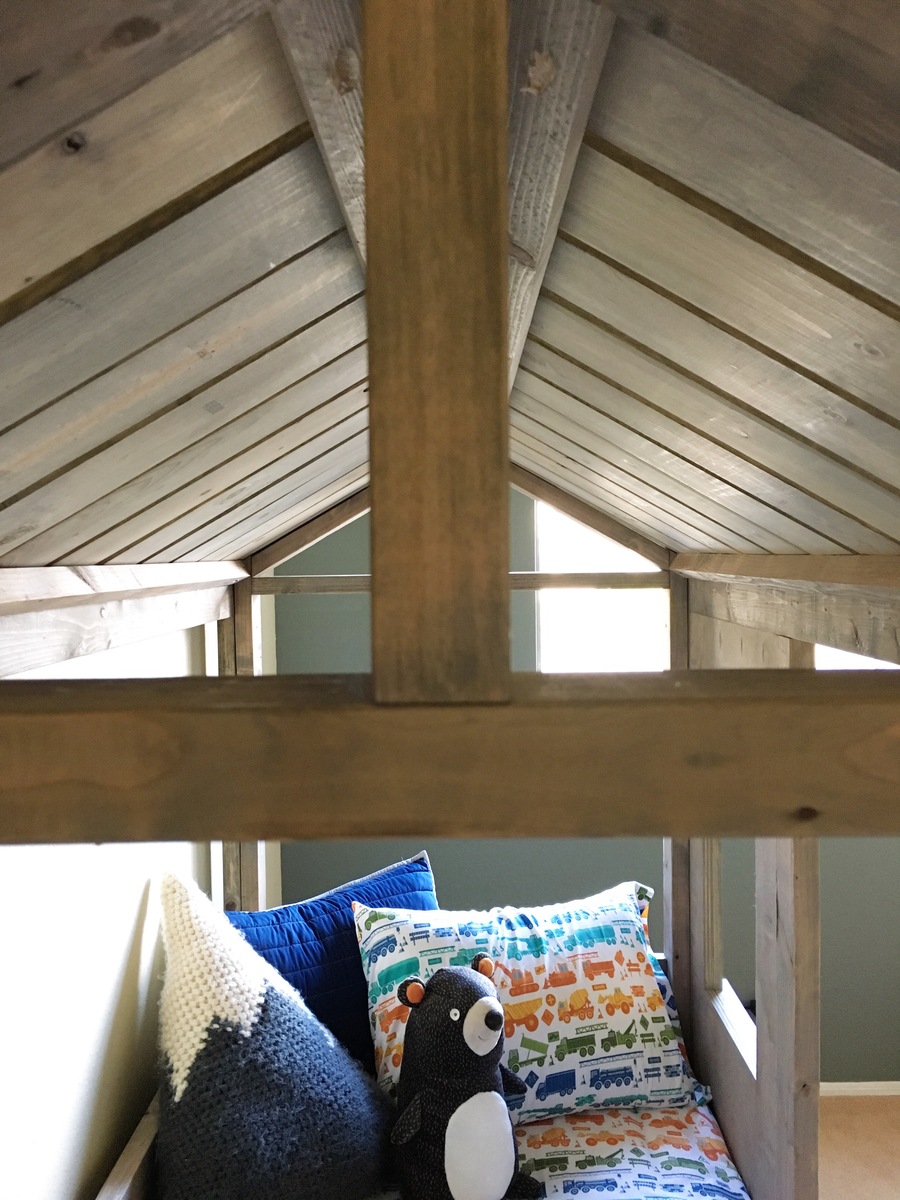
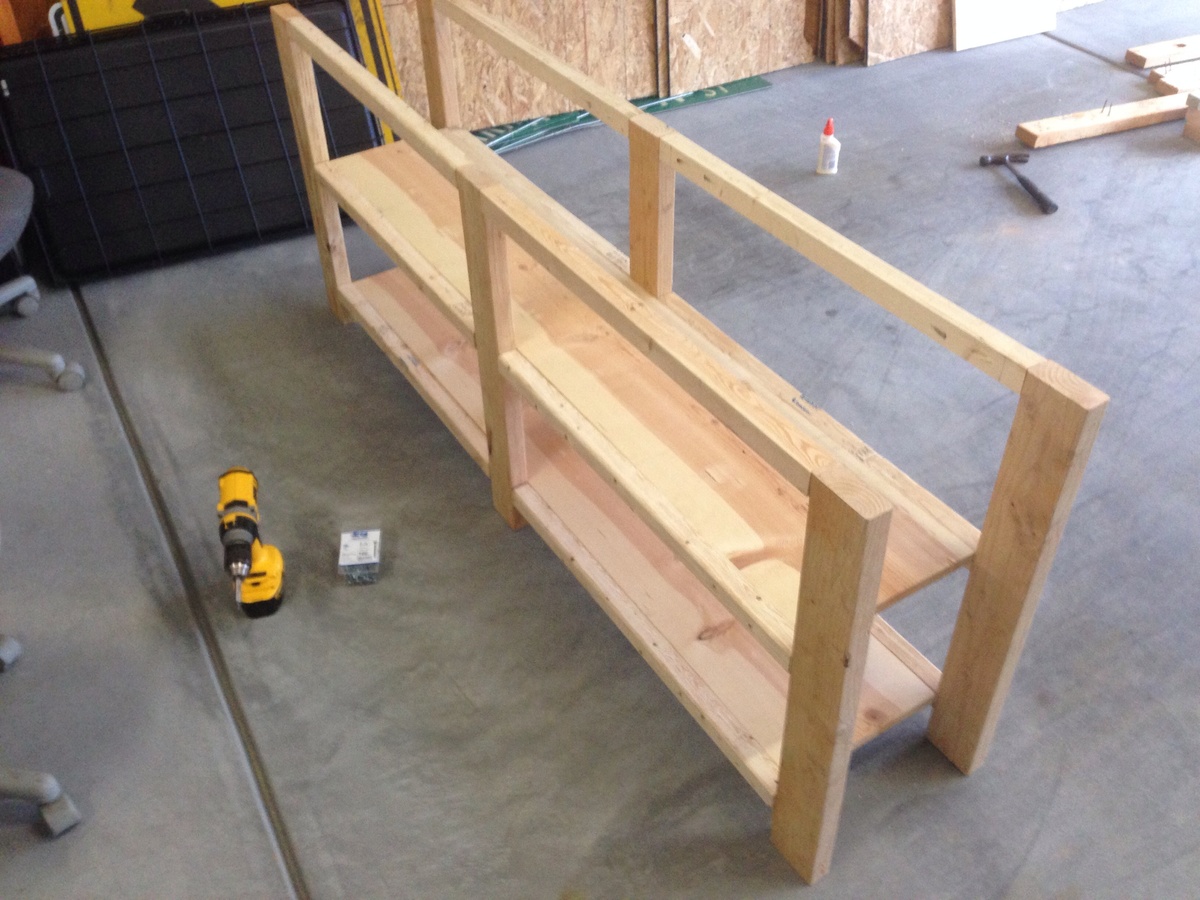
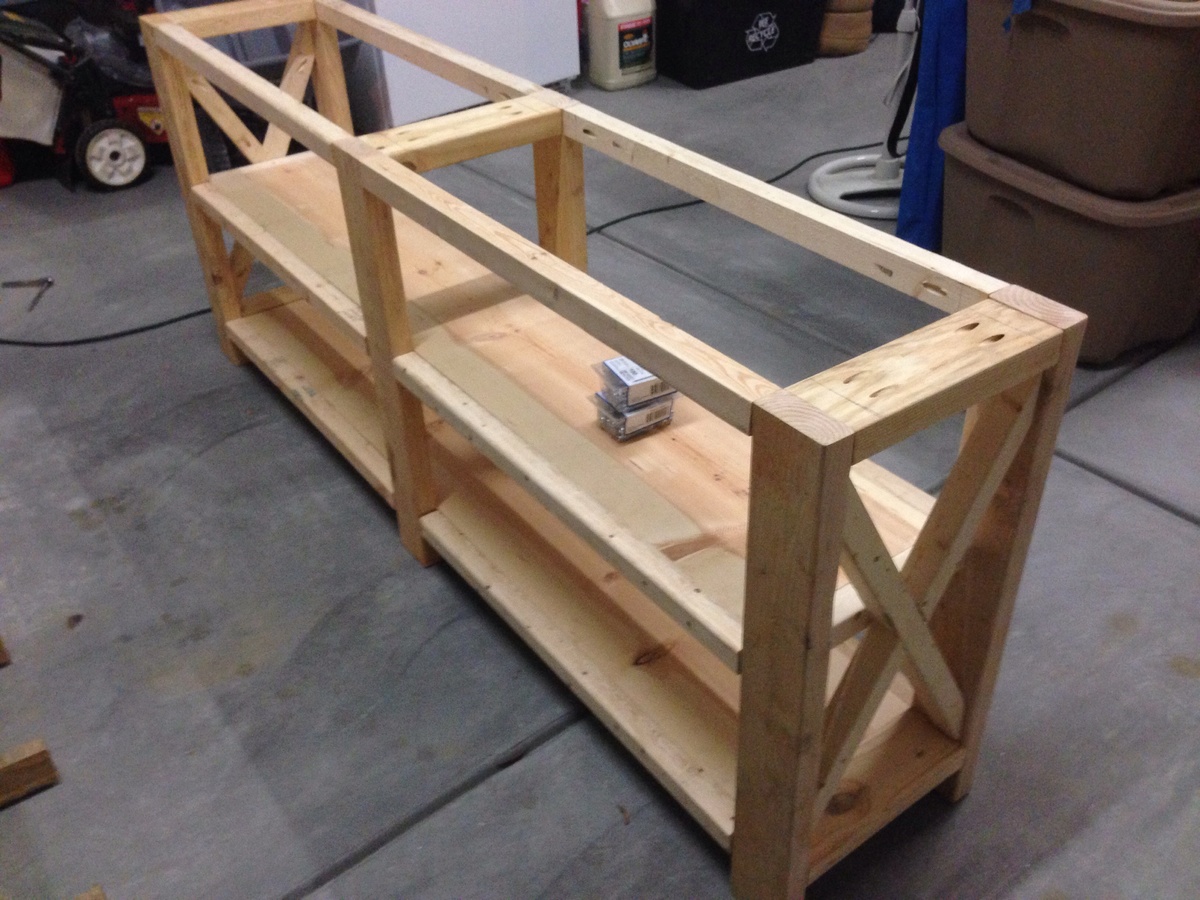
I built it over many months spending maybe 20 hours or so. Many many mistakes and many hours thinking about how to fix them.
The table was my very first project and with the help of my Dad, we completed build, stain, and finish in 2 days. I've had it over a year now and of course it is still beautiful (I've learned not to move it around too much to clean because the legs have a few splits in them now!). Just finished the matching bench ($17 project). I adjusted the legs to make them longer, so that my kids will sit up higher at the table :-)
Comments
Ana White Admin
Tue, 03/01/2016 - 12:19
SUPER!
You did an amazing job on this, I wouldn't want to get out of bed either! Thanks for sharing:)
Lulubugs
Wed, 03/02/2016 - 00:26
Stain
Looks great!!! What color stain or paint did you use??
Lulubugs
Wed, 03/02/2016 - 00:37
Nevermind I see it in the
Nevermind I see it in the description:)