My Santa & Sleigh
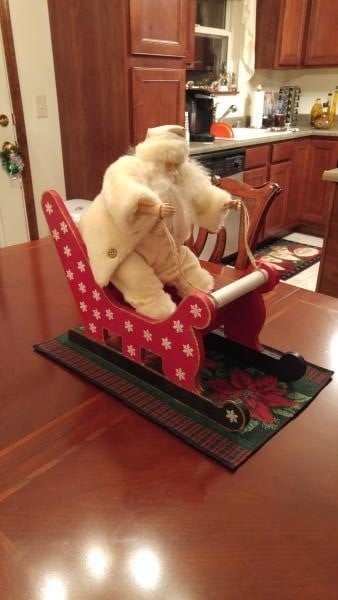
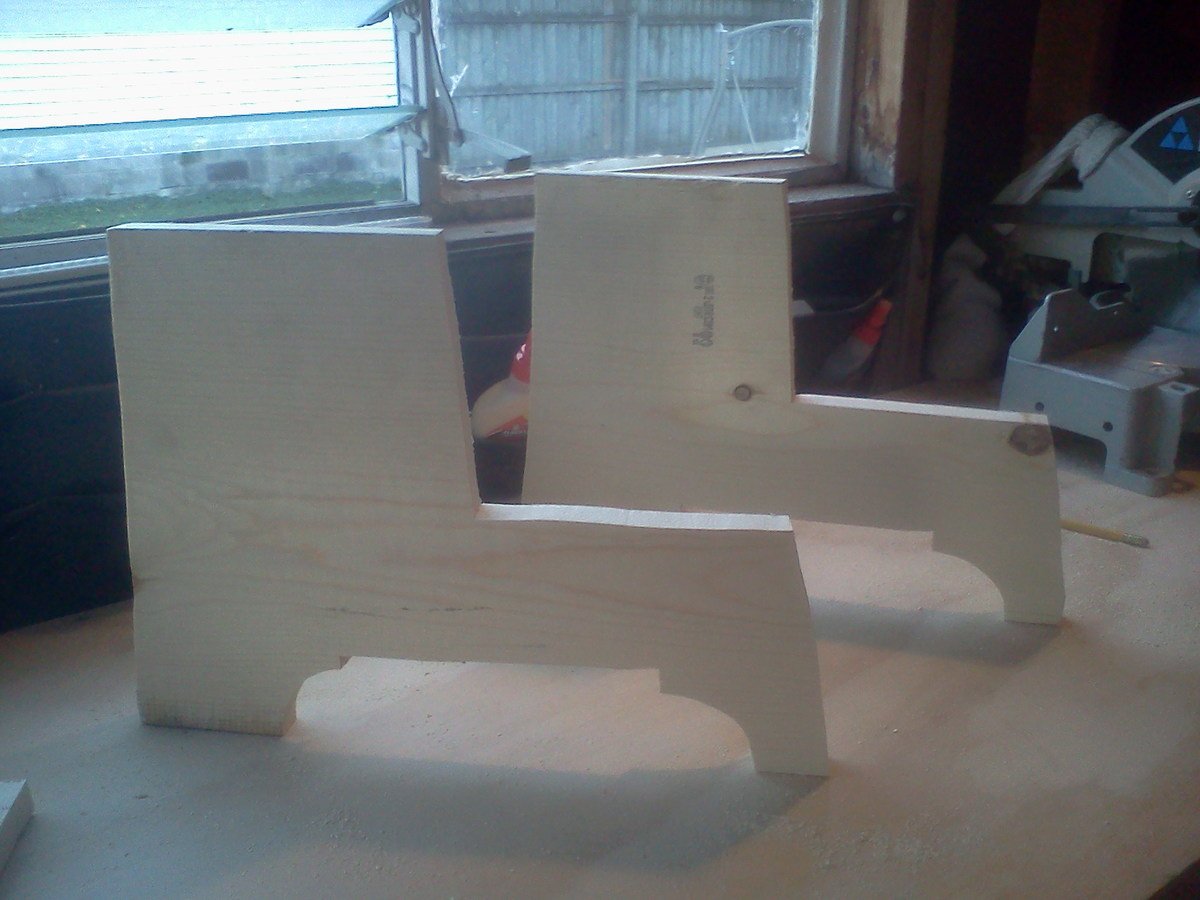
All hand cut accept for runner are attached with biscuits
Estimated Cost
$12
Estimated Time Investment
Day Project (6-9 Hours)
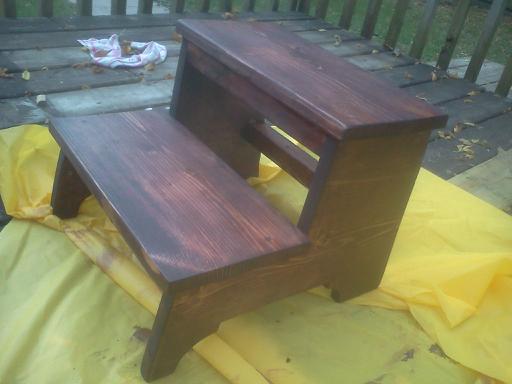
Finish Used
Red Rustoleum paint
Gold trim
Stars are starch made candy. (very stable)
Antique Santa from thrift store
Gold trim
Stars are starch made candy. (very stable)
Antique Santa from thrift store
Recommended Skill Level
Intermediate